Block Builder Cards 🦋 Spring CC 2026
Use up your card scraps and design your own cards with these fun Block Builder designs.
In this tutorial, we’re making fabulous flower-themed greeting cards using Cricut Design Space and some of your leftover cardstock scraps.
If you’ve got a stash of small, colourful pieces of cardstock that you’ve been saving but aren’t sure what to do with, this is the perfect project for you.
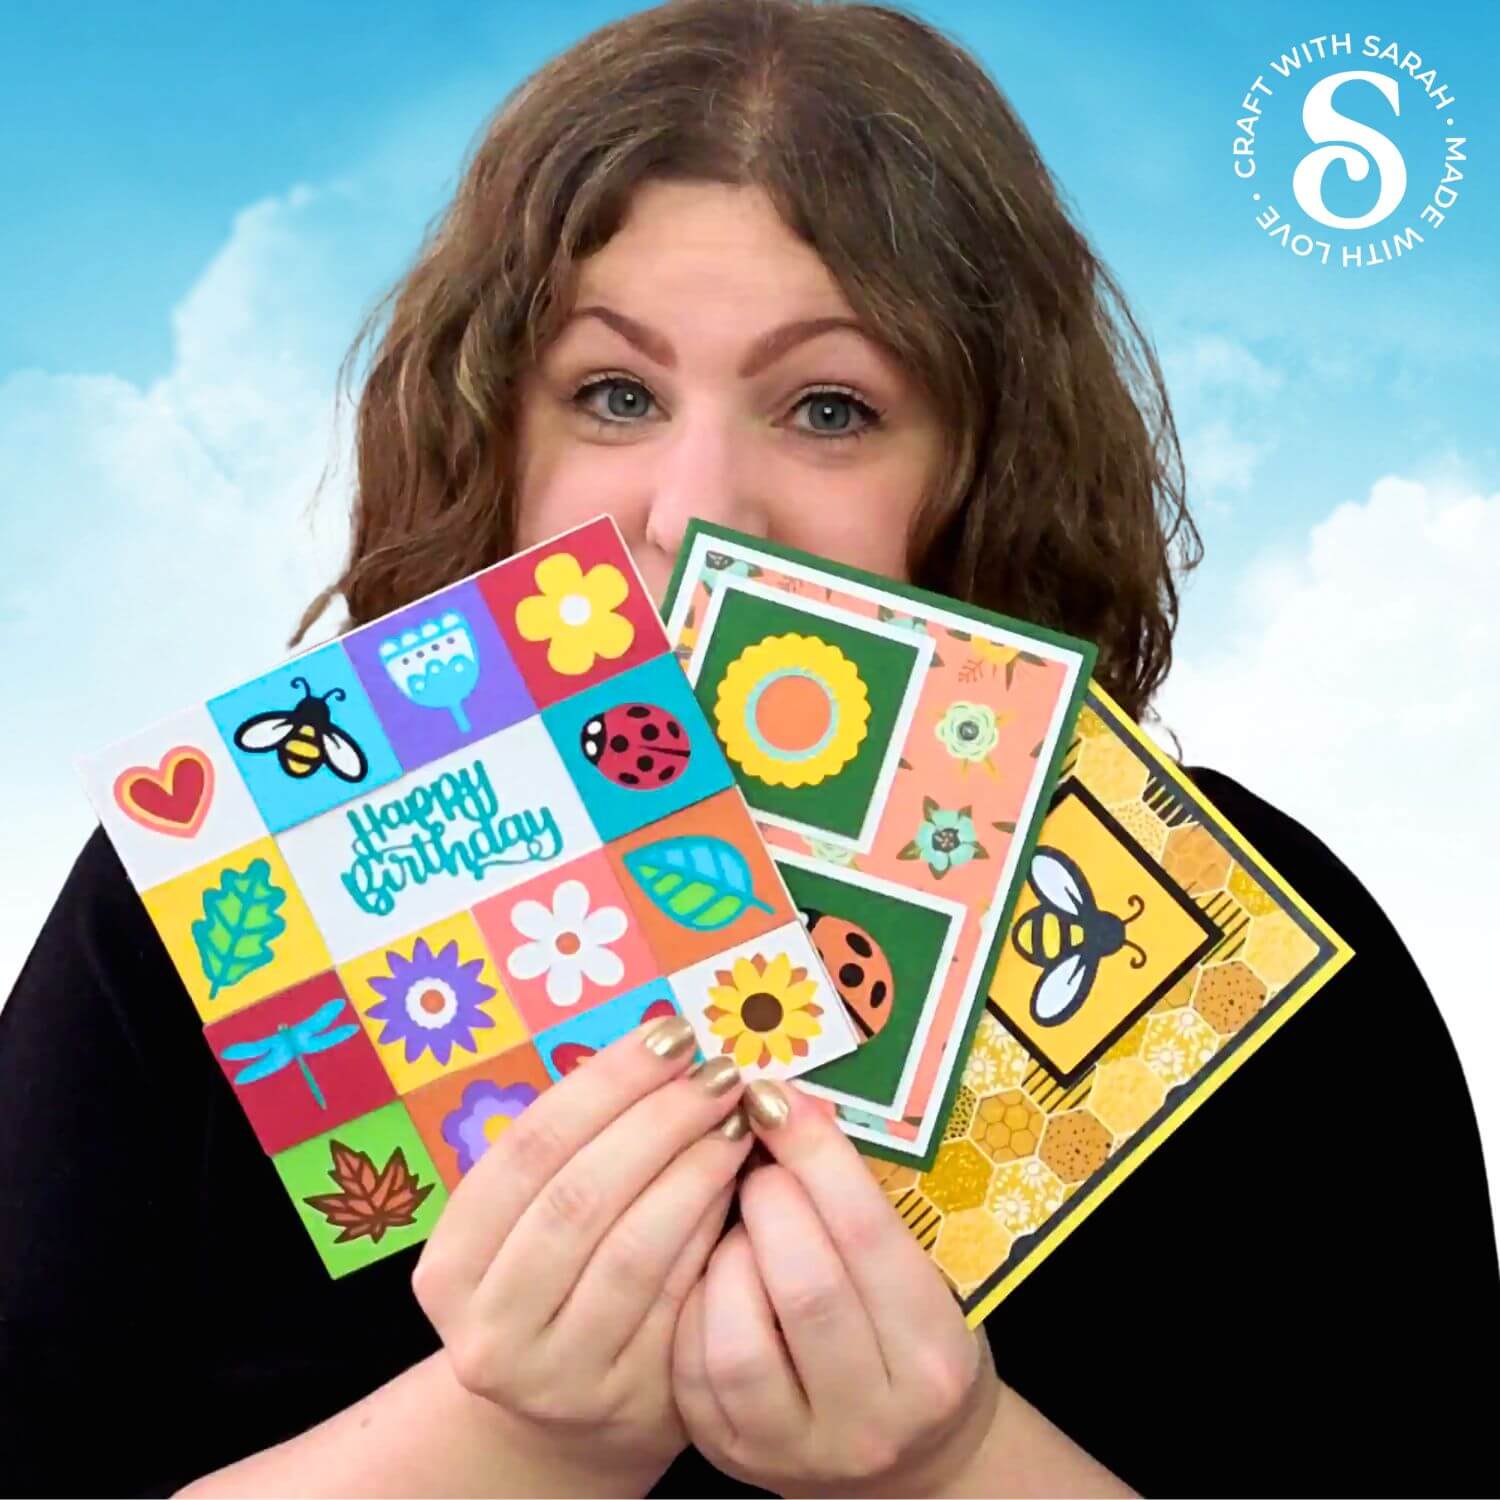
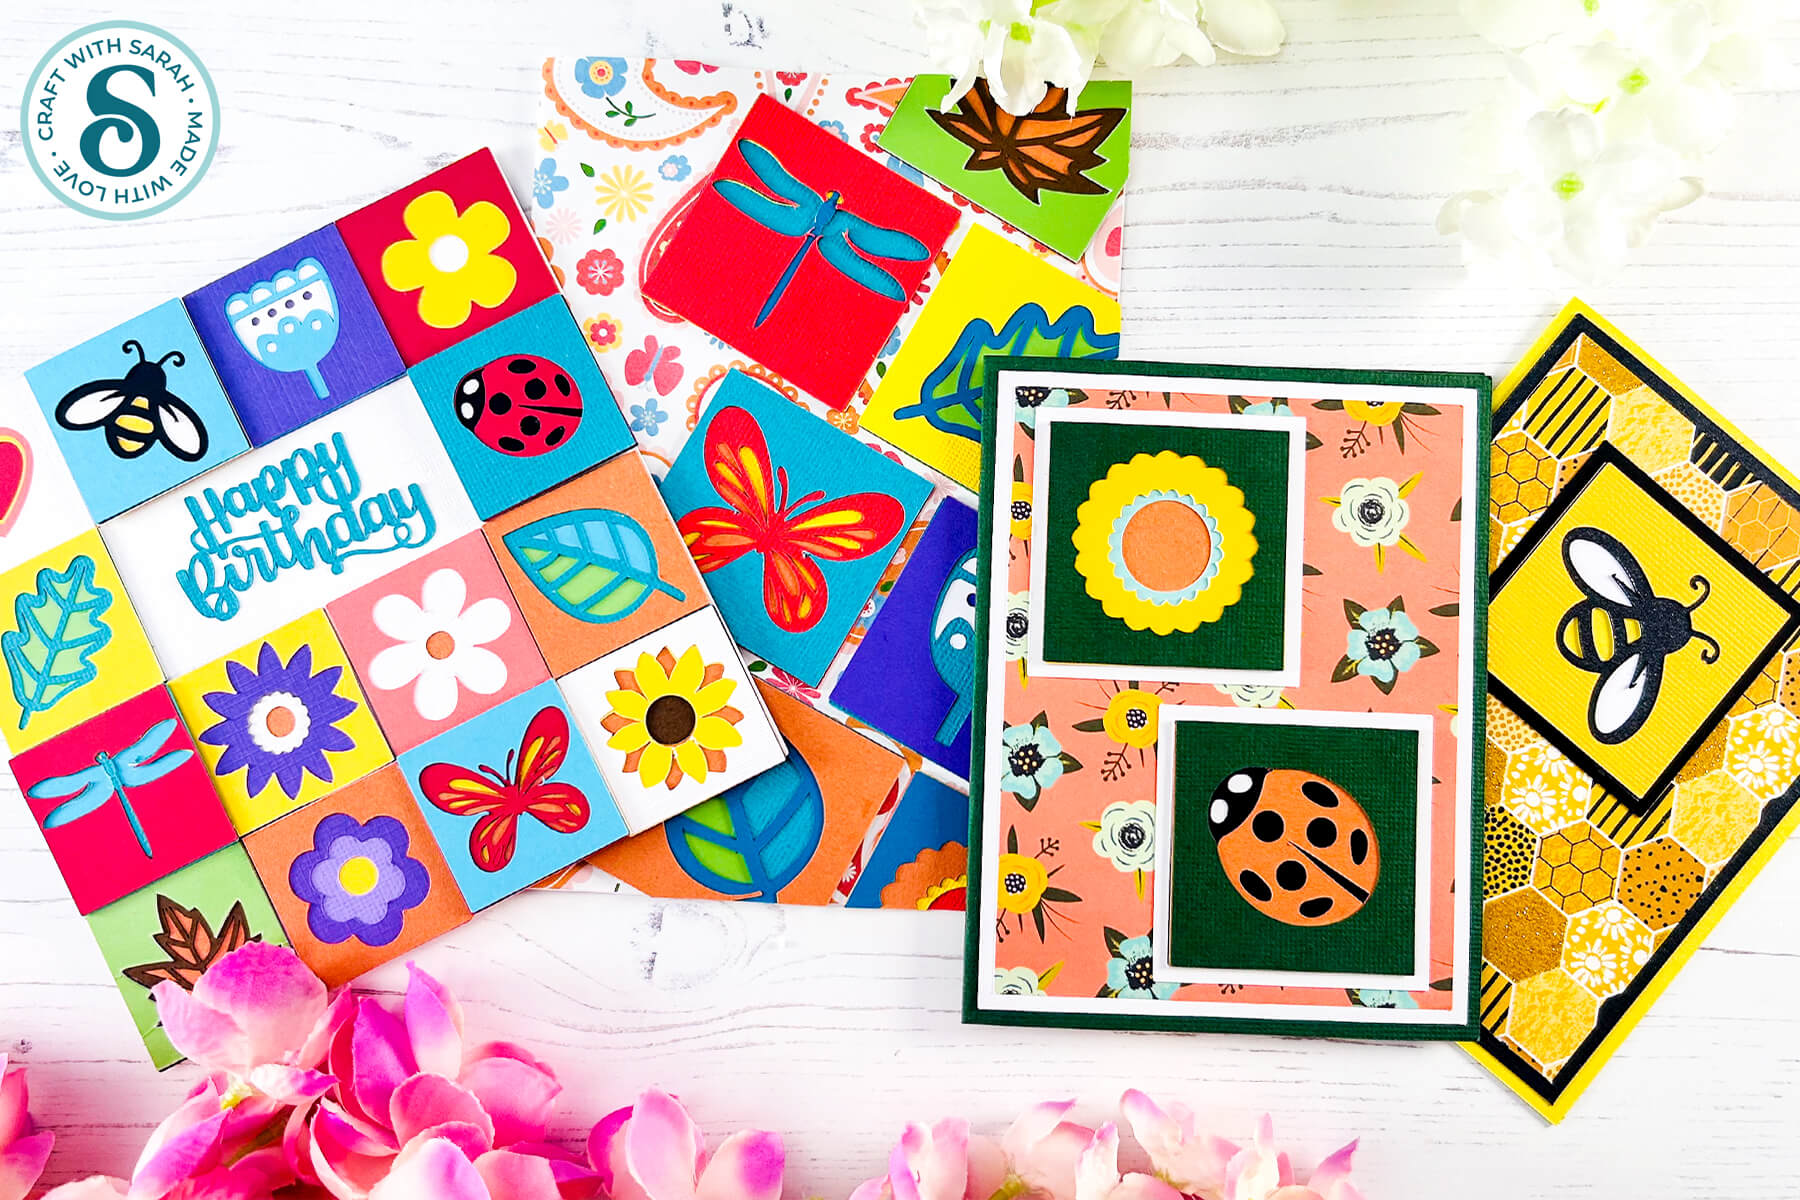
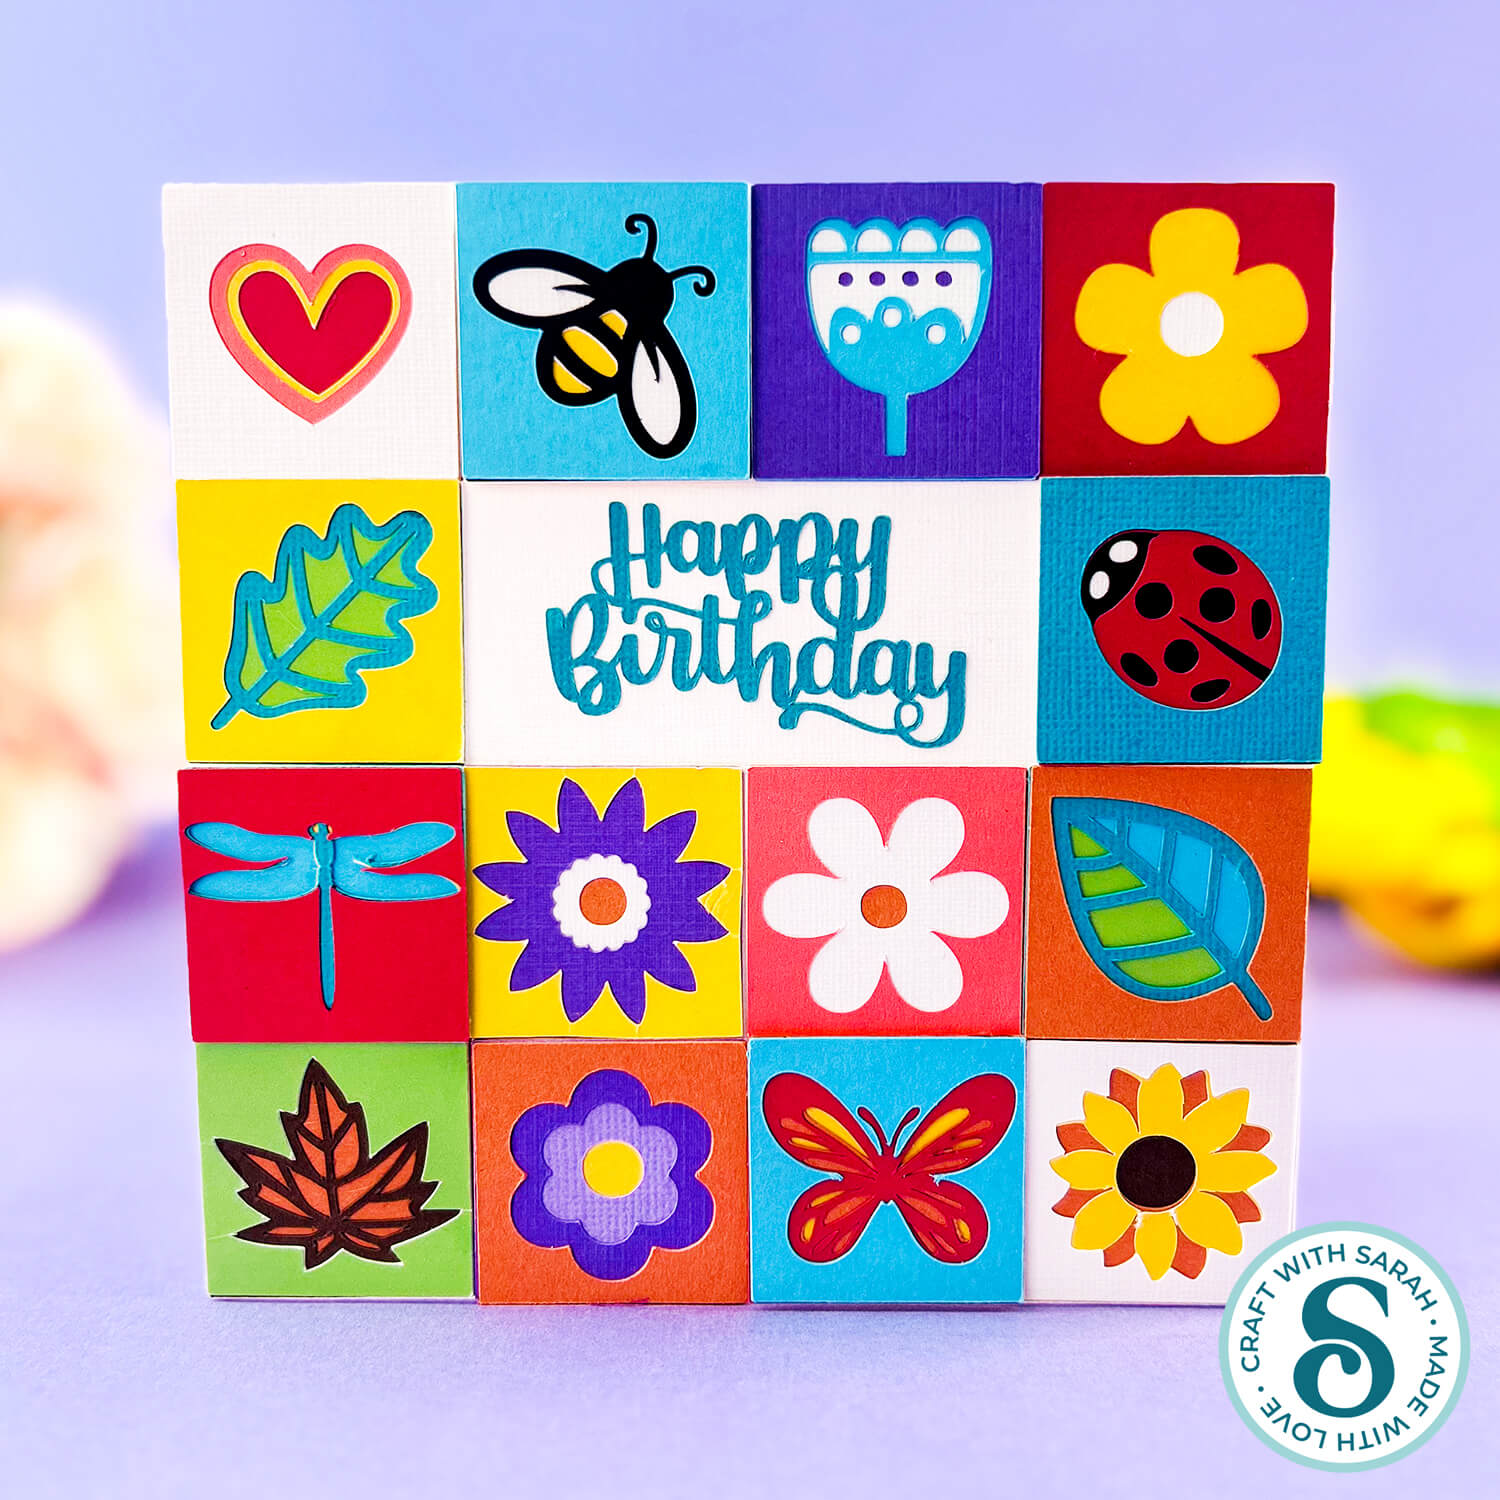
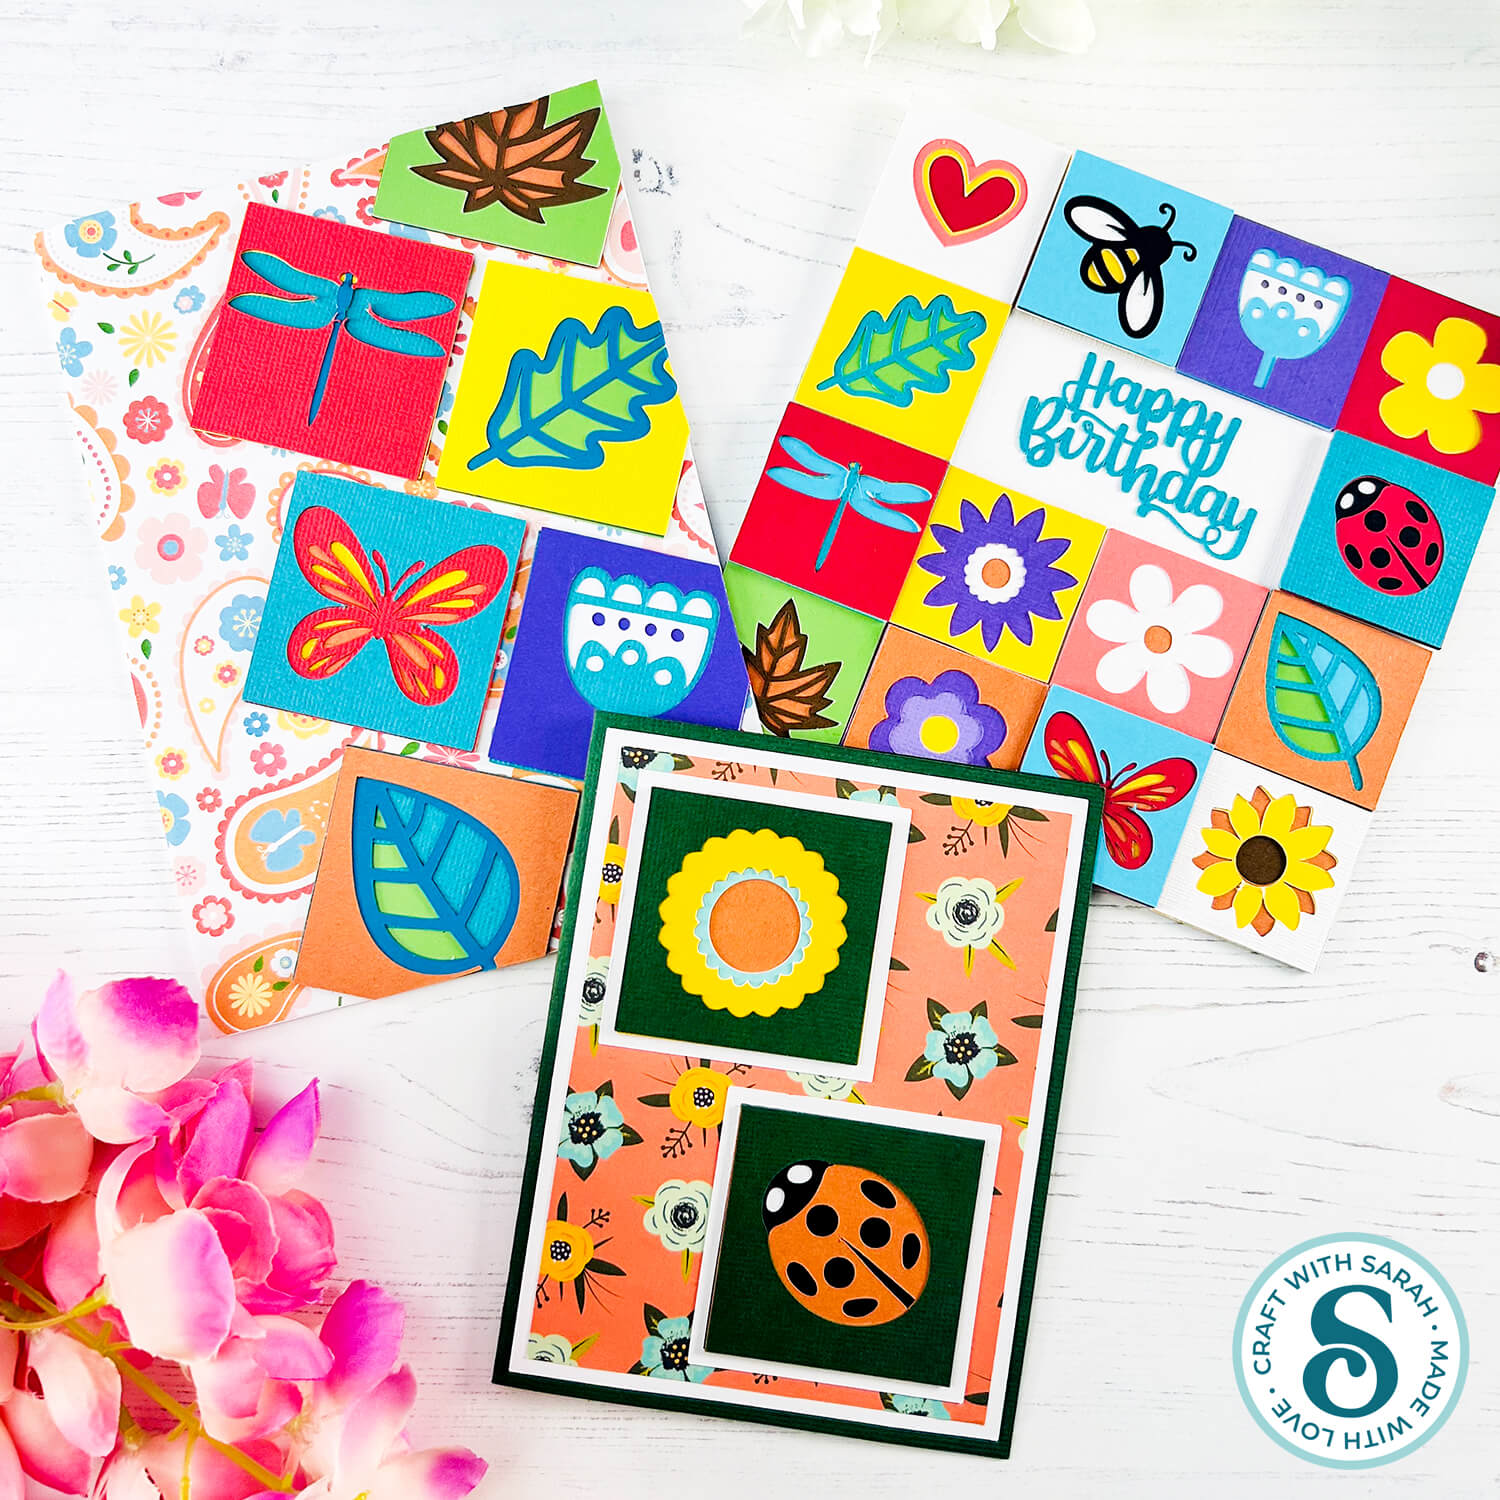
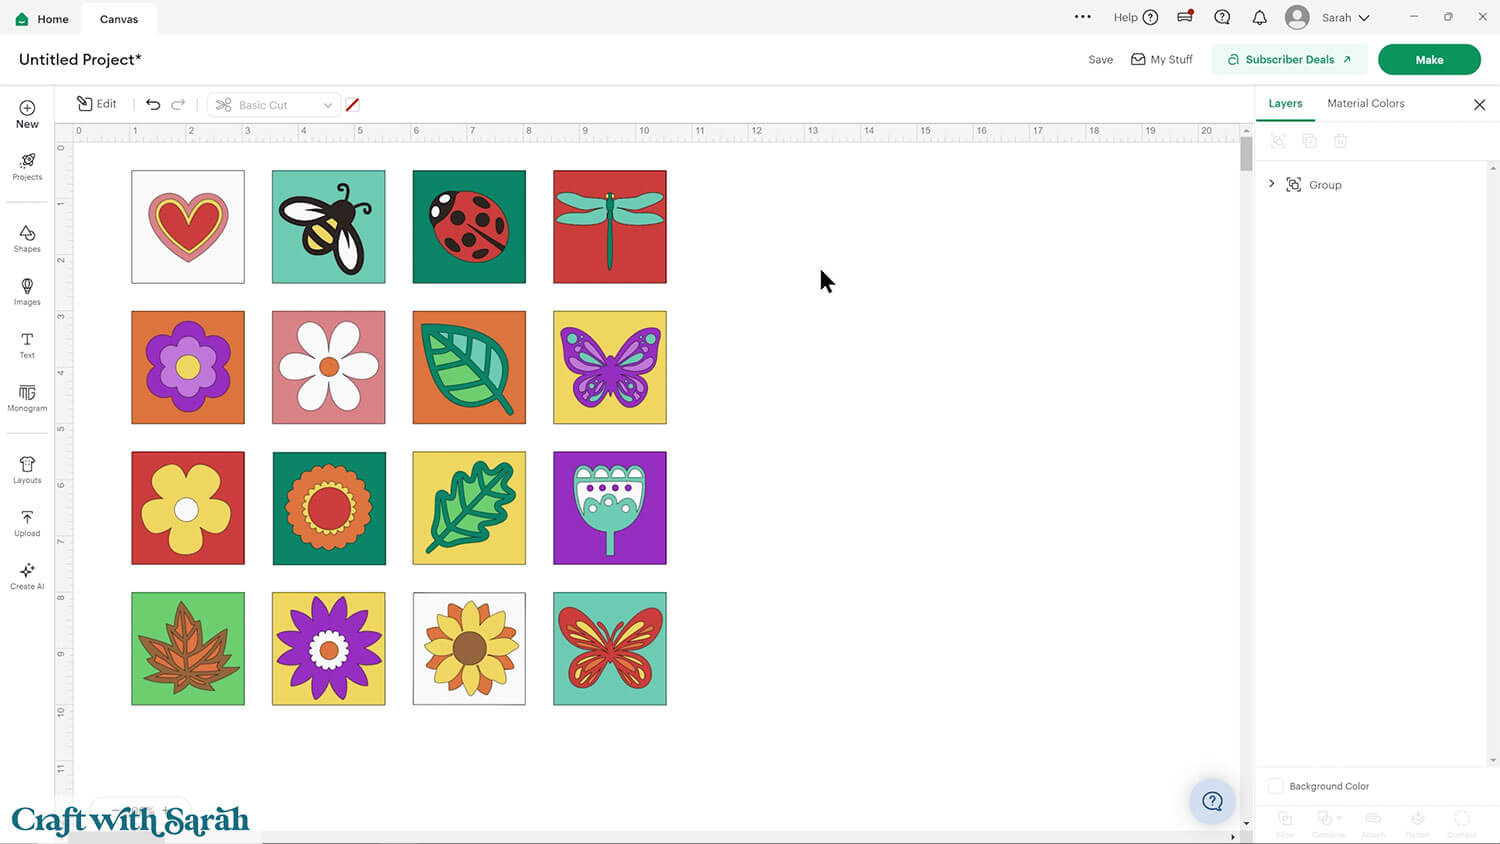
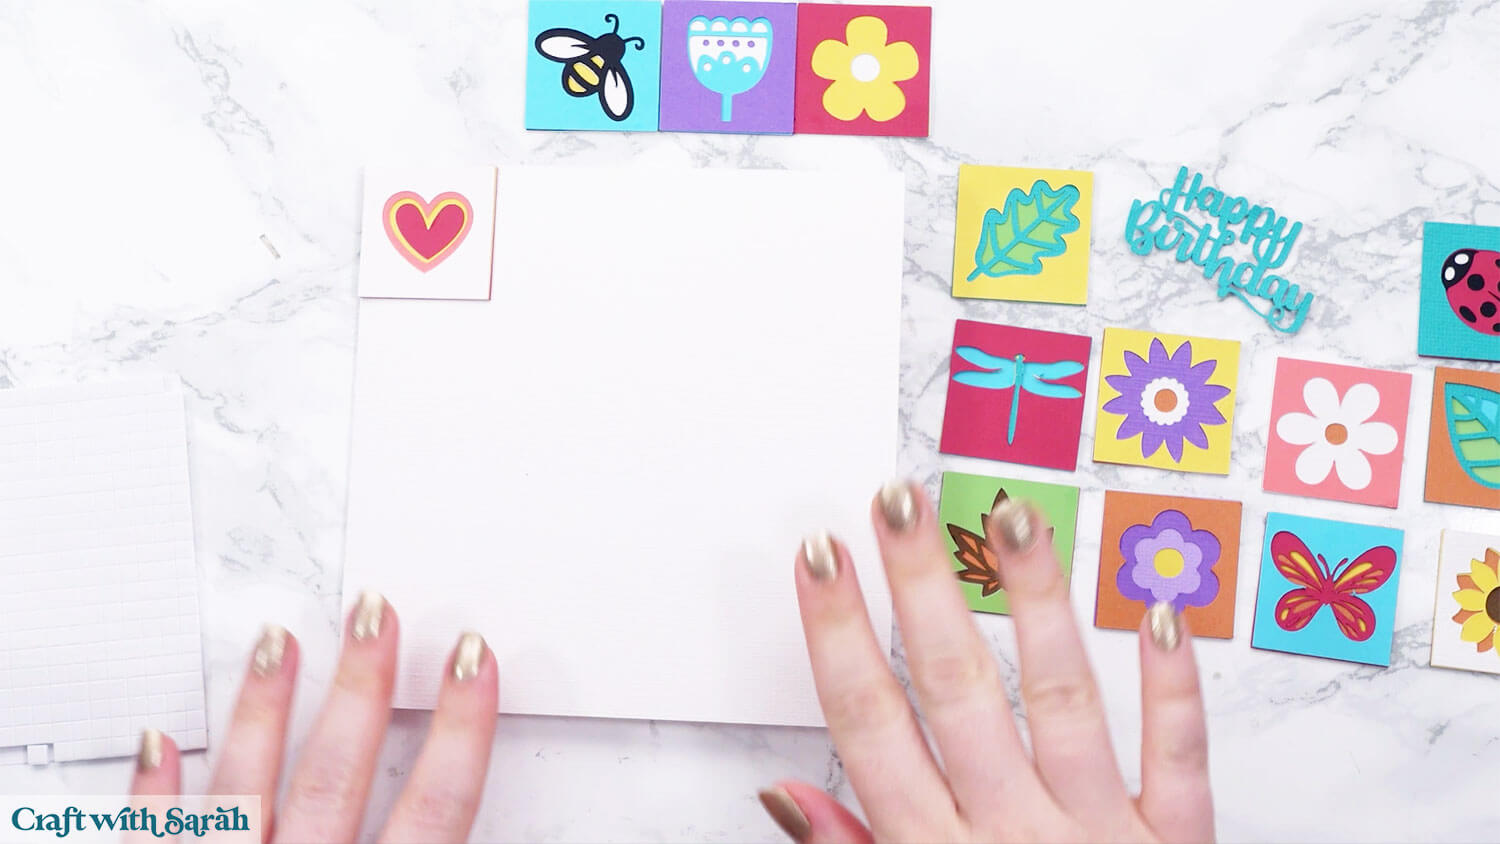
These Block Builder cards are made up of little square designs layered with cardstock to create flowers, leaves, insects, and more. Each square is made from three or four layers, and you can mix and match them however you like.
The download comes with 16 different block designs, all with a spring theme.
The completed cards are not included in the download. Instead, this tutorial shows how to design your own cards, starting with a simple A2 card using just one of these blocks and progressing to detailed cards that use up most of them!
This Project was part of the Spring Craft Countdown 2026
Block Builder cards materials supply list
Here is a list of the materials that I used to make this project.
Please note that some of the links included in this article are affiliate links, which means that if you click through and make a purchase I may receive a commission (at no additional cost to you). You can read my full disclosure at the bottom of the page.
- Cricut machine
- Light blue Cricut cutting mat
- Coloured Card (any thickness)
- Patterned paper / scrapbook paper
- Glue (I like Bearly Art Glue and Collall)
- 3D foam pads (optional)
- Cricut scoring wheel or stylus (optional)
This project is suitable for the following types of Cricut machines: Explore series, Maker series, Joy Xtra, Joy and Joy 2. You may need to cut your base cards by hand if you’re using the Joy or Joy 2 due to the small size of those machines.
Foundation learning
If you're new to making papercrafts with your cutting machine, check out these links to get you started.
They include videos on topics such as: which file to use with your type of cutting machine, how to load the files into your cutting machine's software, how to cut cardstock with your type of cutting machine, how to recolor and modify/customize the cut files and tips for displaying your projects.
- Help guides for Cricut machines
- Help guides for Silhouette machines
- Help guides for ScanNCut machines
The following tutorials are Cricut-specific, but many of the ideas will work similarly with a Silhouette or ScanNCut machine and any cut files that are shared in them are compatible with all types of cutting machine.
- How to score with a Cricut (even without scoring tools)
- Print then cut tutorial
- Design Space tools (Combine, Attach, Slice, Weld, Flatten, etc.)
- Pattern fill tutorial (for making backgrounds & cutting images to a specific shape/size)
- Free envelope SVGs that can be sized to fit any card
- Presentation boxes for handmade cards
- How to write inside cards with Cricut pens
- How to cut layered designs at a small size
- Design Space tips & tricks
- Cricut pens tutorial
- How to mount multiple designs in the same frame with magic guides
Cricut card making video tutorial
Watch the video below to see how to make this project. Keep scrolling for a written tutorial.
SVG download & setup
Get the files using the box below.
Purchase the File(s)
This cut file is available as part of the Instant Access Bundle.
Or, purchase this design individually here
Before you upload the SVGs to Design Space, you need to unzip the download folder that they come in.
- How to unzip a folder on Windows computer
- How to unzip a folder on a Mac
- How to unzip a folder on an iPad/iPhone
- How to unzip a folder on an Android device
After unzipping, upload the SVG file(s) into your cutting machine software.
Not sure how to use cut files with your type of machine? The following links lead to videos on how to open cut files in:
- Cricut Design Space
- Silhouette Studio
- CanvasWorkspace (for ScanNCut machines)
The download folder also contains printable PDF versions of the templates for hand cutting.
If you are using Cricut Design Space, start a new project and then click the “Upload” button on the left of the screen.
You can then either click “Browse” to find the file on your computer, or drag-and-drop it.
Select the file in the “01 Cricut Version” subfolder called svg-01-spring-block-builder-craftwithsarah.svg
Press “Upload” on the next screen.
After uploading, the design should be automatically inserted onto your Canvas.
To hide the left sidebar (to give you more space for designing!), click the arrow that’s about half way down the page.
If the design doesn’t get inserted onto your Canvas, it will show under “Uploads” in your “Recently Uploaded Images”. Click on it and then press “Add to Canvas” to put it onto your Project.
Need help uploading SVGs? Get step-by-step instructions here in our detailed help guides for Cricut, Silhouette and ScanNCut.
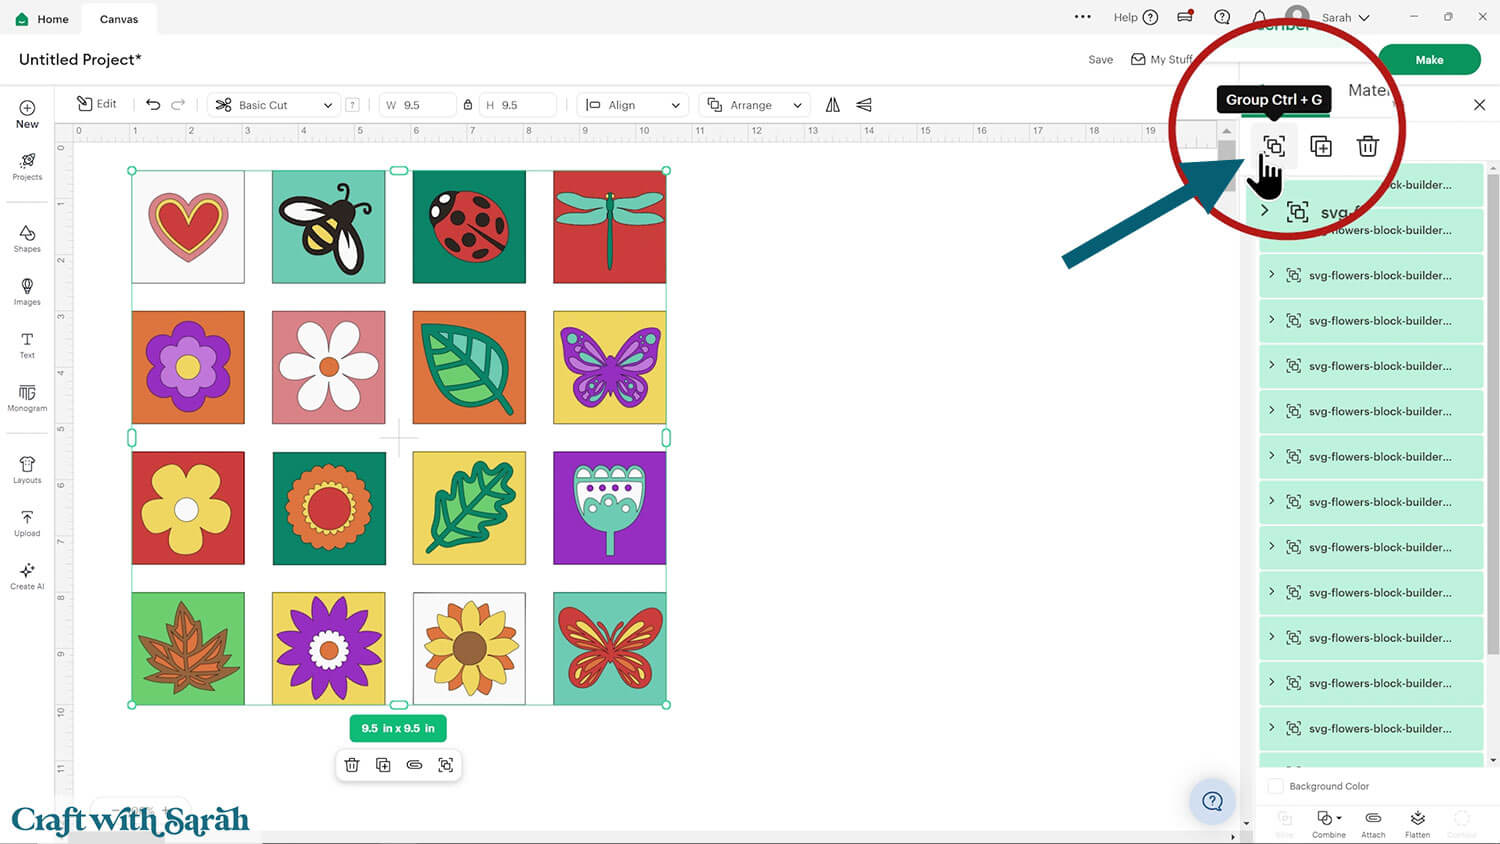
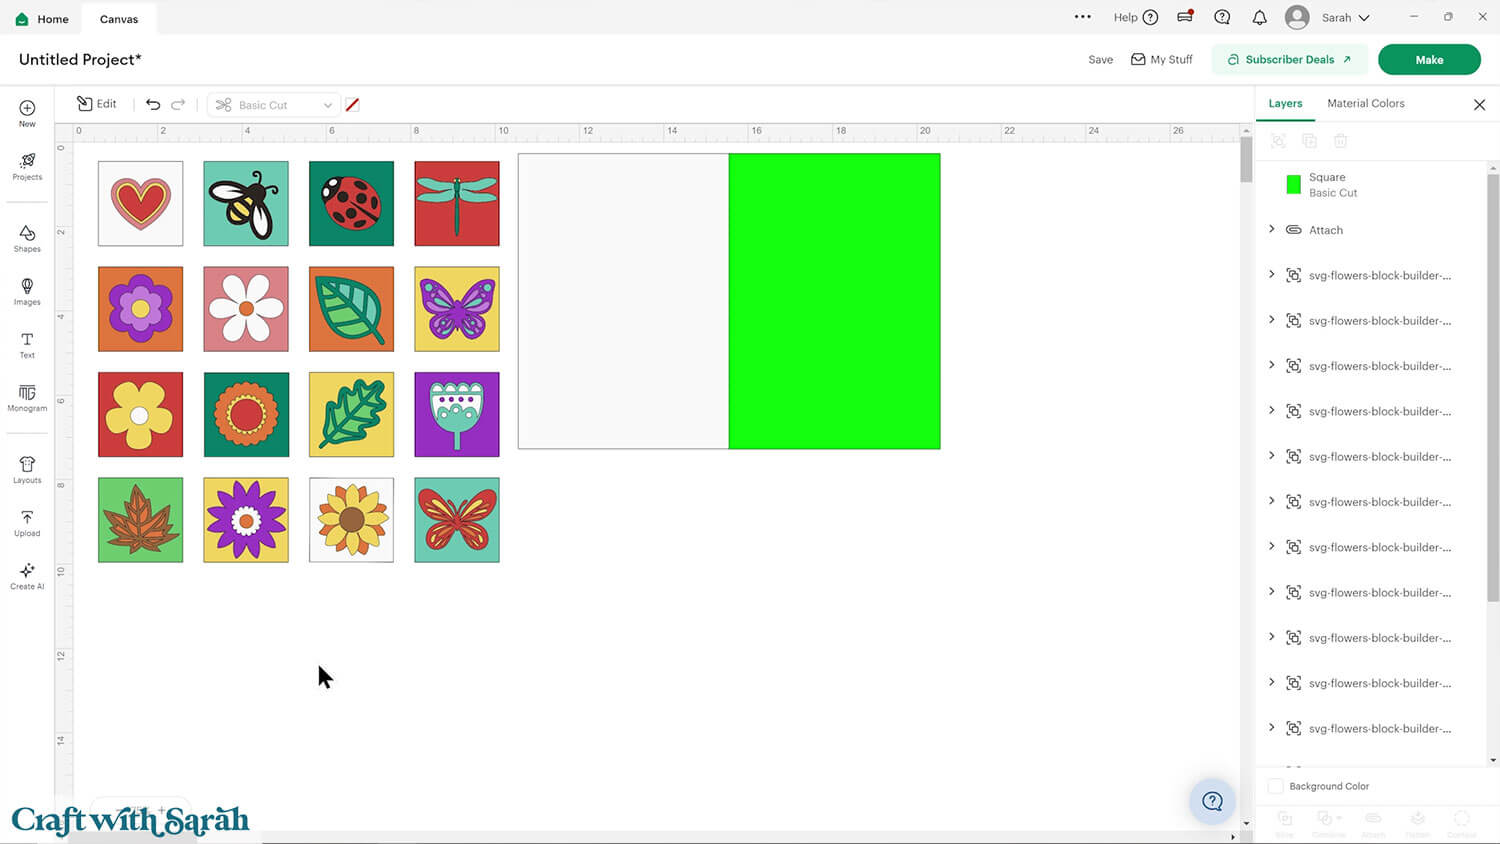
The blocks all load in contained within one Group in the layers panel.
To make them easier to work with, separate them by pressing the “Ungroup” button.
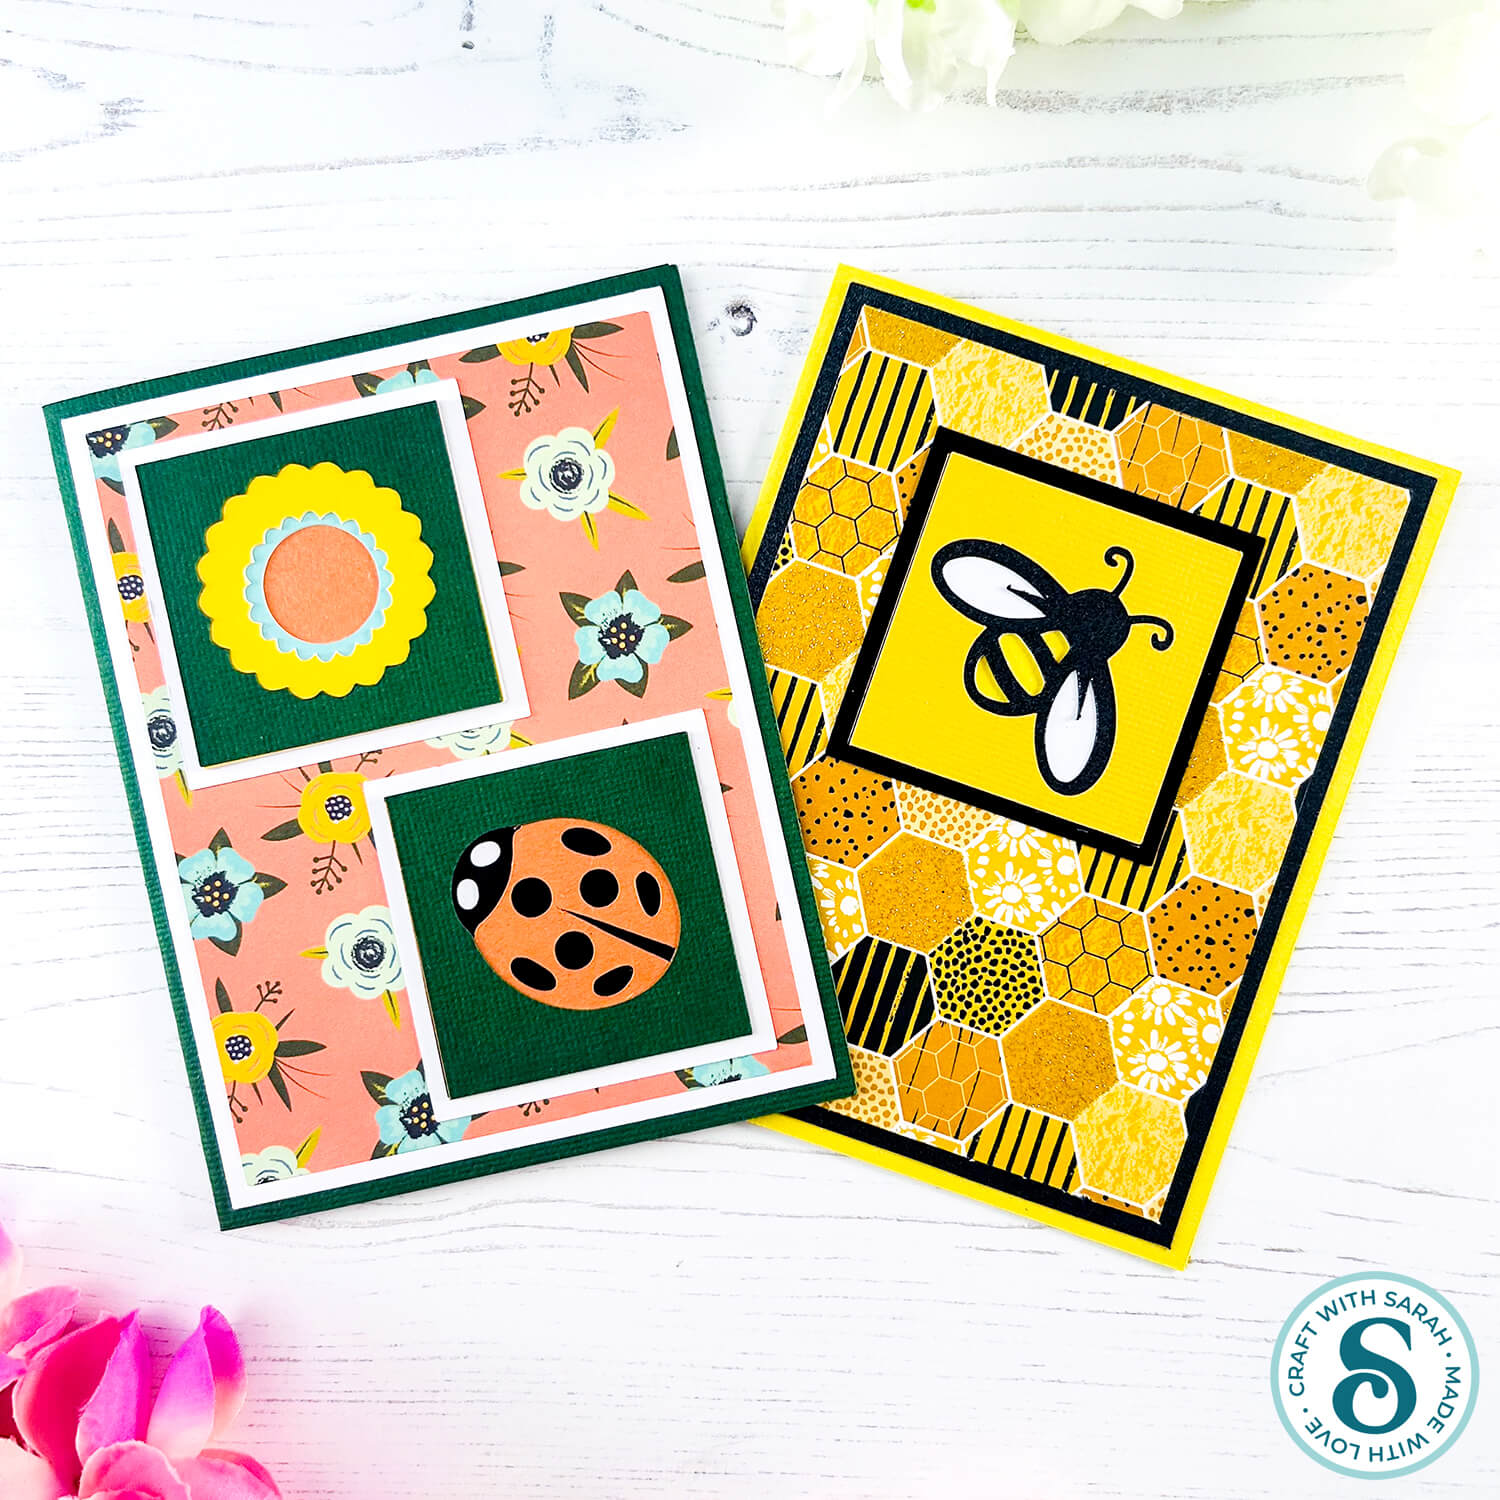
CARD DESIGN 1: Simple A2 cards
This section shows how to make simple A2 sized cards (4.25 x 5.5 inches) using one or two of the block designs.
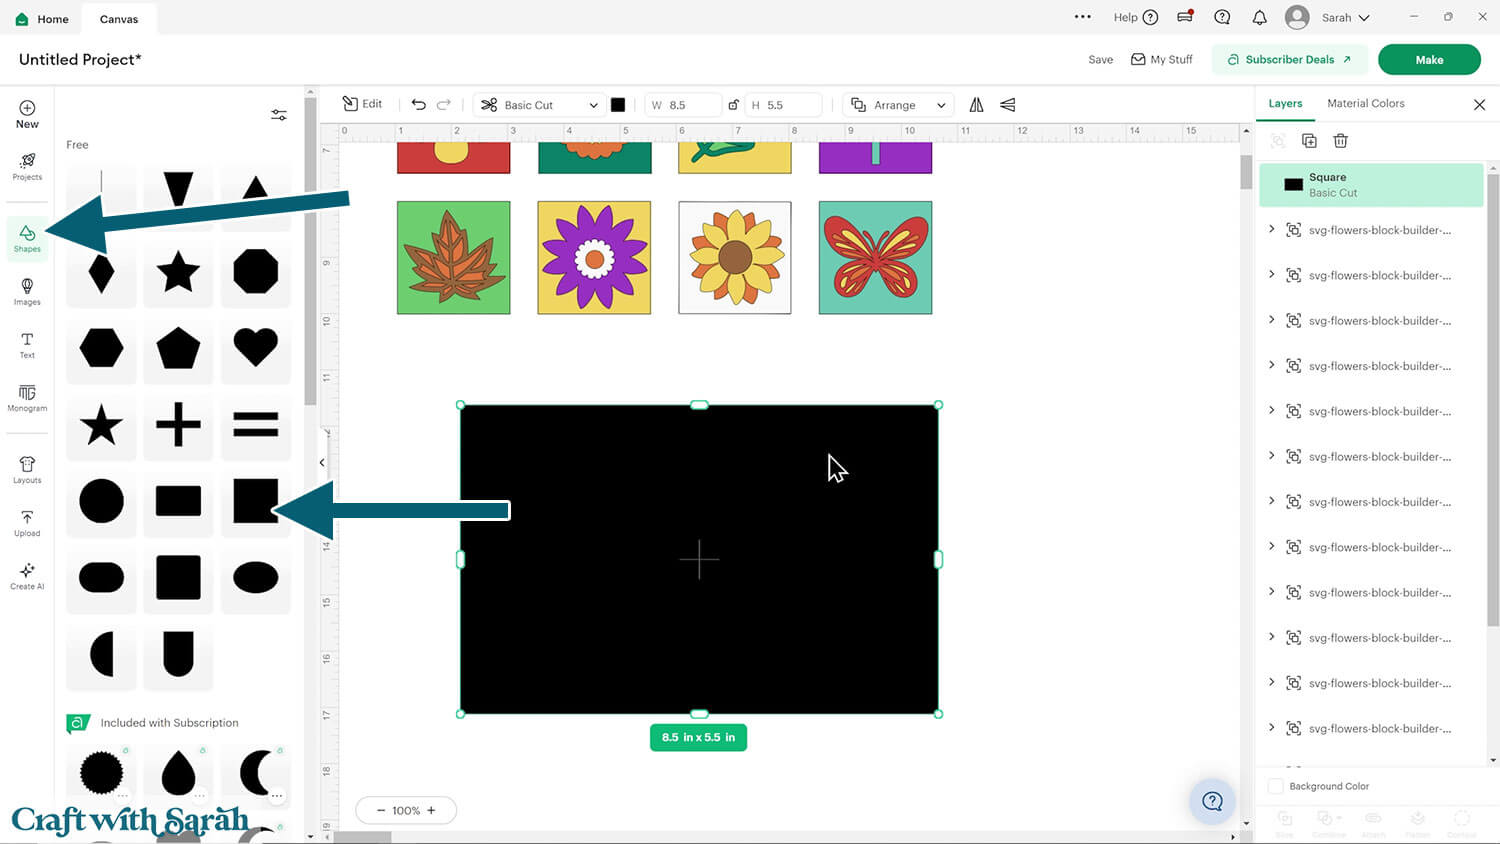
Step 1) Create the card base
Start by making the card base.
Go to Shapes and choose a square.
Unlock the padlock icon between the width and height boxes by clicking it.
Set the width to 8.5 inches and the height to 5.5 inches for a standard A2 card.
When this rectangle is folded in half, the finished card will be 4.25 inches wide and 5.5 inches tall.
Change the colour (or you can do this at the end once you know which blocks you will be using).
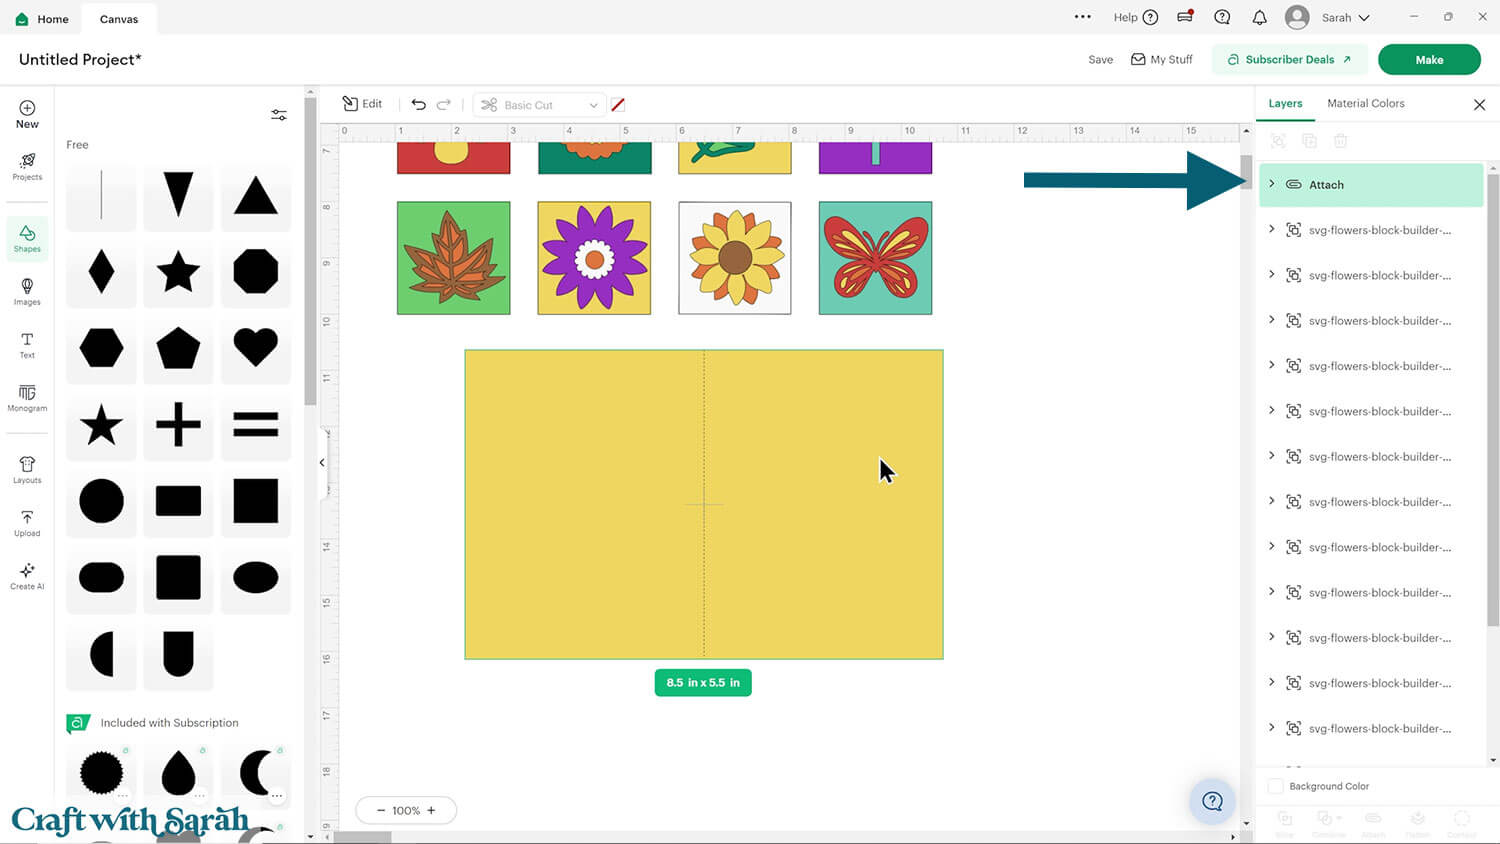
If you have a scoring stylus or wheel, add a vertical score line to help with folding.
To do that, click Shapes on the left, then select a score line.
Change its height to 5.5 inches (the same height as your card).
Use the Align tool to center the score line on the card base by clicking Align > Center.
Then with the card and score line selected, press “Attach”. This tells the Cricut to do the scoring in that exact position on the card.
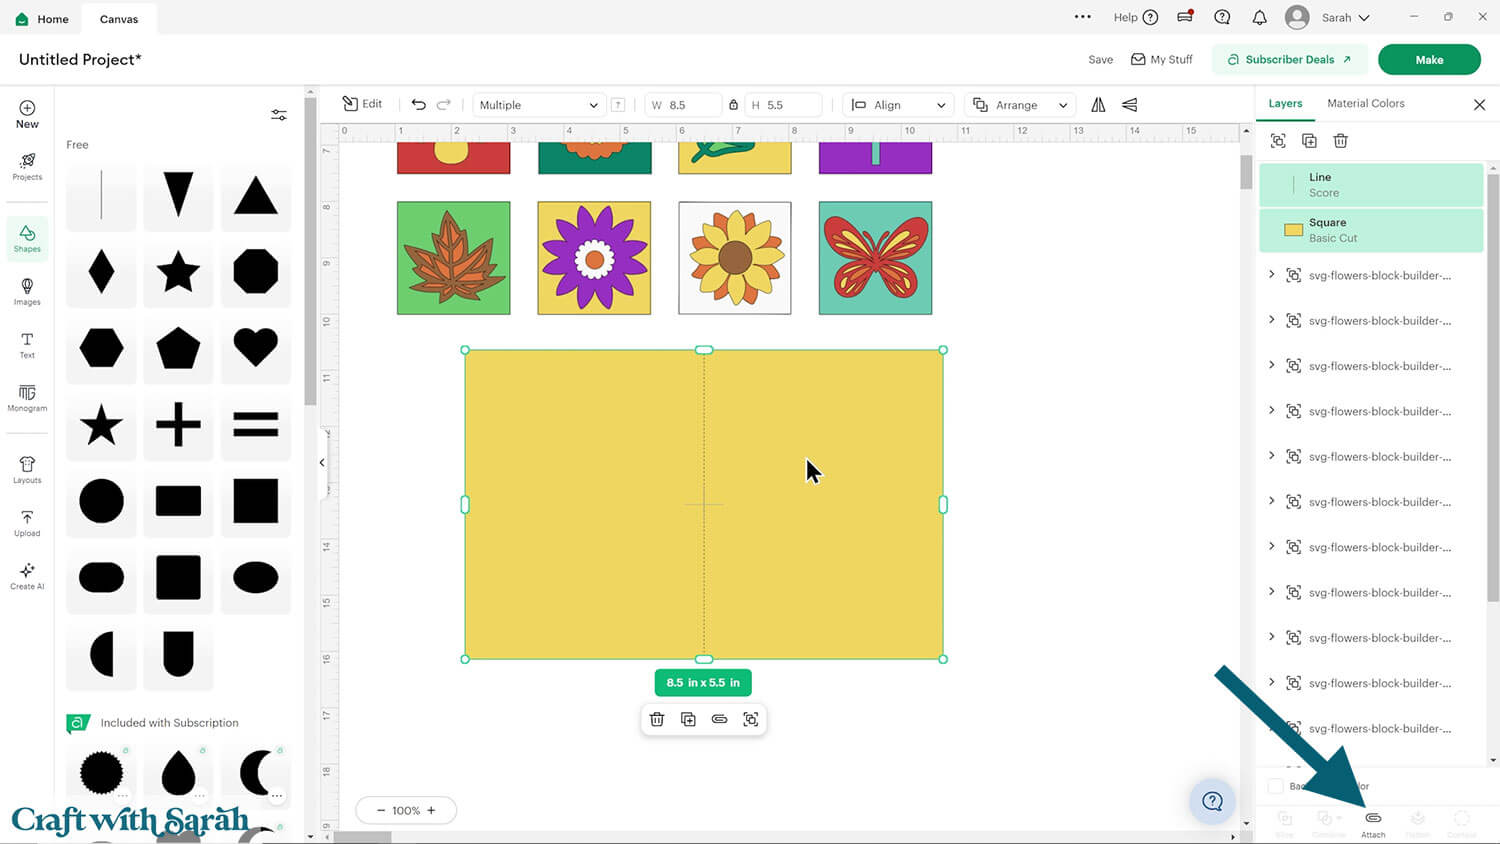
After “Attaching”, it will show in the layers panel with a paperclip icon.
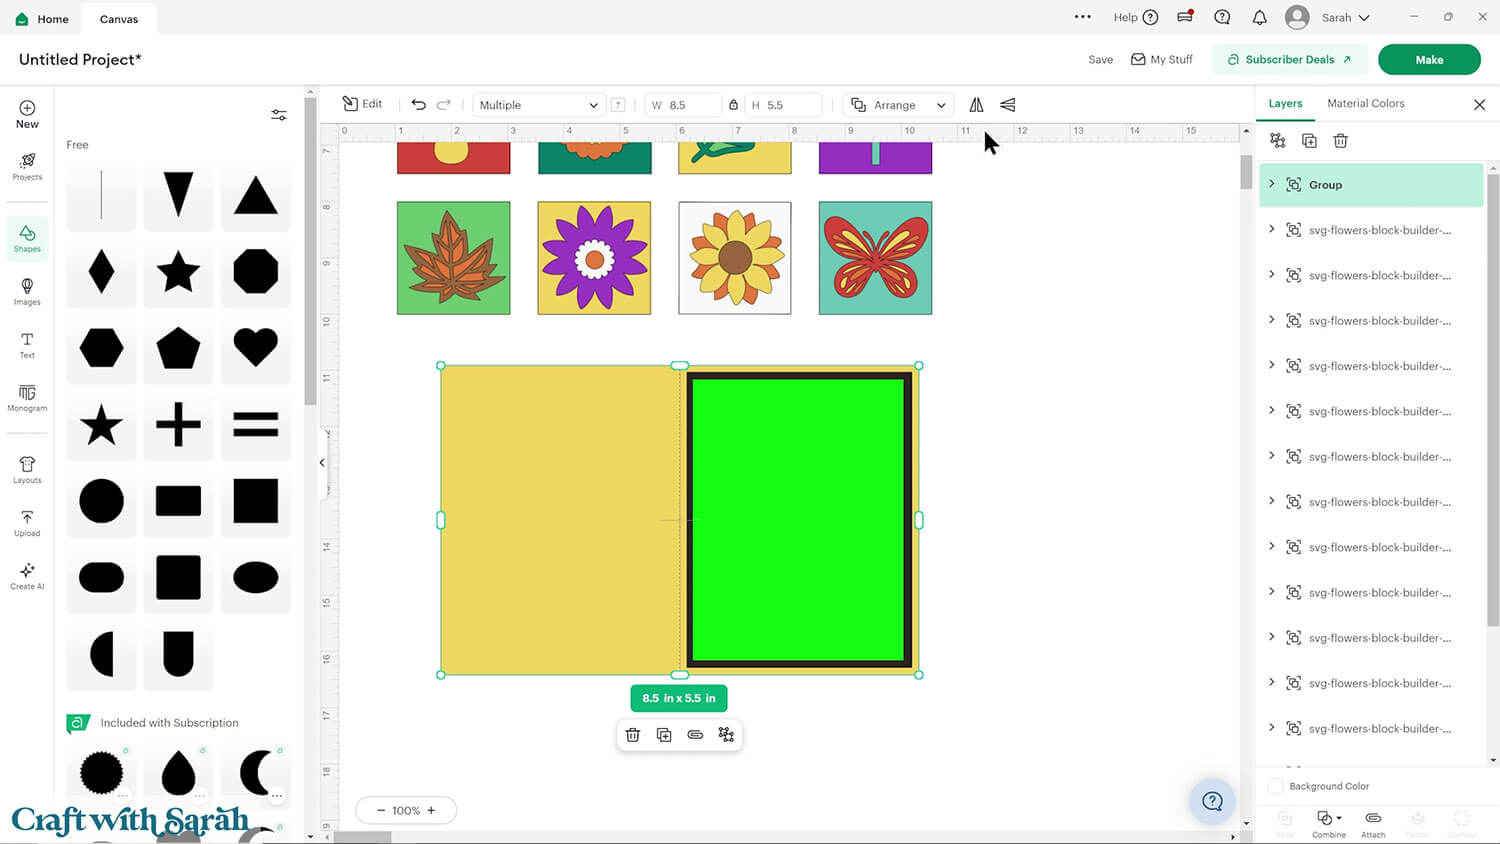
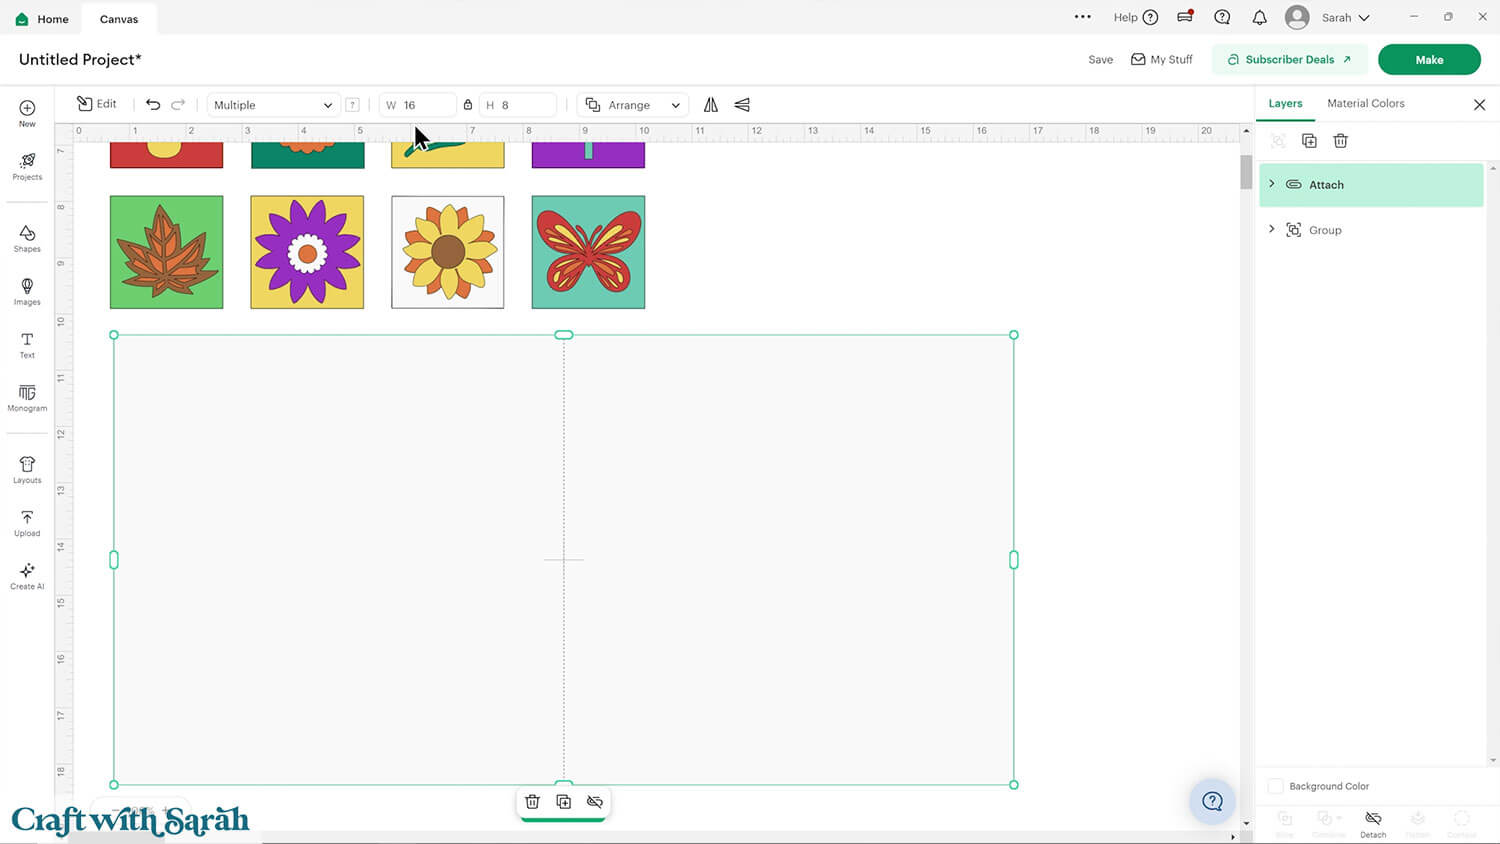
Step 3) Create some layers
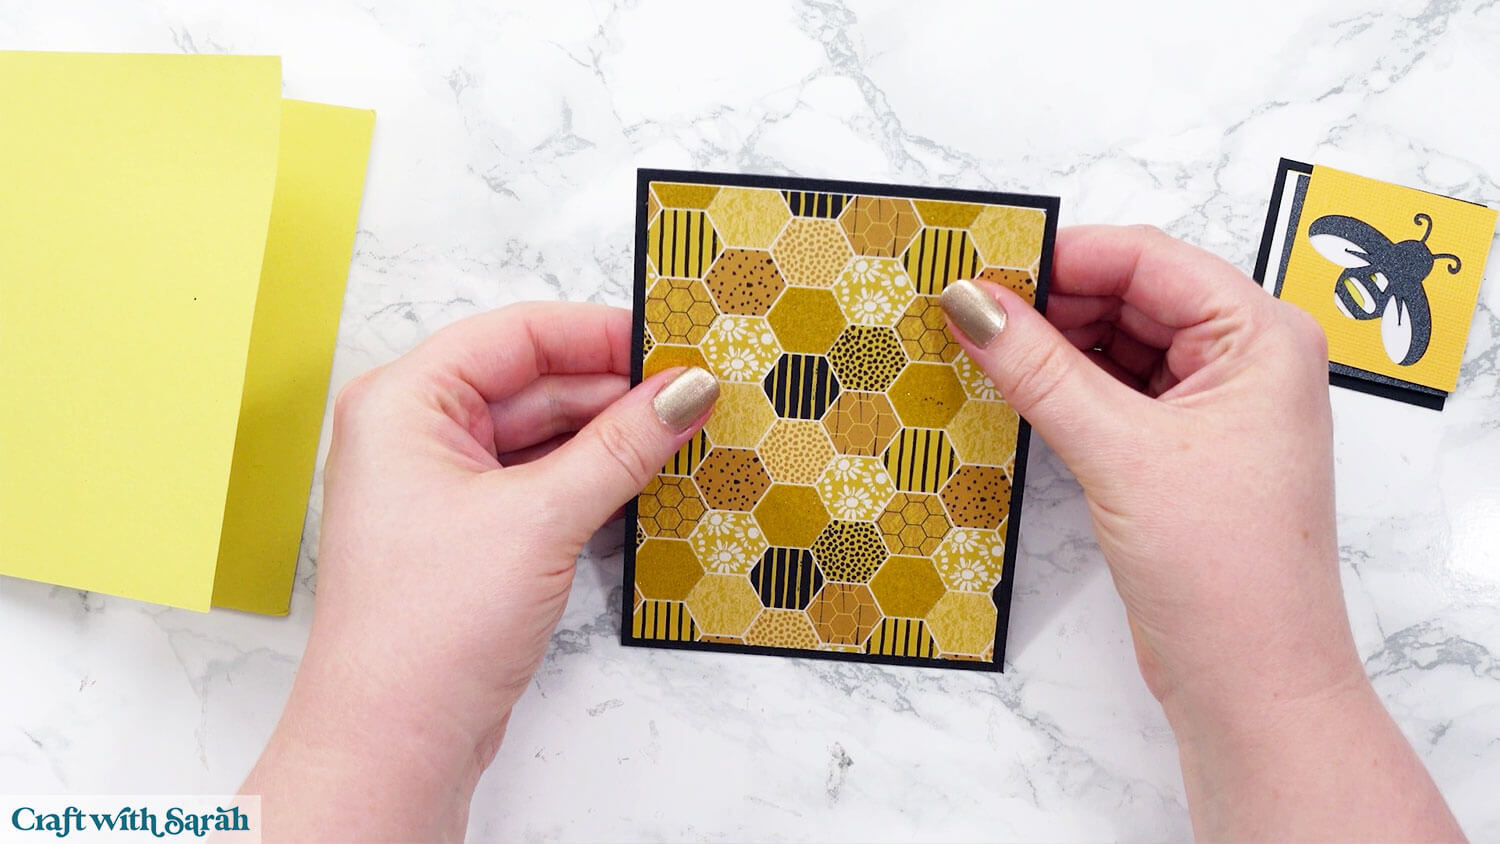
Insert another square and make it 4 inches wide and 5.25 inches tall, which will be slightly smaller than the front of your card.
Insert another square and make it 3.75 inches wide and 5 inches tall.
Place both of these new rectangles on top of one another on the front side of the card.
I made my second rectangle a bright green so that I remember to cut it from patterned paper during the cutting process.
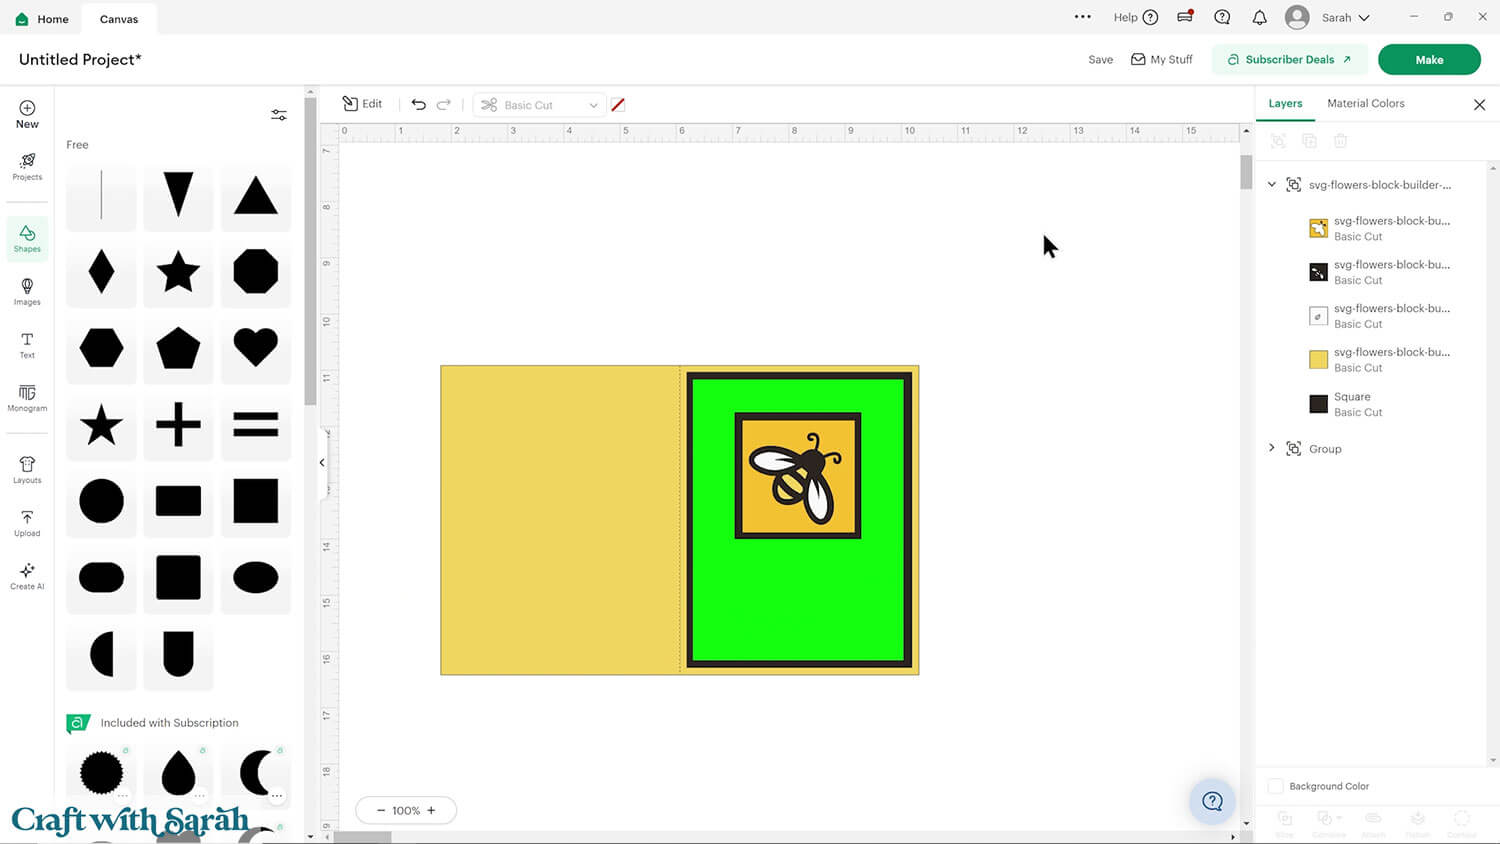
Step 4) Add the blocks
Choose one of the blocks and place it onto the card. You might want to resize it, or play around with the colours.
Then select another square and make it a bit bigger than the block so that it creates a nice border to draw the eye in. Mine was 2.25 x 2.25 inches.
If your block is appearing below the card layers then click the block and press Arrange > Bring to Front to move it to the top of the layers panel.
You could add a second block if you want to have two on the front of your card.
When you’re happy with your block selection, delete all the others that you have not used.
Step 5) Cut and assemble the card
Now your card is ready to cut! Save your project, then press “Make” and get everything cut out.
TIP: New to using cardstock with your cutting machine? Check out these machine help guides for Cricut, Silhouette and ScanNCut that go through every step of the process, including tips for getting the best quality cuts from your machine.
Once you have all the different pieces cut out, fold along the score line on your base card.
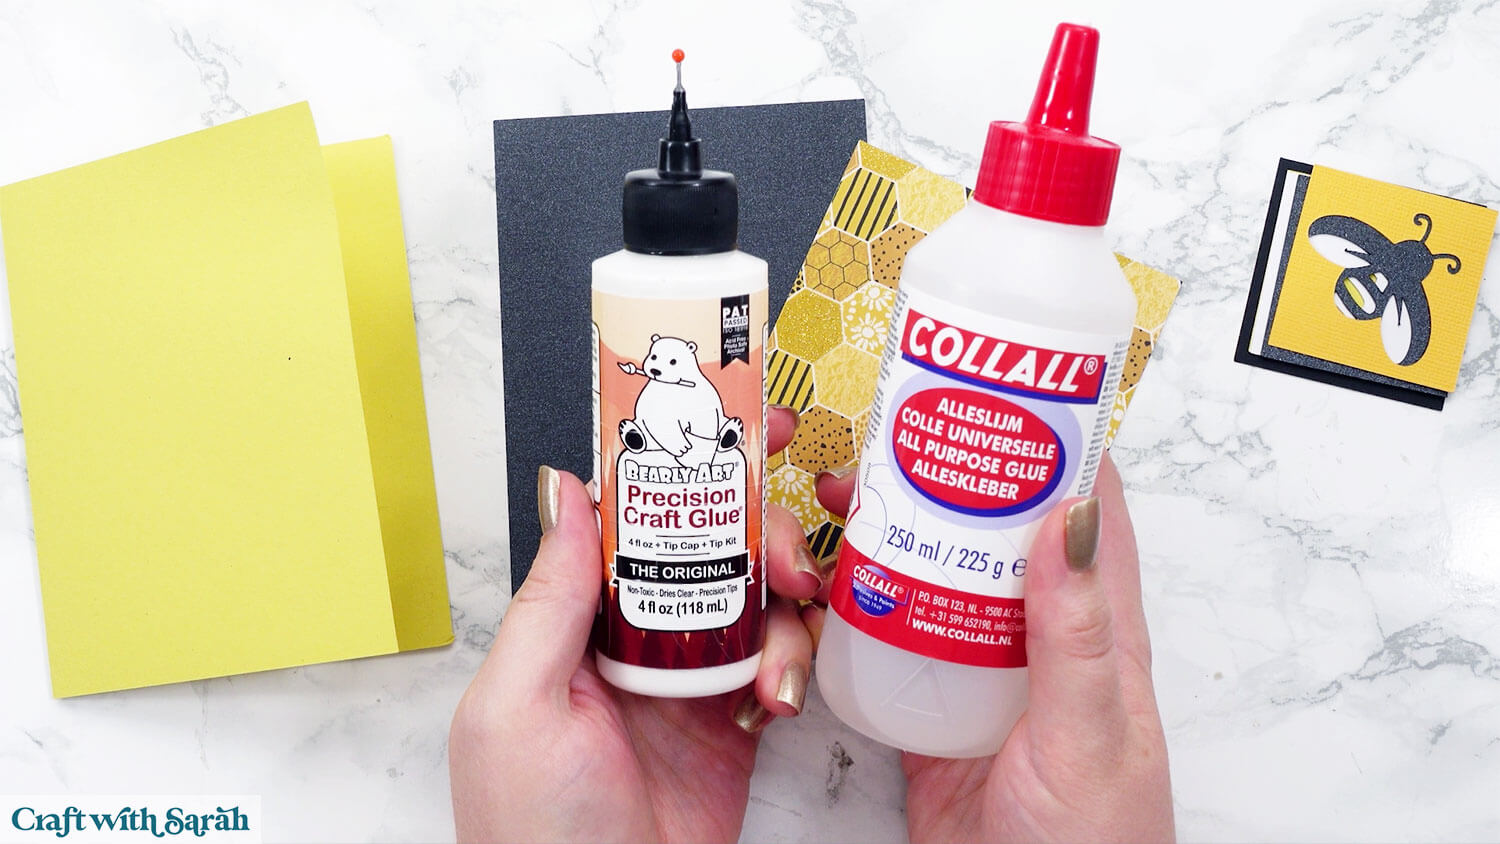
I used Bearly Art Glue to stick the project together.
It’s SO good because it doesn’t “warp” or bend the cardstock like some glues do. You can use as much of it as you want and the card stays perfect – and it dries perfectly clear too!
Collall All-Purpose Glue is another great one to use for cardstock.
Glue the patterned paper rectangle on top of the backer.
Glue to the front of the card.
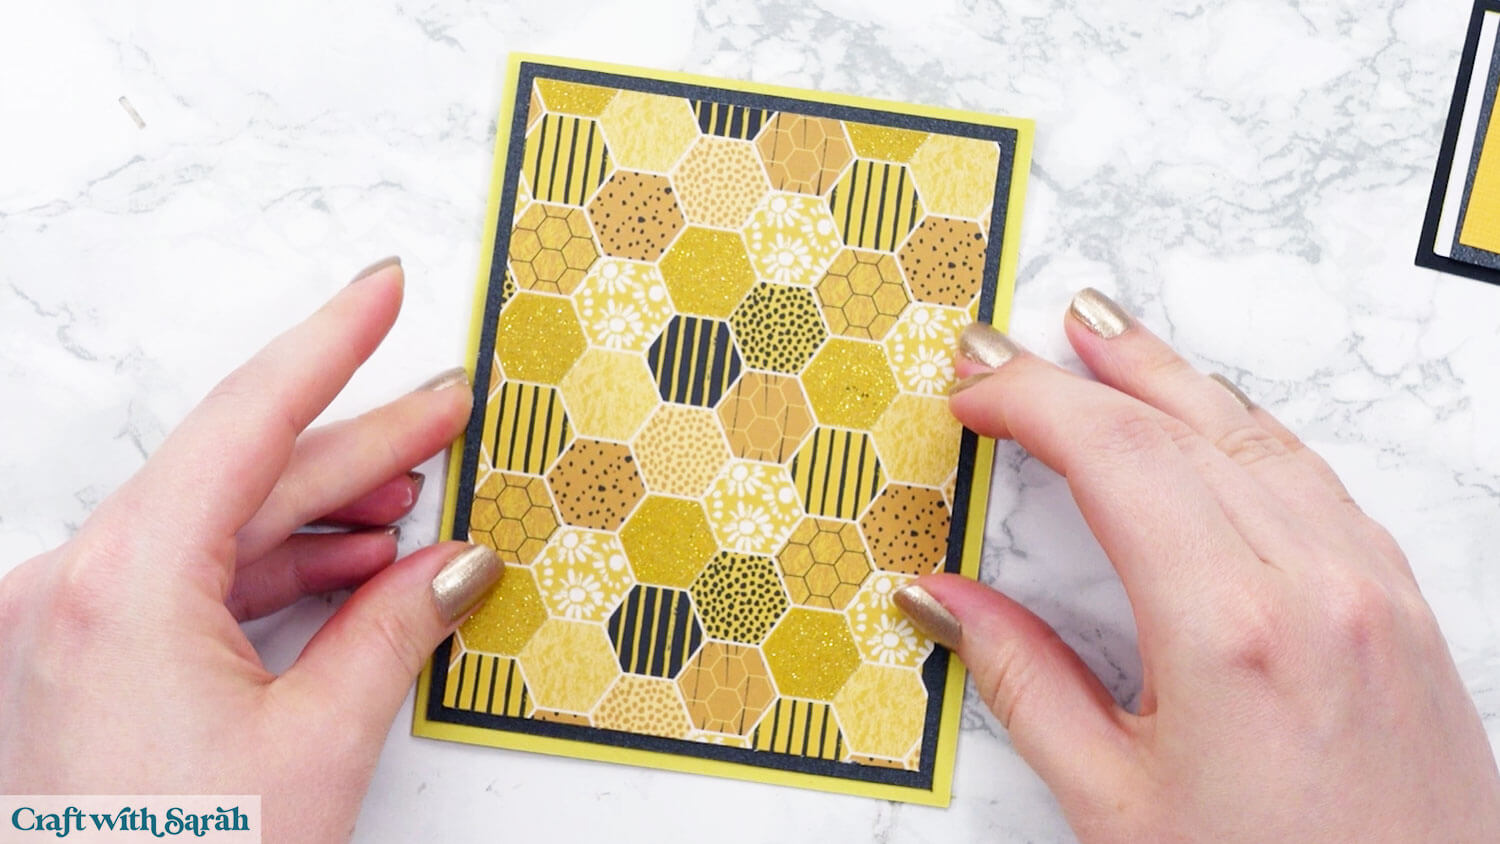
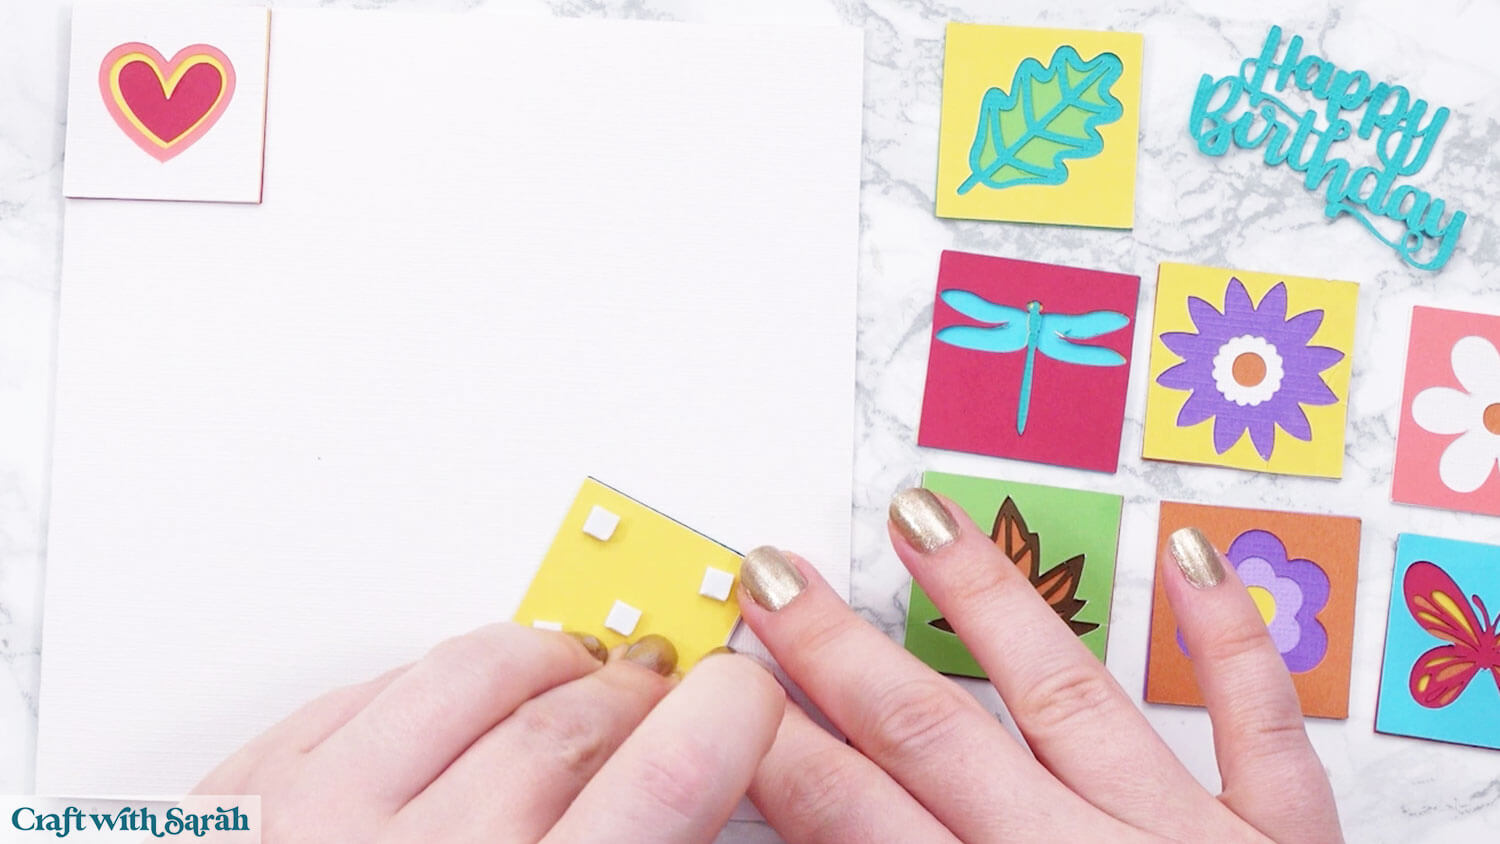
Then glue your block together and stick it to the backing square.
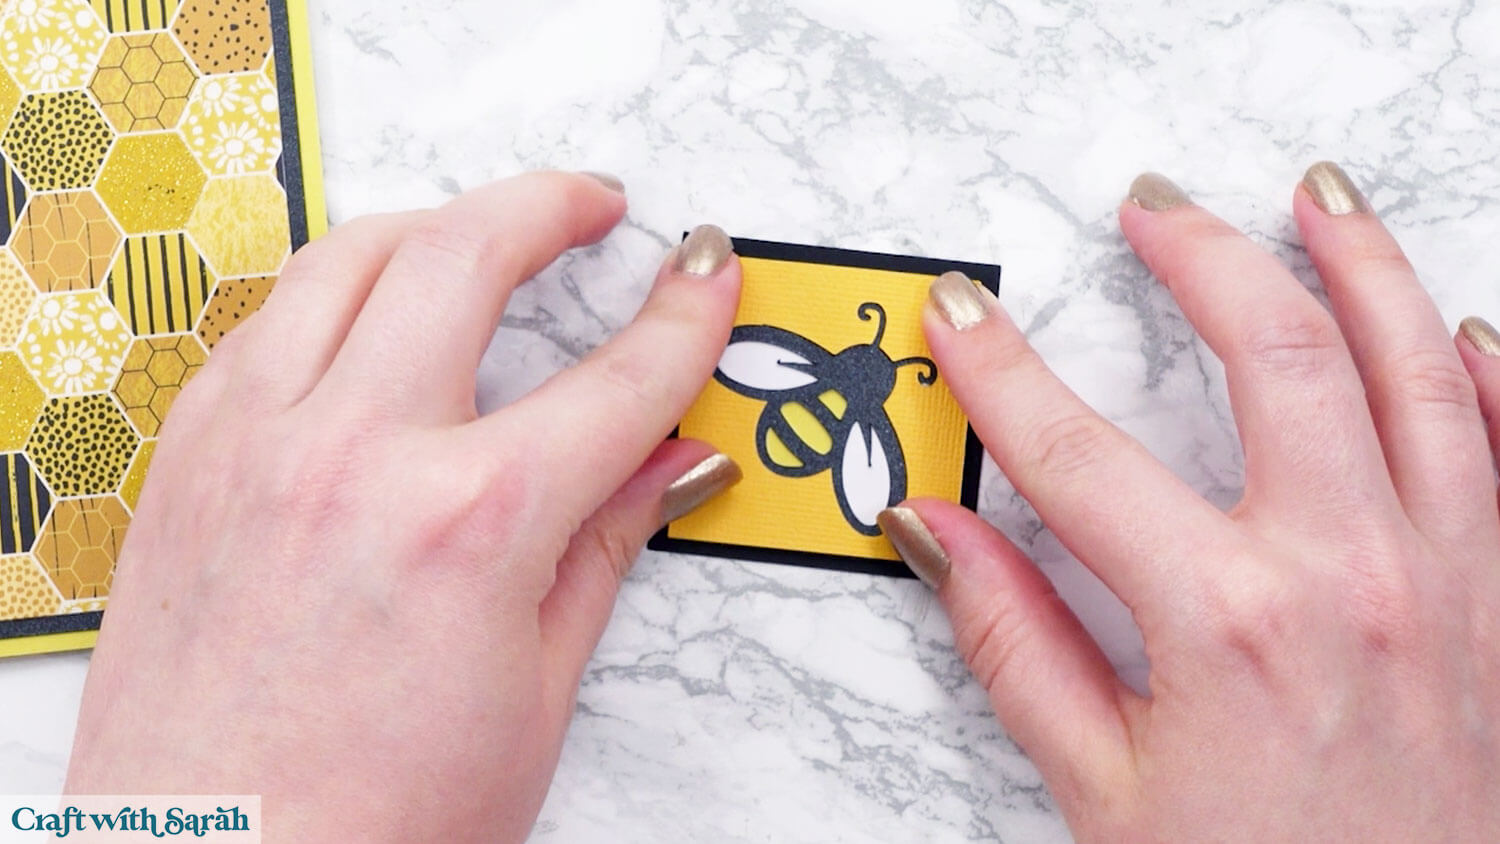
Use glue or foam squares to attach the block (or blocks if you have multiple) to your card.
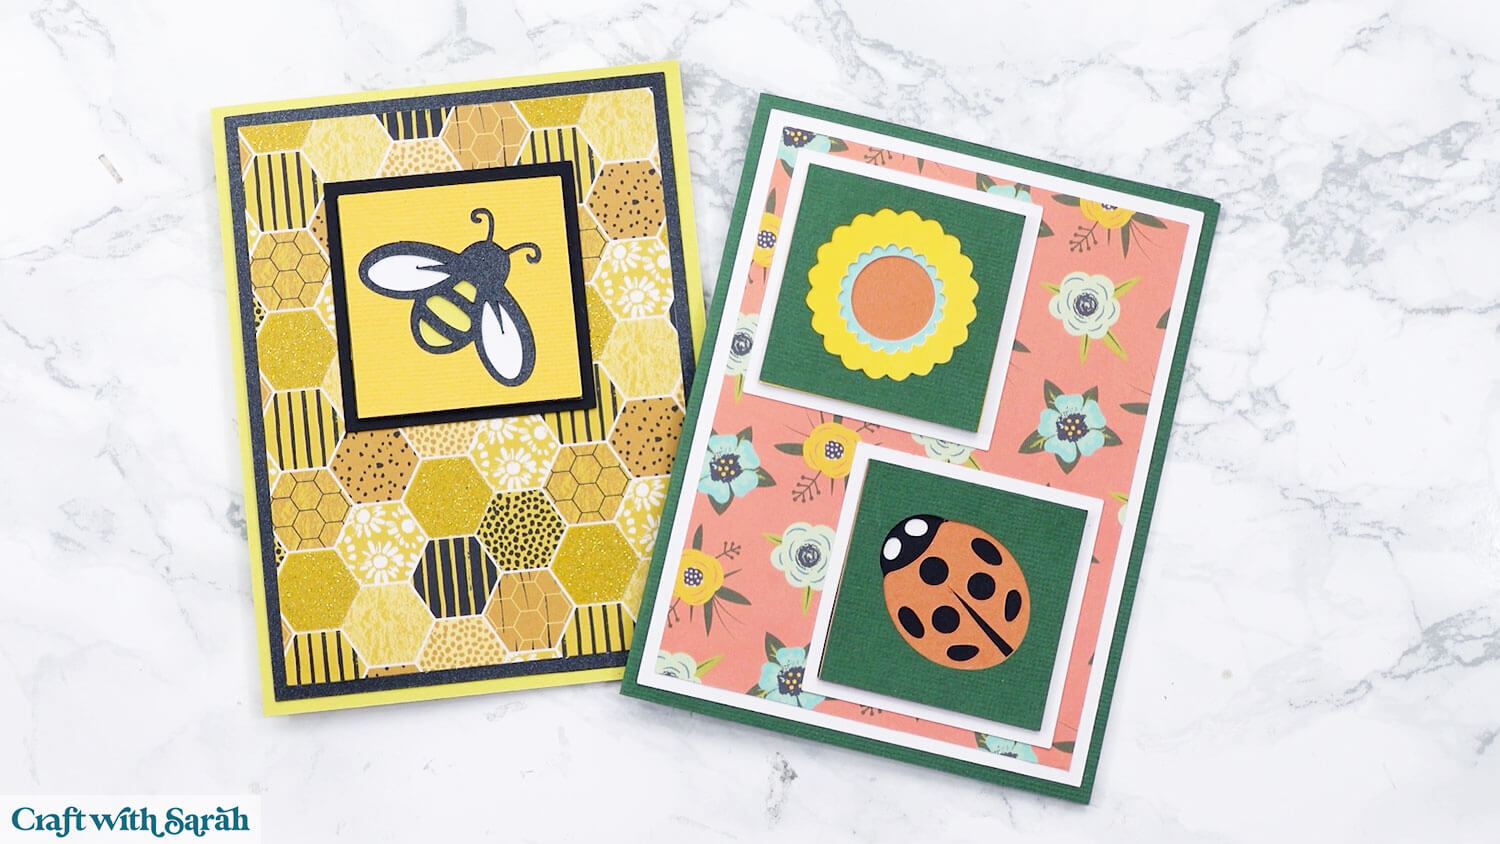
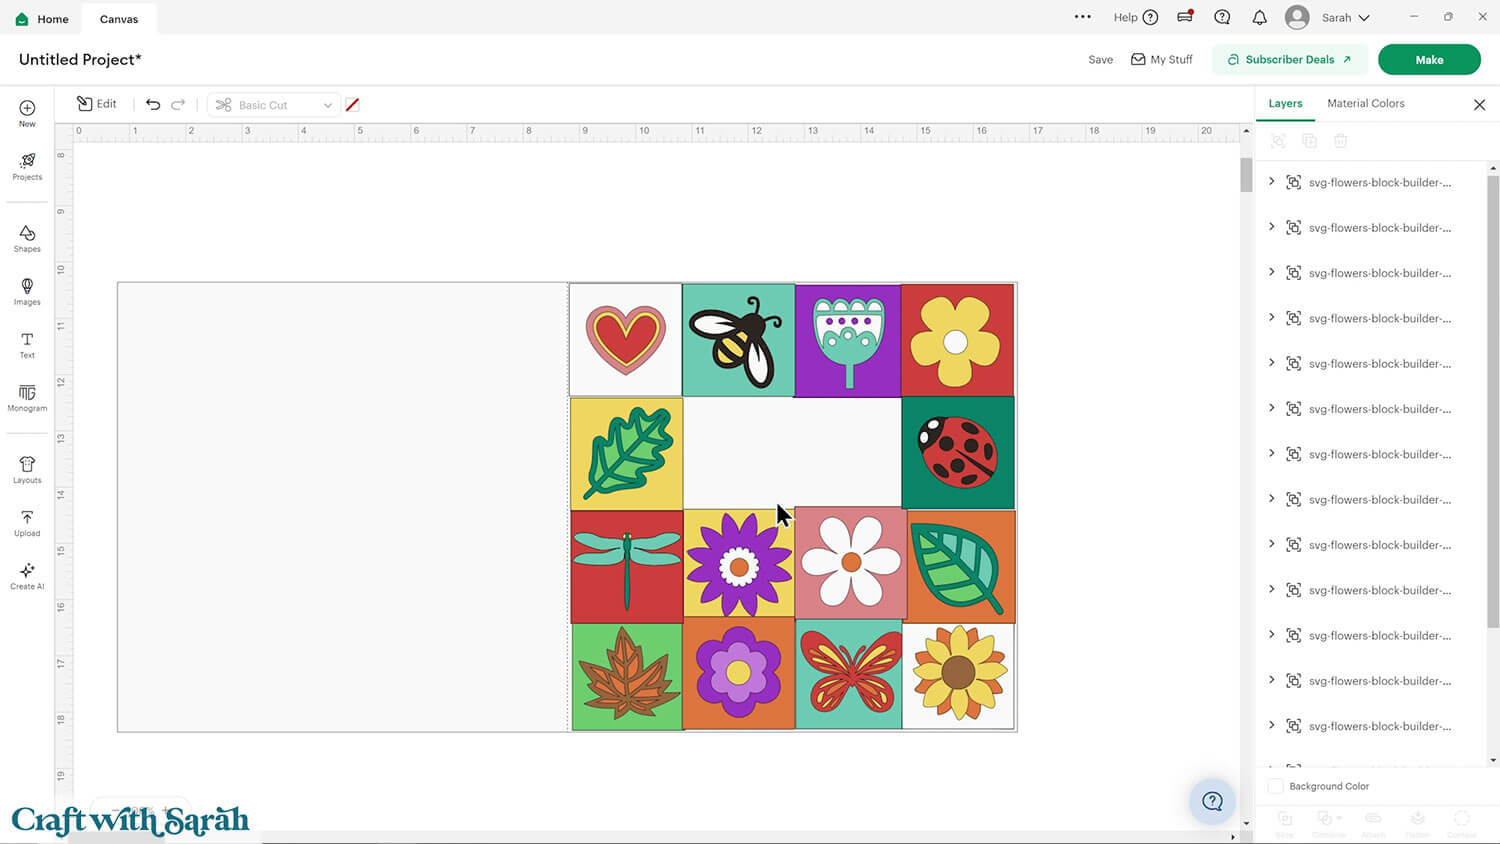
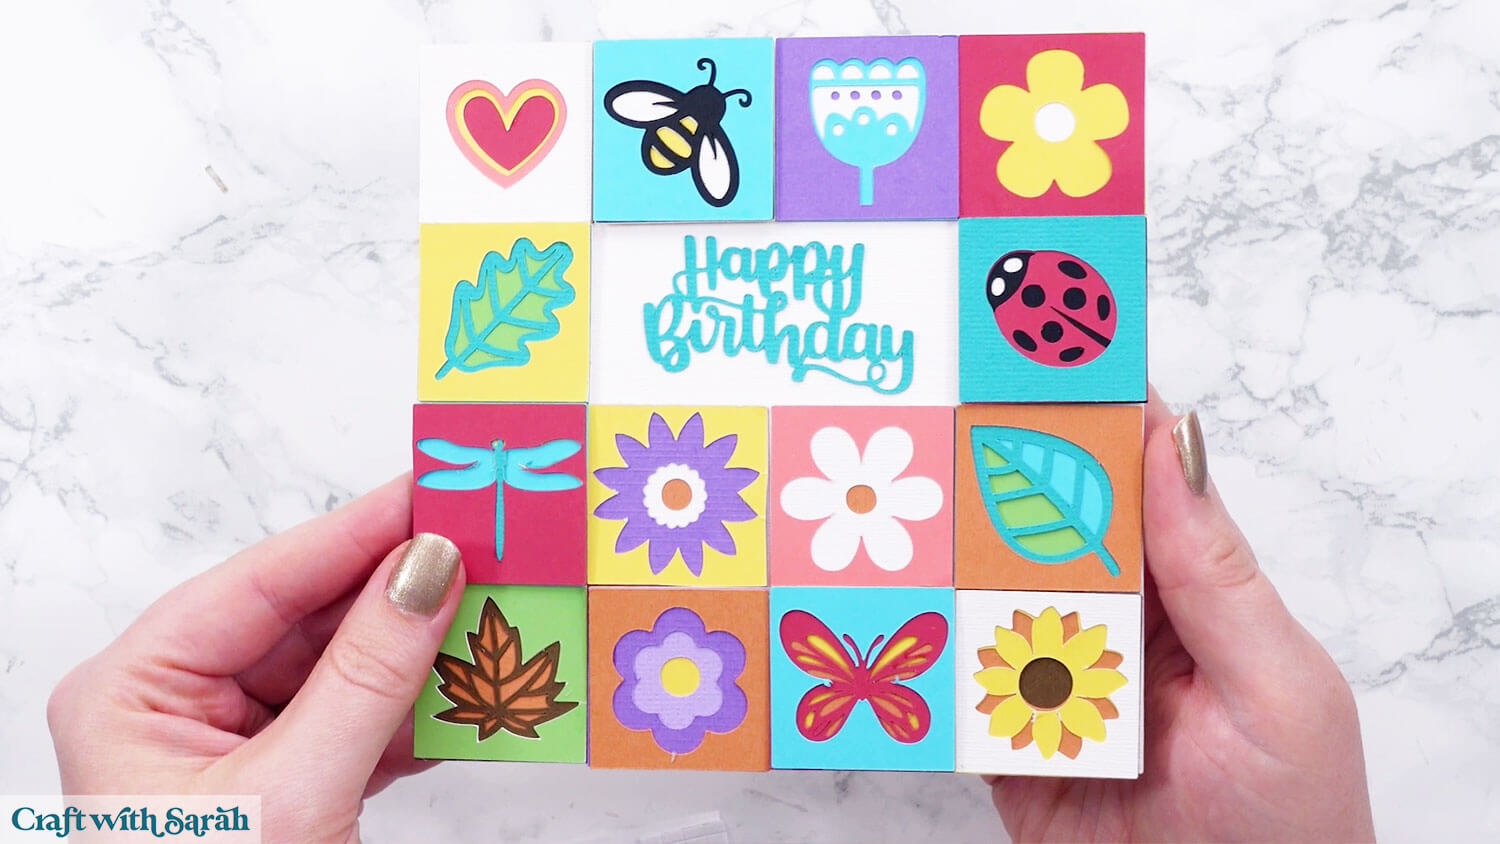
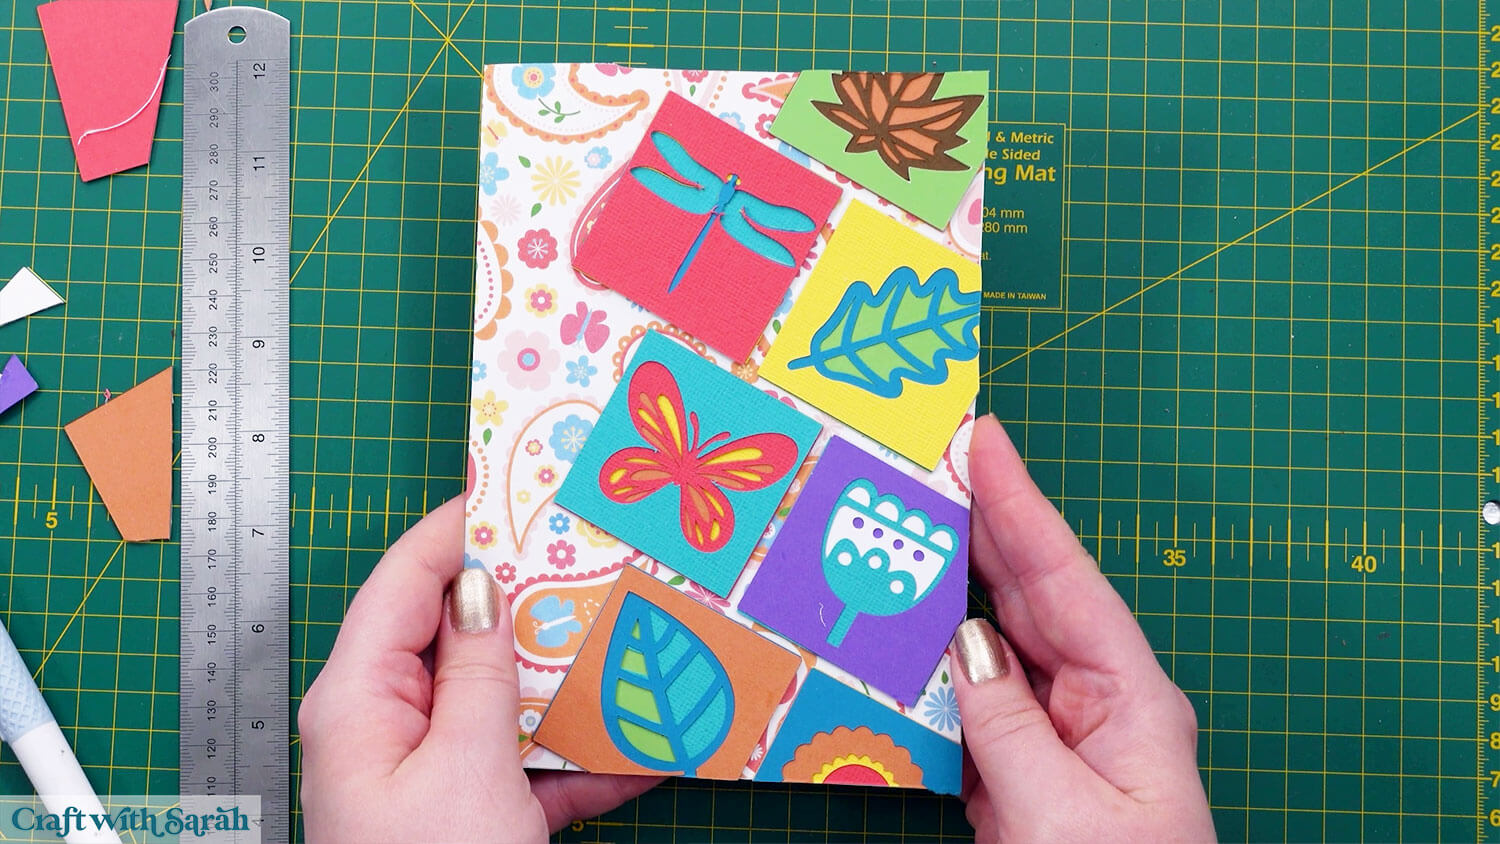
CARD DESIGN 2: Square cards with multiple blocks
For this next card design, we’re going a bit more complex with LOTS of different blocks added to the same card.
Step 1) Create the card base
Start by making the card base in the same way as we did for the first card.
BUT – this time, we are making a square card, so the measurements are different.
The final card will be 5.75 inches square, which will fit nicely into a 6×6 envelope.
However, to make it easier to work out the maths of sizing the blocks, we’ll design it at 8 inches wide (so the base is 16 inches wide and 8 inches tall) – that way it’s a “nicer” number to work with our 2-inch blocks.
Step 3) Create the card design
Drag the blocks onto the card front in whichever order you like.
You may like to leave a gap for a sentiment like I have done here.
If you have four blocks in a row then they will fit perfectly onto the 8-inch base without resizing.
TIP: Make sure none of your blocks go outside the edge of the base card, otherwise it will make resizing it back to 5.75 inches more tricky.
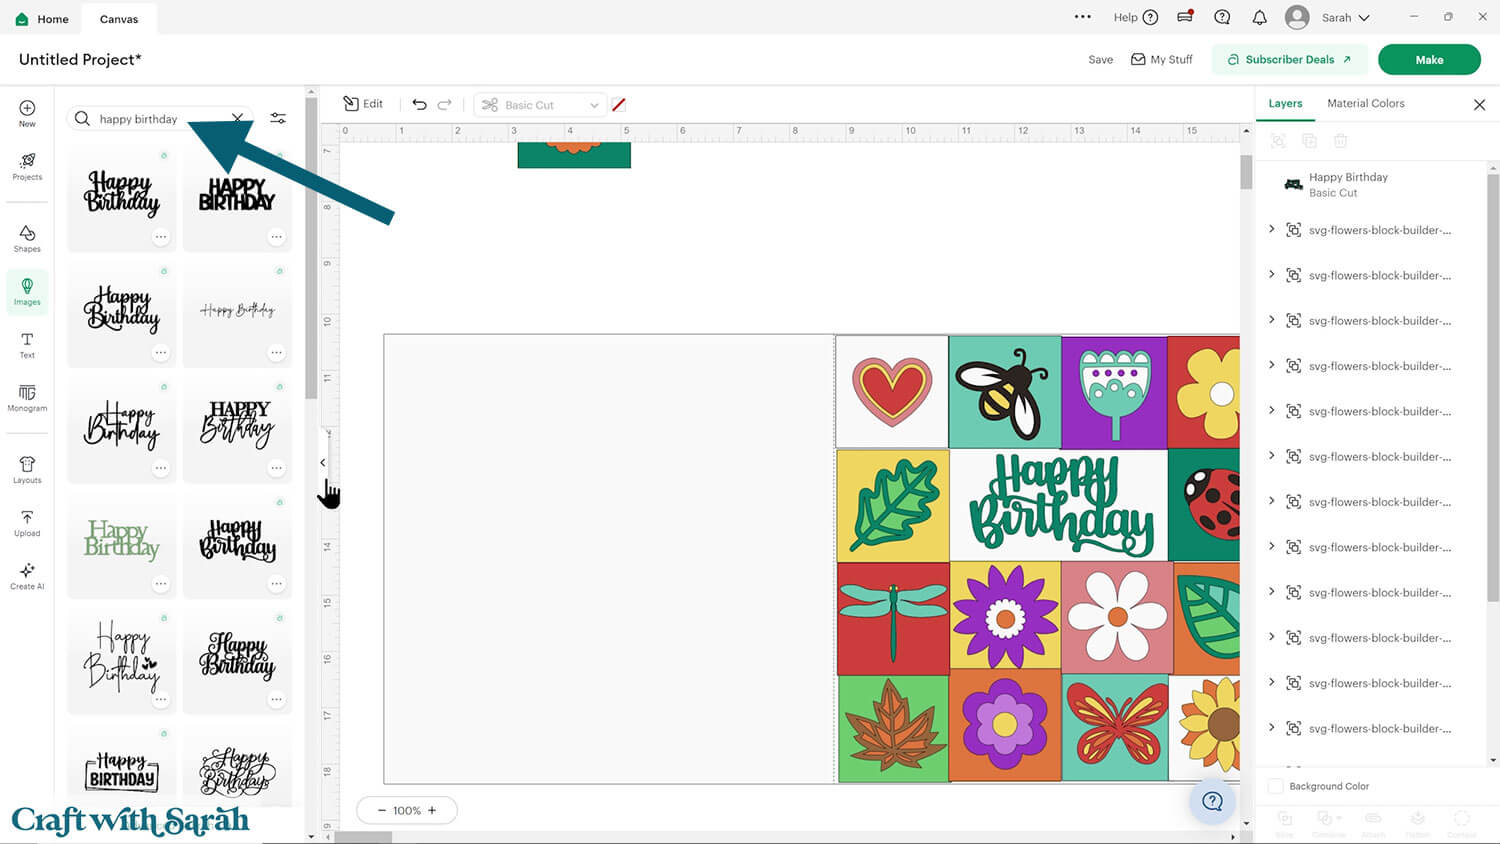
Add your sentiment into the gap. I used a “Happy Birthday” image from Cricut Access.
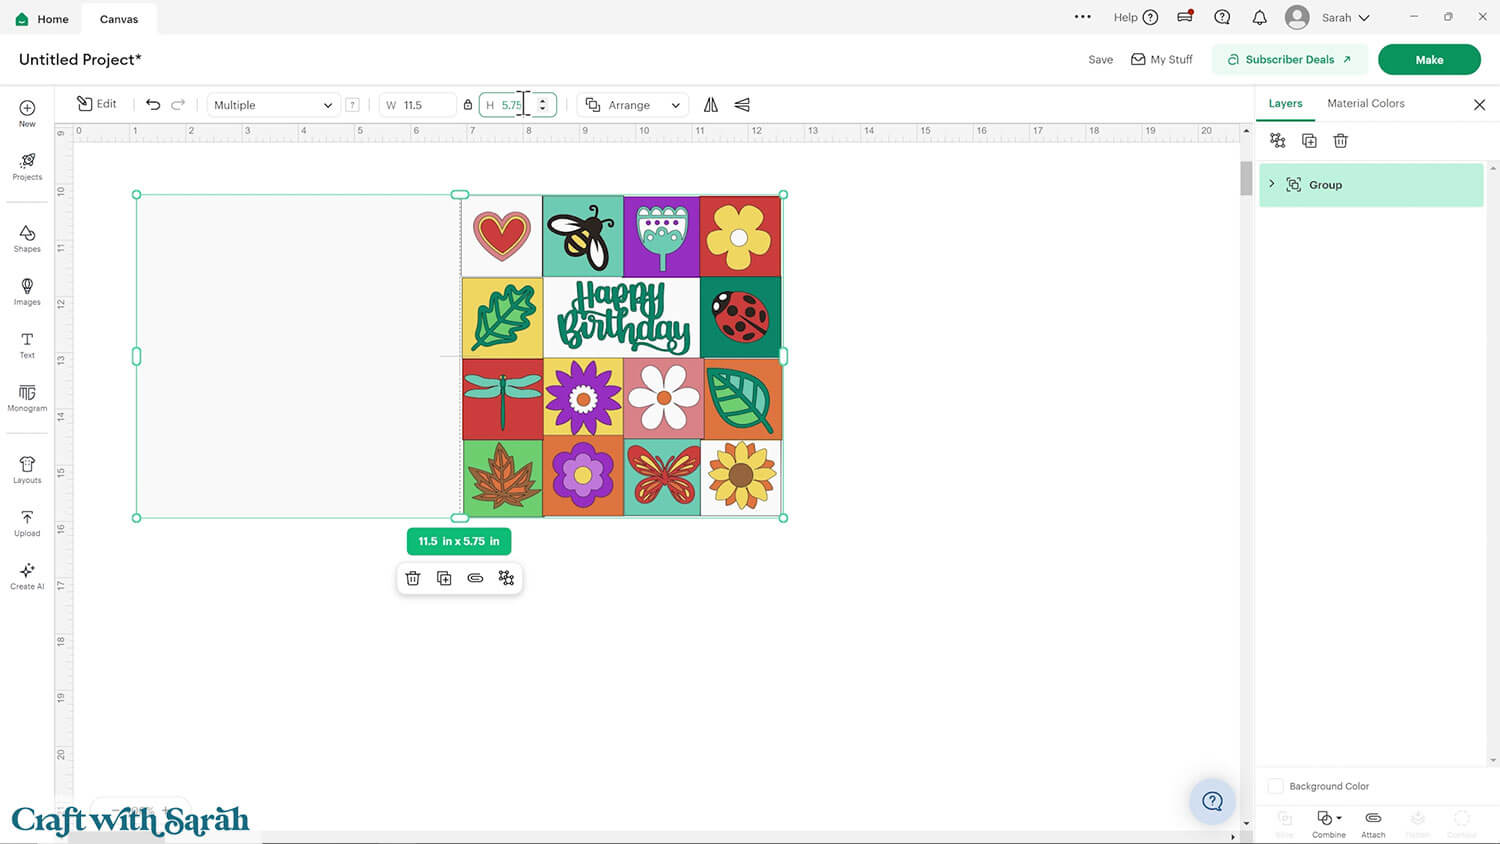
Select everything by pressing Ctrl and A on a Windows Computer or Command and A on a Mac.
Resize your card back to 11.5 inches wide and 5.75 inches tall.
Save your project, then get all the pieces cut out.
Step 4) Assemble the card
First, glue all the pieces of each block together.
The download folder contains an assembly guide that shows all the pieces and the order to put them together in.
Then, start gluing them to the front of your card.
I used foam squares for some of the blocks to make them rise up against the others and appear a bit taller, to add some visual interest and depth to the card.
My foam square blocks were all the ones with insects.
Continue until all your blocks are stuck to the card front.
Then, add the sentiment in the middle.
CARD DESIGN 3: Cut-off cards
For the third card design, see how to rotate and cut off parts of the blocks for an unusual but striking appearance.
Step 1) Create the card base
Start by making the card base in the same way as we did for the other cards.
This time, I am making a 5×7 inch card, so my base rectangle is 10 inches wide and 7 inches tall.
I want my patterned paper to be the full size of the front of the card, so the green rectangle is 5×7.
Step 2) Position the blocks
Choose some of the blocks and position them as shown below.

Select all the blocks you have used, then click the “Edit” icon along the top of the screen to open more options on the left-side.
This give you access to the “Rotate” box.
Rotate the blocks by 22.5 degrees.
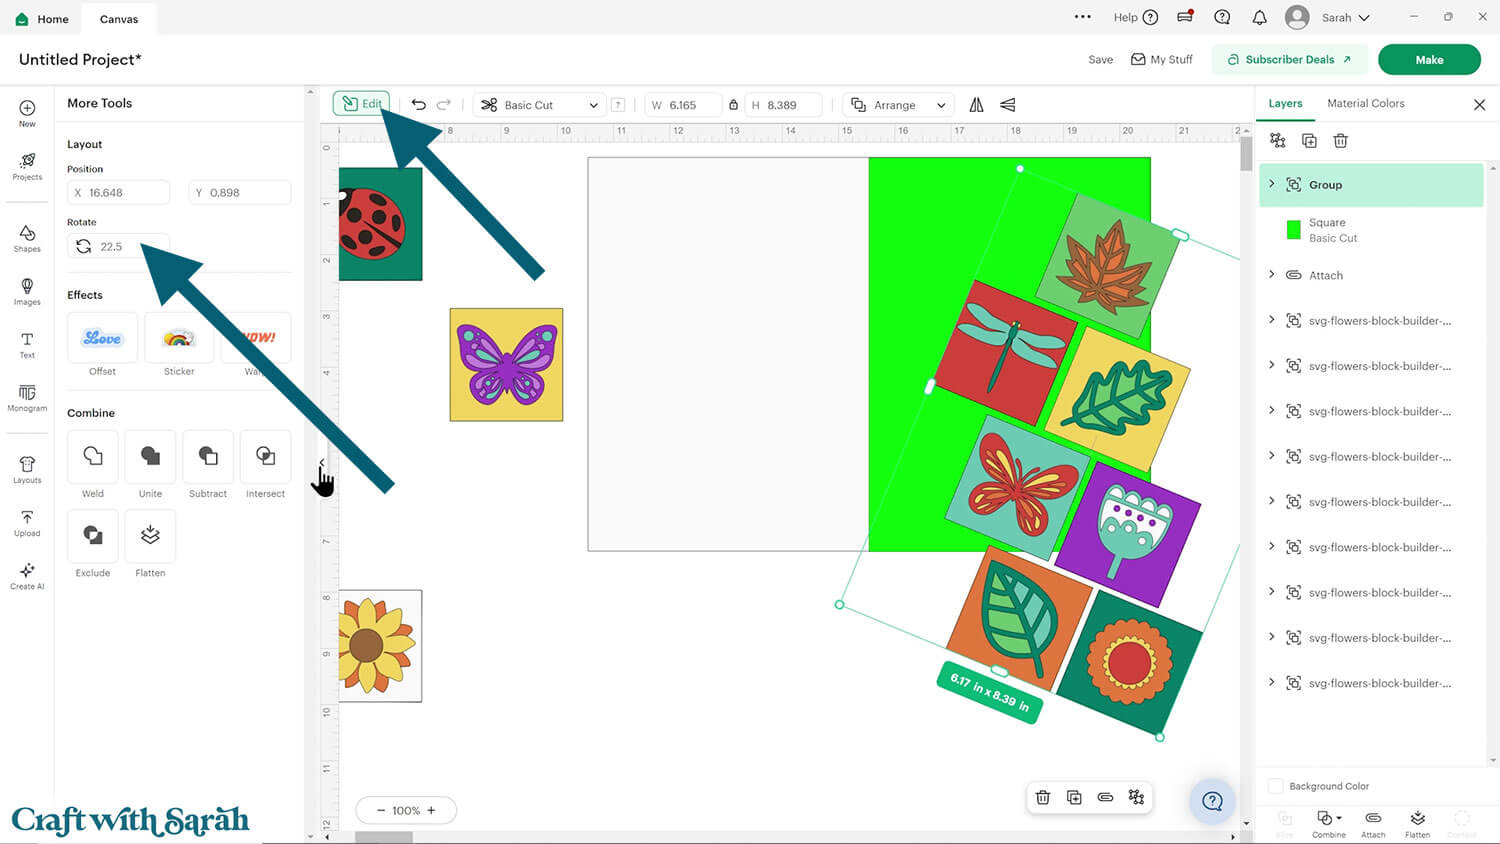
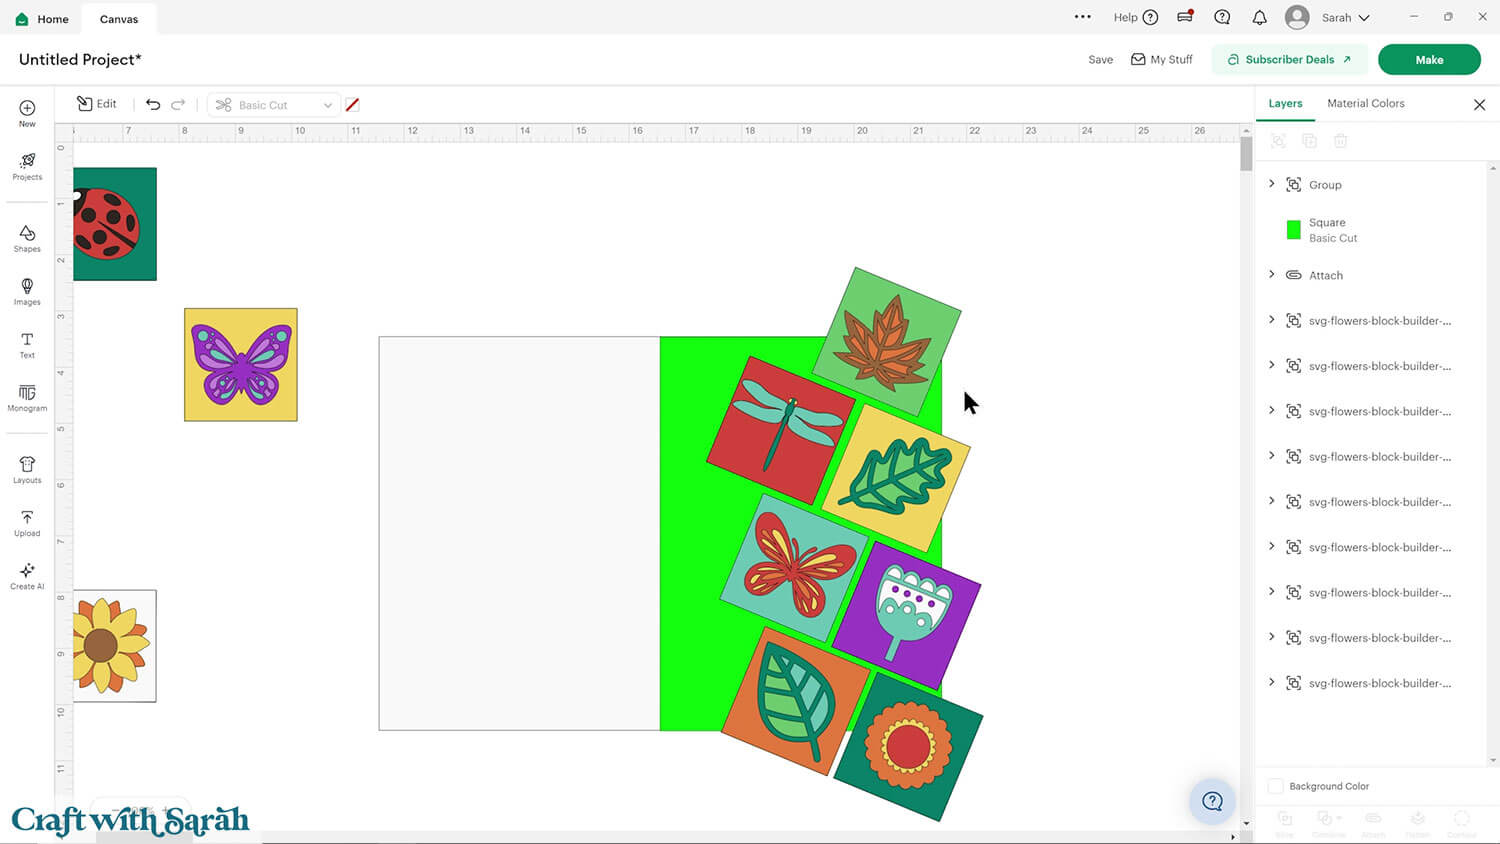
Size and position over the card front.
It’s ok if some parts go over the edge.
We will be cutting them as full squares and then using scissors or a craft knife to cut the excess of once the card is made.
This is much quicker and easier than trying to cut off all the layers in Design Space, as that would take a very long time!
Save your project, then get all the pieces cut out.
Step 3) Assemble the card
Glue together each block.
Stick the patterned paper to the card base.

Position the blocks on top of the card.
Don’t start gluing until you have placed them all, to make sure you’re happy with the effect before you commit to the glue.
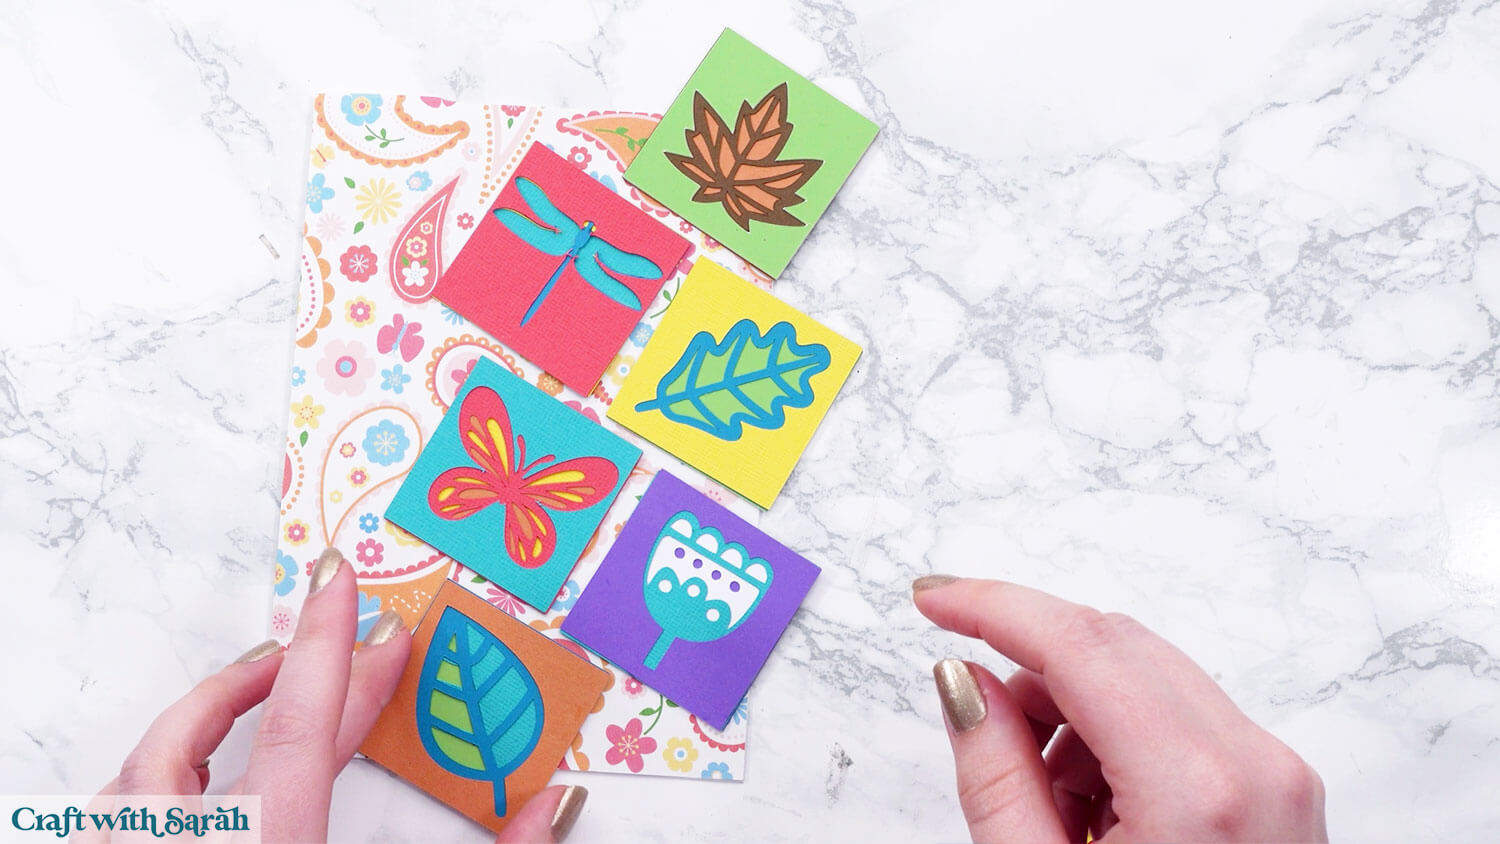
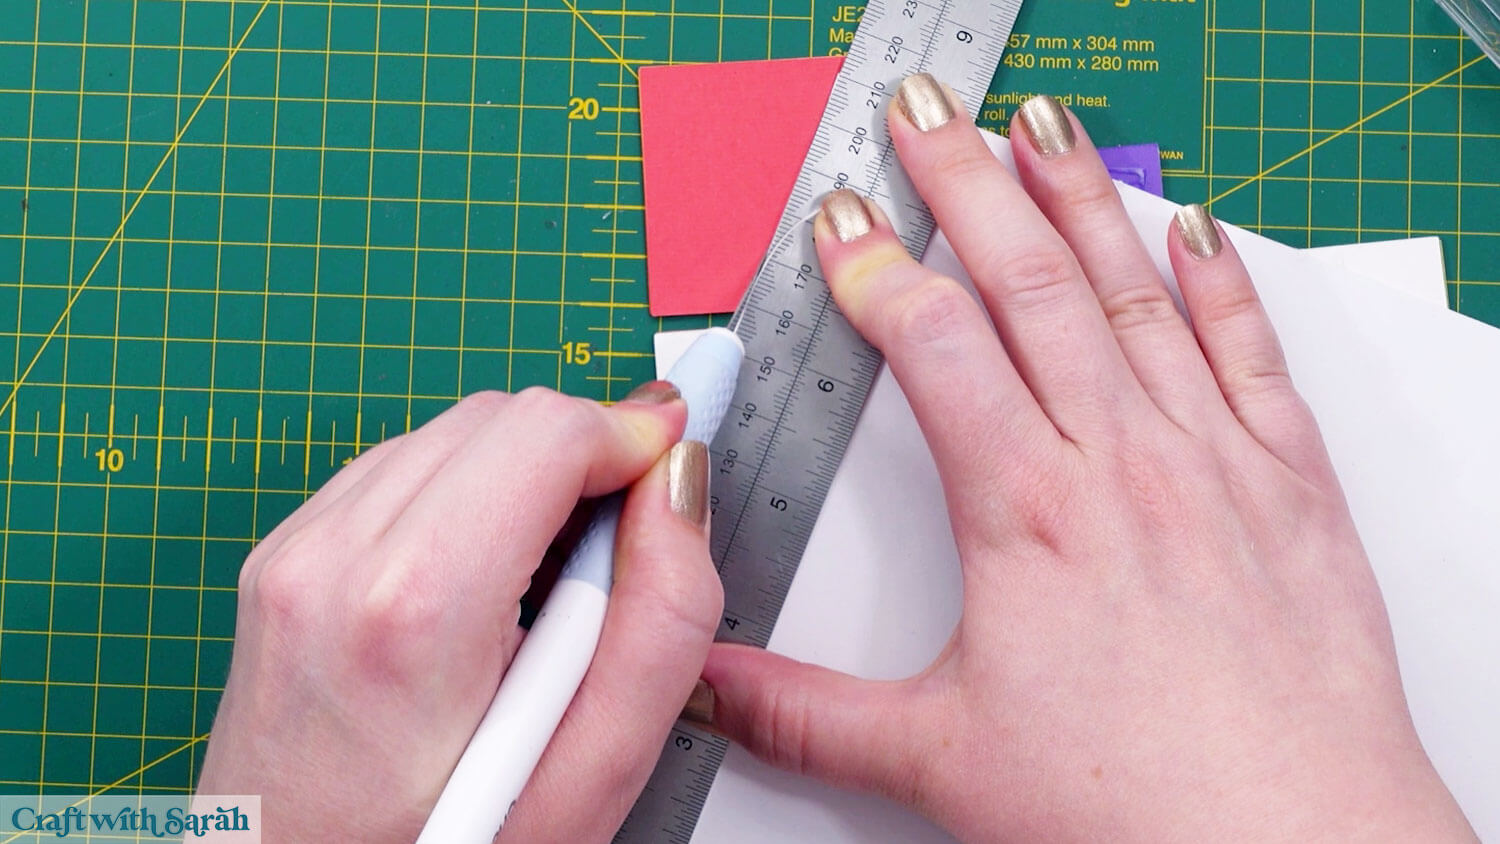
When the glue is fully dry, turn the card over and use scissors or a craft knife to trim off the excess of the blocks.
This is what you end up with:
Simple but effective card making with a Cricut
I hope that you enjoyed this tutorial on how to use the Block Builder templates to design your own greetings cards.
Each card design lets you use different colors and paper styles, and all of them are fantastic for using up those small cardstock scraps.
With 16 different blocks to choose from, you’ve got endless combinations of cards that you could make.
Love card making with your Cricut?
Check out these other card making tutorials, all with free SVGs.
- 4 floral greetings cards
- Cut & tuck cards
- Cricut Joy insert cards
- Presentation boxes for handmade cards
- Bend out cards for Christmas
Happy crafting,
Sarah x

