How to use Cricut Pens on Greetings Cards

How to add your own “drawing” text and images to greetings cards designs in Cricut Design Space.
One of the things I love about the Cricut is that you can have put a pen in it and it will do you a lovely drawing. This is especially good if you’re like me and you don’t have many sentiments or rubber stamps for card making as you can easily add custom greetings with the Cricut instead.
We’ll look at several different techniques, including using Draw images, changing Cut images to draw images, how to use drawing fonts in Design Space and how to add text to Cricut Joy card designs.
- Part 1: How to find Draw images in Cricut Design Space
- Part 2: How to convert Cut layers to Pen/Draw layers
- Part 3: Using Draw Fonts in Cricut Design Space
- Part 4: How to add text to Cricut Joy cards
Part 1: How to find Draw images in Cricut Design Space
Here’s how to use pre-designed Draw images from Cricut Access that have been specifically designed to be drawn with a pen.
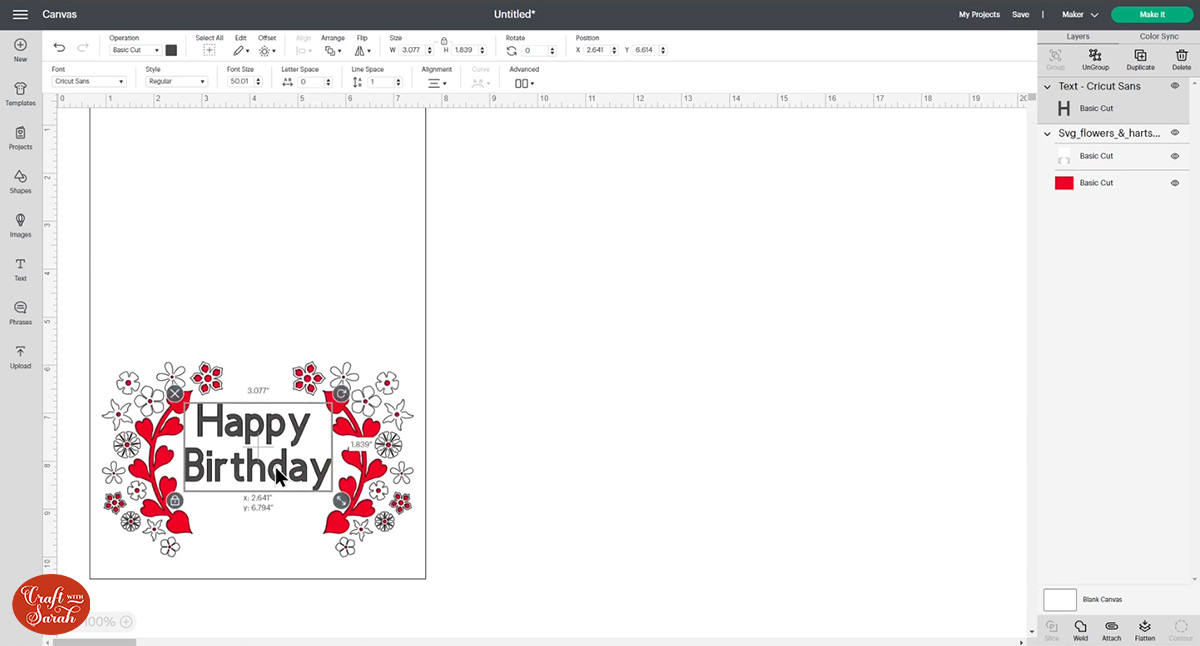
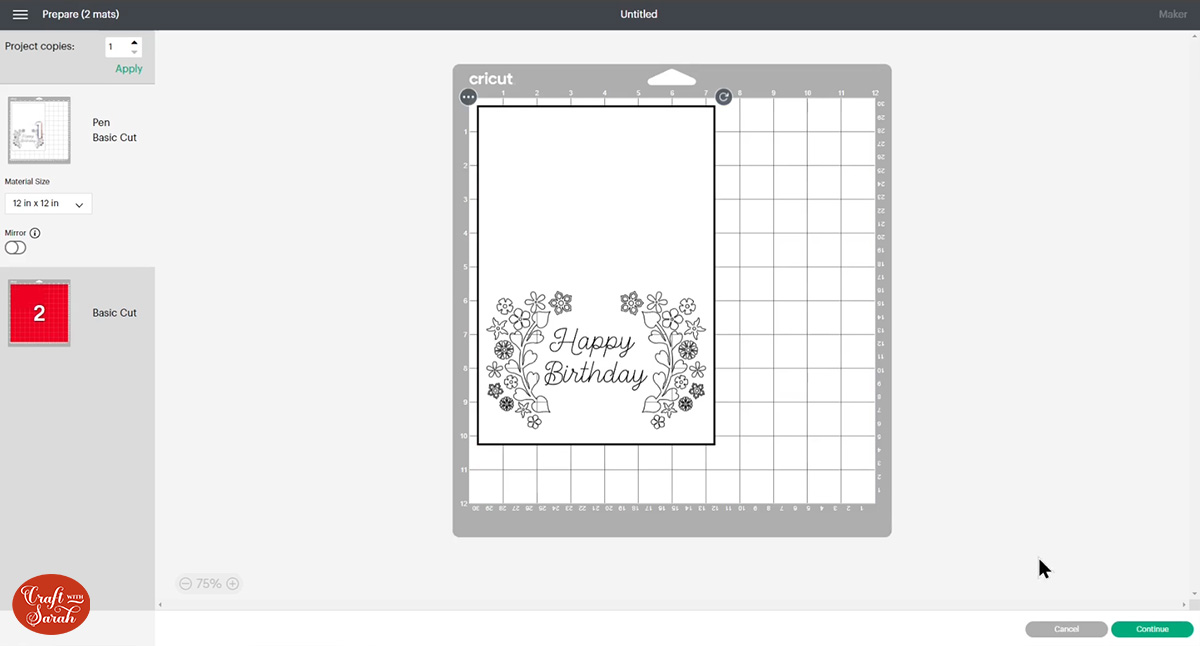
I’m going to be adding them to this popout card design from my SVG shop as it has a big empty space in the middle which would look lovely filled in with a drawing!
Step 1) Find the draw image
First, open your chosen greetings card design.

Click “Images”.

Make sure that the “Purchased” and “Uploaded” boxes which appear quite far down in the filters list are NOT ticked and then under the “Operation Type” heading, click the box next to “Draw Only”.
You can then do a search for the theme that you are looking for. I typed “birthday” into the search box.

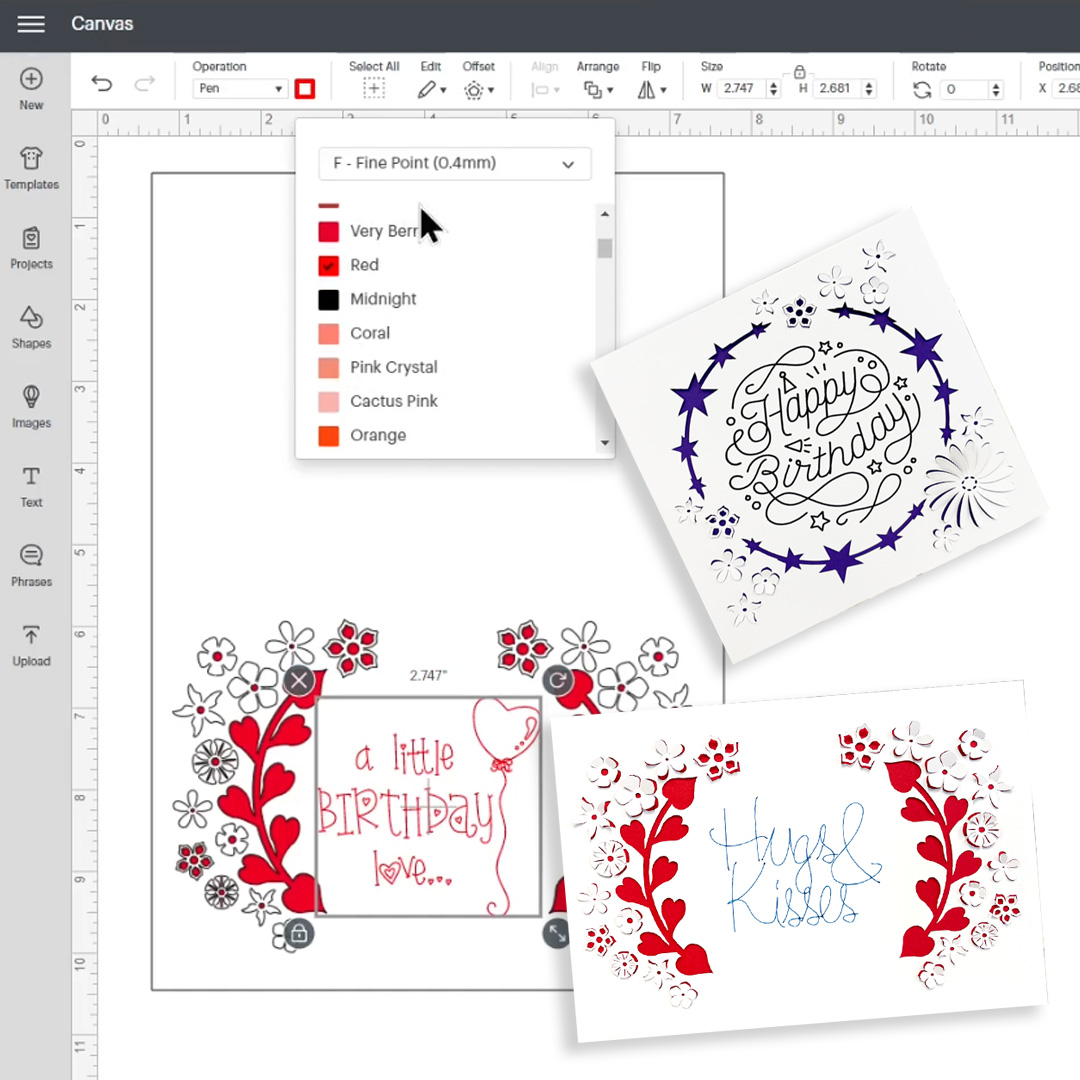
Step 2) Resize and choose the colour
Resize the Draw/Pen image to fit on your card.
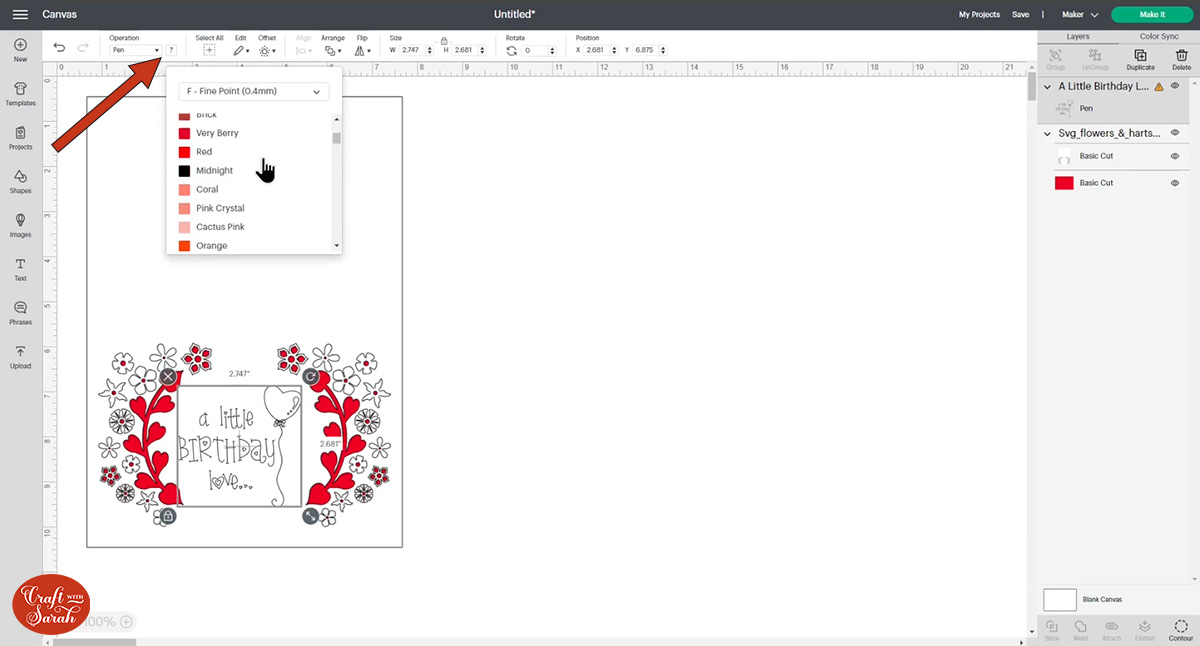
You can change the colour by clicking into the box next to the “Operation” dropdown along the top of the page.
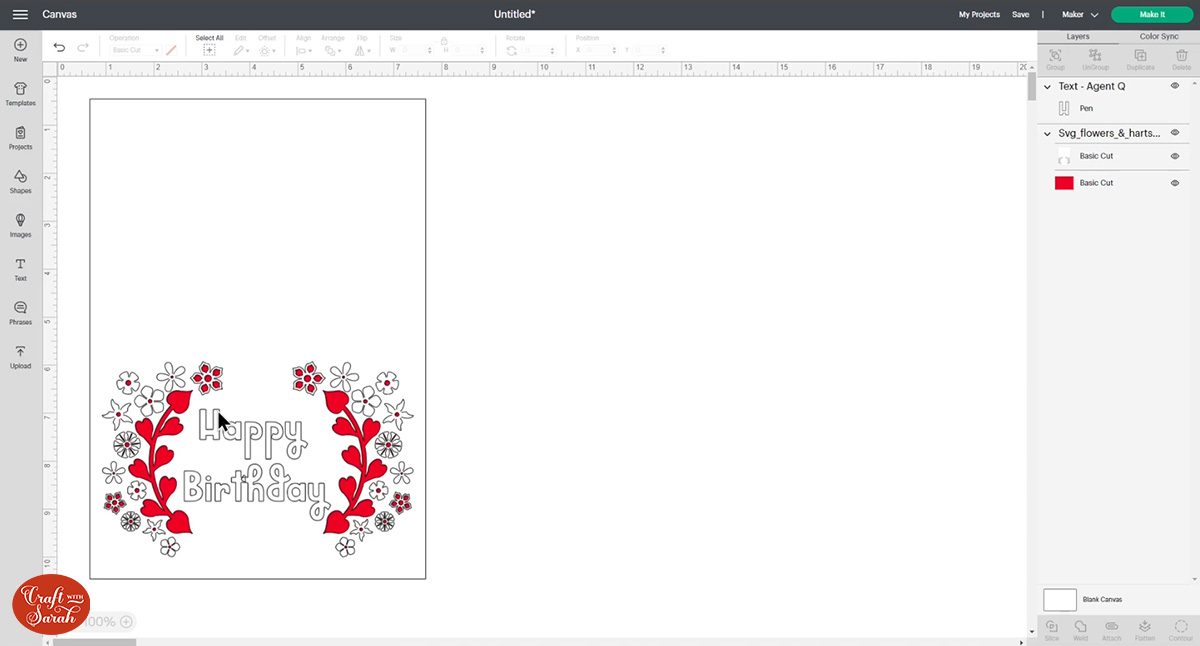
Step 3) Attach the Draw layer to the card
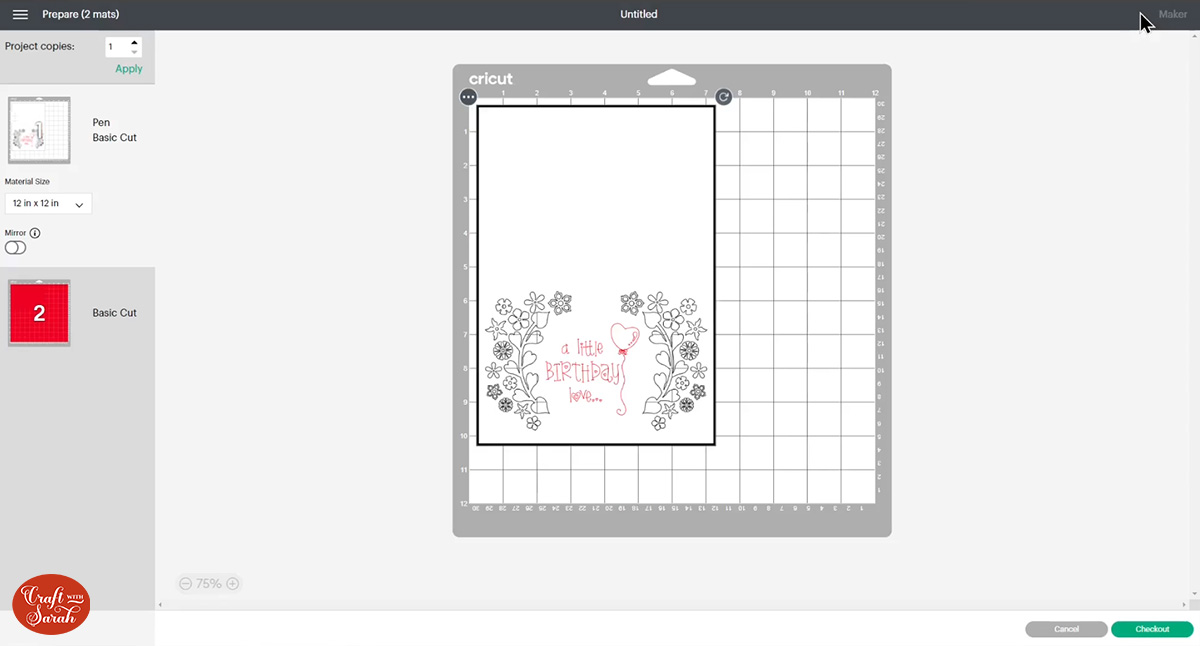
If you were to click “Make It” now, you’ll see that the Cricut will try to do the drawing on a different piece of material to the greetings card design.
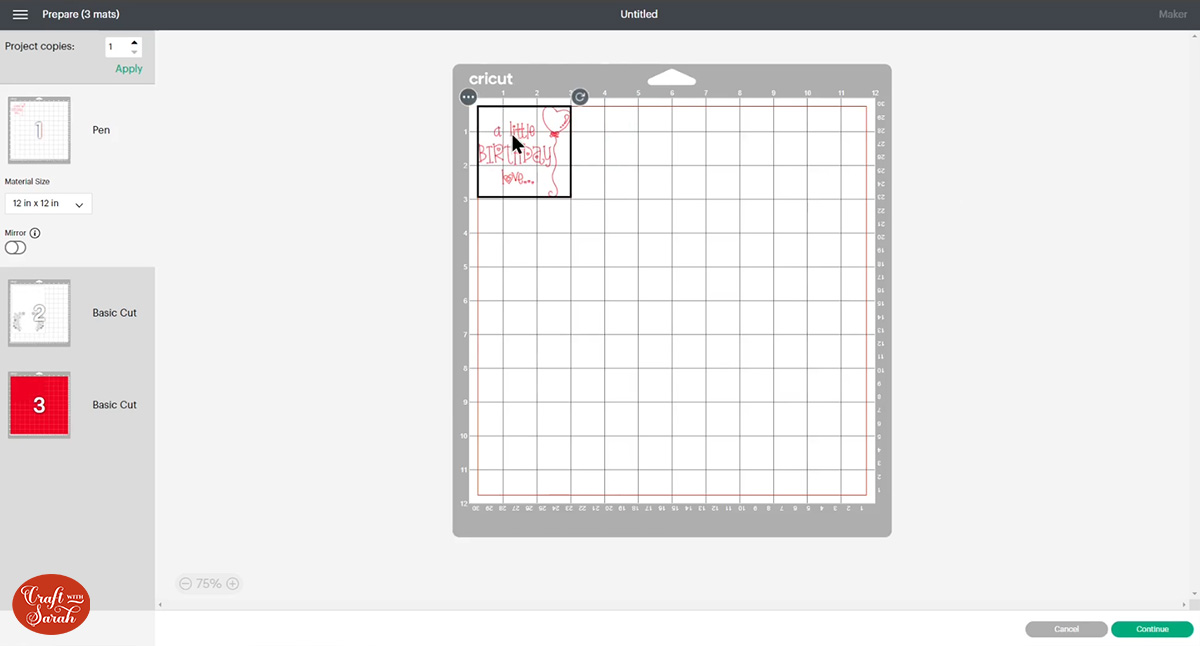
We need to tell the Cricut that we want to do the drawing ON the card itself.
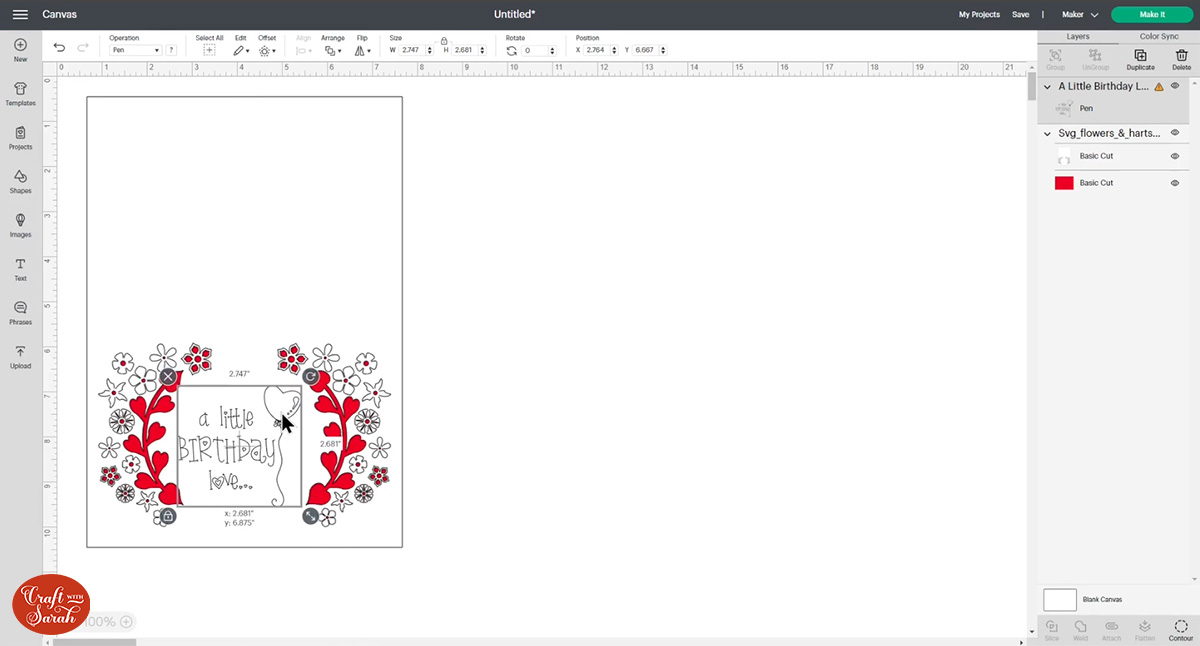
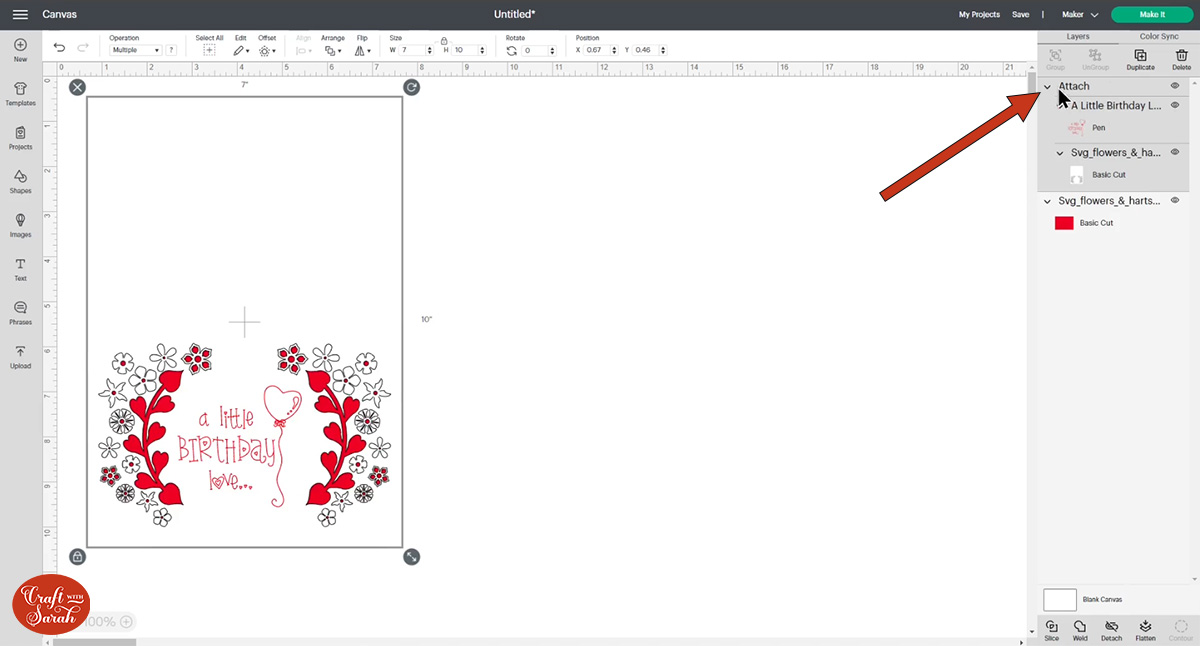
Click on the card design on the screen and then press “Ungroup” to separate out all the layers.

Click the main greetings card layer in the layers panel. Press “Shift” on your keyboard and click the Pen layer in the layers panel too.
Now you have those two layers selected, click the “Attach” button at the bottom of the layers panel.

Attach is what tells the Cricut where to do the drawing.
It will update the layers panel to look like this:
Now when you click “Make It”, the Pen layer is in the correct place.
Part 2: How to convert Cut layers to Pen/Draw layers
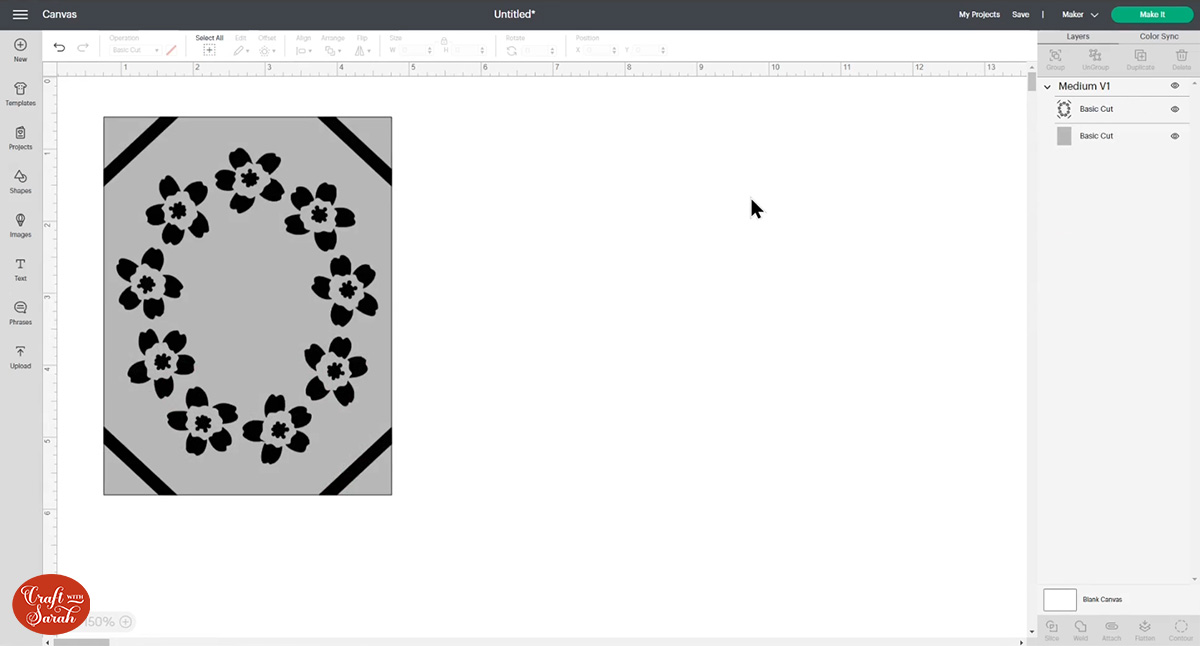
Sometimes you might have found the perfect image to go on your card, but it’s a “Cut” image not a Pen/Draw image.
Luckily, Design Space lets you change images from Cut to Draw and it only takes a couple of clicks!
Step 1) Choose your Cut image
Try to choose an image that’s not many different colours/layers as it will be easier to turn into a Draw image with fewer layers.
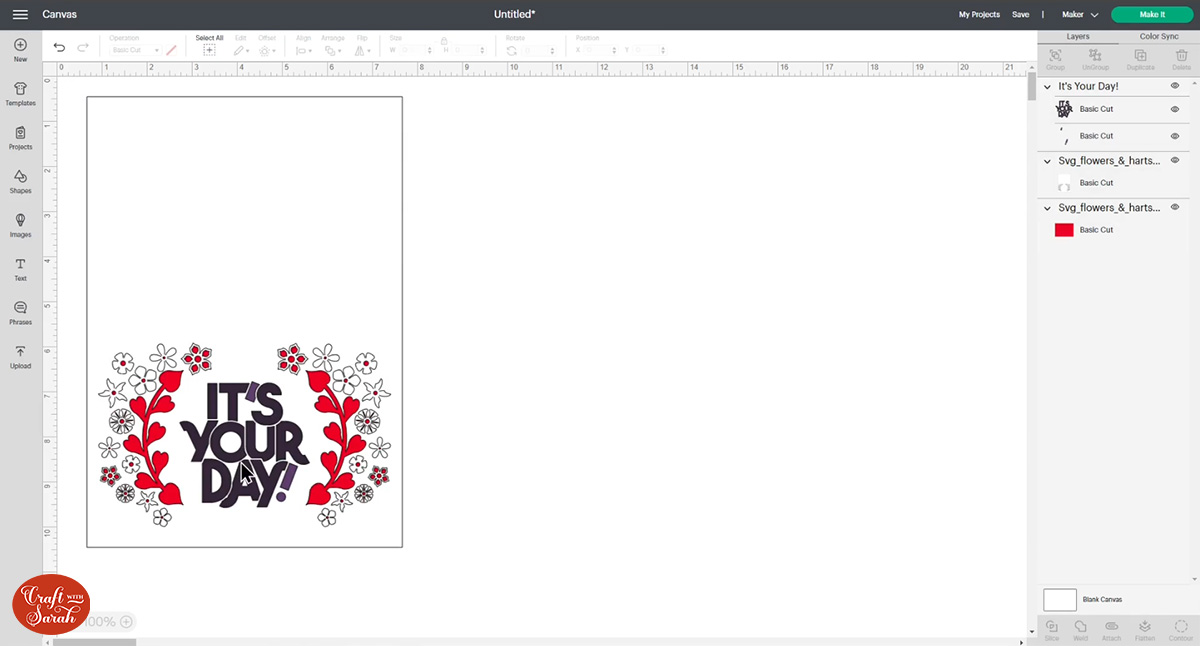
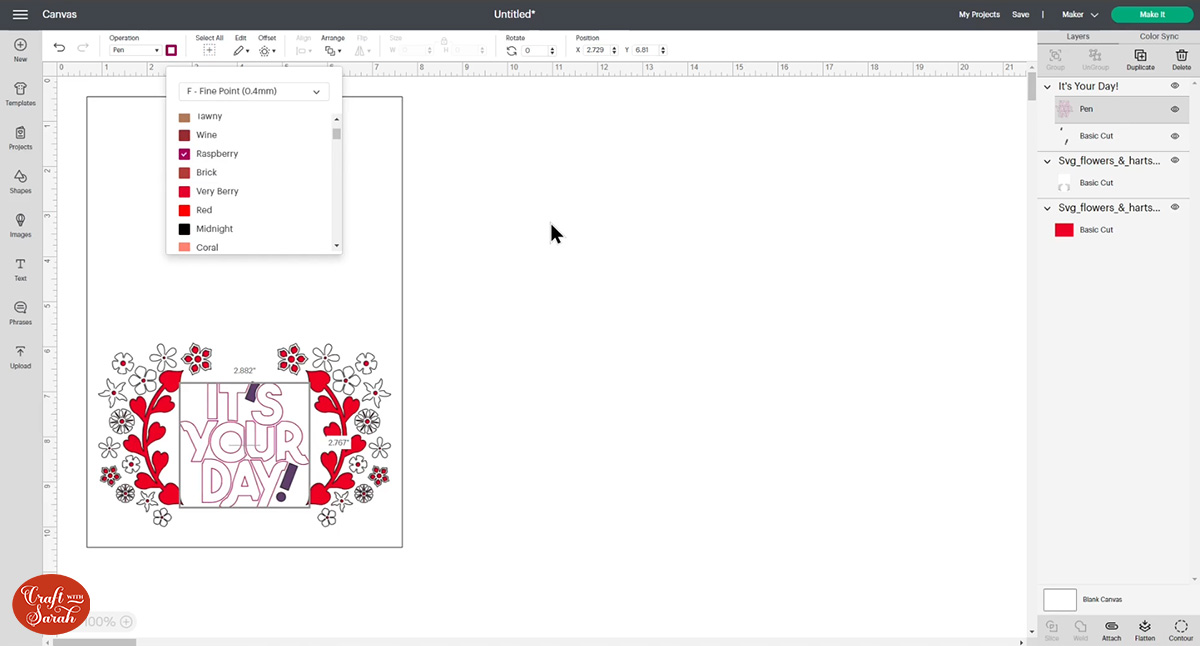
I’ve selected this “It’s Your Day!” image which has two layers.
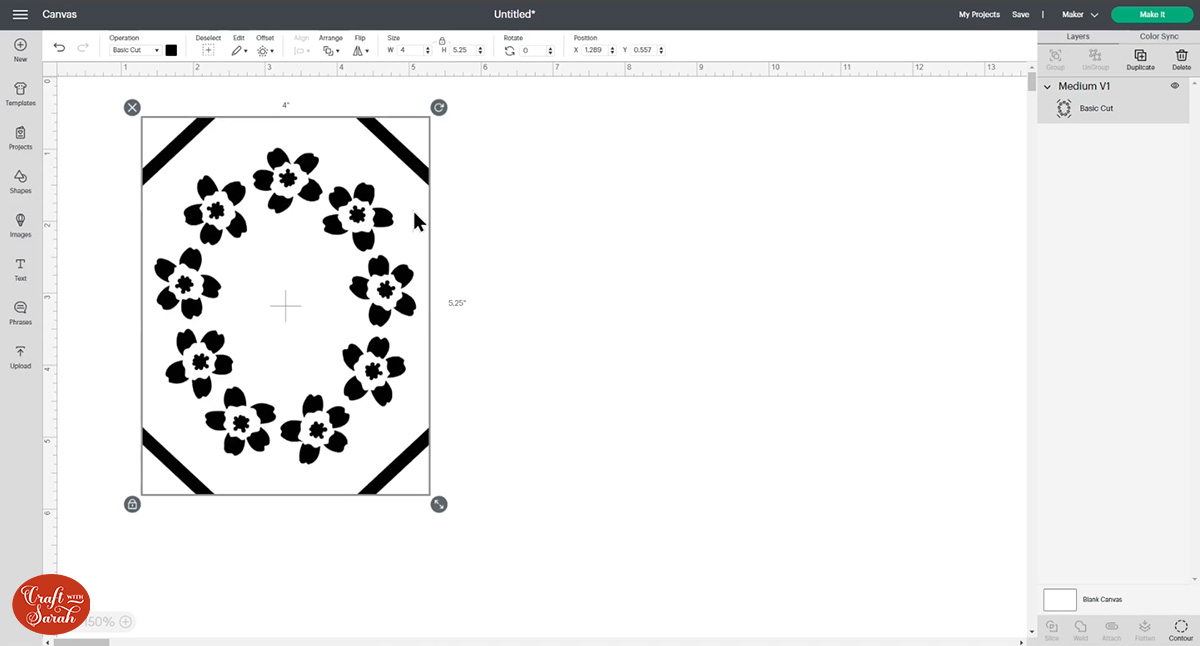
Resize the image to fit on your card.
If you want to do the entire image as one colour of pen then Click on it and then press “Weld”. This merges all the layers into one so that when you change it to a Pen layer it will all be the same colour.

I’ve left mine as two layers so I can draw it in two different colours.
Step 2) Change to a Pen layer
Click one of the layers of your Cut image in the layers panel to select it.
Change the “Operation” dropdown on the top of the screen from “Basic Cut” to “Pen”.
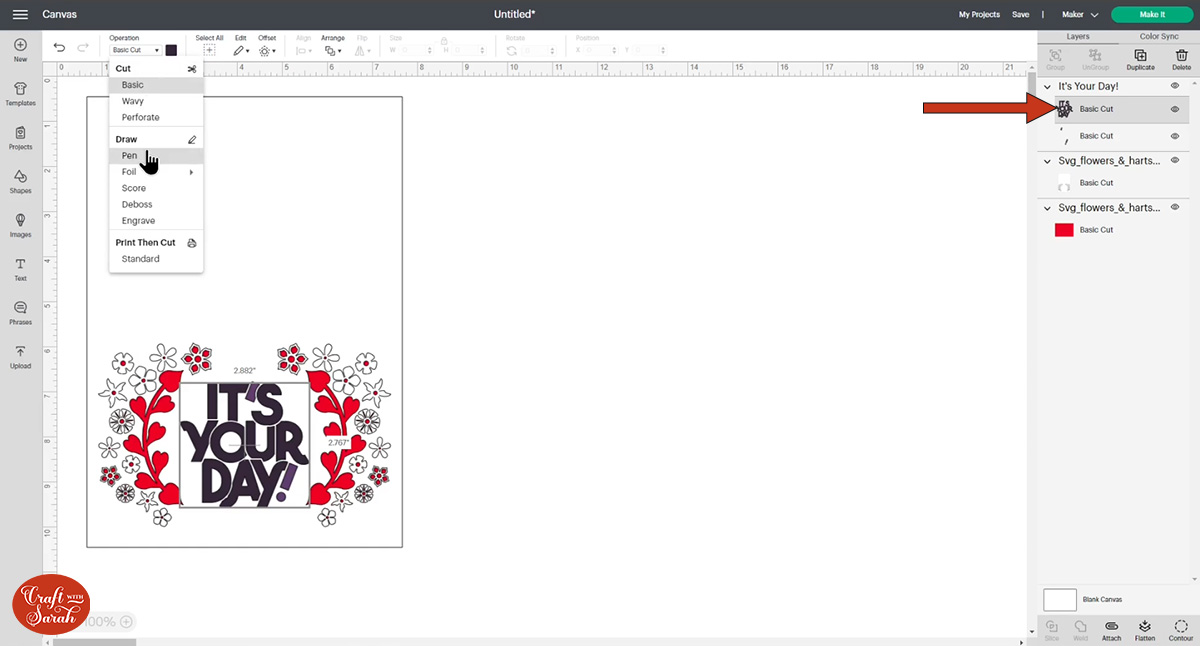
Change the colour if desired.
Repeat this for any other colours you have in your image.
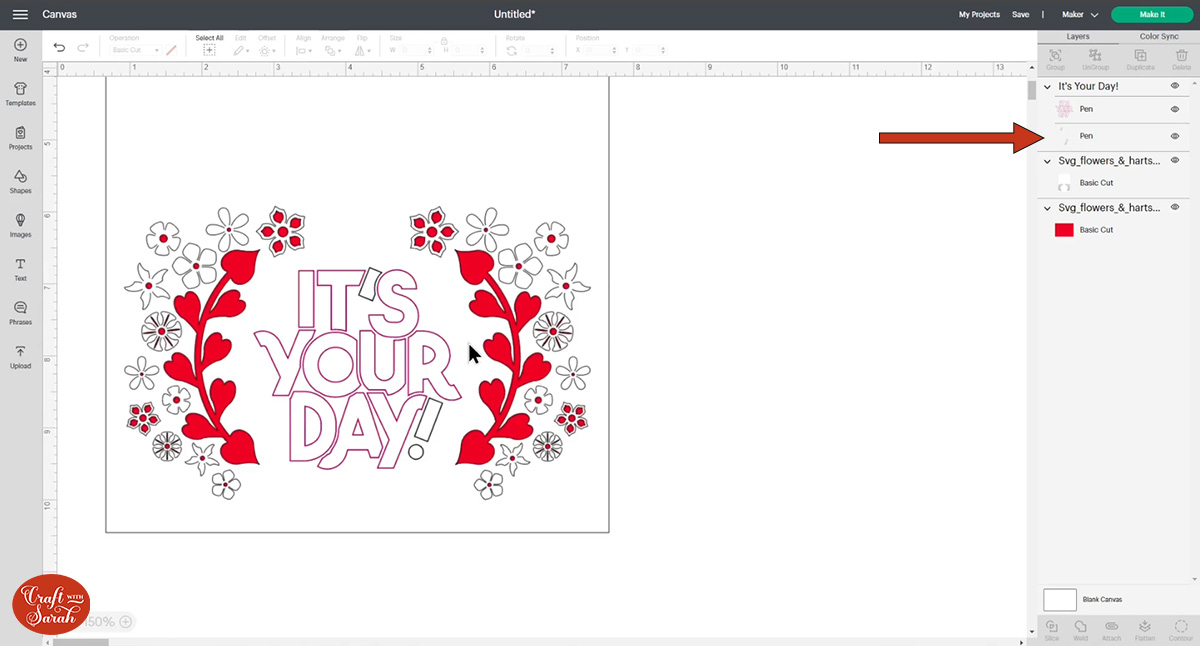
Step 3) Attach the Draw layer to the card
Don’t forget the last step of Attaching the Draw layer to the card!
Just like in Part 1 of this tutorial, “Attch” is what tells the Cricut where to do the drawing.
Ungroup the greetings card layers if they are Grouped and then select the base card layer and your image (the image can stay in a Group) and then press “Attach”.
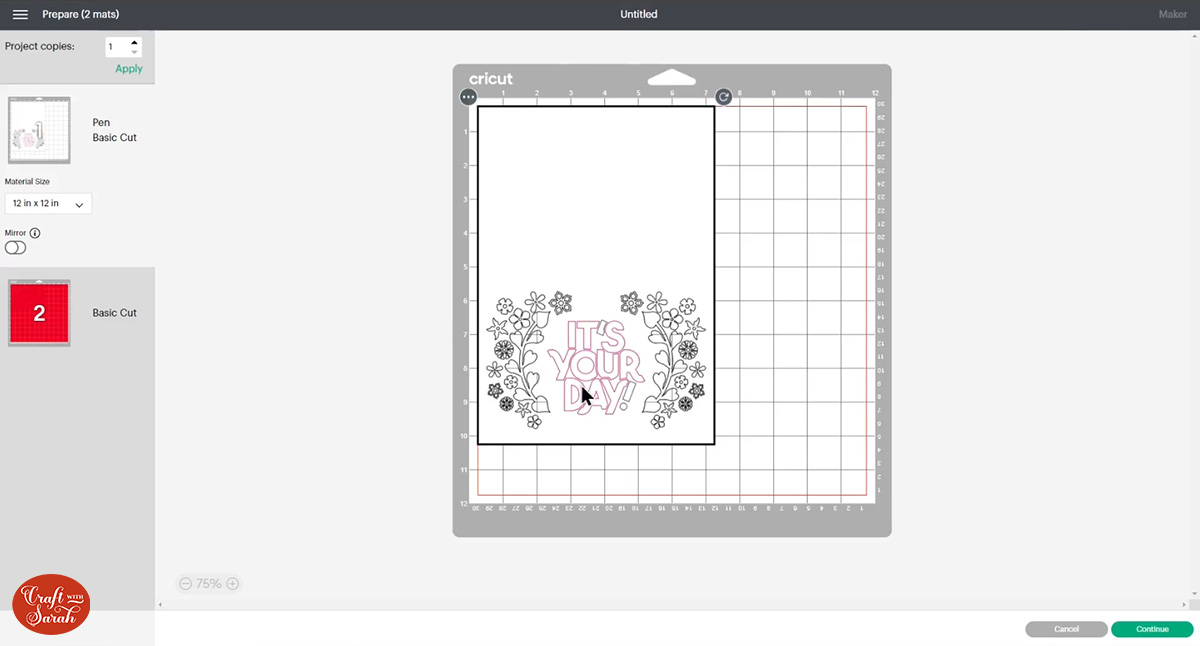
When you click “Make It”, all the drawing layers should appear in the correct place on the card.
Part 3: Using Draw Fonts in Cricut Design Space
The final way you can add text to the middle of your card is by using the Text tool. So rather than trying to find something under “Images” that says exactly what you want it to say, you can just type it out instead.
Step 1) Write your text
Go into Text and then type out what you want to add.
Roughly place it onto your card design but don’t worry too much about the size at the moment as that will change when we select the font.
Step 3) Change the font
Use the “Fonts” dropdown to change the font.
After choosing your font, change the “Operation” dropdown from “Basic Cut” to “Pen” to turn the text into a drawing layer.
For most fonts this will produce a “bubble letter” effect where the pen will write around the edge of the letters, as shown in the image above.
If you’d prefer a smooth, handwriting style of writing instead, go into “Filters” when selecting your font and click the “Writing” checkbox.
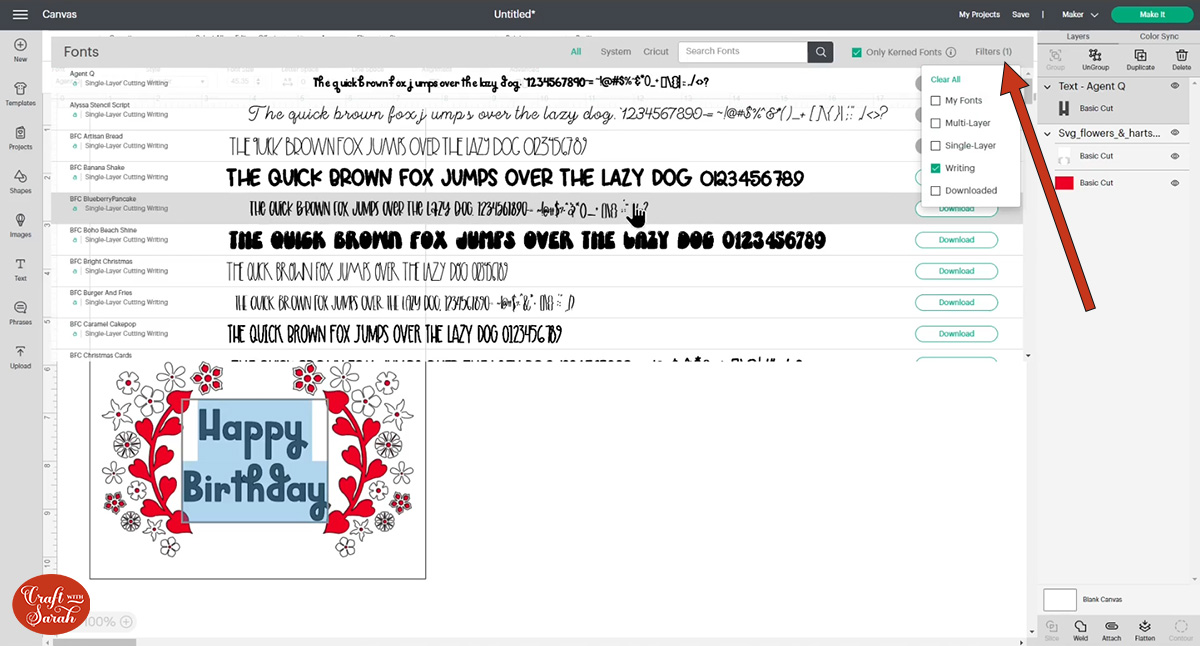
This will update the list of fonts to just choose ones that can be written neatly with a pen.
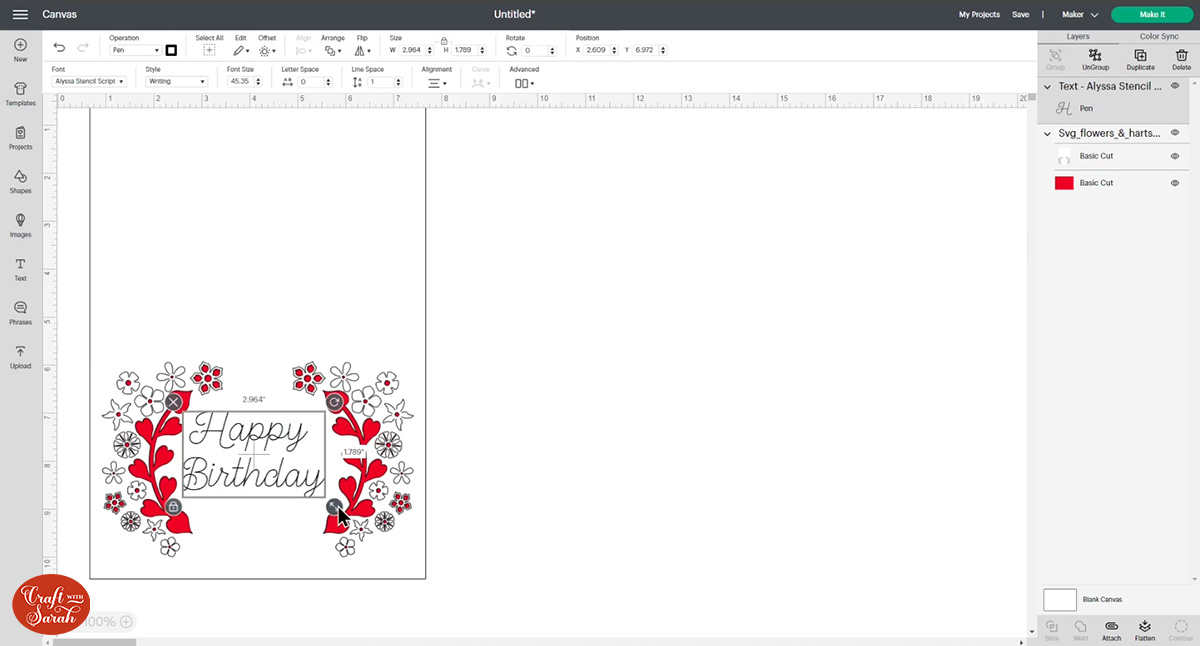
The font in the image below is called Alyssa Stencil Script.
This does not have the “bubble effect” letters. Instead, the pen will draw the letters like calligraphy so it looks like pretty handwriting.
Step 3) Attach the Text layer to the card
Don’t forget to Attach!
Ungroup the greetings card layers if they are Grouped and then select the base card layer and your Text layer and then press “Attach”.
When you click “Make It”, the Text should appear in the correct place on the card.
Part 4: How to add text to Cricut Joy cards
If you are using a Cricut Access Joy card design then this technique unfortunately doesn’t work because it doesn’t let you “Customize” the designs to access the Text tool – it only lets you cut the design.
However, if you have designed your own card for the Joy or are using a premade design then text to Cricut Joy cards works in the same way as the above tutorials.
Here’s one of the Cricut Joy insert cards from my SVG shop.
My Cricut Joy templates come with the insert little piece underneath for if you need to cut that, but if you’re using the pre-made Cricut insert cards then they already come with the pretty insert bit that you thread through the corners so you can delete the layer.
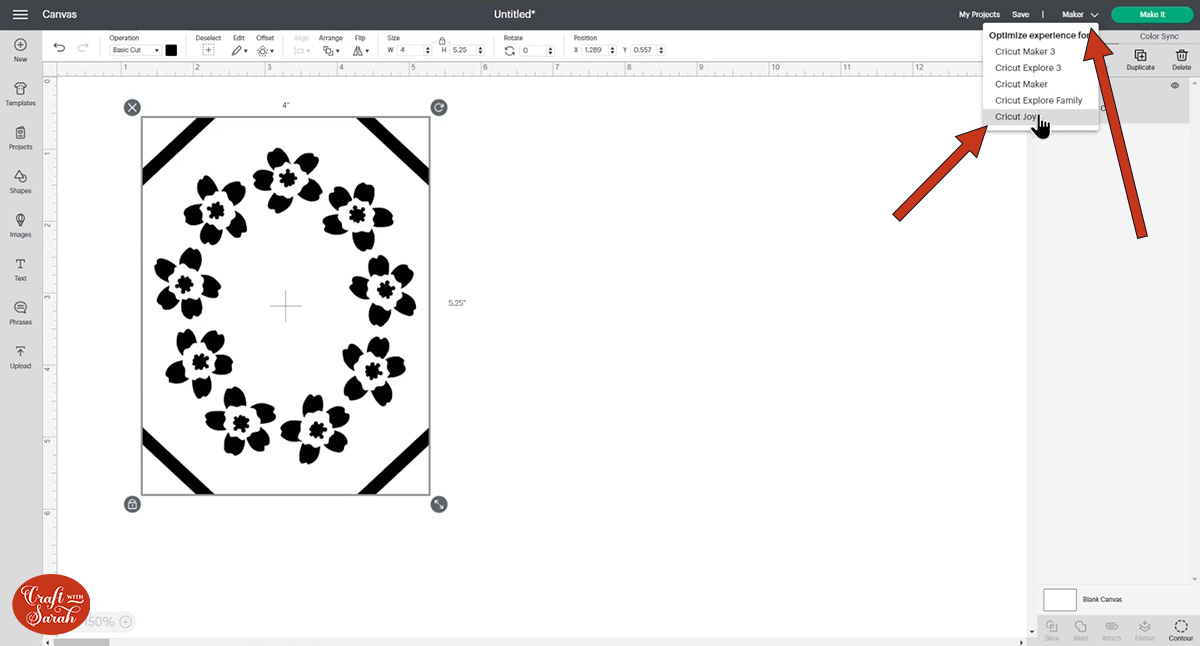
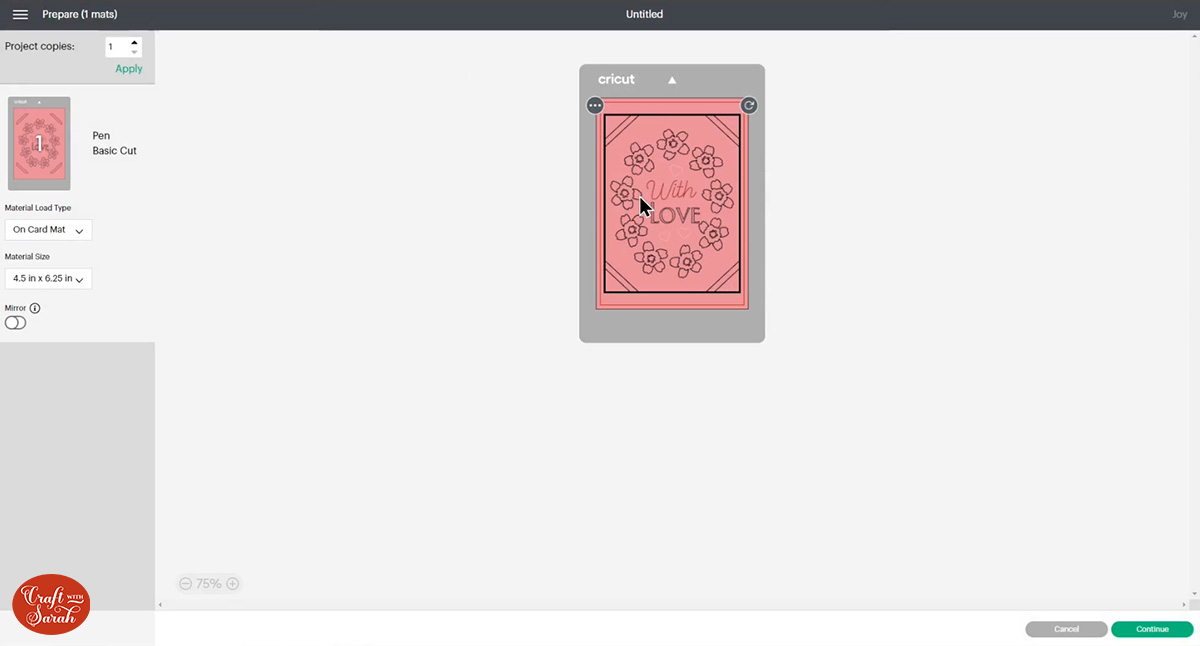
Change the machine selection to the Cricut Joy on the top-right of the screen.
This is important because the Cricut Joy uses different colours of pen to the Explore/Maker models.
Add your text or images following the steps in the earlier parts of this tutorial.
I’ve used two different Text layers and selected a “handwriting” font for the “With” and a bubble letter font for the “Love”.

I felt that the card could do with a little bit extra, so I went into “Shapes” and chose some hearts.
These can be switched to Pen layers in the “Operations” dropdown, just like how we changed the text/Images earlier.
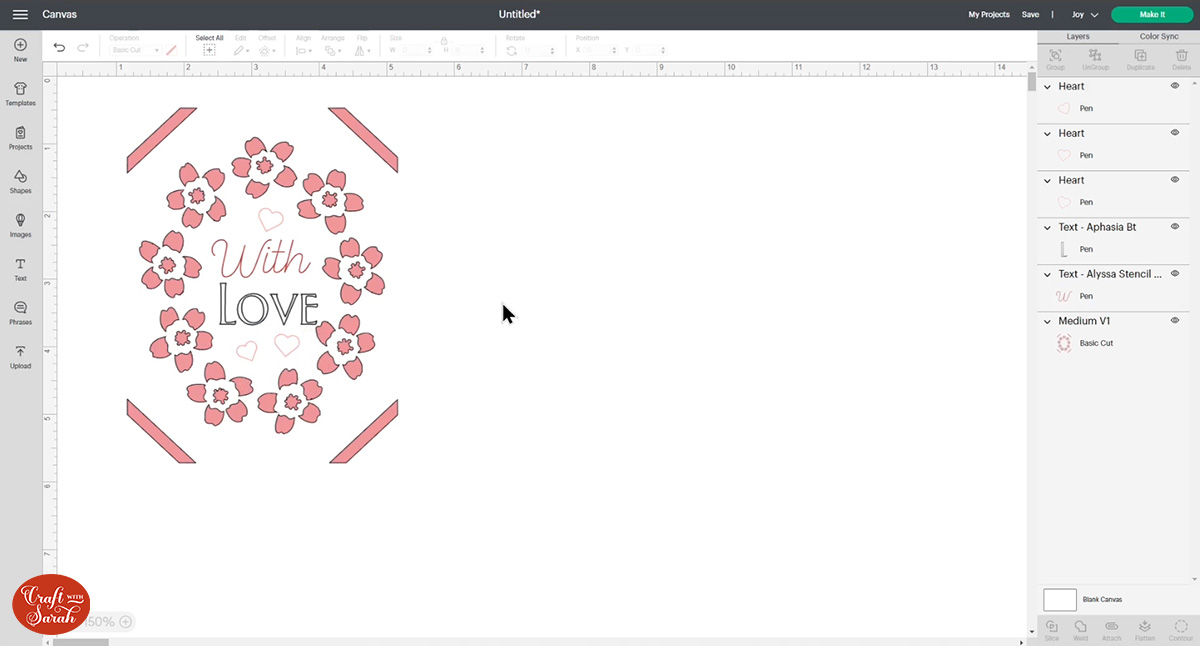
Select everything and press “Attach” to make sure it all draws/cuts on the same piece of card on the Cricut Joy:
I hope you’ve enjoyed this tutorial on how you can add drawing to the fronts of greetings cards in Cricut Design Space.
If you’d like to learn more about drawing on cards for example, perhaps how to address envelopes or how to write the inside of cards on a Cricut machine, leave a comment on the YouTube video for this post and let me know that that’s something you’d be interested in!
Happy crafting,
Sarah x

