How to Use Pattern Fill for Printable Backgrounds in Cricut Design Space
Upgrade your print then cut Cricut projects with customisable & printable backgrounds.
Learn how to use pattern fill in Cricut Design Space to upload repeating patterns to use in your print then cut projects.
I’ll also show you a second way of creating backgrounds using the Slice tool, which is helpful if the picture you want to use isn’t a repeatable, tileable or seamless image.
Creating background patterns is a great Design Space skill to learn for making beautiful cards and scrapbook pages with your Cricut machine.
If you’ve been wondering “How do I add a pattern fill in design space?” or “Can I fill a shape on Design Space?” then you’re in the right place!
Please note that some of the links included in this article are affiliate links, which means that if you click through and make a purchase I may receive a commission (at no additional cost to you). You can read my full disclosure at the bottom of the page.
Pattern Fill & Slice 🌻 2 Ways to Make Printable Backgrounds in Cricut Design Space
Watch the video to see how to use the pattern upload feature in Cricut Design Space, plus how to apply your patterns to shapes, text and even SVGs and other images!
Use the Slice technique from the second half of the video to cut your favourite photos, images or other printable graphics to a specific size.
Scroll down the page to see a written tutorial.
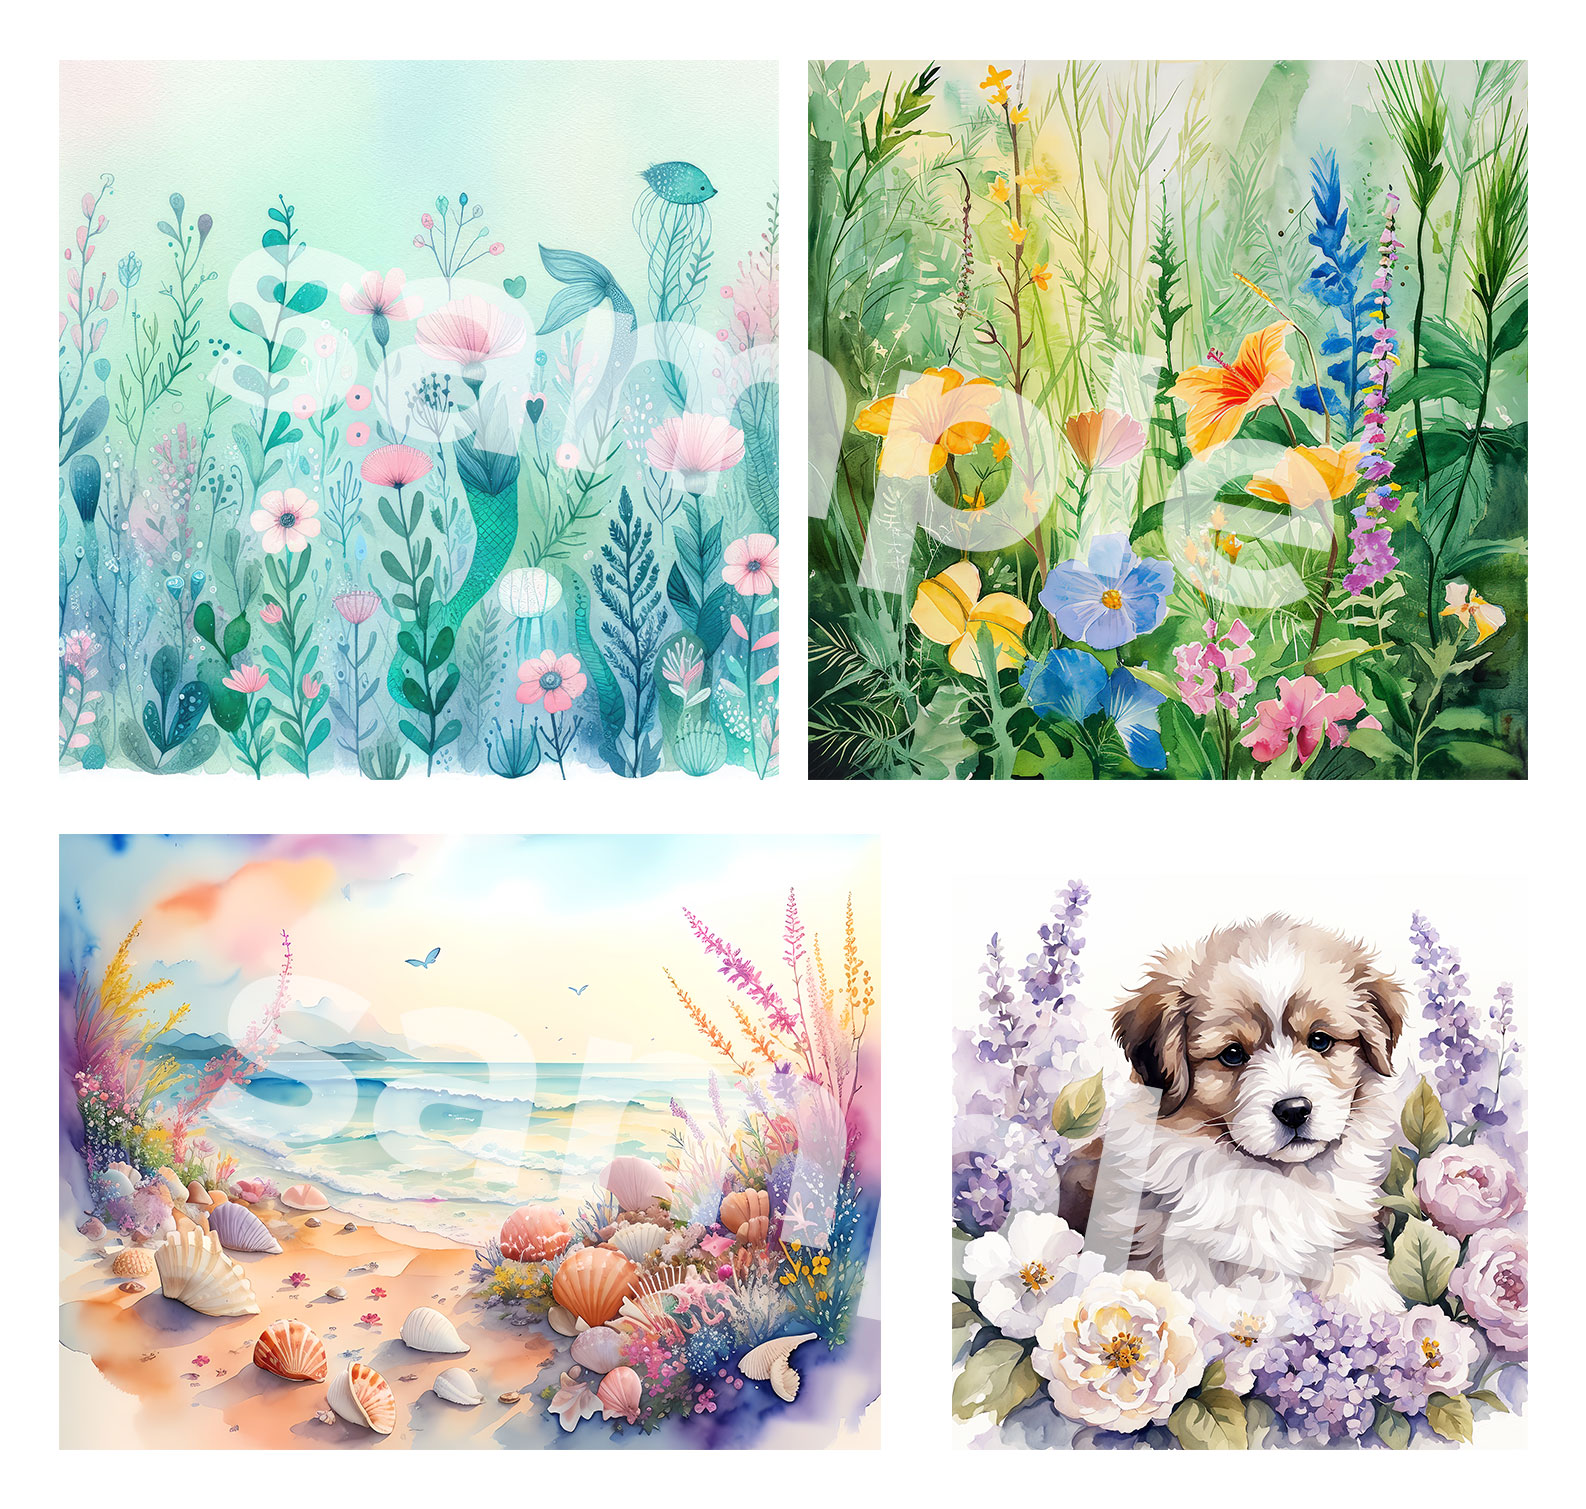
For this video, I’m using the following printable patterns and backgrounds from Creative Fabrica:
Where to find seamless patterns & printable background graphics
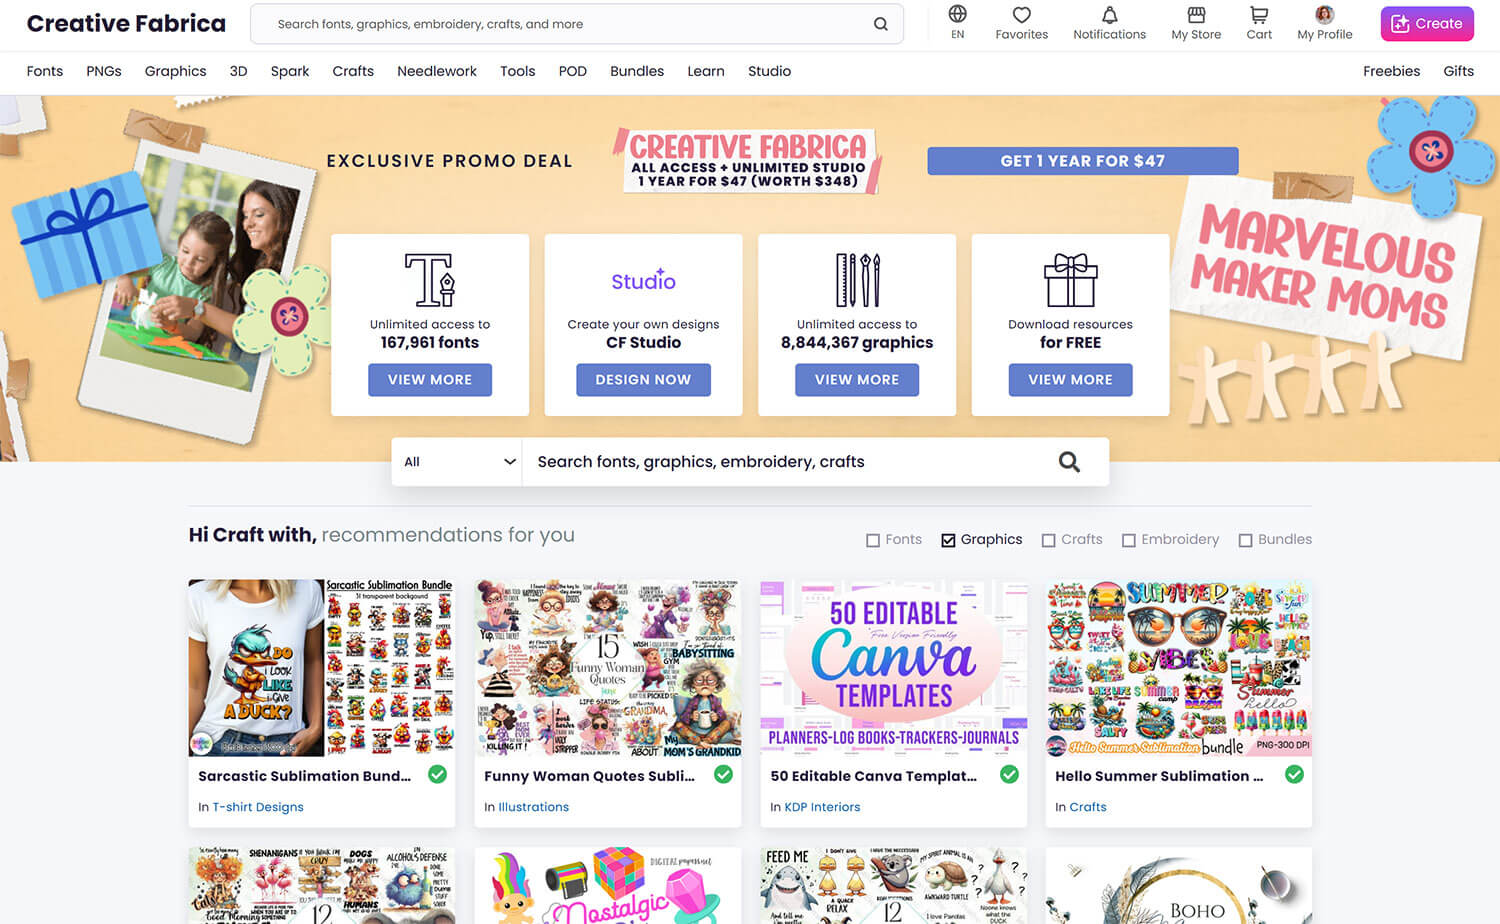
There are lots of places online to download pattern files from but one of my favourites is Creativefabrica.com.
This is a membership-based website where you can sign up and pay for a subscription that gives you access to the millions of images that are on there – including all their patterns!
They also have a huge selection of SVG files, graphics, fonts and more.
They do have a lot of free graphics on there too but you will be a little bit more limited with what you can find.
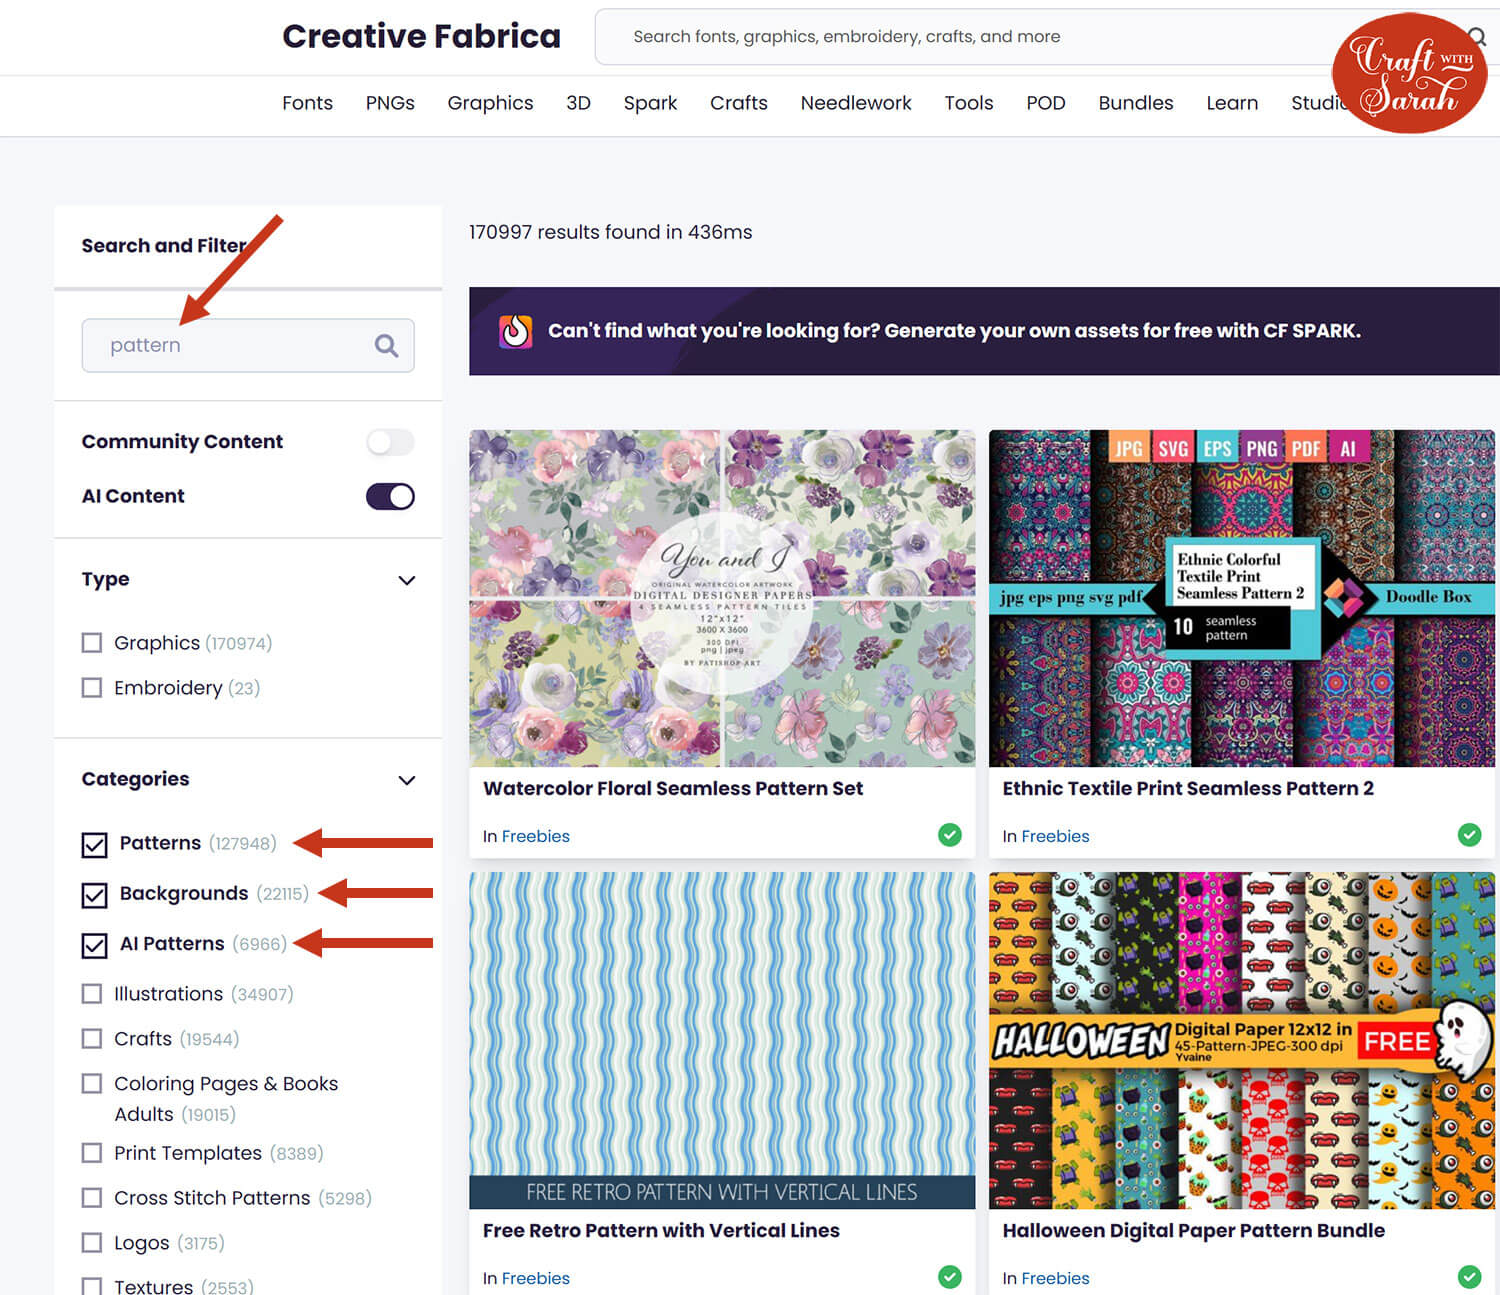
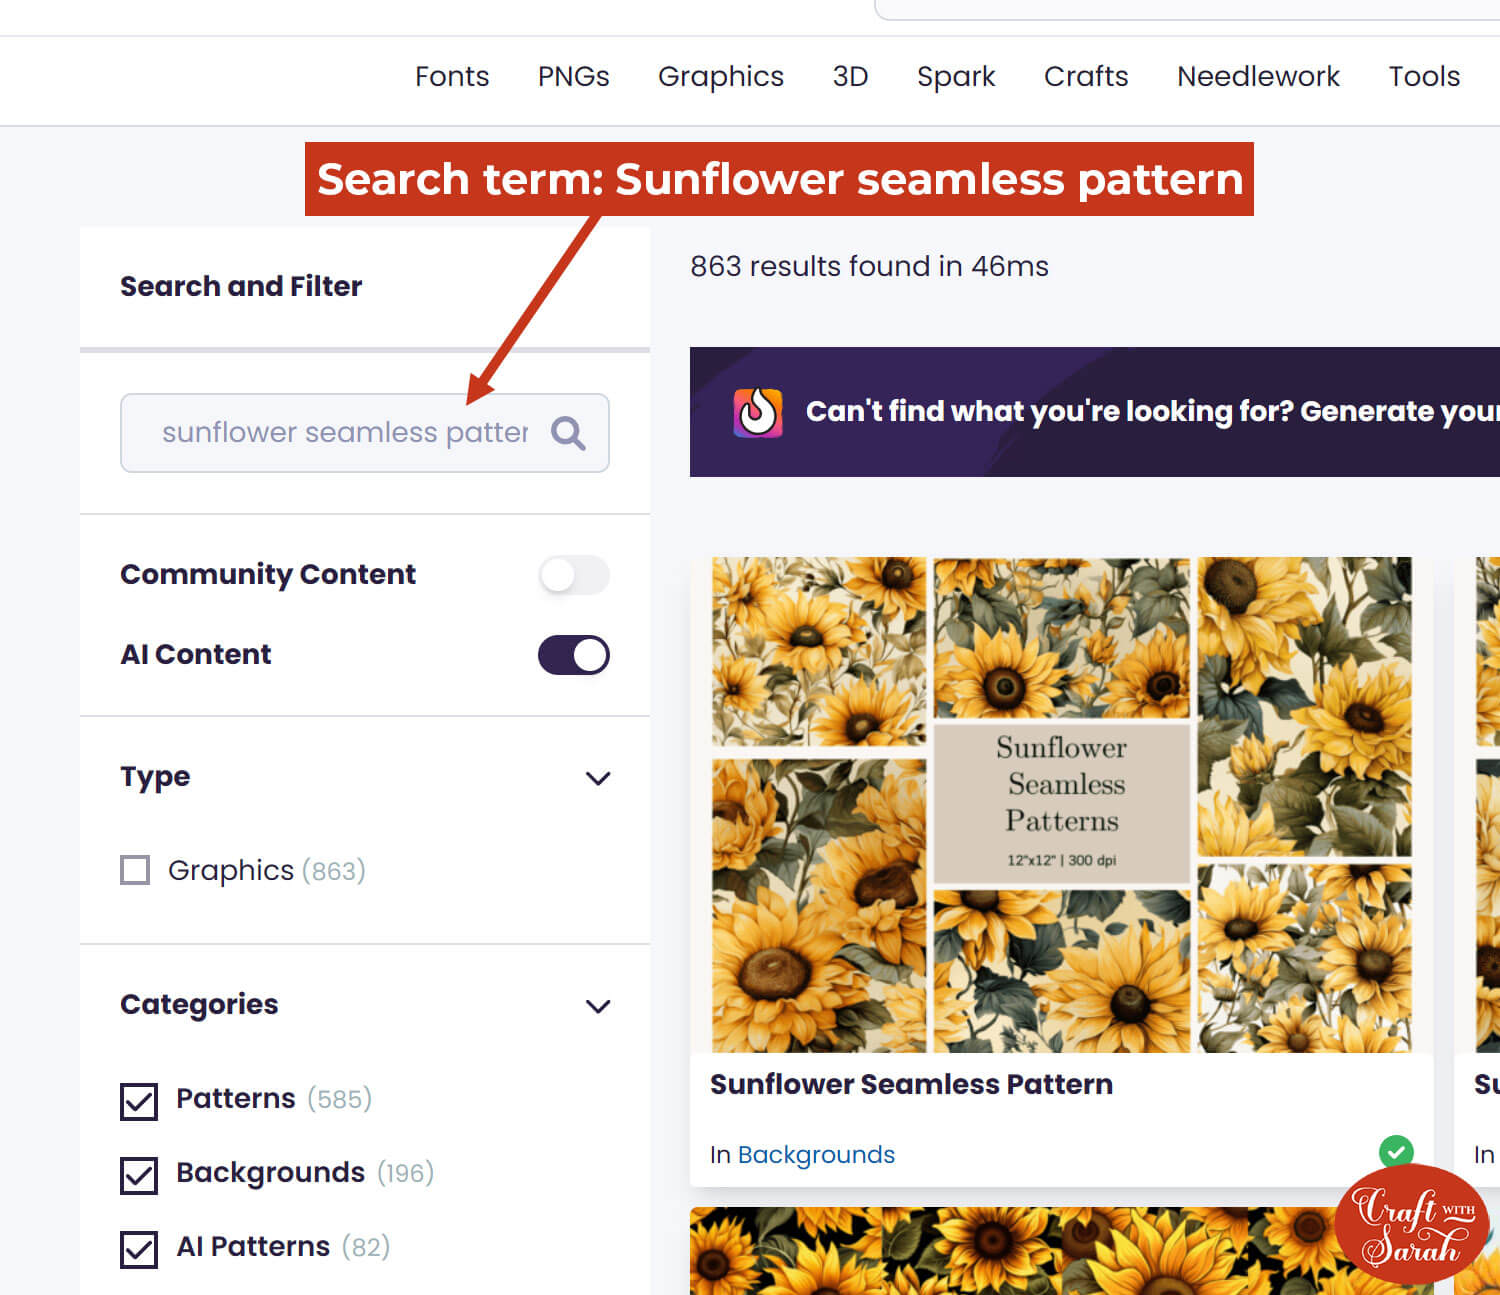
Use the filters on the left hand side to help you search for patterns.
There are two different types of patterns which you will see.
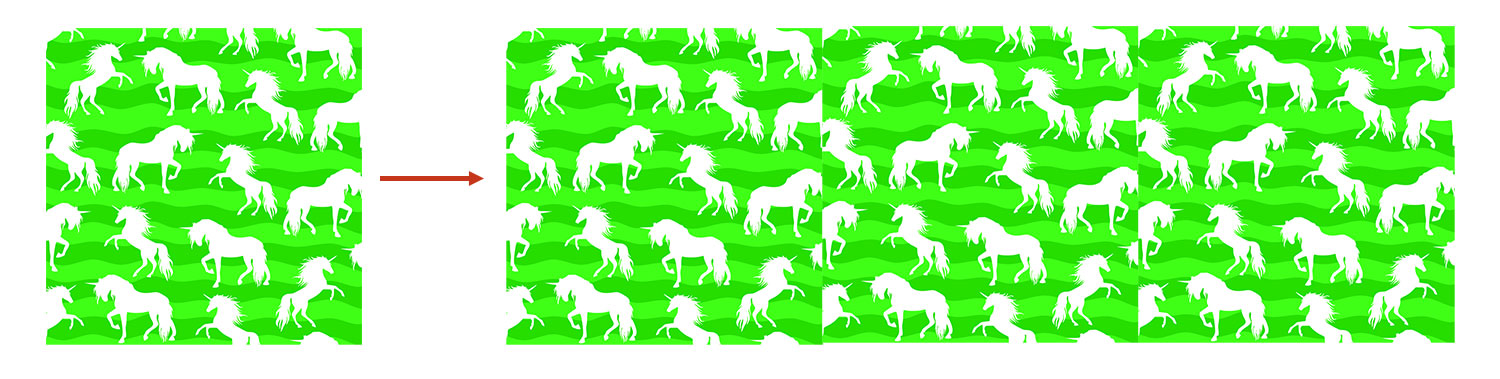
The first is where it’s a standalone image that does not tile/repeat. If you printed this type of pattern out twice onto two different pieces of paper and then placed them next to each other, the pattern would not look like it is “continuing” smoothly between the two pieces.
For example, on this unicorn, I have placed three copies of the square design next to each other to form a rectangle. Notice how some of the unicorns appear “cut off” and you can clearly see the join lines between the three copies. That’s because this is not a tileable or seamless pattern.
This works similarly for backgrounds that look more like a finished “picture” rather than a pattern. These are designed to be standalone graphics and not tiled.
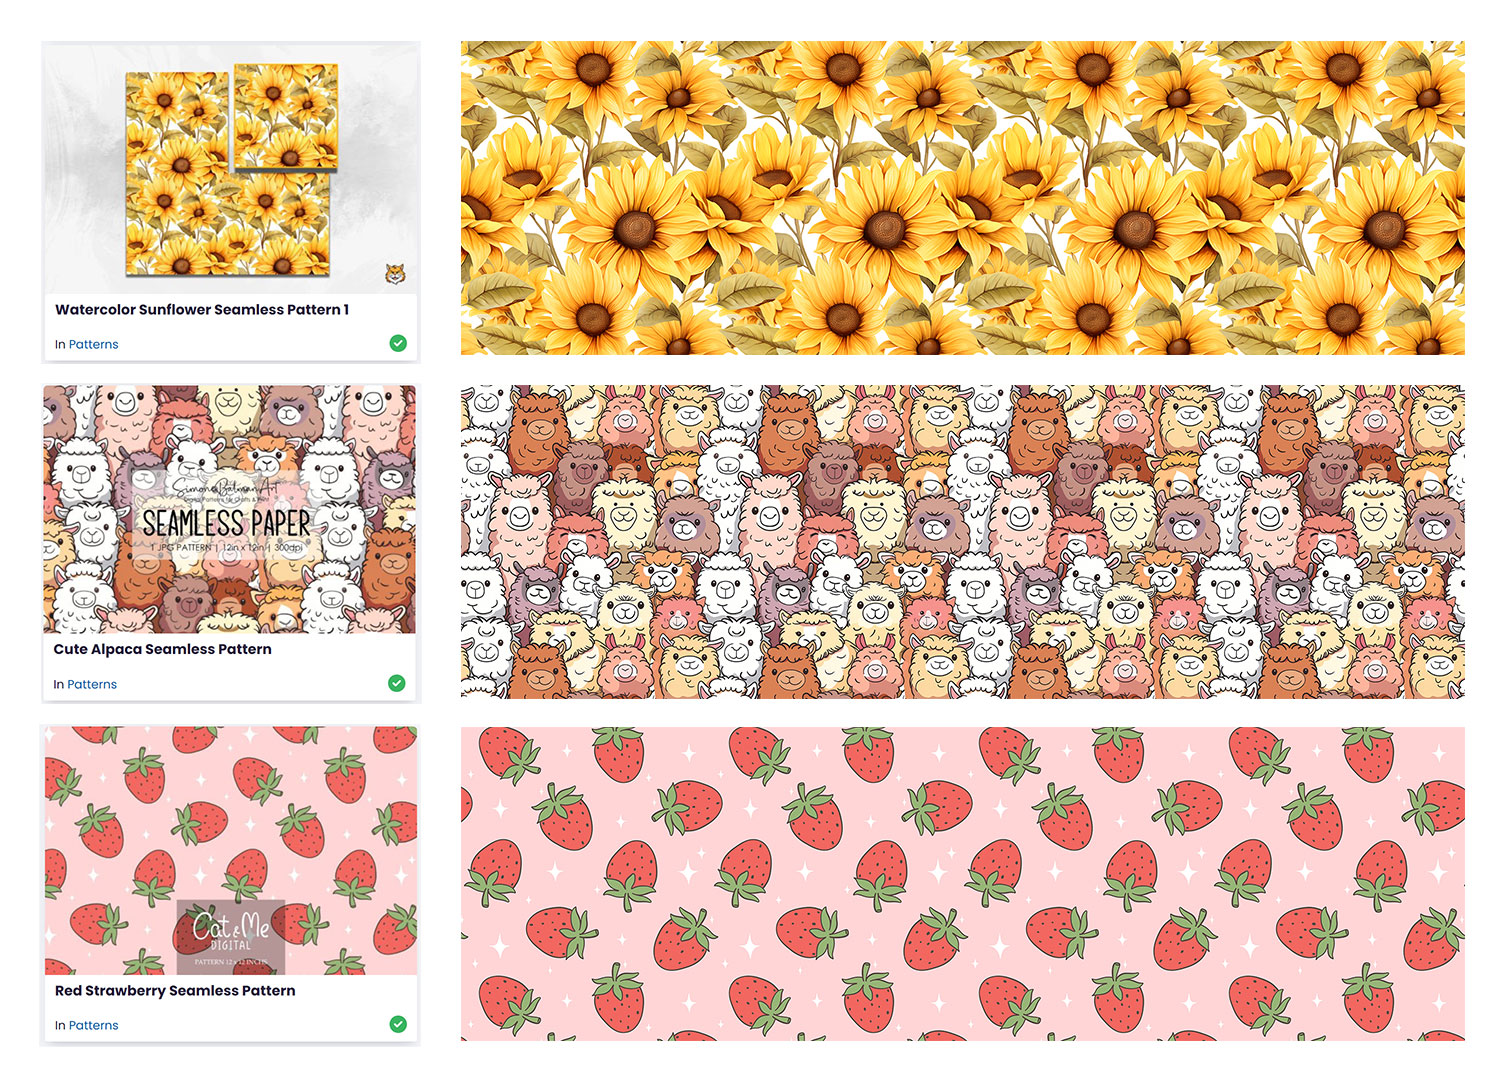
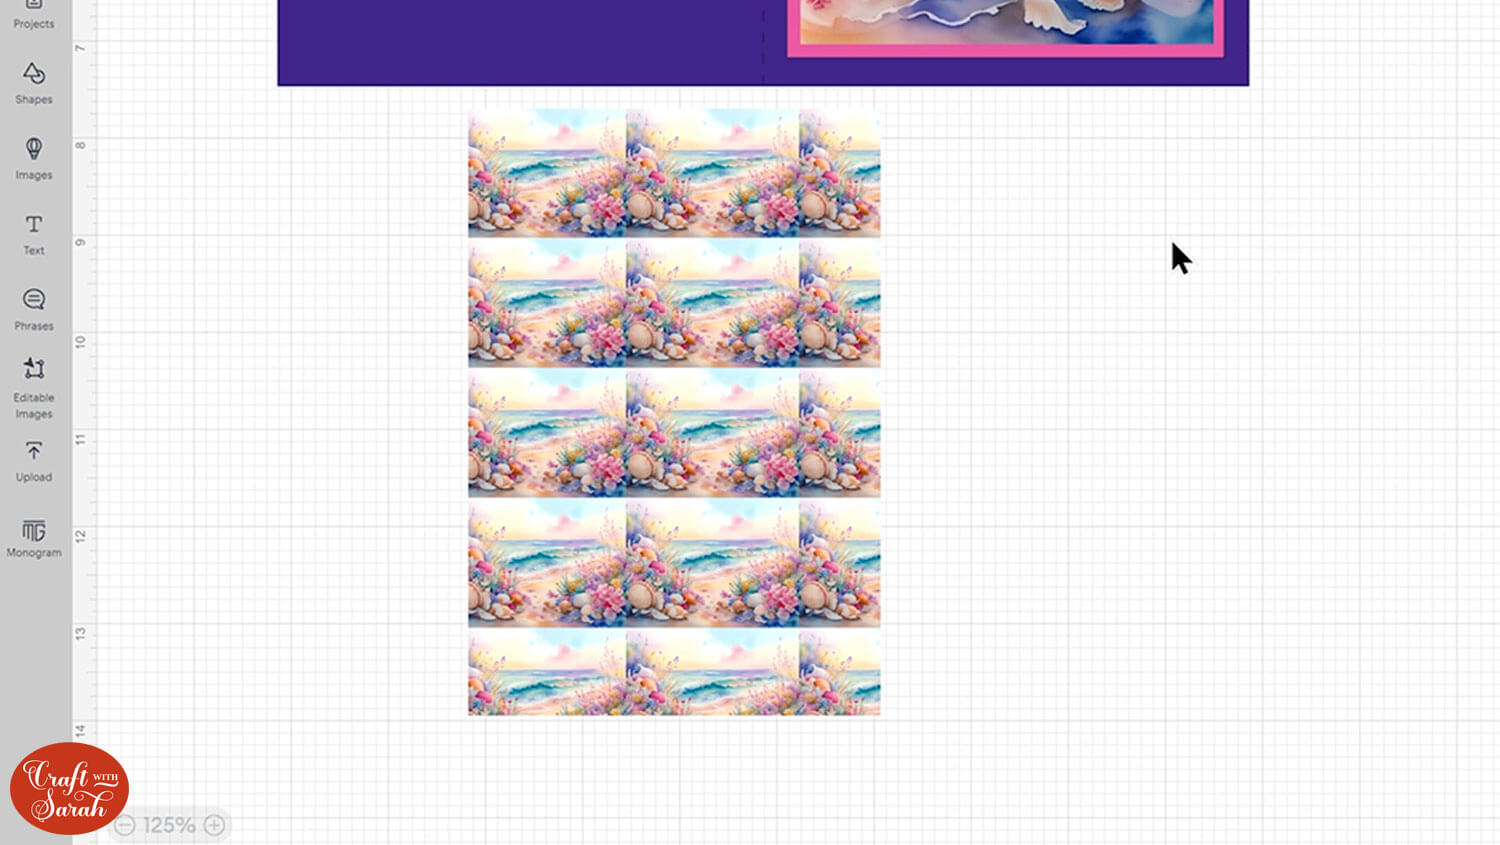
The other type of pattern is known as a repeating pattern (or seamless pattern) and this is where you could put two printouts next to each other and it would look like the pattern is smoothly continuing over both of them.
See how these square patterns “stretch” perfectly into rectangles. You cannot see where the join lines are, or where one square ends and the next one begins.
It can help to narrow down the patterns you want to use by including the words “seamless” or “repeating” in your search terms.
For this tutorial, it doesn’t matter which type of background image you choose, as I’ll show you how to use they can all be used in Design Space, either with the Pattern Fill option or the Slice tool.
You’ll probably find that the downloads come in a zip folder. You’ll need to unzip this before you can upload the images into Cricut Design Space.
- How to unzip a folder on Windows computer
- How to unzip a folder on a Mac
- How to unzip a folder on an iPad/iPhone
- How to unzip a folder on an Android device
METHOD 1: Pattern fill in Cricut Design Space tutorial
The pattern fill option is for your seamless/repeating patterns.
Step 1) Upload the pattern to Design Space
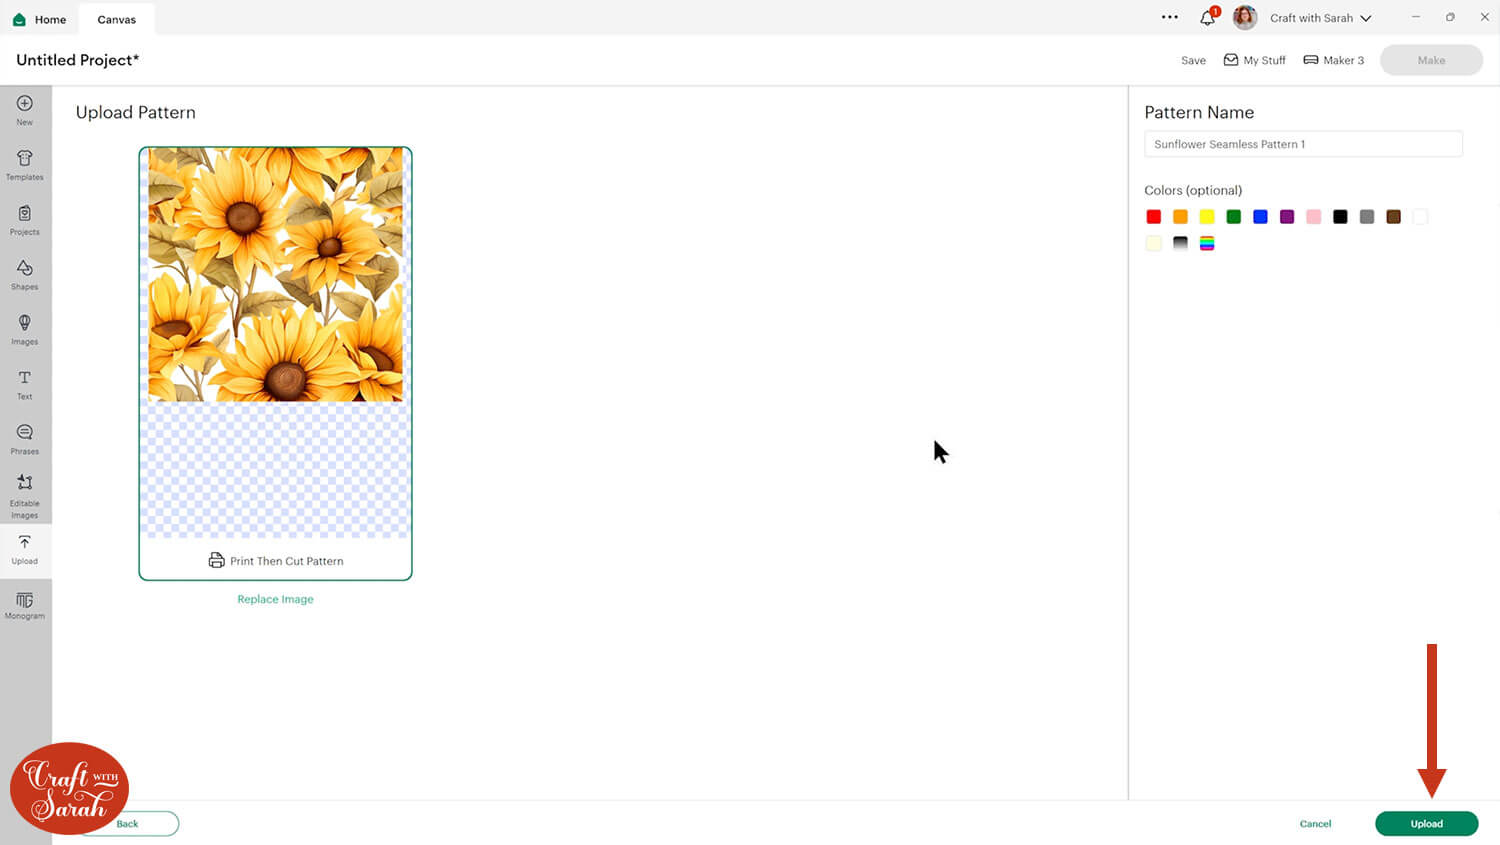
Go into “Upload” and then click the “Pattern Fill” option on the right, then press “Upload Pattern”.

Select your pattern image. Give it a name on the next screen if desired, then click “Upload”.
Notice your new pattern doesn’t appear under your Recent Uploads.
That’s because pattern fills work in a slightly different way to the usual SVG/image upload process.
You need to apply the pattern fill to another layer in order to use it.

Step 3) Using the Pattern Fill tool
You can add patterns into any shape, text or cuttable image layer in Design Space.
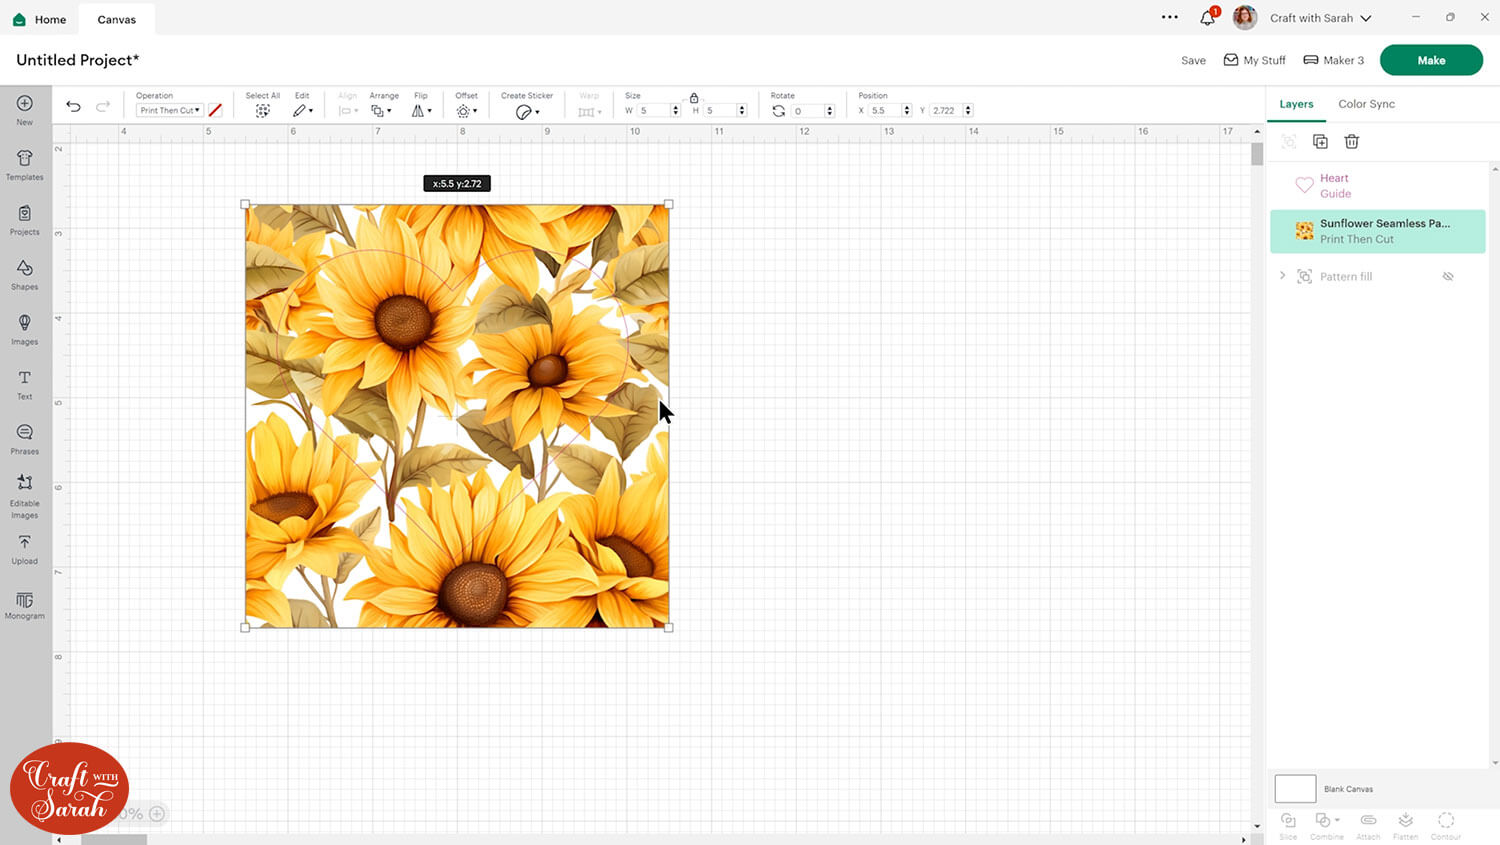
To test it out, click “Shapes” and choose one to add onto your Project. I chose a heart.
Click the layer and change it to “Print then Cut” under the Operations dropdown.
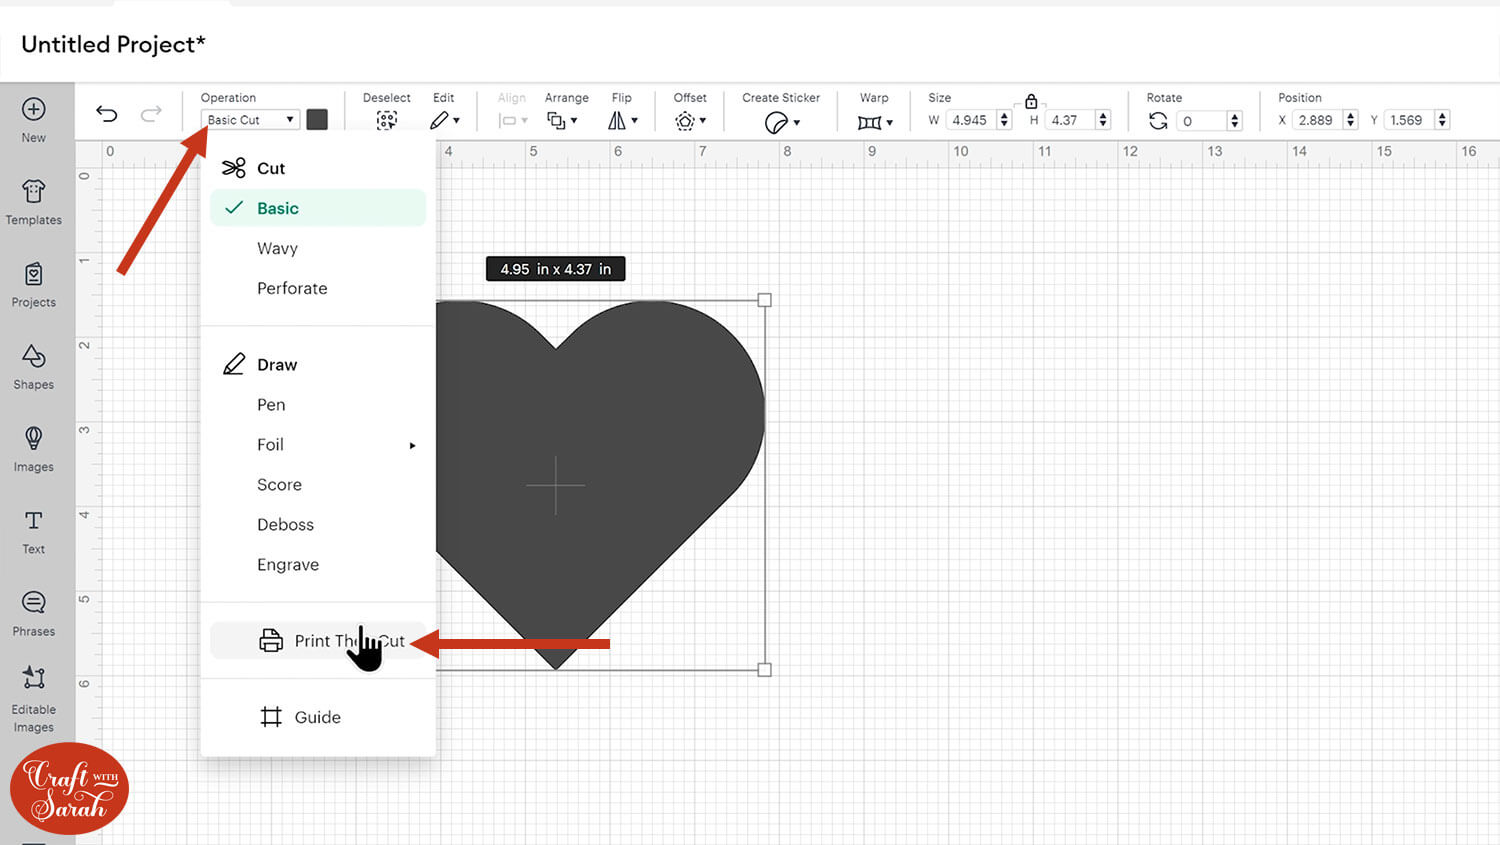
Click the colour box and choose “Pattern” under “Print type”.
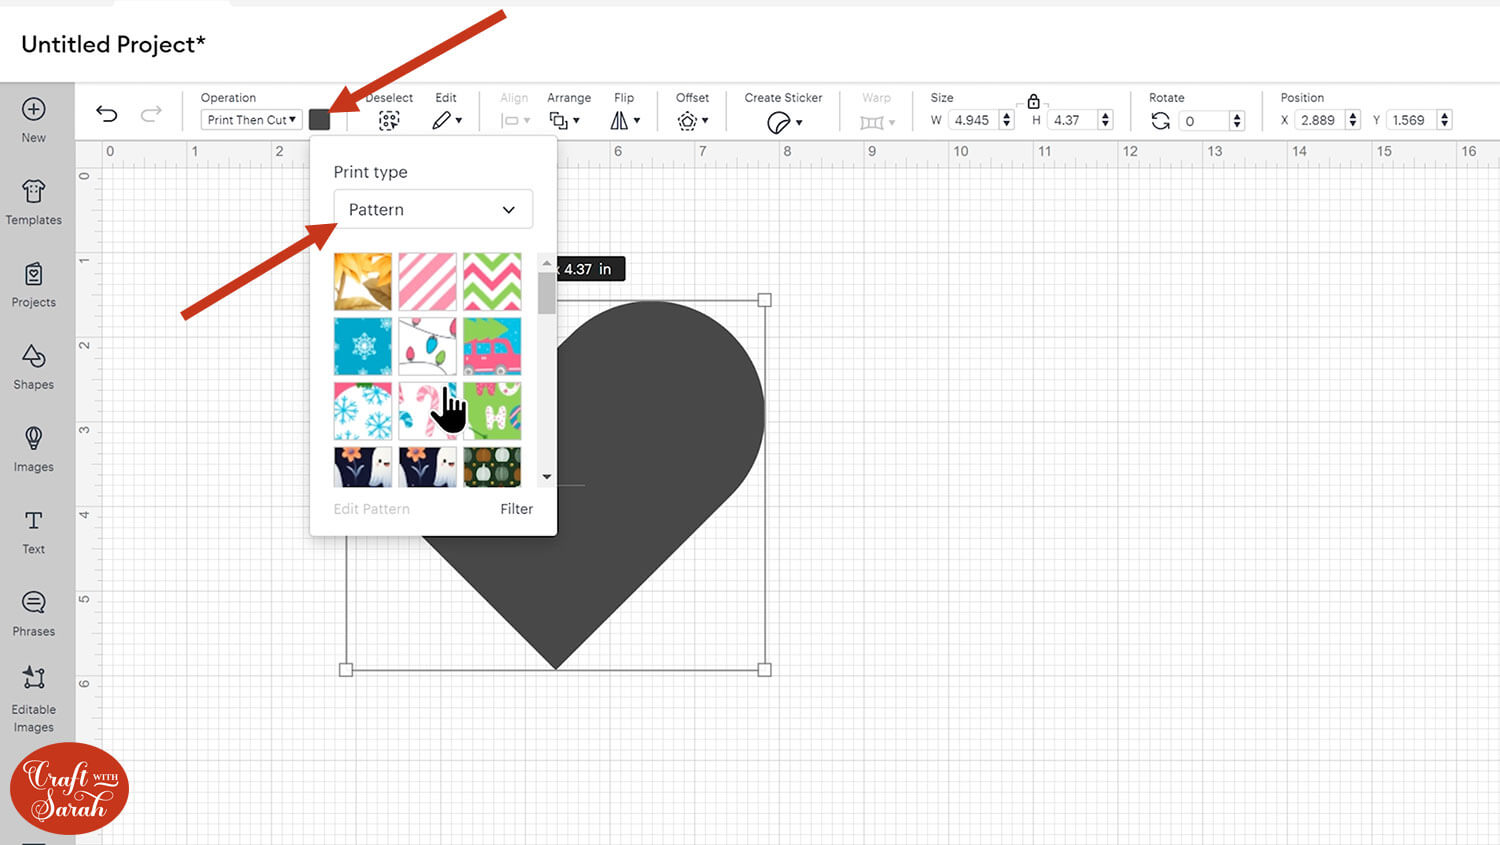
You will see lots of default Design Space patterns in there, as well as the one you have just uploaded.
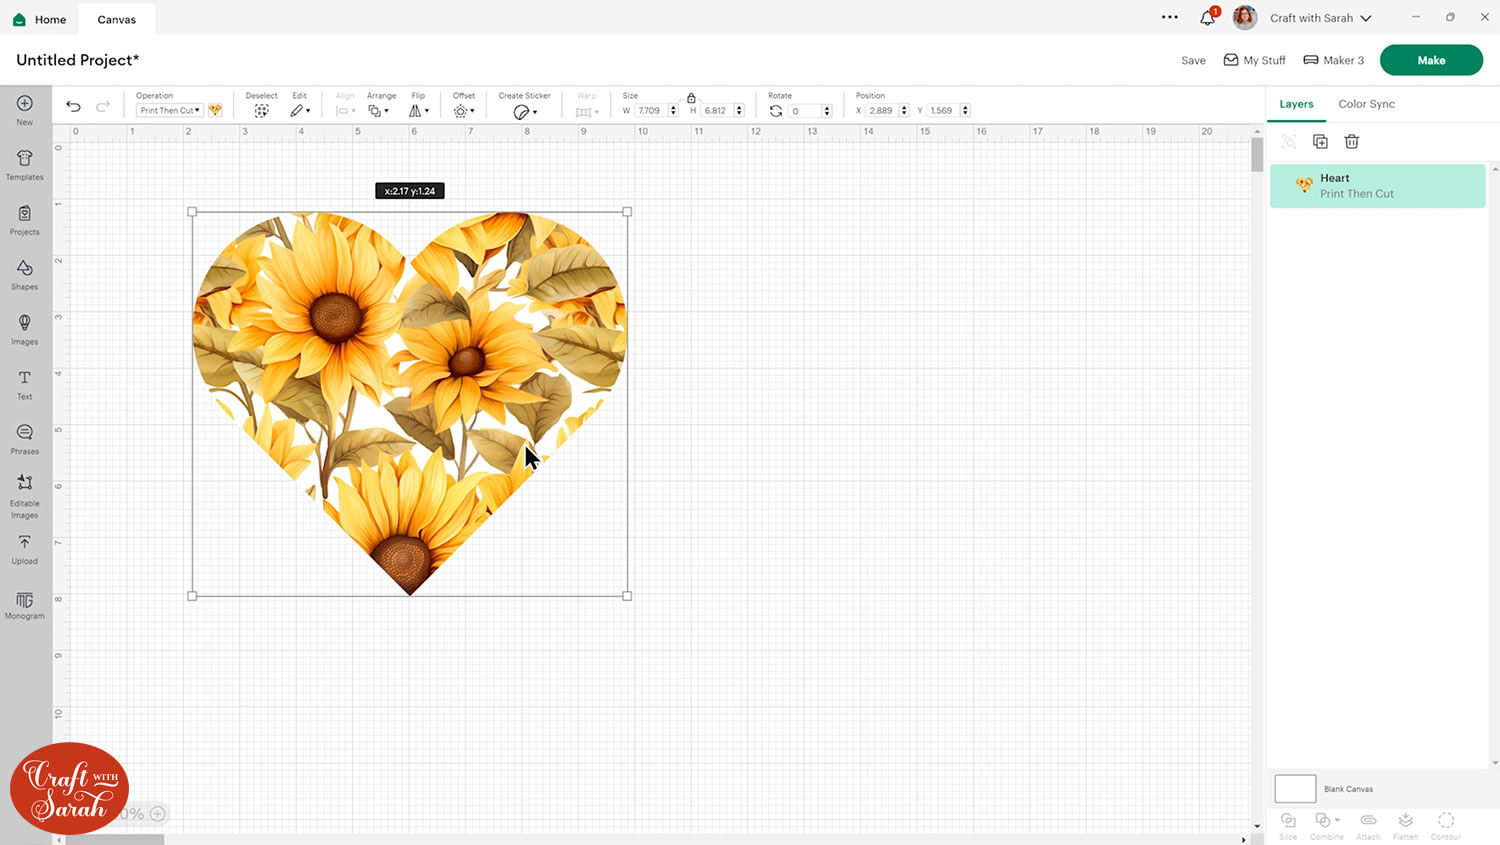
Click the pattern you want to use and the screen will automatically update to fill your shape with the pattern.
You can change how it looks by going back into the pattern selection dropdown and pressing “Edit Pattern”.
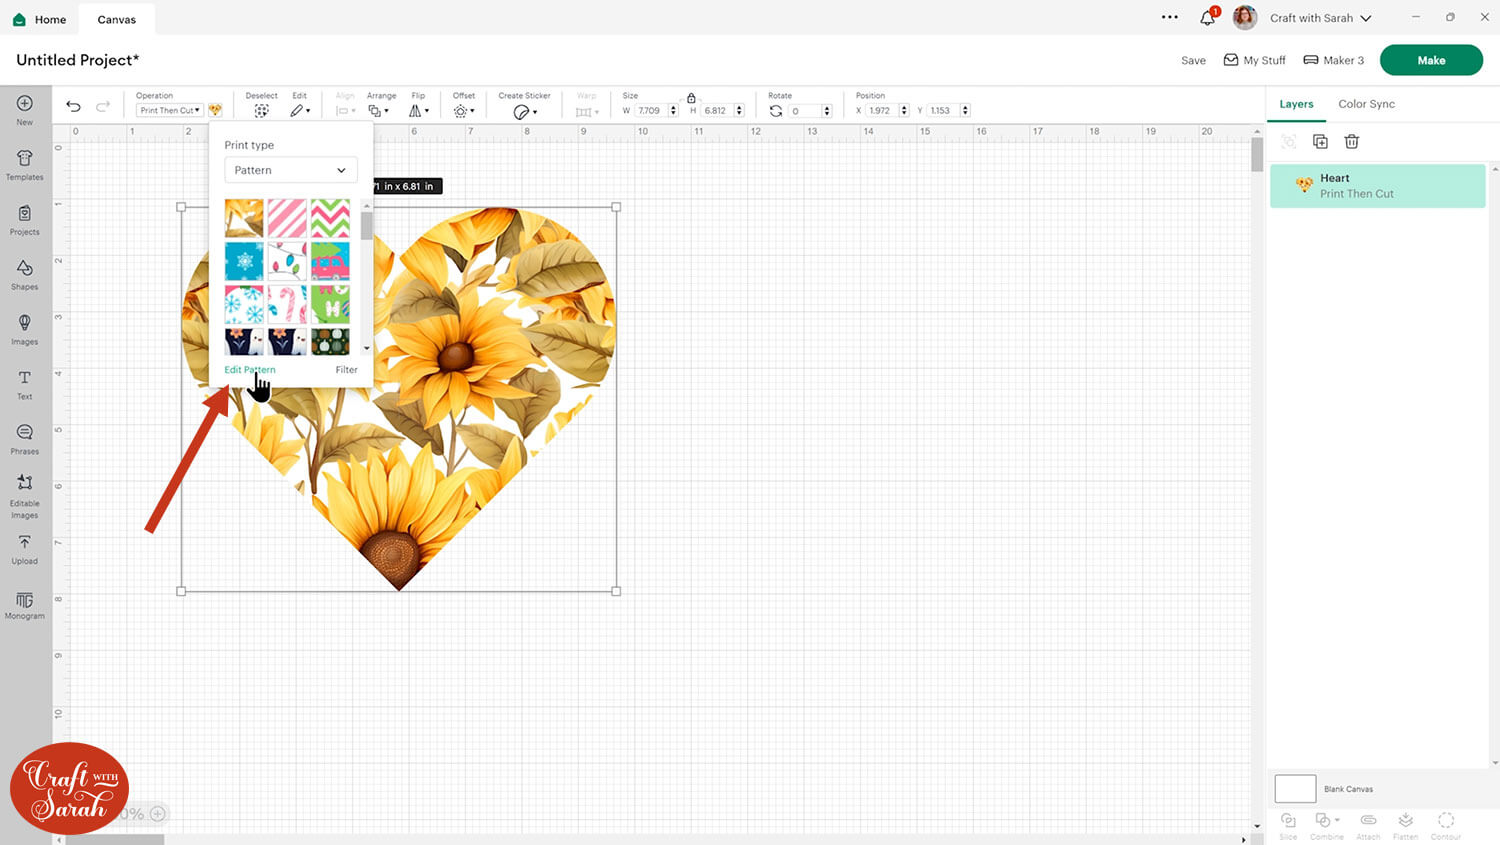
Within here you can edit the pattern.
Use the scale to make it bigger or smaller when filling. This is why we needed a seamless pattern, so the the “repeats” of the pattern blend into each other without any visible join lines.
You can also change how the pattern looks by flipping it, rotating it or changing its appearance.
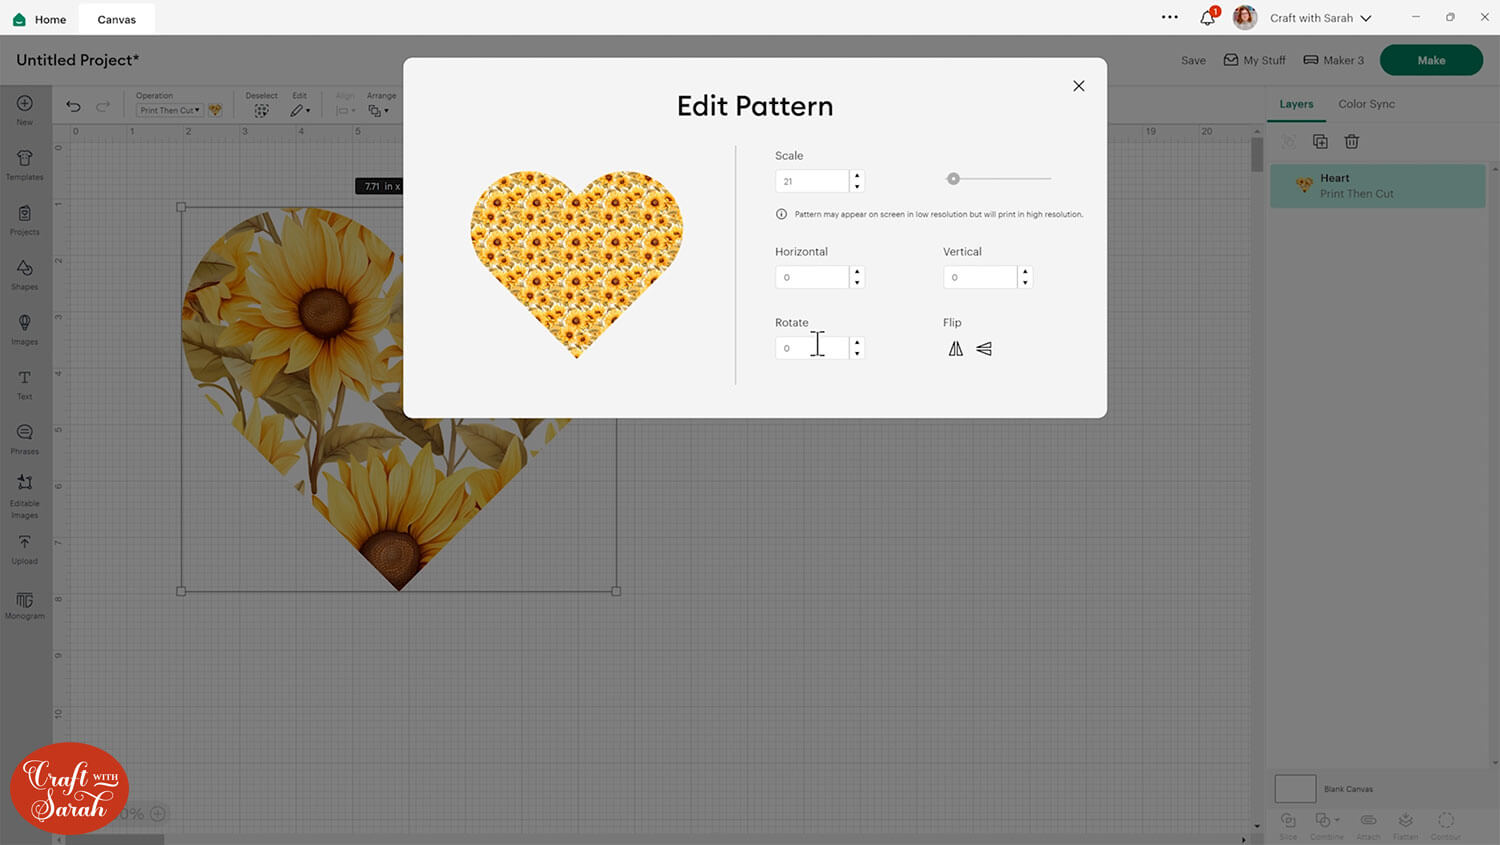
When you’re happy with how it’s looking, simply close out of that box and your screen will update to reflect the changes you’ve made.
You can also use pattern fills to fill in images from Cricut Access or SVG files.
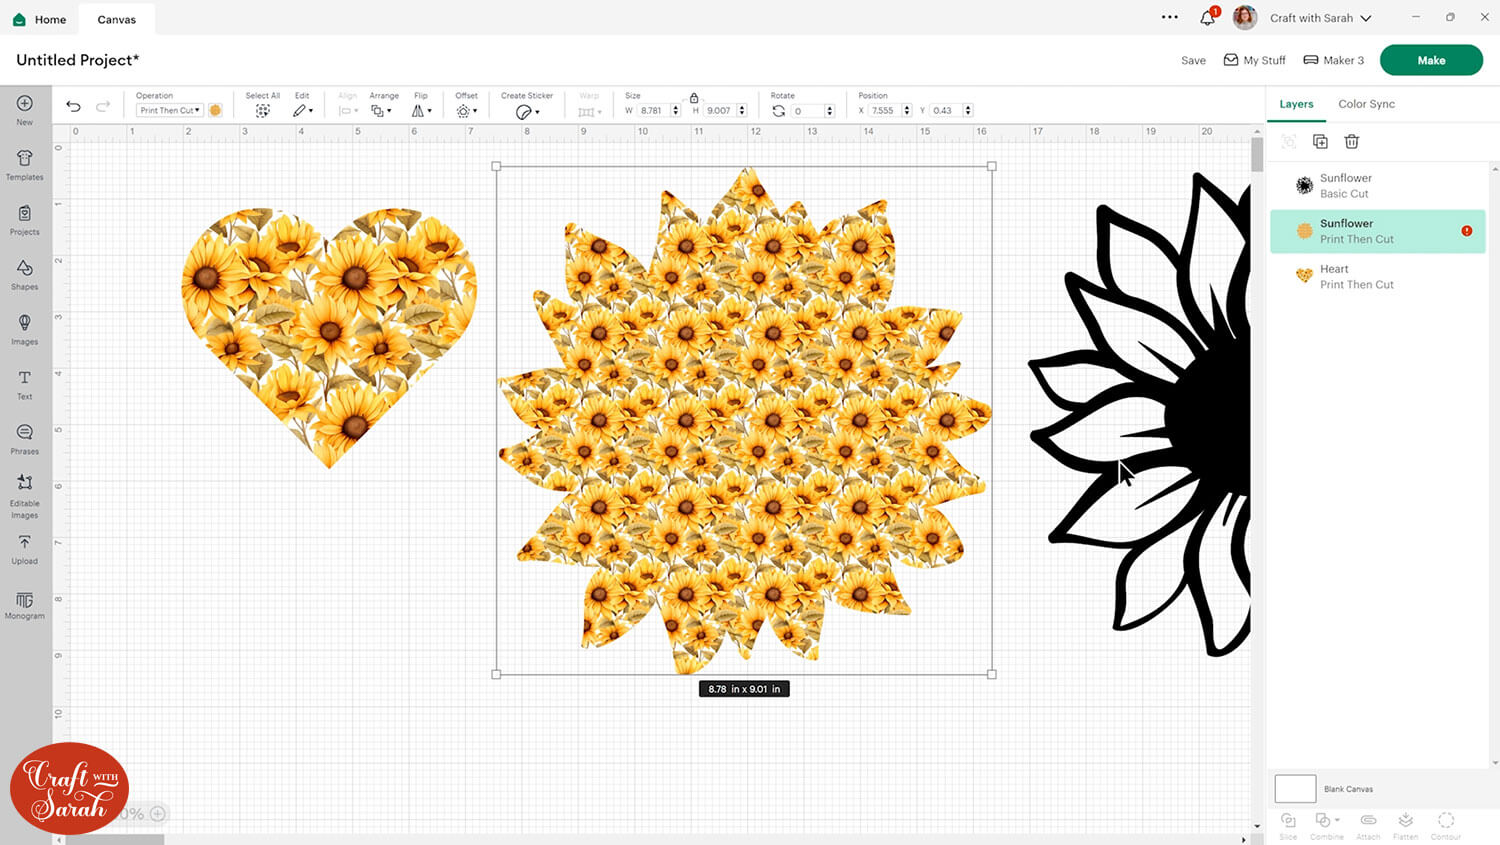
To try it out, go into “Images” and choose a simple, one-layer, single-coloured image. Remember that wherever it’s showing the colour, that’s where the pattern will show.
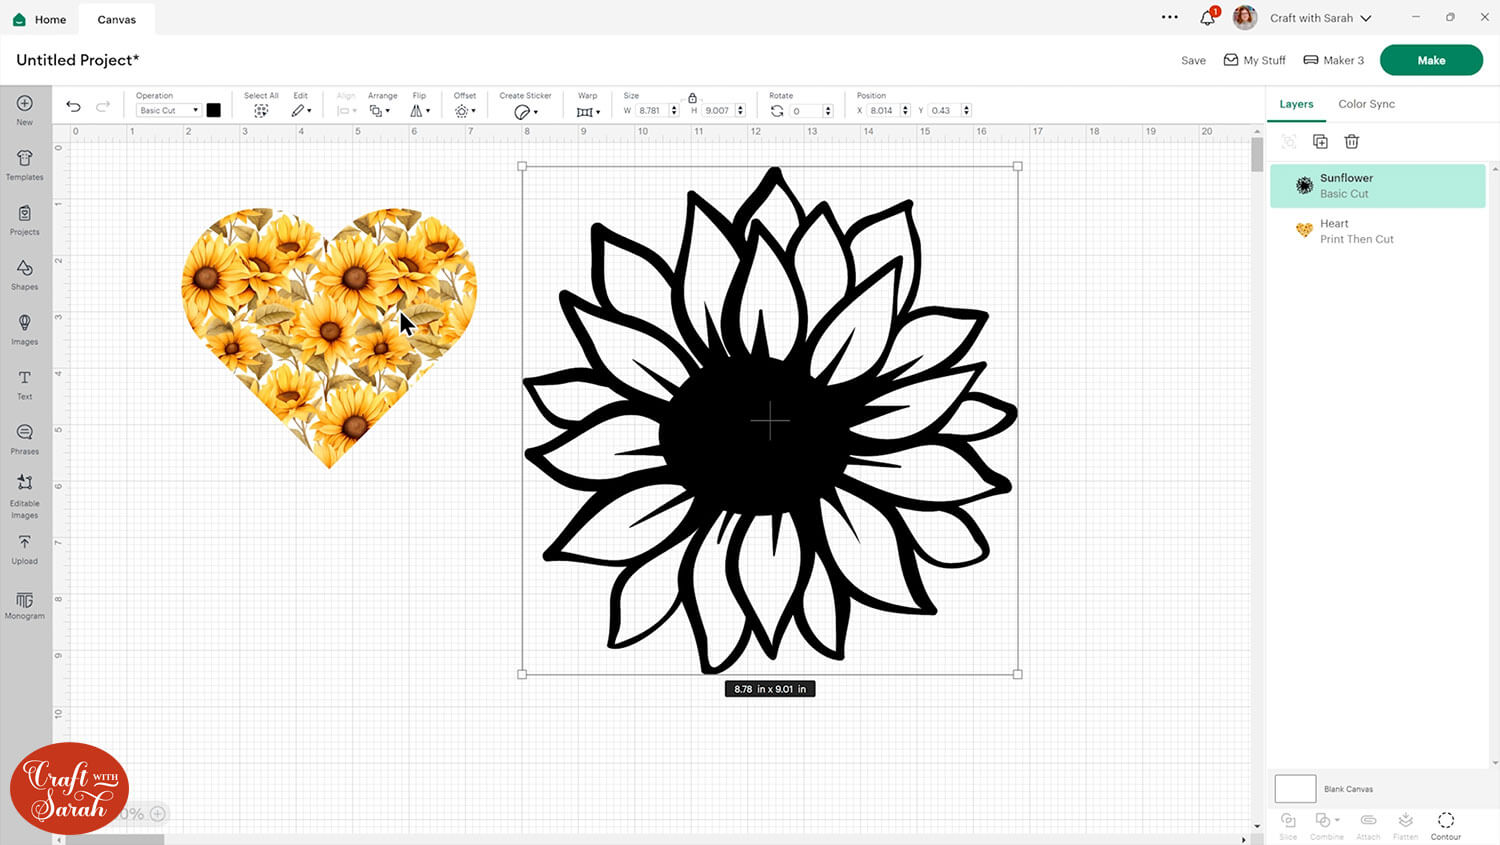
I want to fill in the petals of the sunflower with my pattern, then have the black outline on top.
First, “Duplicate” the image to make a copy.
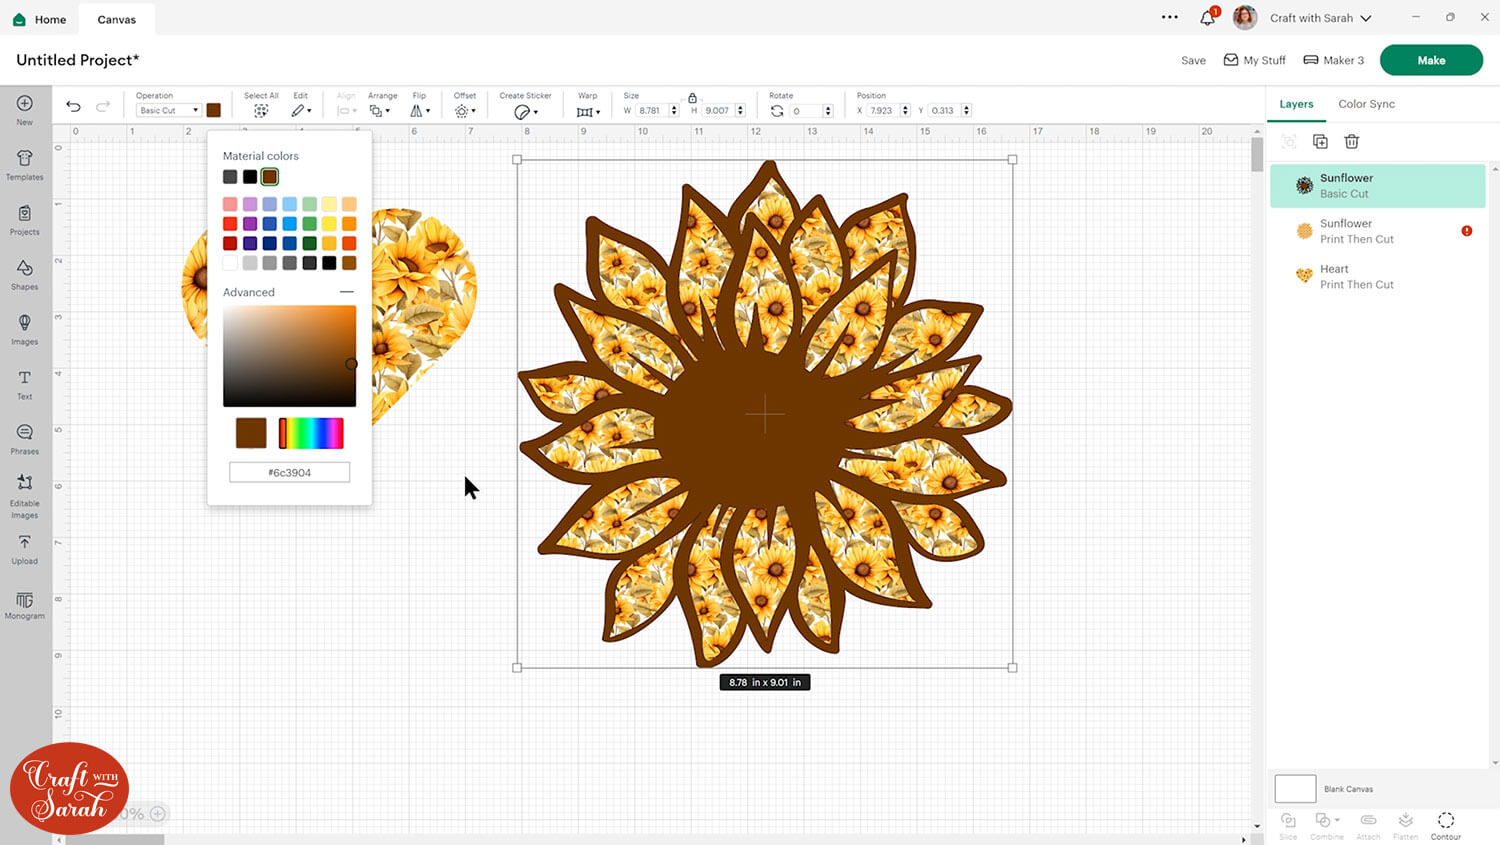
Select one of the images, then click the “Contour” button at the bottom of the layers panel.
Choose “Hide all Contours” in the popup box and then close the box.
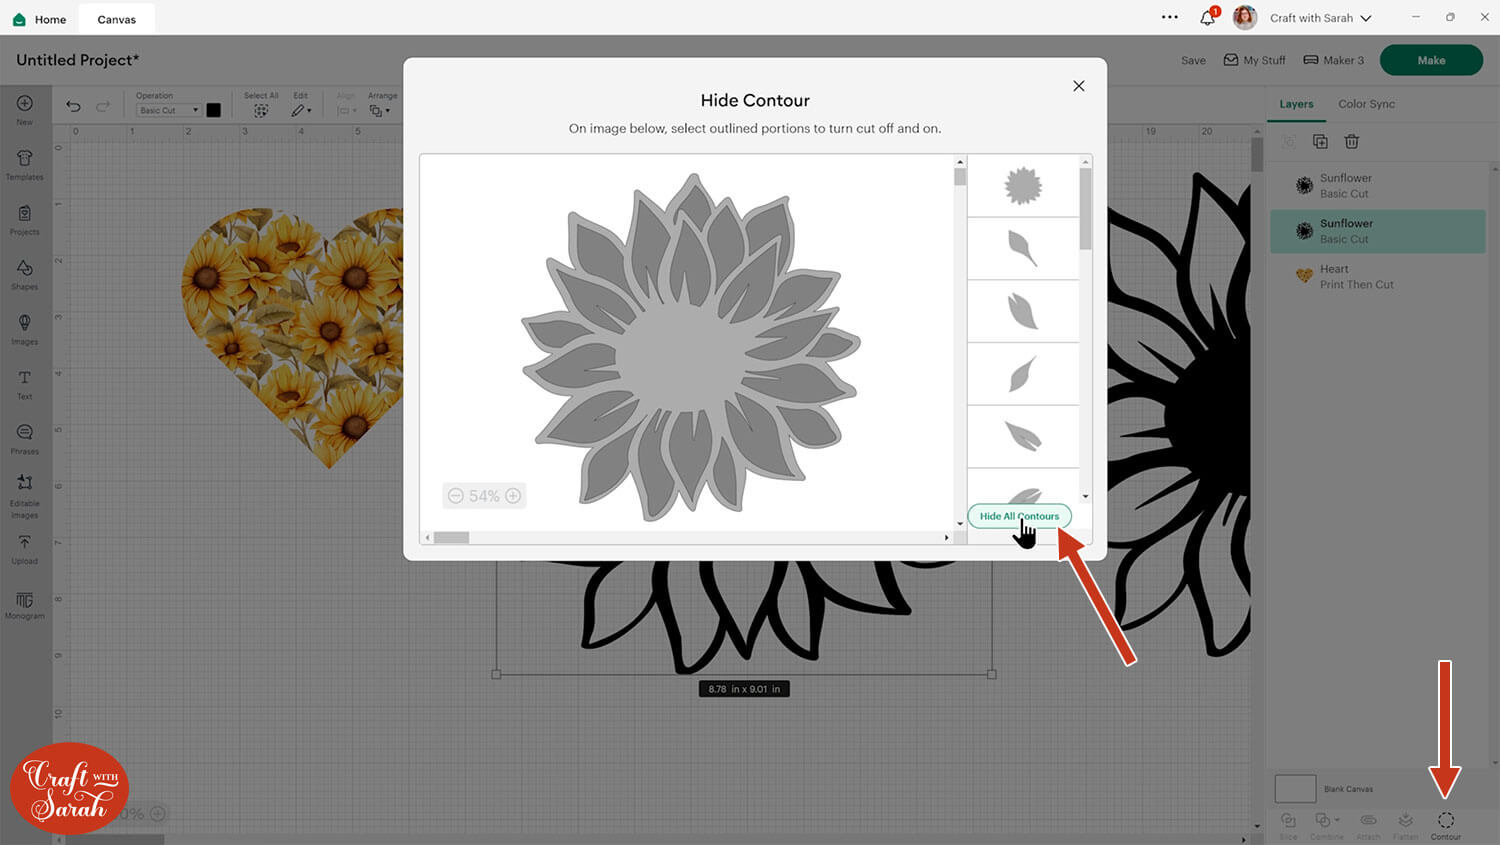
This will fill in all the empty space in the image.
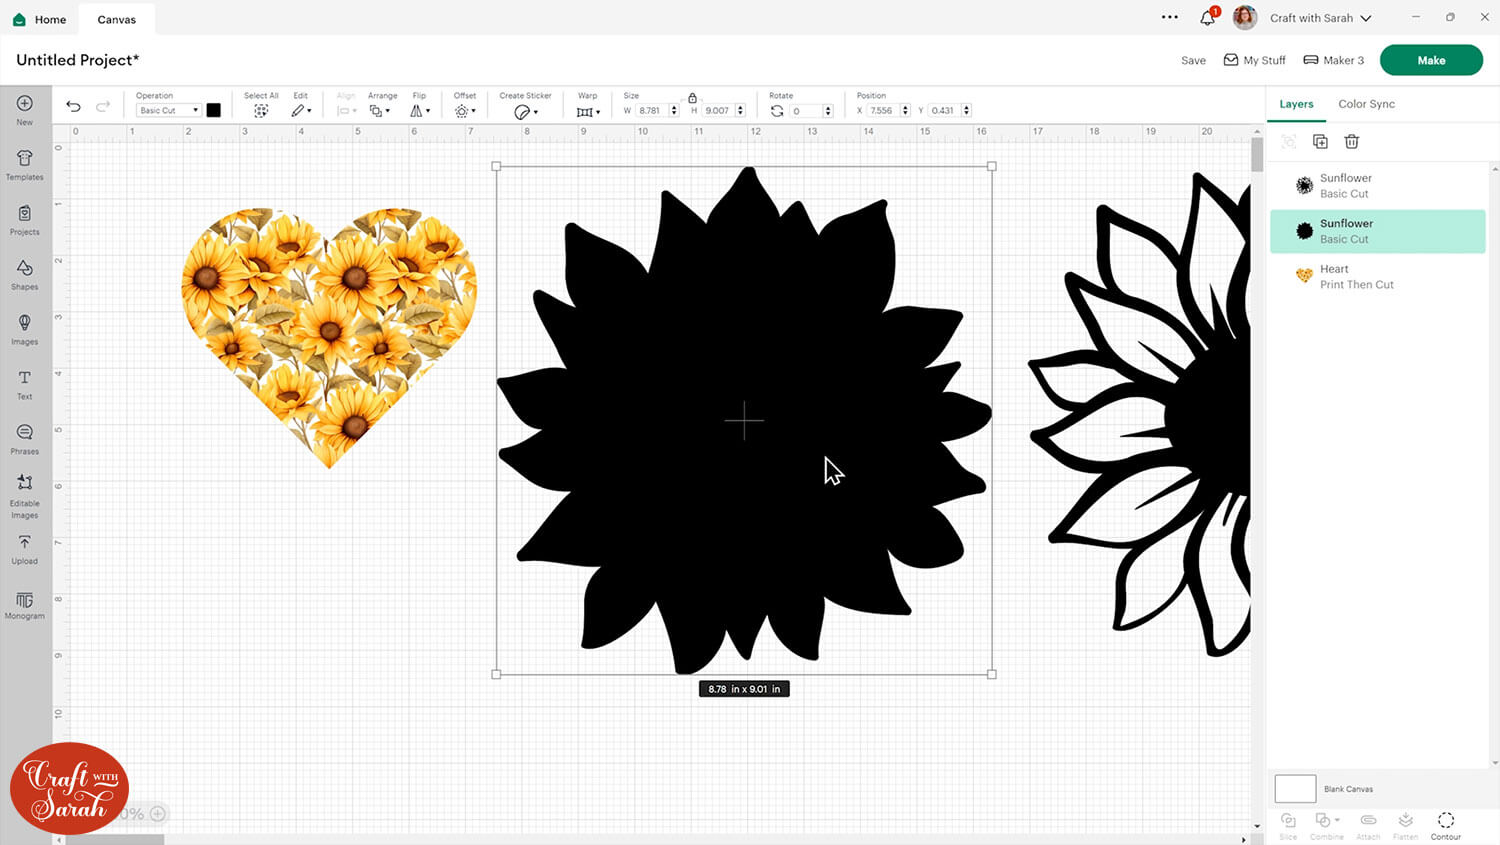
Change this layer to “Print then Cut” under the Operations dropdown.
Apply the pattern to it in the same way that you did for the heart shape. Edit the pattern to get it looking how you want it to.
Drag the original image back on top and change the colour if needed.
This is important! If you want to print both layers as one single image that the Cricut will cut around the edge of, you need to select both layers and press the “Flatten” button at the bottom of the layers panel. This joins the two layers together into one single printable image.
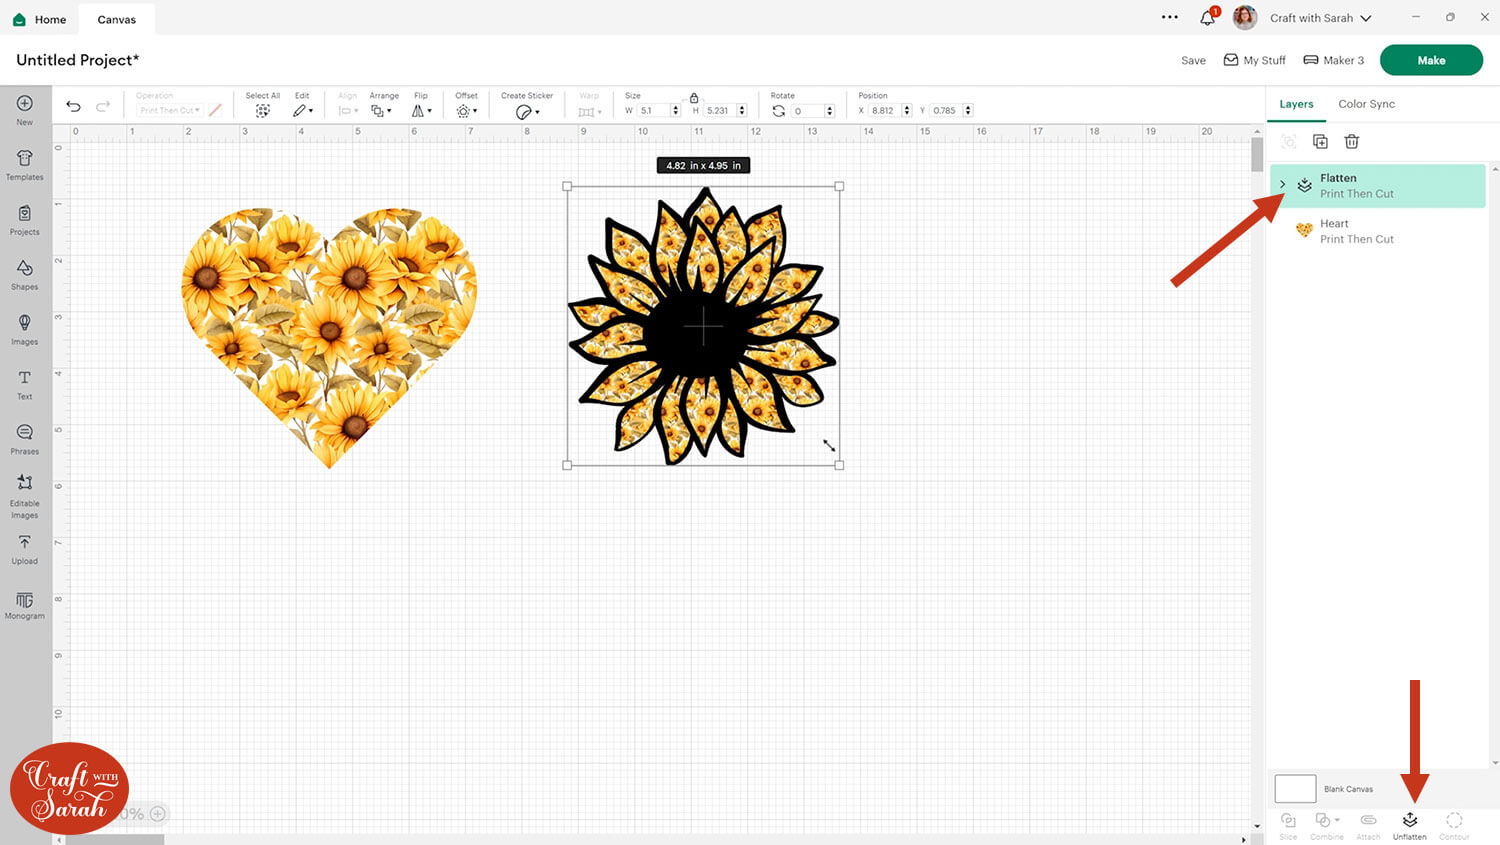
Now you have an image which would make a lovely sticker or a printable topper to go on a greetings card.
You can use these same steps to apply patterns to Text in Design Space too.
METHOD 2: Creating backgrounds with the Slice tool
Now let’s take a look at the other option which is to upload your patterns or backgrounds as an image rather than using pattern fill.
This is best for non-repeating, standalone patterns/images that do not tile BUT I’m going to use the same sunflower design so that I can show the difference between the two options.
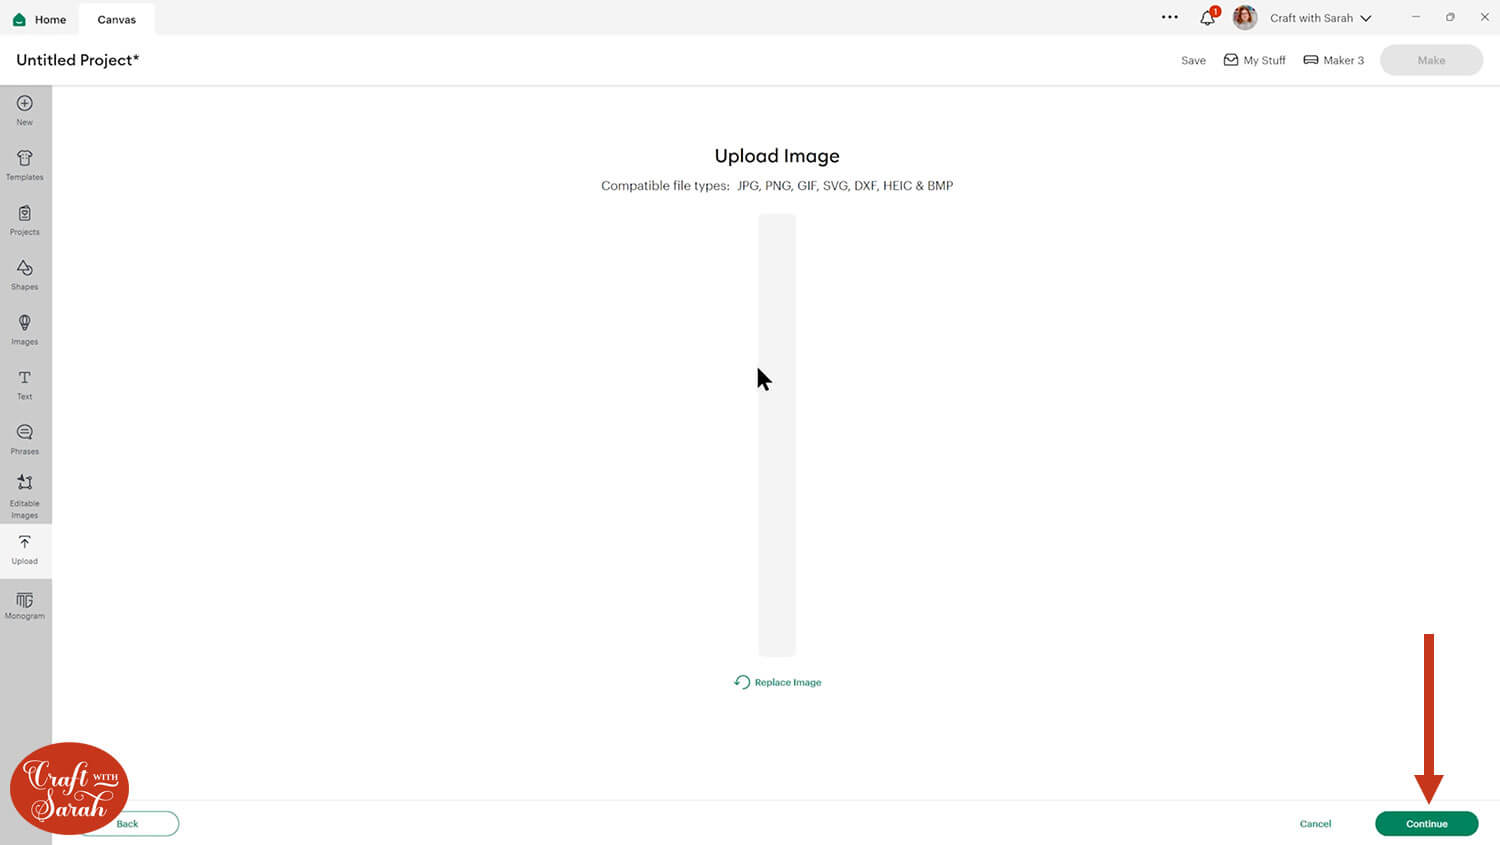
This time we’ll go into “Upload” and then “Upload Image” as we would do normally when uploading an image or SVG.
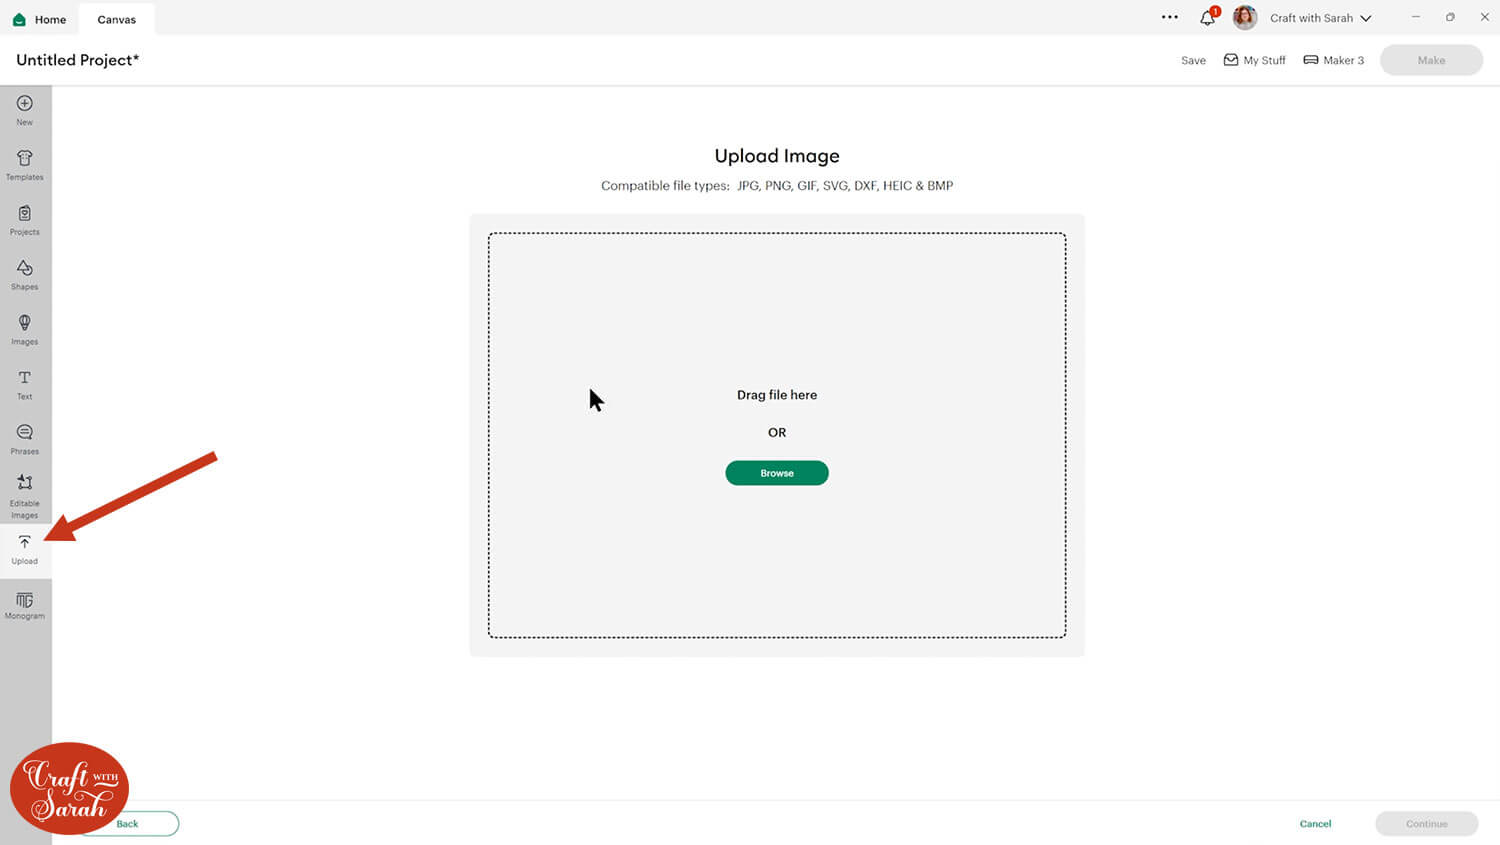
Drag in your image. Note that at the time of writing this tutorial (May 2024), there is a little bug in Design Space when you upload a printable image which is that it shows a thin grey rectangle instead of the preview of your image.
Ignore that and click “Continue”.
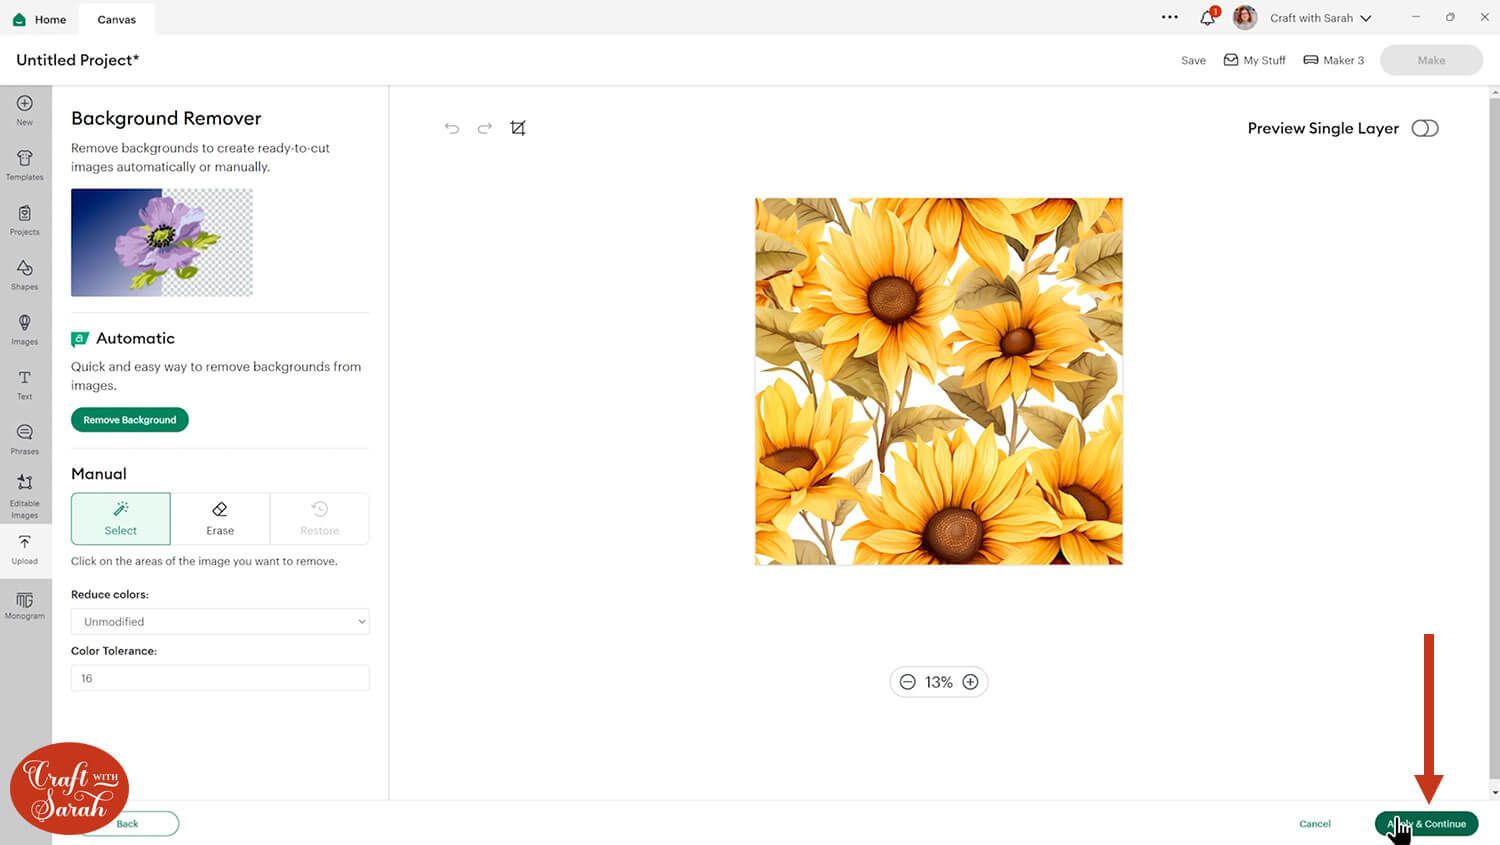
You don’t need to change anything on the next screen – just click “Apply & Continue”.
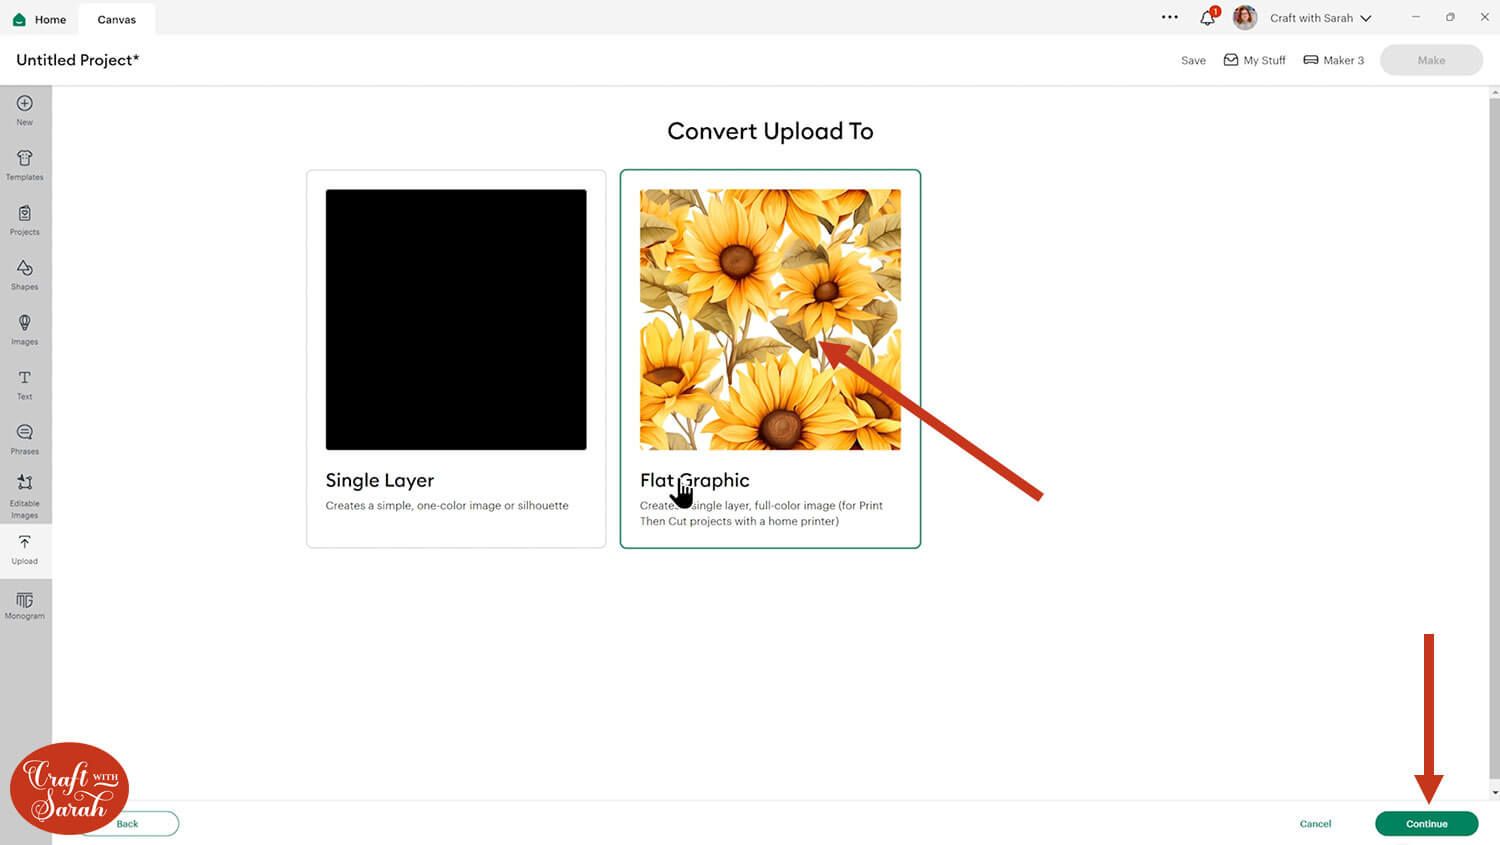
Convert the upload to a “Flat Graphic”.
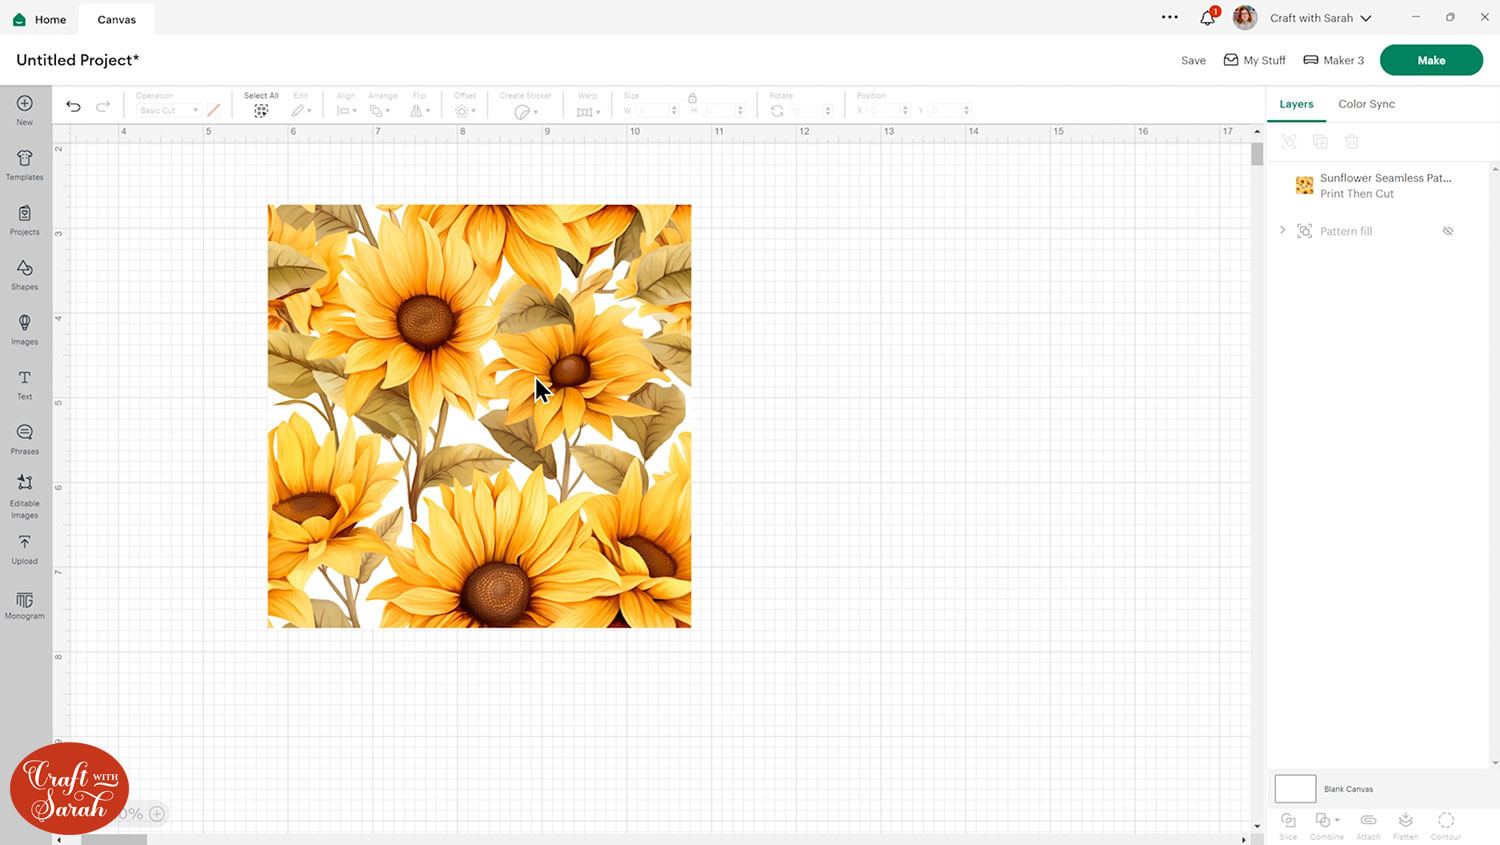
It will then be inserted onto your Canvas. It might come in realllyyyyyyy big – if that’s the case, resize it down to a sensible size.
Add a Shape. Change it to a “Guide” layer in the Operations dropdown.

Size and position it over the background image. Choose the best place to place it.
Select both layers and press “Slice”.
This will cut the heart out of the background. Delete the offcut layers and you’ll be left with a shape filled with the graphic.
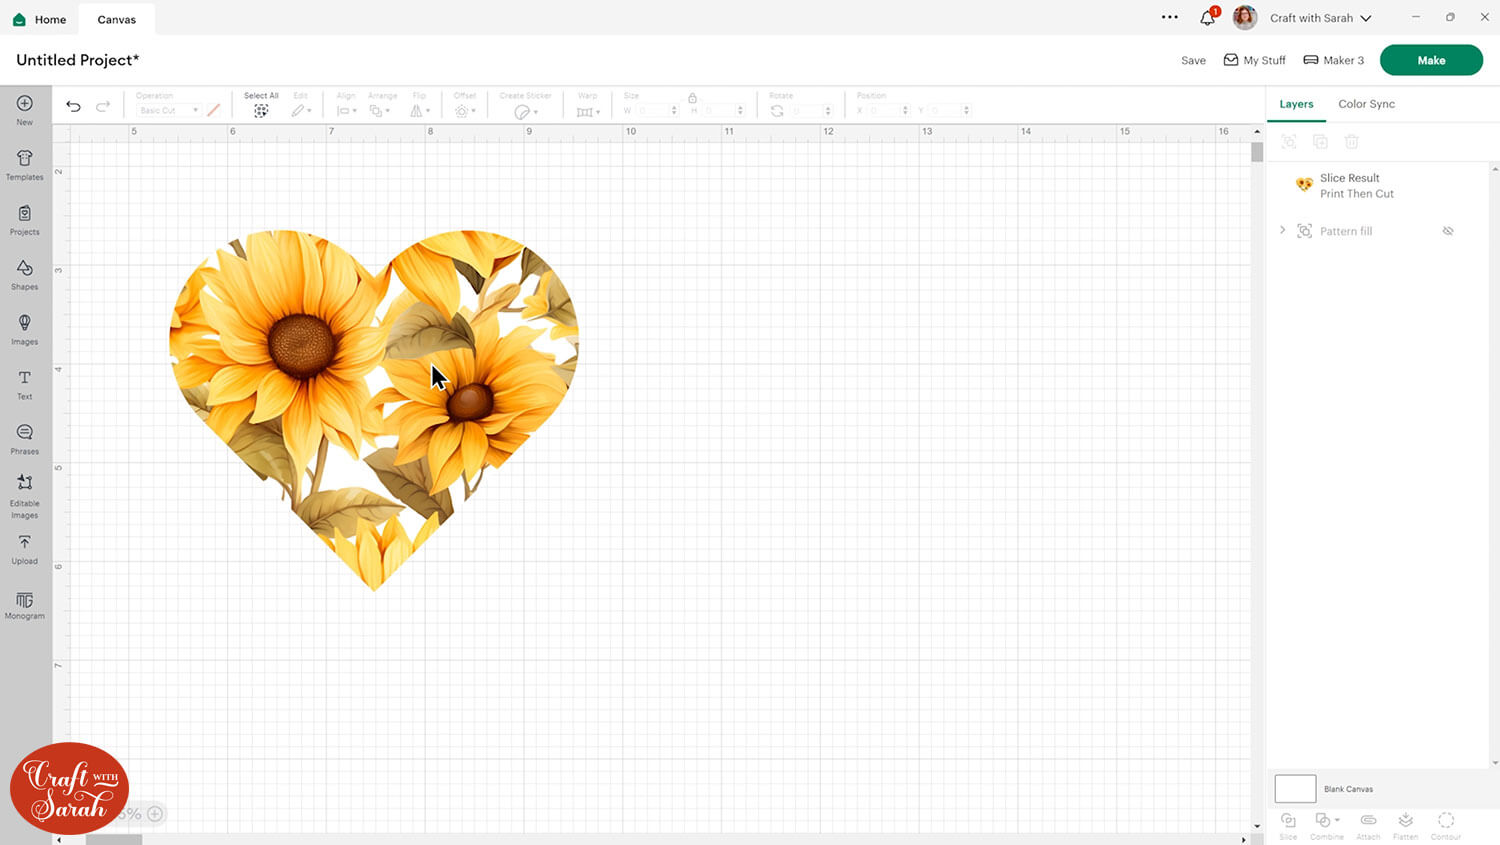
At this point, the result looks very similar to how the heart looked when I used the pattern fill option instead.
HOWEVER, this time we have less customisation options because we cannot edit the pattern to make it smaller or any of the other options that pattern fill allows us to do.
That’s why I prefer the pattern fill option over the Slice option for repeating/seamless images, as you get more options to change it.
However, if you are using a non-repeating image then this is the best option to use.
Here’s an example of using the Slice method on a non-repeating image.
This is the original image:

Here’s how it looks after cutting it into the shape of a rectangle, to go on a greetings card:
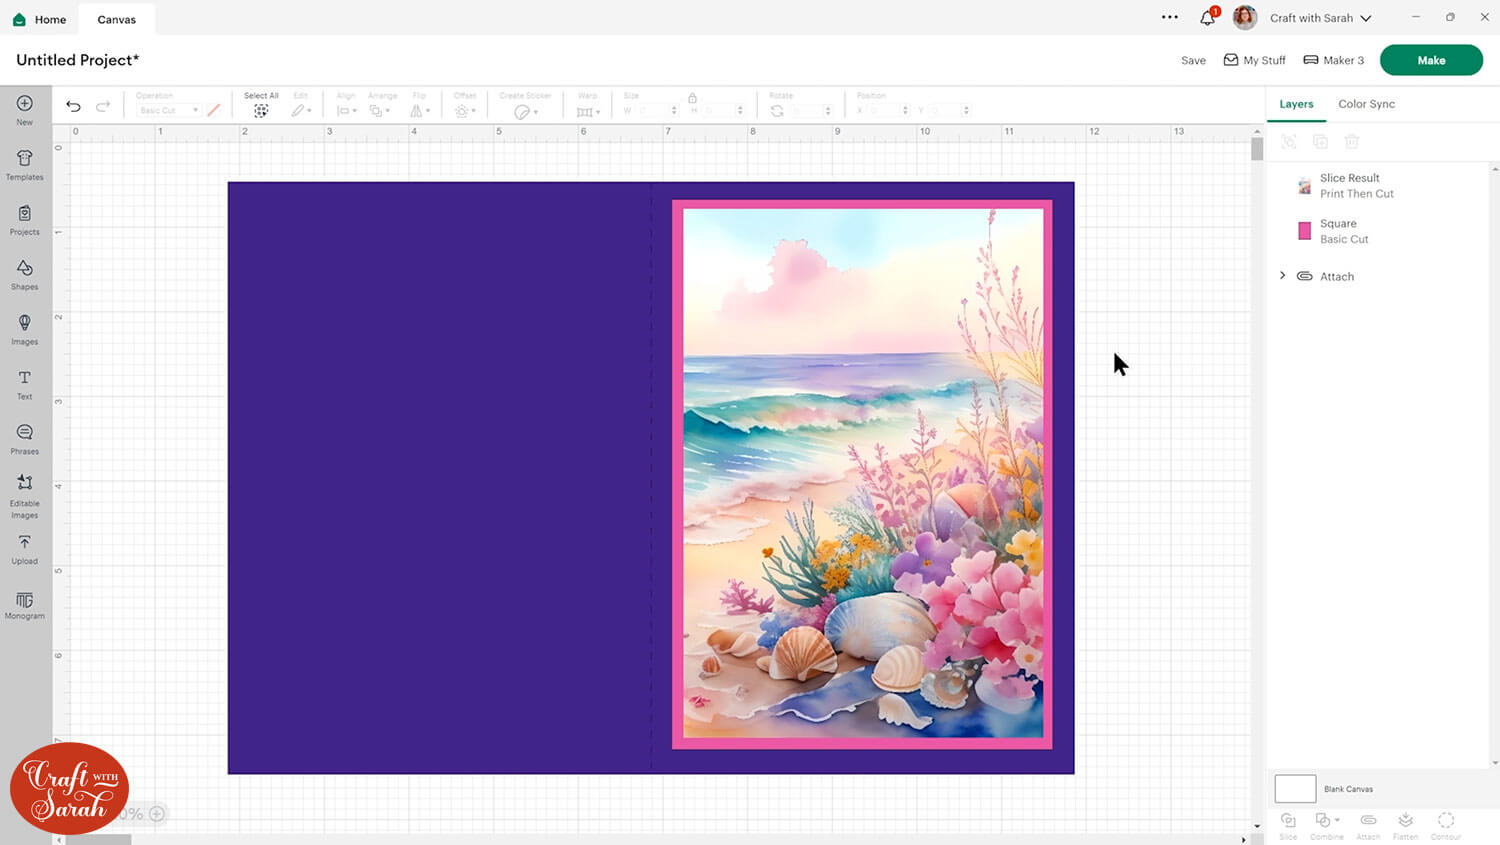
It looks beautiful, right?
But here’s what happens if the pattern fill tool was used instead, to fill the same shape with that same image:
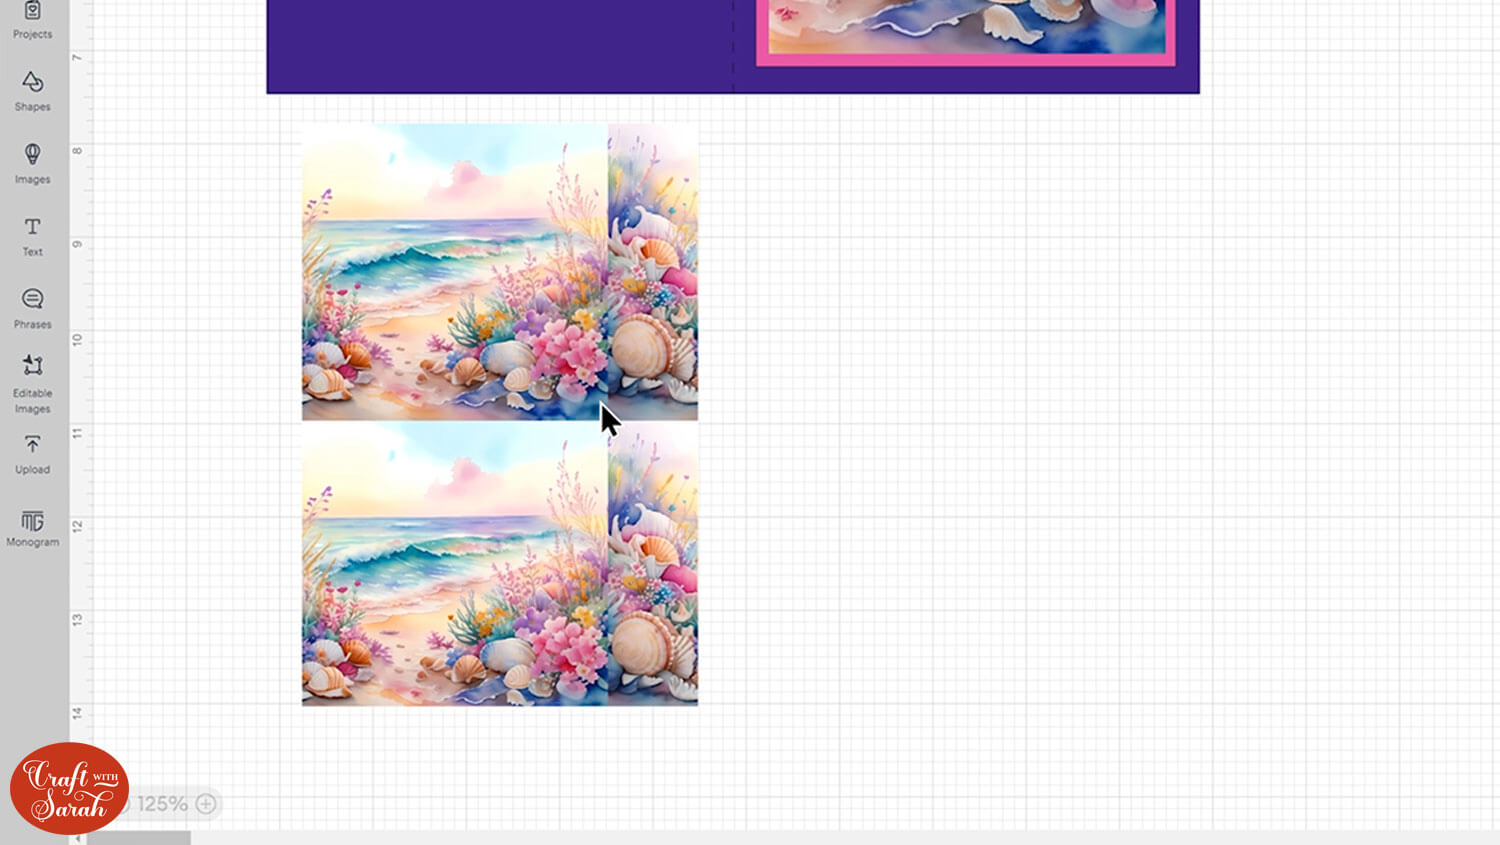
Oh dear!!!
The pattern fill tool is trying to “tile” the image to fill the whole shape of the rectangle, but because it isn’t a seamless design, the end result is… uh… not exactly what we want!
This is more evident if the pattern is edited to zoom out a little bit:
This is why the Slice option is best for non-repeating graphics, as you can choose a portion of the image to cut into your desired shape, rather than having ugly repeating elements that don’t match up.
Design Space pattern fill questions & answers
Here are answers to some frequently asked questions about using patterns in Cricut Design Space.
How do I import a pattern into Cricut Design Space?
You can import a pattern into Cricut Design Space by going to “Upload” and selecting the “Pattern Fill” option just below the upload button. I take you through the steps in detail in the tutorial above.
Does Cricut have patterns?
There are some patterns included in Design Space which you can view by selecting a “print then cut” layer in your project, then click the colour box and change the print type drop down to Pattern. Scroll through the pattern options until you find one that you’d like to use.
There are also some patterns and backgrounds available under the “Images” search, but you may need the Cricut Access subscription to be able to use them.
Can I fill a shape in Design Space?
You can fill a shape in Design Space with either a colour or pattern. You won’t be able to fill a shape using Cricut pens. I show you exactly how you can use pattern fill in shapes and images in the tutorial above.
Can I make my own pattern for Cricut?
Absolutely! Programmes like Adobe Photoshop, Adobe Illustrator, Inkscape, Procreate or Affinity Designer are perfect for creating your own designs for Cricut Design Space.
Pattern fill vs Slice: 2 background paper methods
Hopefully this Design Space tutorial has demonstrated why pattern fill is the better option for seamless patterns and image upload is better for non-repeating patterns.
I love the different ways that graphics can be used in print then cut projects and that Design Space makes it so easy to cut graphics into the correct size and shape!
Happy crafting,
Sarah x

