How to Frame Layered Alphabet SVGs with MAGIC GUIDES!! 🧙🏼
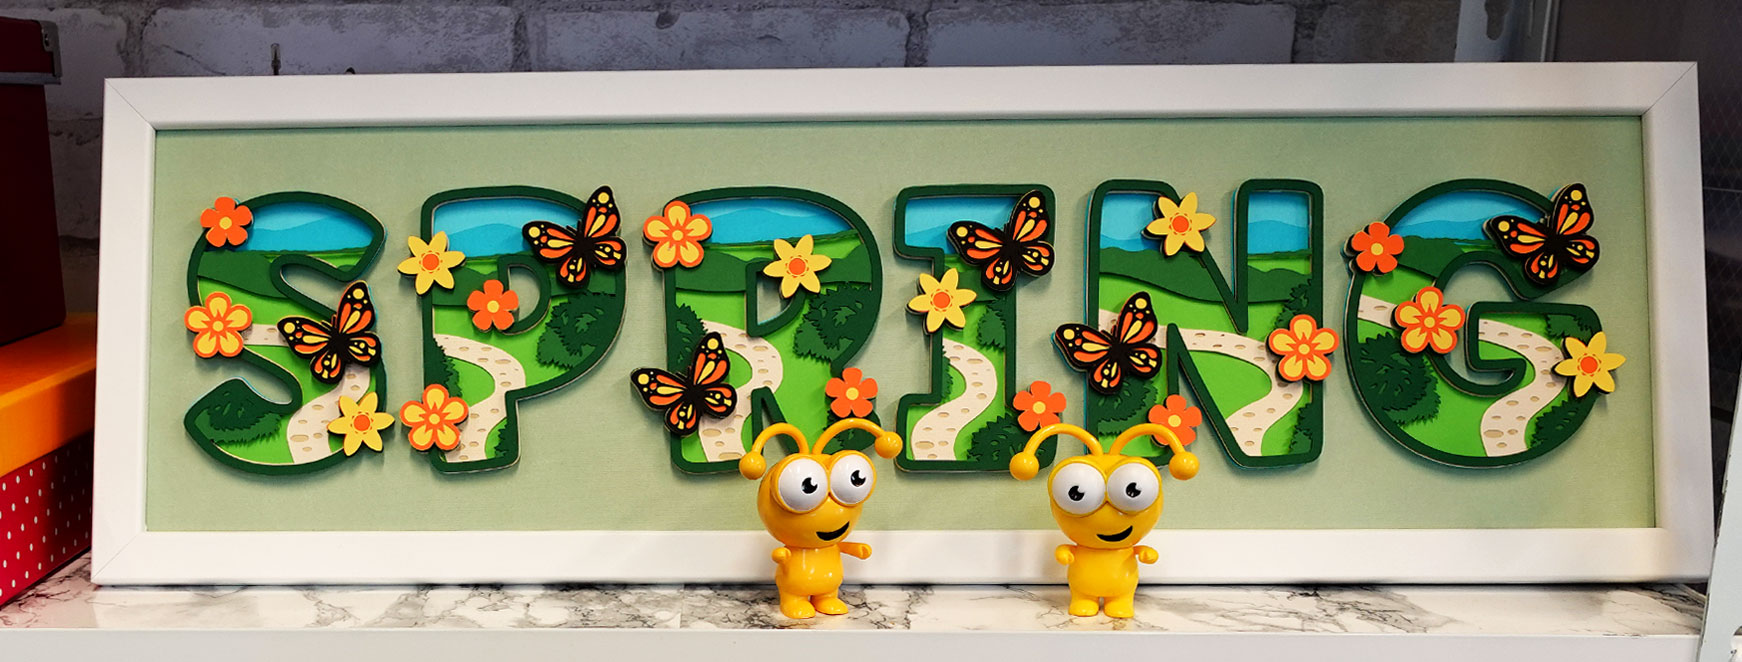
Make beautiful framed papercraft projects with layered alphabet SVGs and a Cricut machine!
I’ve wanted to make a large frame to showcase some of my layered alphabet designs for a while… but I was SO worried about getting everything lined up straight that I just kept putting it off, and putting it off, and… putting it off again!
Do large-scale framed projects seem daunting to you too?
If you’re like me and struggle to position craft projects in a frame, the thought of adding MULTIPLE designs into the same frame may sound more like a nightmare than a fun craft idea.
That is… UNTIL NOW… 🤩
In my previous tutorial I showed you how to frame a singular layered design, but now it’s time to take things to the next level!
Make large-scale projects 1000% EASIER by using 🧙🏼 MAGIC GUIDES 🧙🏼 to perfectly align all the letters in the frame!
That’s right – no more crossing your fingers that a design will fit in the frame or stressing about getting everything centred and stuck straight.
It will ALL be done SO quickly, with the help of some magical little rectangles!
Note – I’m using my layered spring themed alphabet, but this technique works for ANY layered alphabet designs!!
How to make use layered alphabet SVGs
Here’s how to size and use layered alphabets SVGs in Cricut Design Space.
I think that the technique is shown best in the video above, as I’ve “focused in” on all the relevant parts of the screen in Design Space to show where I am clicking.
However, I’ve also written out the steps below for if you prefer to read rather than watch!
Make word art frames with a Cricut
Open up Cricut Design Space and let’s get started! 🤩
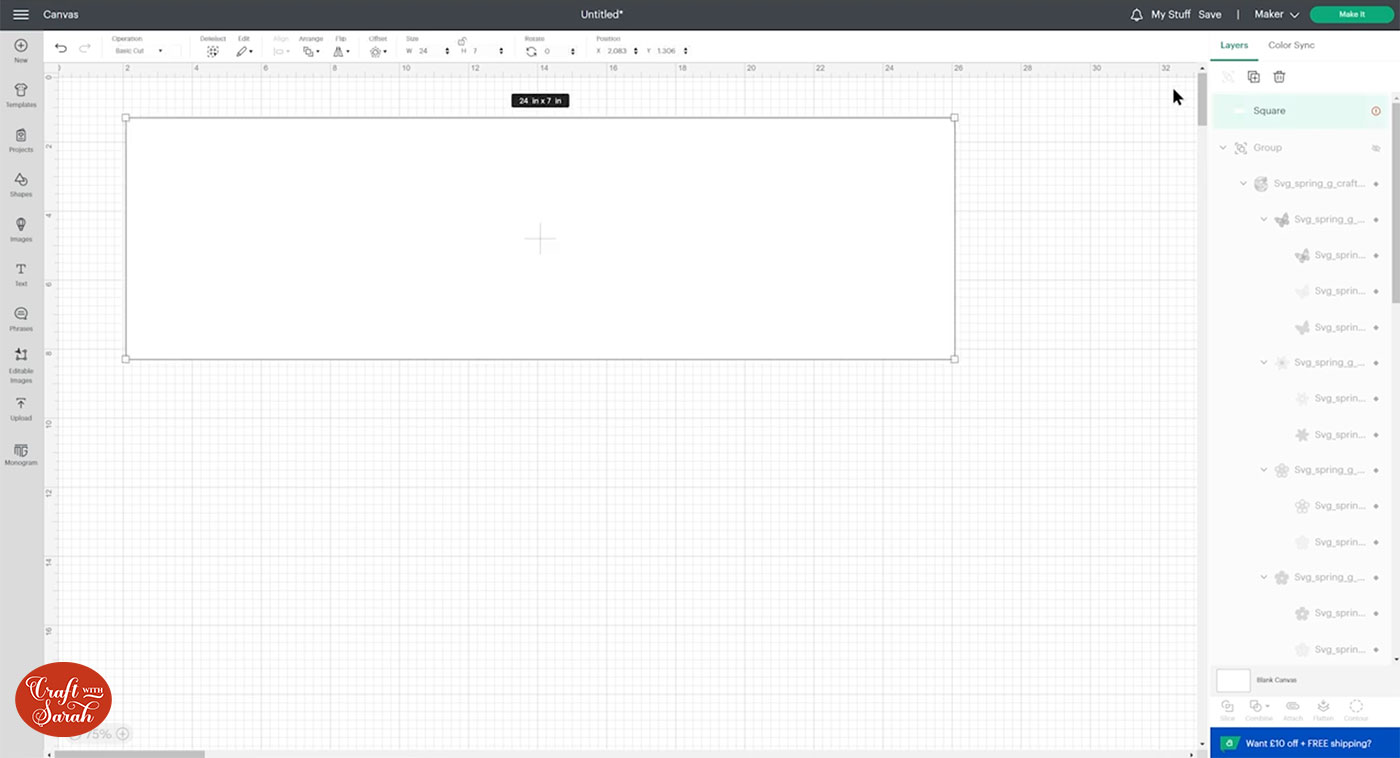
Step 1) Make a frame guide
Measure your photo frame to get an accurate size for it.
My frame is 24 inches wide and 7 inches tall.
I’m using a standard photo frame, not a shadow box, which means I will need to display it without the glass in the front of the frame, otherwise the layered alphabet letters won’t fit.
Go into “Shapes” in Design Space and add a square.

Size it to match your frame.
Most frames will “hide” the very edges of your paper due to the beveled front edges of the frame itself.
To make sure I don’t accidentally “cover up” any of my alphabet letters, I like to make a slightly smaller rectangle to use as a “guide line” to show the maximum size to make my design.
I’ve made mine 1 inch smaller on the width and height, so it’s 23 inches wide and 6 inches tall.
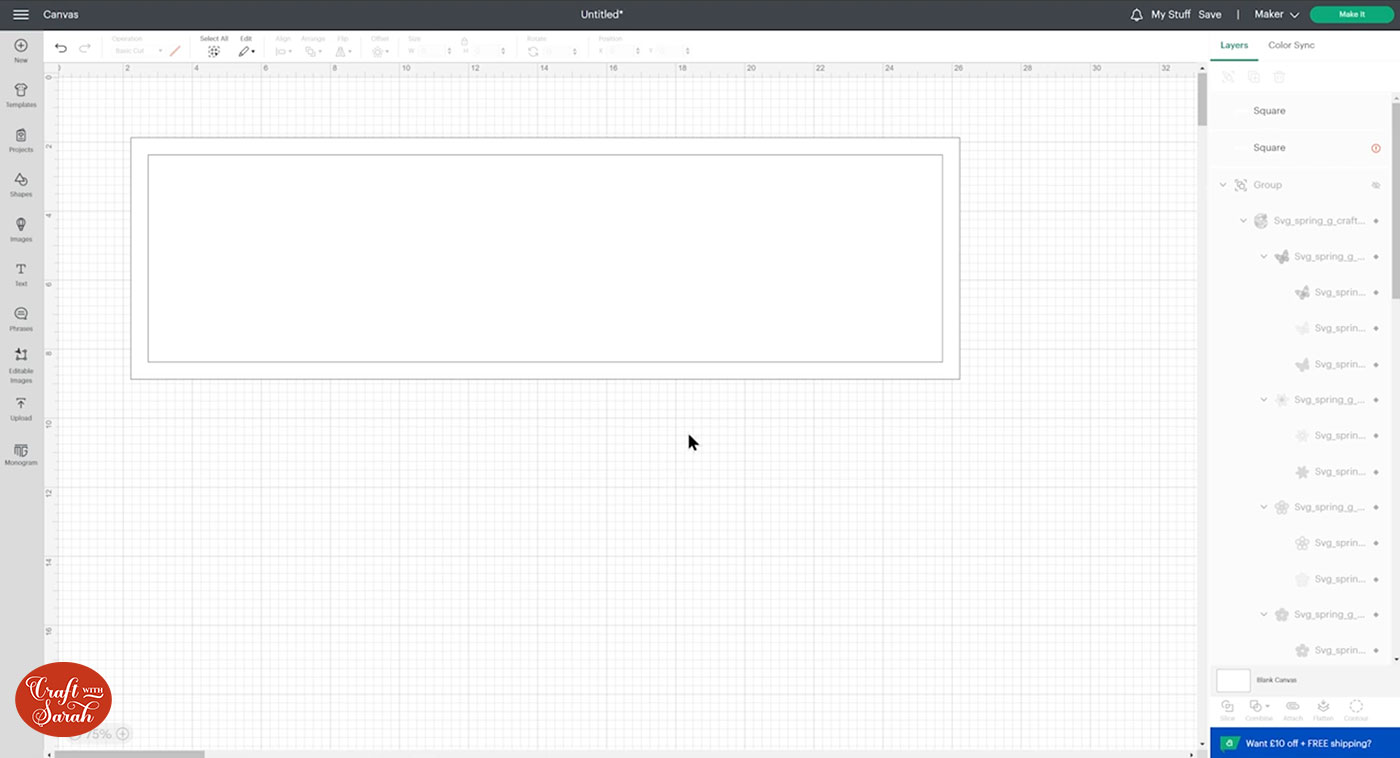
Position the smaller rectangle precisely in the middle of the larger one by selecting both rectangles and clicking Align and then Center.
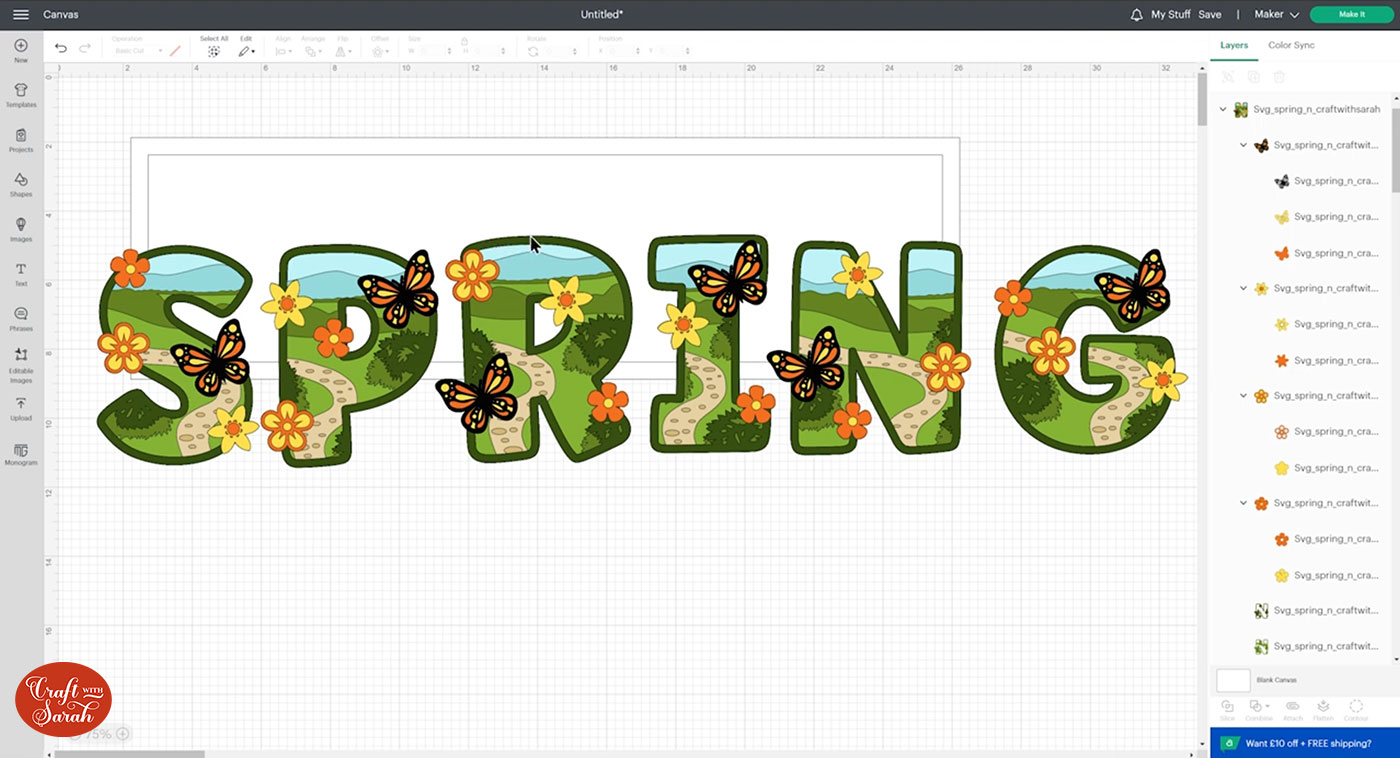
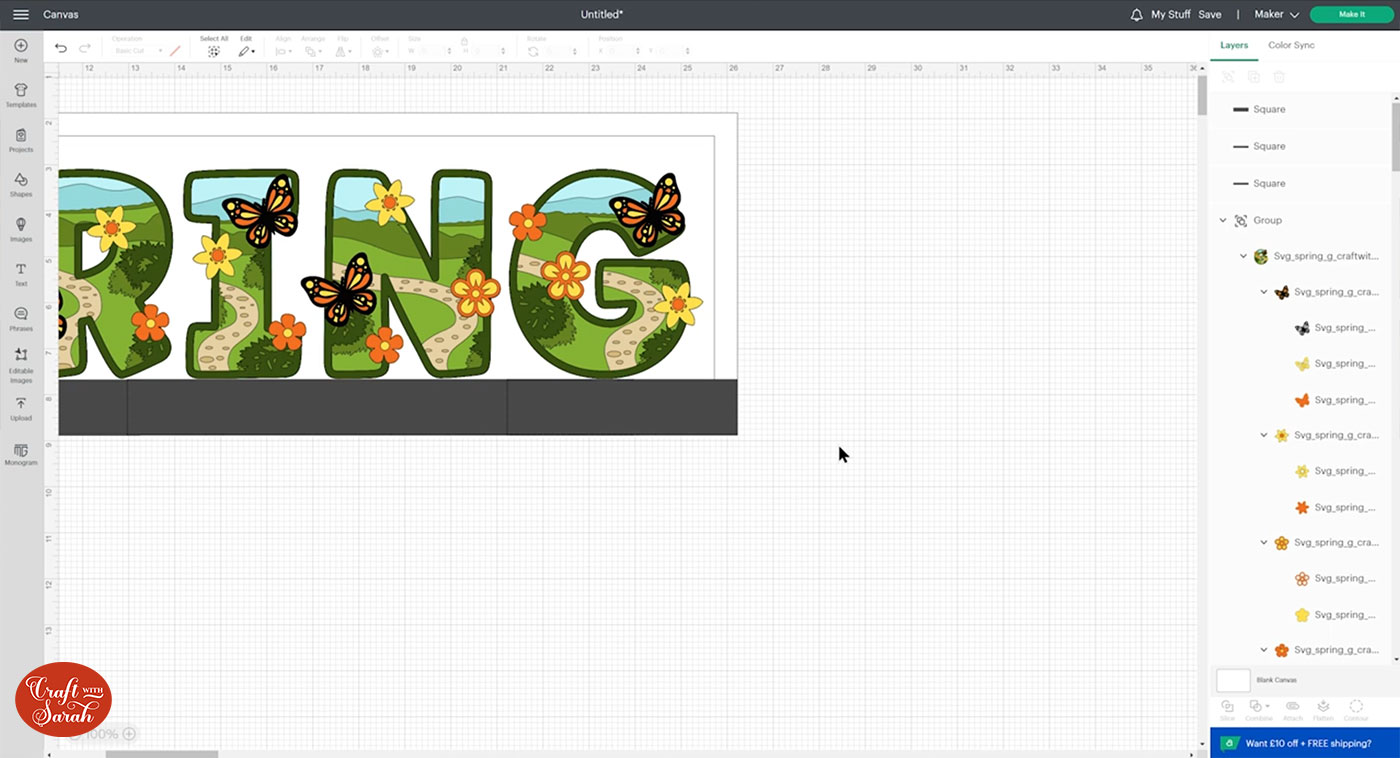
Step 3) Add the layered SVGs
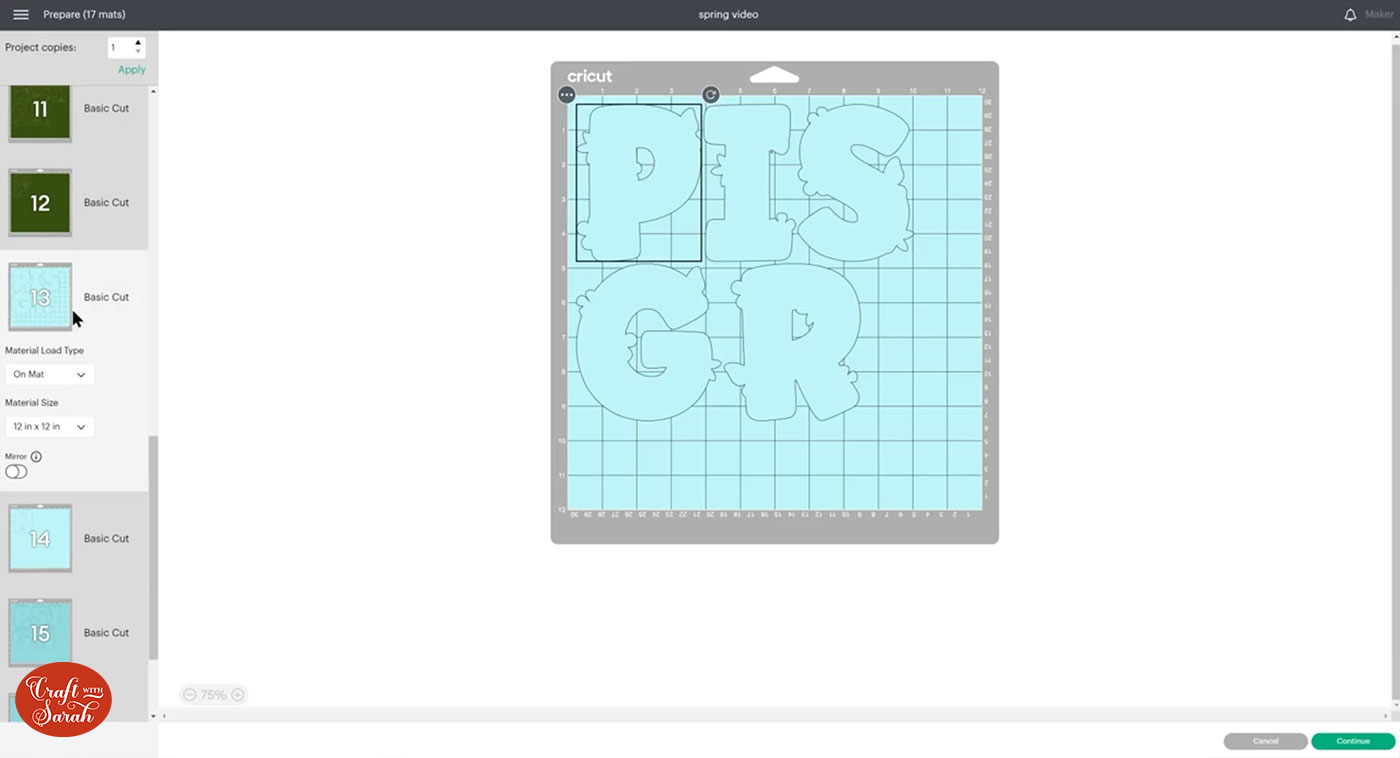
Choose your layered alphabet and add the letters onto your project.
Get them roughly into position to spell out the word you are looking to make.
Step 4) Size the letters
I noticed that my letters were all appearing at different heights. I want them to be consistent, so I resized each one individually to the same height.
Then, I put them in a row by selecting them all and pressing “Align” > “Bottom”.
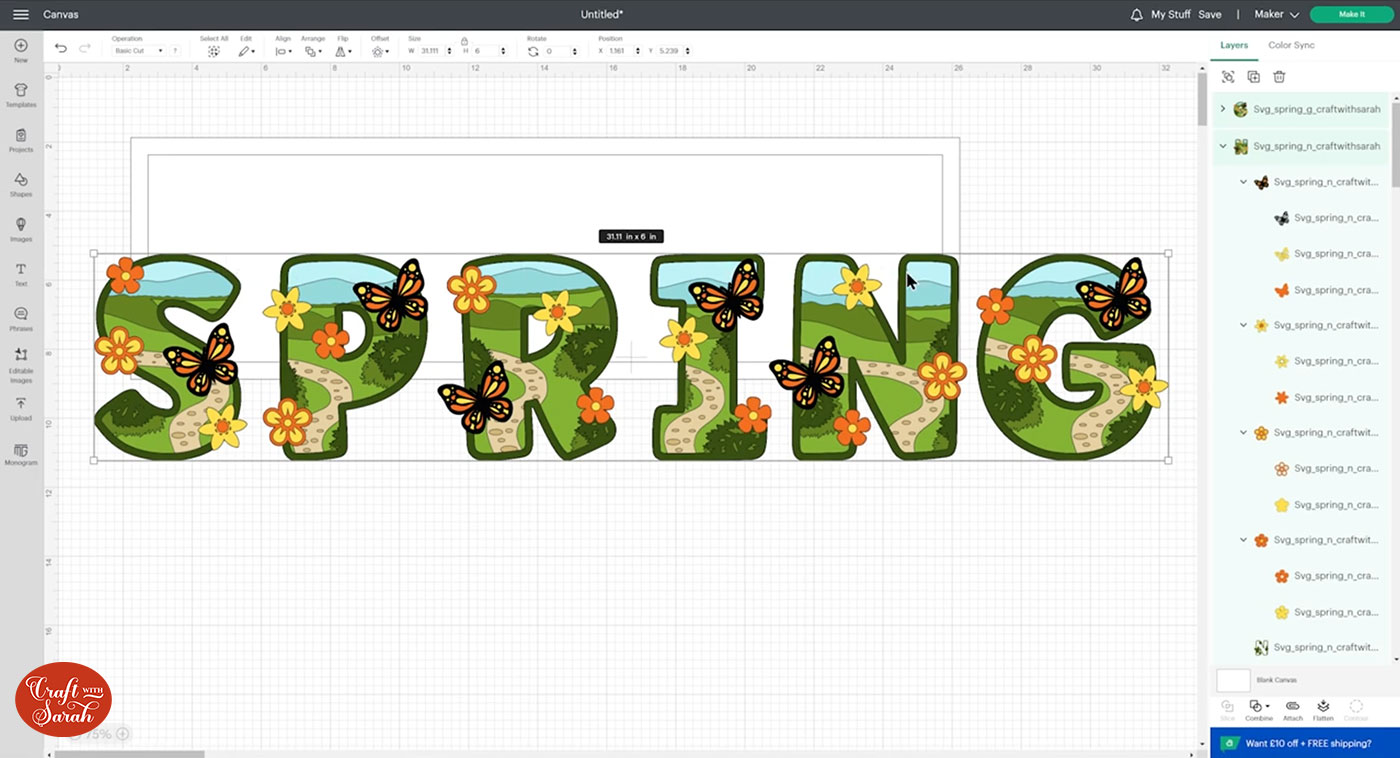
Make sure ALL the letters are selected when you resize them to fit the frame. This means you change the size at the same time, so all the letters stay ‘in proportion’ with each other.
I kept my letters inside the smaller rectangle edge to make sure that they aren’t going to get covered up by the front panel of the frame.
Line them all up along the bottom so that each letter has the same bottom point. There can be overlapping elements, such as flowers/swirls/whatever, but the actual alphabet letters should all have a matching bottom point. This is essential for creating our magic guides!
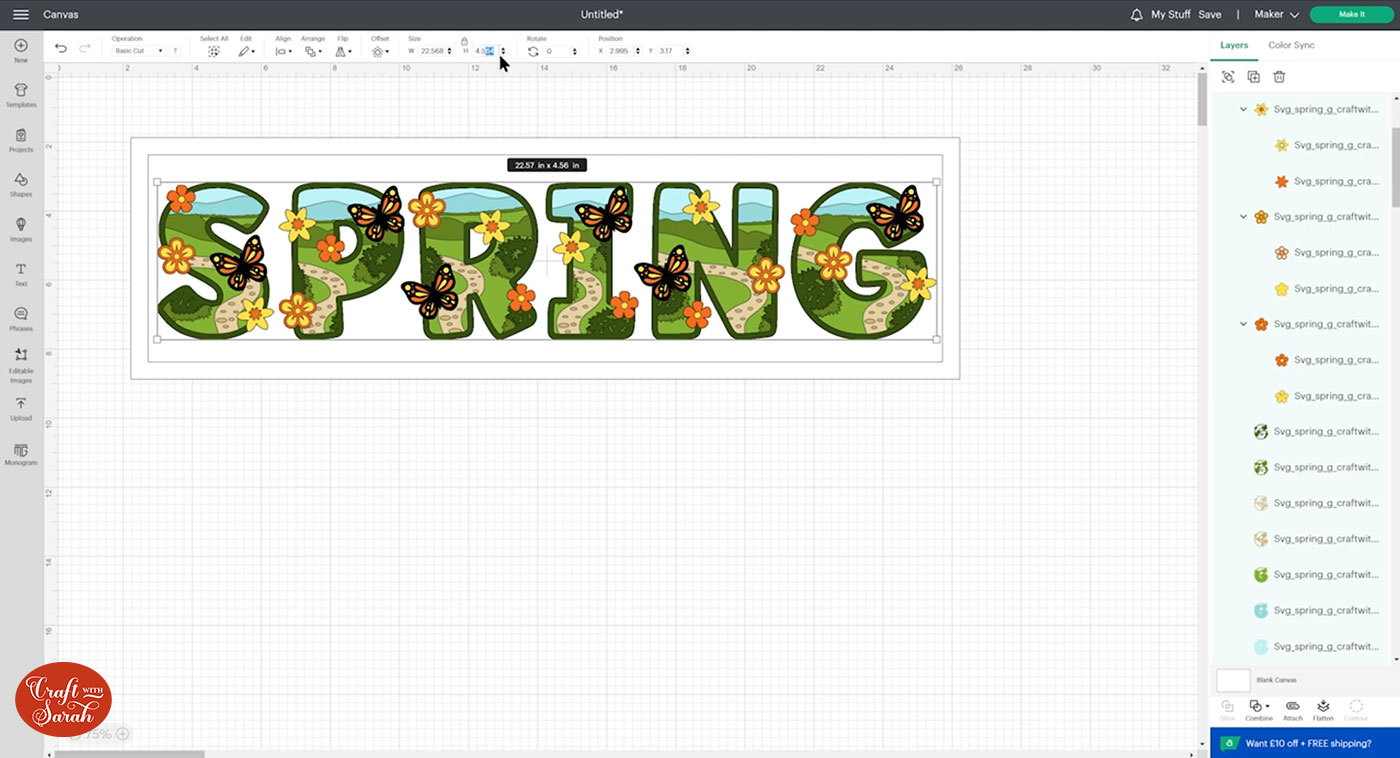
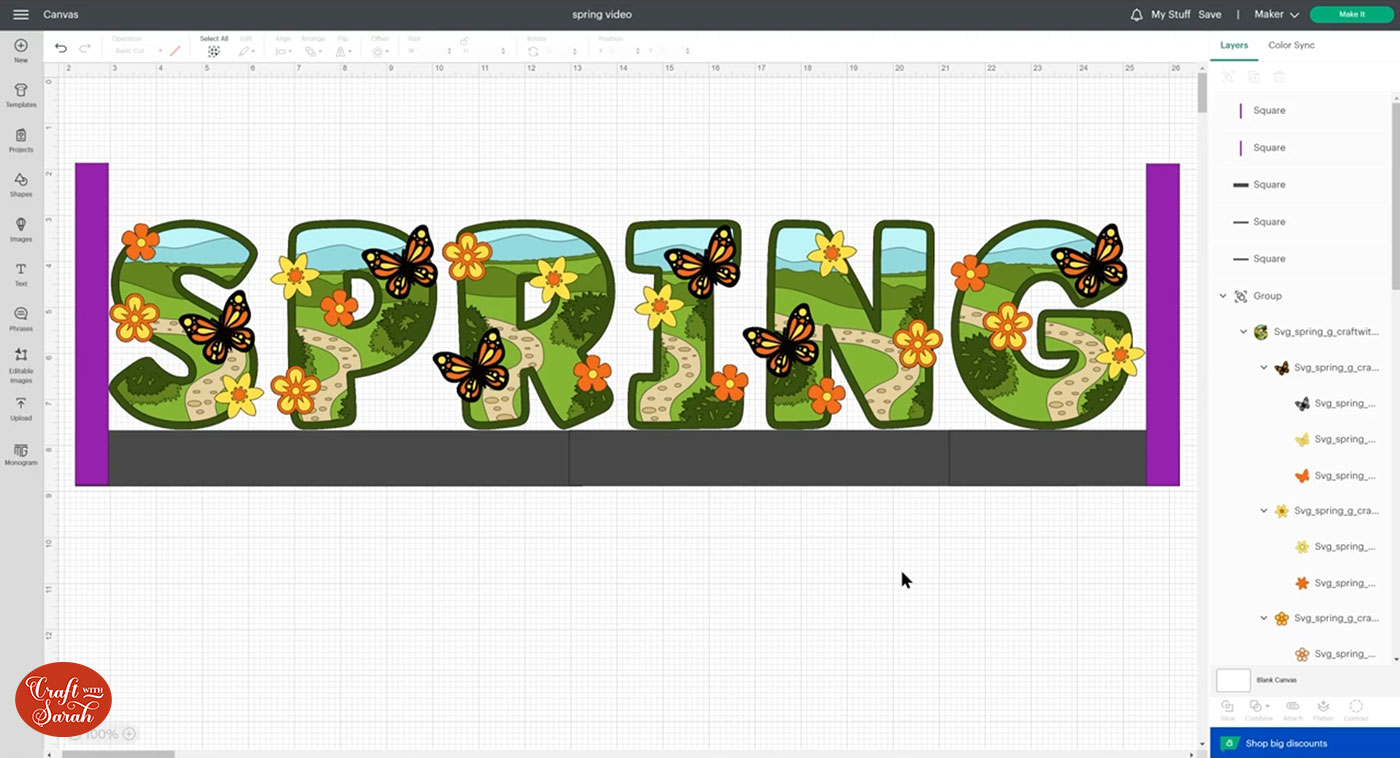
Step 5) Center the letters
When you’re happy with how the letters are looking, select all the letters (NOT the rectangles) and Group them together by clicking the Group button at the top of the layers panel.
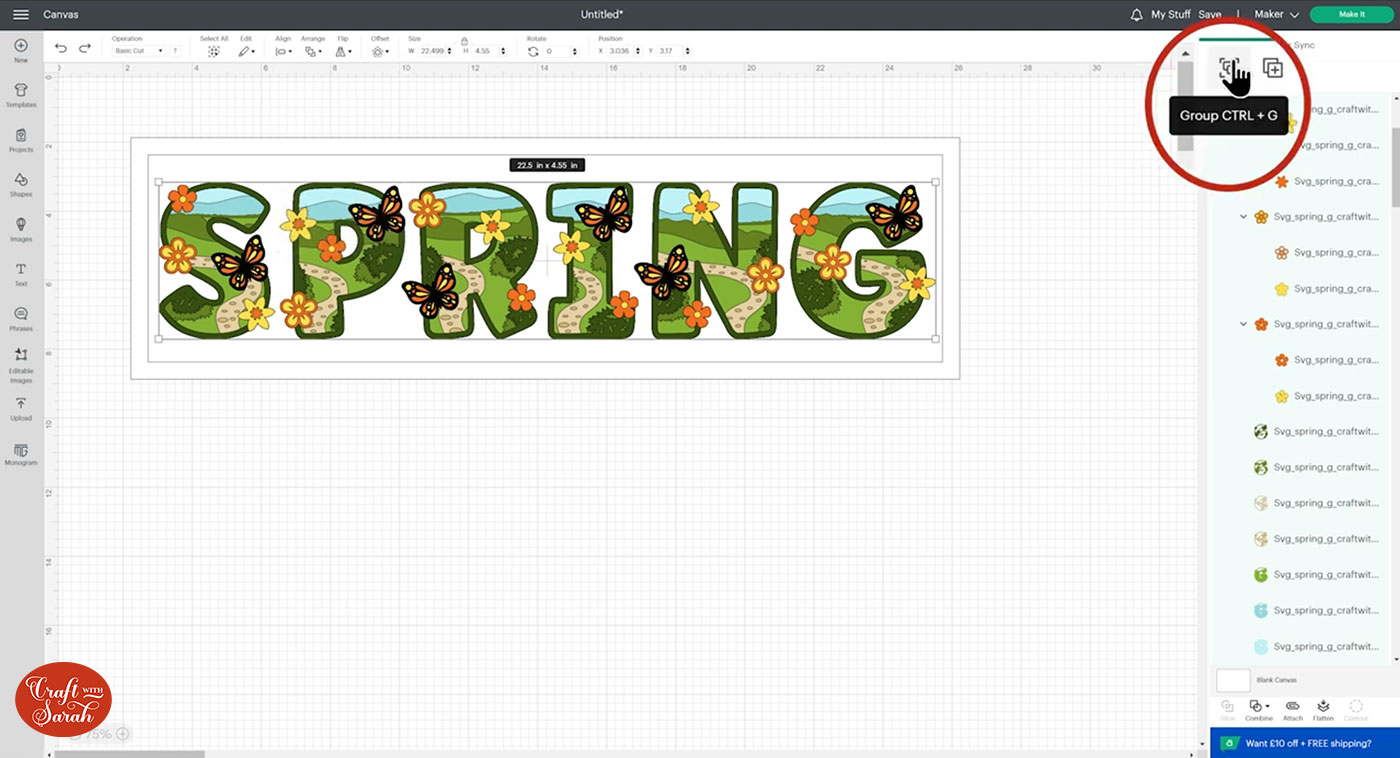
Press “Select All” to select everything.

Press Align > Center to get the letters exactly in the middle of the rectangles.

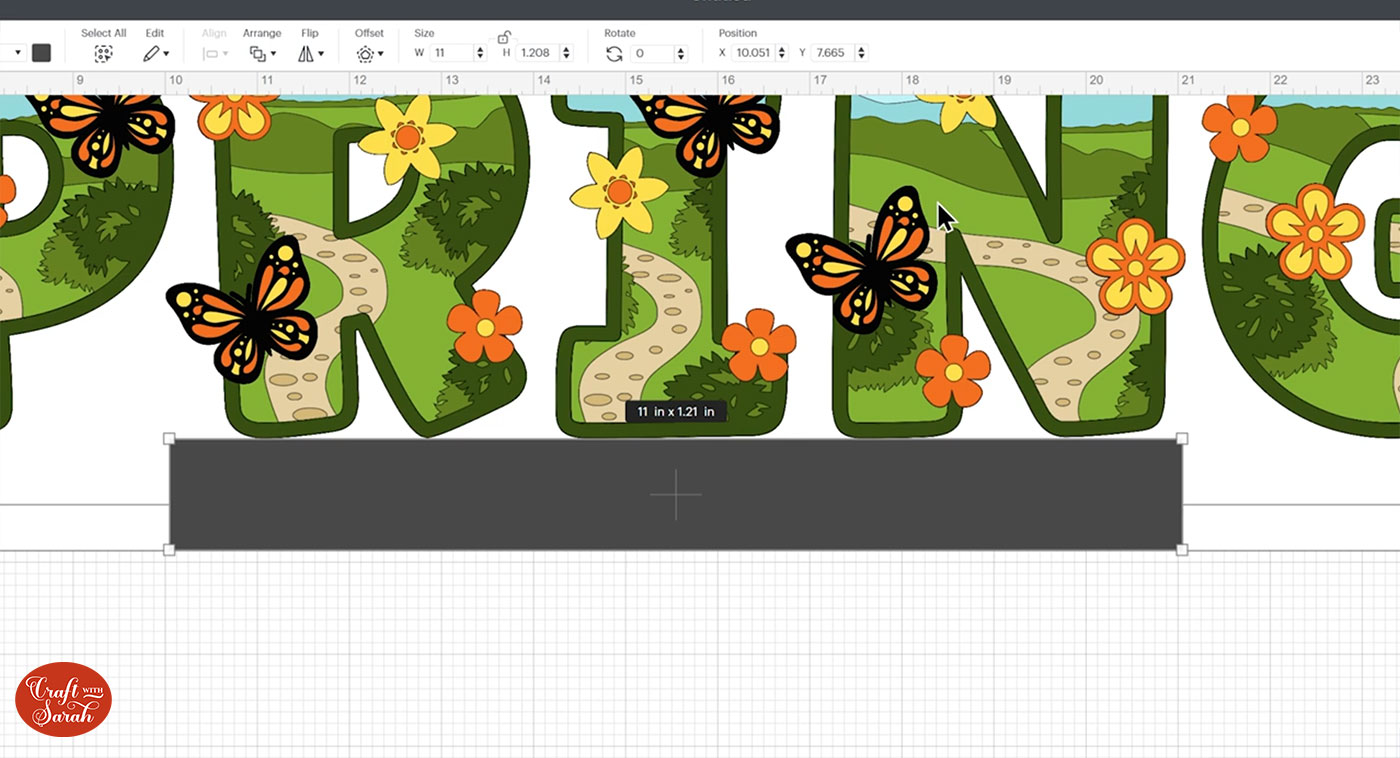
Step 6) Create the magic guides
I am TERRIBLE at sticking things straight in a frame, so magic guides are an absolute lifesaver for me when I’m crafting!
They are simply rectangles that you size to match your frame so that you will know where to stick all the letters to keep them straight and centred.
Go into Shapes and choose another square.
Untick the padlock above the width/height boxes and drag it into a long thin rectangle shape.
Position it so that the top of the rectangle touches the very BOTTOM point of your letters.
Drag the height so that the other side of the rectangle touches the edge of the BIGGER rectangle.
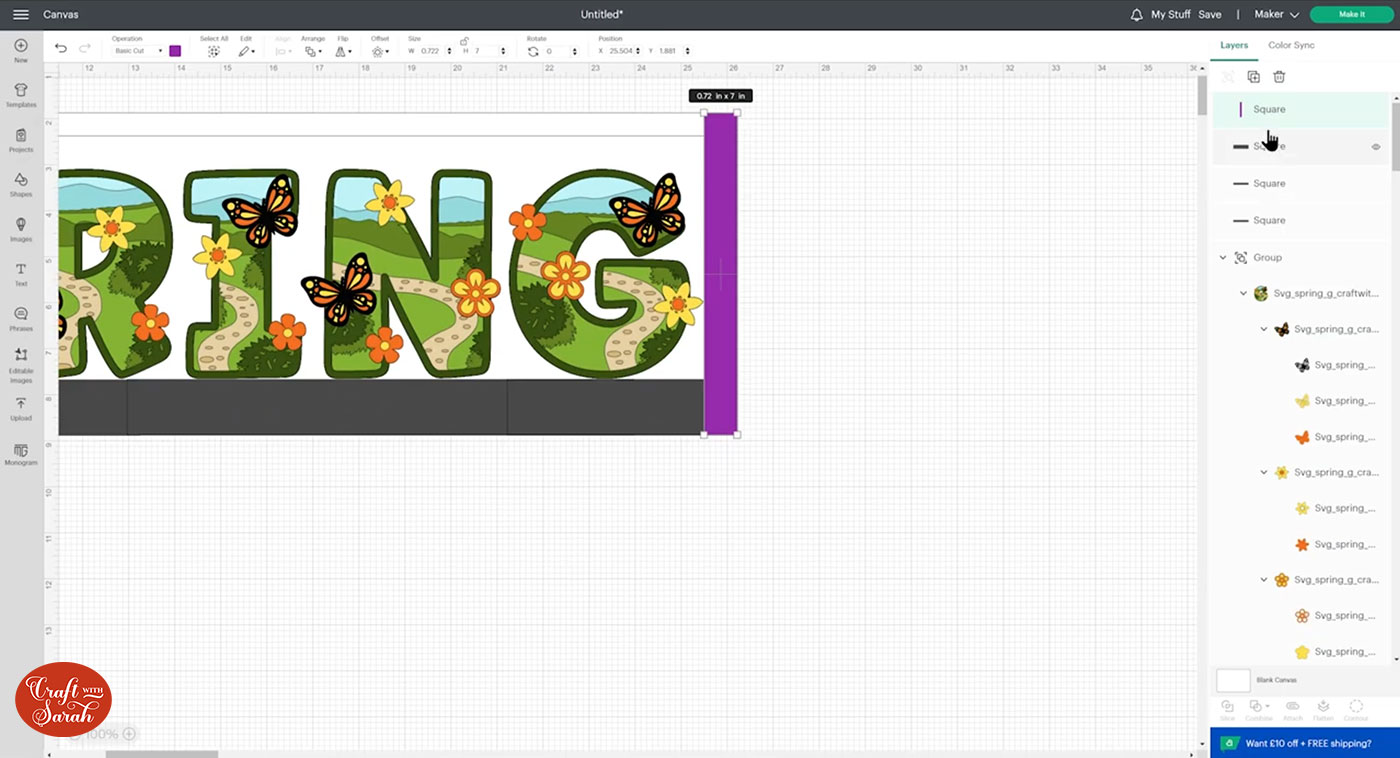
As my frame is so big, I need to Duplicate my rectangle and make some copies to ensure I have enough to stretch along the whole side.
The reason I can’t just make one super-long rectangle to fit along the whole frame is that my frame it too big for the Cricut to cut a rectangle that size!
Do the same for the left and right sides of the frame (they should be the same because we centered the word within the rectangles earlier).
I like to cut these in a different colour to make sure I don’t get them mixed up with the bottom magic guides.
Step 7) Save and cut the design
Hide the two guide rectangles by hovering your mouse over the layers in the layers panel and clicking on the little eye icons.
Your design is now ready to cut!
Save it first though, just in case… 😅
The magic guides can be cut from any colour. It’s great for using up come of your card scraps!
TIP: To make EXTRA sure you’re happy with the size of the letters before committing to cutting EVERYTHING out, cut the magic guides and very bottom layer of the letters first, then move on to Step 8 to check the size before cutting everything else out.
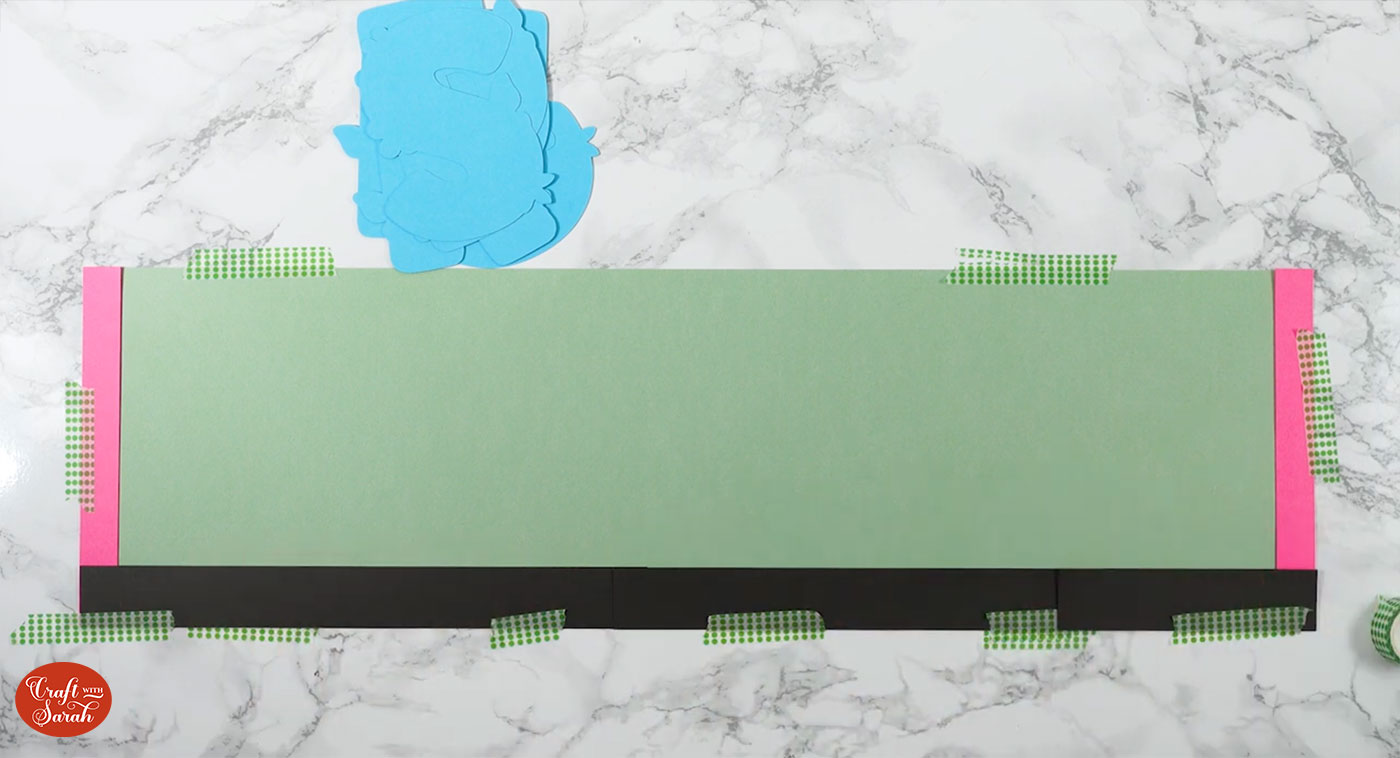
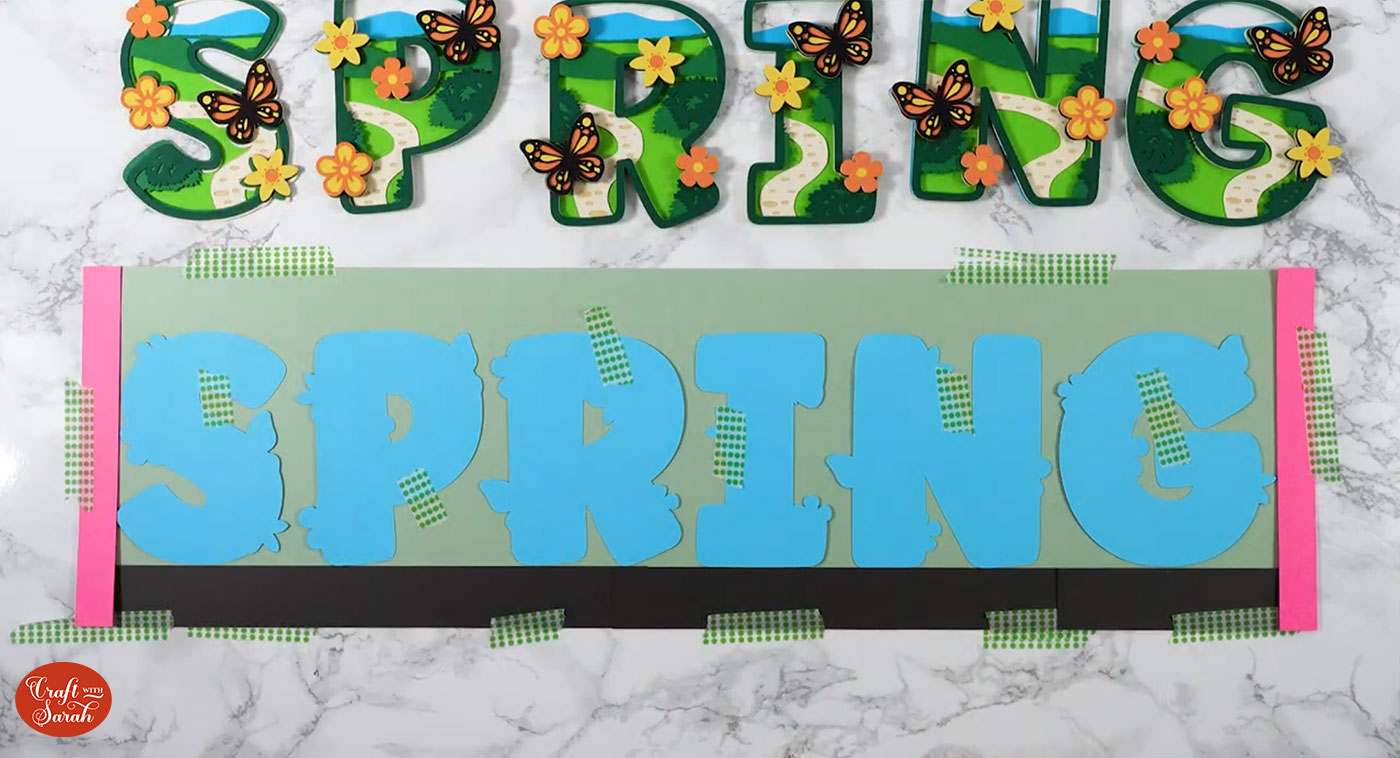
Step 8) Position the magic guides in the frame
Cut a piece of cardstock to the size of your frame. Mine was too big to cut on the Cricut so I cut it by hand.
Use washi tape/masking tape/painters’ tape to secure it to your work surface.
Position the magic guides along the edges and tape them into place.
Put the first and last letters in place, ensuring that they touch the left/right magic guides and line up along the bottom magic guide too.
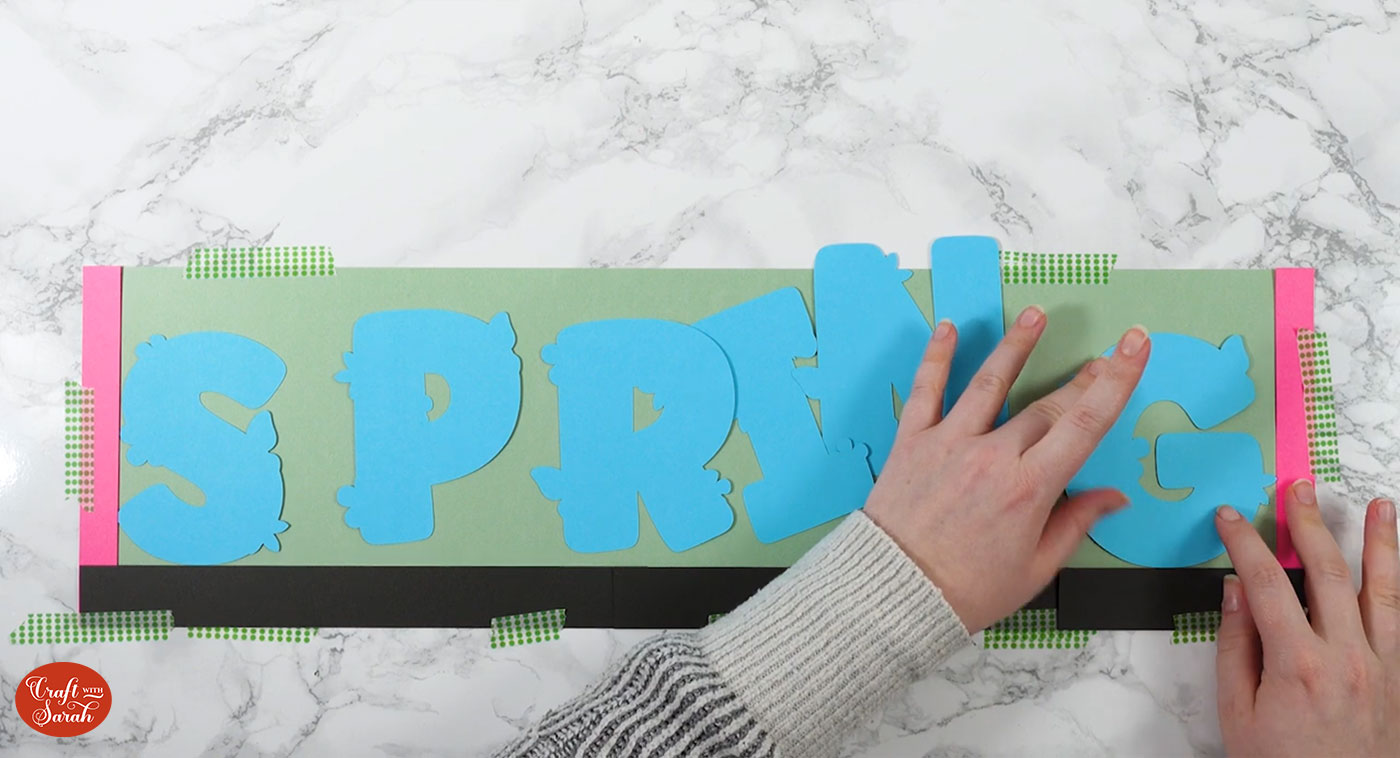
Position the other letters.
At this point you will know if you can continue cutting the rest of the layers for the letters, or if you need to tweak the size of them in Design Space and re-cut the bottoms.
I like to add a little bit of washi tape to each letter too, to make sure I don’t accidentally move any of them during the sticking process.
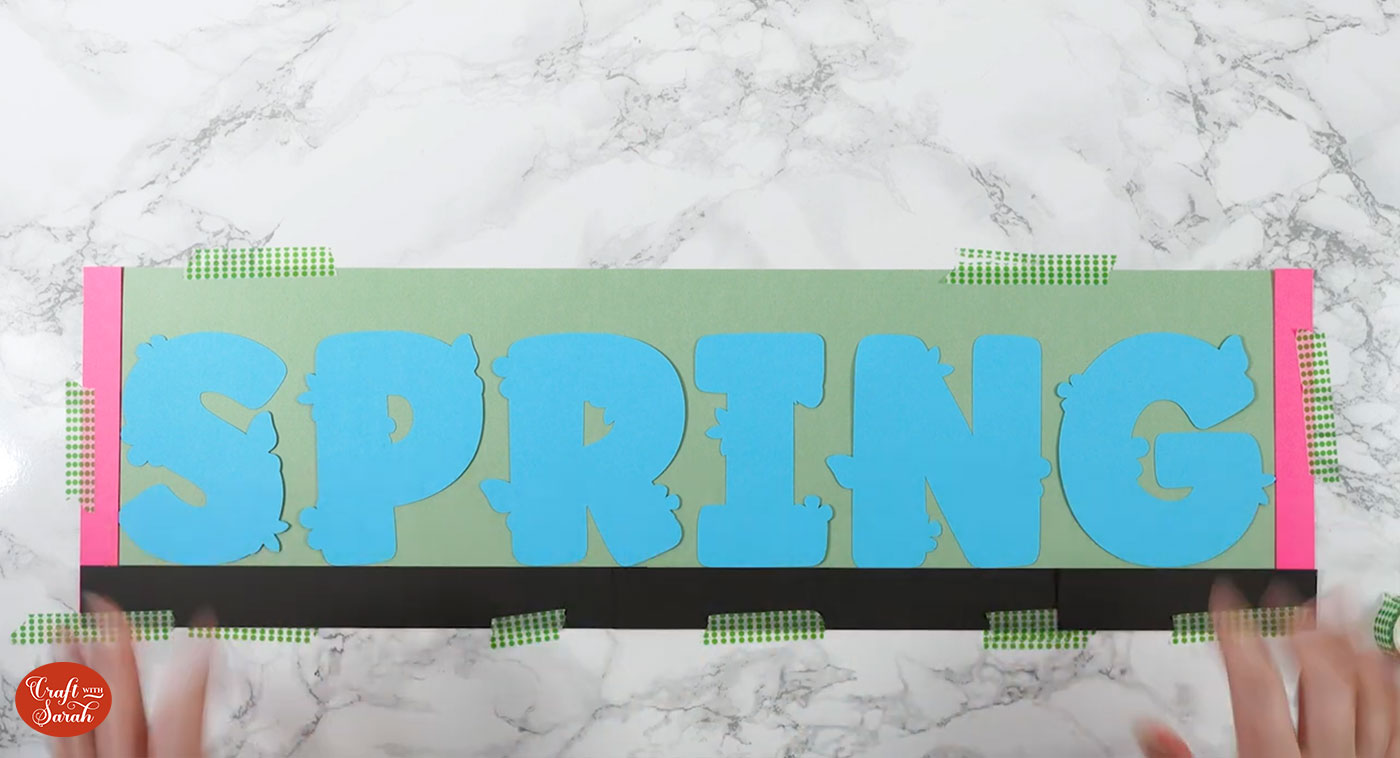
Step 9) Glue the letter bases in place
Glue the bottom layers of the letters in place, one-at-a-time.

Once the glue is dry, carefully remove the magic guides.

Step 10) Add the rest of the letters
I find it easier to build the letters separately, away from the frame design, then stick them all to the bottom layers in one go.

Step 11) Frame your papercraft project
When all the letters have been added, wait for the glue to fully dry and then add your papercraft project into the frame.
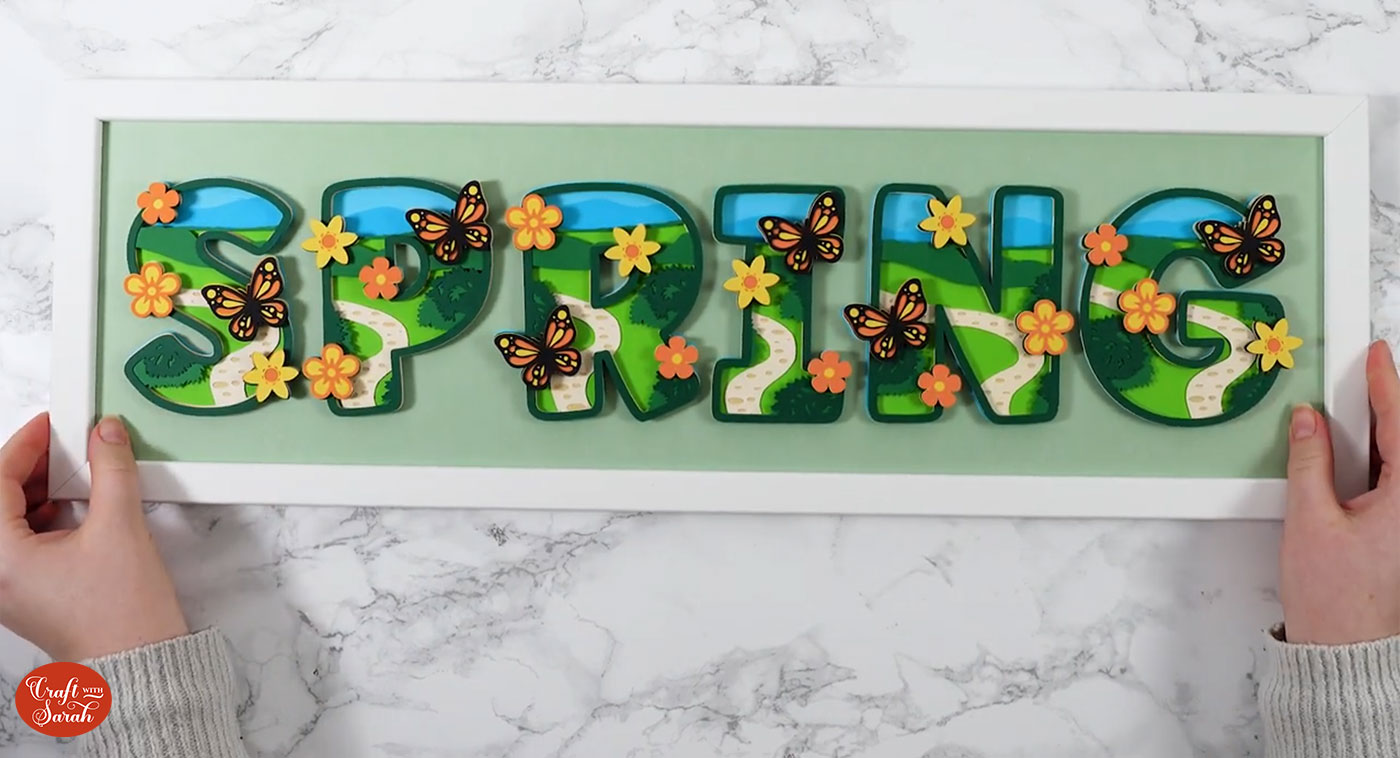
That’s it – your layered alphabet papercraft project is all finished!
I hope that you enjoyed this tutorial. I’d love to know what you think of the idea of magic guides! Will you be using them in your craft projects?
Happy crafting,
Sarah x

