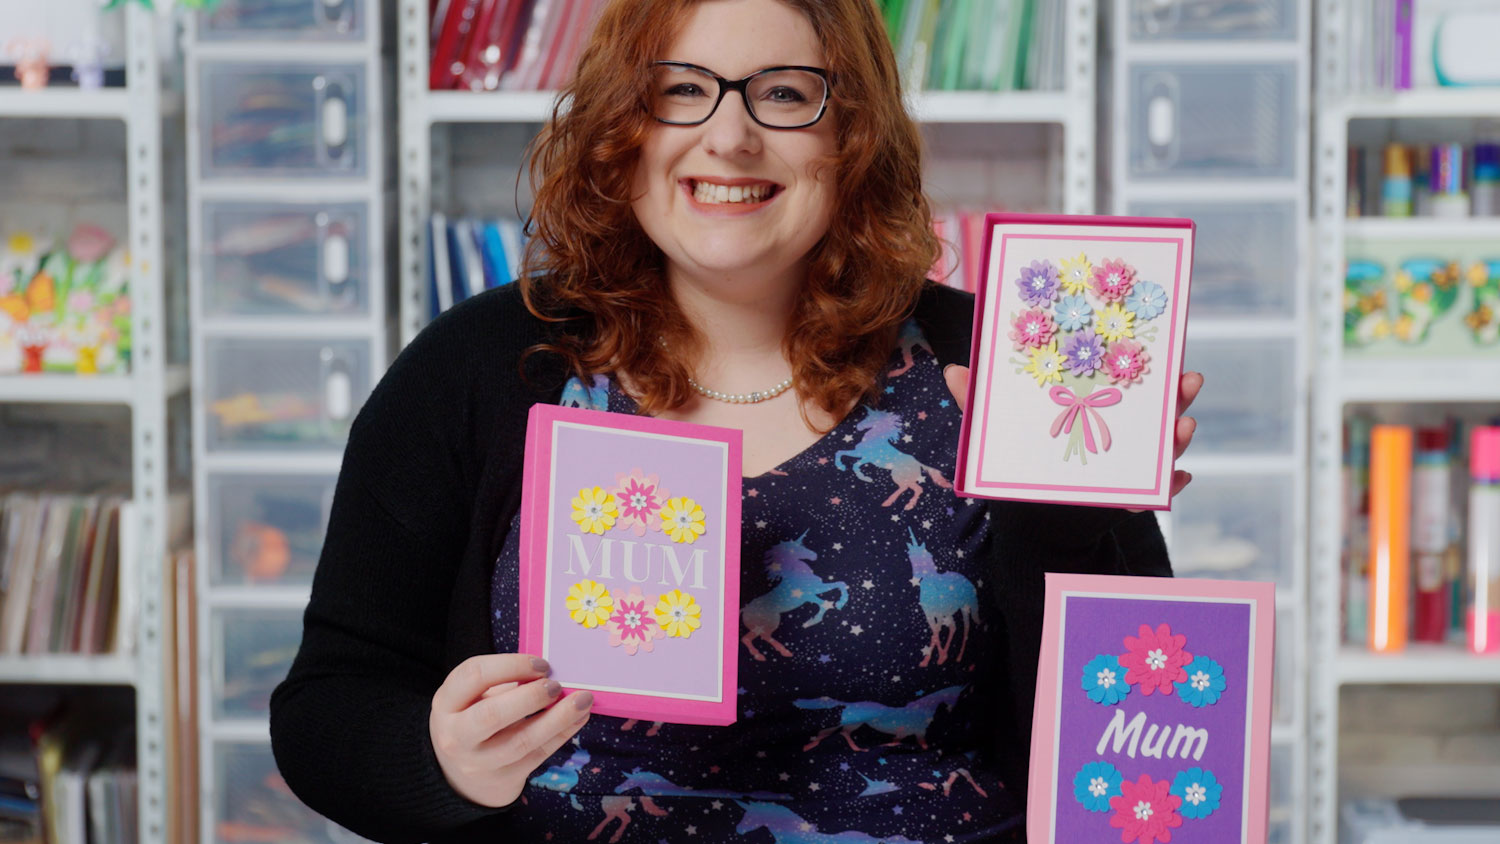
DIY Presentation Boxes for Handmade Cards
Make easy handmade boxes for your greetings card with these free presentation box templates.
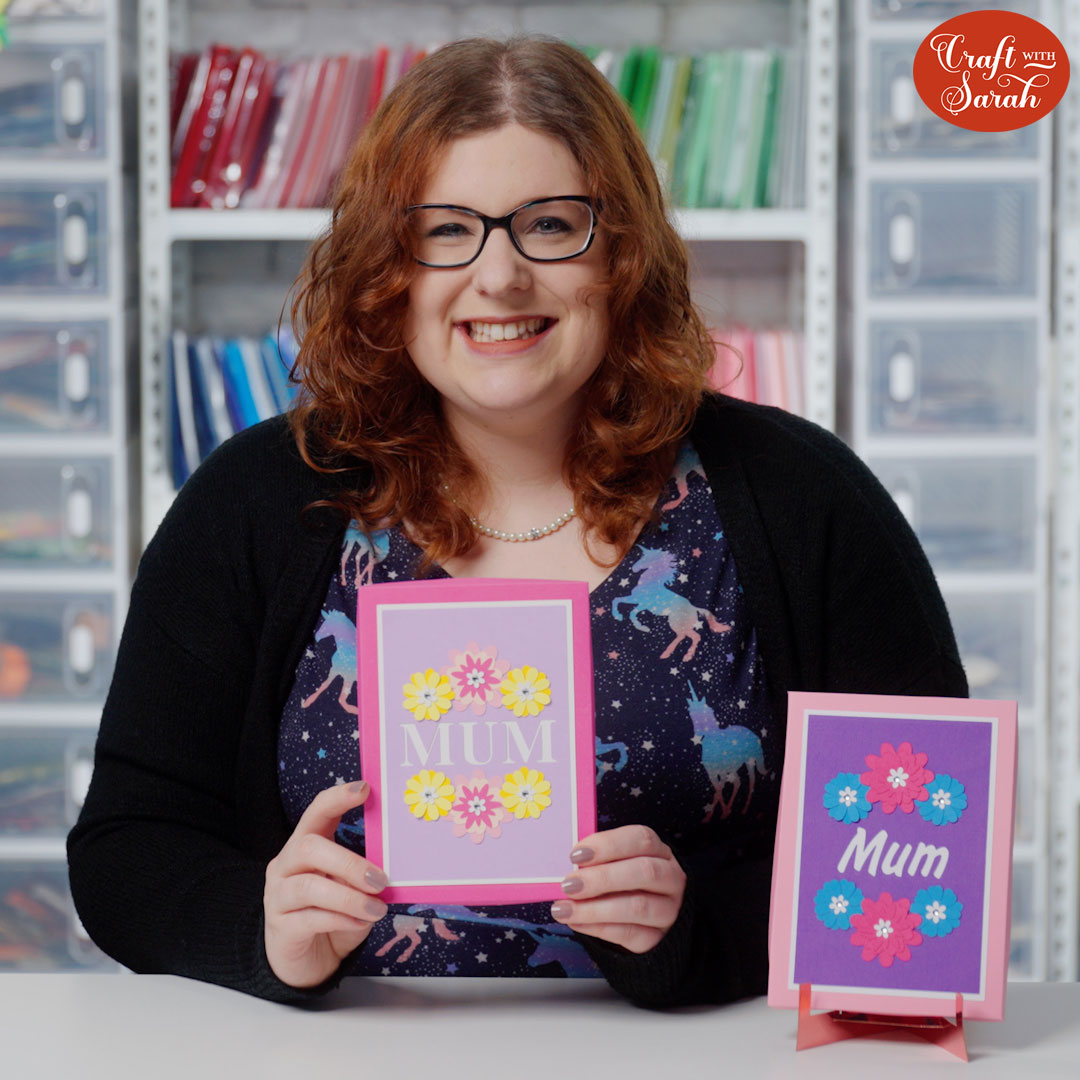
Do you love making handmade cards but sometimes you wonder about how you’re going to give them to the recipient because they’re just that little bit too thick for an envelope?
In this tutorial, see how to make easy and effective presentation boxes to put your handmade greetings cards in.
They come in two shapes: there’s a rectangular one and a square one. Best of all, you can resize them to fit any sized card!
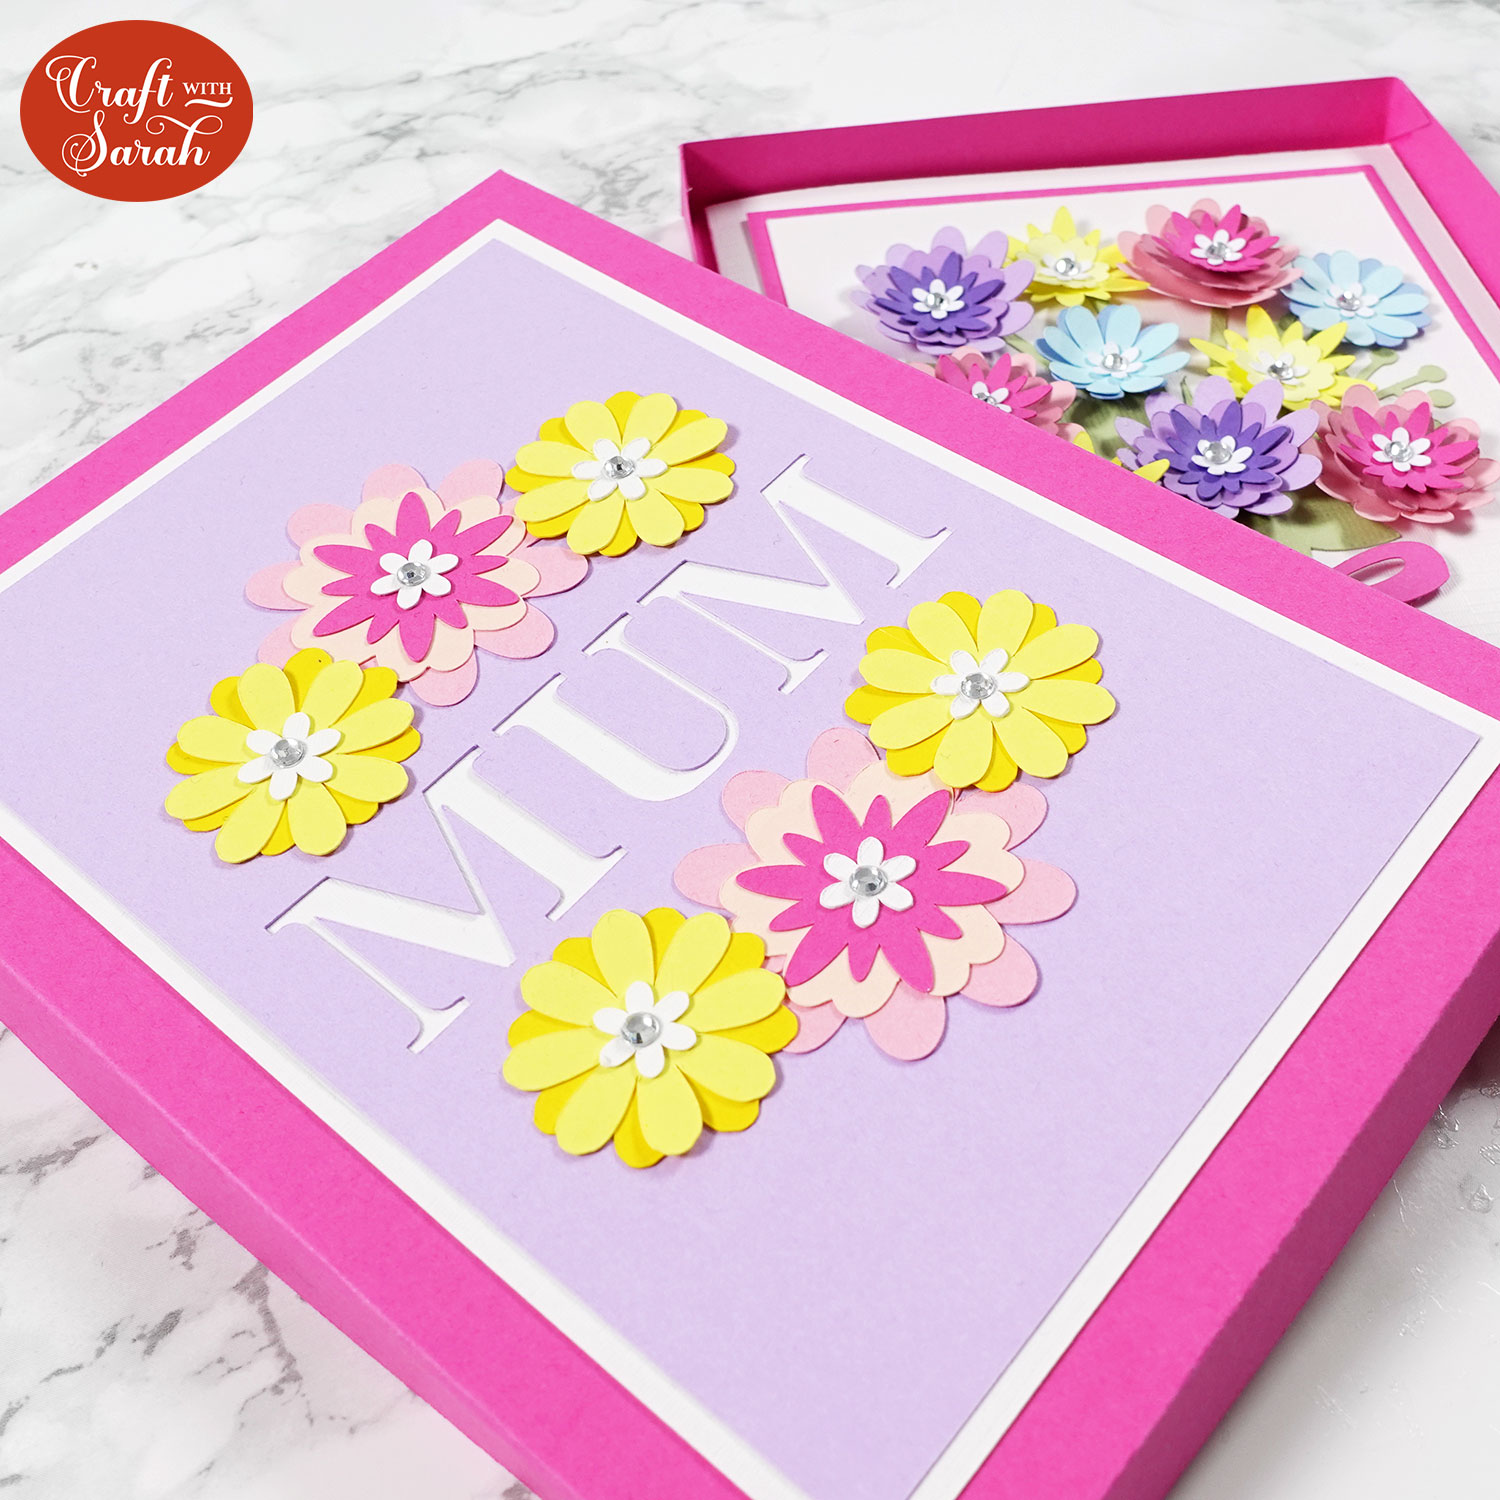
Keep your precious handmade cards wonderfully secure in these DIY presentation boxes. The top of the box comes plain so you can decorate it however you want to.
Now, one thing I will say in advance is that these boxes are not completely sturdy, so I wouldn’t recommend actually posting these or putting them in the mail unless you maybe wrap them in some brown paper or something like that to secure the lids.
They were designed more as a presentation box for when you’re actually giving the card to somebody in person.
Find out how to make boxes for cards by following the steps below…
Video tutorial: How to make presentation boxes for cards using a Cricut
Watch the video below to find out how to cut and assemble these useful card box templates. Or, keep scrolling for a written tutorial.
Materials to make DIY cardstock boxes
Here is a list of the materials that I used to make these handmade envelopes.
Please note that some of the links included in this article are affiliate links, which means that if you click through and make a purchase I may receive a commission (at no additional cost to you). You can read my full disclosure at the bottom of the page.
- Free SVG design (scroll down to find the download box)
- Digital cutting machine such as a Cricut Maker
- Light grip cutting mat
- Cricut scoring wheel or scoring stylus
- Coloured cardstock (the thicker the card, the more sturdy you box will be)
- Double-sided tape and/or glue
- Decorations for the top of the box (optional)
Easy DIY box templates for handmade cards
Here’s how to make your own boxes from cardstock to display your handmade greetings cards.
Step 1) Download the free file & unzip the downloaded folder
Download the free box template SVG files using the box below.
Download the Free Cutting File
Please login to your account to download this file.
TERMS OF USE:
You may sell finished, handmade physical craft items that you have made using this product but must not sell or share the digital files. Read full terms of use
Before you upload the SVGs to Design Space, you need to unzip the download folder that they comes in.
- How to unzip a folder on Windows computer
- How to unzip a folder on a Mac
- How to unzip a folder on an iPad/iPhone
- How to unzip a folder on an Android device
Step 2) Upload the SVG file into Design Space
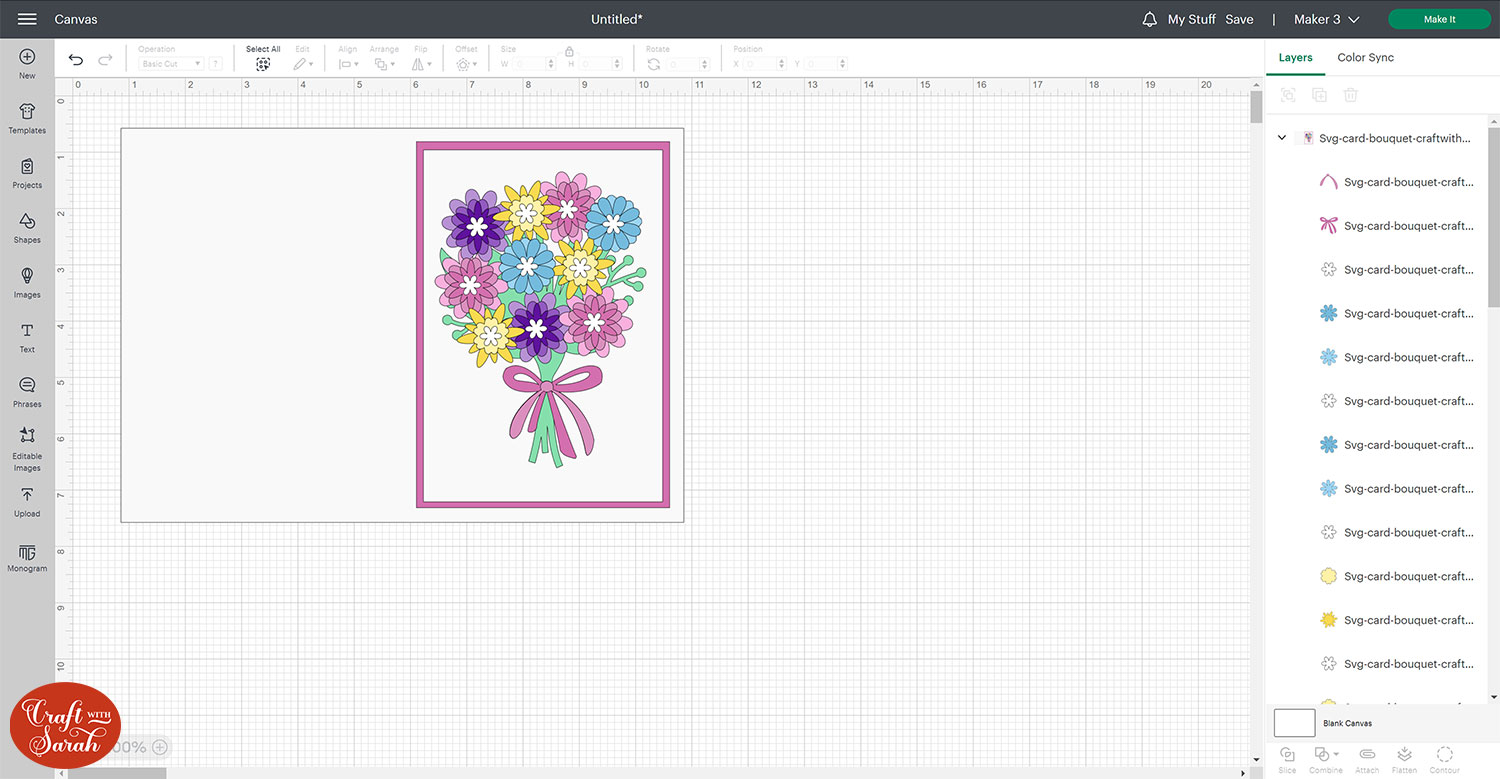
Open up Cricut Design Space and open the greetings card design that you want to put into your envelope.
If you don’t have it in Design Space, use the “Shapes” tool to draw a square or rectangle the same size as your card so you can use that to size the box.
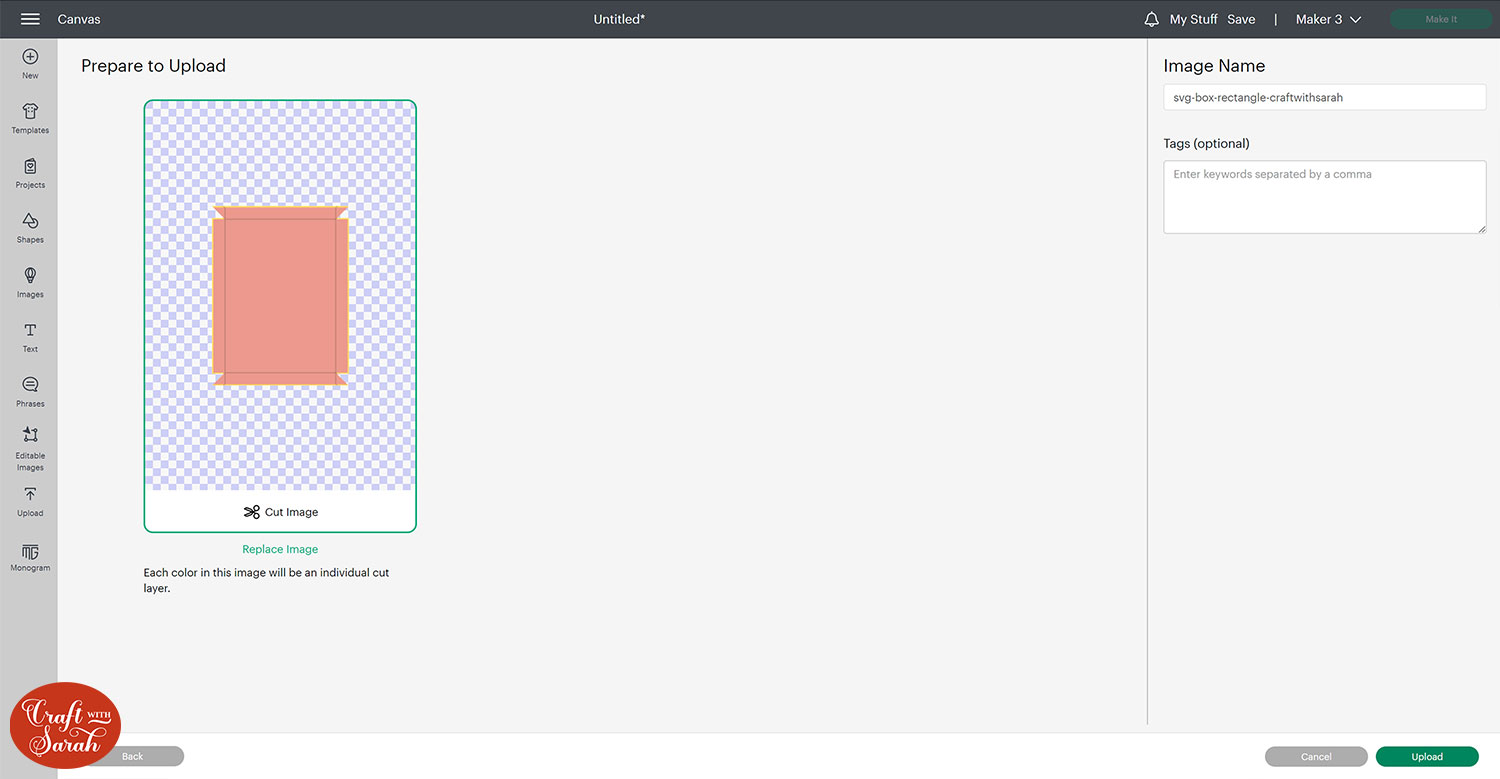
Next, upload either the rectangular or the square box template.
The tutorial works the same for whatever shape you choose, but make sure you select the one that best fits the card you are making.
Make sure you upload the file which starts svg- in the filename!!
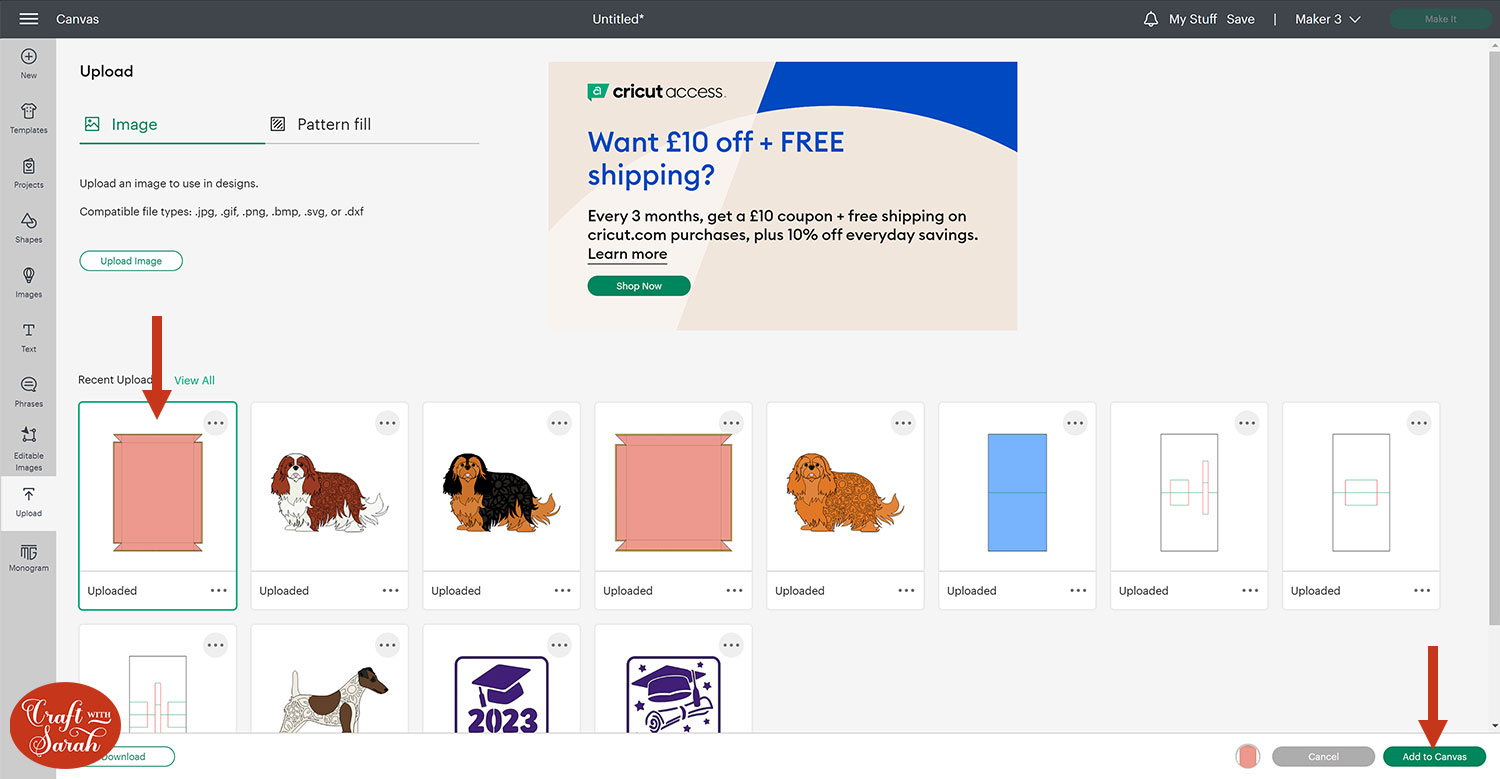
This is how it should look after you have uploaded the file:
Click it in your “Recent Uploads” and then click “Add to Canvas”.
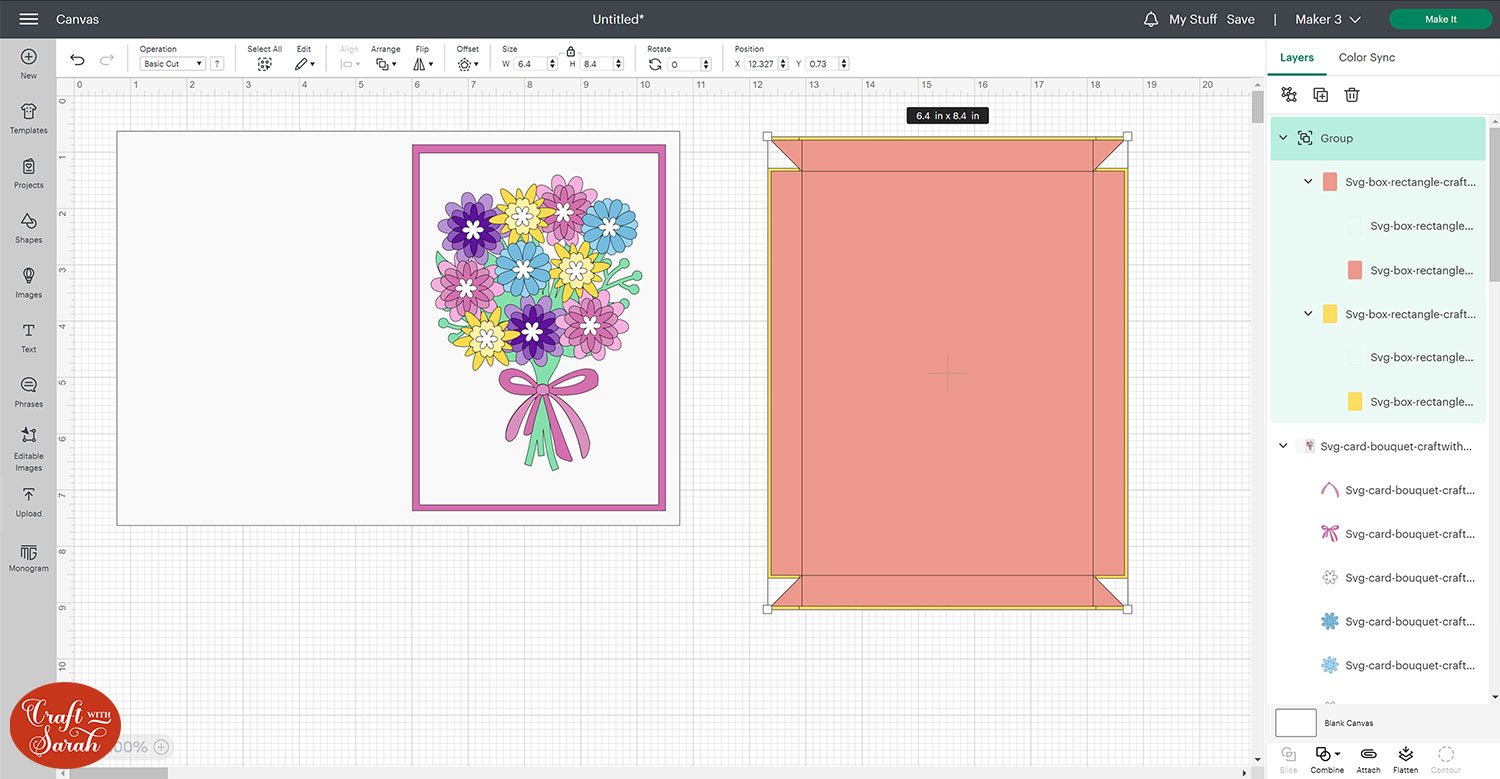
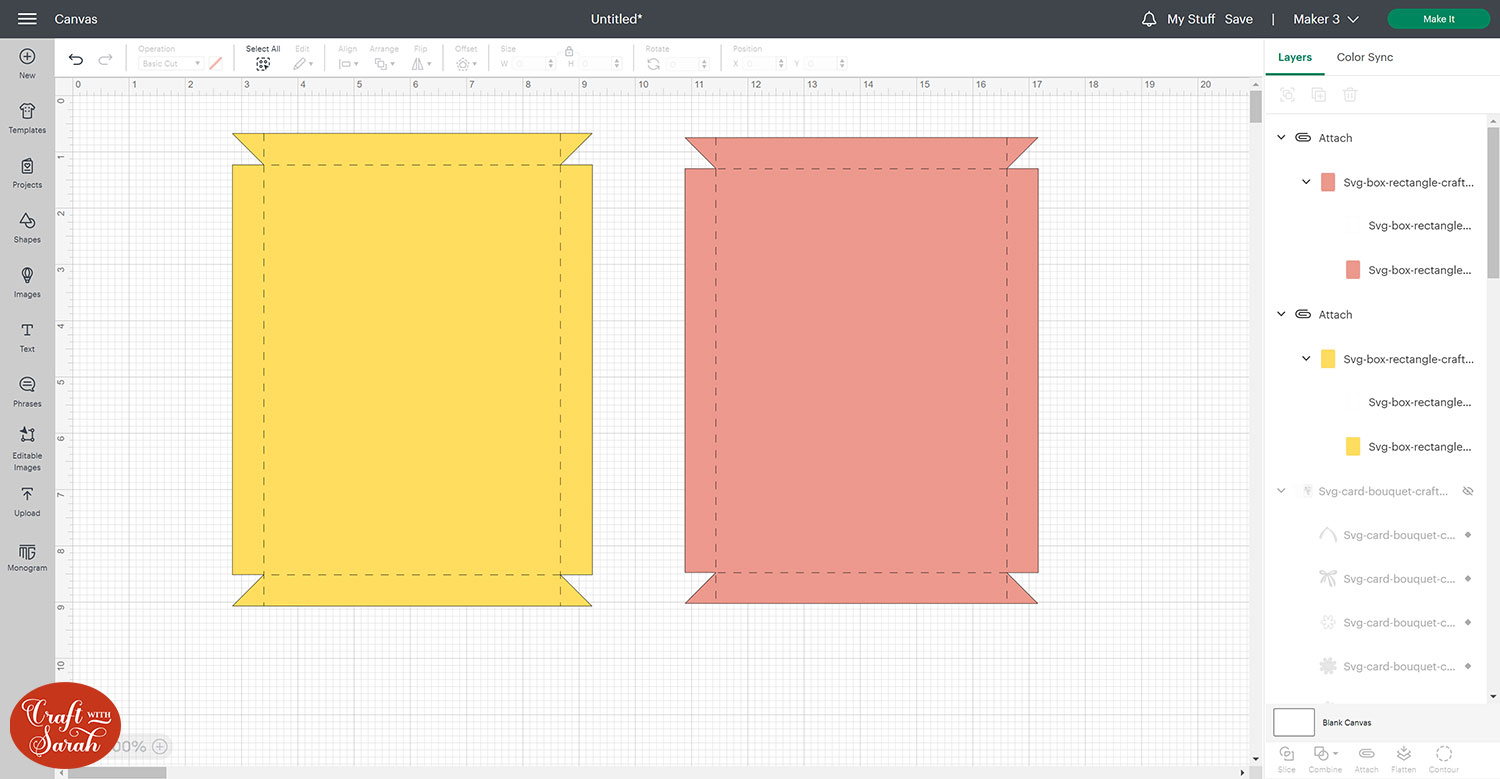
It should load in with the base and lid pieces on top of each other.
The lid is the yellow piece and the base is the slightly smaller red piece.
Step 3) Resize the box template to fit your card
As my greetings card has the full base card to be cut out, I need to make a rectangle that is the same size as just the front part of the card.
For this card, it’s 5×7 inches.
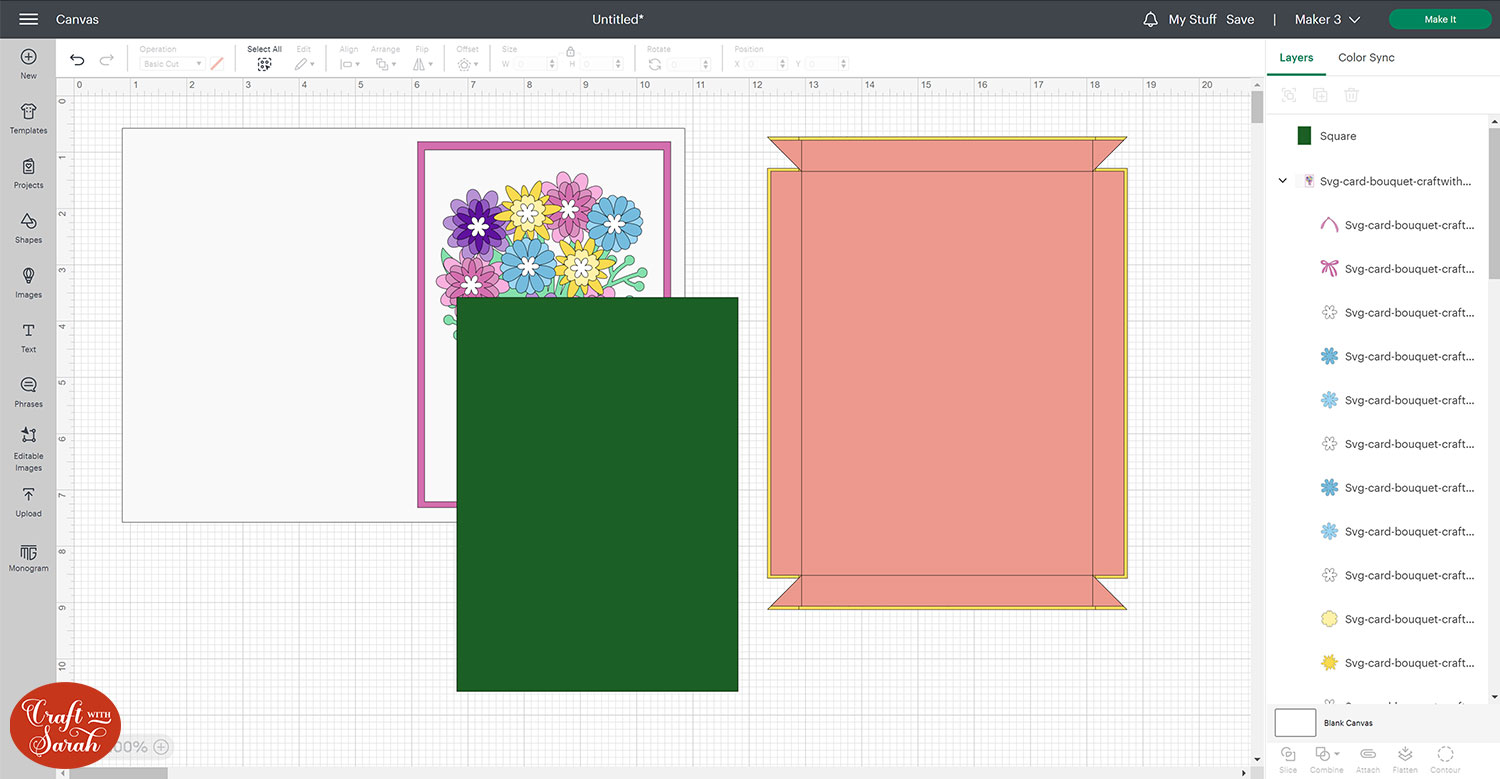
Position the shape over the box template and then resize the box so that the rectangle in the middle of the box is slightly larger than the size of your card.
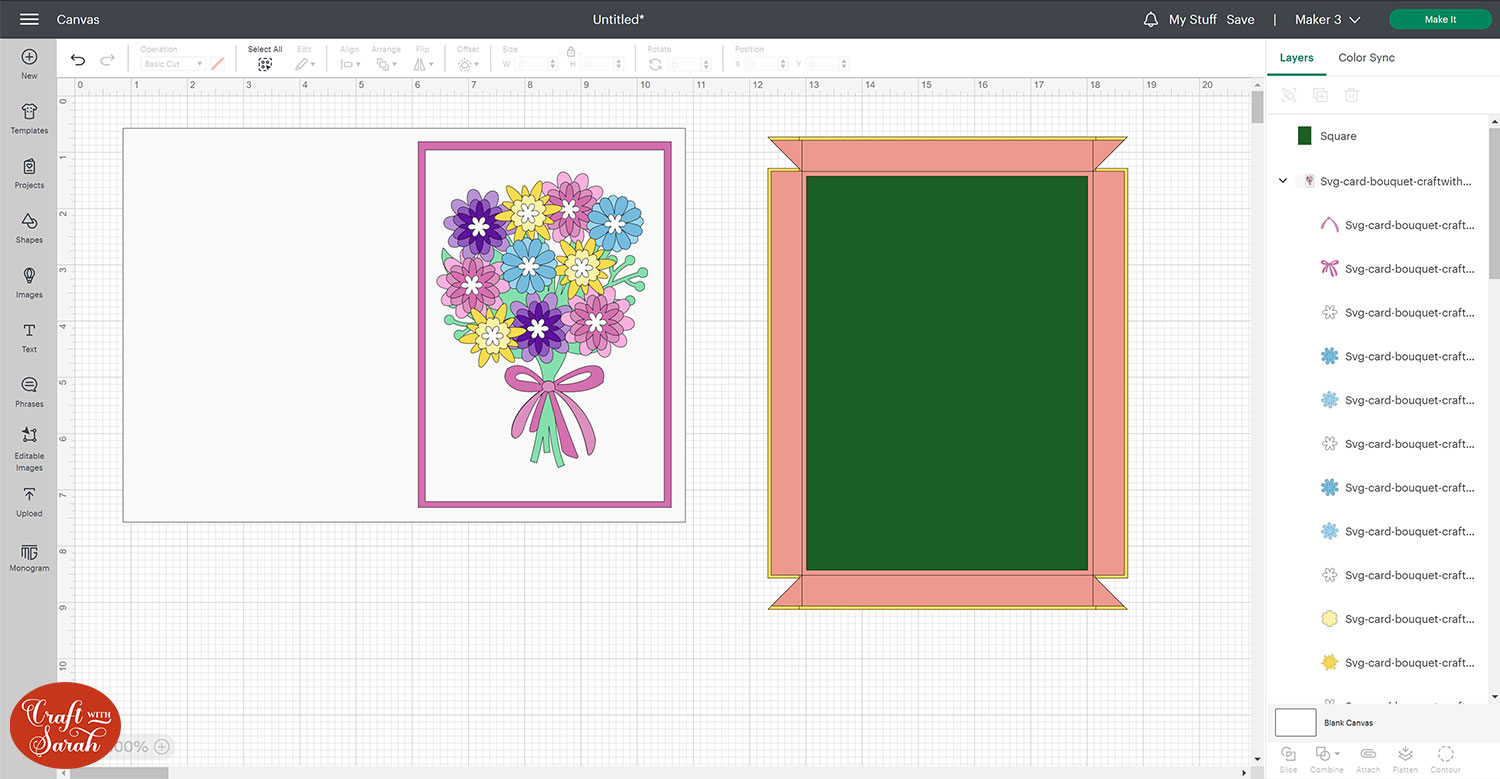
When you’re happy with the size, delete your shape layer or if you used your actual card design then move it over the side out of the way.
I’ve hidden my flower card by clicking the eye next to it in the layers panel so that it will be easier to see the next few steps of this tutorial.
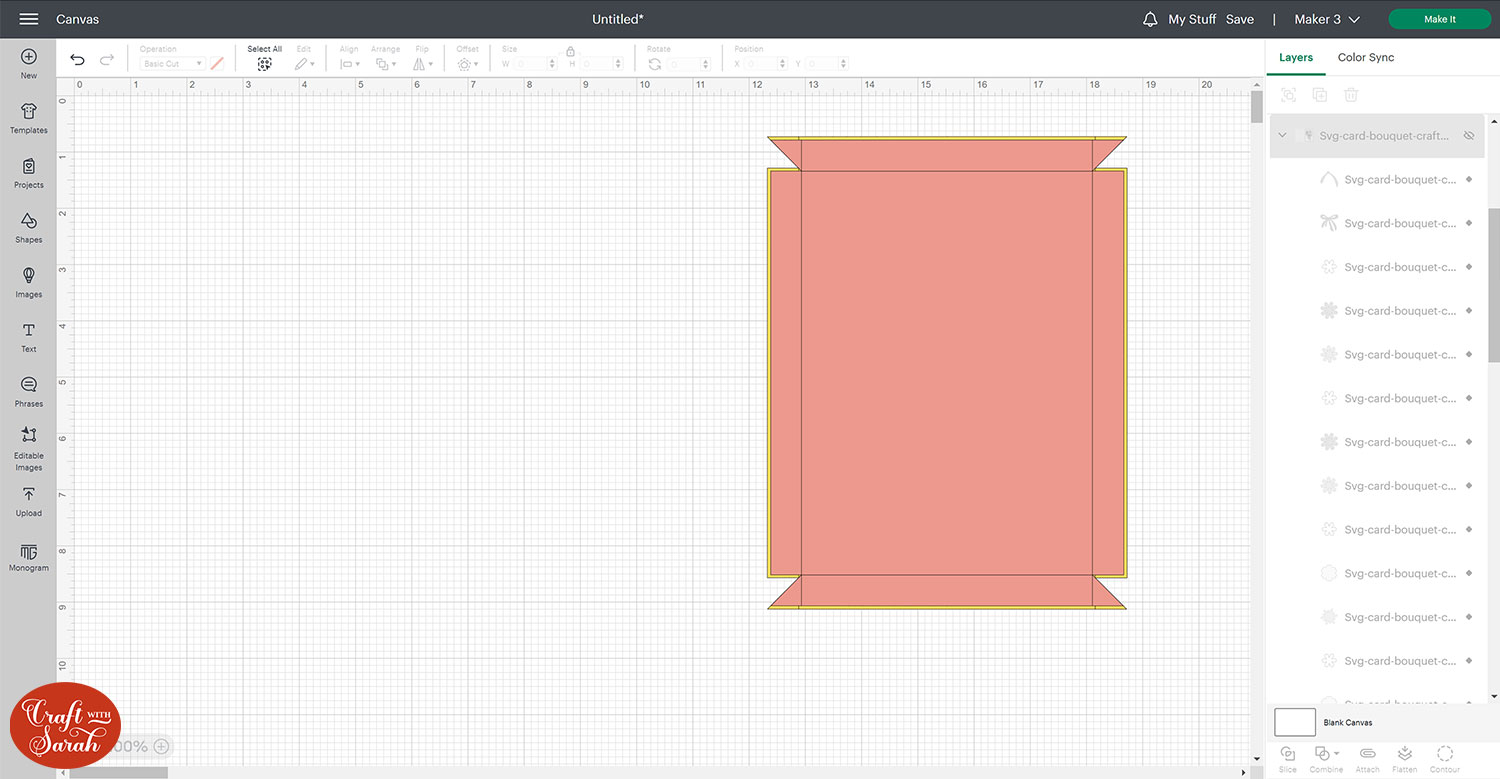
Step 4) Format the score lines
Click the box template and Ungroup the layers.

Click-and-drag the lid and base sections of the box so that they are next to each other on the screen.
Click one of the score line layers in the layers panel. This is the layers that are making the black horizontal and vertical lines above the coloured shapes.
Make sure you JUST click the single layer with the lines on, not the whole group that contains the coloured rectangle too.
Under the “Operation” dropdown, change the layer to “Score”.
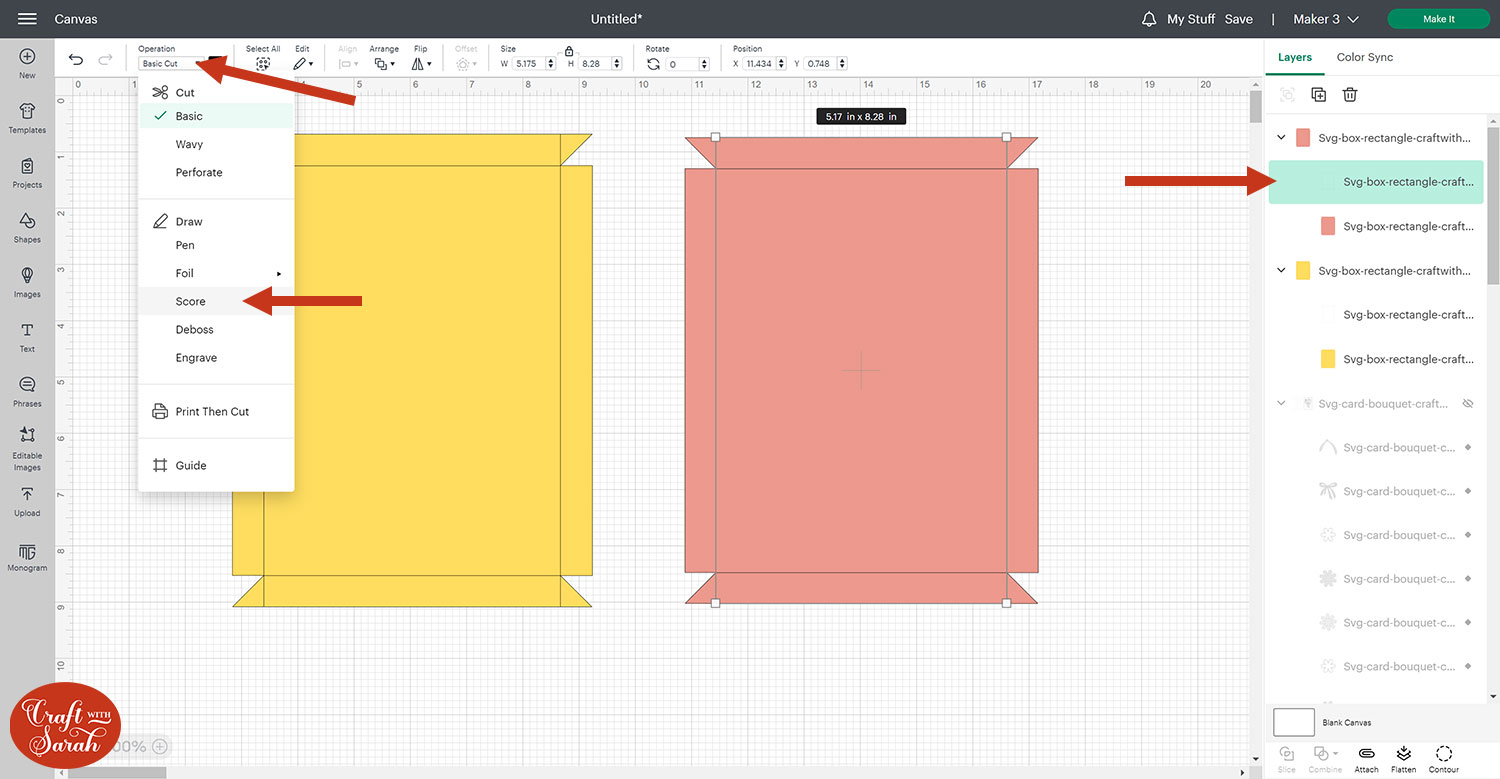
Repeat the same for the lines on the other shape.
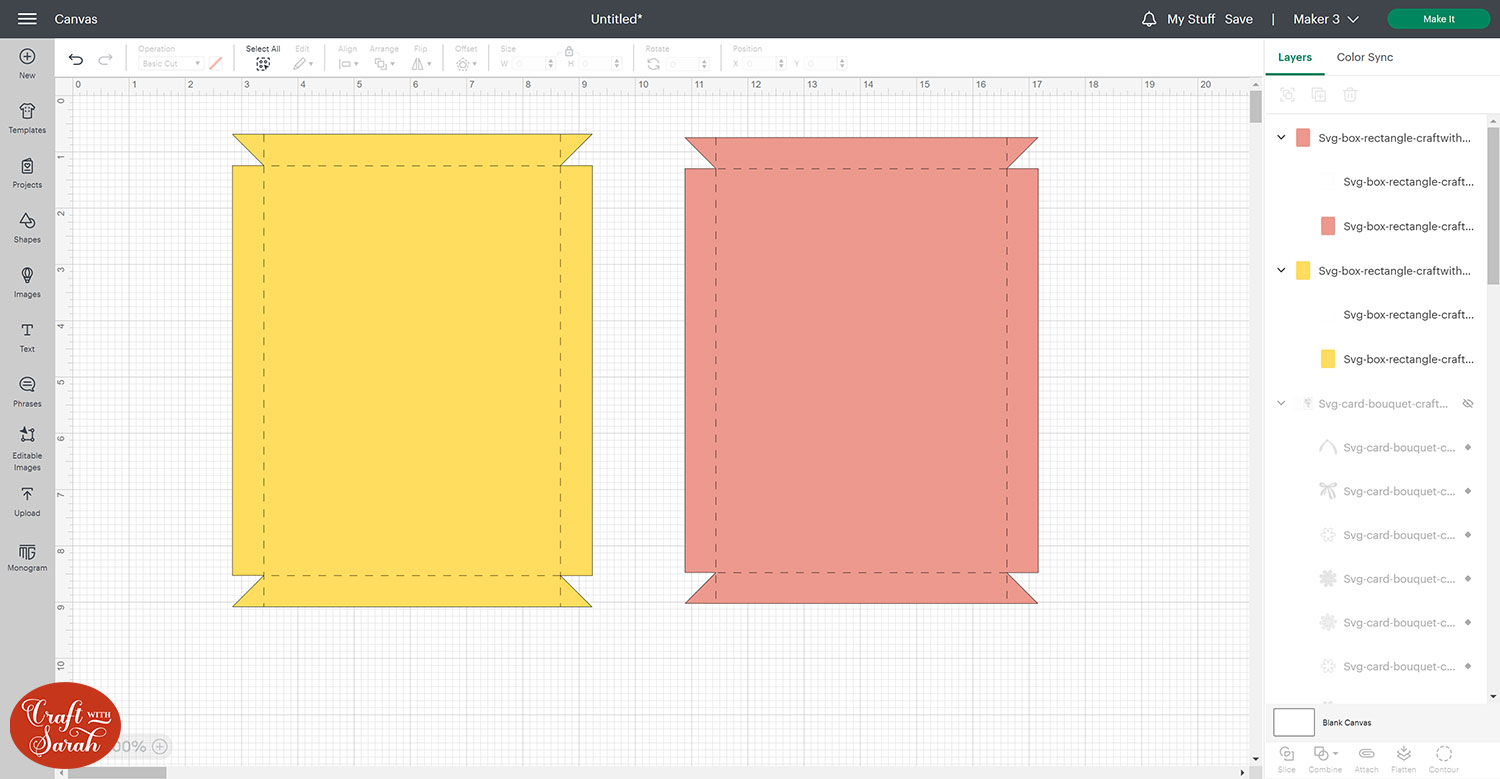
After you’ve done that, they should look like this, where the solid lines have changed to dashed lines.
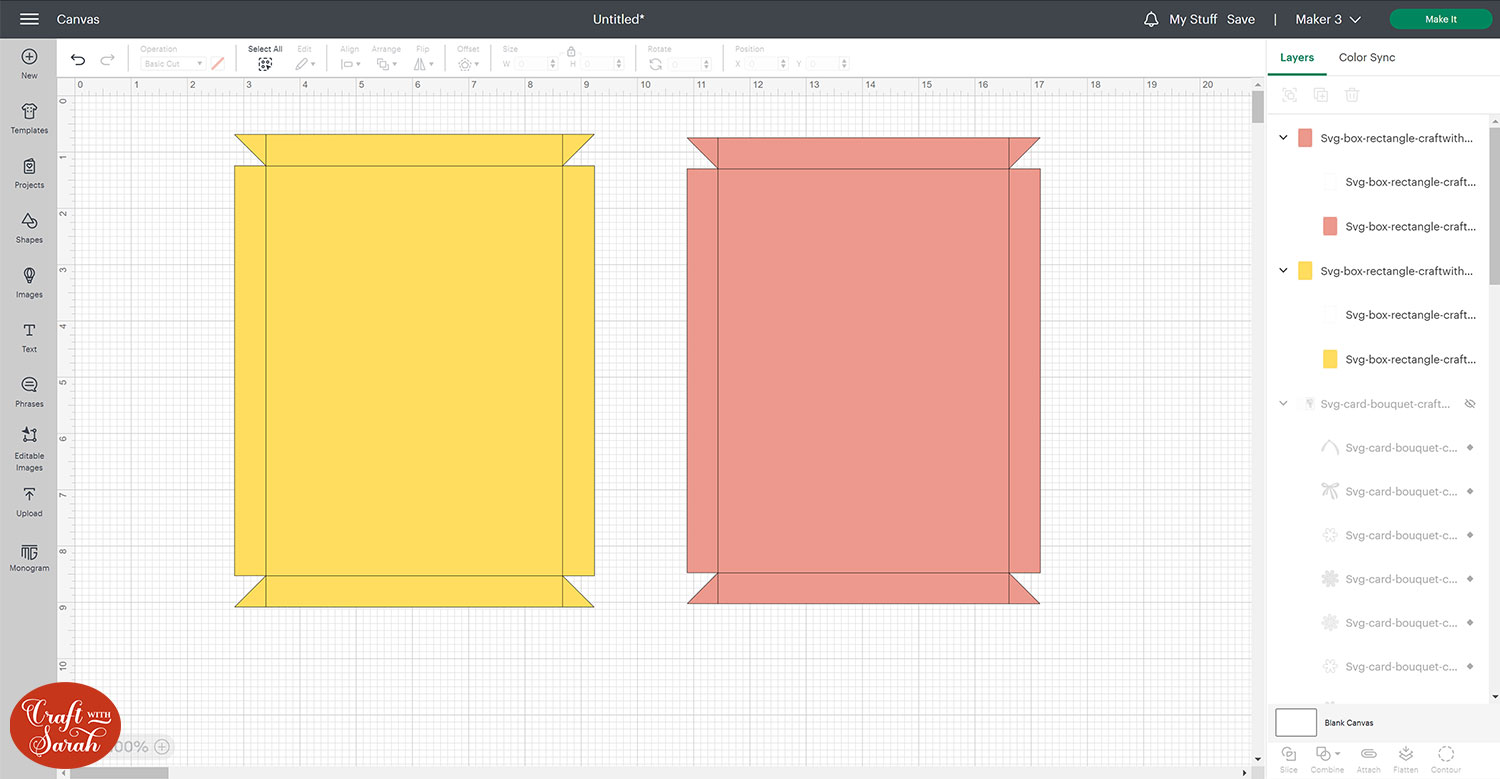
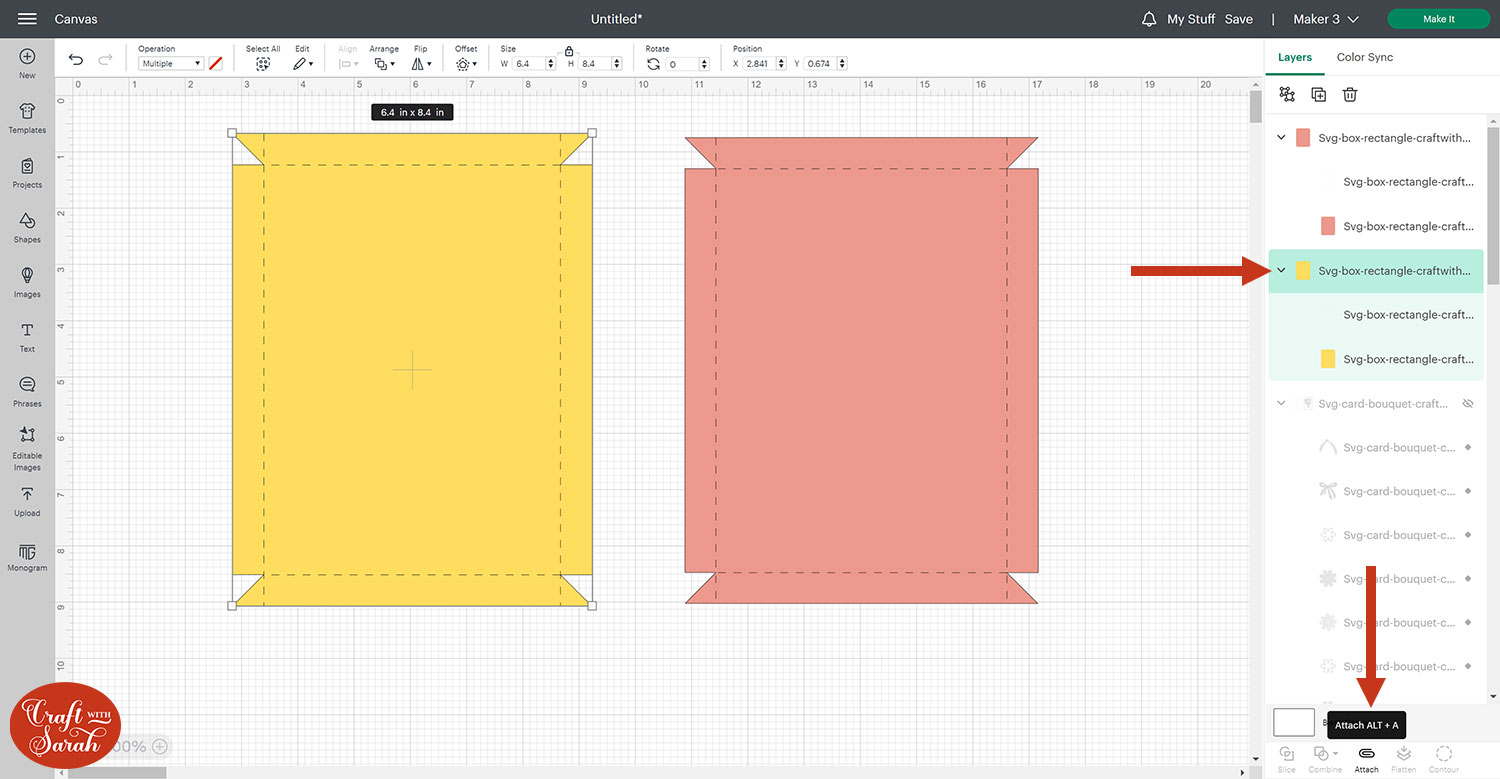
Next, we need to “tell” the Cricut to do those score lines on top of the coloured box shapes.
To do this, first click the yellow group and then press “Attach”.
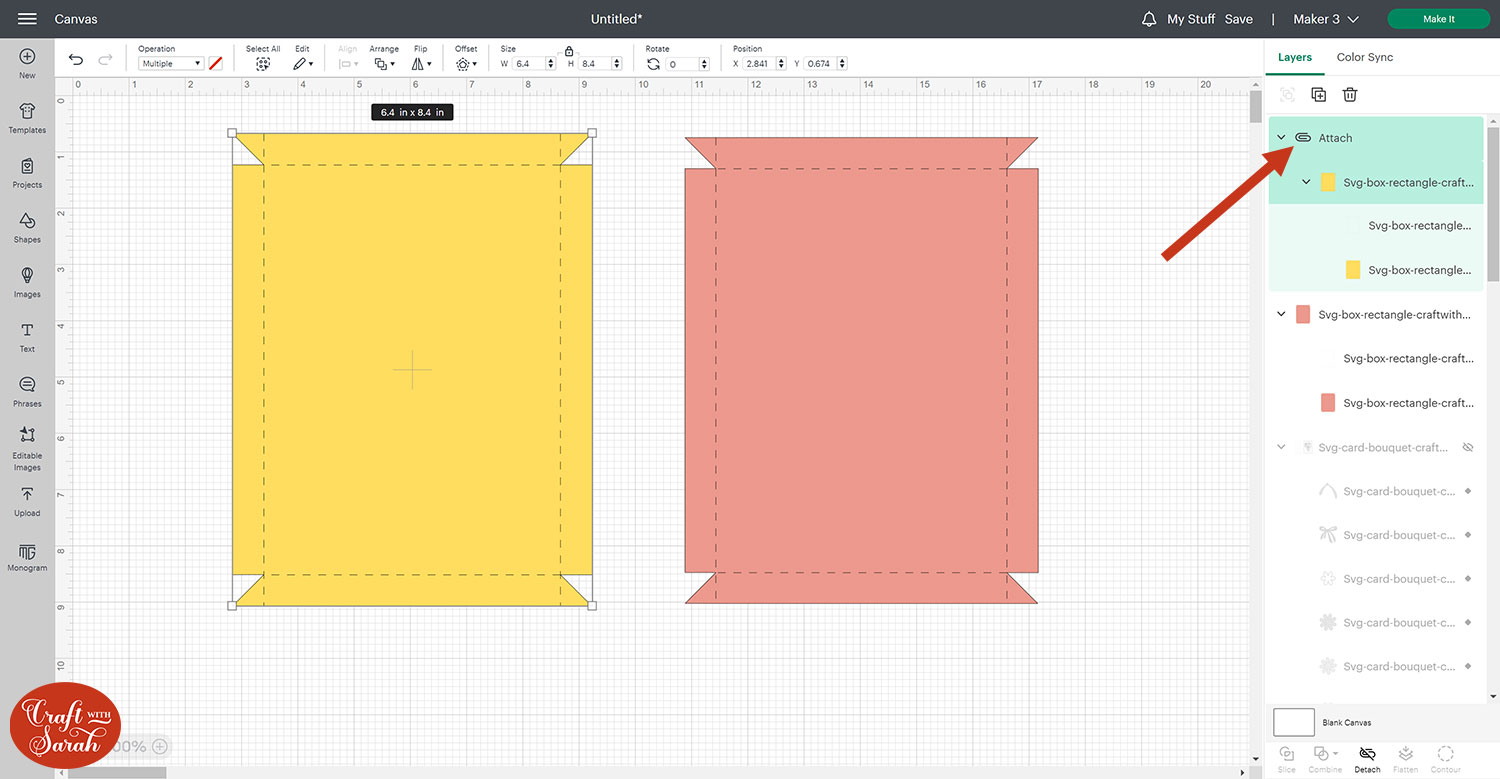
This will change how the layers look in the layers panel, so you will now see the yellow piece and the score lines on top of it under an “Attach” heading.
Do the same for the red piece.
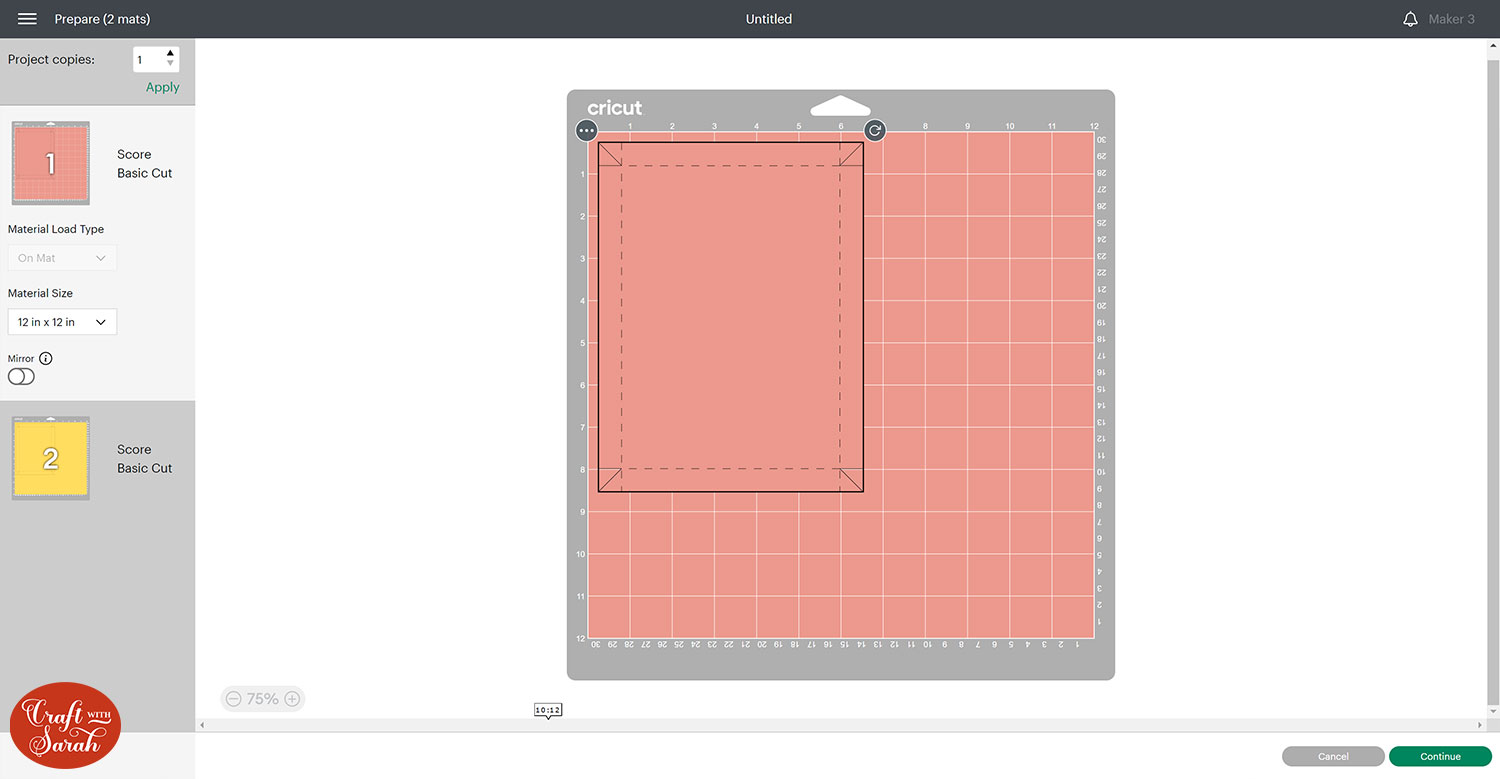
You can check if the formatting has been completed correctly by clicking “Make It”.
You should see the red shape on one mat with the score line on top of it, and the yellow piece on a second mat.
Step 5) Decorate the box
I like to decorate my card presentation boxes to match the card that’s going in it.
To see how to do this, watch the video at the top of this page.
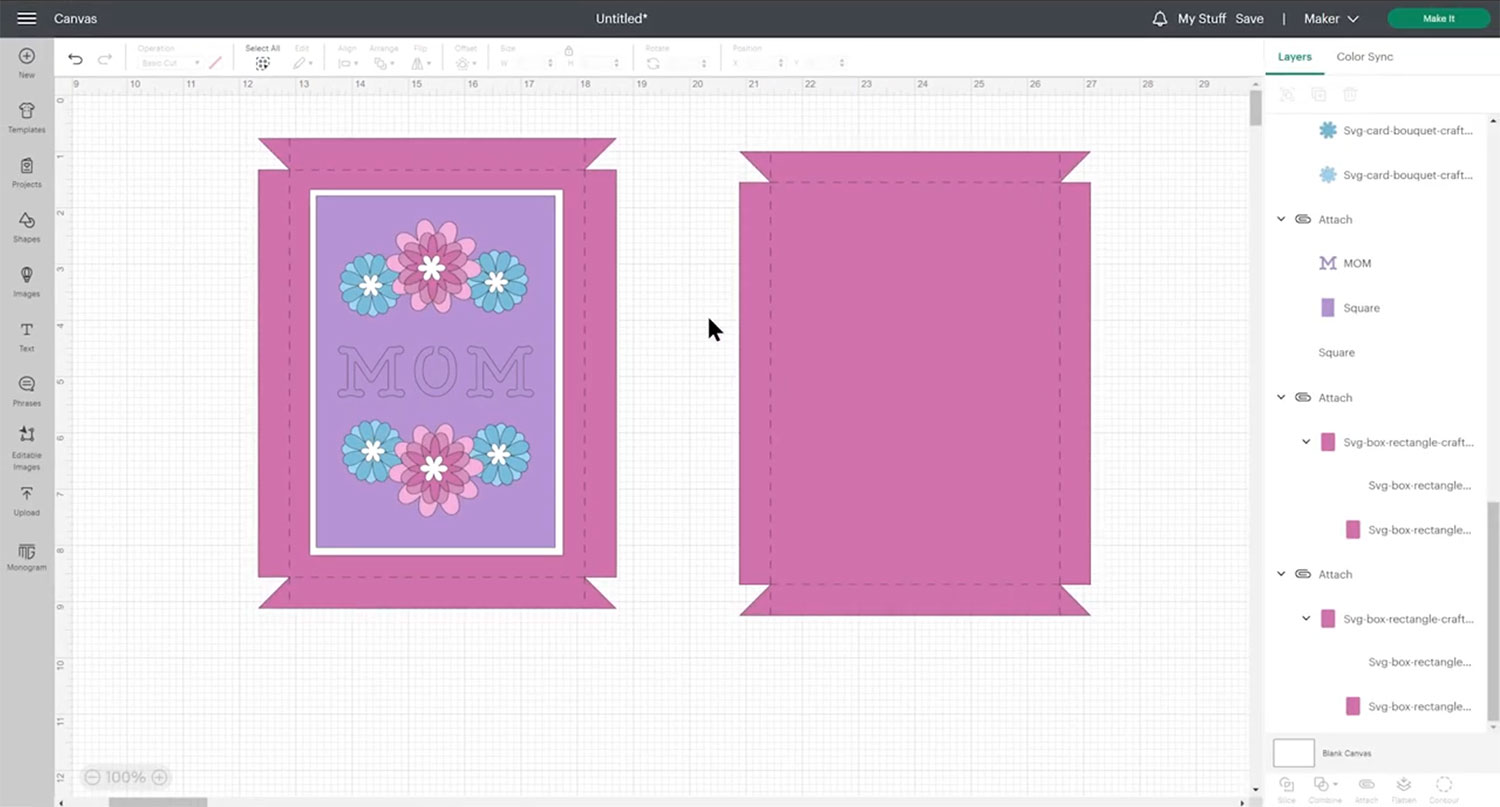
Here’s how my box design looked after decorating it in Design Space:
Step 6) Cut out the box template
When you’re happy with the design, save your Project and then click “Make It” and follow the on-screen instructions to get everything cut out with your Cricut.
Step 7) Assembly the presentation box
Now it’s time to put the box together!
Choose whether to make the lid or the base first.
Fold all of the sides inwards/upwards along all of the score lines.
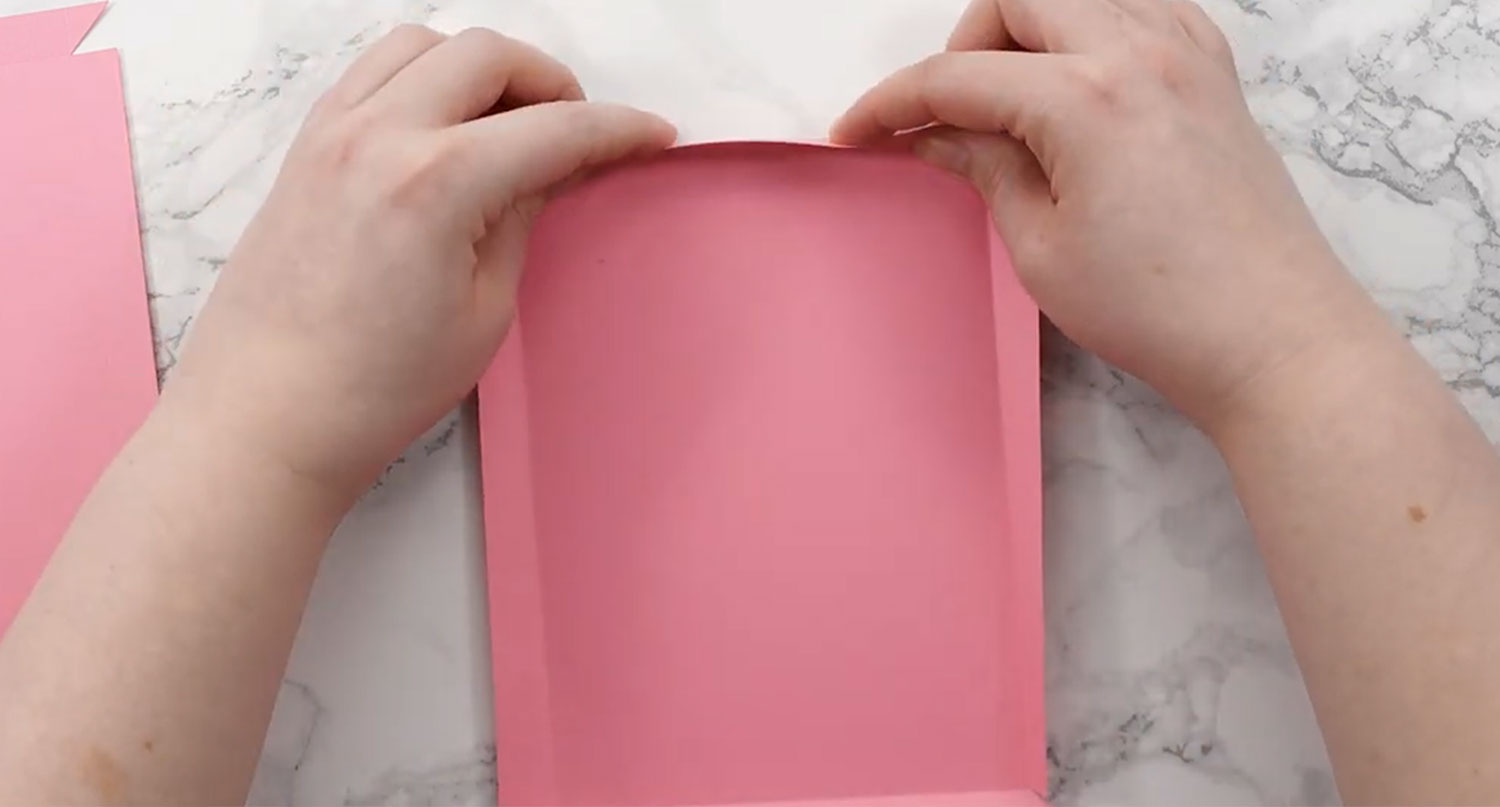
Each of the corners has a little triangle on it.
This is what we will be using to create the sides of the box.
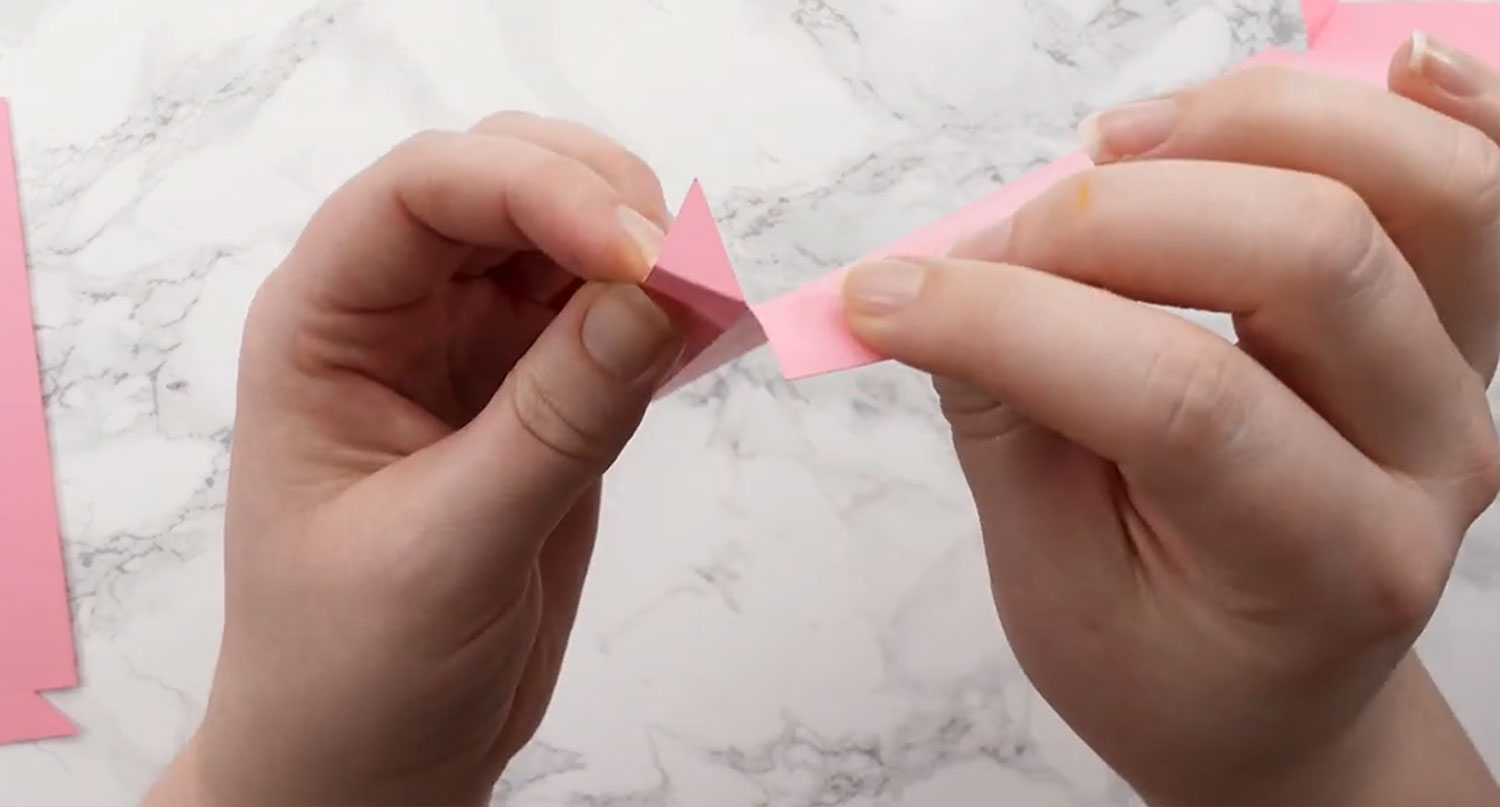
Working one corner at a time, add some glue to one of the triangles and stick it to the inside of the corresponding side of the box.
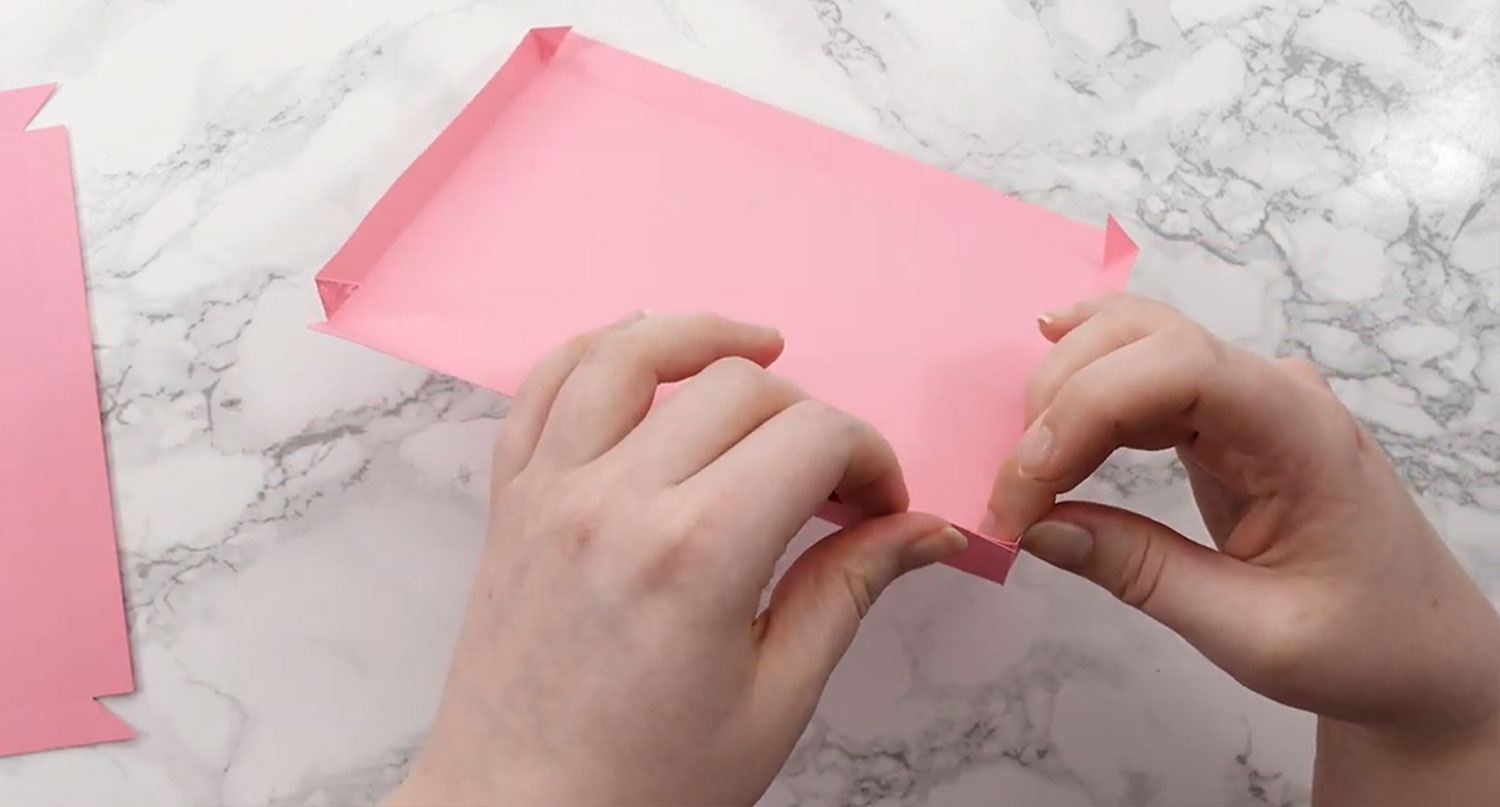
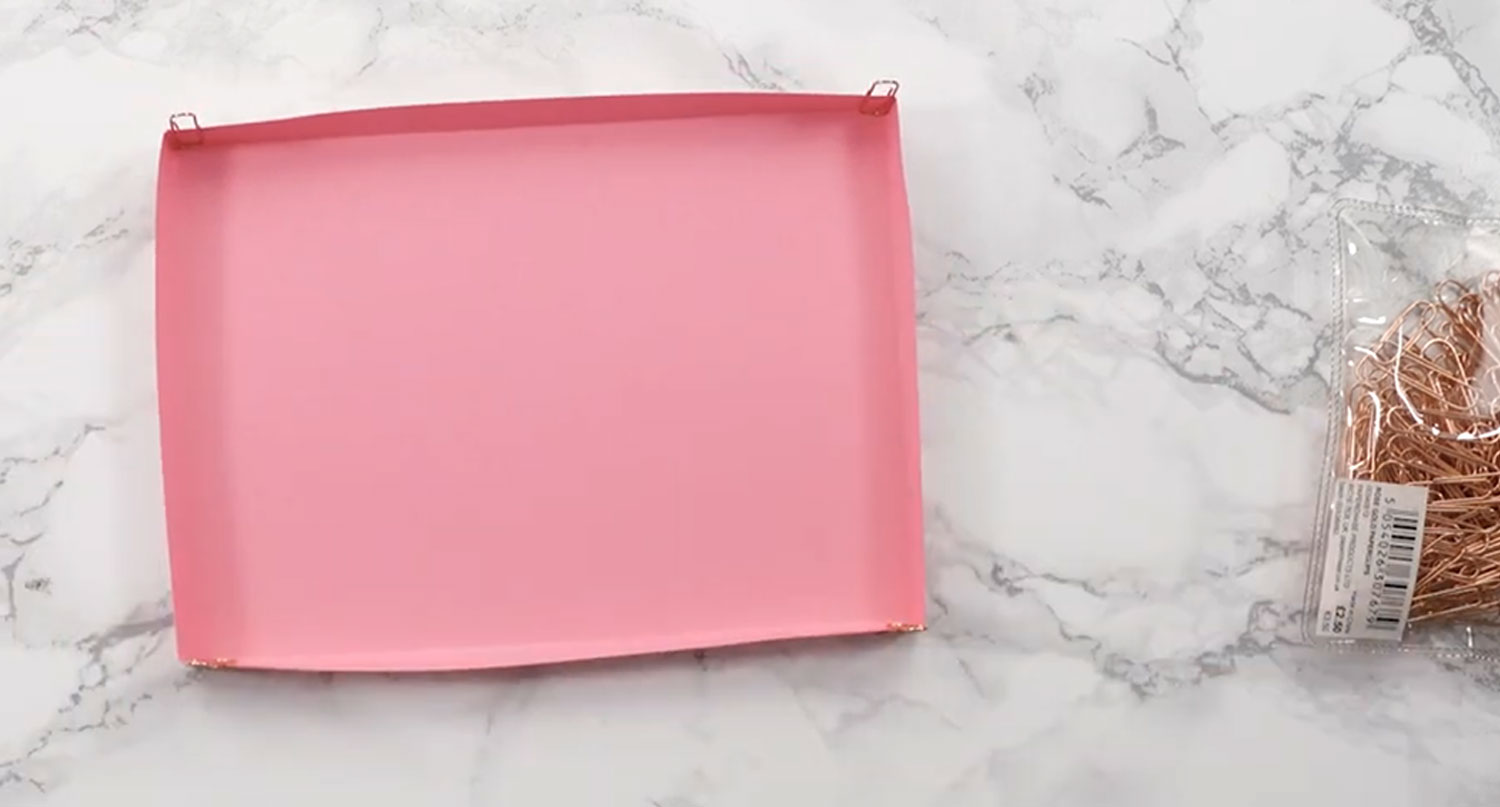
Hold it until the glue is dry, or use paperclips to hold it in place.
Repeat the same steps for the other part of the box.
Decorate the lid if desired.
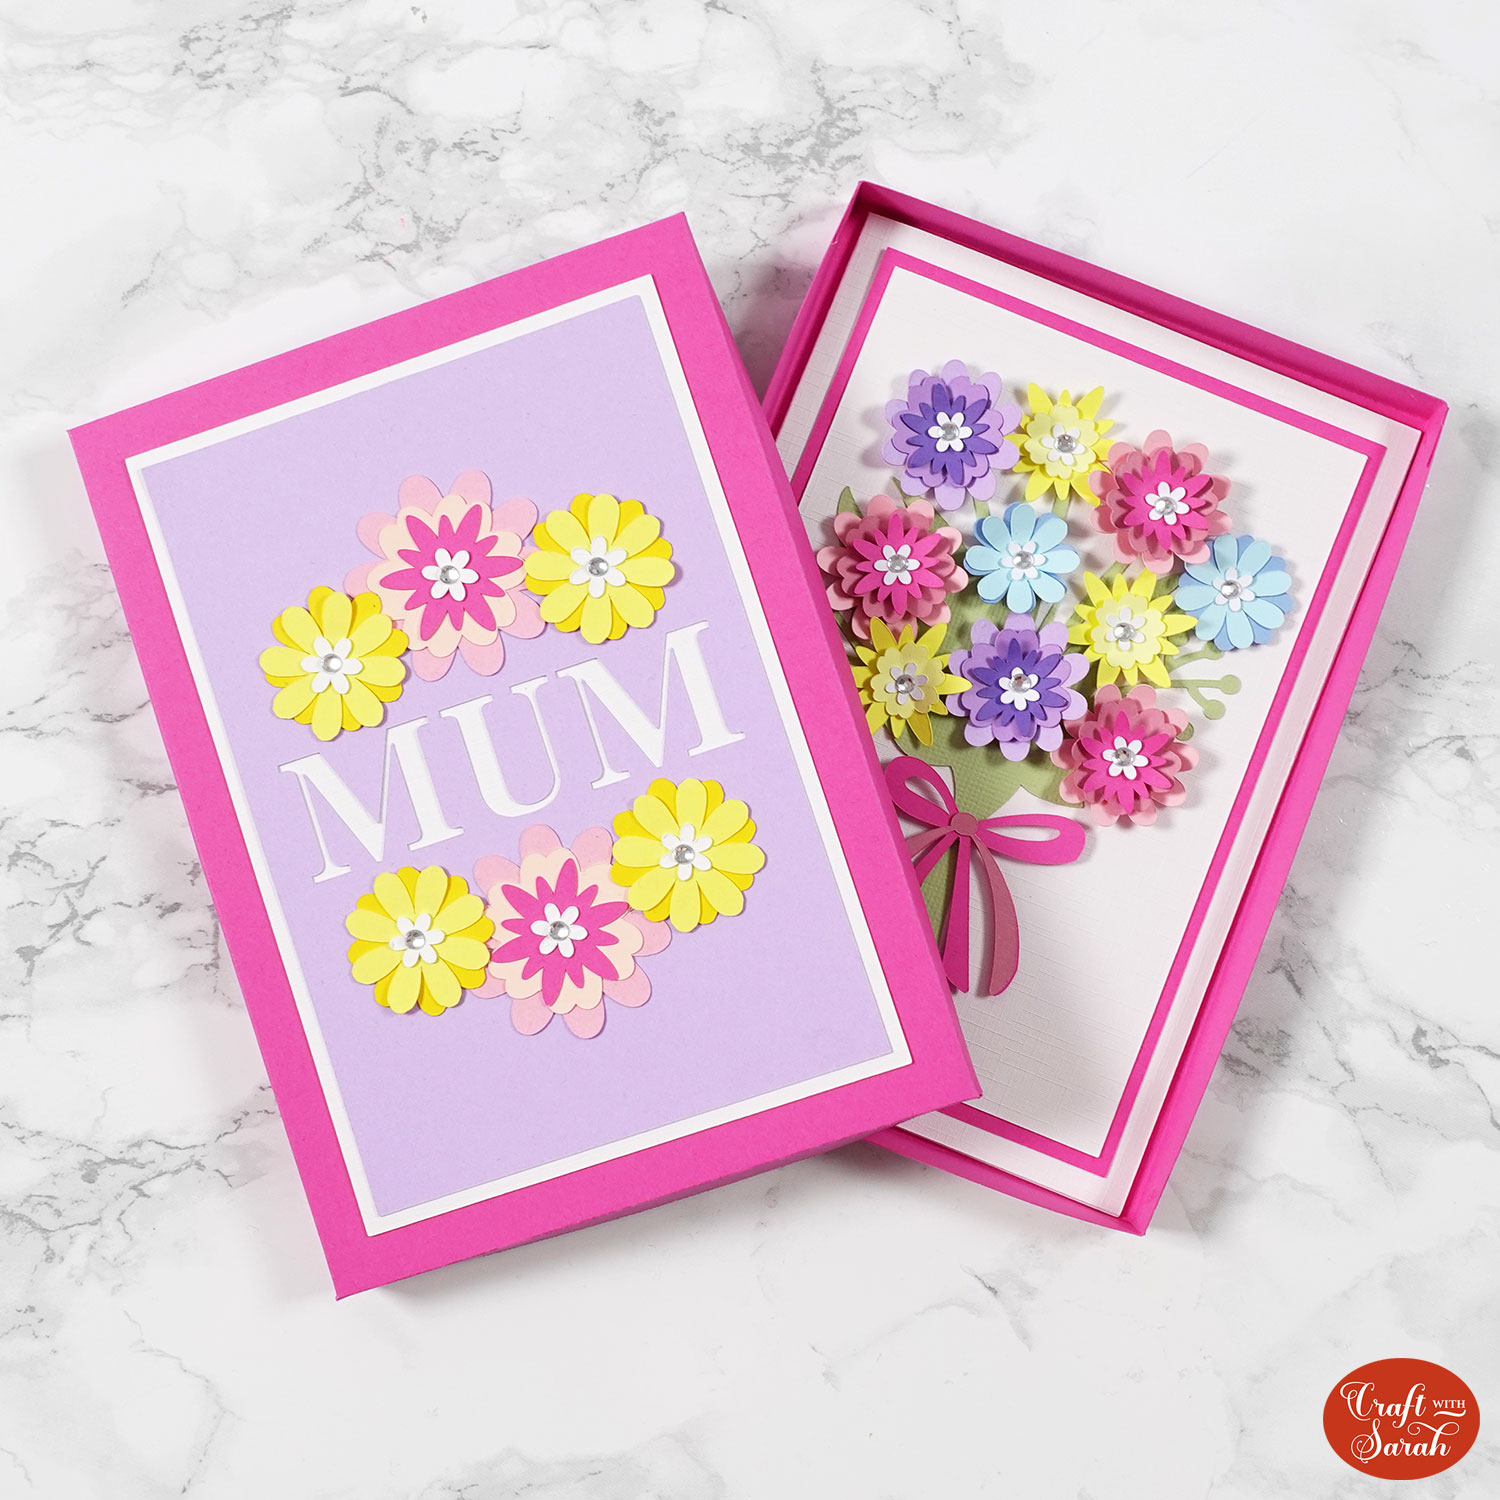
Box templates for Cricut cards
Your handmade presentation box is now all finished!
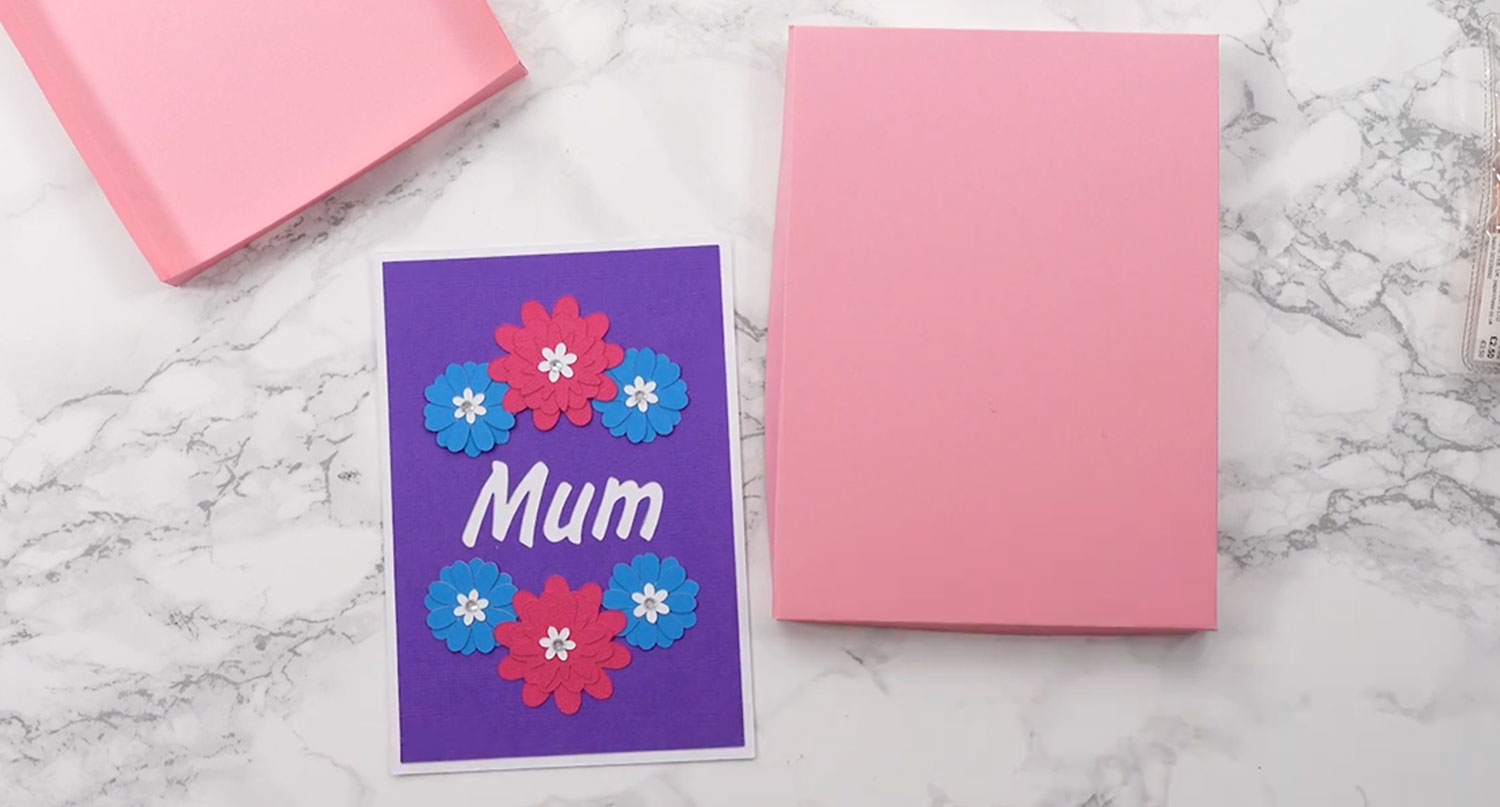
Now for the moment of truth… does your card fit? 😀

The lid is slightly larger than the base which should lead to a snug fit.
If it’s a little loose, try tying a ribbon around the box to hold it in place, or use a belly band.
Happy crafting,
Sarah x

