Cricut Christmas Cards ❄️ Beautiful Fold-Out Card Designs
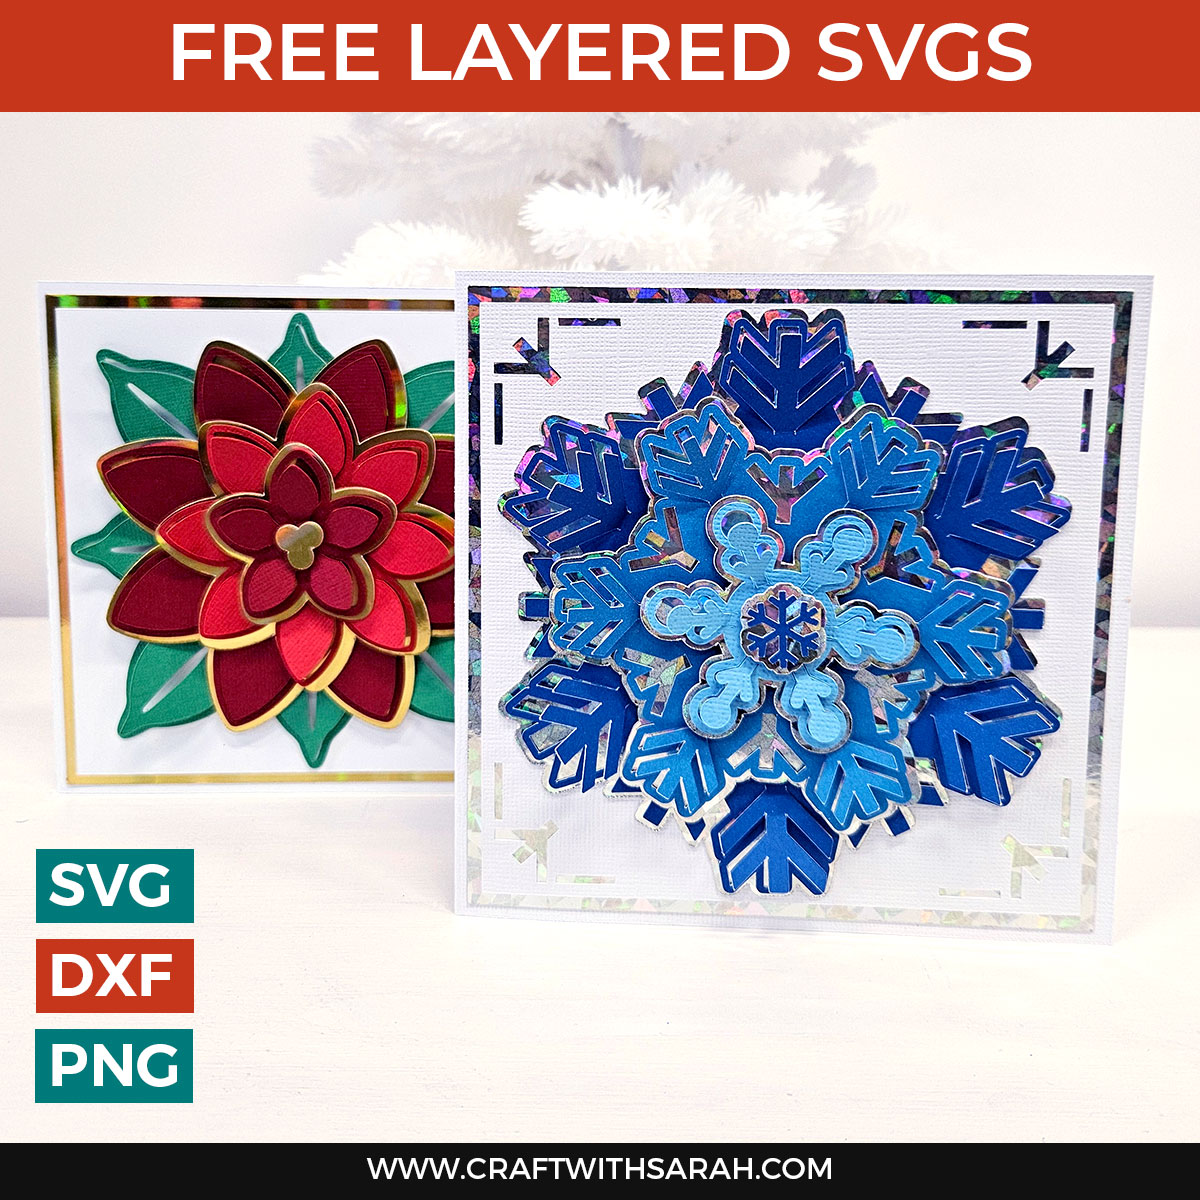
Make DIY Christmas Cards that REALLY stand out with these free Christmas card SVGs.
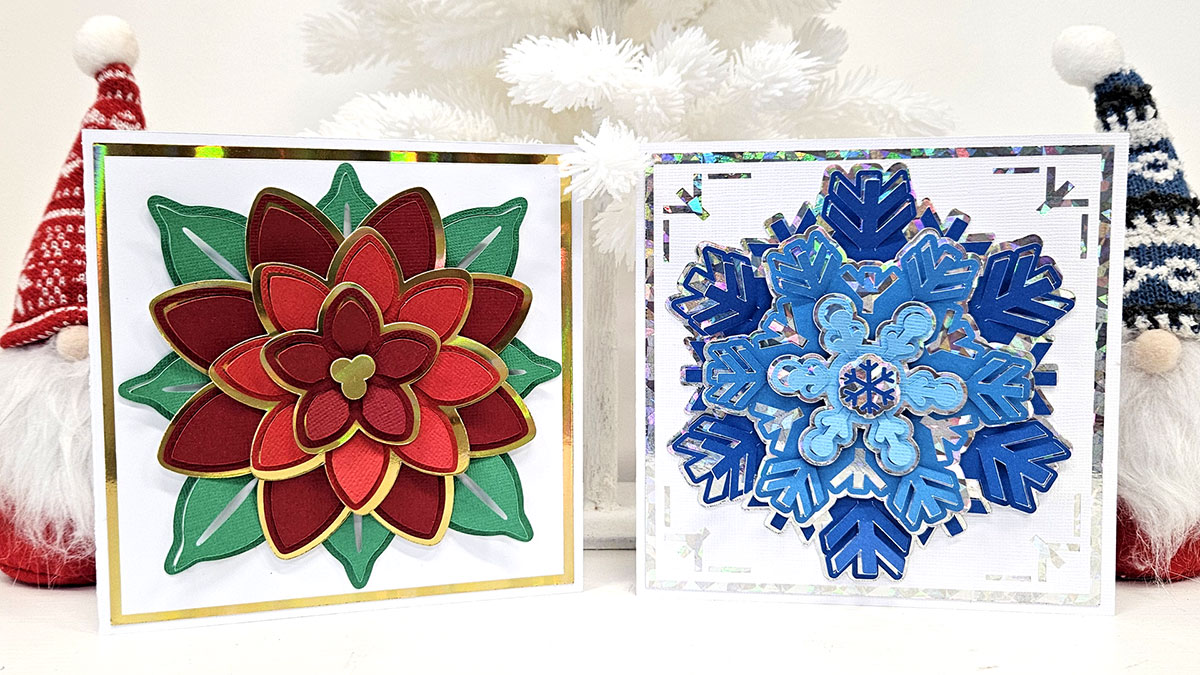
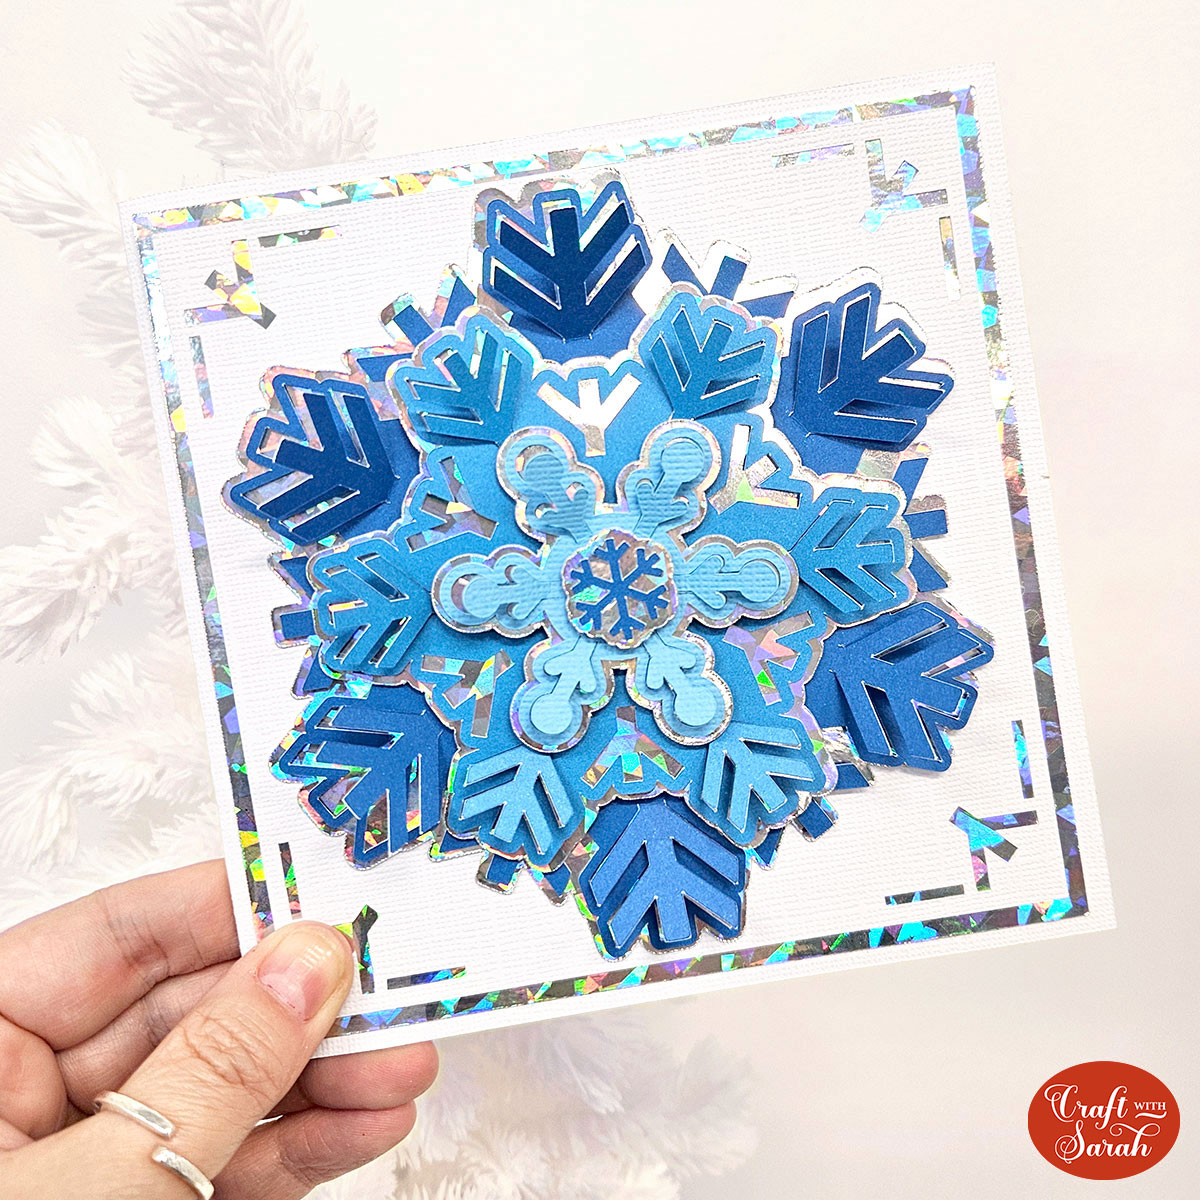
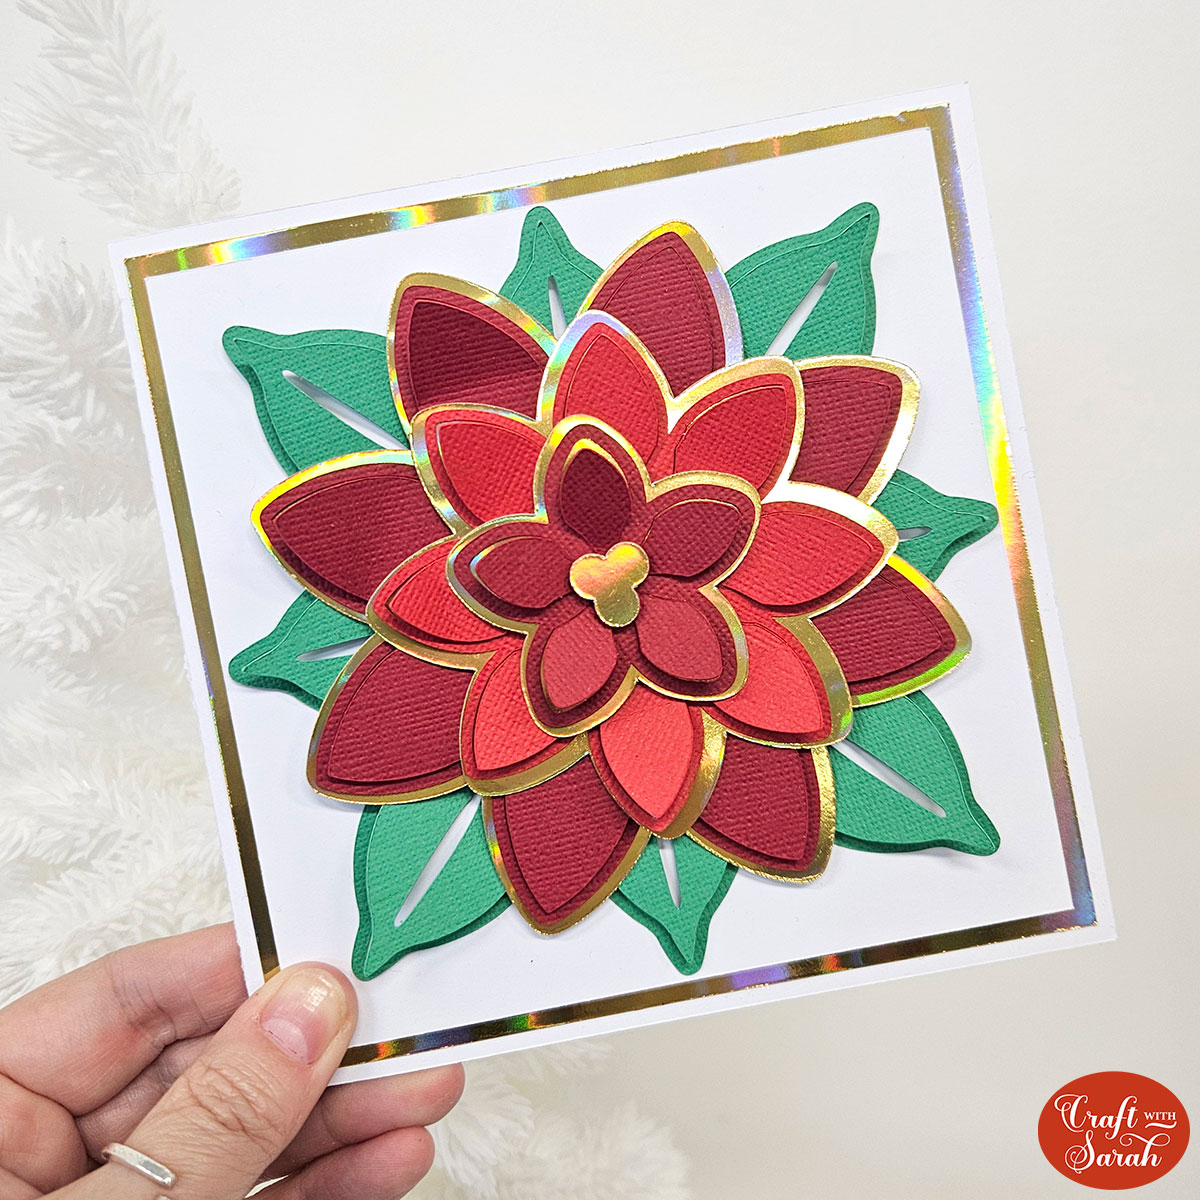
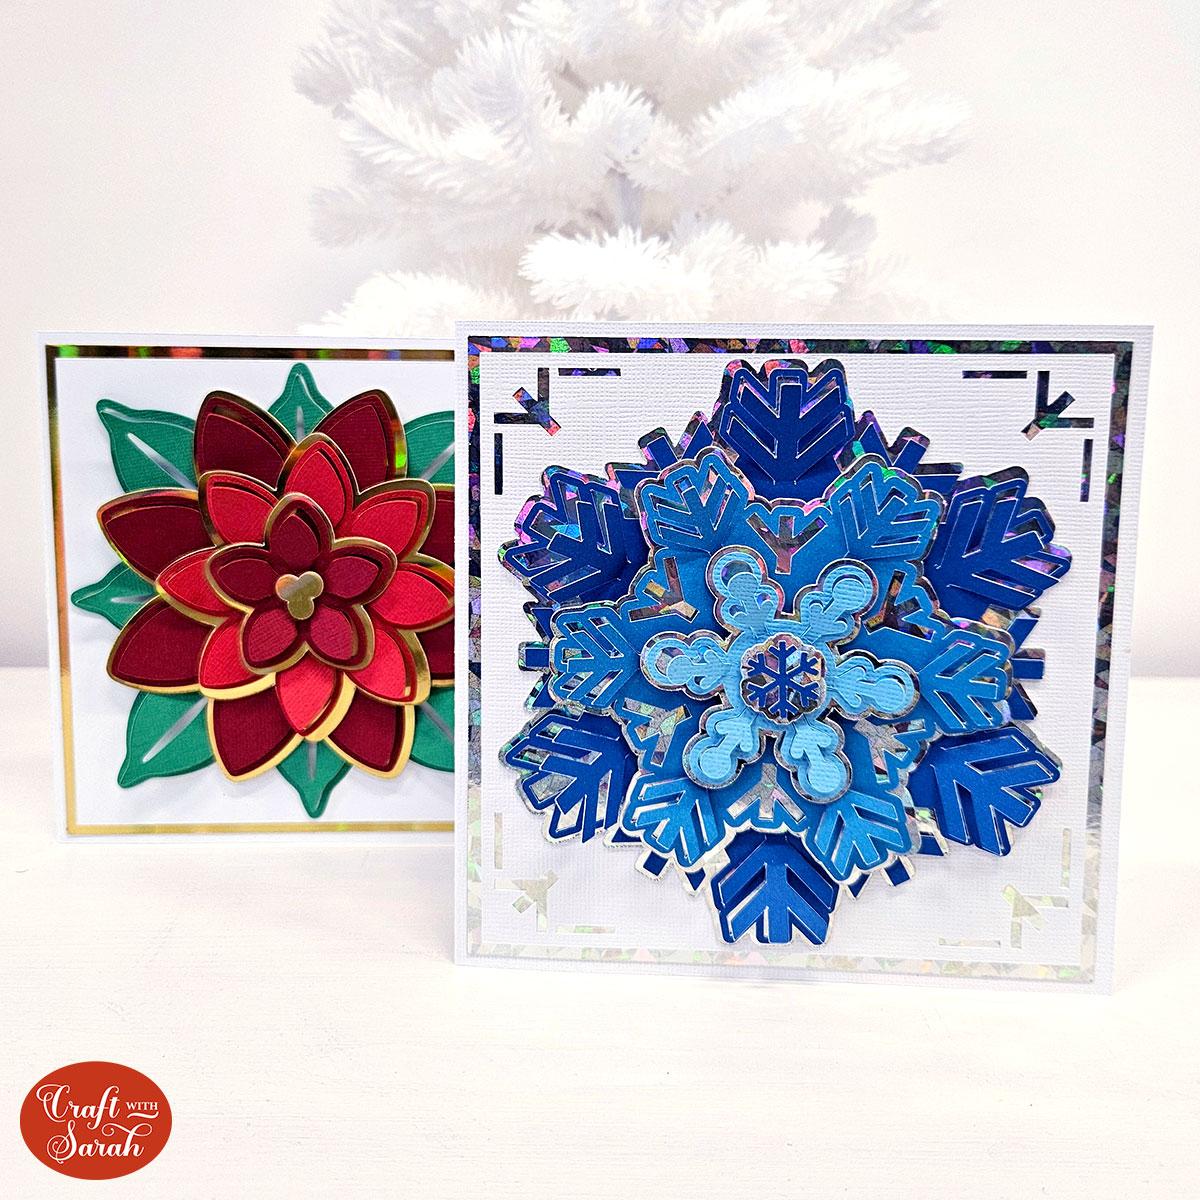
A snowflake and a poinsettia flower design are included. Choose your favorite, or make both!
These cards are really quick and easy to put together and they’re bound to make an impact with your friends and family this festive season.
They look especially beautiful when layered up with holographic gold or silver card for some extra-special Christmas sparkle.
Please note that some of the links included in this article are affiliate links, which means that if you click through and make a purchase I may receive a commission (at no additional cost to you). You can read my full disclosure at the bottom of the page.
Find out how to make these easy Christmas cards by following the steps below…
Video tutorial: How to make fold-out cards for Christmas
Watch the video below to find out how make Christmas cards with a Cricut machine. Or, keep scrolling for a written tutorial.
Materials to make DIY Christmsas cards
Here is a list of the materials that I used to make these handmade cards.
- Free SVG design (scroll down to find the download box)
- Digital cutting machine such as a Cricut Maker
- Light grip cutting mat
- Cricut scoring wheel or scoring stylus (optional)
- White cardstock
- Coloured card, including holographic or metallic gold/silver
- Glue or double-sided tape
- Foam squares
Fold-out Christmas Cards: Snowflake & Poinsettia
Here’s how to make your own Christmas cards with your cutting machine.
Step 1) Download the free file & unzip the downloaded folder
Download the free box template SVG files using the box below.
Download the Free Cutting File
Please login to your account to download this file.
TERMS OF USE:
You may sell finished, handmade physical craft items that you have made using this product but must not sell or share the digital files. Read full terms of use
Before you upload the SVGs to Design Space, you need to unzip the download folder that they comes in.
Step 2) Upload the SVG files into Design Space
Open up Cricut Design Space and start a new project.
Click “Upload” and then “Upload Image”.
Make sure you choose the unzipped version of the folder, then choose either the snowflake or poinsettia design.
Make sure you upload the files which start svg- in the filename!!
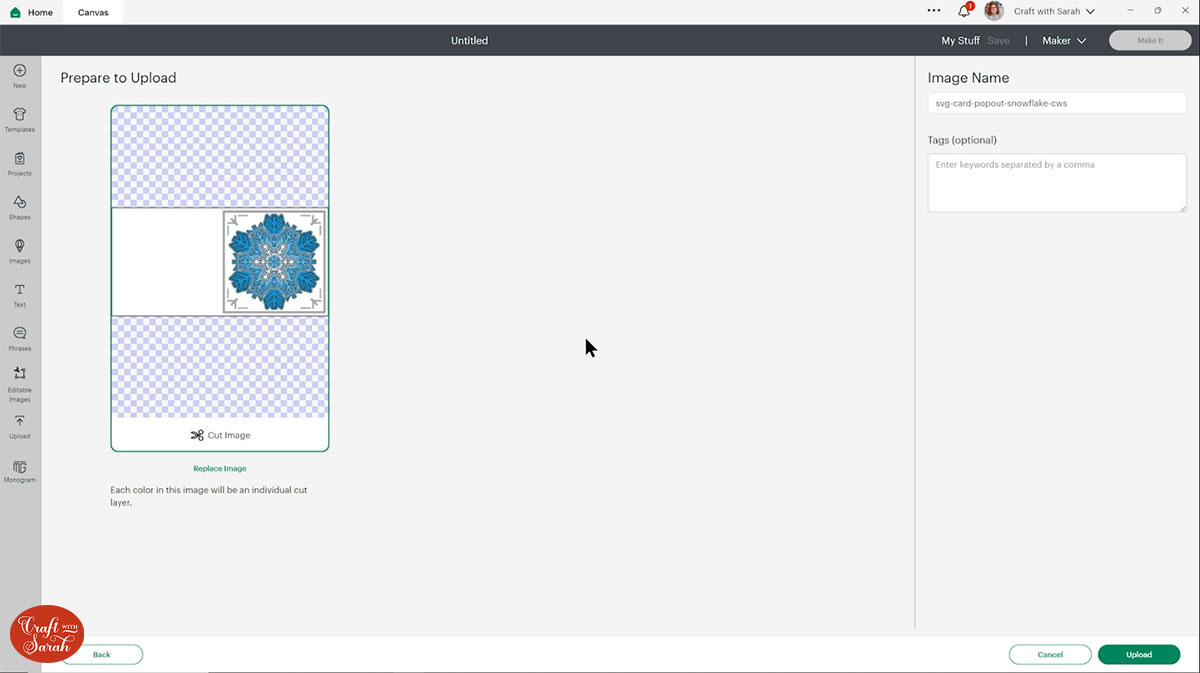
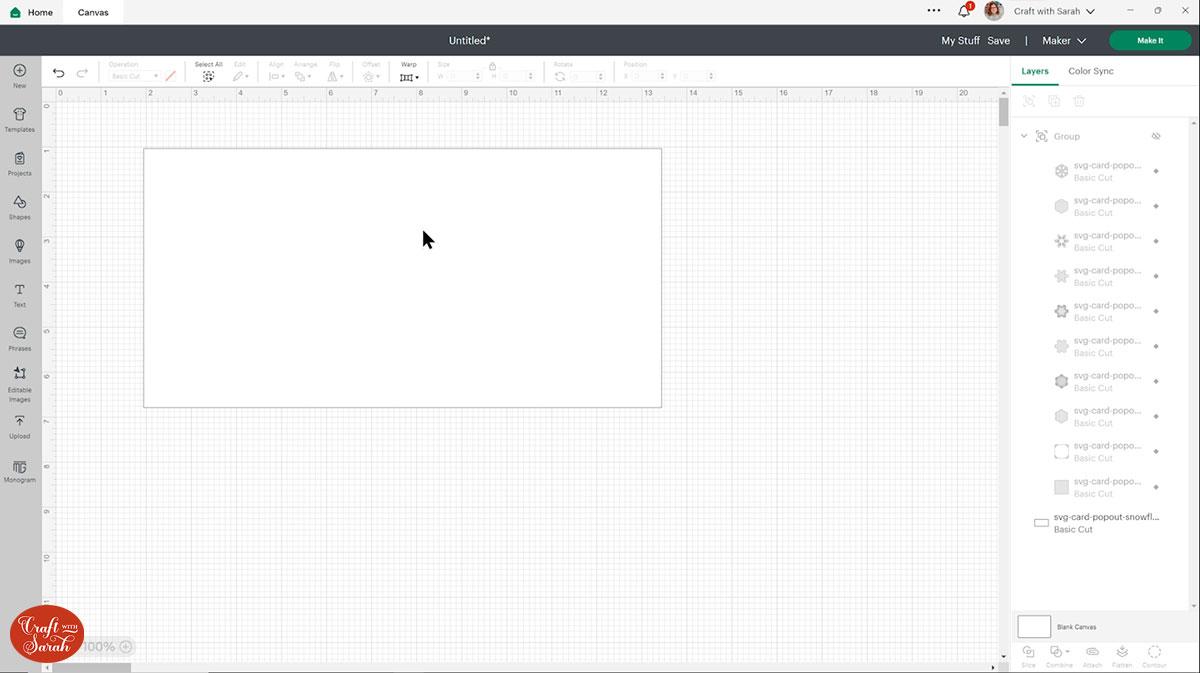
This is how it should look after you have uploaded the file:
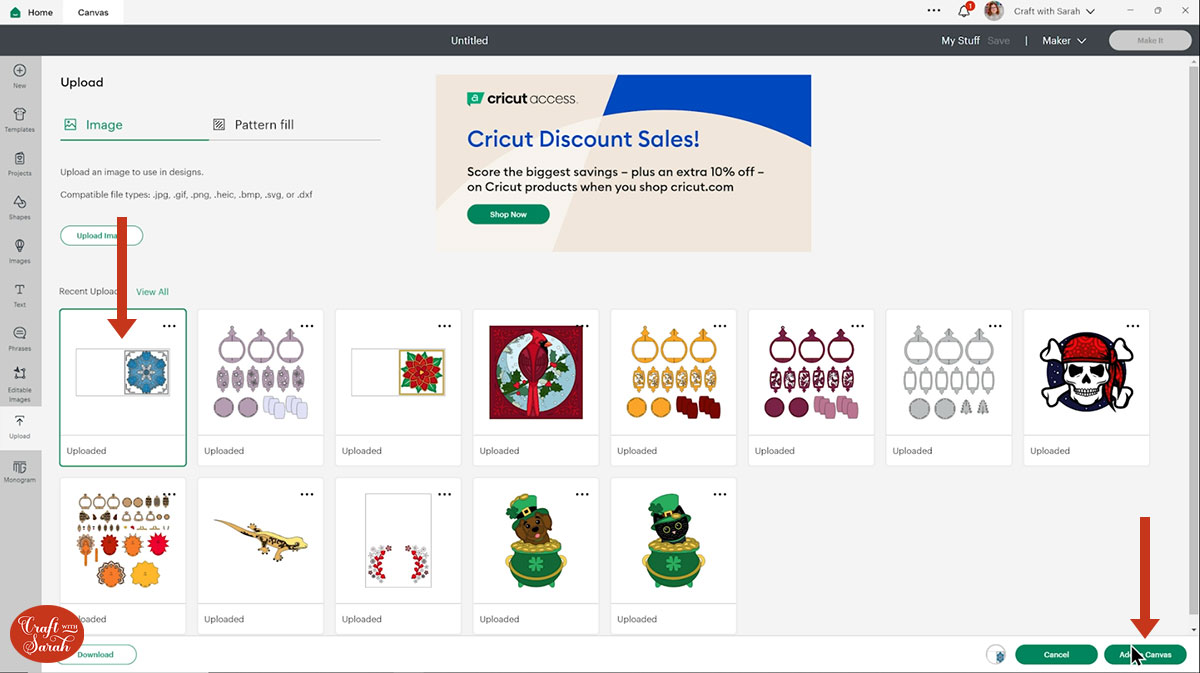
Click it in your “Recent Uploads” and then click “Add to Canvas”.
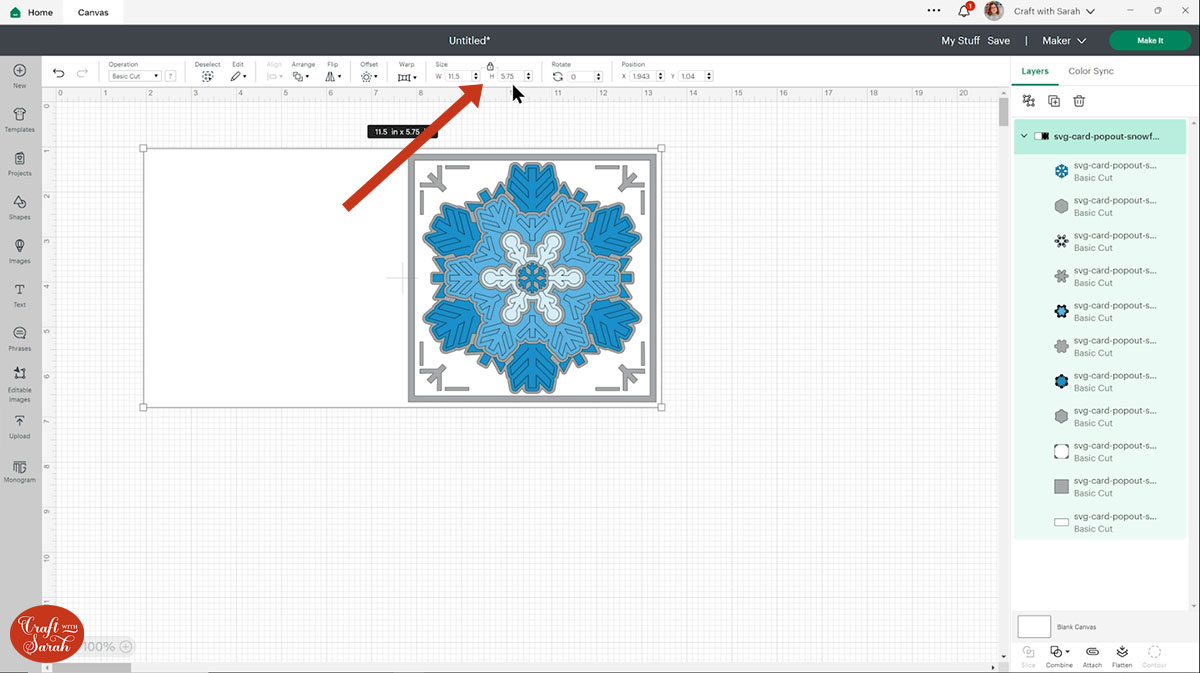
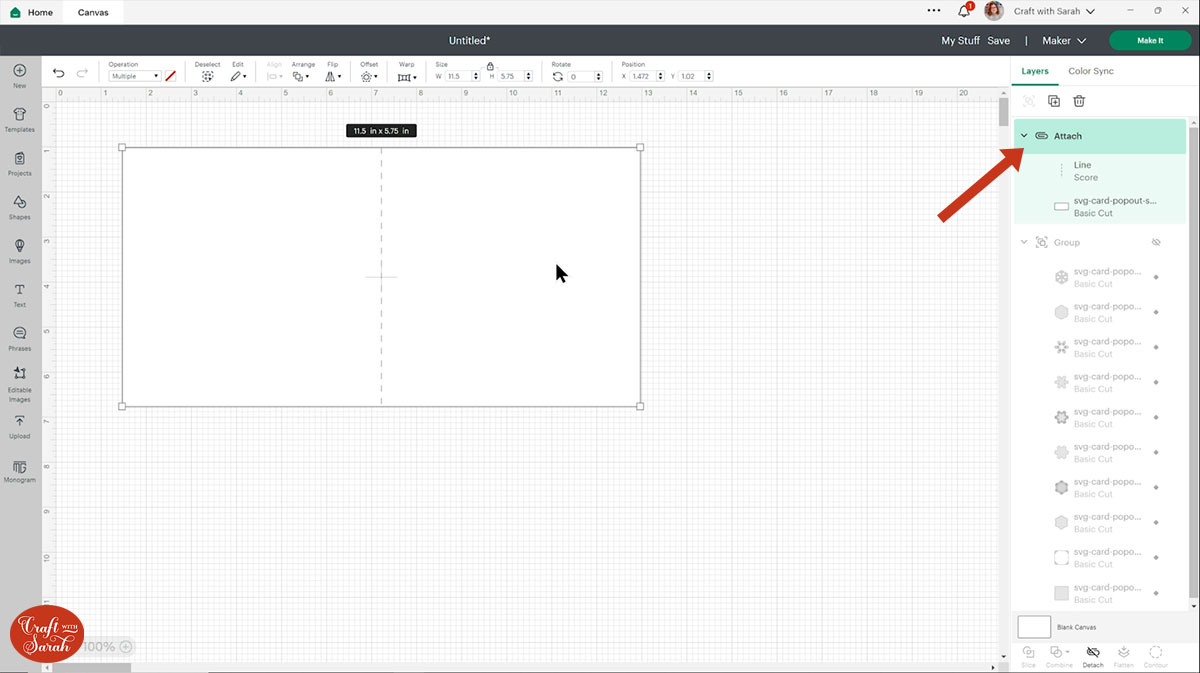
It should load in at 11.5 inches wide and 5.75 inches tall. If not, resize it to match those dimensions.
Step 3) Add a score line
If you have a scoring tool or scoring wheel for your Cricut machine, it’s a good idea to add a score line to the middle of the base card to make it easier to fold in the correct place.
If you don’t have a way to score with your Cricut, move on to Step 4.
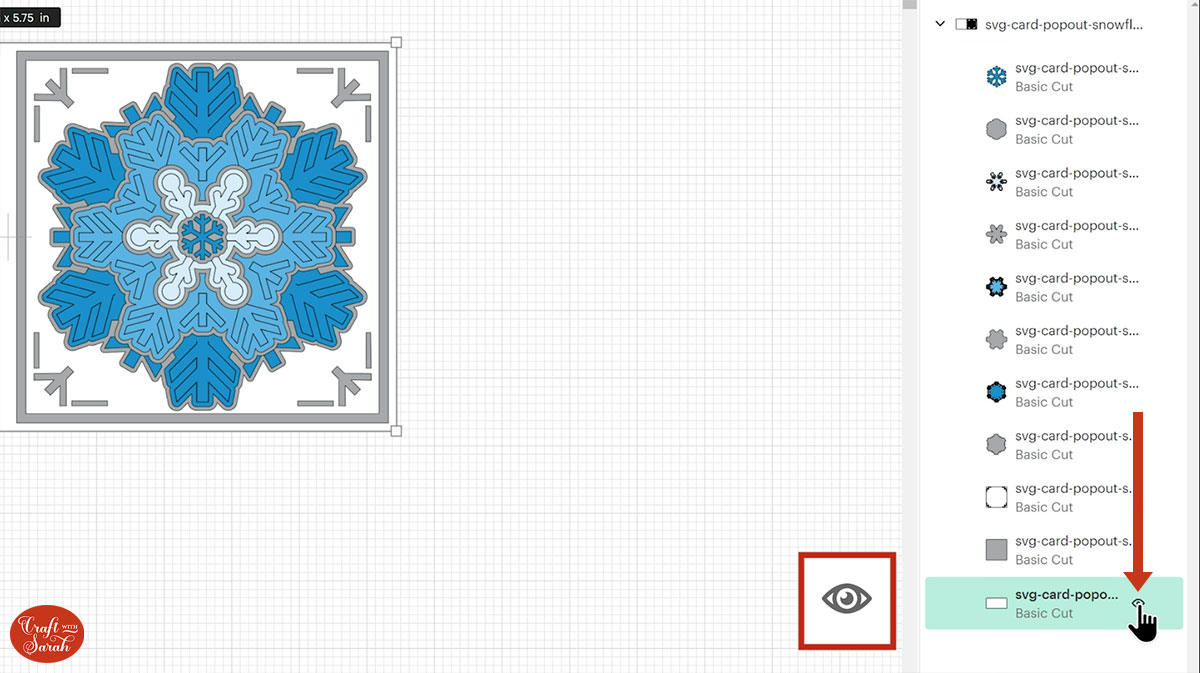
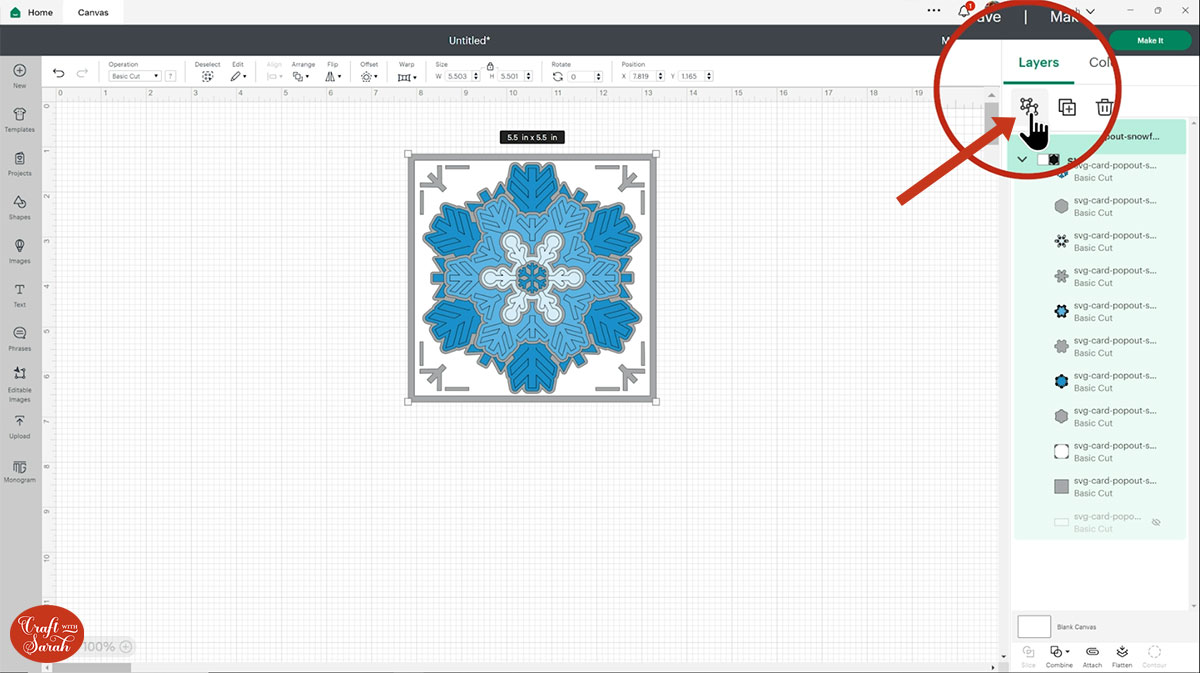
The easiest way to do this is to hide all the top layers to just see the base card.
First (I know this sounds like the wrong way around – but bear with me!!), click the eye icon that appears next to the base card layer in the layers panel to hide it.
Ungroup all the layers.
Select all the visible layers and Group them.
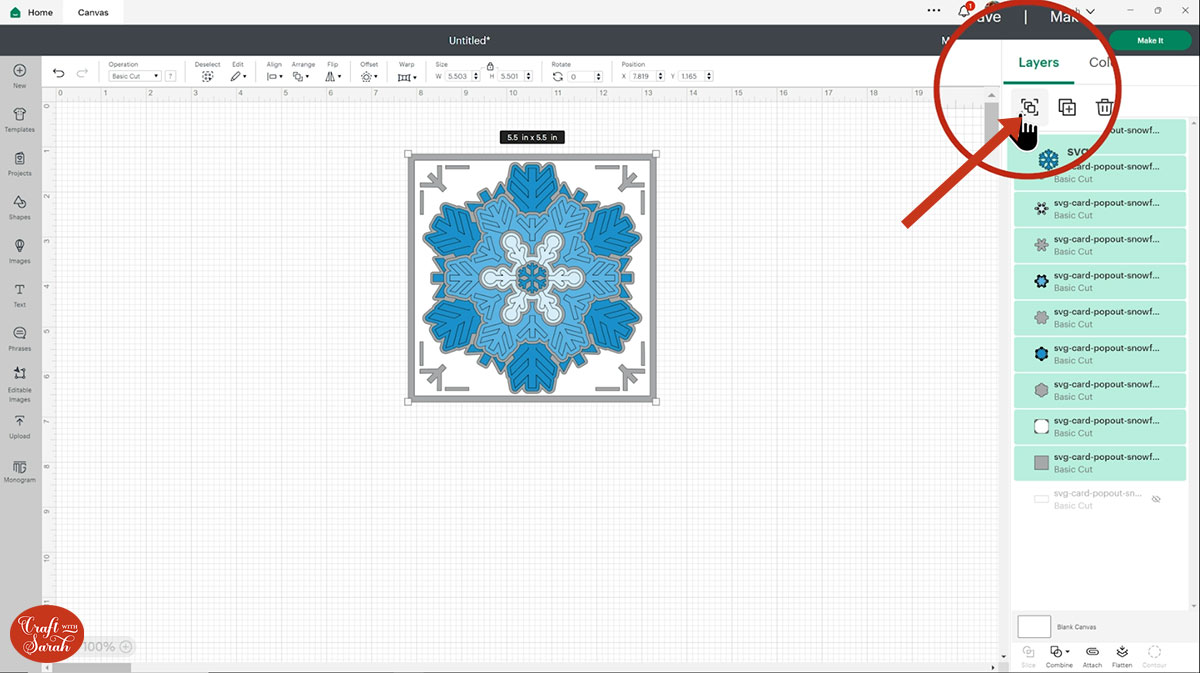
This means you can now hide all the layers of the card in just one click by hiding the Group.
Then click the eye next to the base card again to make it visible again.
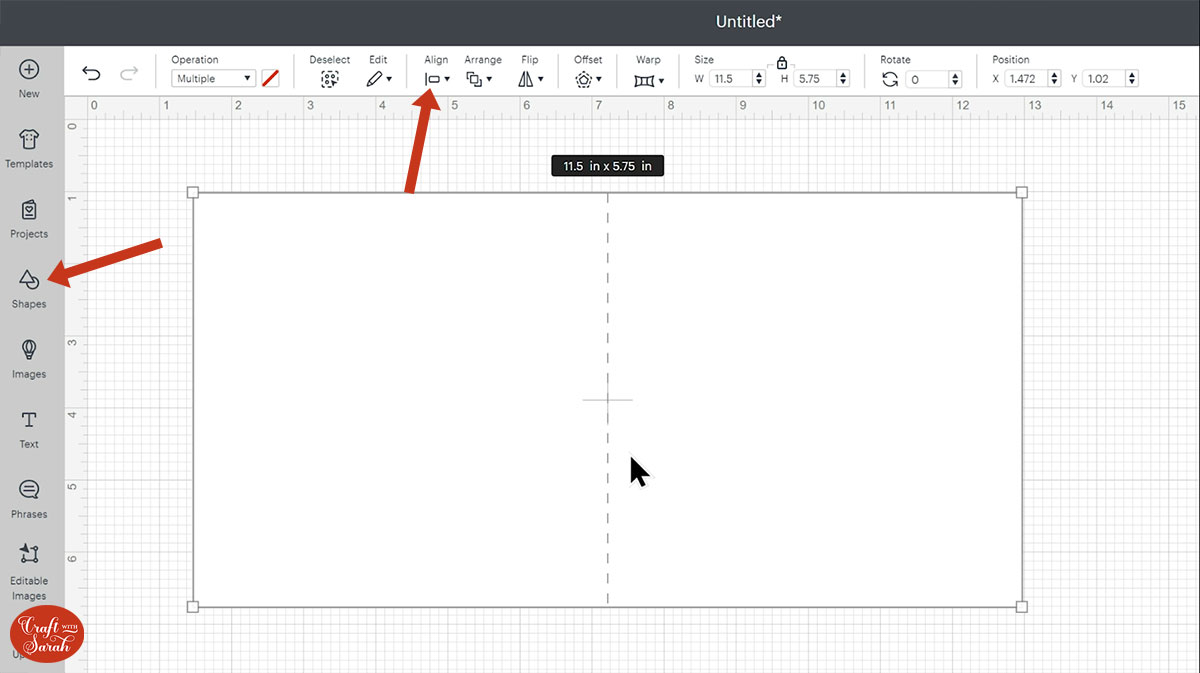
Go into “Shapes” and choose a score line.
Make it the same height as the card (5.75 inches).
Select the score line and the base card, then click “Align” and “Center” to put the score line exactly in the middle of the card.
Select the score line and the base card, then press “Attach” at the bottom of the layers panel.
Attach is what tells the Cricut that we want it to do the score line down the middle of the base card.
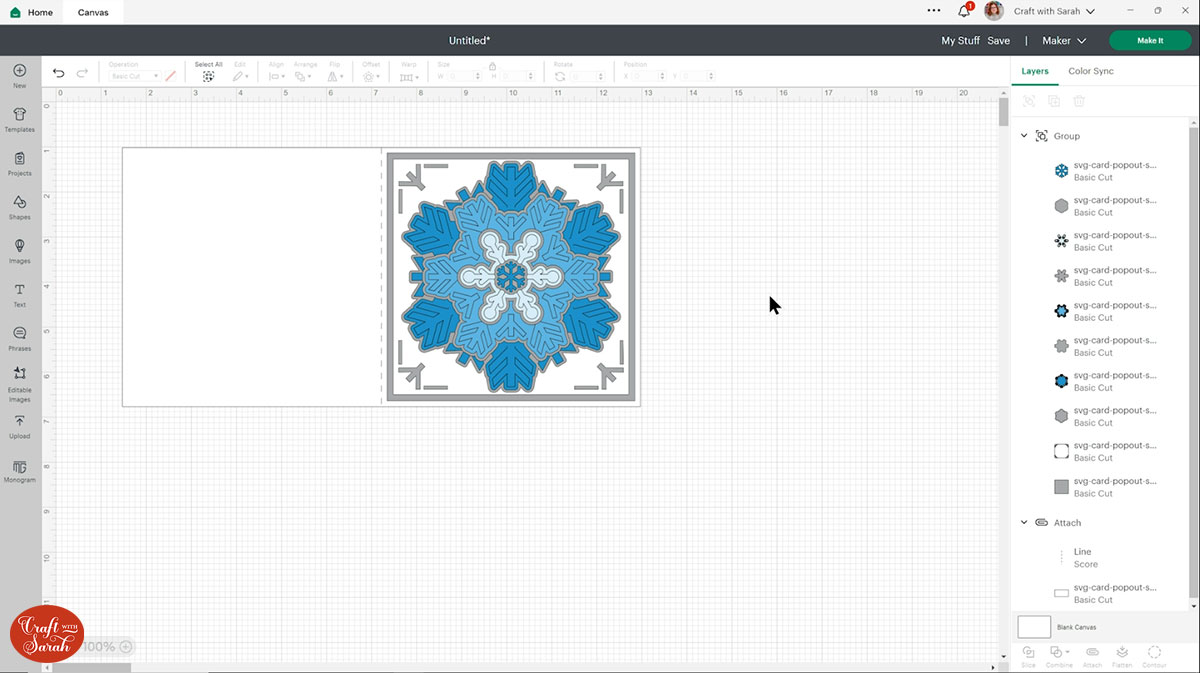
Move the base card down to the bottom of the layers panel. Turn the rest of the card layers back on and place them in the correct position.
Step 4) Cut the fold-out card from cardstock
When you’re happy with how the project is looking in Design Space, click “Make It” to begin the cut process.
I recommend cutting the grey layers on the snowflake card and the yellow layers on the poinsettia layer from either silver or gold metallic or holographic card.
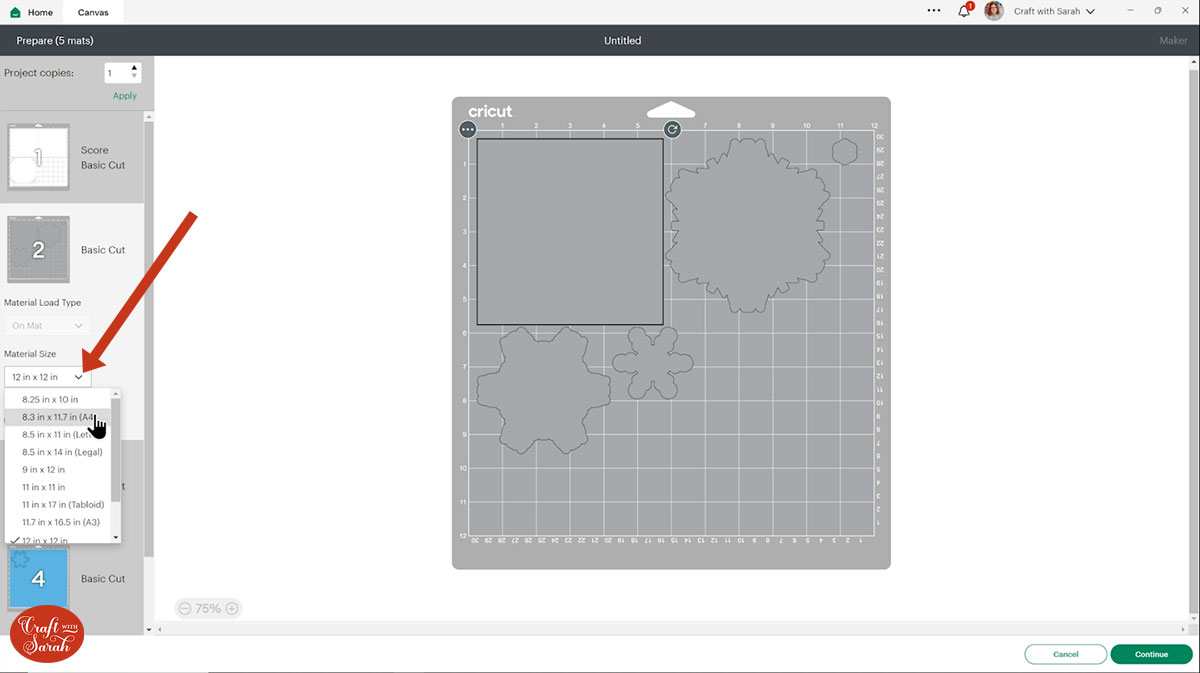
To change the paper size, go into the dropdowns over on the left side of the screen and choose the paper size that you want to use. You need to change it for every single colour.
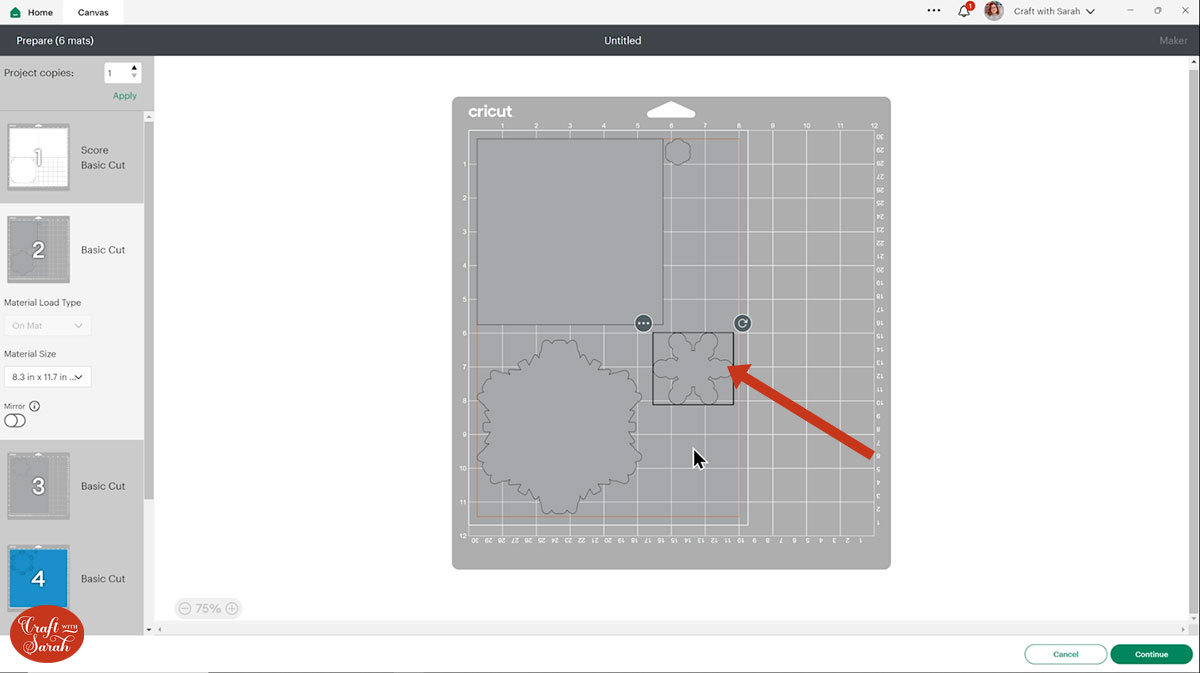
To save space on your cardstock, you can move things around by clicking and dragging. Make sure when you’re moving things about that nothing overlaps because otherwise, it won’t cut out properly.
TIP: New to cutting cardstock with a Cricut? Check out this in-depth tutorial which goes through every step of the process, including tips for getting the best quality cuts from your Cricut.
Click “Continue” and then choose your material type.
Follow the instructions on-screen to cut out all the different pieces of card.
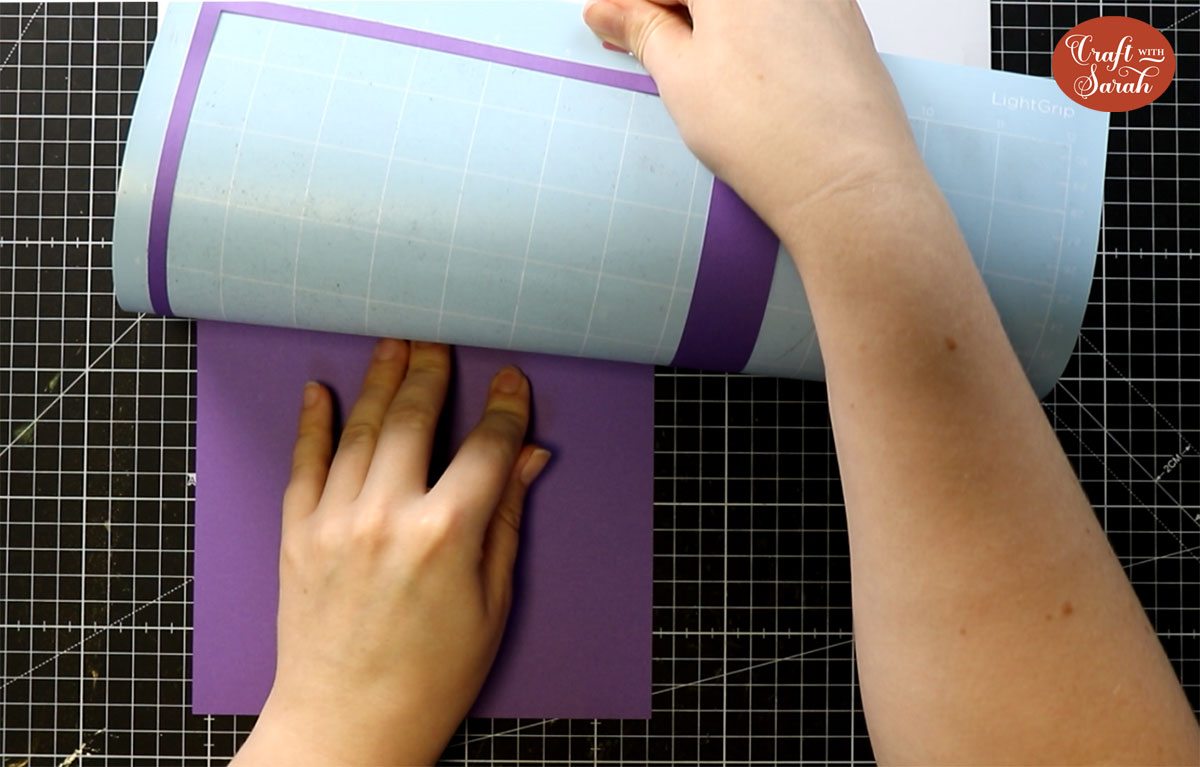
Tip: When taking the card off the mat, turn the mat upside down and peel the mat away from the card. Use one hand to keep the card pressed flat against your work surface. This ensures the card stays flat when it comes of the mat.
Step 5) Stick the card together
Fold the base card in half along the score line.
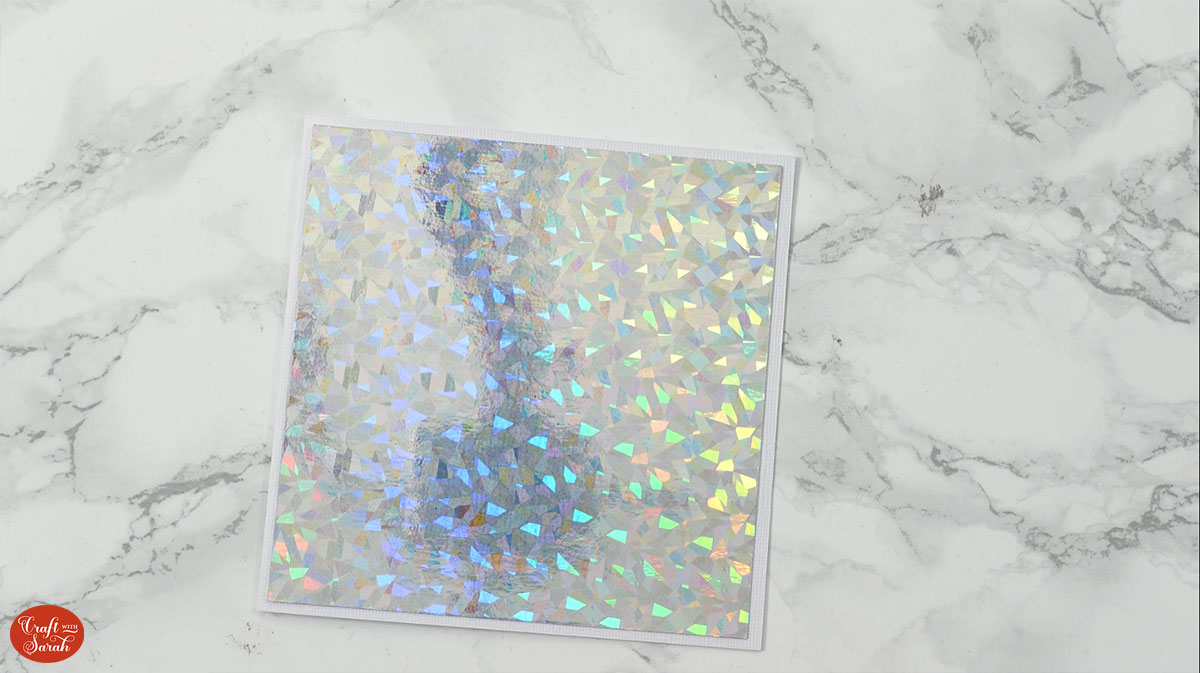
Glue on the largest square of your silver/gold card.
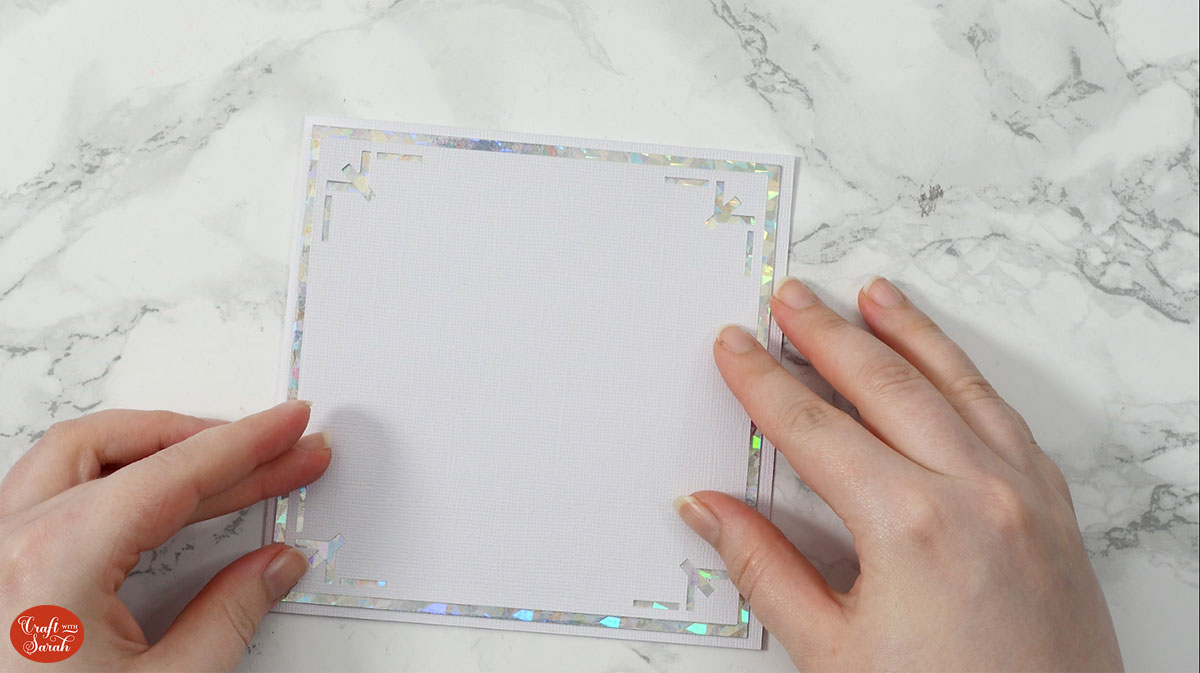
Glue the smaller white square on top.
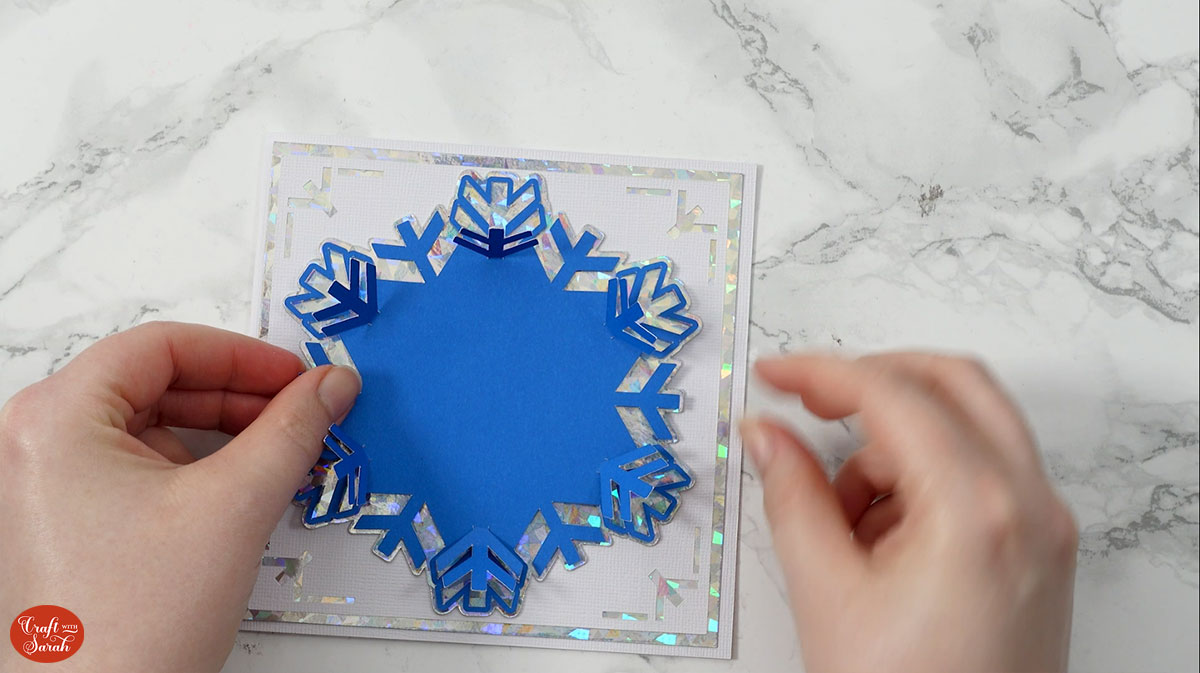
Glue the largest silver layer of the snowflake or the green leaves of the poinsettia to the middle of the card. If making the poinsettia, fold out the leaves before gluing.
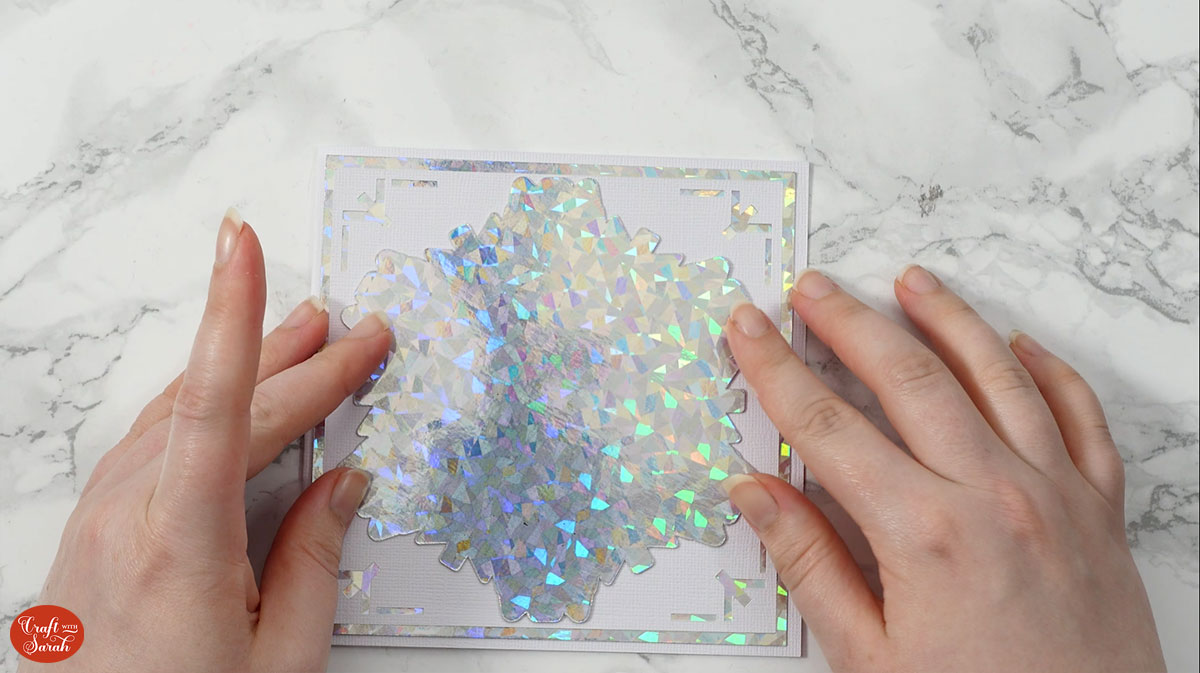
Fold out the edges of the snowflake, then glue the piece to the card.
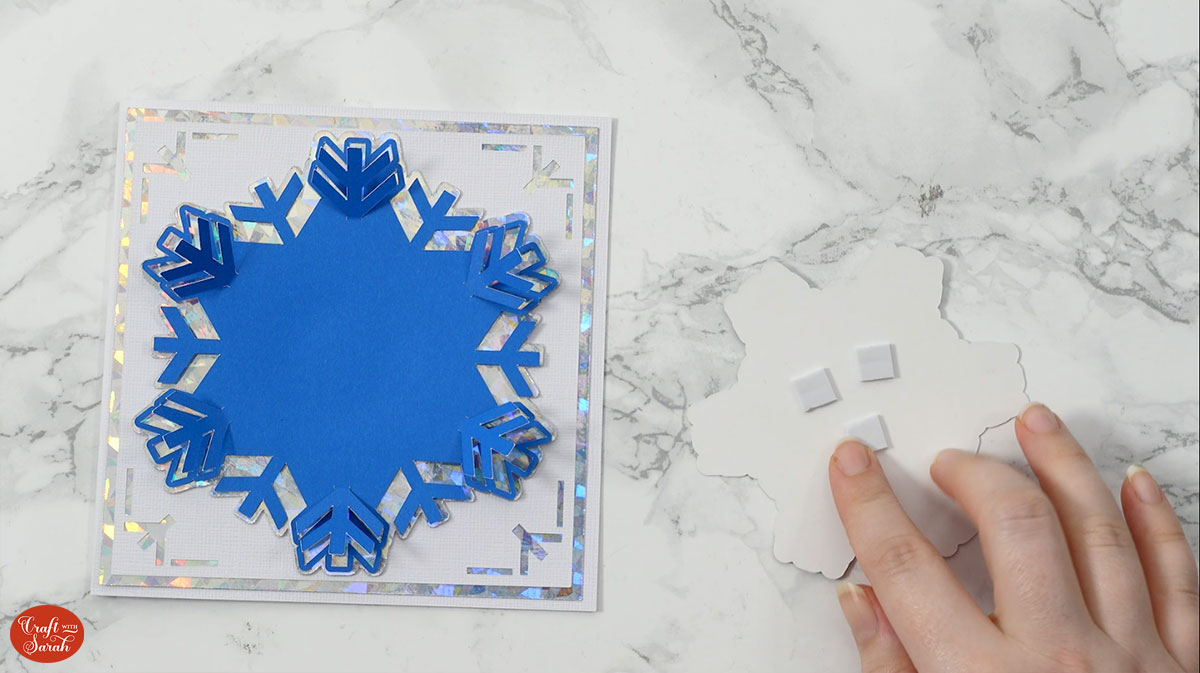
Use foam squares to attach the next holographic layer to the card.
Fold out the shapes on the next coloured layer and glue it to the holographic piece. I tend to just put glue in the very middle of the piece.
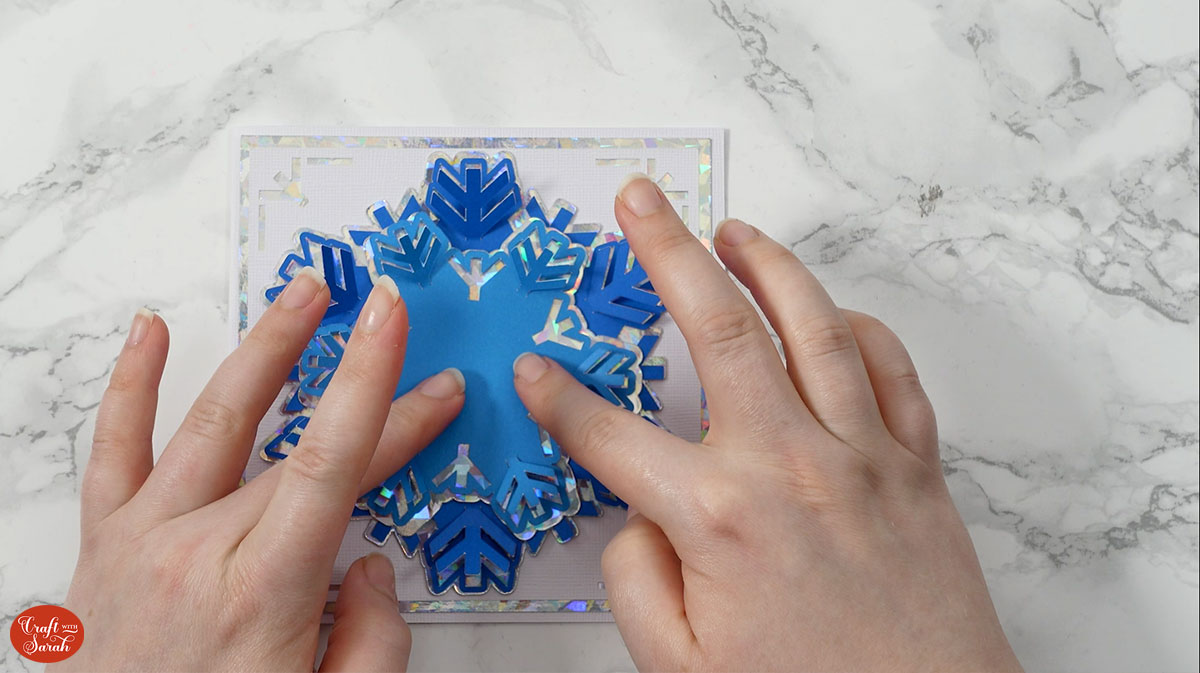
Keep repeating this, with using foam for the holographic layers and glue for the colour layers, until the card is finished.
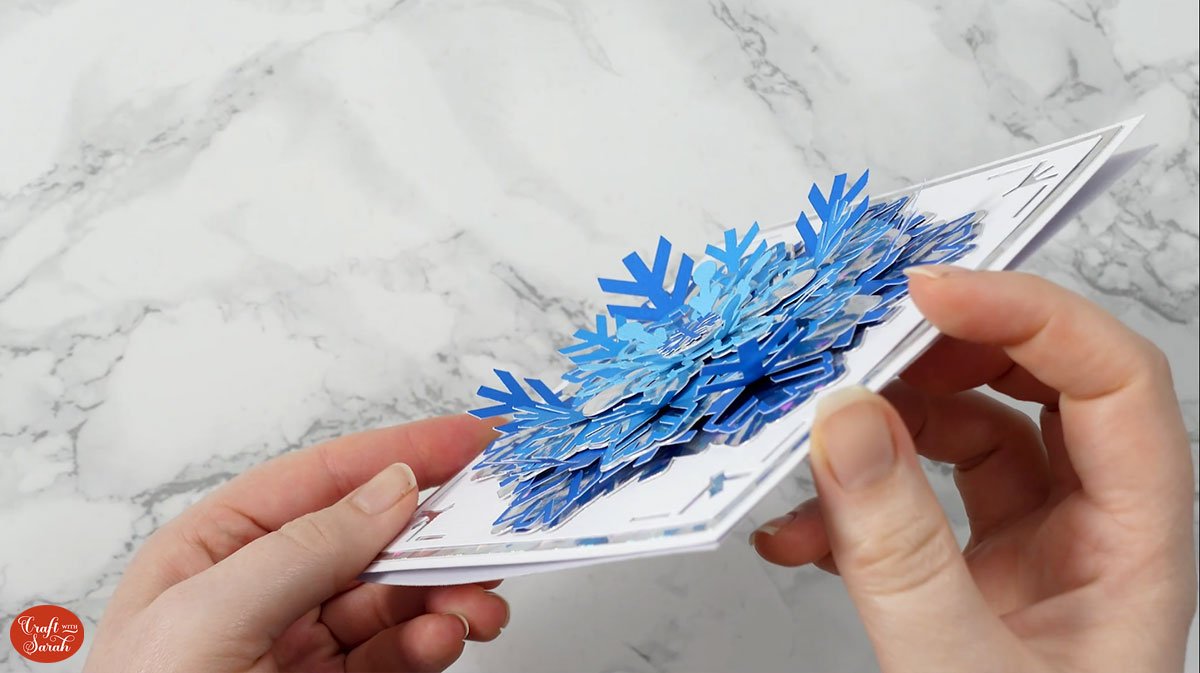
Your finished card will have so much dimension!
Easy handmade Christmas cards with free SVGs
I hope that you enjoyed this tutorial on how to make fold-out Christmas cards with your Cricut.
If you are giving your card by hand, I recommend using a card box instead of an envelope as it will keep the fold-out sections in their correct positions, whereas an envelope will flatten them out.
If you are mailing a card then an envelope will keep it more secure. This will flatten the fold-out effect when you put the card in the envelope, but it should “pop out” again when it is taken out the envelope.
Happy crafting,
Sarah x

