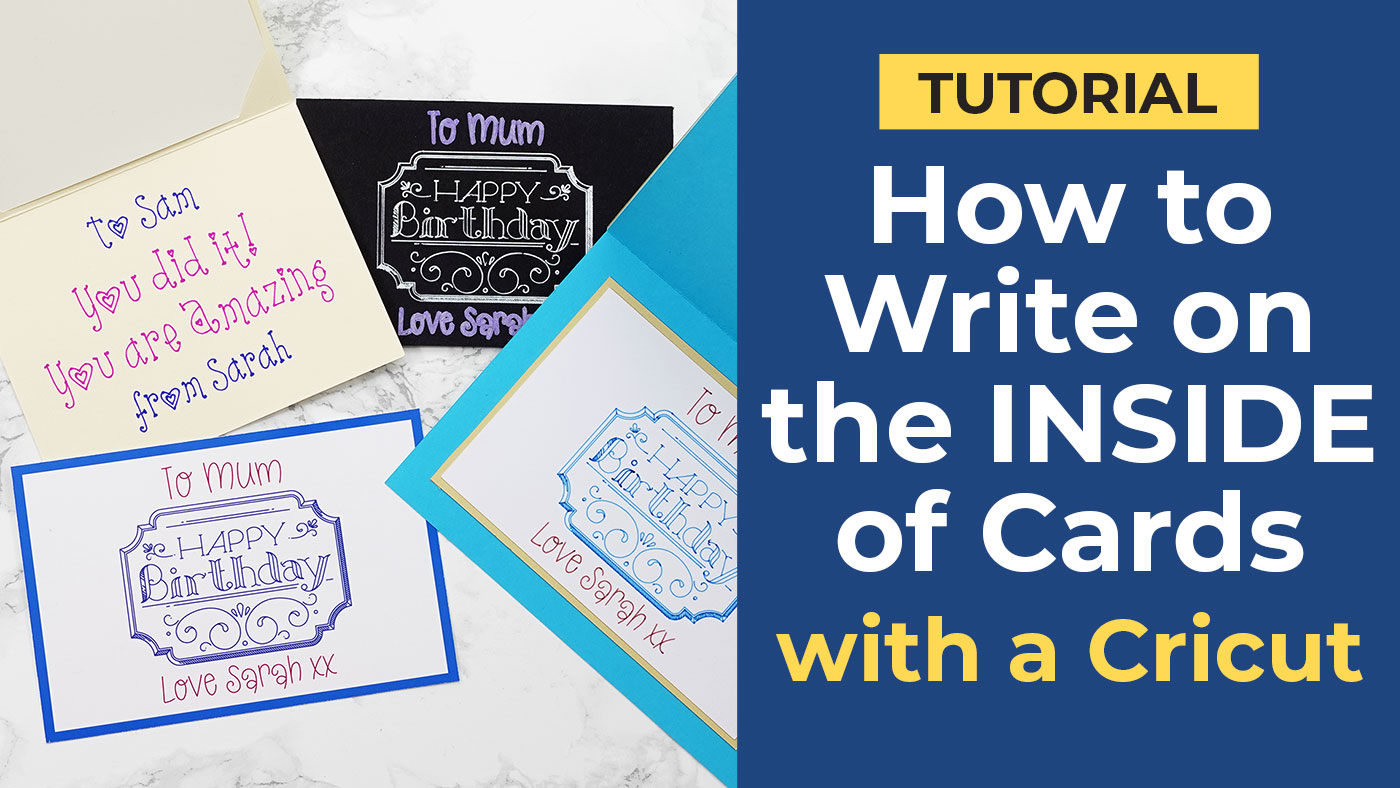
How to Write Inside Cards with a Cricut
I love making handmade cards, but HATE having to write inside them as my writing is so scruffy! I feel like it lets the card down. 😂 Luckily, there’s a way to fix that!
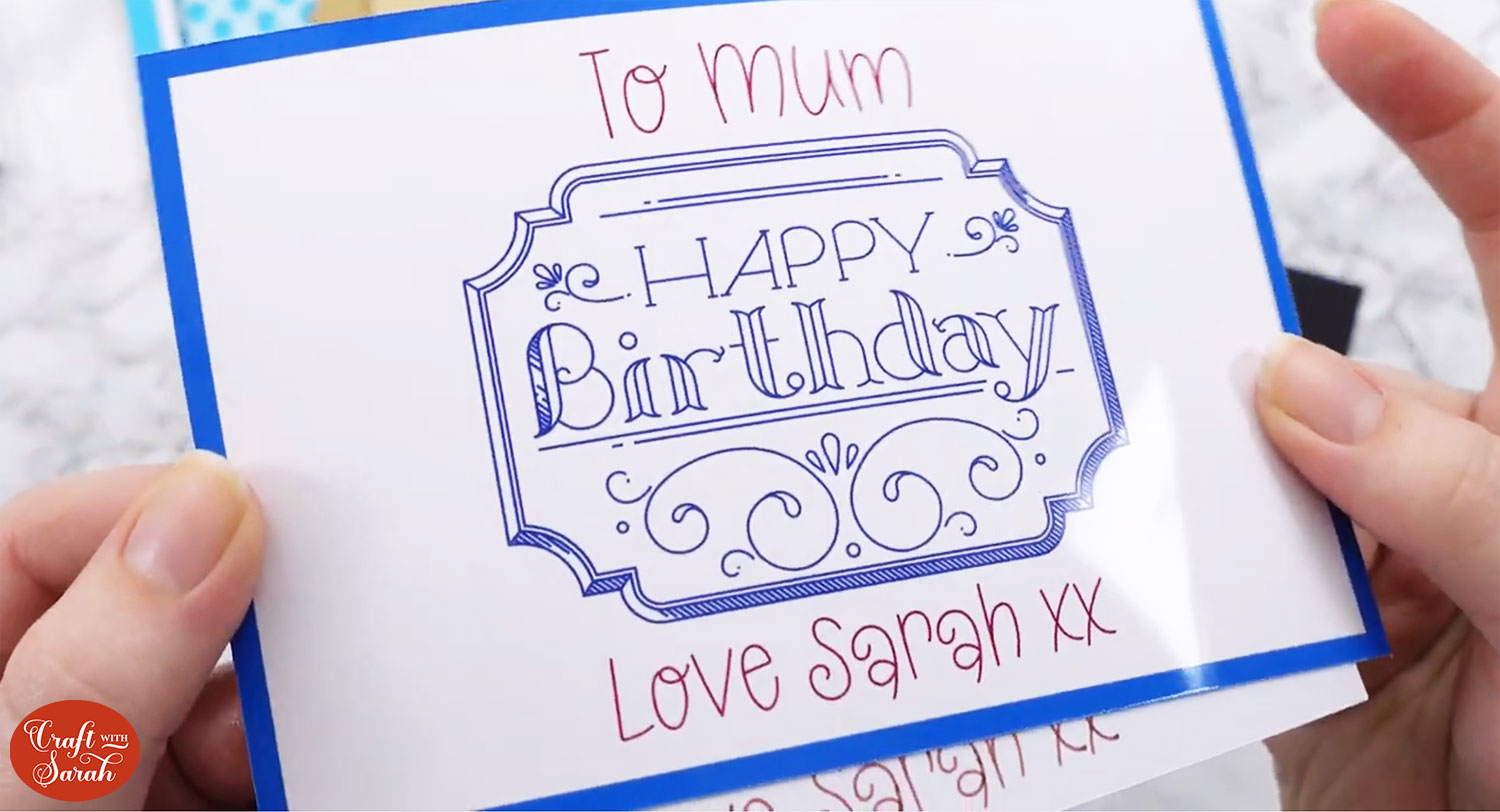
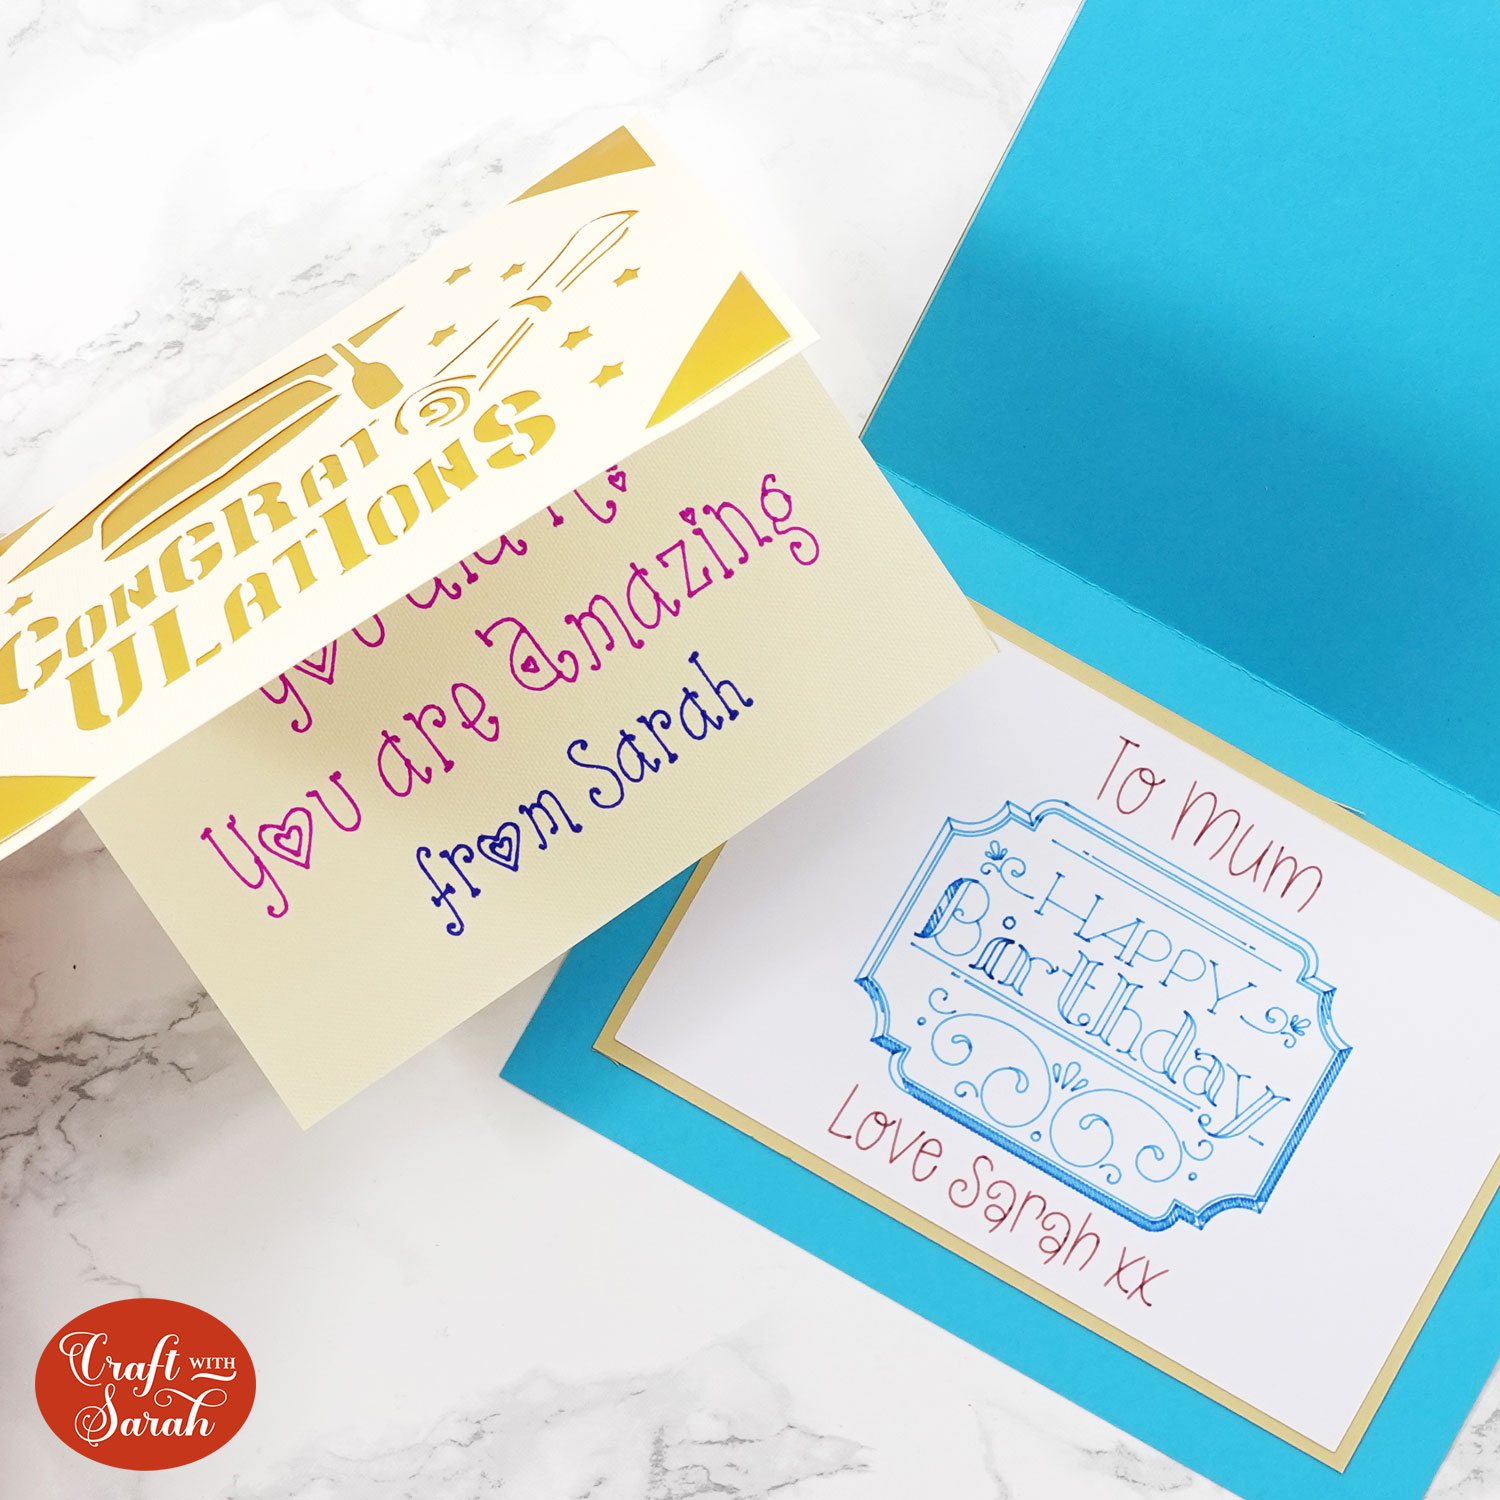
Use your Cricut to write on the inside of the card and fool everyone into thinking your handwriting has turned into something beautiful!
In this tutorial, I’ll show you several different ways to make messages for your card, including how to write inside unusually shaped cards and how to write directly on the inside of the card itself using the Cricut card mat.
Video tutorial: How to write inside cards using a Cricut
Watch the video below to find out how to use your Cricut to write inside greetings cards. Or, keep scrolling for a written tutorial.
Creating a card insert
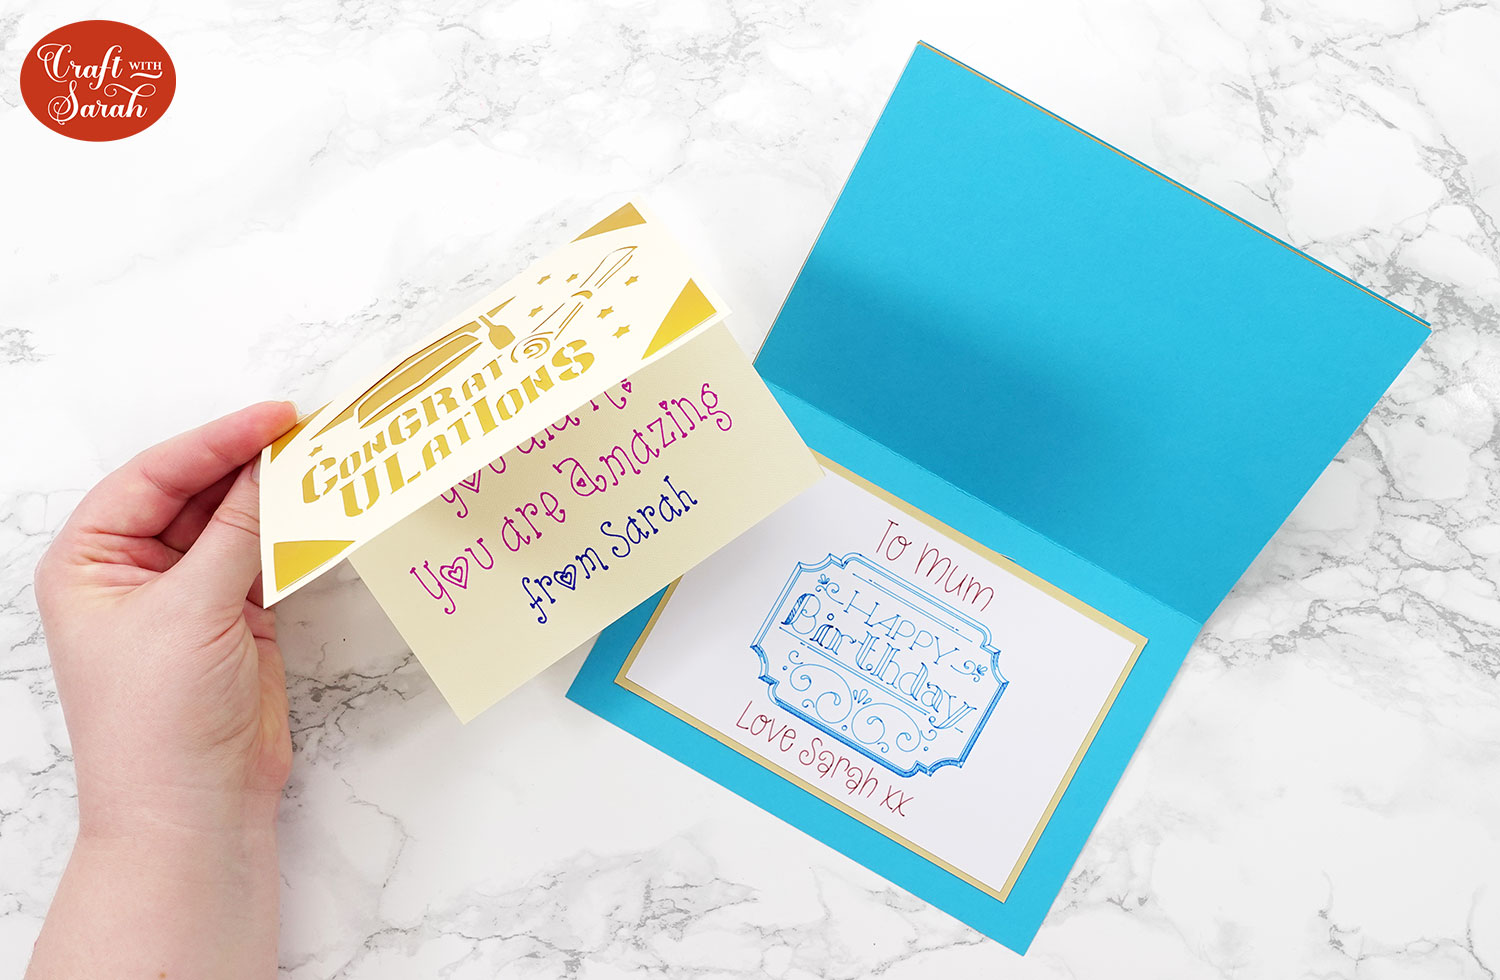
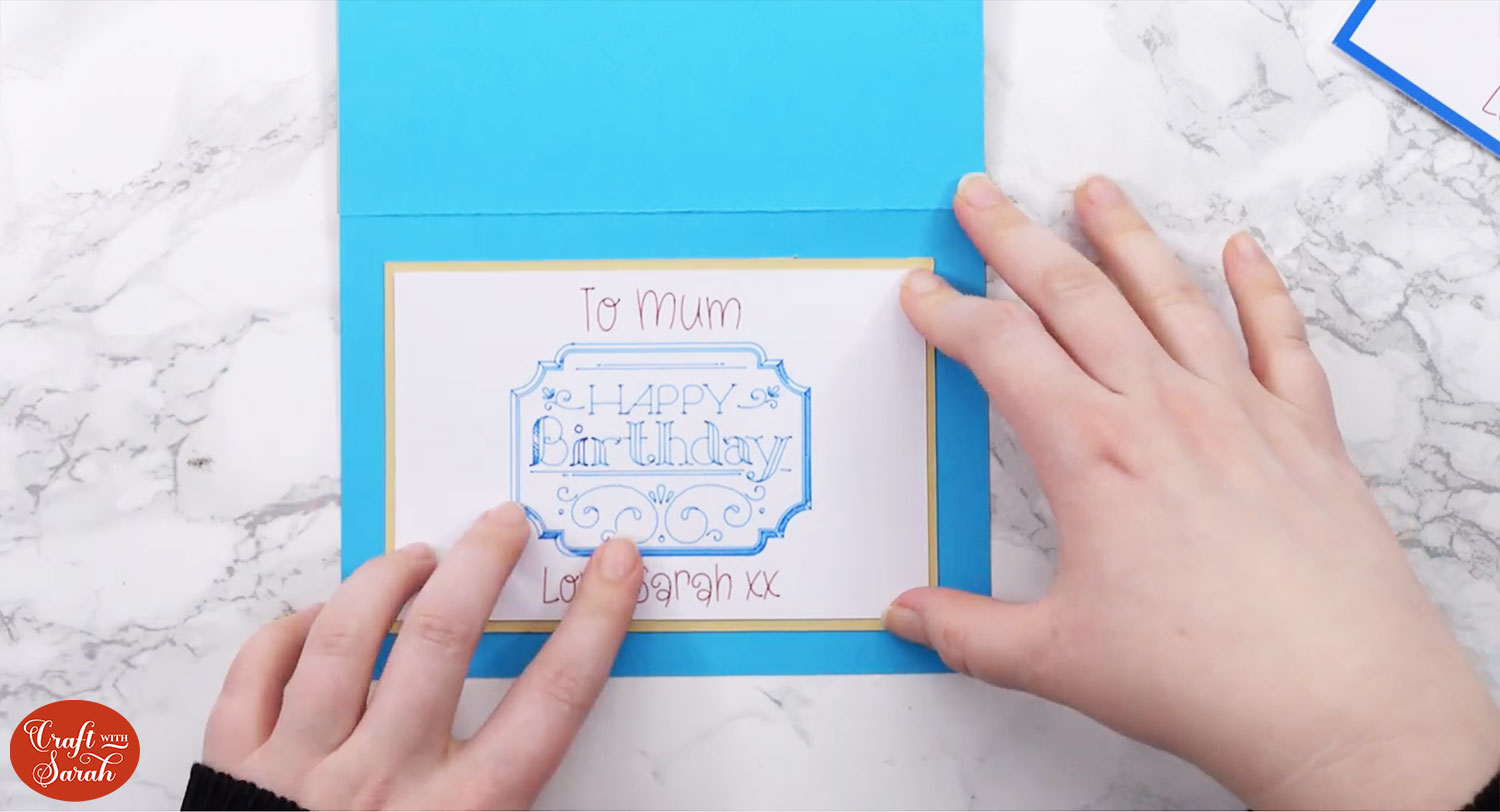
First, let’s create a card insert to stick inside an existing card. I’m going to write my message on piece of white cardstock, stick a piece of coloured card behind it it to make a border and then glue it to the inside of a card I’ve already made.
This is a lovely way to add greetings after you’ve made the card.
For example, if you like to make a load of cards at once but you’re not quite sure yet who you’re going to give them to (or when!) then this is a great way to add heartfelt messages to the inside whenever you decideto use the card.
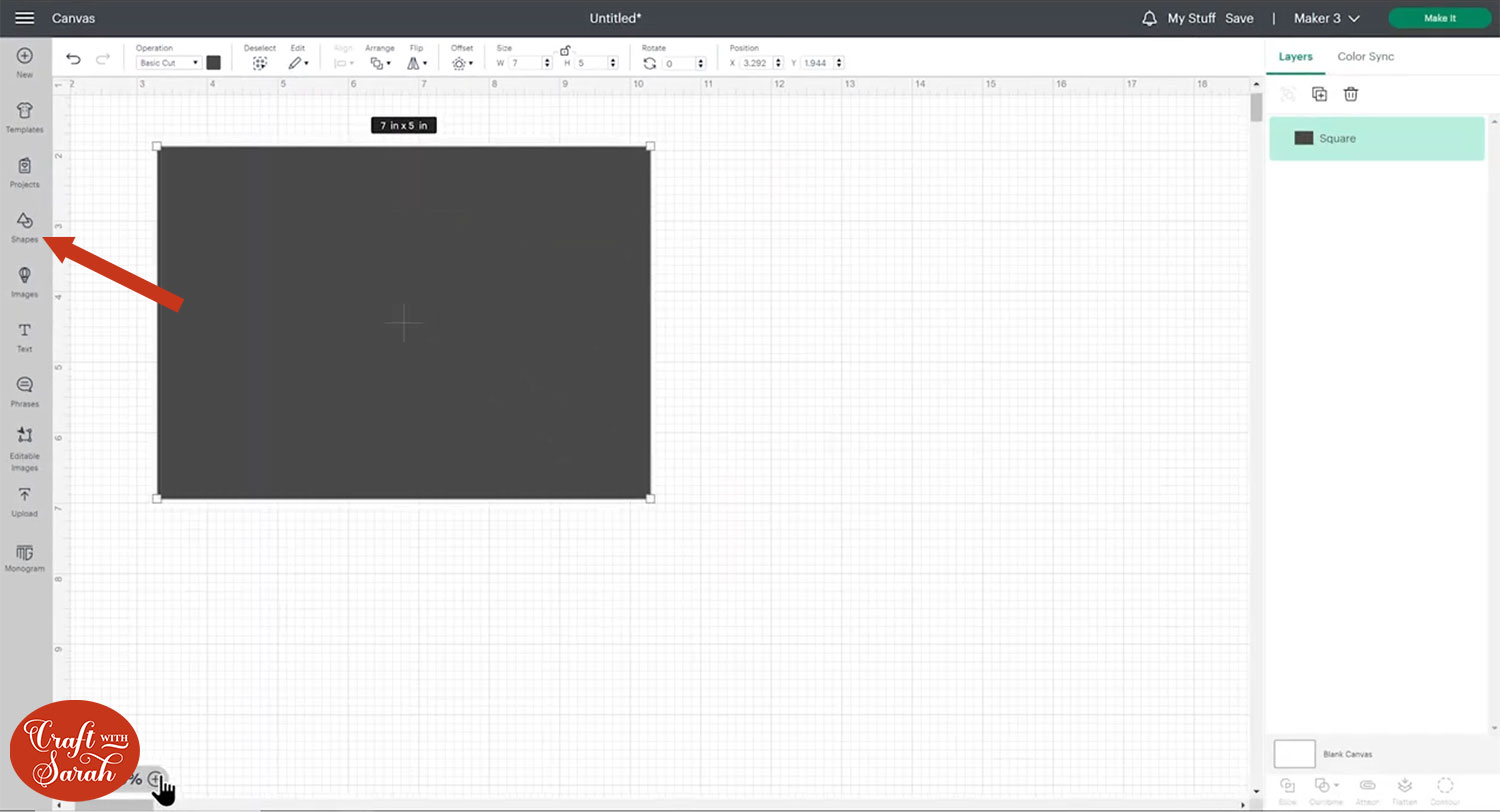
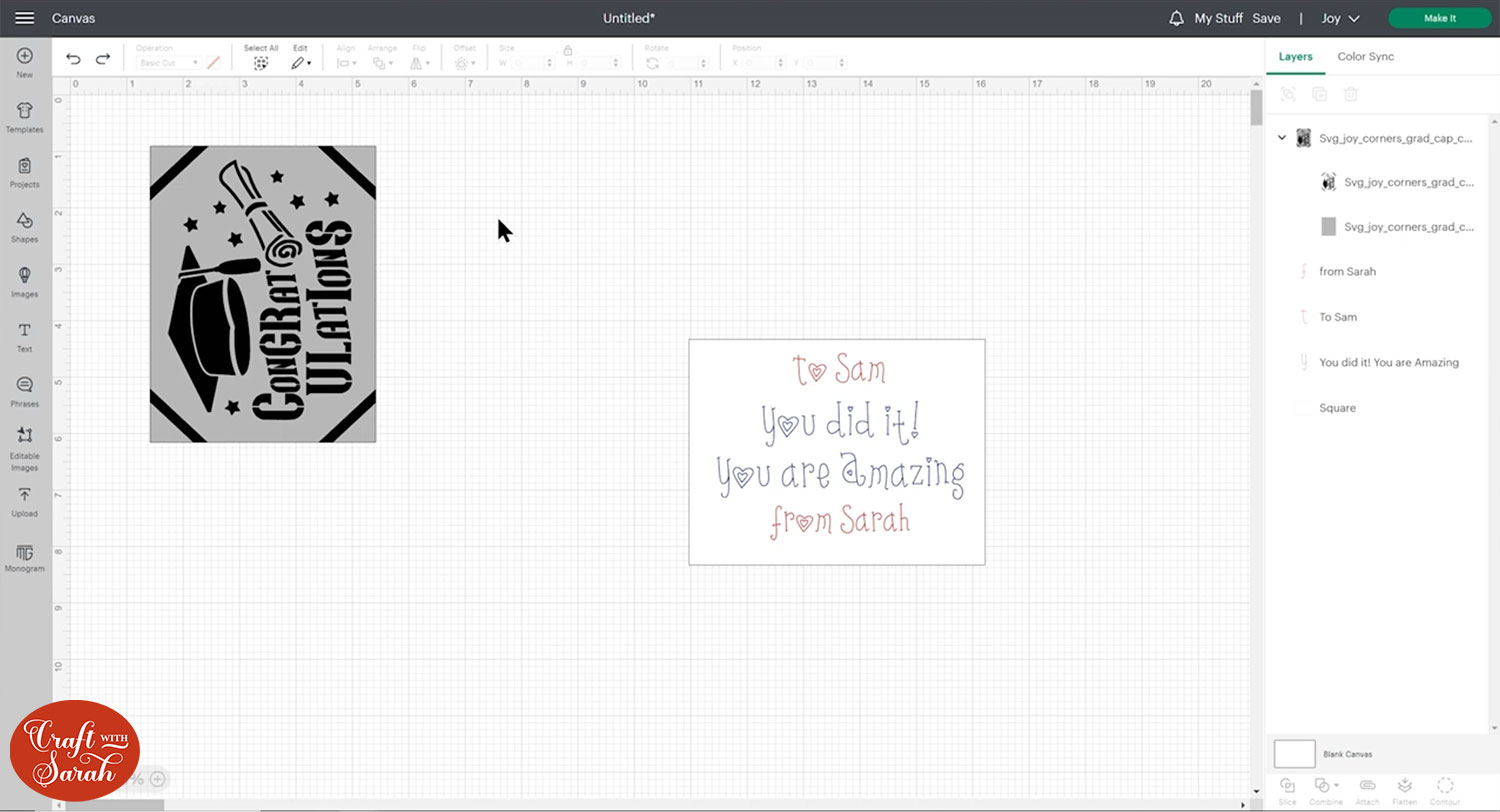
First, make a template in Design Space so you know how big to make the insert.
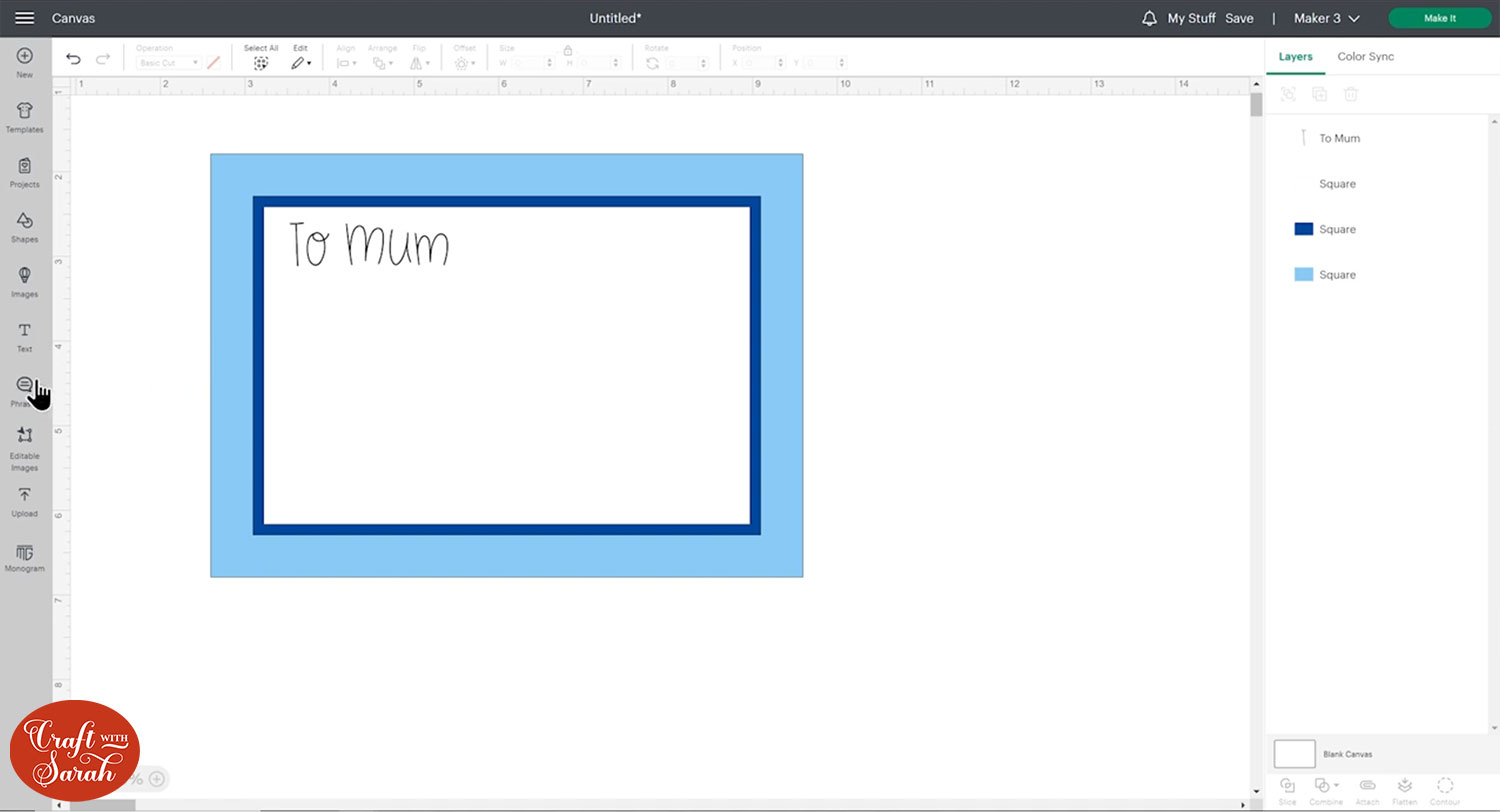
I’m adding my message into a 5×7 inch landscape card so using the “Shapes” menu, I’ll make a rectangle that’s 7 inches wide and 5 inches tall.
Turn this into a guide so that you just see the edge by going into the Operations drop down and changing it to Guide then when you click away you’ll just see the outline of the shape.
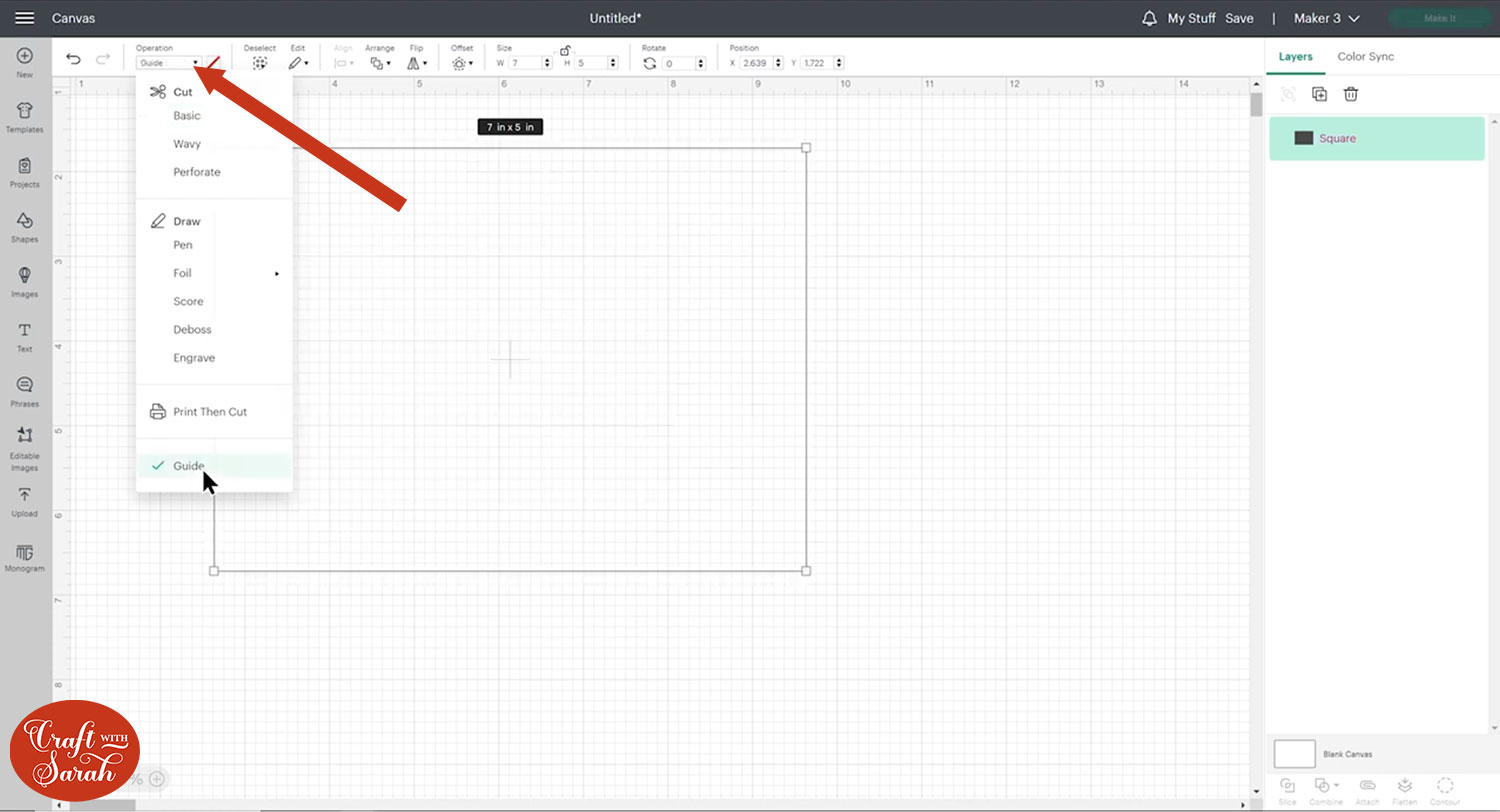
Or, instead of changing it to a guide, you want to you could change the colour of the rectangle to match your existing card – so mine would be blue.
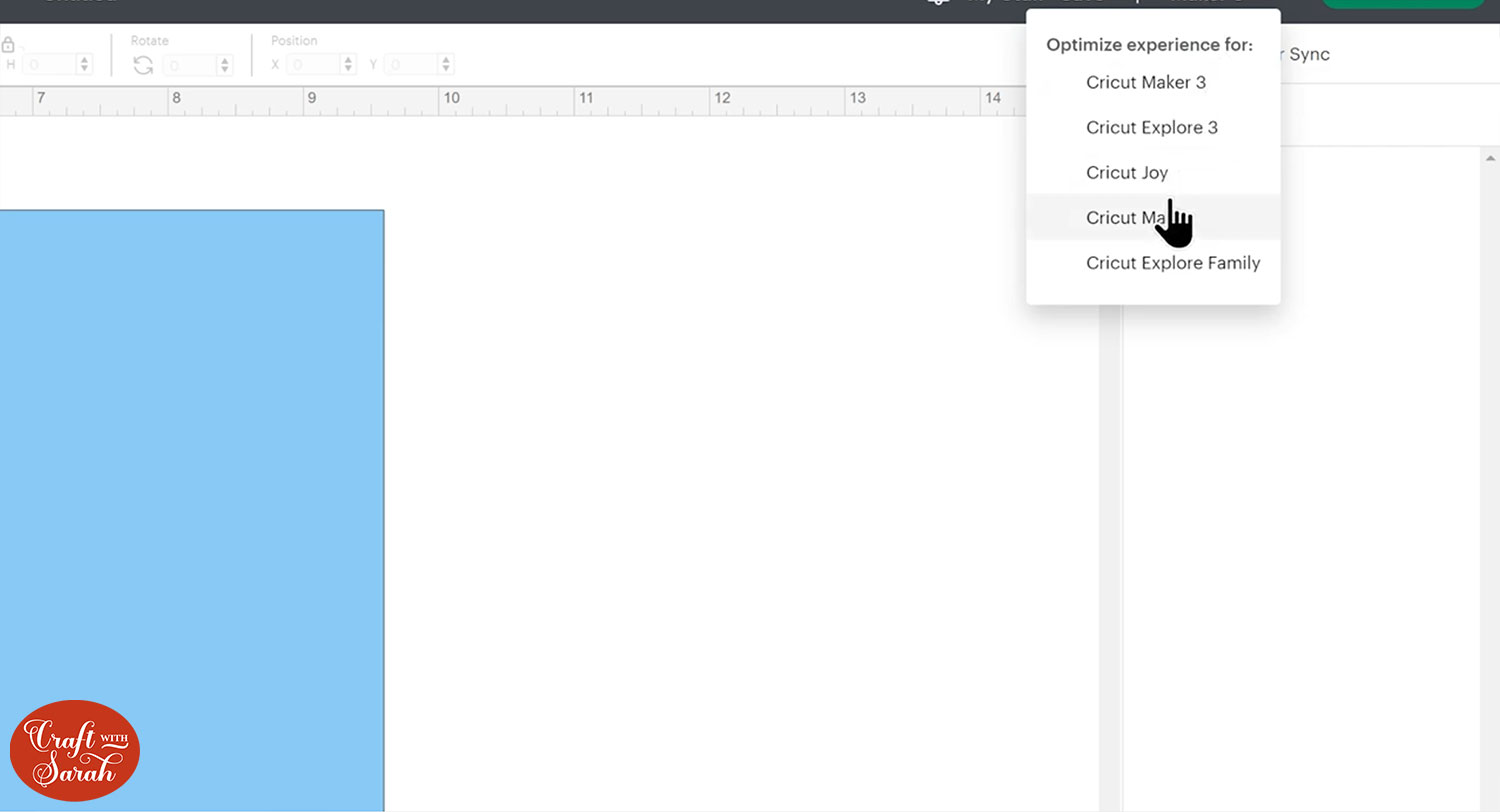
As we’re going to be working with pens, make sure you have the correct Cricut machine selected before you start the design because the type of pens you can use does vary based on whether you’re using the Joy or the larger machines.
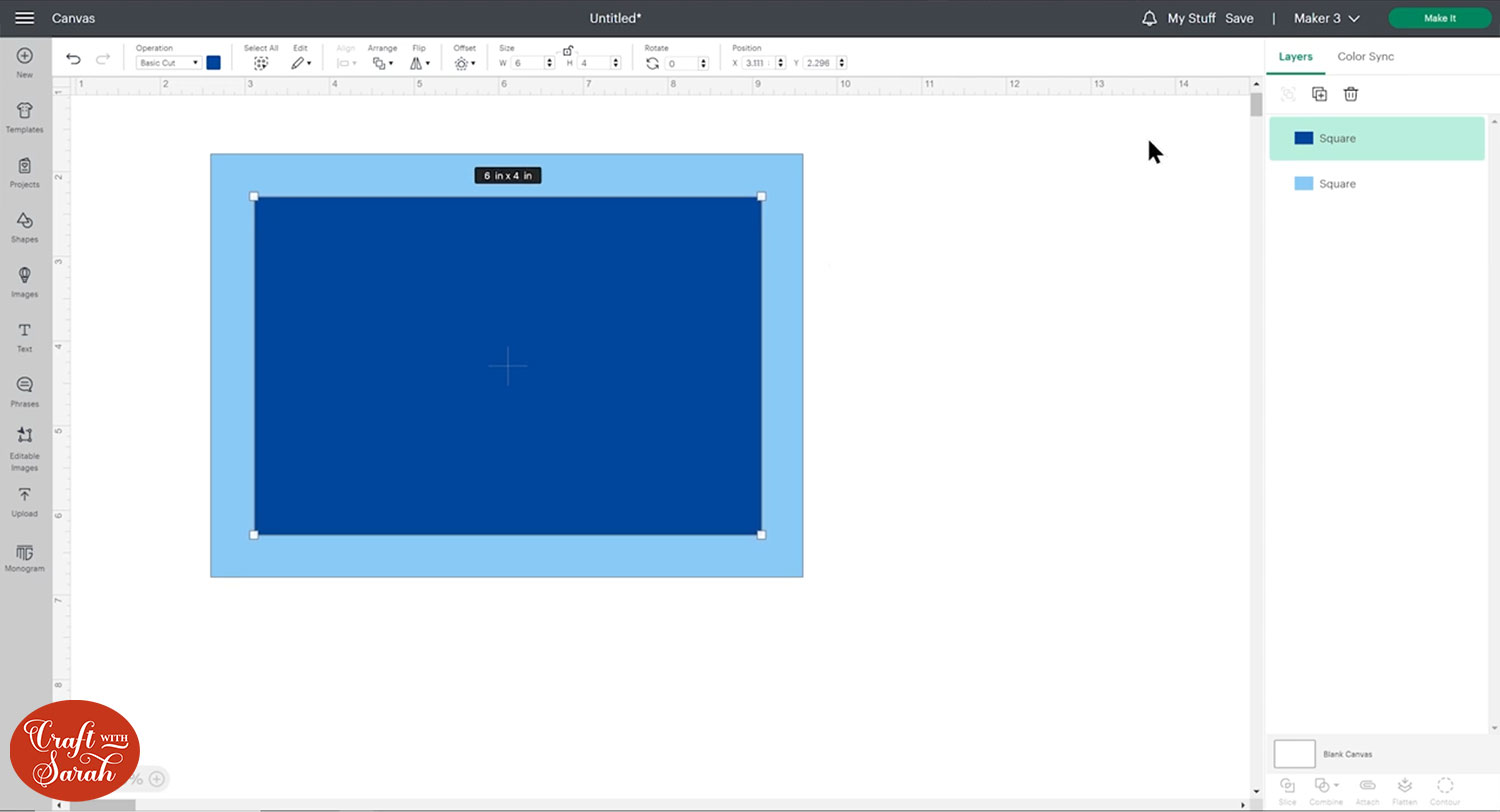
To make a border, duplicate the rectangle and make it a bit smaller on each side.
I normally do my borders in a darker color of what the actual card is, so let’s go for a dark blue.
To make this smaller I don’t recommend dragging the corners because this doesn’t change it in proportion, so the gaps around the edge will be different widths.
Instead, manually change the sides using the width and the height box and take the same number off of each side. I’ve made mine 6 inches wide and 4 inches tall.
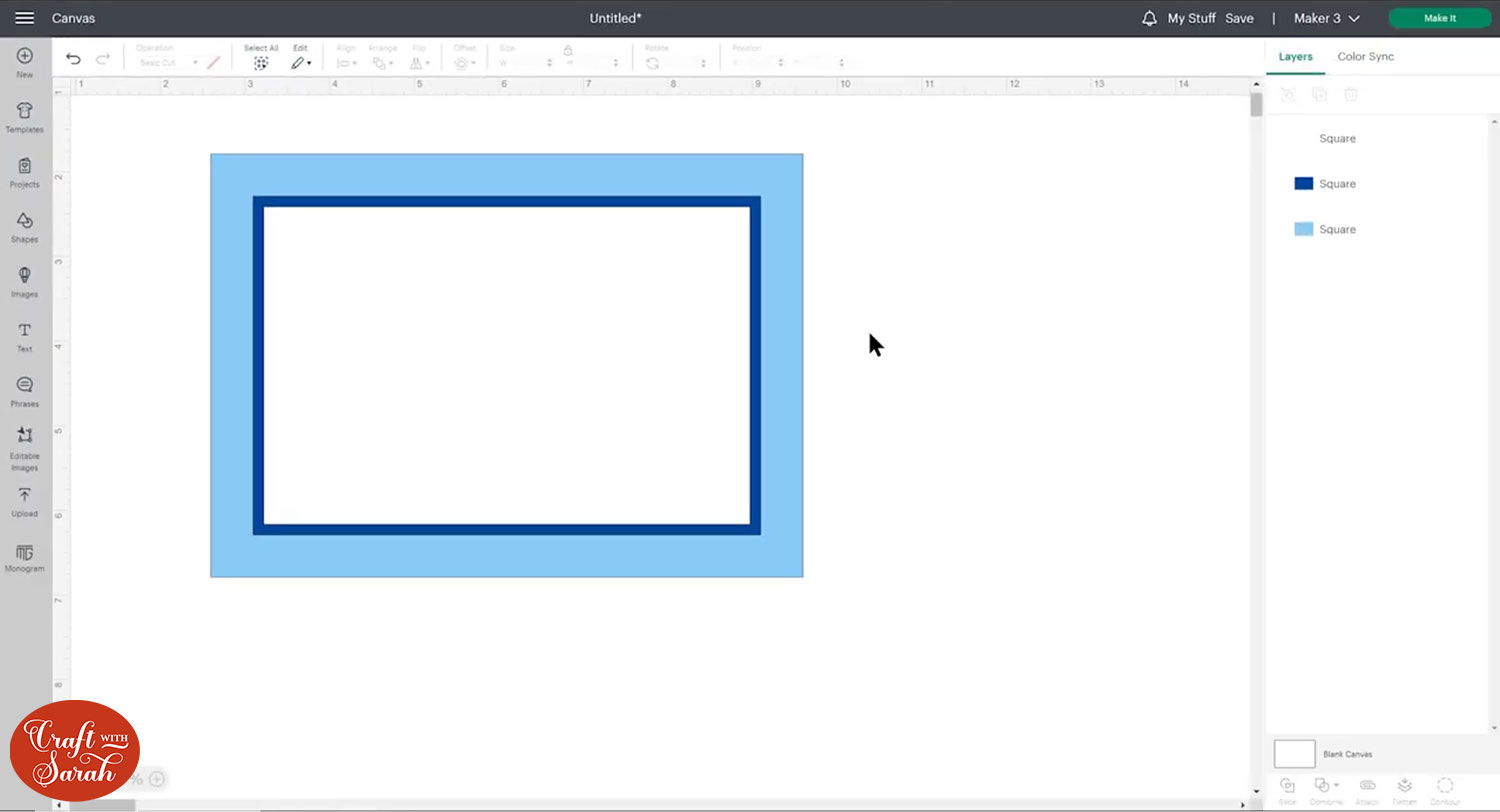
Duplicate the new rectangle and make it a bit smaller. Mine is 5.75 inches wide and 3.75 inches tall. This is the one I’ll be writing on, so I’ve chosen white as the colour.
If you choose a dark color it can be really difficult to get the pens to show up but if you did want to write on something really dark you can try using either Cricut metallic markers they show up quite well on dark cardstock, or the Cricut opaque pens.
Let’s get everything lined up. Press “Select All”, then “Align” and “Center” and now everything’s perfectly in the middle.
To add the writing, go to “Text” and type out your text. Go into the Fonts drop down and in the filter dropdown choose “Writing” and then you can choose any of the fonts that come up.
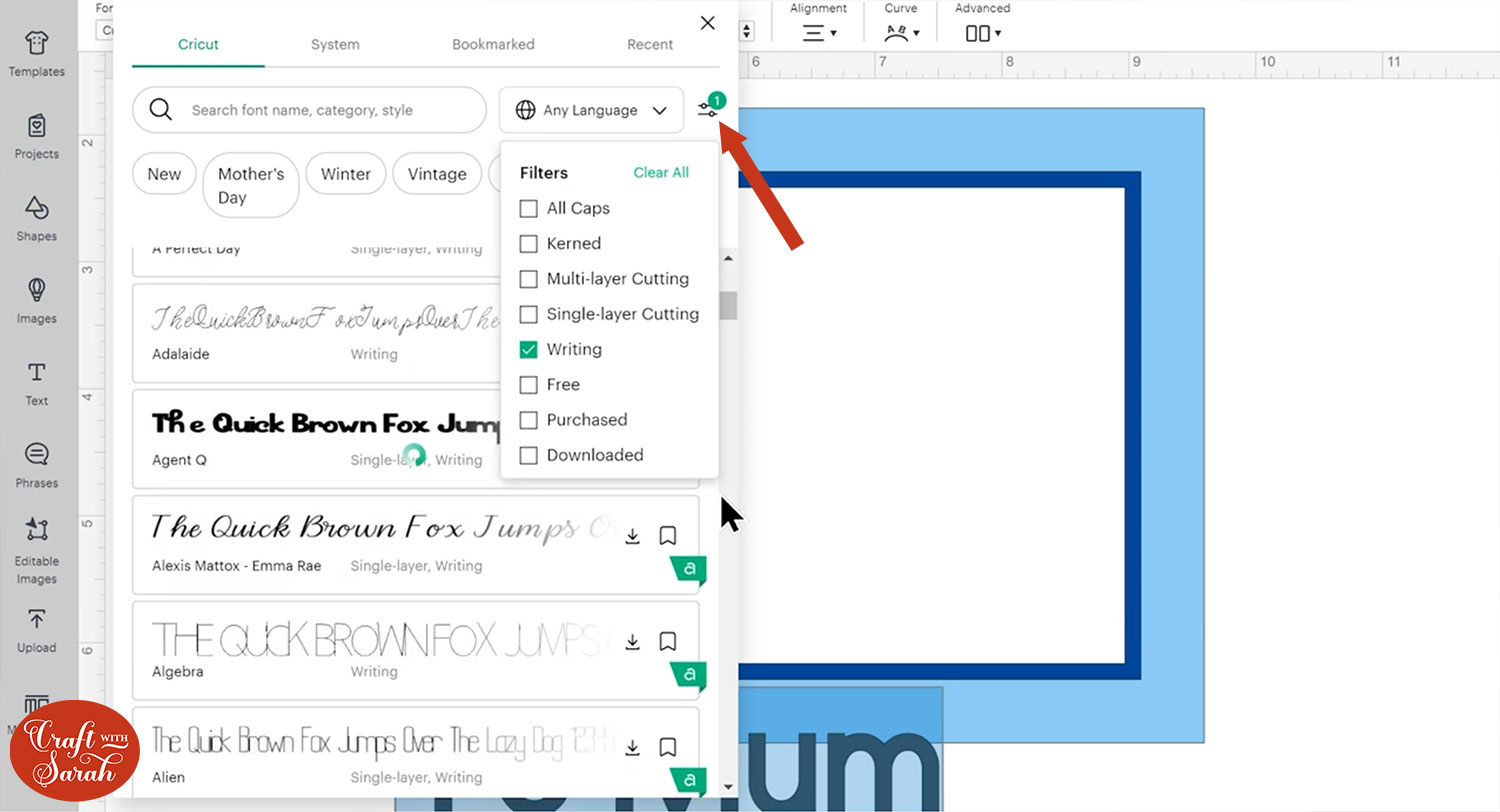
Most of them are Cricut Access only fonts so you need the monthly subscription to be able to use them, or you can purchase the font as a one-time payment.
I’ve chosen BFC Cornbread Snacks.
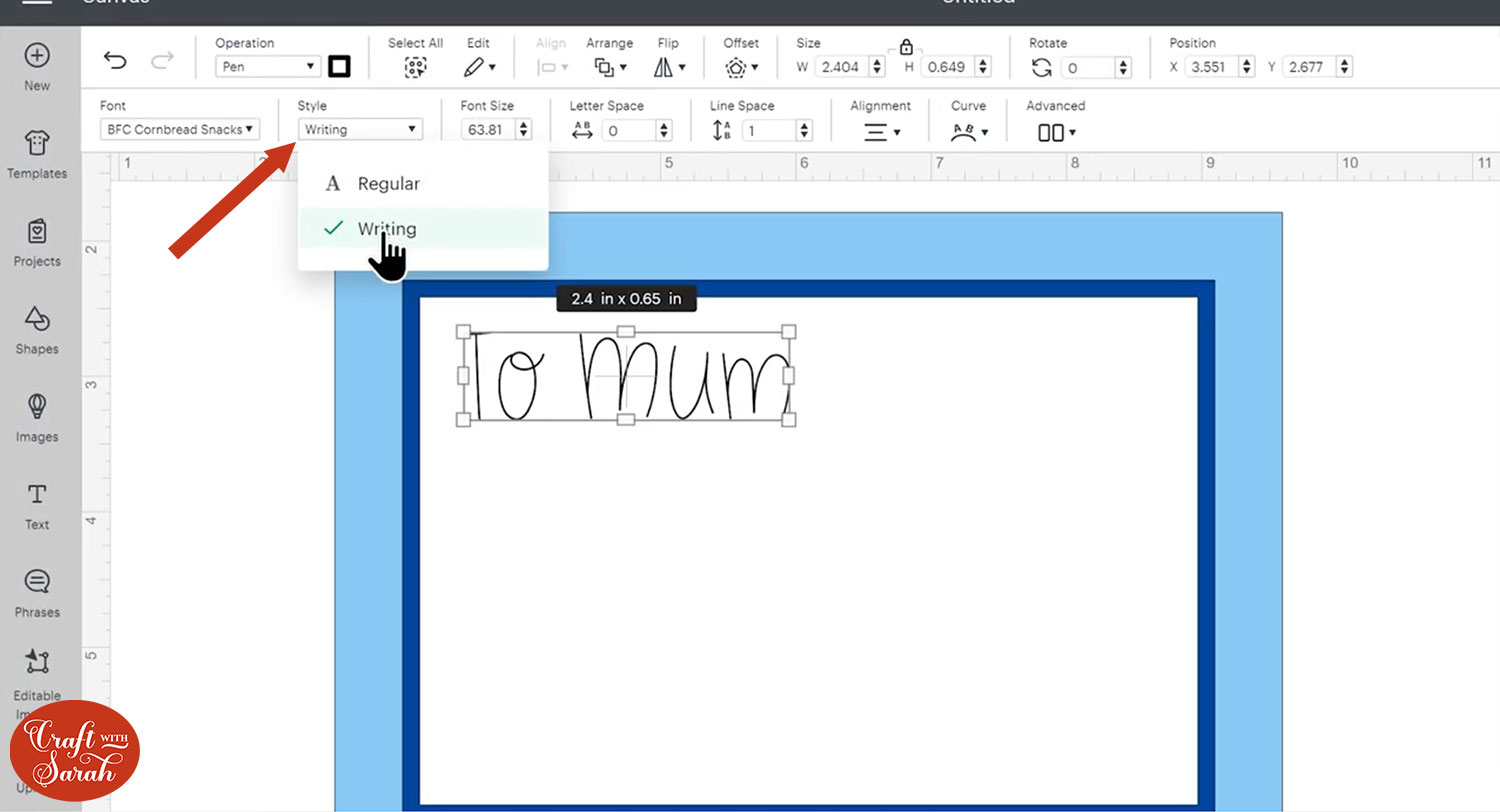
If your font is still showing as “bubble letters” where it’s drawing around the edge of the letters rather than looking like handwriting, check that your “Style” dropdown is set to “Writing” and not “Regular”.
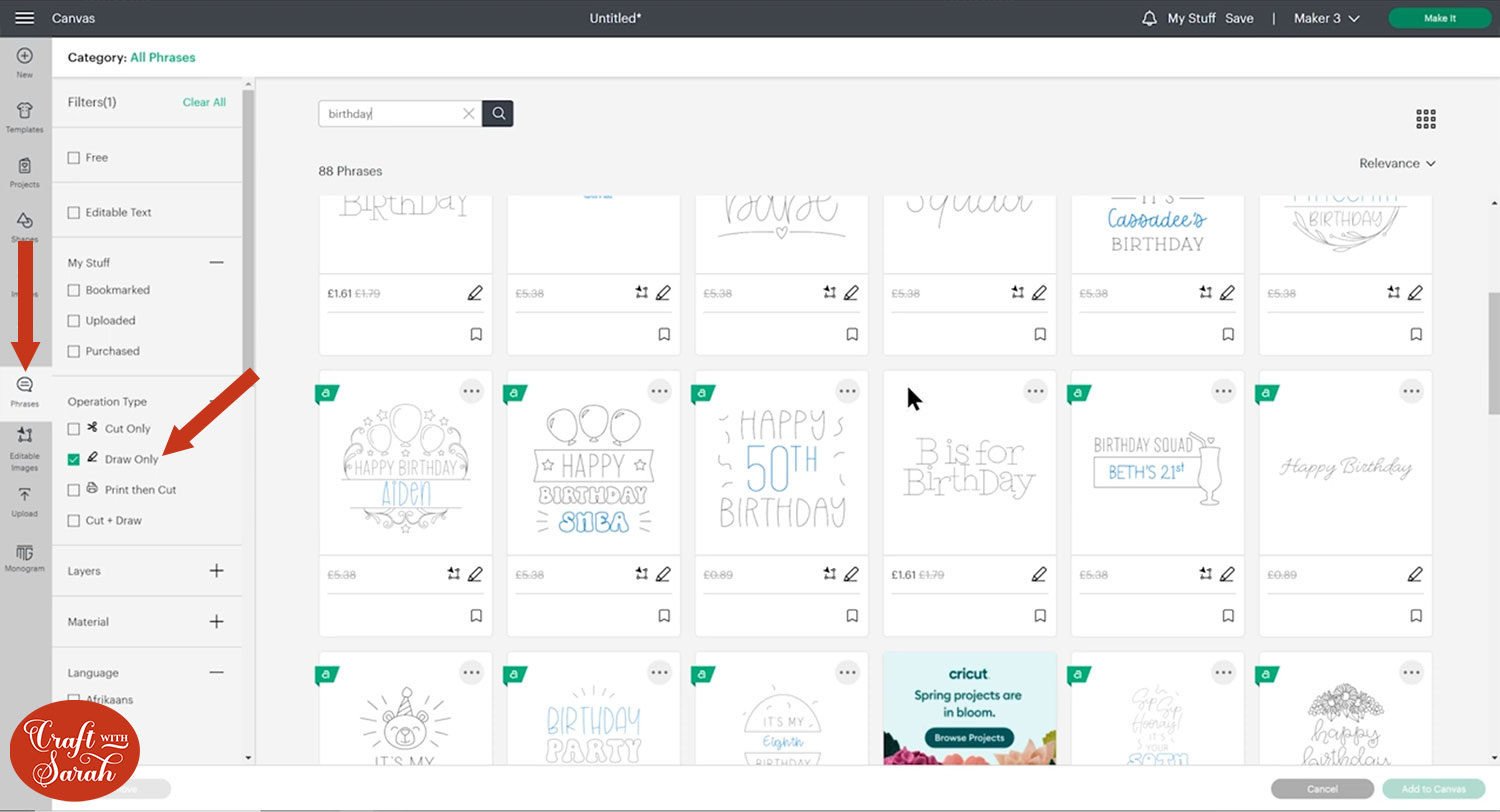
You can also search for messages under the “Phrases” button on the left-side of the screen.
Under “Operation Type” choose “Draw Only” and then you can search for a relevant design.
Finish making your design and then re-align the layers if you want to make sure everything is centered horizontally or vertically.
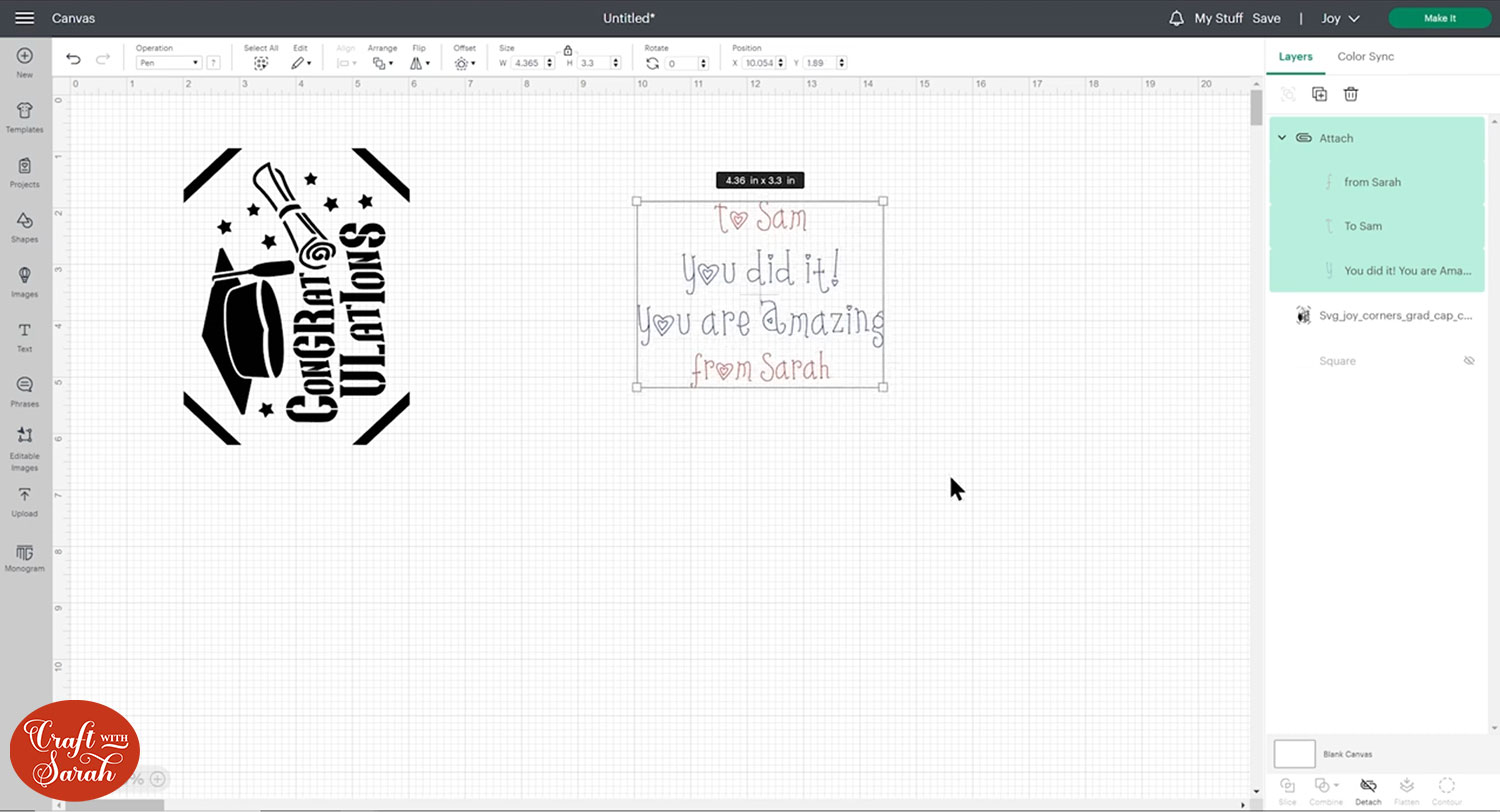
We need to tell the Cricut machine that we want it to do the drawing on top of the white rectangle.
Select the white rectangle layer and your drawing/text layers and press “Attach”.

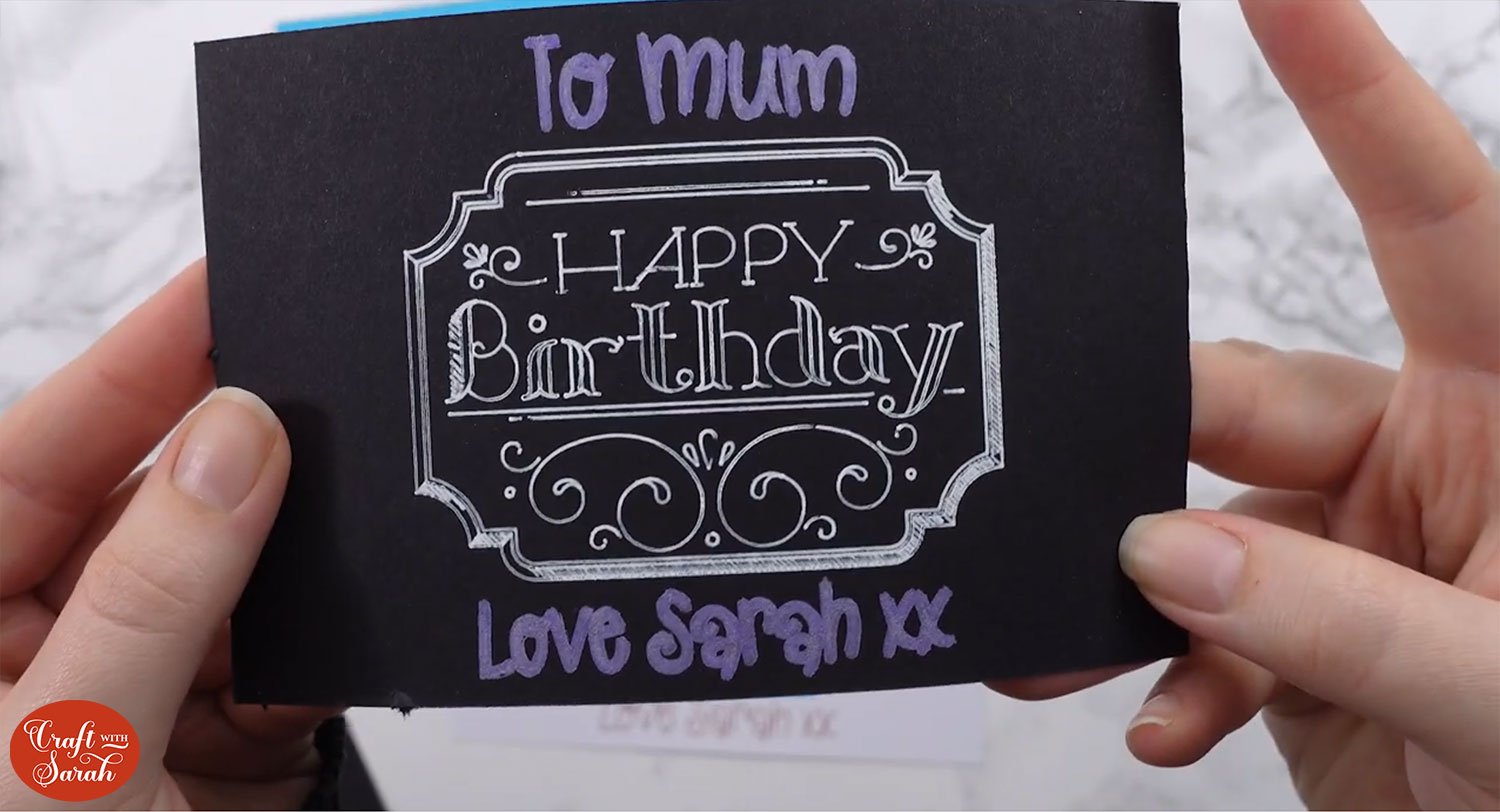
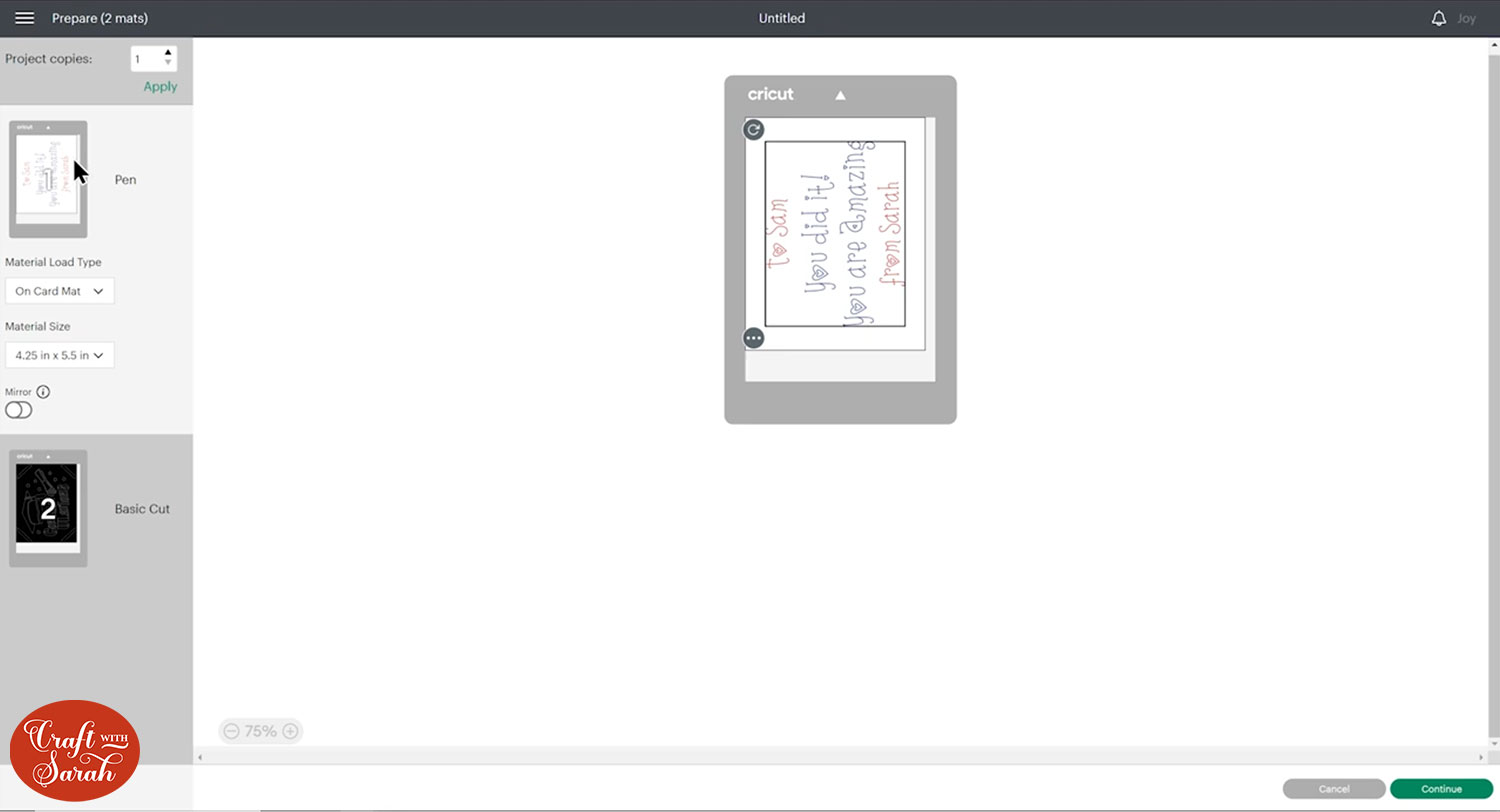
When you click “Make It”, you should see all your writing and drawing on top of the white rectangle.
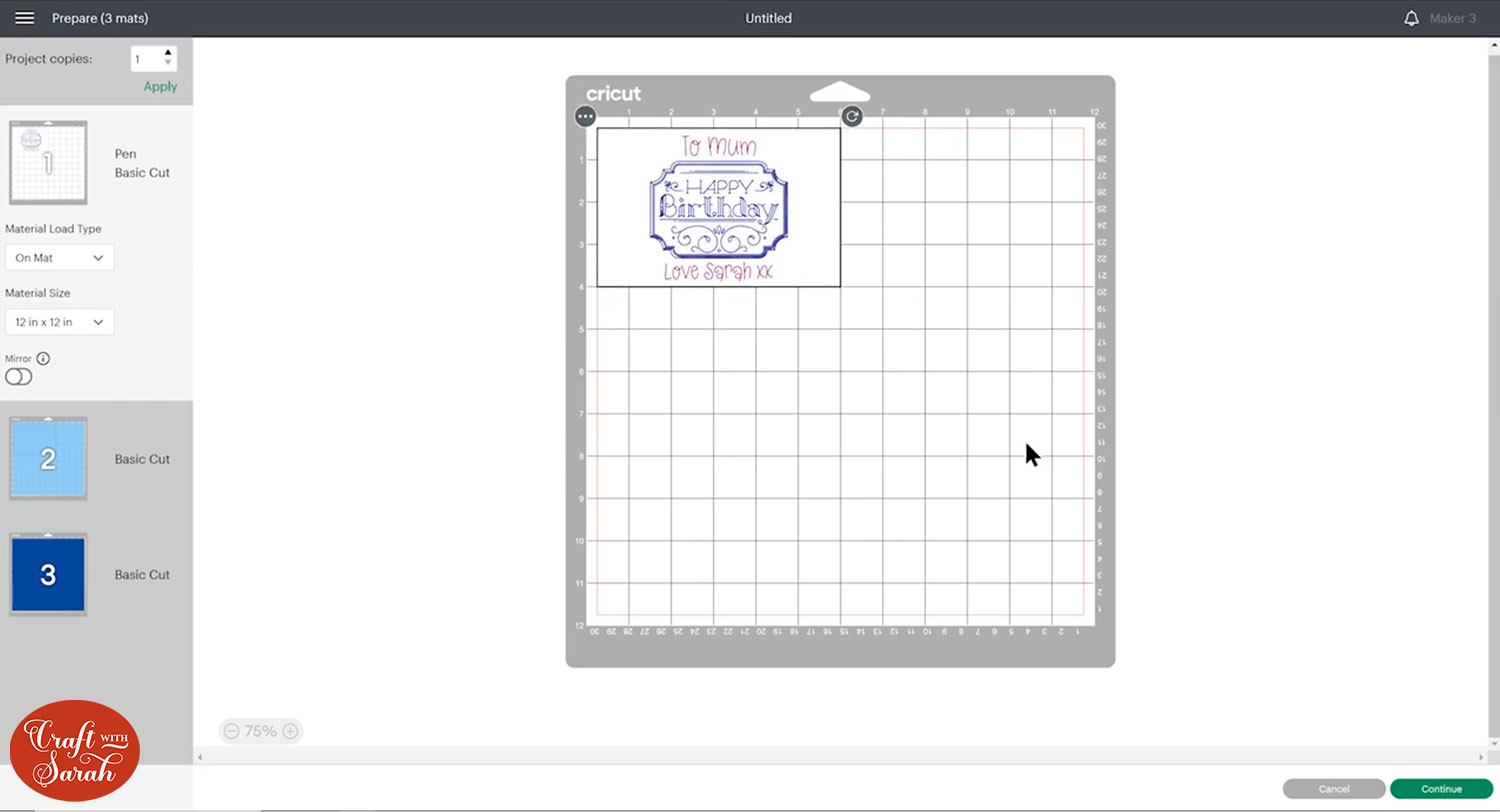
Cut/draw the design with your Cricut and then glue it to the inside of your card.
If you don’t have Cricut pens, you can still add your design to your card. Delete the largest template rectangle and press “Select All” and then “Flatten”.
This will turn your card insert into a “print then cut” design, which means you can print it on your home printer and then use the Cricut to cut around the edge.
Making inserts for shaped cards
As you’ve just seen, making inserts for square or rectangular cards is fairly simple.
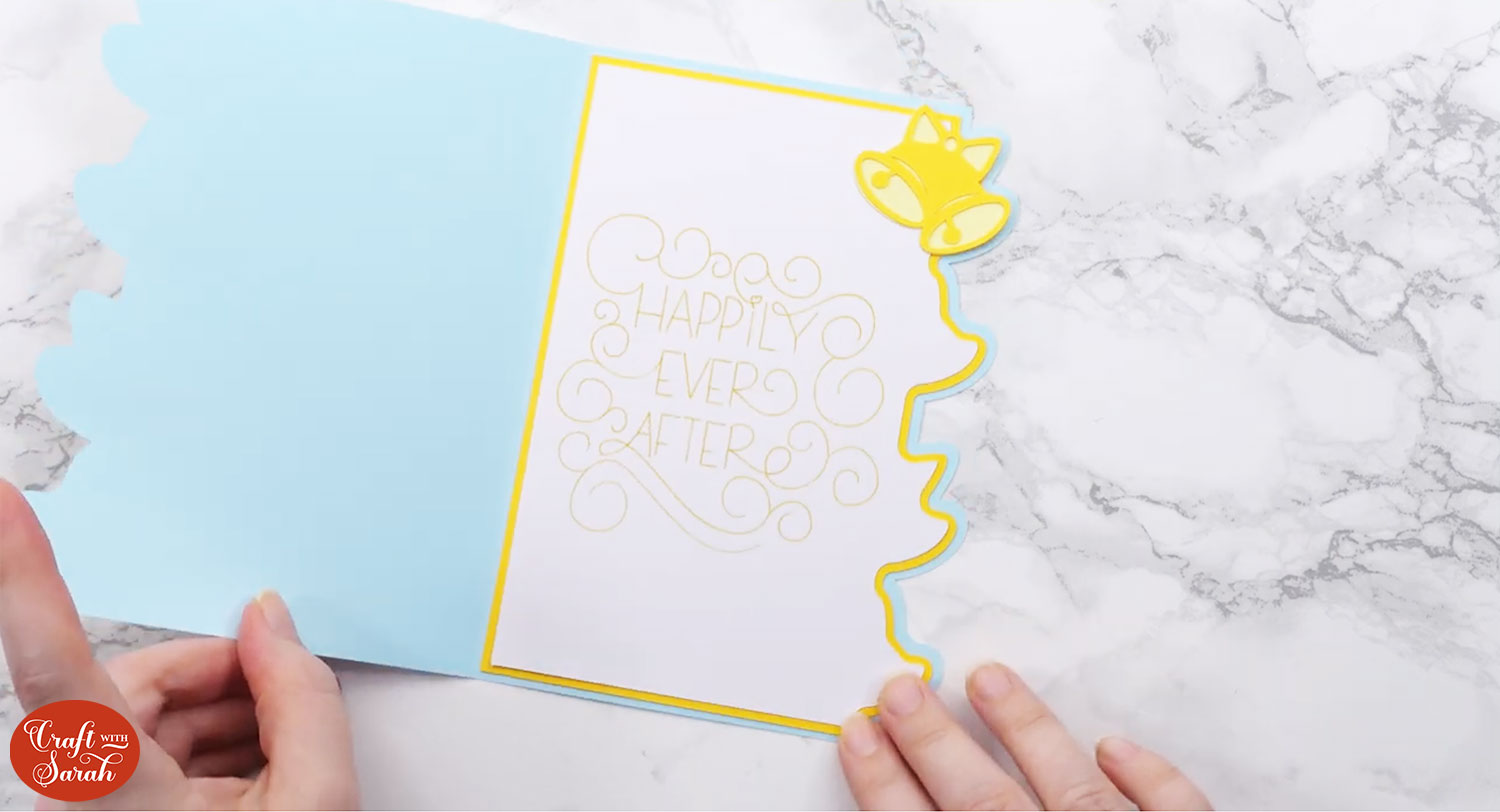
But what if you want to create one for a shaped card with an unusual, distinctive edge, such as this wedding card?
First, hide all layers apart from the very bottom one of the card.
Make a rectangle that covers the front half of the card.
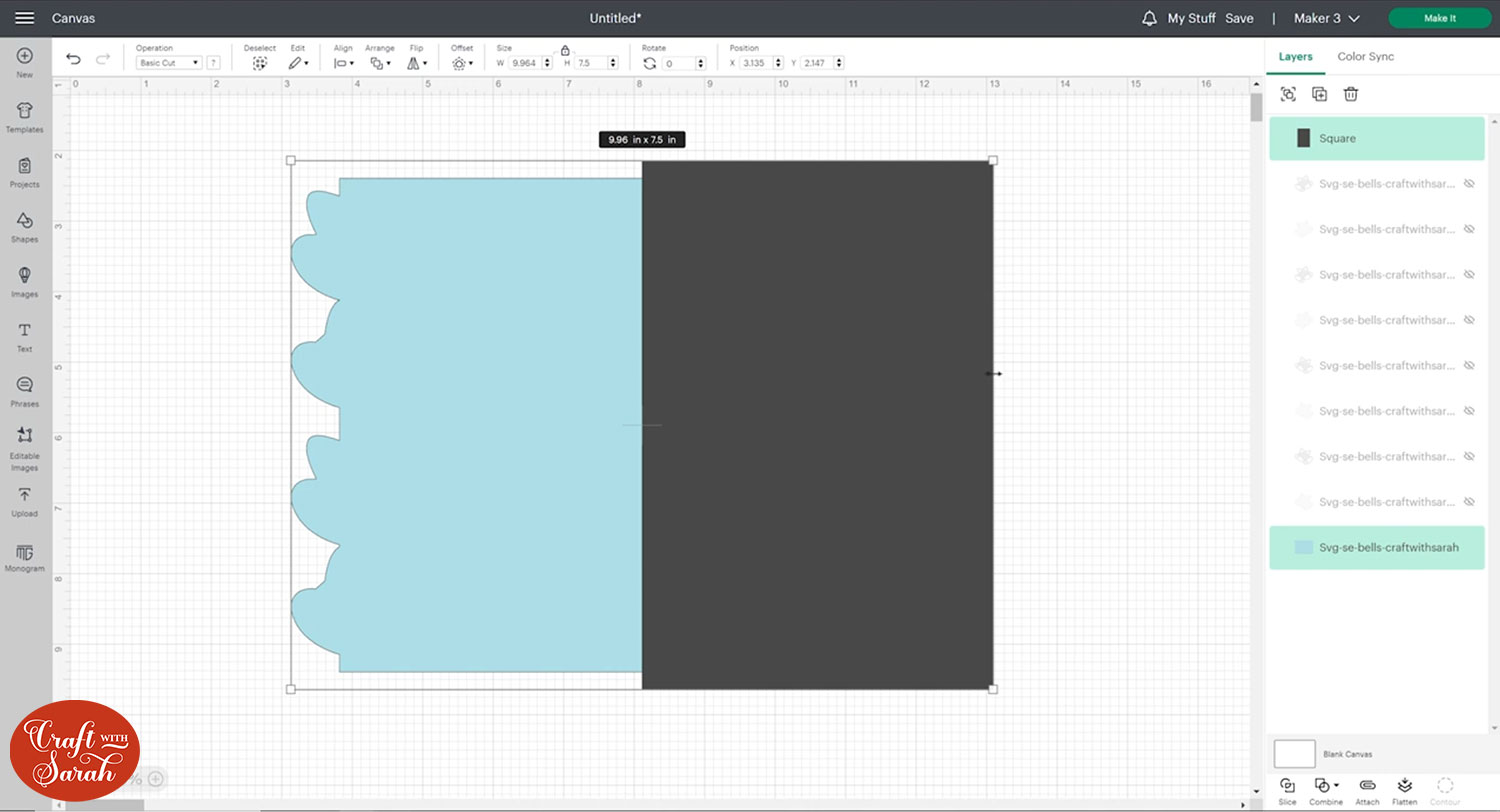
Select the rectangle and the base card layer and “Slice” them out from each other.
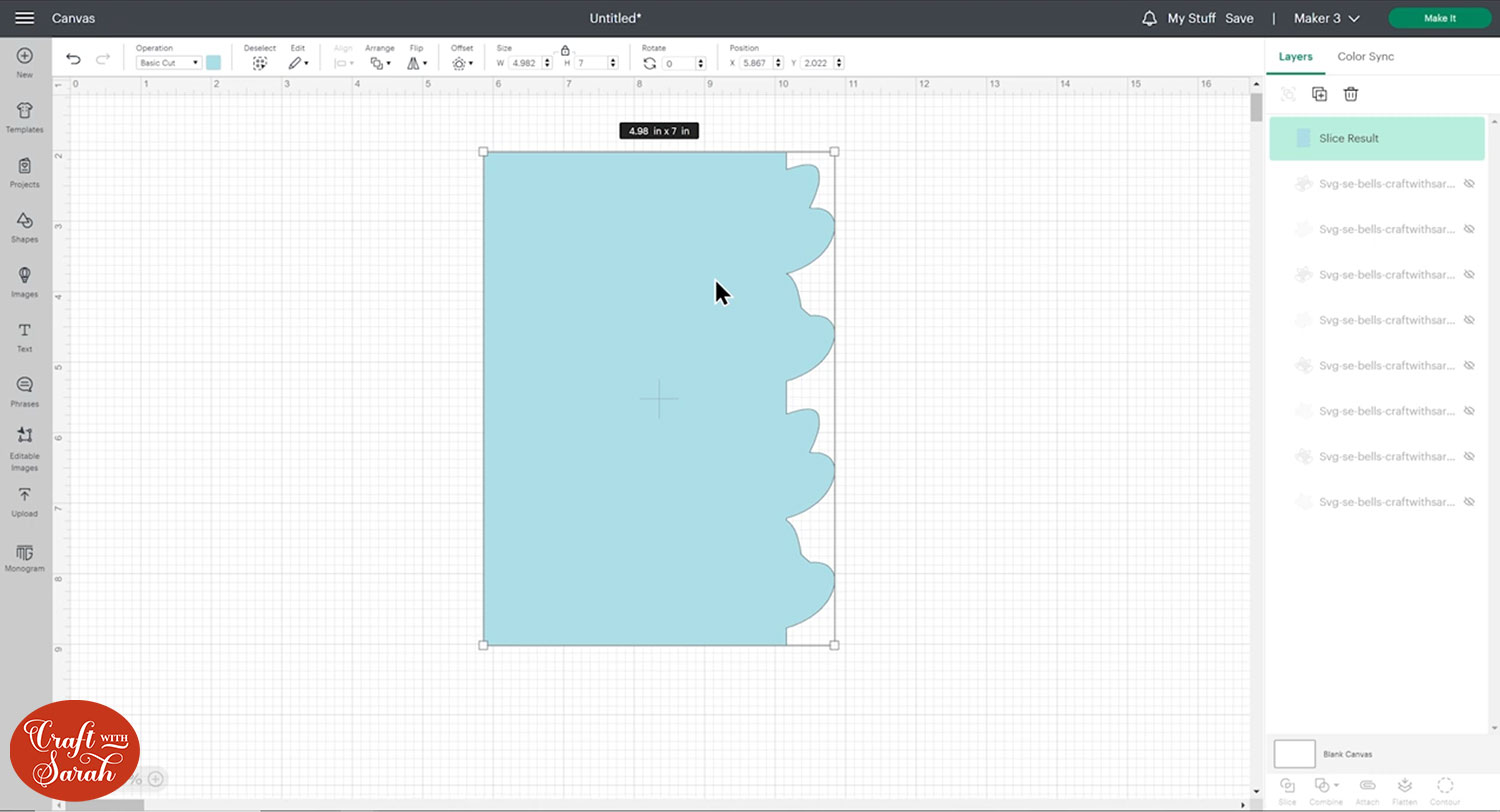
Delete the rectangle pieces and the back of the card so that you just have the front piece remaining.
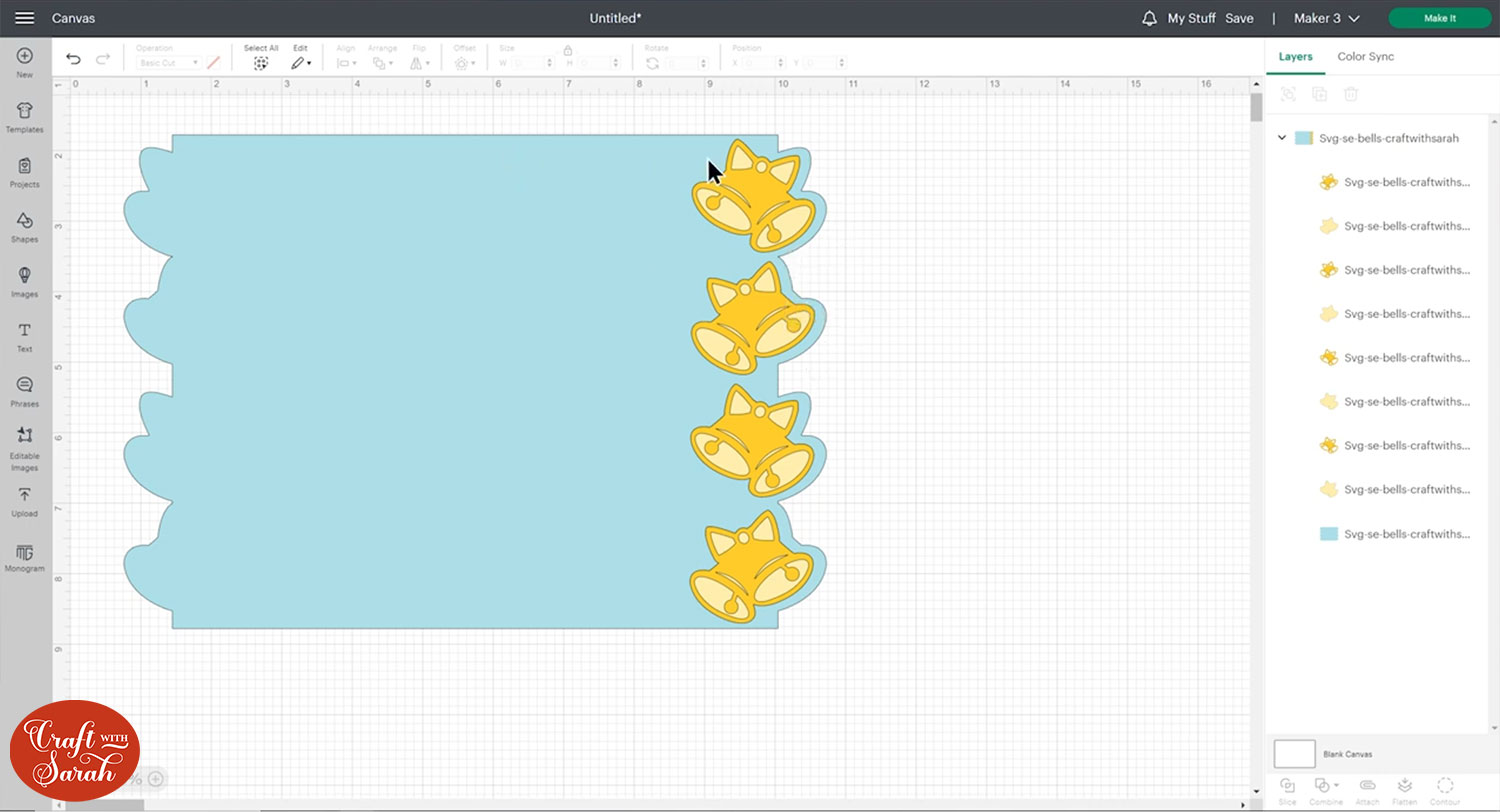
Click “Offset” and then drag the offset bar into a negative number.
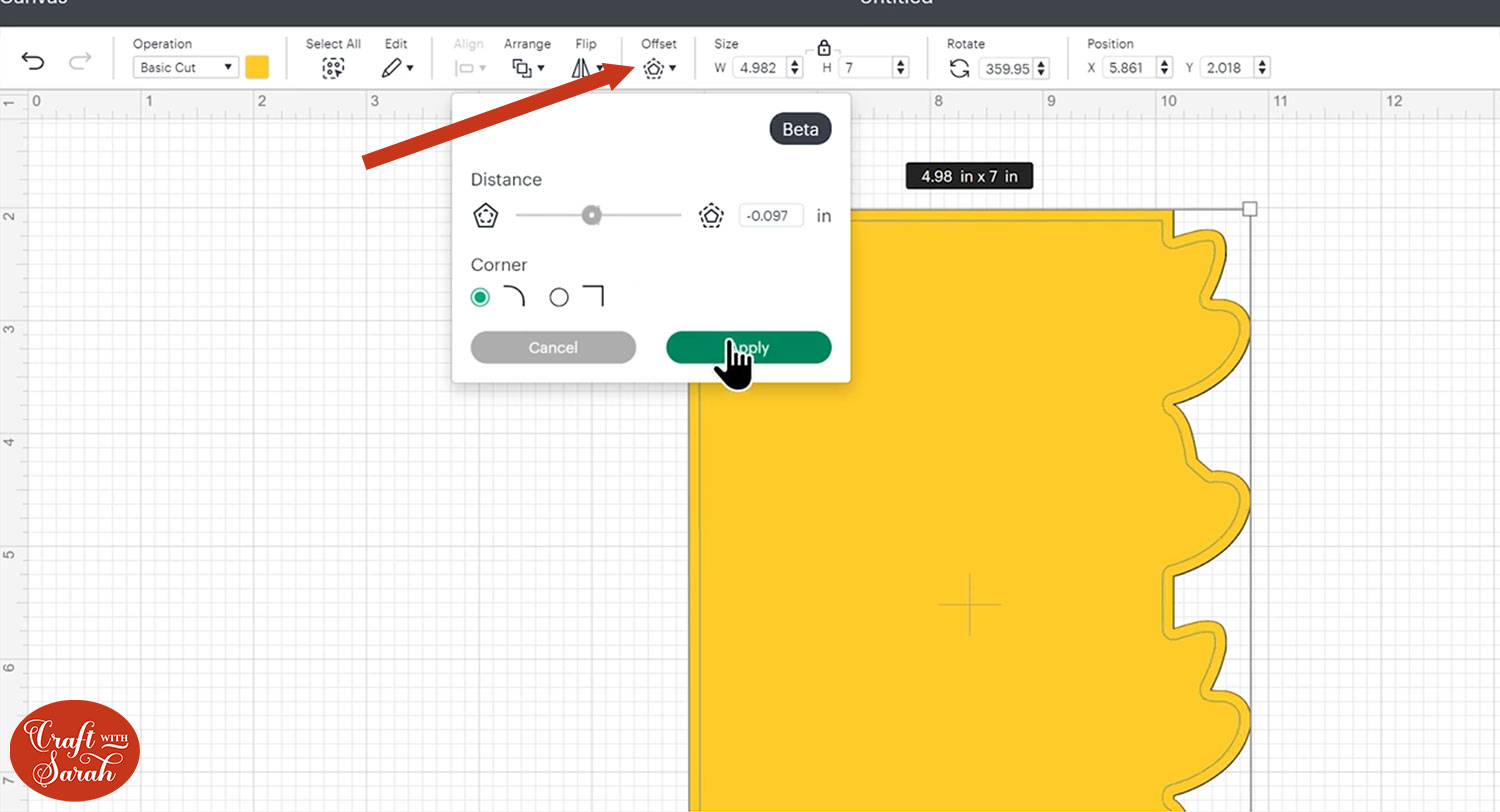
This will create a smaller shape that follows the lines of your card.
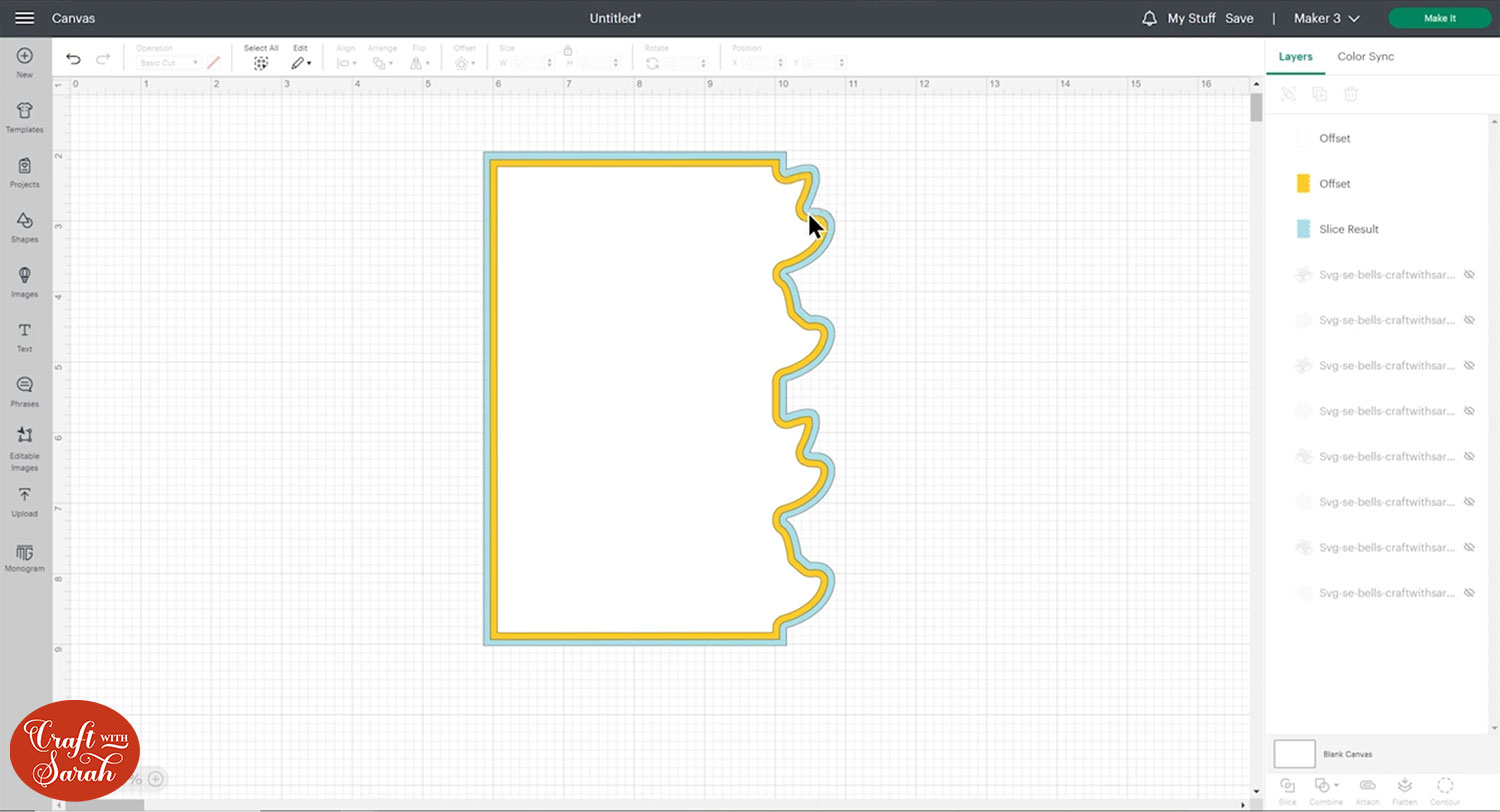
Do it again to make a second inset shape and then colour them to match your card.
Add your greetings to the card and then “Attach” the draw layers to the white piece.
Click “Make It” and cut out all the layers.

I decided to cut one of the bell images to go to the top-right of the inside of the card so it matches the front of the card.
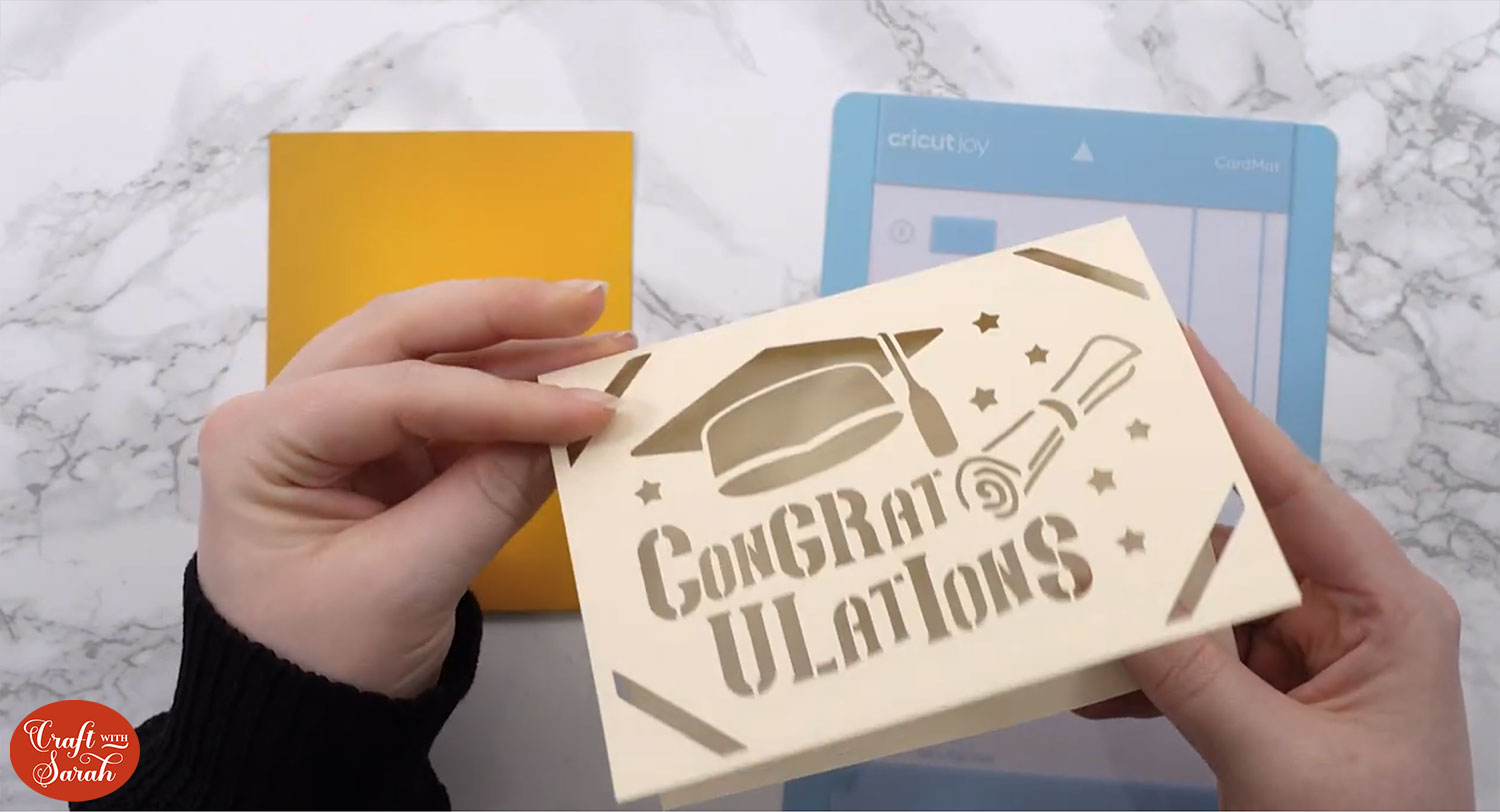
How to write directly on the inside of cards using the Cricut card mat
Our third and final way to add writing to the inside of cards is to write directly onto the card itself.
For this, you will need to use a Cricut insert card, and the Cricut card mat.
You can get these for the Cricut Joy, or larger 4×4 versions for the Explore Air/Maker lines of machine.
I only have the small one for the Joy, so that’s what I will be using for this tutorial.
First, make a rectangle that’s the size of the Cricut insert card you are using.
Add your message on top.
Hide the rectangle layer and Attach all the text/drawing layers together.
Change the “Material Load Type” to “On Card Mat” and choose the insert size that matches your card.
I cut the front of my card first.
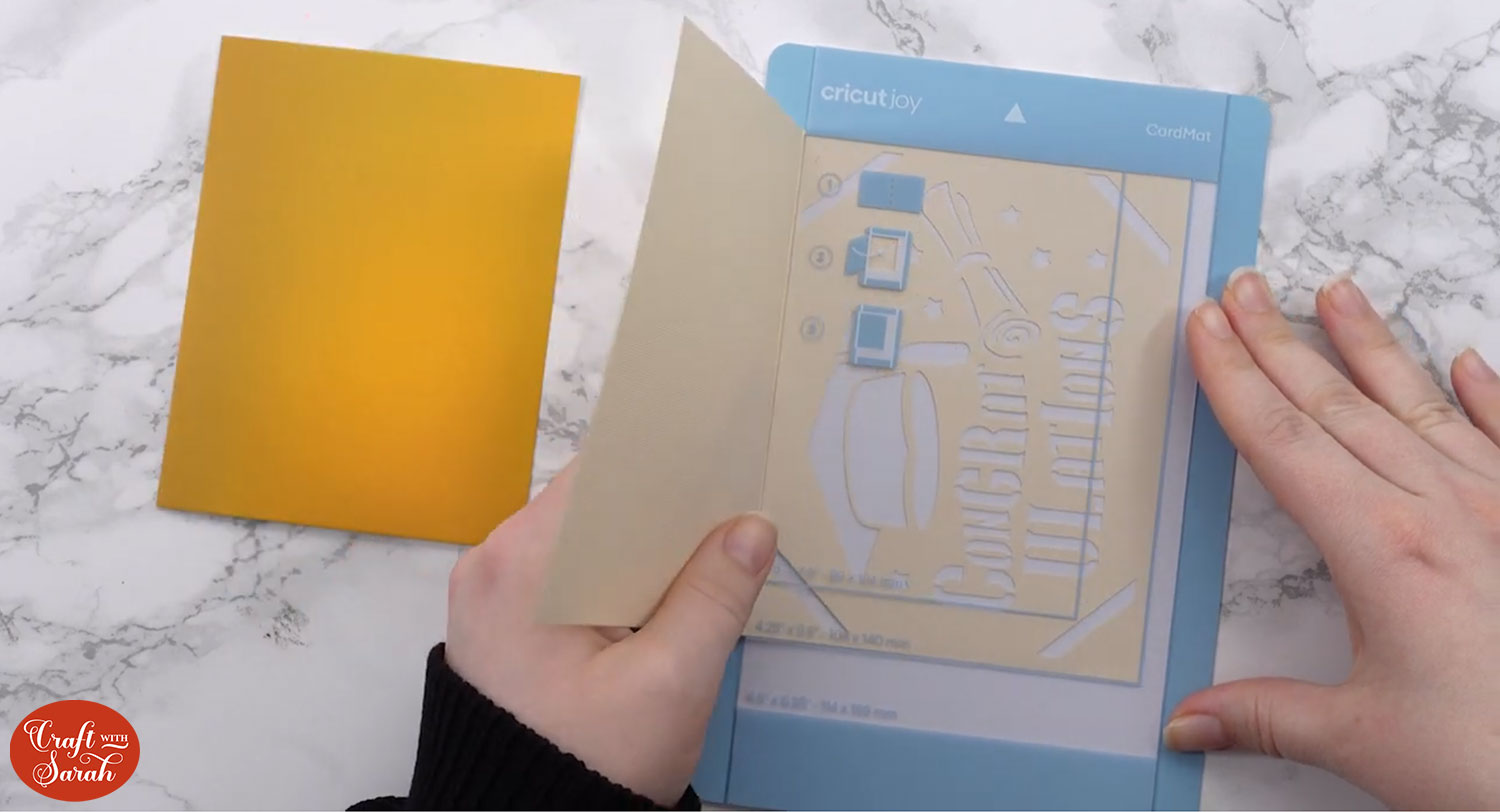
To do the writing, fold the card back on itself so that the inside of the card (the side you want to write on) is at the front, then re-add it to the card mat.
Here’s how it looks going on the mat:
And here’s how it looks when the front is stuck to the mat:
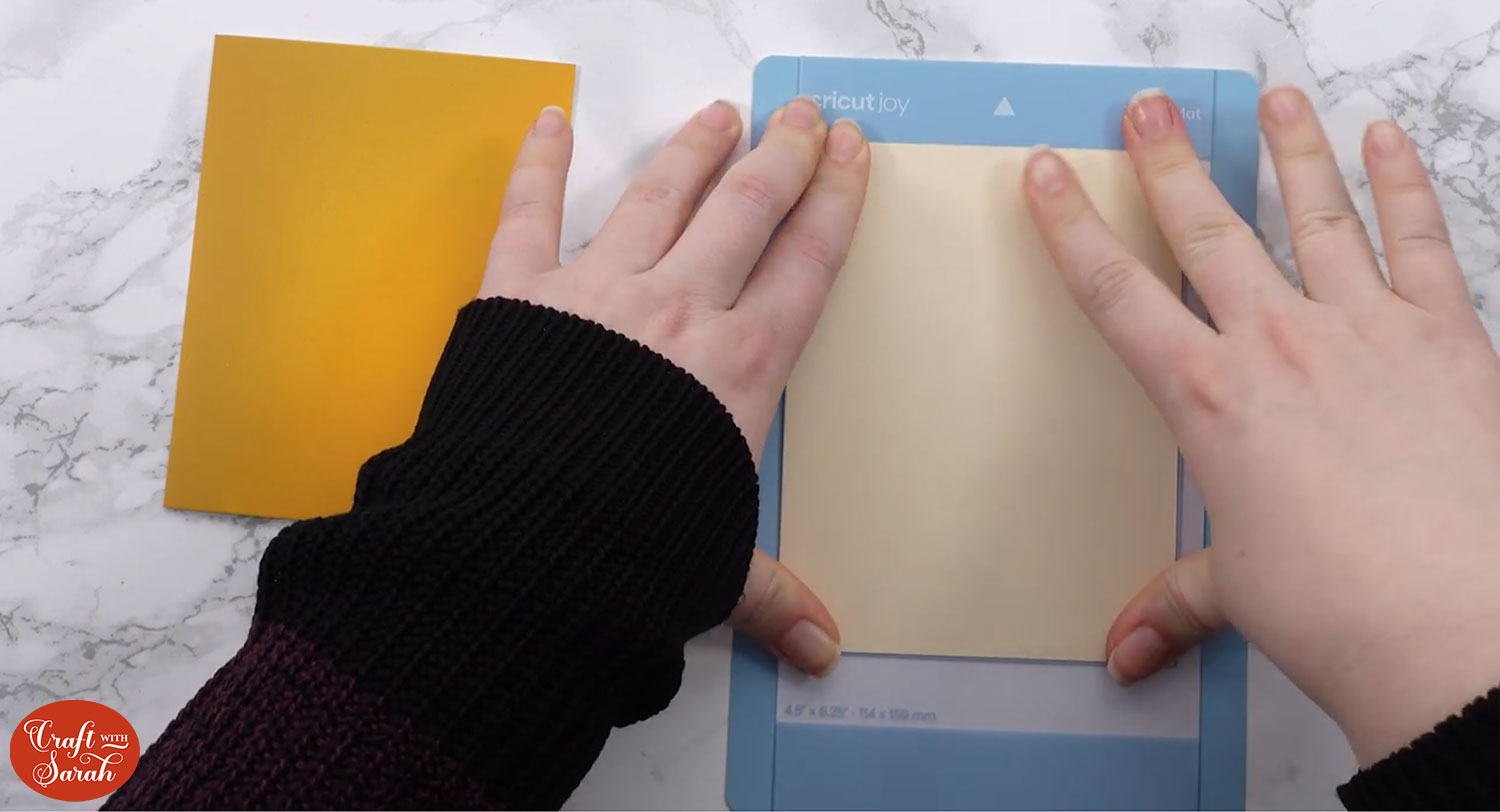
Feed the mat into your Cricut and it will do the writing on that inside piece.

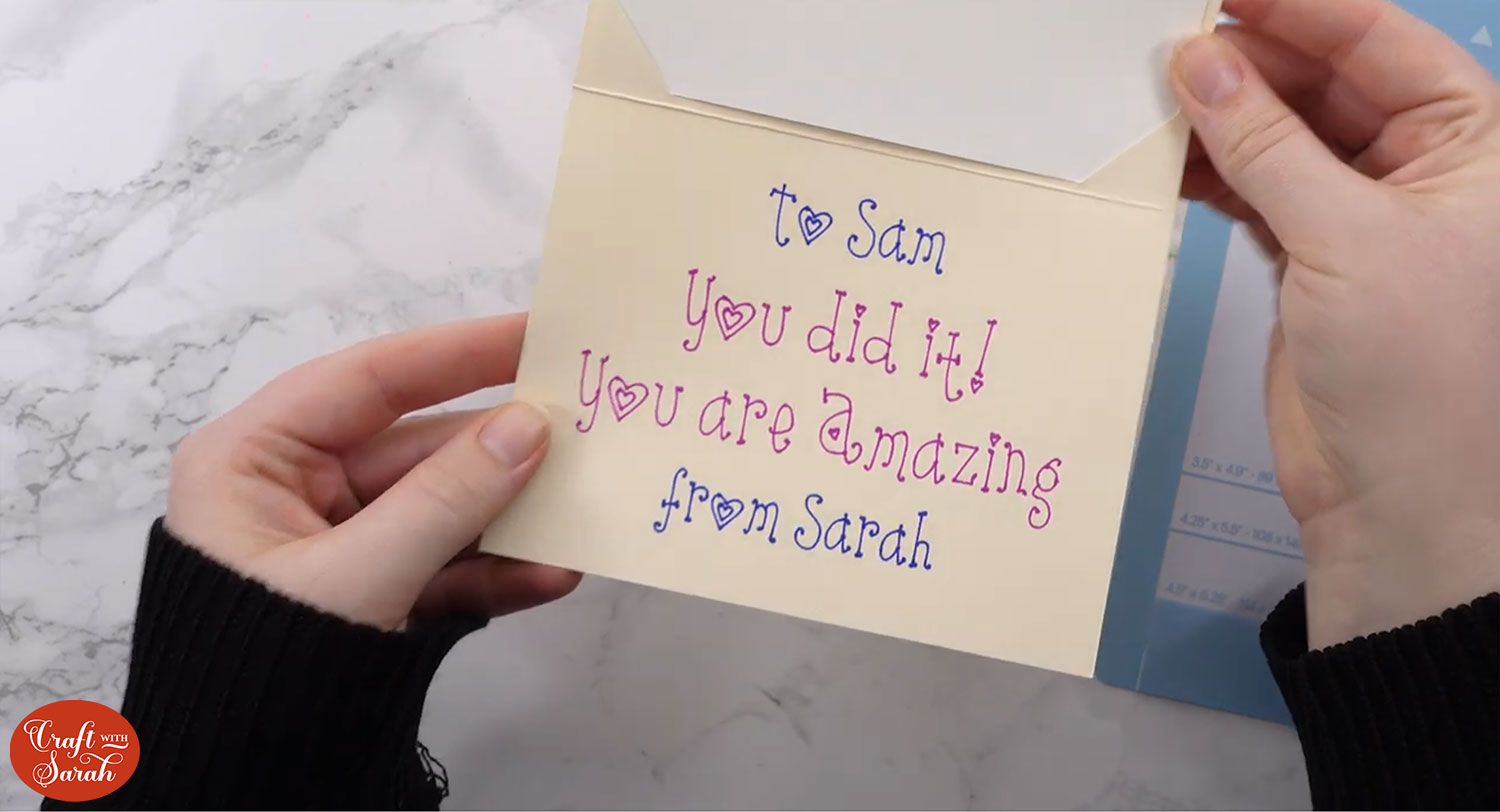
Take the card out of the mat and fold it back the correct way again.
Add the insert into the slots on the front of the card and then your card is all finished, with the perfect handwriting inside!
I hope you enjoyed this Design Space tutorial on how to add text to the inside of your handmade greetings cards.
If you need an envelope for your card to go in, check out these free envelope SVGs which come with a tutorial on how to write the envelopes using a Cricut too.
After all, the address on the envelope will of course need to match the lovely writing inside the card too!
All the best,
Sarah

