CMC 2025 Day 12: Pop Out Gift Card Holders
Welcome to day twelve of the 2025 Card Making Countdown, where I’m sharing 14 card making projects in 14 days.
What’s better than a handmade card? One that’s got a gift card inside it, of course! 😉
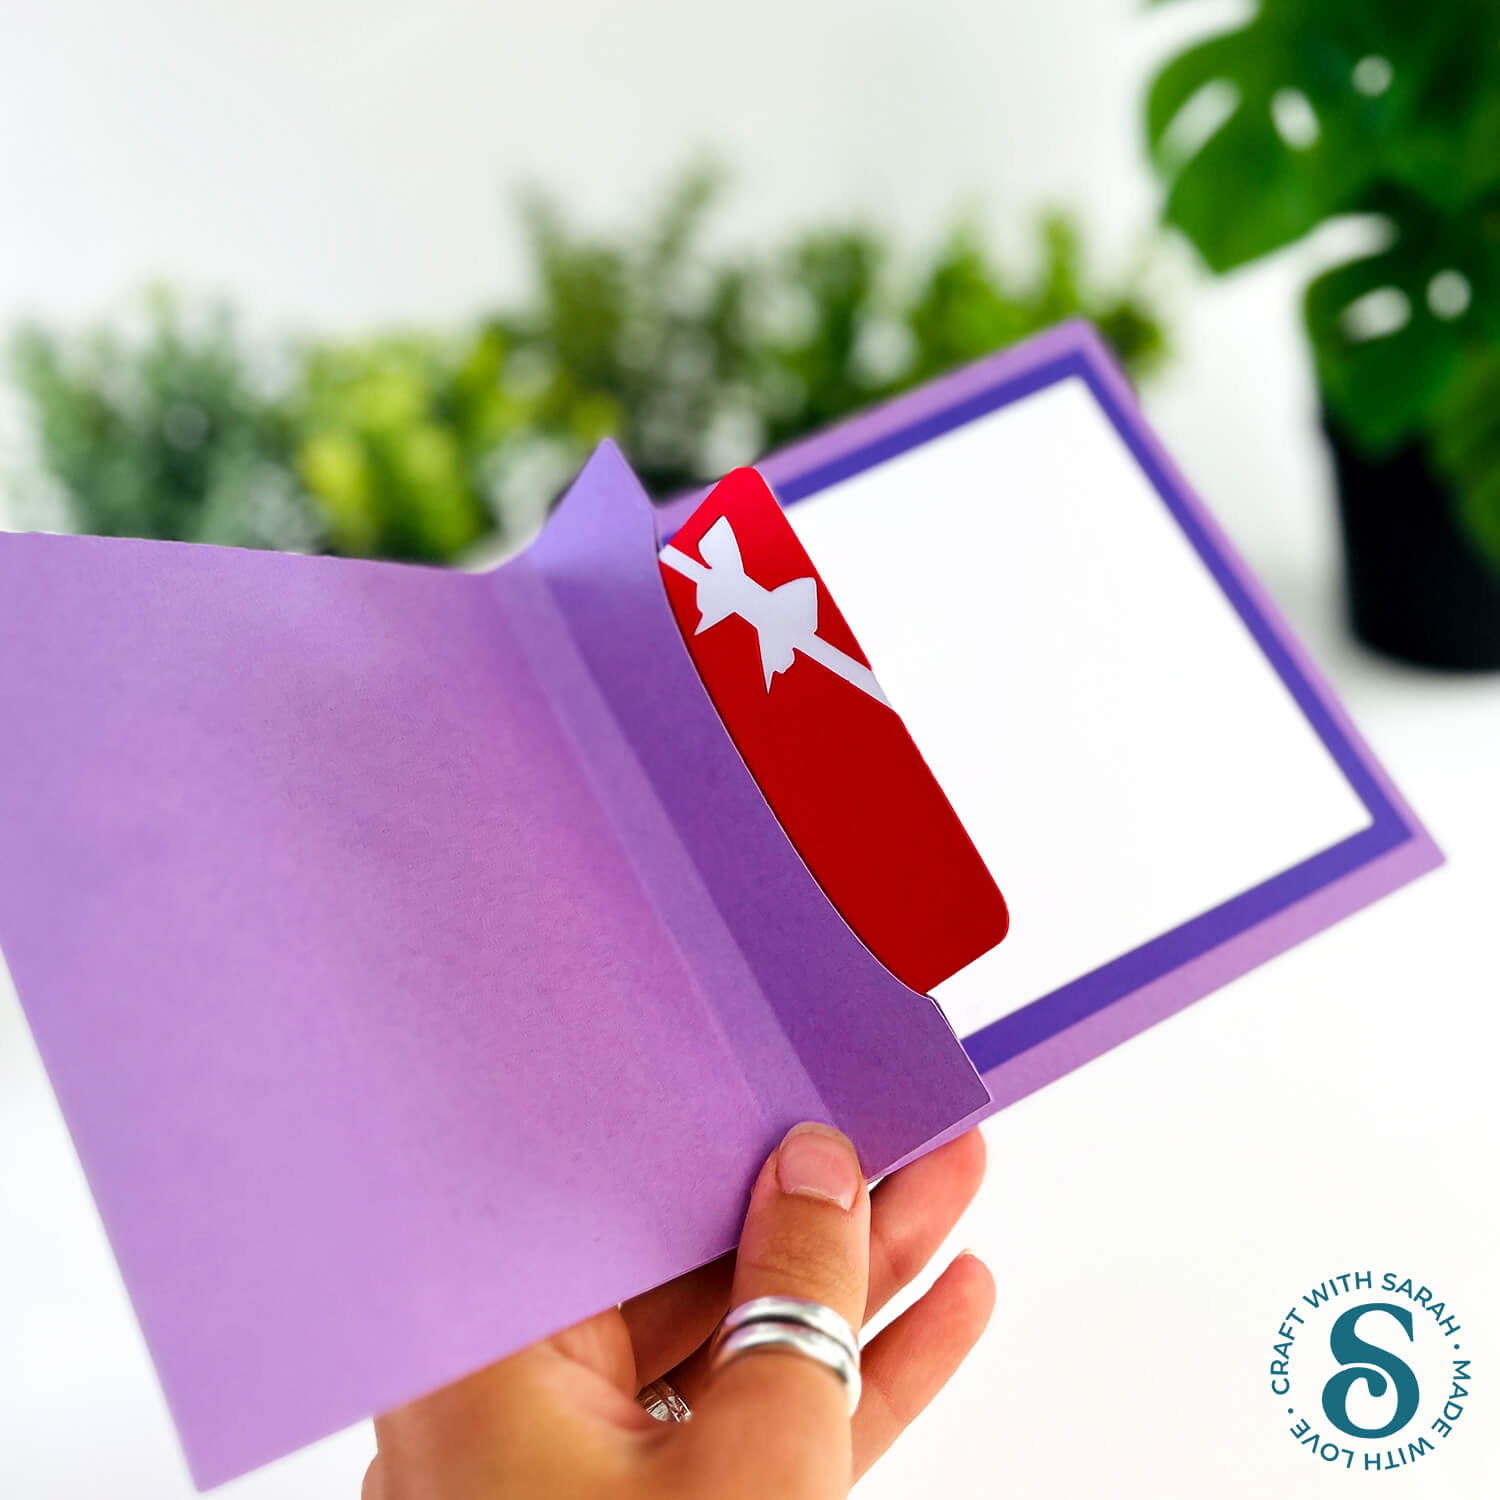
Rather than slipping your gift card inside a greetings card and risking it getting lost when taking the card out the envelope, present it in this super impressive (but oh so easy to make) pop out gift card holder.
The holders can go inside any square or 5×7 inch card, so you can turn your favourite card designs into one that doubles up as a gift.
Or, choose from one of the pre-designed cards included in the download folder.
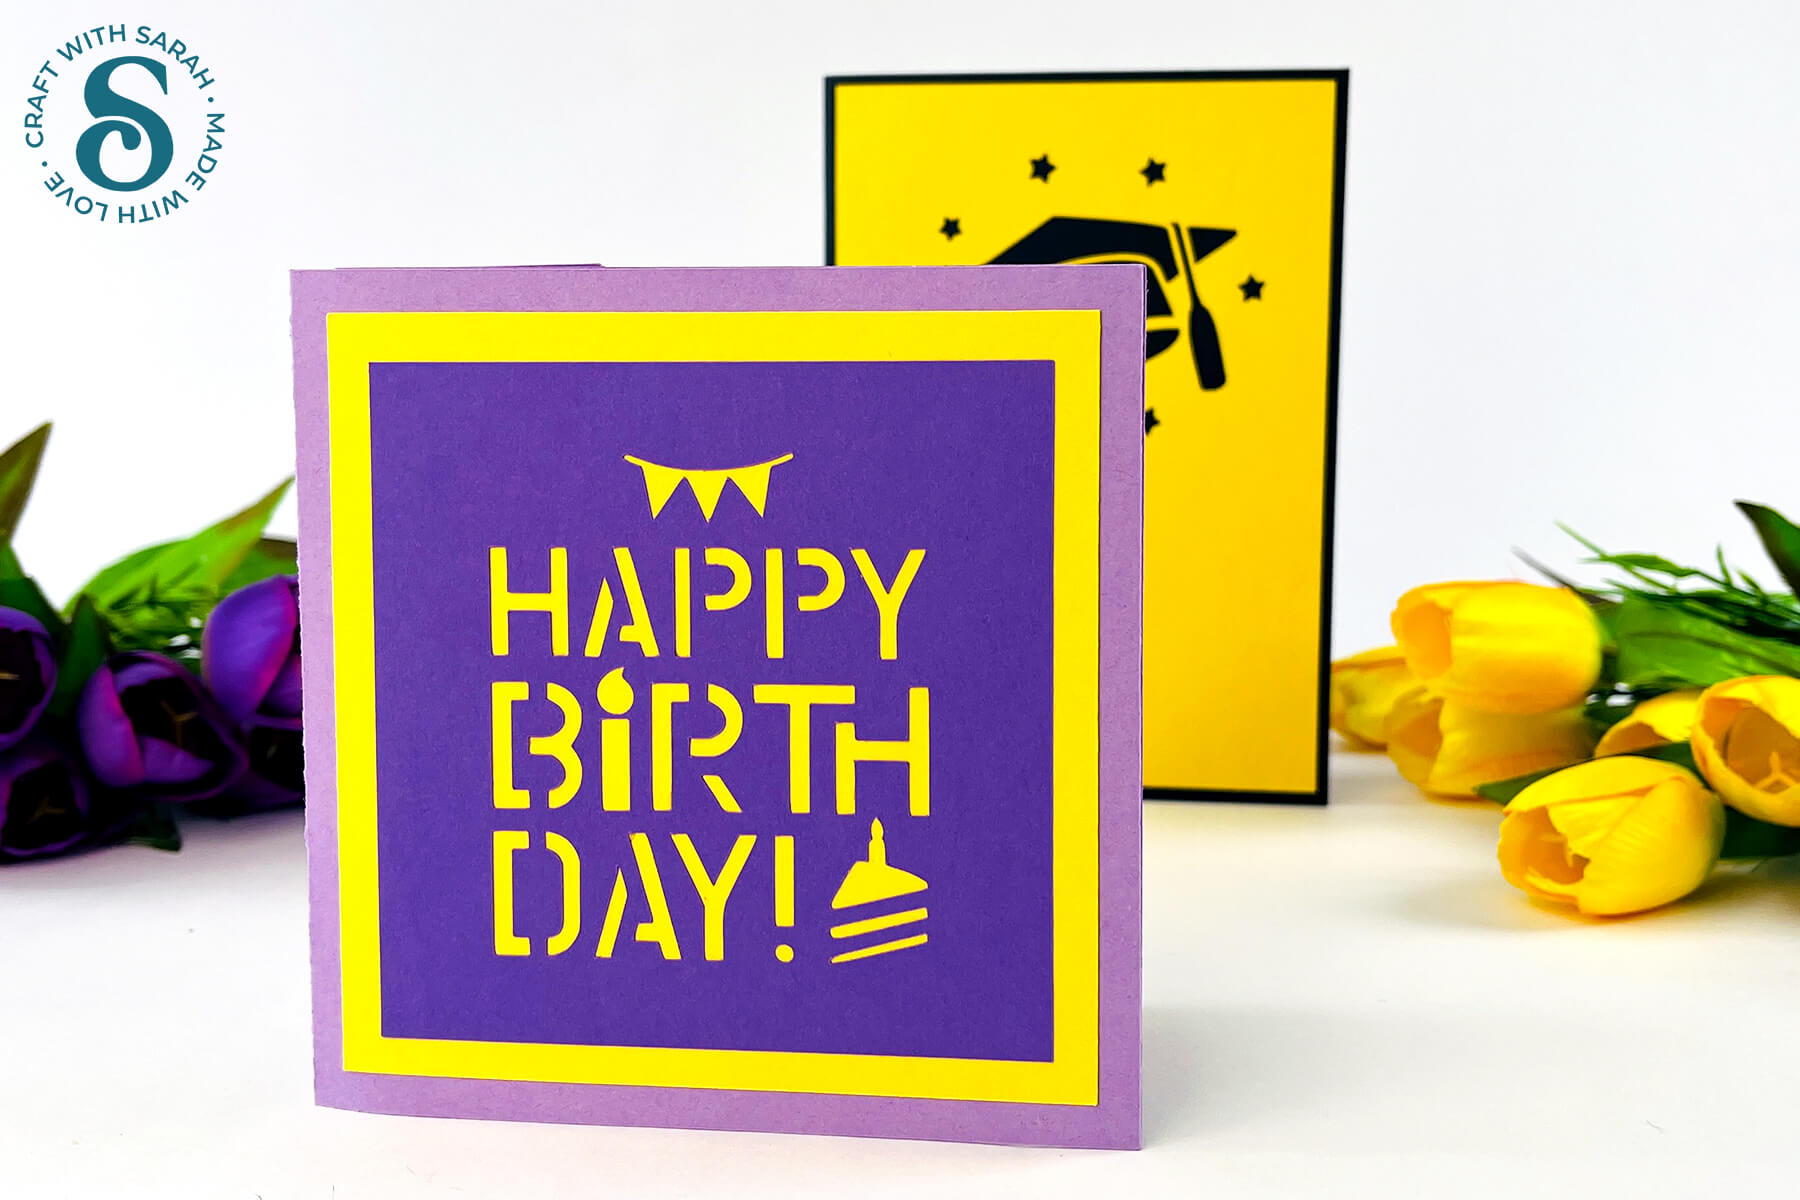
Four different card fronts are included with today’s download:
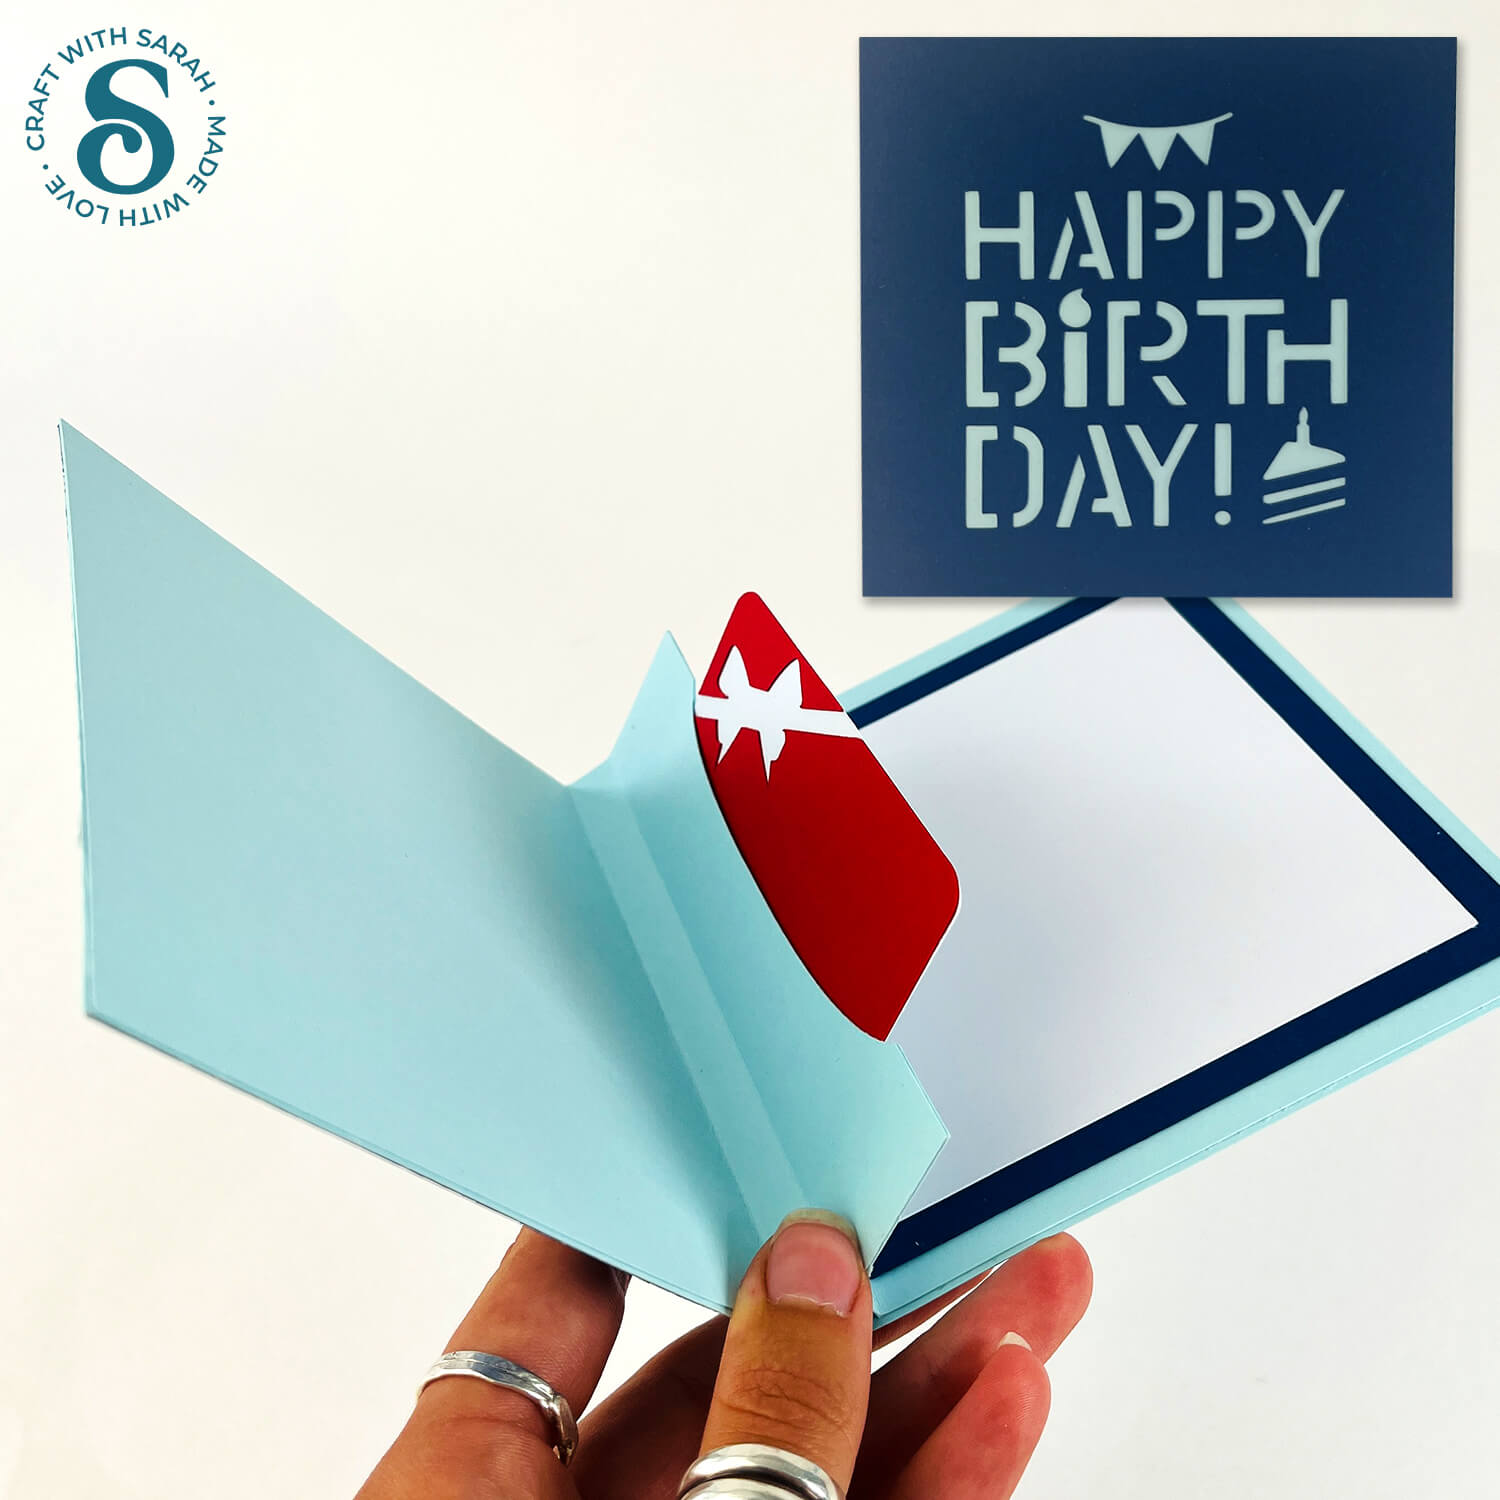
- Happy Birthday
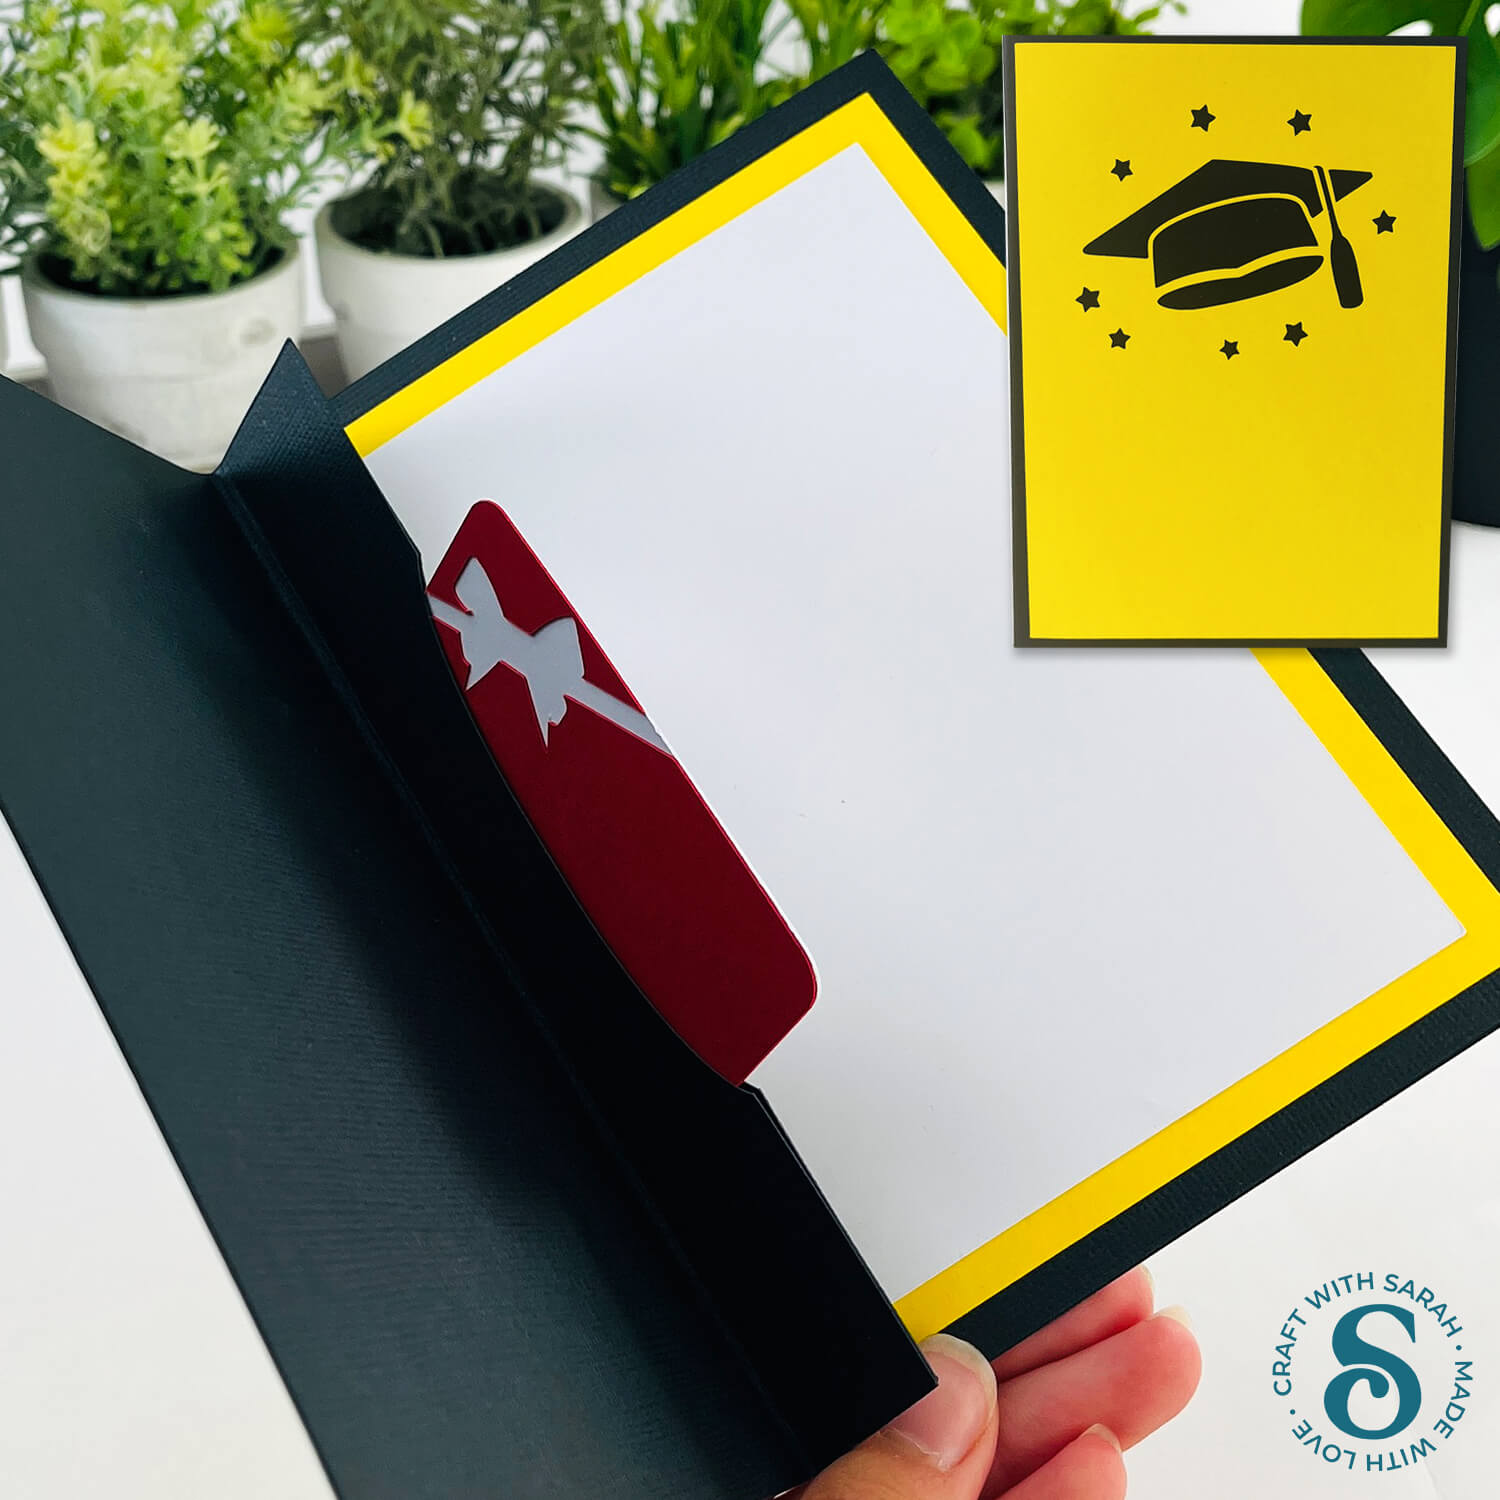
- Graduation
- Christmas (Santa in chimney)
- Flowers
The cut files are suitable for a range of cutting machines, such as Cricut, Silhouette and ScanNCut. The file types that are included are: SVG, EPS, DXF and PNG.
Hand-cutting (printable) versions of the templates are also included.
The square template will make a 5×5 inch card by default, but the tutorial shows how to resize it. The rectangle template makes a 5×7 inch card that will fit in a standard size envelope.
Alternatively, you can make your own envelope if you prefer.
This project is part of the 2025 Card Making Countdown.
Materials supply list
Here is a list of the materials to make this project.
Please note that some of the links included in this article are affiliate links, which means that if you click through and make a purchase I may receive a commission (at no additional cost to you). You can read my full disclosure at the bottom of the page.
- Cricut machine
- Light blue Cricut cutting mat
- Coloured Card
- Glue (I like Bearly Art Glue and Collall) or double-sided tape
- Cricut scoring wheel or scoring stylus
This project is suitable for the following types of Cricut machines: all Explore models, all Maker models, Venture and Joy Xtra. It can be cut on the original Joy (blue machines) if you resize the template smaller.
Foundation learning
If you're new to crafting with your Cricut, you may find the below links helpful.
They teach some of the skills mentioned throughout the Countdown projects.
- How to upload SVG files into Design Space
- How to make 3D layered Cricut projects
- The BEST way to frame papercraft projects
- How to mount multiple designs in the same frame with magic guides
- How to score with a Cricut (even without scoring tools)
- Print then cut tutorial
- Design Space tools (Combine, Attach, Slice, Weld, Flatten, etc.)
- Pattern fill tutorial (for making backgrounds & cutting images to a specific shape/size)
- Free envelope SVGs that can be sized to fit any card
- Presentation boxes for handmade cards
- How to write inside cards with Cricut pens
- How to cut layered designs at a small size
- Design Space tips & tricks
- Cricut pens tutorial
Video tutorial
Watch the video below to see how to make this project. Keep scrolling for a written tutorial.
Written tutorial (with photos!)
Here’s how to make gift card holders with your Cricut machine.
Step 1) Download the cutting files & upload to Design Space
Download the files using the box below.
Purchase the File(s)
This cut file is available as part of the Instant Access Bundle.
Or, purchase the designs individually:
Popout Gift Card Holder (Rectangular)
Popout Gift Card Holder (Square)
Before you upload the SVGs to Design Space, you need to unzip the download folder that they come in.
- How to unzip a folder on Windows computer
- How to unzip a folder on a Mac
- How to unzip a folder on an iPad/iPhone
- How to unzip a folder on an Android device
After unzipping, upload the SVG file(s) into your cutting machine software.
Not sure how to use cut files with your type of machine? The following links lead to videos on how to open cut files in:
- Cricut Design Space
- Silhouette Studio
- CanvasWorkspace (for ScanNCut machines)
The download folder also contains printable PDF versions of the templates for hand cutting.
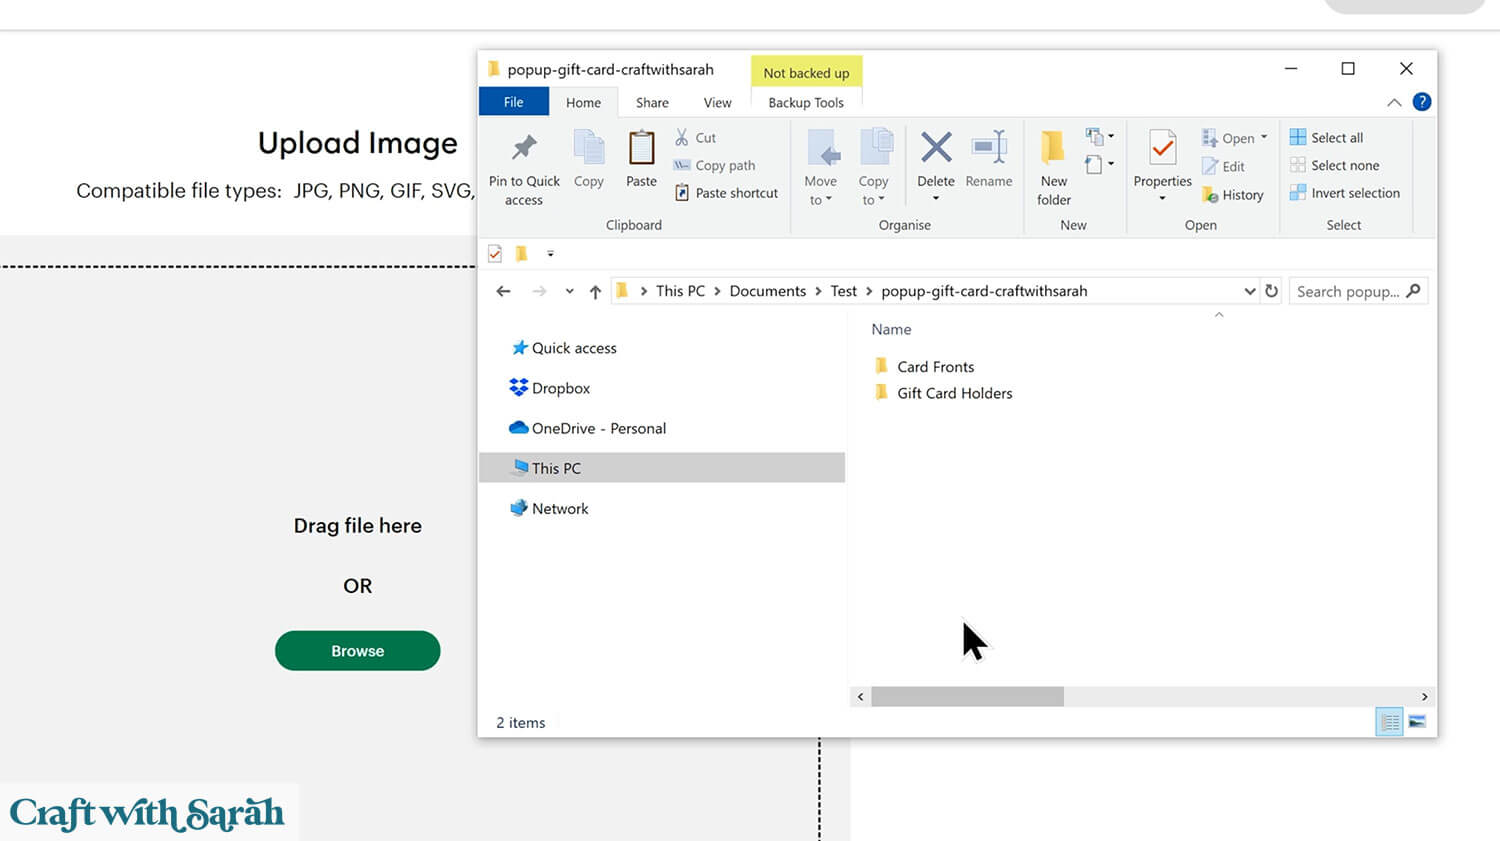
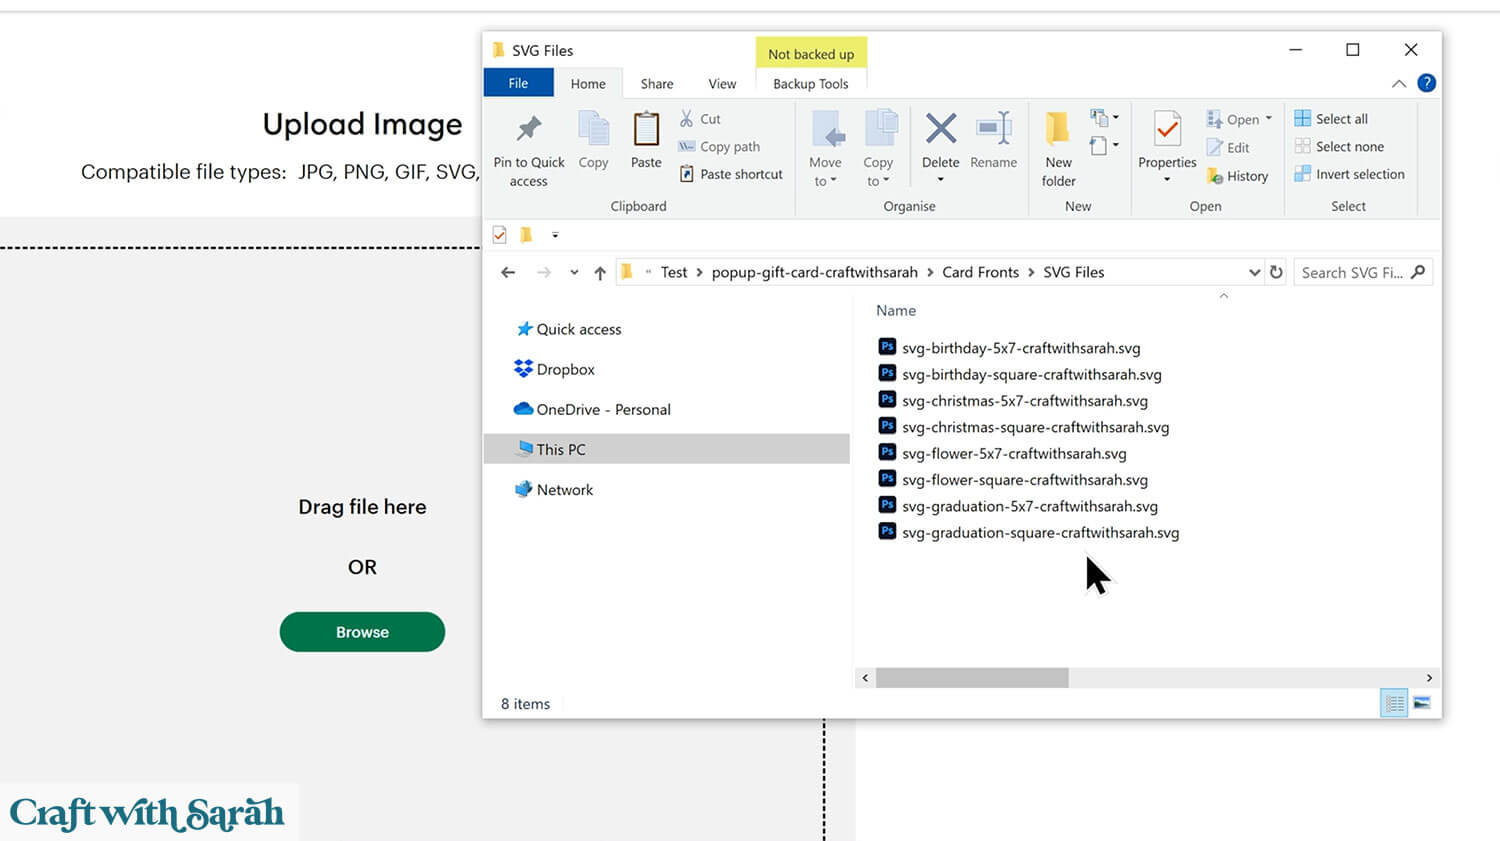
If you are using Cricut Design Space, start a new project and then click the “Upload” button on the left of the screen.
You can then either click “Browse” to find the file on your computer, or drag-and-drop it.
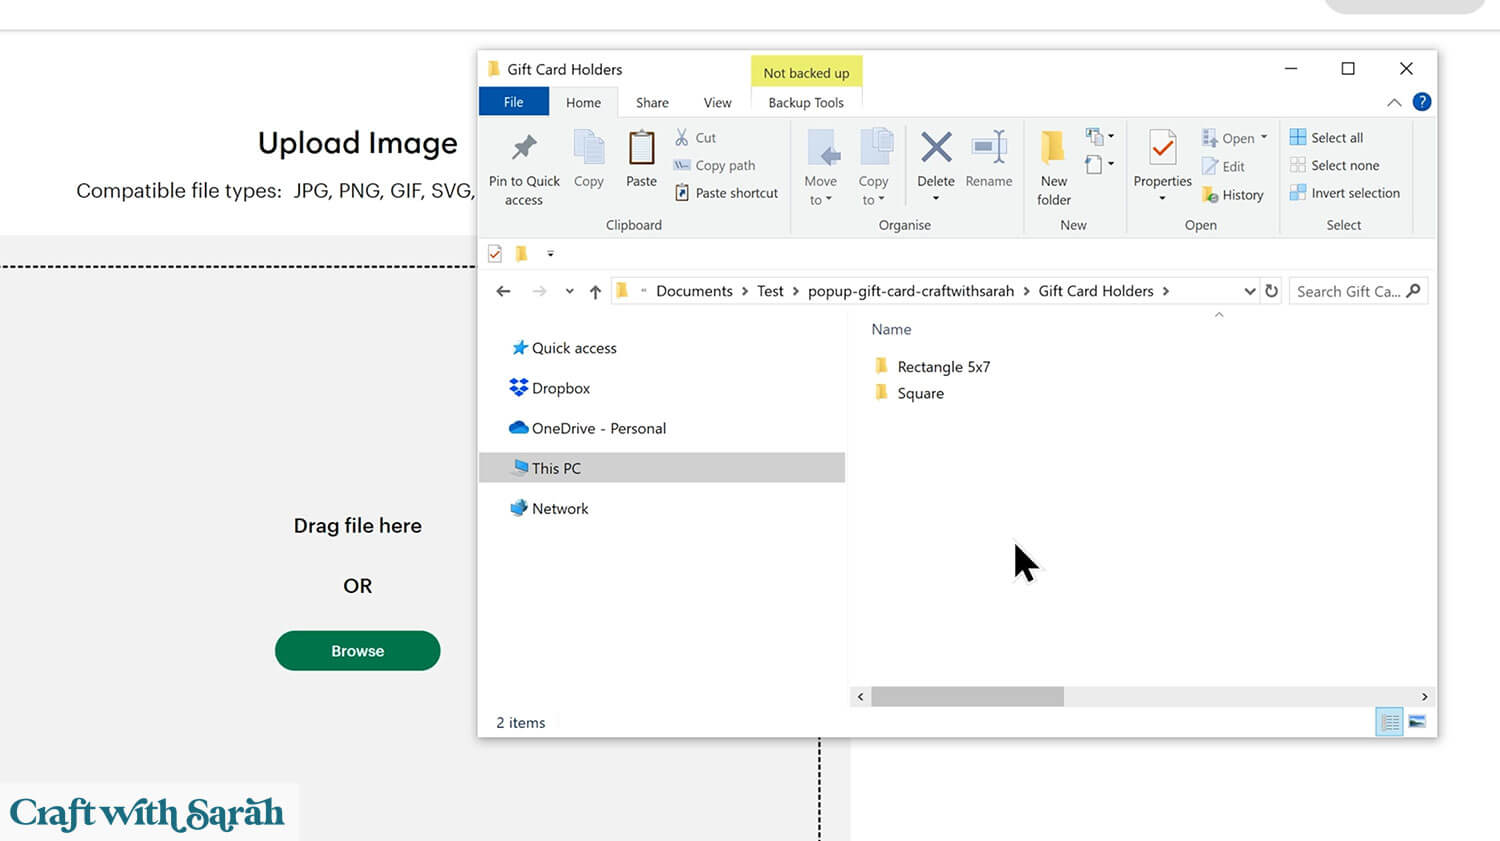
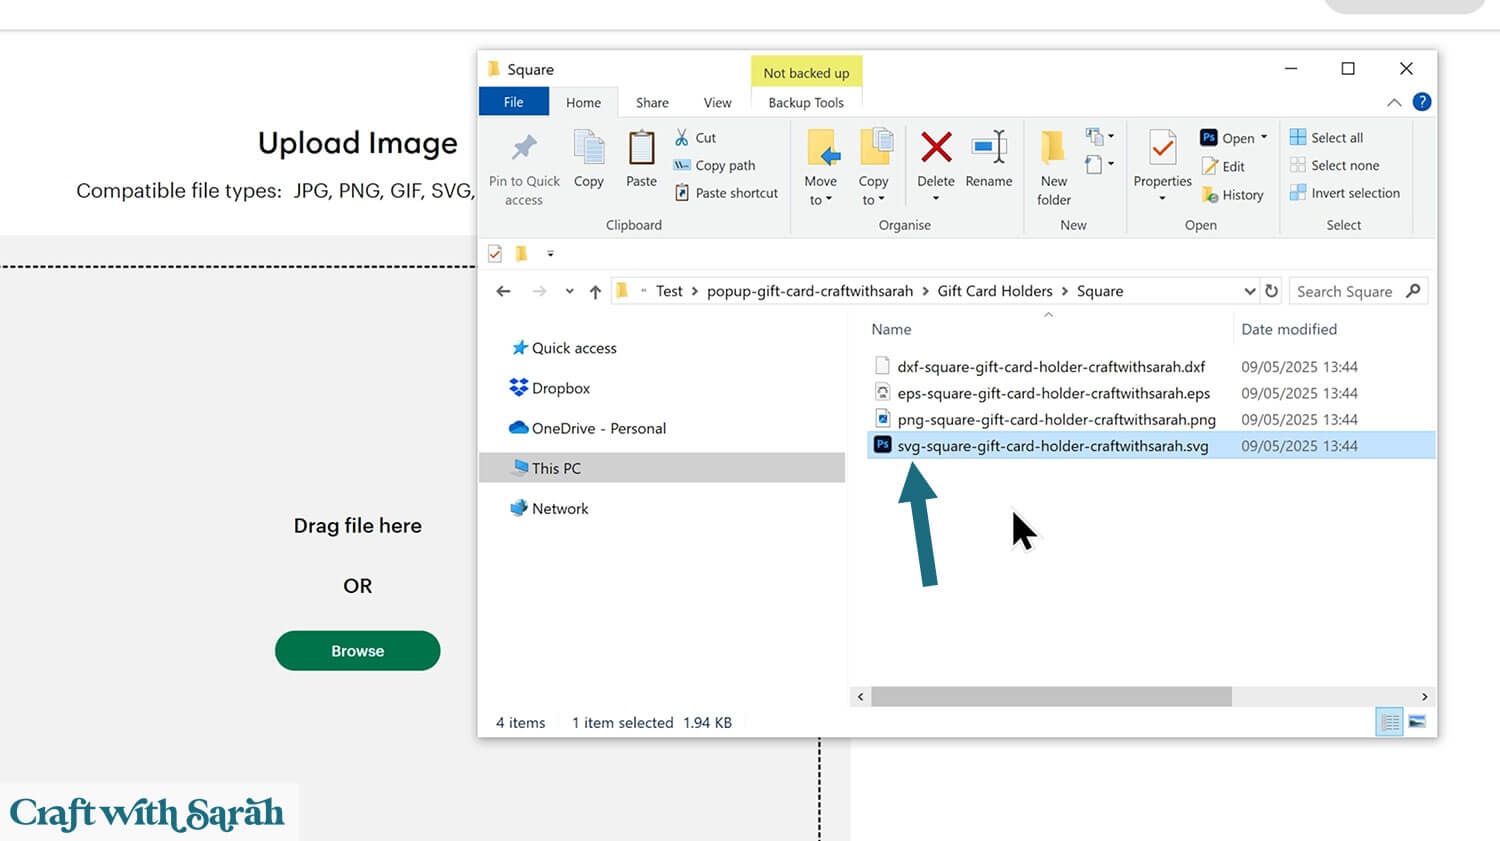
Find the unzipped download folder, then go into the “Gift Card Holders” folder, then either the “Square” or “Rectangular” subfolders.
From there, choose the file that starts svg- in the filename.
For this tutorial I am showing the square design, but the steps are the same for the rectangular gift card holder.
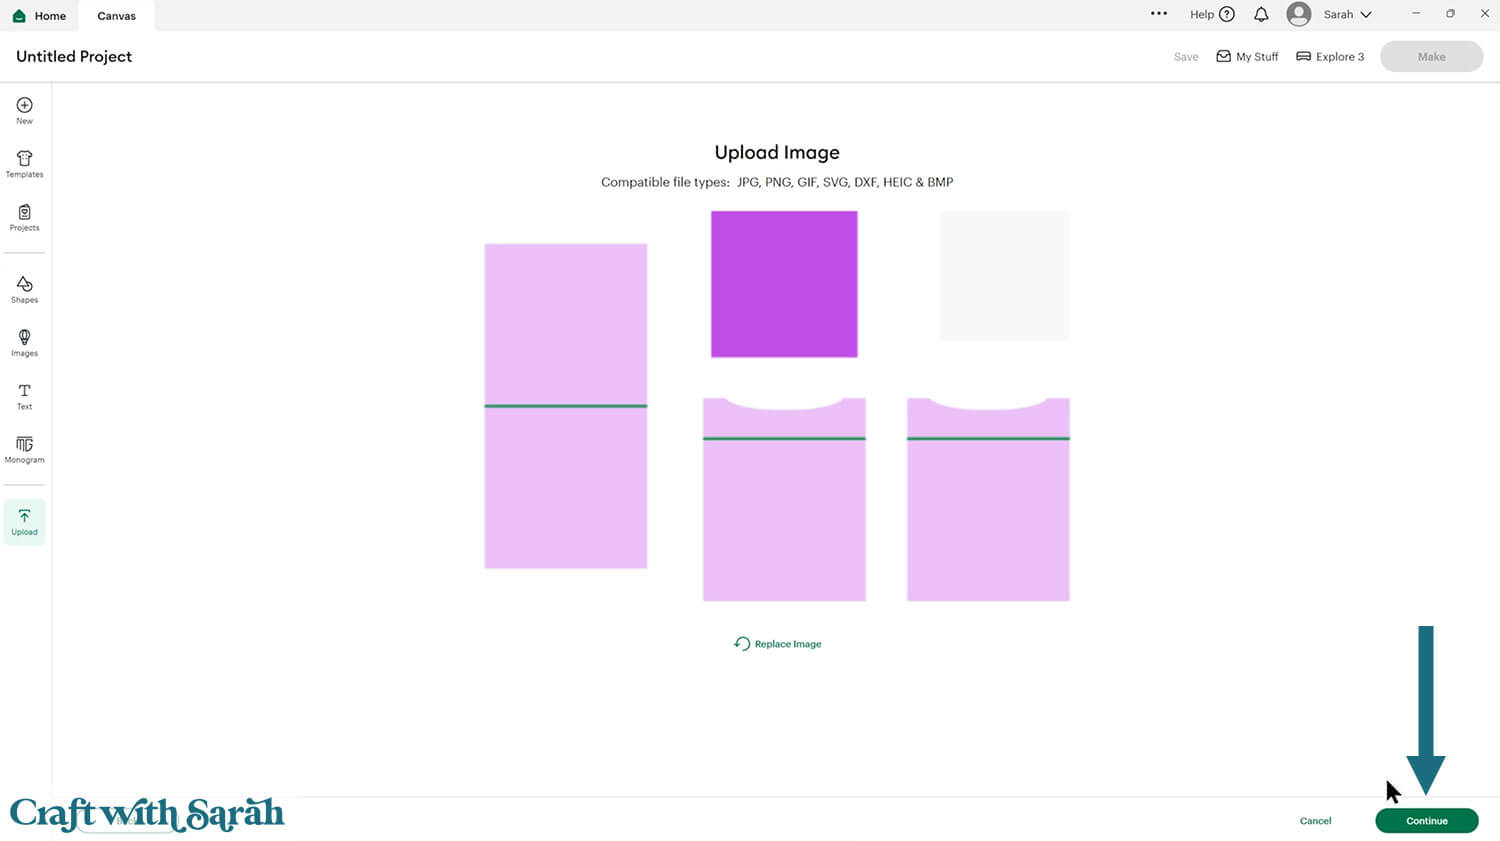
Click “Continue” and then press “Upload” on the next screen.
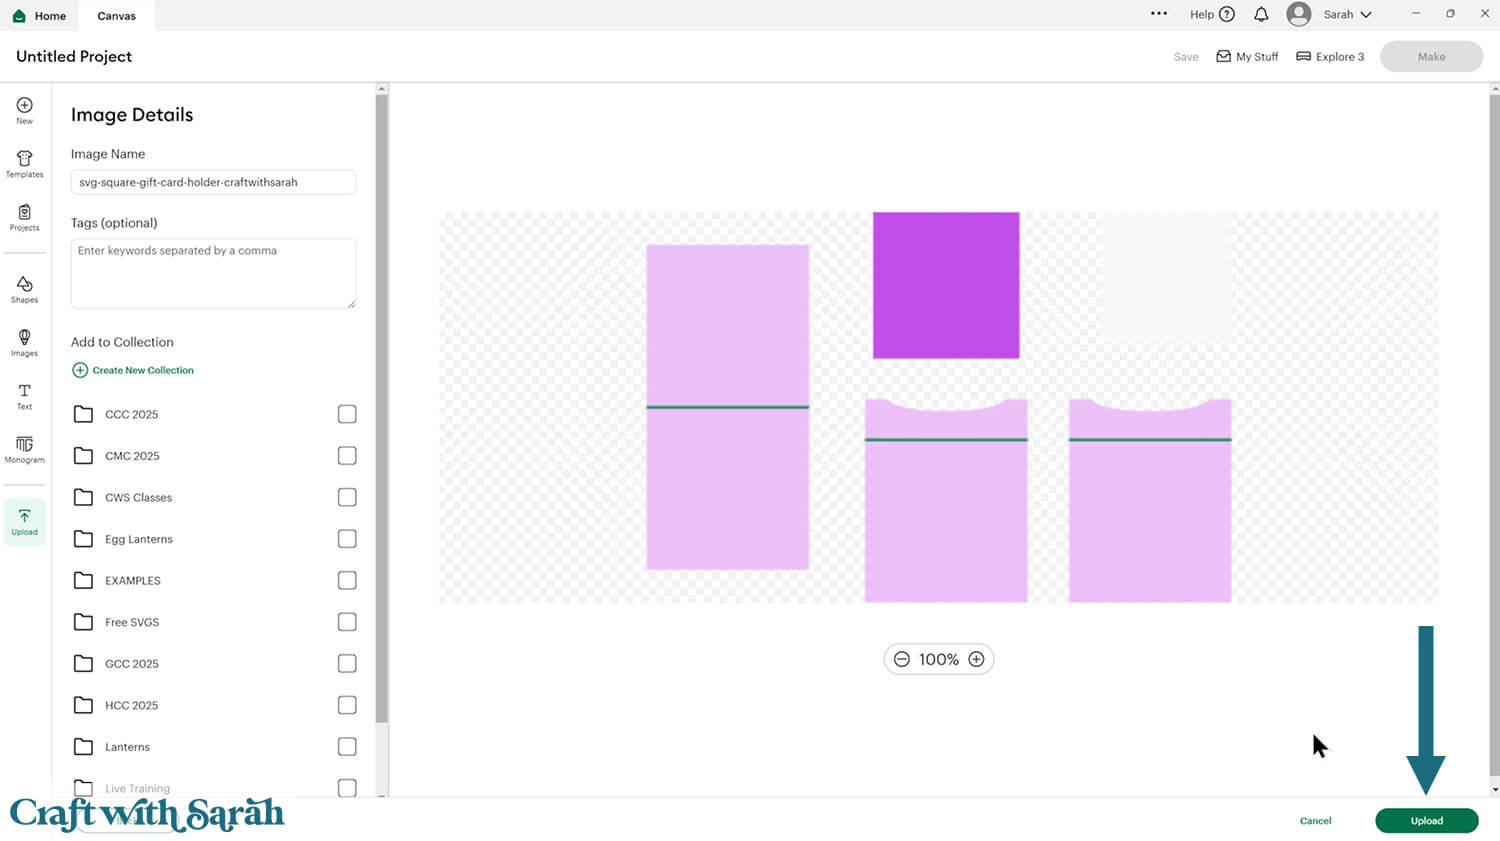
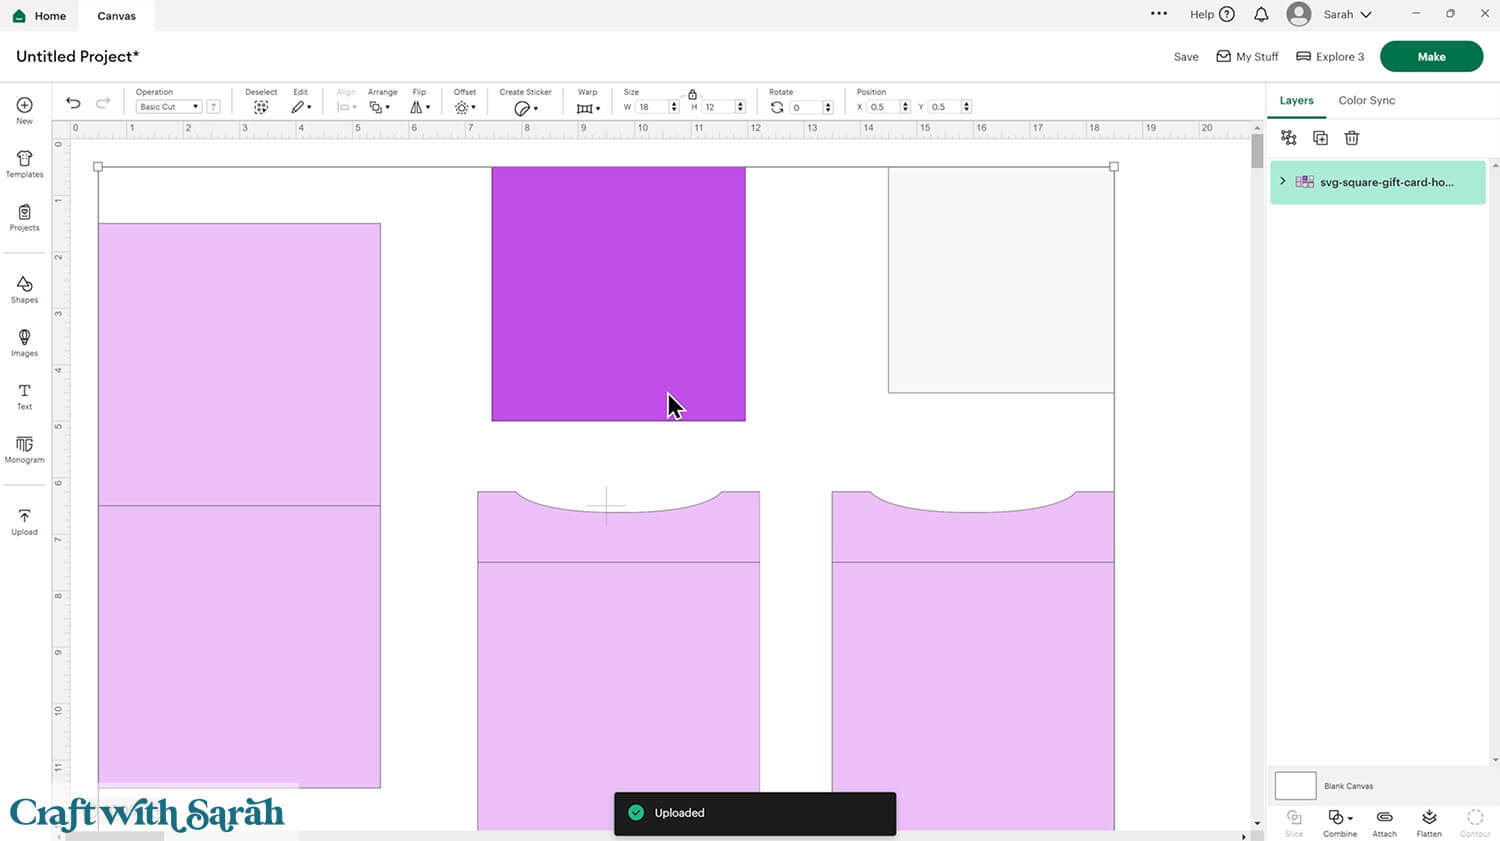
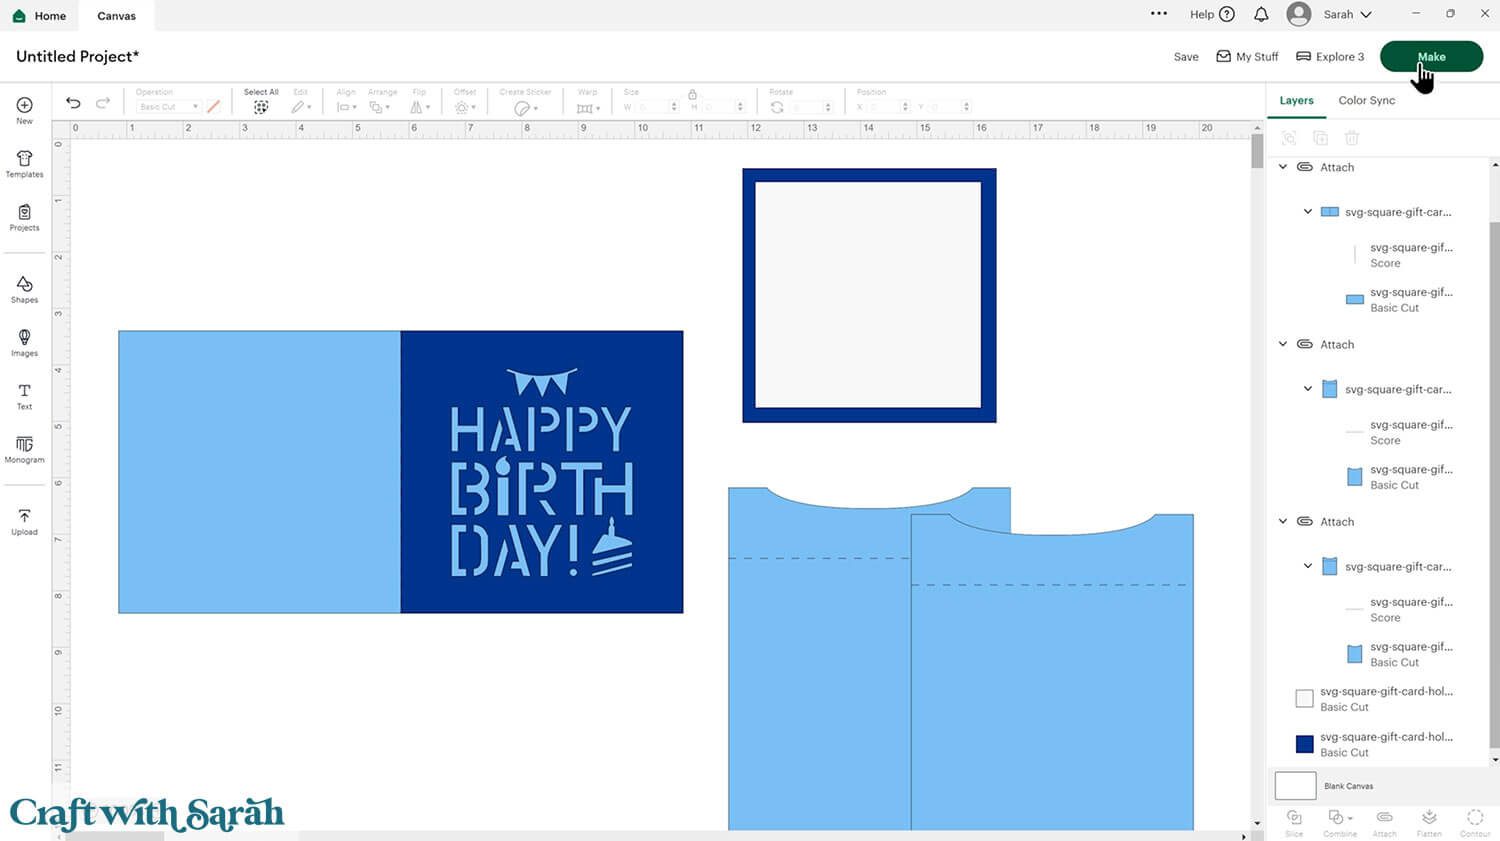
The design will be inserted onto your Canvas.
Step 2) Add a score line
This card making project requires a scoring wheel or stylus for your machine.
Don’t have a scoring tool? Check out these Cricut scoring hacks for alternatives.
Click the card and Ungroup the layers to separate them.
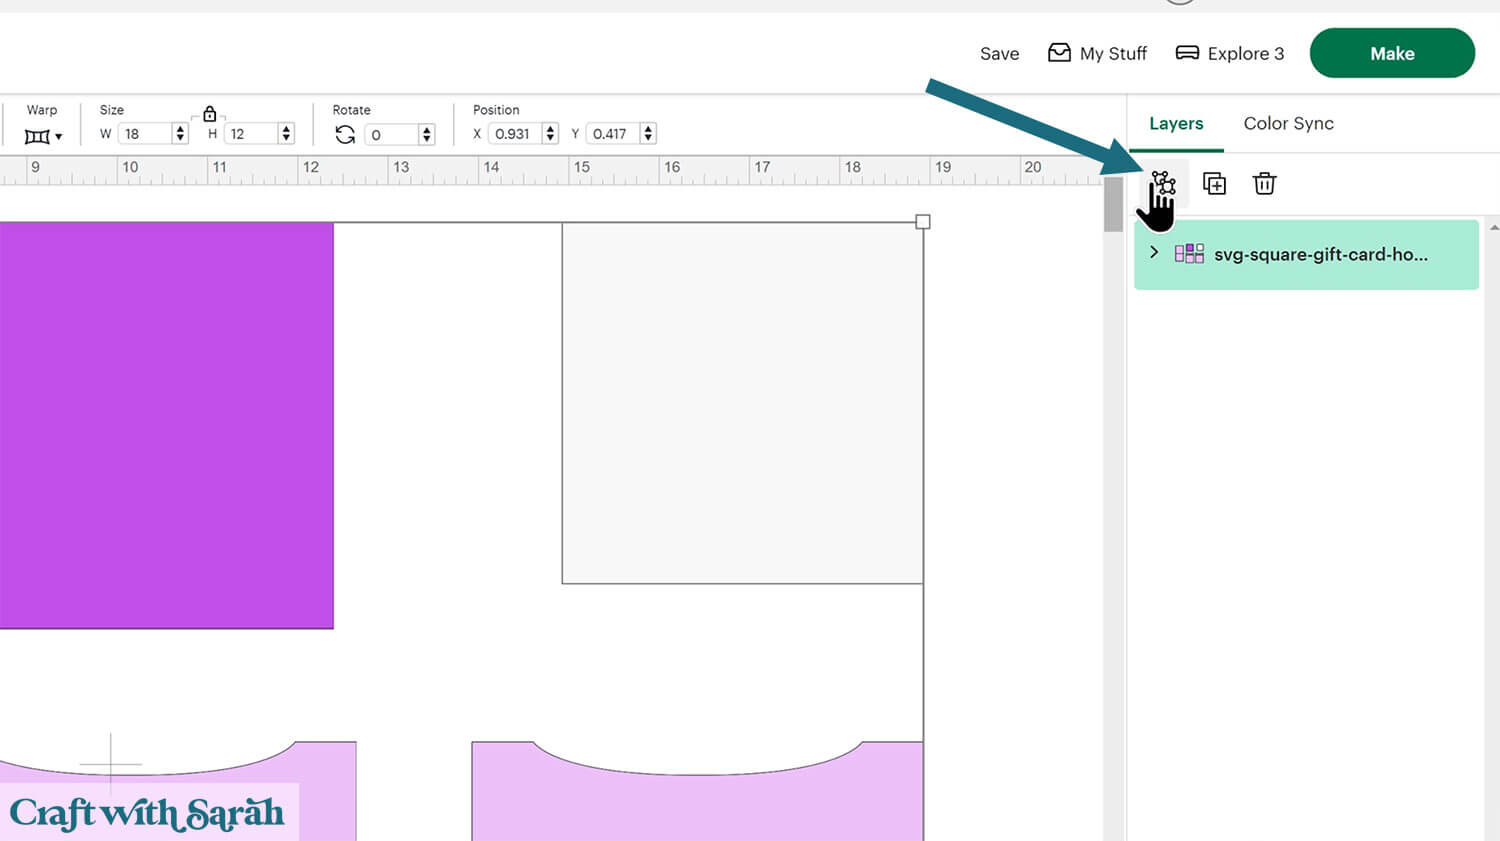
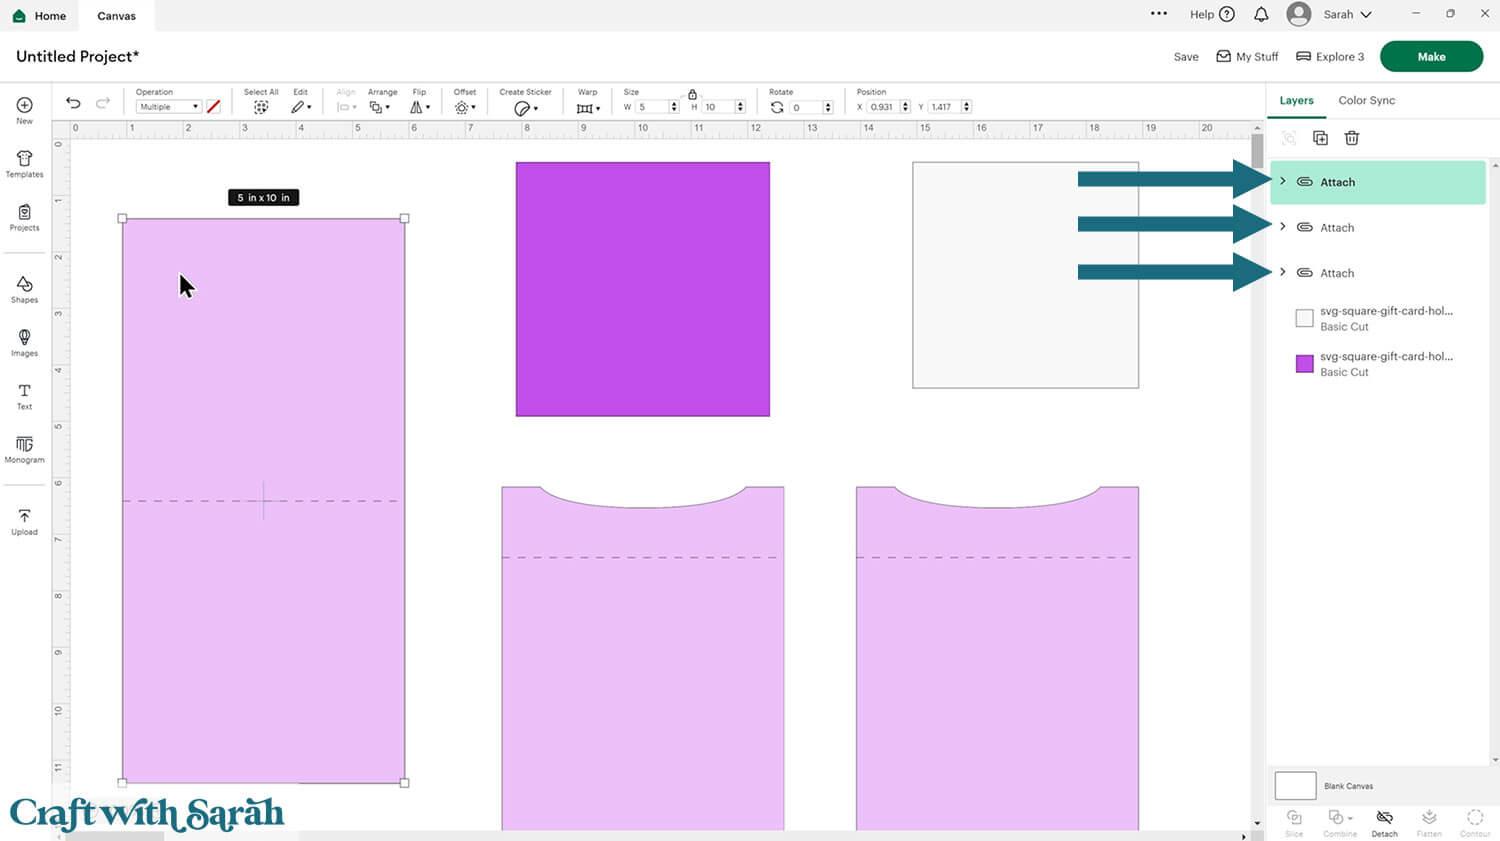
Look in the layers panel. You’ll see several different layers with a little chevron arrow next to them. That indicates that there are score lines to be formatted for that layer.
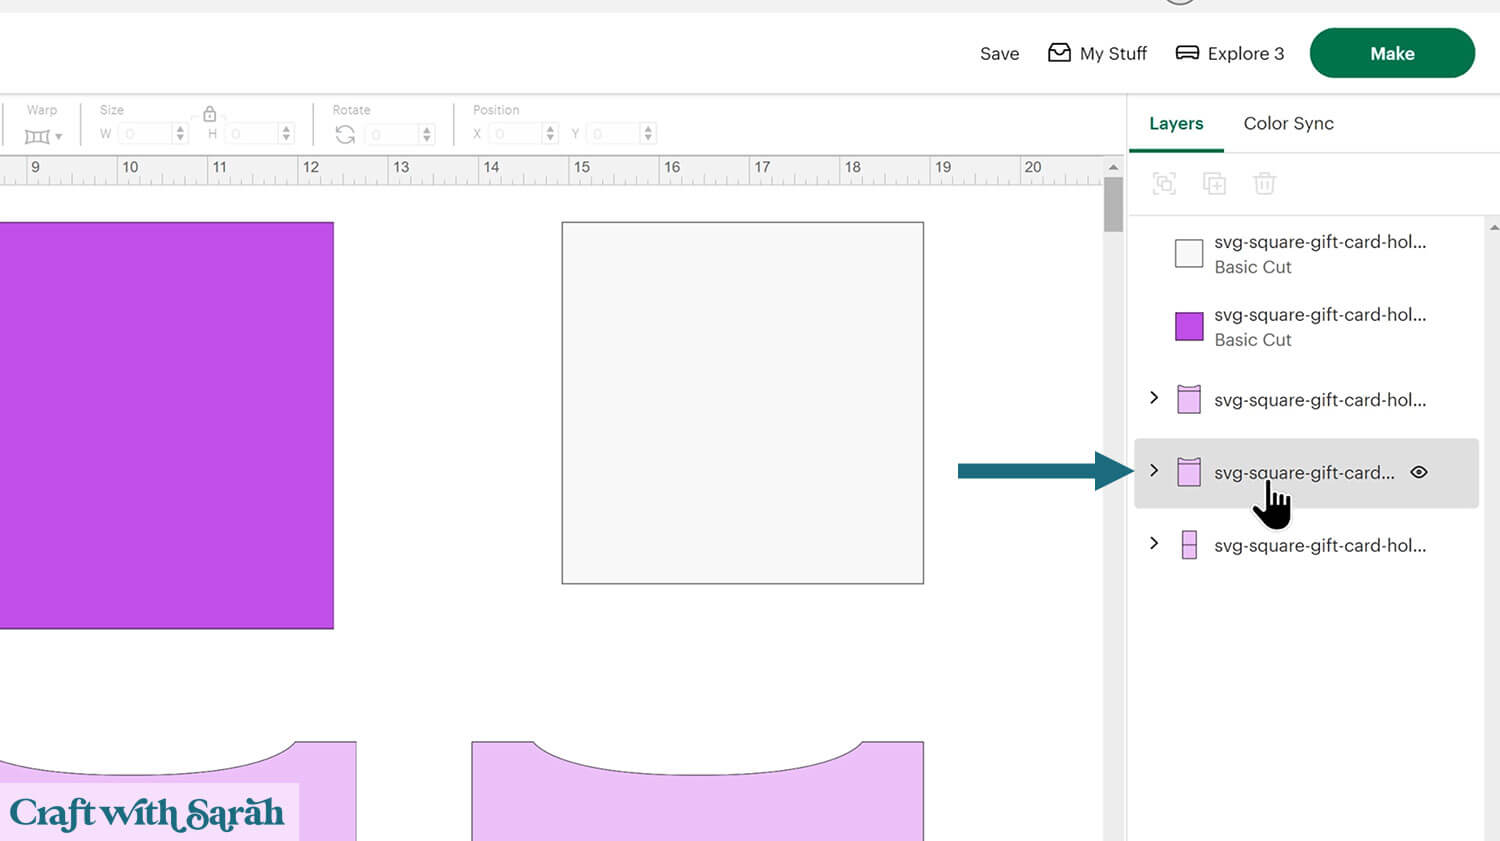
Click one of the chevrons to see the layers inside.
Click the layer that looks like a horizontal line.
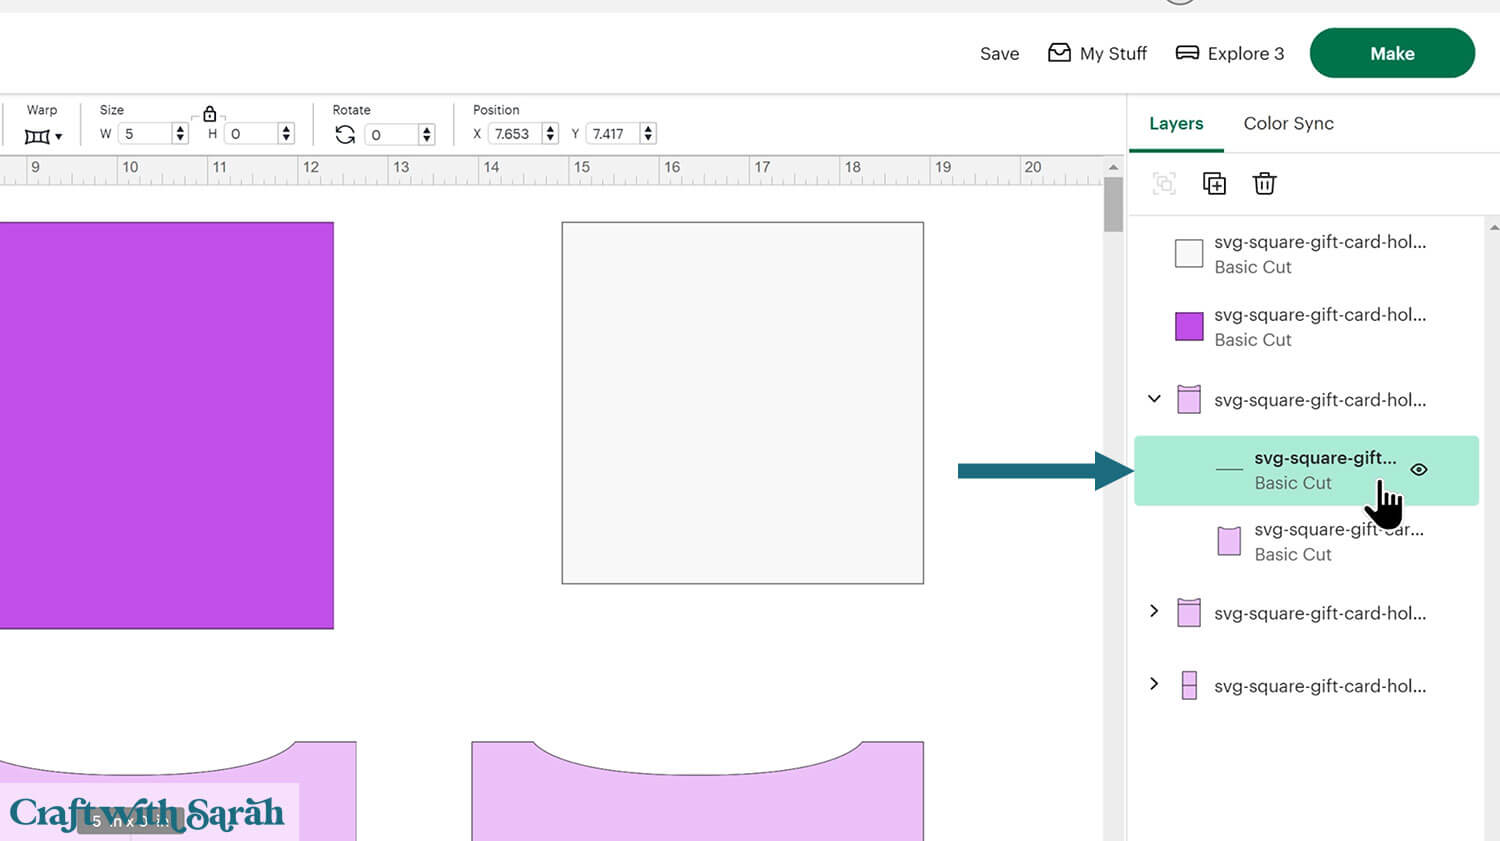
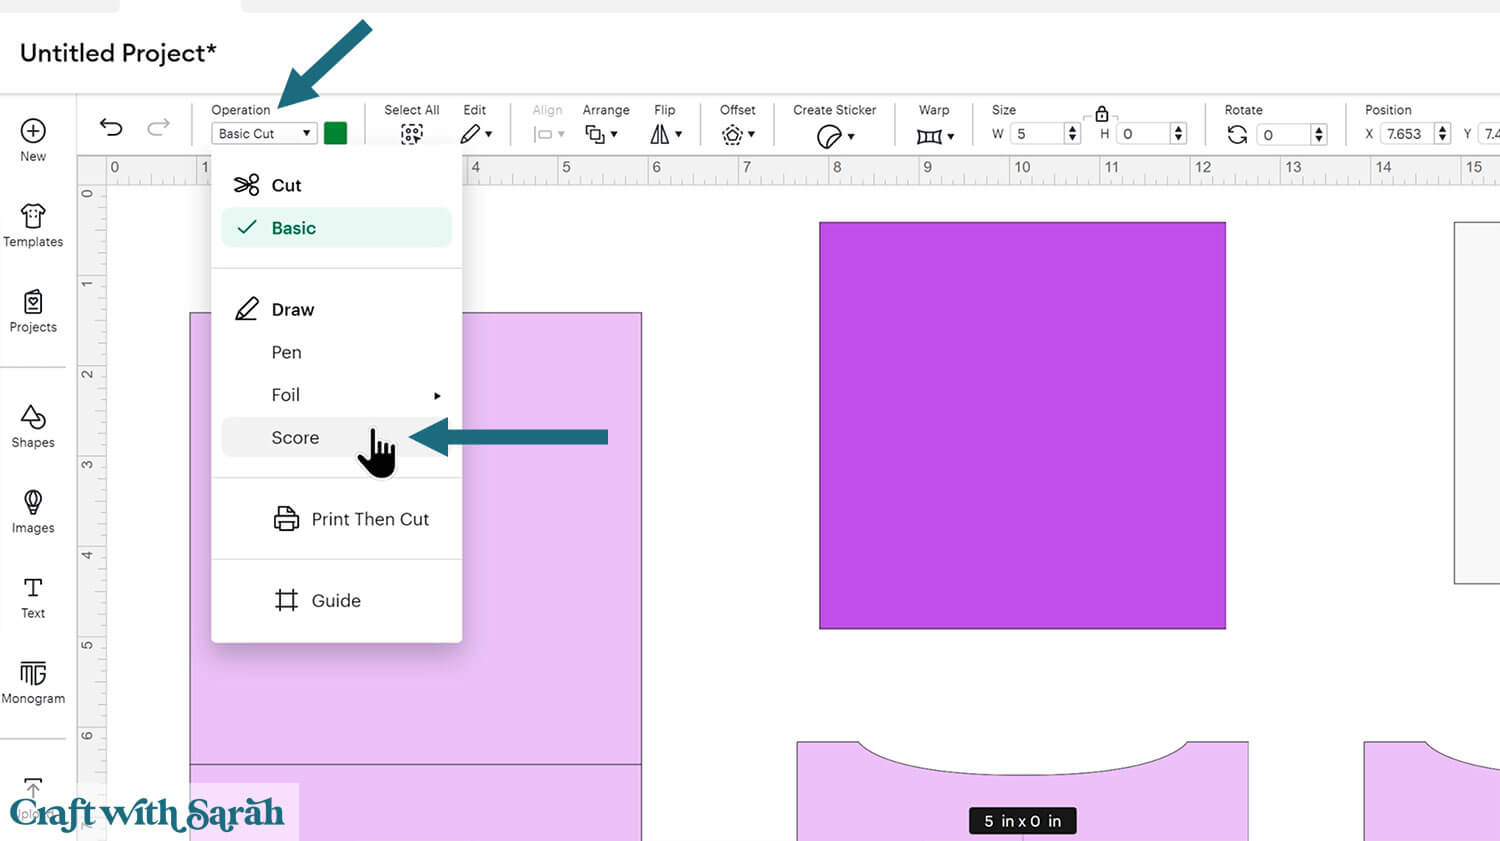
Change this layer to “Score” in the Operations dropdown menu along the top of the screen.
Select the score line layer and the base card, then press “Attach” at the bottom of the layers panel.
Attach is what tells the Cricut where to do the scoring.
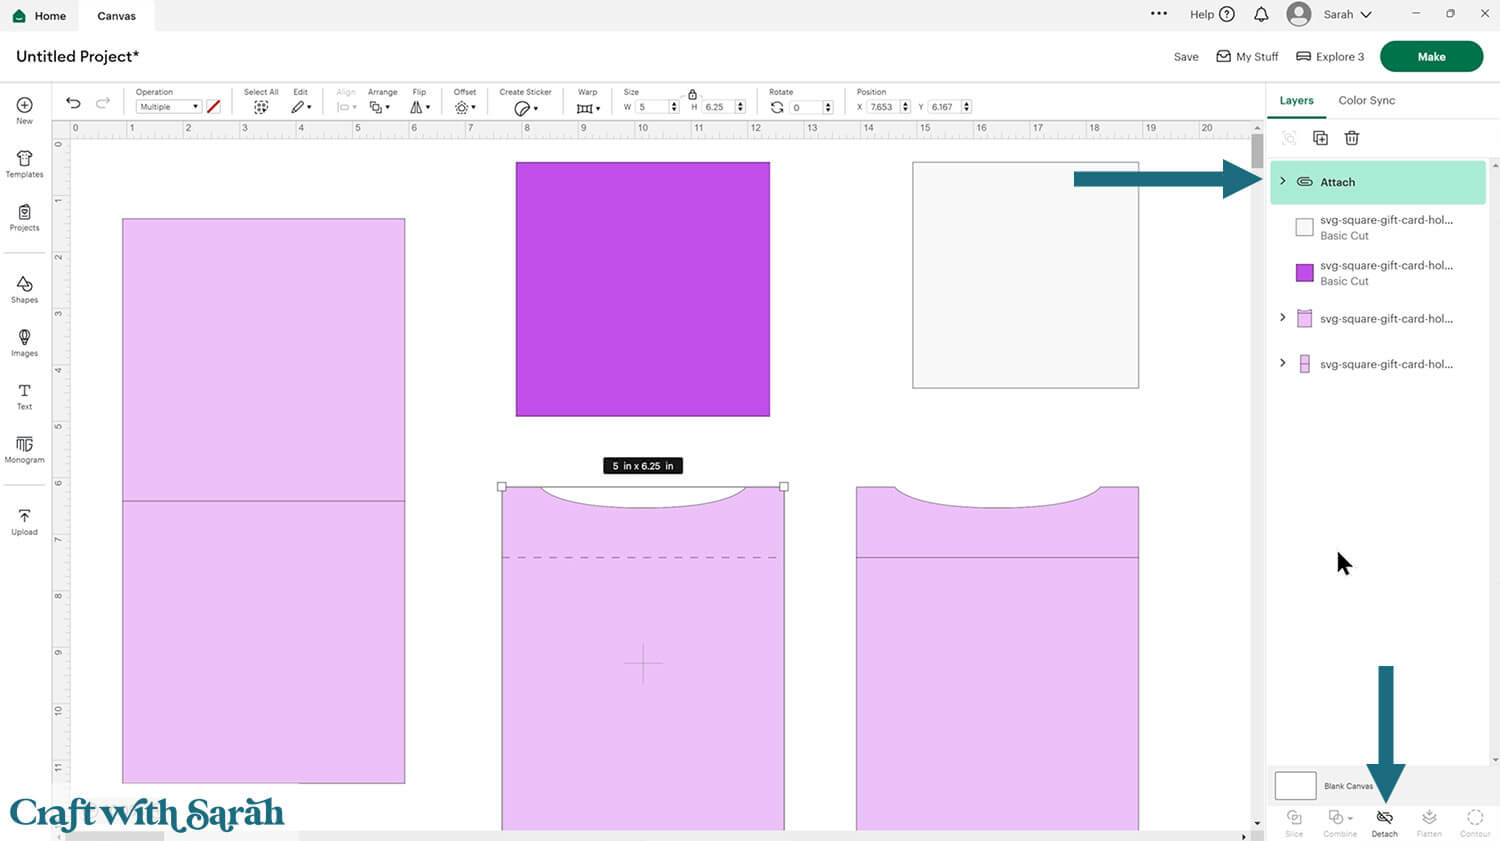
Repeat those same steps for the other layers that have chevrons next to them in the layers panel.
Step 3) Customize the design
If you would like to resize the design, here’s how to do that.
Click “Select All” along the top menu and then Align > Center.
That will put all the pieces on top of each other.
The size along the top should now read 5 inches wide and 10 inches tall for the square design, or 10×7 for the rectangle design.
With all layers still selected, resize it to suit.
For example, you could make a 5.75 inch card by changing the size to 5.75 inches wide and 11.5 inches tall. That’s the maximum height that the Cricut can cut on a standard 12×12 inch cutting mat.
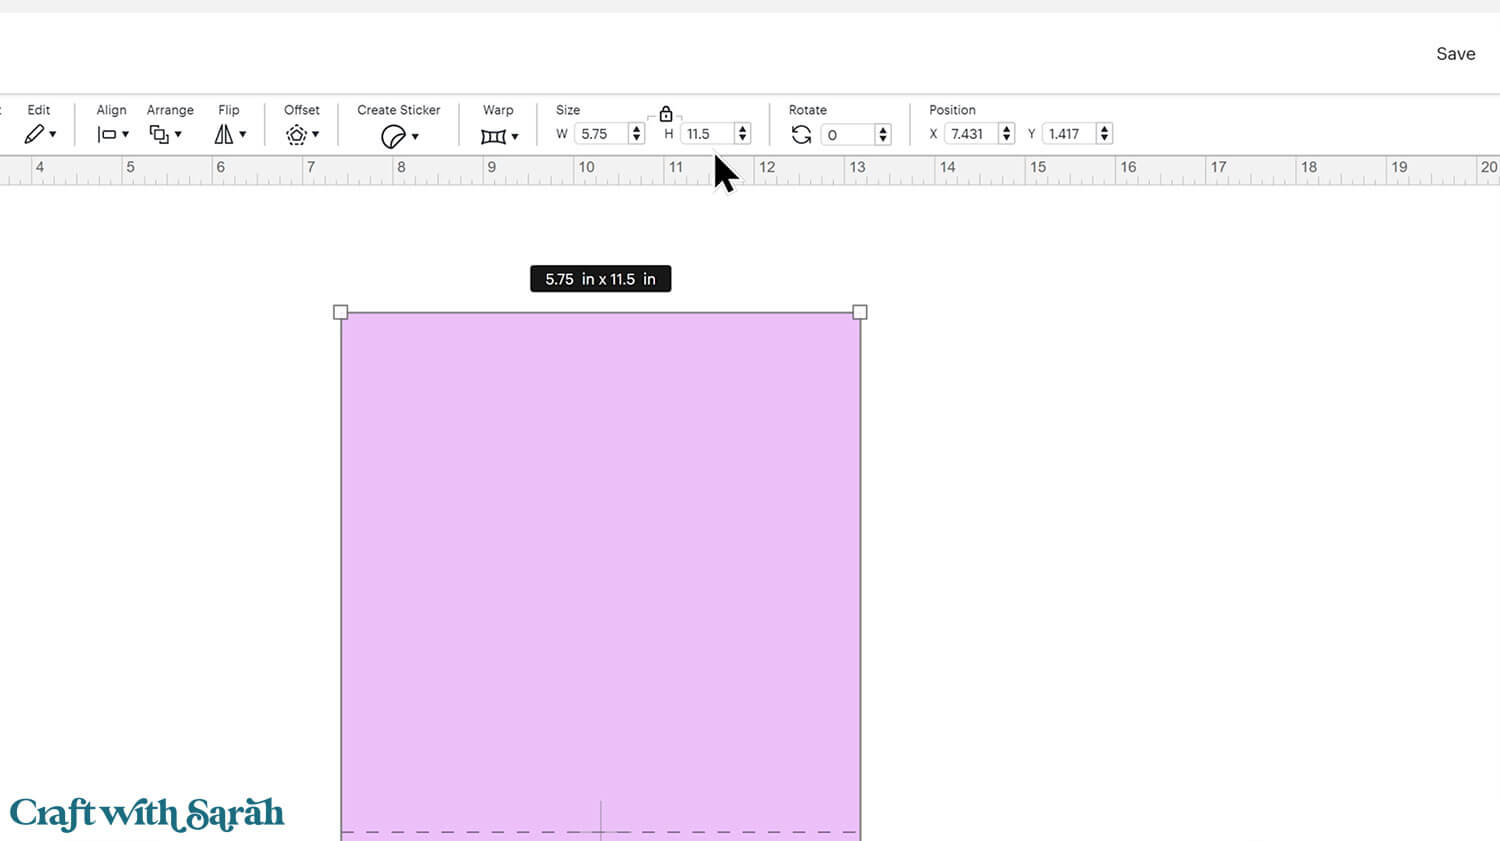
IMPORTANT – Ensure all layers are selected when you resize, so that all pieces of the design change in proportion with each other.
Upload your chosen card front.
You can either make it the same size as the base card of the holder, or make it smaller and add extra layers/pieces.
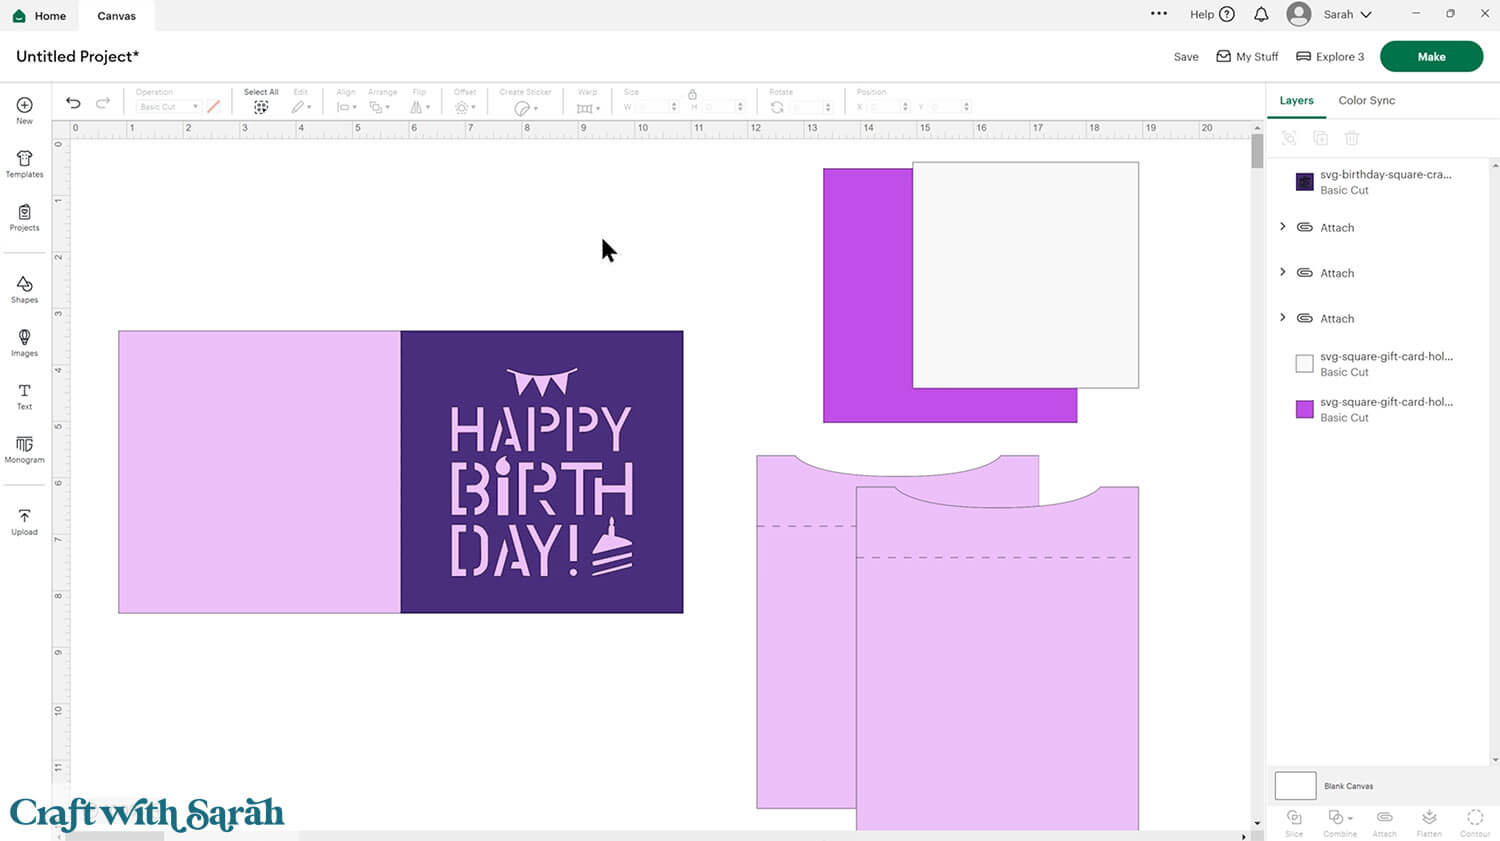

This is a good time to change the colours if you are planning on cutting them differently to what’s on the screen.
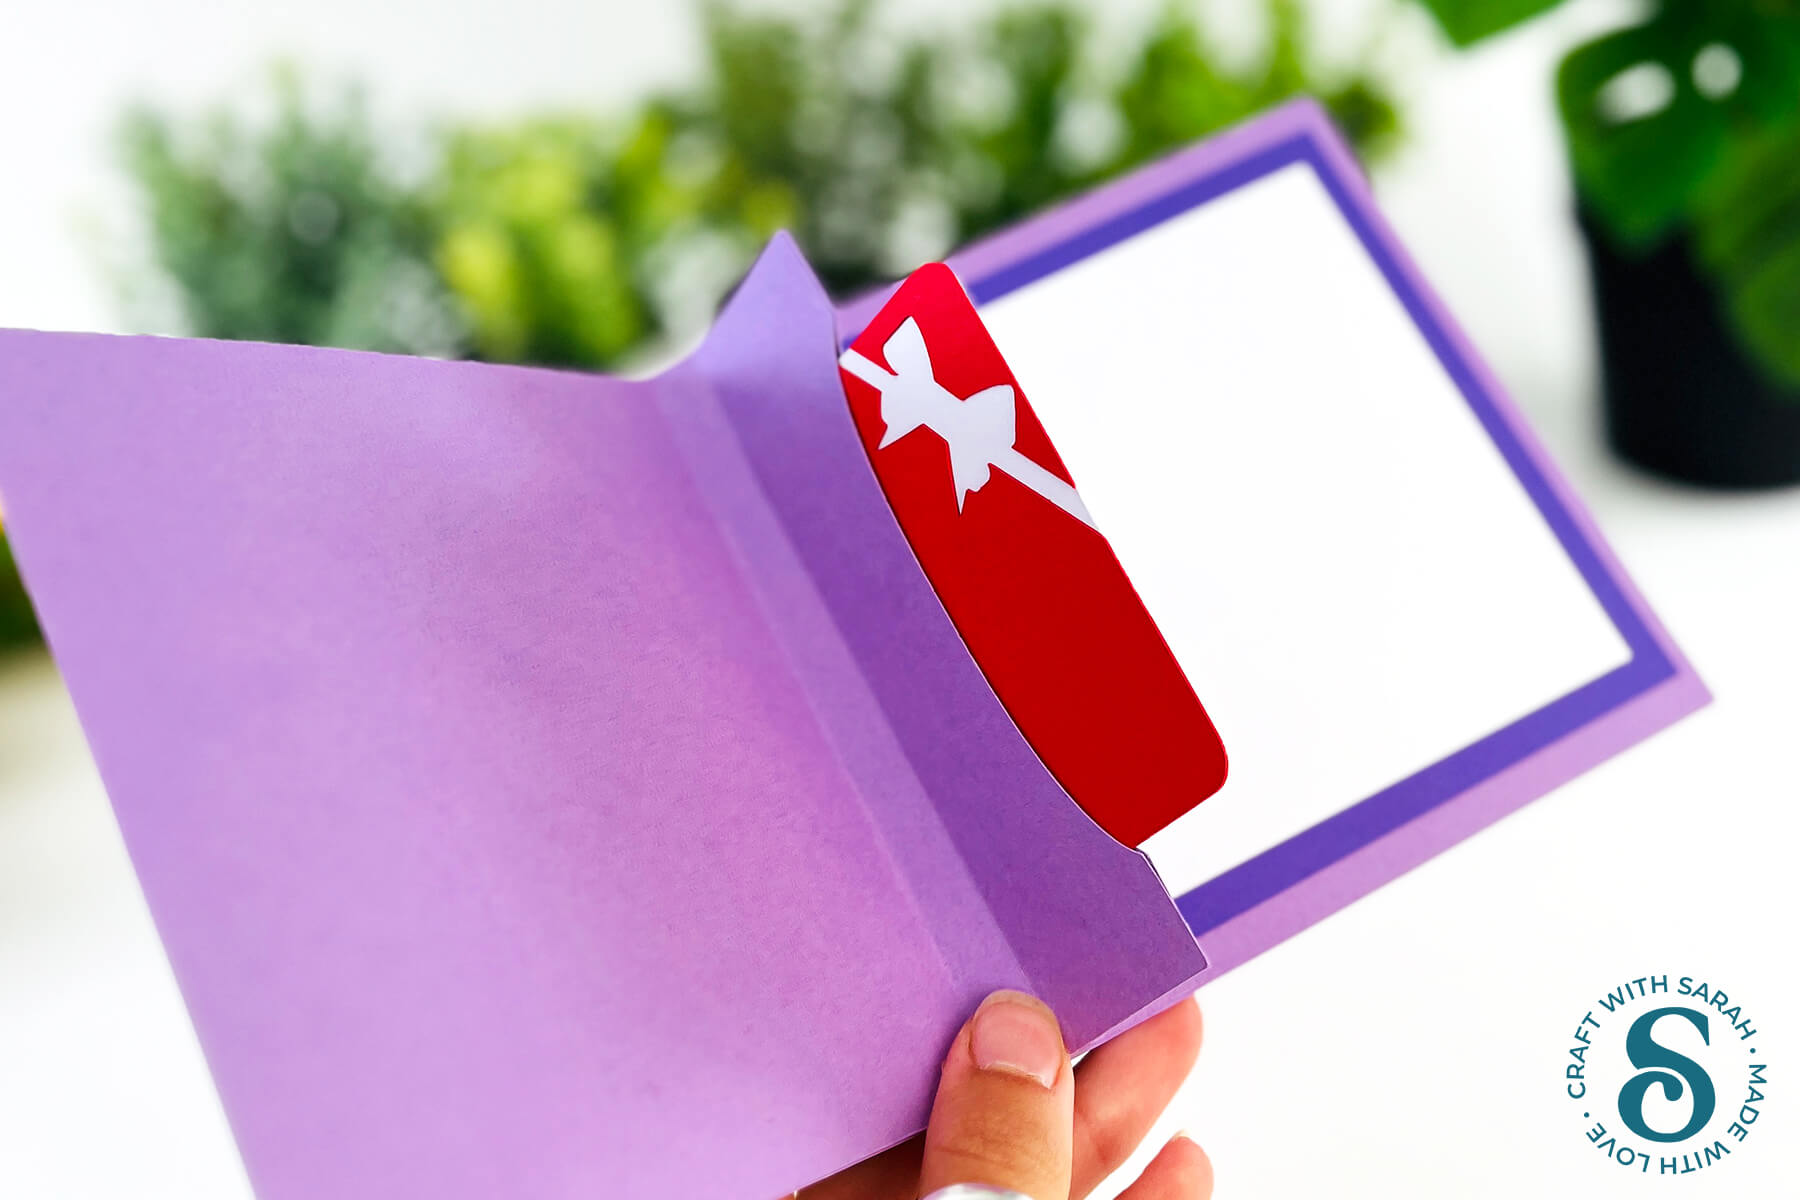
The white rectangle is to write your message inside of the card.
If you would like to add any extra embellishments or decorations in Design Space, now is the time to do it.
Otherwise, it’s time to start cutting!
Step 4) Cut out all the layers
When you’re happy with how the project is looking in Design Space, click “Make” and follow the instructions on-screen to cut out all the pieces.
To change the paper size, go into the dropdowns over on the left side of the screen and choose the paper size that you want to use. You need to change it for every single colour.
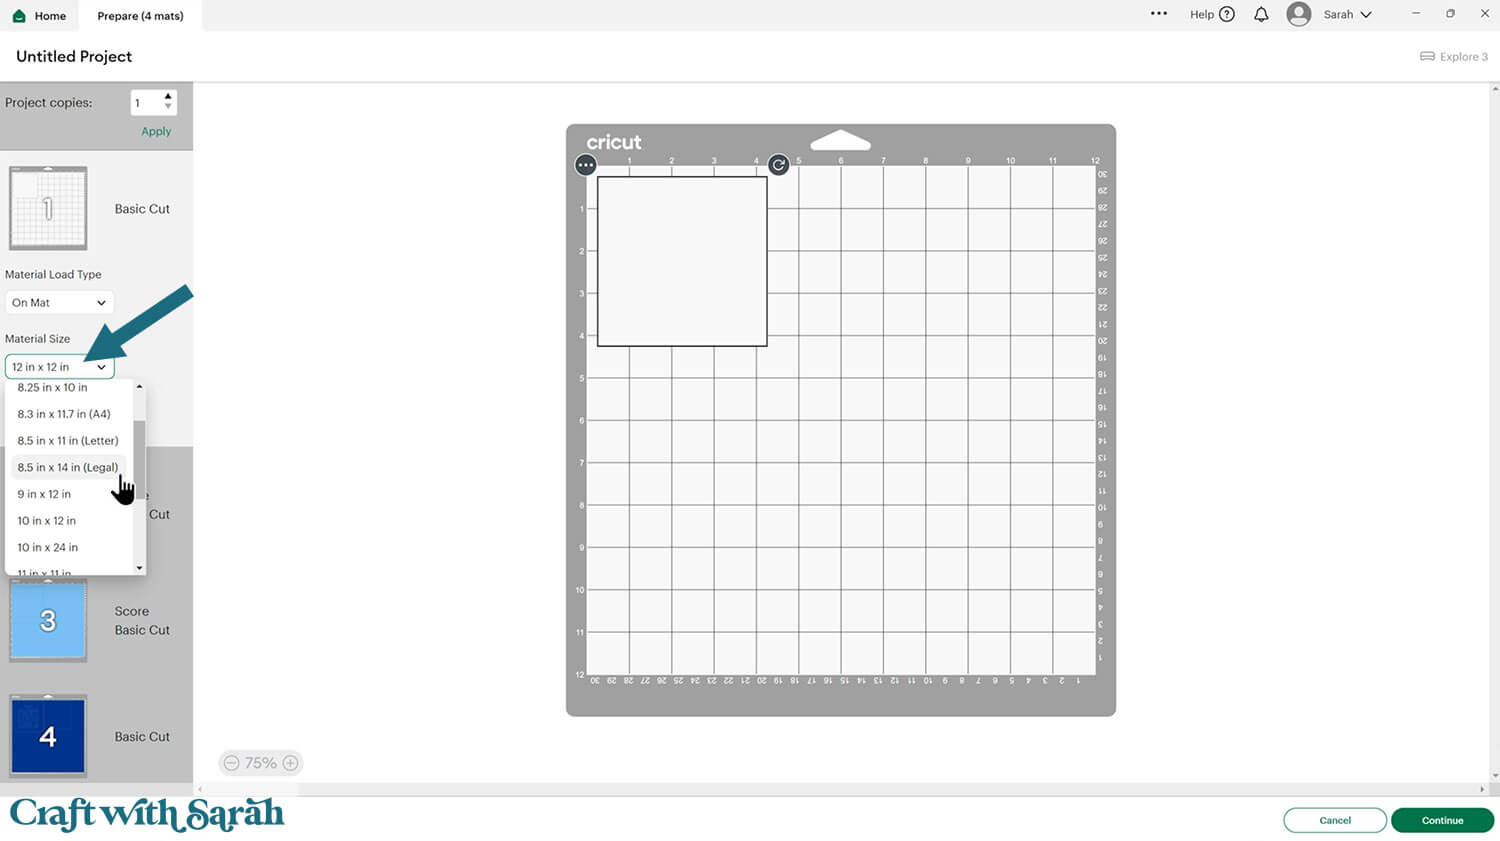
To save space on your cardstock, you can move things around by clicking and dragging. Make sure when you’re moving things about that nothing overlaps because otherwise, it won’t cut out properly.
Step 5) Stick the project together
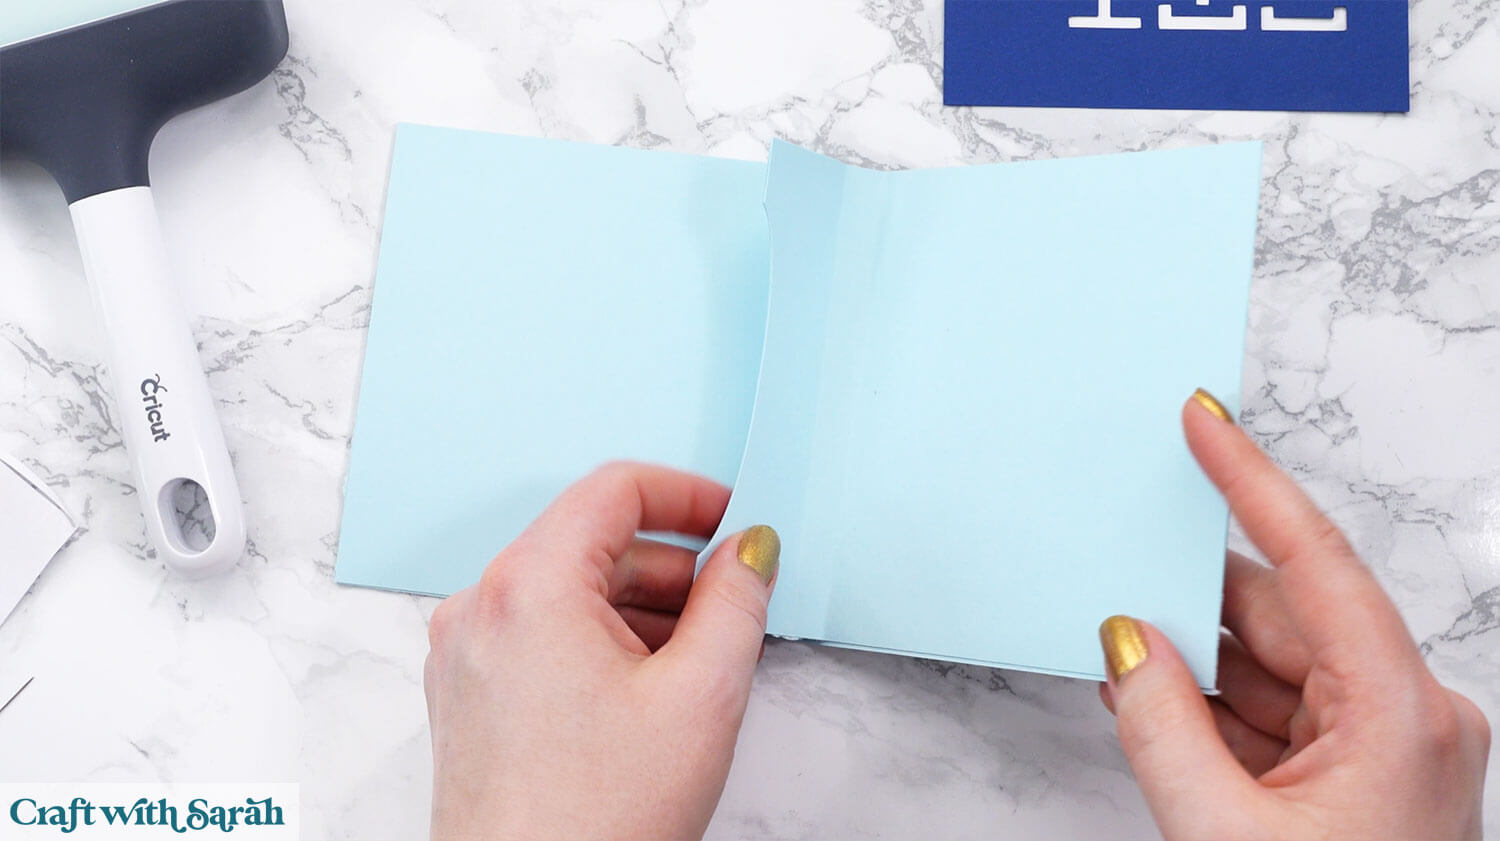
Fold the base card in half down the score line.
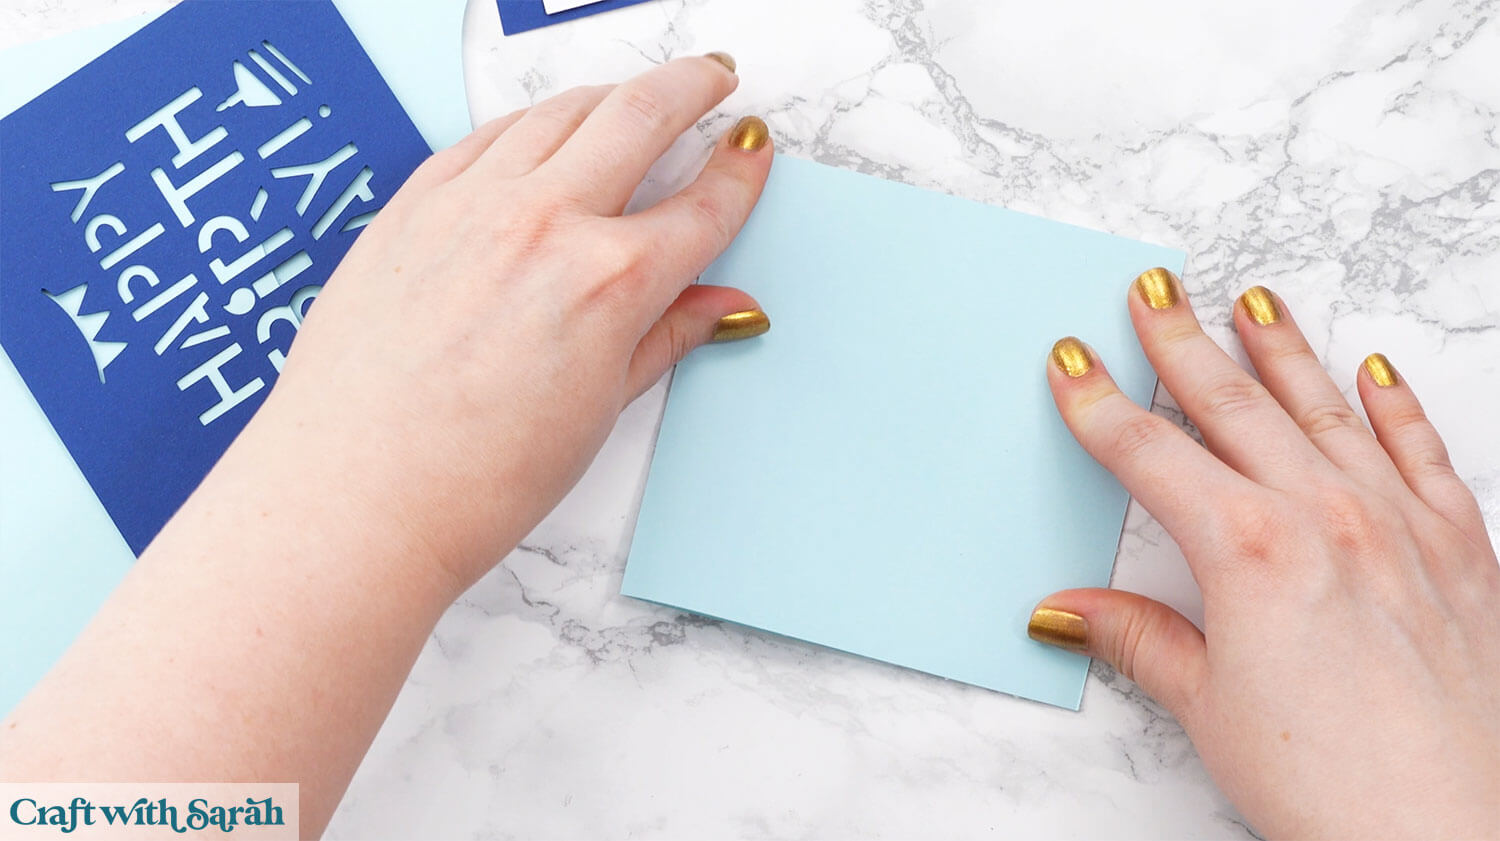
Fold upwards along the score lines on the two smaller pieces.
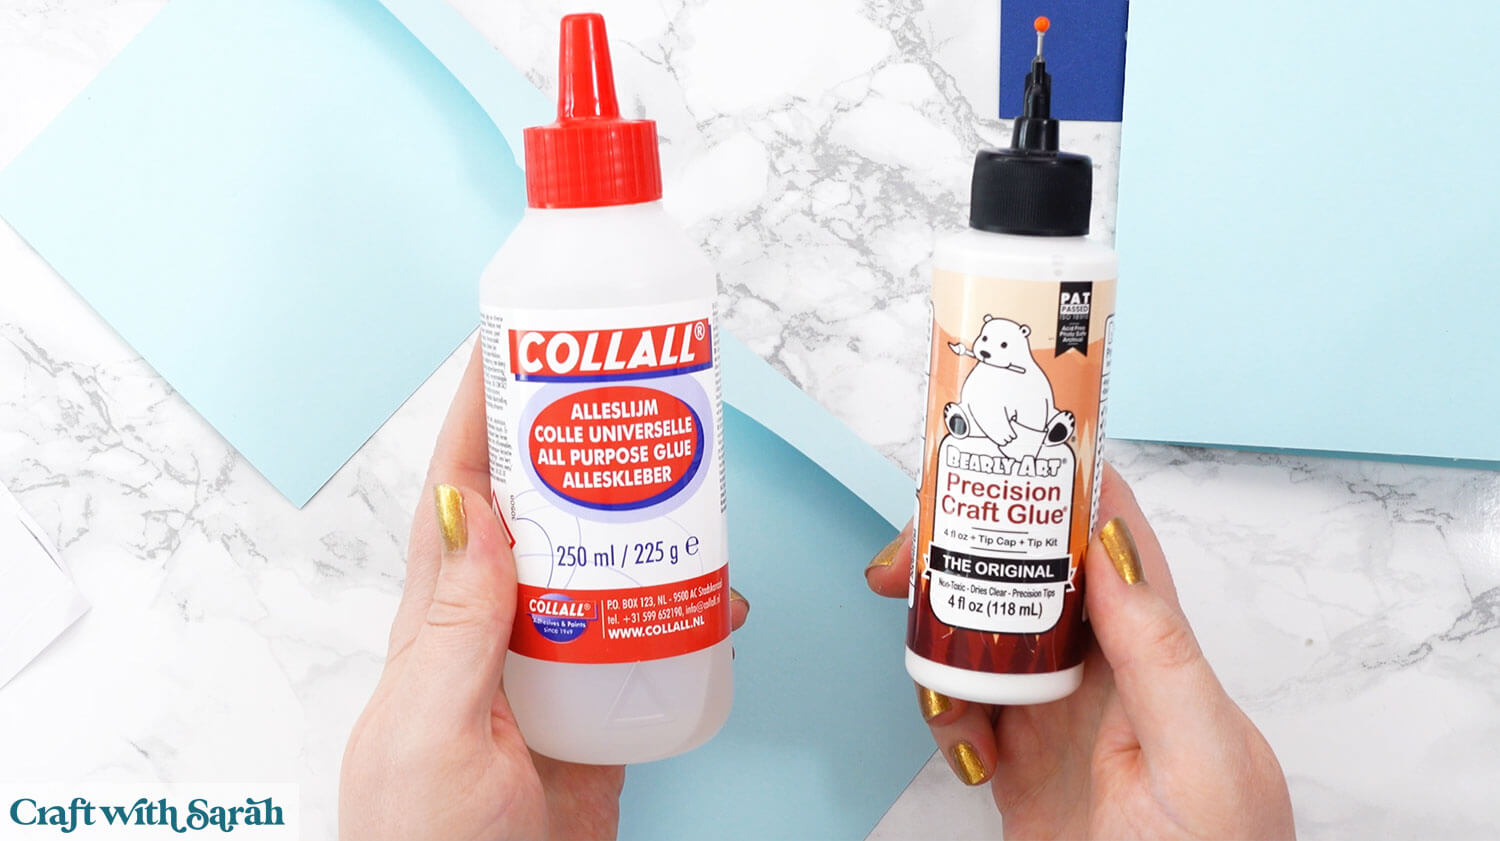
My favourite glues to use on papercraft projects are Bearly Art Glue and Collall All Purpose Glue.
These are great because they don’t “warp” or bend the cardstock like some glues do. You can use as much of it as you want and the card stays perfect – and it dries perfectly clear too!
Bearly Art Glue comes with a tiny nozzle to make it easy to apply glue to small areas of card. The Collall glue doesn’t come with this, so it’s easiest to decant it into needle tip applicator bottles so that you have more control.
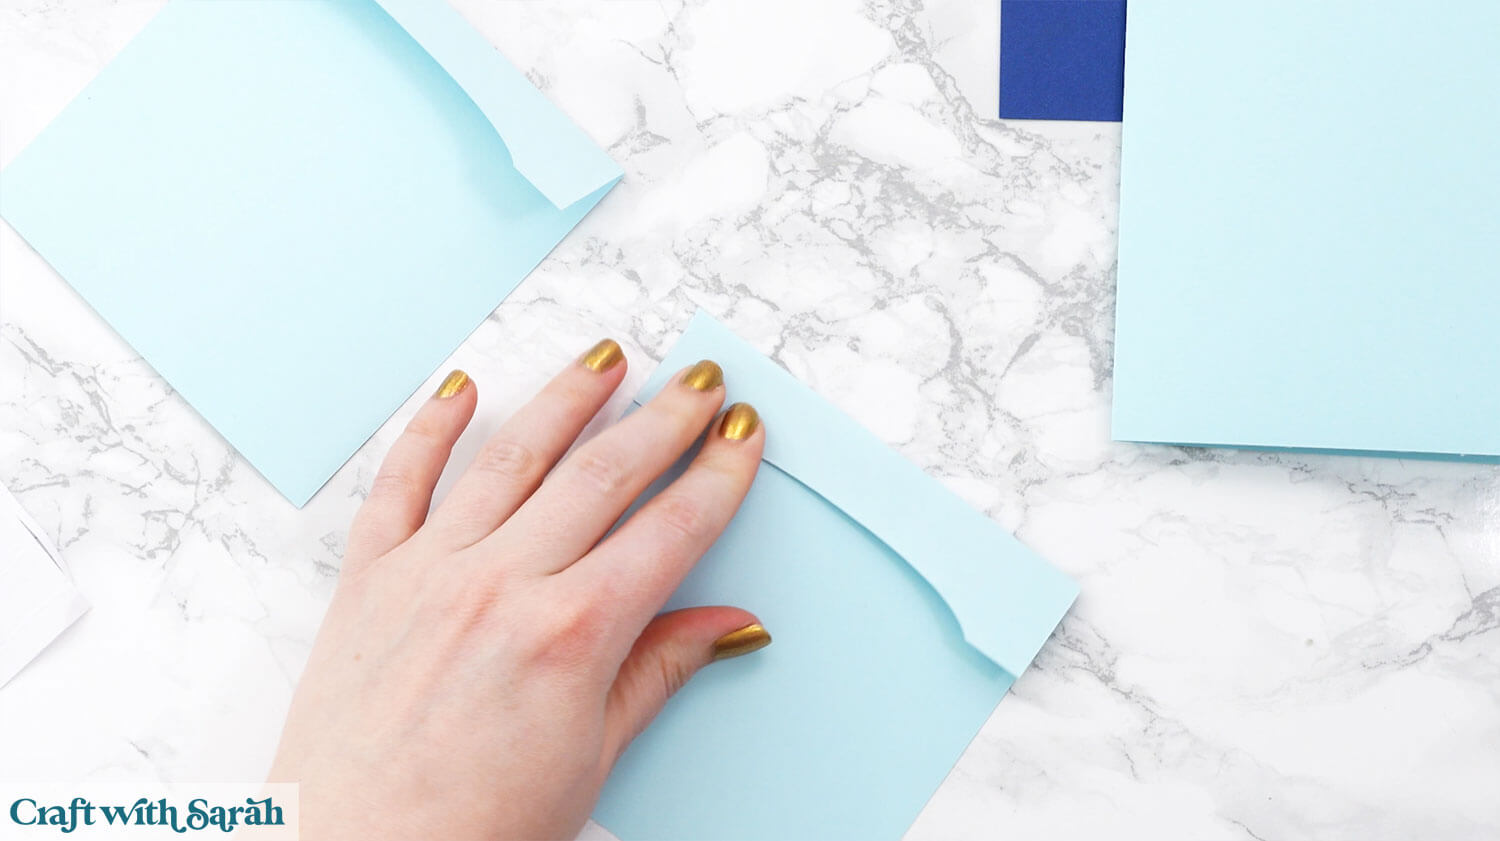
Add glue down the left and right of one of the tabs.
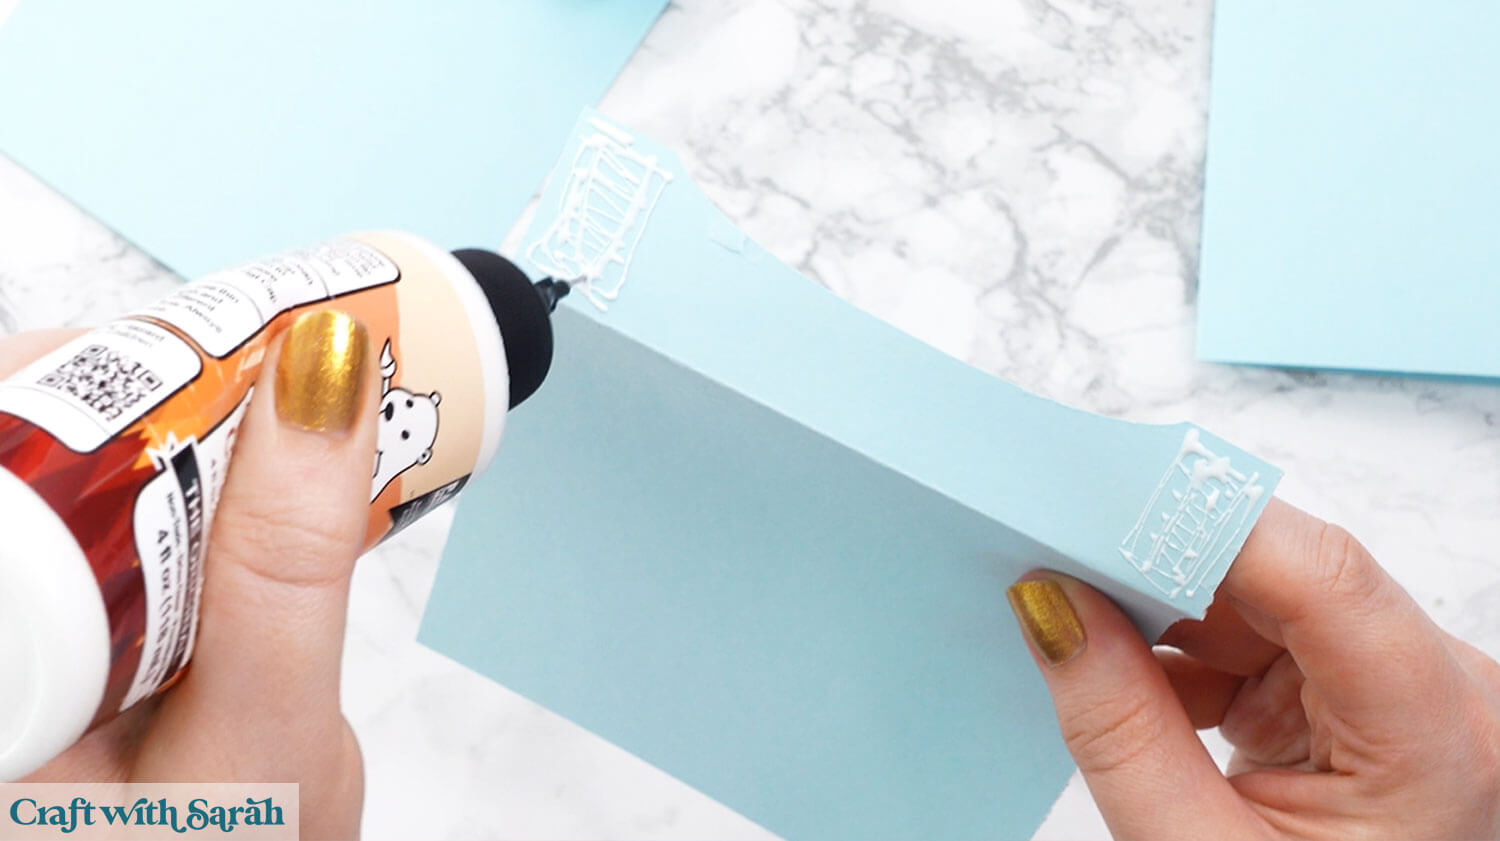
Glue the tabs of the two pieces of card back-to-back.
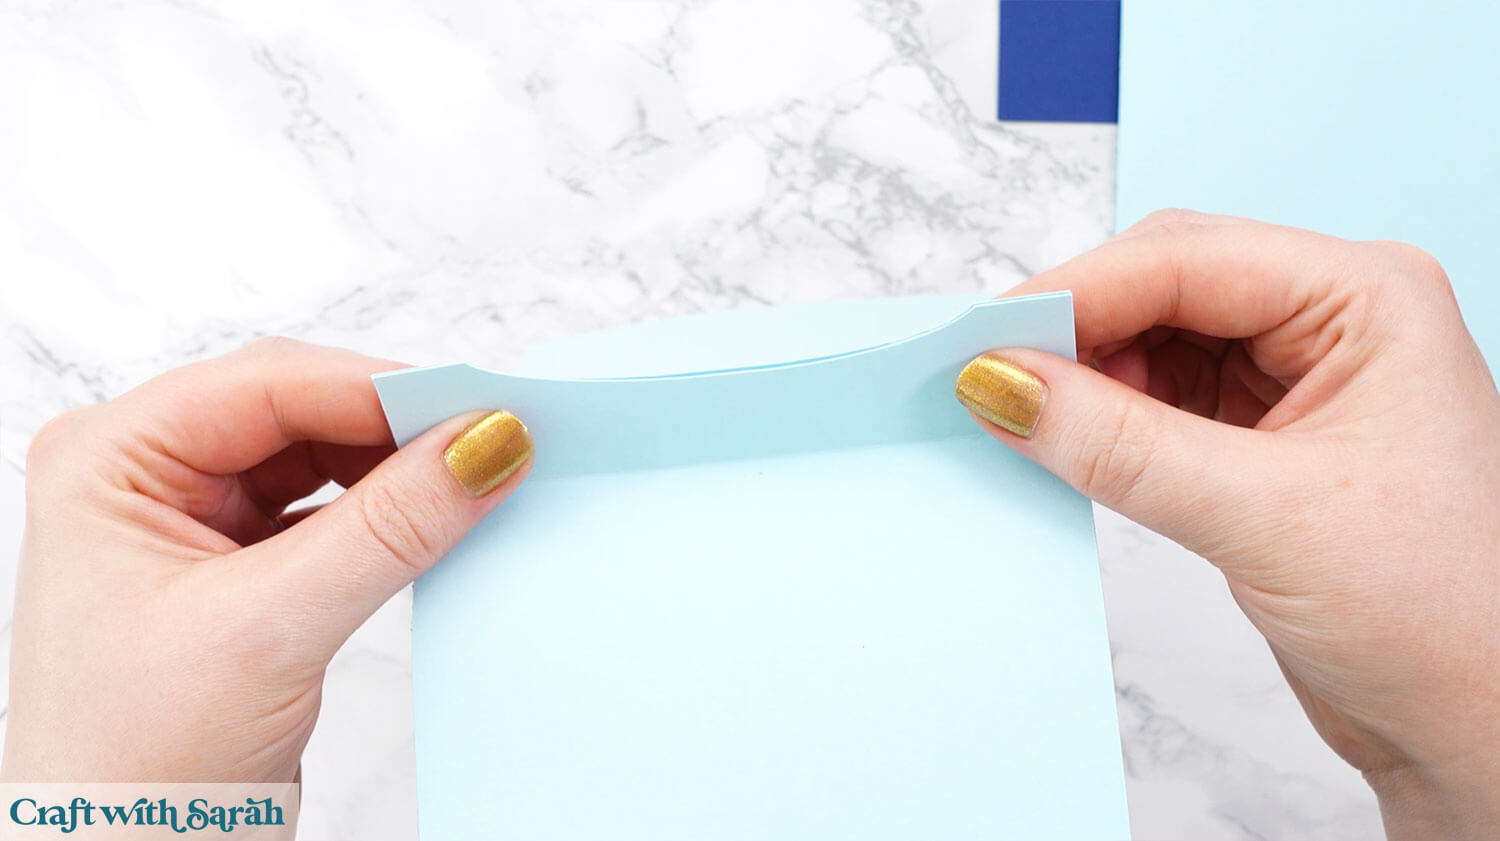
Glue to the inside of the base card.
Make sure the left and right edges align with the base card.
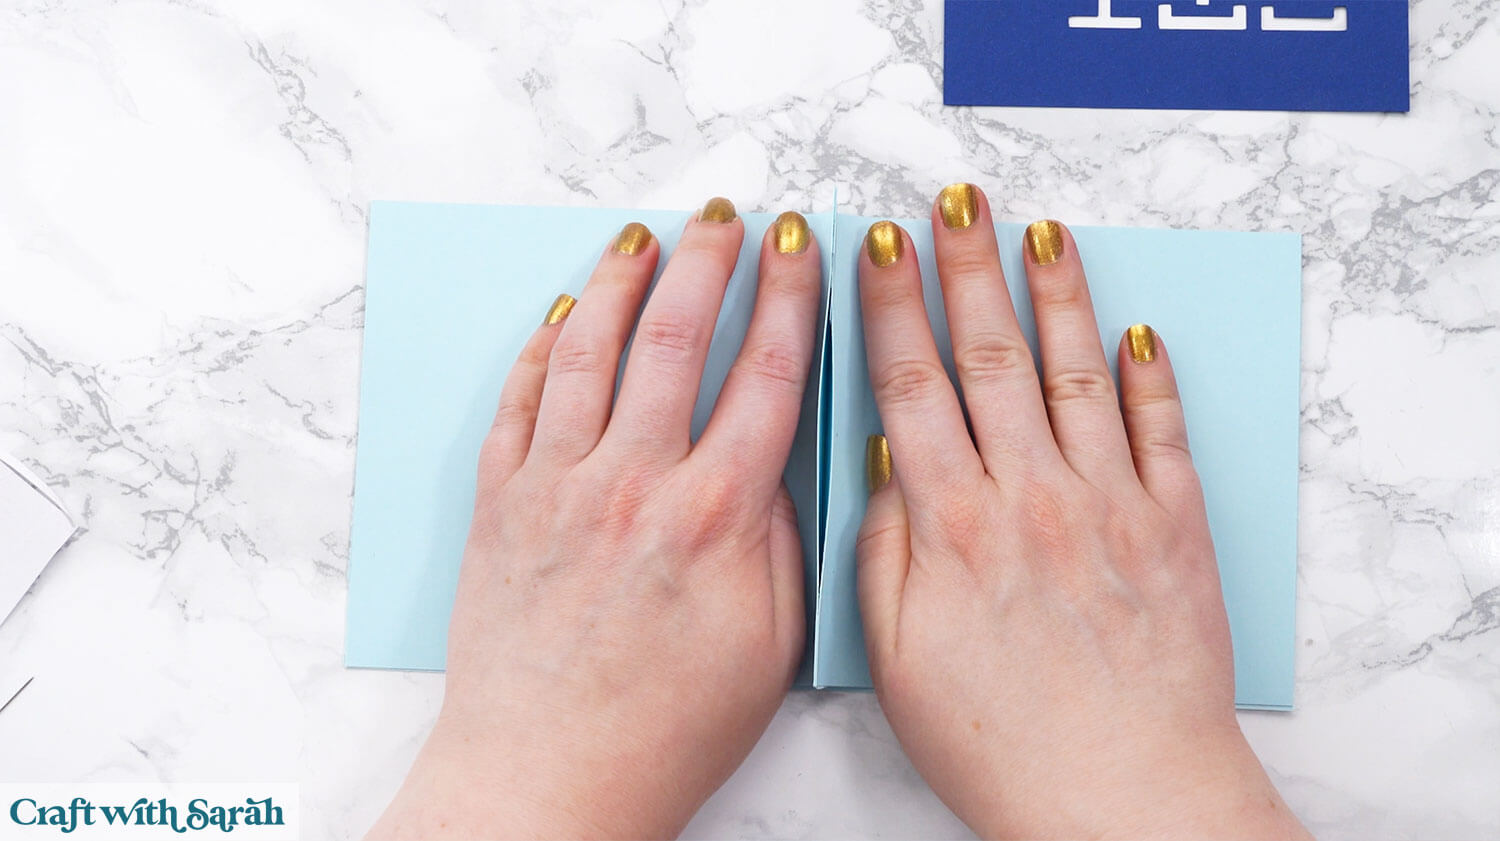
Close up the card and run over the fold line with a brayer, scraper tool or similar.
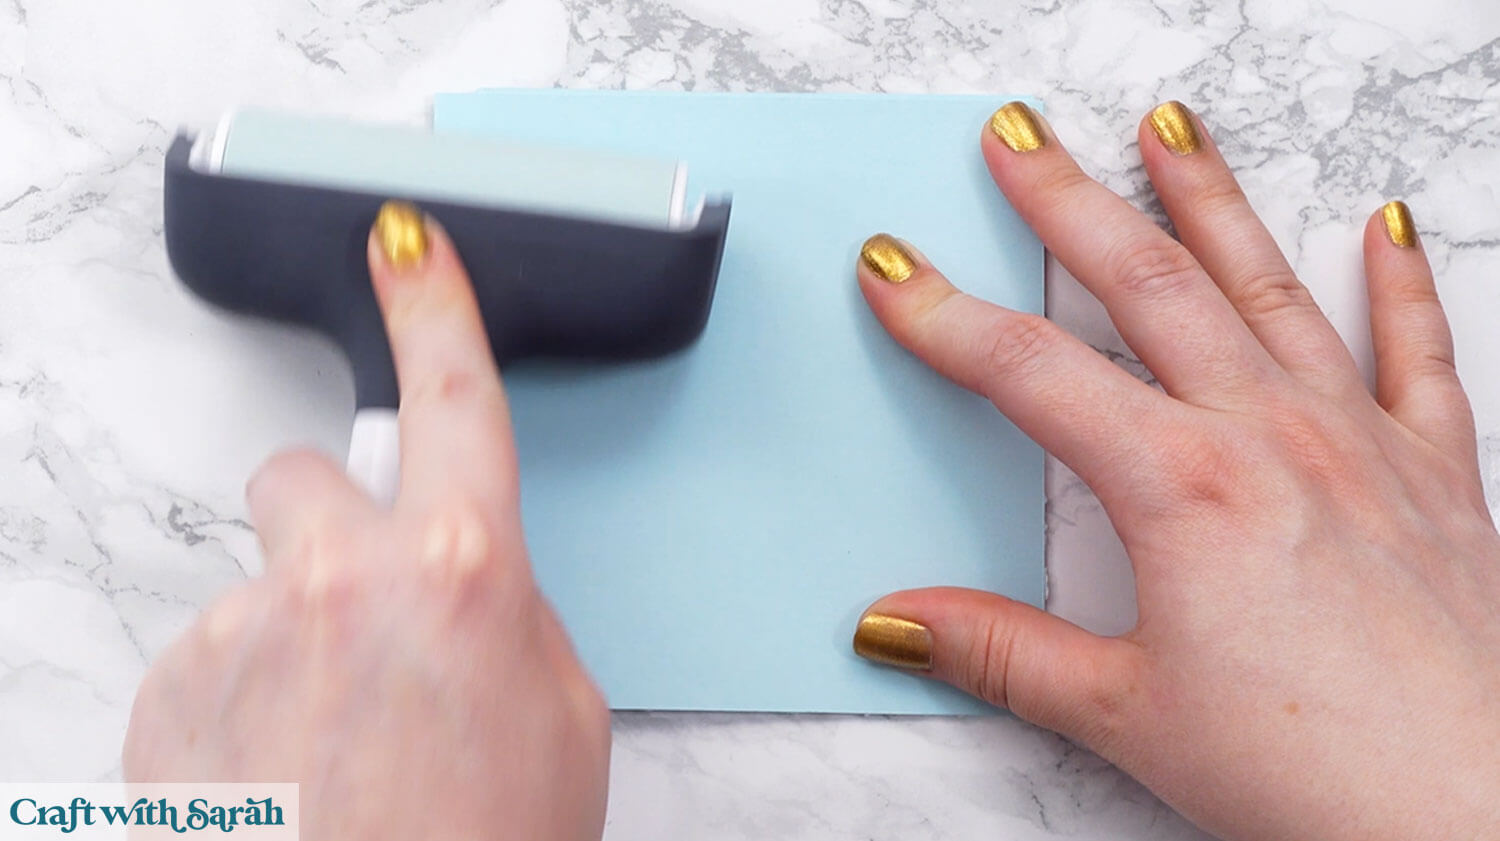
Doing this may add extra “creases” into the pop out section.
To prevent that from happening, make the card pieces with the tabs smaller in Design Space before cutting.
That will give a border around the edge of the card to see the base card colour:
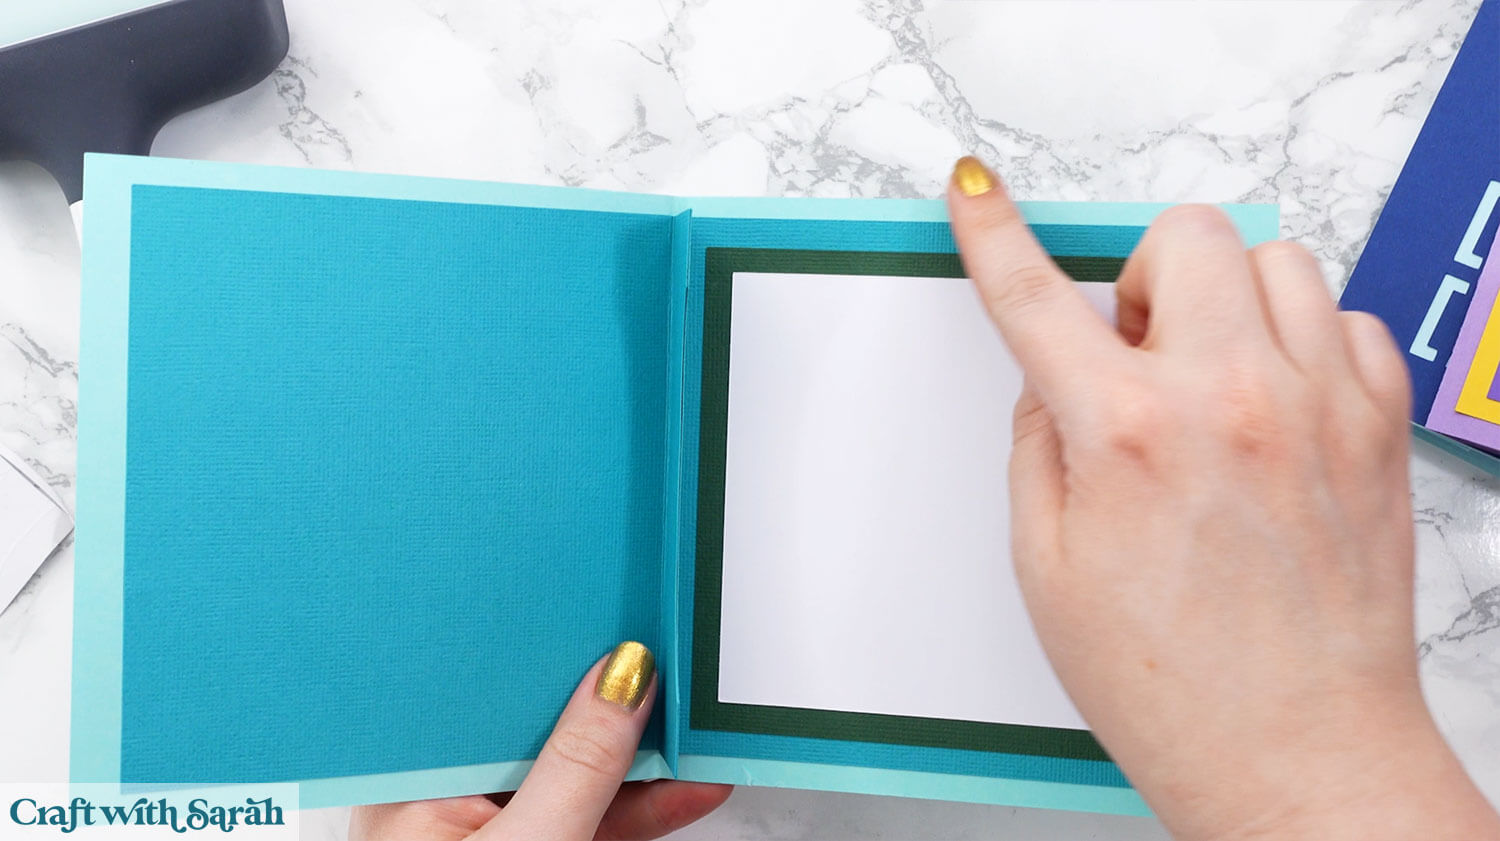
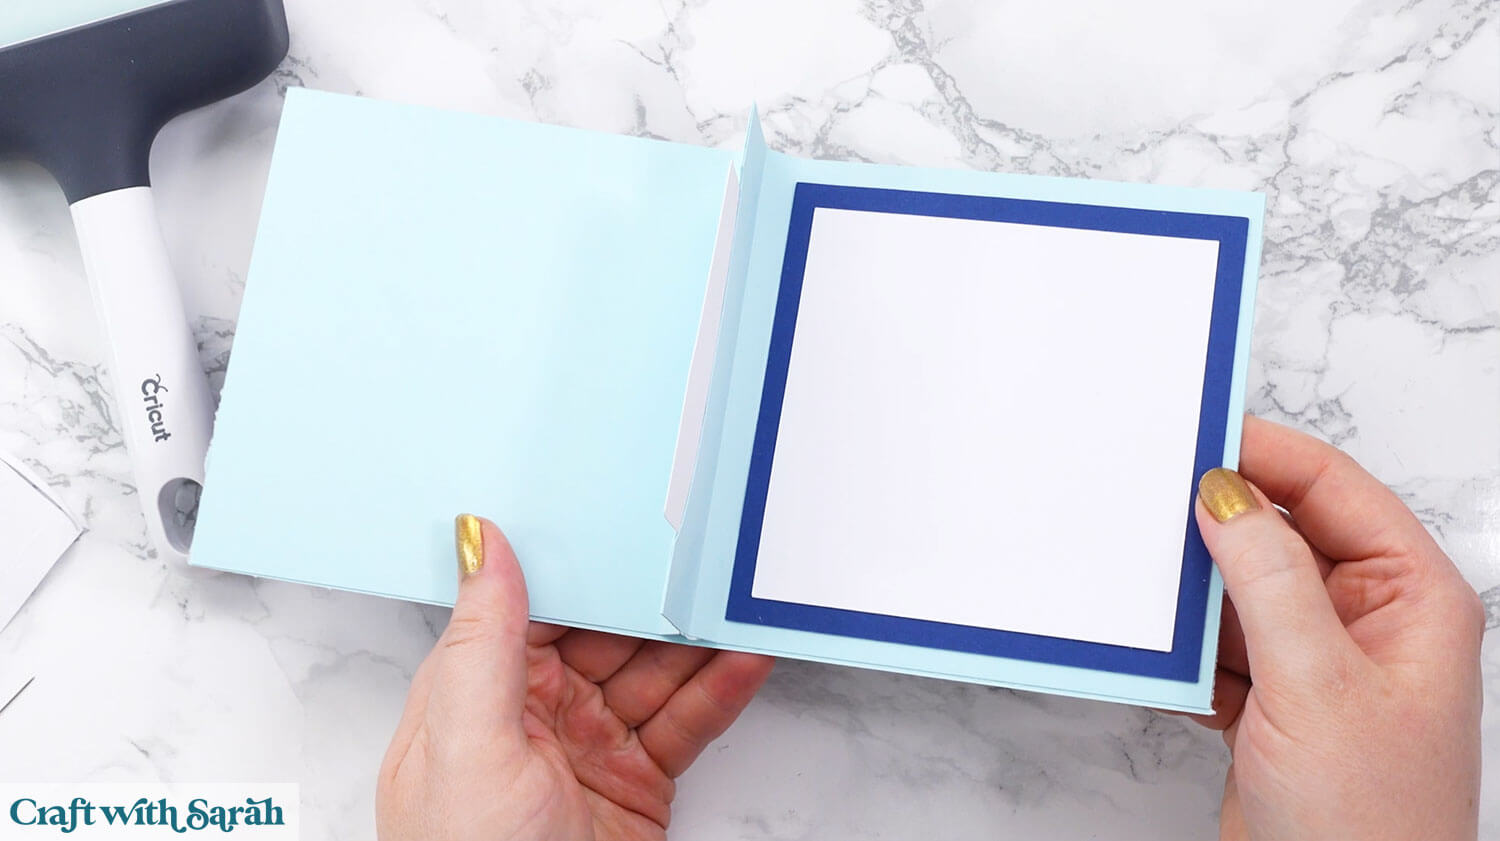
Glue the large and small squares inside your card ready to add your message.
Slot the gift card into the gaps between the two tabs and that’s it – your pop up gift card holder is finished!
Gift card holders with the “wow factor”
And there you have it — the perfect way to turn any card into a thoughtful, handmade gift! 🎁✨
These pop-out gift card holders don’t just add a professional touch – they show just how much heart you’ve put into your present.
Whether you tuck one into your own card design or use one of the four included card fronts, you’ll be giving something that’s both beautiful and useful.
So the next time you give a gift card, don’t just slip it in and hope for the best — make it pop, surprise, and delight! 💌
I can’t wait to see what you create for your pop out gift card holders. Submit your finished projects to our Community to share your photos with us!
Happy crafting,
Sarah x

