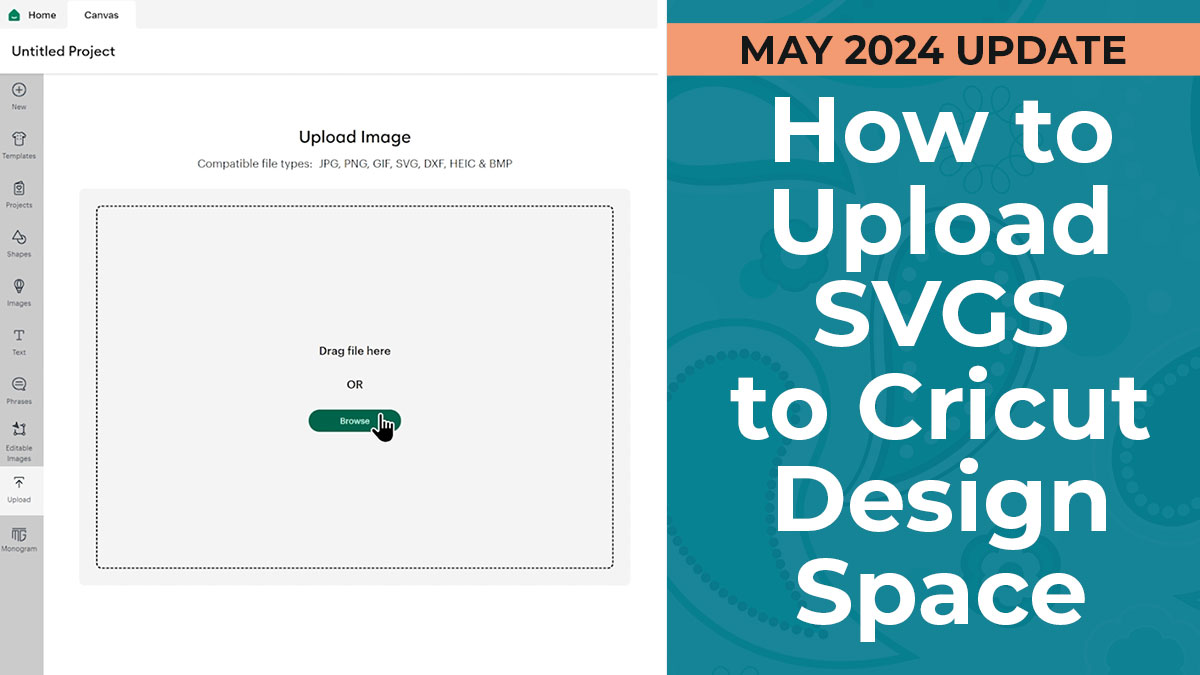
How to Upload SVGs to Cricut Design Space 📢 May 2024 Update
Find out how to upload SVGS into Cricut Design Space, for endless crafting possibilities!
This tutorial was created after the May 2024 Design Space update which (slightly) changed how the upload process looks on-screen.
If you are having problems with Design Space uploads not working, hopefully this will help!
Cricut Design Space upload process
The video below shows how to upload SVG files into Cricut Design Space. I’ve used the free SVGS from Craft with Sarah to show how to download the designs, unzip the folders and get the SVG files into Design Space, but the same steps will work for SVGs from any source.
Scroll down the page to see a written tutorial.
How to Import SVG files into Cricut Design Space
The steps below show how to import SVG files into Cricut Design Space on a computer or laptop.
The process is similar on a mobile phone or tablet with the Design Space app – look for the “Upload” button in the app.
Step 1) Download the cut file & unzip the folder
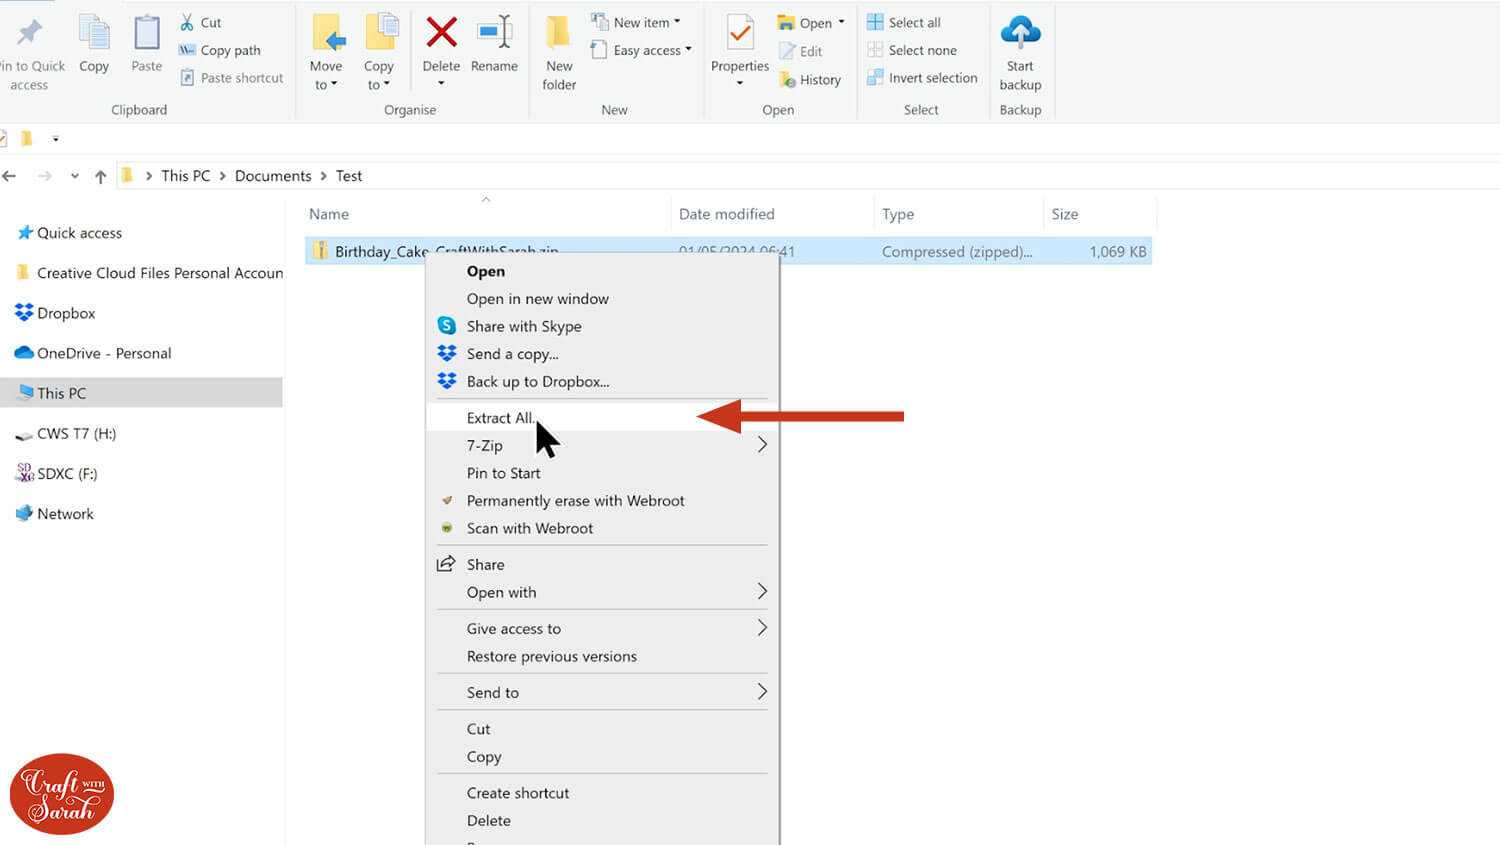
Most websites that offer SVG cut files, either for free or as paid designs, provide them in a “zip folder”.
Zip folders allow designers to provide multiple files in one easy download link.
You cannot upload SVGs to Design Space if they are contained in a zip folder. It will give you an error message saying that the file is incompatible.
BUT – don’t worry! All you need to do is to unzip the folder first, then you can use the SVGs!
On a Mac, you can just double-click on the zip folder to “unzip” it.
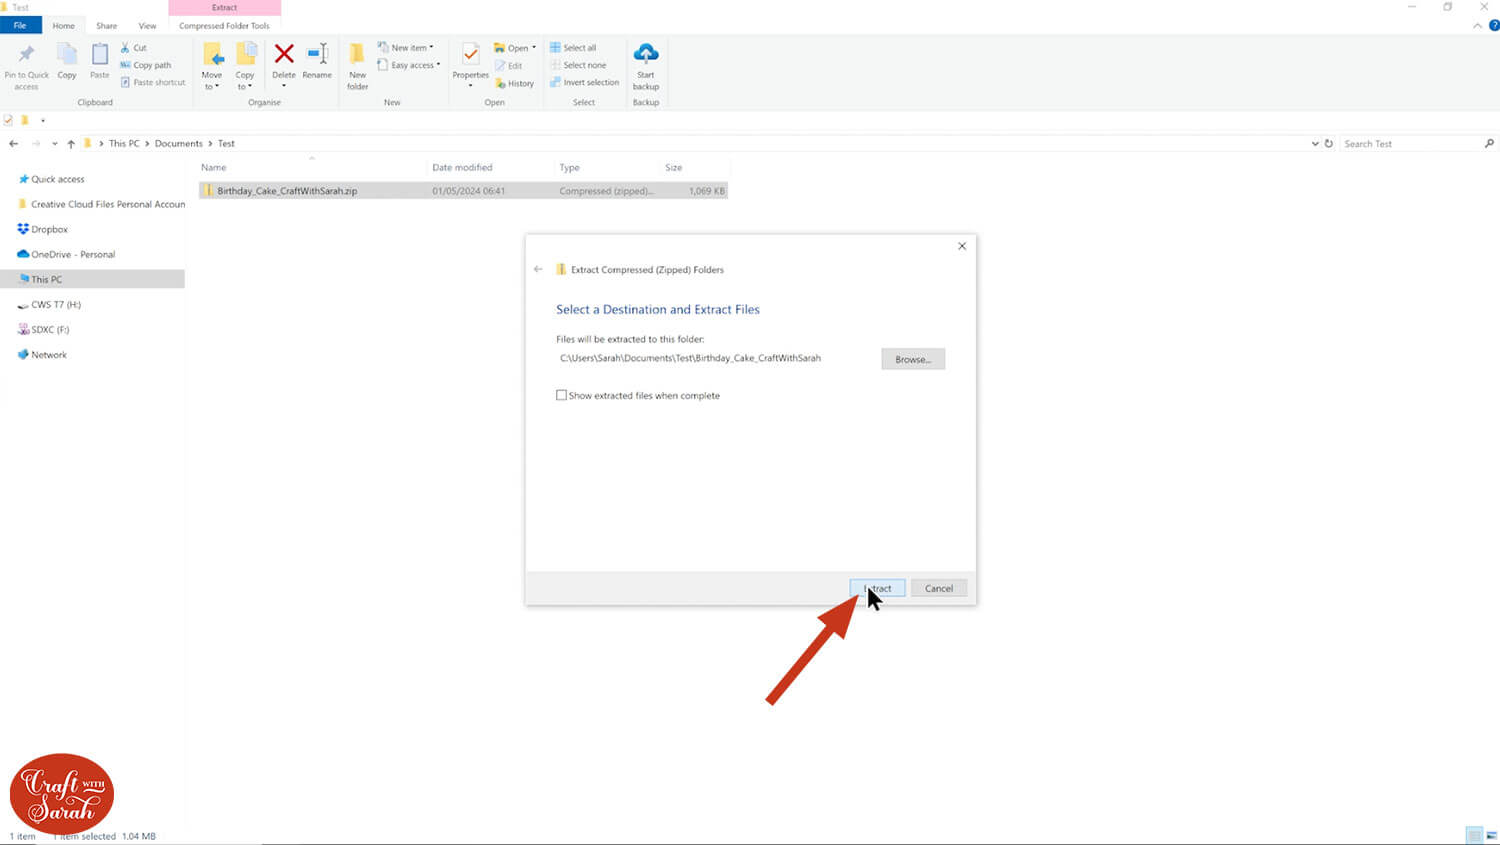
On a Windows computer, right-click on the zip folder and press “Extract All”.
Choose where to save the files to, then press “Extract”.
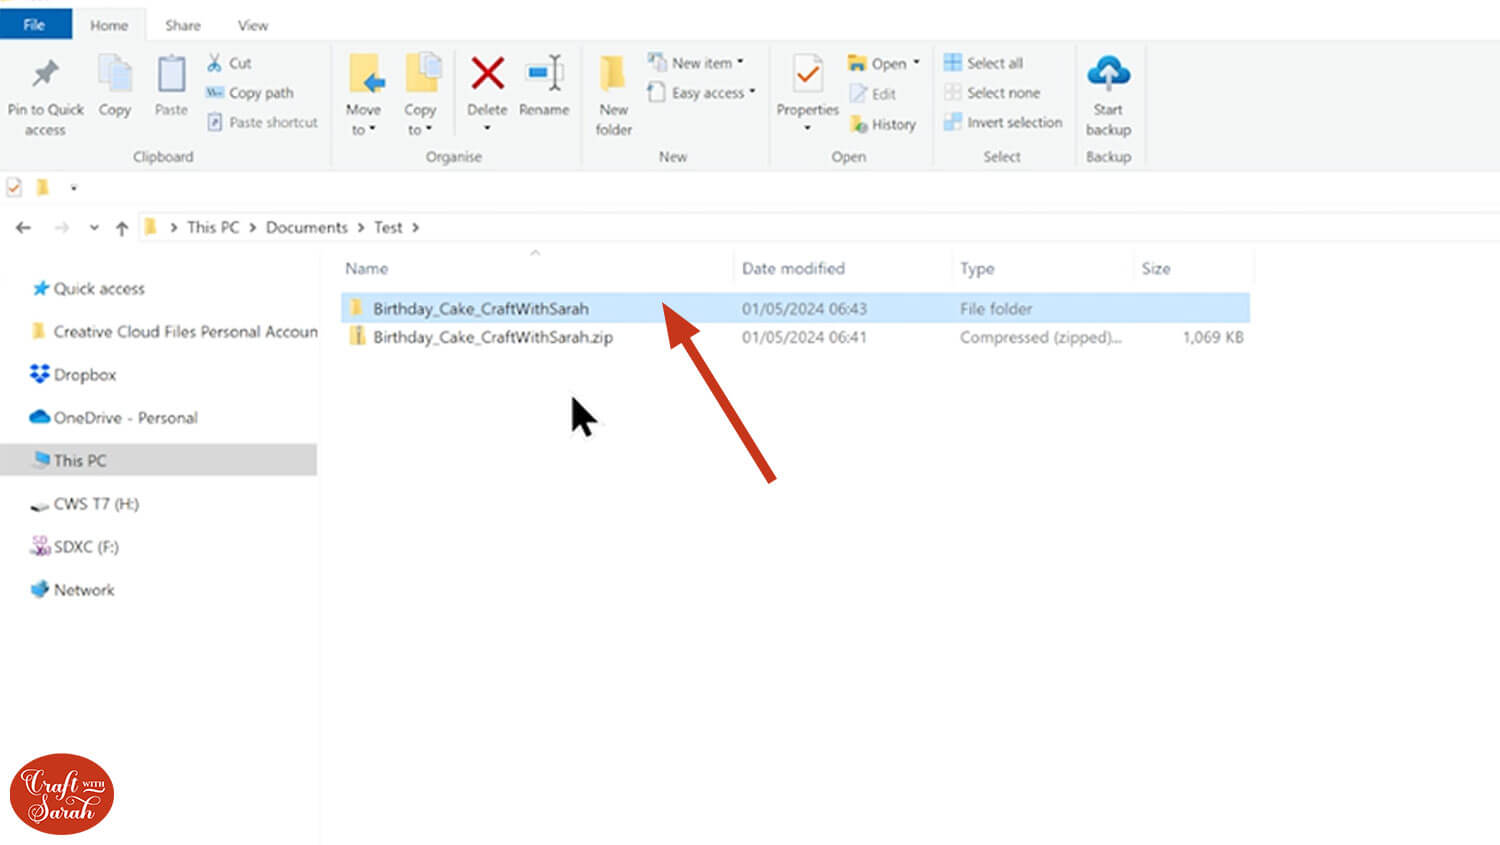
You will then see a copy of the folder, only this time it doesn’t have the “zip” picture on the icon.
Step 2) Open Design Space & start the upload process
Open up Cricut Design Space and start a new project.
Click the “Upload” button on the left of the screen.
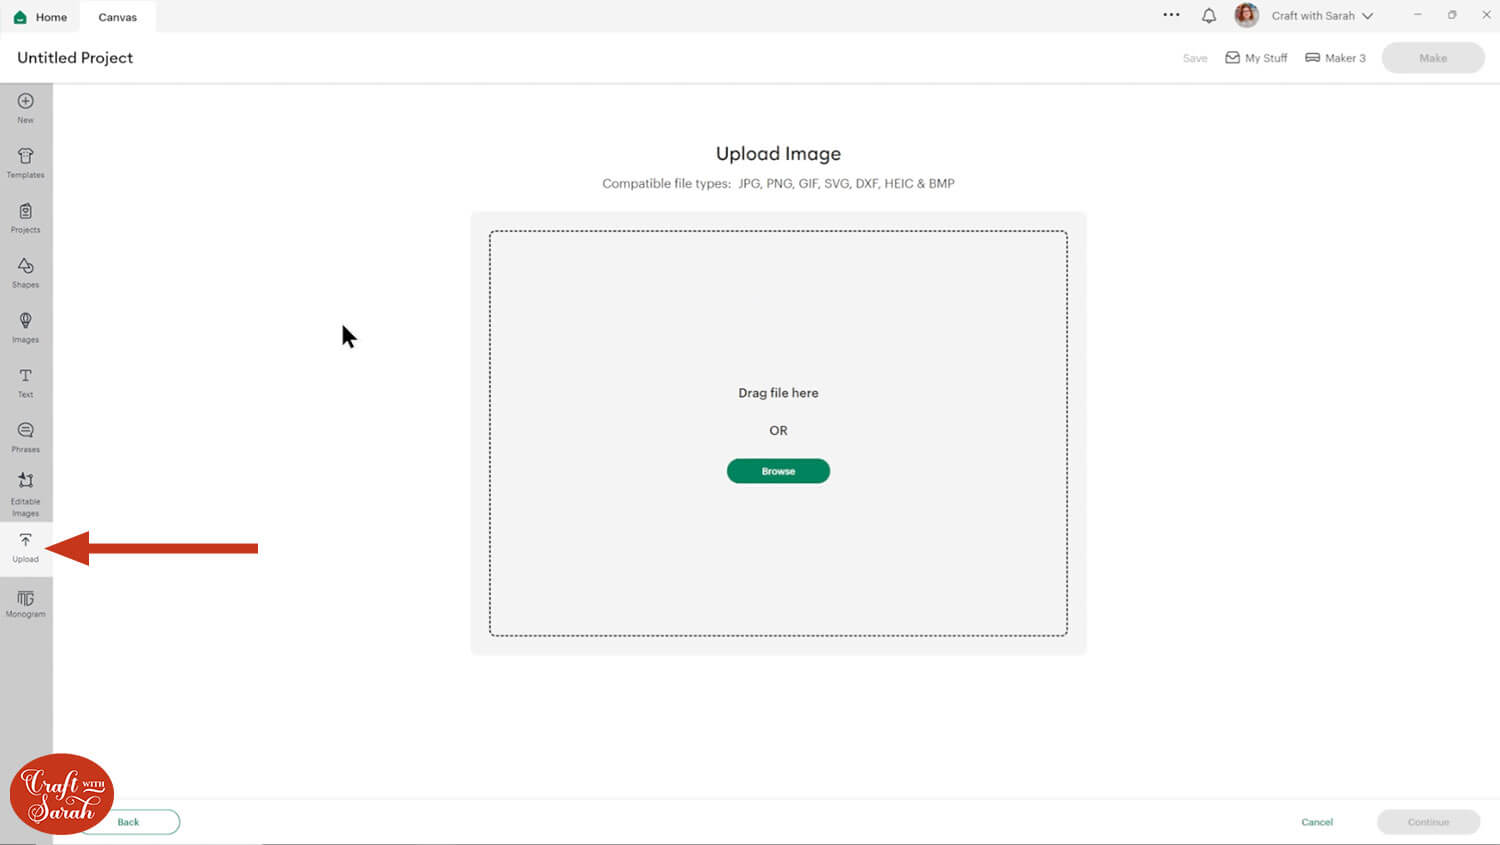
You can then either click “Browse” to find the SVG file on your computer, or drag-and-drop it in.
You’ll probably find that the folder you unzipped has lots of different files in it. This is because different brands of cutting machines require different file types to use them.
For Cricut Design Space, you need to upload the SVG file version.
At Craft with Sarah, I start all my SVG filenames with either svg- or SVG_ so it’s easy to see which one to pick.
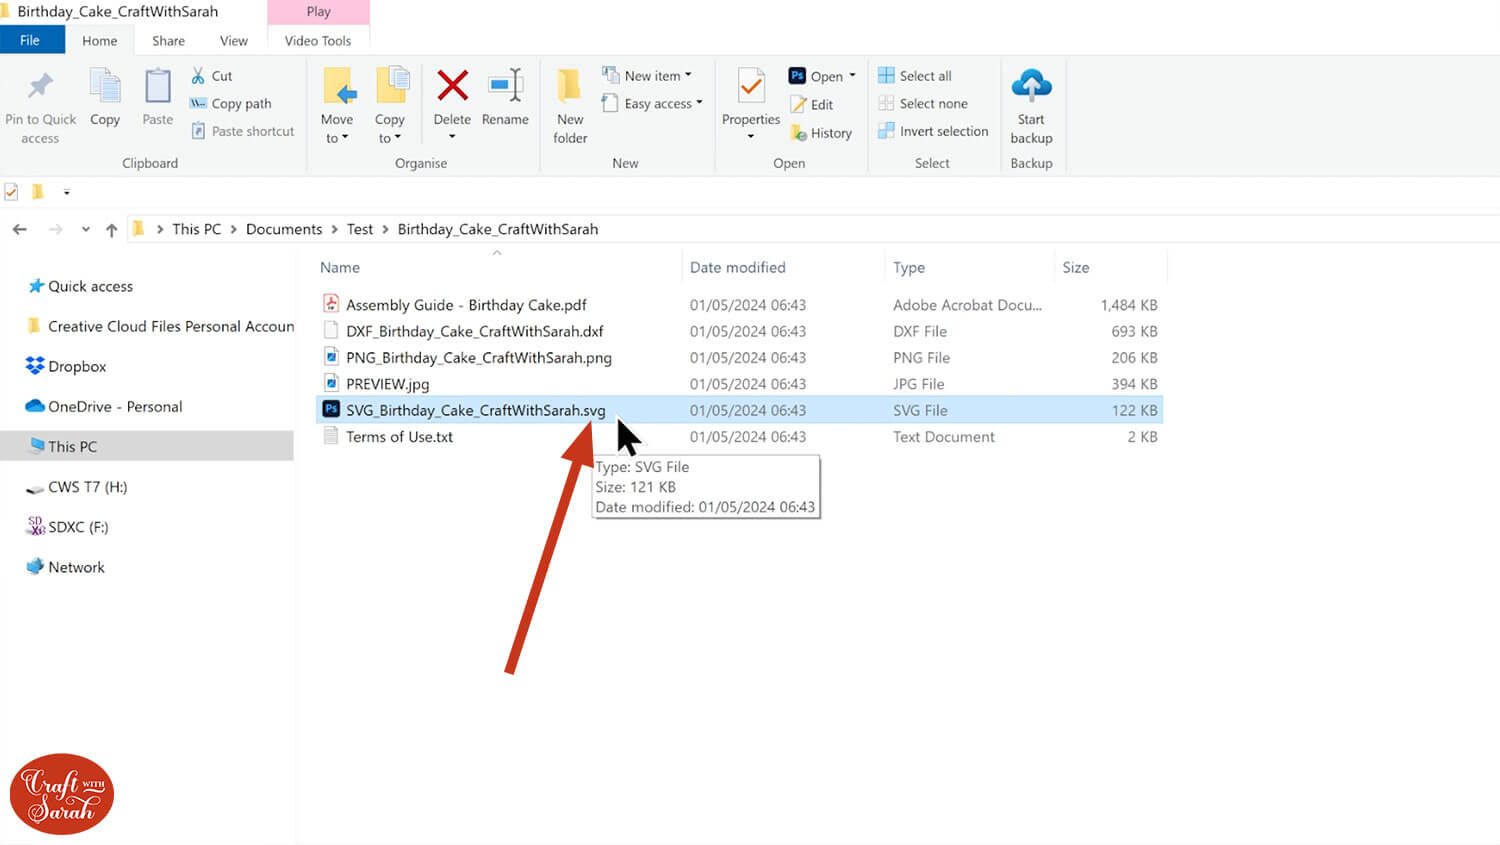
However, sometimes it’s a little hard to see which one to choose.
Look for the file that ends “.svg” in the filename.
NOTE: It might appear as a “Microsoft Edge file” or “HTML Document” when you look under the file type column, but that’s ok – it’s still a SVG file.
Sometimes, especially on Windows computer, it might “hide” the file extensions so you cannot see the .svg at the end of the filenames.
If you would like to make the file extensions visible to make it easier to locate the correct file, you can do that in your computer’s settings.
Click the Windows button on the bottom-left of your screen and type “show file extensions”.
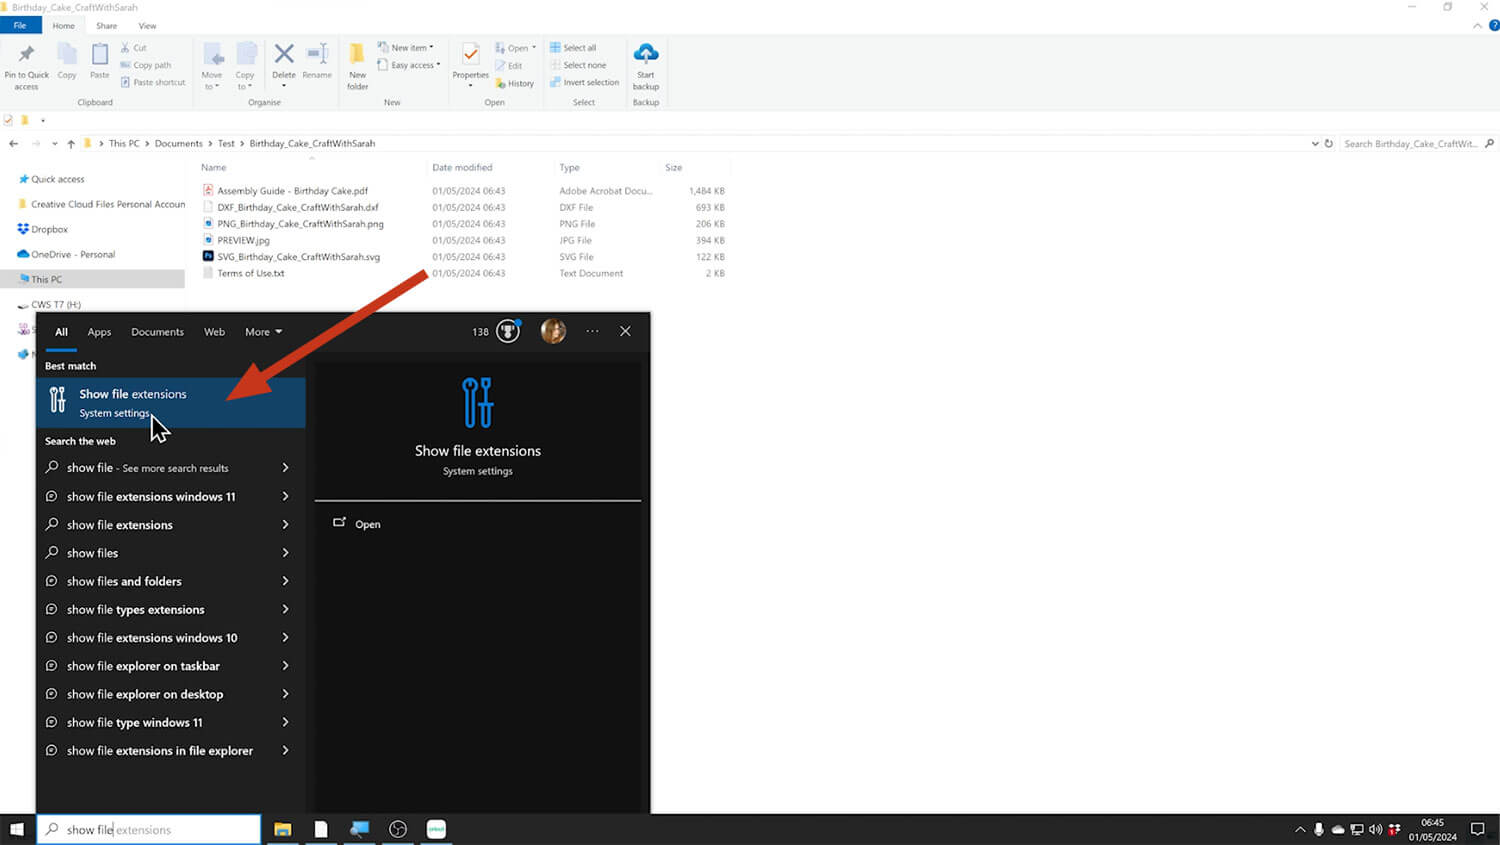
Click into the menu item to get a popup window with settings to choose from.
Tick the box next to “Change settings to show file extensions” and press “Apply”.
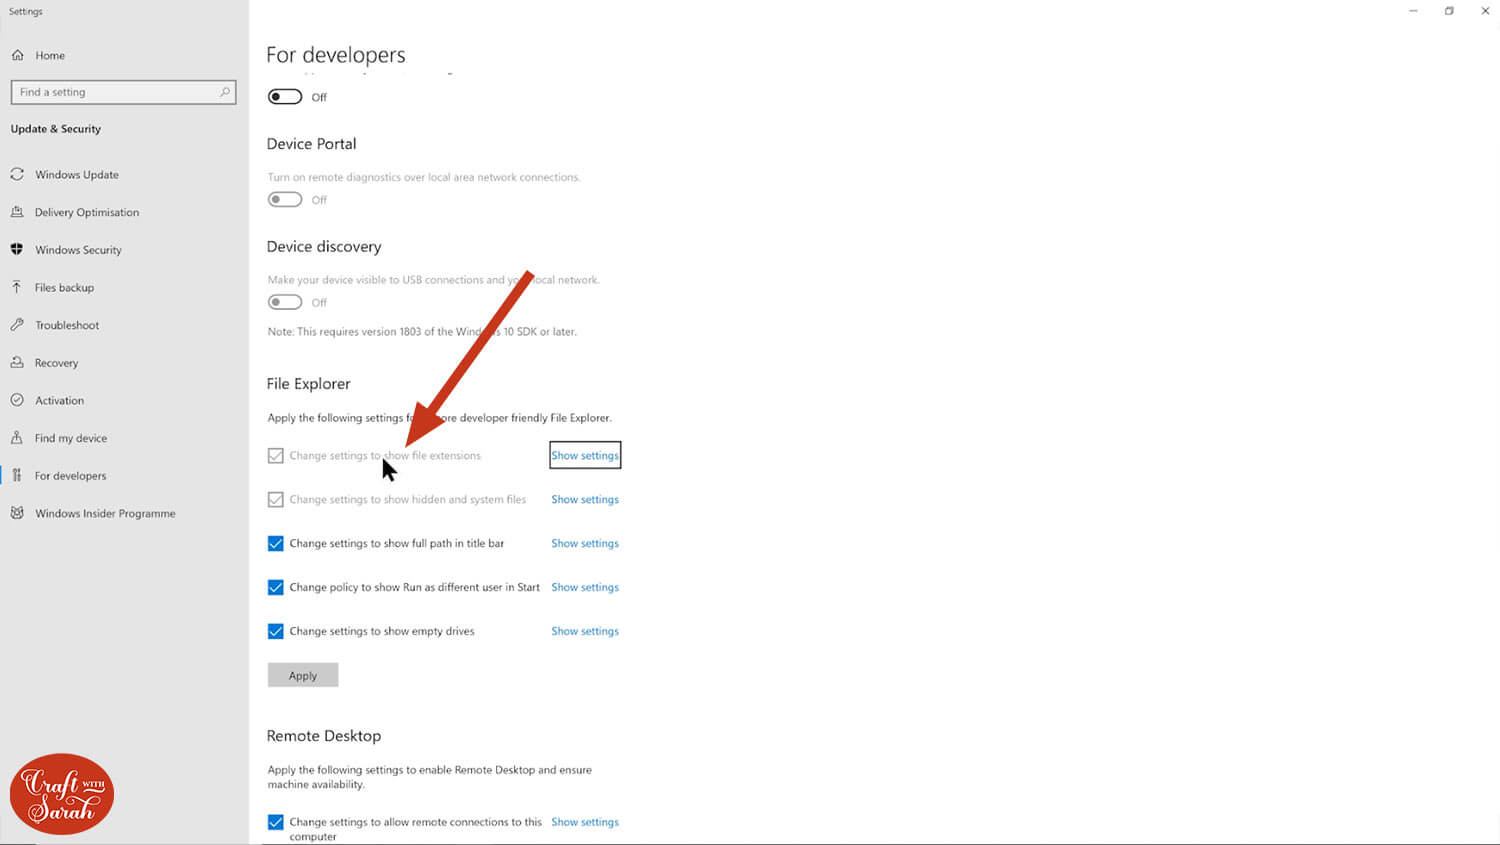
If yours is greyed out, like mine in the image above, it means you have already turned that setting on.
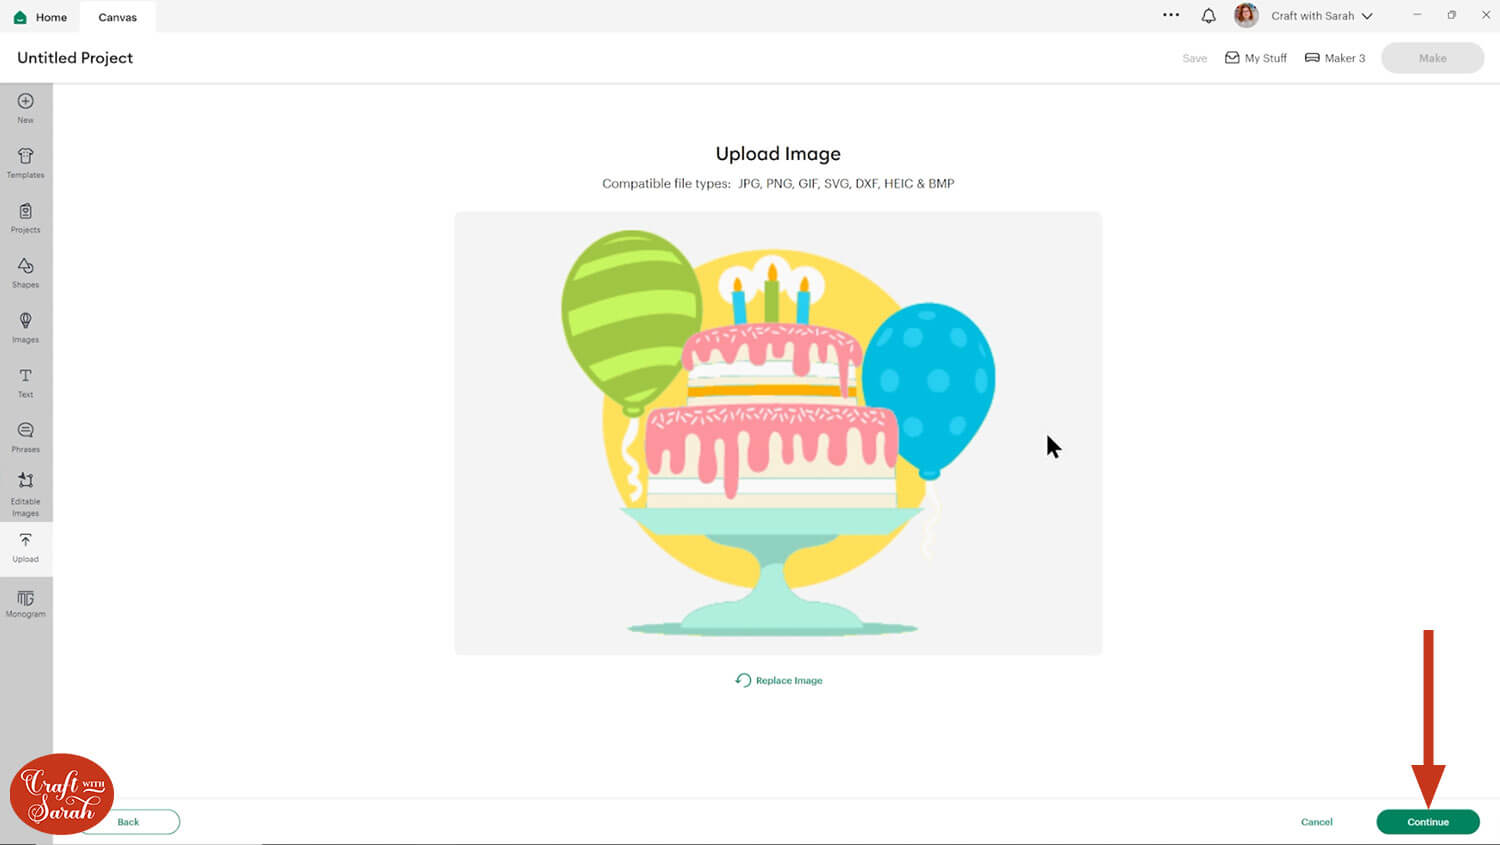
Choose the SVG file and drag it into Design Space.
It should look something like this:
NOTE: Don’t worry if the image looks “blurry” or pixelated on this step – it’s a bug with this version of Design Space. The cut file won’t be blurry once it’s uploaded.
Step 3) Complete the SVG upload process
Press “Continue” to go to the next step.
The next page should look like this:
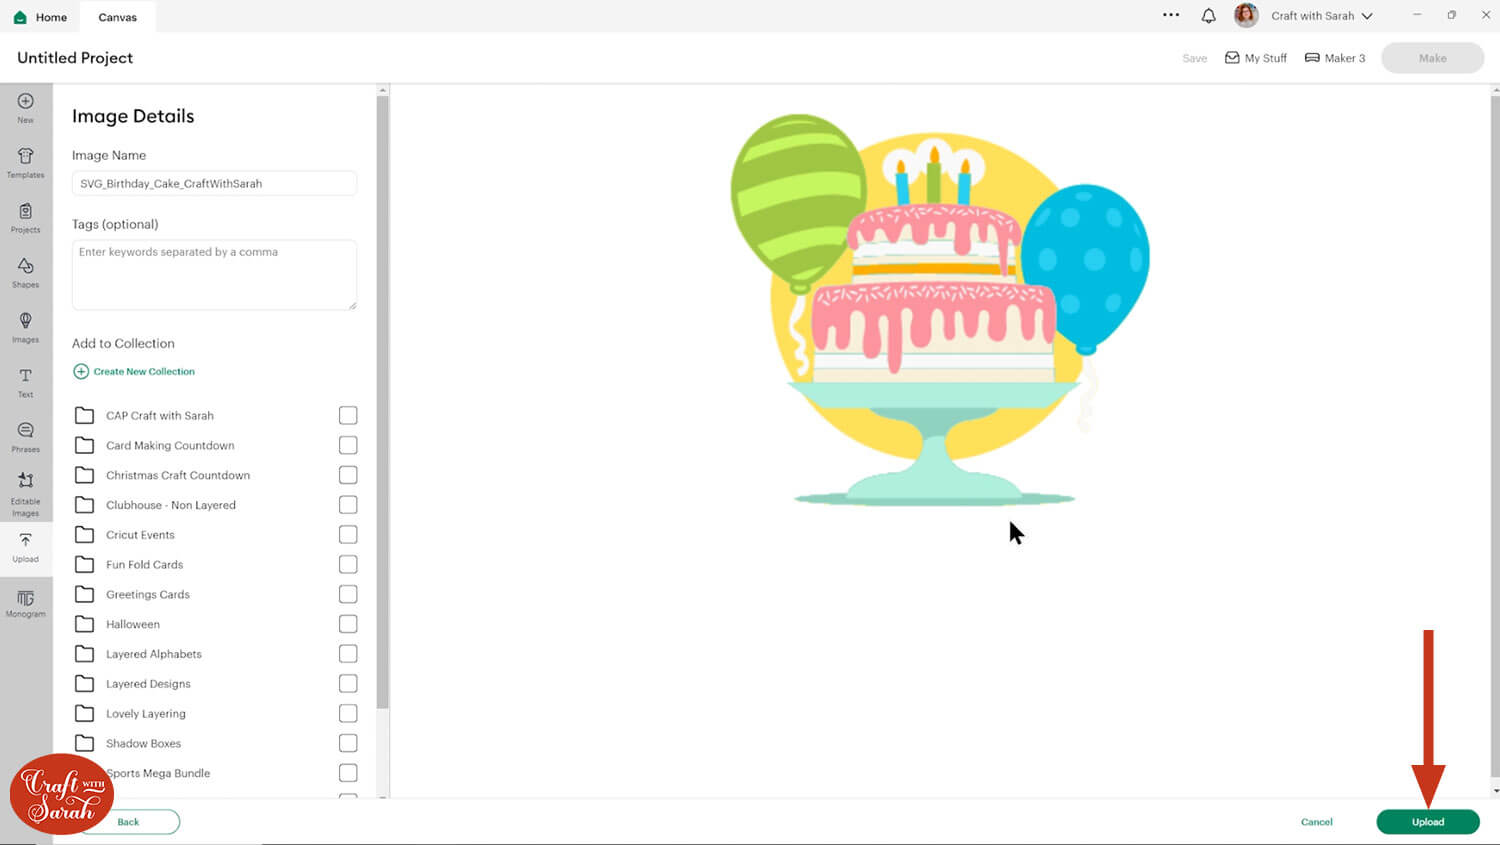
If it does, you can add the SVG to a Collection (category) if you would like to, or just press “Upload” to put the design straight onto your Canvas.
However, if your screen looks different (more like the image below, with the “Background Remover” tool on the left), that means you have not uploaded a SVG file. You may have accidentally uploaded a different file type, such as a DXF file, PNG file or JPG file.
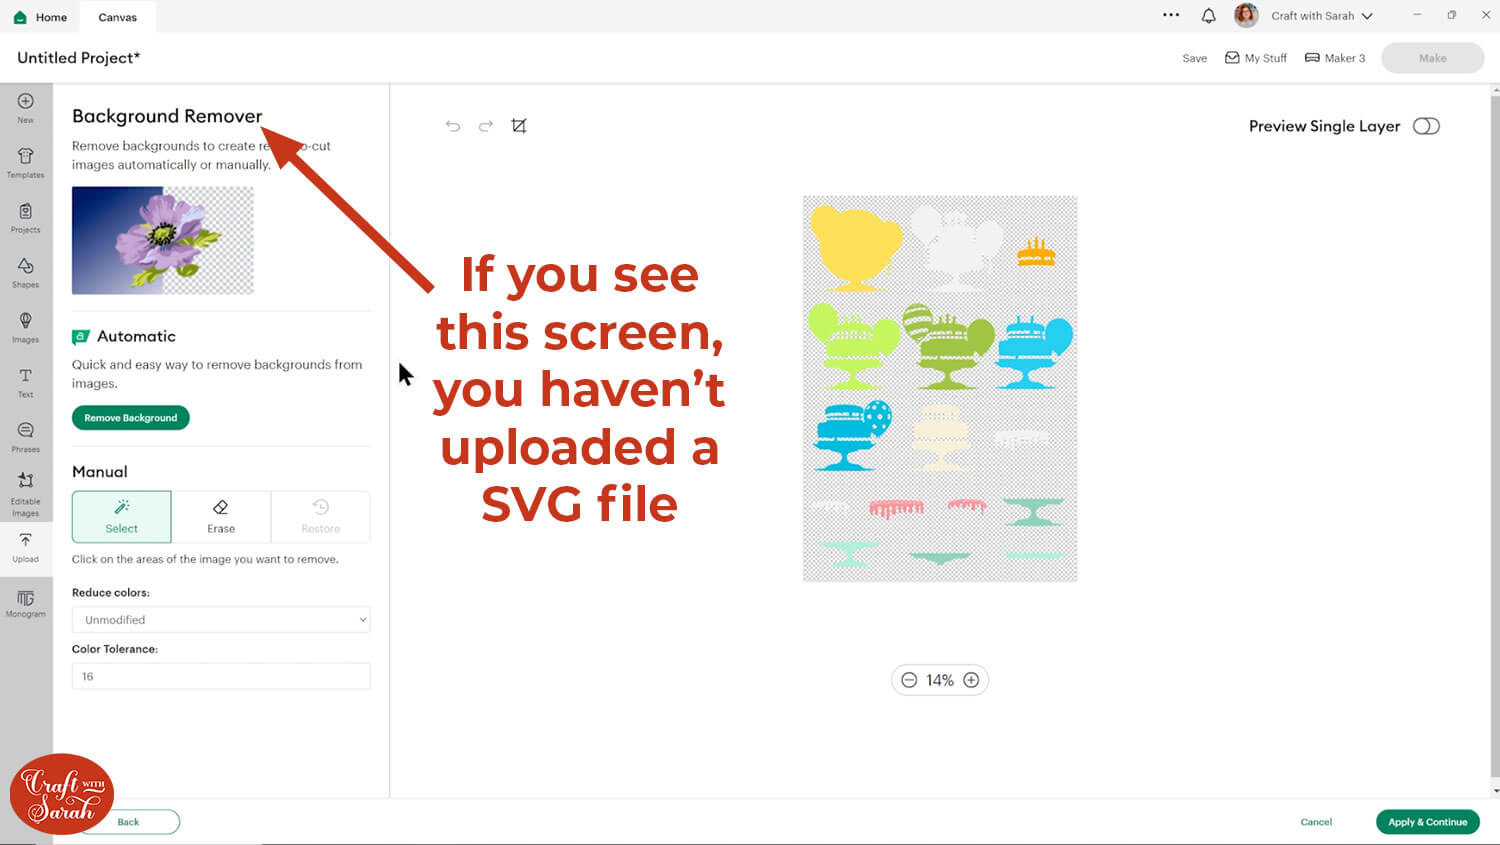
If that’s the case, click “Cancel” and start again, making sure you choose the SVG file next time.
After clicking “Upload” on the screen where you set the categories, it will automatically insert the SVG onto your Canvas.
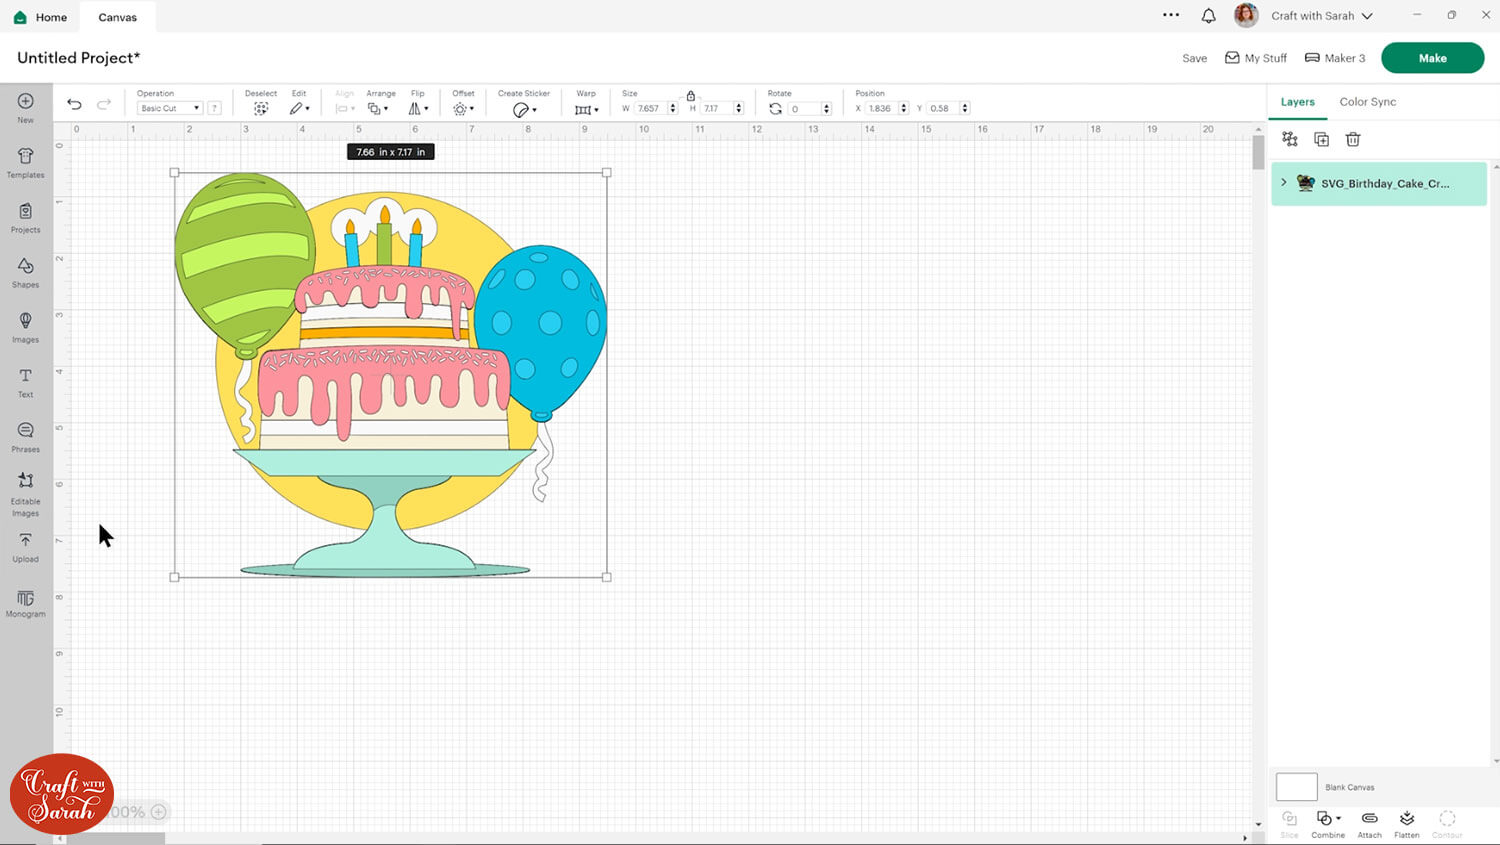
This is a change to how the Design Space upload process worked previously. It used to send the image to your “Recent Uploads” and then you had to click it to get a green border around it, then add it to your Canvas manually, however it appears that this step has been removed.
This will make uploading SVG files to Cricut Design Space a little bit quicker.
Cricut uploading: Your questions answered!
Here are answers to some frequently asked questions about working with SVG files or graphics in Cricut Design Space.
What does SVG stand for?
SVG stands for Scalable Vector Graphic. It’s a special type of graphic which you can resize as small or as large as you want without losing any quality.
Can I make my own SVG for Cricut?
Yes, you can! There are lots of different programs you can use like Adobe Illustrator, Inkscape or Affinity Designer to make your SVG files. You will then need to upload them to Cricut Design Space as you would any other SVG.
How to convert a photo to SVG for Cricut?
There are a few different sites you can use to turn a photo into a SVG file, for example Convertio.co or pngtosvg.com.
Do you need a printer for Cricut?
You don’t need a printer for Cricut but it may be helpful to have one for certain projects. You will need one if you plan on using the Print then Cut function. If you haven’t used Print then Cut before, or need a refresher, check out this Cricut print then cut tutorial.
How do I send a Cricut design to the printer?
To send a design to the printer, it will need to be a Print then Cut Image or a design that has been “flattened” using the Flatten button at the bottom of the layers panel.
Flatten turns the image from a multi-layered design into a one-layer image that can be printed on a colour printer.
Cricut Design Space Basics: Uploading SVG Files
I hope that this tutorial was helpful for you to see how to upload SVG files into Cricut Design Space, following the May 2024 update.
If you have any problems importing your files, feel free to get in touch and I’ll do my best to help.
Please describe your upload problems in as much detail as possible. Screenshots or photos of any error messages are helpful.
Happy crafting,
Sarah x

