CMC 2025 Day 04: Flower Box Displays
Welcome to day four of the 2025 Card Making Countdown, where I’m sharing 14 card making projects in 14 days.
Today’s project is a real showstopper: one that’s just as much a gift as it is a card.
Imagine opening a decorative box that has your message on the front — maybe “Happy Mother’s Day”, “Happy Birthday” or “Thank You” — and inside is a little surprise: a bunch of lovely flowers that stand tall in their own impressive 3D display.
We’re making a beautiful 3D flower box that opens up to reveal a stunning bouquet of flowers standing proudly inside a cardstock flower stand.
This is the “wow” project of the Card Making Countdown. And the best part? It’s easier than it looks!
You can use store-bought faux flowers (like I did), or you can make your own out of paper.
This is a wonderful gift that can be displayed all year long.

The cut files are suitable for a range of cutting machines, such as Cricut, Silhouette and ScanNCut. The file types that are included are: SVG, EPS, DXF and PNG.
Hand-cutting (printable) versions of the templates are also included.
This project is part of the 2025 Card Making Countdown.
Materials supply list
Here is a list of the materials to make this project.
Please note that some of the links included in this article are affiliate links, which means that if you click through and make a purchase I may receive a commission (at no additional cost to you). You can read my full disclosure at the bottom of the page.
- Cricut machine
- Light blue Cricut cutting mat
- Coloured Card
- Glue (I like Bearly Art Glue and Collall) or double-sided tape
- Cricut scoring wheel or scoring stylus
- Artificial flowers, or make your own paper flowers
- Acetate (can be left out if you don’t have any)
- Wire cutters (optional, depends on the type of flowers you select)
- Foam squares (optional)
This project is suitable for the following types of Cricut machines: all Explore models, all Maker models, Venture and Joy Xtra. It is too large to cut with a Cricut Joy (blue machine).
Foundation learning
If you're new to crafting with your Cricut, you may find the below links helpful.
They teach some of the skills mentioned throughout the Countdown projects.
- How to upload SVG files into Design Space
- How to make 3D layered Cricut projects
- The BEST way to frame papercraft projects
- How to mount multiple designs in the same frame with magic guides
- How to score with a Cricut (even without scoring tools)
- Print then cut tutorial
- Design Space tools (Combine, Attach, Slice, Weld, Flatten, etc.)
- Pattern fill tutorial (for making backgrounds & cutting images to a specific shape/size)
- Free envelope SVGs that can be sized to fit any card
- Presentation boxes for handmade cards
- How to write inside cards with Cricut pens
- How to cut layered designs at a small size
- Design Space tips & tricks
- Cricut pens tutorial
Video tutorial
Watch the video below to see how to make this project. Keep scrolling for a written tutorial.
Make beautiful flower boxes that last forever
Here’s how to make your own flower box displays that the recipient will treasure and display all year round.
Step 1) Download the cutting files & upload to Design Space
Download the files using the box below.
Purchase the File(s)
This cut file is available as part of the Instant Access Bundle.
Or, purchase this design individually here
Before you upload the SVGs to Design Space, you need to unzip the download folder that they come in.
- How to unzip a folder on Windows computer
- How to unzip a folder on a Mac
- How to unzip a folder on an iPad/iPhone
- How to unzip a folder on an Android device
After unzipping, upload the SVG file(s) into your cutting machine software.
Not sure how to use cut files with your type of machine? The following links lead to videos on how to open cut files in:
- Cricut Design Space
- Silhouette Studio
- CanvasWorkspace (for ScanNCut machines)
The download folder also contains printable PDF versions of the templates for hand cutting.
If you are using Cricut Design Space, start a new project and then click the “Upload” button on the left of the screen.
You can then either click “Browse” to find the file on your computer, or drag-and-drop it.
Find the unzipped download folder, then go into the “Cutting Machine Versions” subfolder.
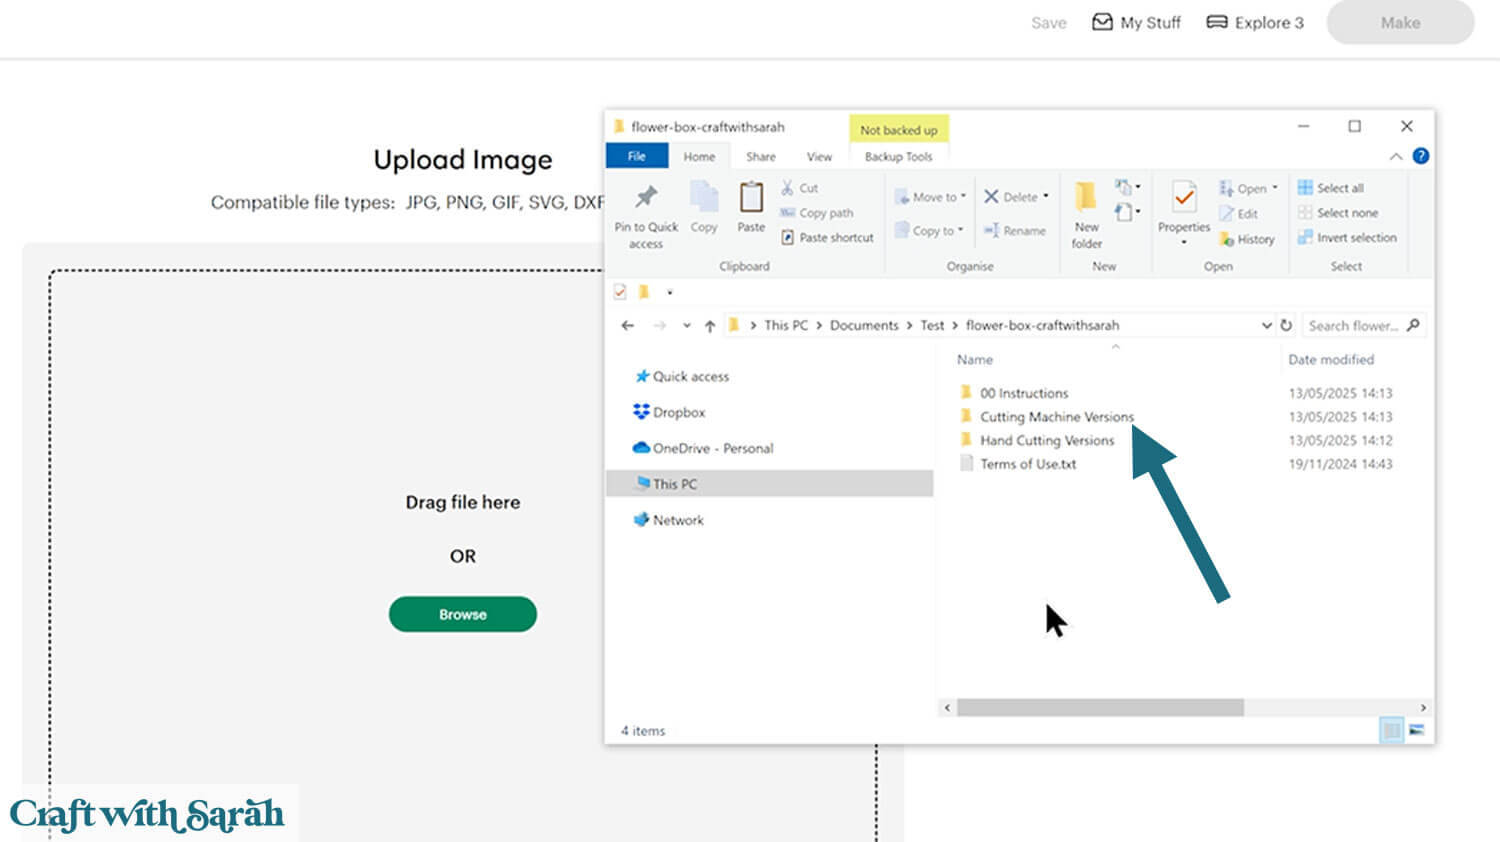
Upload the file called svg-flower-box-craftwithsarah.svg
After selecting the SVG file, click “Continue”.
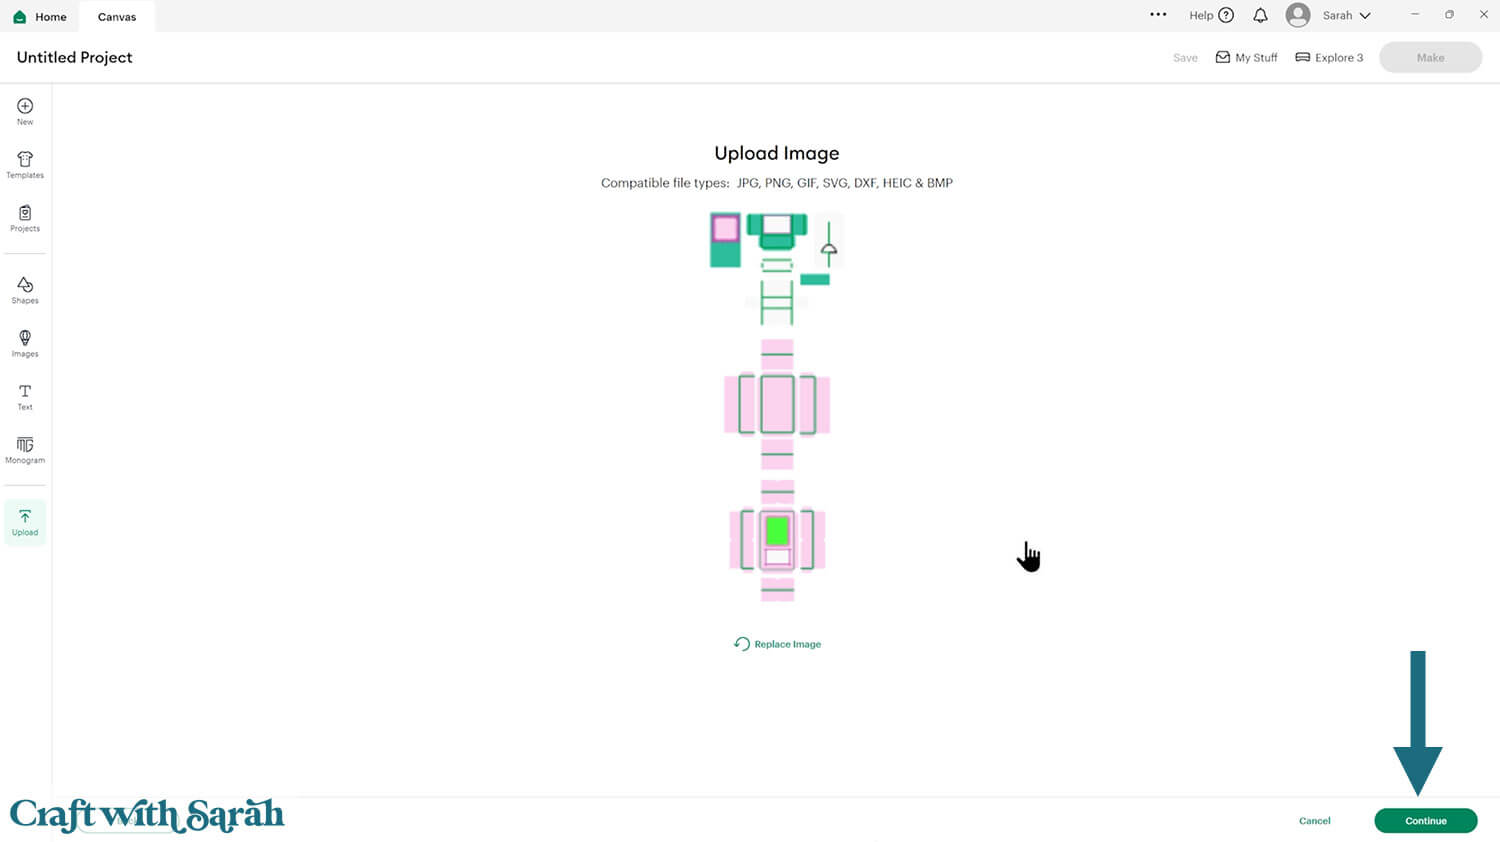
Click “Upload” on the next screen.
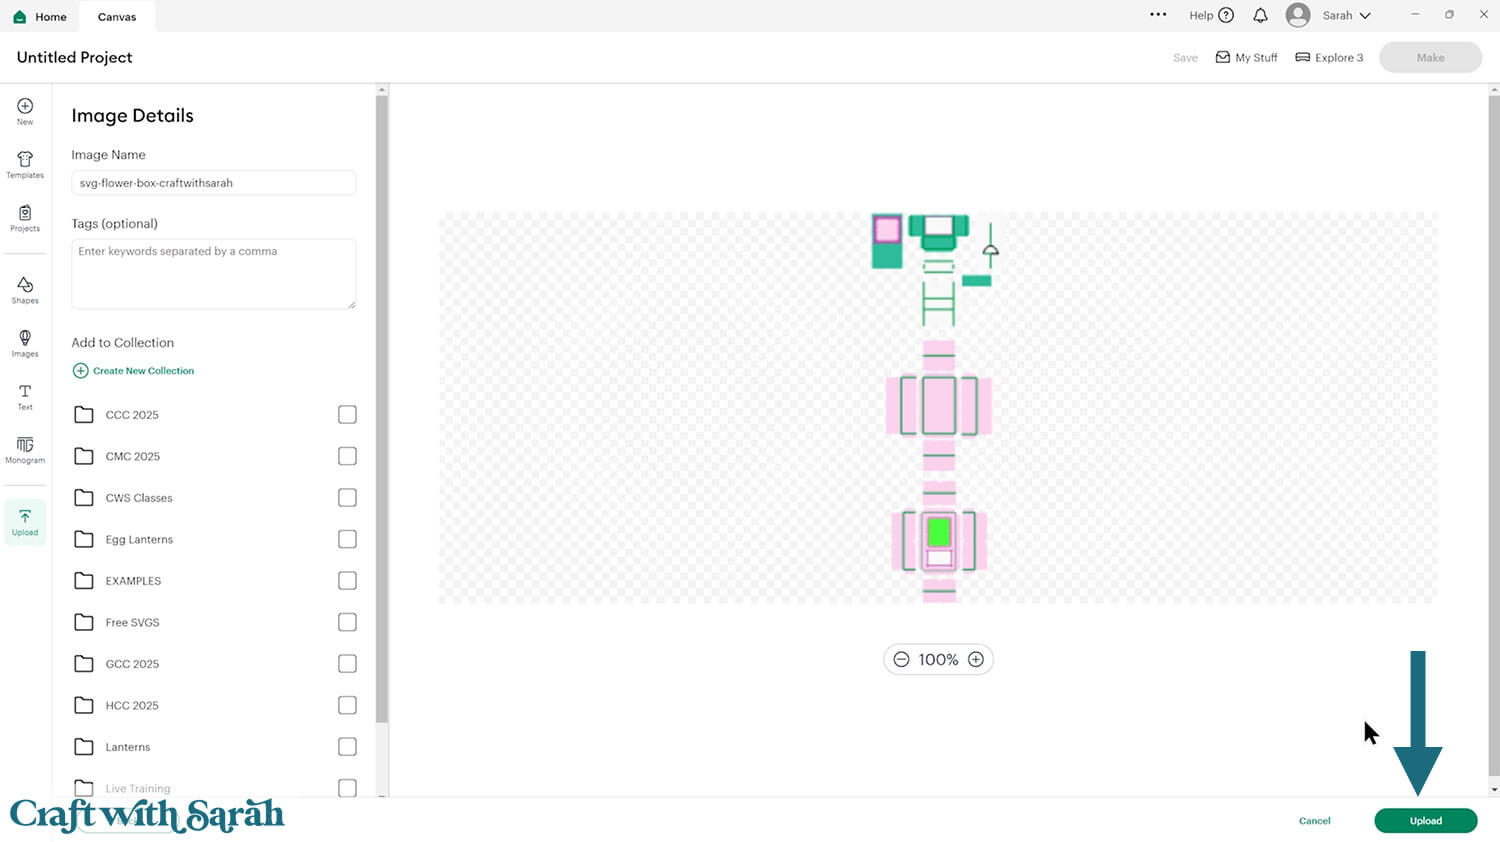
The design will get loaded onto your Canvas.
It should be showing at 22 inches wide and 64 inches tall. If not, change it to those measurements.
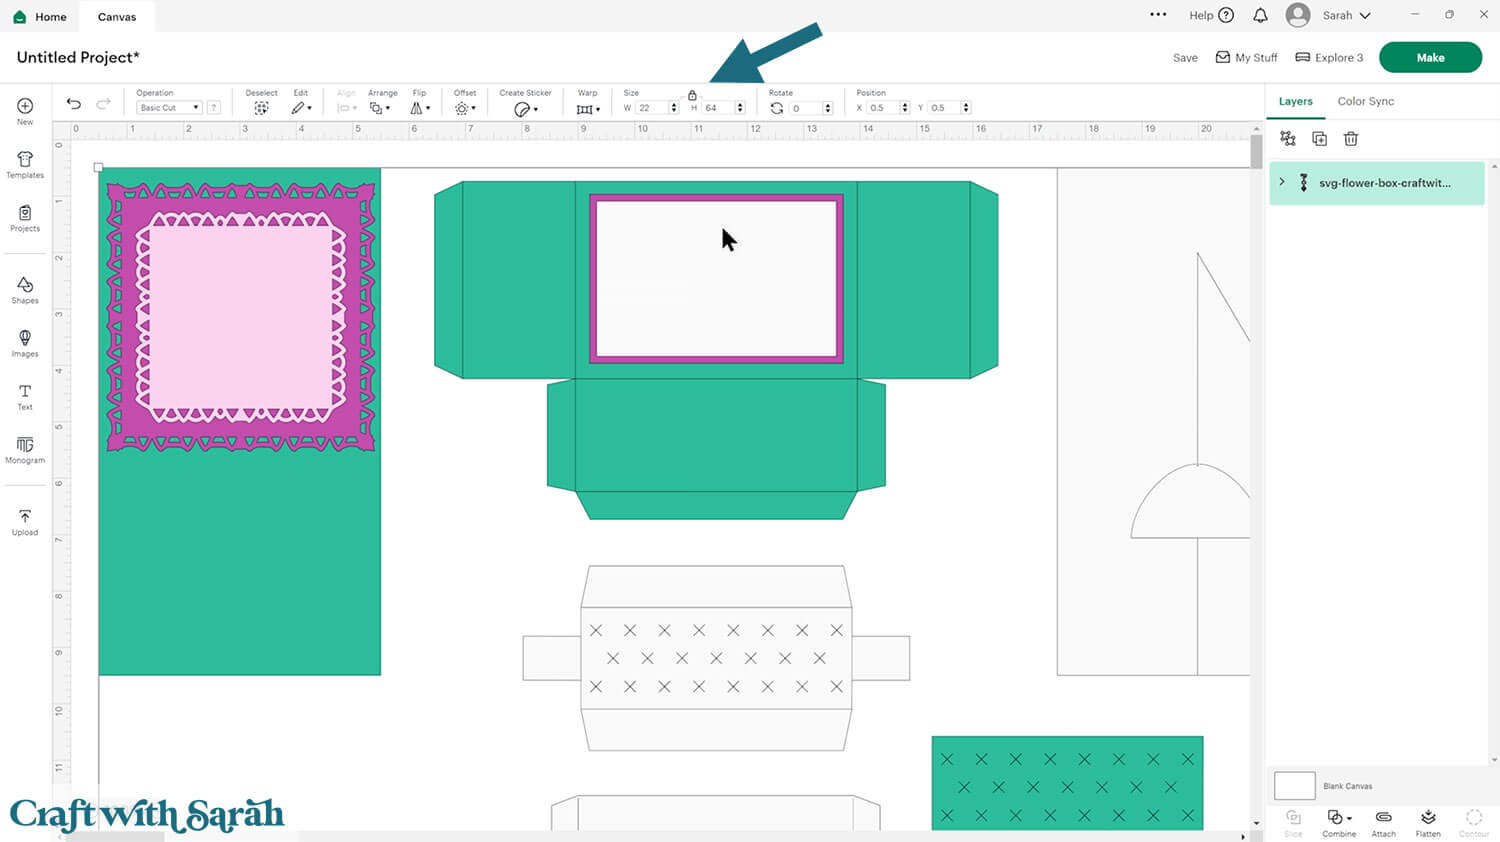
Step 2) Format the score lines
This card making project requires a scoring wheel or stylus for your machine.
Don’t have a scoring tool? Check out these Cricut scoring hacks for alternatives.
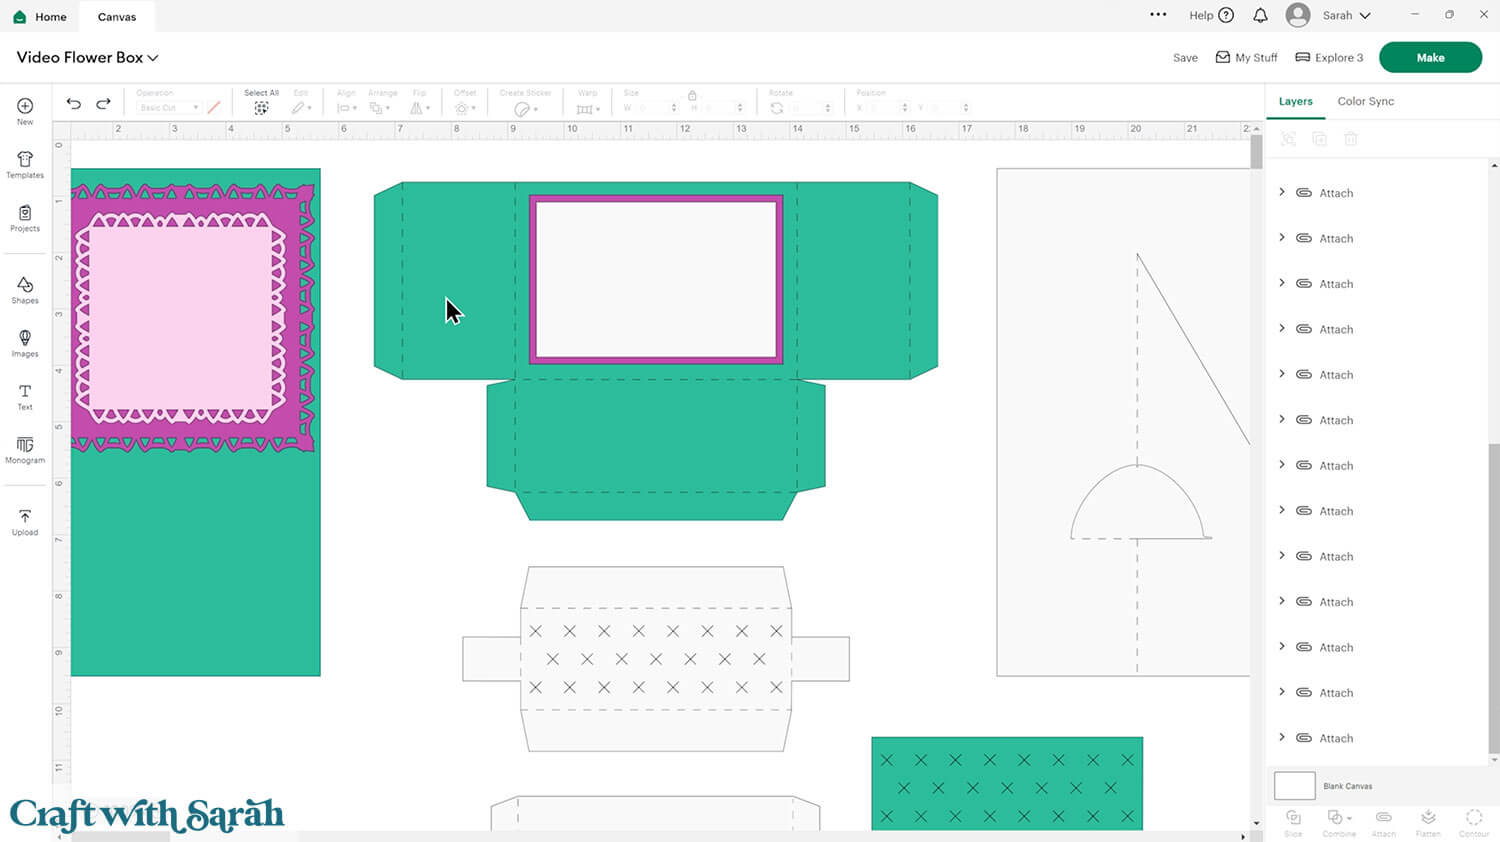
Click the design and Ungroup the layers to separate them.

Look down the Layers panel for groups with little chevron arrows next to them.
The arrows indicate that the piece in question has Score lines that need formatting.
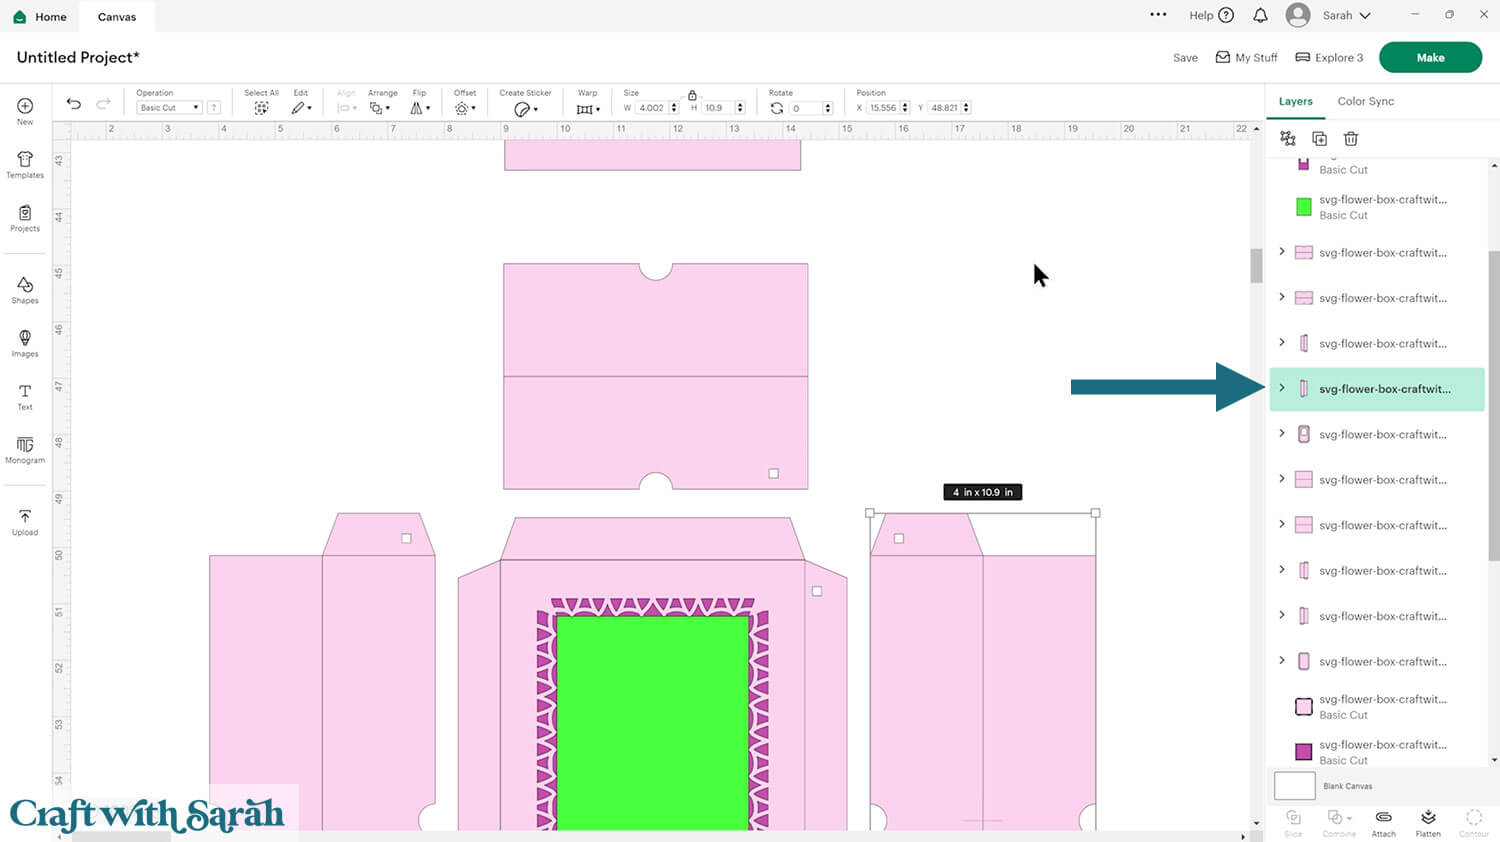
Click on the chevron next to one of the pieces to open the group. Click on the layer that looks like straight lines. It could be horizontal lines, vertical lines or a mixture of the two.
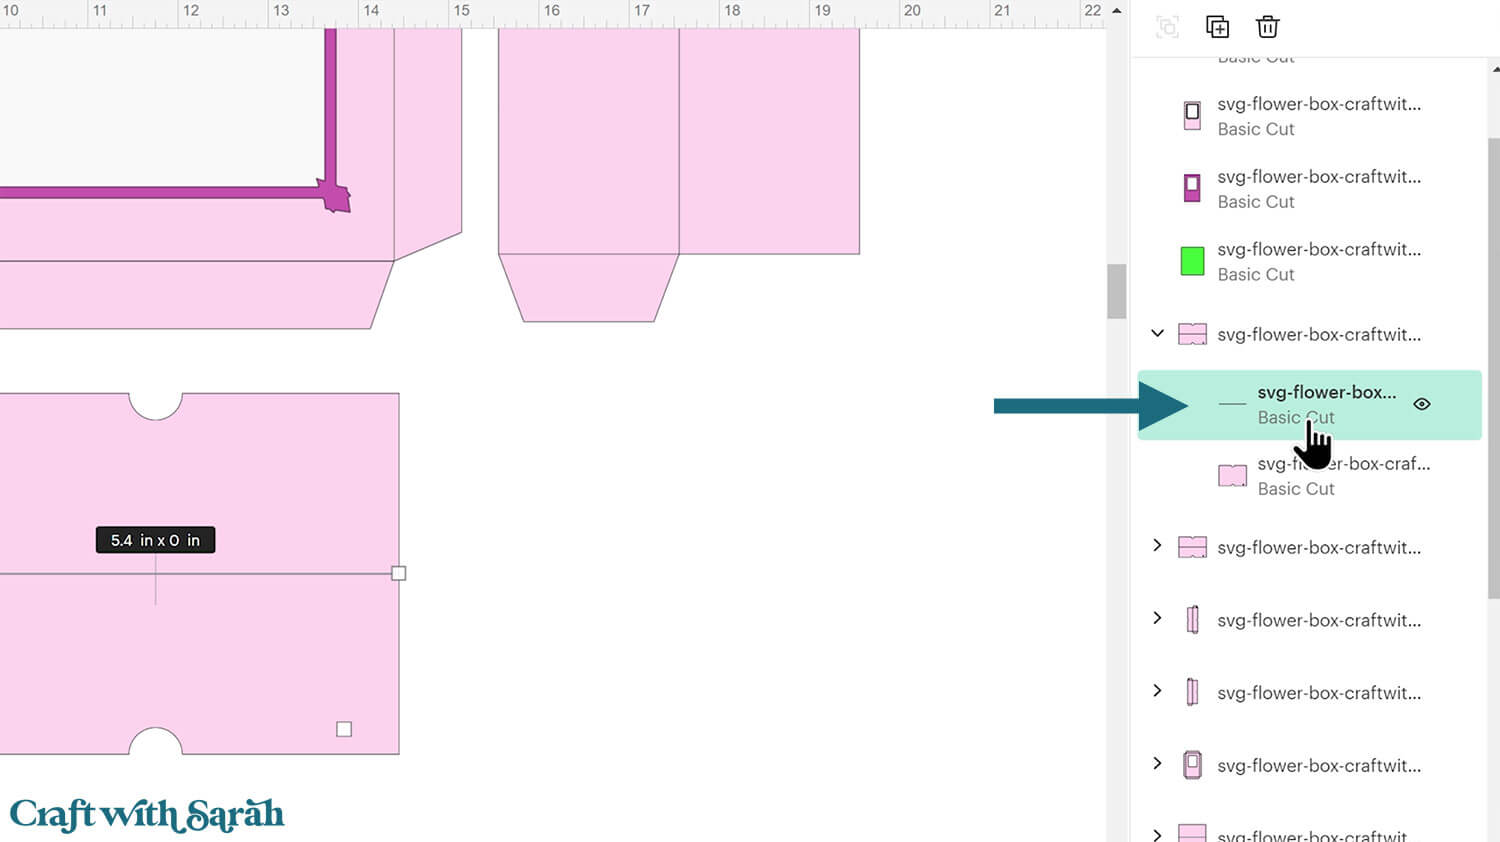
Use the Operation dropdown menu to change the line to “Score”.
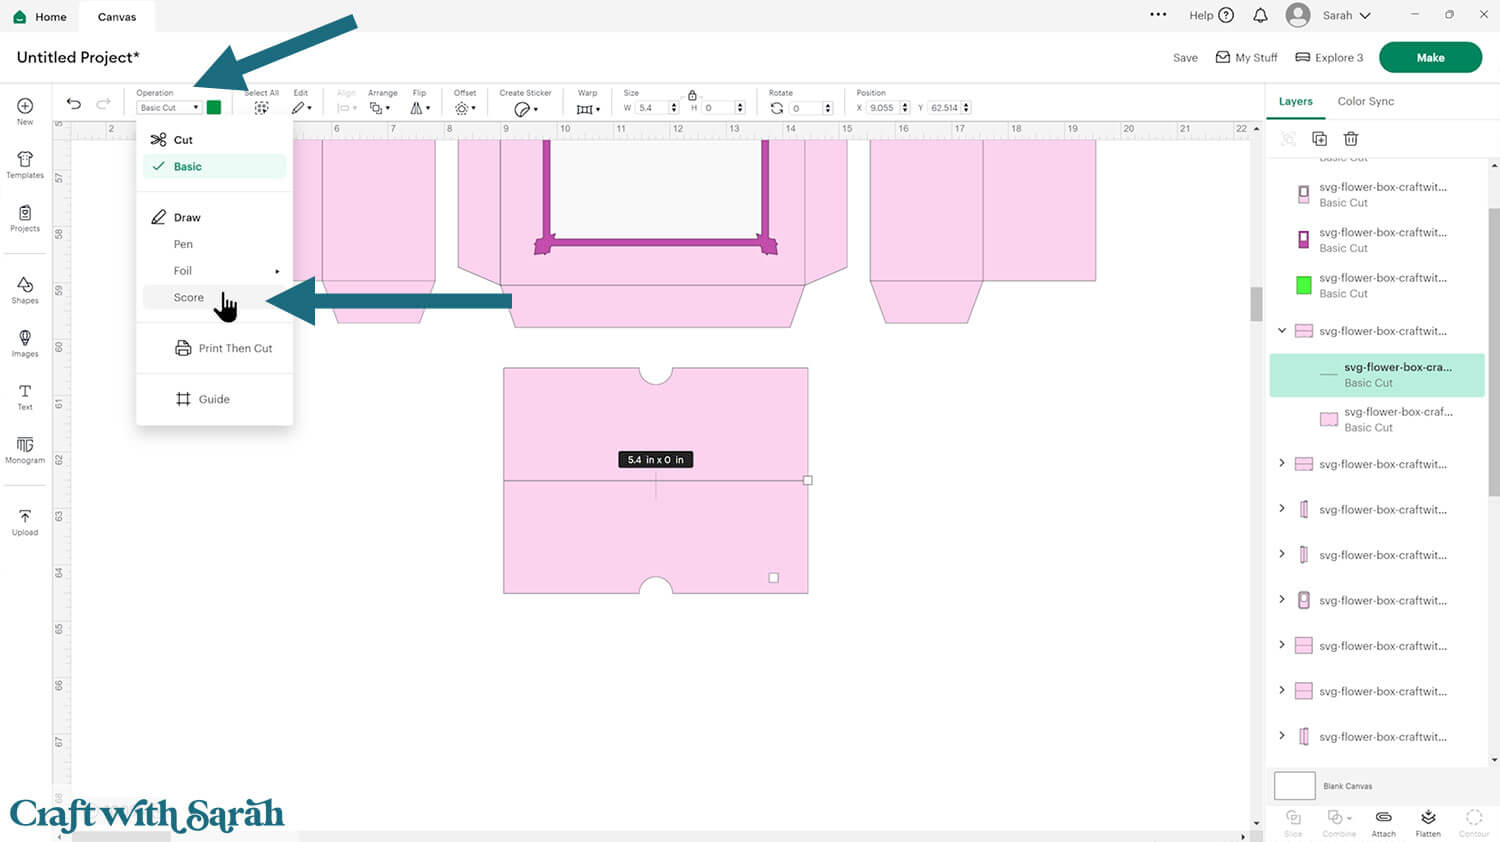
Select the score line and the matching layer underneath, then press “Attach” at the bottom of the layers panel.
Attach is what tells the Cricut where to do the scoring.
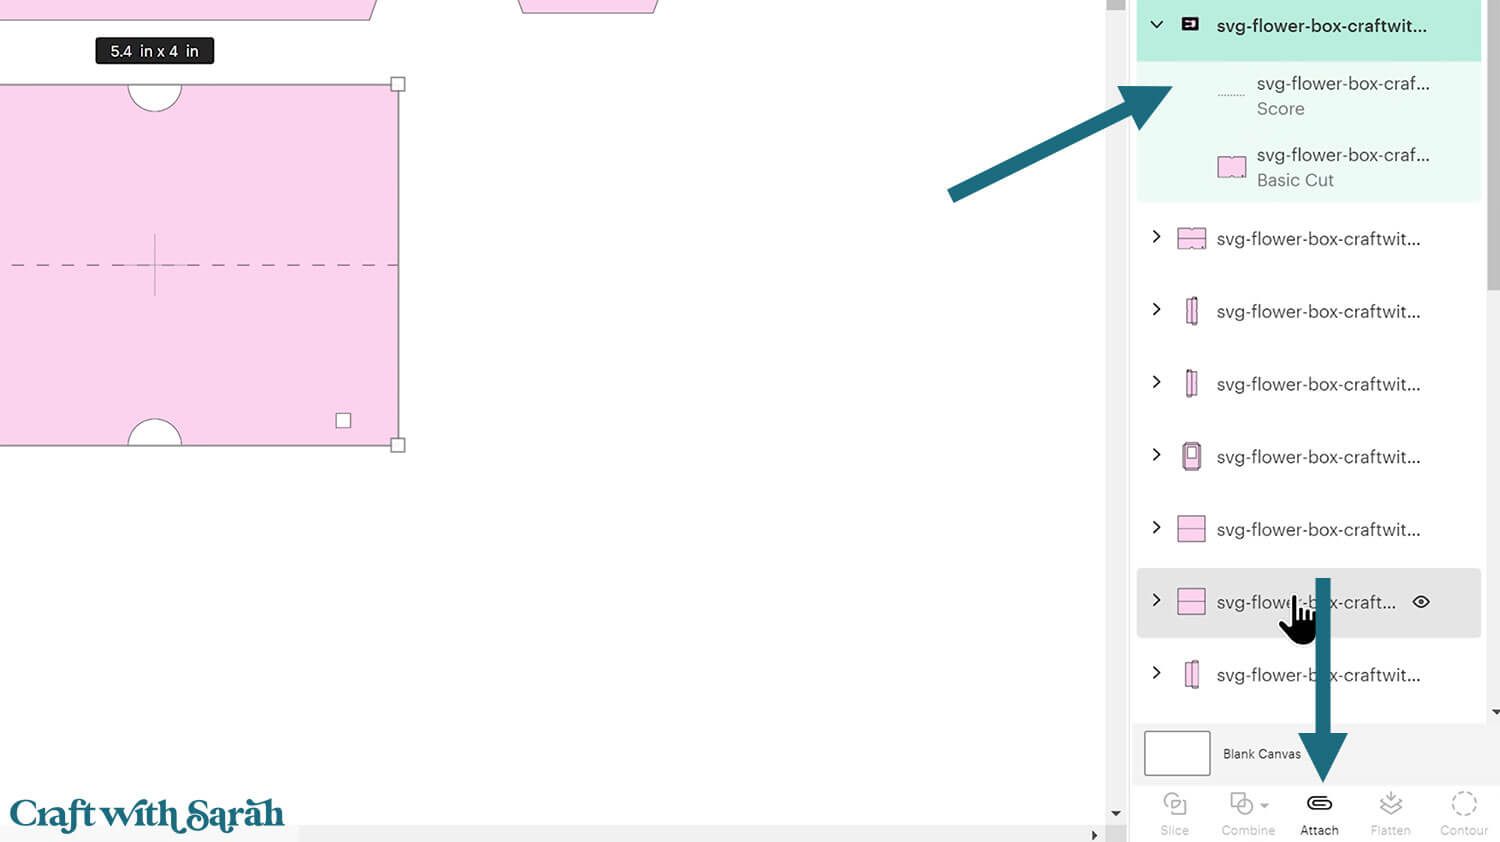
Click the piece you have just formatted and press Arrange > Send to Back. It will be easier to see what still needs formatting if we move the completed ones to the bottom of the layers panel.
Repeat this for each layer that has a chevron arrow next to it.
There are lots to do, in different colours.
When you are finished, all your subgroups should now have a paperclip icon next to them in the layers panel, with the word “Attach”.
Once done, save your project so you won’t have to redo all that work if you cut again later.
Step 3) Decorate the front of the card and presentation box
This project is made up of two parts:
- The flower box (which holds the flowers)
- The presentation box (which holds the flower box like a gift box)
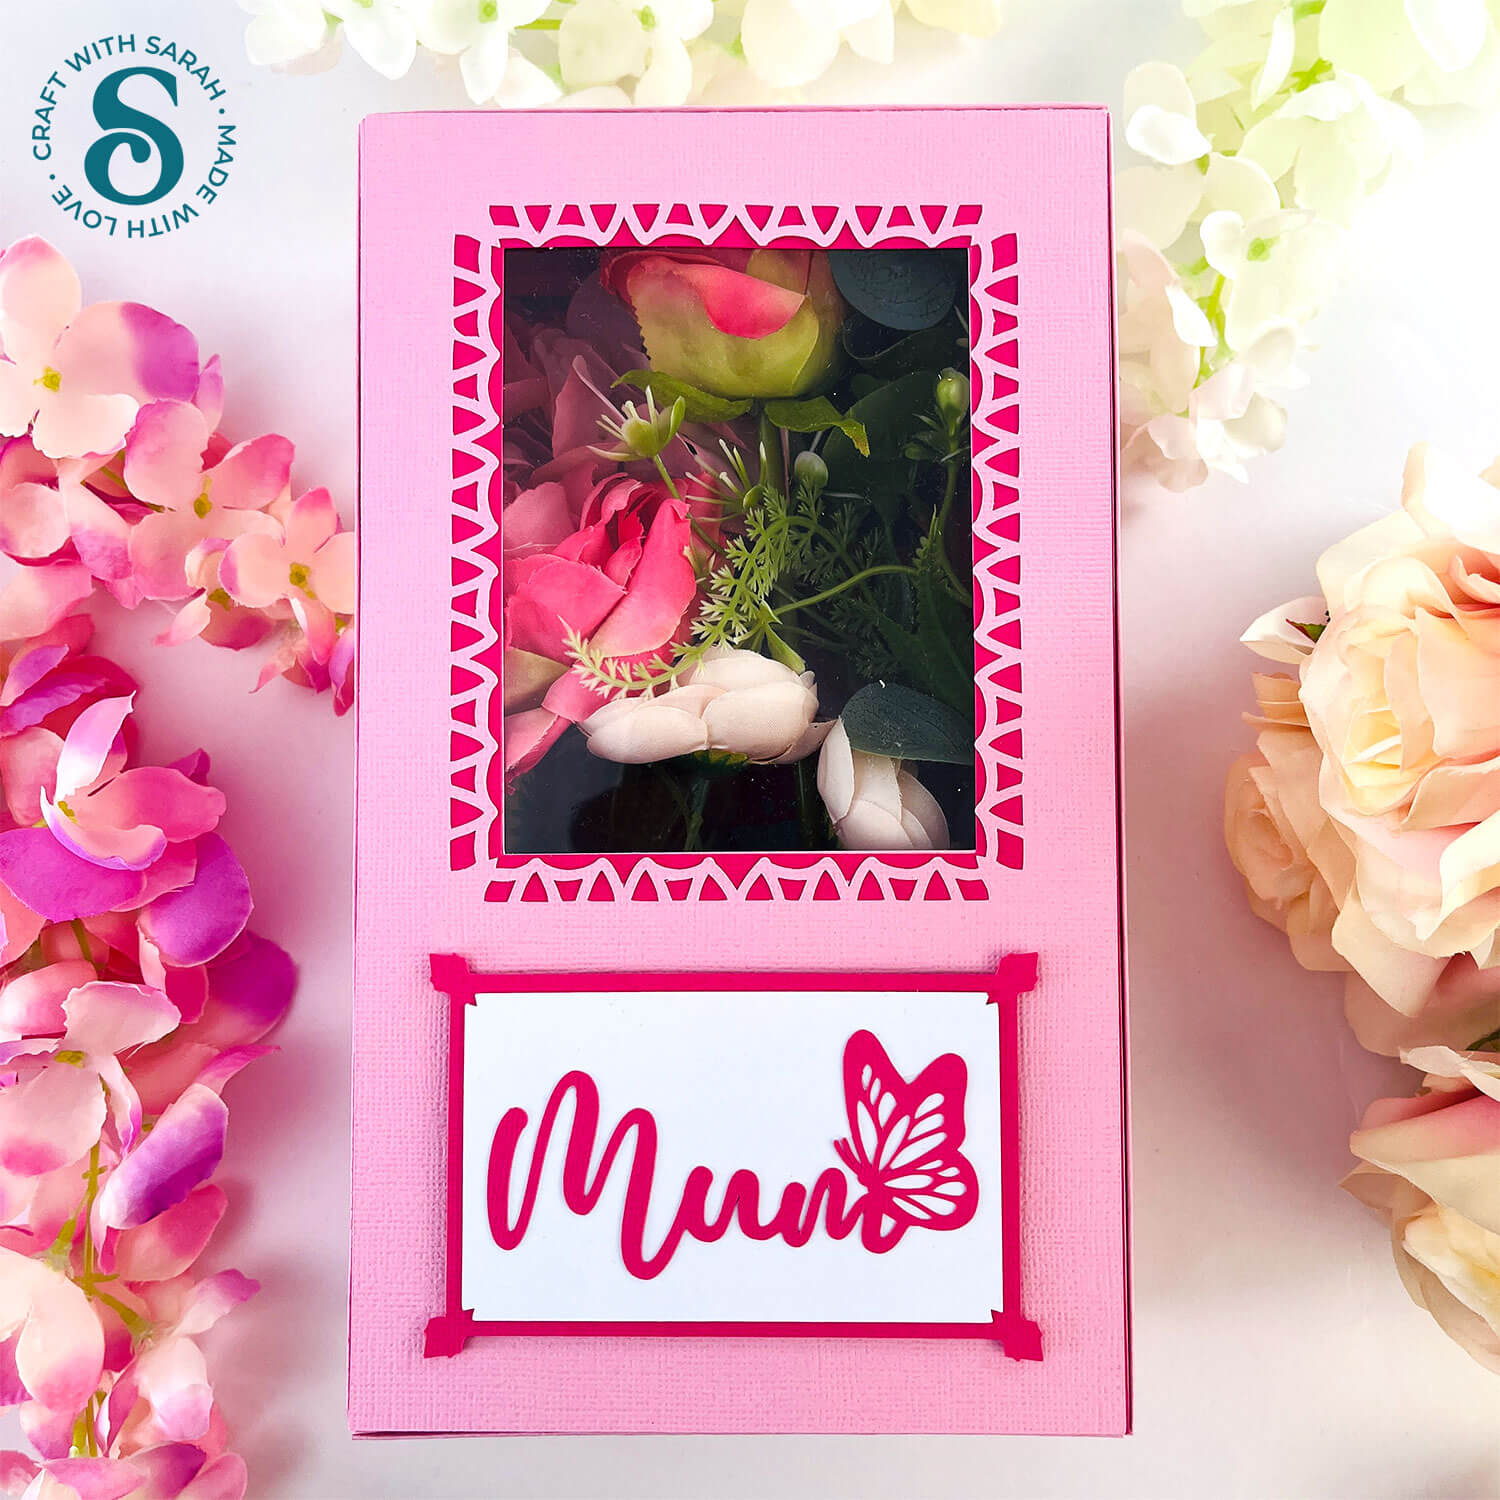
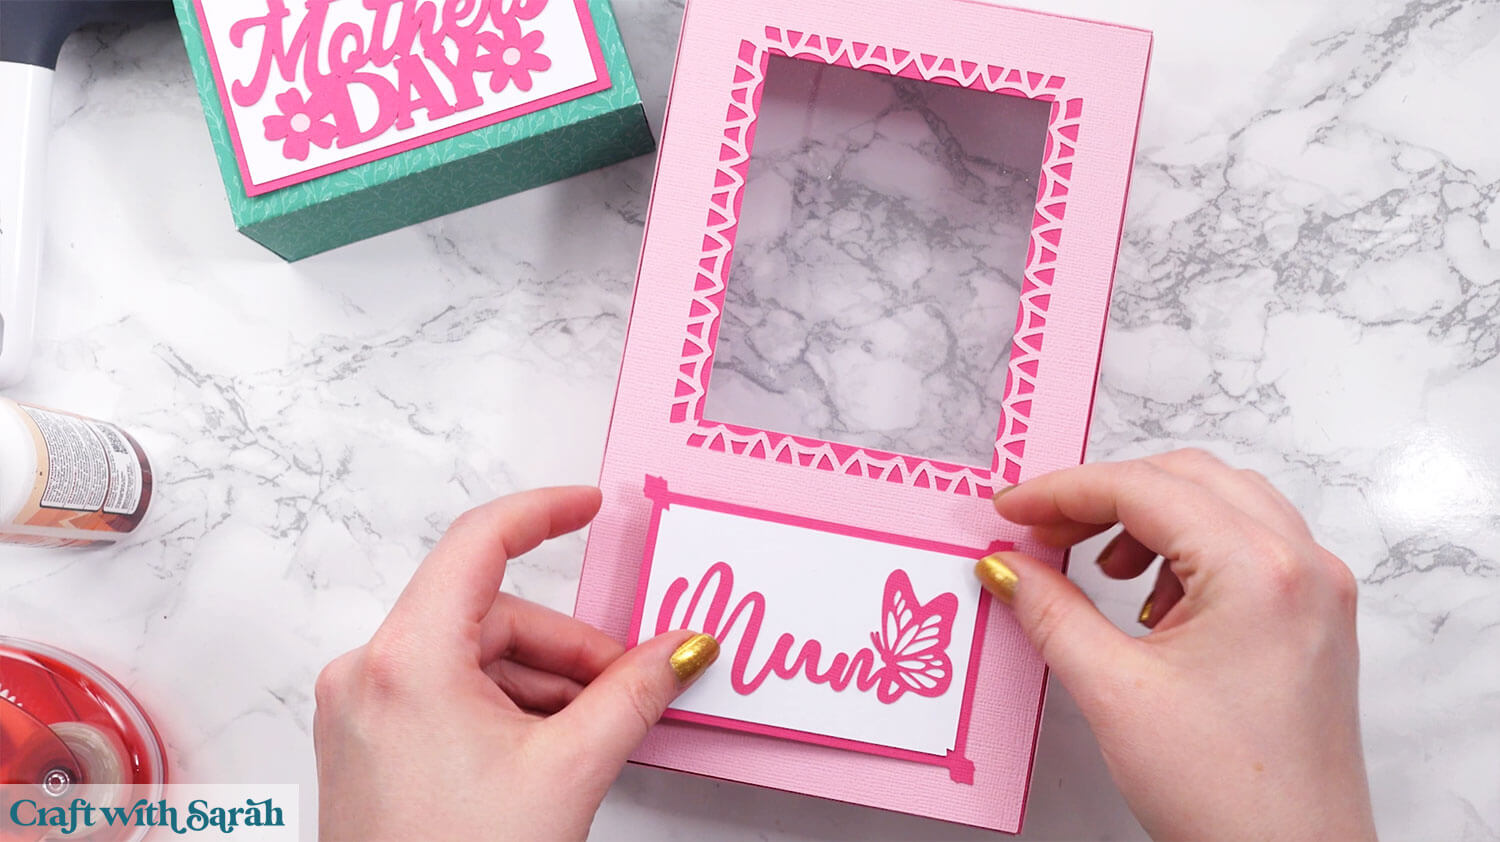
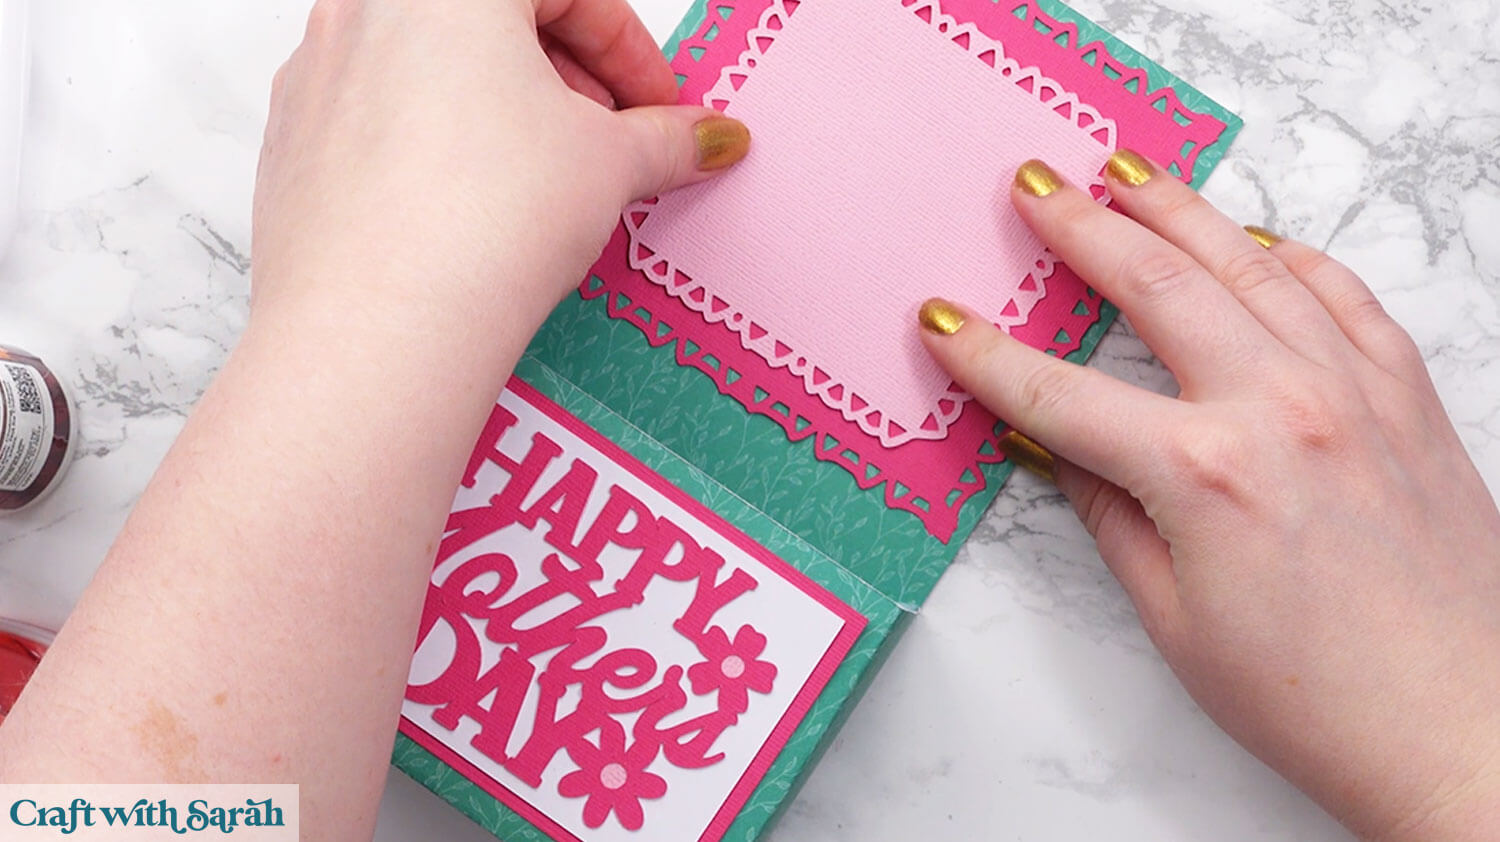
You can personalize both of these. I added a pretty “Mum” image that I found in Cricut Access (under “Images”) on the front of the presentation box.
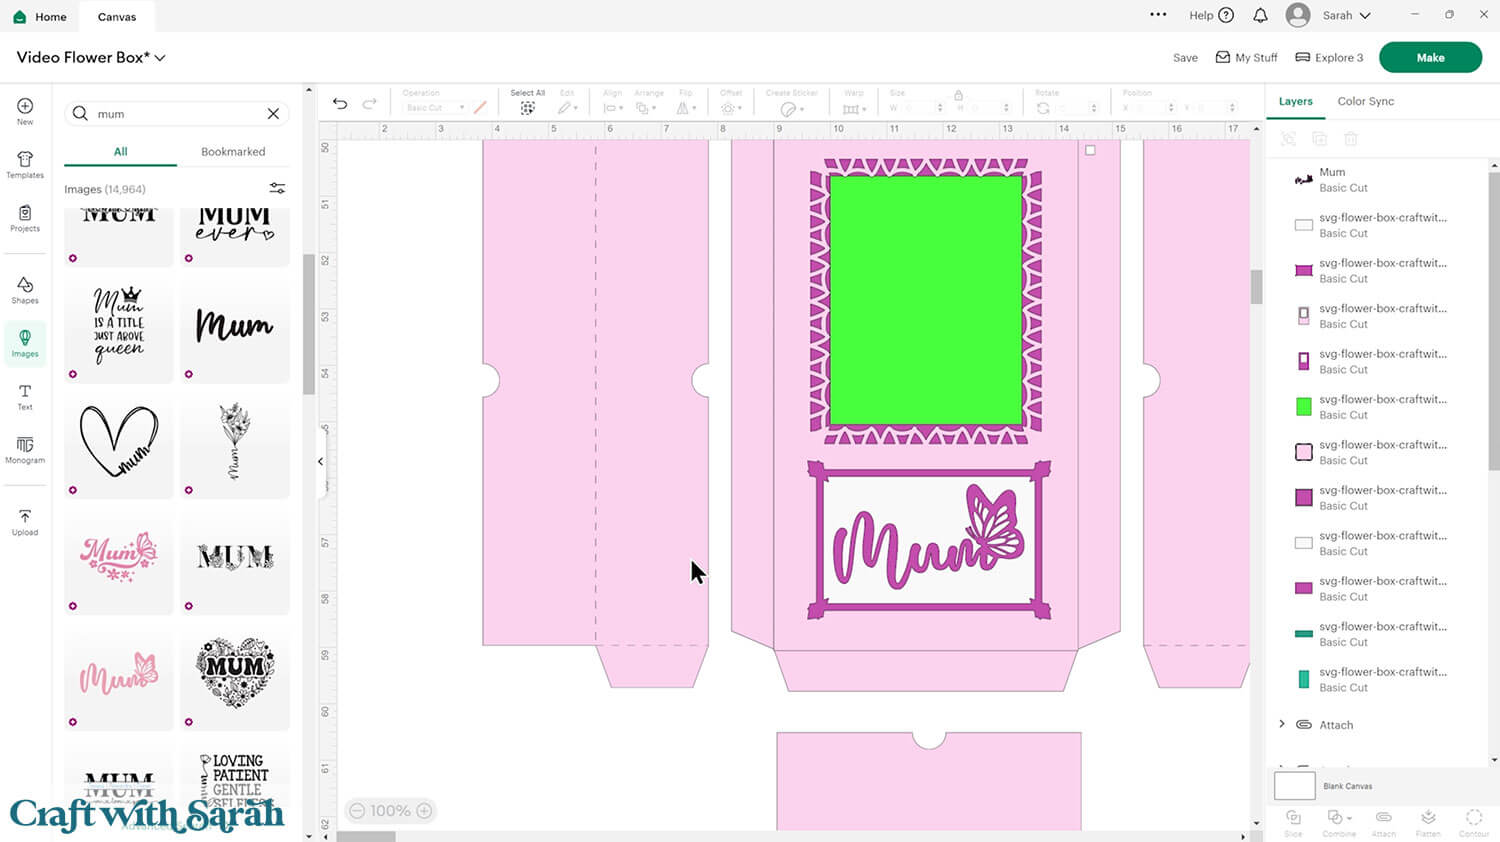
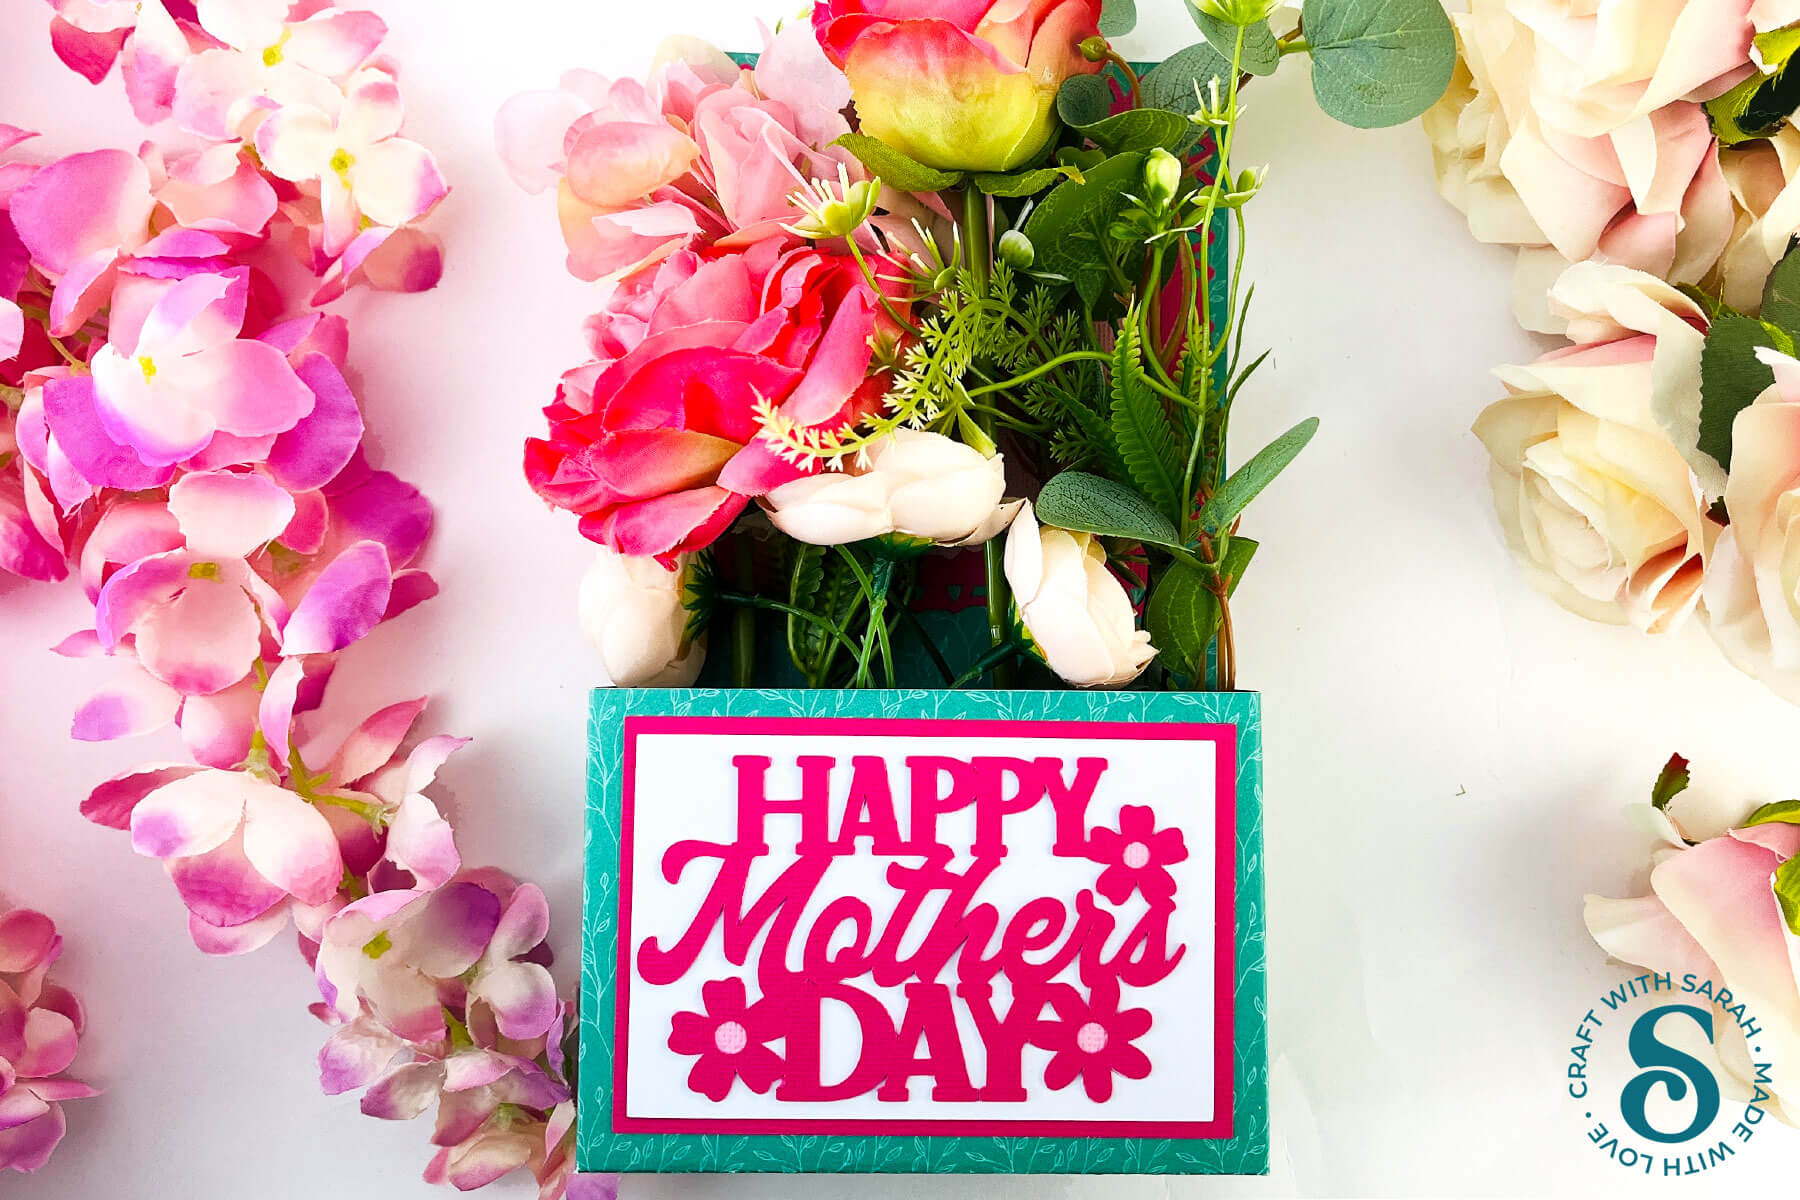
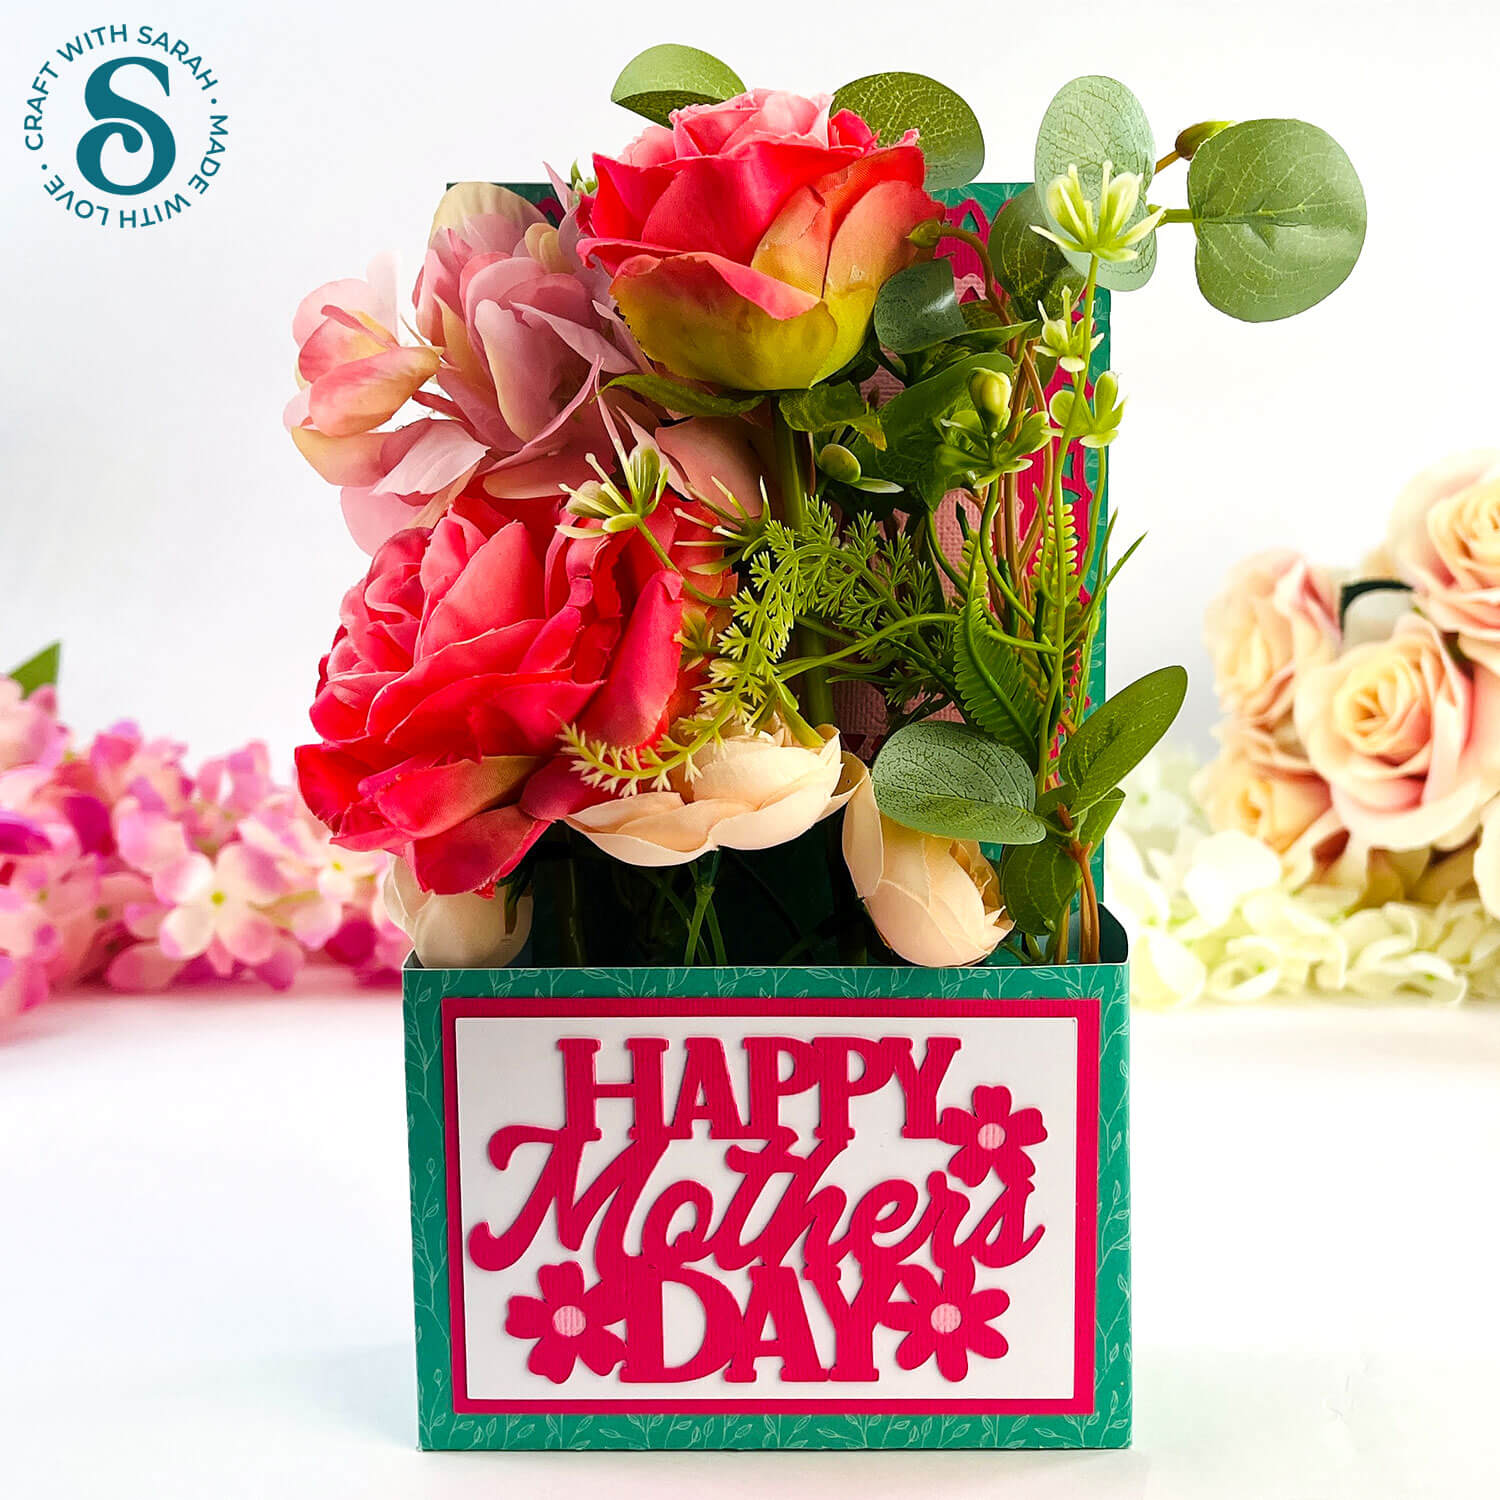
To match the theme, I put a “Happy Mother’s Day” image on the front of the flower box.
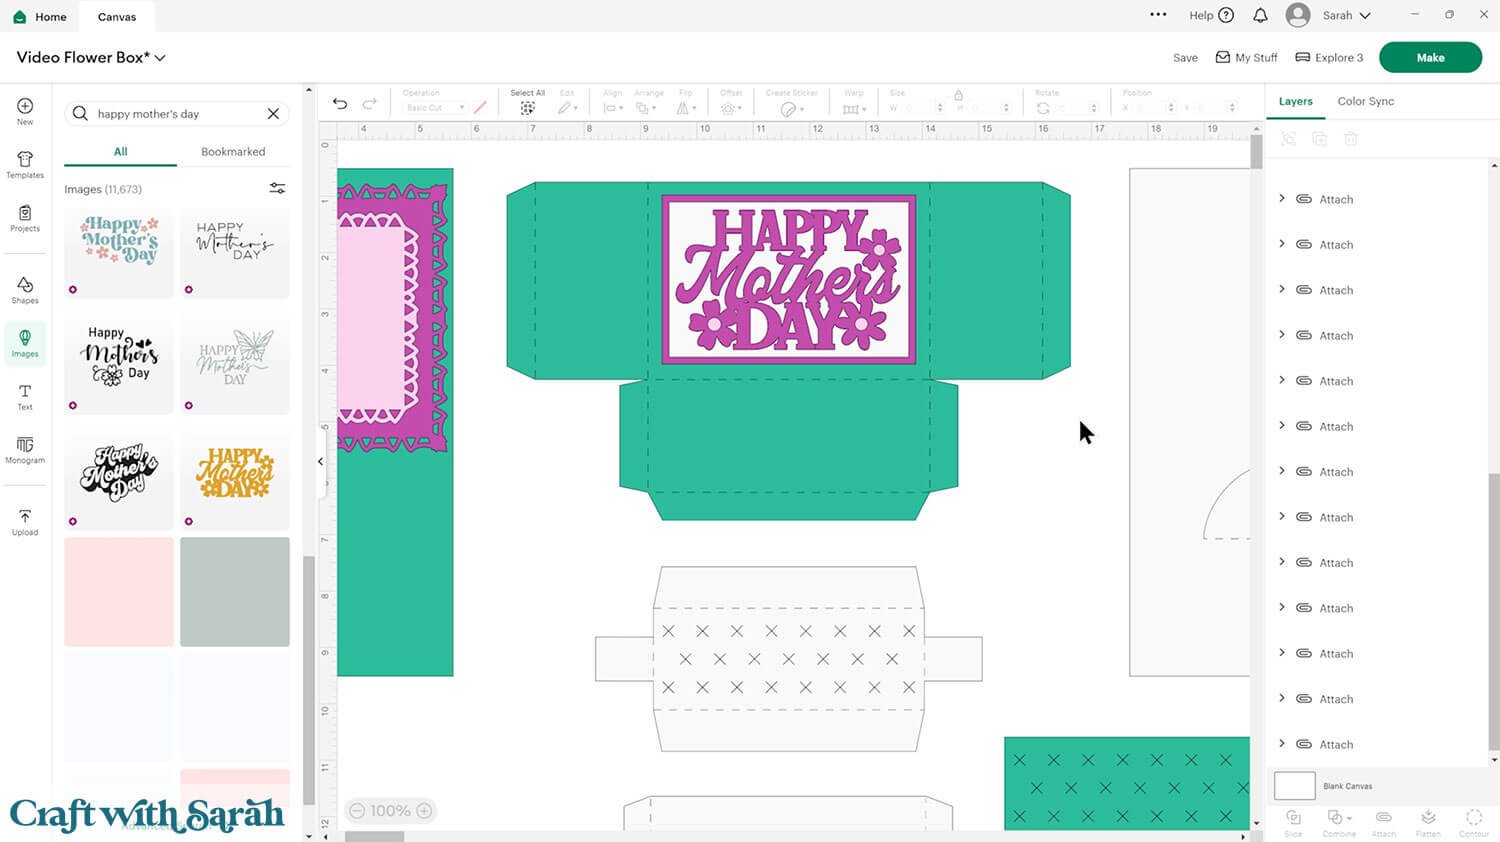
This is a good time to change the colours if you are planning on cutting them differently to what’s on the screen.
Otherwise, it’s time to start cutting!
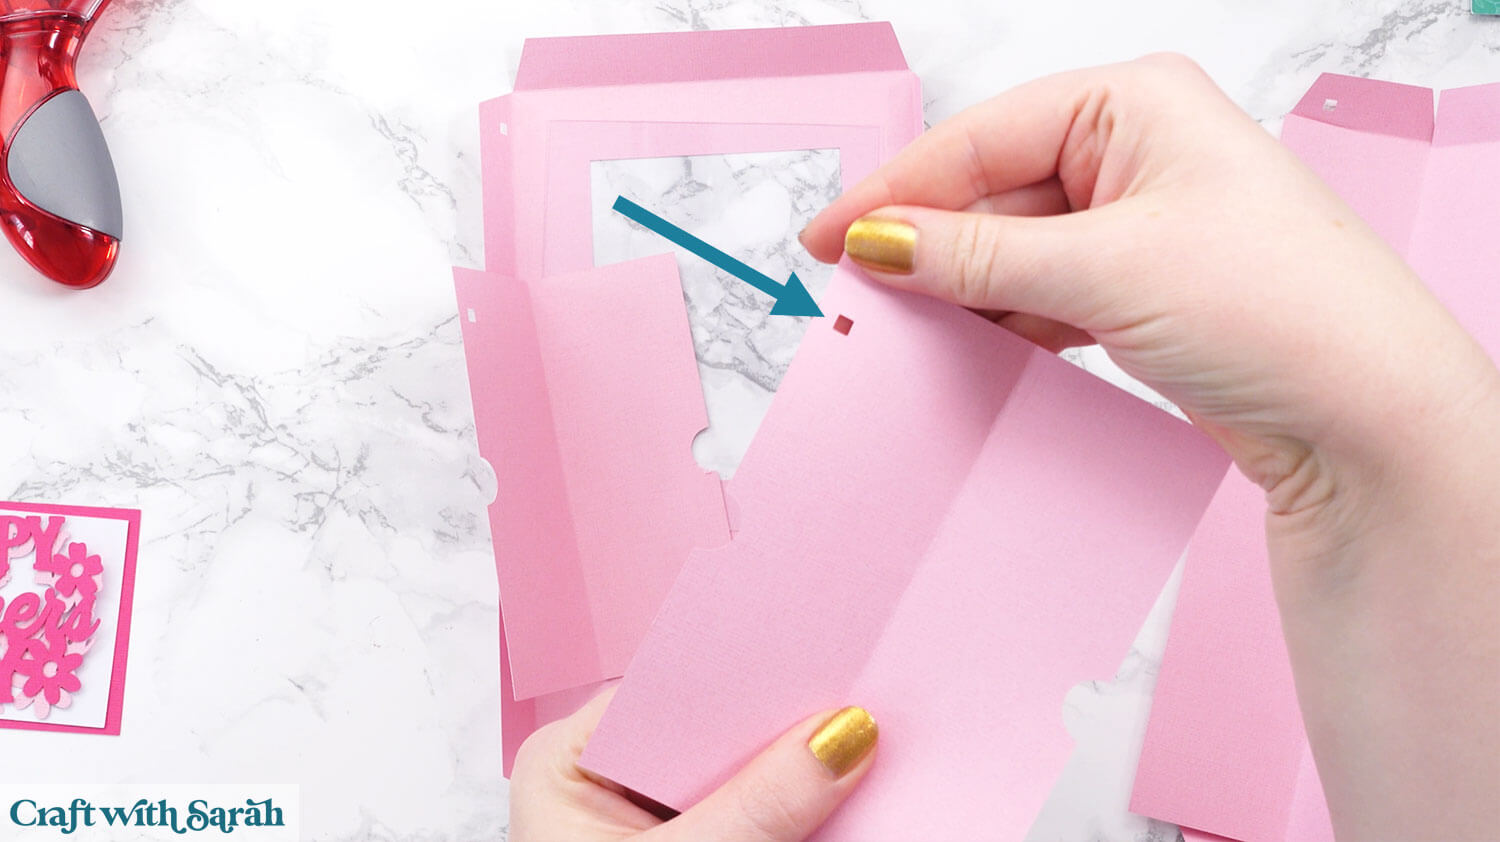
IMPORTANT!! The lime green piece is intended to be cut from acetate to act as a “window” on the front of the presentation box. If you don’t have any acetate then you can delete this layer.
Step 4) Cut out all the pieces
When you’re happy with how the project is looking in Design Space, click “Make” and follow the instructions on-screen to cut out all the pieces.
To change the paper size, go into the dropdowns over on the left side of the screen and choose the paper size that you want to use. You need to change it for every single colour.
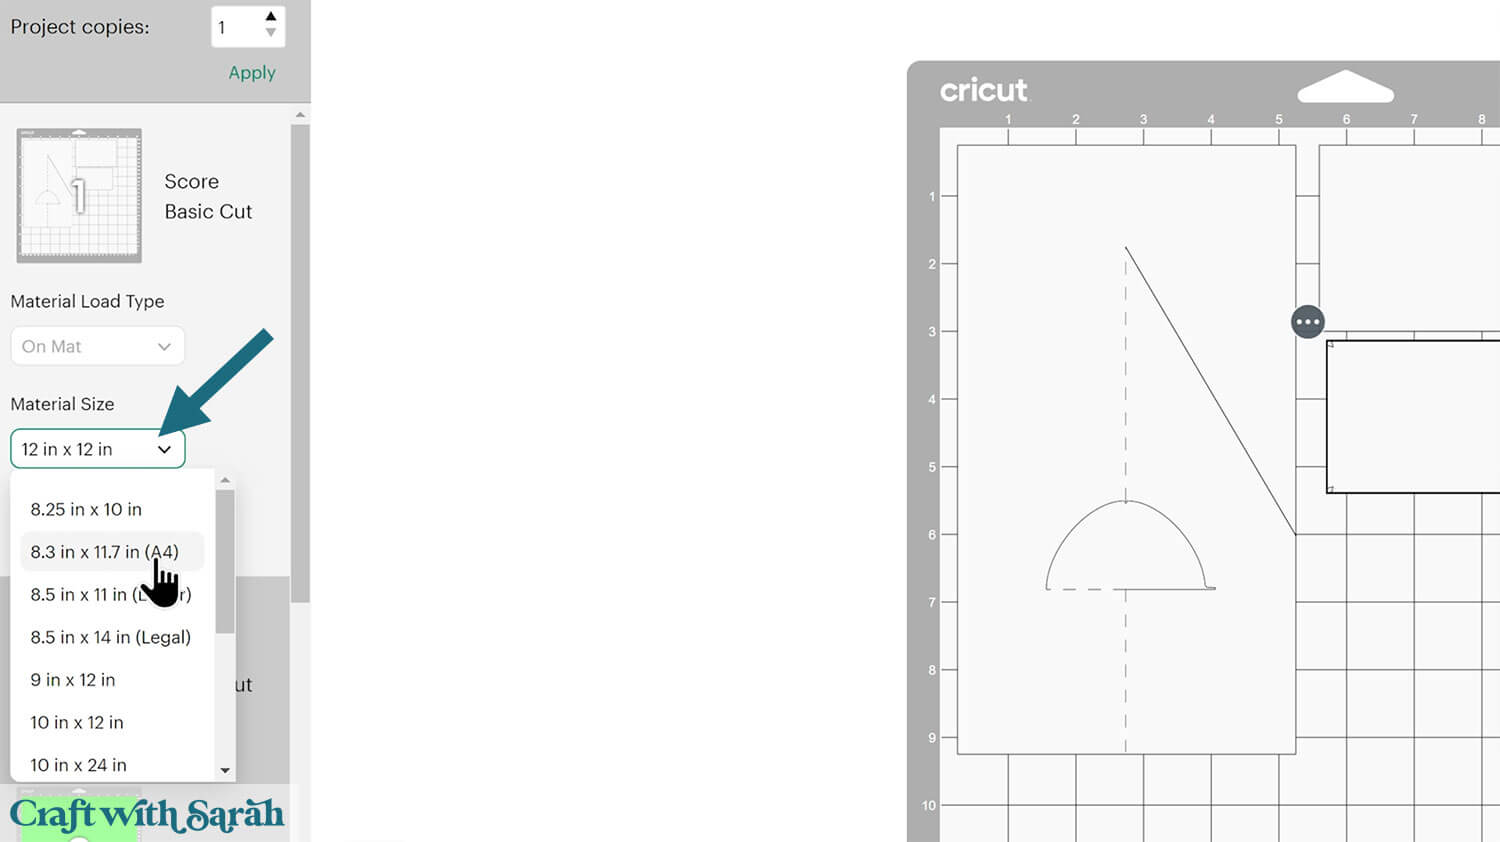
To save space on your cardstock, you can move things around by clicking and dragging. Make sure when you’re moving things about that nothing overlaps because otherwise, it won’t cut out properly.
REMINDER!! The lime green piece is intended to be cut from acetate to act as a “window” on the front of the presentation box.

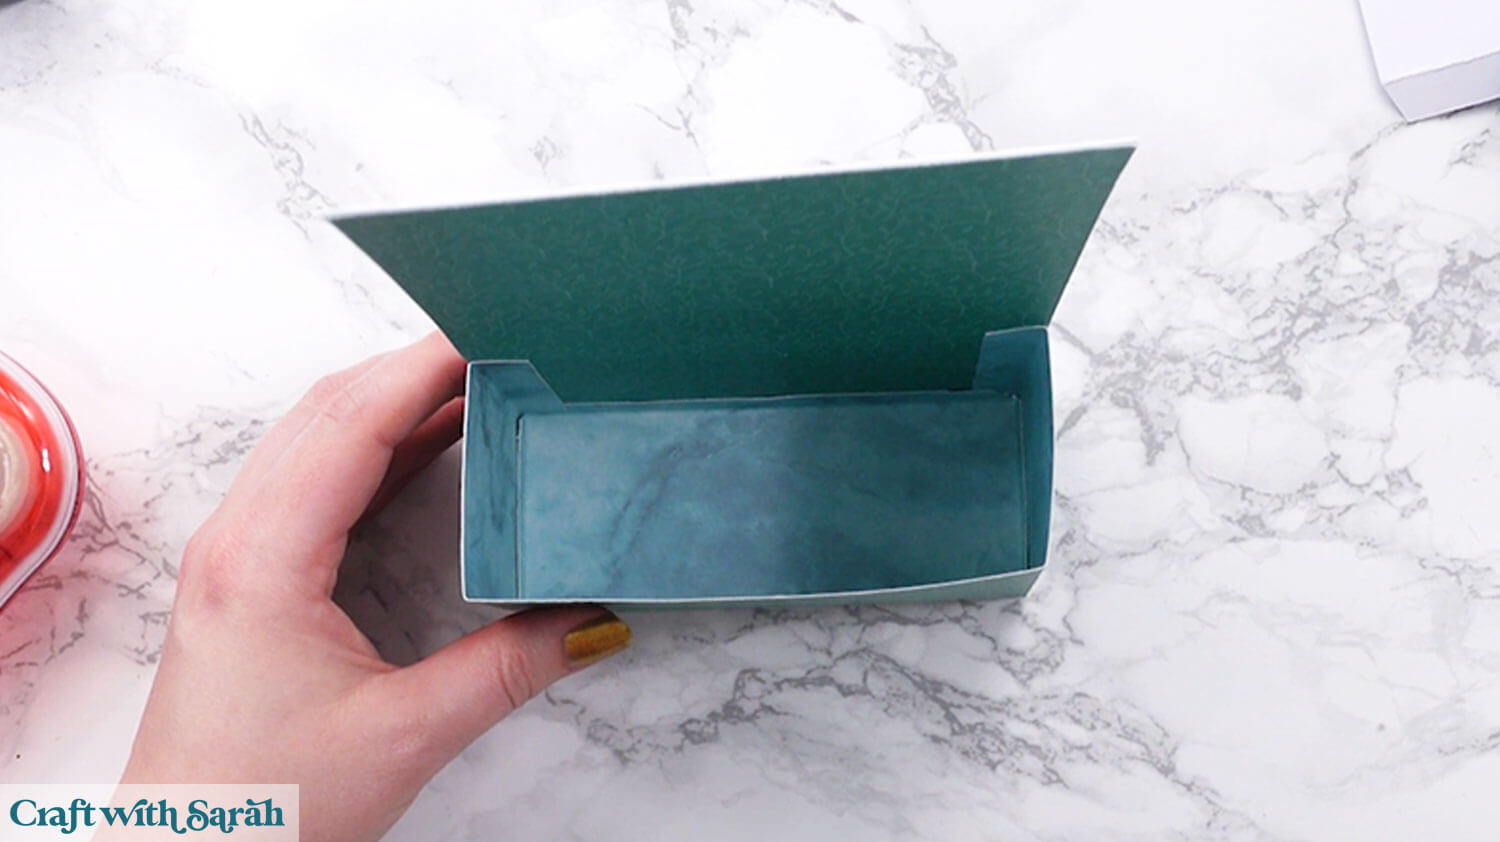
Step 5) Put the bottom of the presentation box together
My favourite glues to use on papercraft projects are Bearly Art Glue and Collall All Purpose Glue.
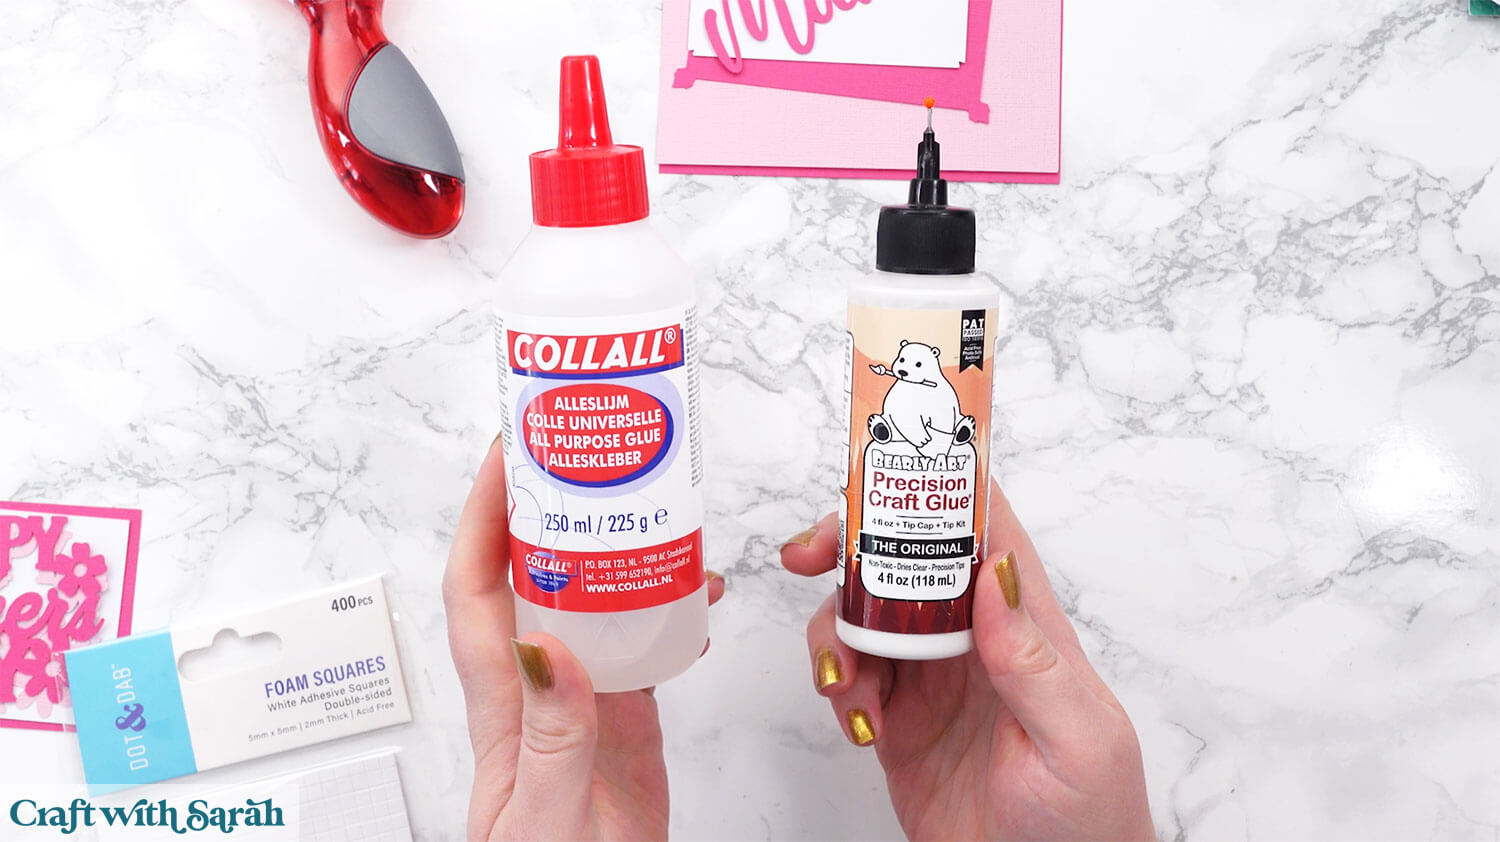
These are great because they don’t “warp” or bend the cardstock like some glues do. You can use as much of it as you want and the card stays perfect – and it dries perfectly clear too!
Bearly Art Glue comes with a tiny nozzle to make it easy to apply glue to small areas of card. The Collall glue doesn’t come with this, so it’s easiest to decant it into needle tip applicator bottles so that you have more control.
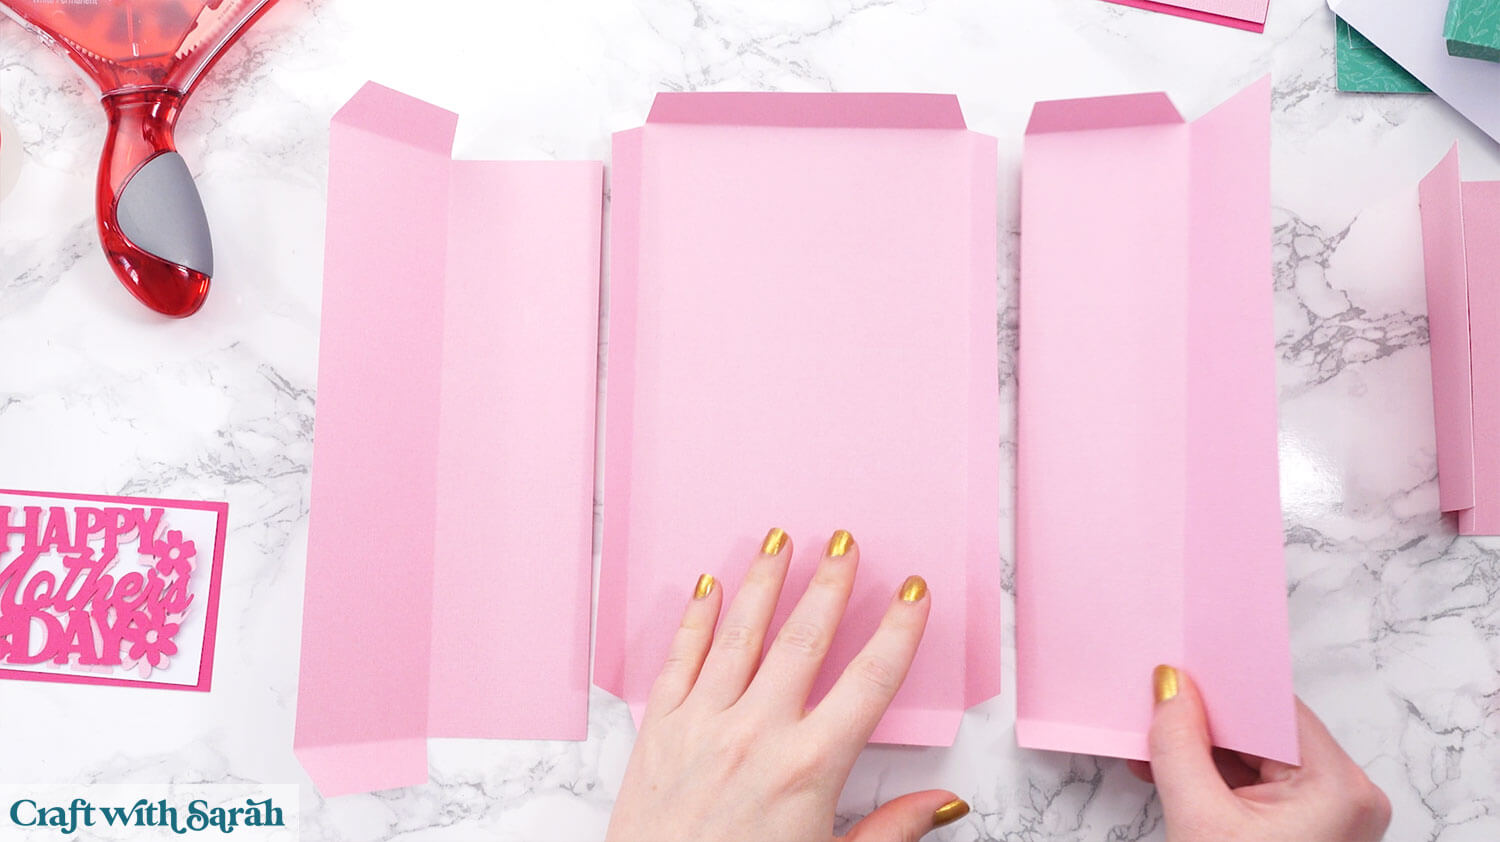
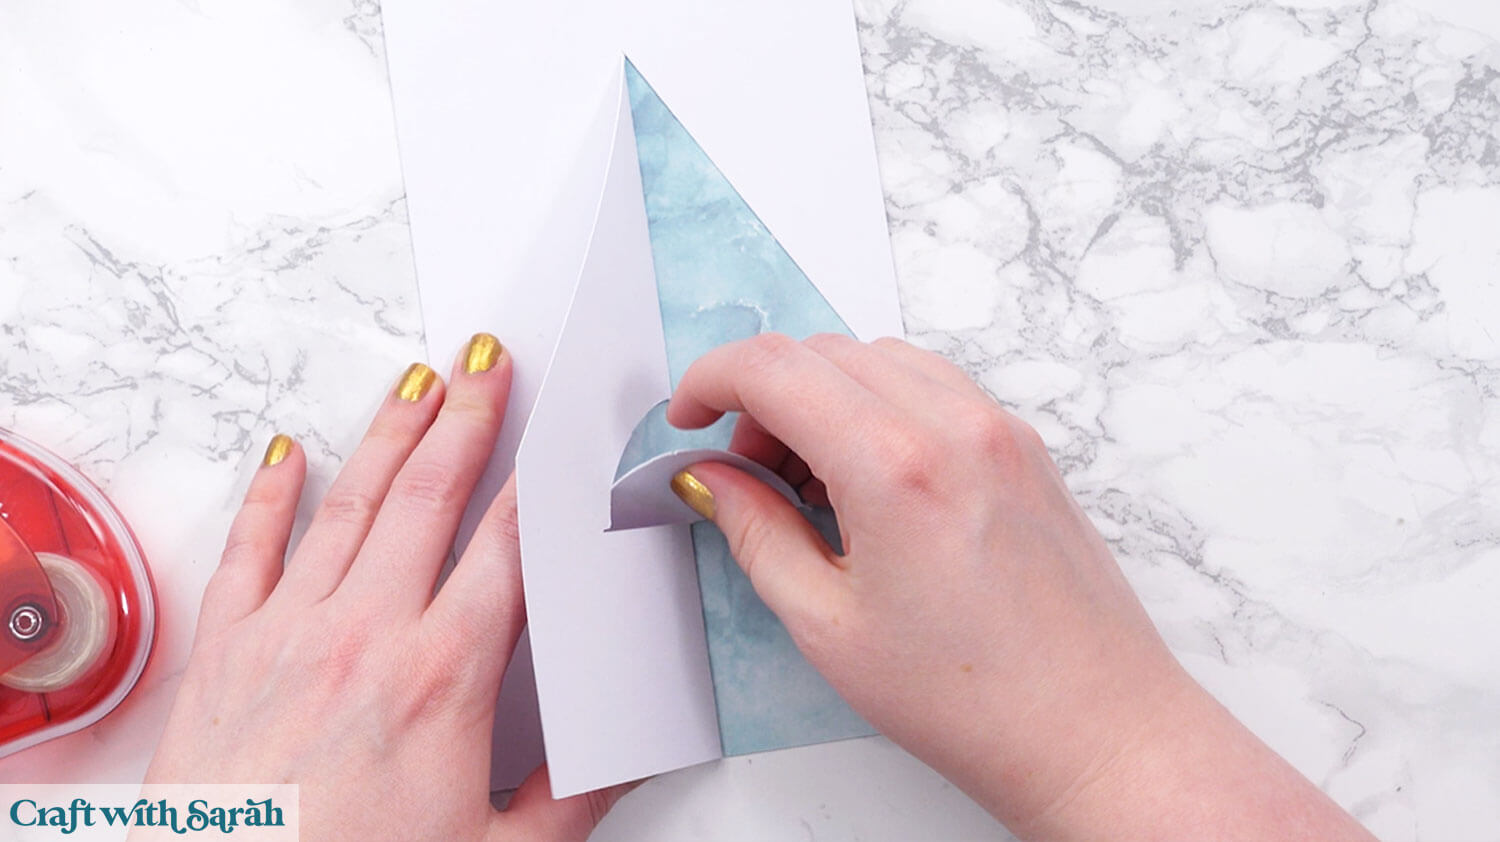
Before starting the assembly, fold the score lines along all the pieces of the project.
All the fold lines are Mountain Folds (so the “point” of the fold is at the top).
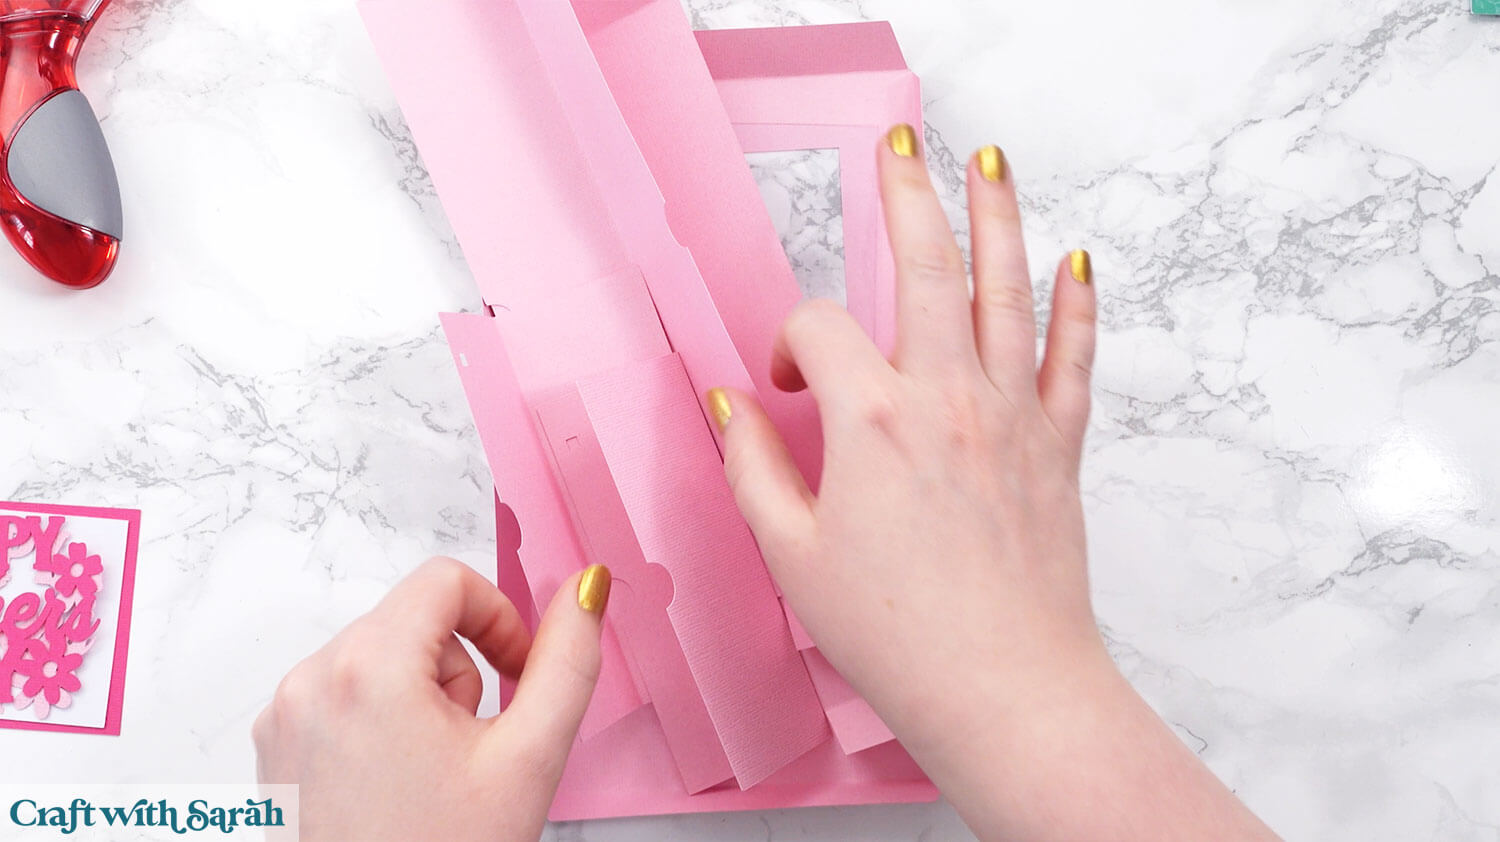
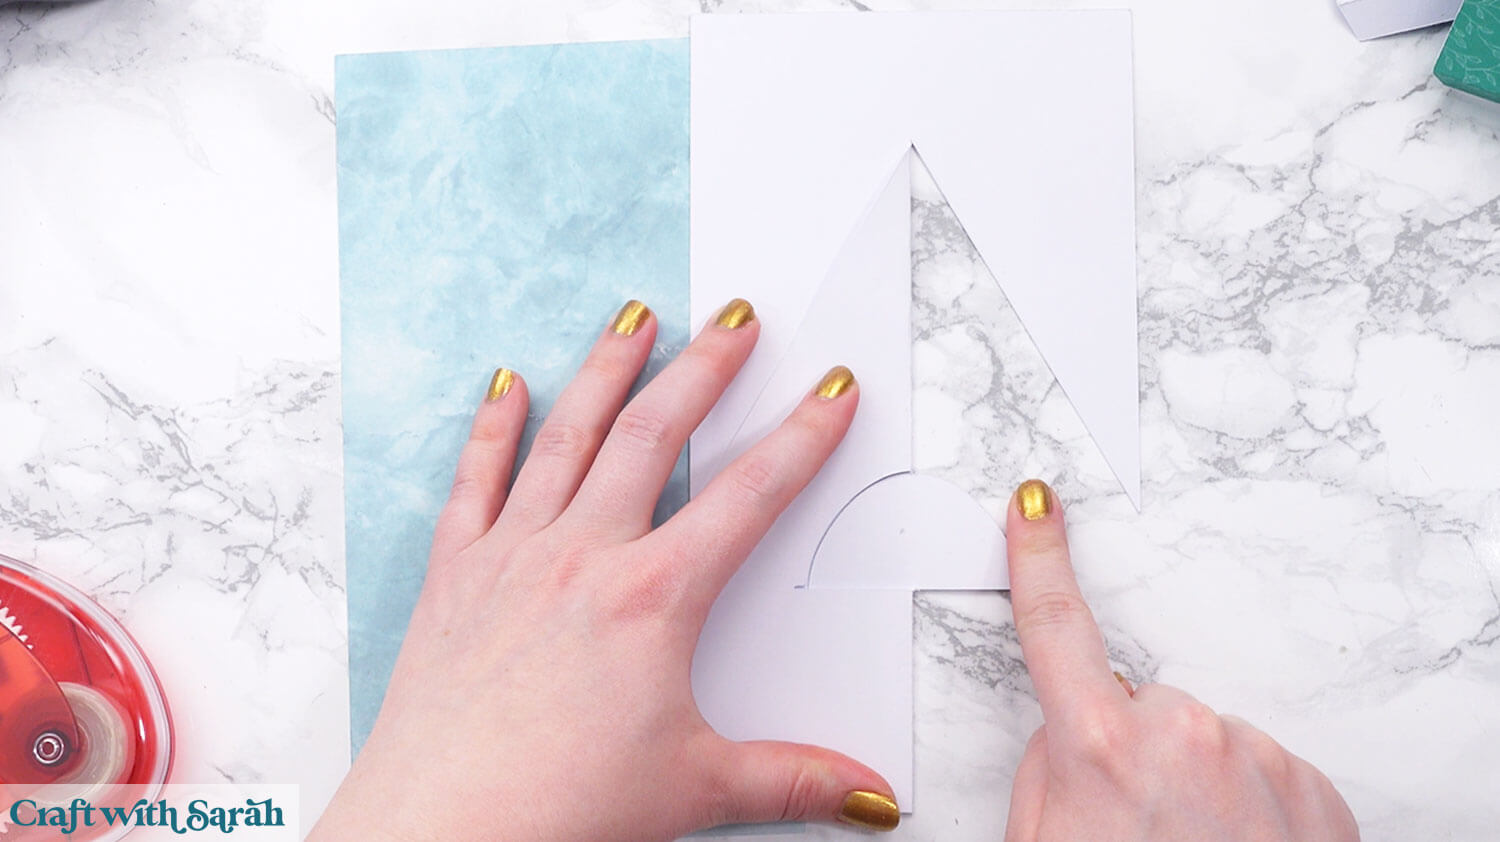
Gather the pieces of the presentation box. You can see what these are by looking at the project in Design Space.
Separate them into two piles: one for the top of the box and one for the bottom.
The pieces for the top have little squares cut out of them to help identify them.
I recommend getting those into separate piles on your desk before you start sticking them together, just to make sure when you’re doing it you know you’ve definitely got them in the right order.
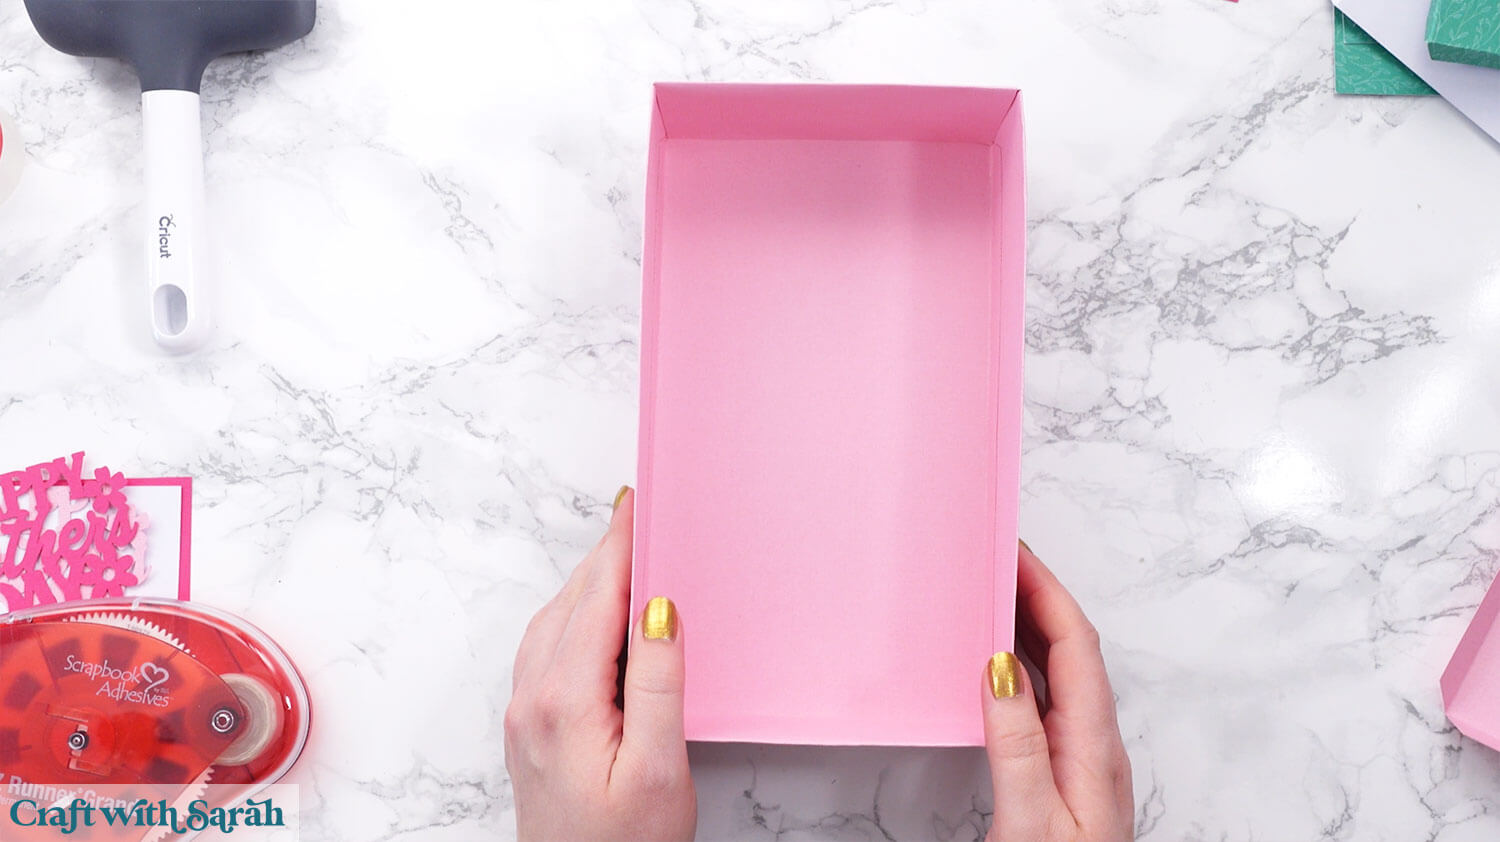
We’ll start by assembling the bottom of the presentation box first. The pieces will be solid with no little square cutouts on them.
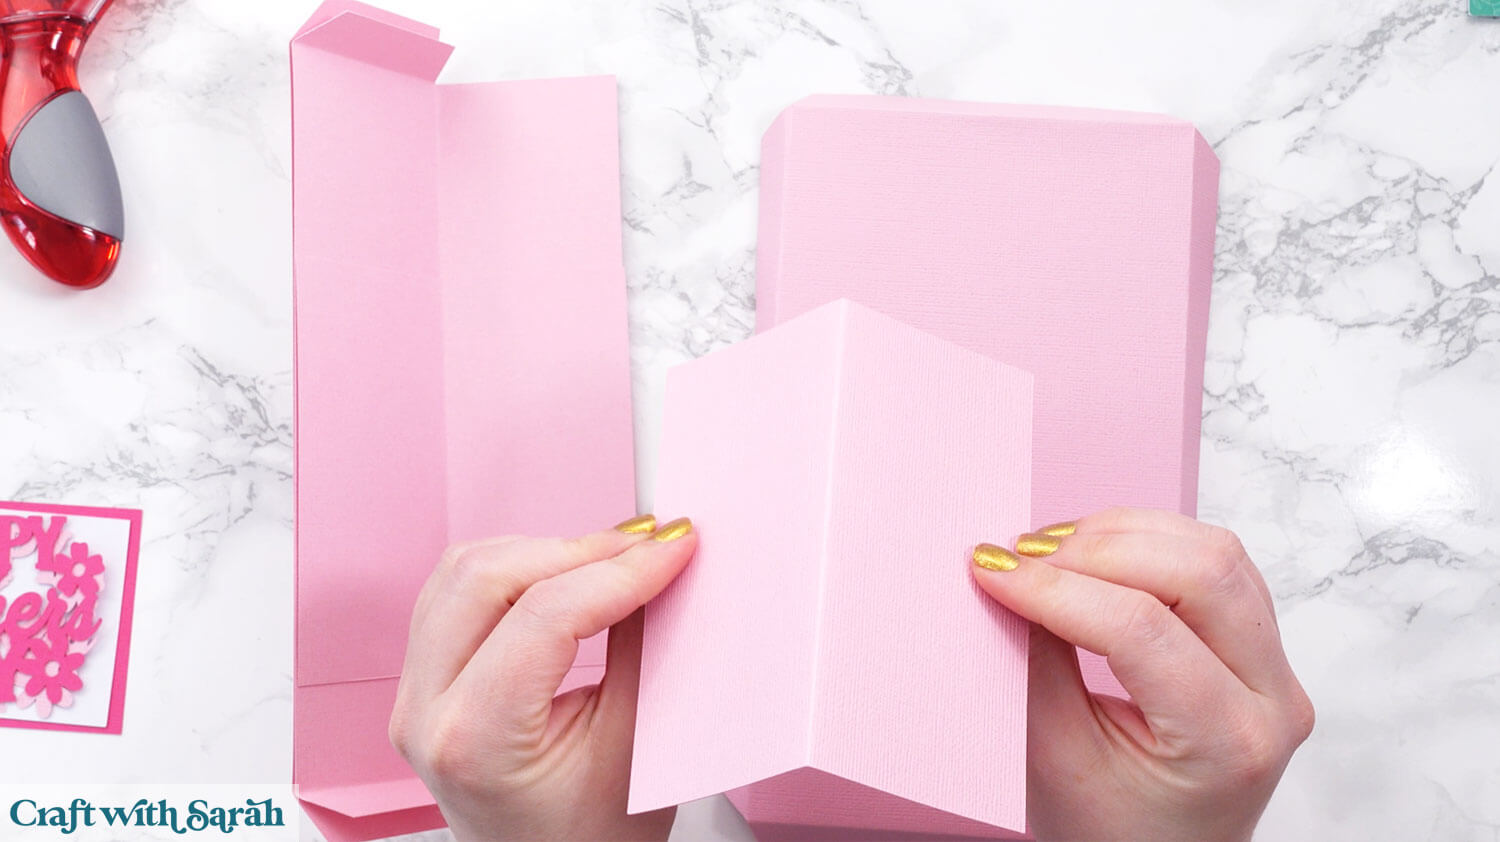
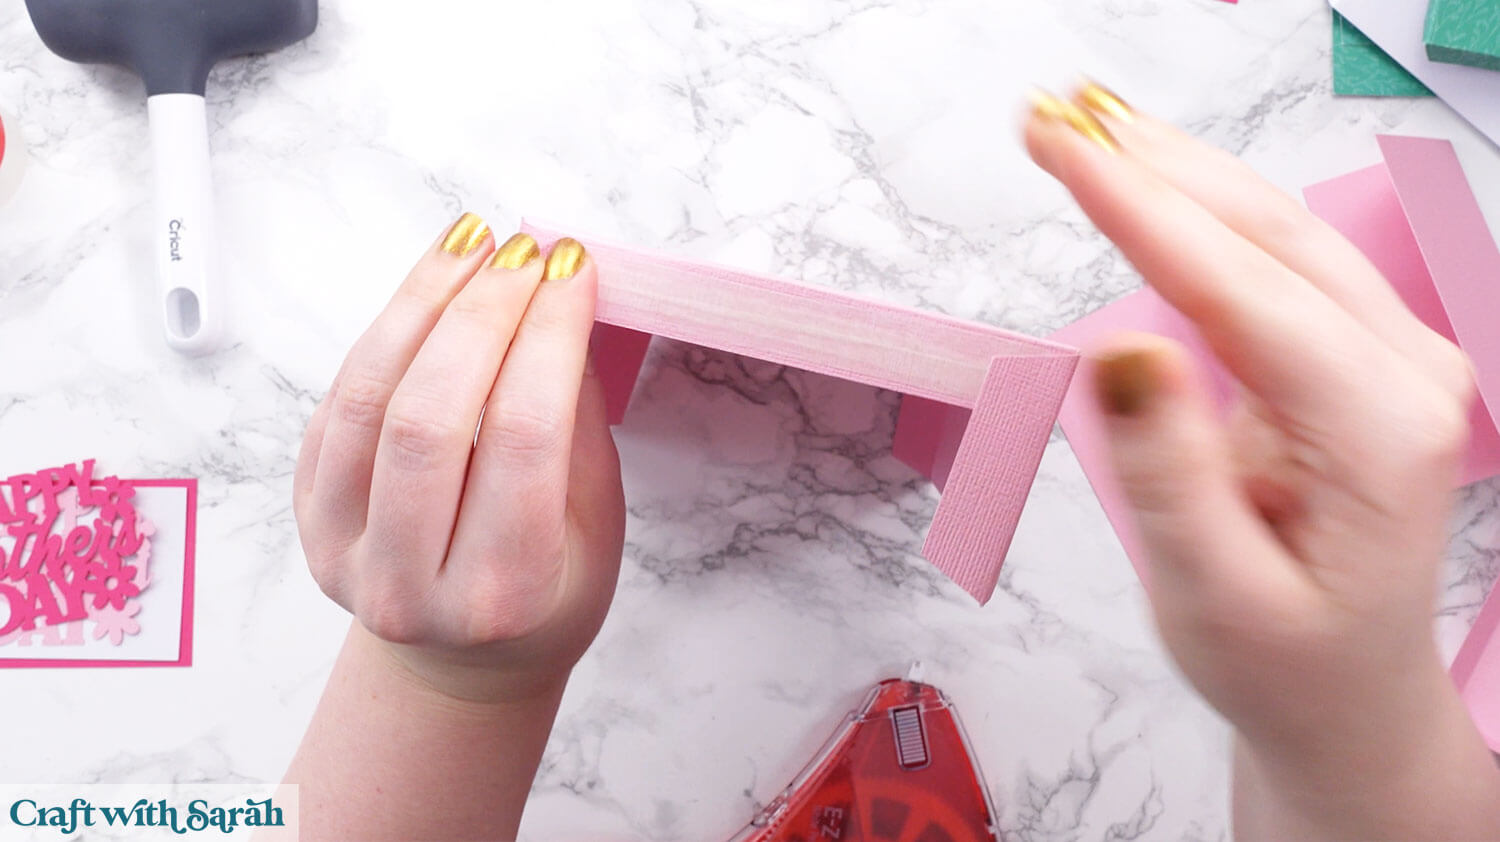
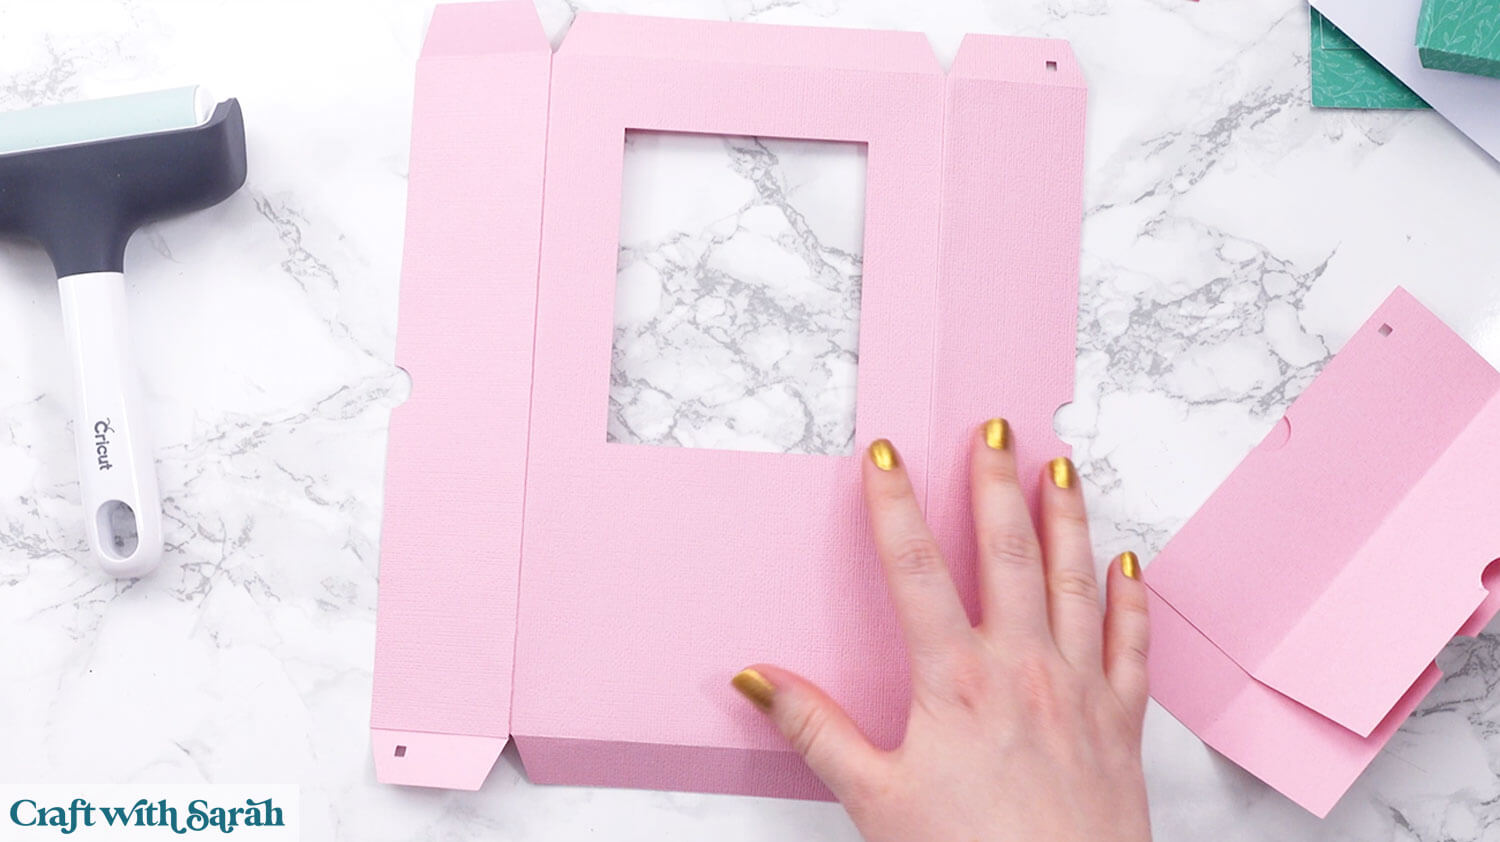
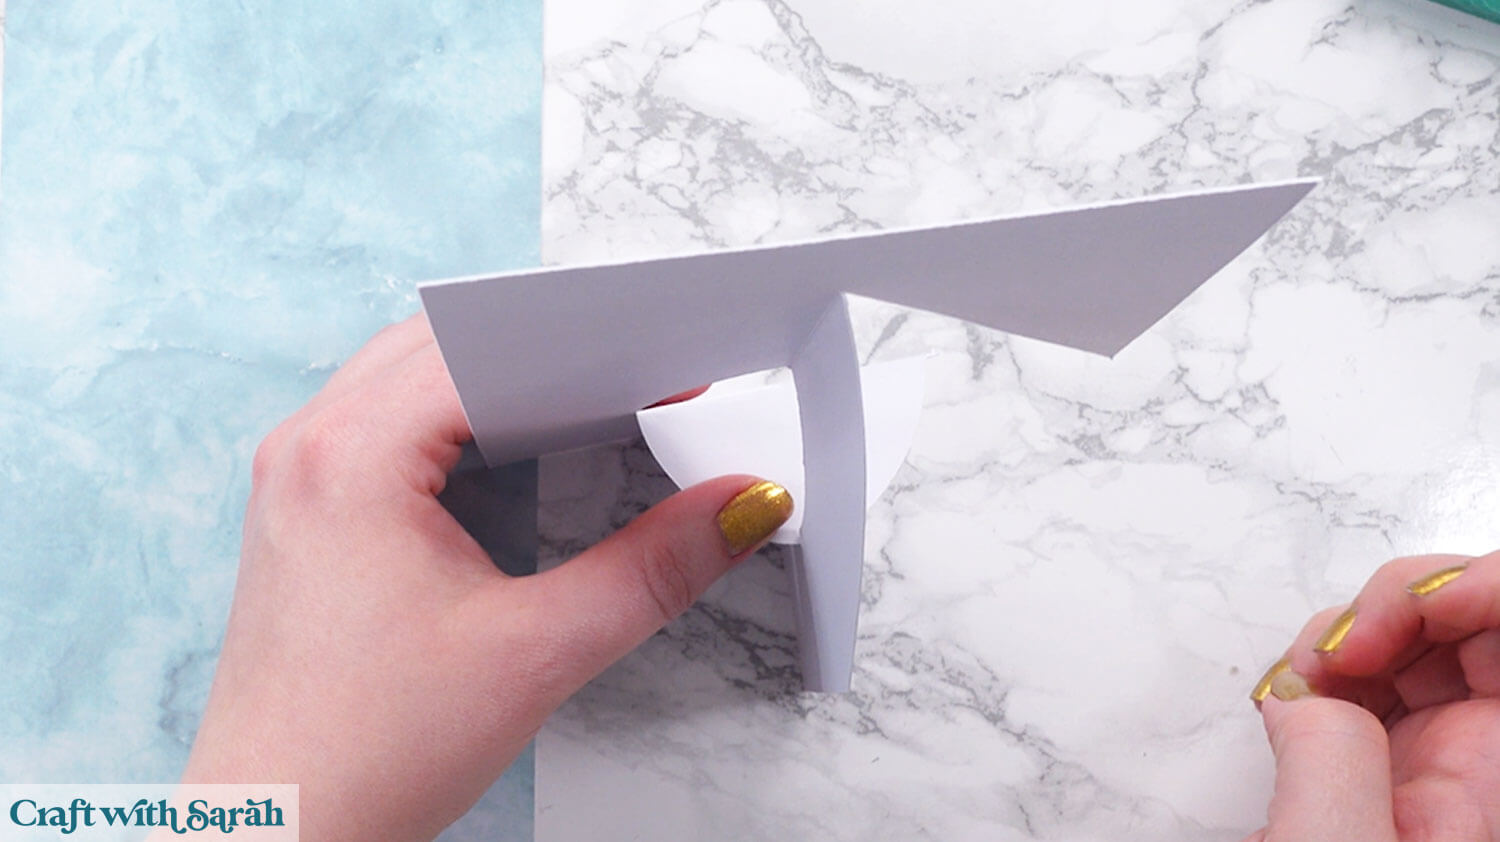
Take the bottom section of the box and the two rectangular pieces with tabs. These will sit alongside the longer tabs of our base piece which will make the box nice and sturdy.
First, fold over the long rectangles of the side pieces and glue them down. This “doubles up” the thickness of the piece to make a stronger box.
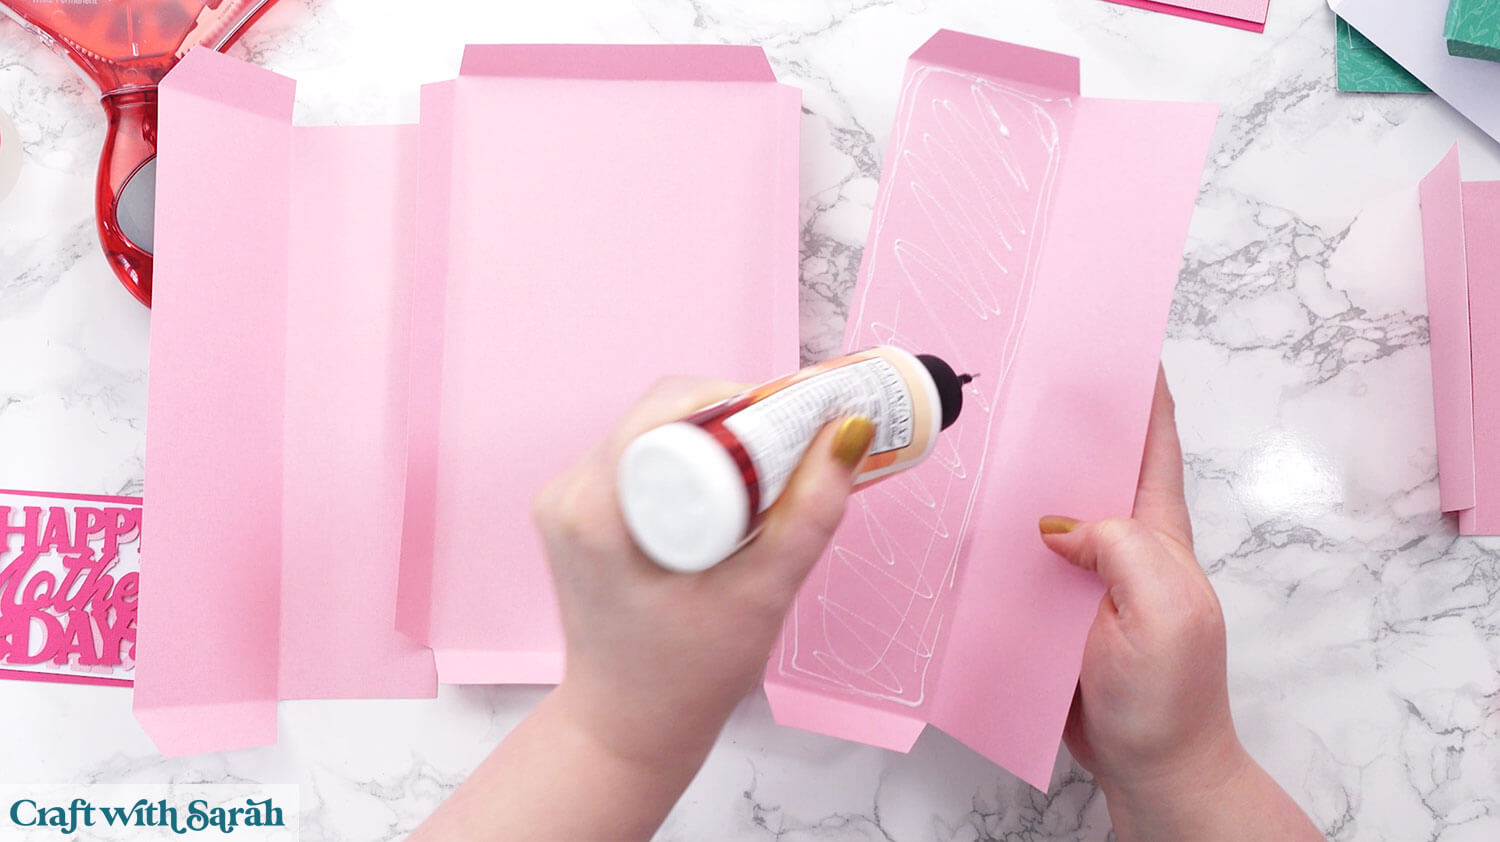
Make sure that the top side (“pretty” side) is facing upwards towards you.
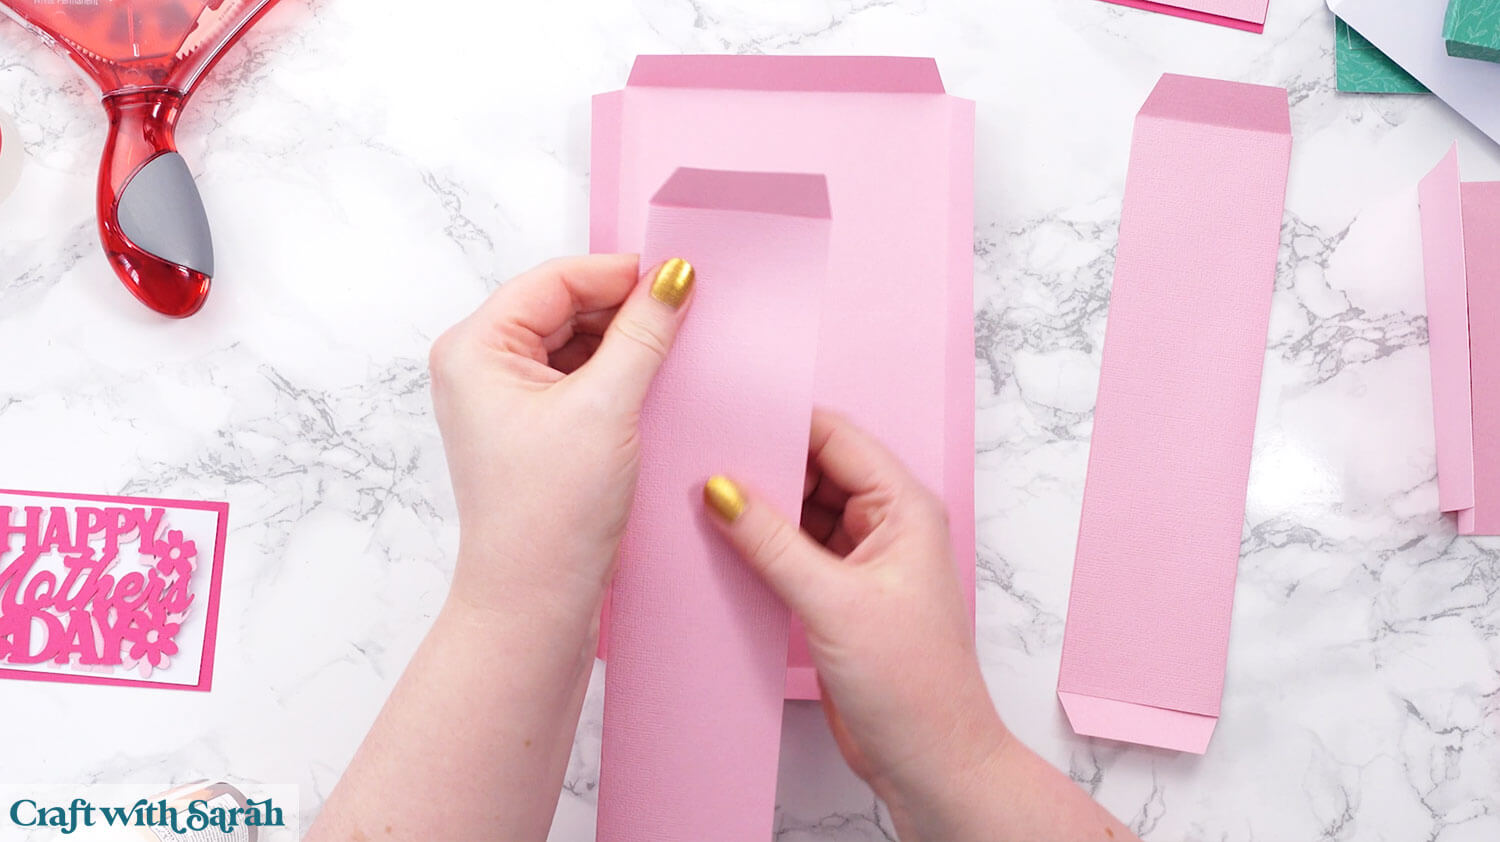
Add glue or take down the two long tabs on the main box piece and attach the sides.
The folded edges (with the crease) should be on the outside (furthest from the middle).

Brayer down the sides (or use a scraper tool, or press down firmly with your hands) to ensure that the sides are stuck well.
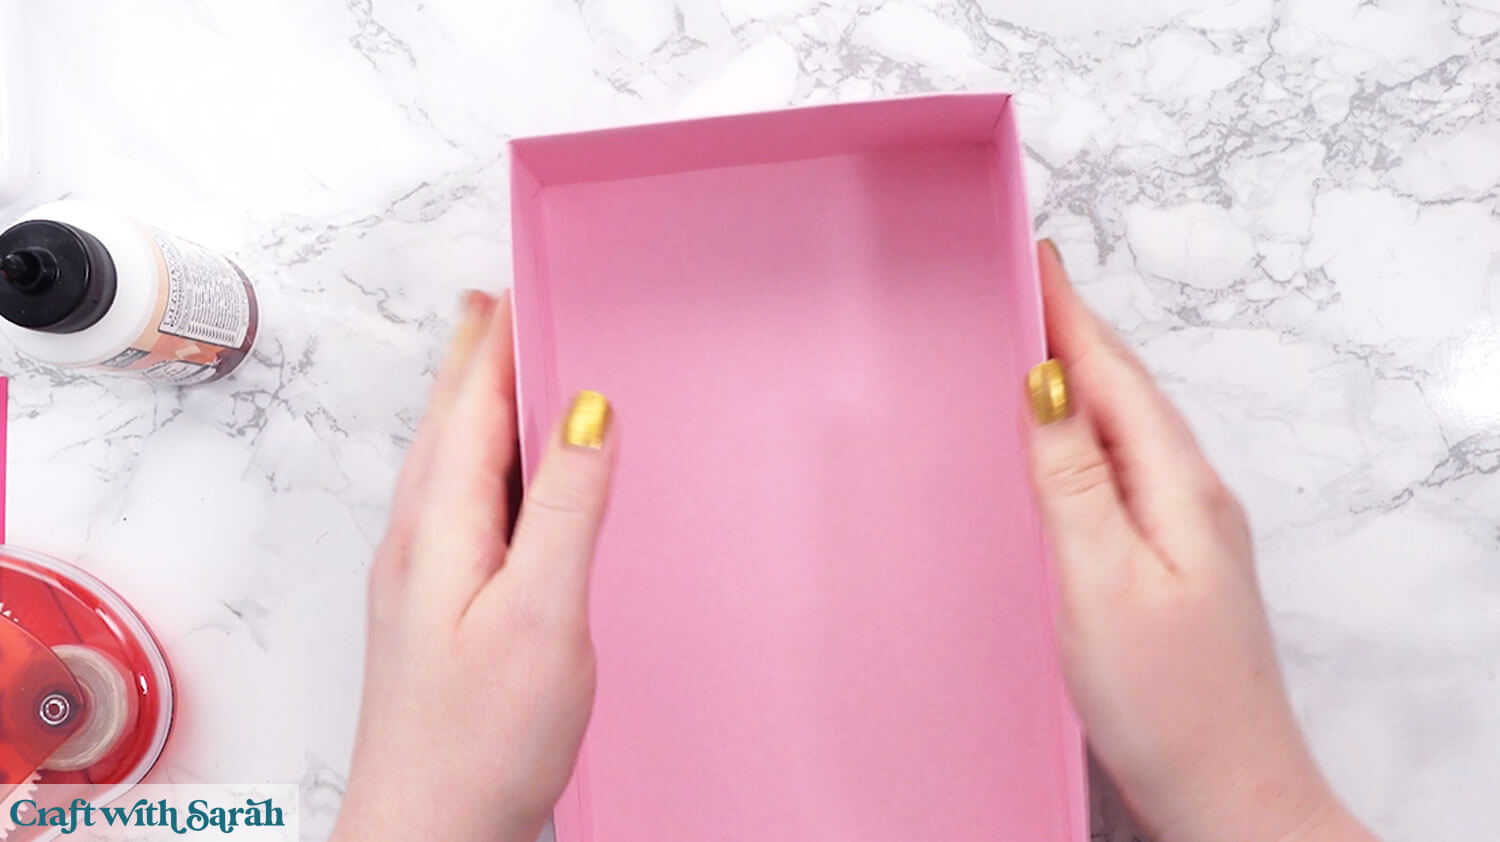
Turn your box pretty side up and add double sided tape to the middle tabs.
Fold up the smaller tabs and stick them onto the double sided tape.
This will start building the sides of the presentation box.
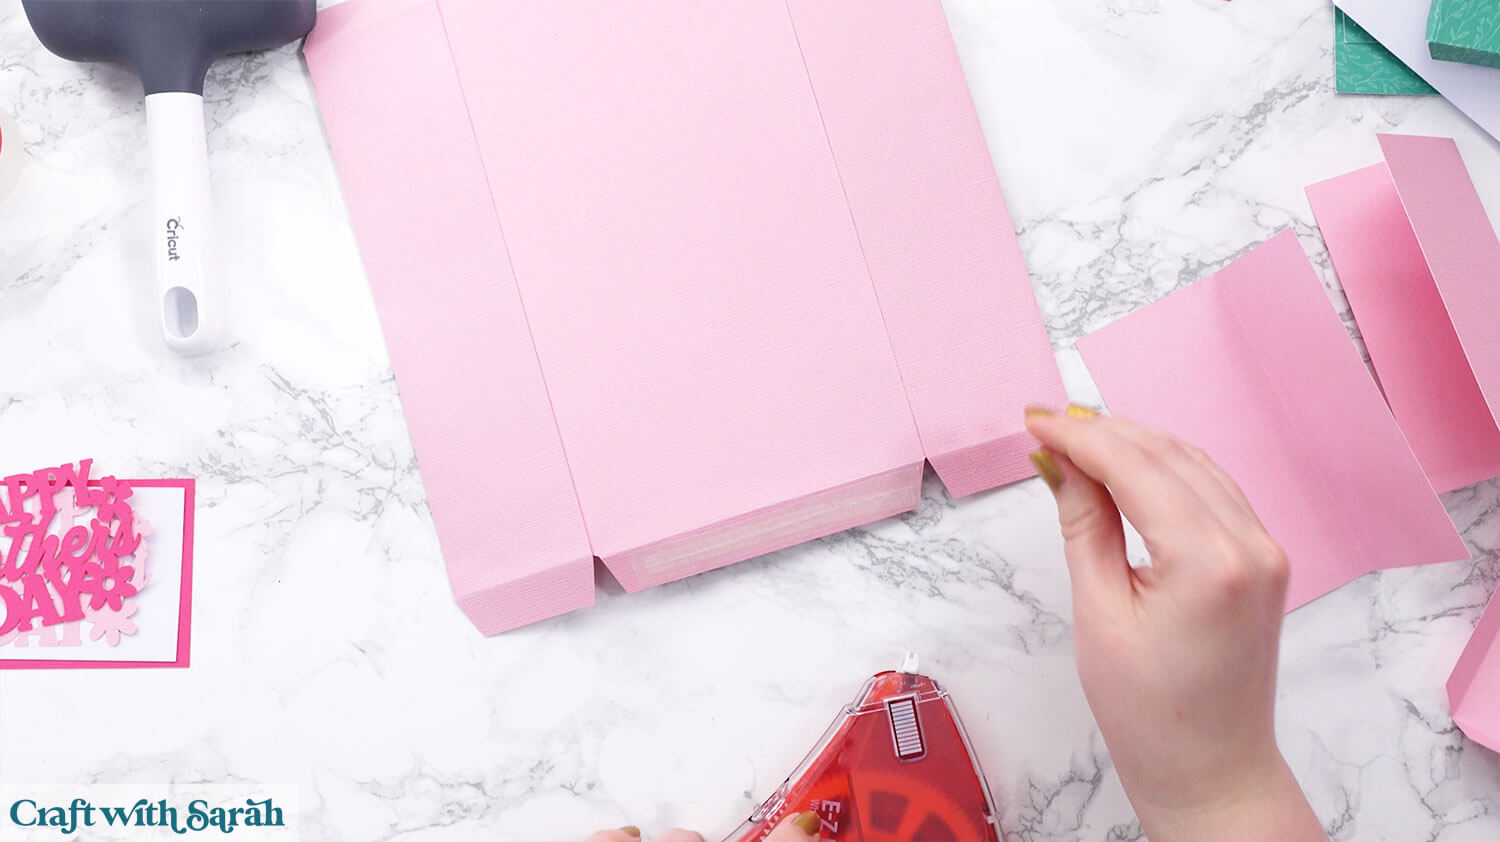
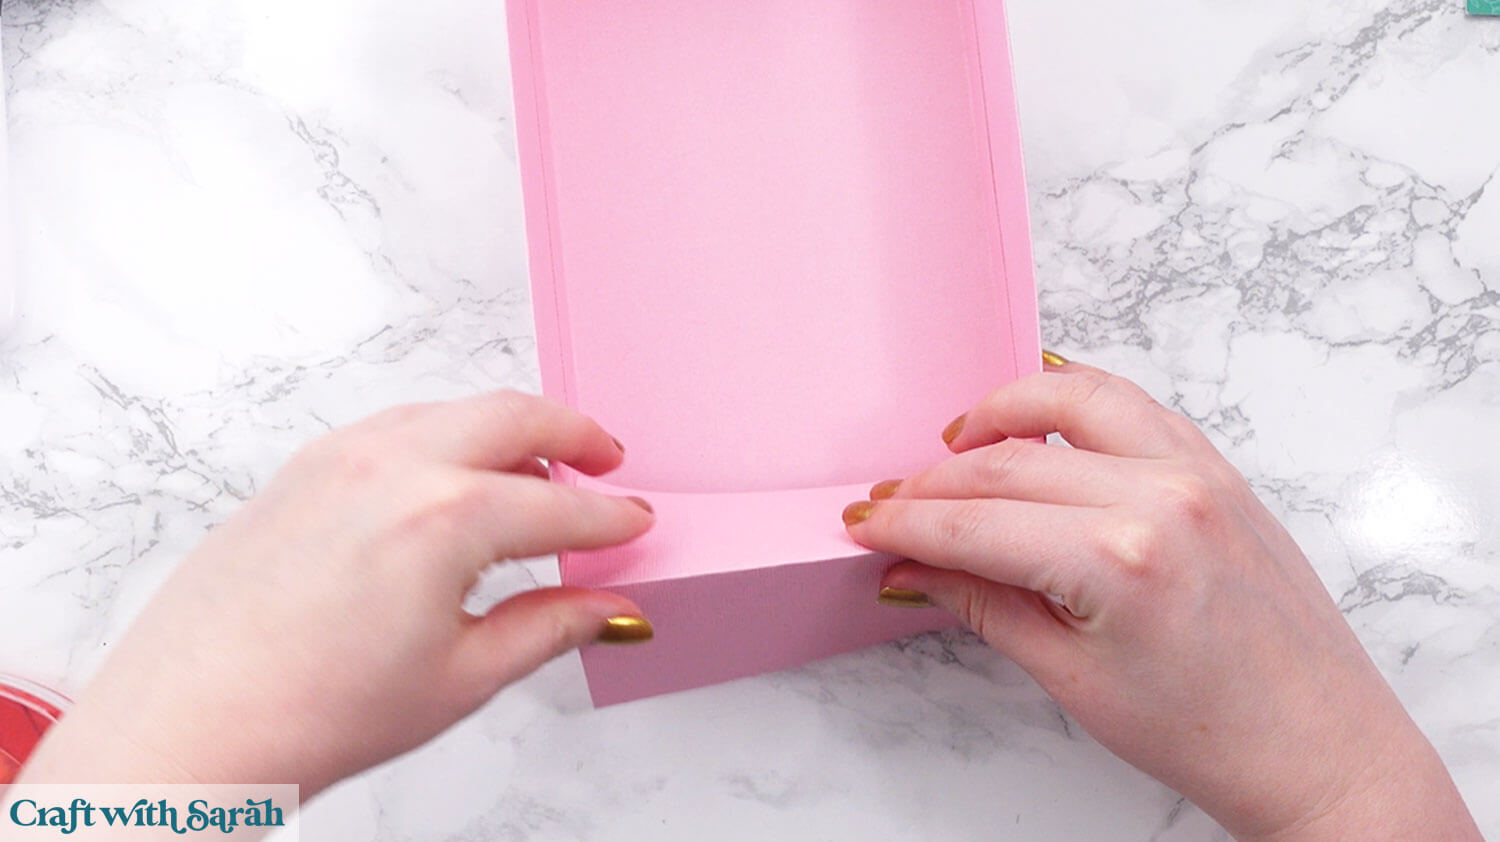
Add glue to the whole of the bottom of one of the square pieces of card with a score line down the middle.
Stick this over one of the sides, like a “tent”. One half will stick to the outside of the box and the other to the inside.
This helps to hide some of the tabs for a neater appearance.
Repeat for the other side.
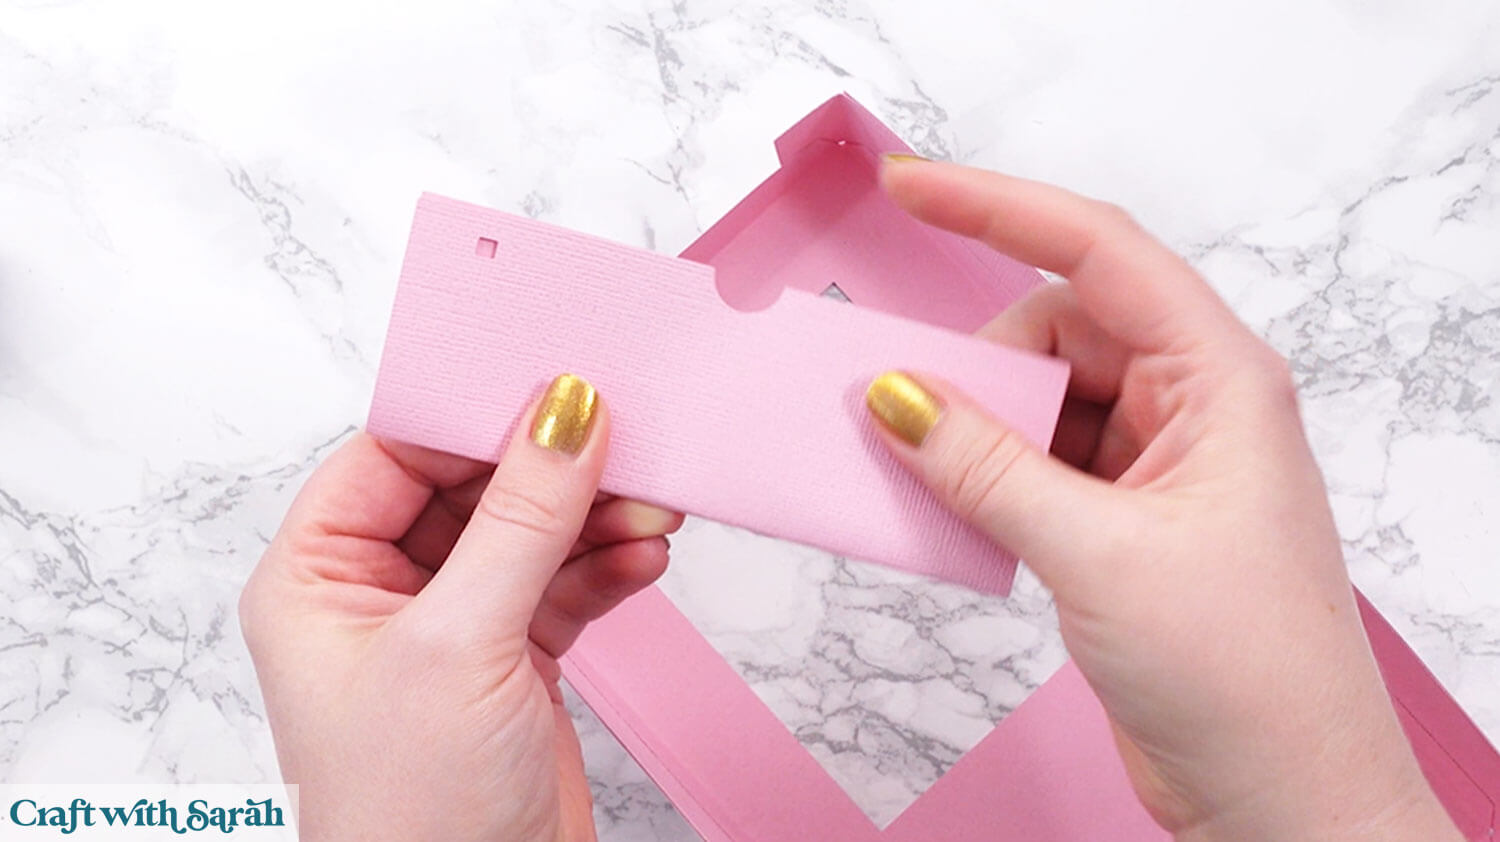
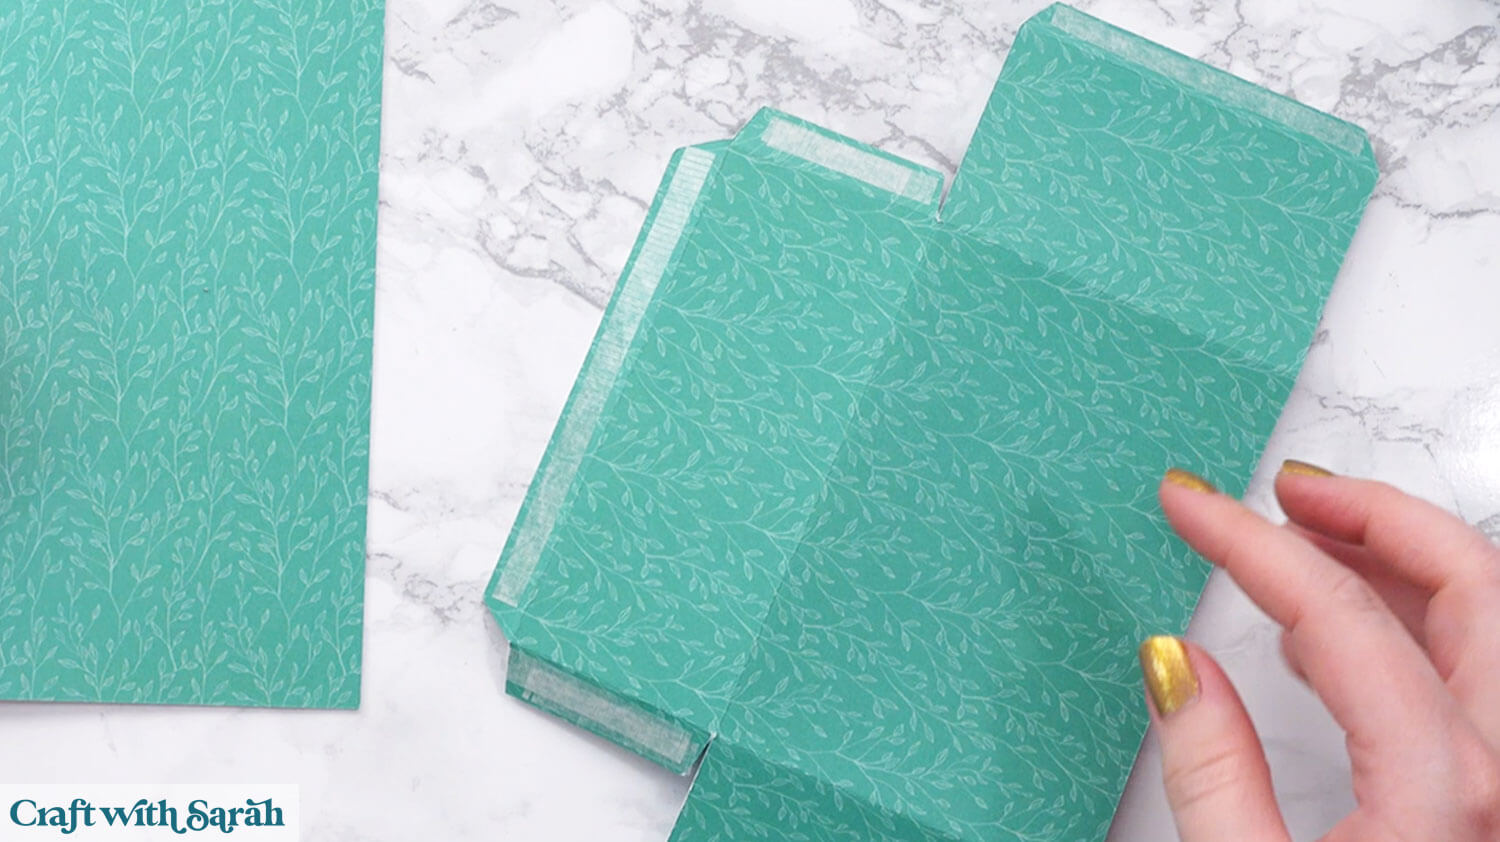
Step 6) Put the top of the presentation box together
The top of the presentation box goes together in a similar way.
Select all the pieces that have the little squares cut out of them.
This time, the side pieces have semicircles cut out of them.
They are to give something to “grip” onto when the lid is being taken off the box.
The top of the presentation box goes together in mostly the same way at the bottom, but with a couple of changes.
This time, when you’re adding the sides, make sure that the edges with the semicircles are facing outwards.
We cannot use the “tent” method of sticking the two square pieces because of the semicircles.
This time, fold each square piece in half and glue it together to form a rectangle.
Glue or tape this to the outside of the tabs.
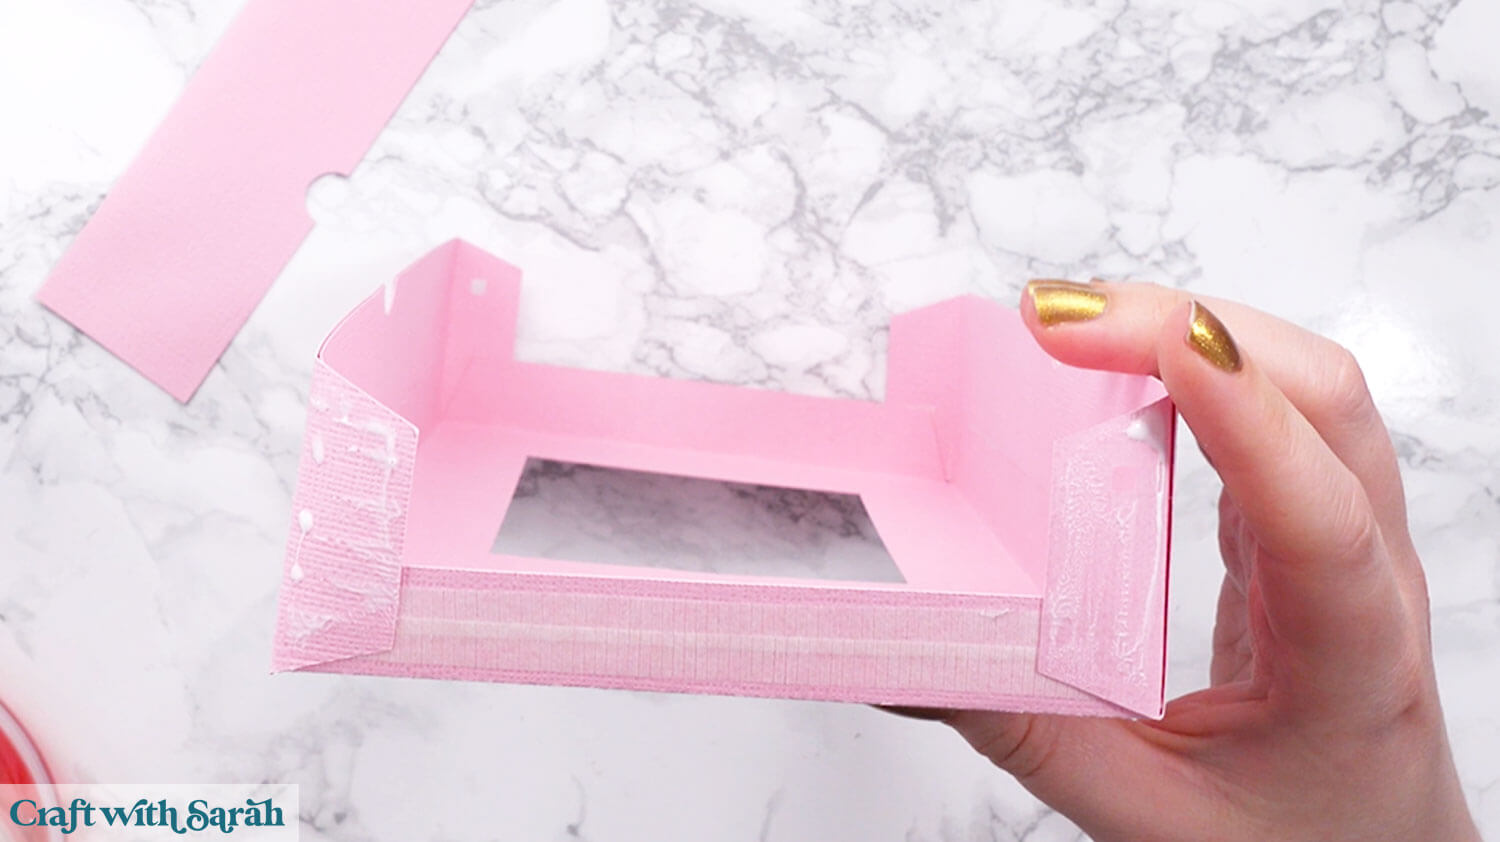
Make sure the side with the square cutout is the one that’s facing the inside of the box, otherwise you’ll be able to see the square from the outside which is a little messy.

Glue the acetate piece to the inside/bottom of the presentation box lid.
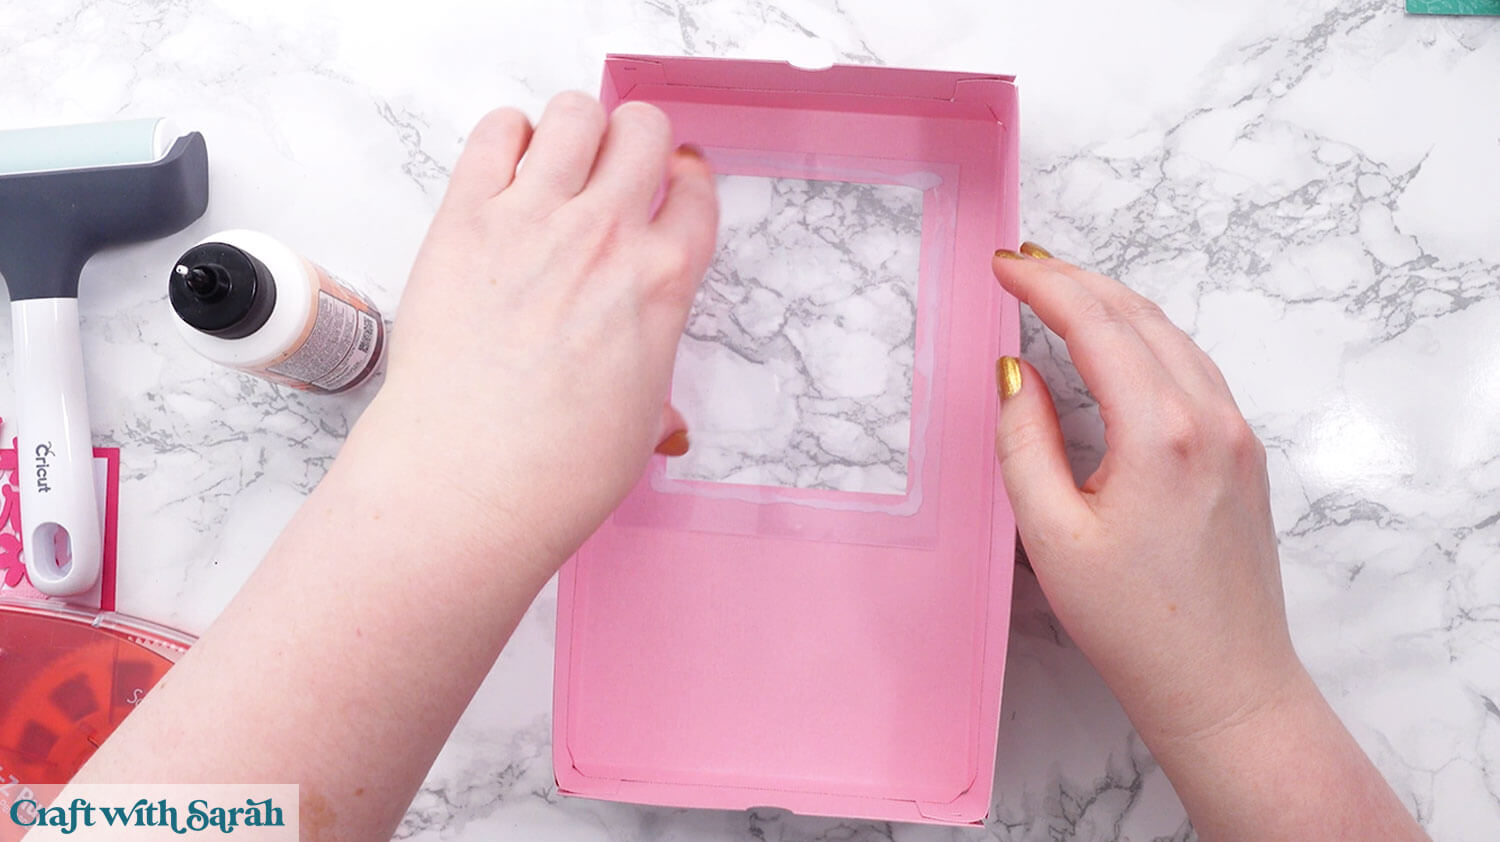
Glue the two decorative rectangles together.
Glue together the decorations for the front, if you are using any.
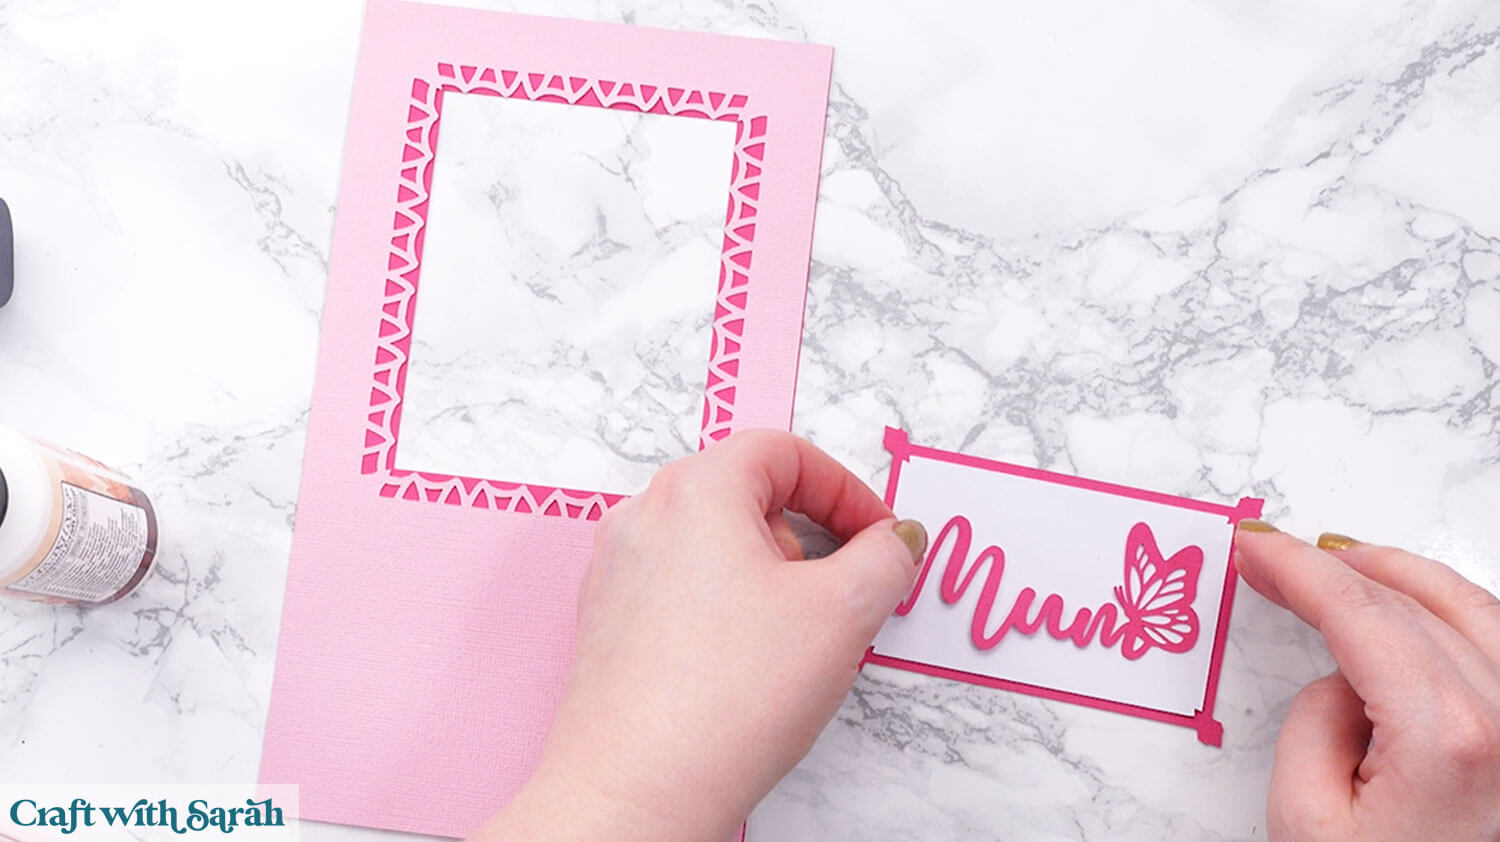
When the glue on the presentation box is dry, add the decorations to the front.
I used foam squares to attach the “Mum” panel for a bit of extra depth.
Step 7) Build the flower holder
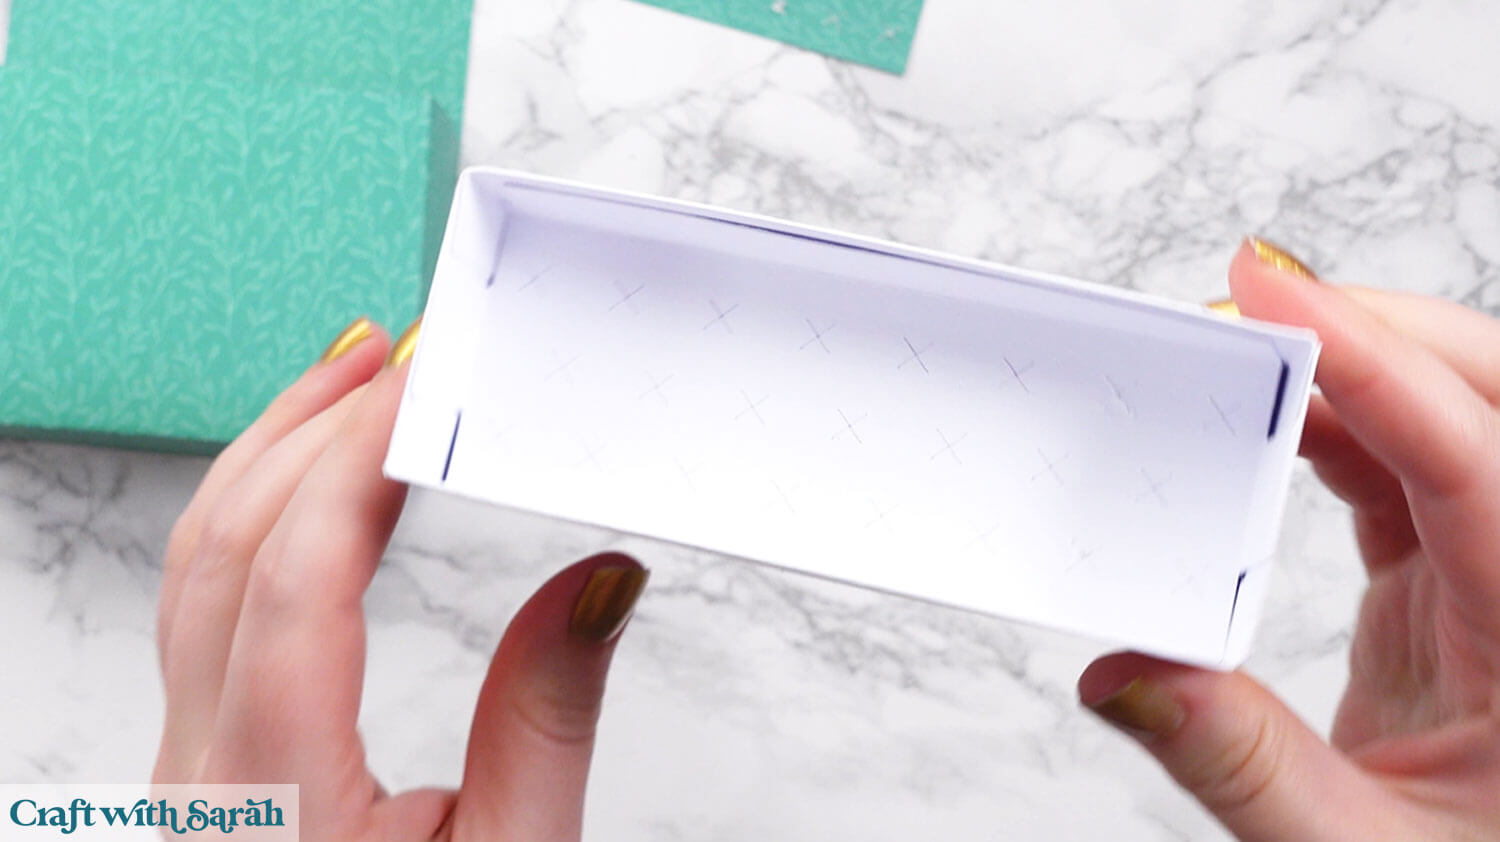
Take all the pieces for the flower holder. It has an insert with little crosshatch slits — these hold the flower stems in place.

Take the rectangular piece in the pretty colour, along with the other rectangular piece which has the “stand” cutouts. This will help your box stand up if it’s heavy.
Fold the triangle of the stand inwards along the vertical score line.
Glue the stand to the back of the large coloured rectangle.
Flatten the stand out again.
Turn the pieces the other way up so you can see the front.
Add double sided tape to all of the tabs on the box shape.
Fold the sides upwards and attach the tabs to make a box.
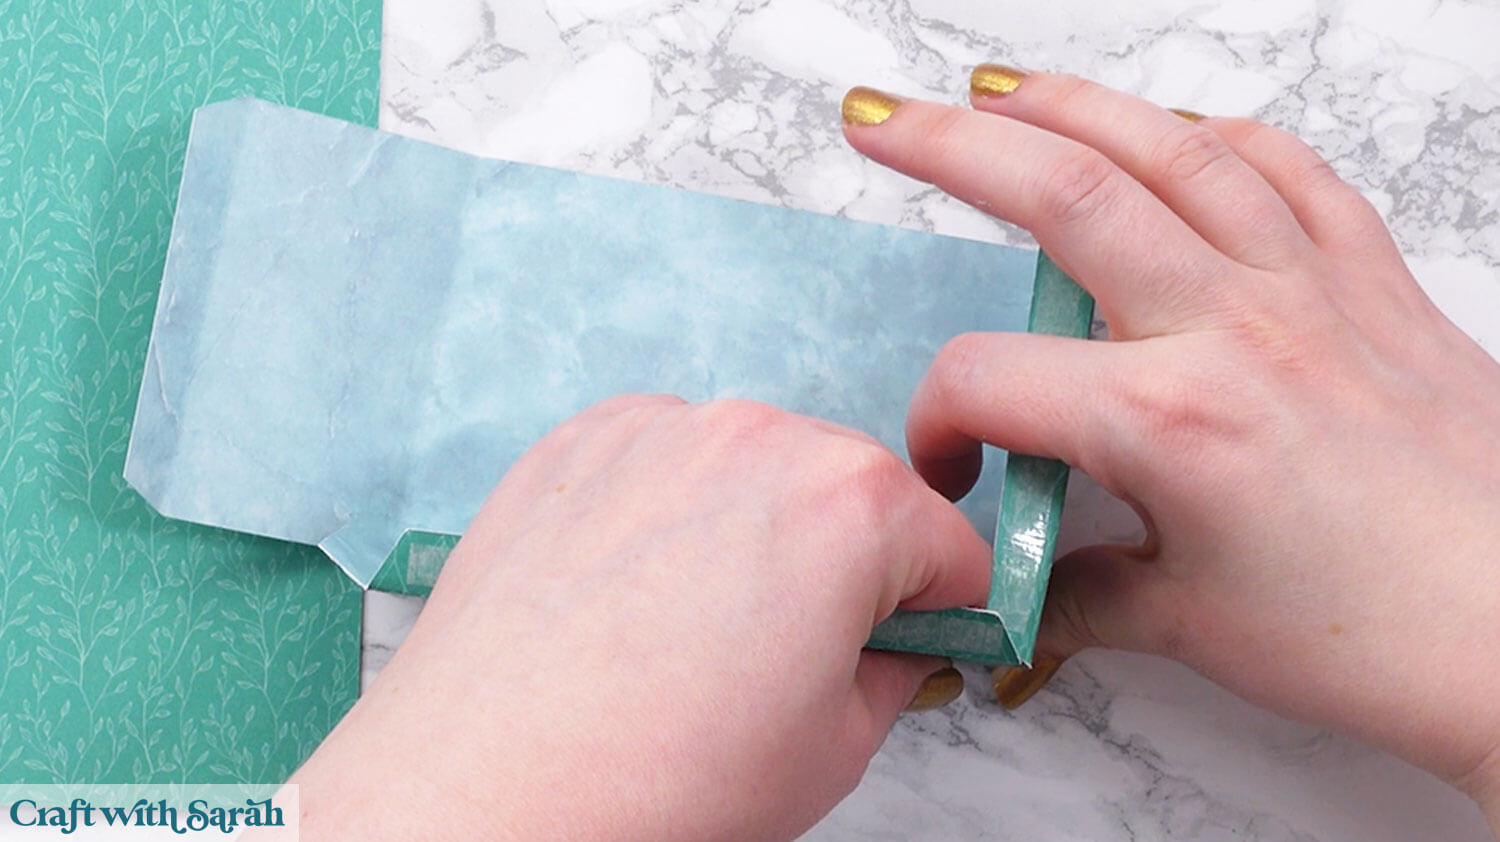
Stick this to the bottom of the FRONT side of the pretty rectangle.
Your flower box is now freestanding!
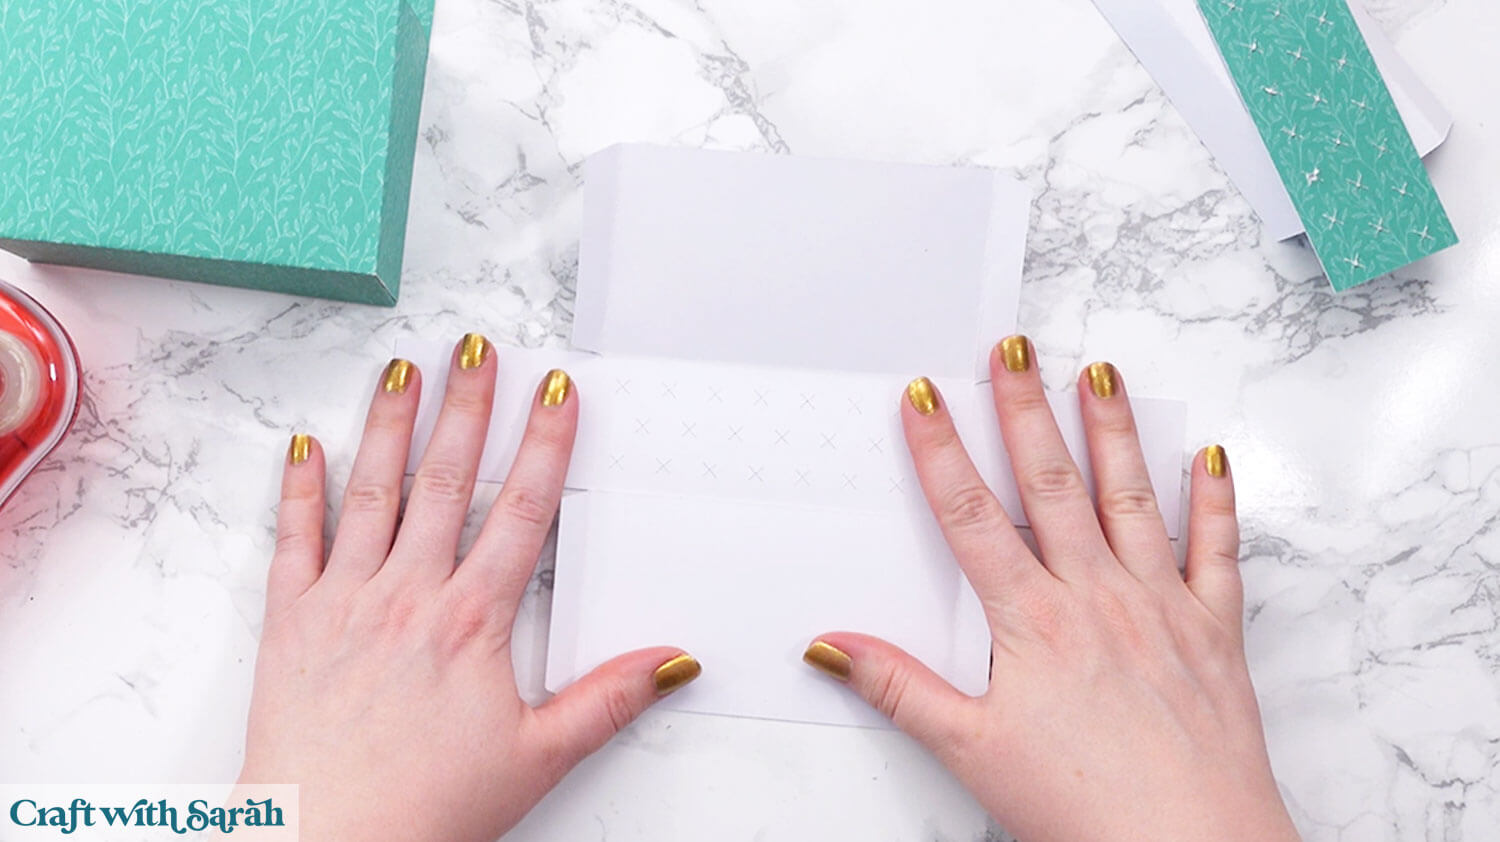
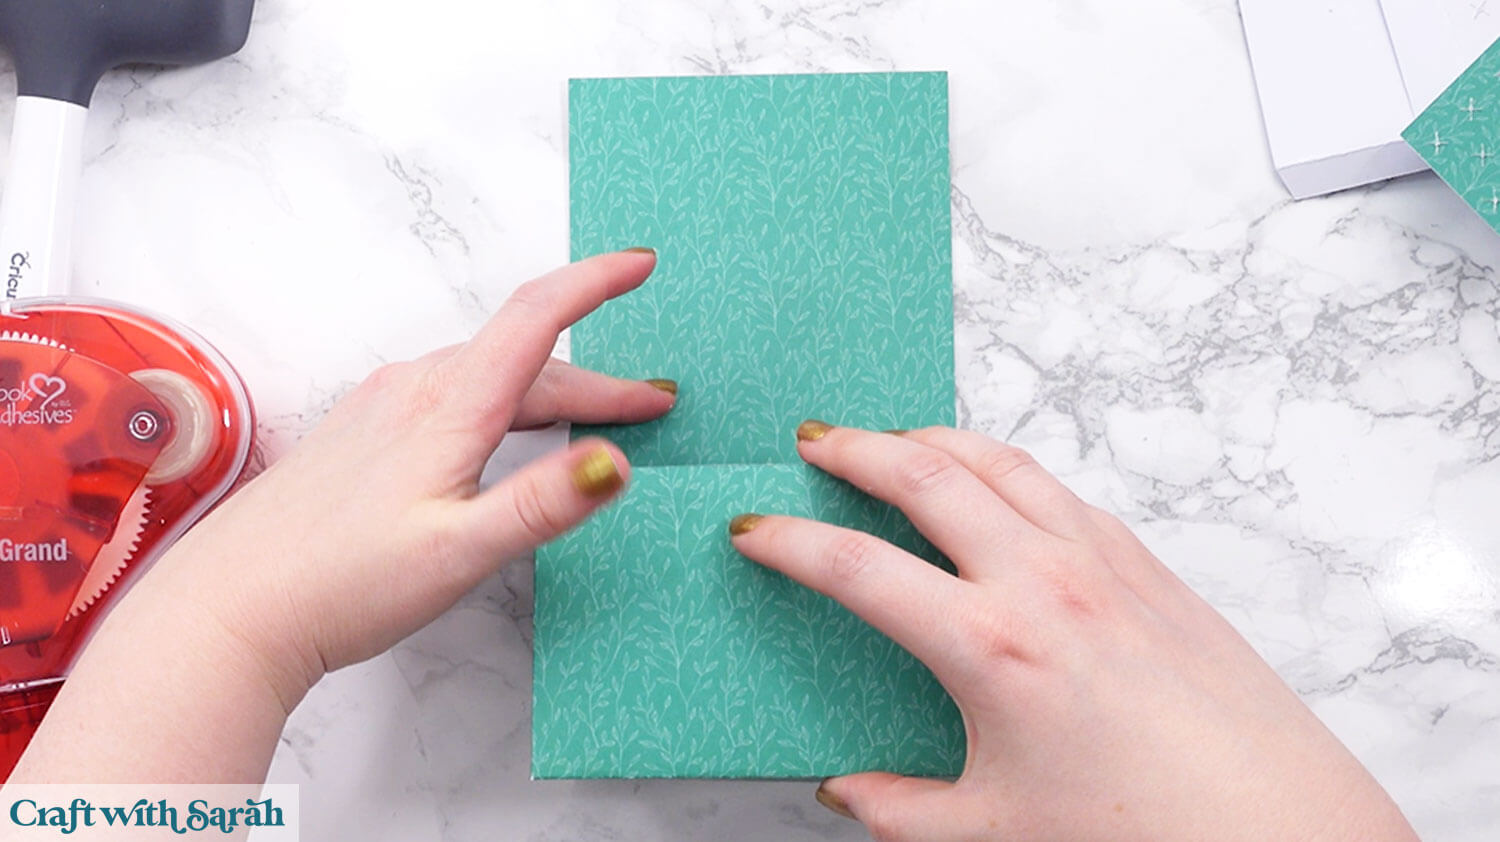
Now we will work on the crosshatch pieces.
Take the largest white piece, add glue or tape to the tabs and assemble the box shape in the same way we have been doing.
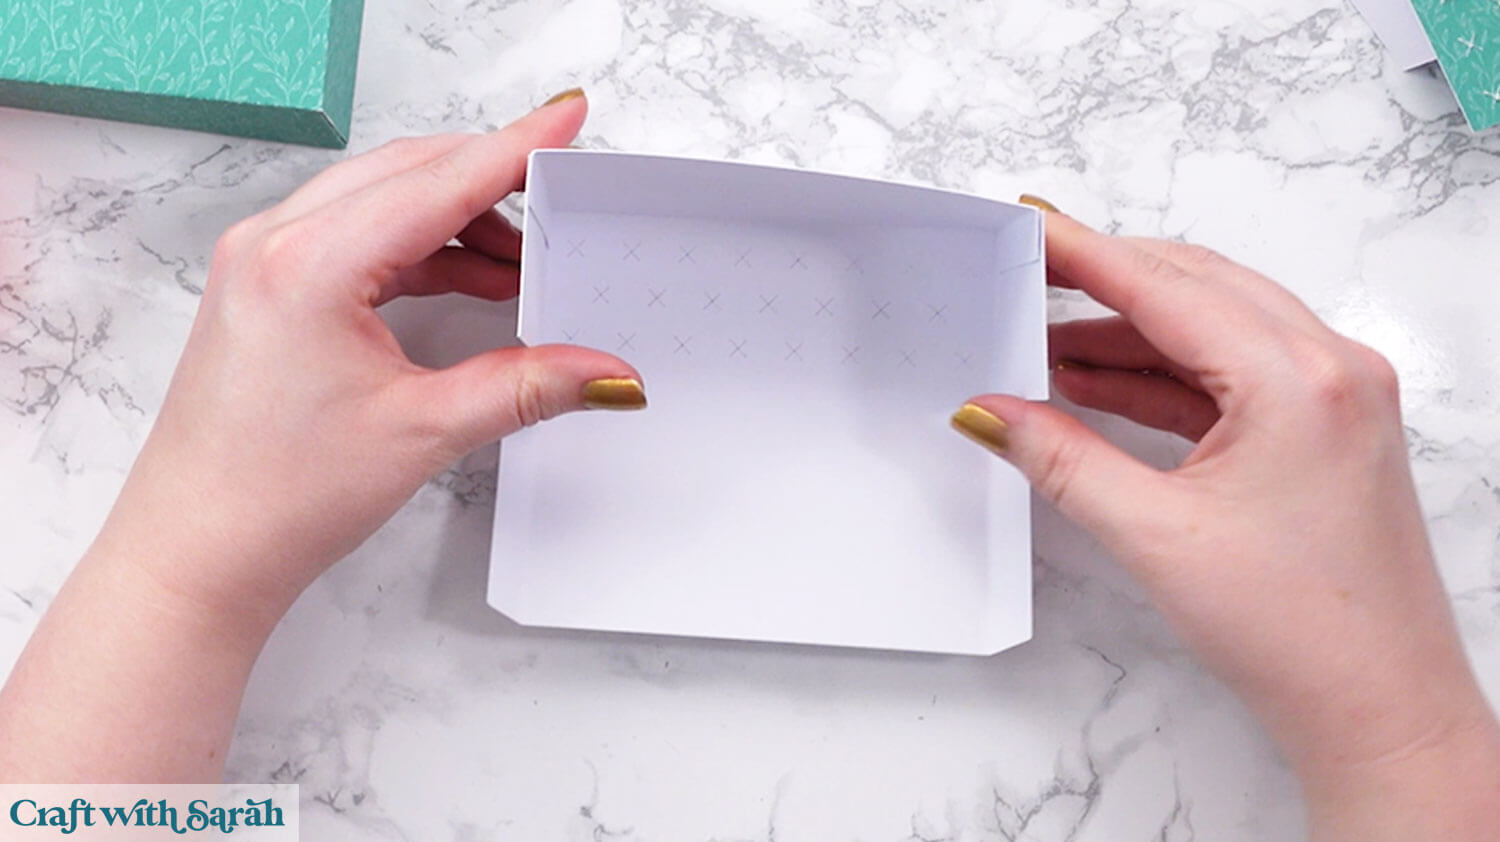
Use the tabs to stick the smaller white piece inside the opening at the bottom.
This piece will sit inside the box to help hold the flowers as there will be two crosshatches to thread the flowers through inside.
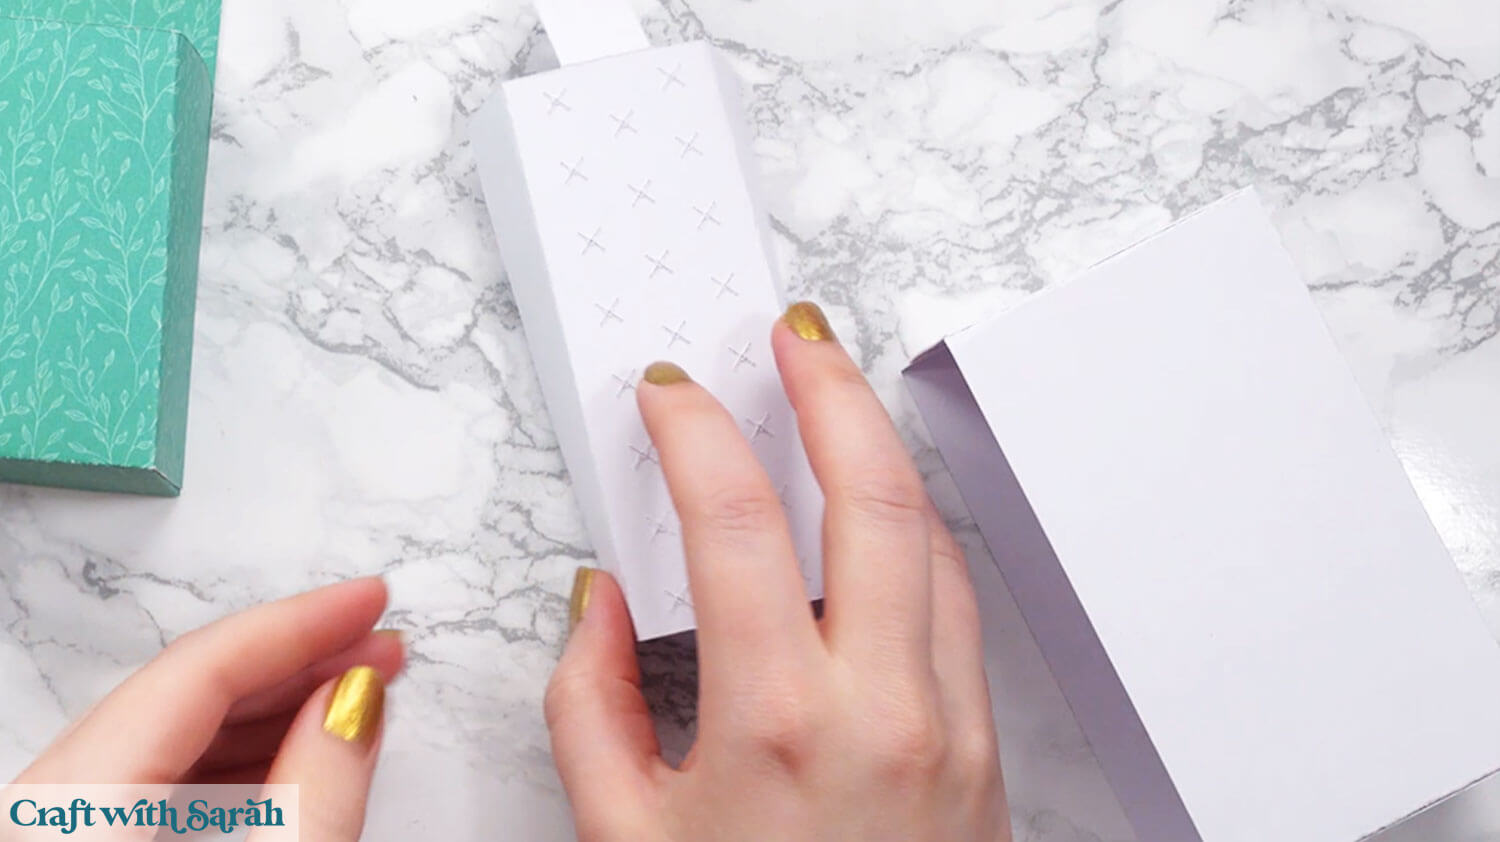
Glue the crosshatch piece that’s the same colour as your flower box to the top, making sure that the cutouts line up with the white piece.
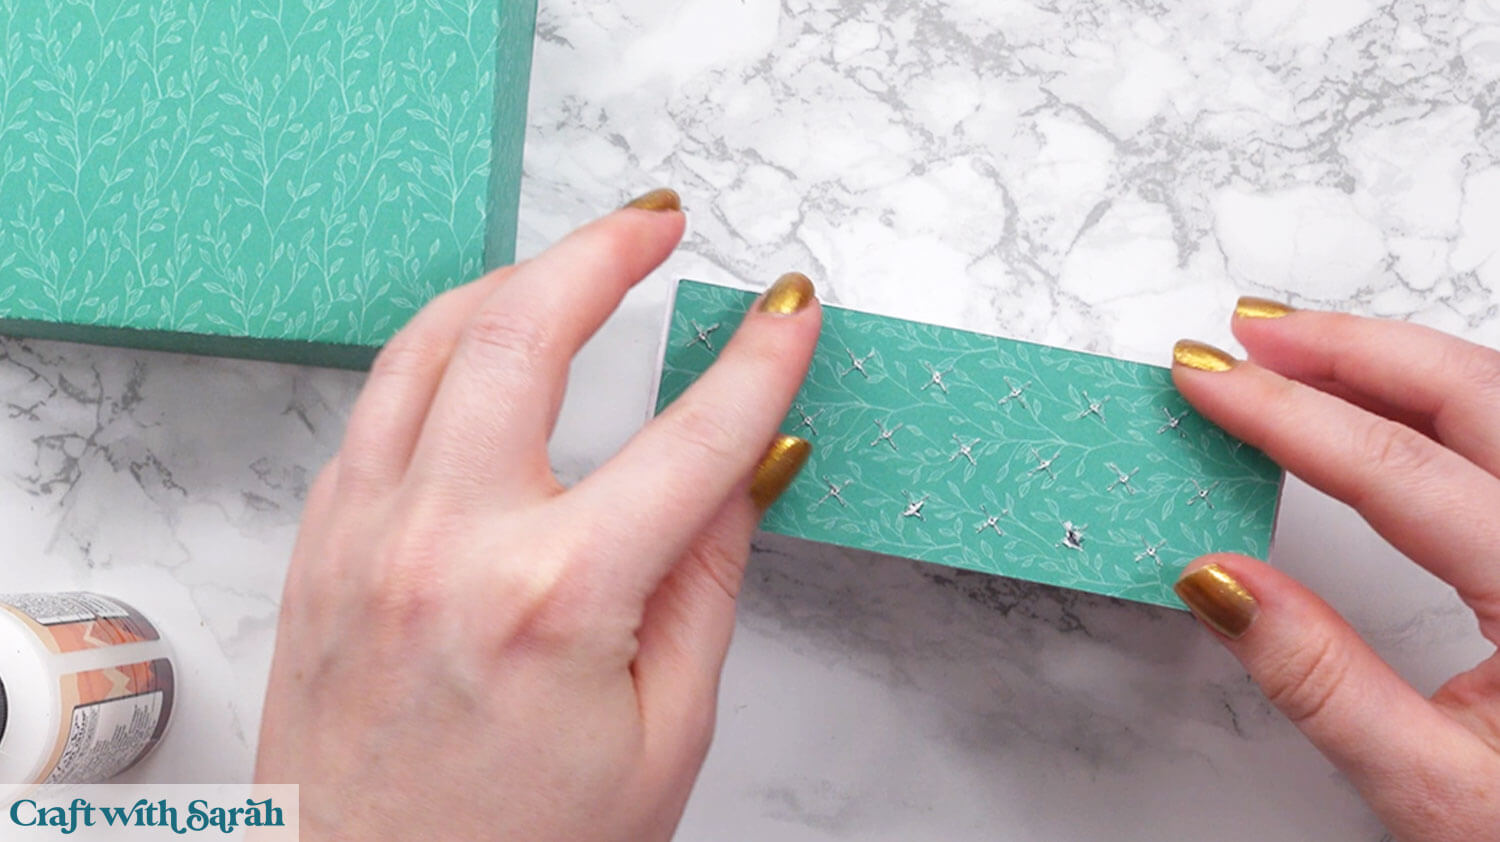
Decorate the flower box however you wish.
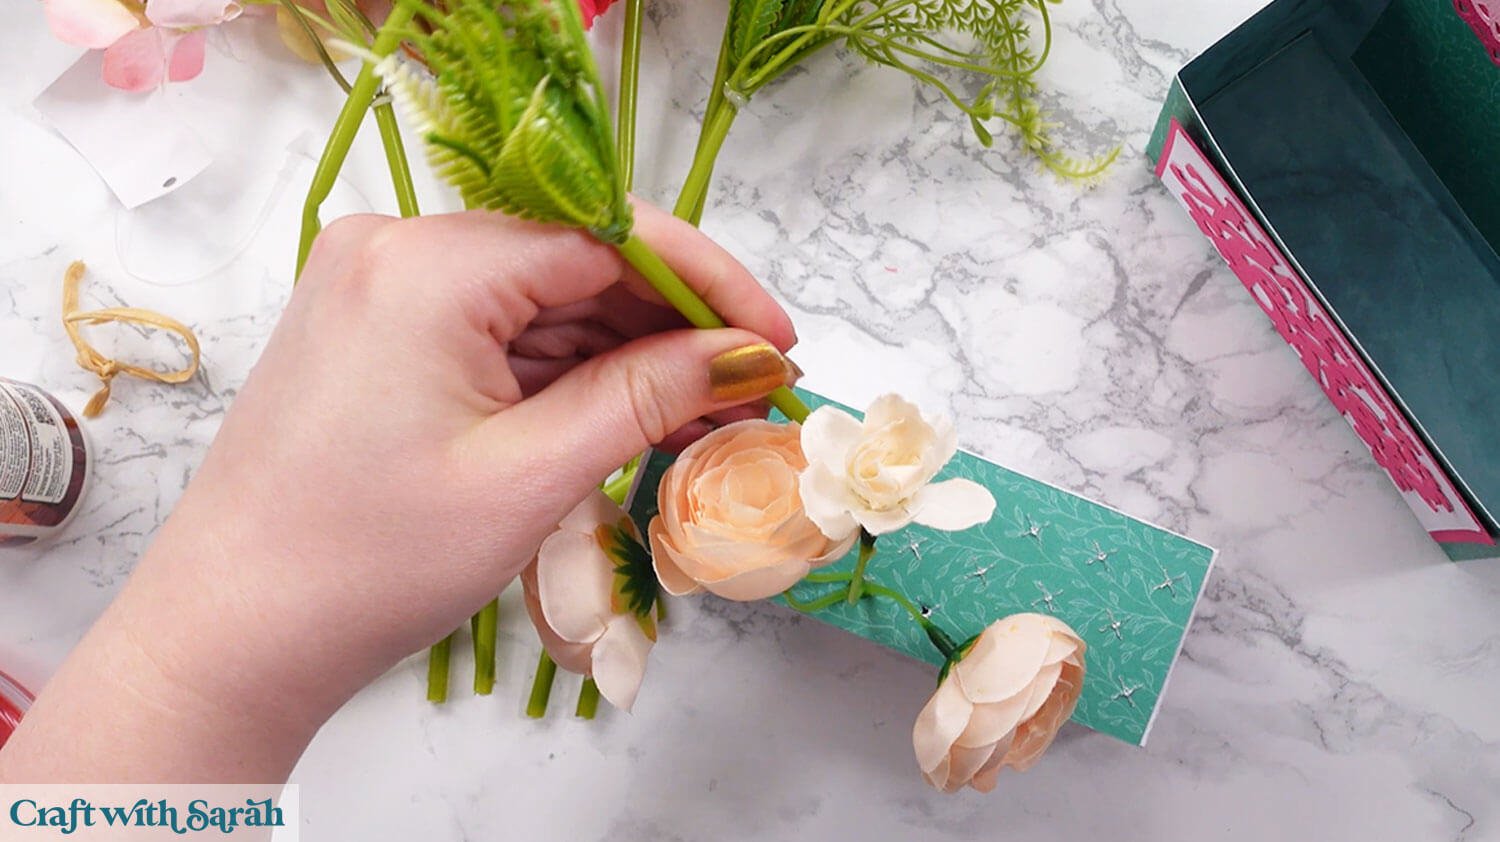
Step 8) Add the flowers
You can use faux flowers or handmade paper blooms. If your stems are wired, you may need wire cutters to trim them.
Use a weeding tool or something similar to gently open the slits in the insert. Then push your flowers through and arrange them however you like.
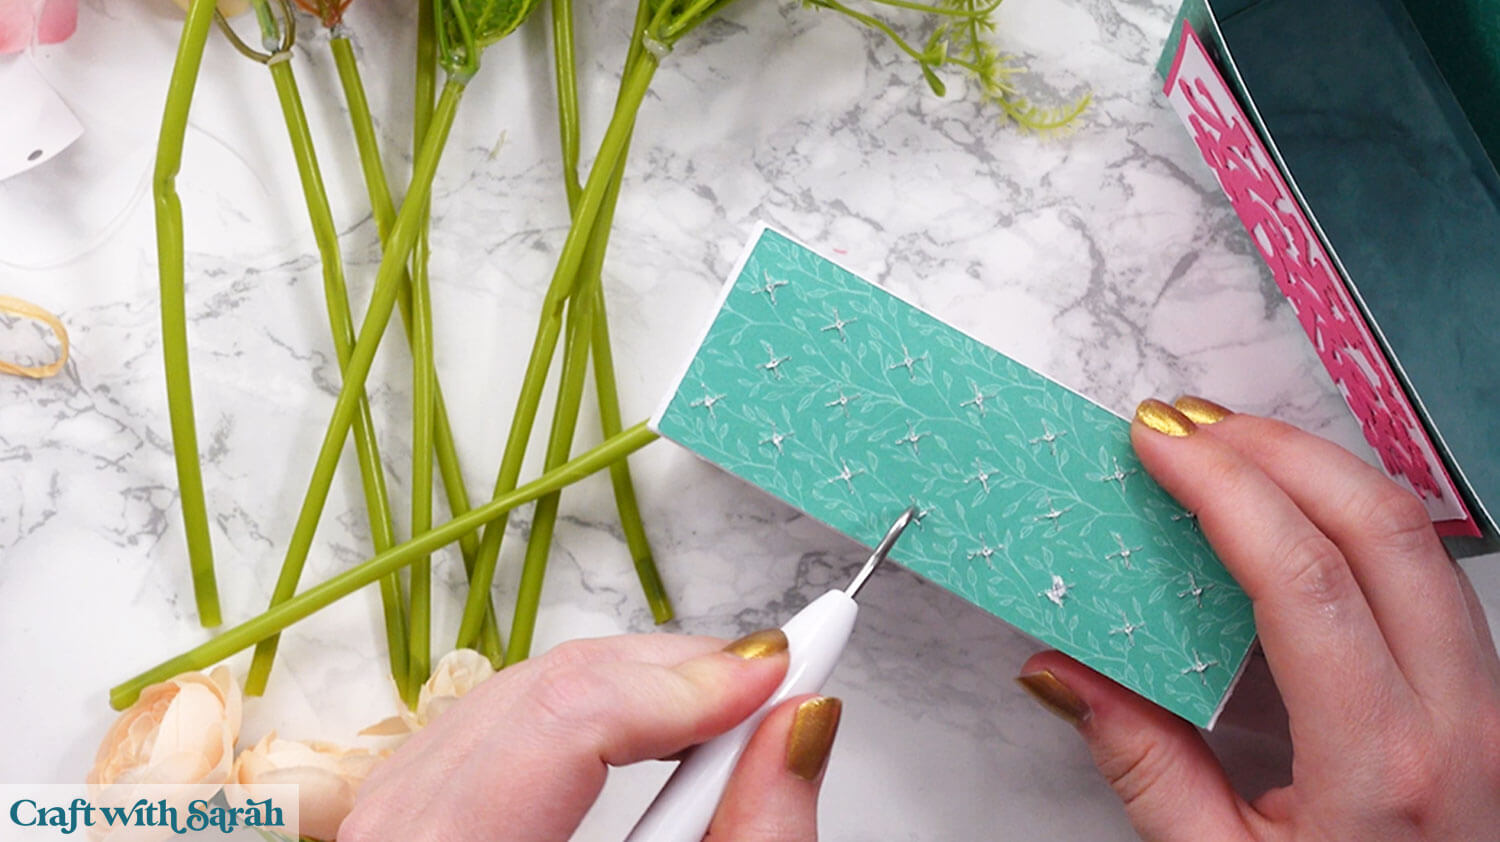
Poke the flowers so that they go through the matching top and bottom crosshatch holes.
Make sure they don’t sit too tall, otherwise they won’t fit inside the presentation box.
Experiment with different heights, and a combination of flowers and leaves/foliage.
Here’s how I arranged mine.
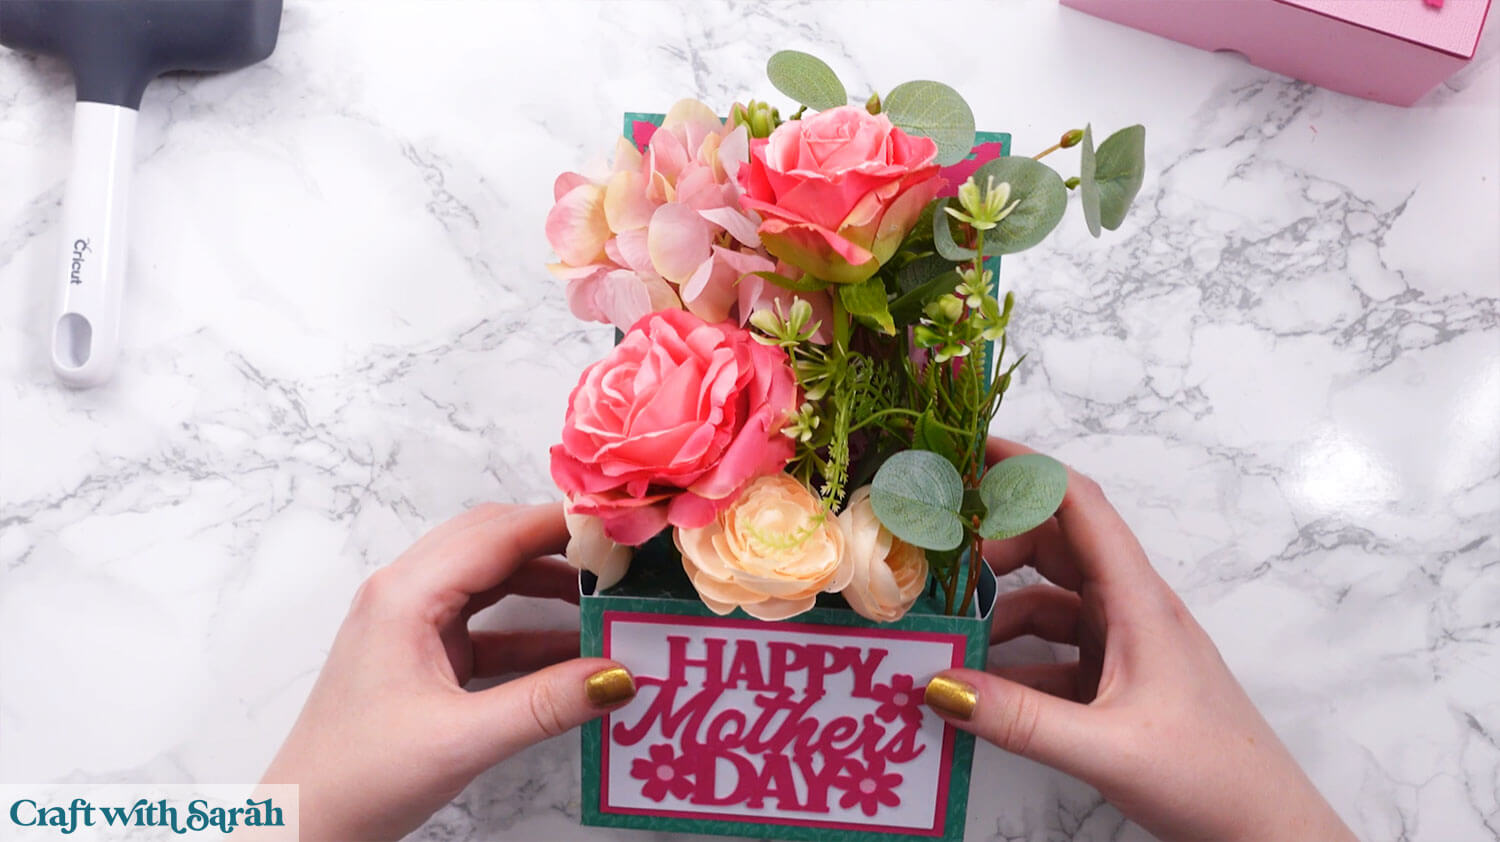
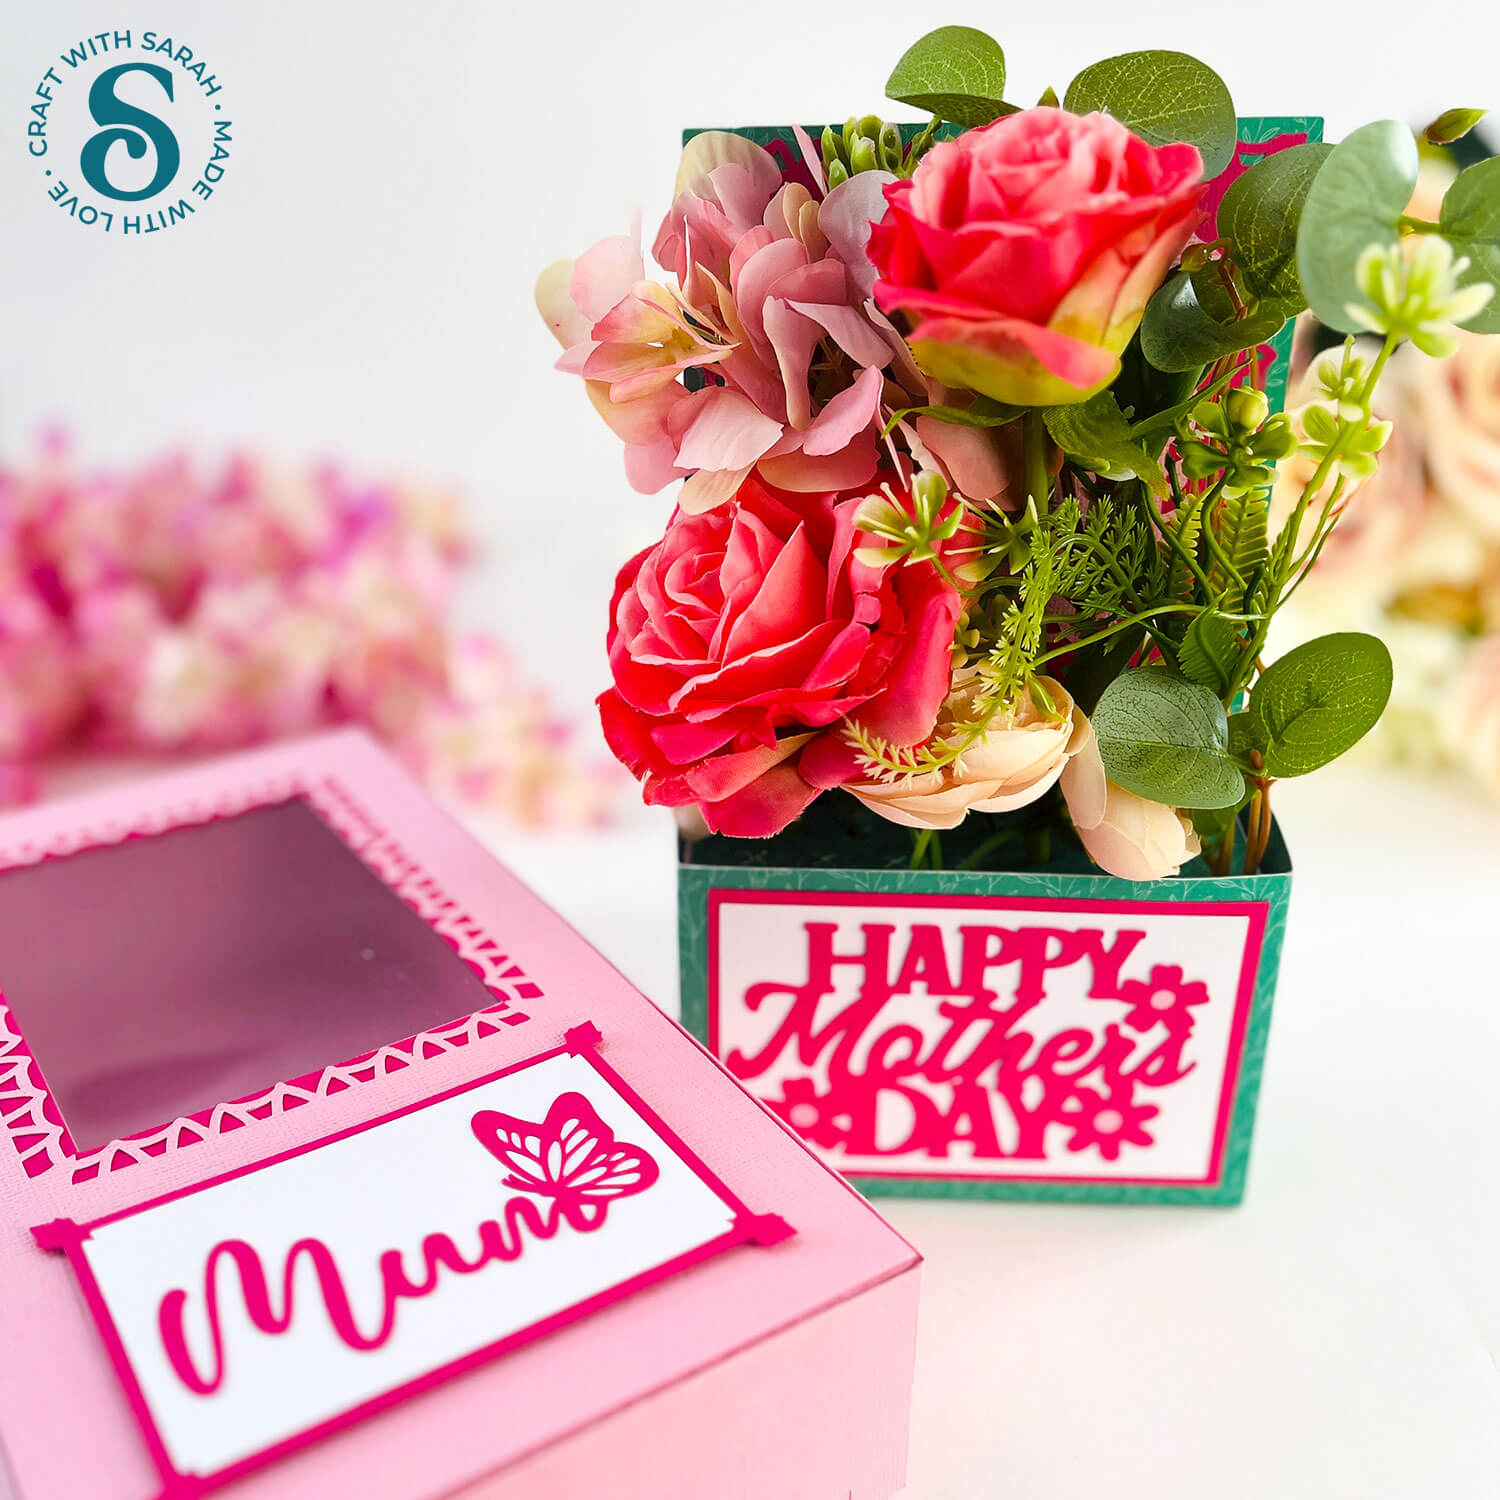
Slide the flower box into the presentation box. Add the lid and you’re done!
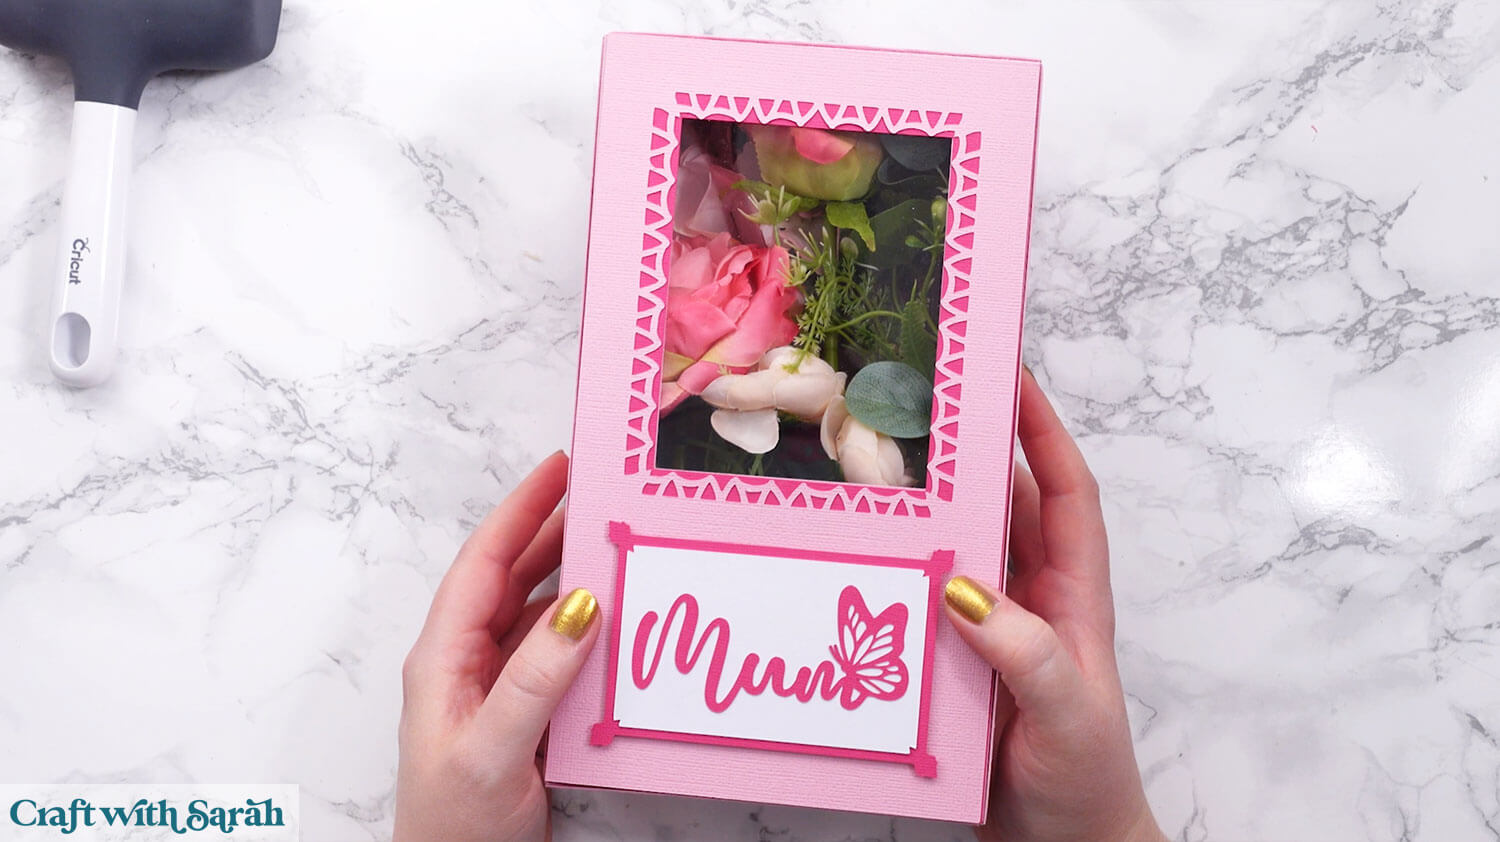
When the recipient opens the lid, they’ll be greeted with a beautiful bouquet popping out. It stands up all on its own, but there’s also the extra stand cutout on the back of the flower box if needed.
A truly special handmade gift
This flower box card is more than a card—it’s a keepsake. Whether it’s for a birthday, Mother’s Day, or just because, it’s sure to bring a big smile.
I can’t wait to see your finished flower box displays! Submit your finished projects to our Community to share your photos with us!
Happy crafting,
Sarah x

