Pastel Kawaii Build-Down Shadow Box 👻 HCC 2025
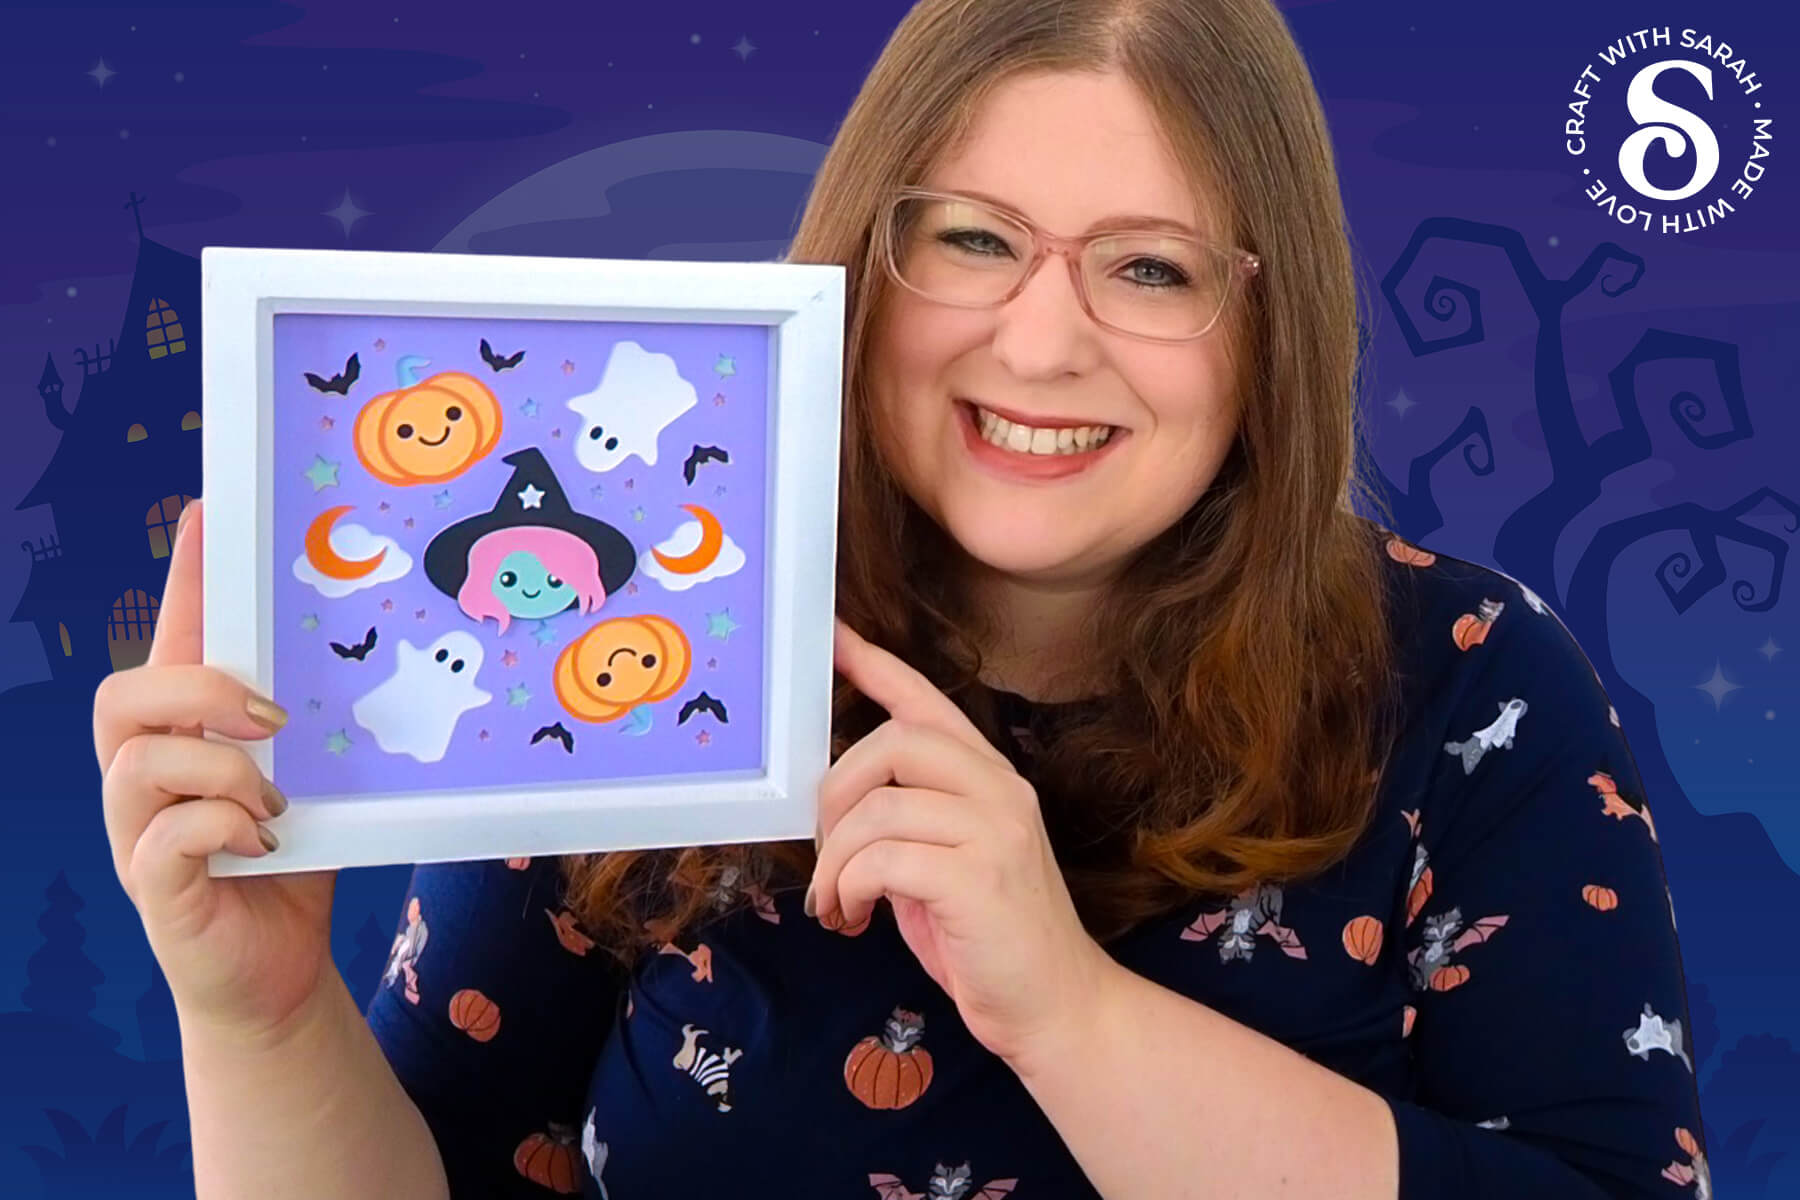
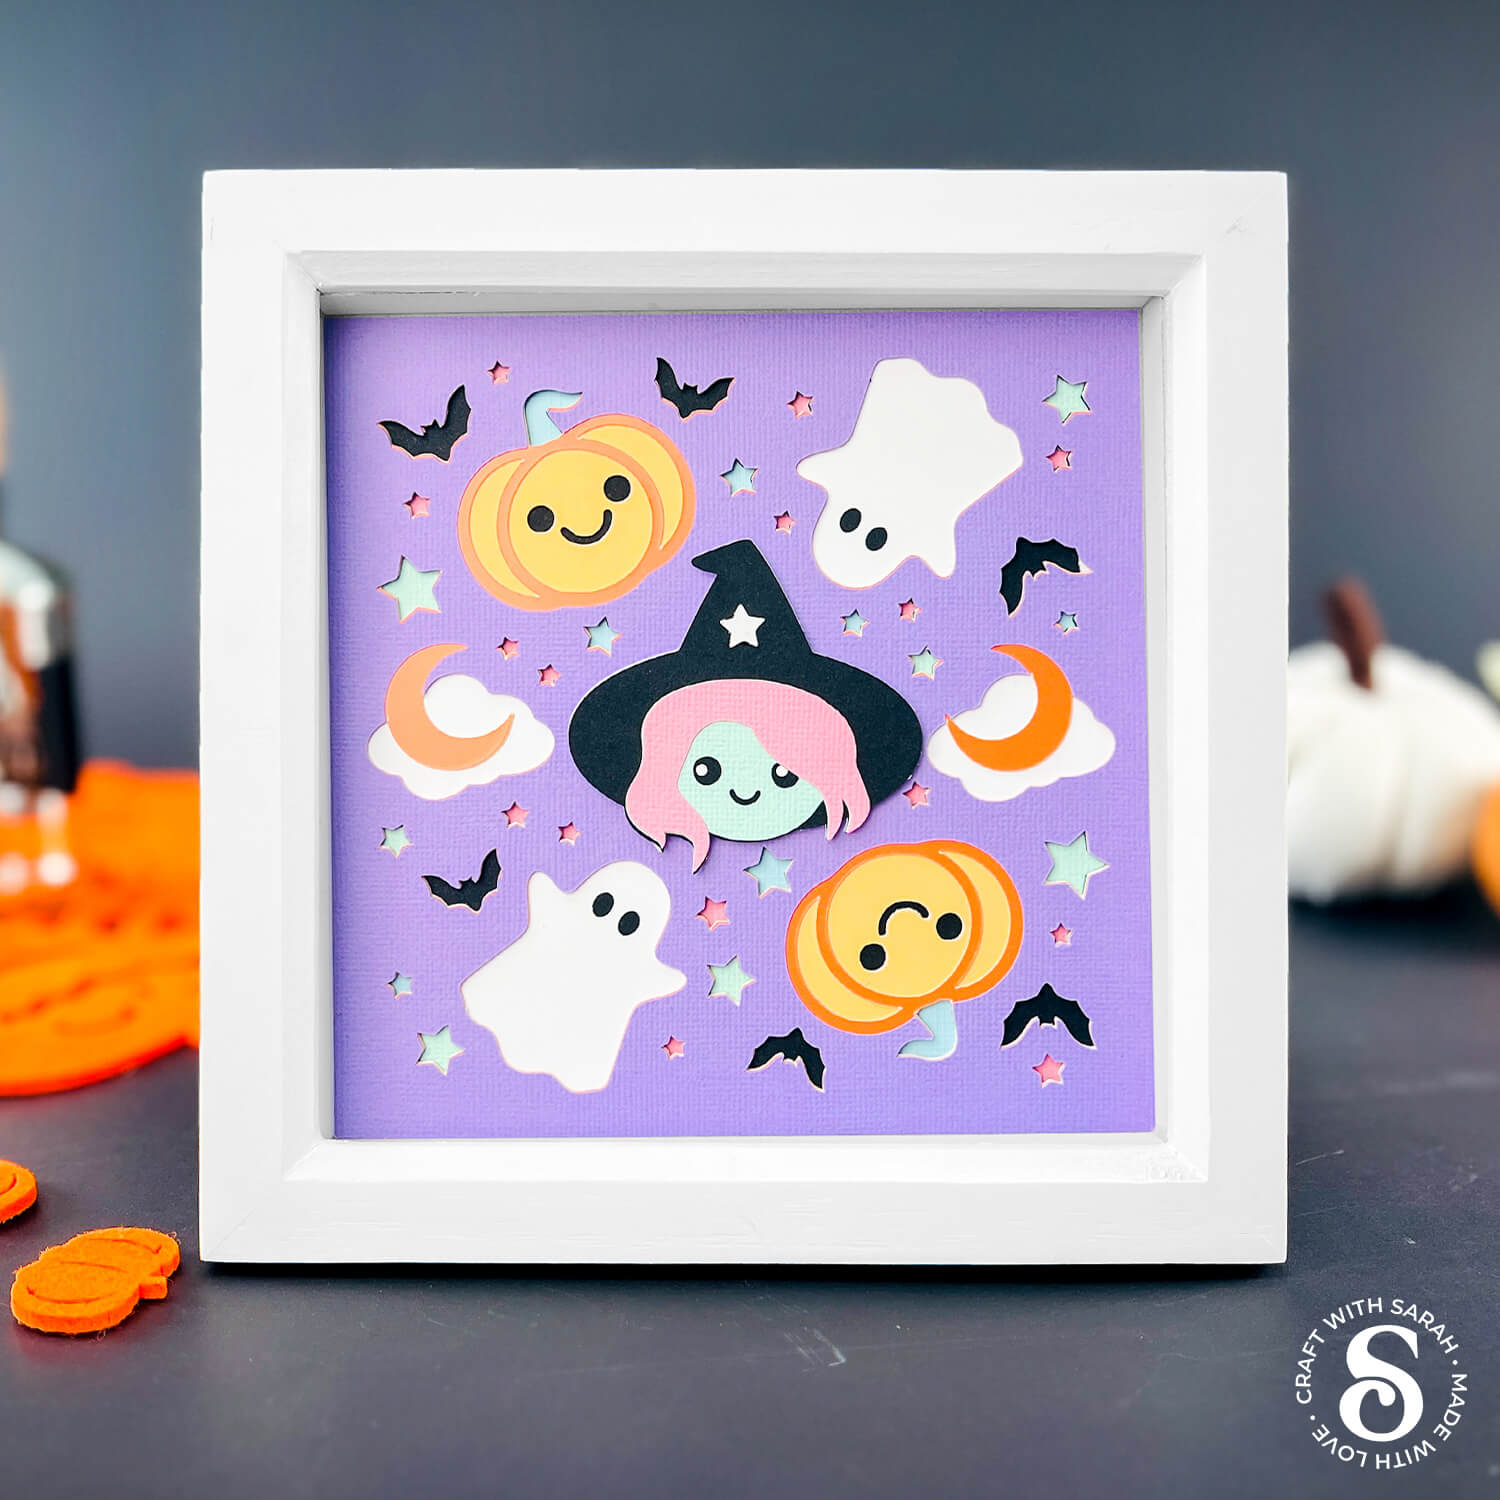
If you’re looking to try something a little different with your Halloween crafting this year, this kawaii Halloween shadow box project is a fun and creative way to go.
With its cute design and fun characters, it brings a lighter touch to the season while still featuring all the familiar Halloween icons.
Think cute ghosts, pumpkins, a little witch, and a dreamy nighttime sky filled with stars and bats.
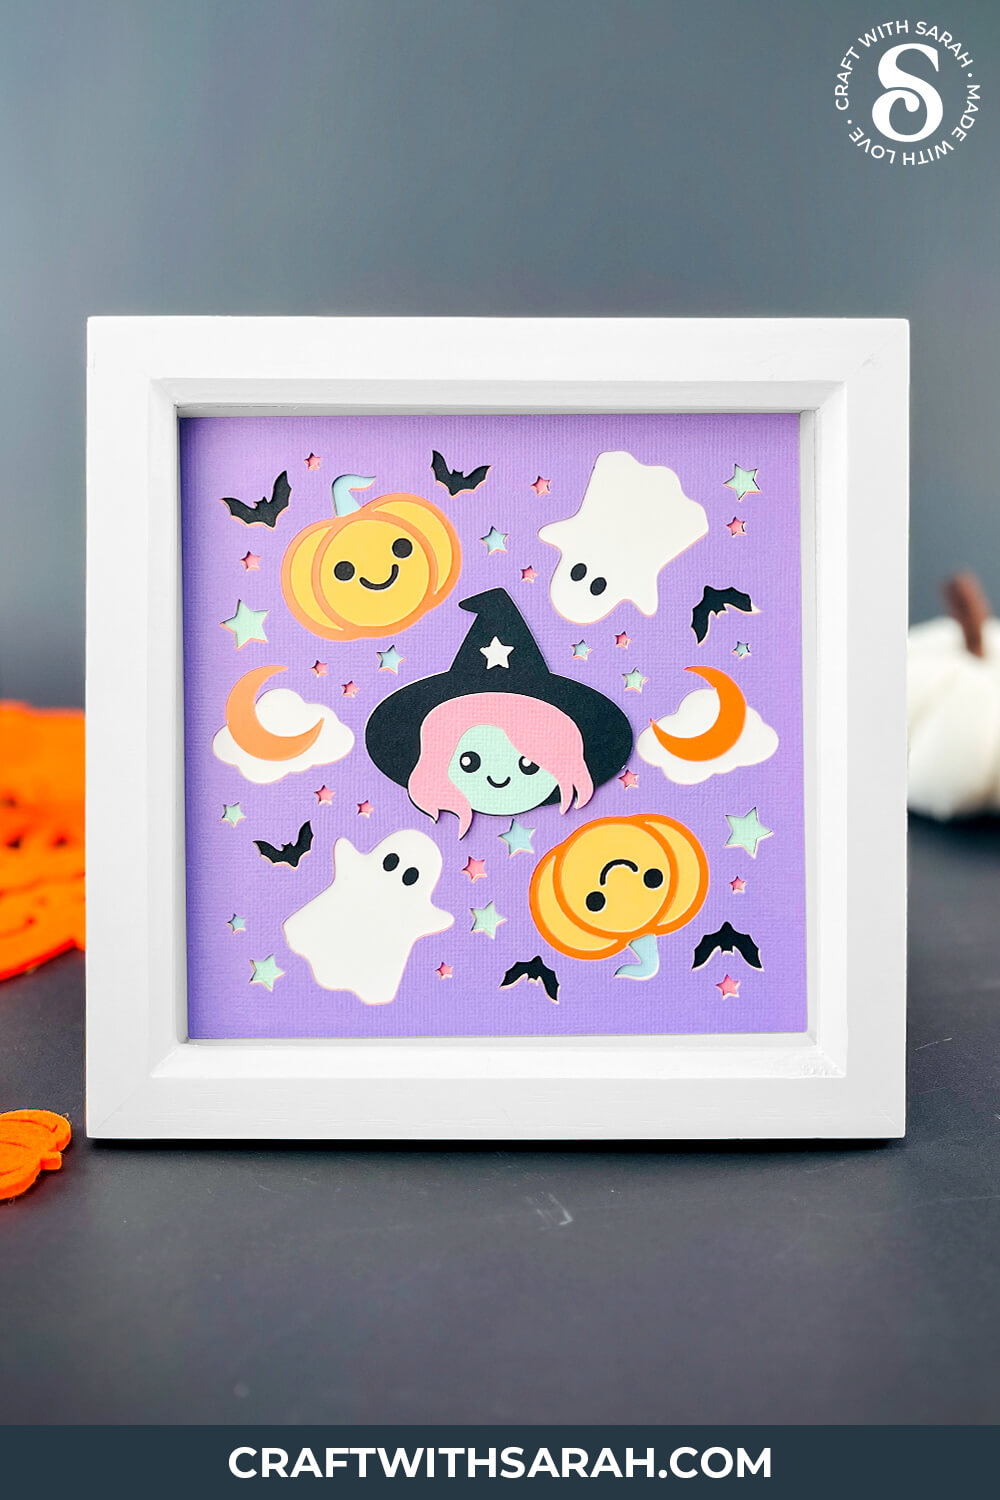
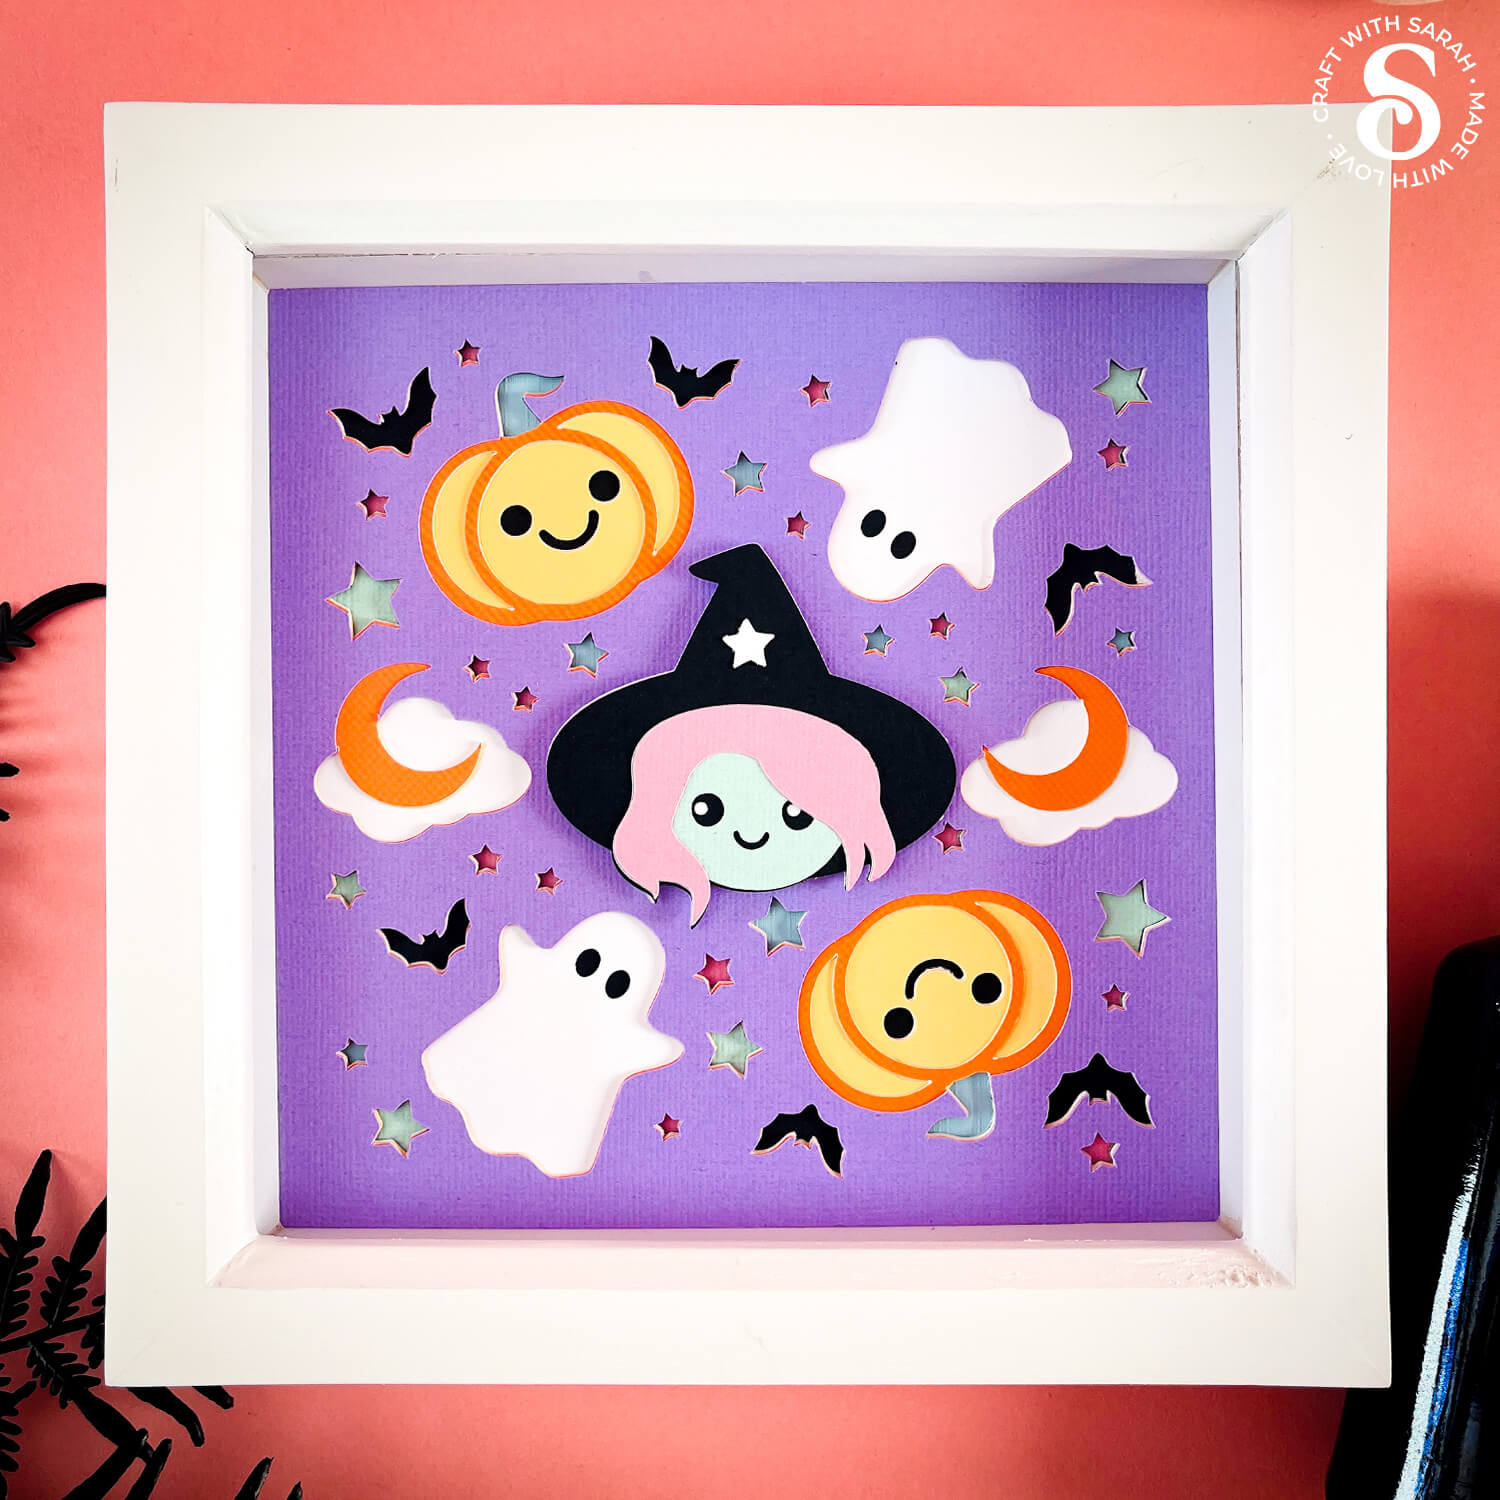
This is a layered Halloween shadow box design that builds downwards, creating a sense of depth as each piece stacks behind the next.
The central character is a sweet little witch, surrounded by pastel-colored pumpkins, floating ghosts, crescent moons, and scattered clouds.
If you’re not into soft or pastel tones, don’t worry — I’ll also show you how to adjust the colours in Cricut Design Space to suit your own style.
Whether you prefer a traditional orange-and-black palette or something a little more moody and bold, this design can easily be adapted
That flexibility makes it a great choice for all sorts of cute Halloween craft ideas, whether you’re creating for yourself or as a gift. 🎃
This project is ideal for displaying in a shadow box frame as part of a Halloween decor collection.
This project was part of the 2025 Halloween Craft Countdown.
Materials supply list
Here is a list of the materials needed to make this project.
Please note that some of the links included in this article are affiliate links, which means that if you click through and make a purchase I may receive a commission (at no additional cost to you). You can read my full disclosure at the bottom of the page.
- Cricut machine
- Light blue Cricut cutting mat
- Coloured Card
- Glue (I like Bearly Art Glue and Collall)
- 3D foam pads
- Square shadow box frame
This project is suitable for the following types of Cricut machines: Explore series, Maker series and Joy Xtra. It would be quite difficult to cut on the Cricut Joy due to the intricacy of the design.
Foundation learning
If you're new to making papercrafts with your cutting machine, check out these links to get you started.
They include videos on topics such as: which file to use with your type of cutting machine, how to load the files into your cutting machine's software, how to cut cardstock with your type of cutting machine, how to recolor and modify/customize the cut files and tips for displaying your projects.
- Help guides for Cricut machines
- Help guides for Silhouette machines
- Help guides for ScanNCut machines
The following tutorials are Cricut-specific, but many of the ideas will work similarly with a Silhouette or ScanNCut machine and any cut files that are shared in them are compatible with all types of cutting machine.
- How to score with a Cricut (even without scoring tools)
- Print then cut tutorial
- Design Space tools (Combine, Attach, Slice, Weld, Flatten, etc.)
- Pattern fill tutorial (for making backgrounds & cutting images to a specific shape/size)
- Free envelope SVGs that can be sized to fit any card
- Presentation boxes for handmade cards
- How to write inside cards with Cricut pens
- How to cut layered designs at a small size
- Design Space tips & tricks
- Cricut pens tutorial
- How to mount multiple designs in the same frame with magic guides
Pastel Halloween Craft Video Tutorial
Watch the video below to see how to make this project. Keep scrolling for a written tutorial.
A big Design Space update is currently rolling out that changes how the screen looks, including the position of some of the buttons and tools. I had already recorded all the Countdown videos before the update was released, so unfortunately there will be areas of the videos that look different to your screen.
To help with this, I've recorded a walkthrough video that explains all of the Design Space changes so that you can see how to do everything in the new version.
Written Tutorial for Cute Halloween Craft
Here’s how to make an adorable non-scary Halloween shadow box project using a Cricut machine with this Kawaii SVG.
Step 1) Measure your shadow box frame
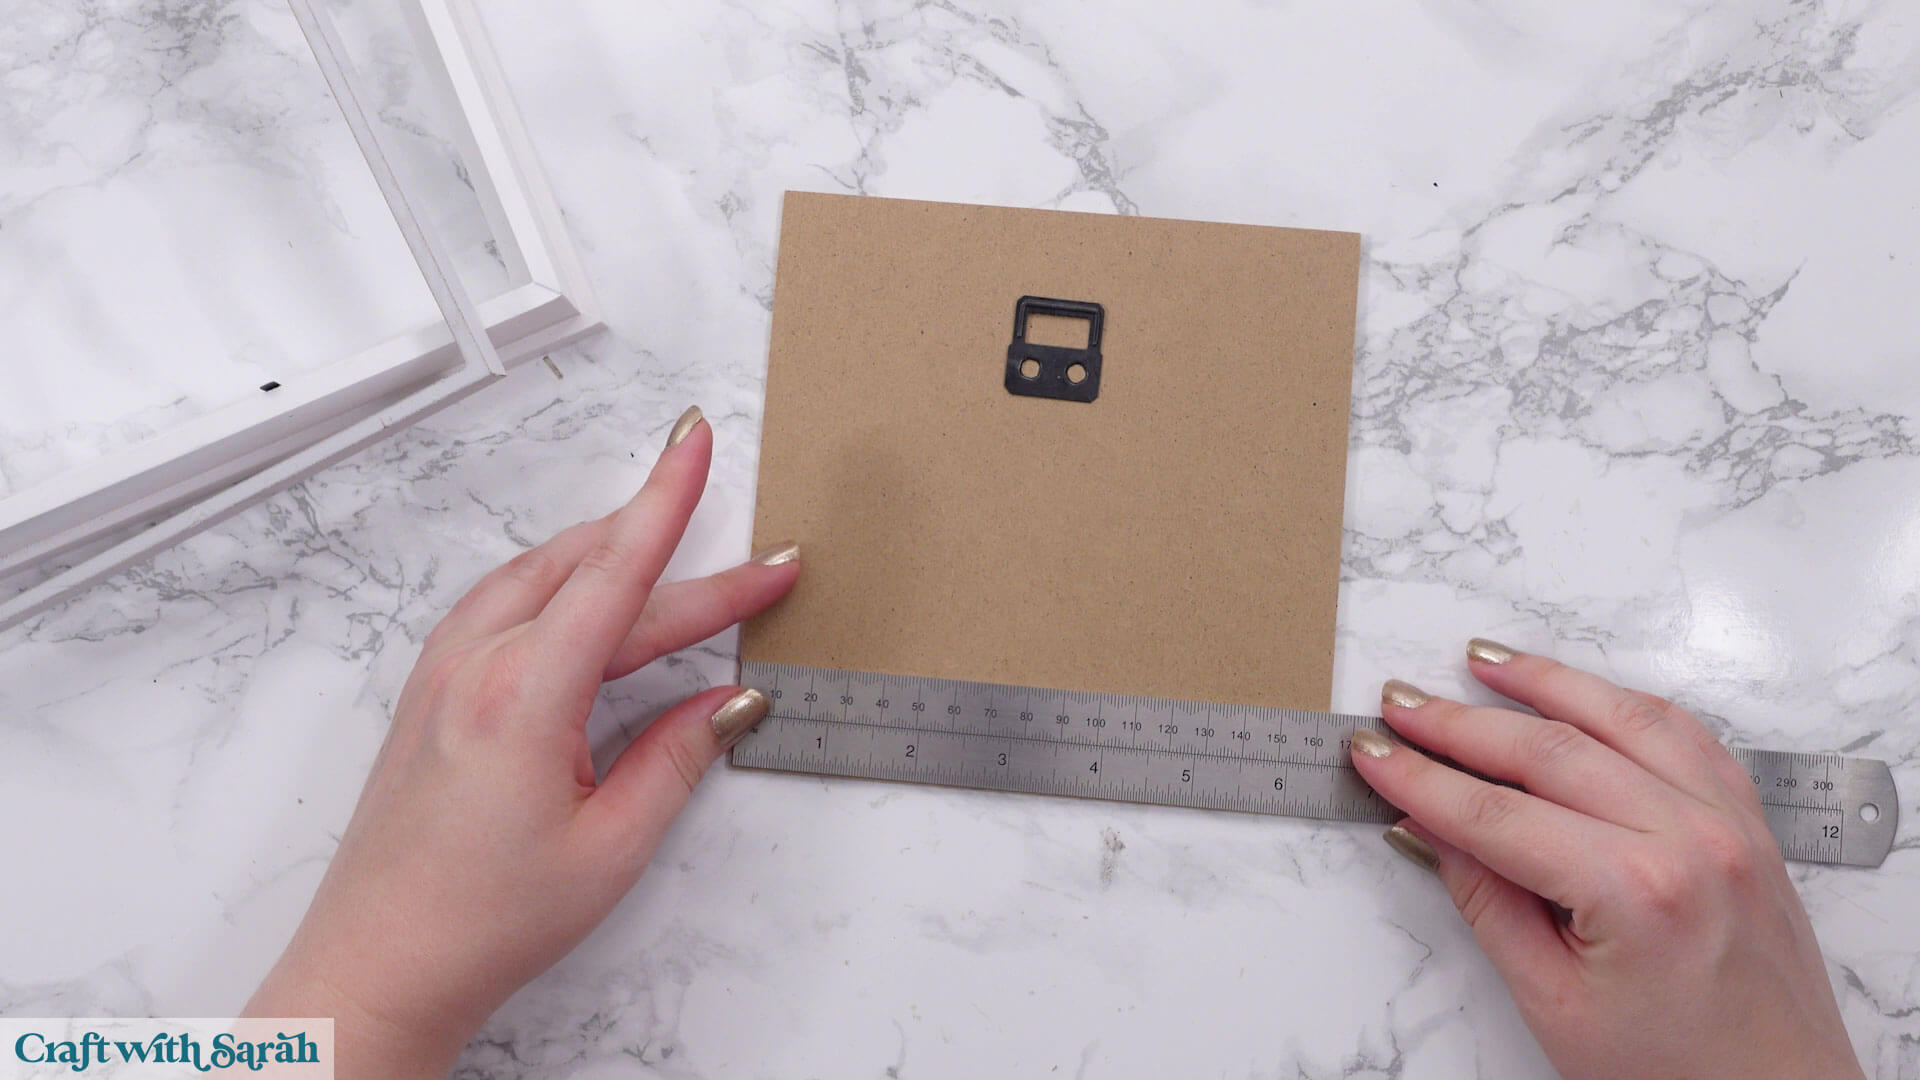
Before you cut anything out, you’ll want to measure your shadow box frame so your design fits properly.
I used a frame from Hobbycraft and measured the back to be 6.5 inches square.
You can measure either the back of your frame or the inner spacer (if it has one). Once you have that number, write it down as you’ll use it in Design Space when you resize the file.
Step 2) Download the cutting file & upload to Design Space
Get the files using the box below.
Purchase the File(s)
This cut file is available as part of the Instant Access Bundle.
Or, purchase this design individually here
Before you upload the SVGs to Design Space, you need to unzip the download folder that they come in.
- How to unzip a folder on Windows computer
- How to unzip a folder on a Mac
- How to unzip a folder on an iPad/iPhone
- How to unzip a folder on an Android device
After unzipping, upload the SVG file(s) into your cutting machine software.
Not sure how to use cut files with your type of machine? The following links lead to videos on how to open cut files in:
- Cricut Design Space
- Silhouette Studio
- CanvasWorkspace (for ScanNCut machines)
The download folder also contains printable PDF versions of the templates for hand cutting.
If you are using Cricut Design Space, start a new project and then click the “Upload” button on the left of the screen.
You can then either click “Browse” to find the file on your computer, or drag-and-drop it.
Upload the file in the “01 Cricut Version” subfolder called svg-01-pastel-halloween-build-down-craftwithsarah.svg
This is how it should look after you have selected the file:
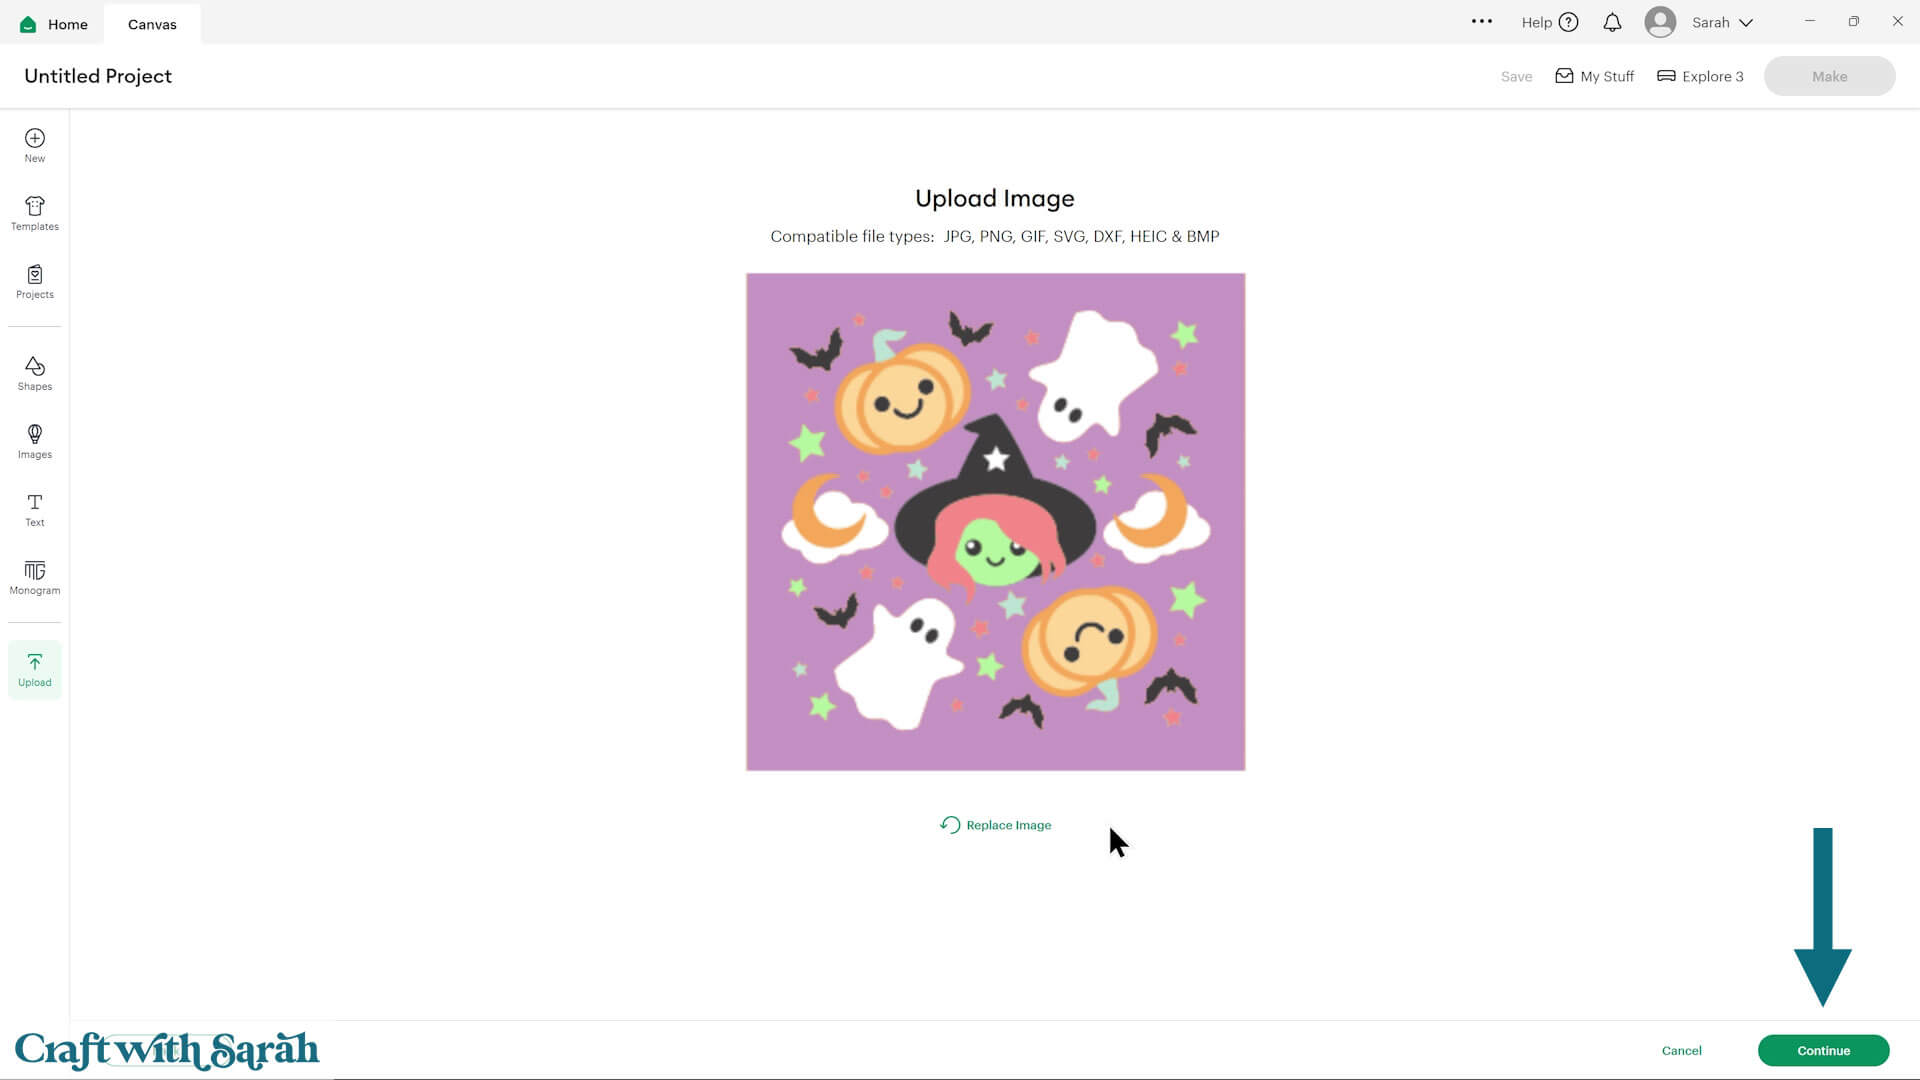
Don’t worry if the image preview appears blurry – it will show in full quality once it’s inserted onto your project.
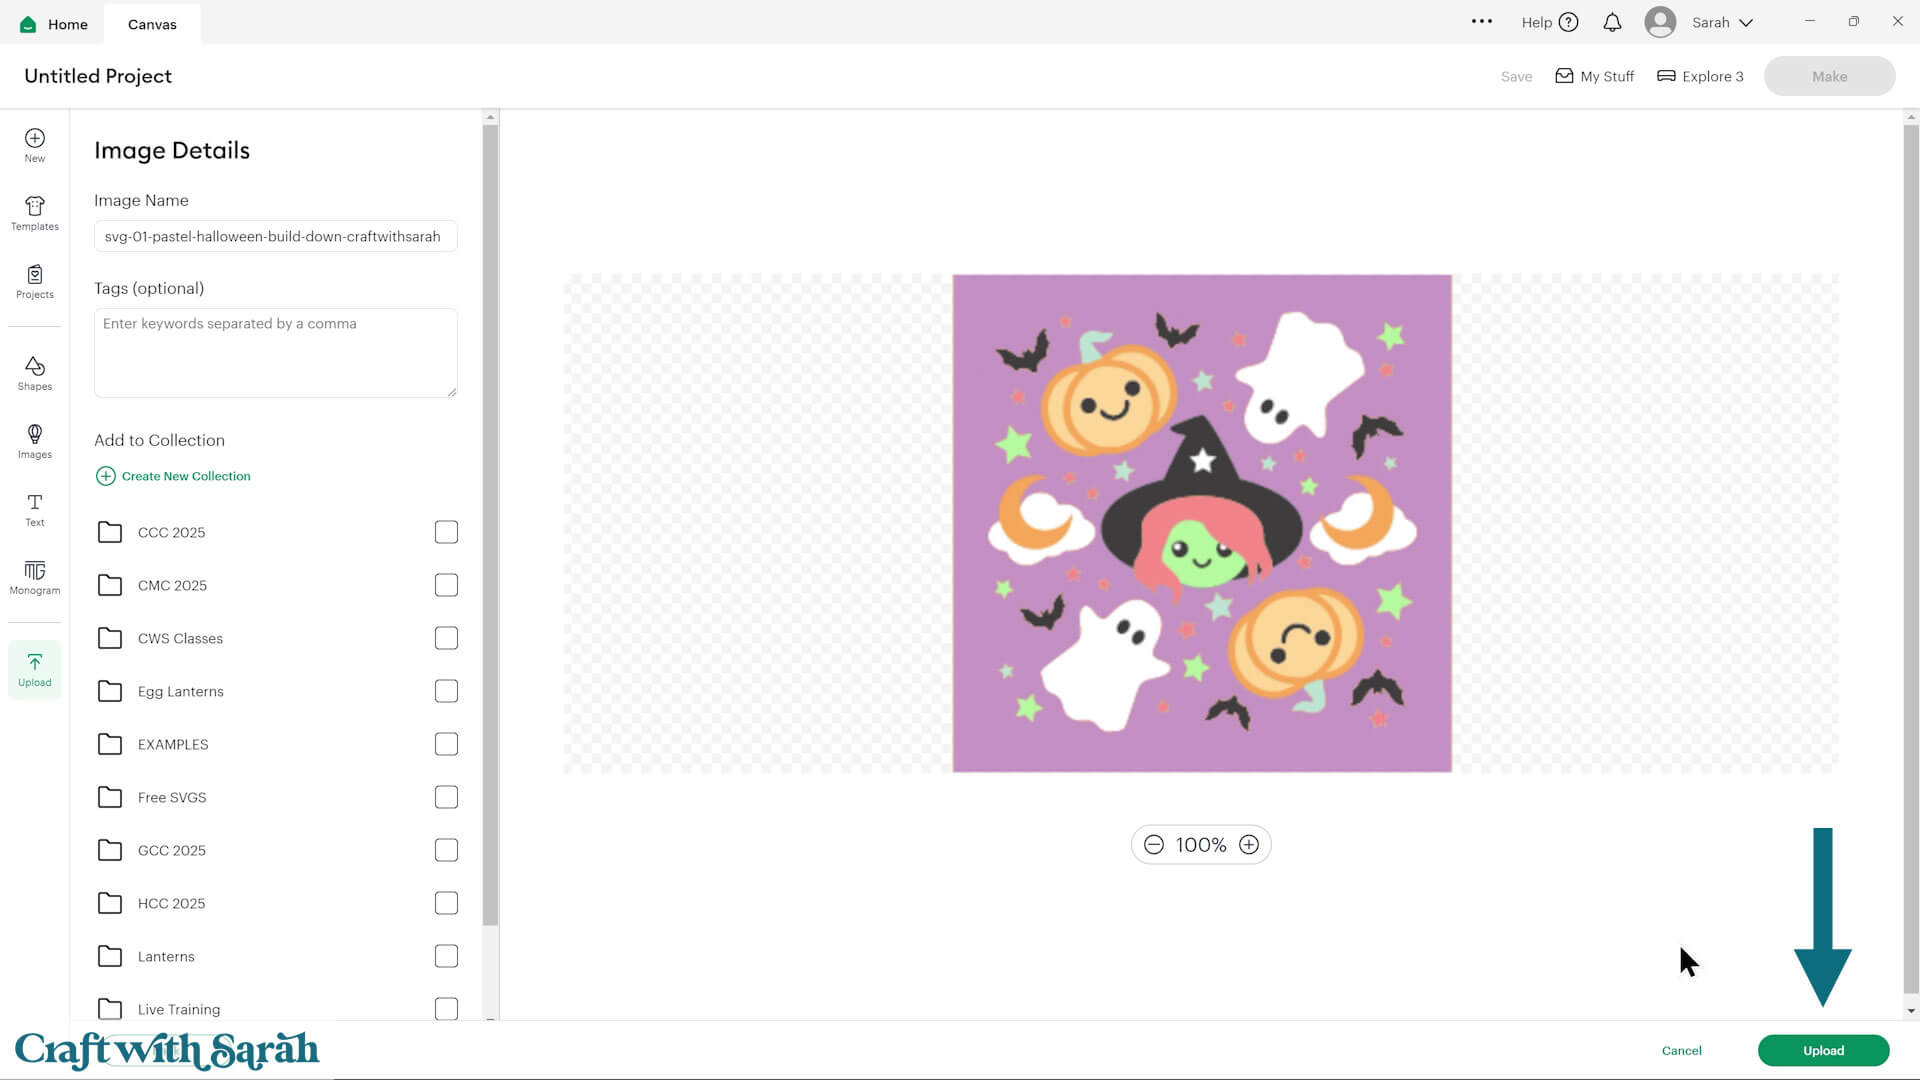
After uploading, the design should be automatically inserted onto your Canvas.
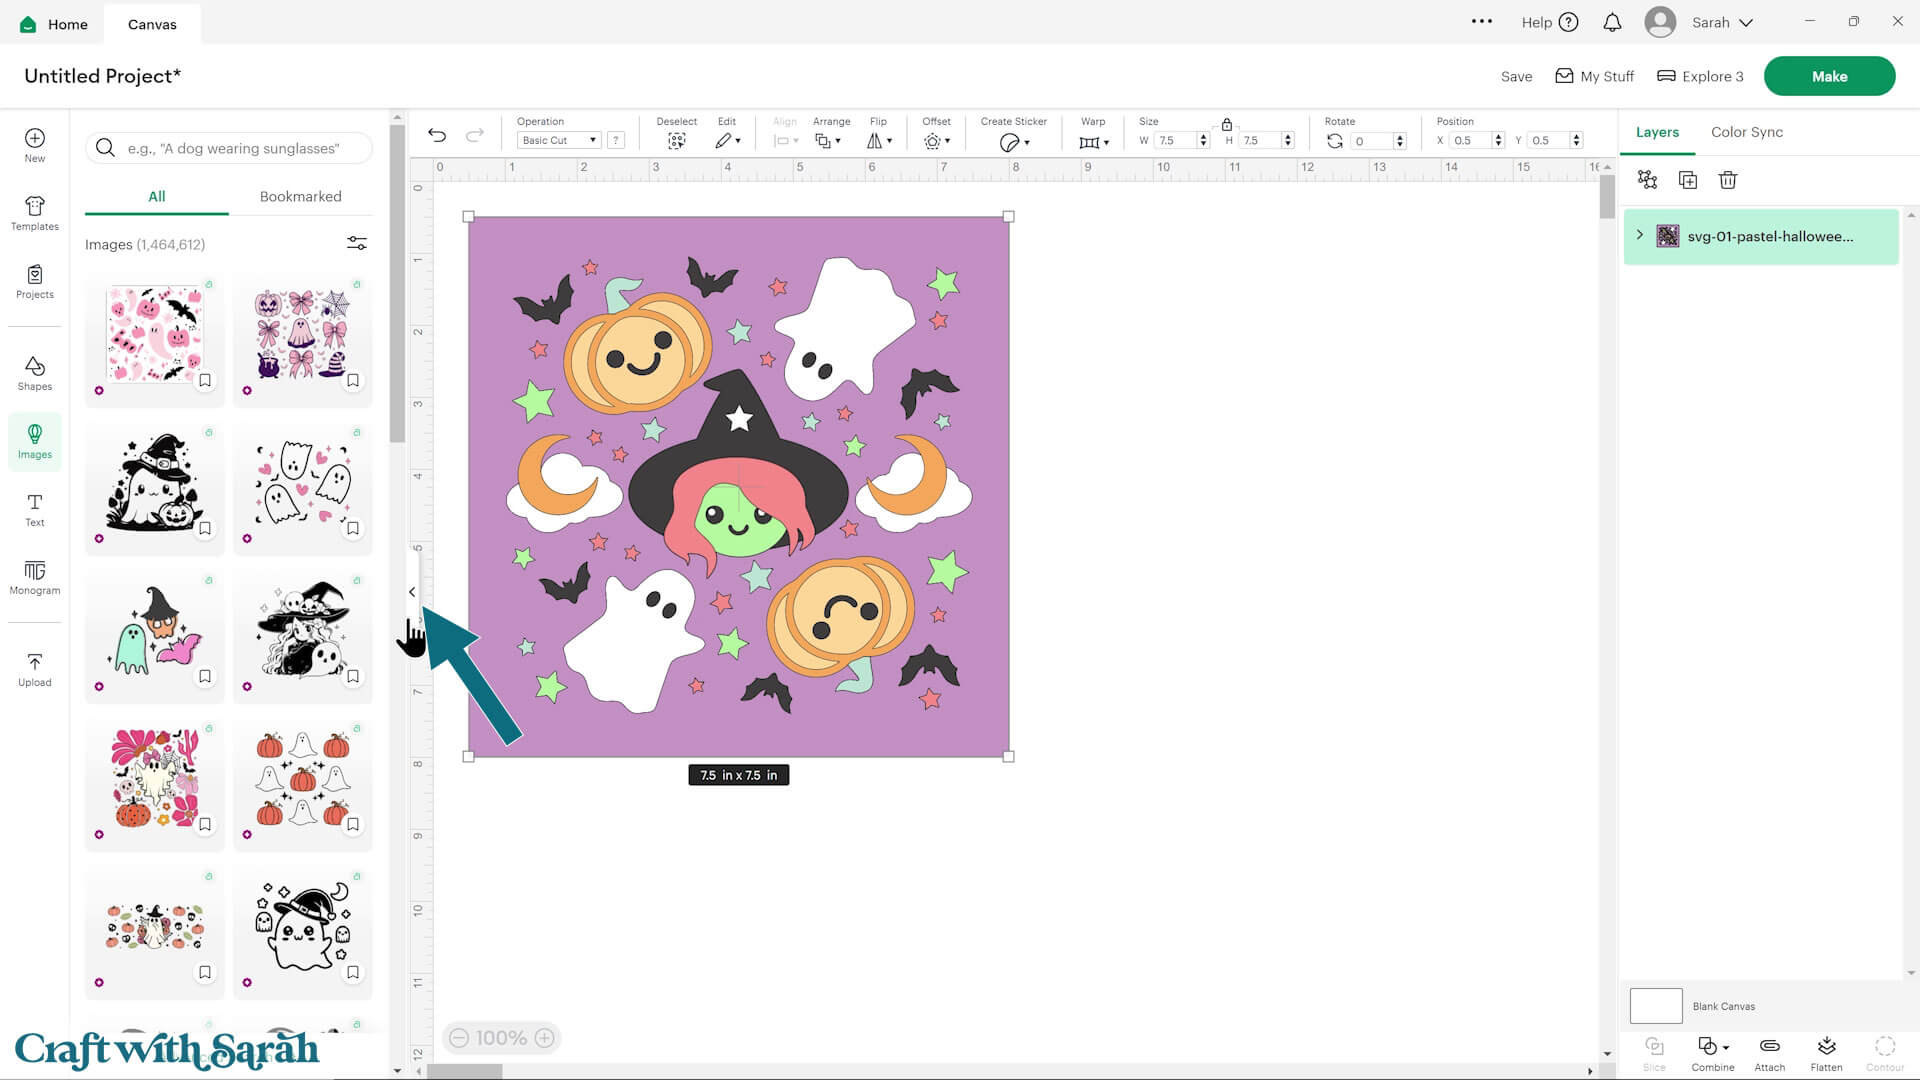
Cricut have recently (as of June 2025) introduced a feature where you get a “pop out” bar of similar images when you Upload a design. To hide this bar (to give you more space for designing!), click the arrow that’s about half way down the page.
If the design doesn’t get inserted onto your Canvas, it will show under “Uploads” in your “Recently Uploaded Images”. Click on it and then press “Add to Canvas” to put it onto your Project.
Step 3) Format the Halloween shadow box design
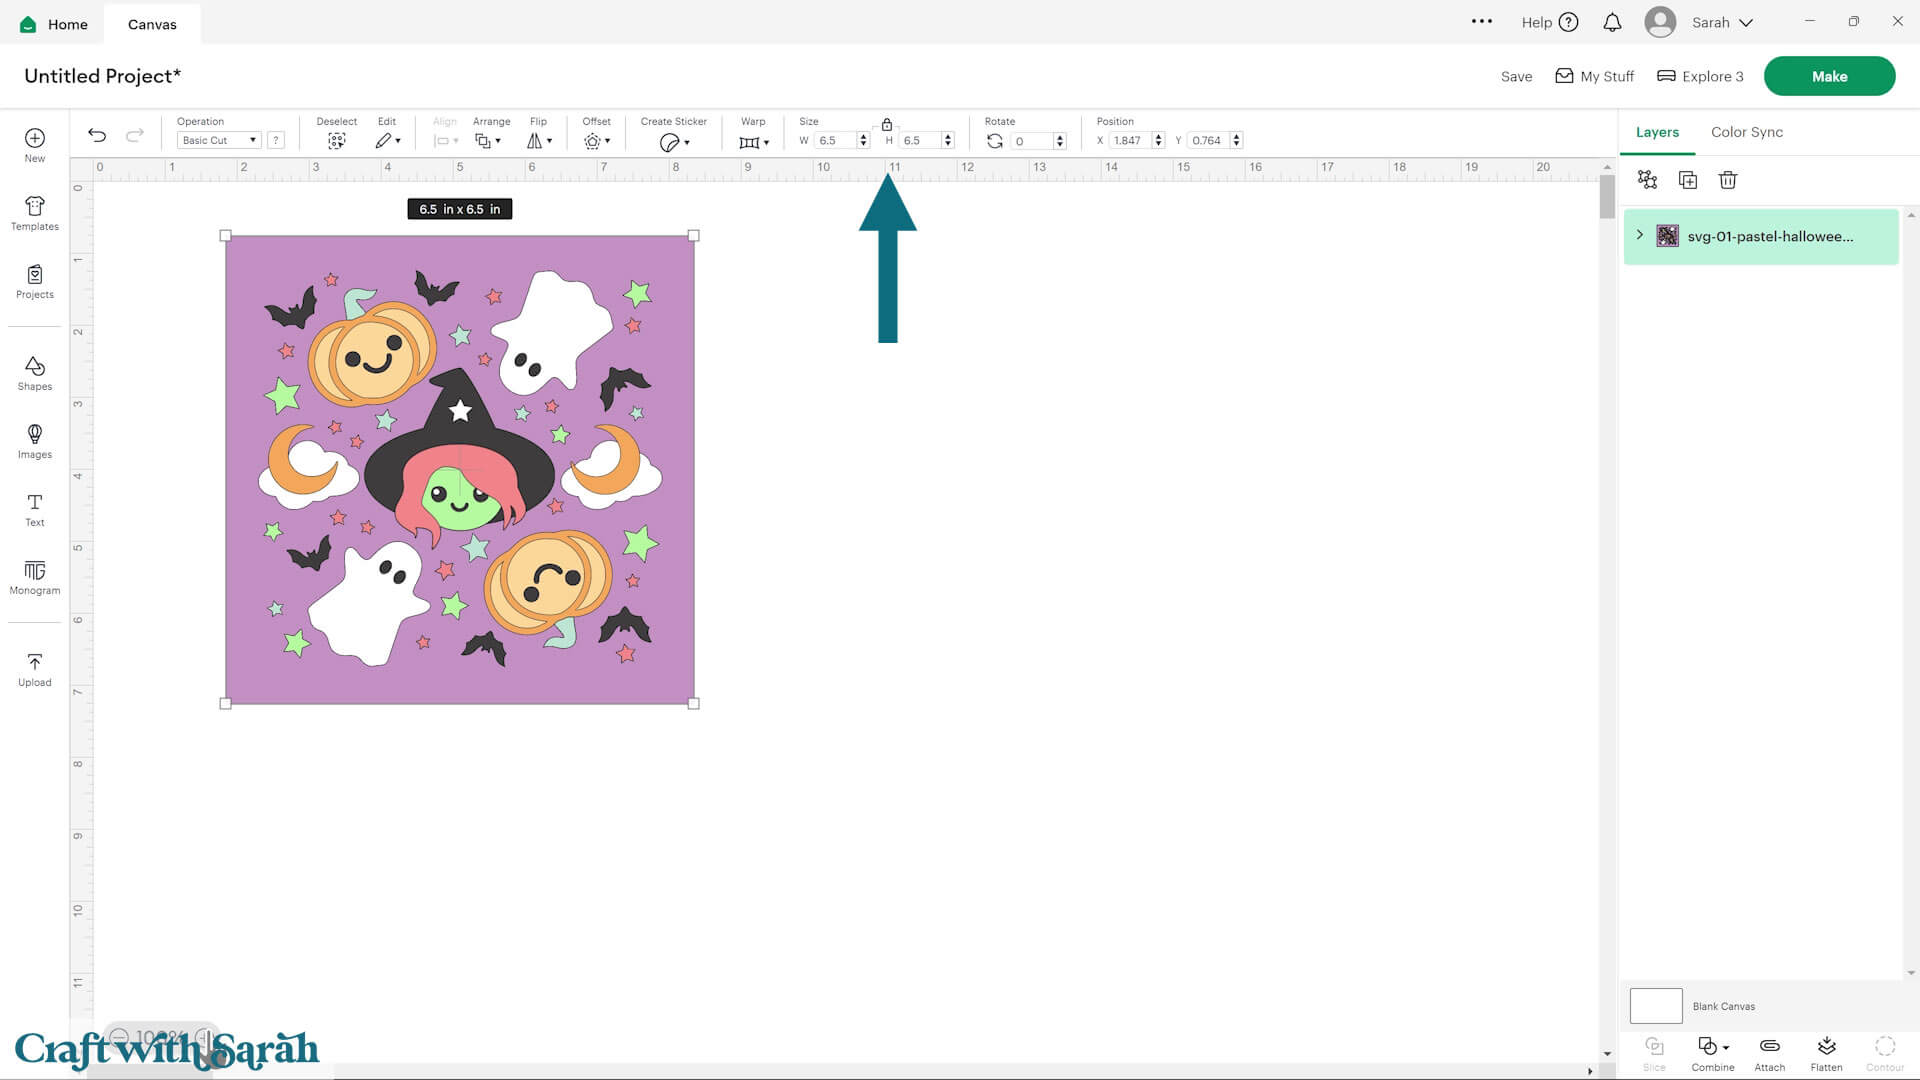
Now it’s time to resize the SVG so that it will fit inside your shadow box.
Make sure the padlock icon between width and height is closed (this keeps the proportions correct) and type in your measurement. In my case, I need to type 6.5 inches.
Note: if you are using a Cricut Joy then your shadow box must be a maximum of 4.5 inches wide.
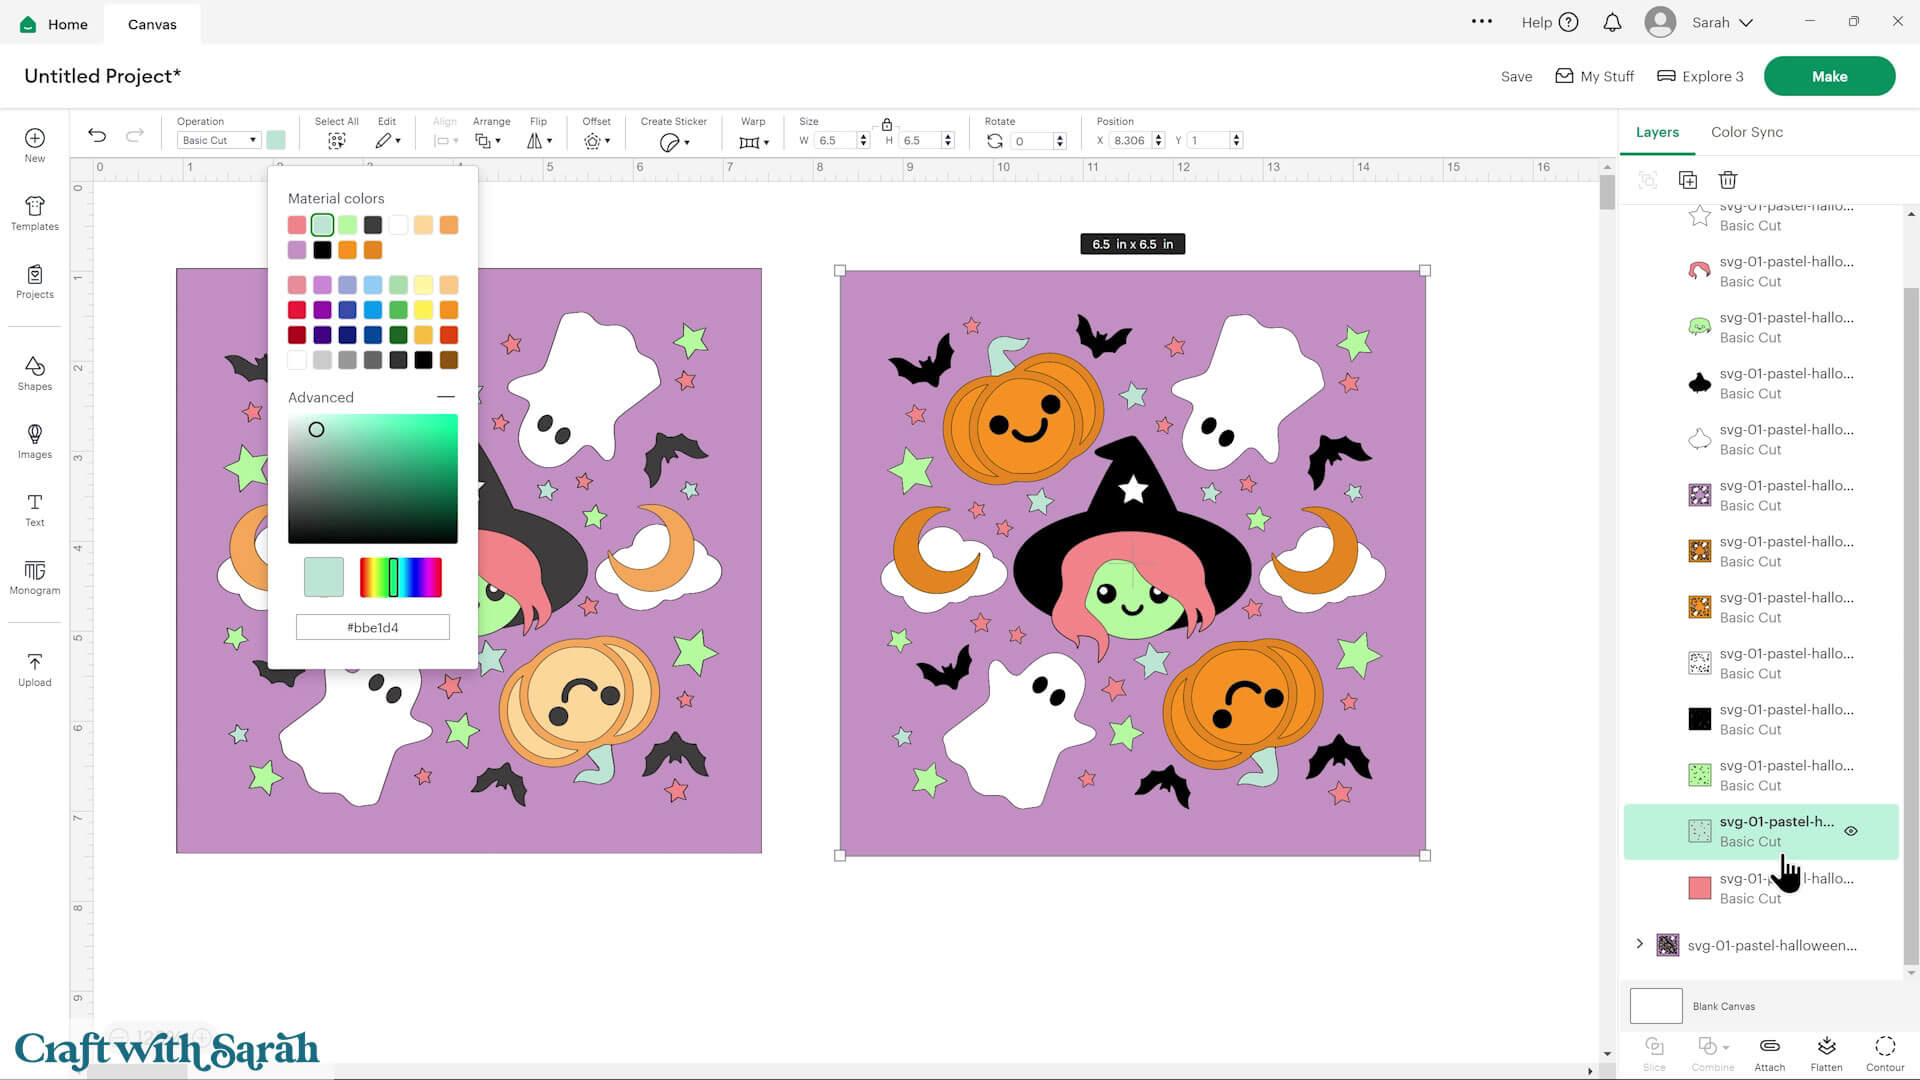
If you don’t want to use a pastel scheme, you can easily change the colors right within Cricut Design Space so that you can visualise what it will look like once it’s cut out.
I’ve made a duplicate of the shadow box to show you how changing the colors can make it look completely different.
Click the little arrow in the Layers panel to show the different layers.
Then, one by one, click on the pieces you want to change and use the color box to select a new color.
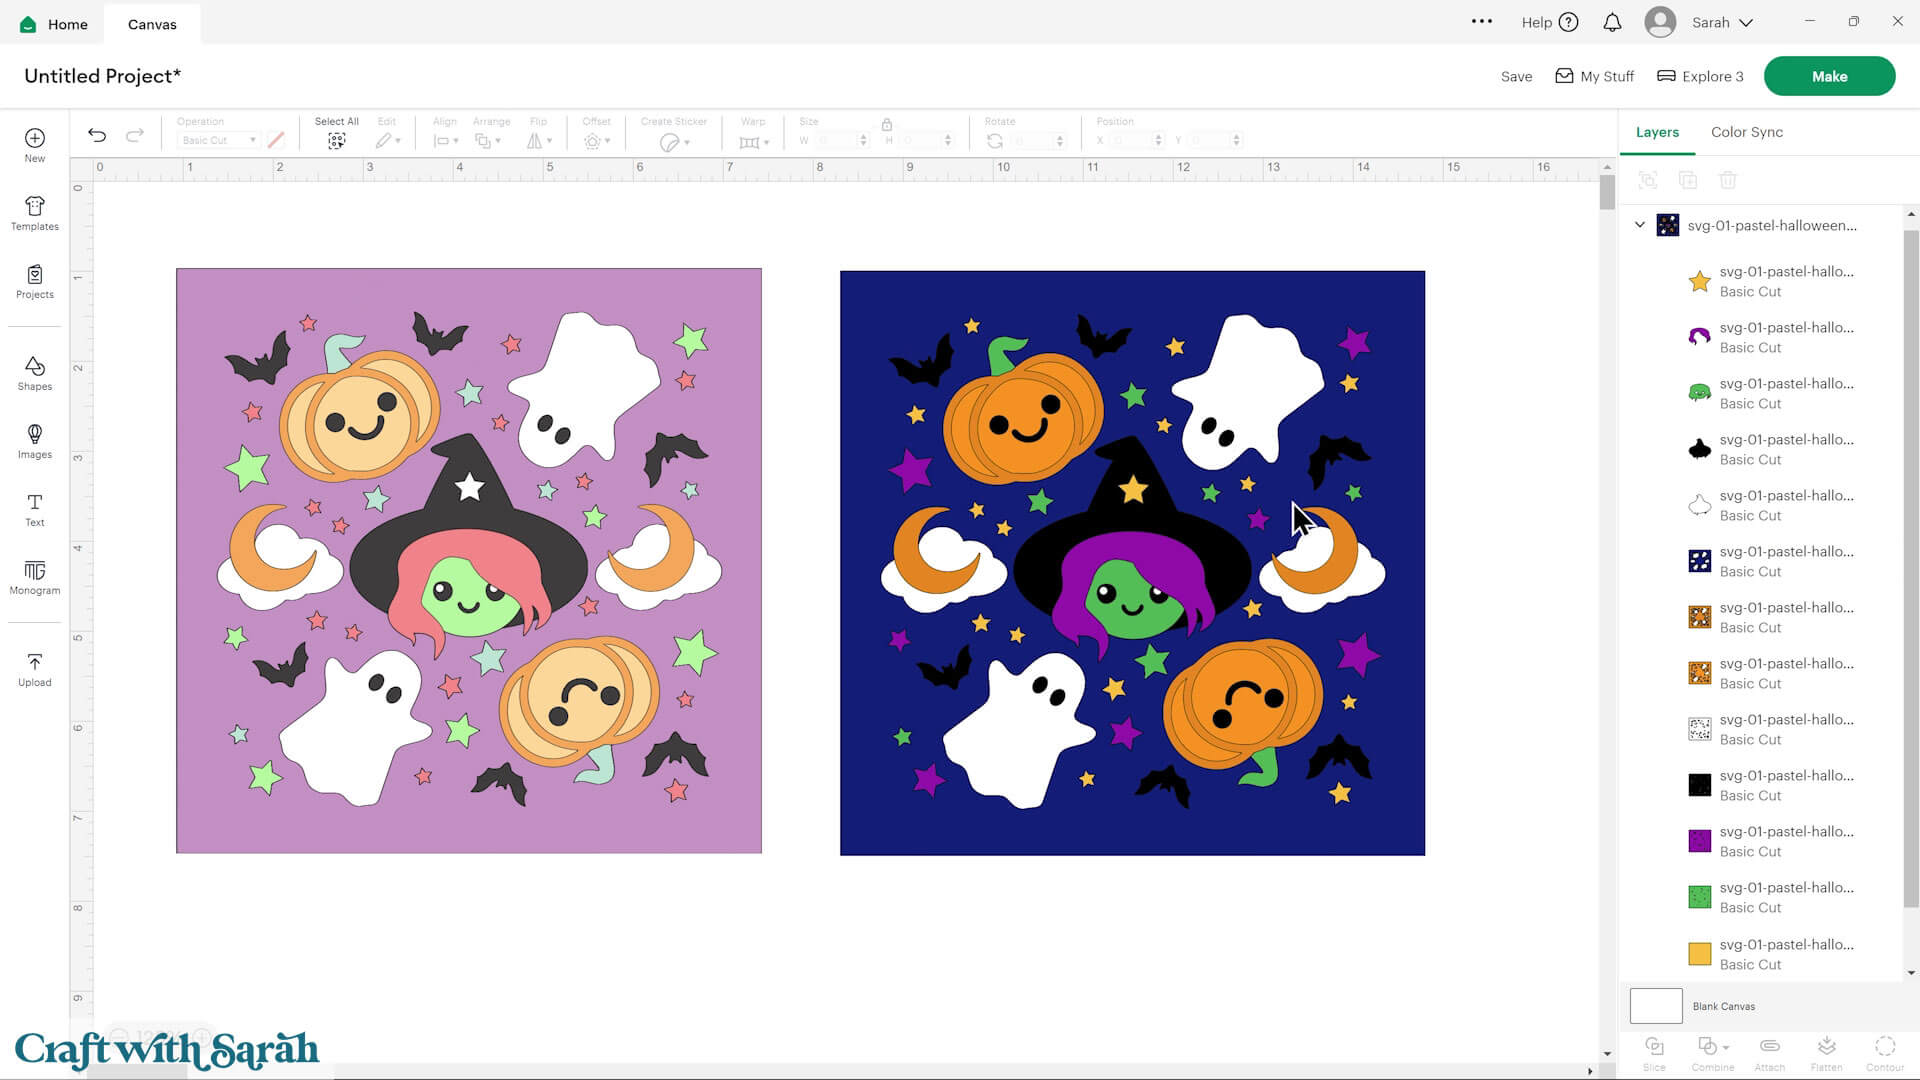
You can mix and match until it feels more like Halloween to you. The original design is very soft and cute, but it also looks great in bolder colors.
Here’s what it could look like in a more traditional Halloween colour scheme:
Step 4) Cut out all the layers
When you’re happy with how the project is looking in Design Space, click “Make” and follow the instructions on-screen to cut out all the pieces.
To change the paper size, go into the dropdowns over on the left side of the screen and choose the paper size that you want to use. You need to change it for every single colour.
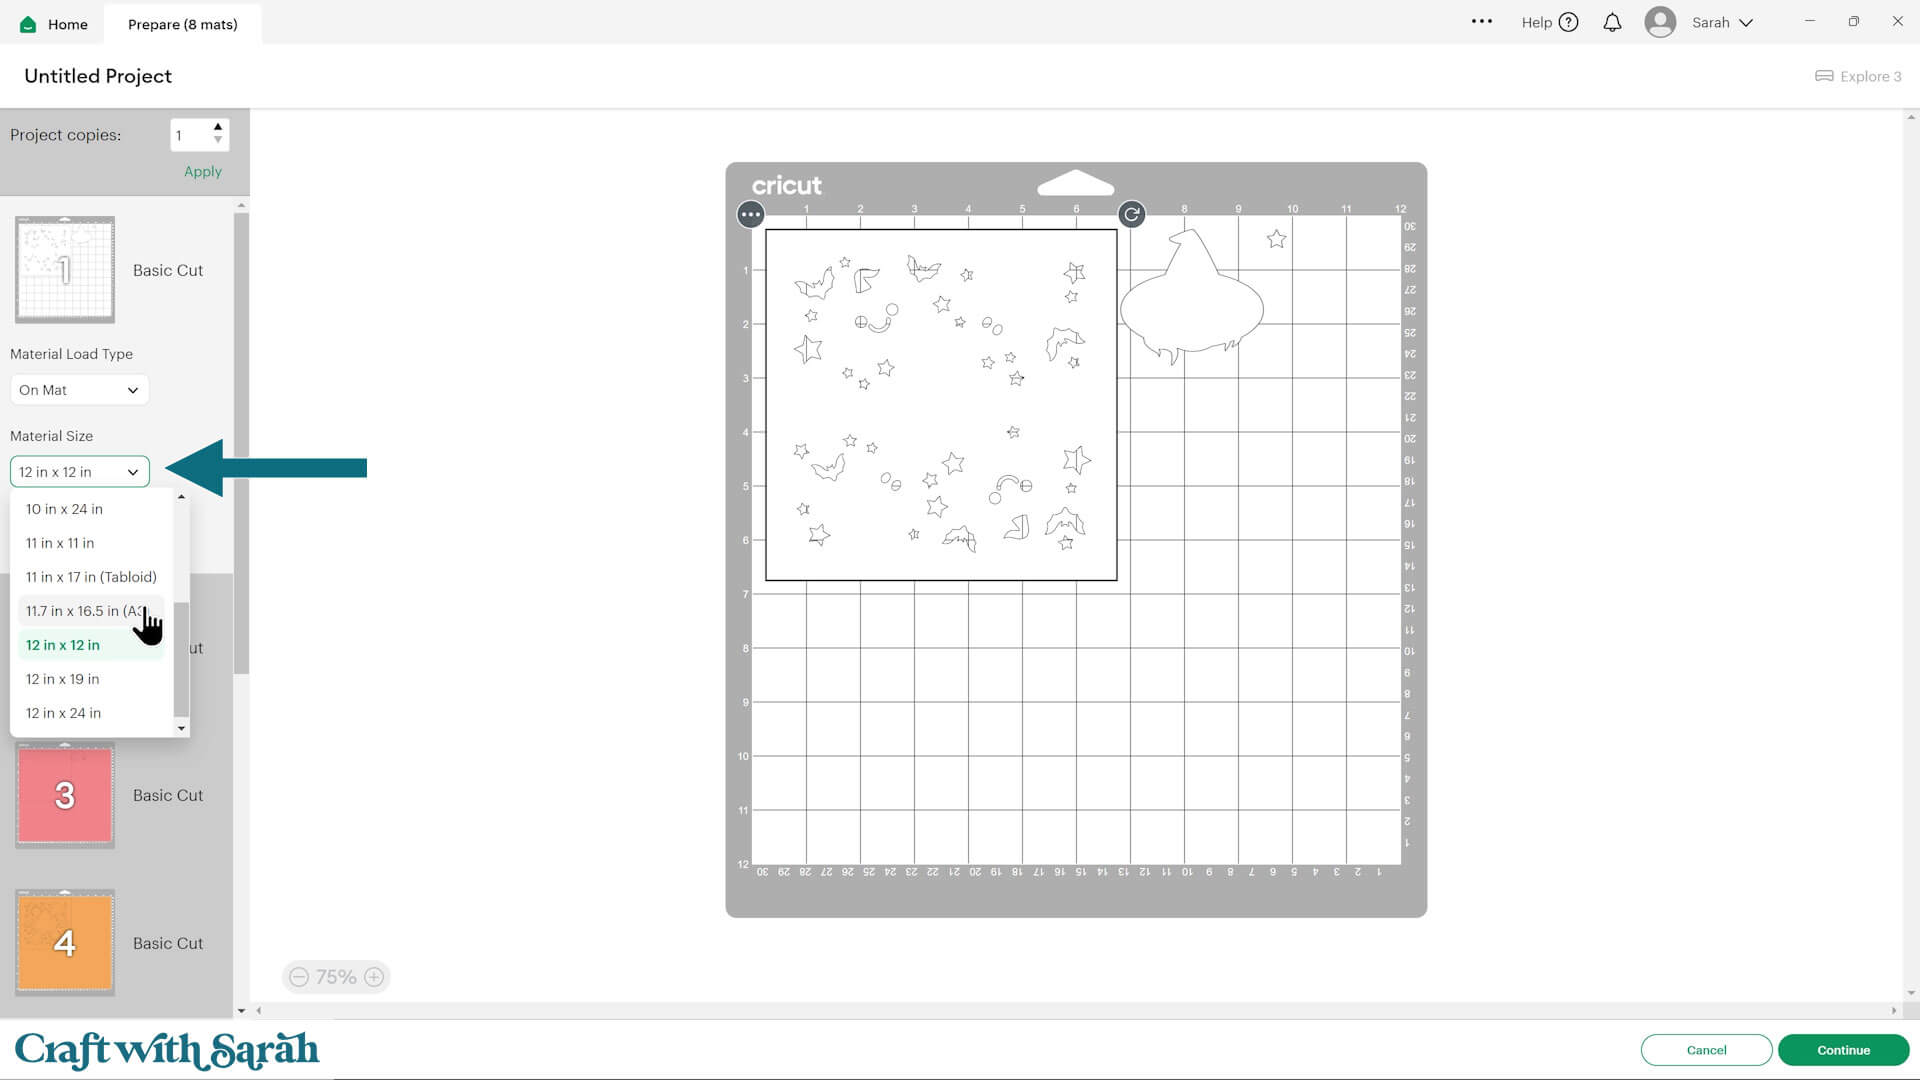
To save space on your cardstock, you can move things around by clicking and dragging. Make sure when you’re moving things about that nothing overlaps because otherwise, it won’t cut out properly.
TIP: New to using cardstock with your cutting machine? Check out these machine help guides for Cricut, Silhouette and ScanNCut that go through every step of the process, including tips for getting the best quality cuts from your machine.
Step 5) Stick the project together
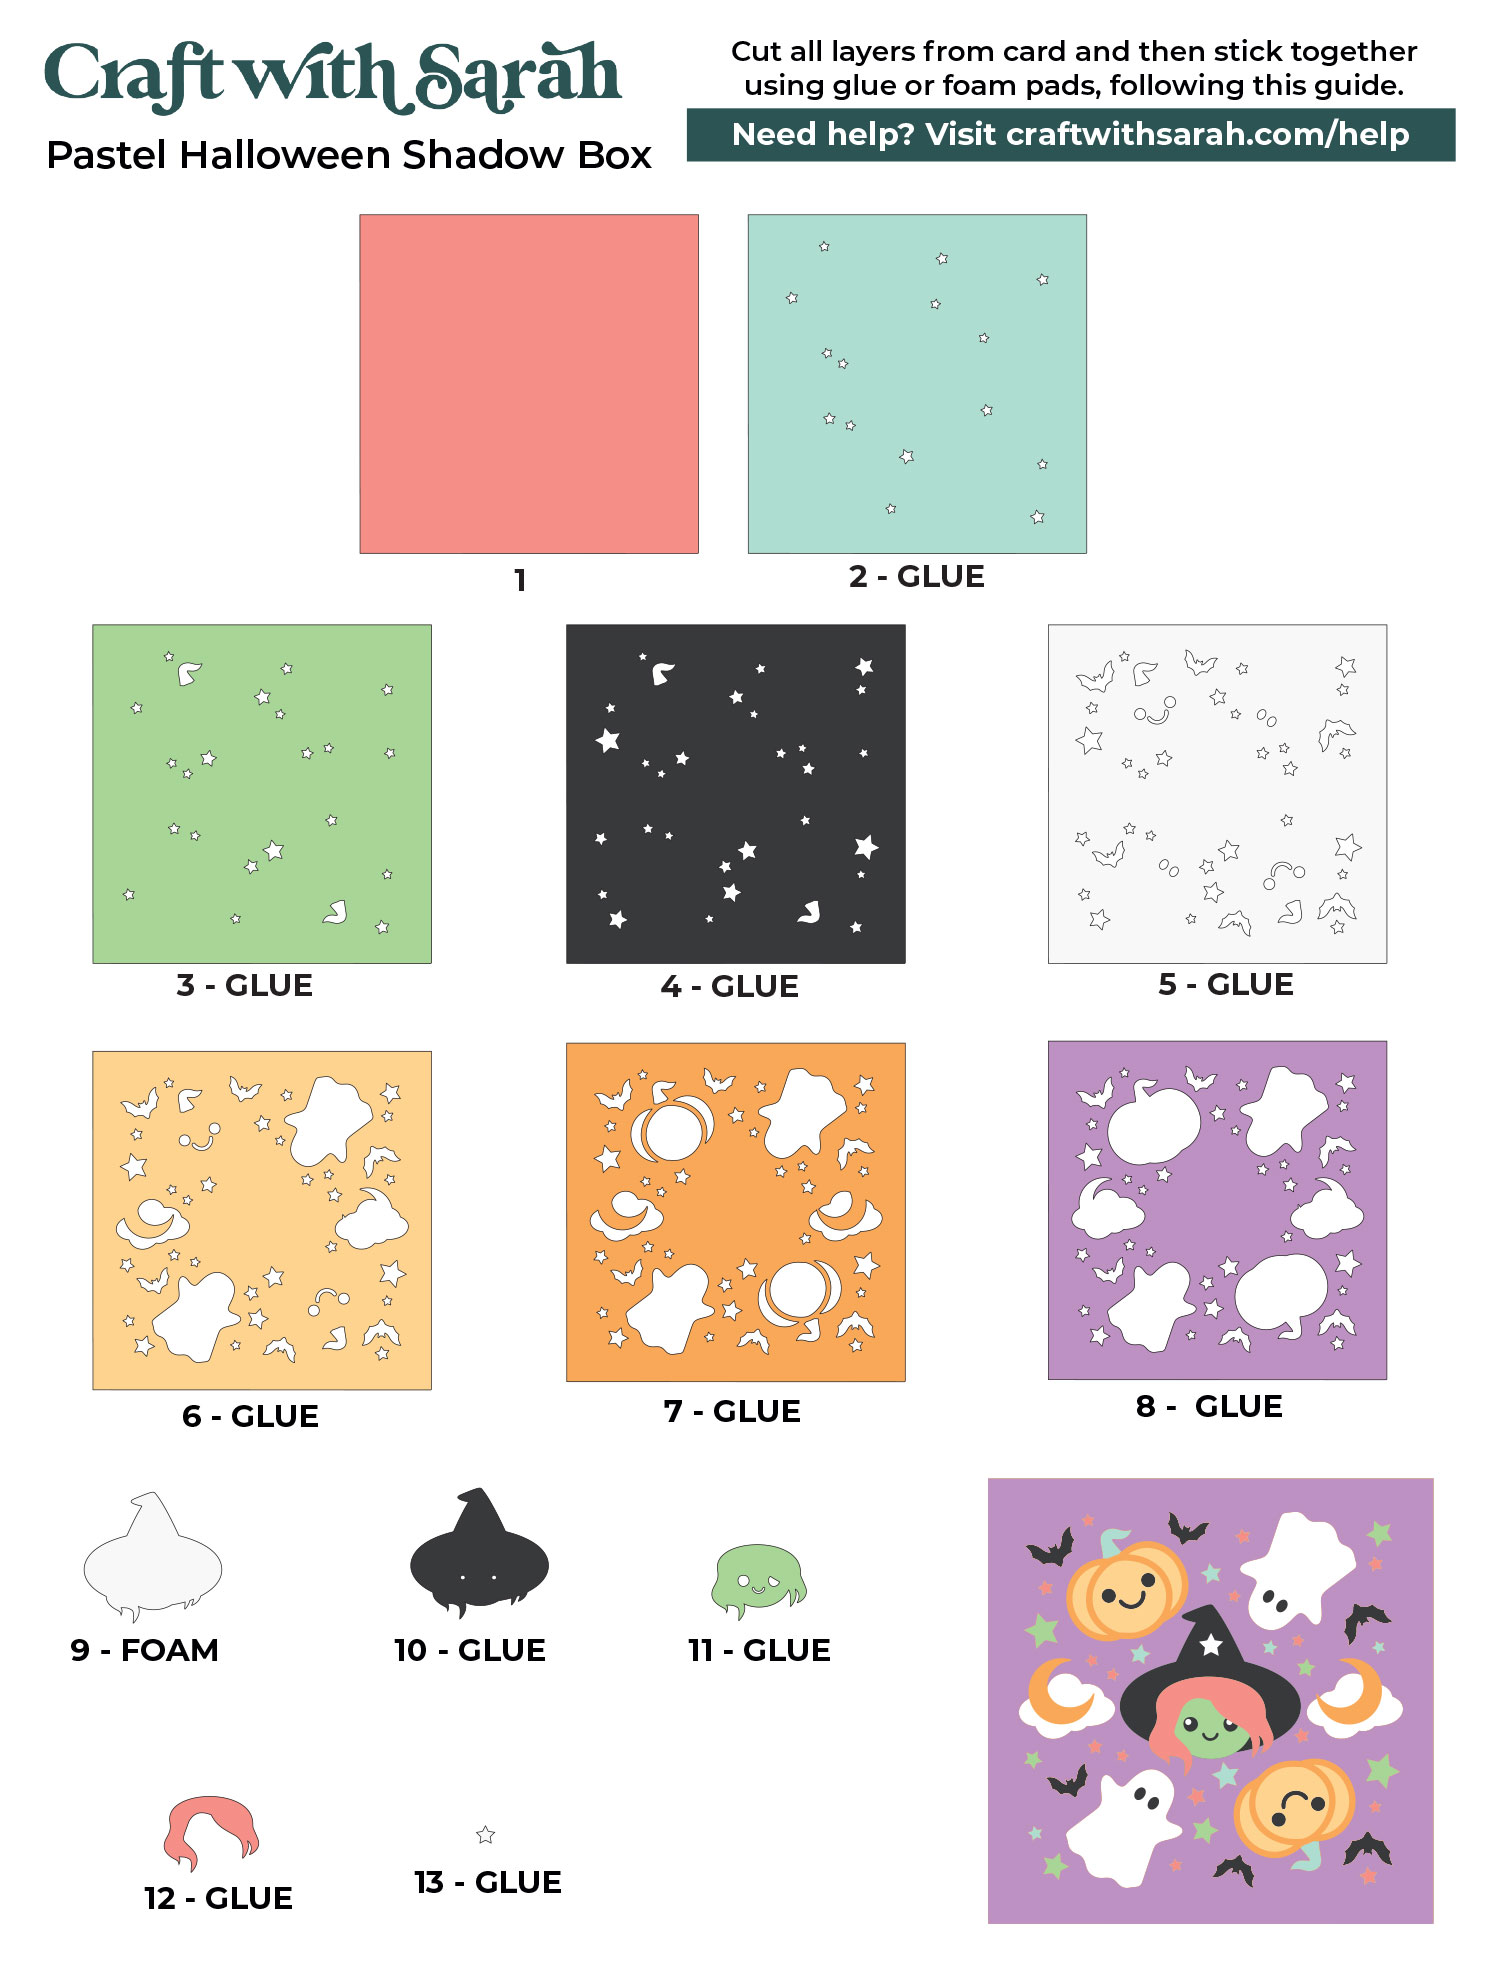
Use 3D foam pads and glue to stick the layers together.
Use this guide to see the order to stick the layers together in.
A printable version of this assembly guide is included in the folder when you download the cut files.
We’ll glue the layers directly on top of one another, one at a time.
Using foam squares would create too much depth and make it hard to see the colours through the small shapes because of the shadows that would appear.
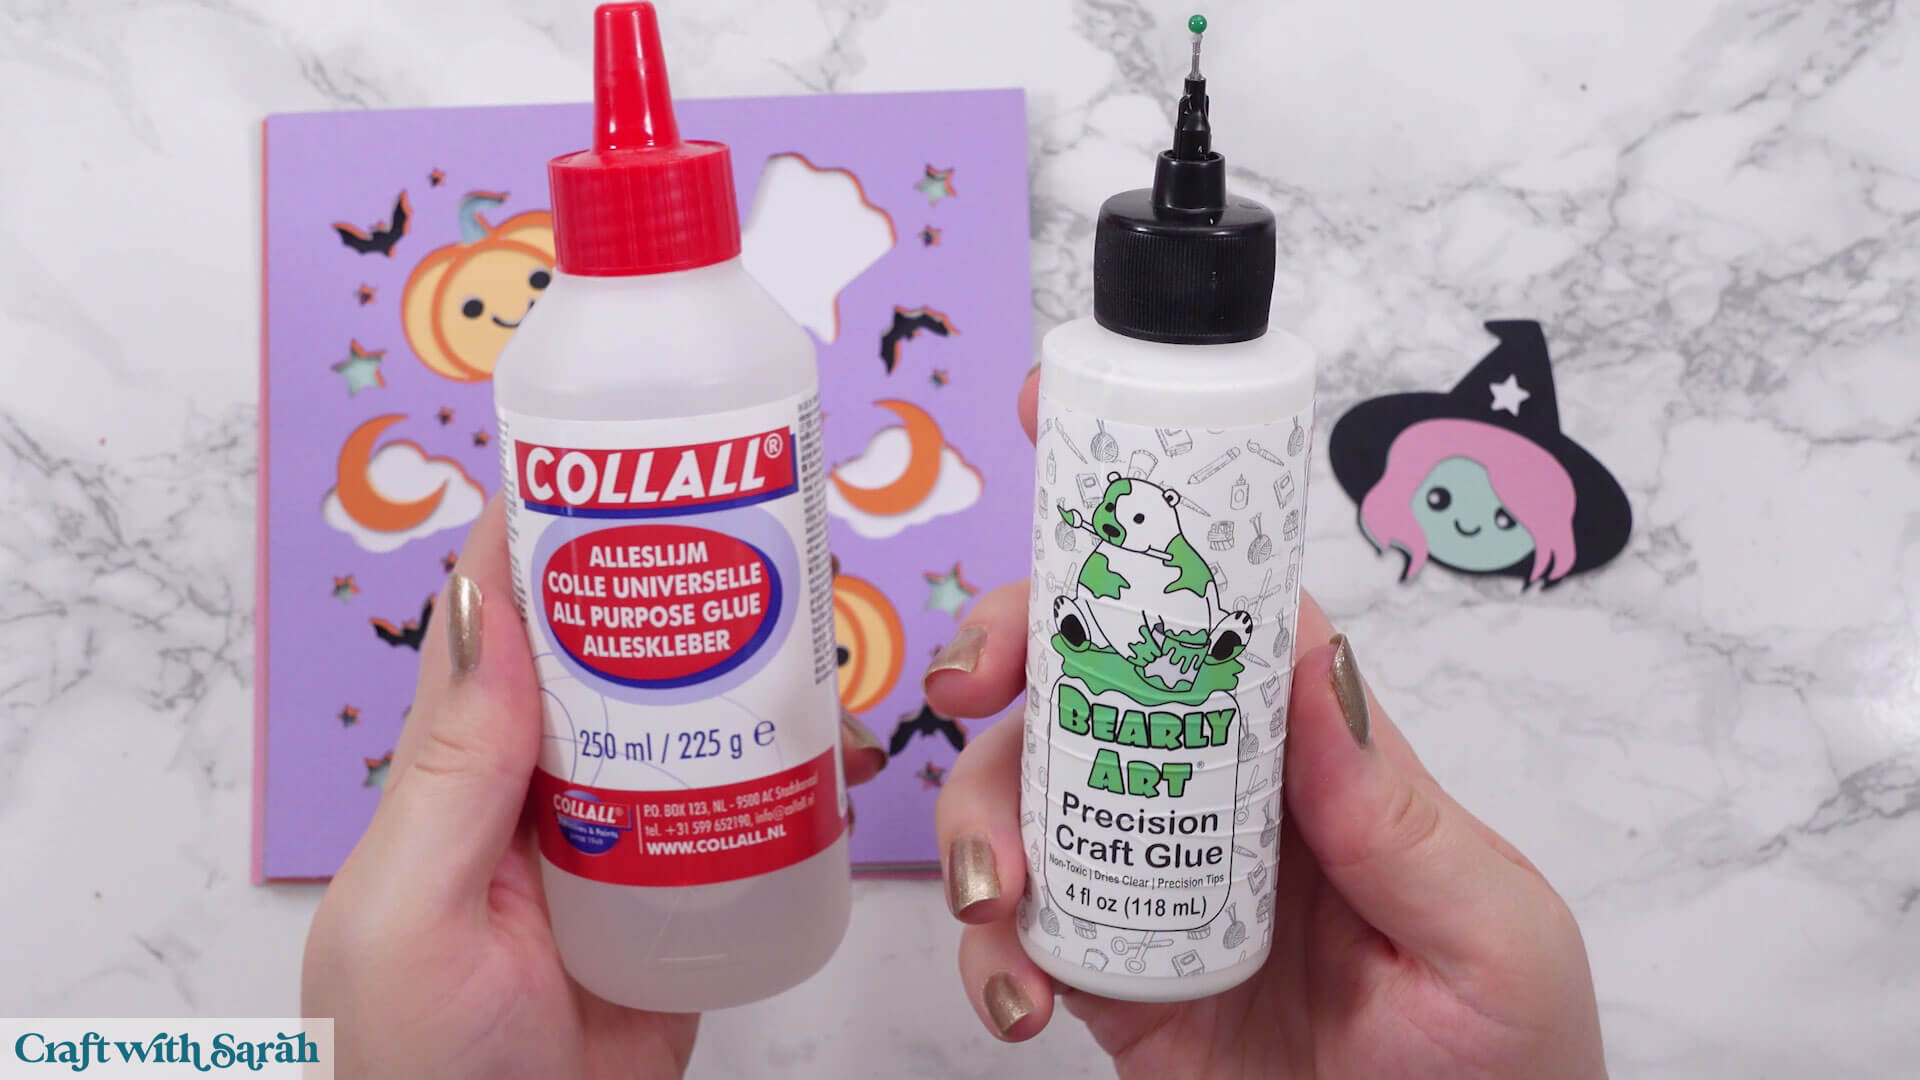
My favourite glues to use on papercraft projects are Bearly Art Glue and Collall All Purpose Glue.
These are great because they don’t “warp” or bend the cardstock like some glues do. You can use as much of it as you want and the card stays perfect – and it dries perfectly clear too!
Bearly Art Glue comes with a tiny nozzle to make it easy to apply glue to small areas of card. The Collall glue doesn’t come with this, so it’s easiest to decant it into needle tip applicator bottles so that you have more control.
Glue the layers together following the assembly guide.
Take your time lining up the edges. You want the whole thing to stay square so it fits neatly in the frame.
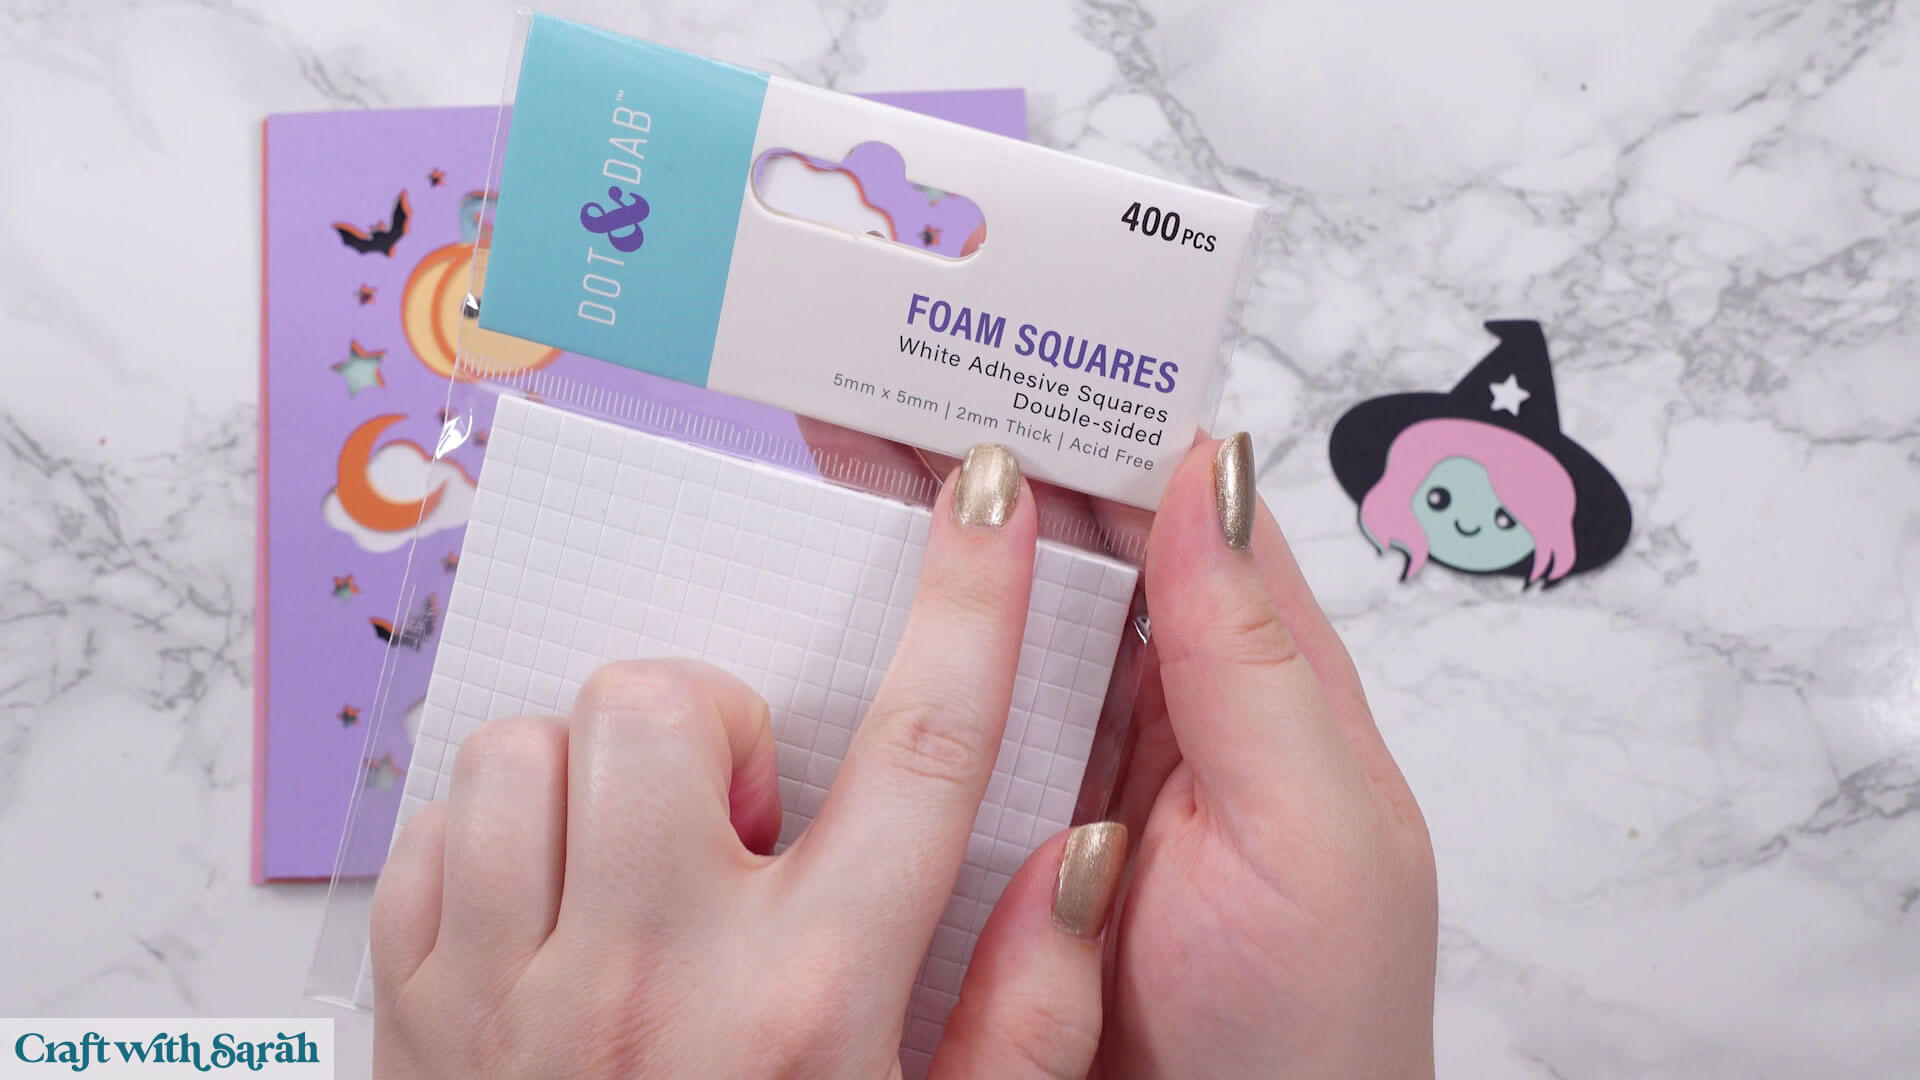
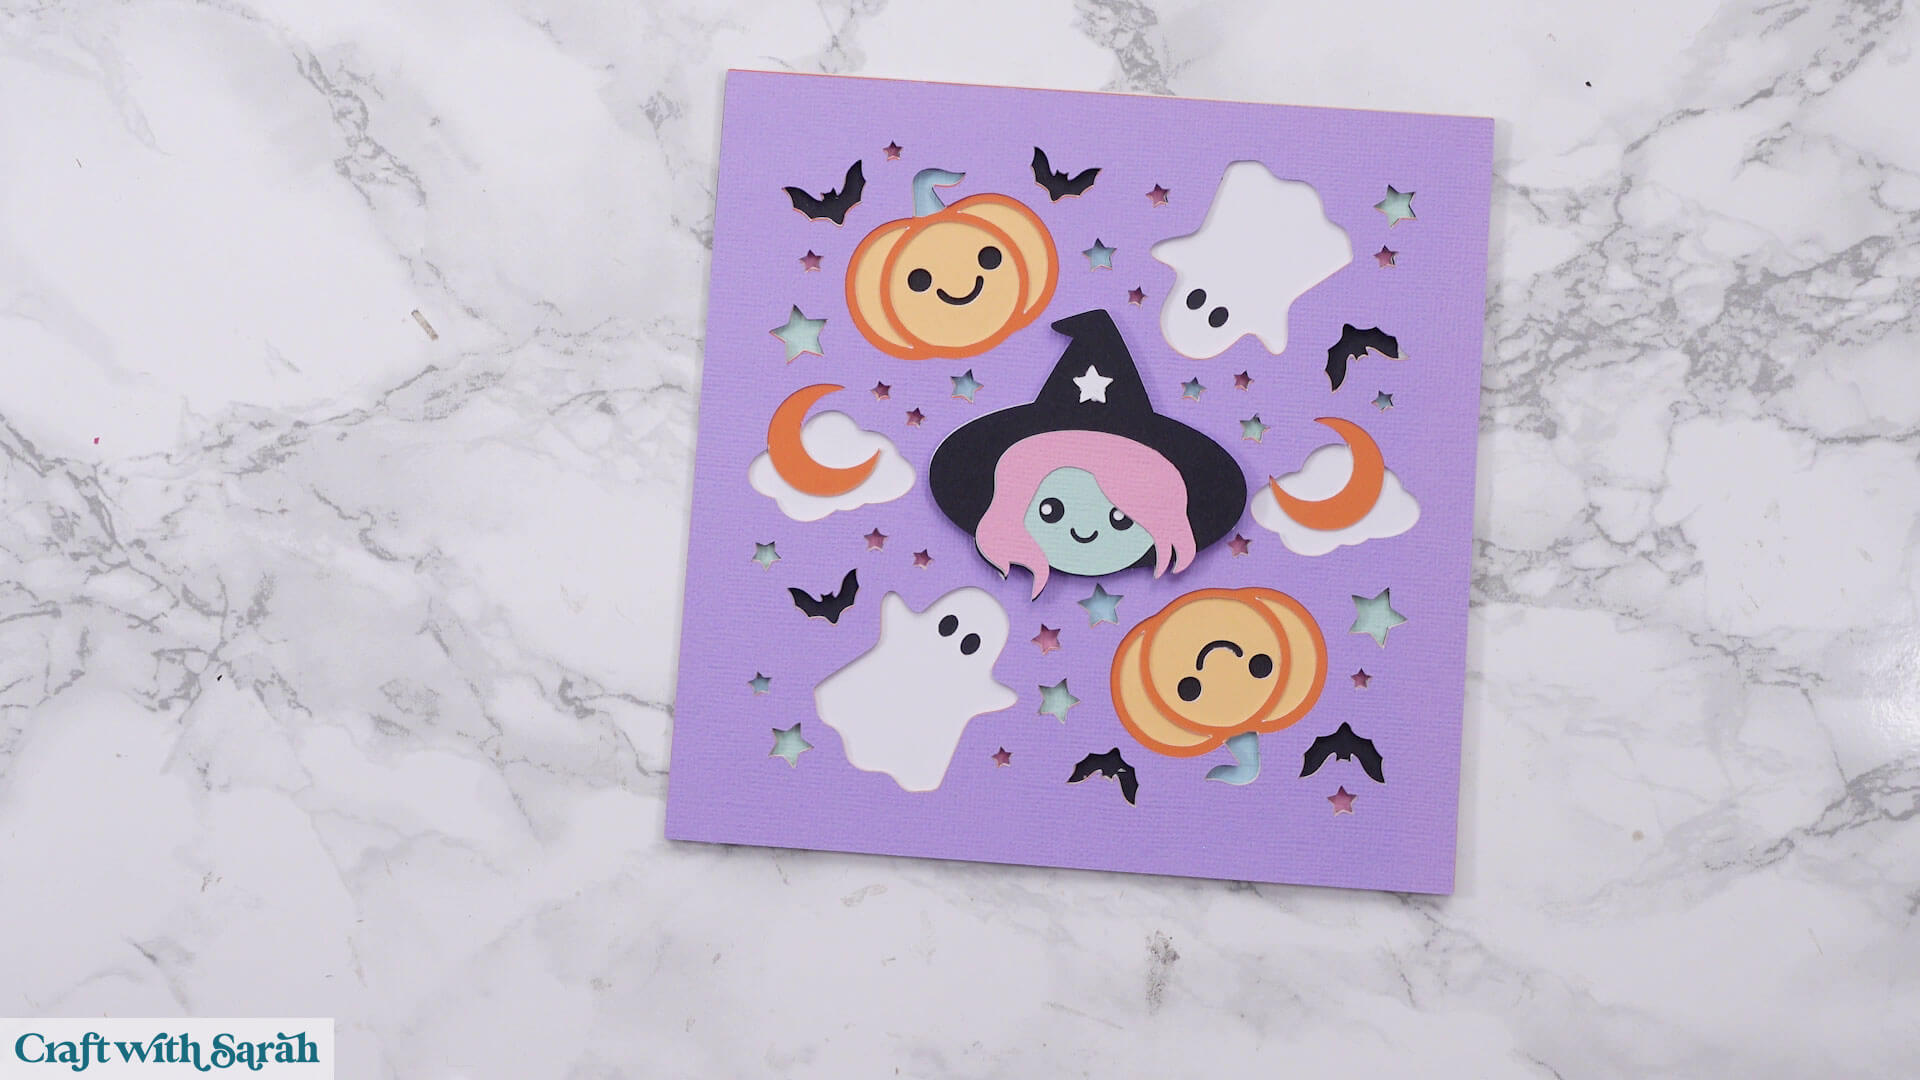
There is one piece to stick on with foam squares, which is the base of the witch. This will make her “pop out” from the main shadow box to give more impact.
The foam pads that I use are from “Dot & Dab”, but any foam squares will work.
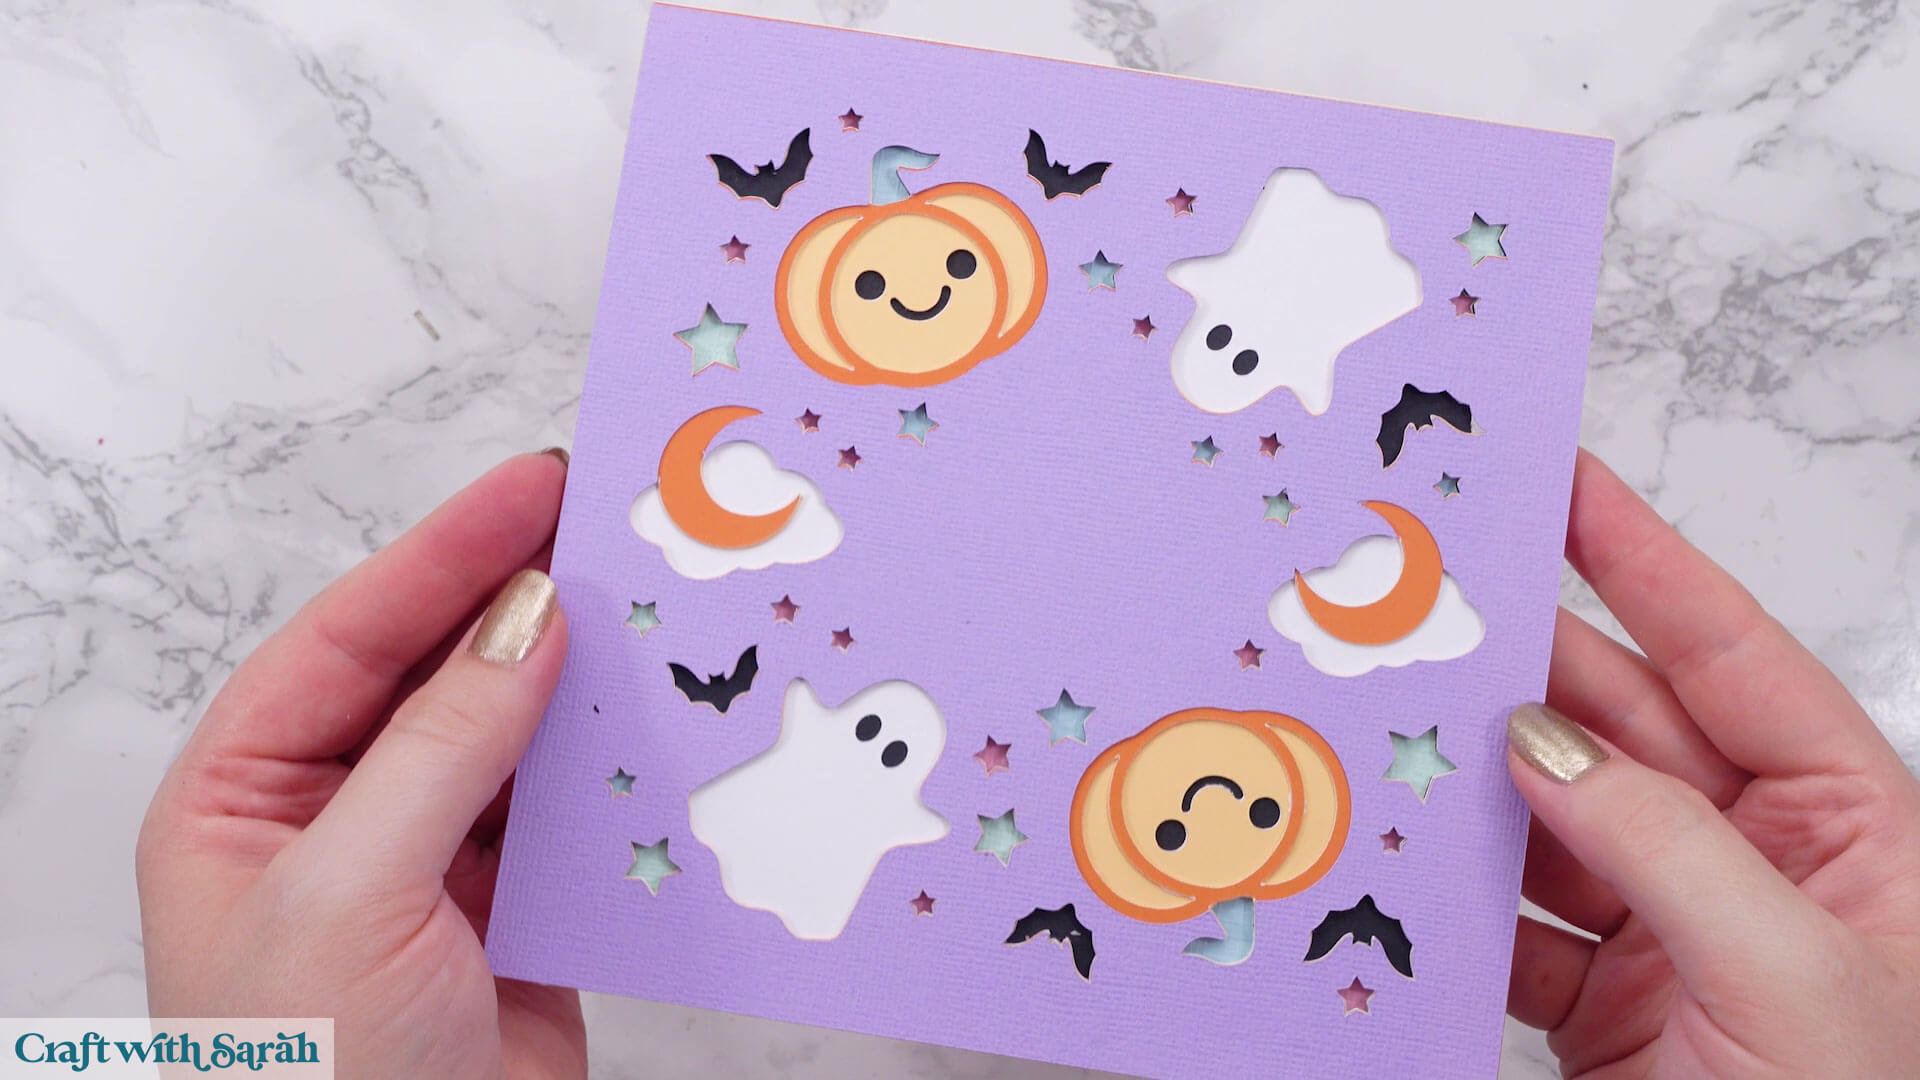
Here’s how she looks when stuck together.
Step 6) Frame your pastel Halloween artwork
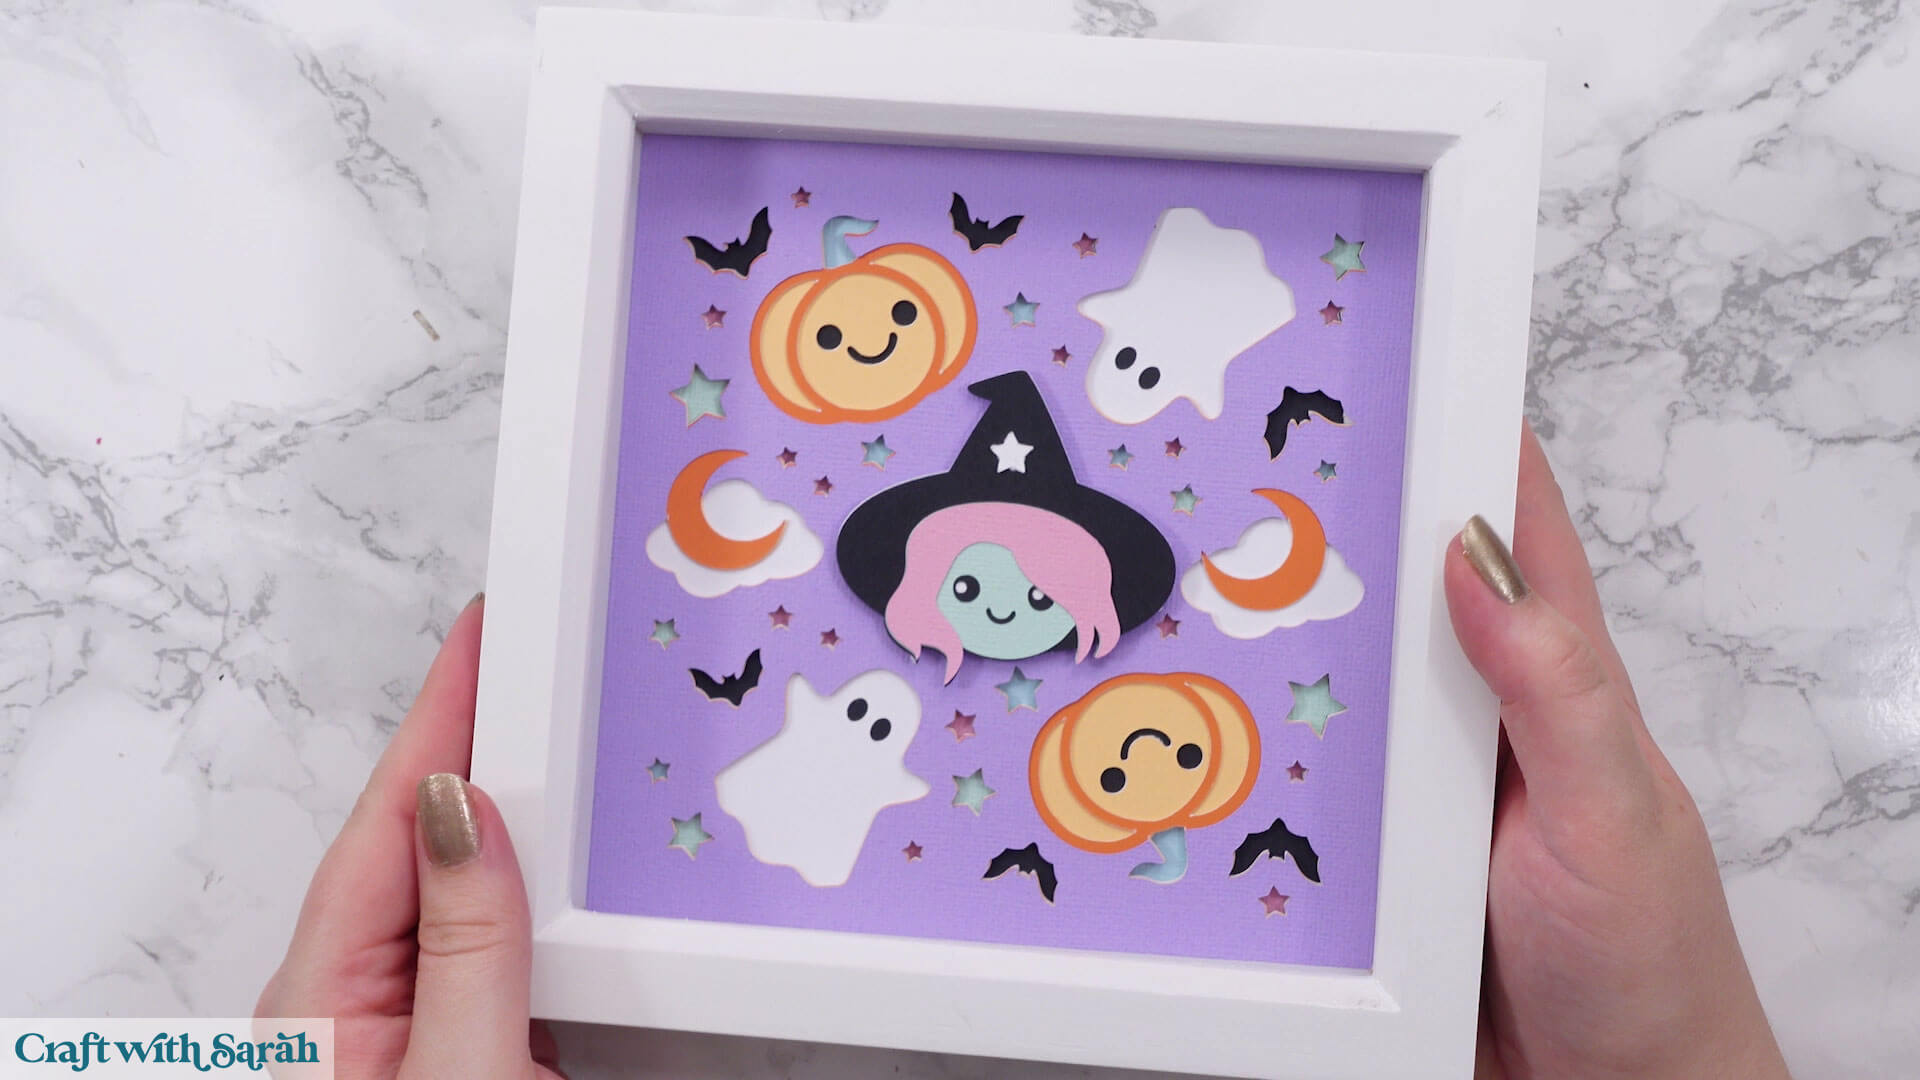
Once the design is assembled and all the glue is dry, it’s time to frame your project.
Clean the glass inside your frame to remove any dust or fingerprints.
Then layer everything into the frame in this order:
- Glass
- Spacer (if your frame has one)
- Build down design
- Frame backing
Halloween Shadow Boxes Made Easy!
Whether you kept the pastel theme or switched to classic Halloween colors, this project is a fun way to get into the seasonal spirit. It also makes a great gift or decoration for your home.
I hope you had fun making this build-down shadow box. It’s a different style than most shadow box projects, and I love how all the colors peek through from behind.
If you don’t have a shadow box frame available, check out these free easel stands for two alternative ways to display your project.
Or, go for a more simplistic approach by making a triangle stand or nail hook.
The triangle stands are completely invisible from the front of the project, making it look like it’s standing up by magic! The hooks allow you to hang the design straight on the wall without a frame.
Happy crafting,
Sarah x

