Free Easel Stands for Displaying your Craft Projects
Do you love making layered papercrafts but struggle to find ways to display them?
After all, there are only *so* many shadow boxes you can put up on the wall, right? And all those frames sure work out expensive.
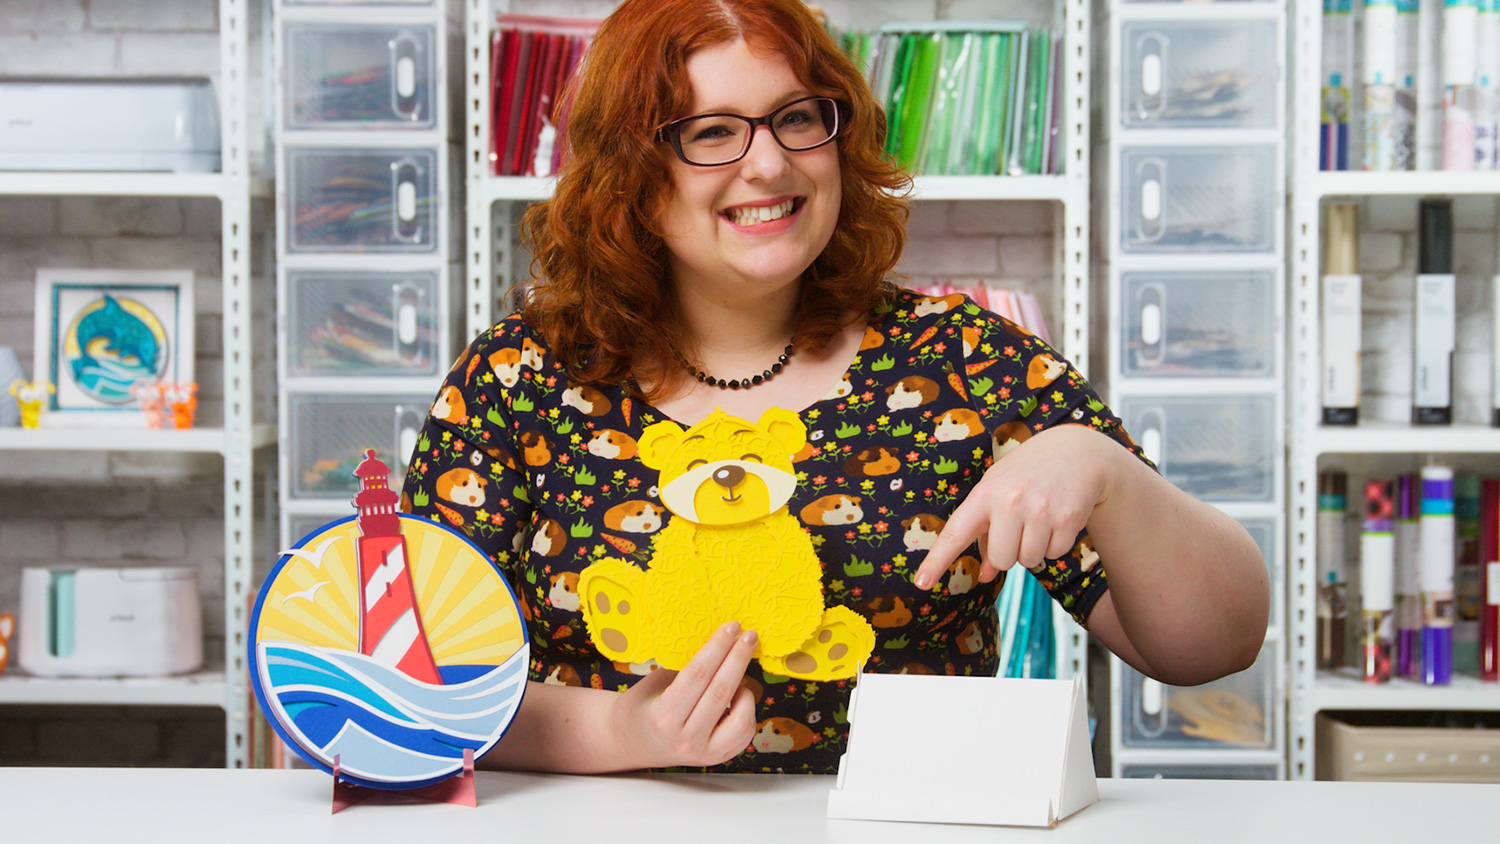
These cardstock easel stands are a great alternative!
Simply cut them with your Cricut and fold them together for strong, stable stands for your papercraft projects.
Best of all, you don’t need any glue or adhesive to put them together – the cardstock all slots together with tabs to hold itself in place.
Cardstock easel stand materials
Here is a list of the materials that I used to make this project.
Please note that some of the links included in this article are affiliate links, which means that if you click through and make a purchase I may receive a commission (at no additional cost to you). You can read my full disclosure at the bottom of the page.
- Cricut machine
- Light blue Cricut cutting mat
- Thick card (Kraft Board or 300gsm cardstock works well!)
- Cricut scoring wheel or scoring stylus

Video tutorial for DIY easel stands
Watch the video below to see how to make the two different types of easel stand. Keep scrolling for a written tutorial.
Cardstock easel stand assembly instructions
Here’s how to make your very own DIY papercraft picture stands using a Cricut machine.
Download the free files & unzip the downloaded folder
Download the Free Cutting File
Please login to your account to download this file.
TERMS OF USE:
You may sell finished, handmade physical craft items that you have made using this product but must not sell or share the digital files. Read full terms of use
Before you upload the SVGs to Design Space, you need to unzip the download folder that they come in.
- How to unzip a folder on Windows computer
- How to unzip a folder on a Mac
- How to unzip a folder on an iPad/iPhone
- How to unzip a folder on an Android device
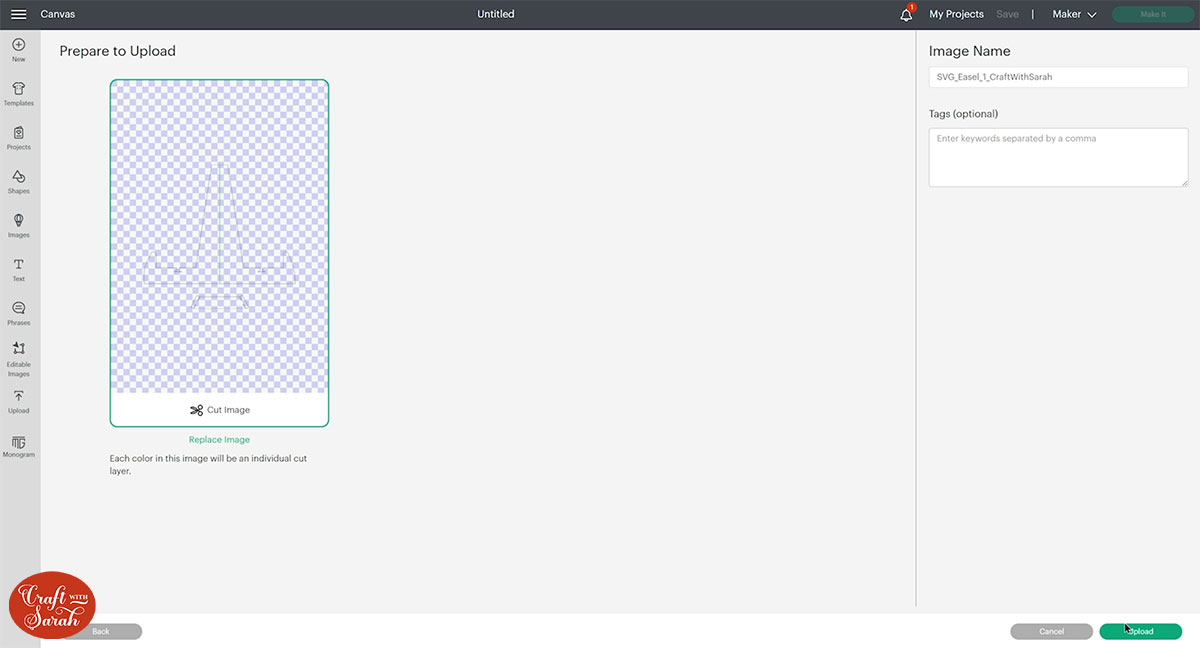
Upload the SVG file into Design Space
Open up Cricut Design Space and upload your chosen SVG file.
Make sure you upload the files which start SVG_ in the filename!!
There are three SVG files for the three different type of easel stand:
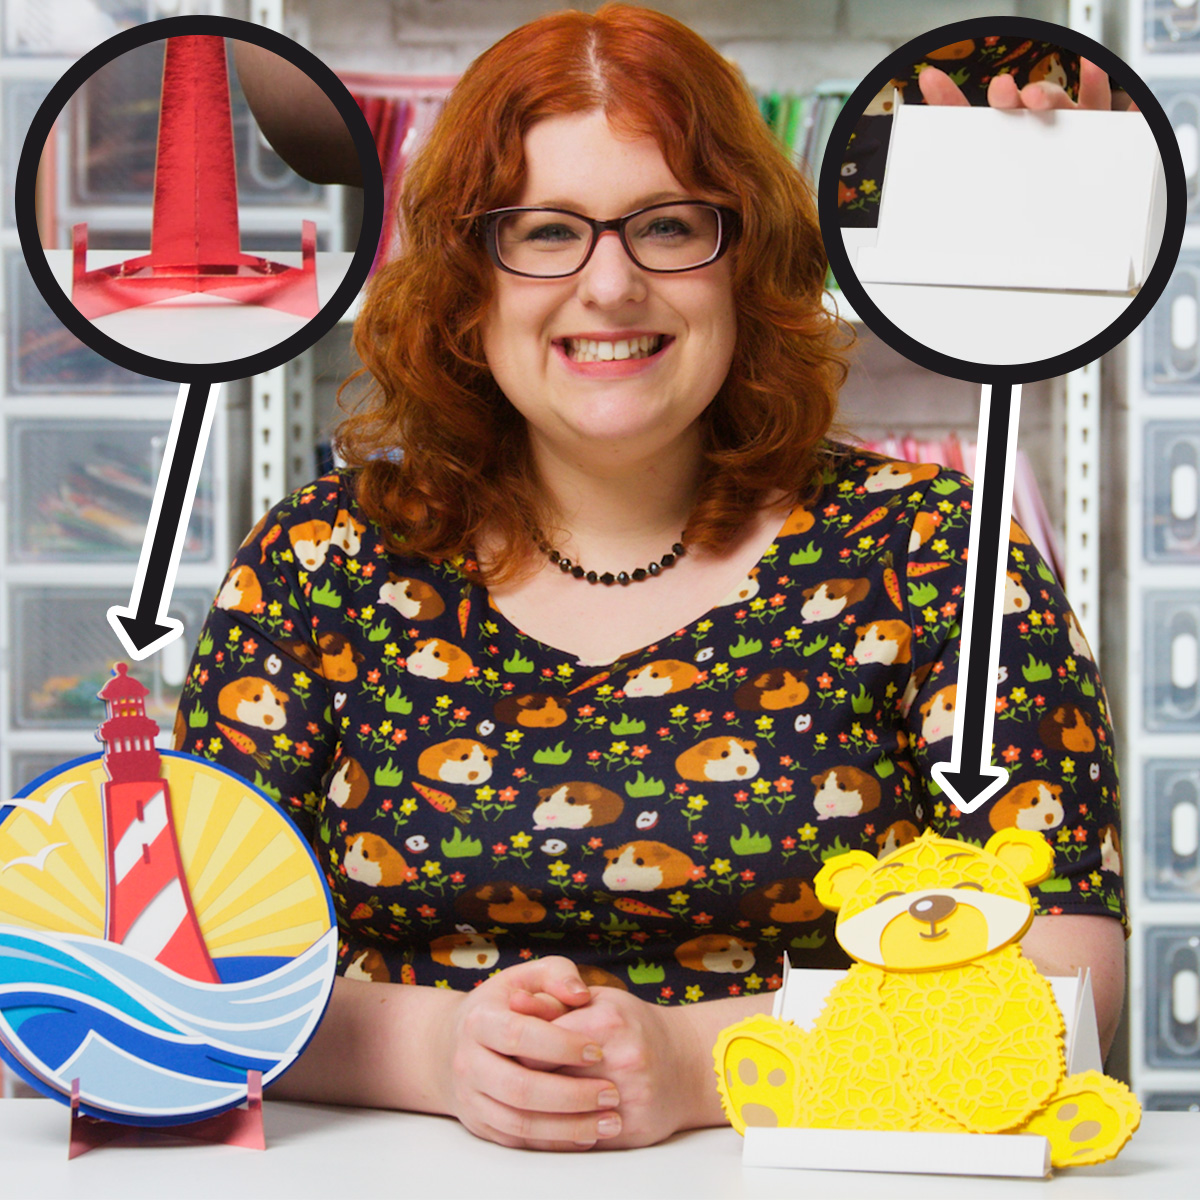
Stand 1: Photo frame style
Here’s how to make the first type of easel stand which is the simpler design to make.
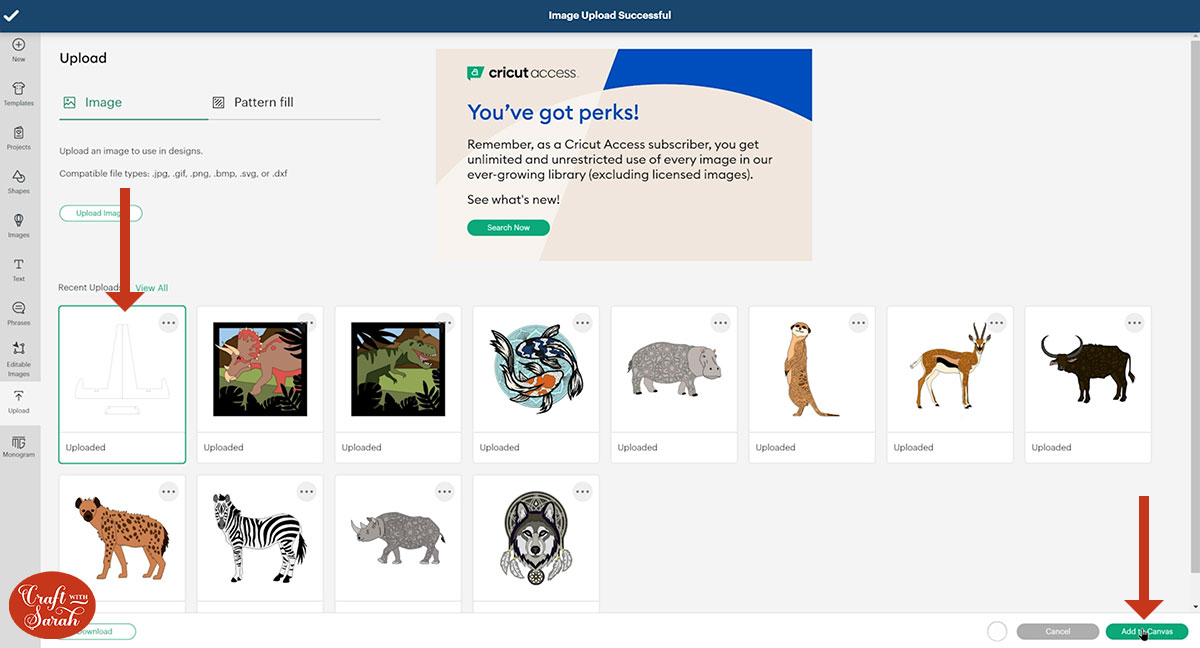
This is how it should look after you have uploaded the file:
After uploading, the design will show in your “Recently Uploaded Images”. Click on it and then press “Add to Canvas” to put it onto your Project.
(Note – I have recoloured the design to yellow in the image below so you can see it better)
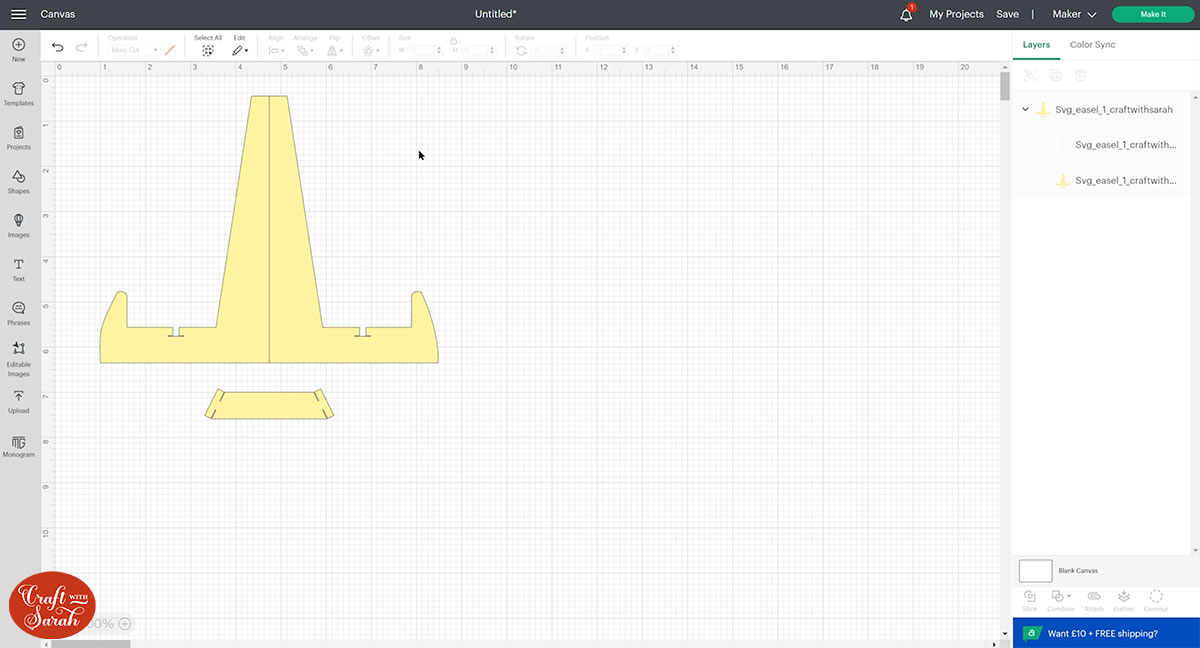
It should load in at 7.489 inches wide and 7.146 inches tall.
This should be suitable to hold most of your cardstock projects, but you can resize it if required.
Click the vertical line layer in the layers panel.
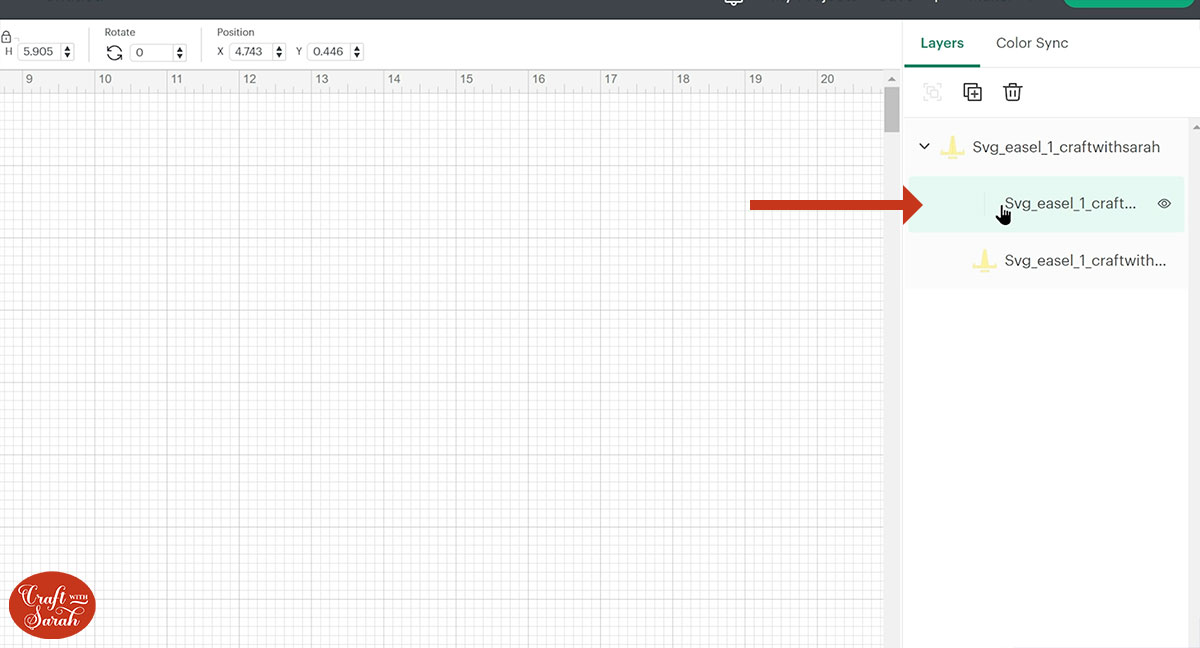
Change it to a “Score” line in the Operations dropdown.
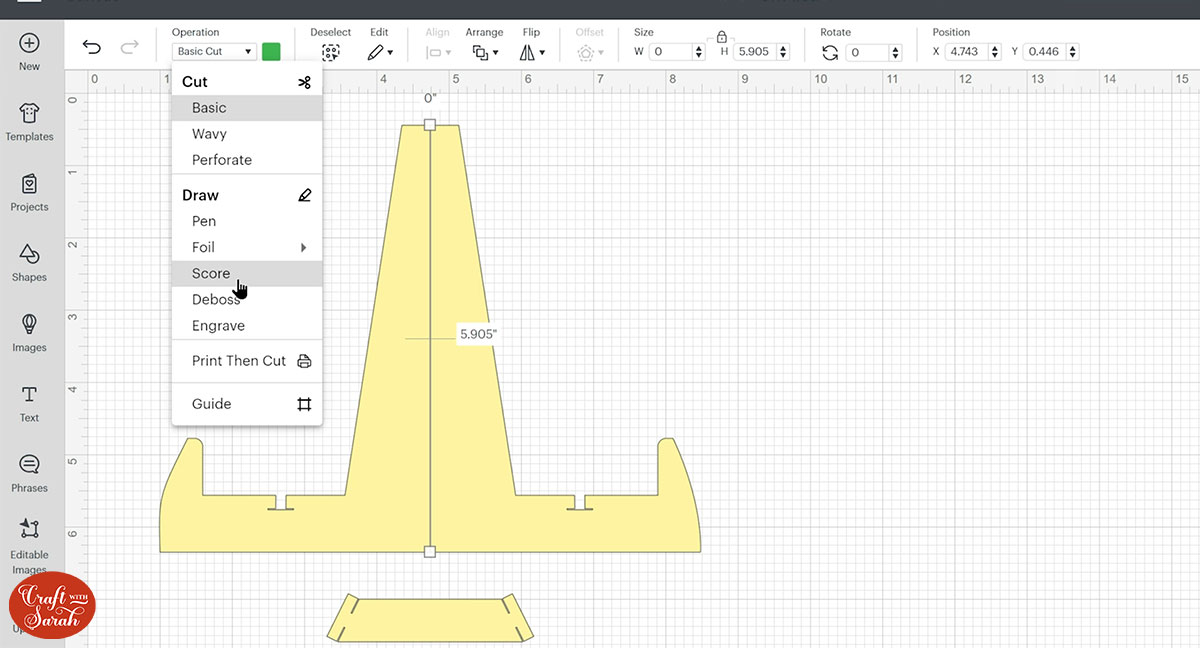
Click the easel stand and press “Attach” to join the score line to the stand.
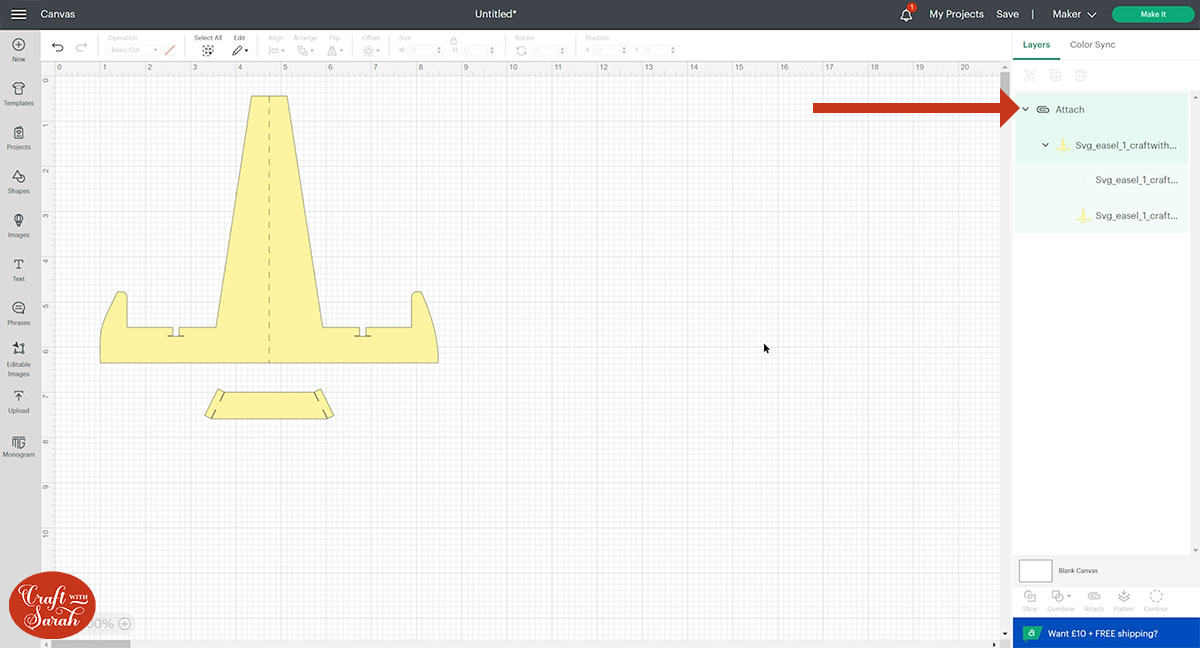
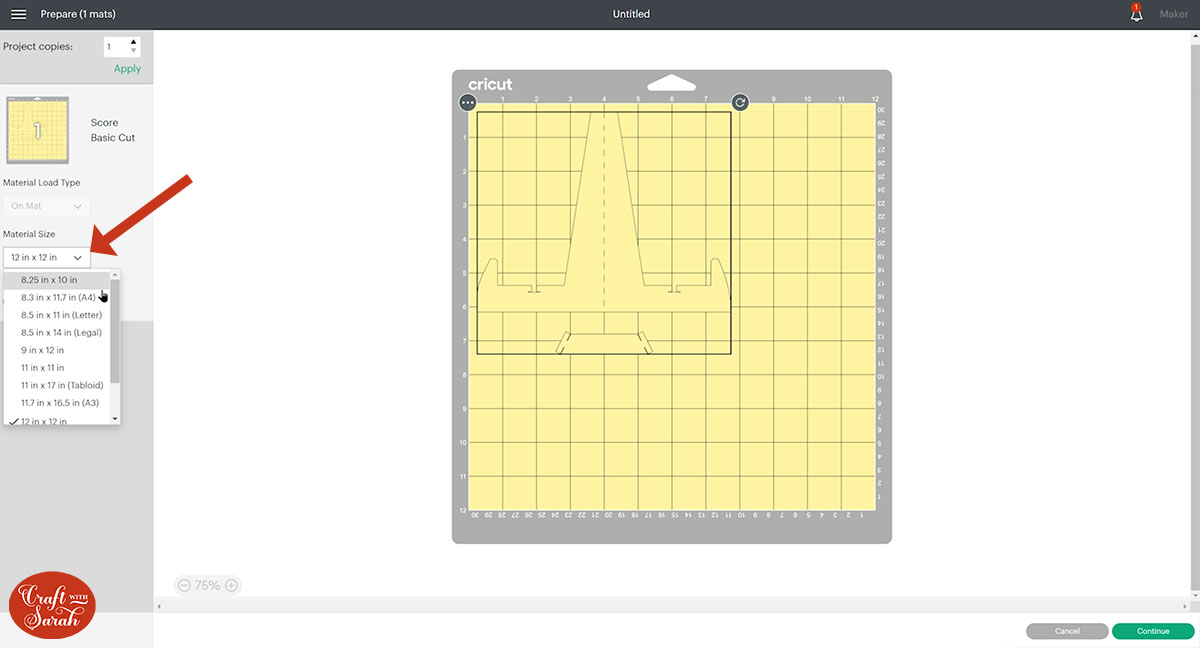
Click “Make It” and follow the on-screen instructions to get the pieces cut out.
You can change the paper size using the dropdowns on the left of the screen.
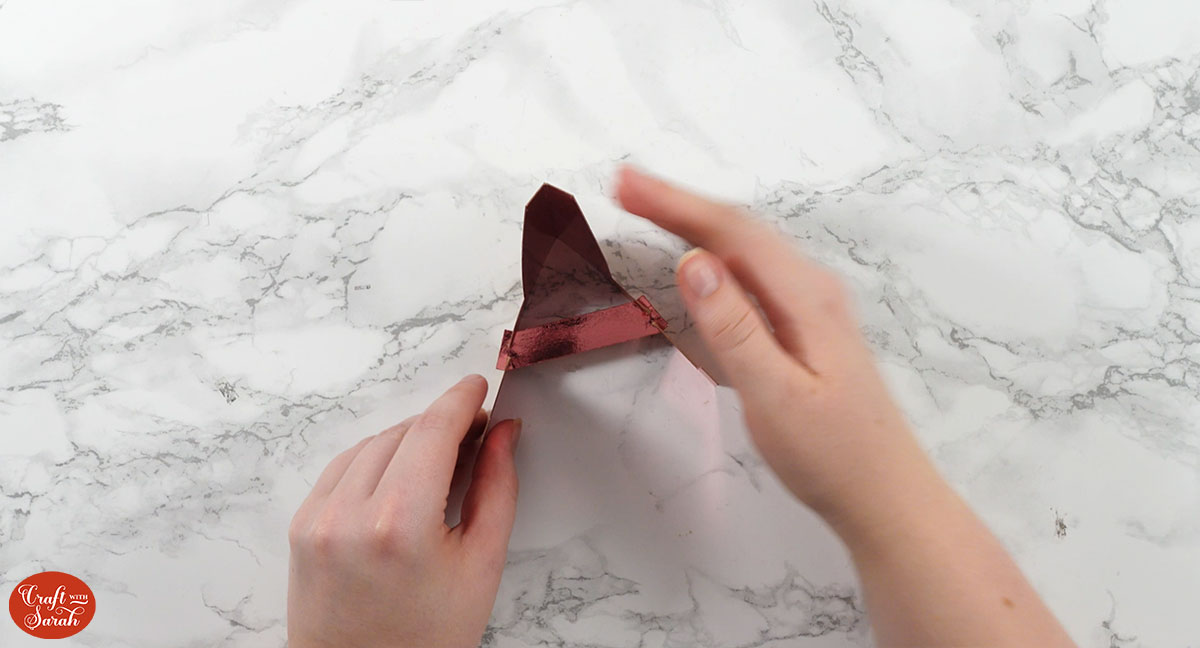
Fold the main easel piece down the middle score line.
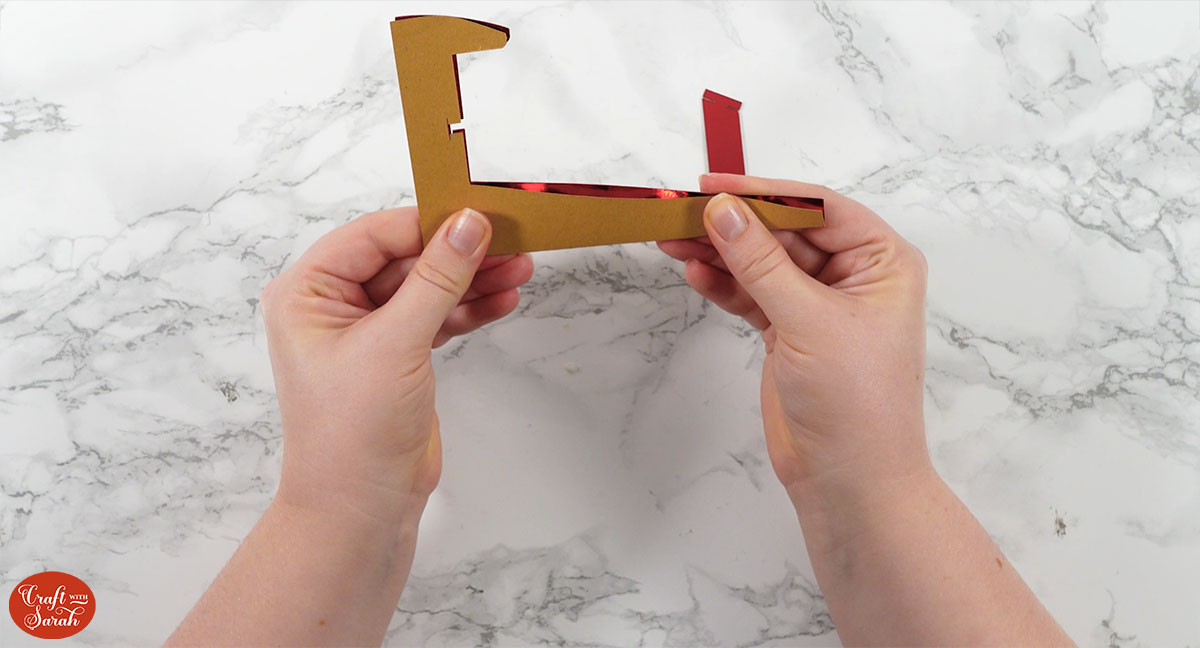
Tuck the little extra piece into one of the sides, under the slots cut in the stand.
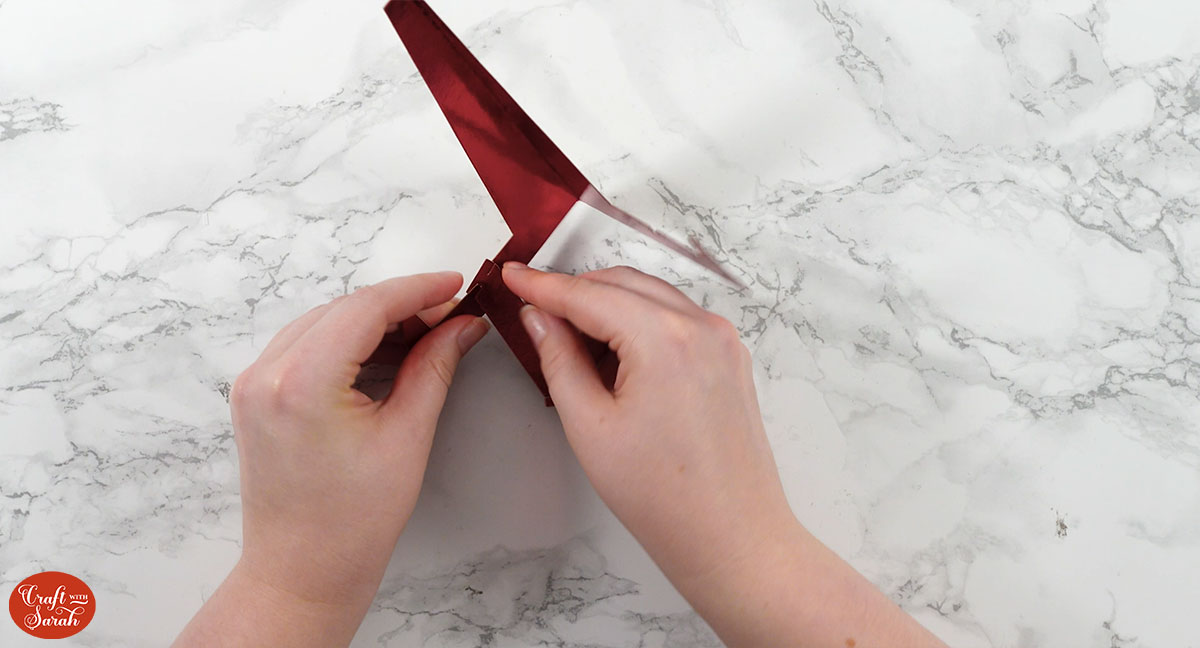
Fit in the other side too. It can take a little bit of wiggling about to get it in place!
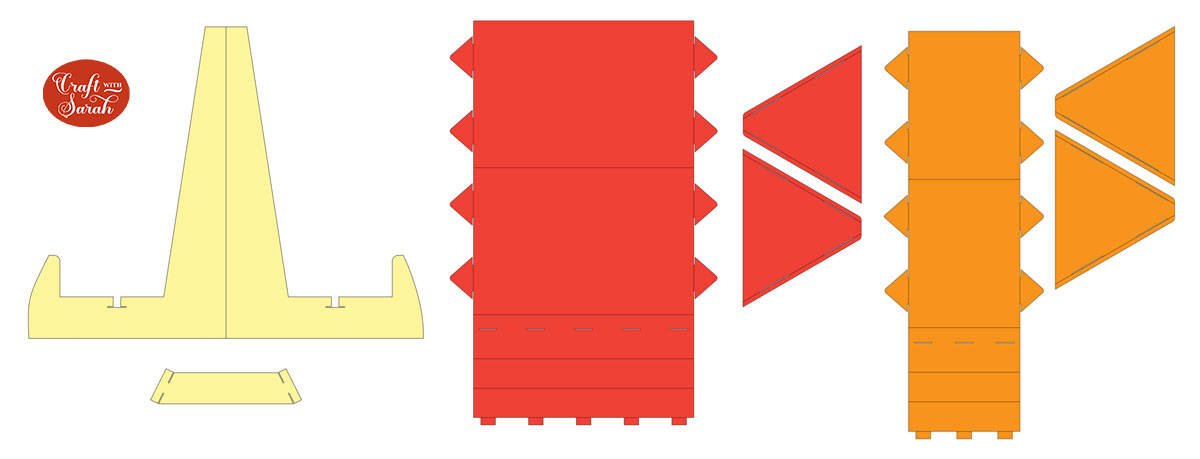
Stand 2: Box style
This stand is a little trickier to slot together, but it’s sturdier than the first one.
It comes in two different sizes – a wide version and a thinner version for smaller projects.
Upload the SVG file into Design Space and check the size.
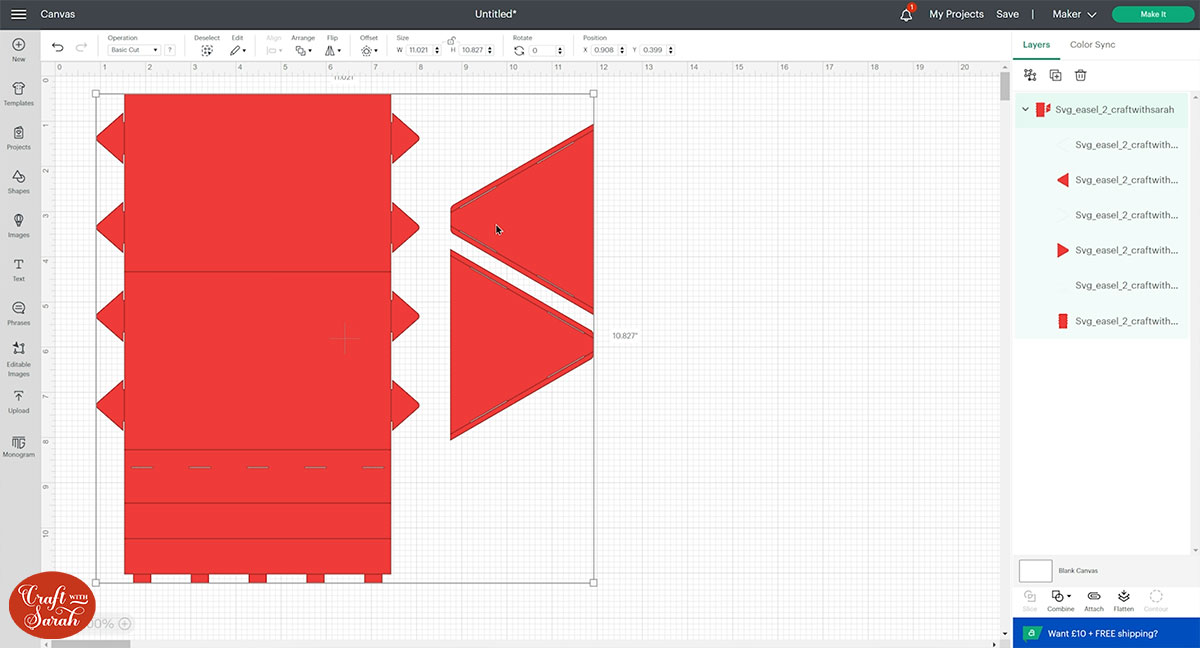
The wider design should be 11.021 inches wide and 10.827 inches tall.
The thinner design should be 7.721 inches wide and 10.955 inches tall.
This design also has layers that need to be turned into score lines.
Click the design and Ungroup it.

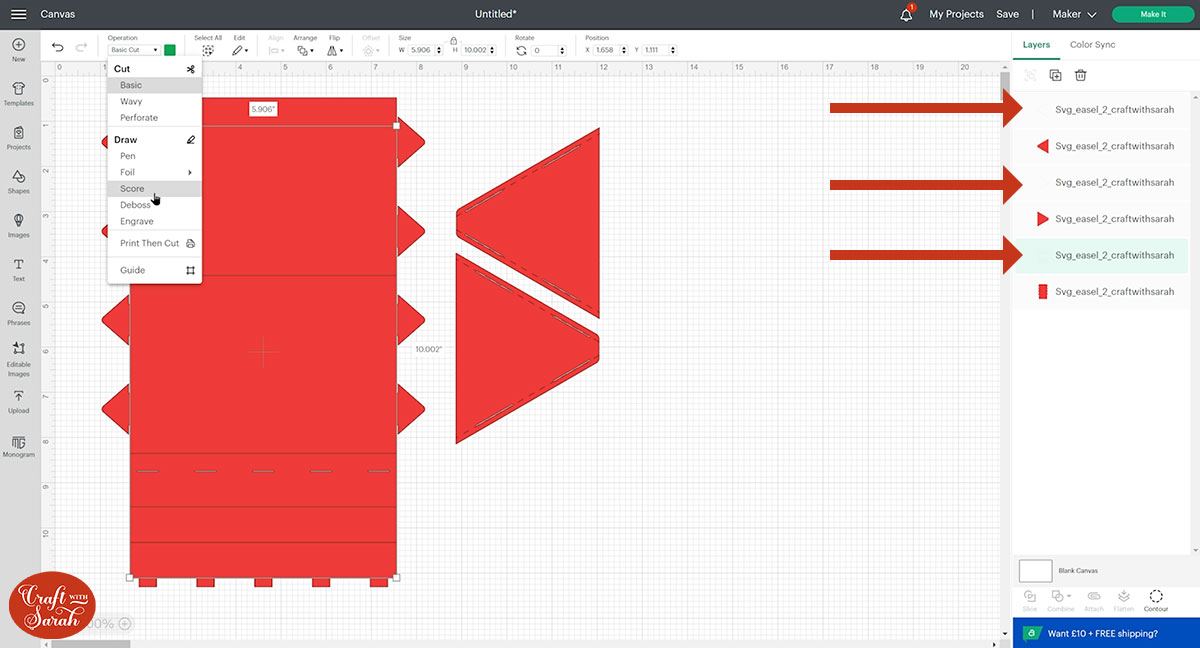
Change these three layers to Score lines:
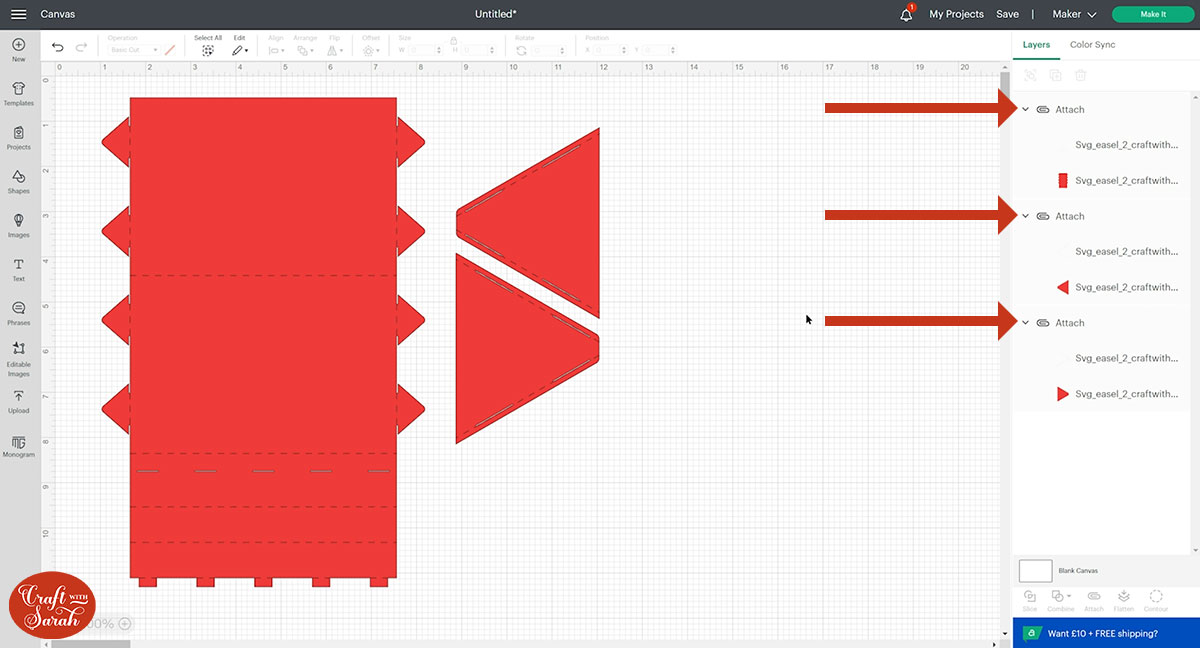
We need to attach the score lines to the separate pieces underneath.
Select the big piece of the easel stand and the score lines on top of it and “Attach” them.
Then, select one of the side triangles and the lines on top of that and Attach them.
Finally, do the same for the second side triangle.
You should now have the tree pieces attached separately, as shown below.
Click “Make It” and follow the steps to cut out the design.
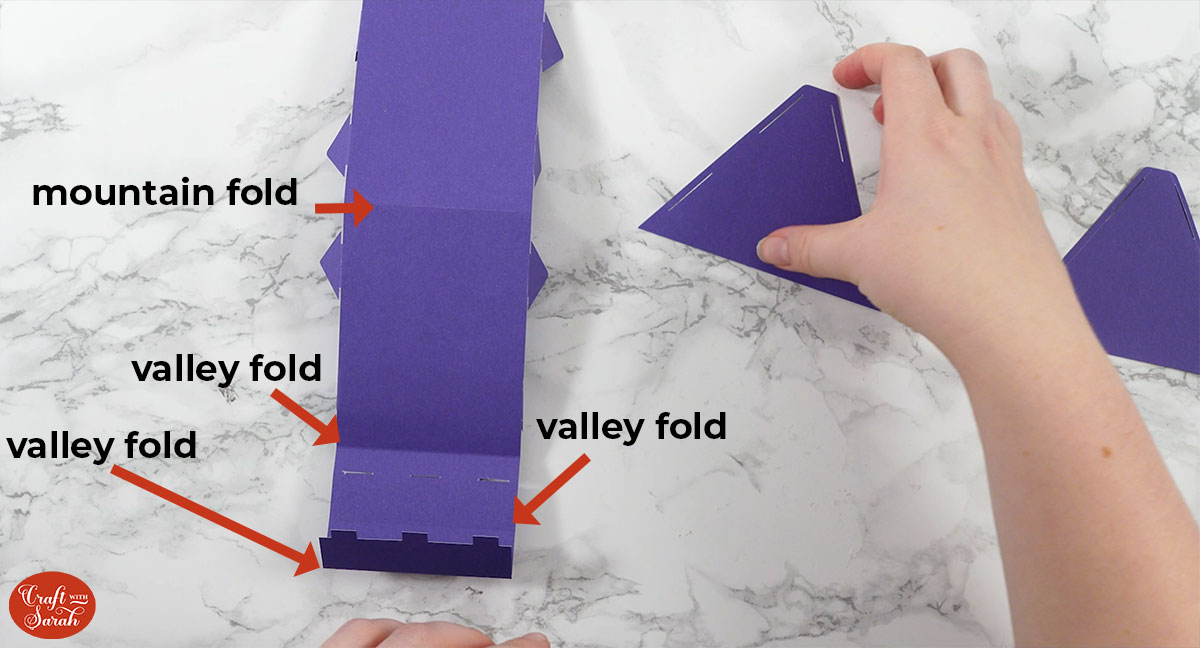
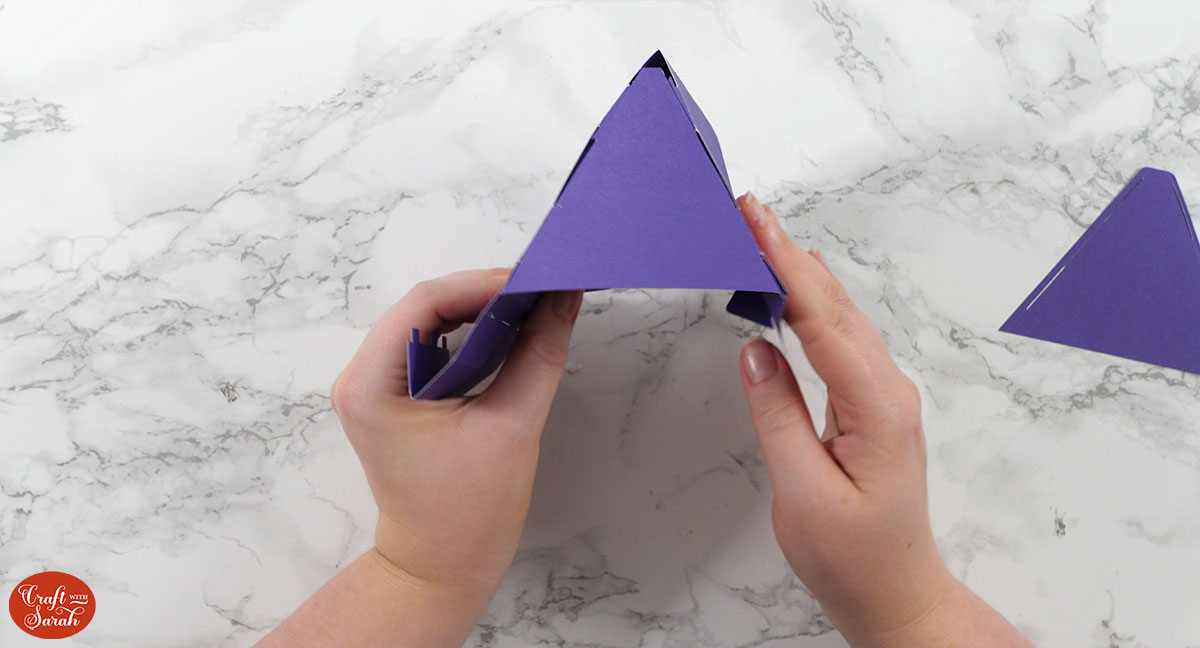
Fold along the score lines of the big piece of cardstock and fold down the triangle tabs at the side.
Fold down the score lines on the two end pieces.
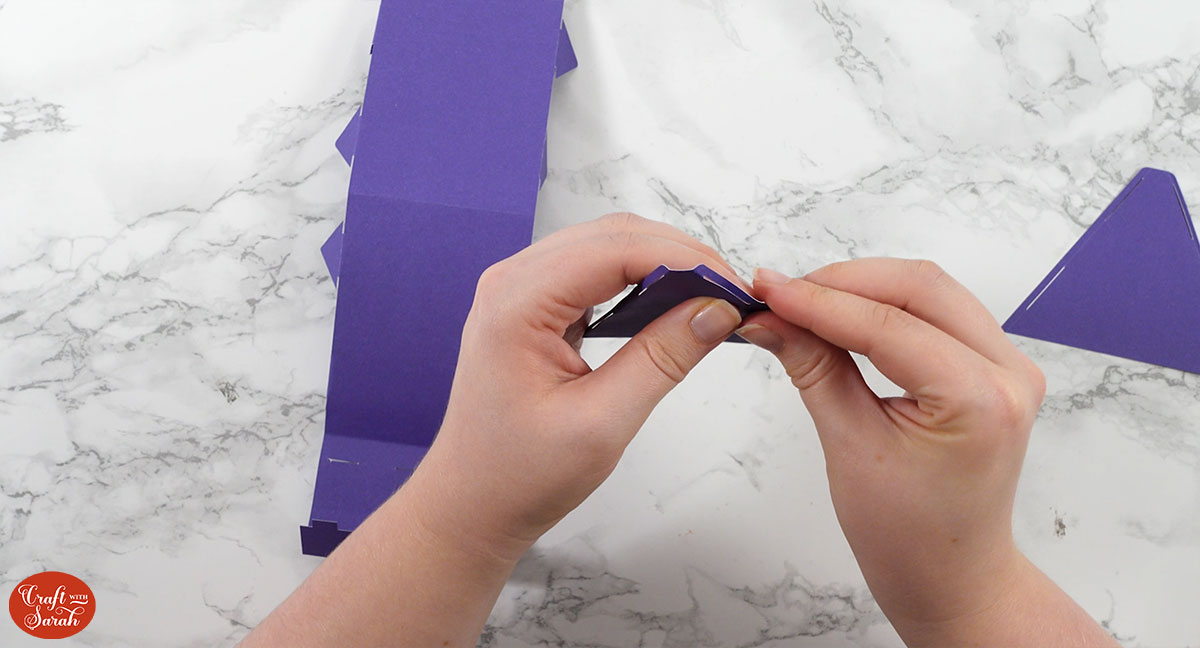
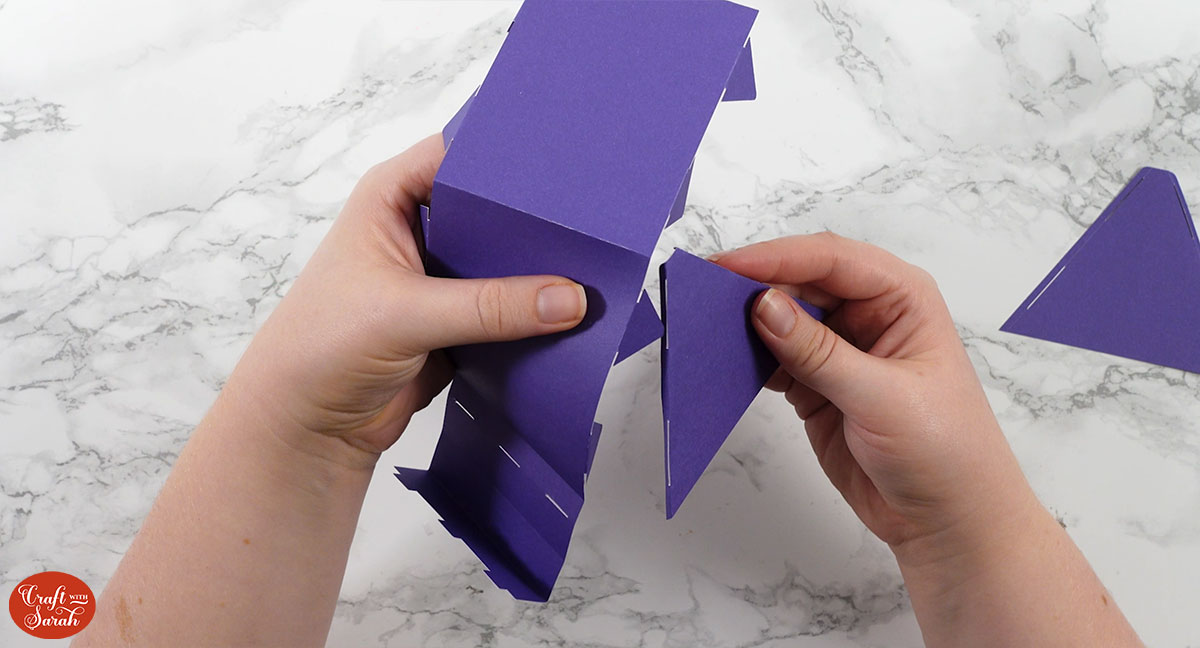
Thread the triangle tabs through the gaps on both side of the end pieces.
It will look like this with a little gap at the top.
Here’s how it looks from the inside.
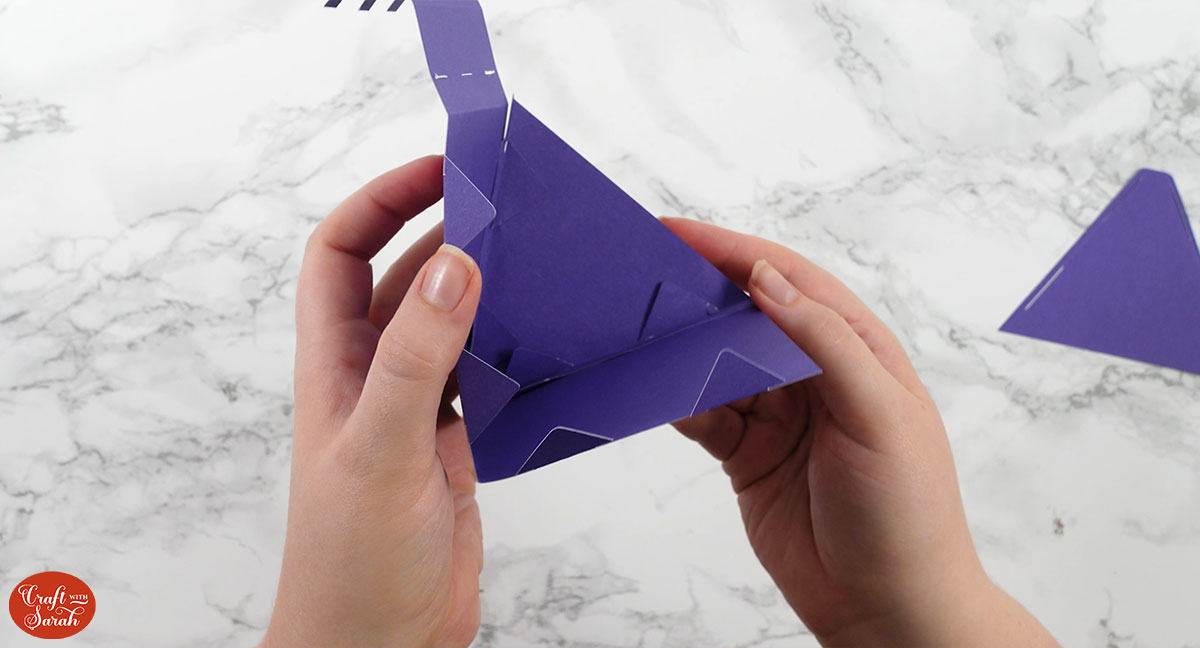
Do the same with the other side.
Finally, fold up the score lines at the front to form a triangle shape and then tuck the little tabs through the three holes.
Fold the tabs back on themselves to stop them coming back through the holes.
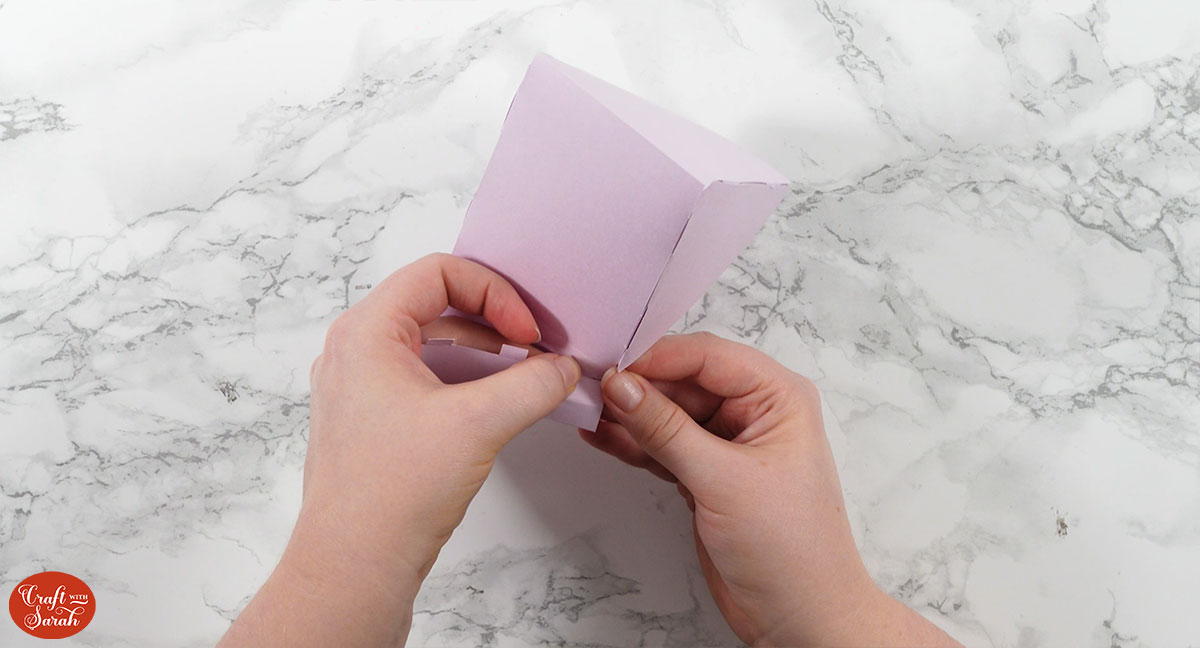
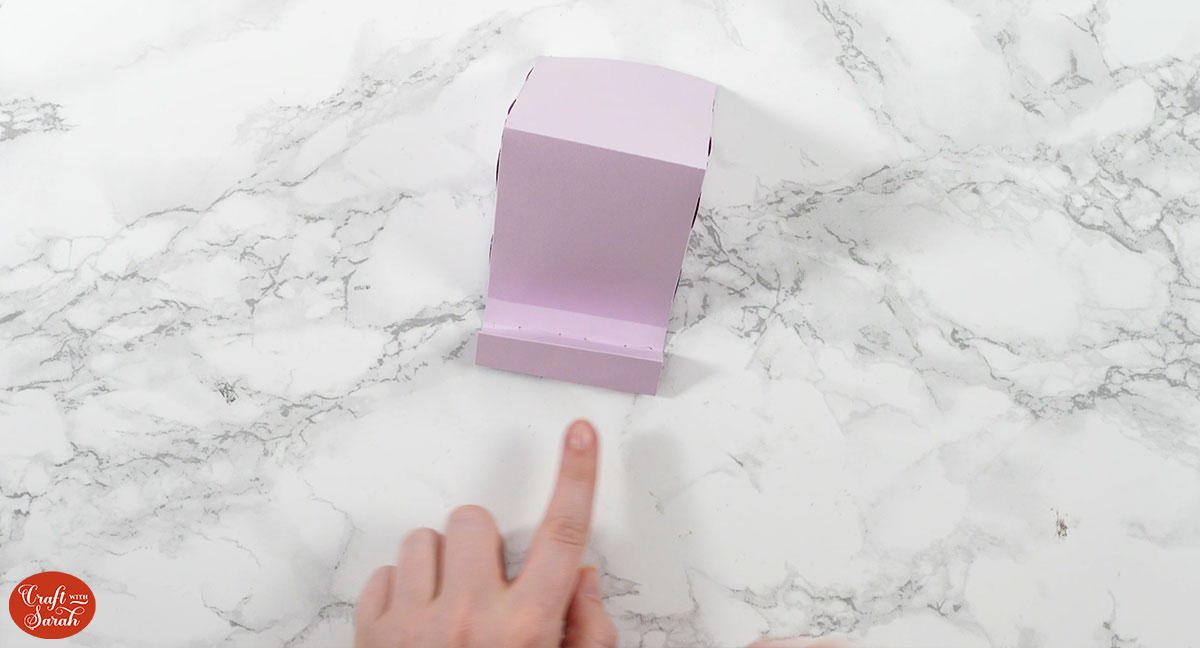
You may wish to use a little bit of sticky tape on the bottom to hold them in place.
Here’s how it looks when all finished!
Papercraft easel stands for crafts
I hope that you enjoy these free easel stand SVG cut files.
They are a lovely quick, simple and best of all AFFORDABLE way to display all of your beautiful papercraft projects!
Need something to put on them? Check out my free layered SVG files

Happy crafting,
Sarah x

