Snowflake Candle Wrap Decorations 🌟 CCC 2025
This project is a lovely way to add a handmade touch to your holiday candle decorations.
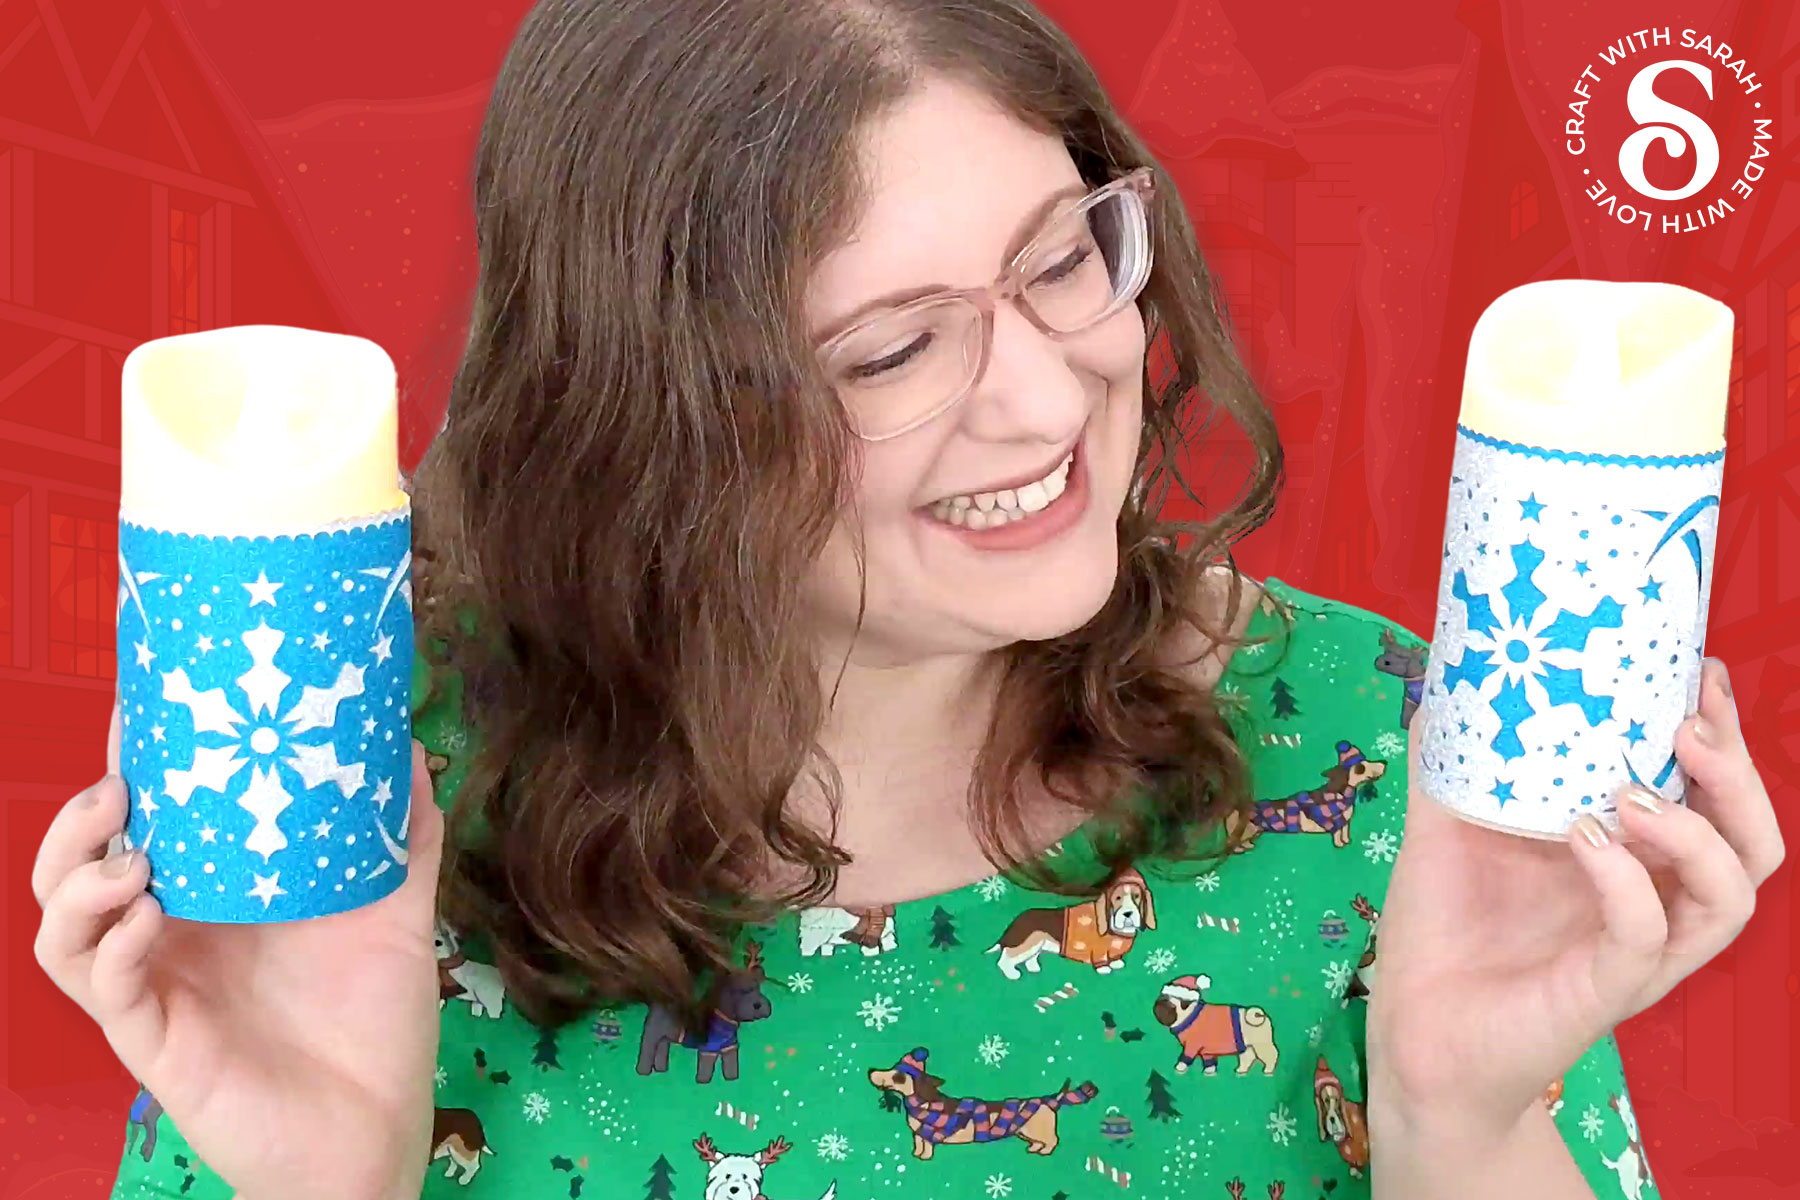
These candle wrap designs feature intricate snowflake cutouts that are pulled neatly around battery operated candles, turning simple tealights or pillars into elegant, impressive displays.
The candle wraps come in three different sizes, and the tutorial walks you through how to measure your own candles and resize the designs so they fit just right.
It’s an easy but satisfying project that brings a soft glow and a touch of sparkle to your seasonal décor.

You can go all-out with glitter cardstock for a bit of luxury and shimmer, or use matte or textured paper for a more natural, rustic look. Both options work beautifully, and it’s a great way to use up some of your smaller cardstock scraps while creating something that looks truly custom.
The best part is that these wraps don’t take long to assemble once cut, so they’re ideal for making in batches or as a last-minute Christmas decoration craft project.
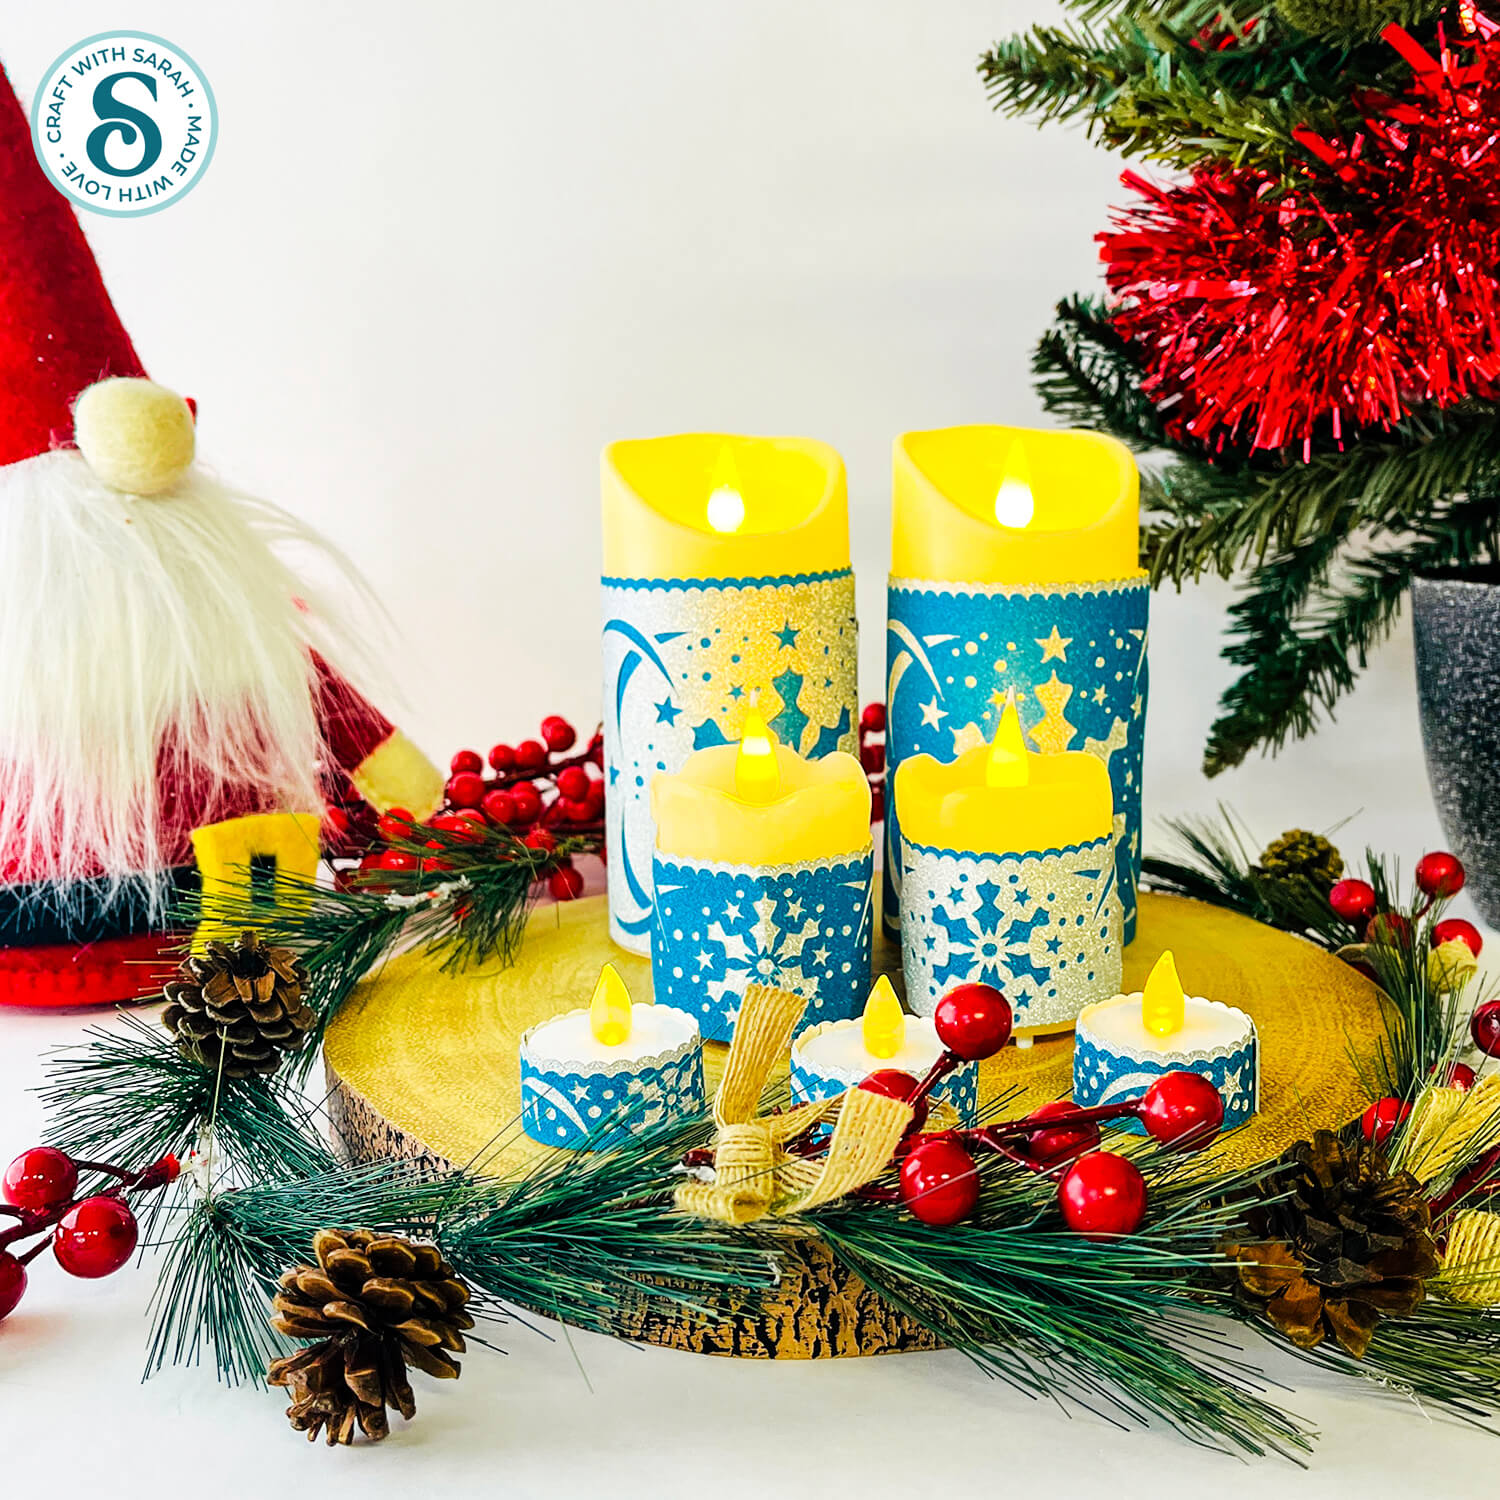
Once finished, they look elegant on a mantelpiece, as part of a Christmas candle centerpiece, or even grouped together on a dining table.
Place them on a log slice, cake board, small mirror plate or similar to bring them all together into one cohesive display.
This project is part of the 2025 Christmas Craft Countdown.
DIY candle wraps: materials supply list
Here is a list of the materials that I used to make this project.
Please note that some of the links included in this article are affiliate links, which means that if you click through and make a purchase I may receive a commission (at no additional cost to you). You can read my full disclosure at the bottom of the page.
- Cricut machine
- Light blue Cricut cutting mat
- Blue and silver glitter card (or use whatever card you choose)
- Glue and/or double-sided tape (but hot glue may be easier for this project)
- Battery operated candles and tealights
- Measuring tape
- Masking tape (optional) – to help hold things in place while the glue dries
- Log slice or other way to display them (optional)
- Christmas greener or other decorations for display (optional)
Lighter weight cardstock is easier for making the candle wraps as it will go around the candles easier, but I used very thick glitter cardstock (300gsm / 110lb) and it still worked well – it was just a bit tricker to get the glue to hold everything in place.
I used my regular Bearly Art Glue for sticking the wraps around the candles, but on reflection, a hot glue gun would probably have worked better as it would have held the card in place immediately, and with a much stronger “stick”.
If you’re purchasing LED candles for this project, it works best with candles that do not have wax “drips” down the sides, as that makes the widths uneven so it’s harder to add the wraps.
This project is suitable for the following types of Cricut machines: Explore series, Maker series, Joy Xtra and Joy.
Foundation learning
If you're new to making papercrafts with your cutting machine, check out these links to get you started.
They include videos on topics such as: which file to use with your type of cutting machine, how to load the files into your cutting machine's software, how to cut cardstock with your type of cutting machine, how to recolor and modify/customize the cut files and tips for displaying your projects.
- Help guides for Cricut machines
- Help guides for Silhouette machines
- Help guides for ScanNCut machines
The following tutorials are Cricut-specific, but many of the ideas will work similarly with a Silhouette or ScanNCut machine and any cut files that are shared in them are compatible with all types of cutting machine.
- How to score with a Cricut (even without scoring tools)
- Print then cut tutorial
- Design Space tools (Combine, Attach, Slice, Weld, Flatten, etc.)
- Pattern fill tutorial (for making backgrounds & cutting images to a specific shape/size)
- Free envelope SVGs that can be sized to fit any card
- Presentation boxes for handmade cards
- How to write inside cards with Cricut pens
- How to cut layered designs at a small size
- Design Space tips & tricks
- Cricut pens tutorial
- How to mount multiple designs in the same frame with magic guides
Snowflake candle decorations video tutorial
Watch the video below to see how to make this project. Keep scrolling for a written tutorial.
Written tutorial (with photos!)
Here’s how to make a beautiful Christmas candle centerpiece using a Cricut machine.
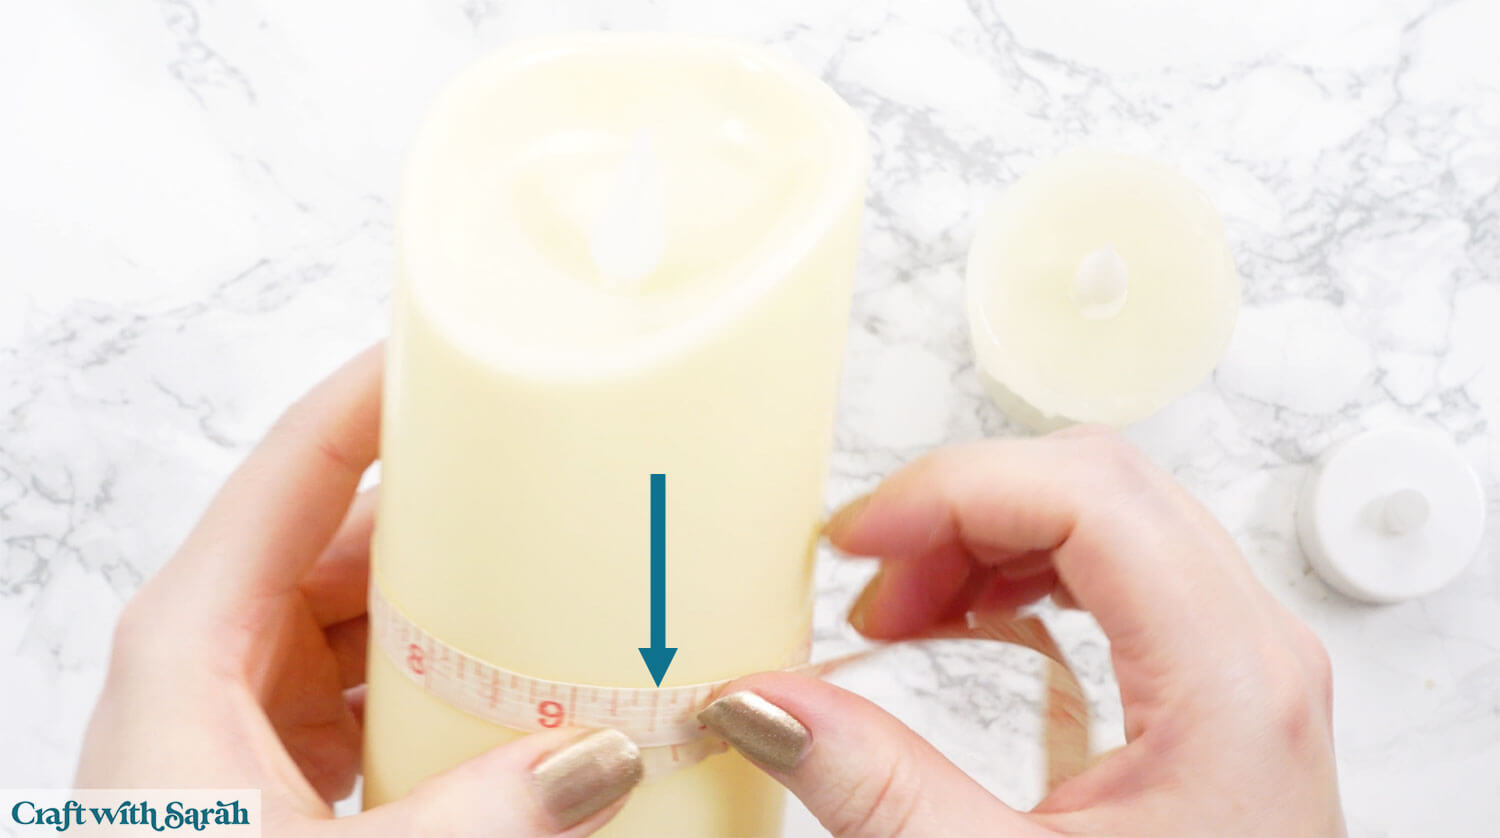
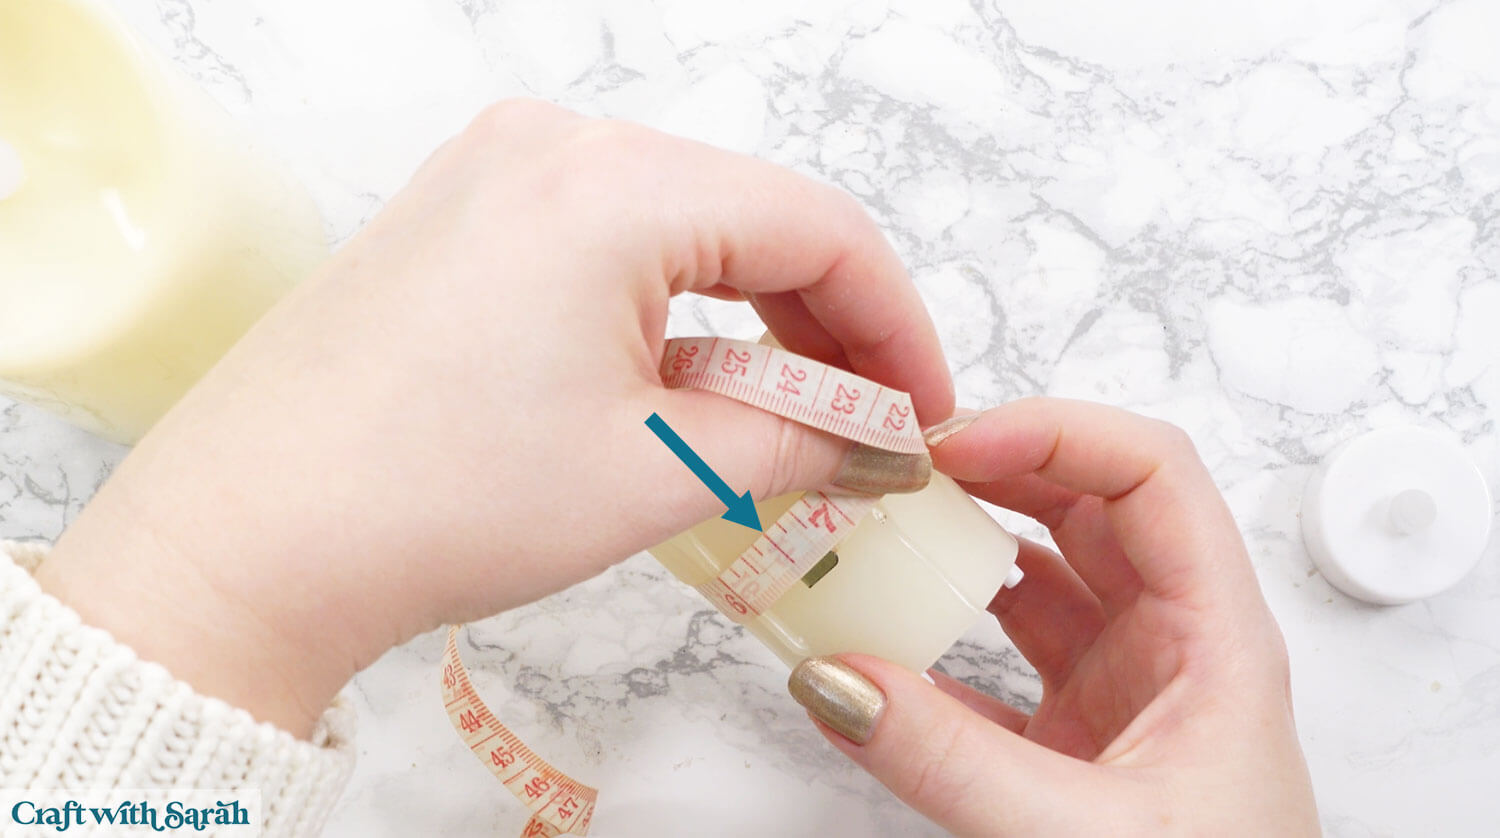
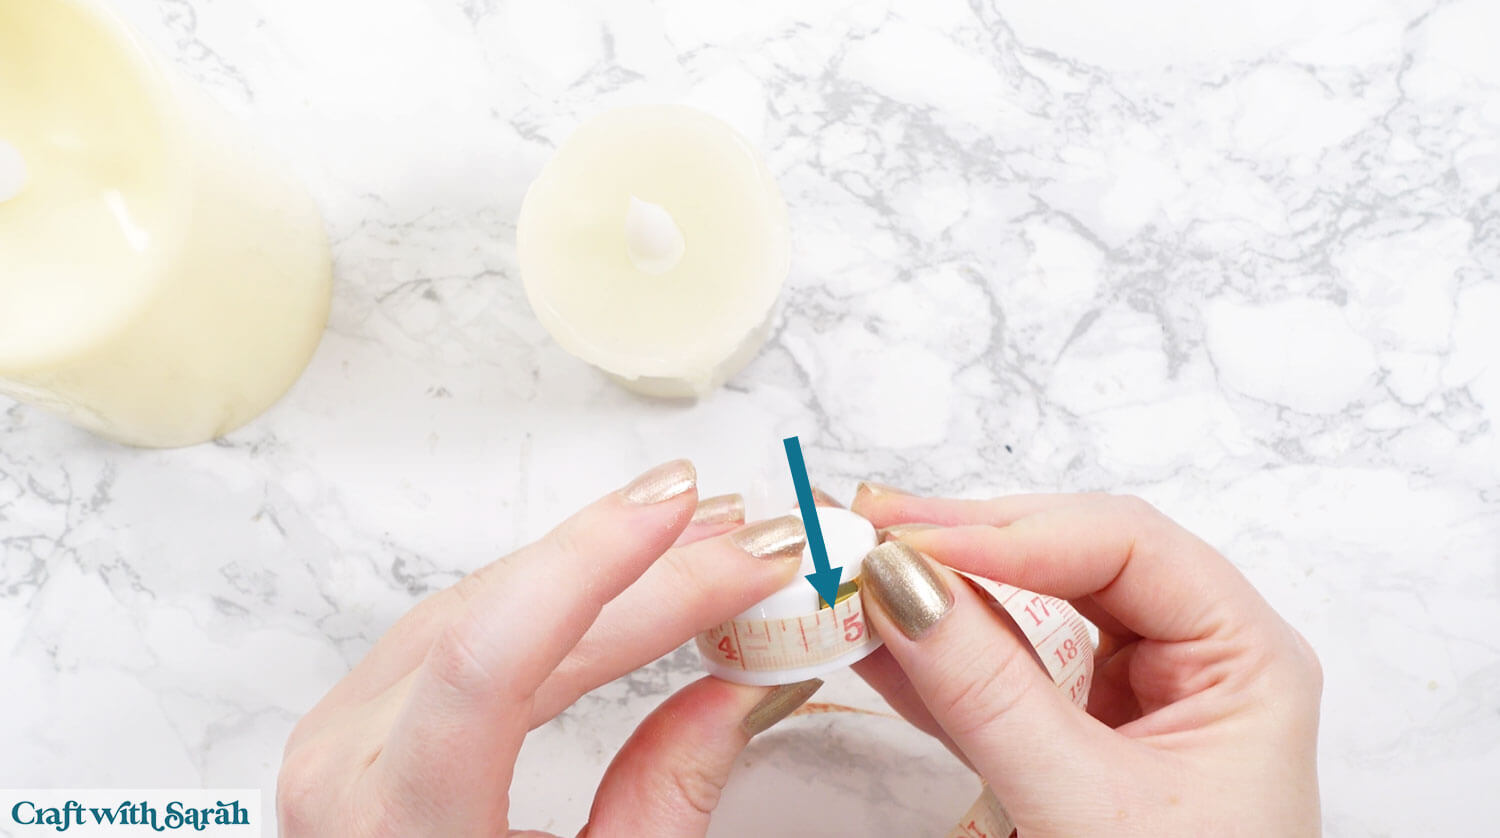
Step 1) Measure your candles
Use a tape measure to go around the widest part of each candle. Write the measurements down.
Step 2) Download the cutting file & upload to Design Space
Get the files using the box below.
Purchase the File(s)
This cut file is available as part of the Instant Access Bundle.
Or, purchase this design individually here

Before you upload the SVGs to Design Space, you need to unzip the download folder that they come in.
- How to unzip a folder on Windows computer
- How to unzip a folder on a Mac
- How to unzip a folder on an iPad/iPhone
- How to unzip a folder on an Android device
After unzipping, upload the SVG file(s) into your cutting machine software.
Not sure how to use cut files with your type of machine? The following links lead to videos on how to open cut files in:
- Cricut Design Space
- Silhouette Studio
- CanvasWorkspace (for ScanNCut machines)
The download folder also contains printable PDF versions of the templates for hand cutting.
If you are using Cricut Design Space, start a new project and then click the “Upload” button on the left of the screen.
You can then either click “Browse” to find the file on your computer, or drag-and-drop it.
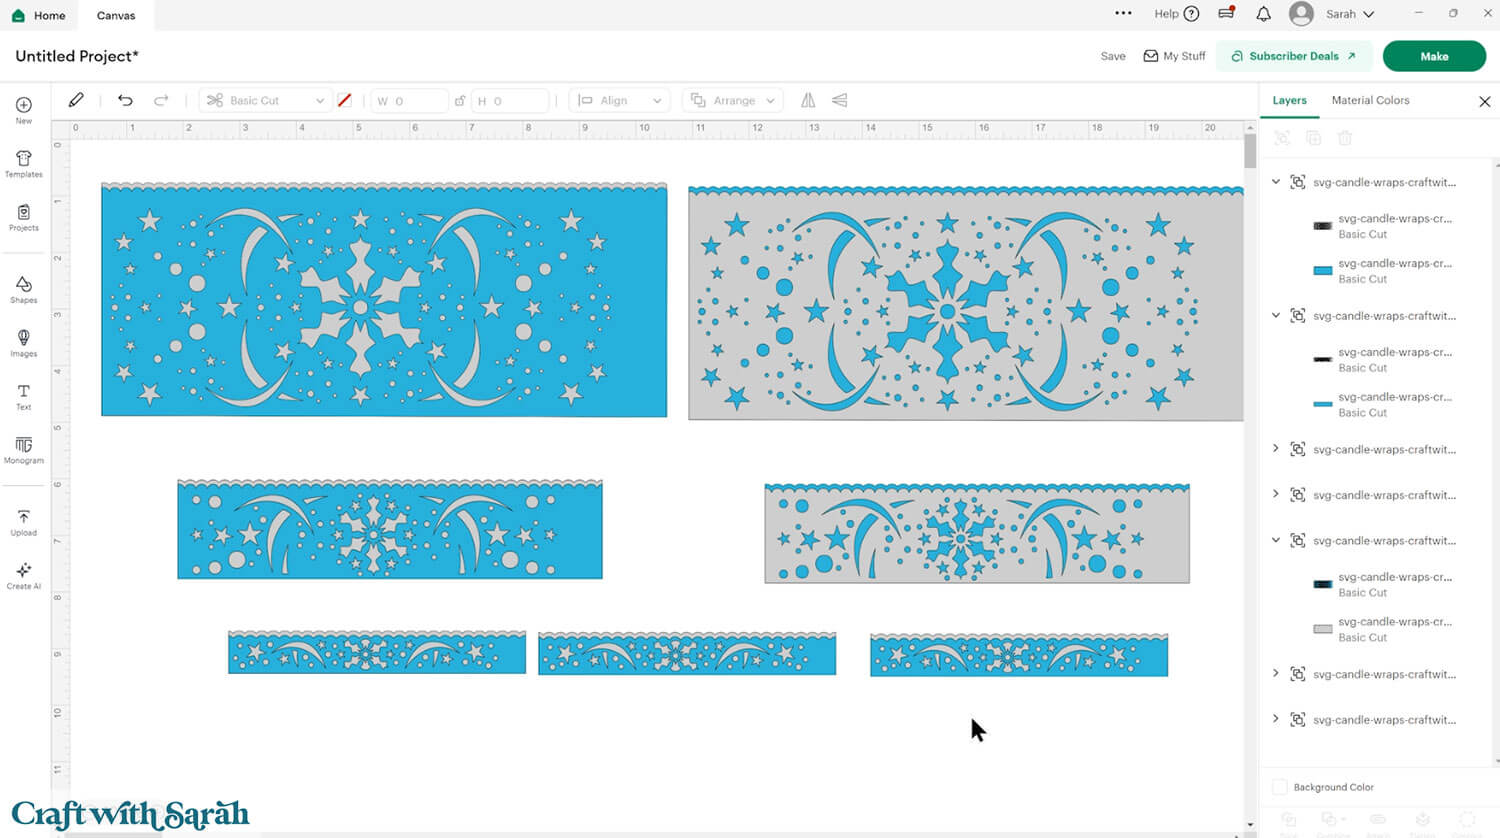
Select the file in the “Cutting Machine Versions” subfolder called svg-candle-wraps-craftwithsarah.svg
All three candle decorations come in the same SVG file to make it quicker to upload them.
Press “Upload” on the next screen.
After uploading, the design should be automatically inserted onto your Canvas.
To hide the left sidebar (to give you more space for designing!), click the arrow that’s about half way down the page.
If the design doesn’t get inserted onto your Canvas, it will show under “Uploads” in your “Recently Uploaded Images”. Click on it and then press “Add to Canvas” to put it onto your Project.
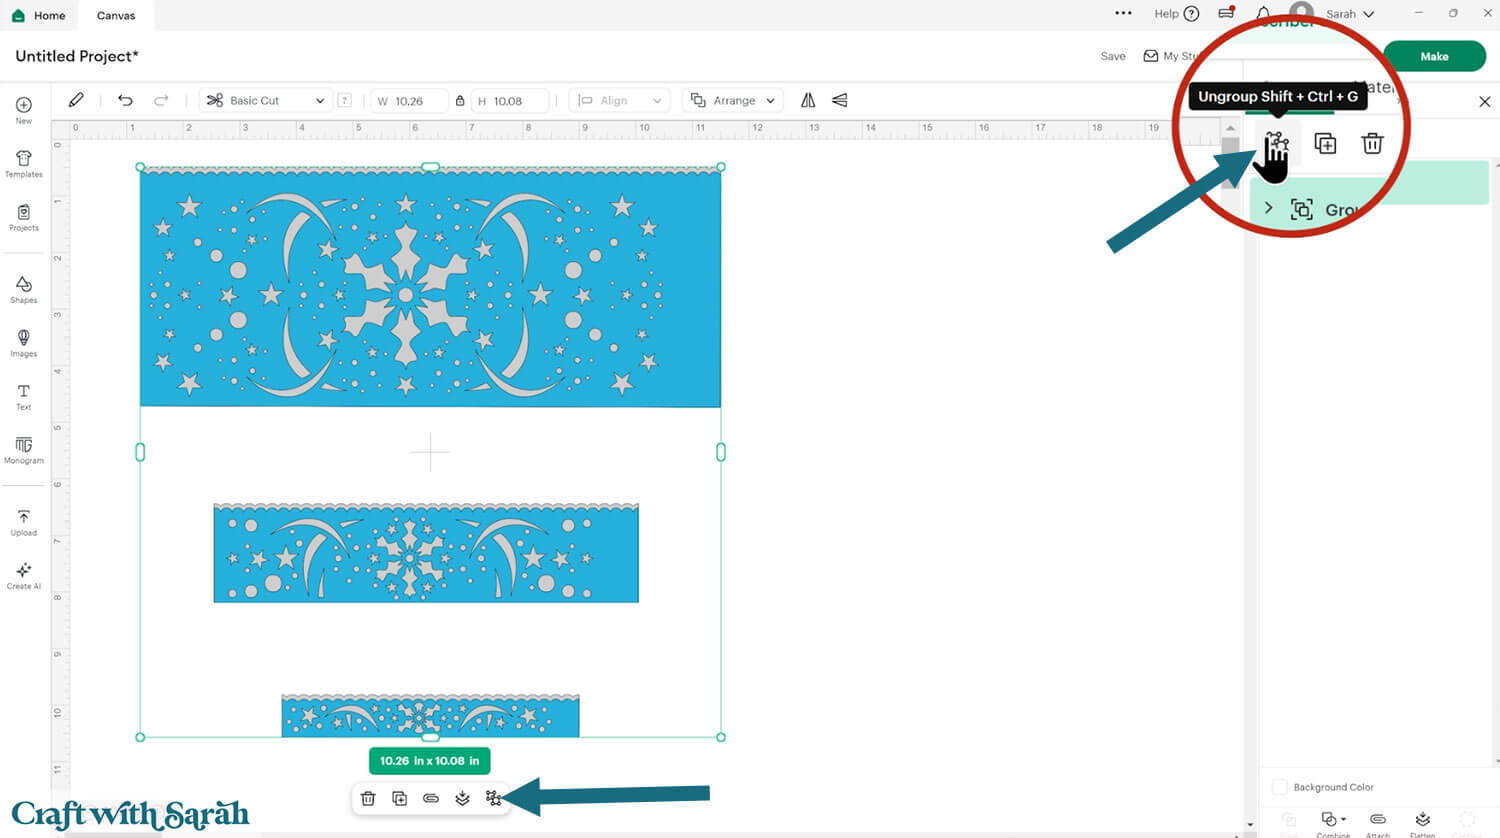
Step 3) Size the candle wraps
Click the project and “Ungroup” the layers to separate each of the candle wraps.
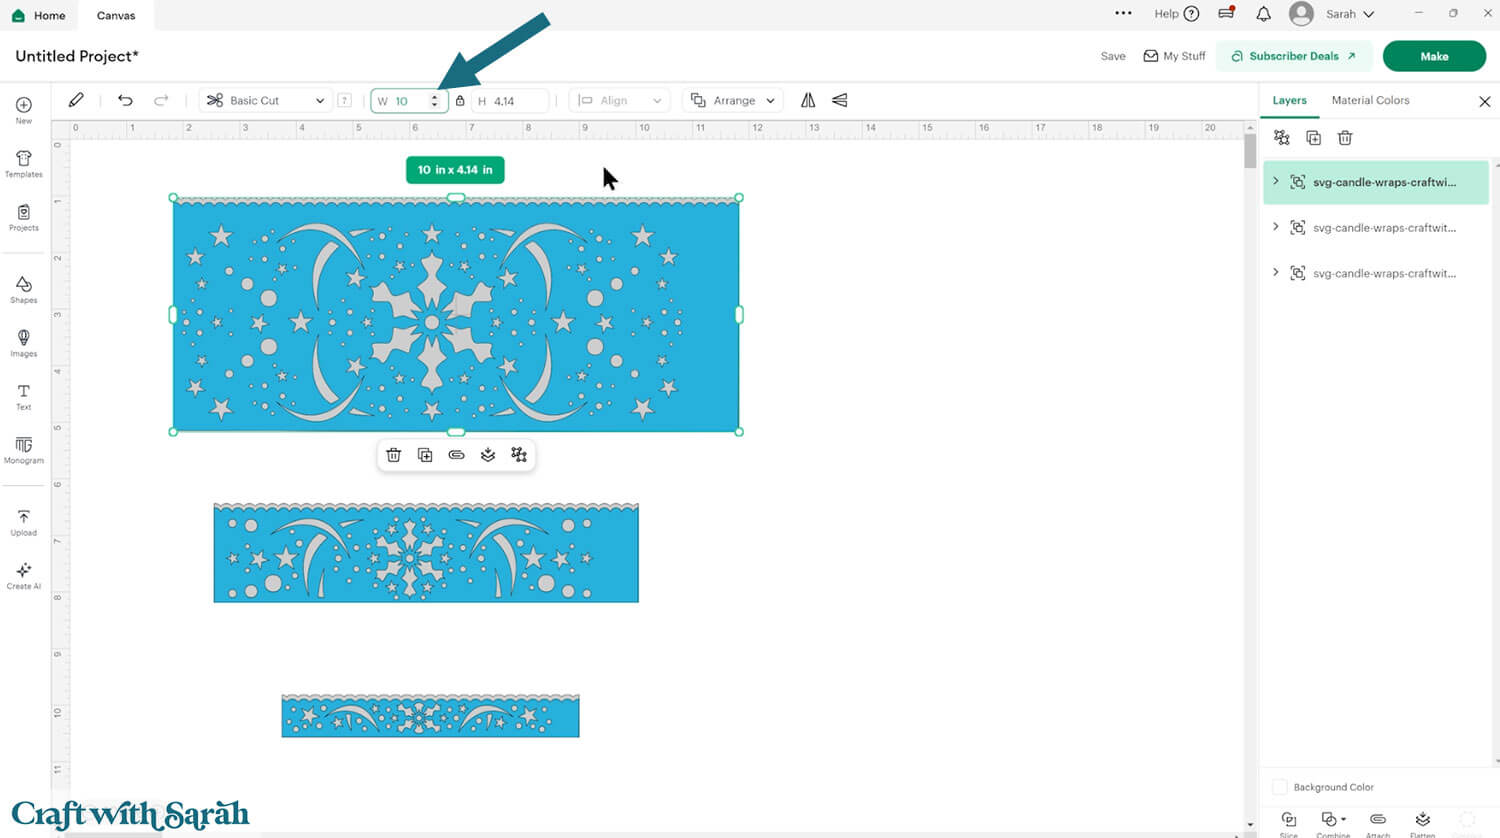
Look at your measurements from Step 1.
Add 1 inch to each measurement for candles that will use the large or medium candle wraps. This is to allow for the “overlap” section that we’ll be gluing.
Add 0.5 inches to each measurement for candles using the smallest candle wrap.
Change the width of each candle wrap to match your measurements.
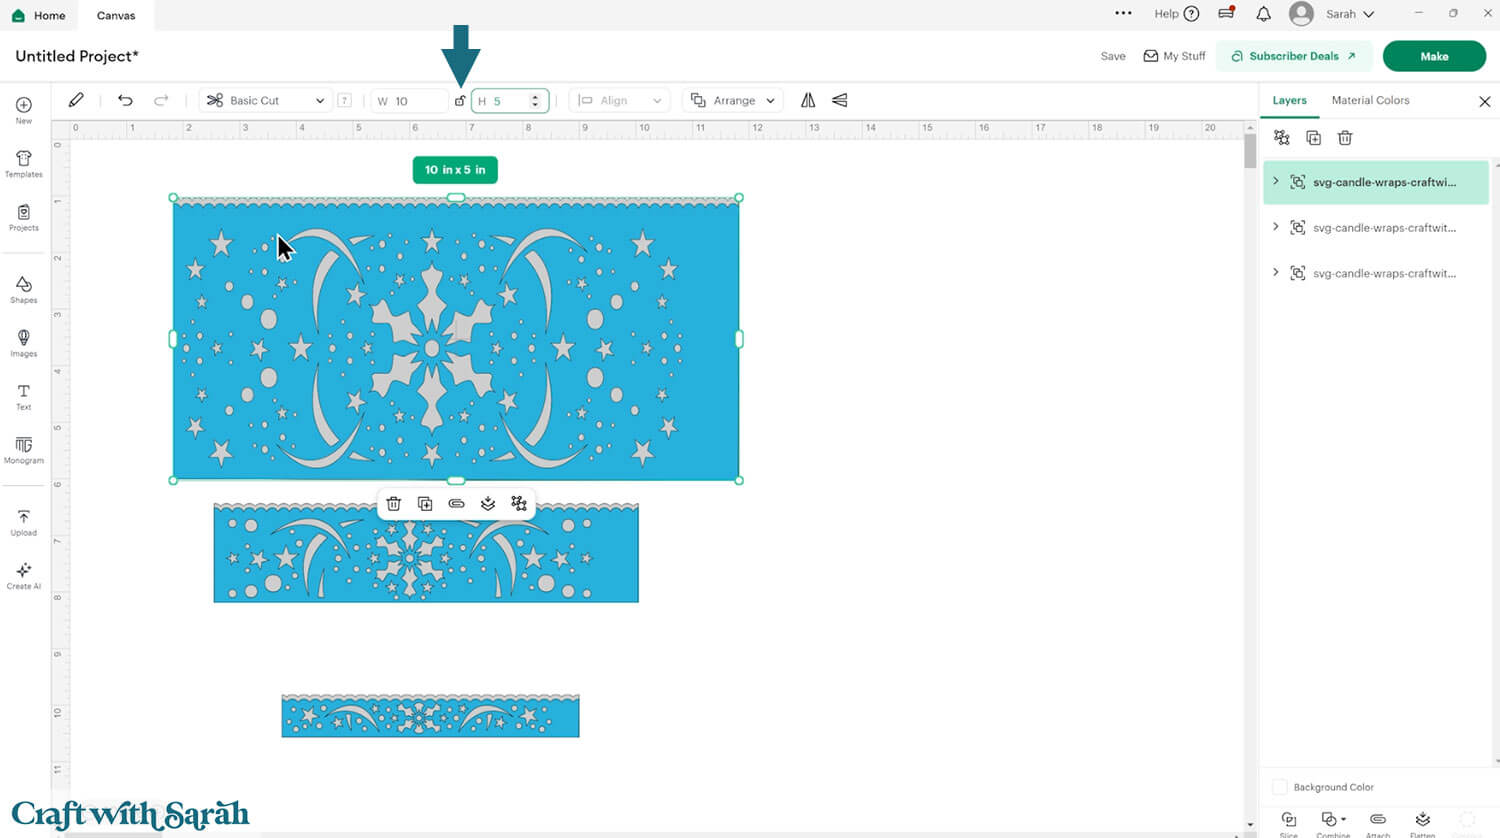
If your candle is shorter or taller than the designs, you can click the “padlock” icon between the width and height boxes to “open” it up. Then you can type a new number into the “height” box and it will change that measurement while keeping the width unaffected.
However, bear in mind that this will “distort” the design so the snowflakes may appear stretched or squished, as shown below.
To cut more candle wraps, click each design you want to make more of and “Duplicate” them.
Recolour the layers if desired.
Step 4) Cut out all the pieces
When you’re happy with how the project is looking in Design Space, click “Make” and follow the instructions on-screen to cut out all the pieces.
To change the paper size, go into the dropdowns over on the left side of the screen and choose the paper size that you want to use. You need to change it for every single colour.
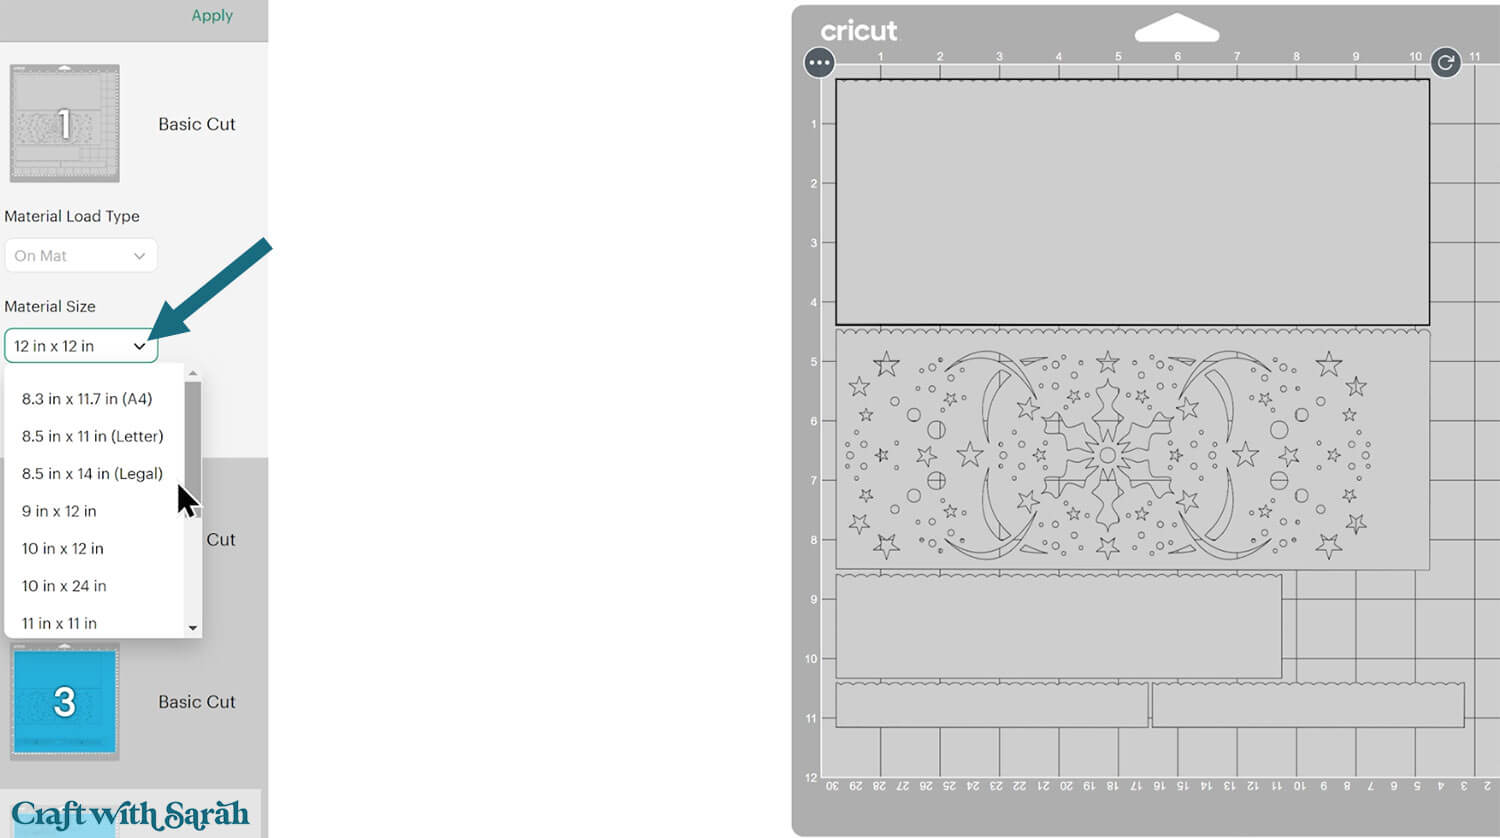
To save space on your cardstock, you can move things around by clicking and dragging. Make sure when you’re moving things about that nothing overlaps because otherwise, it won’t cut out properly.
TIP: New to using cardstock with your cutting machine? Check out these machine help guides for Cricut, Silhouette and ScanNCut that go through every step of the process, including tips for getting the best quality cuts from your machine.
Step 5) Stick the candle decorations together
My favourite glues to use on papercraft projects are Bearly Art Glue and Collall All Purpose Glue.
These are great because they don’t “warp” or bend the cardstock like some glues do. You can use as much of it as you want and the card stays perfect – and it dries perfectly clear too!
Bearly Art Glue comes with a tiny nozzle to make it easy to apply glue to small areas of card. The Collall glue doesn’t come with this, so it’s easiest to decant it into needle tip applicator bottles so that you have more control.
However, for this project, I realised after I had made the candles that a hot glue gun would have probably been easier, as I had trouble getting the Bearly Art Glue to hold the wraps in place. This was mostly due to the very thick card I chose, and the fact that it was glitter card, which always seems a little bit resistant to glue!!
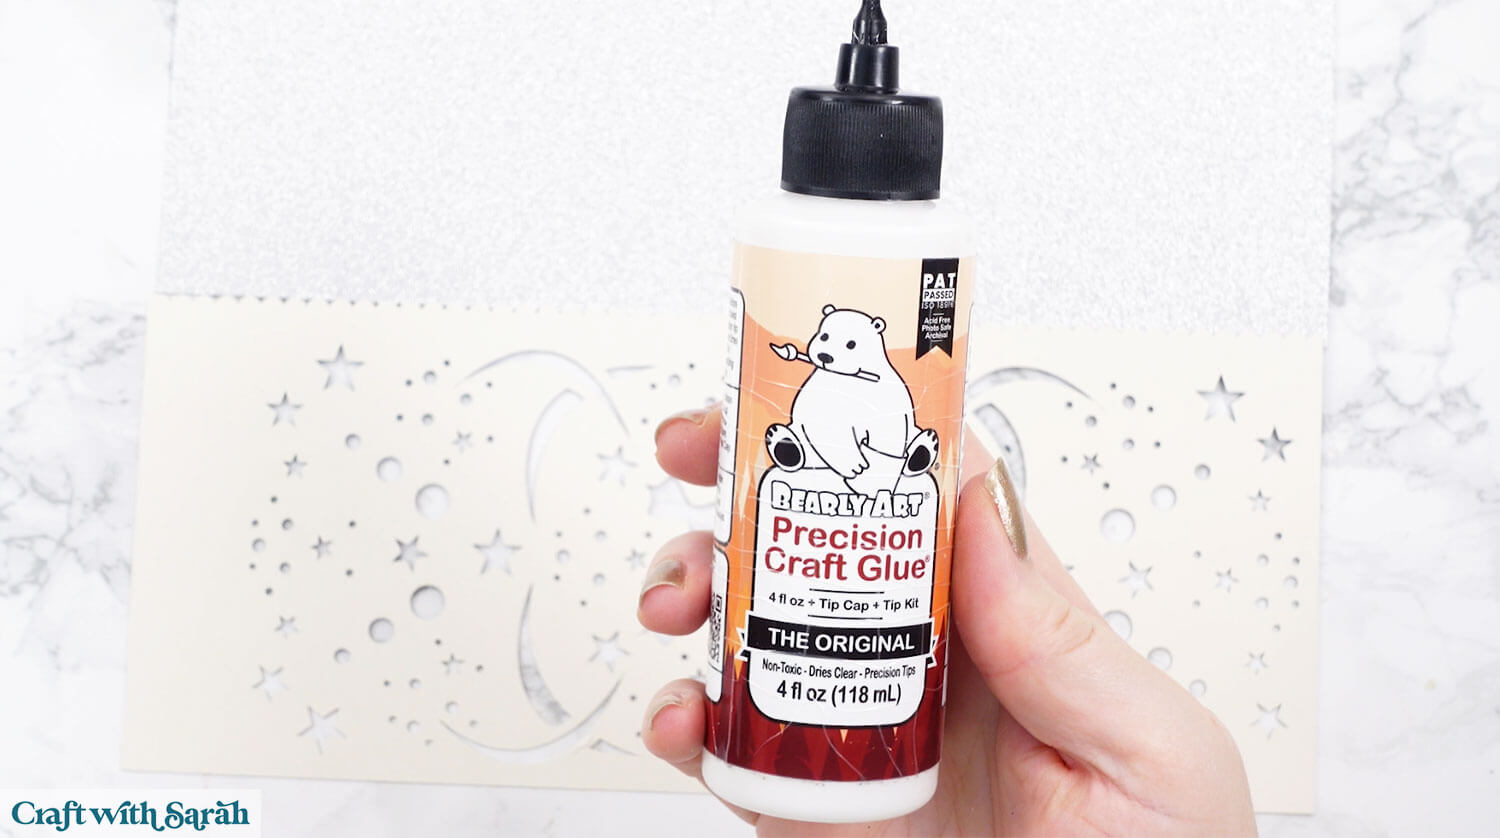
Glue the decorative pieces onto their corresponding backing pieces.
Allow the glue to dry fully and completely before attempting to wrap your candles.
Step 6) Add the wraps to the candles
You can choose to attach the wraps directly to the candle with double-sided tape, or to keep them removable by only sticking along the overlap.
I attached mine to the candles as I will be keeping them for future years, so I didn’t need to worry about the candles being used at other times.
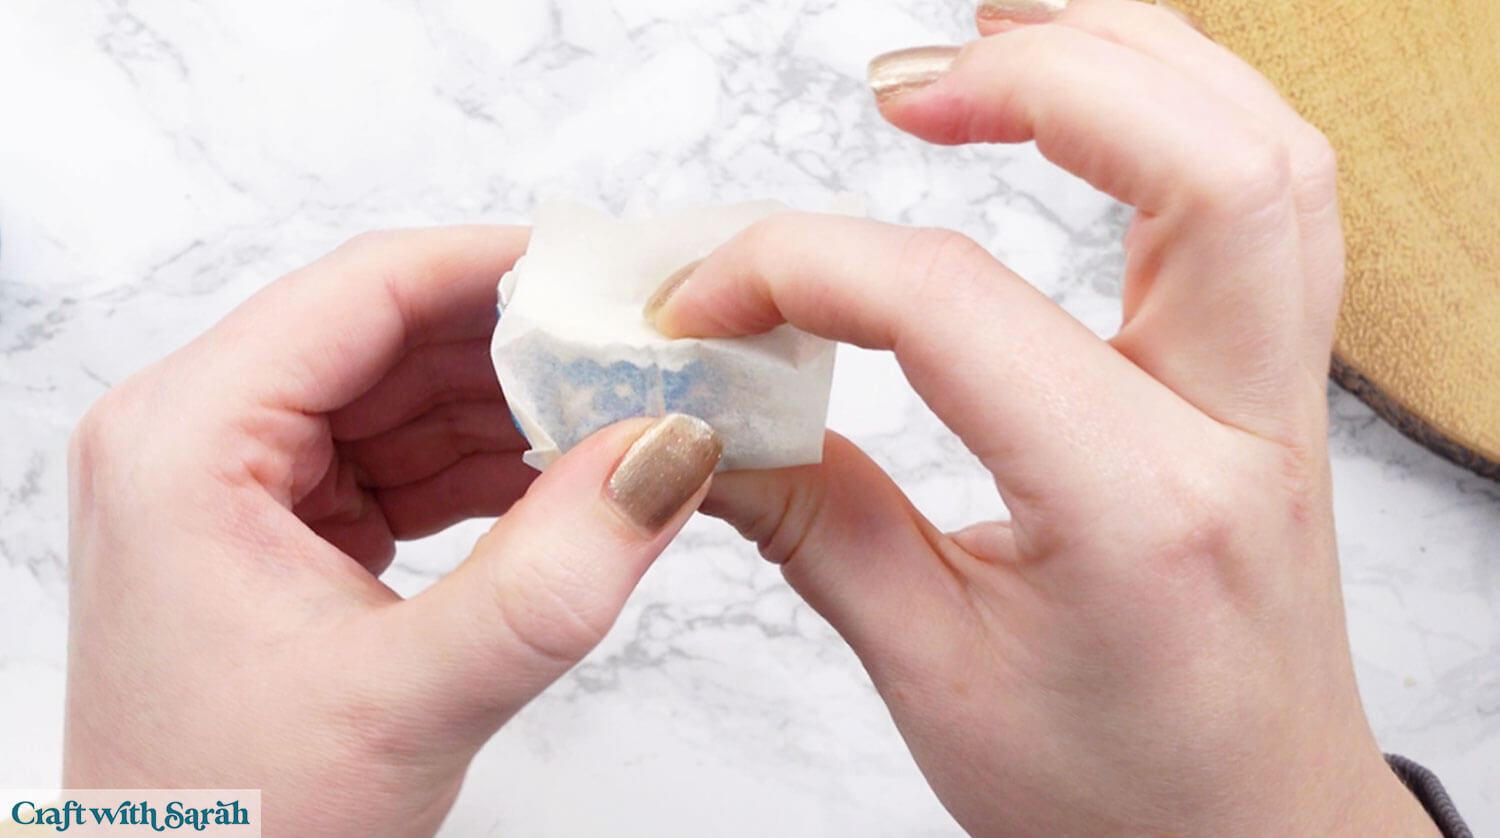
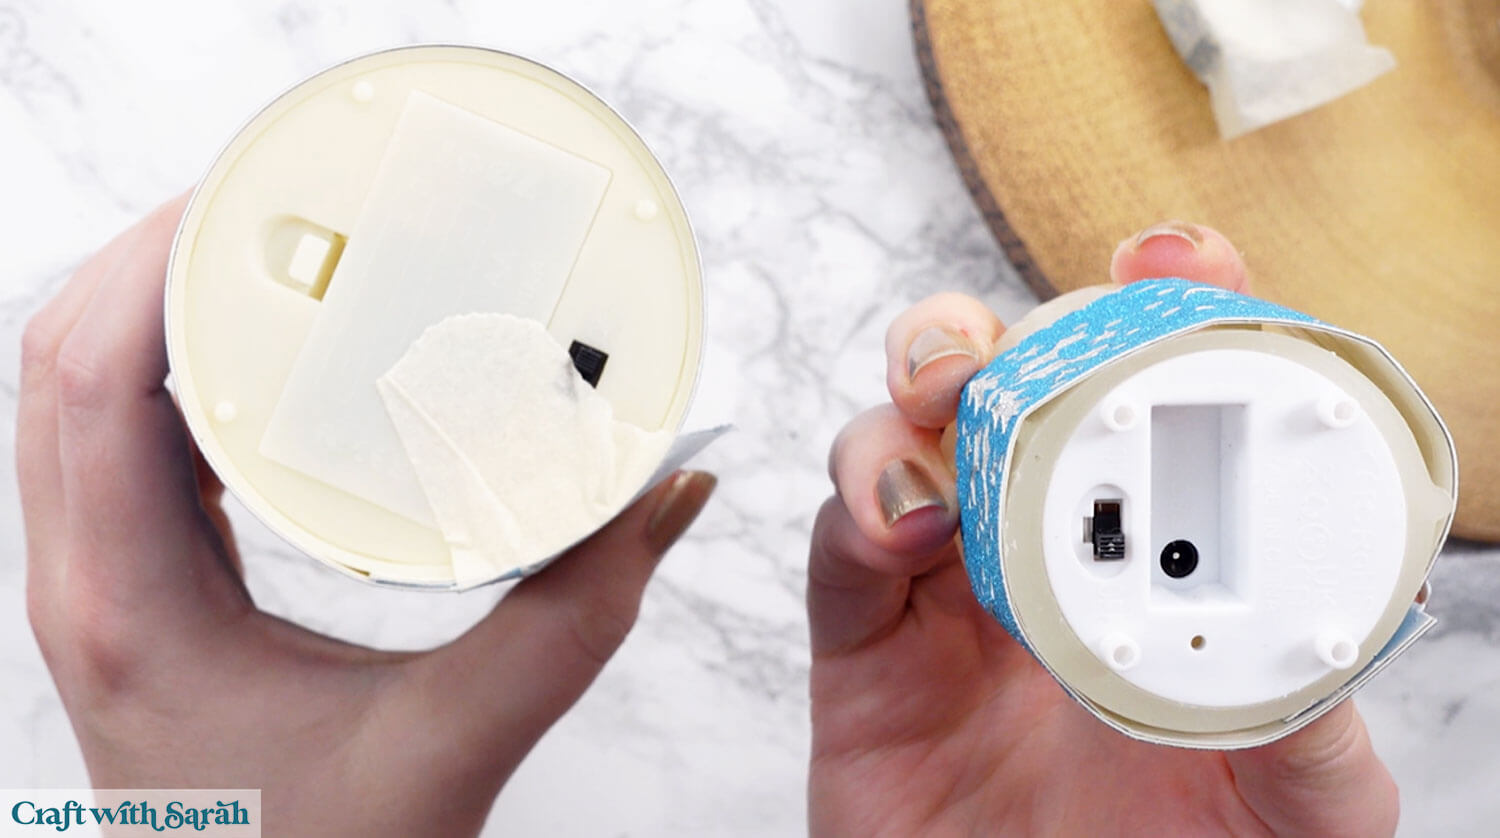
If you’re using tape, but some on the back of one of the wraps.
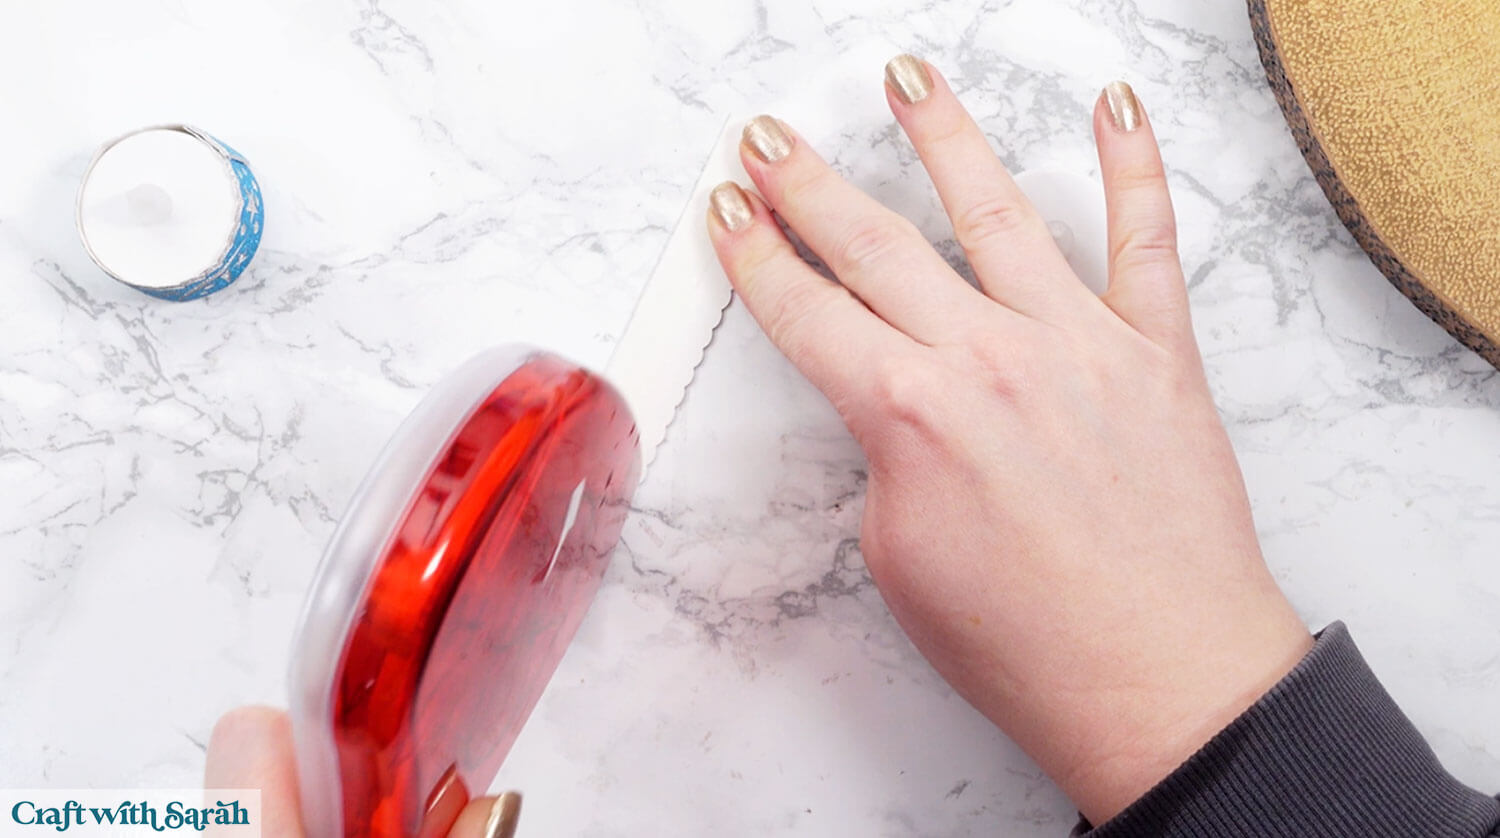
Add tape or glue to the overlap.
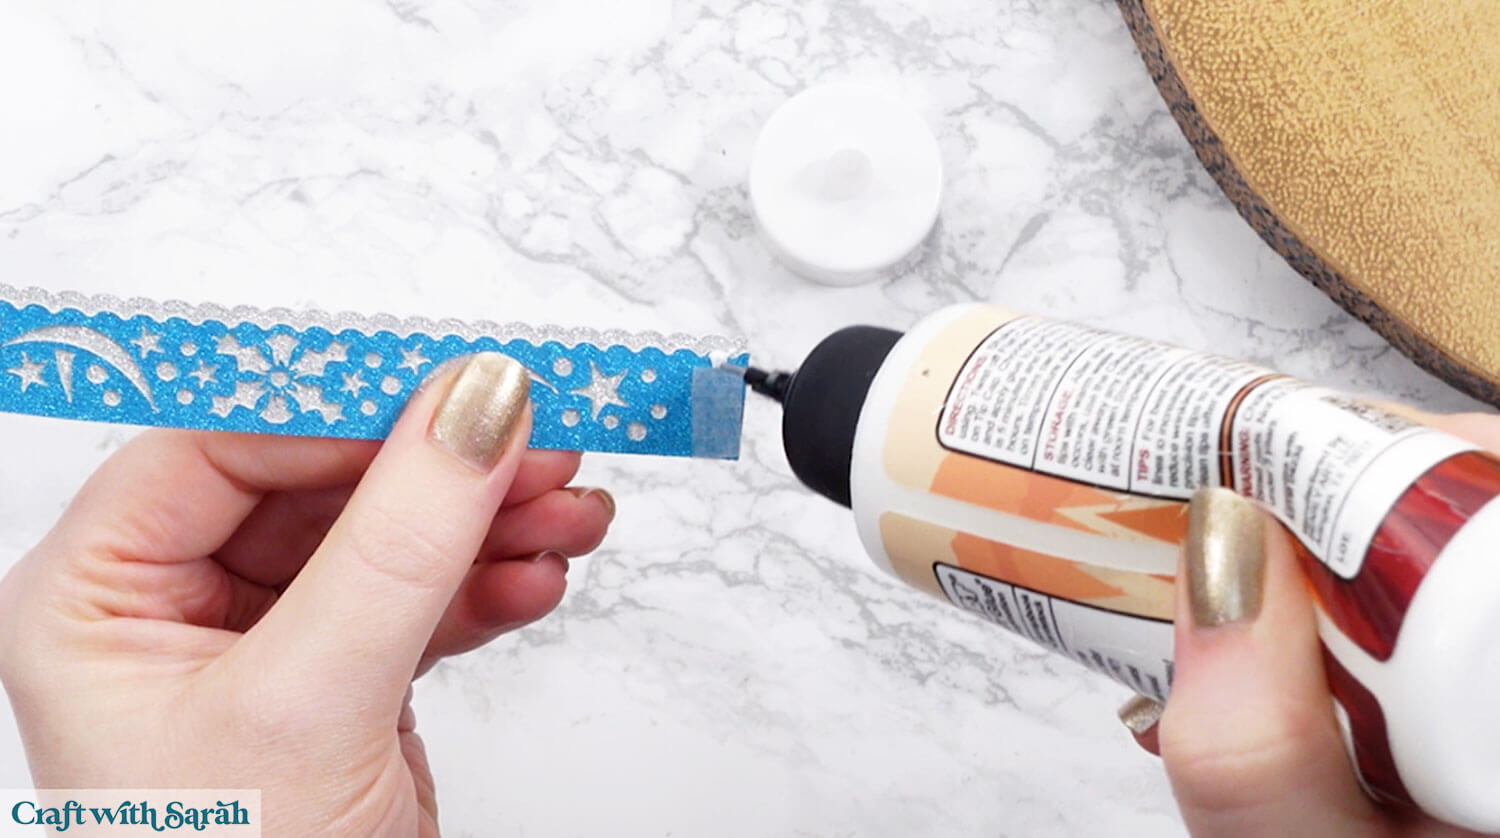
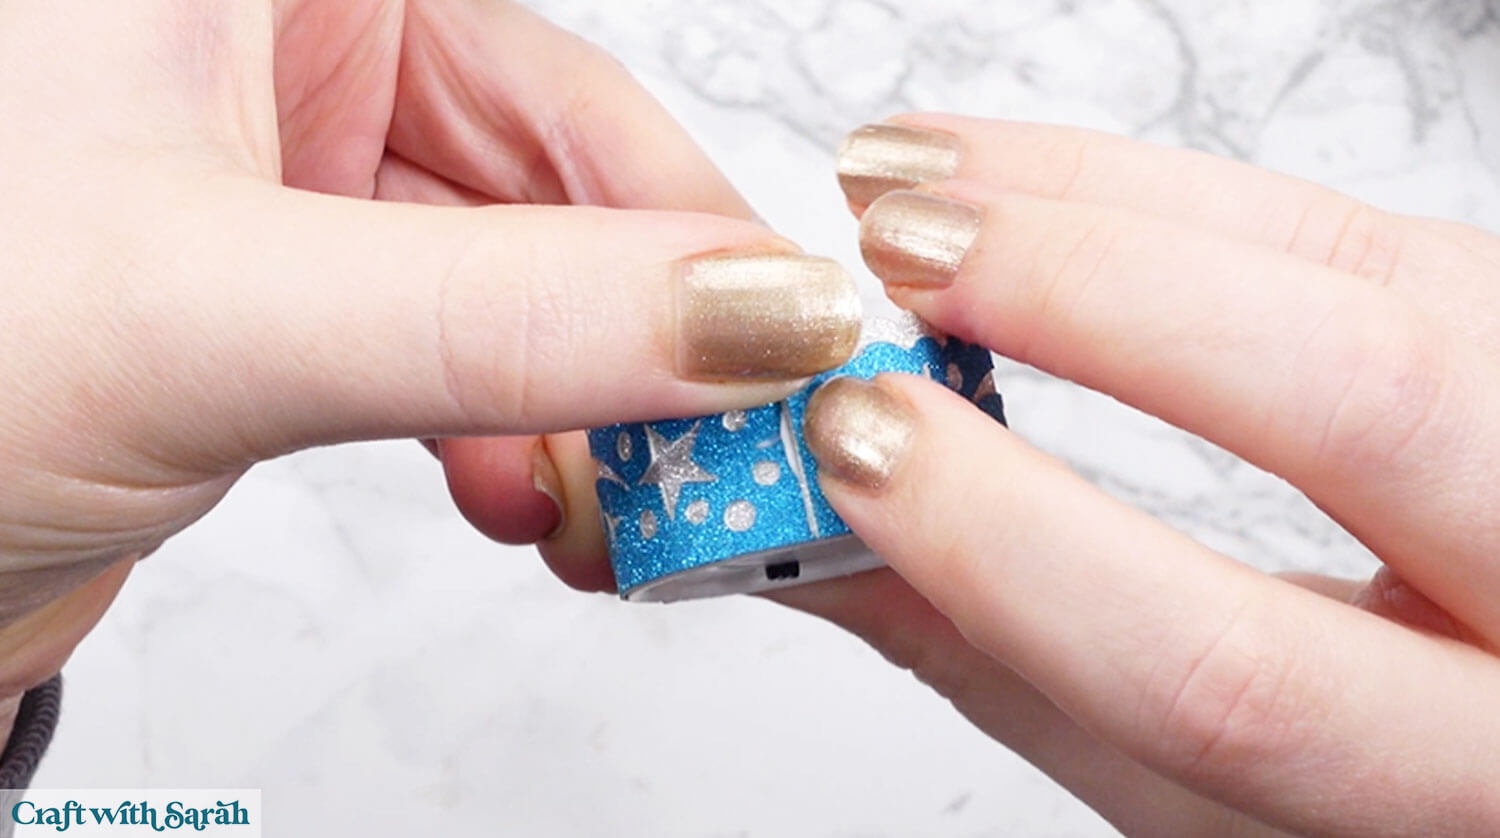
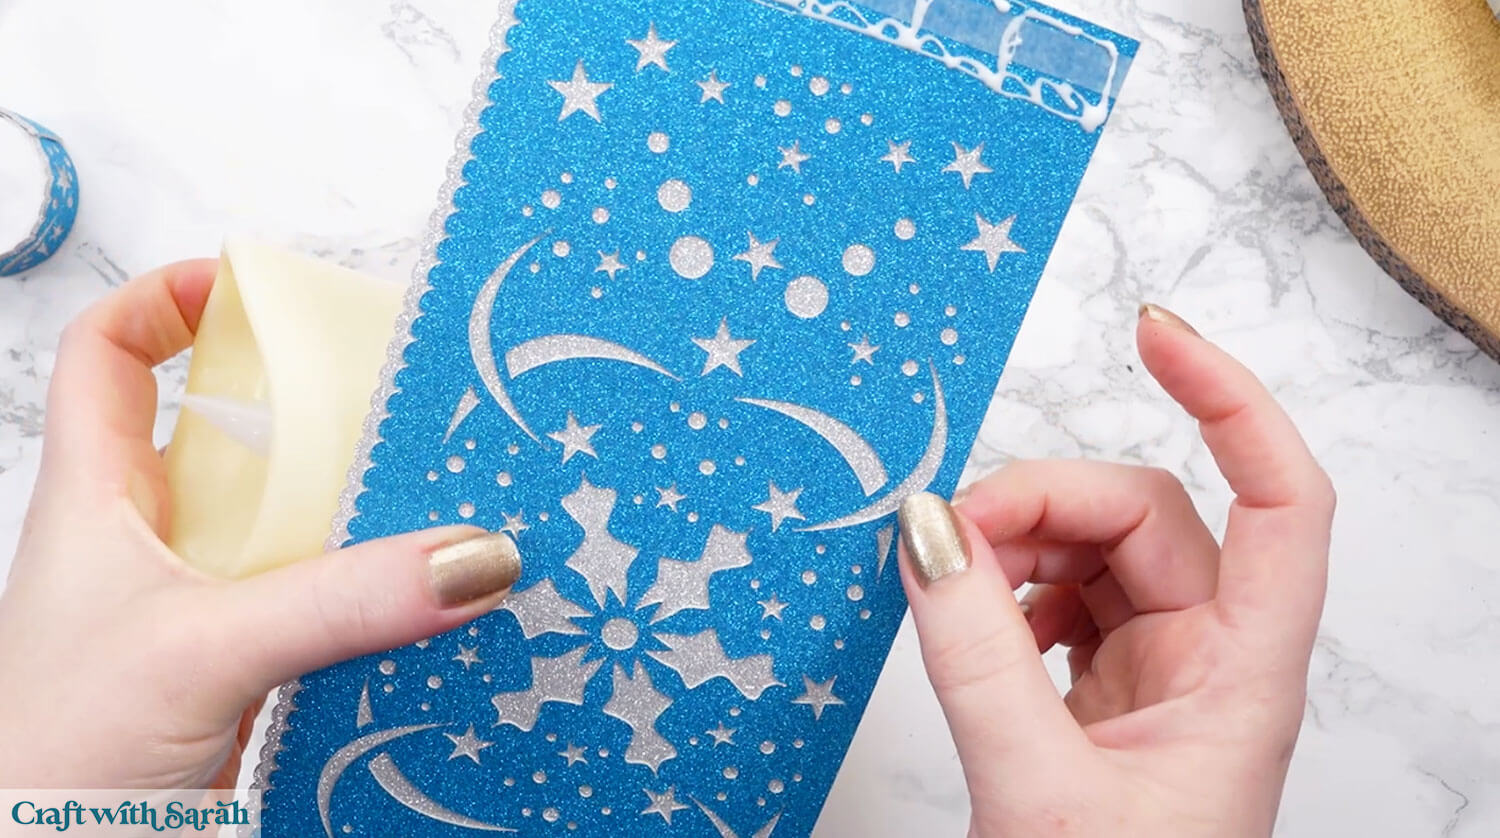
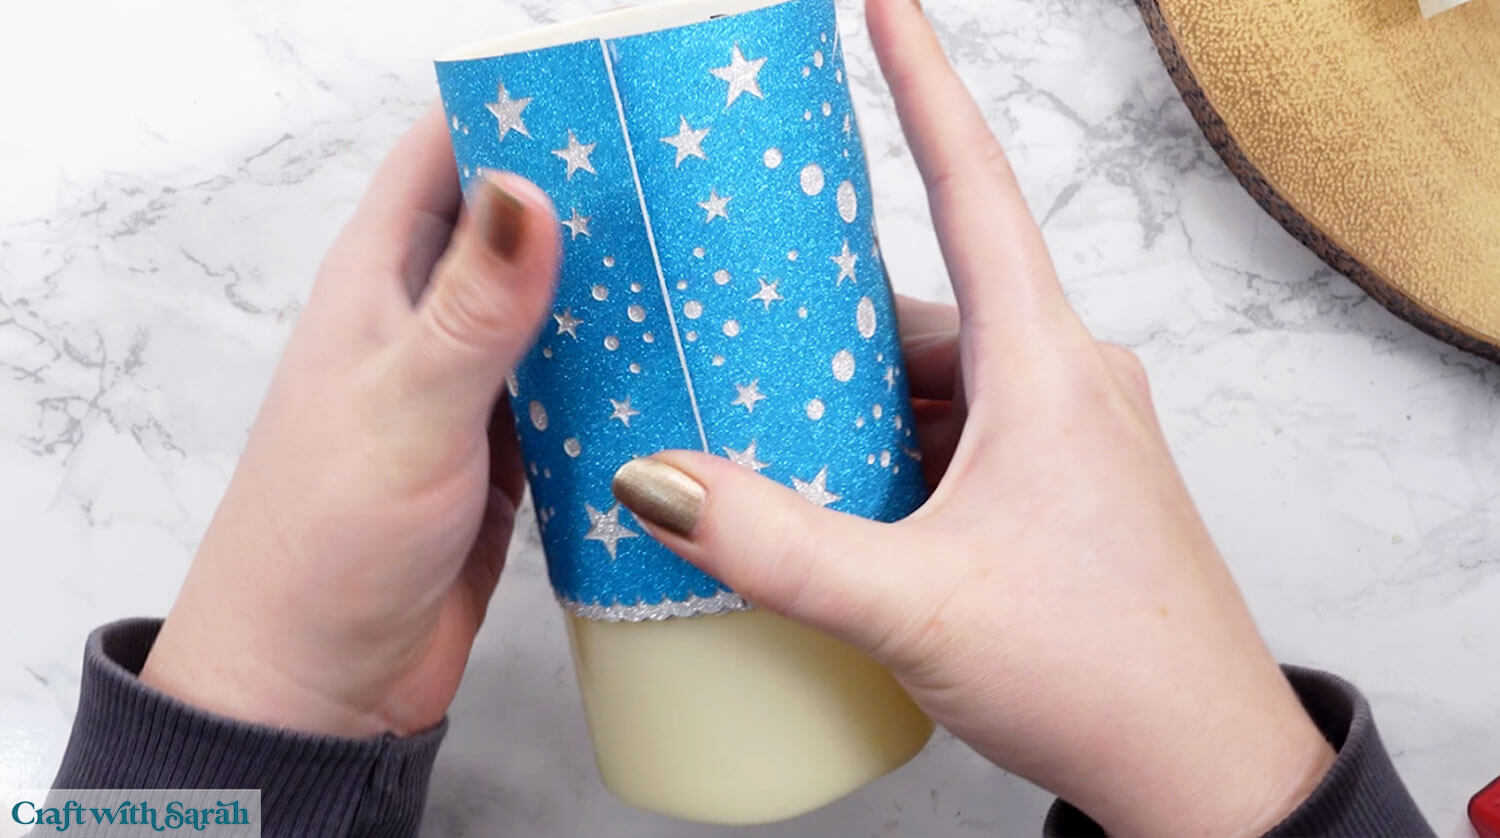
Tightly wrap the card around the candle, and firmly press in place. Line it up neatly along the bottom of the candle.
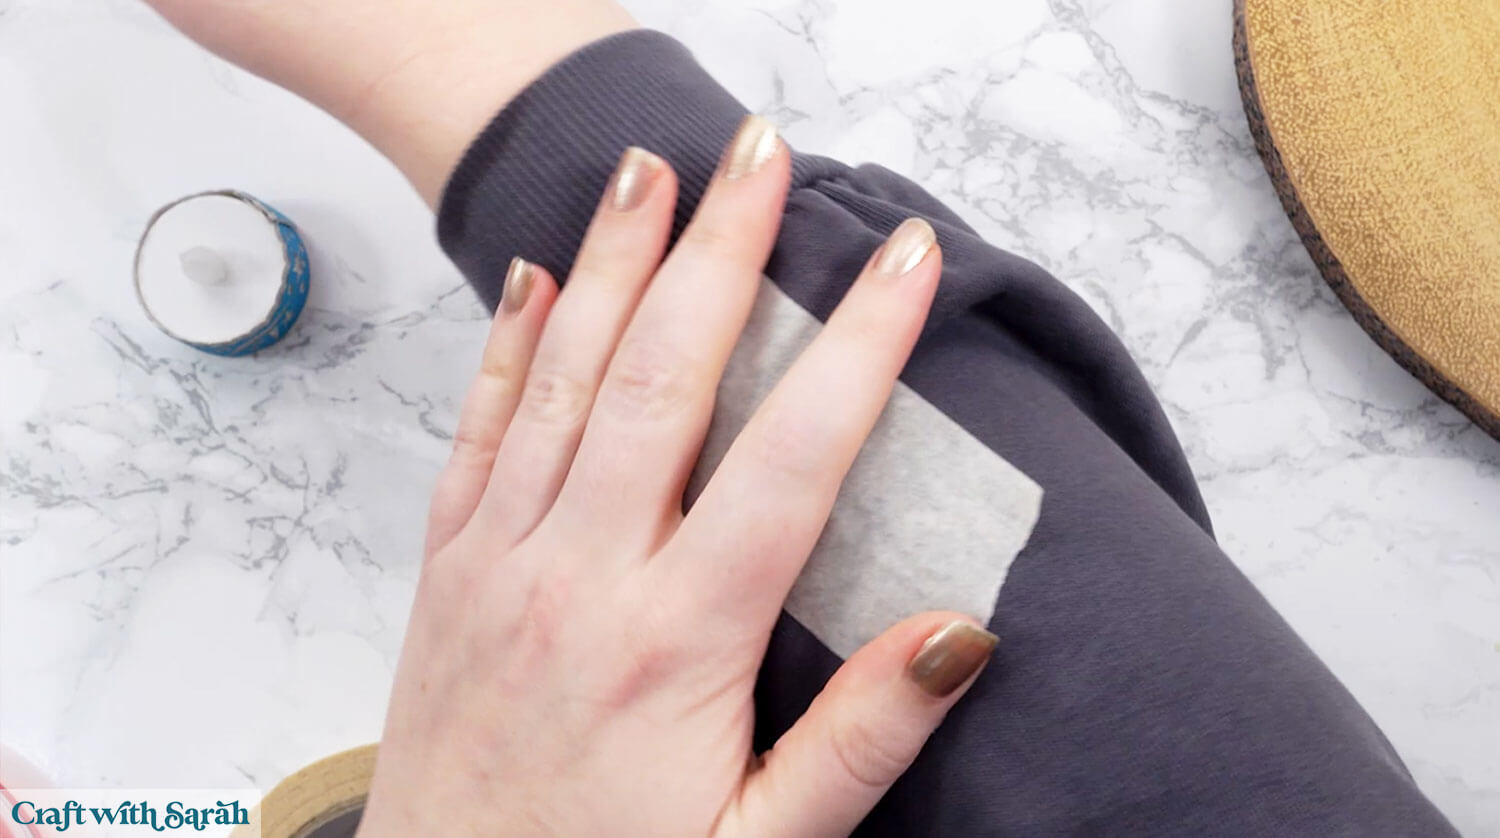
To help hold everything in place while the glue dries, add some masking tape. Test the tape on a scrap piece of the same cardstock first to make sure it won’t mark or damage it.
You can make the masking tape less “tacky” by sticking it to your clothing a couple of times to add some fibres to the back.
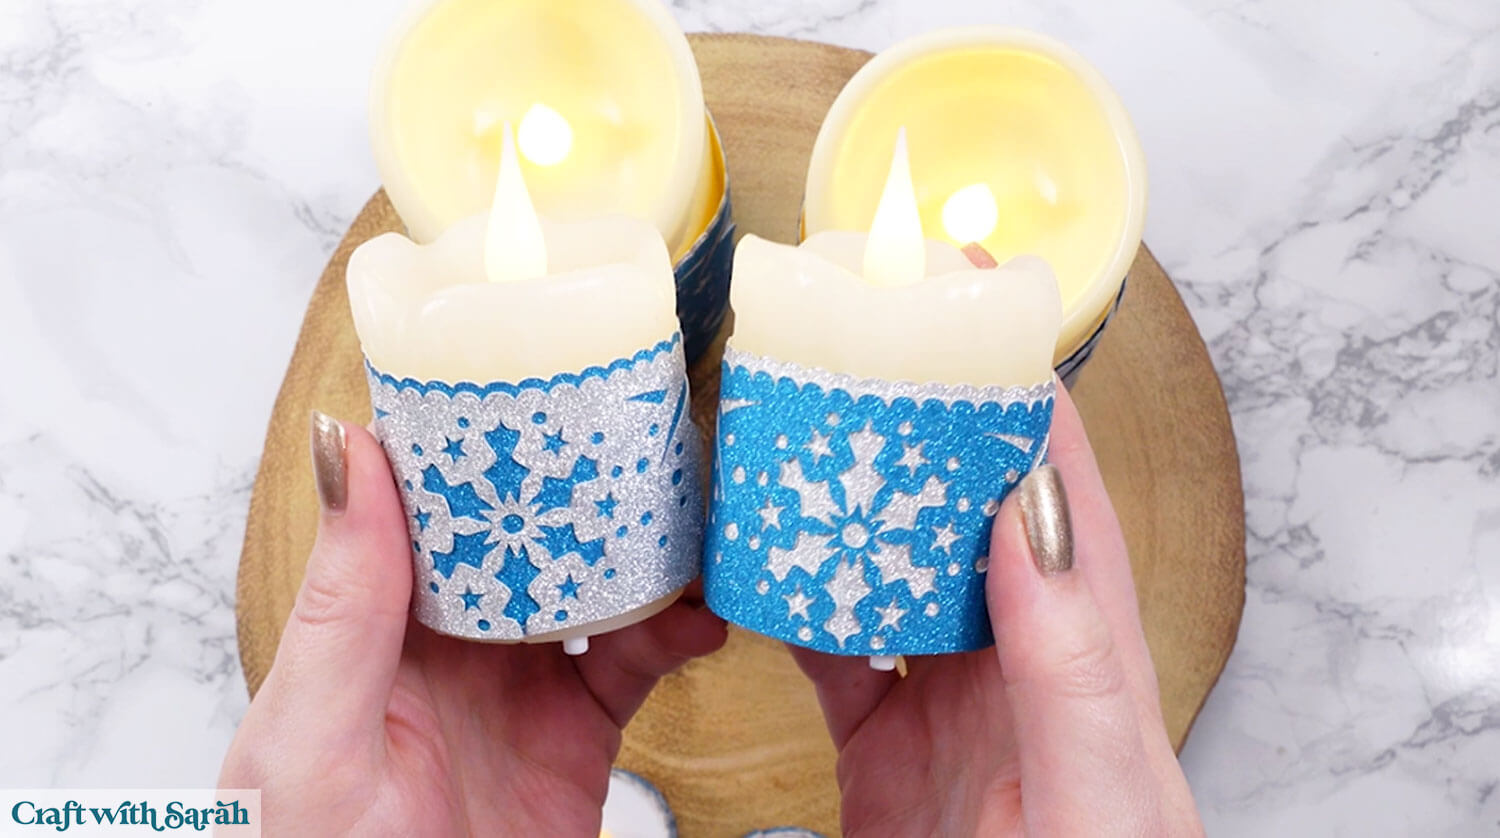
If you’re using a candle that has a distinct “front” side, like my pillar candles shown below, line up the middle snowflake with the centre of the candle, then wrap the rest of it around.
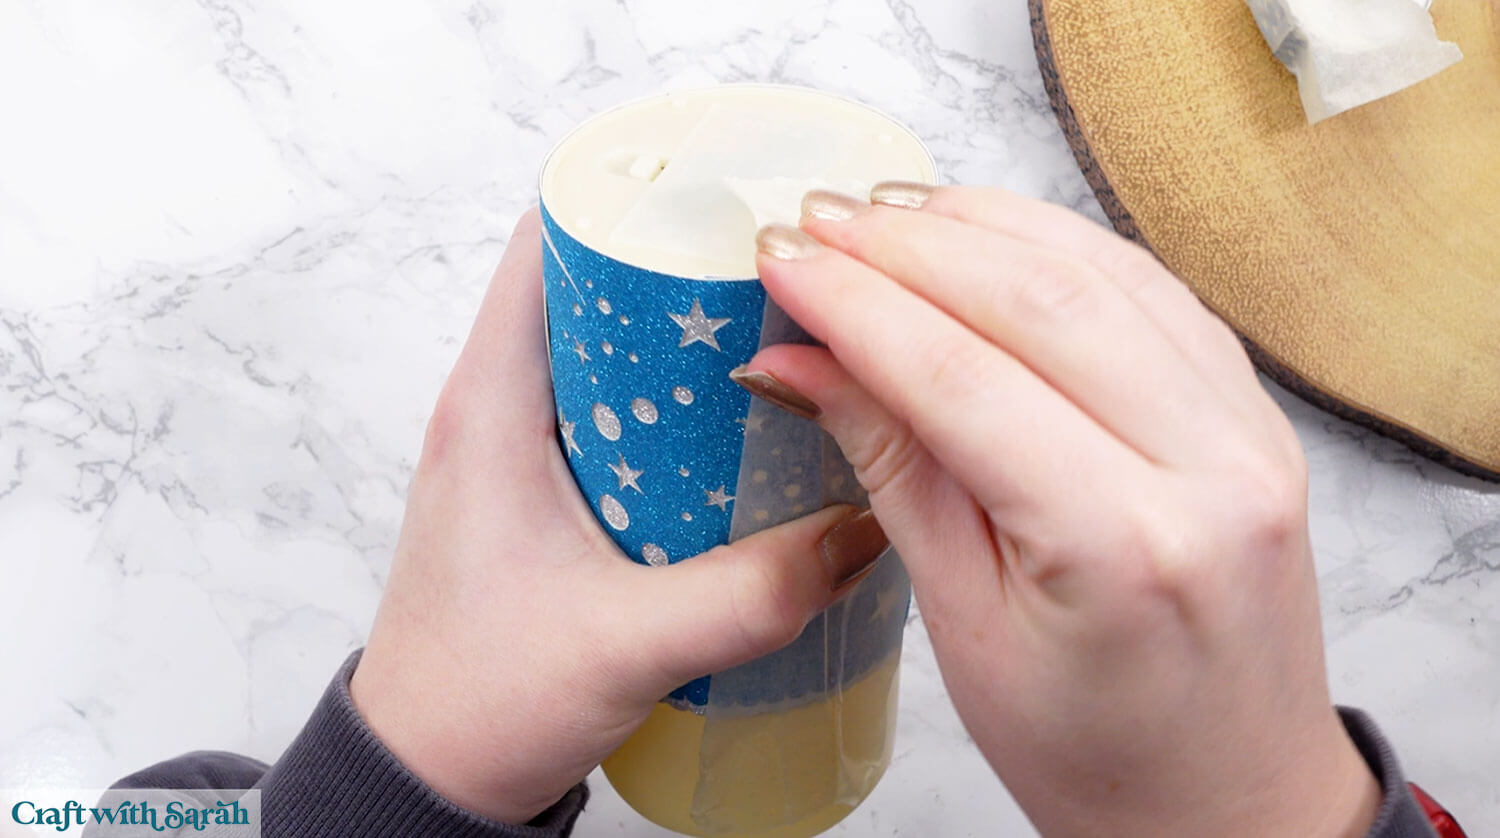
You may find it easier to line up the wraps by working with the candle upside down.
The photo below shows the difference between using smooth candles and using ones with wax “drips” down the sides.
The wraps look much neater and follow the candle shape better on the smooth candles.
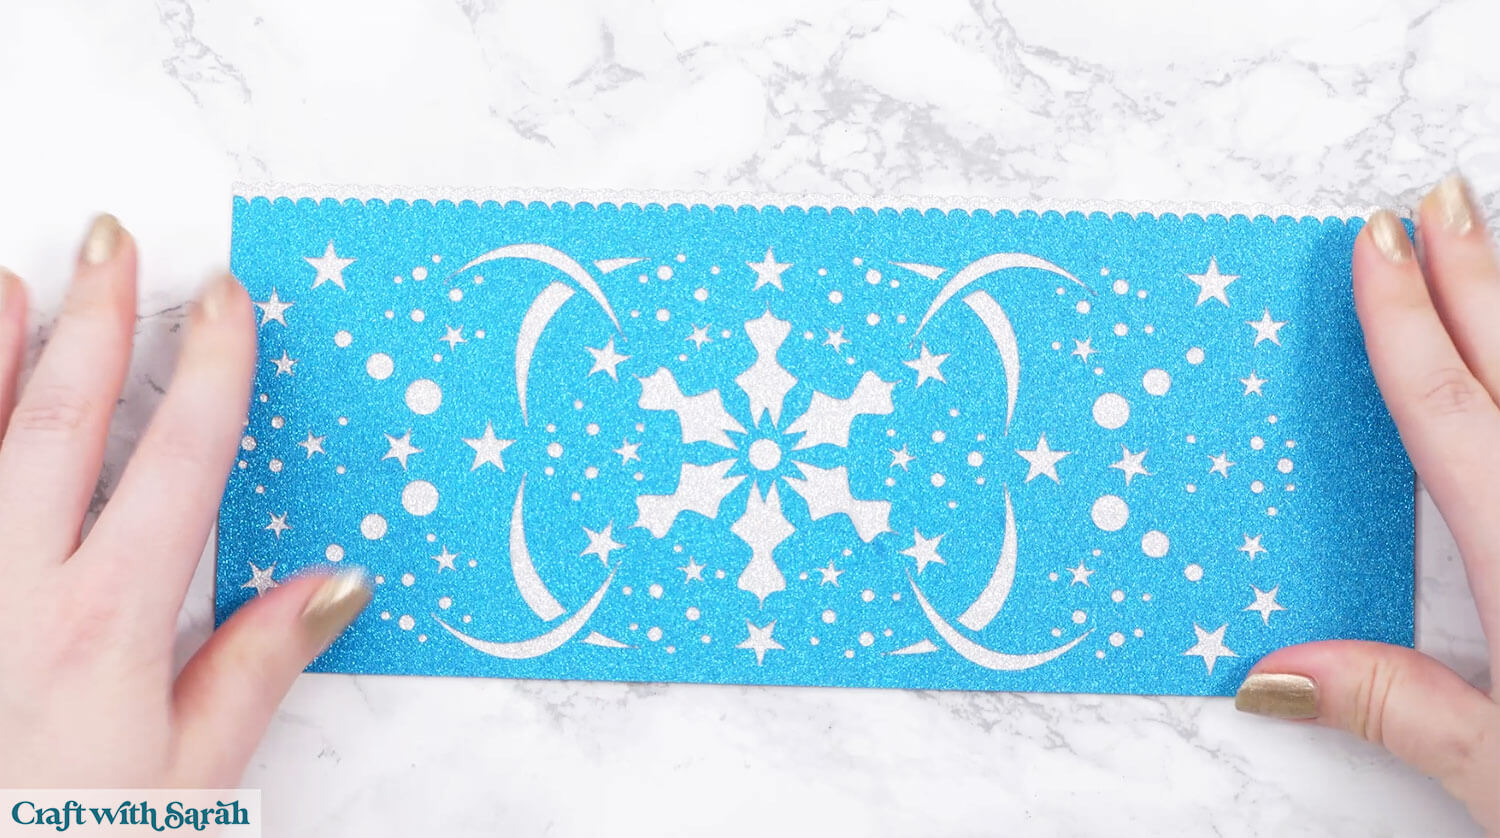
When the glue is dry, carefully remove the masking tape. Then, your beautiful candle decorations are finished.
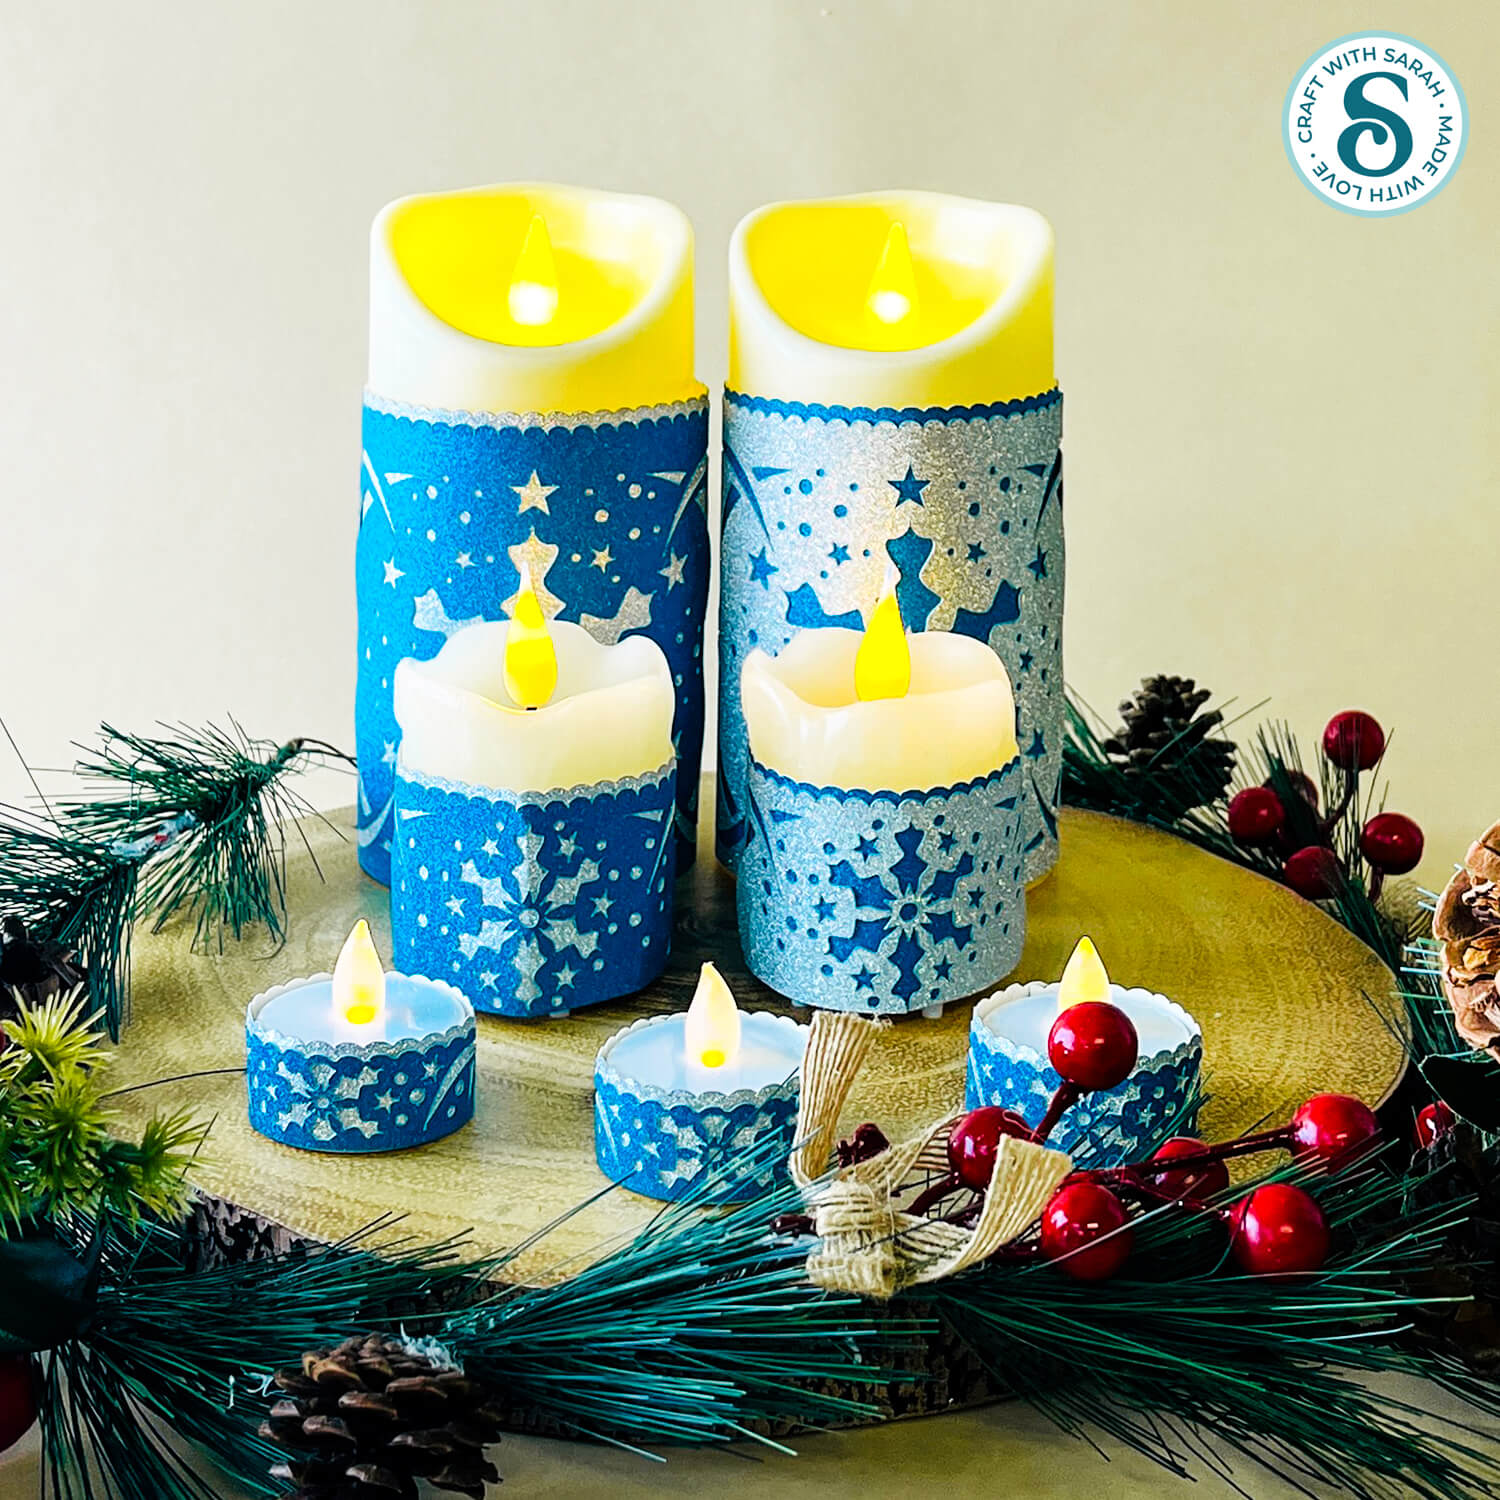
Beautiful candle wraps with snowflakes
You can display the candles individually, or group them together to make a display or centerpiece.
I’ve added seven candles in varying sizes to a wood slide, then added some greenery to finish it off.
It looks so pretty when all the candles are turned on!
Love making light-up Christmas crafts?
Check out these other glowing Christmas craft projects to make with your cutting machine:
- Winter wonderland lantern (free)
- Pop out luminaries (free)
- Christmas tree lantern
- Christmas bell lantern
- Nutcracker lantern
- Penguin lantern
- Angel lantern
Happy crafting,
Sarah x

