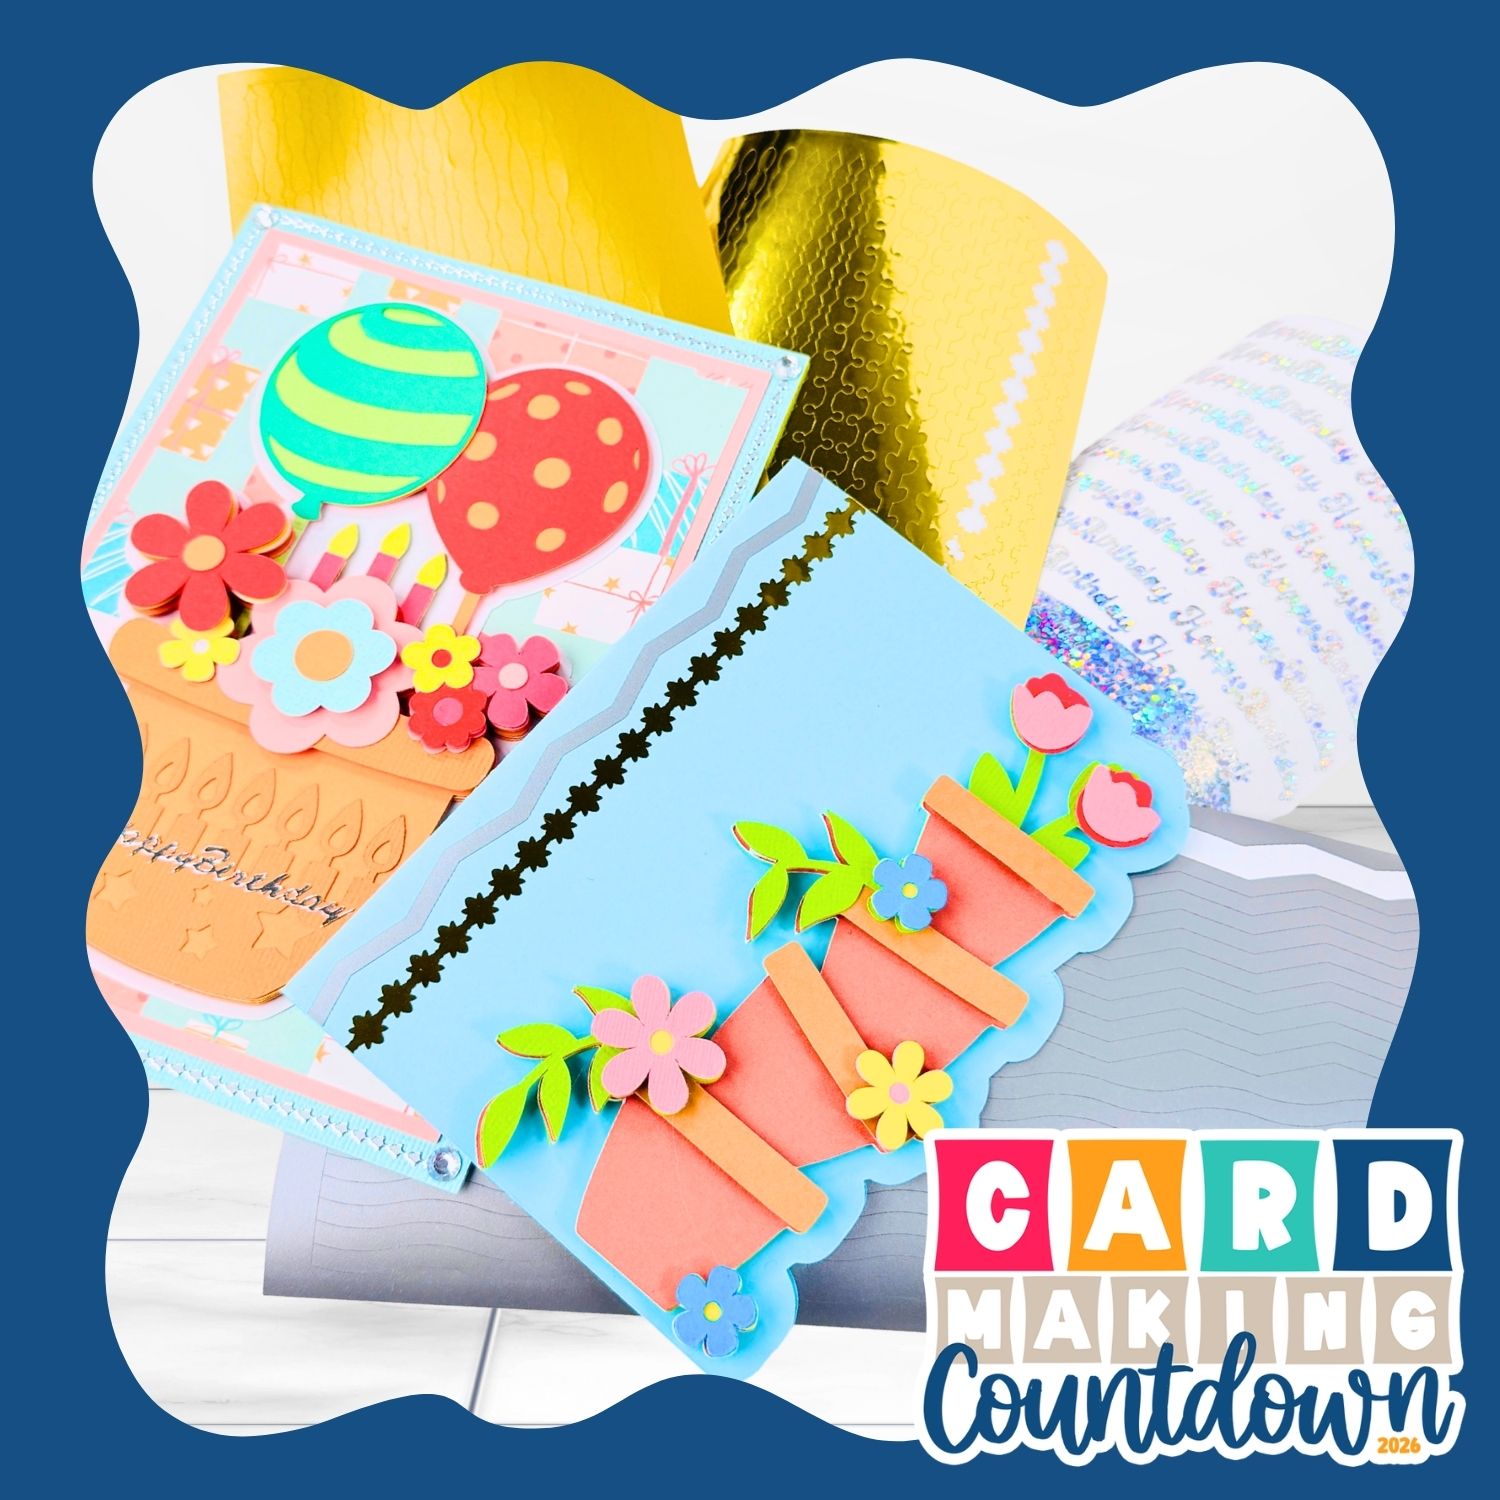
Vinyl Peel-Off Stickers ⭐ Card Making Countdown 2026

Make your own custom peel-off stickers to decorate your cards.
Welcome to Day 8 of the 2026 Card Making Countdown.
Today we are replicating one of my personal most used craft supplies when I am making cards: peel-off stickers!
I’ve been using peel-off stickers in my card making as long as I can remember, probably going on for about 20 years now.
It’s a sheet of pre-made stickers you can buy in the craft store with borders, corners, sentiments, pictures, or pretty much anything you can think of.
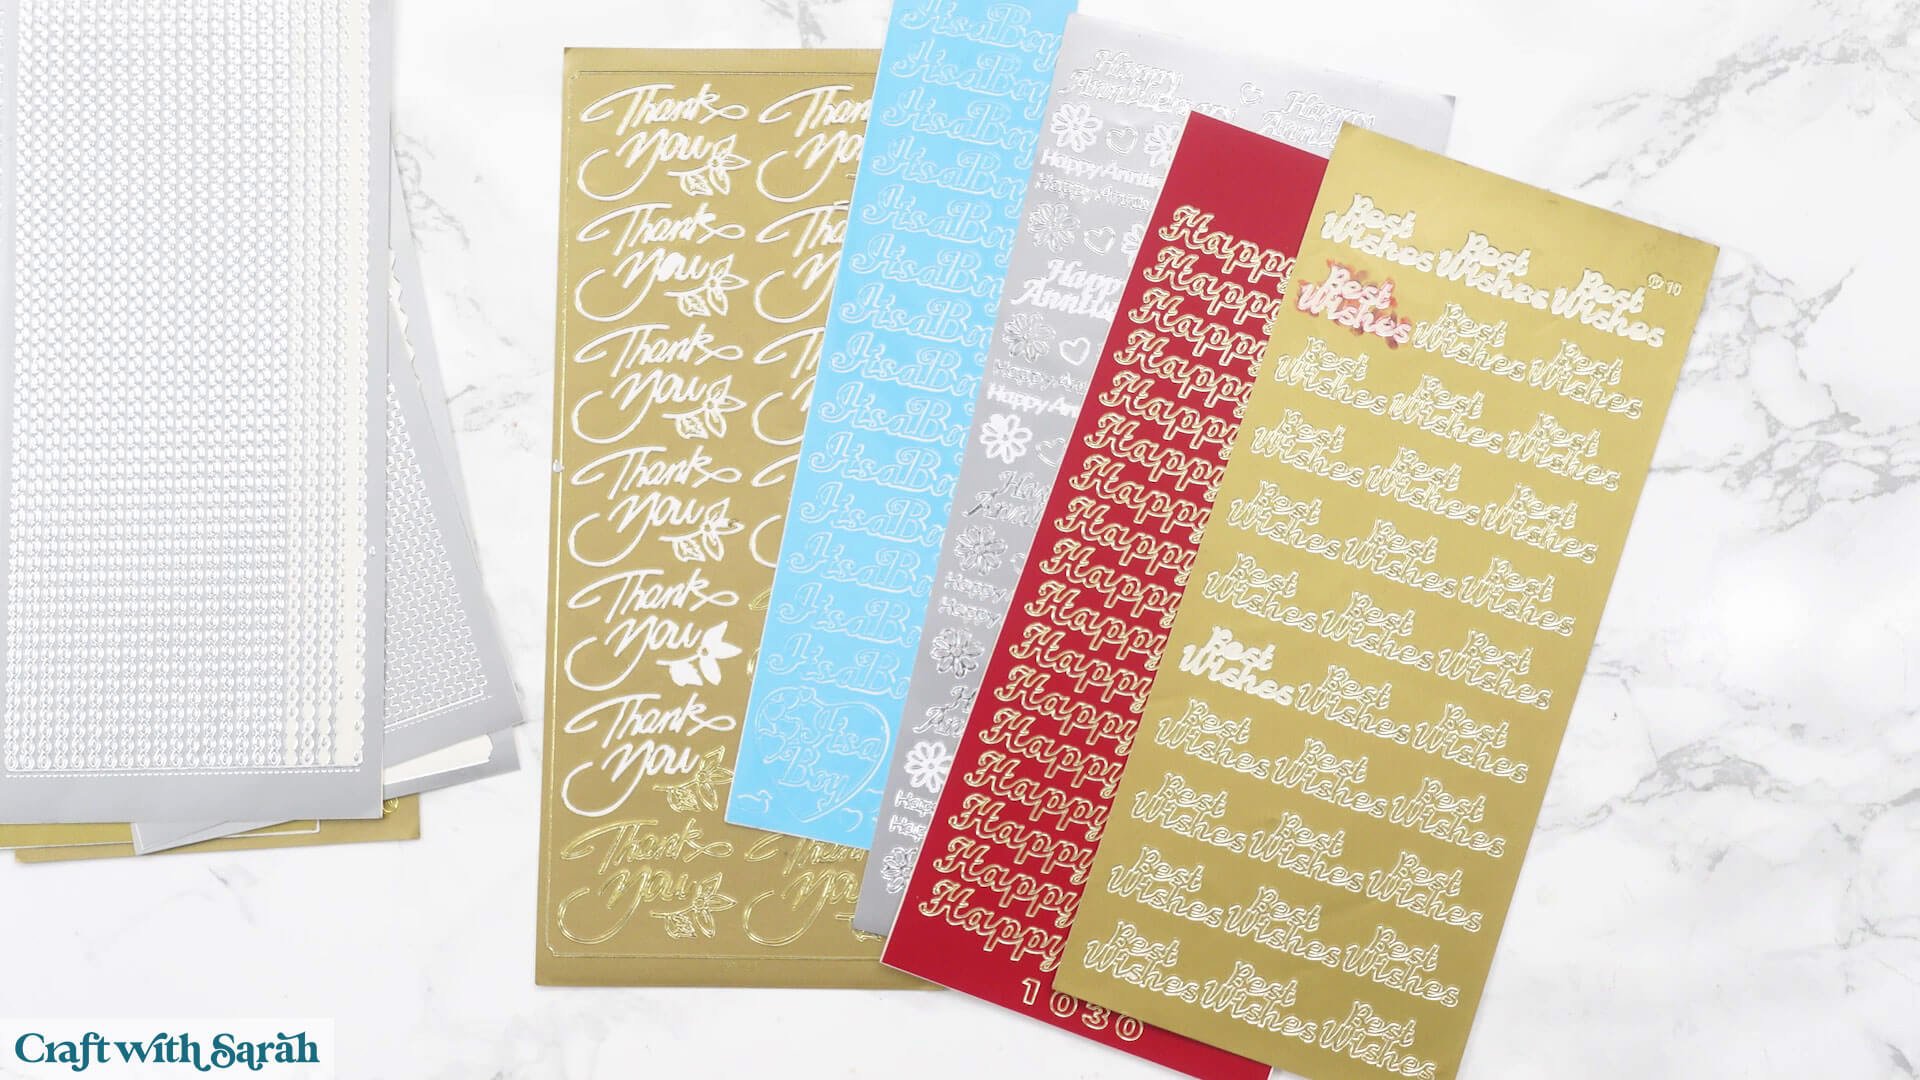
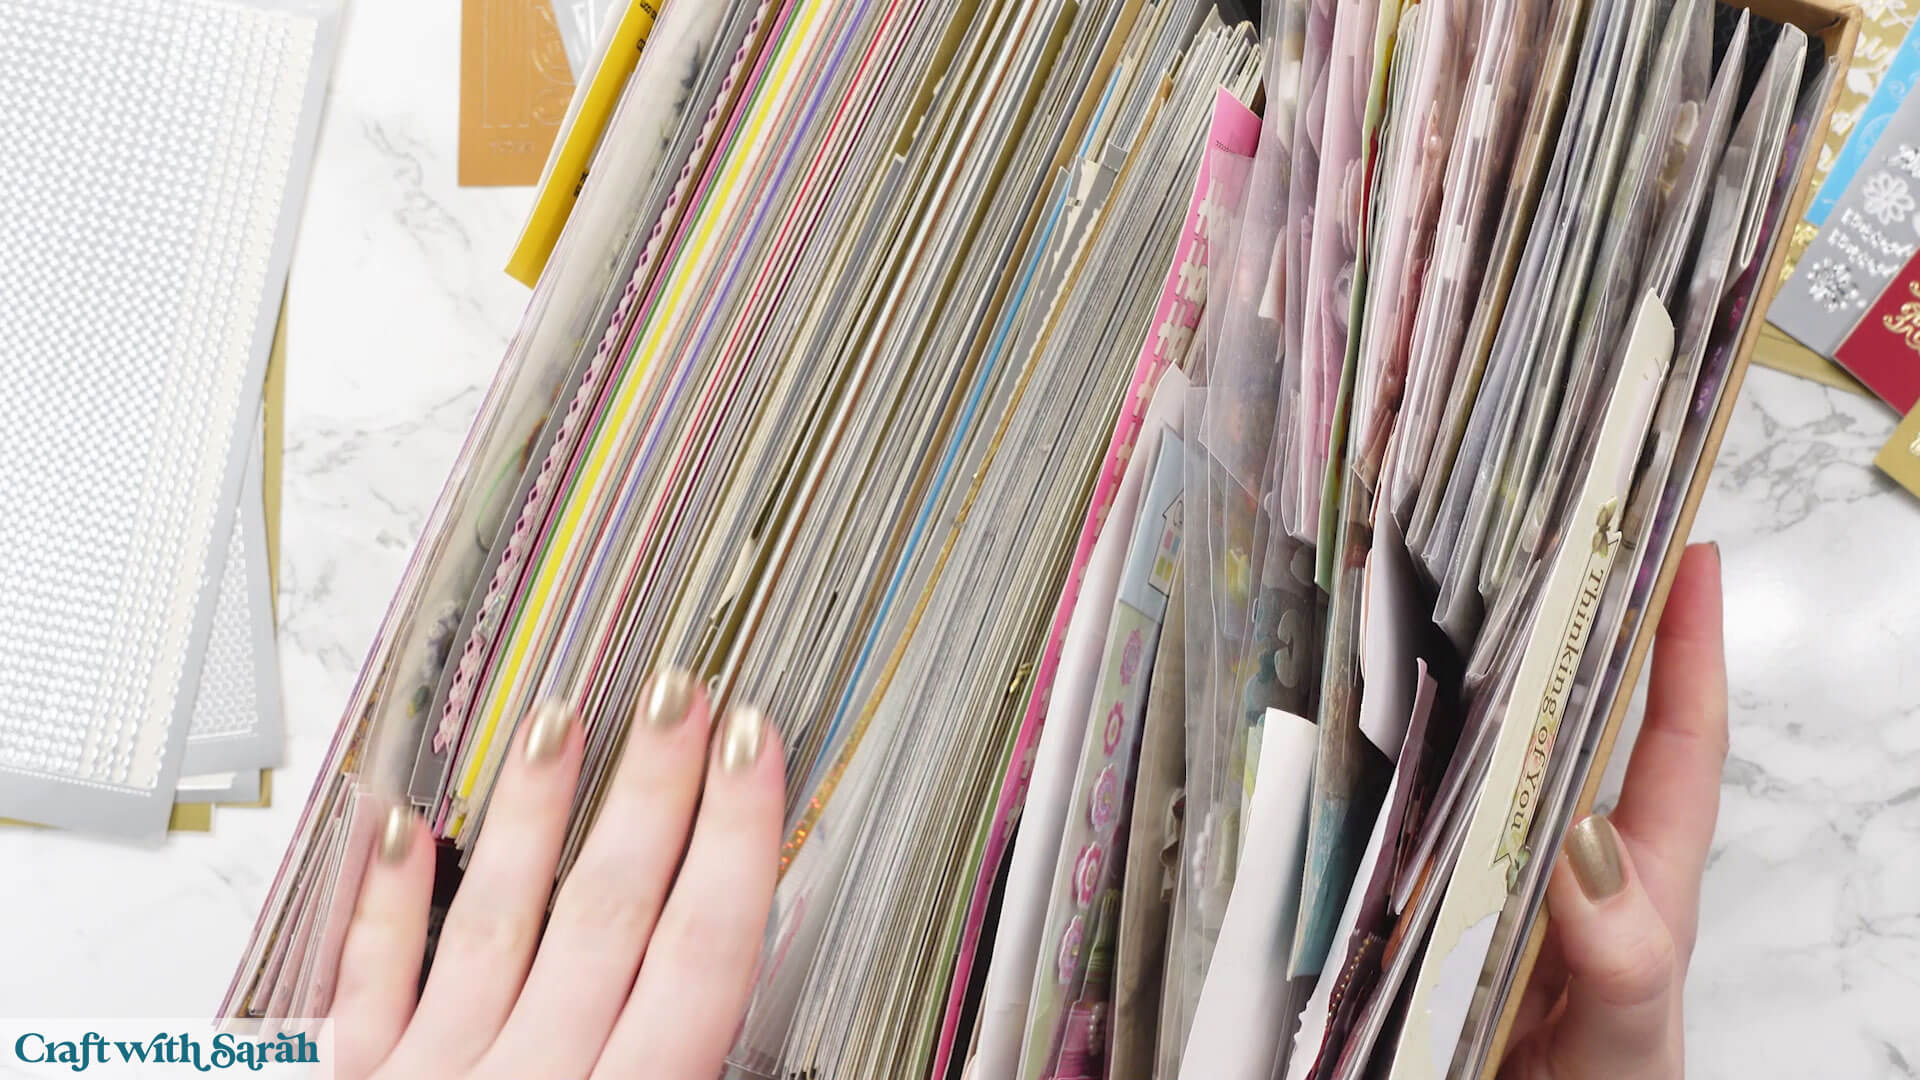
As you can see, I’ve got quite the collection.
But it got me thinking, what if we didn’t need to buy stickers anymore? Because after all, we’ve got a Cricut.
What if we could use vinyl that is already in our craft stash to make beautiful, similar stickers for anything?
In today’s tutorial, I’ve included three predesigned border peel-off sticker sheets for you to use, and I’ll show you how to design your own sentiments so that you can add beautiful greetings to your cards using adhesive vinyl.
Please note that this project is not suitable for hand-cutting. Only cutting machine versions (for Cricut, Silhouette, ScanNCut, etc) are included.
This project is part of the 2026 Card Making Countdown
Peel-off stickers supply list
Here is a list of the materials that are used to make this project.
Please note that some of the links included in this article are affiliate links, which means that if you click through and make a purchase I may receive a commission (at no additional cost to you). You can read my full disclosure at the bottom of the page.
- Cricut machine
- Light blue Cricut cutting mat
- Permanent or removeable adhesive vinyl, ideally in gold or silver
- Weeding tool
This project is suitable for the following types of Cricut machines: Explore series, Maker series, Joy Xtra, Joy and Joy 2.
Foundation learning
If you're new to making papercrafts with your cutting machine, check out these links to get you started.
They include videos on topics such as: which file to use with your type of cutting machine, how to load the files into your cutting machine's software, how to cut cardstock with your type of cutting machine, how to recolor and modify/customize the cut files and tips for displaying your projects.
- Help guides for Cricut machines
- Help guides for Silhouette machines
- Help guides for ScanNCut machines
The following tutorials are Cricut-specific, but many of the ideas will work similarly with a Silhouette or ScanNCut machine and any cut files that are shared in them are compatible with all types of cutting machine.
- How to score with a Cricut (even without scoring tools)
- Print then cut tutorial
- Design Space tools (Combine, Attach, Slice, Weld, Flatten, etc.)
- Pattern fill tutorial (for making backgrounds & cutting images to a specific shape/size)
- Free envelope SVGs that can be sized to fit any card
- Presentation boxes for handmade cards
- How to write inside cards with Cricut pens
- How to cut layered designs at a small size
- Design Space tips & tricks
- Cricut pens tutorial
- How to mount multiple designs in the same frame with magic guides
Custom peel-off stickers video tutorial
Watch the video below to see how to make this project. Keep scrolling for a written tutorial.
PART 1: Border peel-off stickers
First, let’s make the border peel-off sticker designs included with today’s download.
In Part 2 (further down this page), see how to design your own peel-off sticker sheets in Cricut Design Space.
Step 1) Download the cutting files & upload to Design Space
Get the files using the box below.

Before you upload the SVGs to Design Space, you need to unzip the download folder that they come in.
- How to unzip a folder on Windows computer
- How to unzip a folder on a Mac
- How to unzip a folder on an iPad/iPhone
- How to unzip a folder on an Android device
After unzipping, upload the SVG file(s) into your cutting machine software.
Not sure how to use cut files with your type of machine? The following links lead to videos on how to open cut files in:
- Cricut Design Space
- Silhouette Studio
- CanvasWorkspace (for ScanNCut machines)
The download folder also contains printable PDF versions of the templates for hand cutting.
If you are using Cricut Design Space, start a new project and then click the “Upload” button on the left of the screen.
You can then either click “Browse” to find the files on your computer, or drag-and-drop them in.
For Cricut machines, choose the files in the “SVG Files” subfolder.
Press “Upload” on the next screen.
After uploading, the design should be automatically inserted onto your Canvas.
To hide the left sidebar (to give you more space for designing!), click the arrow that’s about half way down the page.
If the design doesn’t get inserted onto your Canvas, it will show under “Uploads” in your “Recently Uploaded Images”. Click on it and then press “Add to Canvas” to put it onto your Project.
Need help uploading SVGs? Get step-by-step instructions here in our detailed help guides for Cricut, Silhouette and ScanNCut.
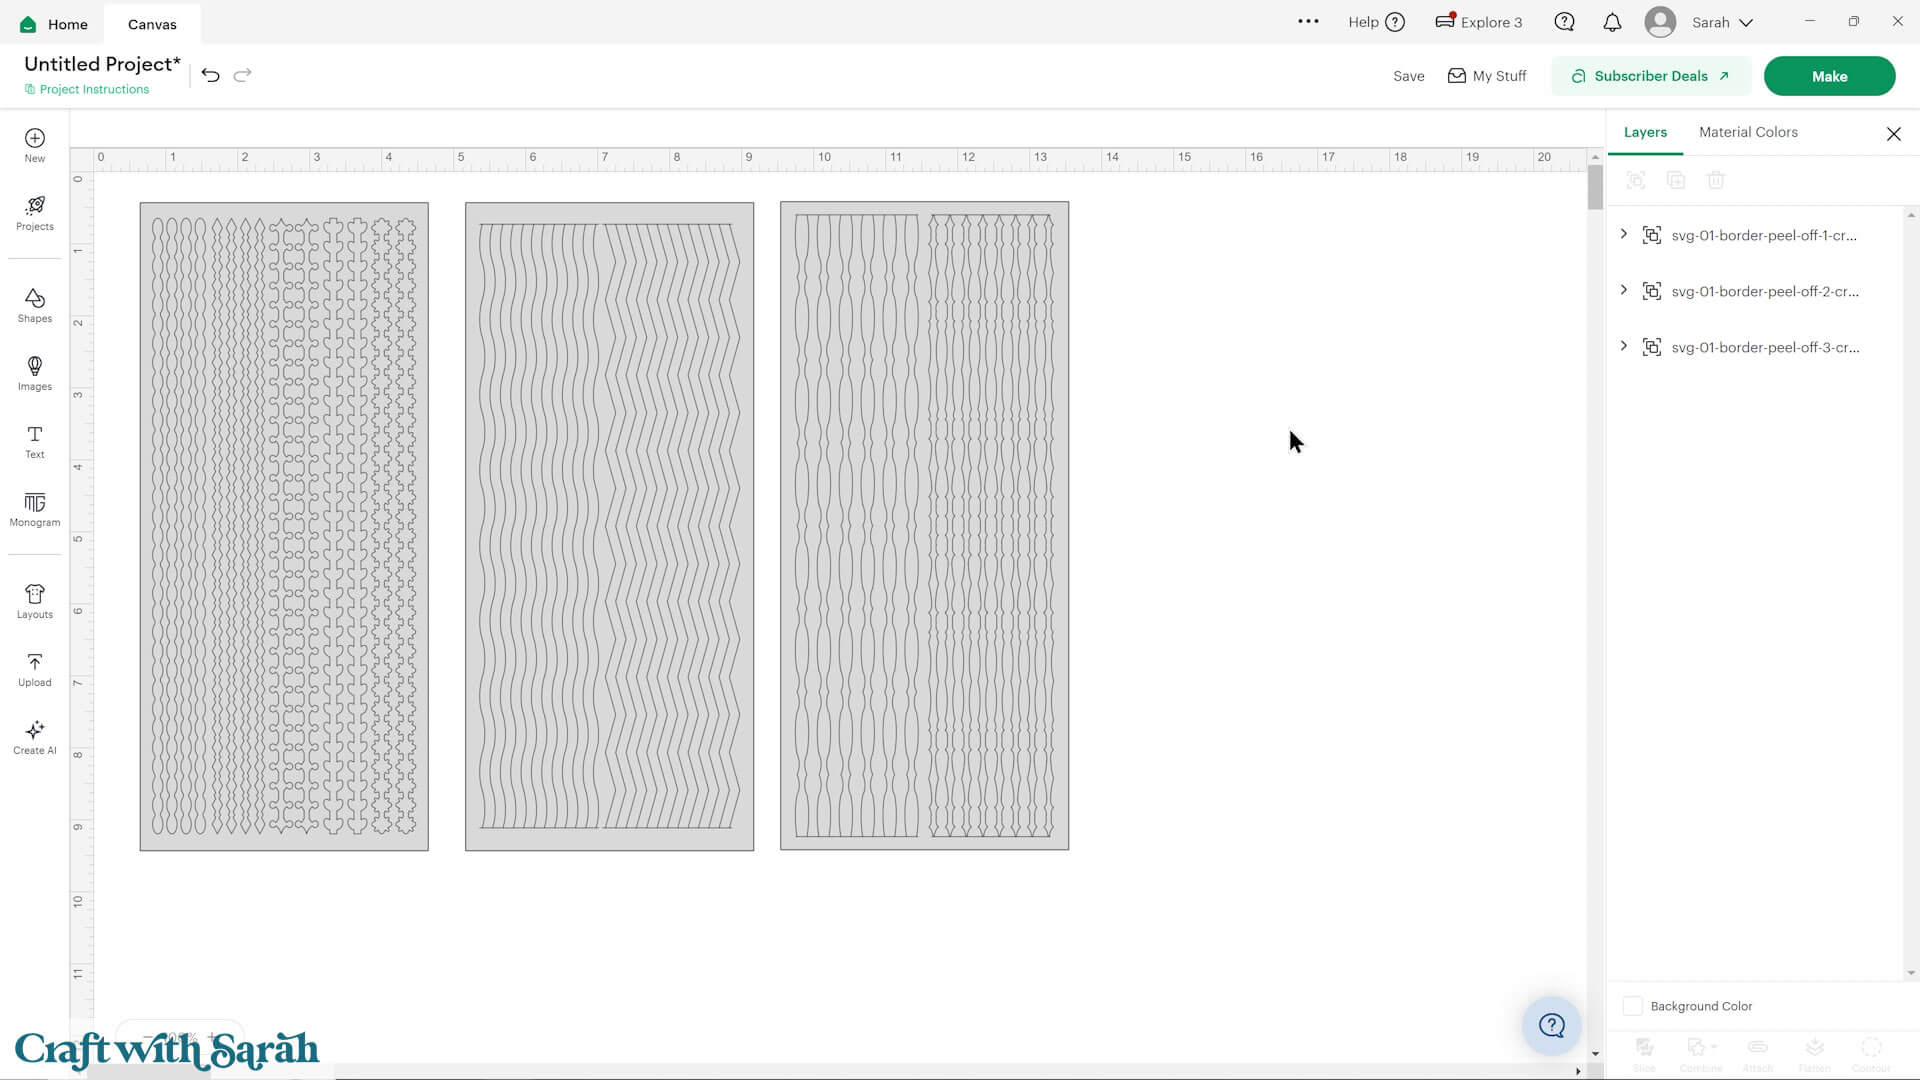
Each border design comes as a separate SVG file, so you would need to repeat this process if you want to load all of them.
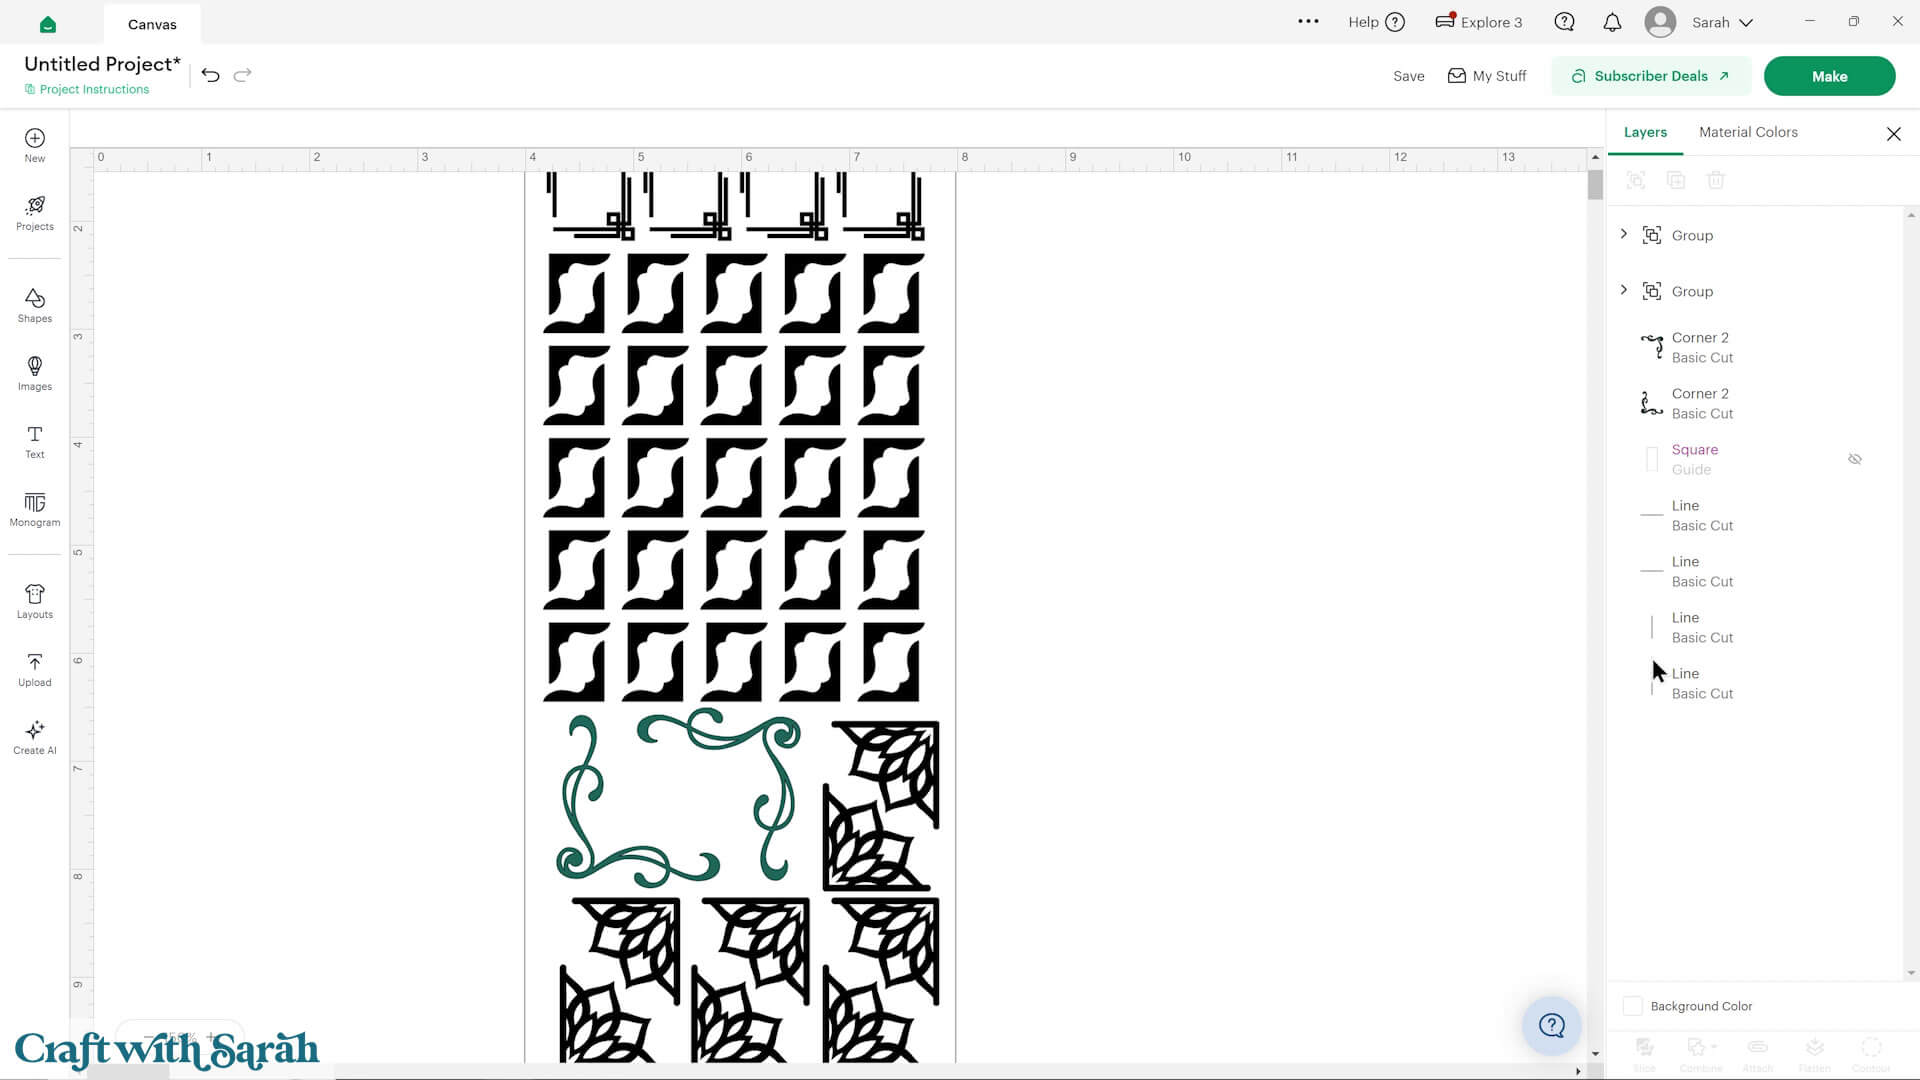
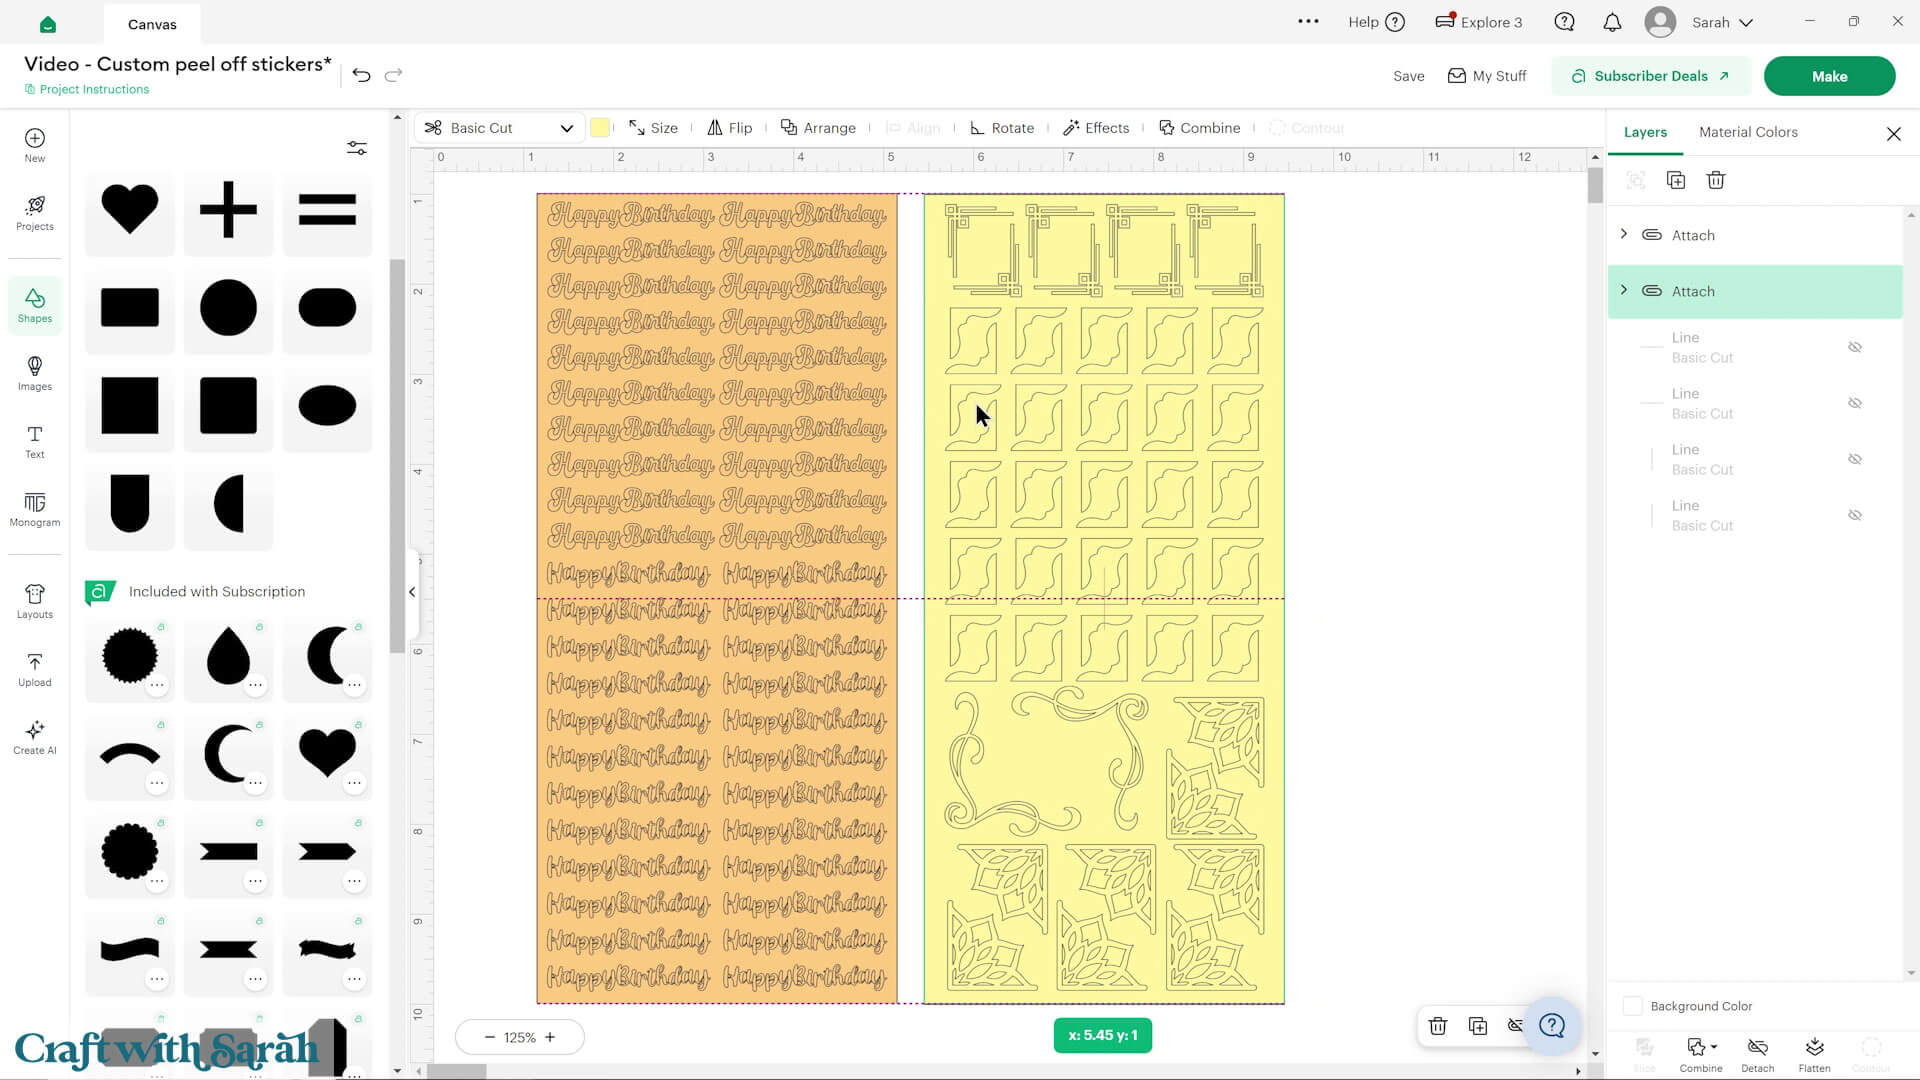
Here is what they look like loaded in to Design Space:
Step 2) Get ready to cut
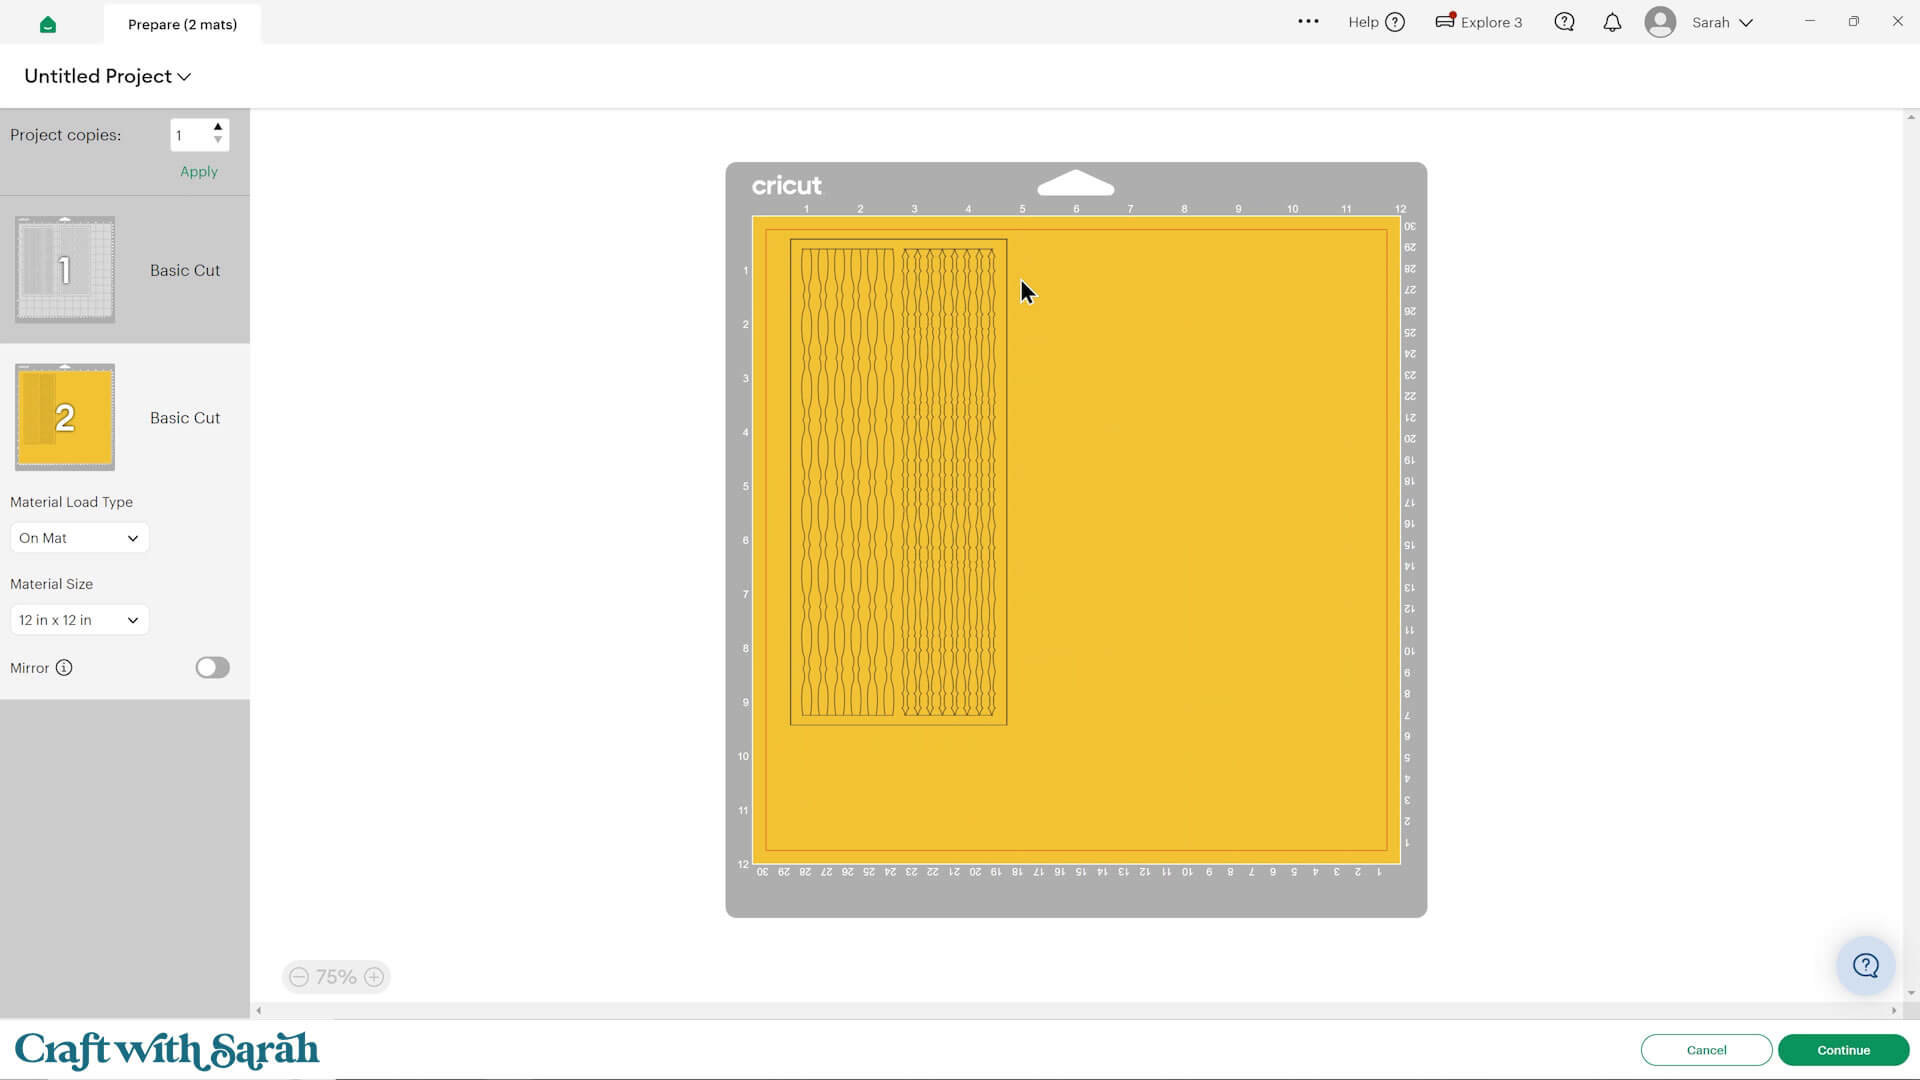
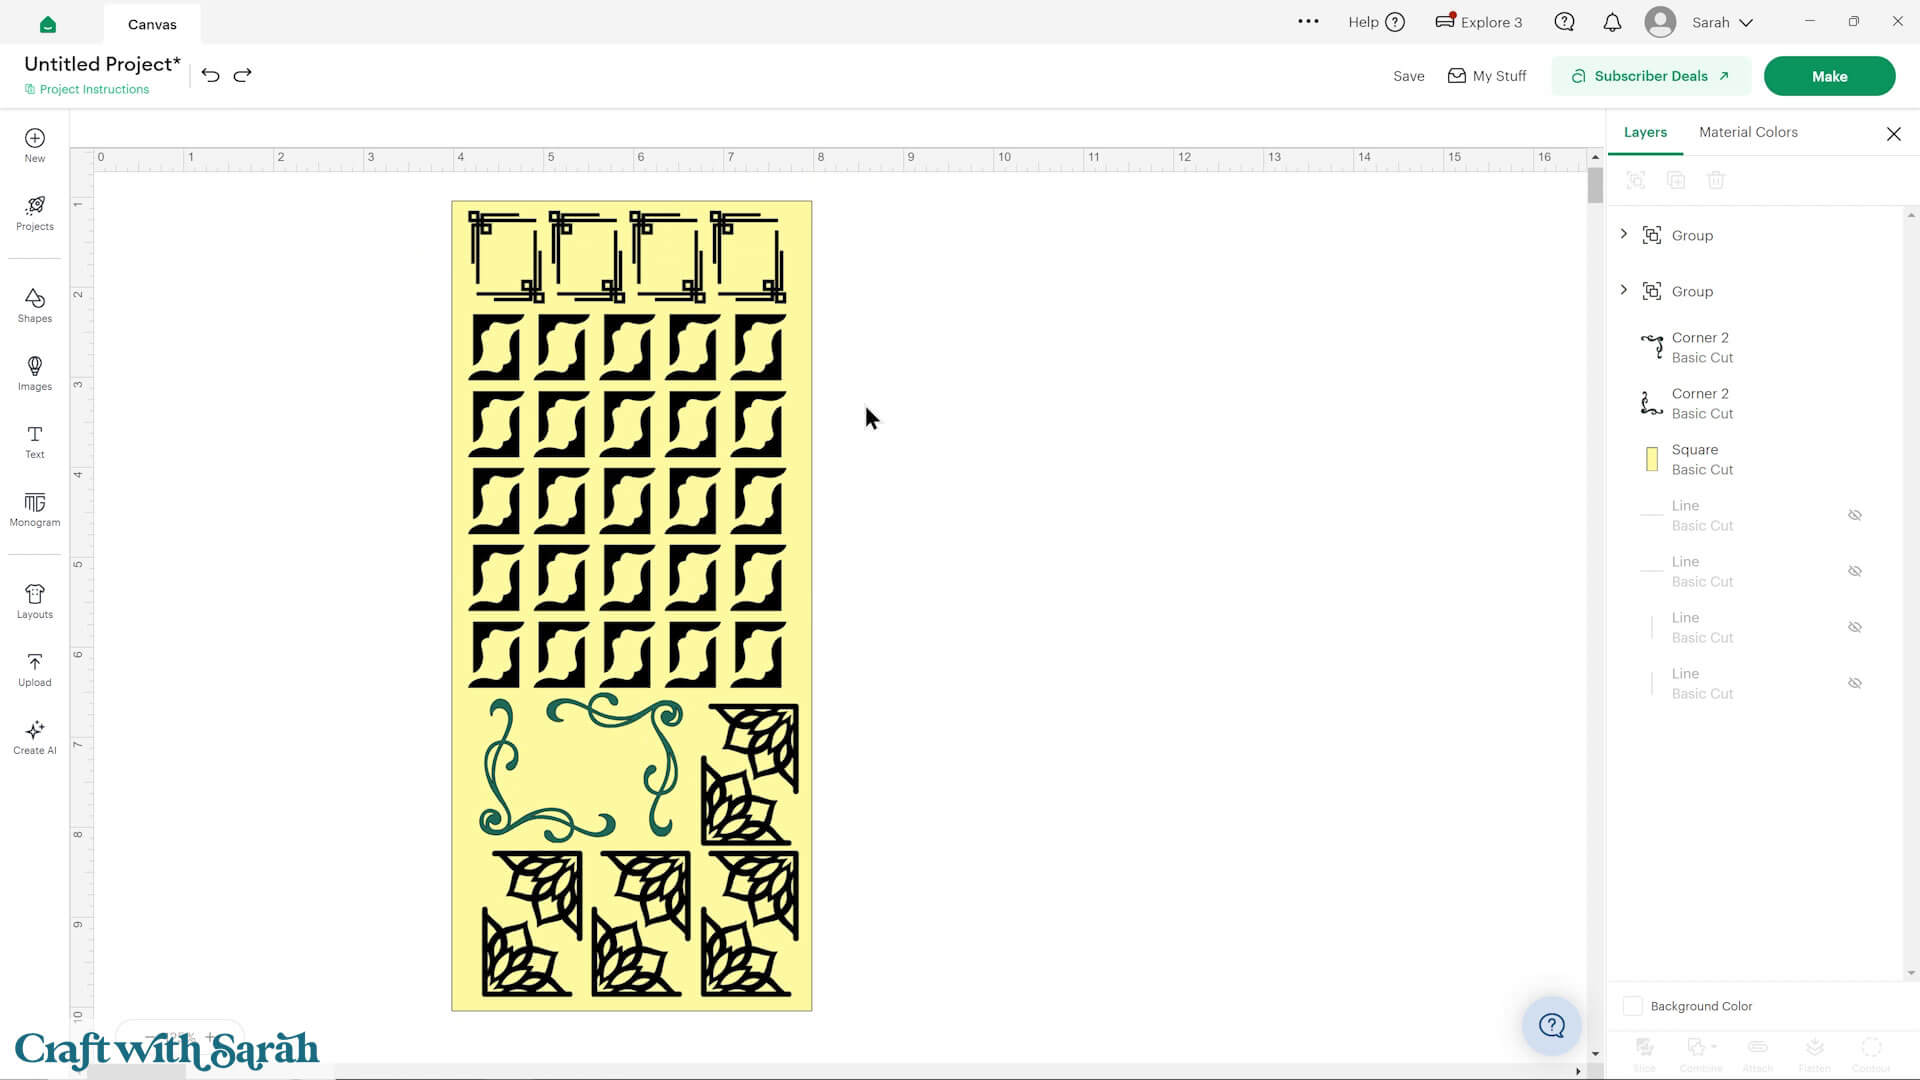
Each sheet is made up of three identical rectangles, then the border design on top.
This is so that the Cricut will cut the edge of the sheets four times, to make sure it goes all the way through the vinyl backing.
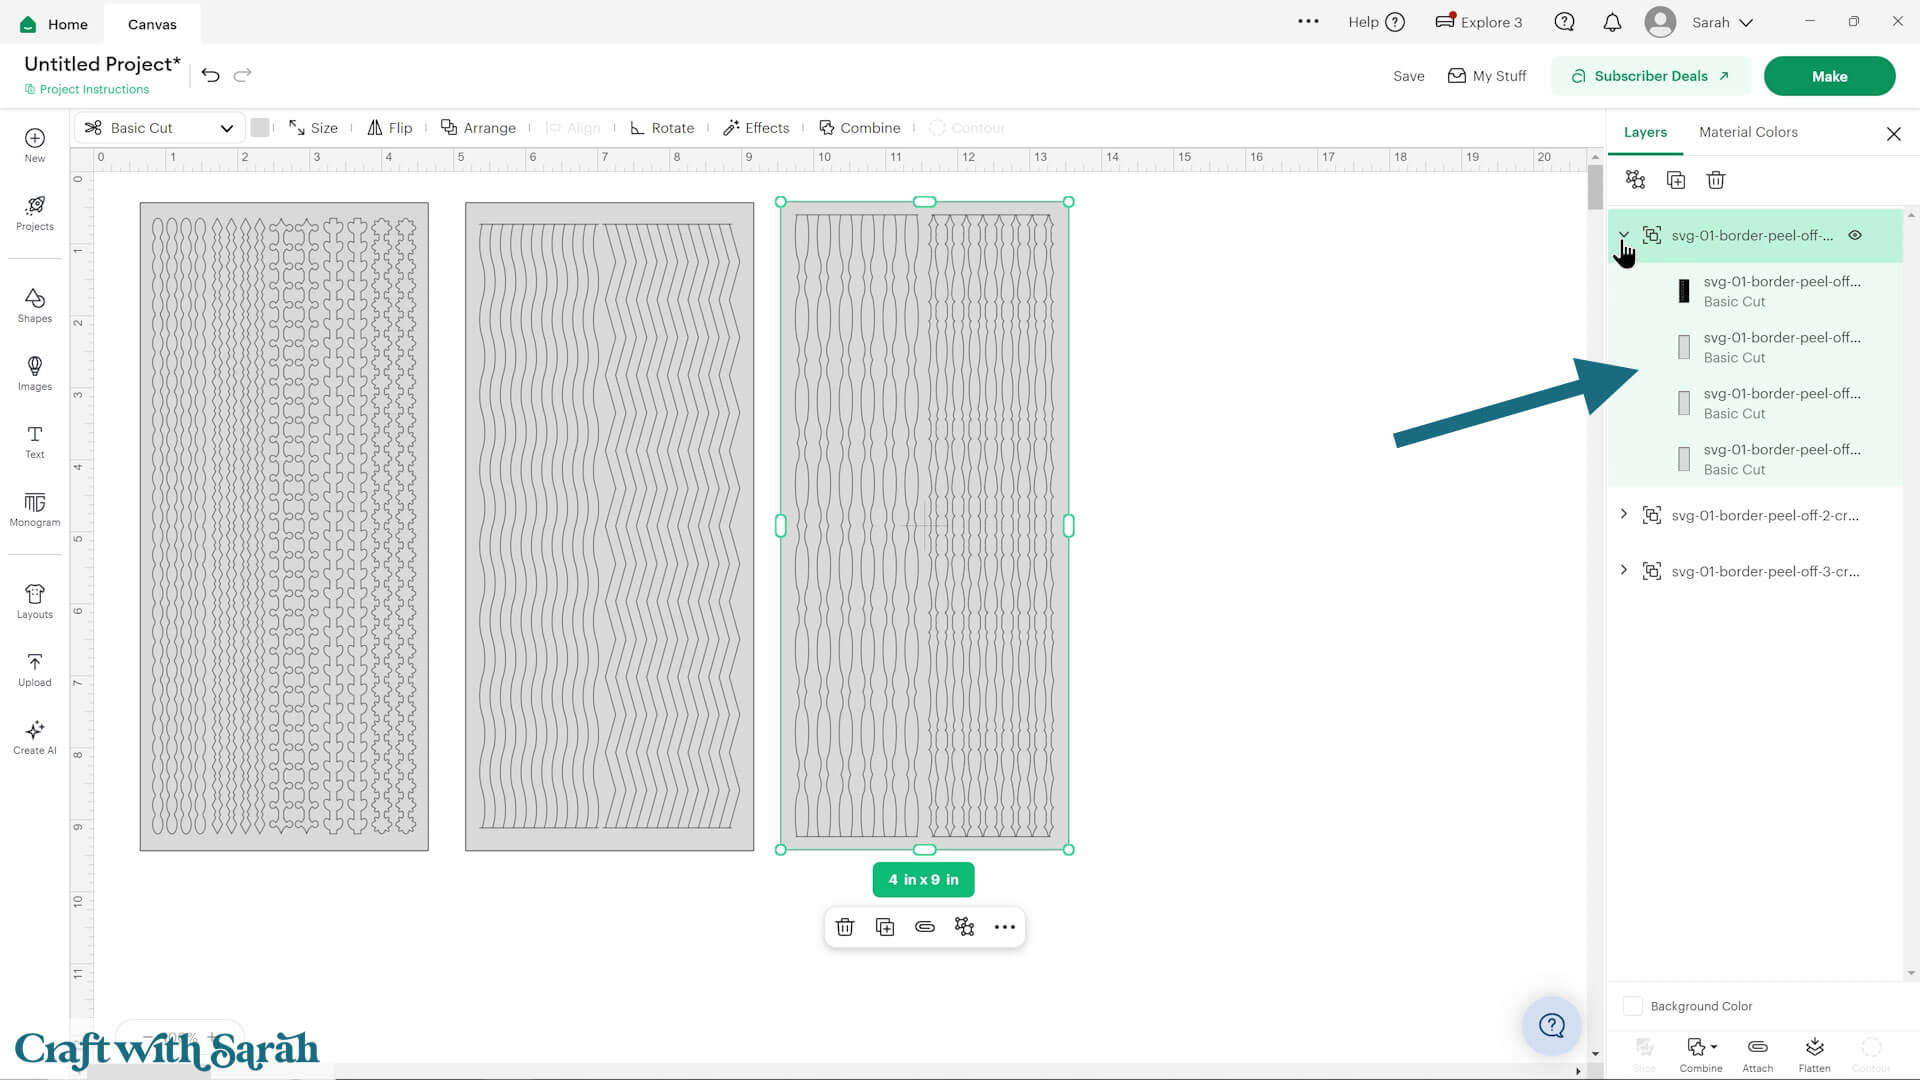
Change the colour by clicking the whole Group, and changing it all at once.
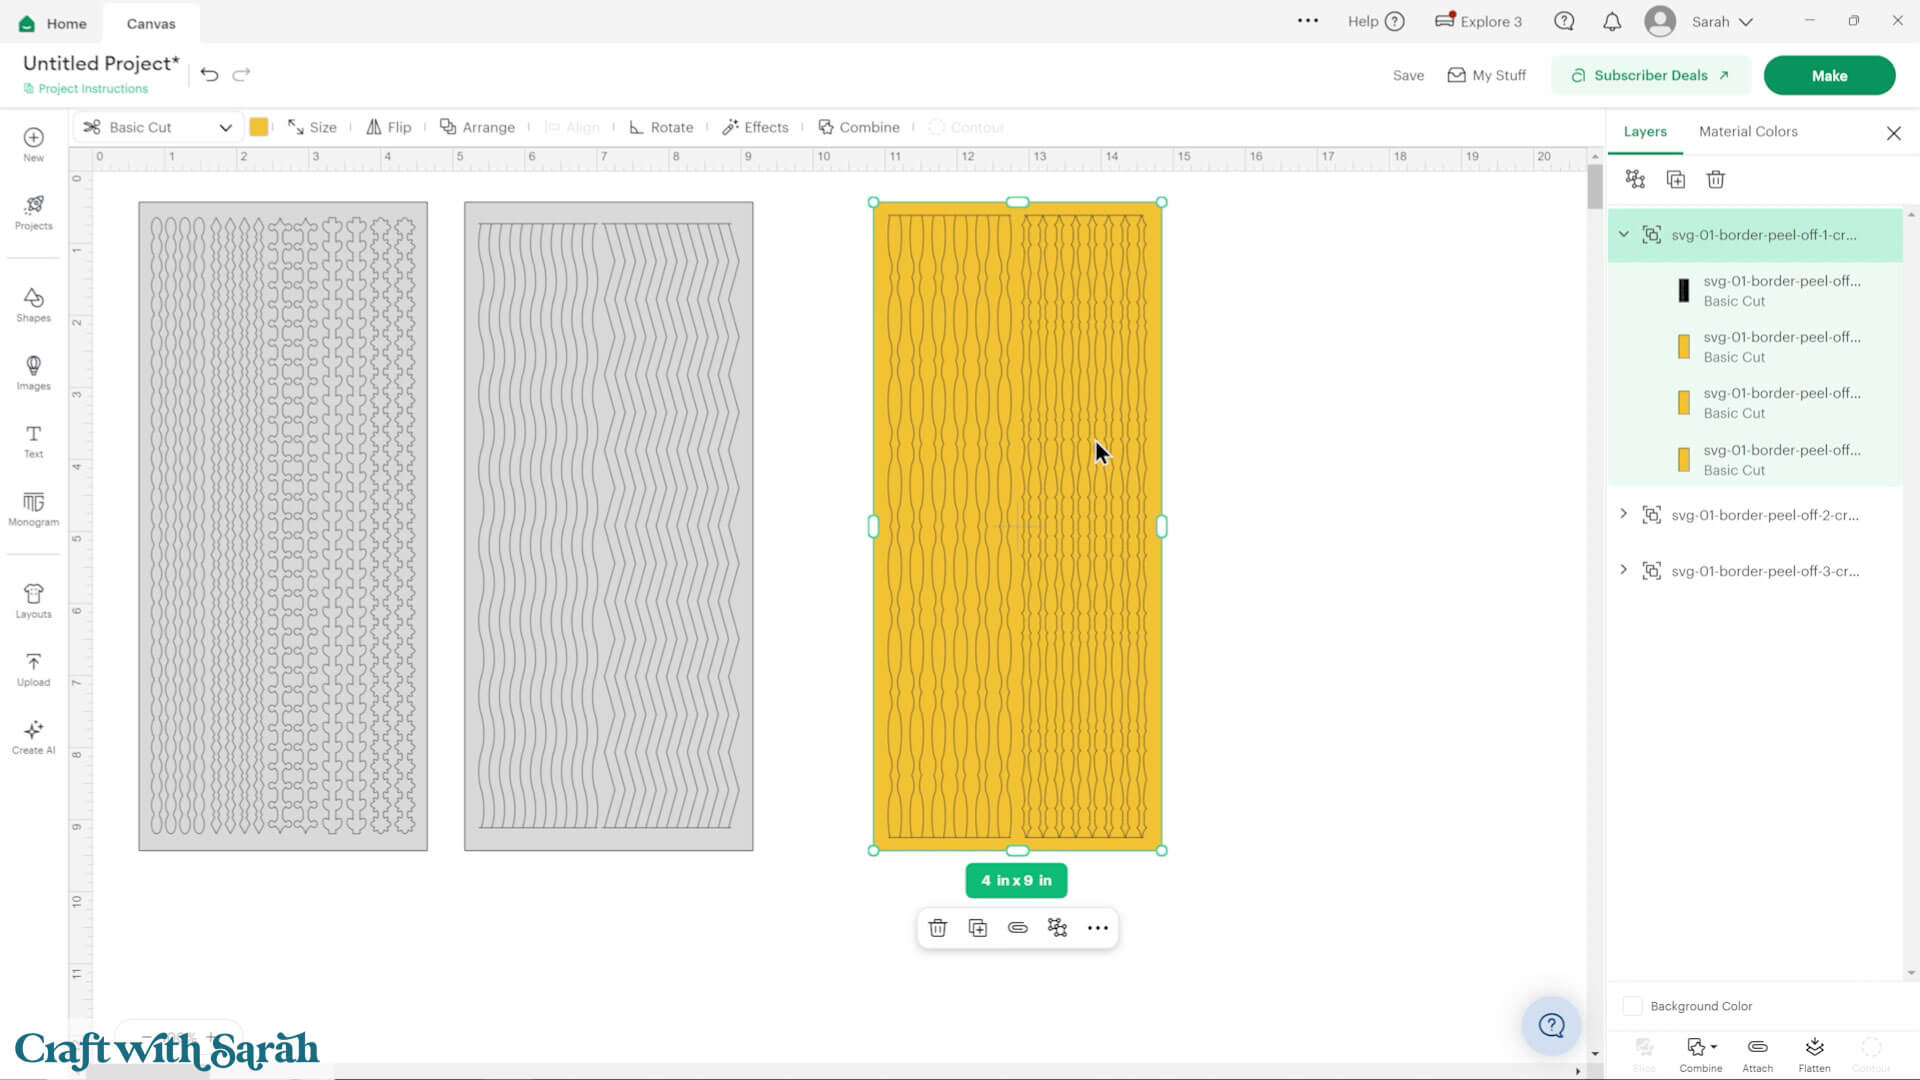
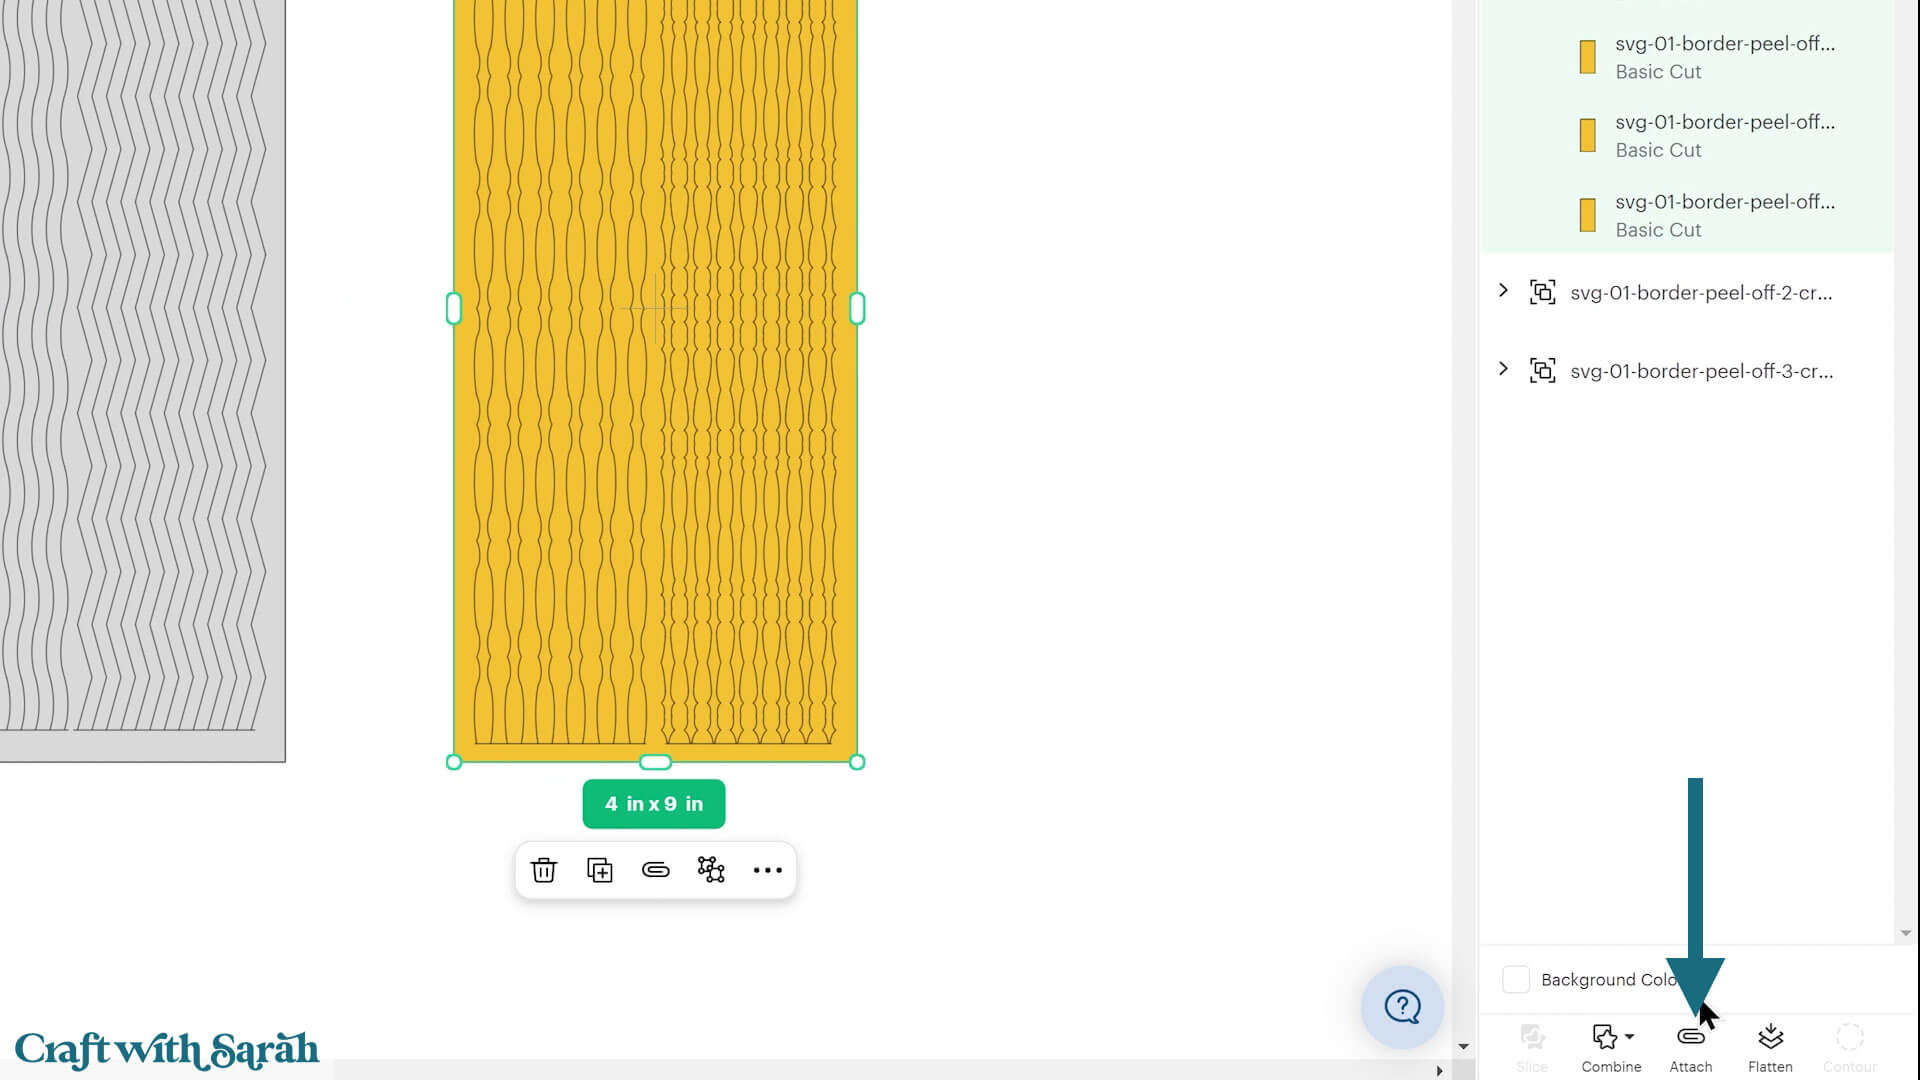
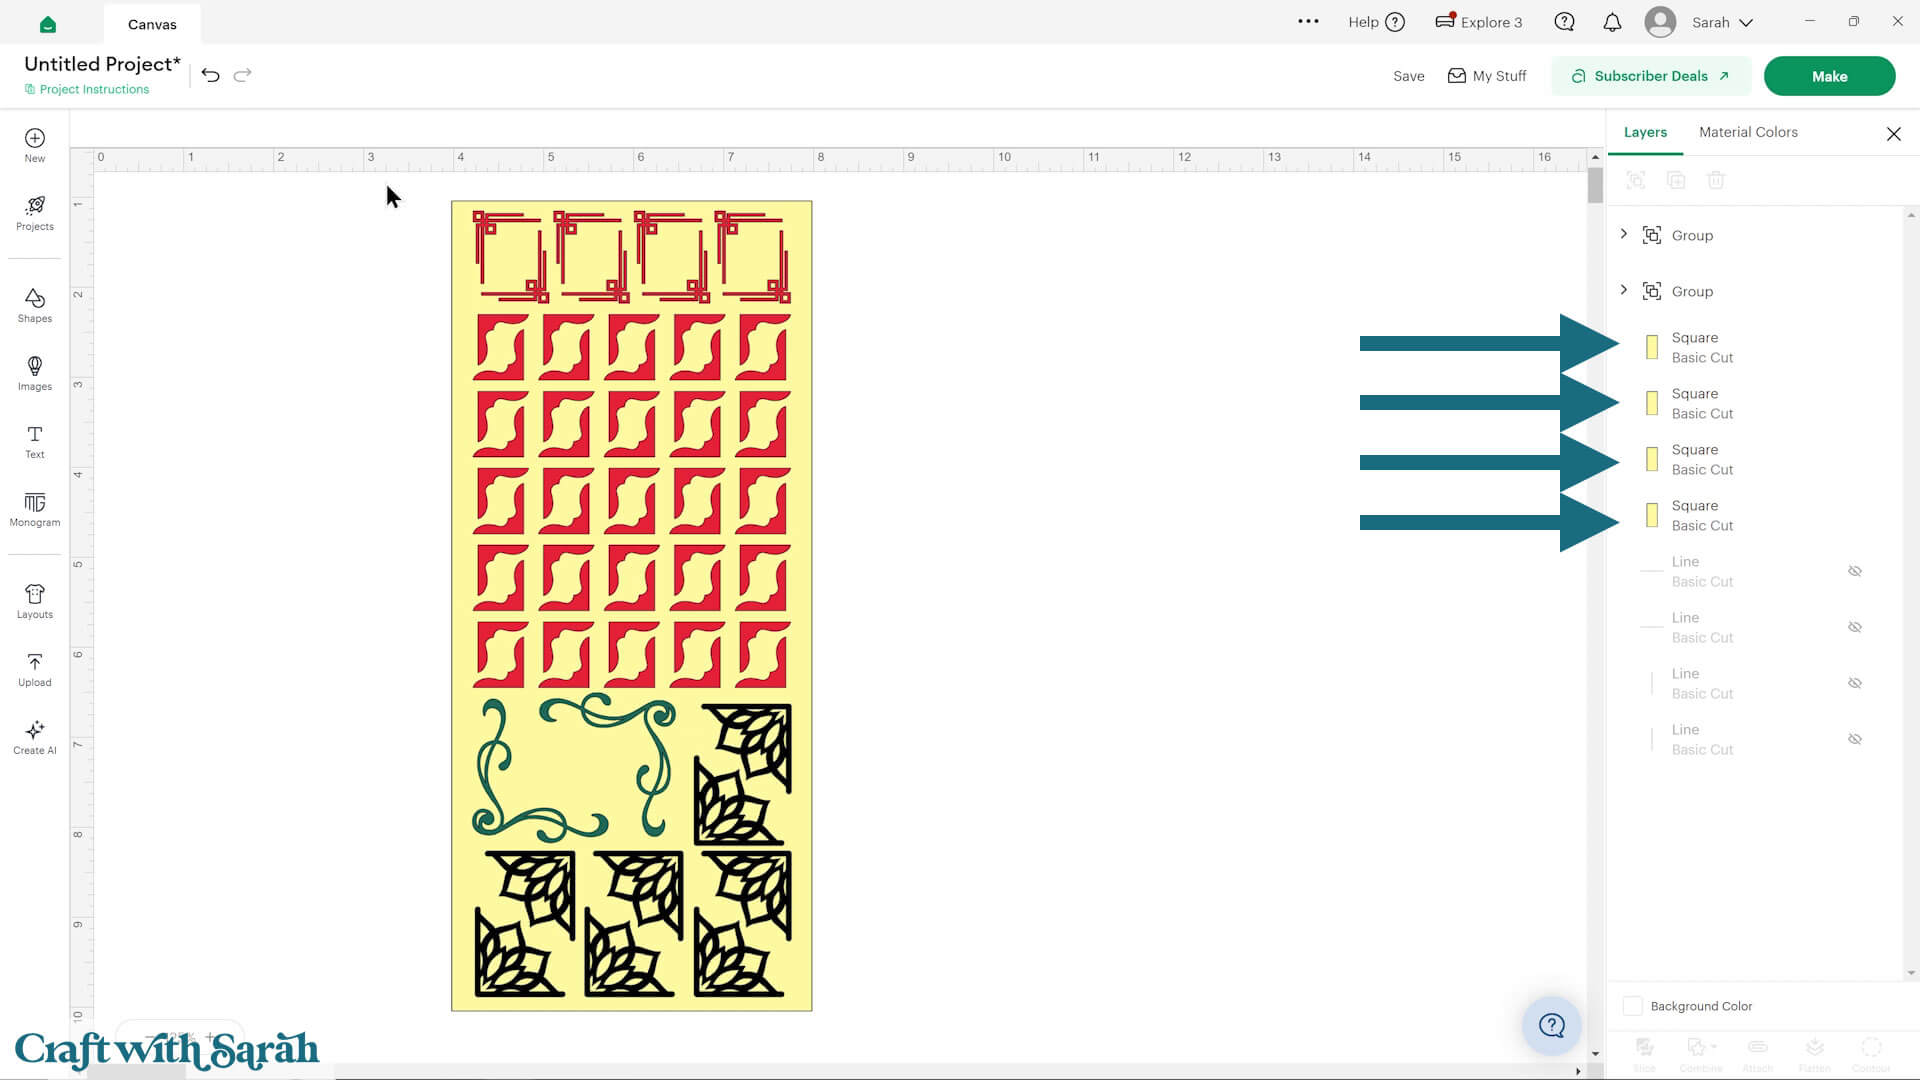
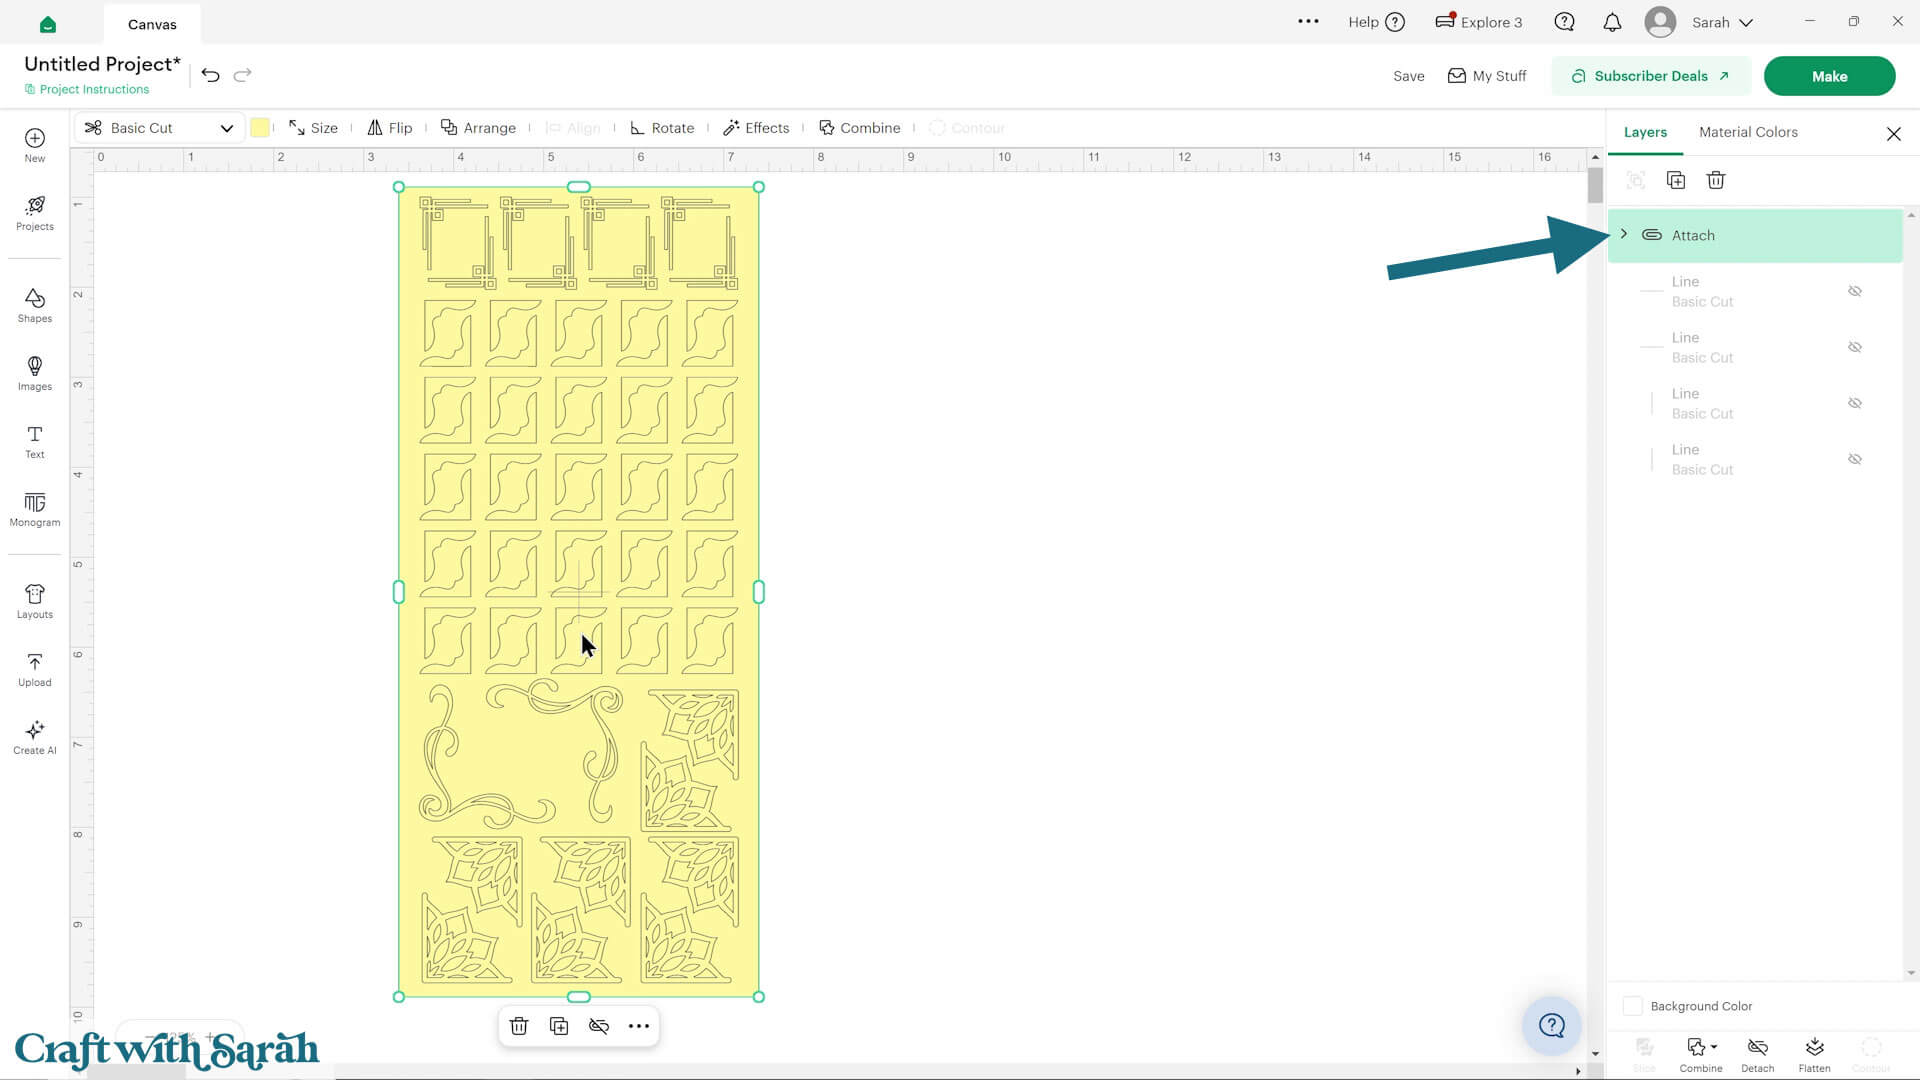
To get the sheets ready to cut, select one of the sheet groups and press “Attach”. That will “join” the rectangles to the border designs, so they all cut in the same place.
Repeat for the other sheets.
Step 3) Cut out the sticker sheets
Press “Make” to begin the cut process.
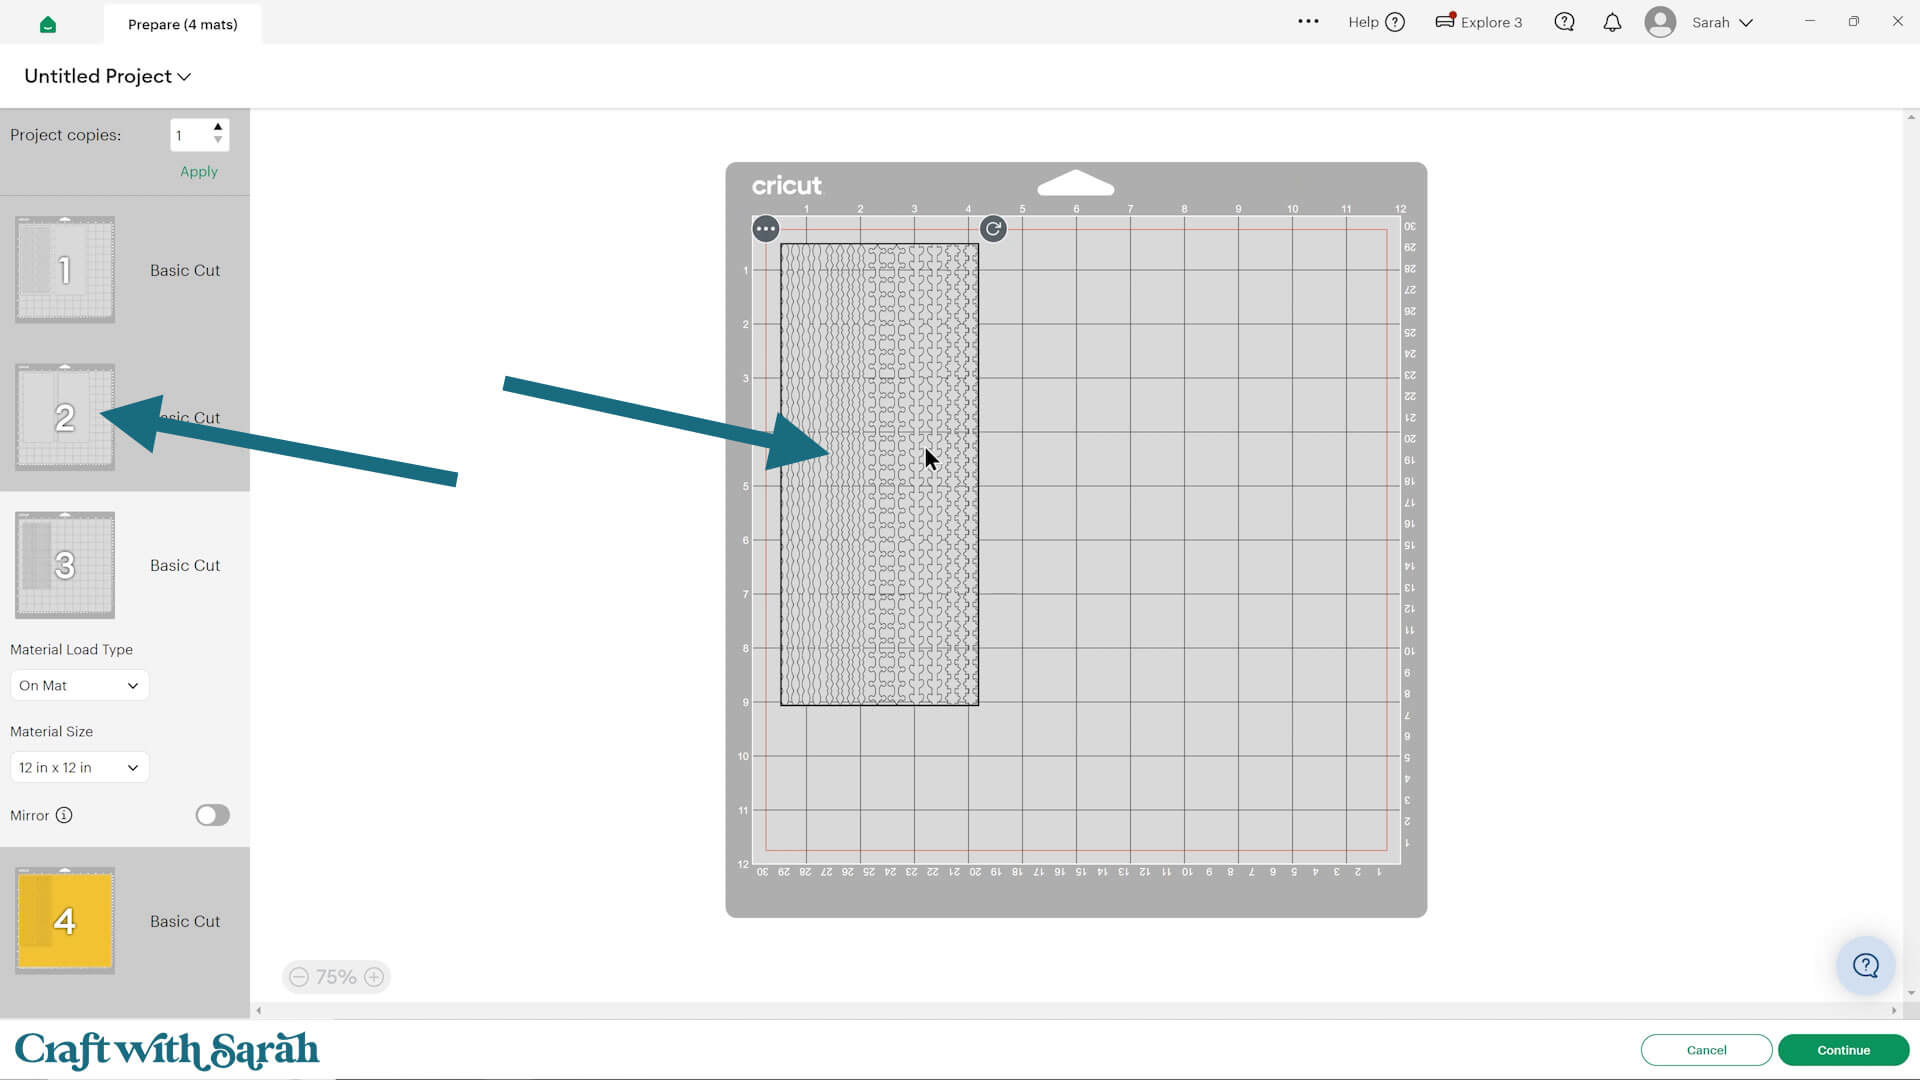
The sticker sheets should look like this on the cut screen:
If yours looks different, and you see the border stickers isolated without the rectangular background, and solid rectangles of shape on the other mats, that means you have not Attached correctly.
If that’s the case, click “Cancel” to return to the project screen and make sure the layers are corrected Attached.
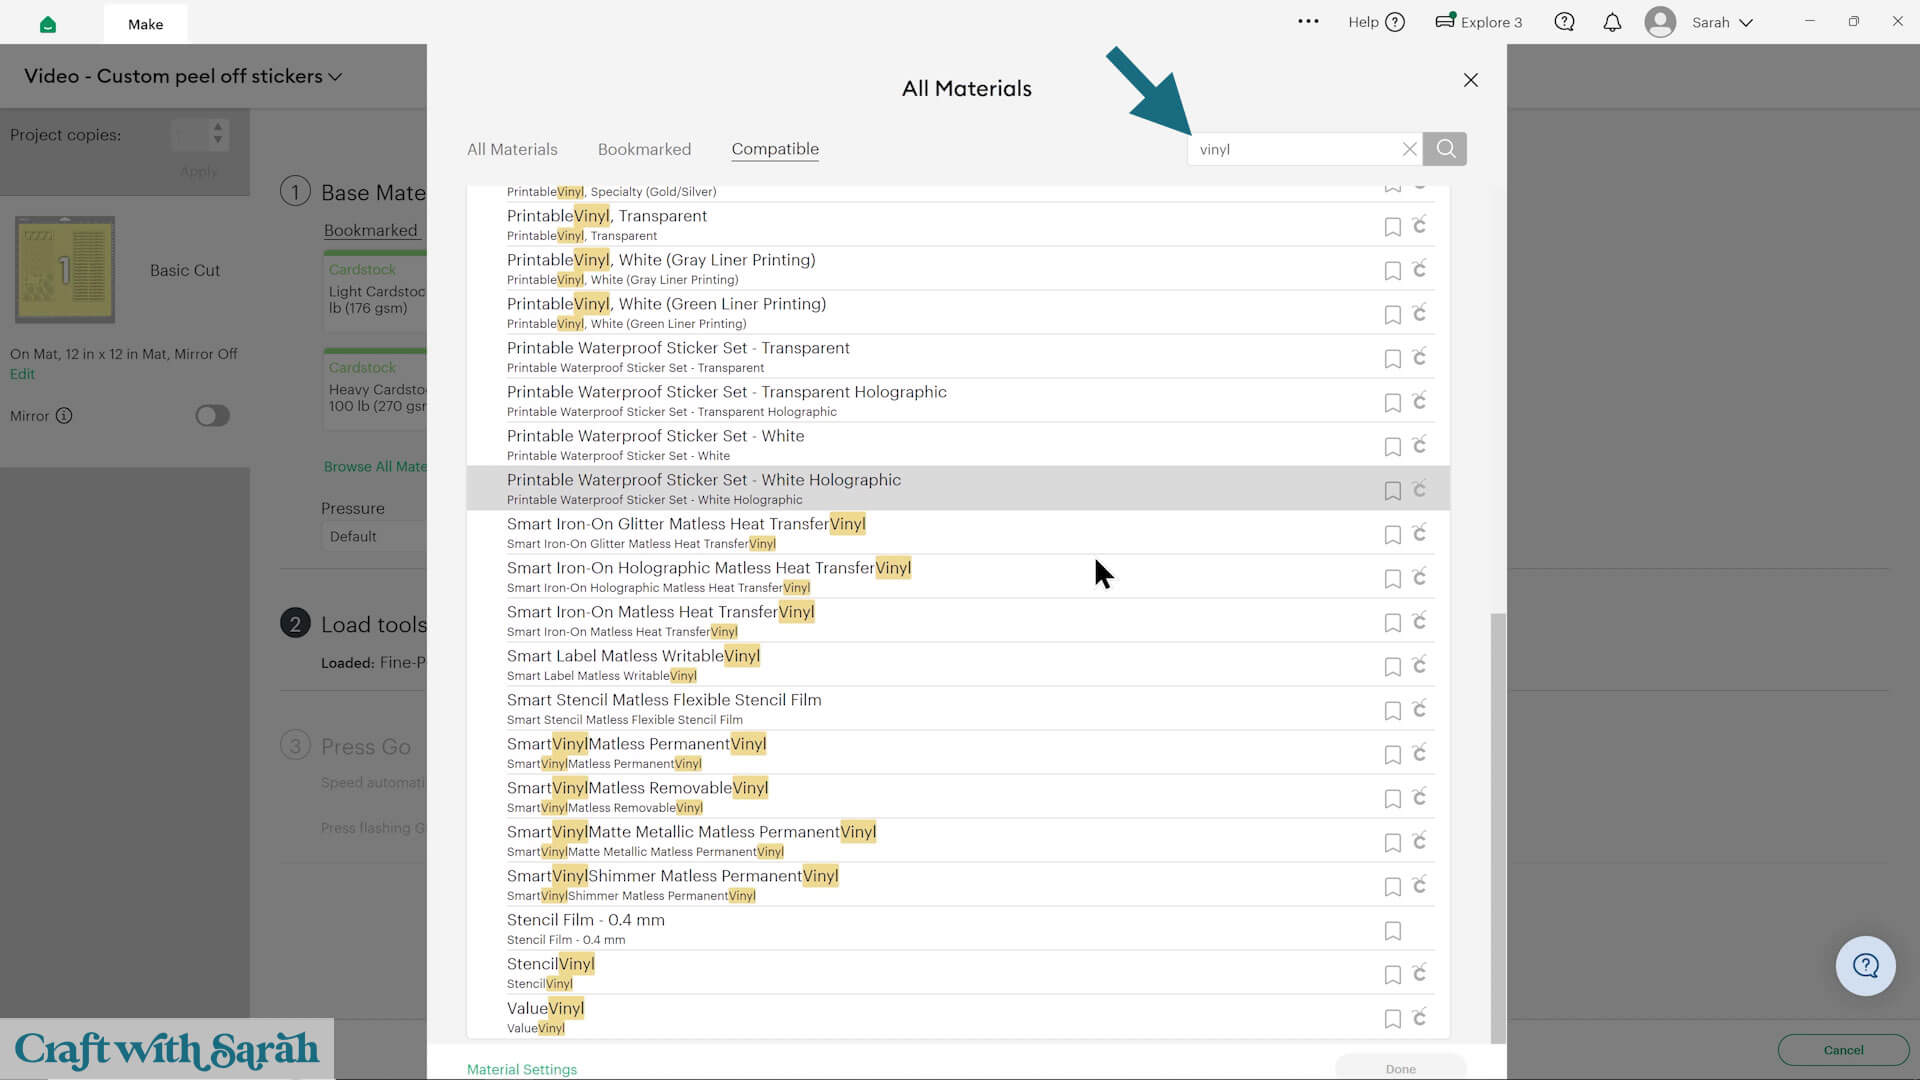
When choosing your material, click “Browse All Materials” to view the full list.
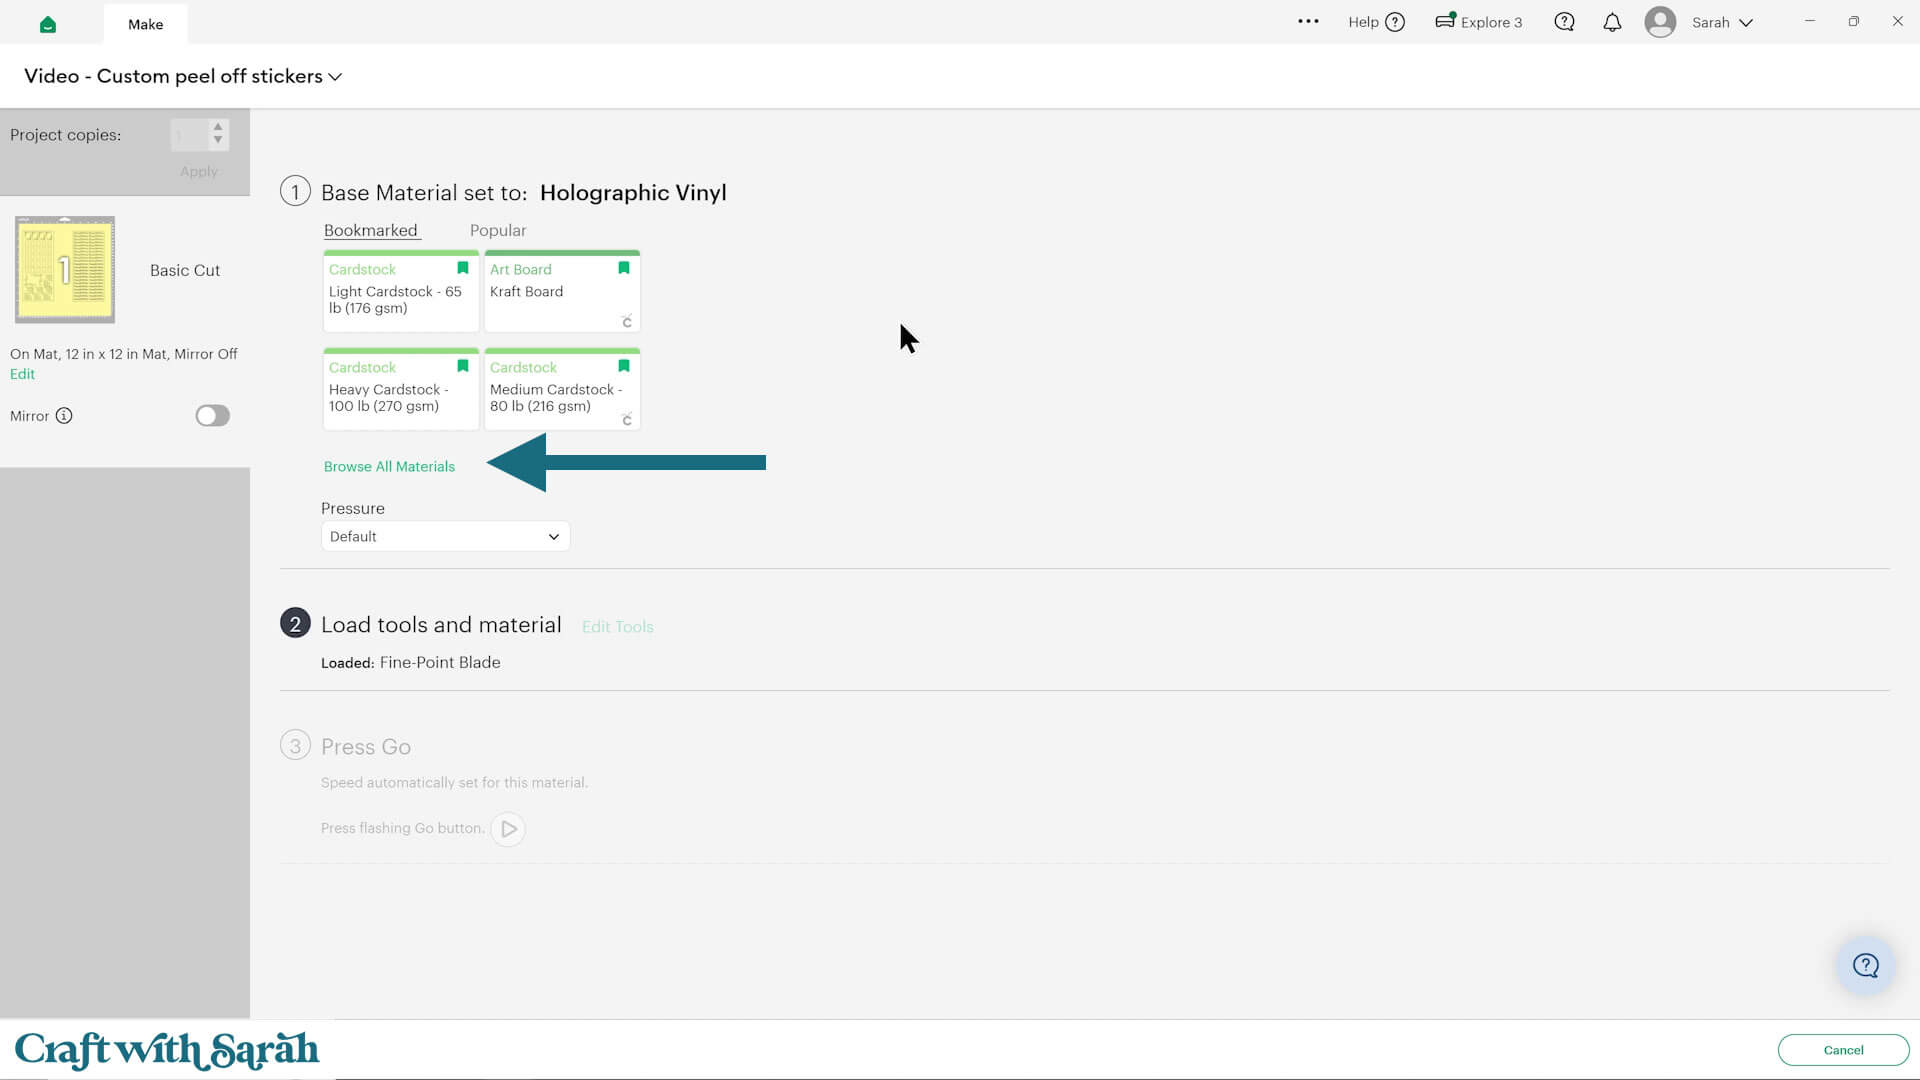
Type “vinyl” into the search to see all the different options, and select the one that best matches the type of vinyl you are using.
You may wish to cancel the cut and do a small test-cut of a shape such as a star or heart to check the cut setting before you start cutting the peel-off sheet and make sure the setting you’ve chosen is going to cut through correctly.
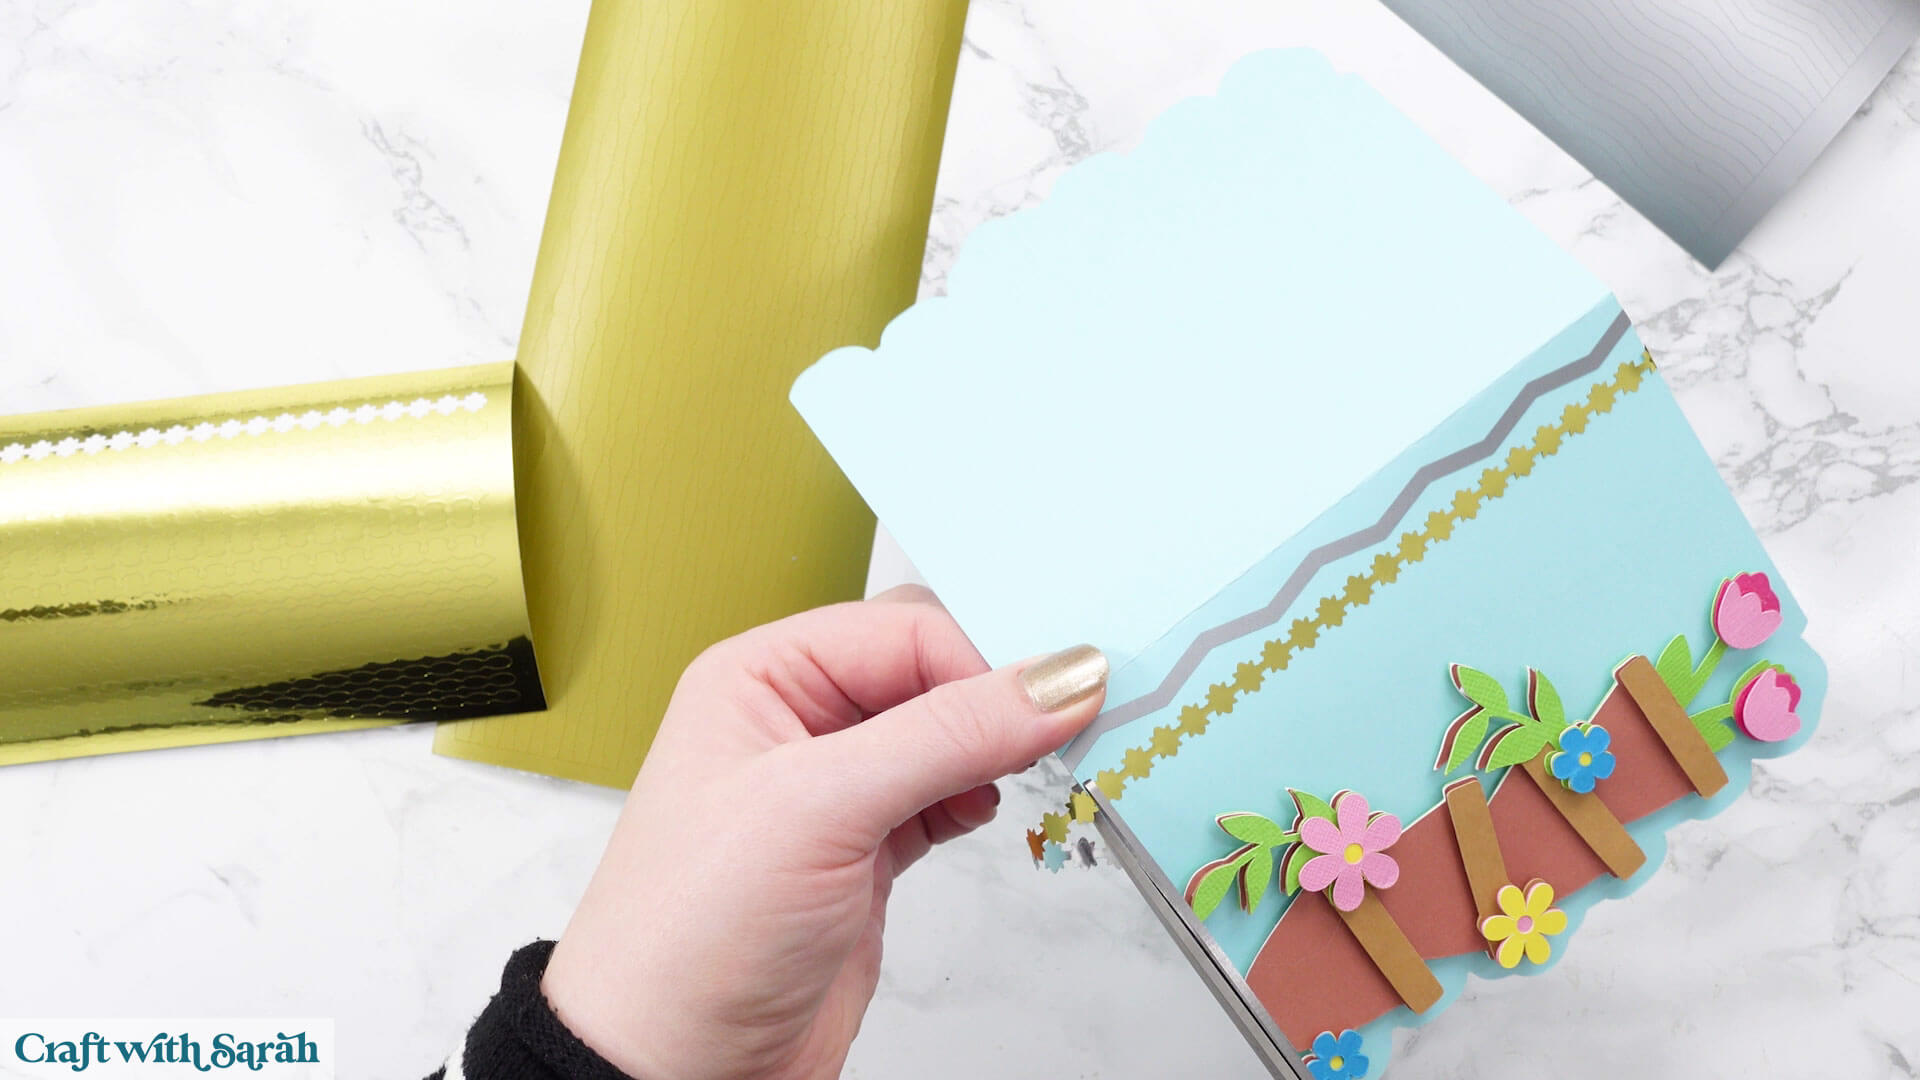
Step 4) Use the borders on your cards
You now have three lovely sheets of border designs to use to decorate greetings cards.
Peel them off as you need them, to add to your cards.
PART 2: Design your own peel-off stickers
You can design your own peel-off picture, sentiment or corner sticker sheets from within Cricut Design Space.
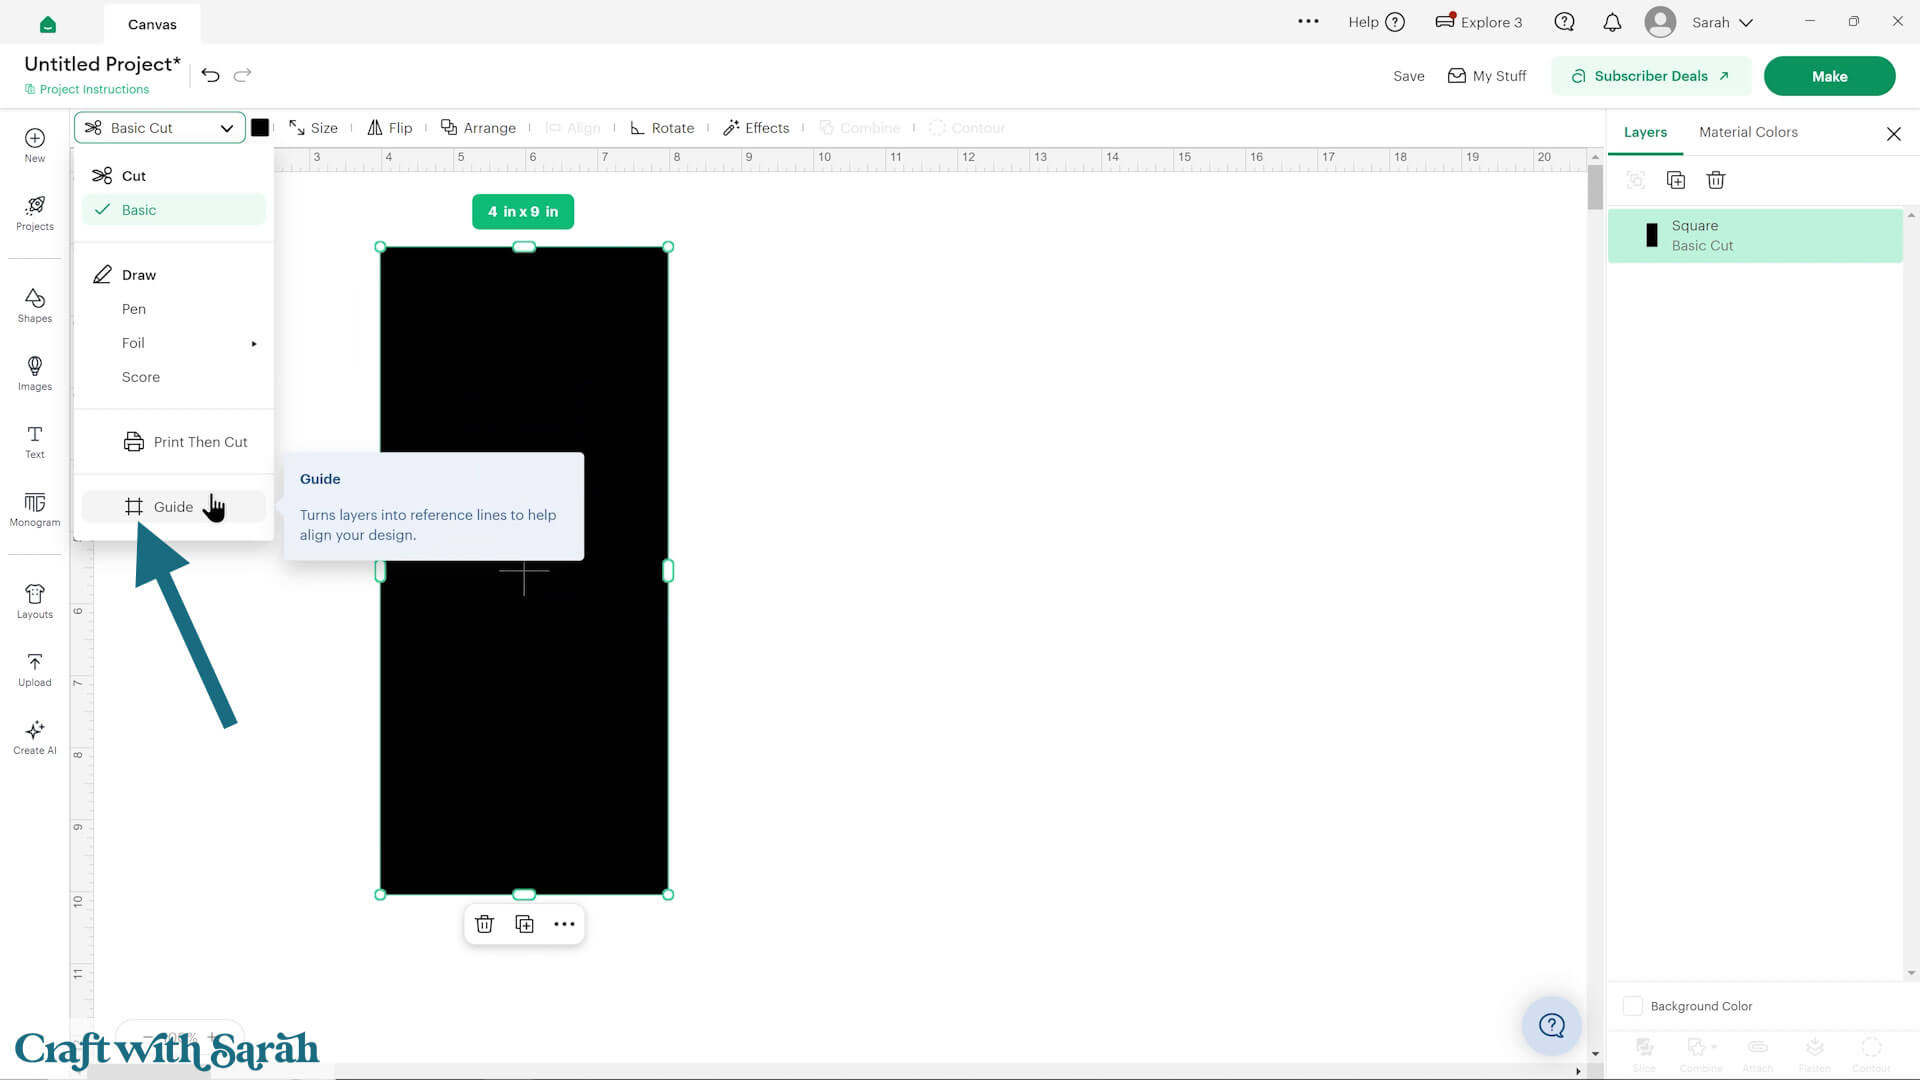
Step 1) Set up the template
Create a square and change the size to 4 inches wide and 9 inches tall, which is a typical size for a sheet of peel-off stickers.
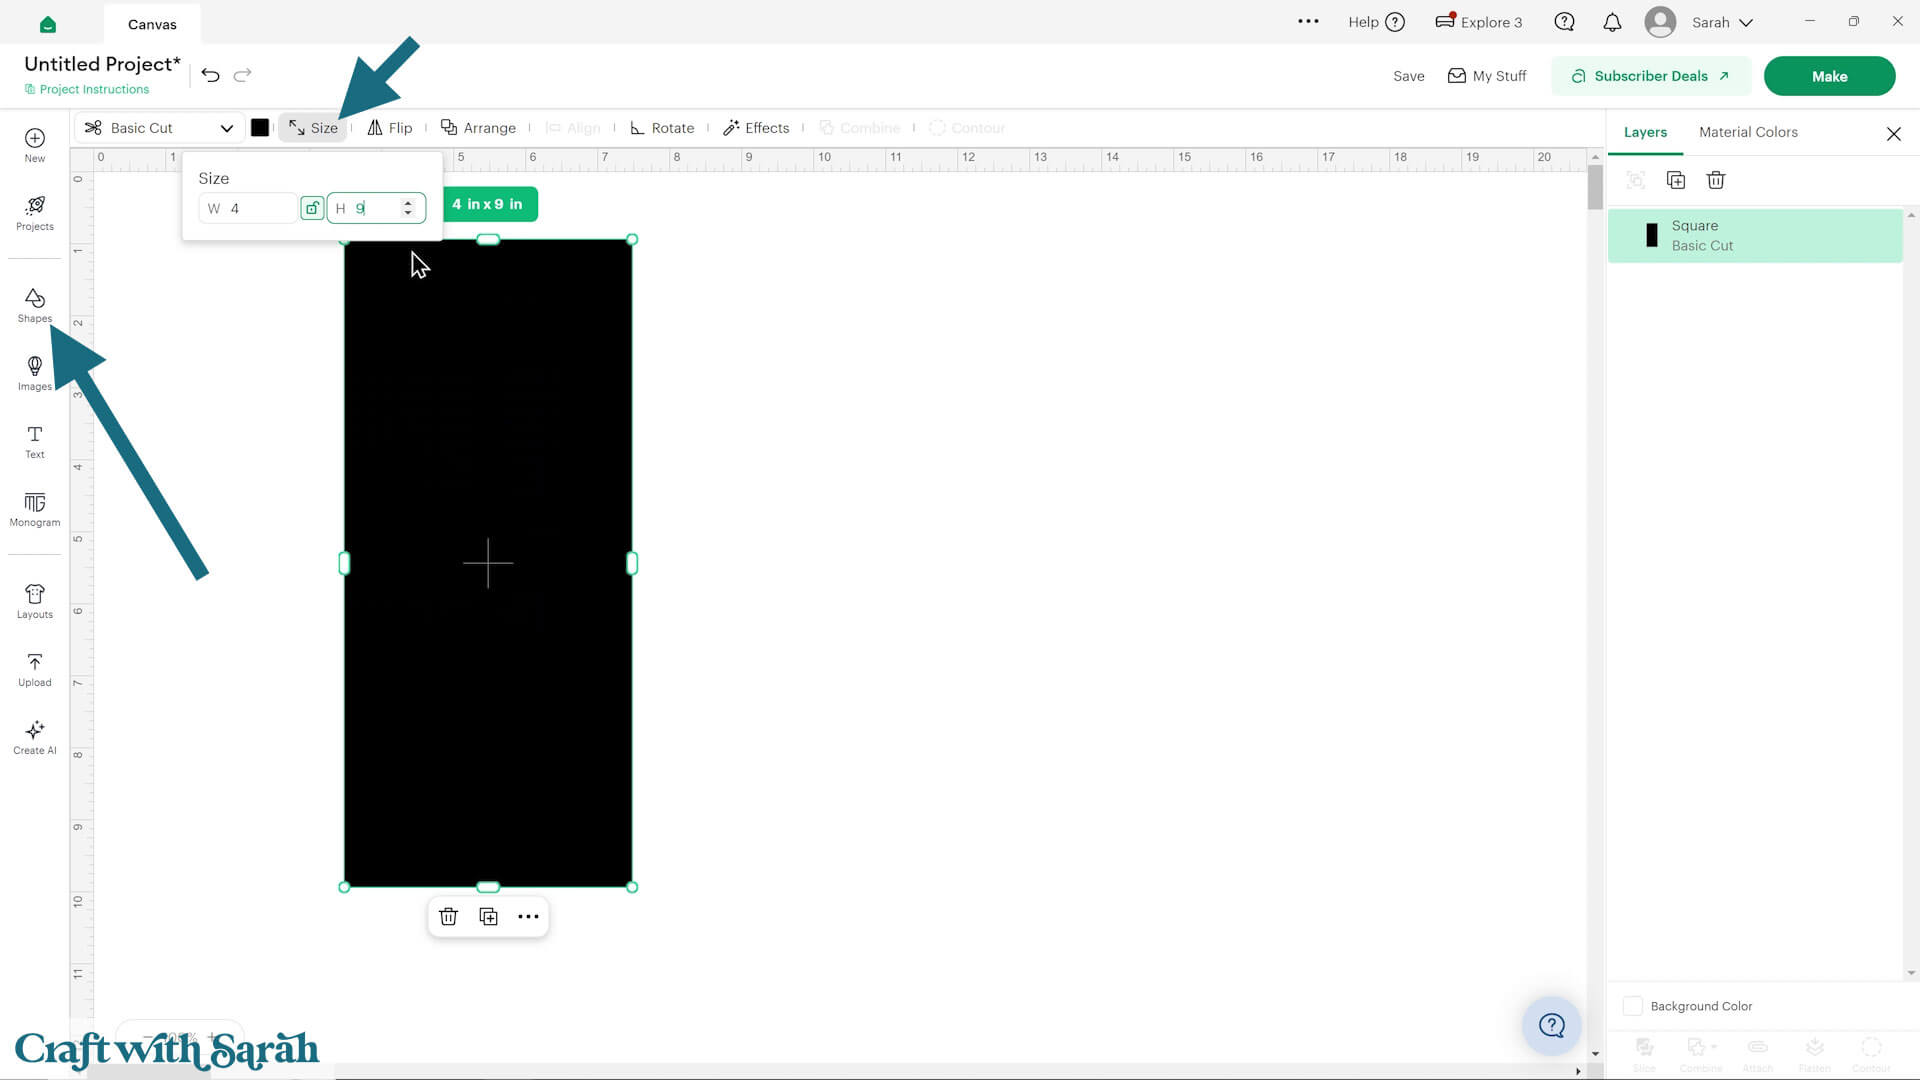
Change it to a “Guide” in the Operations dropdown.
This turns it into an outline with a transparent middle.
Step 2) Design your sticker sheet
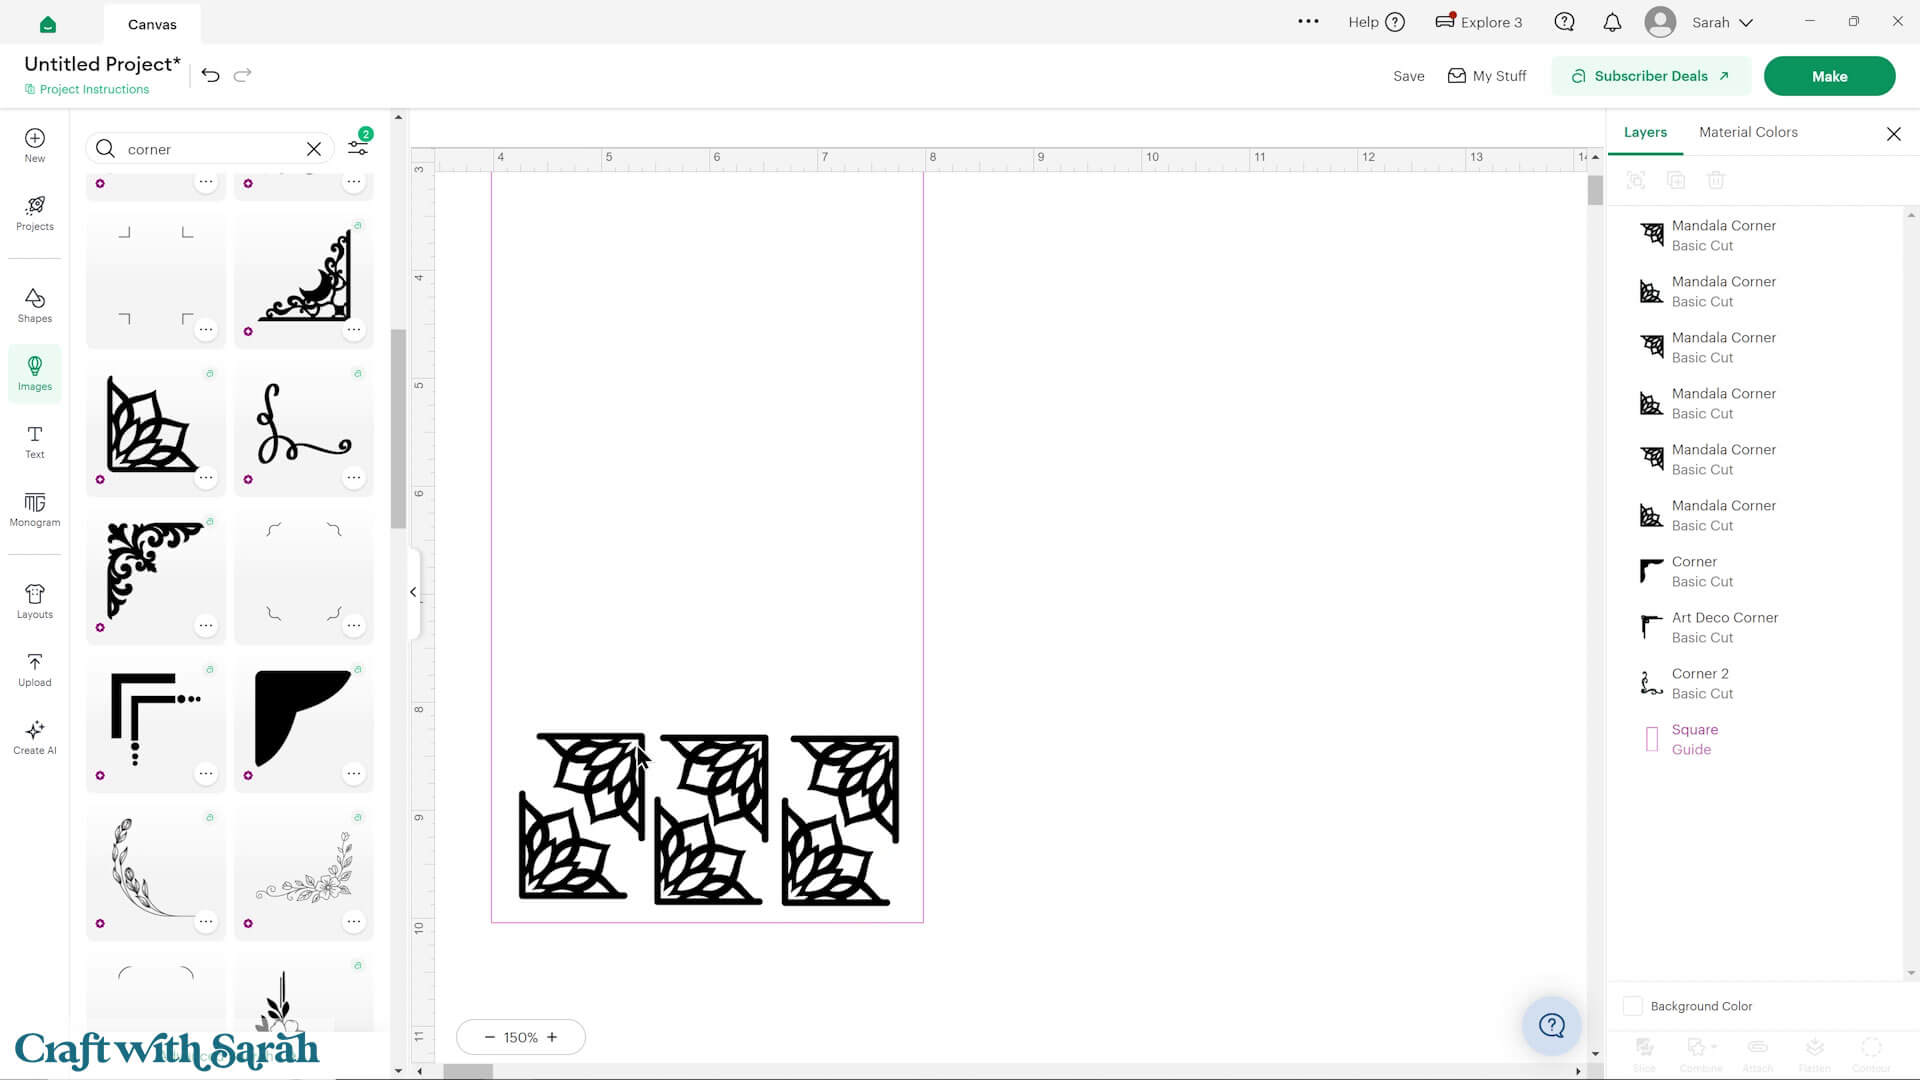
Choose images or SVGs to use on your project.
Select images where all the pieces are touching/connected, and the lines are fairly thick so that it can be cut from a small size.
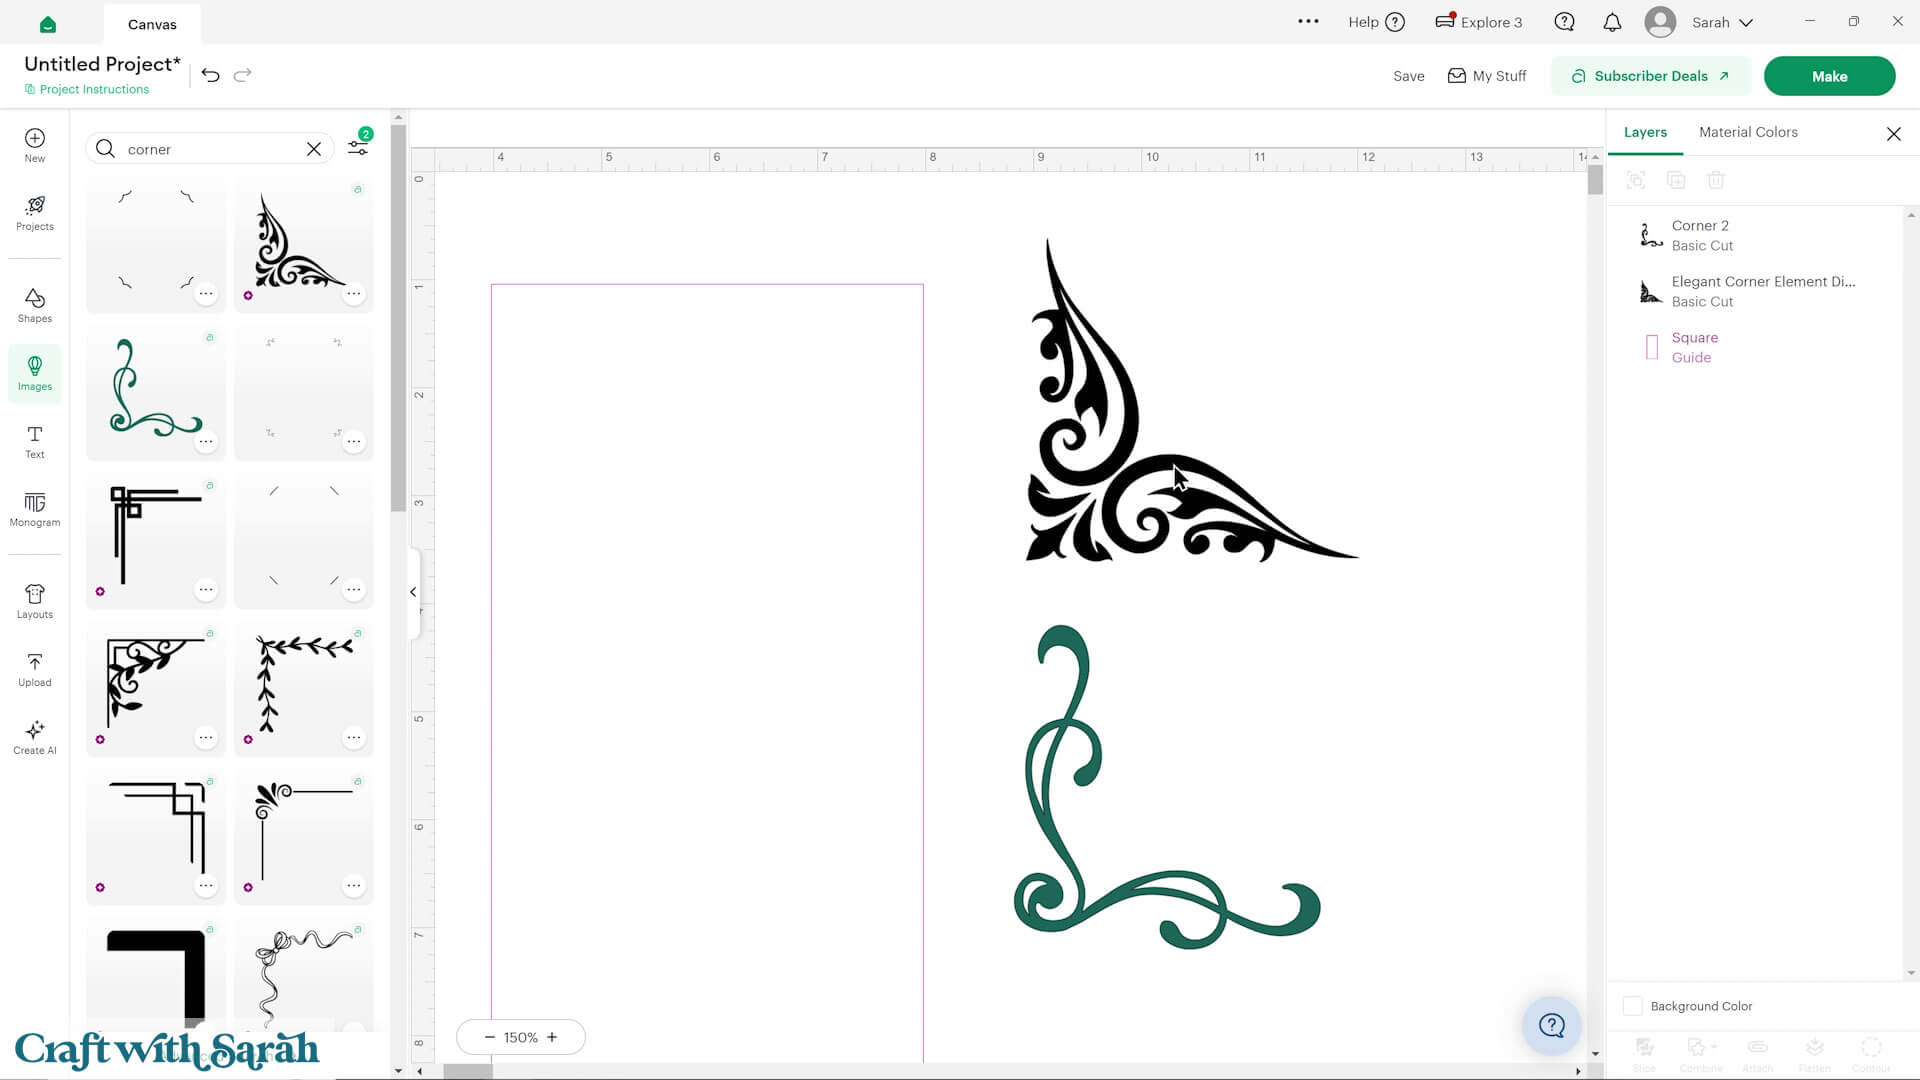
The top corner in the image below is NOT a good choice for this project as the elements are not touching.
The bottom corner in the image below is a better choice, although as the lines are fairly thin, it shouldn’t be cut too small.
Remember that you will need to “weed” the excess vinyl from all the shapes. If you’re not a fan of weeding (like me!) then choose images that will be easy to weed – i.e. no small or complicated shaped pieces to remove.
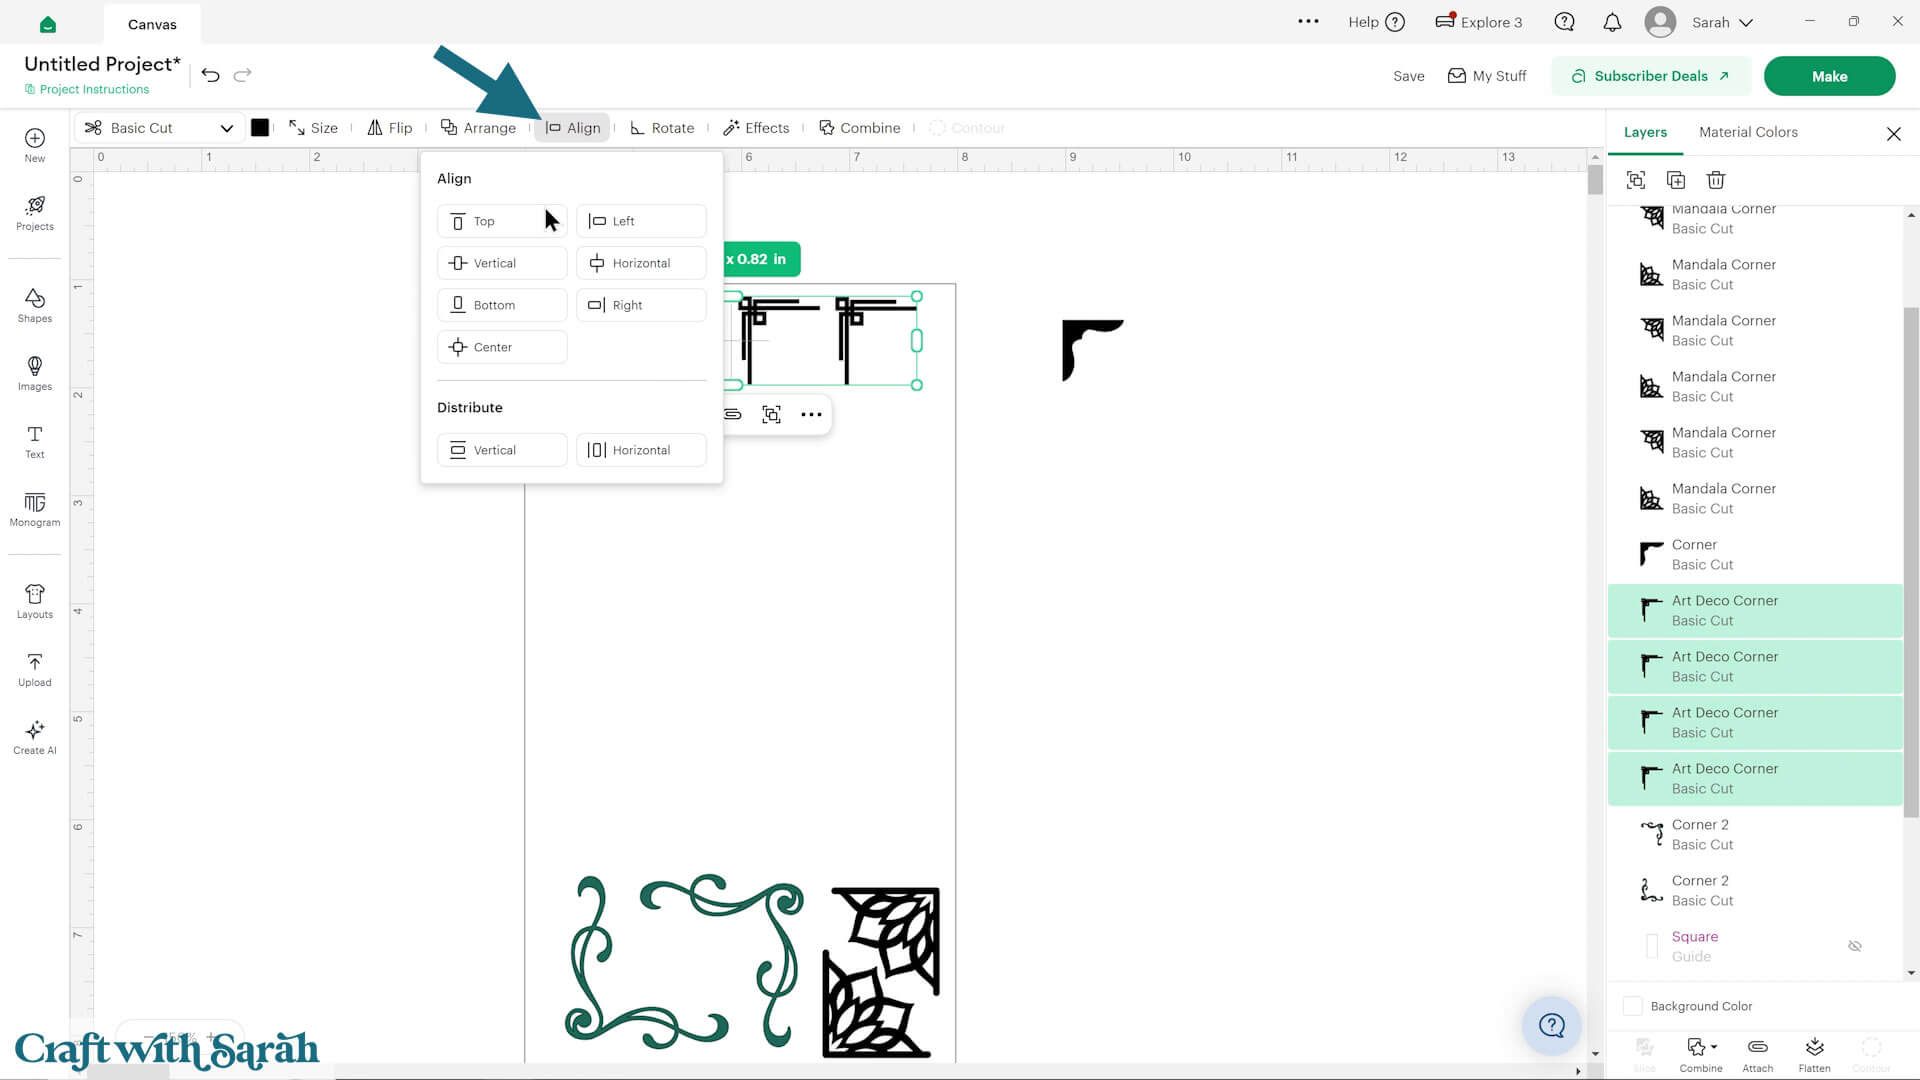
Start building up your sheets, to make use of all available space.
You can use the “Align” tools to make neater rows of images.
Tip – if you’re having trouble moving the images around because Design Space keeps selecting the guide rectangle instead, there’s a way to get around that.
Insert 4 score lines and size them to match the edges of the rectangle.
Line them up along the rectangle, then move them all to the bottom of the layers panel and hide the rectangle Guide layer.
As the edge is now made up of 4 single lines, it won’t accidentally be selected when you are trying to click the images.
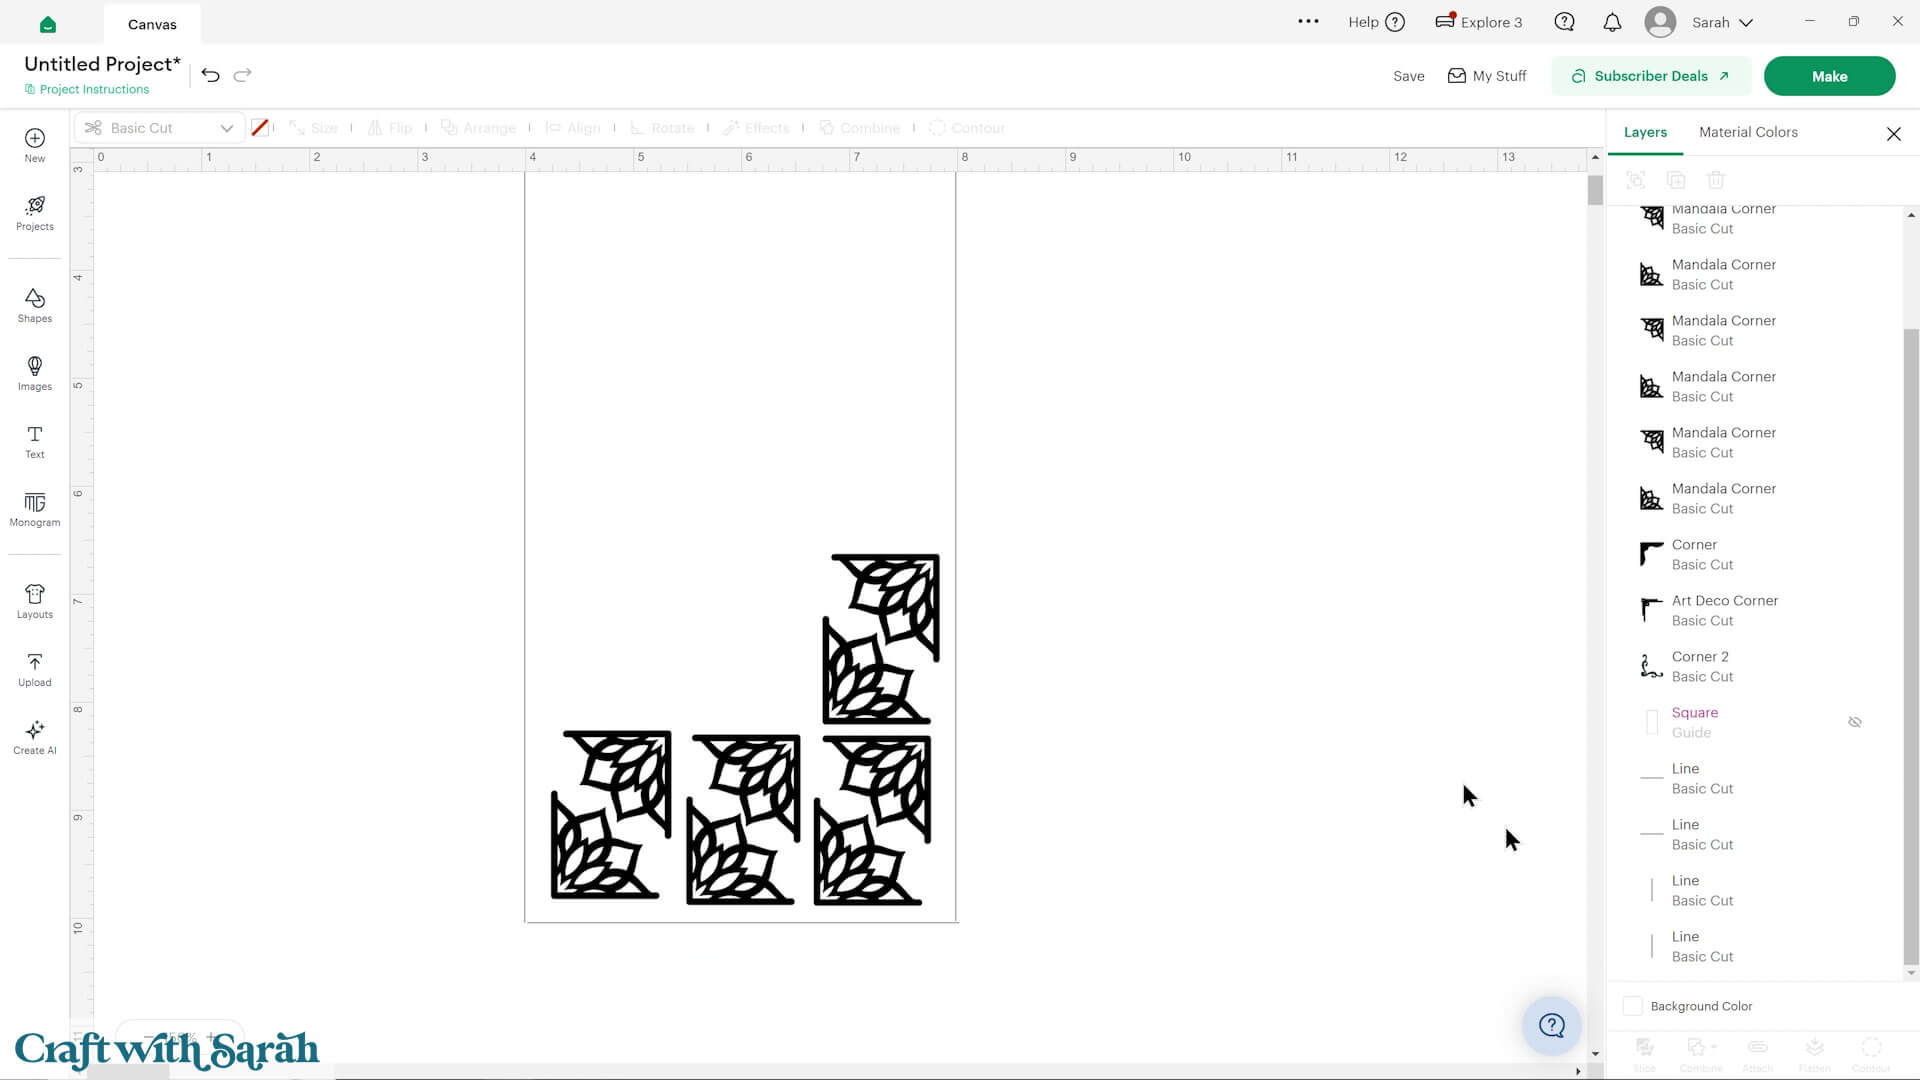
Continue adding shapes until the sheet is full.
Step 3) Prepare for cutting
Group all your images together, but do NOT include the base rectangle or score lines.
If you did the score line hack for the edges of the rectangle then hide those score lines now and turn the original rectangle Guide layer back on.
Change it back to a “Basic Cut” in the Operations dropdown.
Duplicate the rectangle in place three times, so that you have four in total.
To do this, hover your mouse cursor over the rectangle on the Canvas (not in the layers panel), press the Alt key (Windows) or Option (Mac) and left-click with your mouse.
This duplicates the layer in exactly the same place.
Select your sticker images and all the rectangles and “Attach” them.
This will change them all to the same colour.
Step 4) Design additional sheets if required
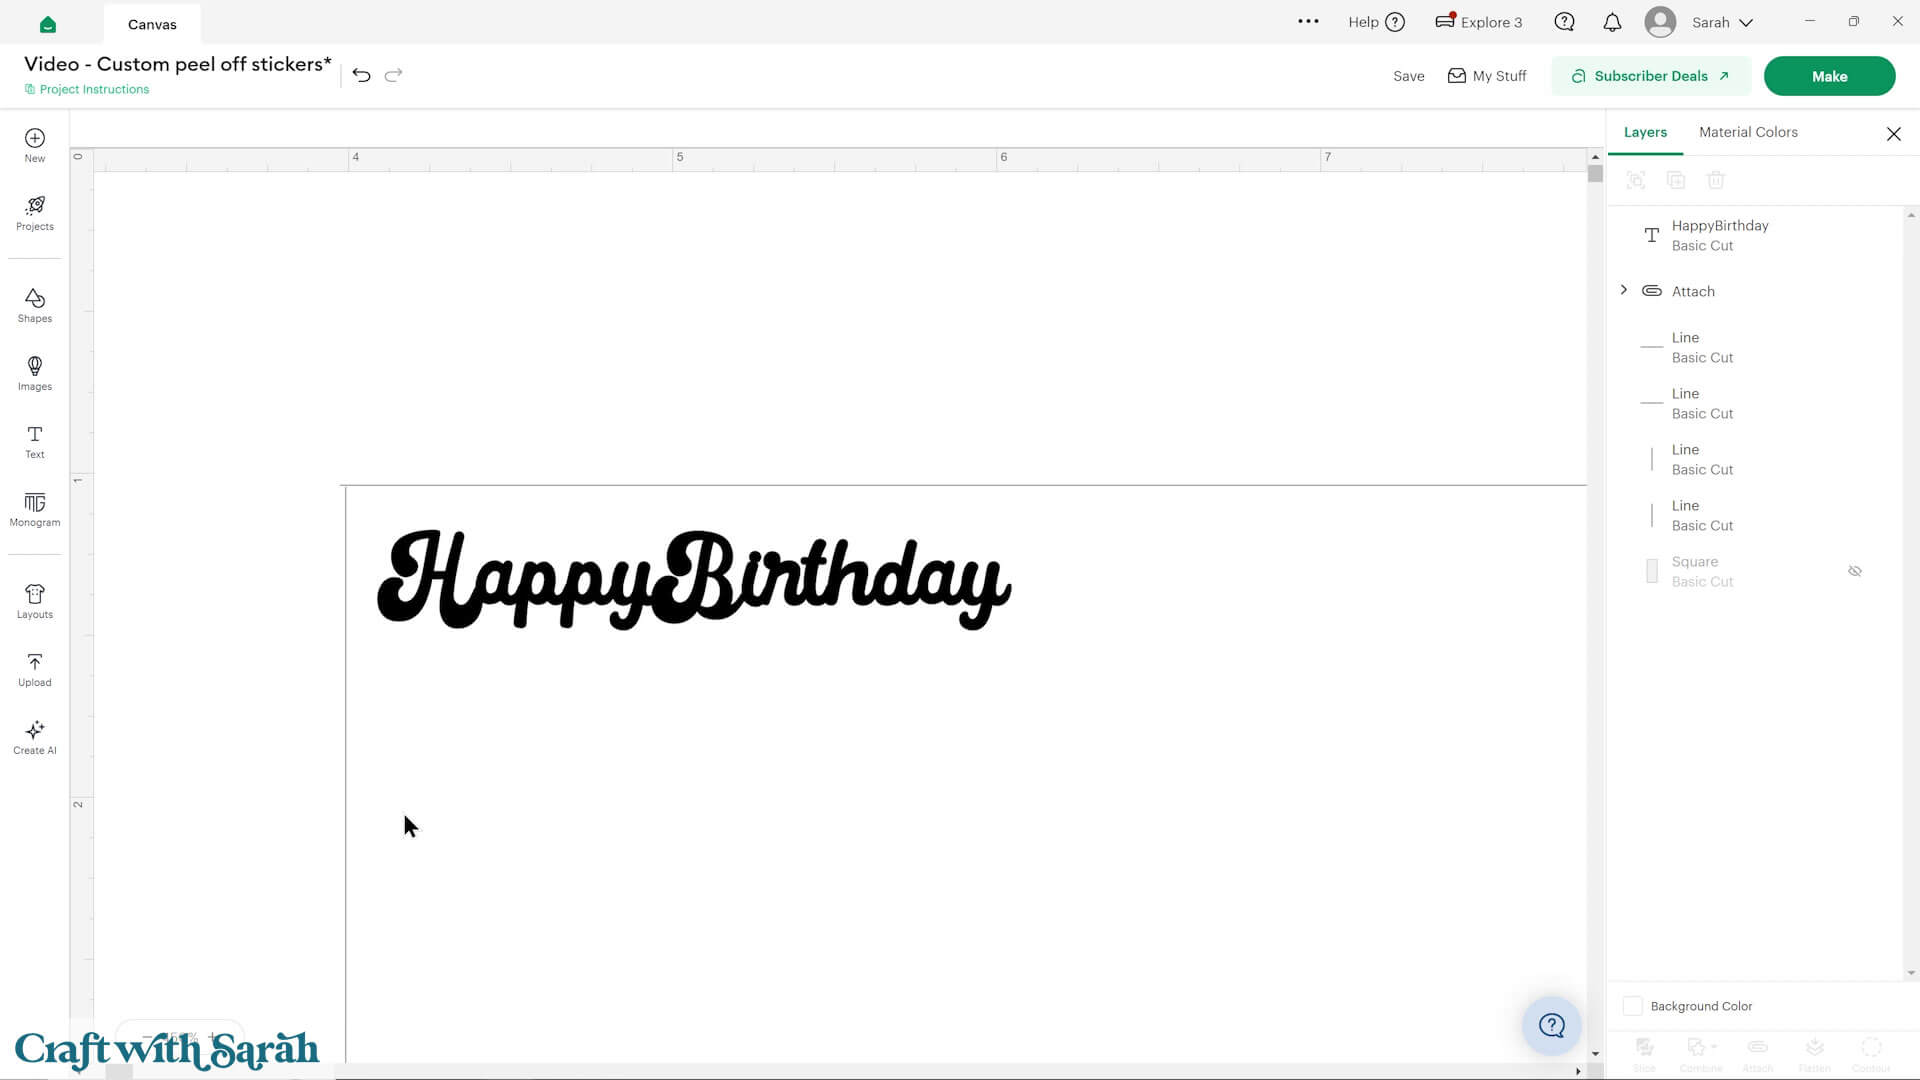
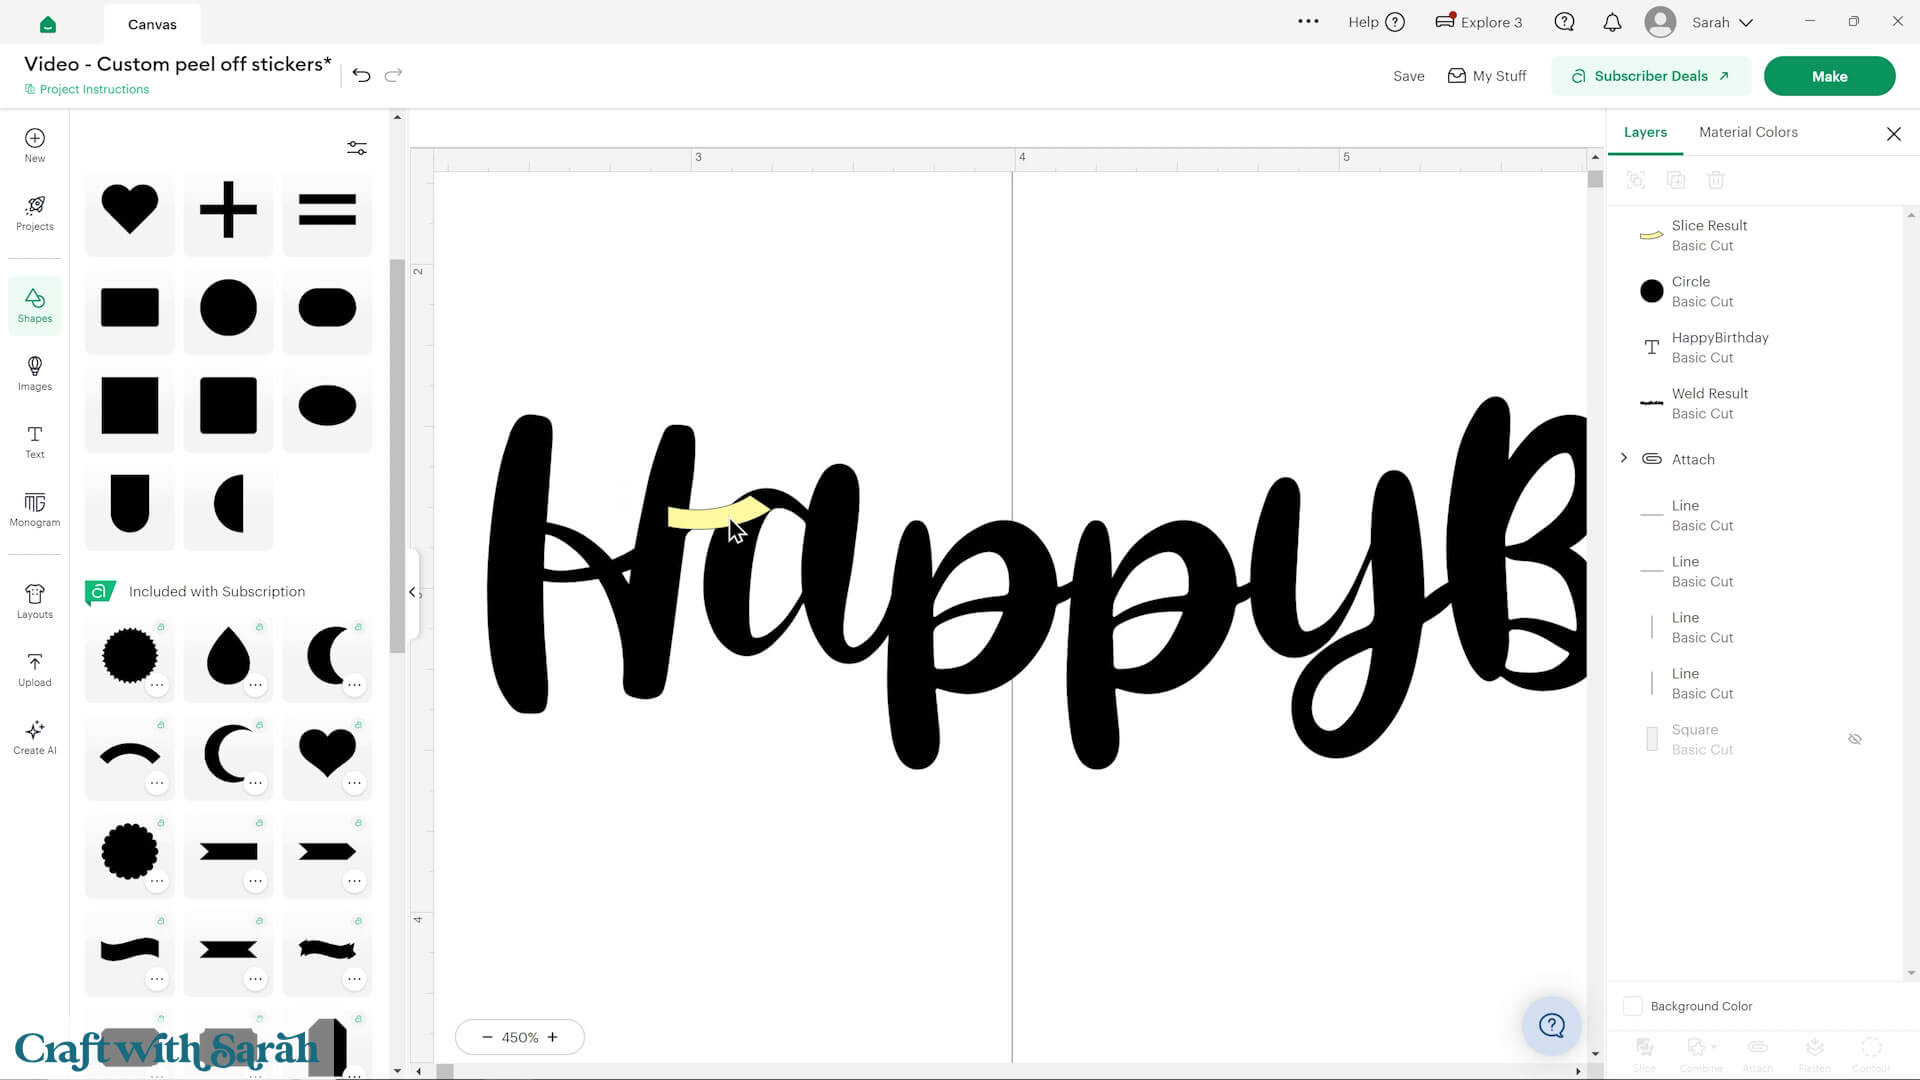
This sheet is now ready to cut, but before we do that, let’s make another one with some “Happy Birthday” text.
When working with text, choose fonts where all the letters are touching.
We want the stickers to come off as one complete piece.
You can keep the words separate, e.g. “Happy” and “Birthday”, or remove the space between them (“HappyBirthday”) for one single sticker.
BFC Allie Bee Connected is a great Cricut Access font to use because it automatically connects the dots on i and j letters to the rest of the word.
If you’re using a font where the dots are separate, like in the image below, then you’ll need to manually join them to the rest of the word.
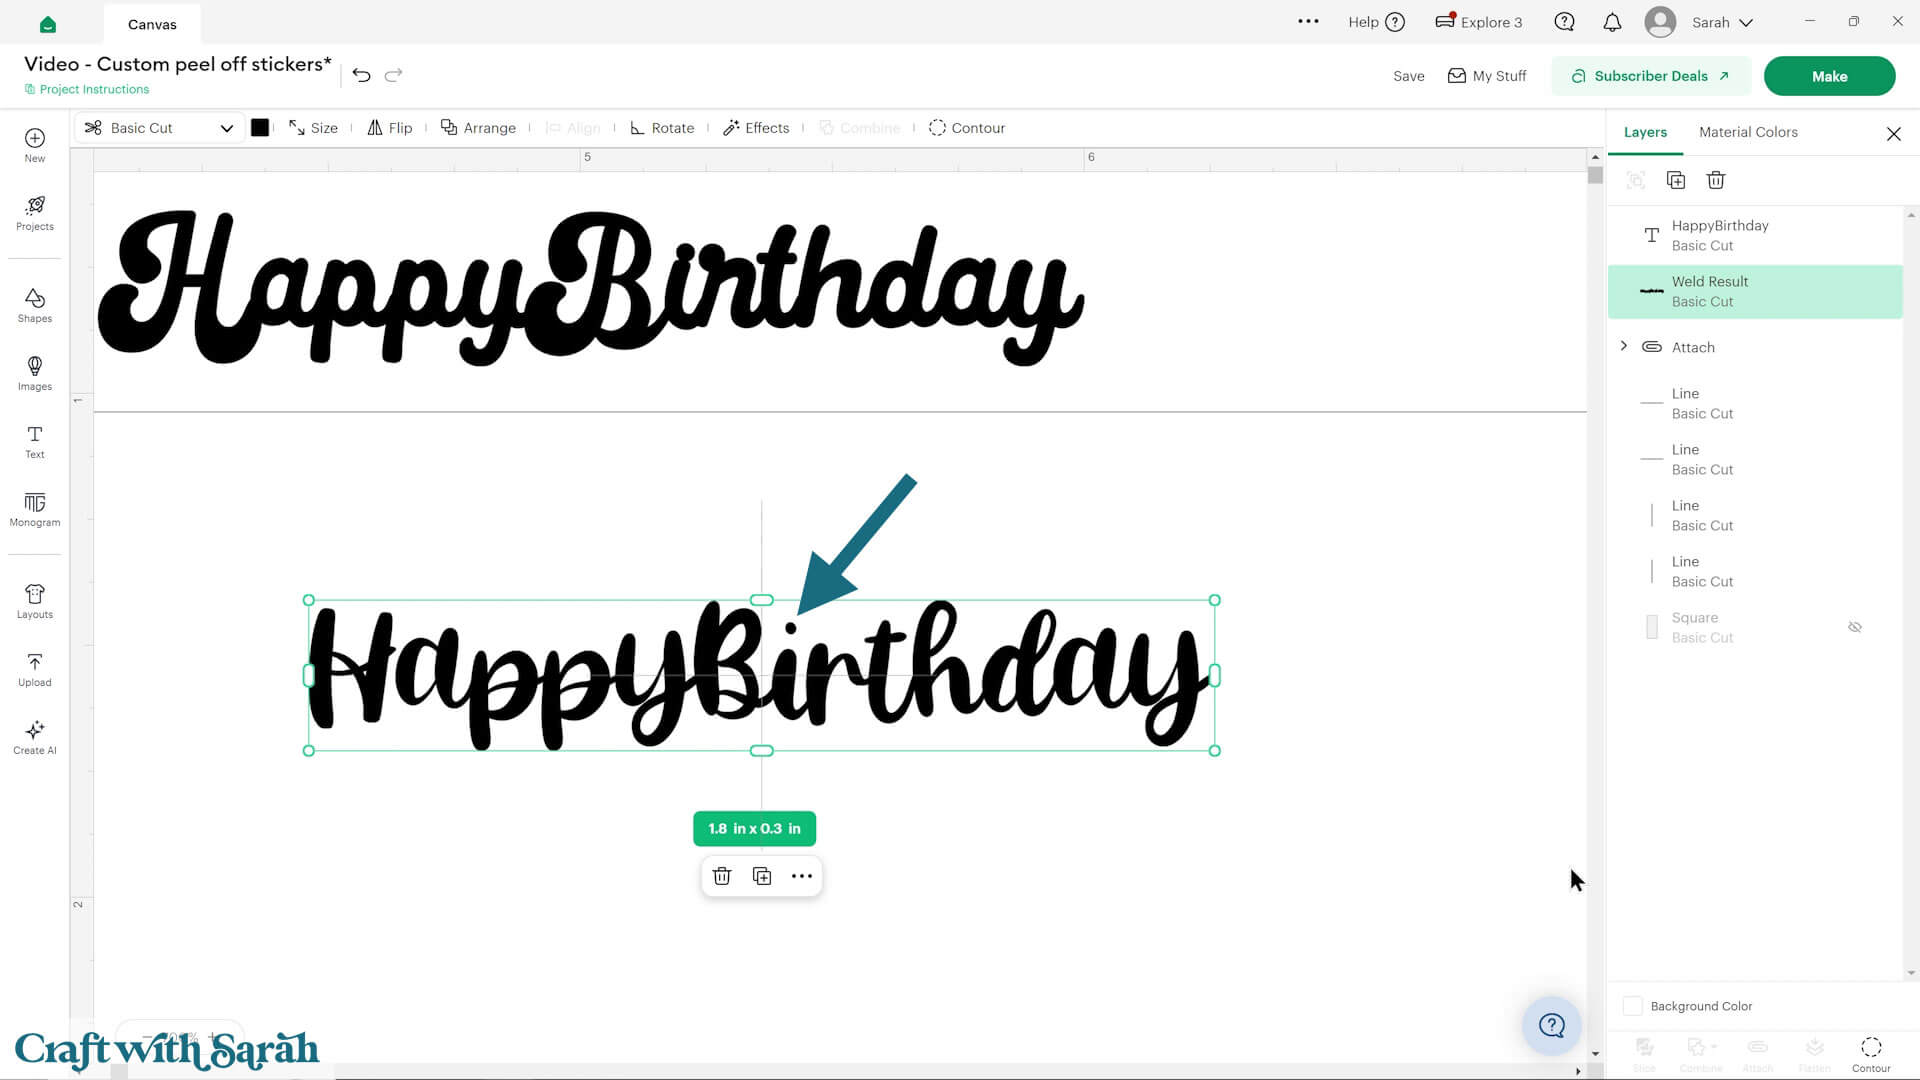
To do this, click the text and press Combine > Weld to make it non-editable.
Click “Contour” and hide the dots in the letters.
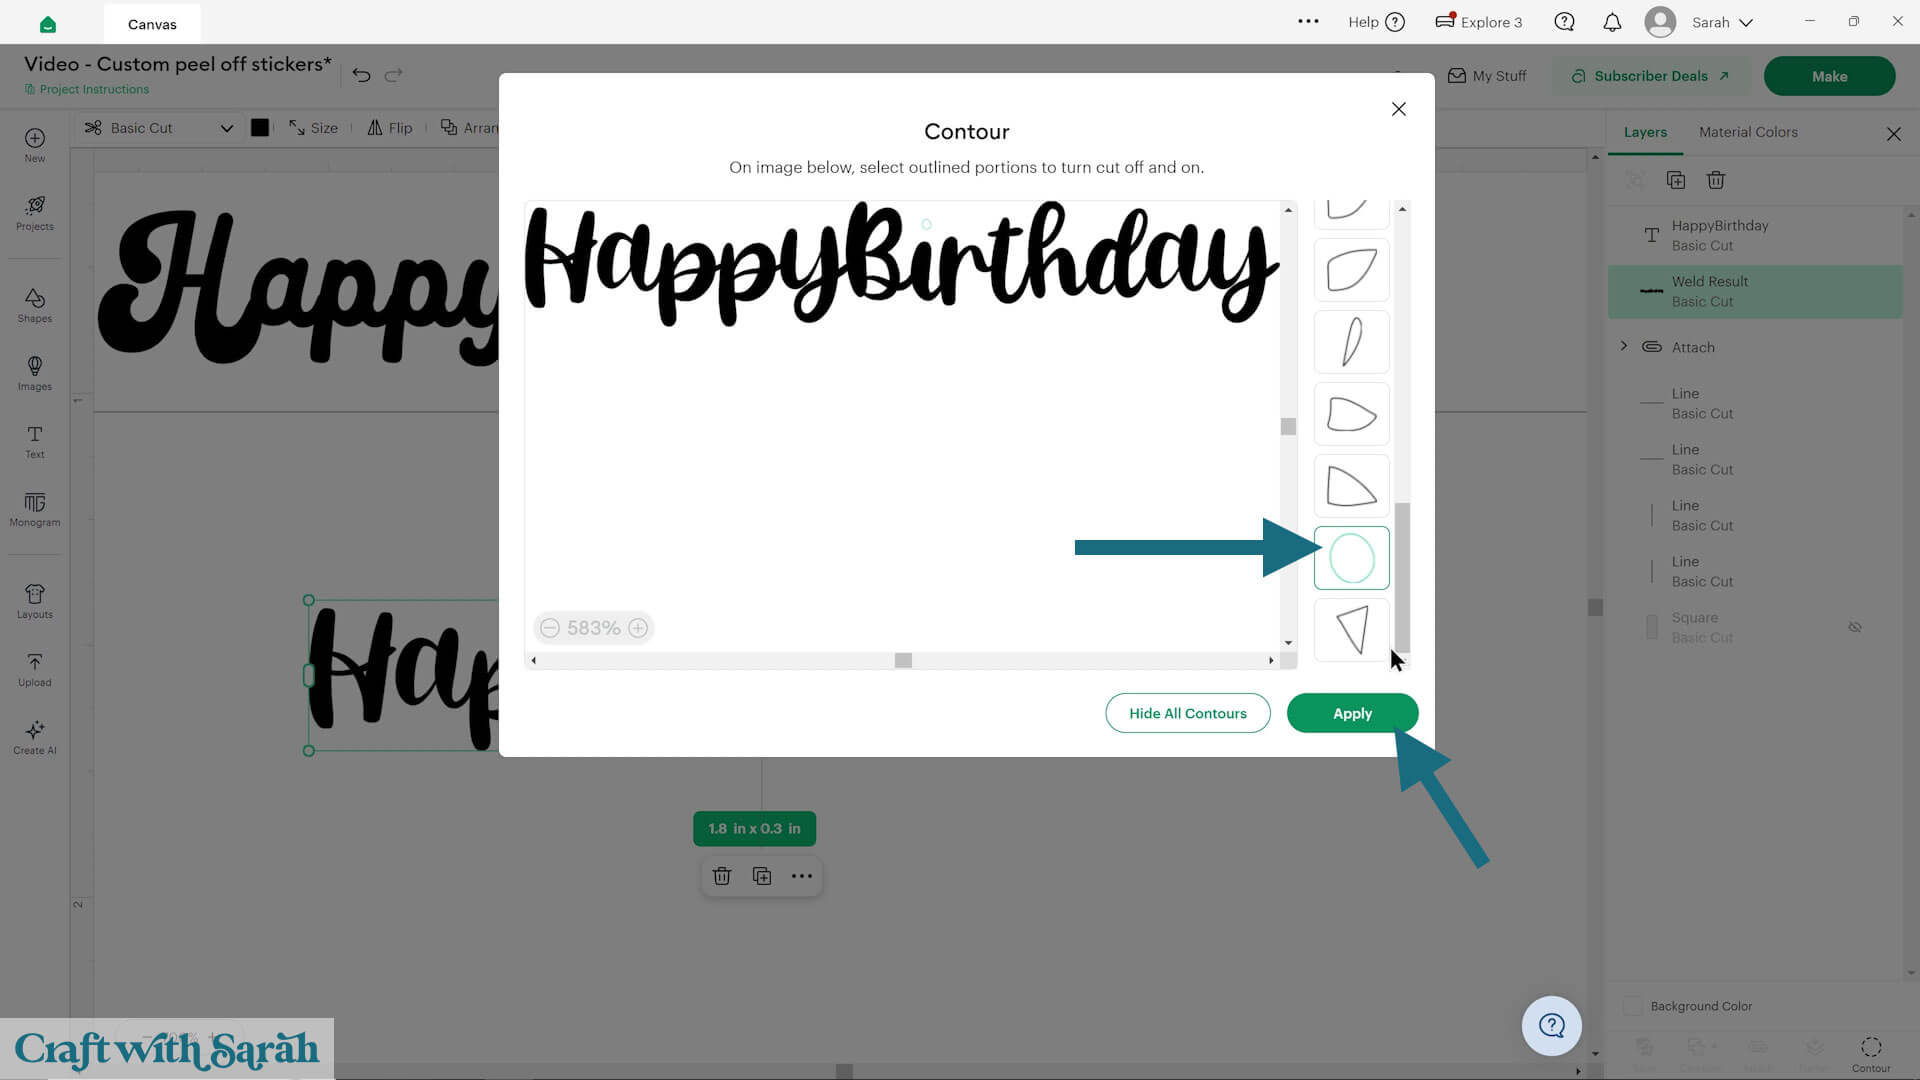
Insert a circle and use that as the dot. Make sure it touches the rest of the letter.
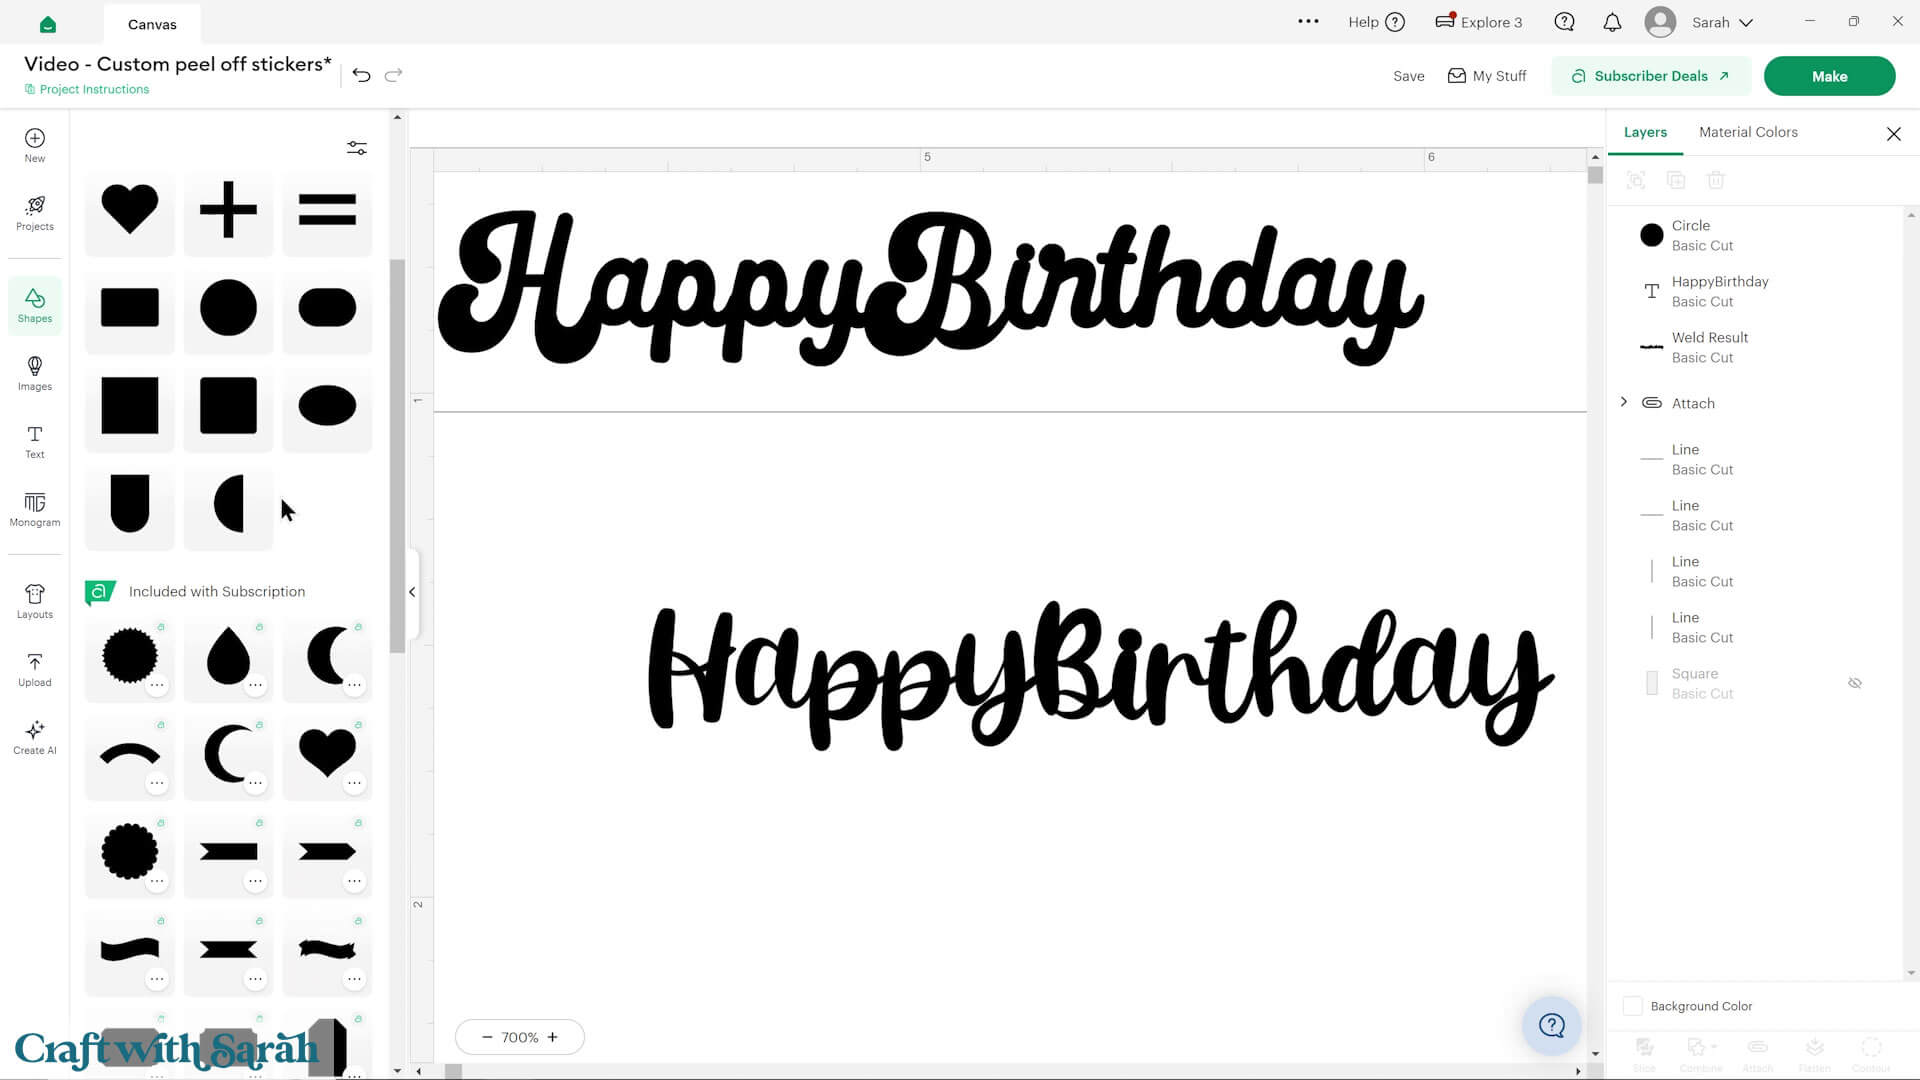
You can use other shapes to connect letters that are not touching too.
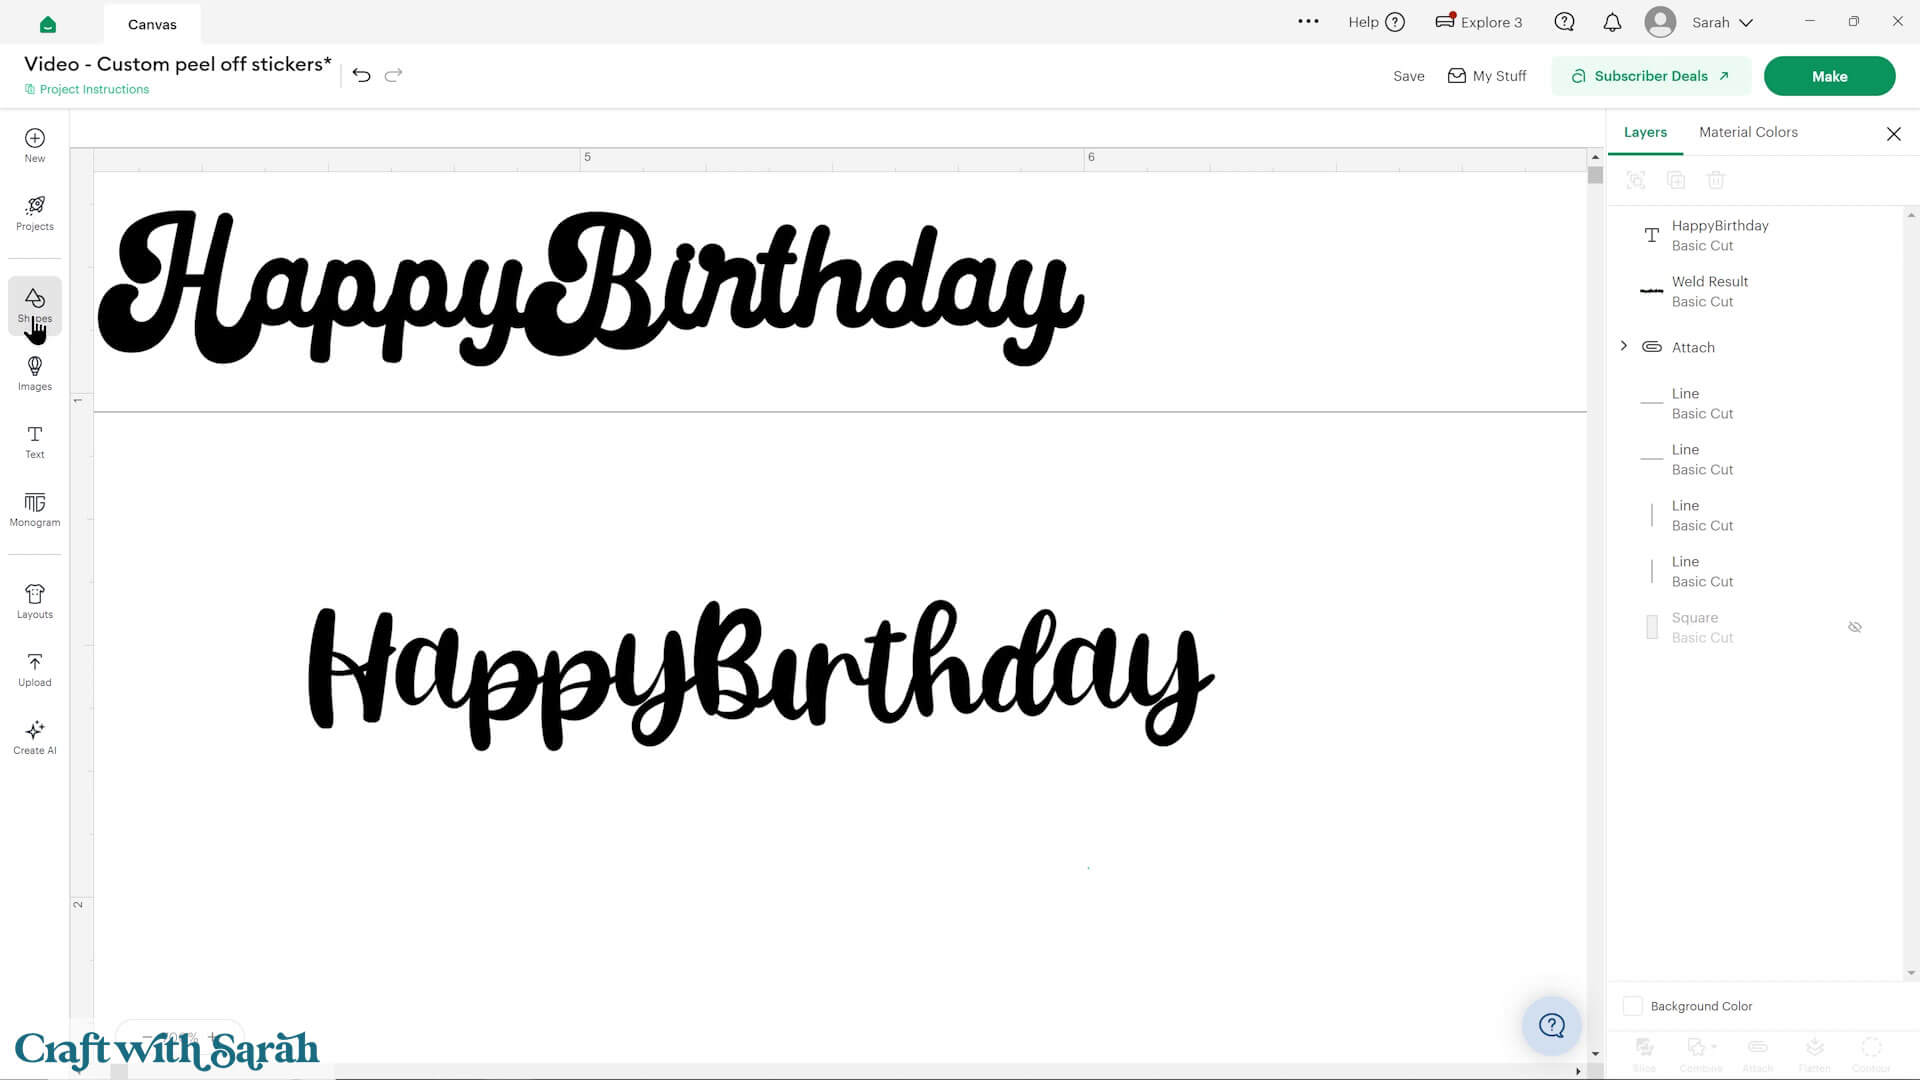
Select the original text layer and your additions, and press Combine > Weld to join them into one layer.
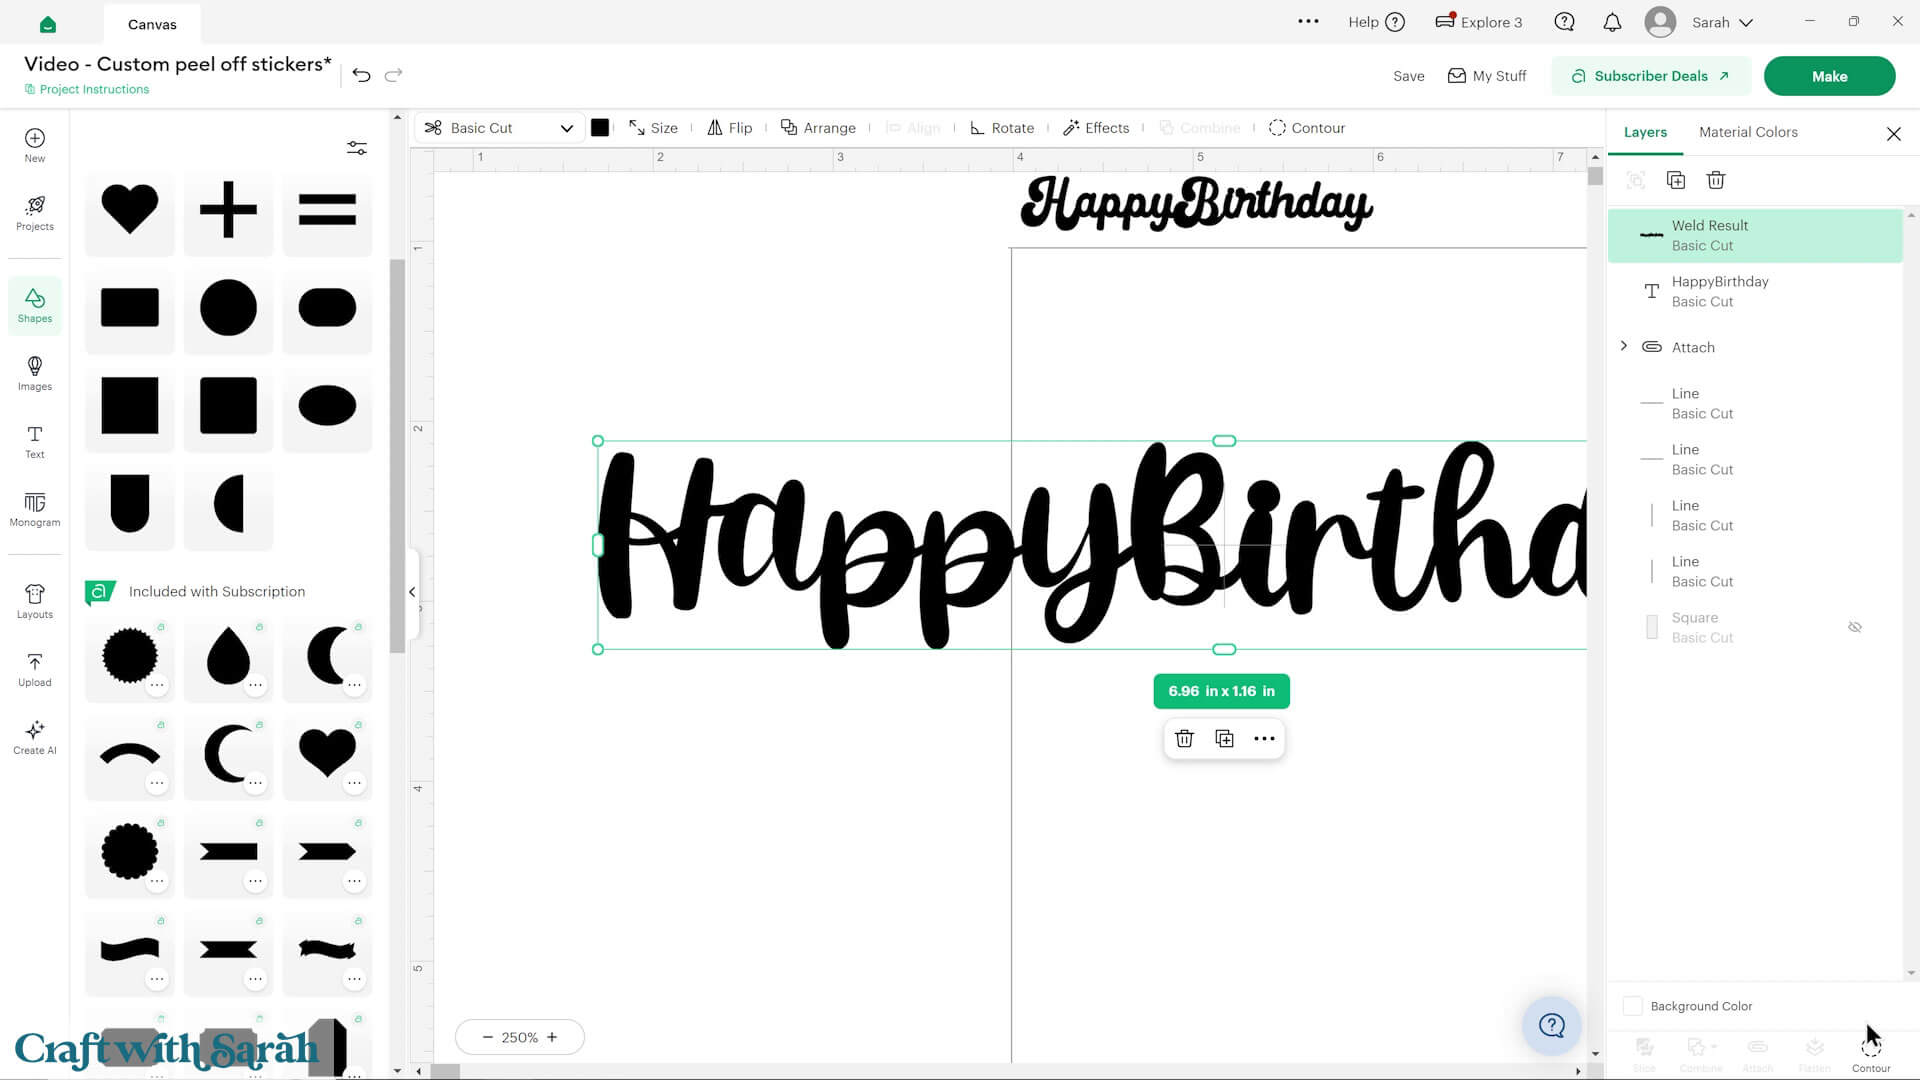
Continue building your sticker sheet.
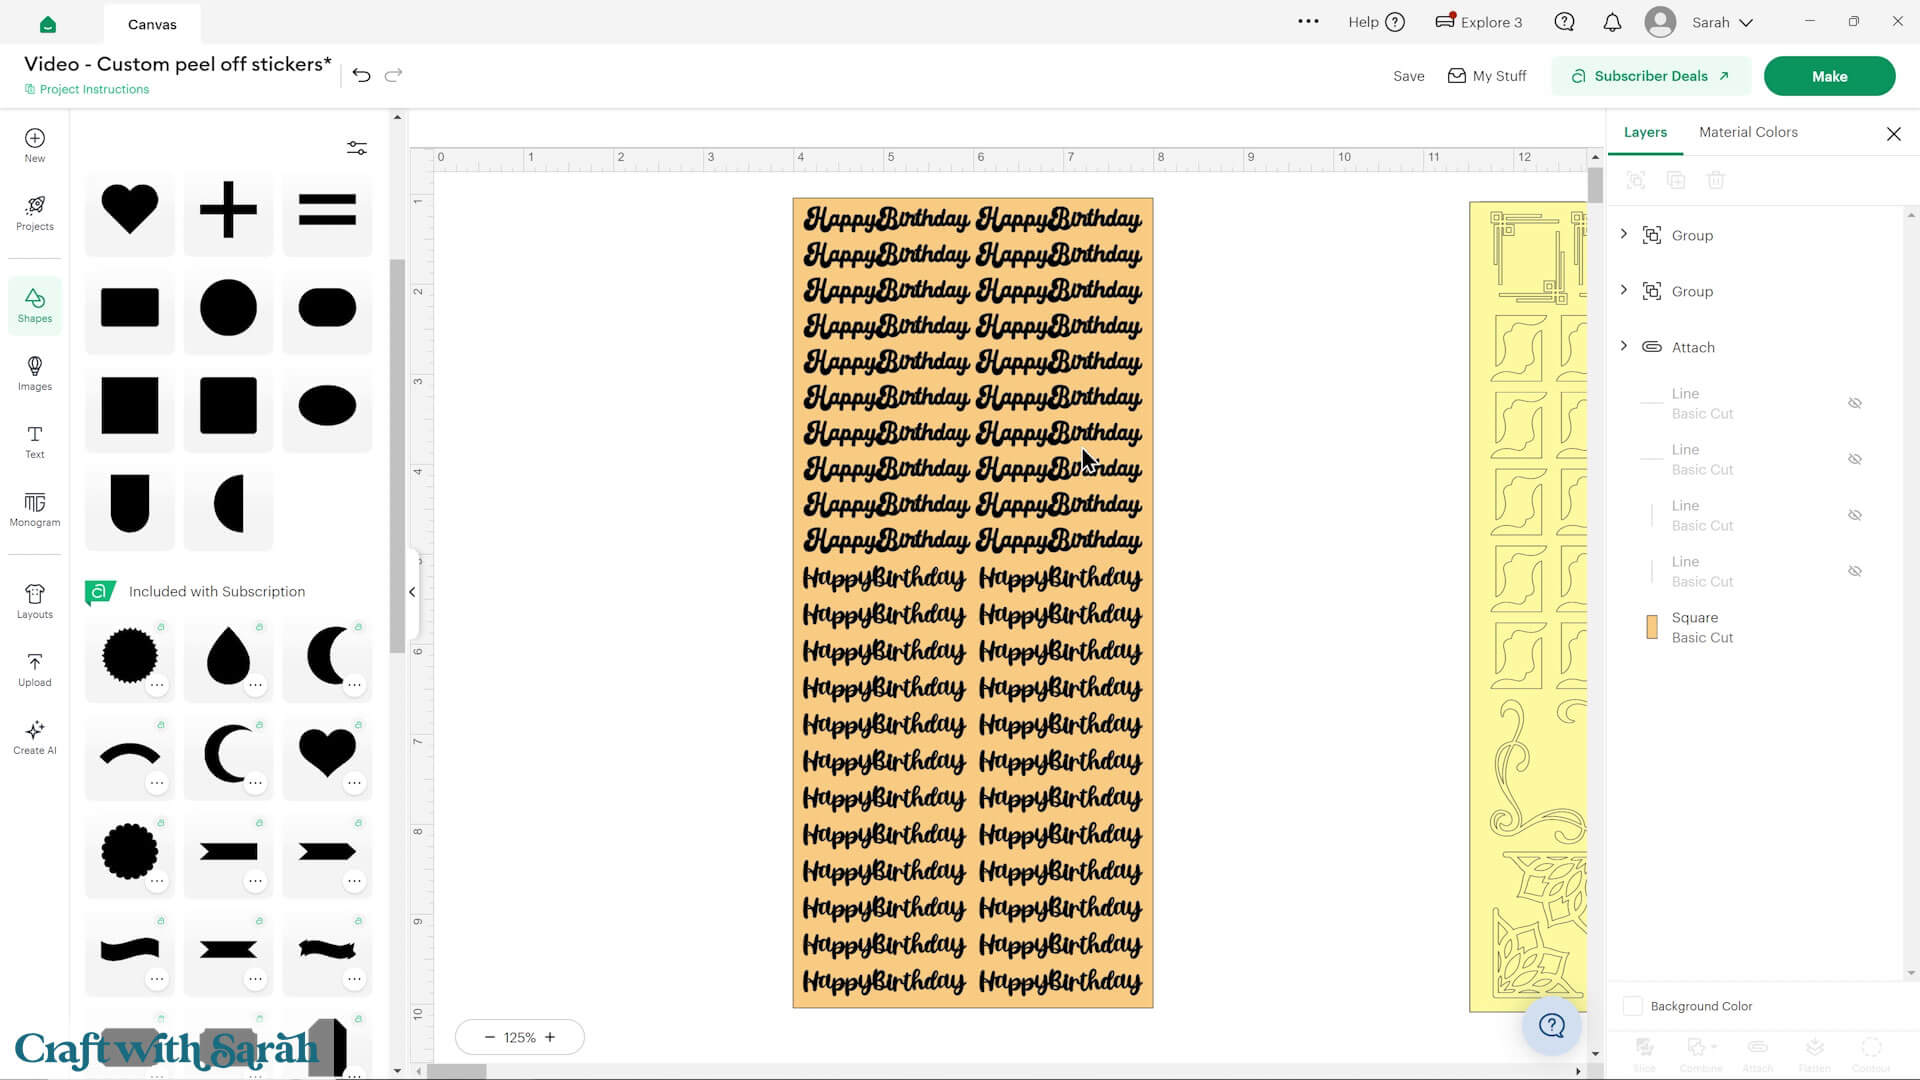
When done, duplicate the base rectangle three times, like with the corner sheet, then “Attach” everything together.
Step 5) Cut out the sticker sheets
Save your project.
Press “Make” to begin the cut process.
When choosing your material, click “Browse All Materials” to view the full list.
Type “vinyl” into the search to see all the different options, and select the one that best matches the type of vinyl you are using.
You may wish to cancel the cut and do a small test-cut of a shape such as a star or heart to check the cut setting before you start cutting the peel-off sheet and make sure the setting you’ve chosen is going to cut through correctly.
Note – these designs may take a very long time to cut out. My “Happy Birthday” sheet took around 45 minutes to cut.
If you have the option of connecting to your Cricut machine via Bluetooth or USB cable, choose the USB cable as it should be a more reliable connection over long periods of time.
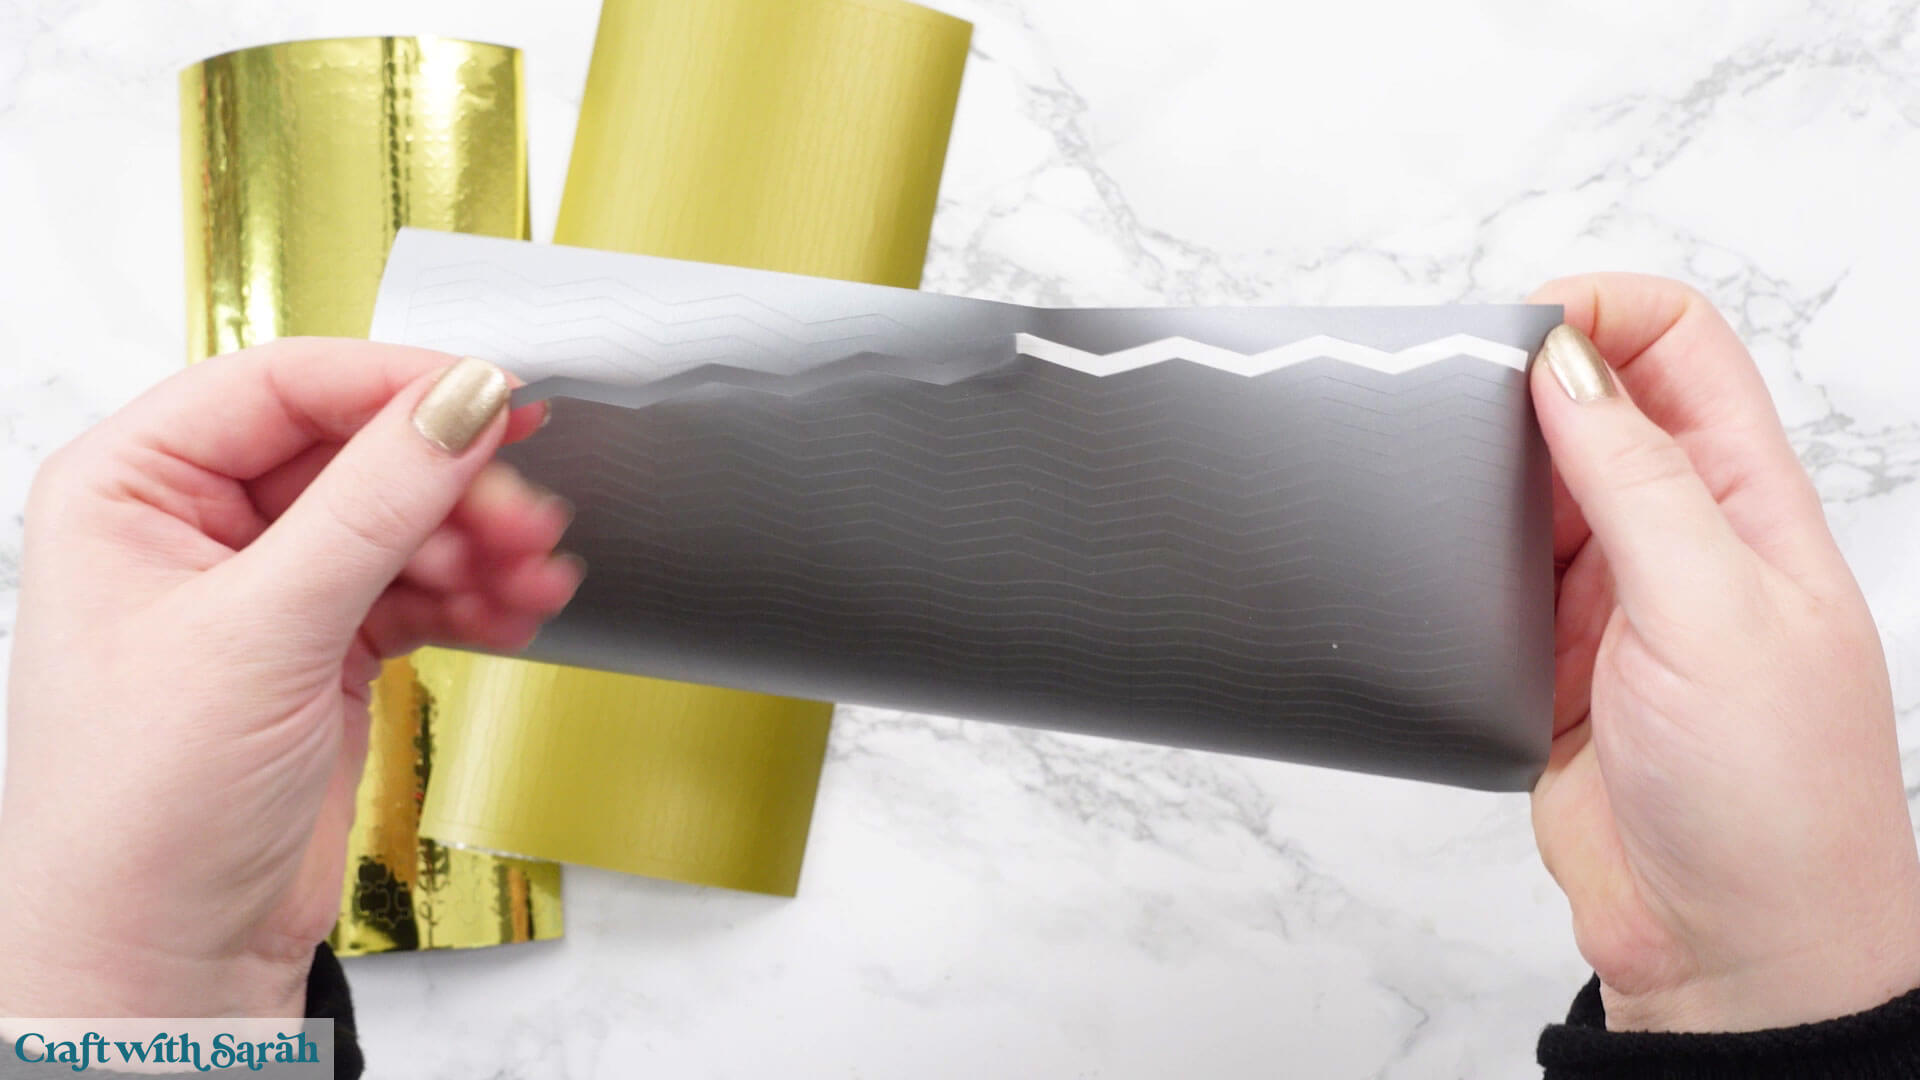
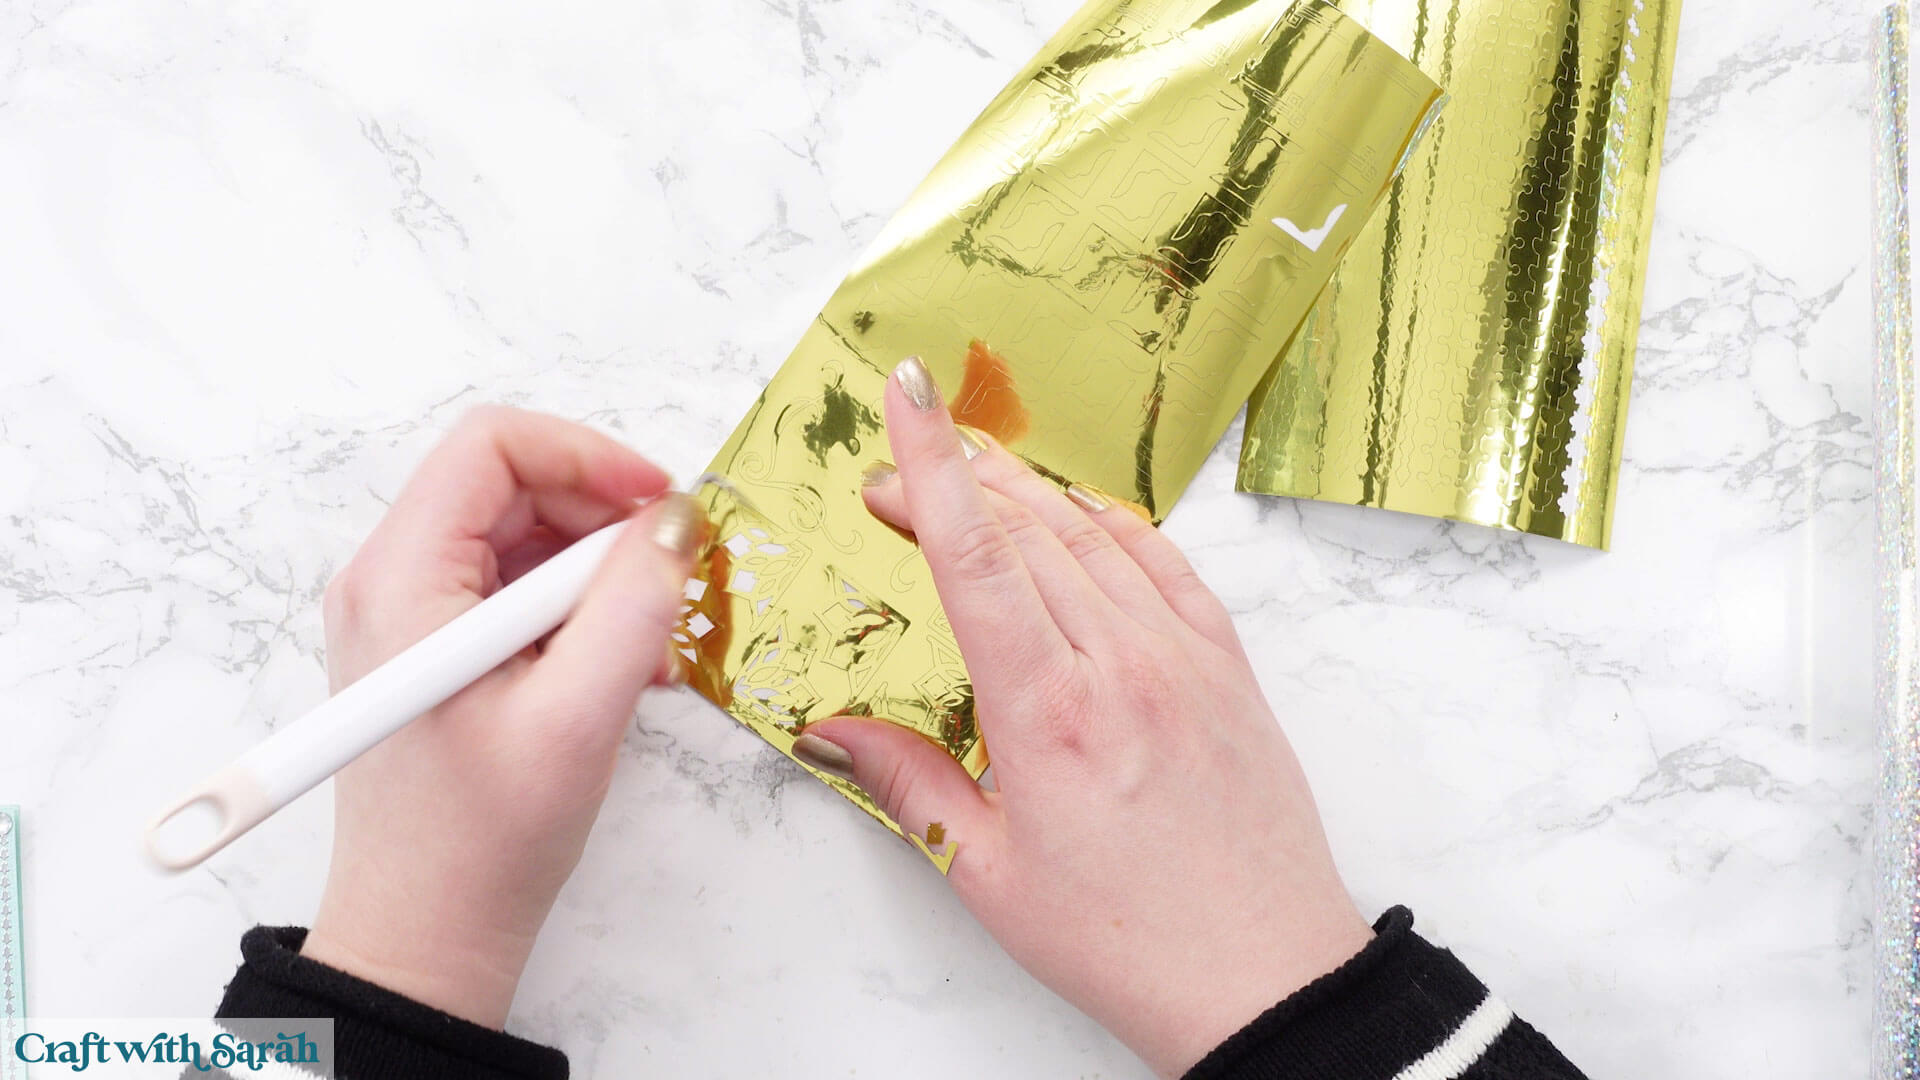
Step 6) Weed the excess vinyl
Use a weeding tool to remove parts of the images that shouldn’t be transferred to your cards, for example the middle of letters or middle details on the corner designs.
Peel-off stickers made from vinyl
Your lovely vinyl stickers are now all complete and ready to be added to your cards.
The sheets will last for a long time, so you can use them in your crafting projects for weeks, months, or even years to come!
Happy crafting,
Sarah x

