Gnome Shadow Box 🌟 CCC 2025
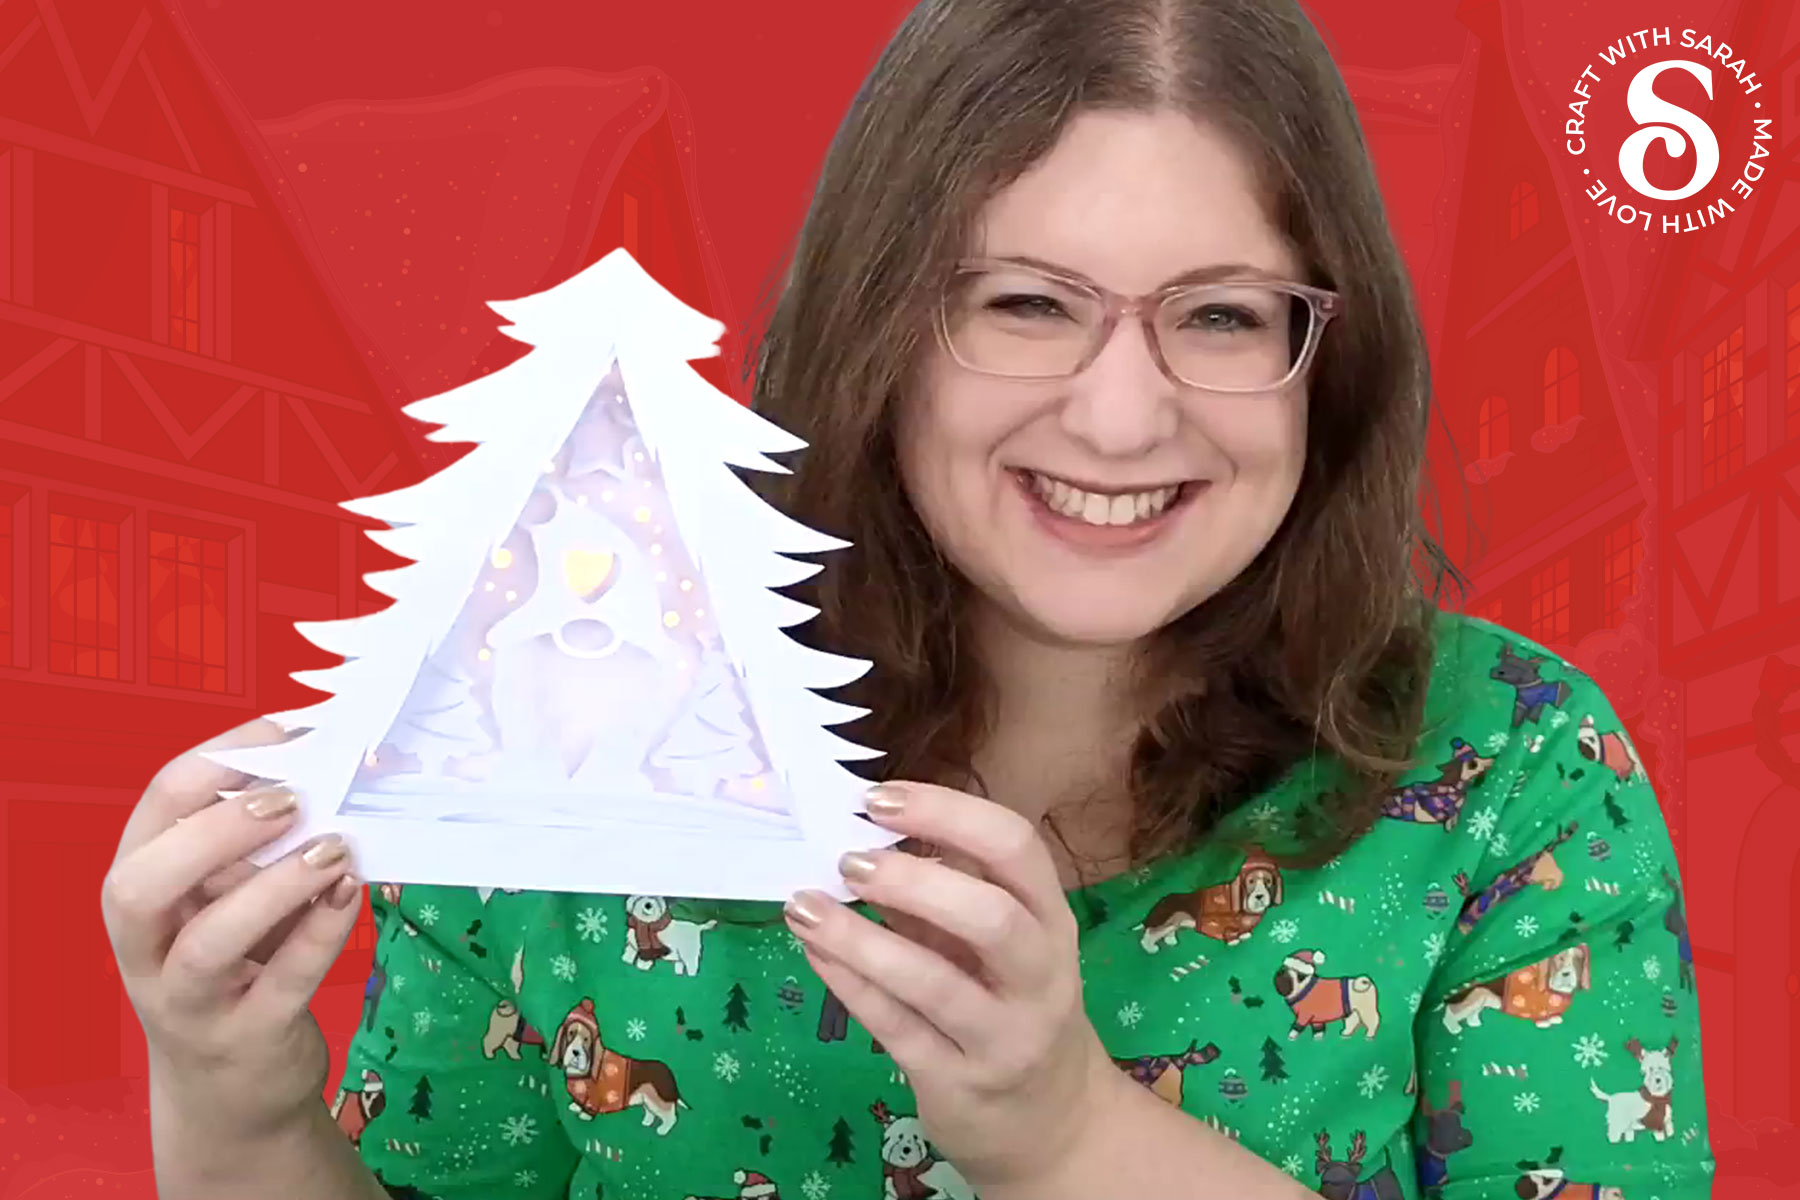
Make a gnome shadow box with a difference with this freestanding tree-shaped design.
Today’s project is inspired by the star-shaped Nativity frame from last year’s Christmas Craft Countdown.

This time, we’re going for a more contemporary feel instead of traditional.
Create a freestanding winter gnome scene in the shape of a tree with this Christmas craft project.
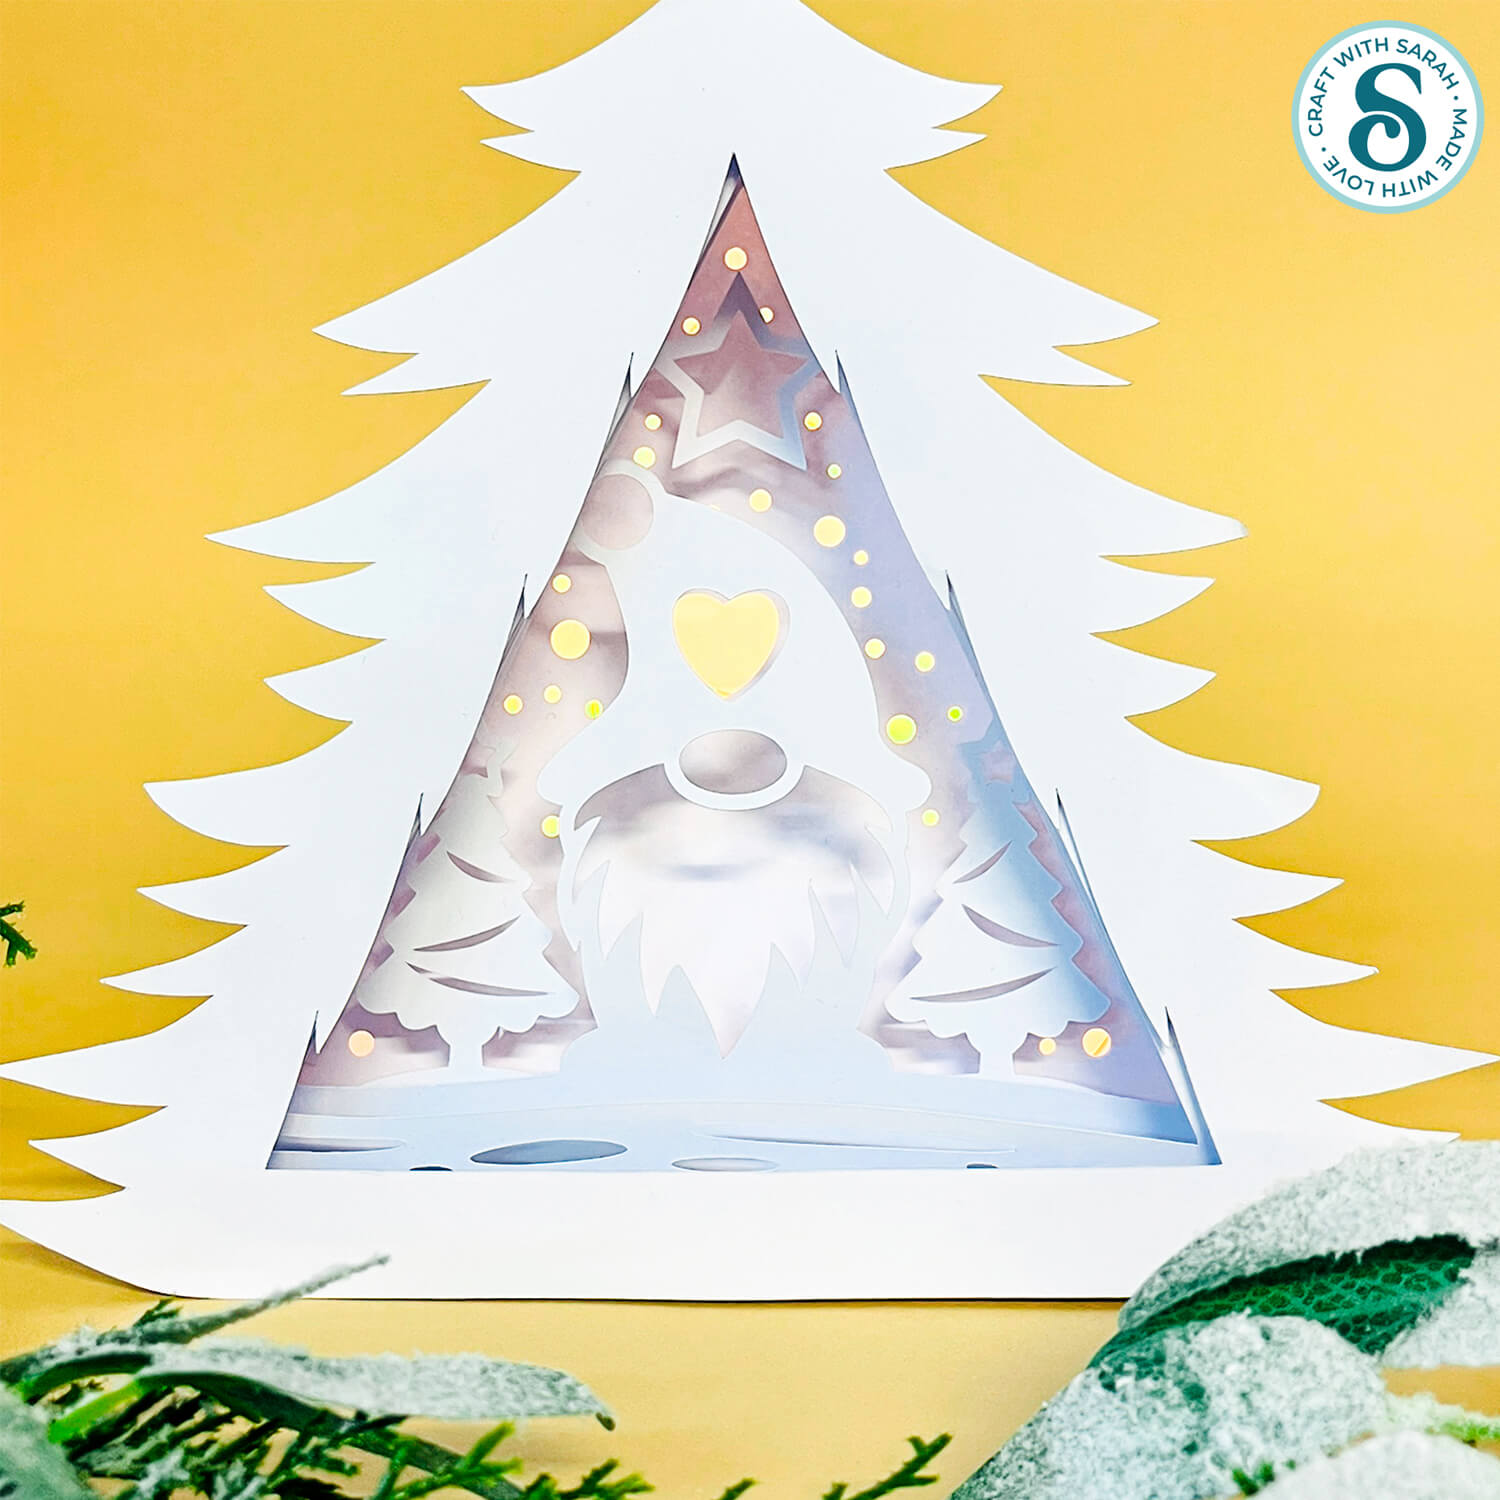
This shadow box project features stacked cardstock layers that form a cute gnome scene. With tabbed edges to hold the layers in place, no foam squares are needed to add depth to the pieces, making assembly fast and straightforward.
For a glowing effect, cut each layer from white cardstock and add fairy lights to the back so light filters through the design.

This project is part of the 2025 Christmas Craft Countdown.
Materials list for tree shaped shadow box
Here is a list of the materials that I used to make this project.
Please note that some of the links included in this article are affiliate links, which means that if you click through and make a purchase I may receive a commission (at no additional cost to you). You can read my full disclosure at the bottom of the page.
- Cricut machine
- Light blue Cricut cutting mat
- Scoring wheel or scoring stylus (don’t have one? Try these tips)
- White Card (light cardstock works best – around 230gsm or 85lb)
- Glue (I like Bearly Art Glue and Collall)
- Battery powered fairy lights
- Sticky tape or masking tape
- Blu tak or similar (optional – for securing the battery pack of the lights)
This project is suitable for the following types of Cricut machines: Explore series, Maker series and Joy Xtra. It is too large to cut on the Cricut Joy.
Foundation learning
If you're new to making papercrafts with your cutting machine, check out these links to get you started.
They include videos on topics such as: which file to use with your type of cutting machine, how to load the files into your cutting machine's software, how to cut cardstock with your type of cutting machine, how to recolor and modify/customize the cut files and tips for displaying your projects.
- Help guides for Cricut machines
- Help guides for Silhouette machines
- Help guides for ScanNCut machines
The following tutorials are Cricut-specific, but many of the ideas will work similarly with a Silhouette or ScanNCut machine and any cut files that are shared in them are compatible with all types of cutting machine.
- How to score with a Cricut (even without scoring tools)
- Print then cut tutorial
- Design Space tools (Combine, Attach, Slice, Weld, Flatten, etc.)
- Pattern fill tutorial (for making backgrounds & cutting images to a specific shape/size)
- Free envelope SVGs that can be sized to fit any card
- Presentation boxes for handmade cards
- How to write inside cards with Cricut pens
- How to cut layered designs at a small size
- Design Space tips & tricks
- Cricut pens tutorial
- How to mount multiple designs in the same frame with magic guides
Gnome shadow box video tutorial
Watch the video below to see how to make this project. Keep scrolling for a written tutorial.
How to make a shaped shadow box
Here’s how to make a tree shaped shadow box using a Cricut machine.
Step 1) Download the cutting files & upload to Design Space
Get the files using the box below.
Purchase the File(s)
This cut file is available as part of the Instant Access Bundle.
Or, purchase this design individually here
Before you upload the SVGs to Design Space, you need to unzip the download folder that they come in.
- How to unzip a folder on Windows computer
- How to unzip a folder on a Mac
- How to unzip a folder on an iPad/iPhone
- How to unzip a folder on an Android device
After unzipping, upload the SVG file(s) into your cutting machine software.
Not sure how to use cut files with your type of machine? The following links lead to videos on how to open cut files in:
- Cricut Design Space
- Silhouette Studio
- CanvasWorkspace (for ScanNCut machines)
The download folder also contains printable PDF versions of the templates for hand cutting.
If you are using Cricut Design Space, start a new project and then click the “Upload” button on the left of the screen.
You can then either click “Browse” to find the file on your computer, or drag-and-drop it.
Upload the file in the “Cutting Machine Versions” subfolder called svg-gnome-shadow-box-craftwithsarah.svg
Press “Upload” on the next screen.
After uploading, the design should be automatically inserted onto your Canvas.
To hide the left sidebar (to give you more space for designing!), click the arrow that’s about half way down the page.
If the design doesn’t get inserted onto your Canvas, it will show under “Uploads” in your “Recently Uploaded Images”. Click on it and then press “Add to Canvas” to put it onto your Project.
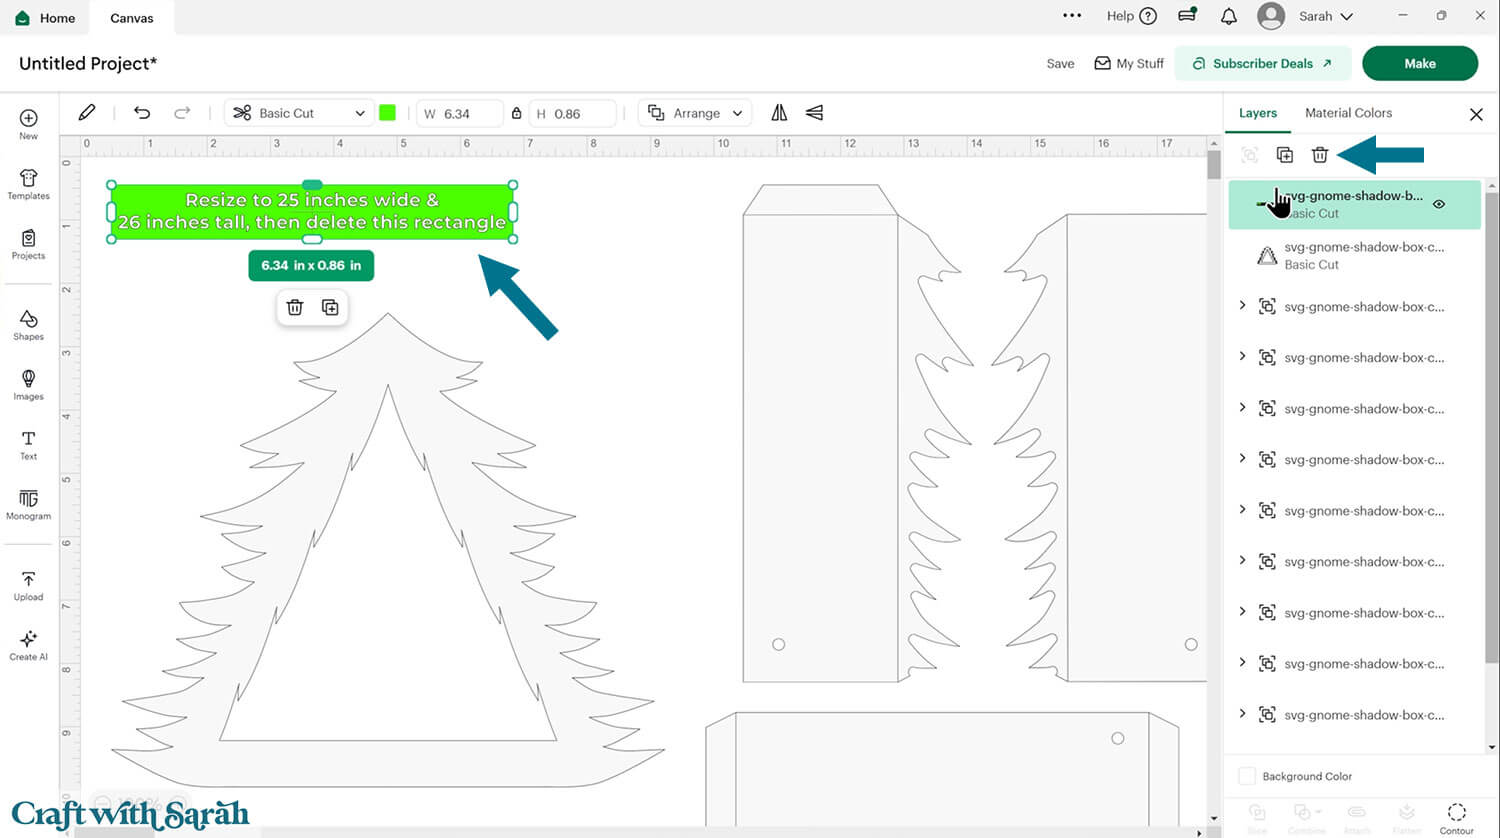
The design should load in at 25 inches wide and 26 inches tall. If yours is different, change it to those measurements.

After checking the size is correct, click the design and press “Ungroup”, which is located at the top of the layers panel and in the floating bar along the bottom of the screen.
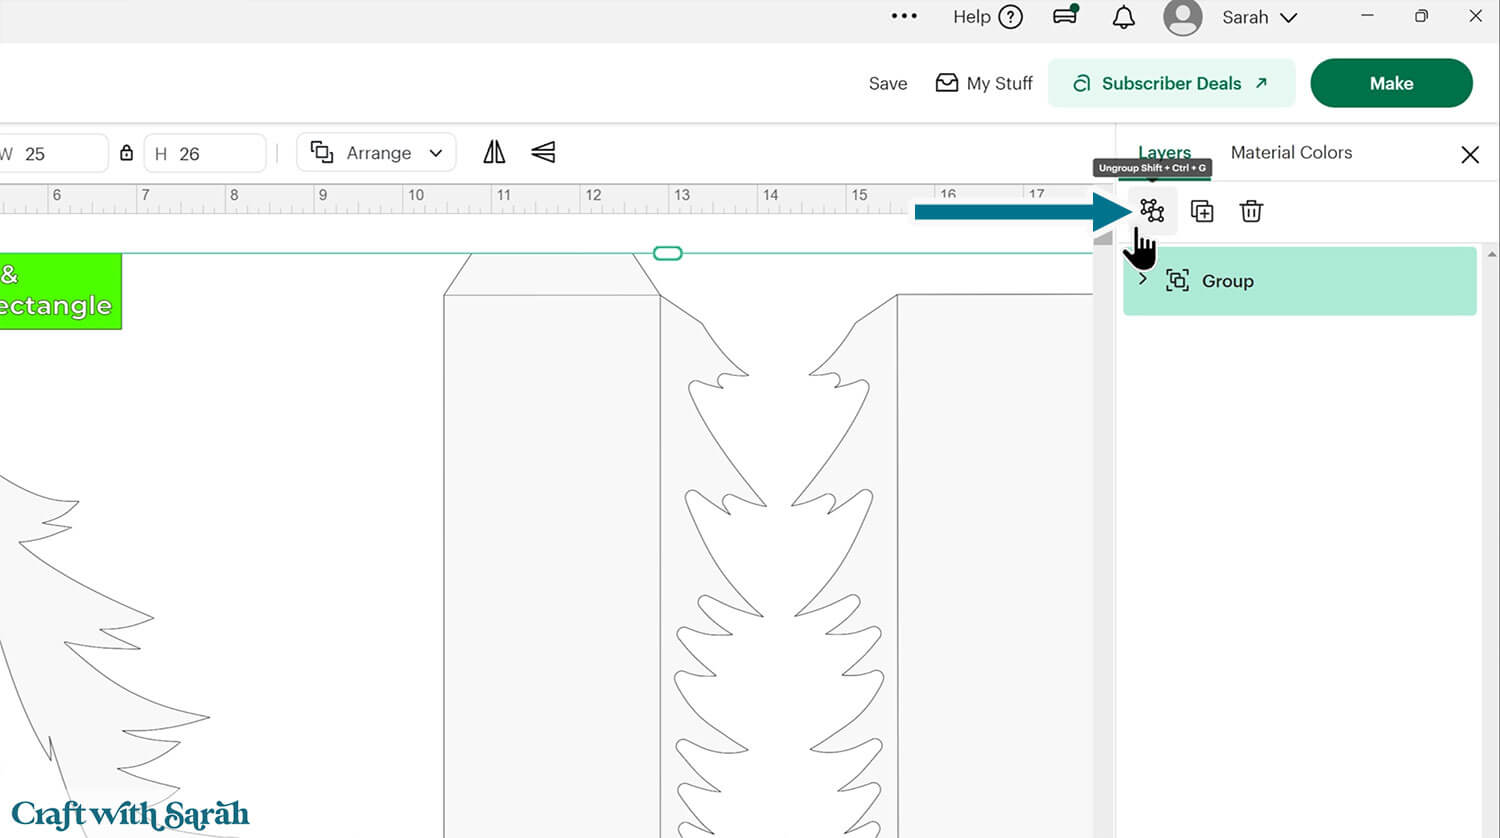
Click the green rectangle layer with the sizing information and delete it.
Step 2) Format the score lines
You need to format the score lines of the design to tell the Cricut to score them instead of cutting them.
If you are making this project with a Cricut Joy Xtra, or if you don’t have a scoring tool, here is a tutorial on how you can still score with those type of machines.
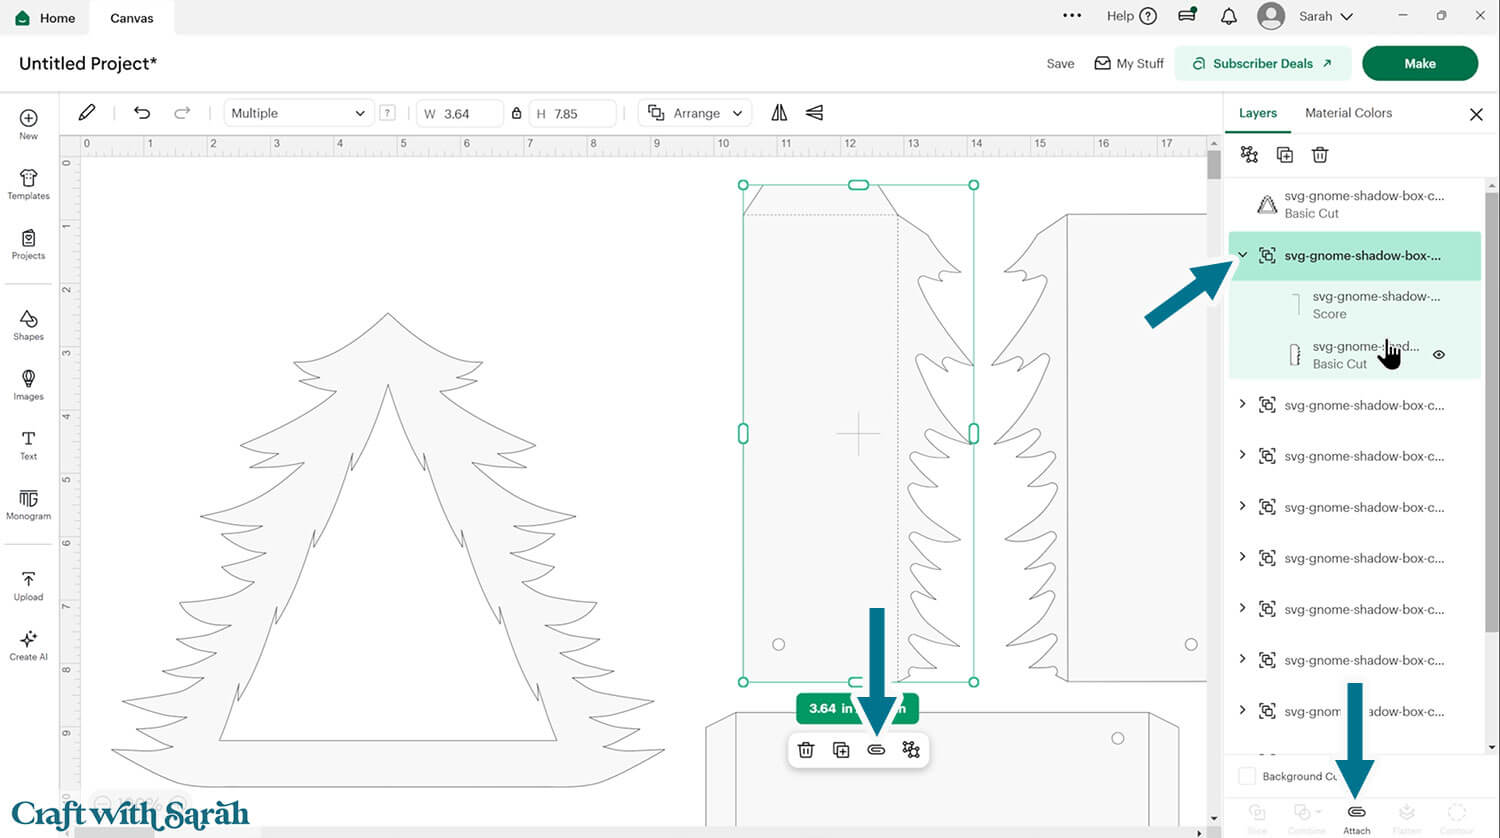
If you look in the layers panel, you will see that most of the pieces in this design have a little arrow/chevron symbol to the left of them in the layers panel. This means that they are part of a Group.
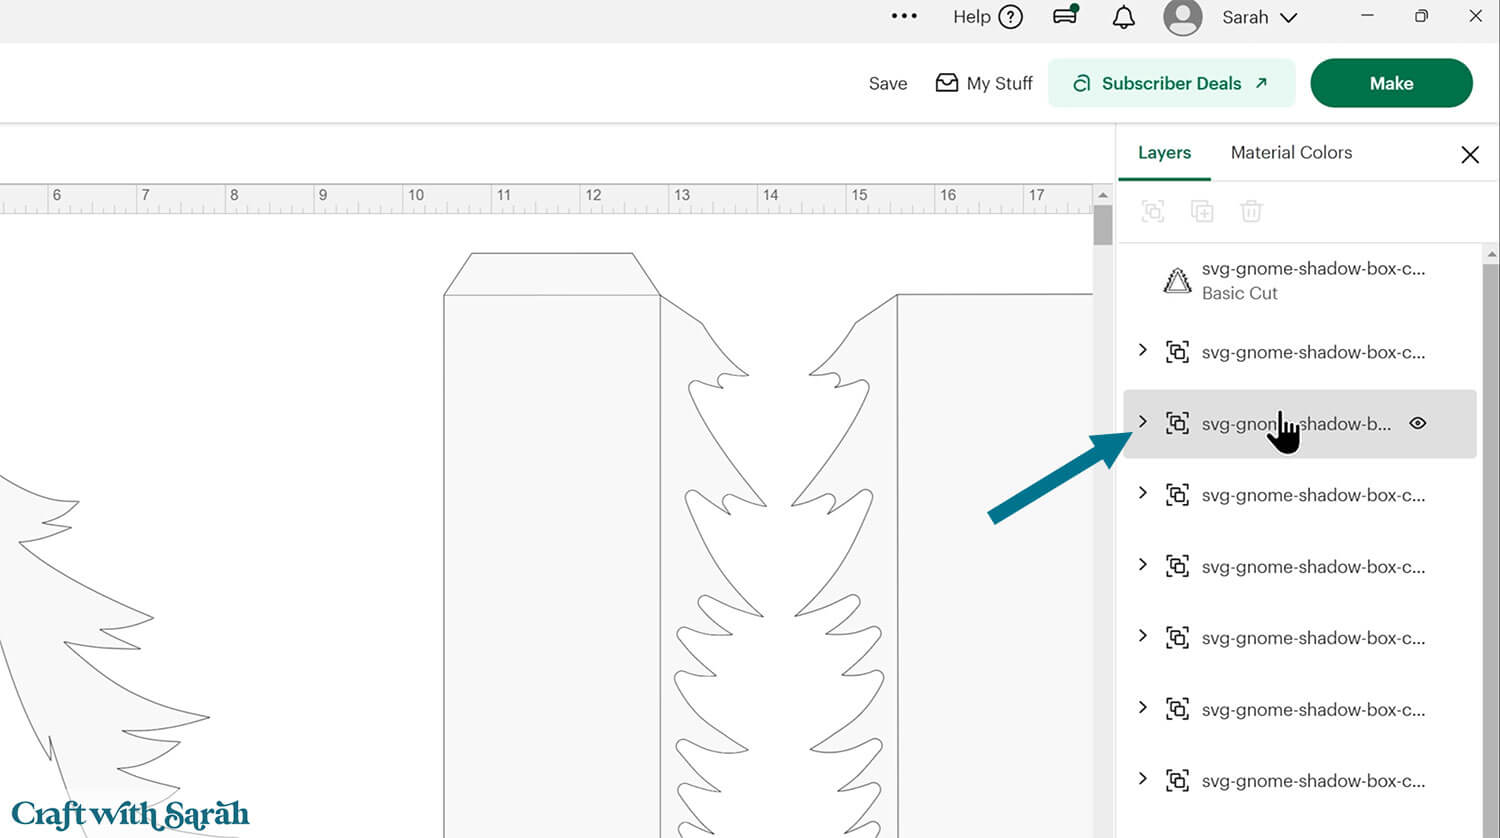
Click one of the groups and press the arrow to open up the layers.
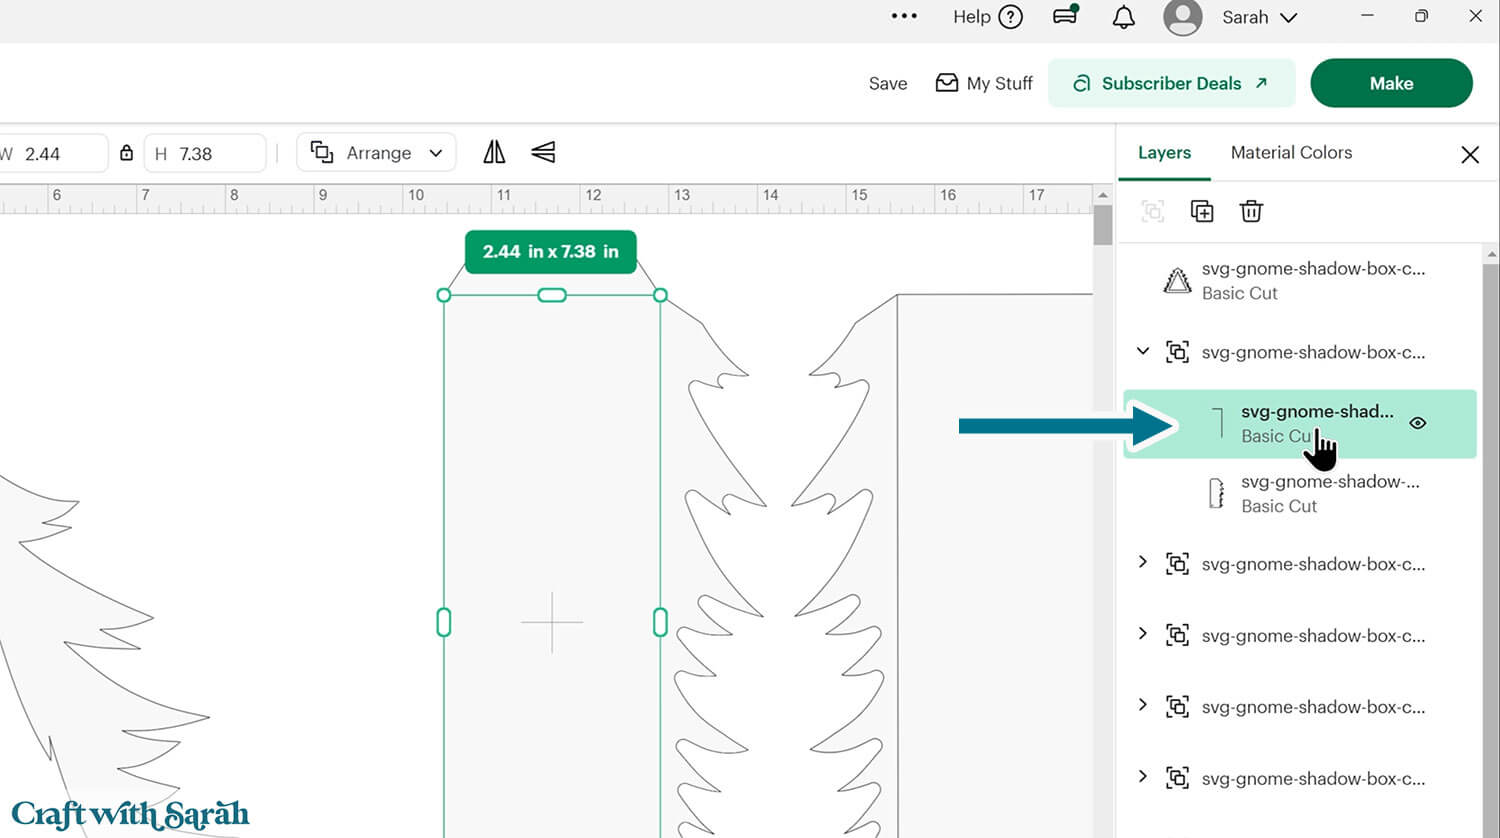
Each group consists of two layers: a solid white shape at the bottom and a single-line layer on top.
Click the single line layer in the group that you have opened.
Change it to “Score” using the Operations dropdown menu.
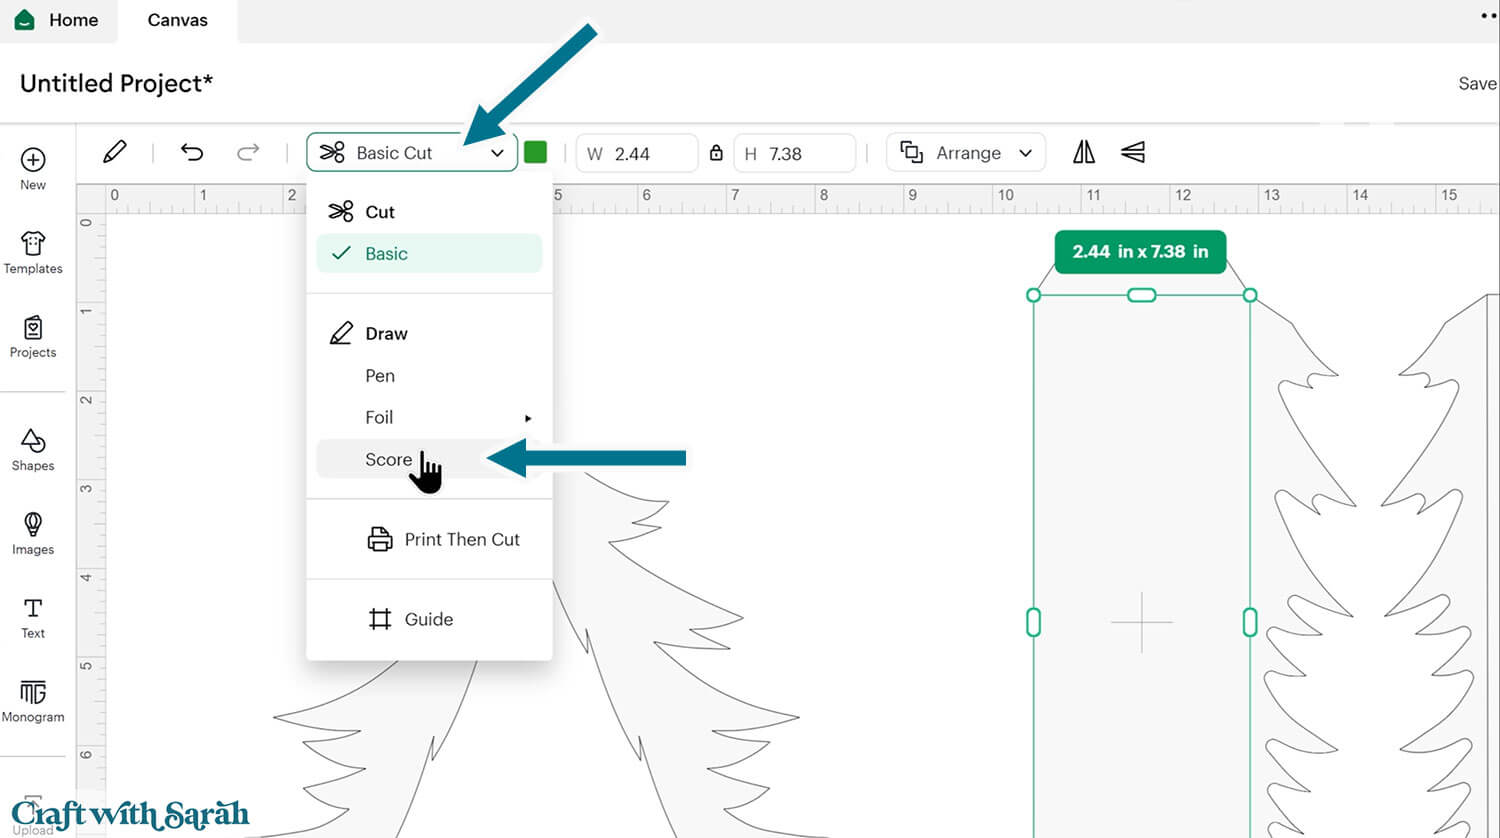
Click to select the group (of 2 layers) and press “Attach”. Attach is what tells the Cricut where to do the scoring.
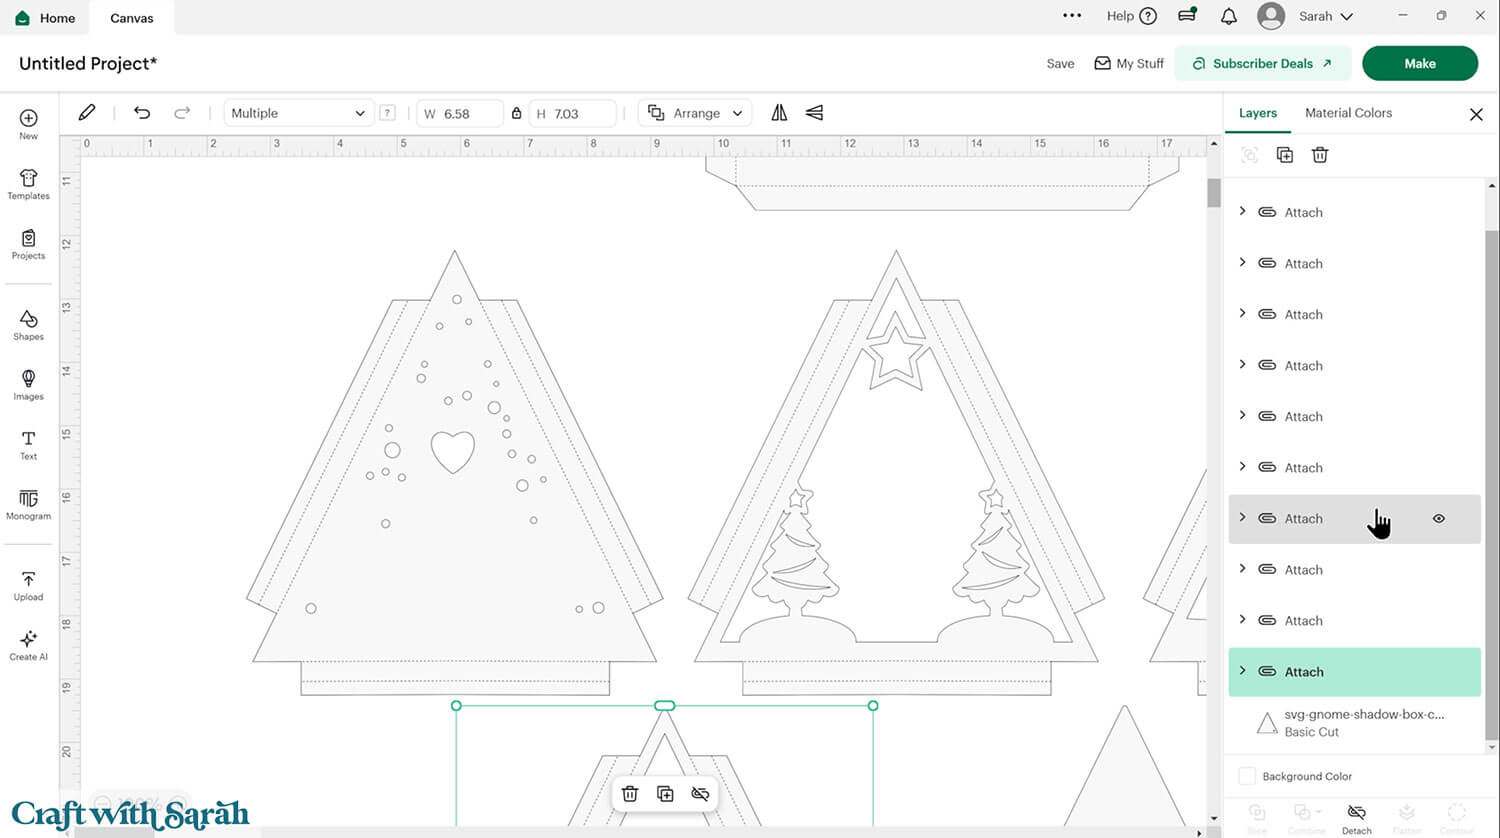
Repeat this for all of the layers in the design that need score lines.
After finishing, your layers panel should look like this:
Step 3) Cut out all the pieces
When you’re happy with how the project is looking in Design Space, click “Make” and follow the instructions on-screen to cut out all the pieces.
To change the paper size, go into the dropdowns over on the left side of the screen and choose the paper size that you want to use. You need to change it for every single colour.
To save space on your cardstock, you can move things around by clicking and dragging. Make sure when you’re moving things about that nothing overlaps because otherwise, it won’t cut out properly.
TIP: New to using cardstock with your cutting machine? Check out these machine help guides for Cricut, Silhouette and ScanNCut that go through every step of the process, including tips for getting the best quality cuts from your machine.
Step 4) Fold the score lines on the scene pieces
This tree shadow box goes together in a clever way, with folded paper tabs along each side of every layer to give it depth and dimension without having to use foam squares.
Take each scene piece that has tabs along the edges and fold them inwards. There are two score lines on each tab – one to create the “vertical” rise between the pieces and the other to be folded over flat to rest on the layer below when they are all stacked together.
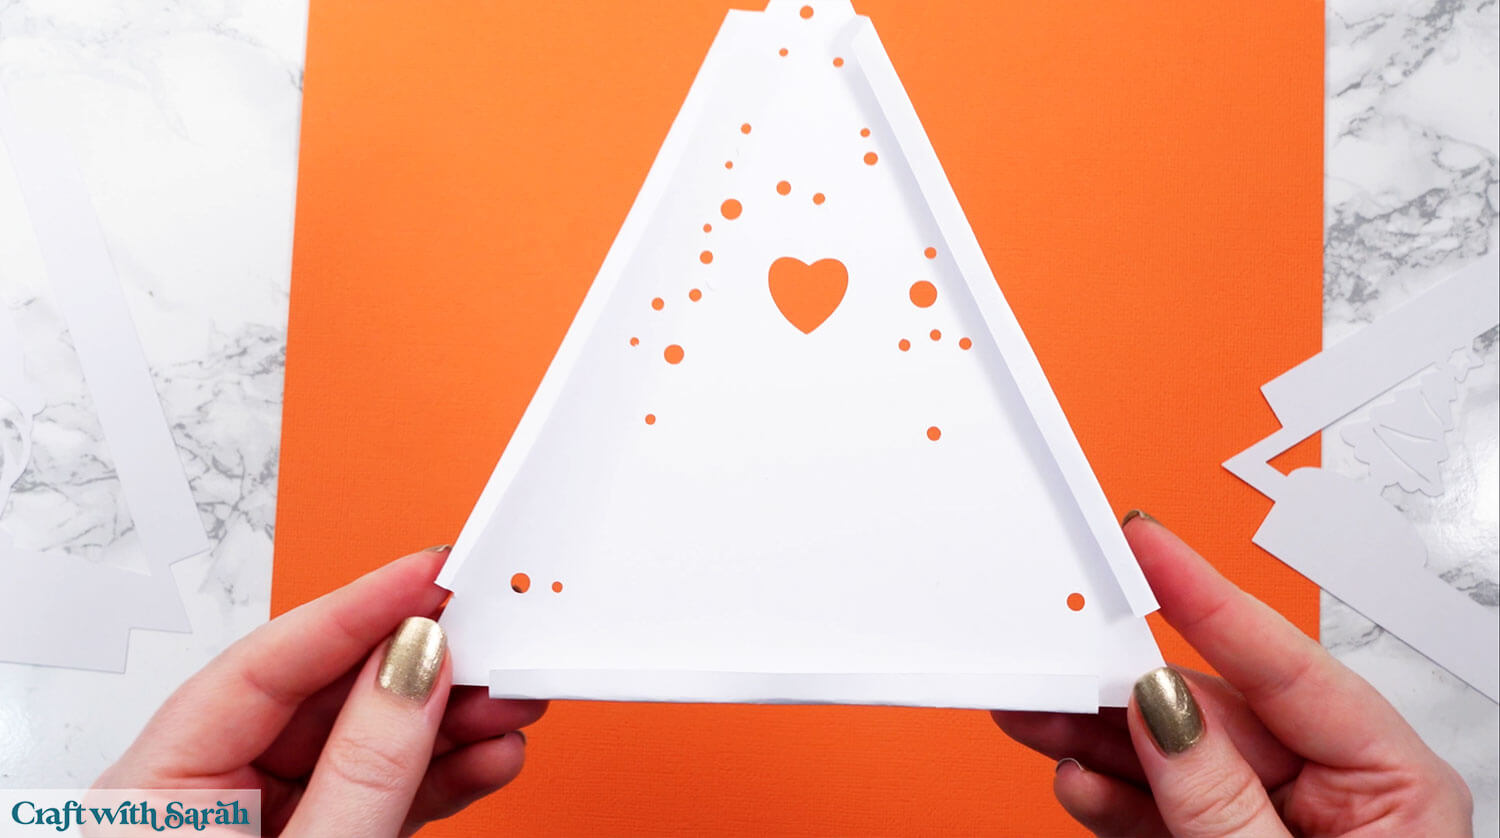
Also fold up the tabs on the scene pieces.
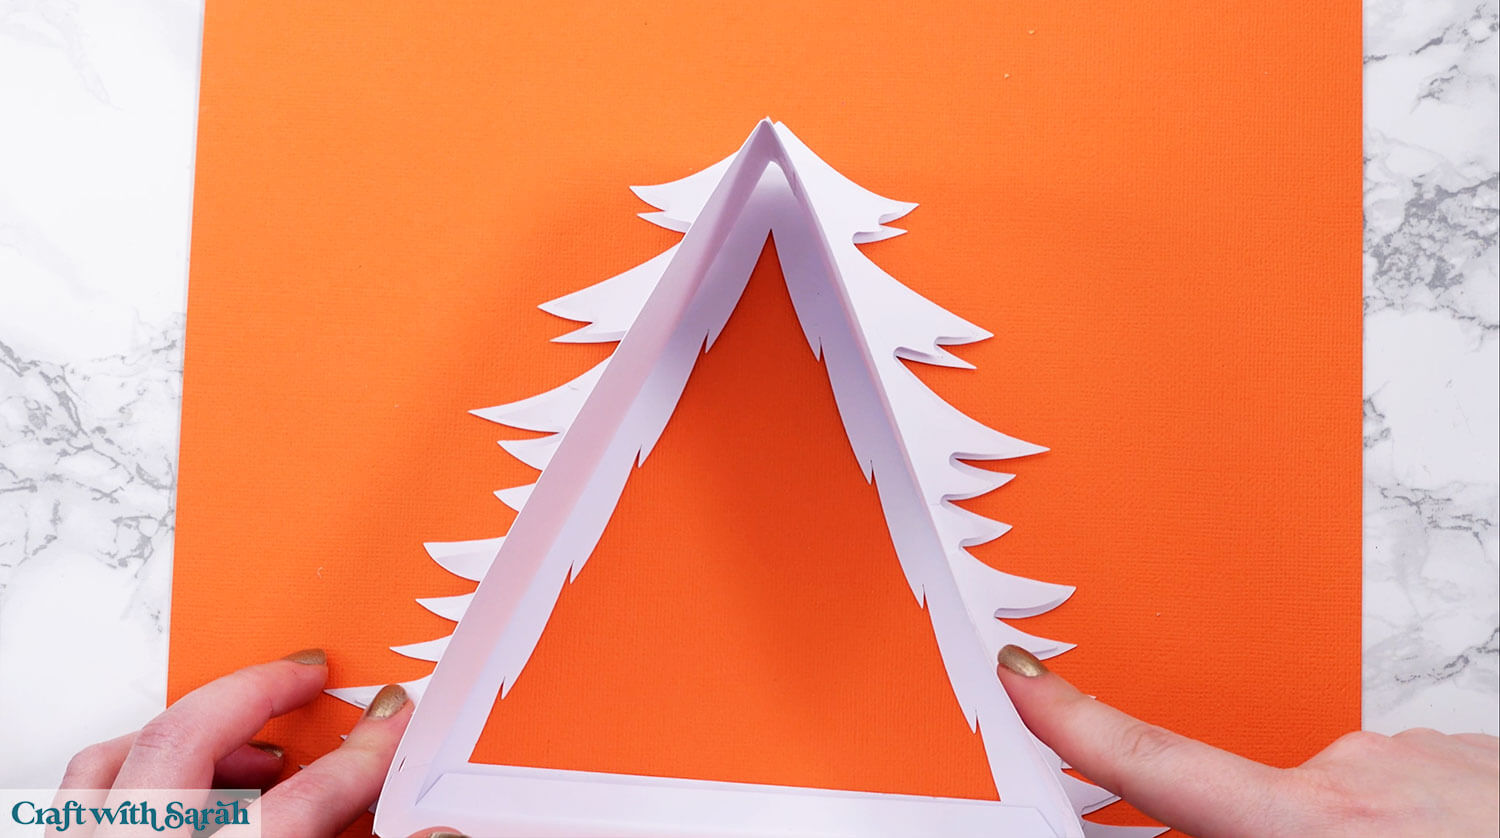
Step 5) Build the back of the frame
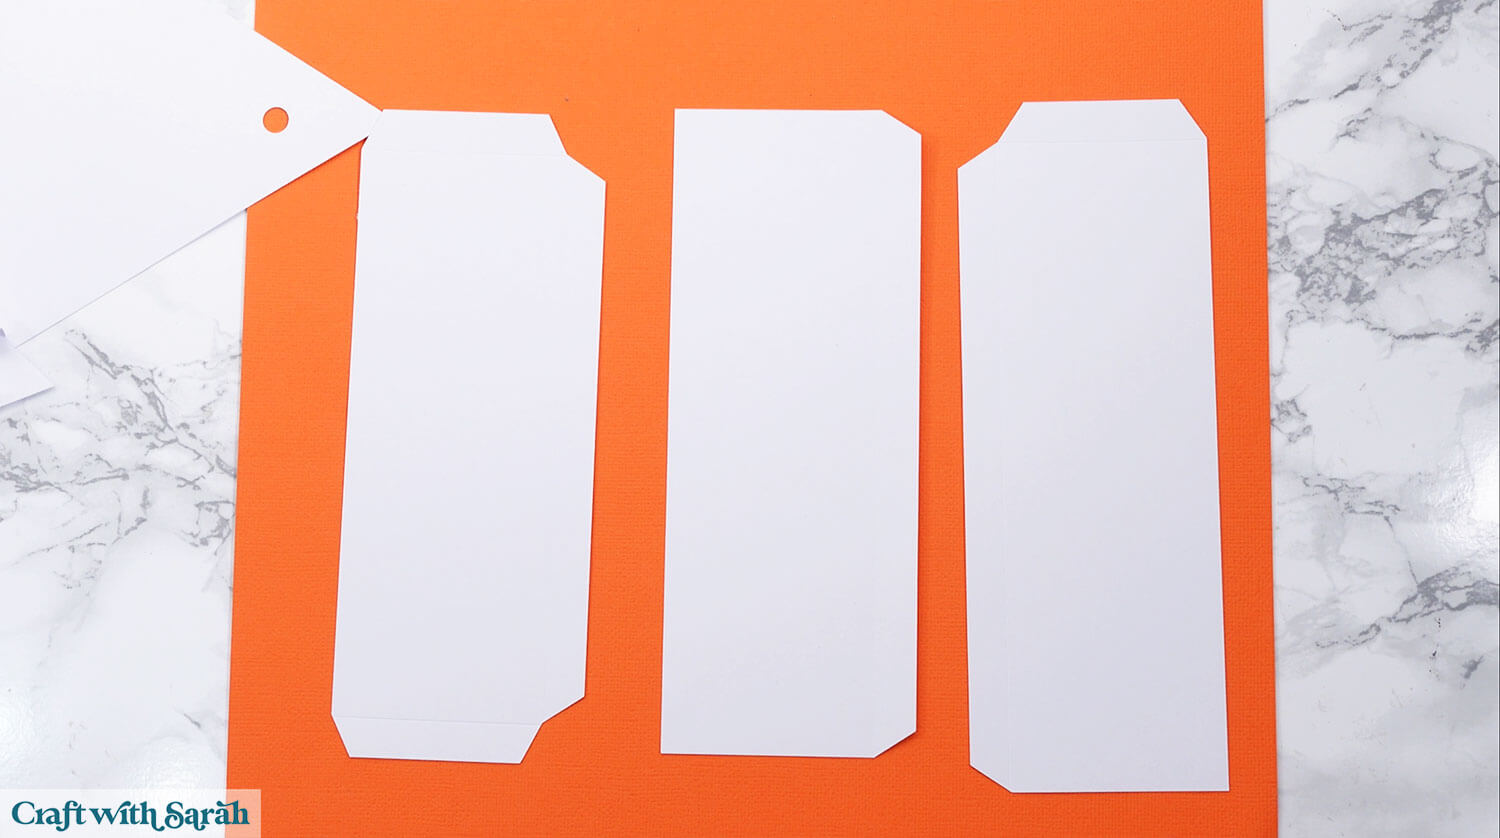
Select the side pieces that do NOT have little circles cut out of them.
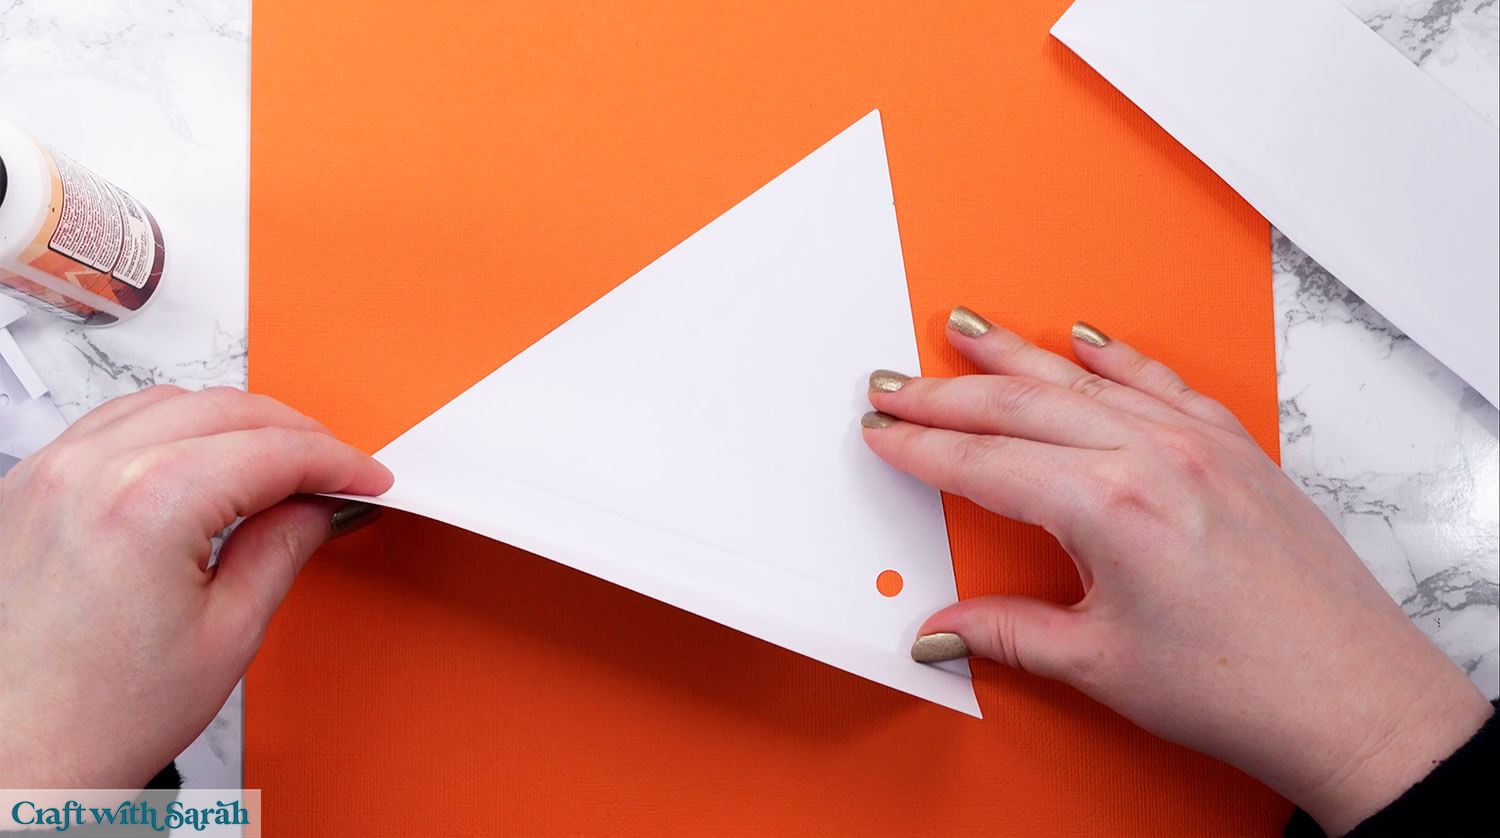
Fold along all the score lines.
Take the solid triangle shape that has a tiny circle cutout on one of the points.
Glue the tabs of the side pieces to the triangle.
Get the side piece as close to the edges of the triangle as you can.
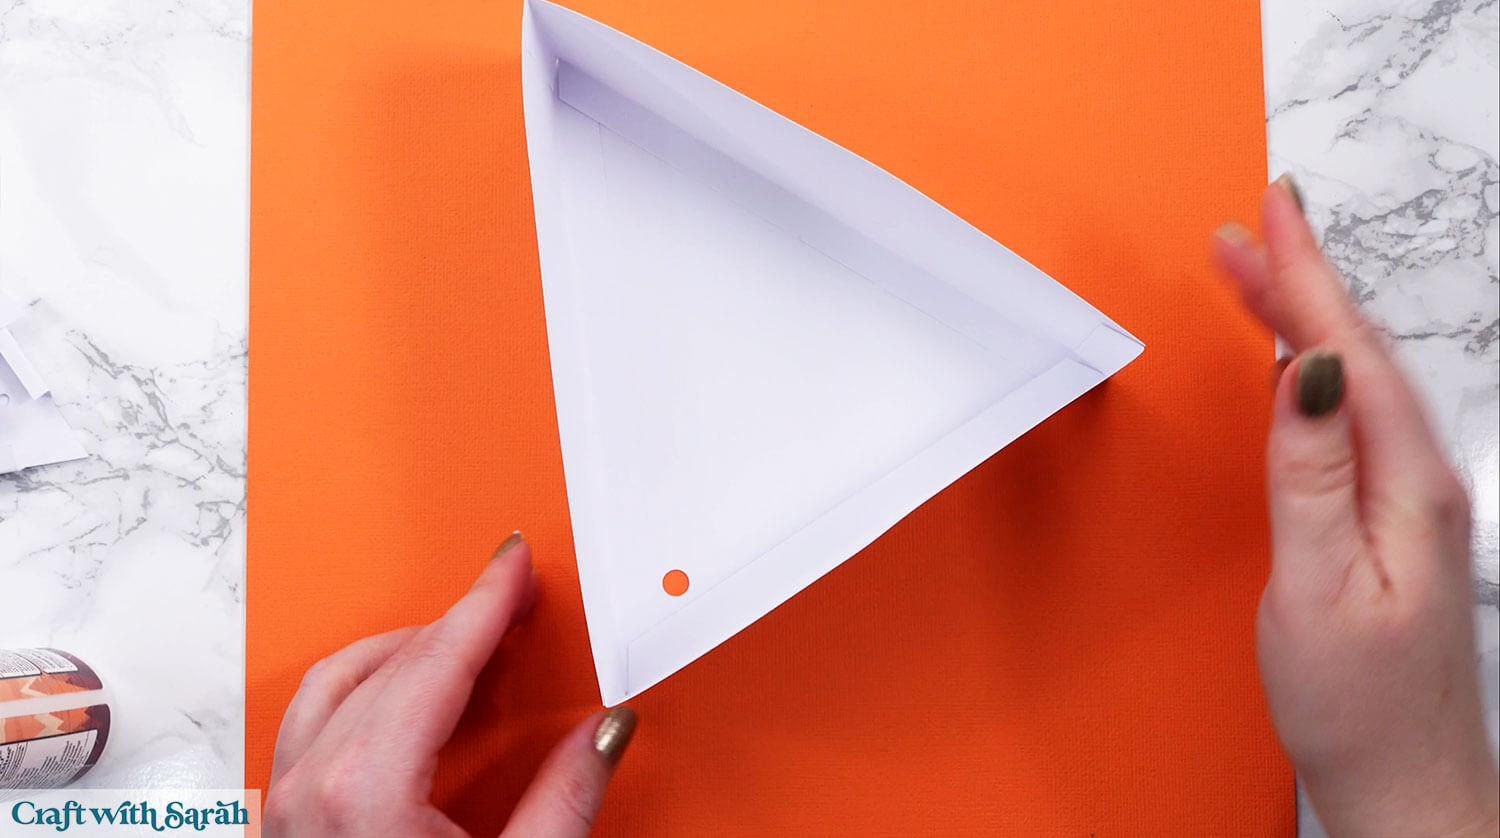
Repeat for the other two sides, attaching all the tabs to the adjacent sides as well as gluing to the base triangle.
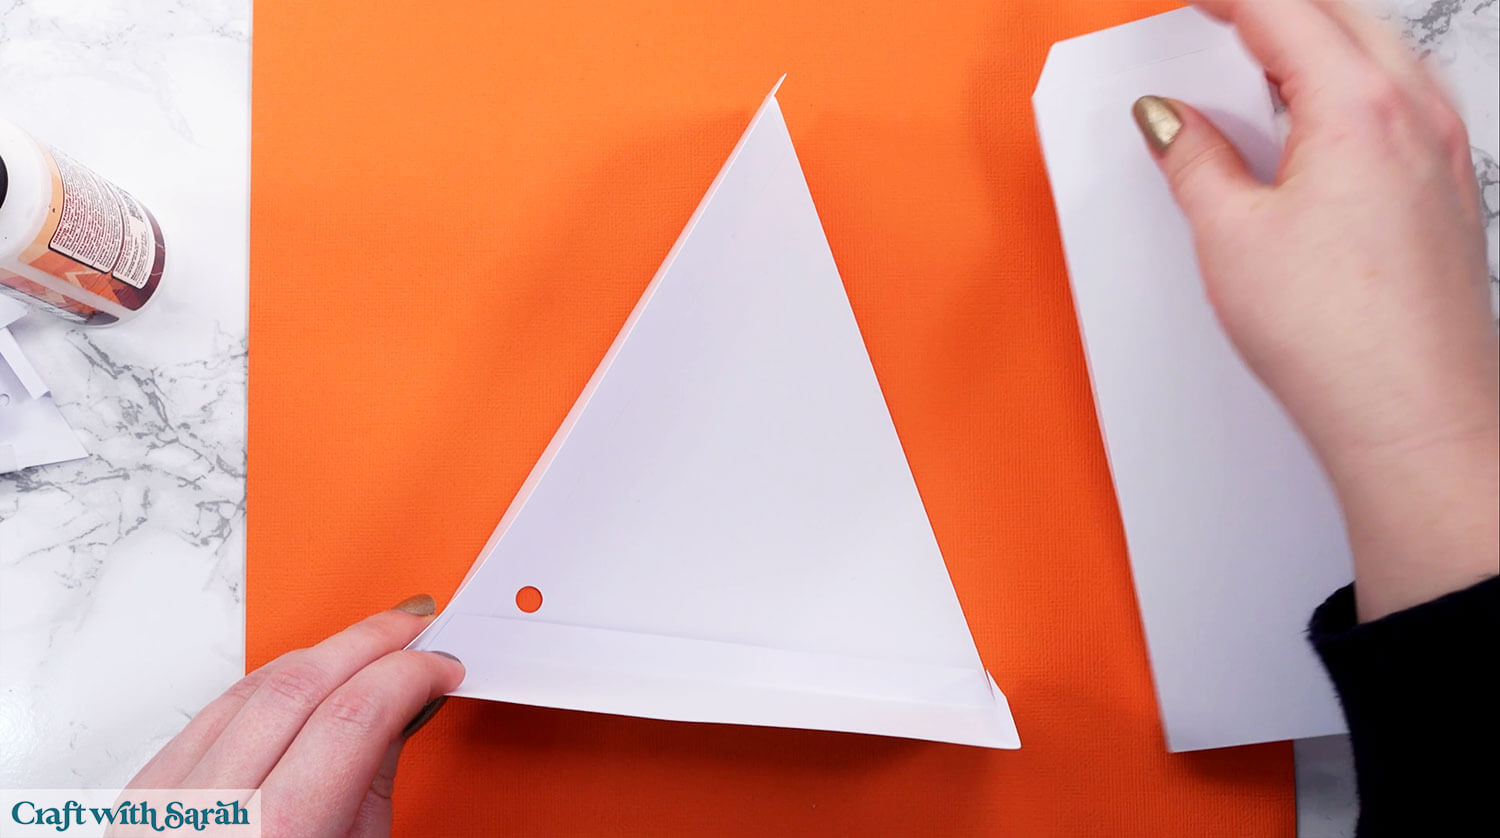
Finish with the third side.
Step 6) Add the fairy lights
If you are adding fairy lights into your tree, now is the time to do it.
They will be threaded through the circular hole so that the lights are on the inside but the battery pack is on the outside, to make it easy to turn on and off.
It doesn’t matter which direction the circle cutout is facing.
Ideally you should use fairy lights with a small, thin battery pack.
Secure the battery pack to the back of the triangle box with blu tak or similar.
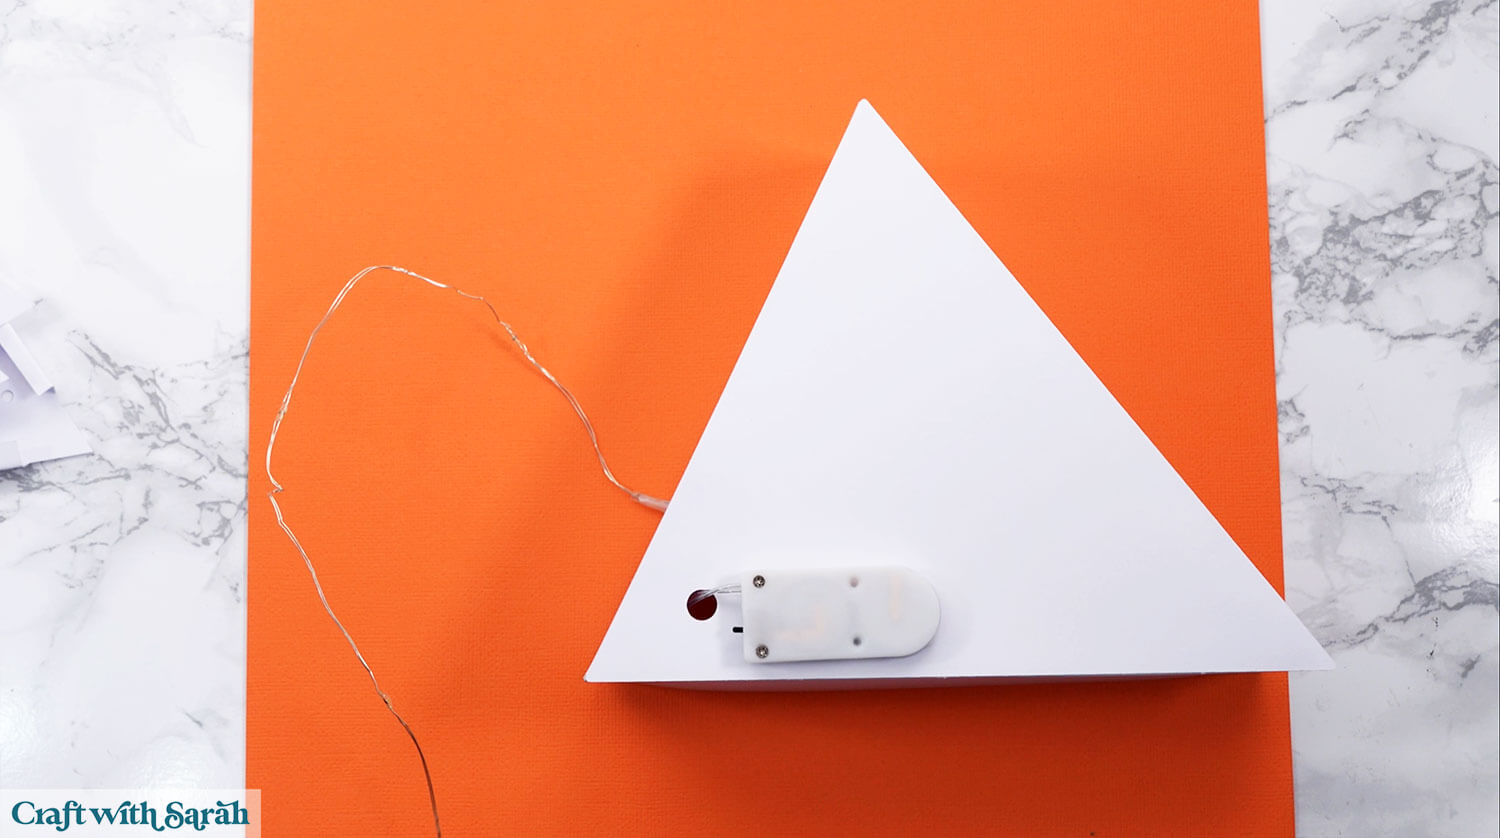
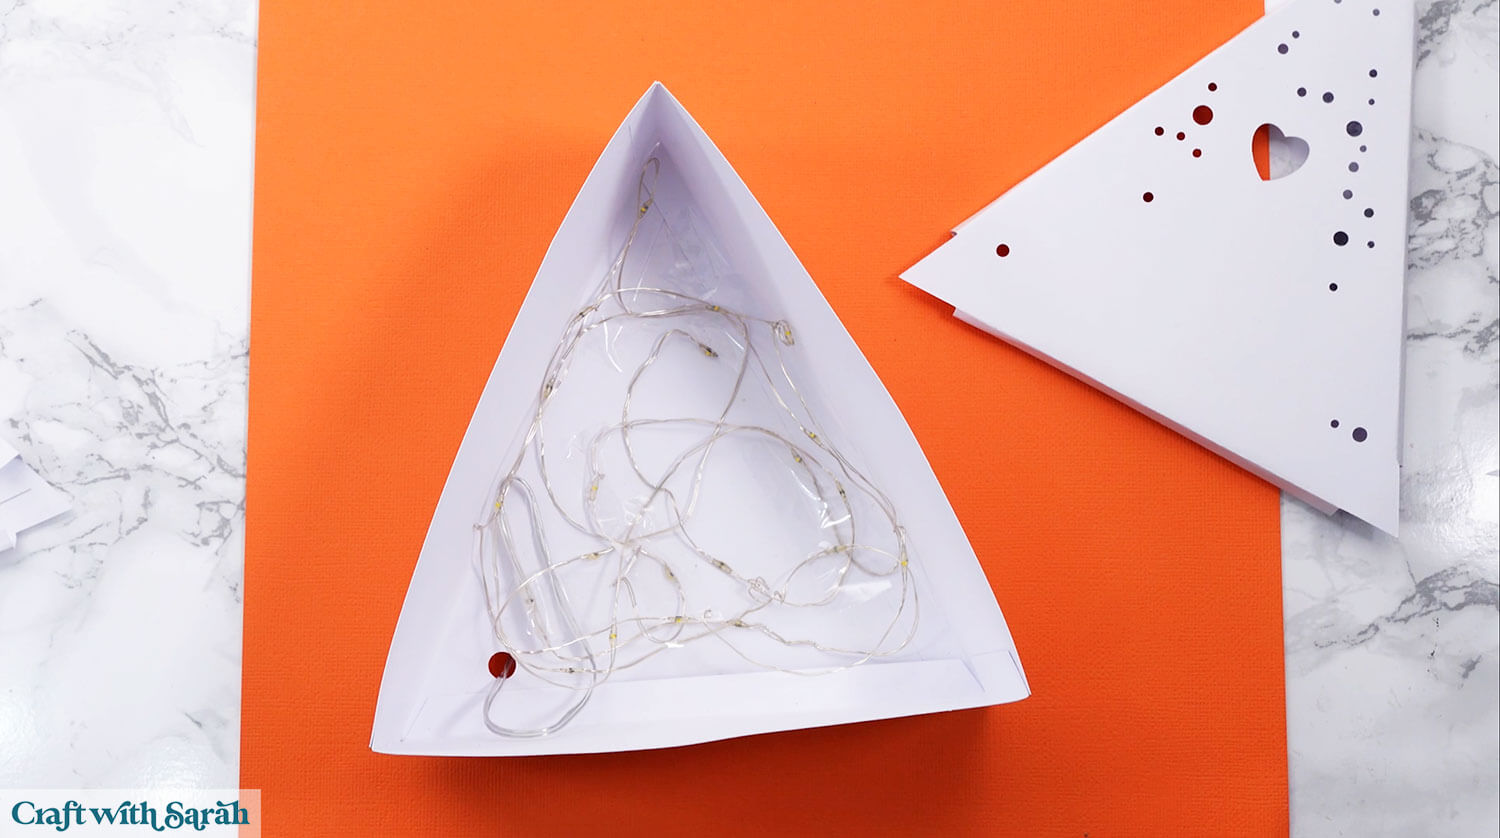
Secure the lights on the other side with sticky tape or masking tape so that there is an even distribution of lights.
Be mindful of where the heart cutout will appear on the scene layers – you don’t want any cables to show in that space.
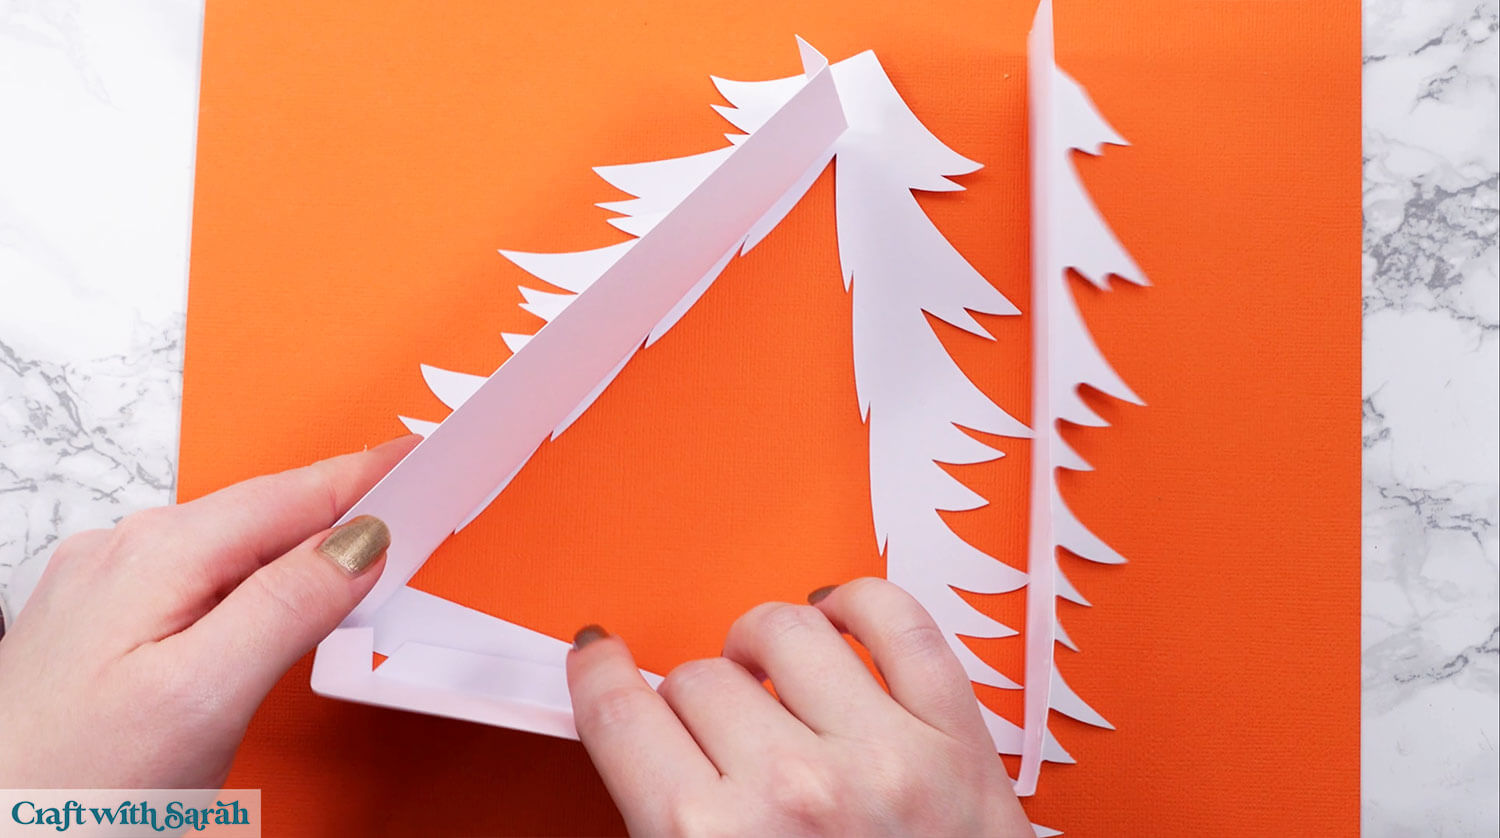
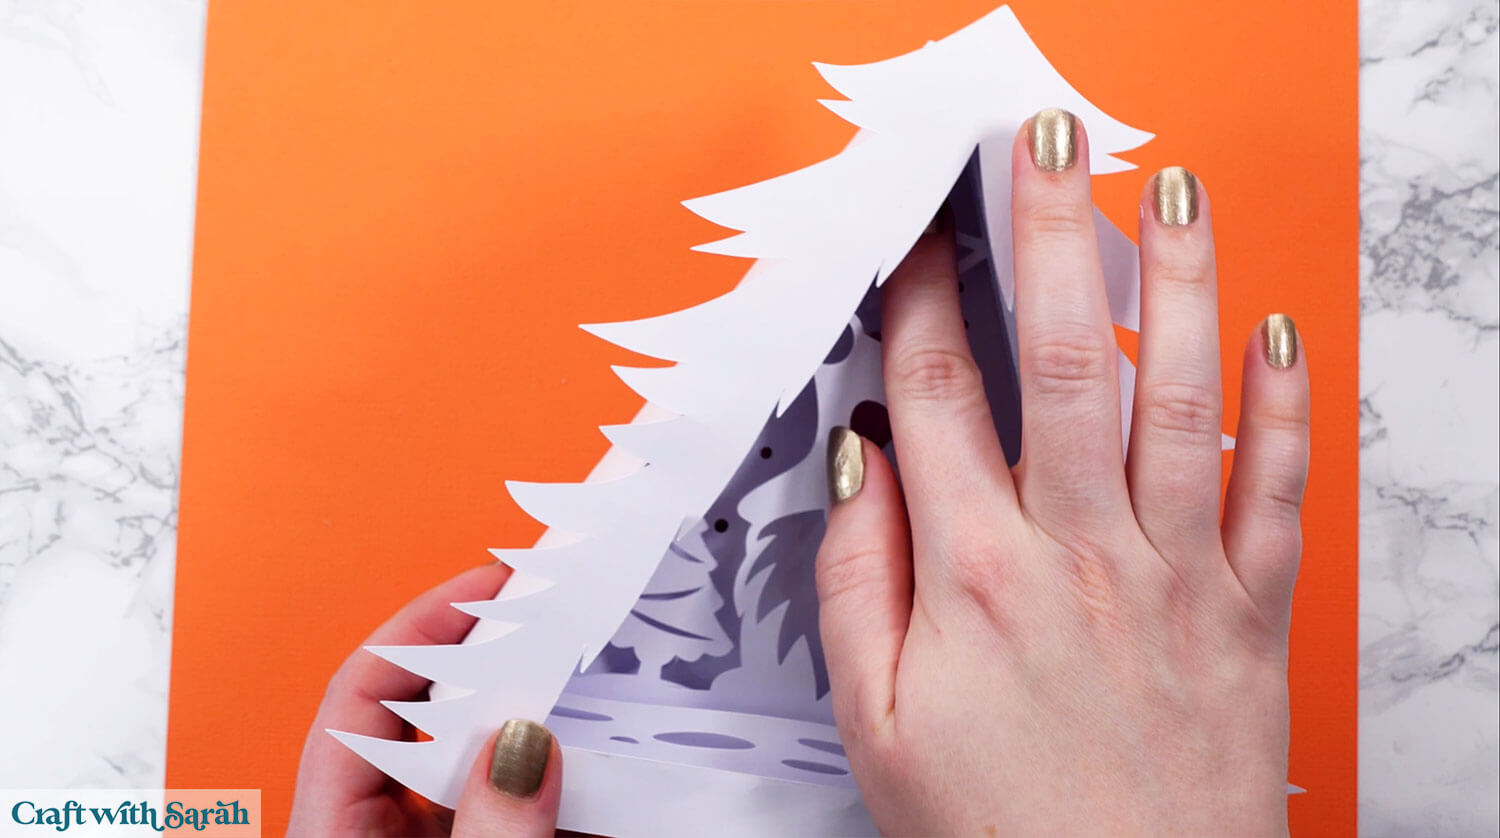
Step 7) Build the front of the frame
Select the three side pieces with the circles cut out of them.
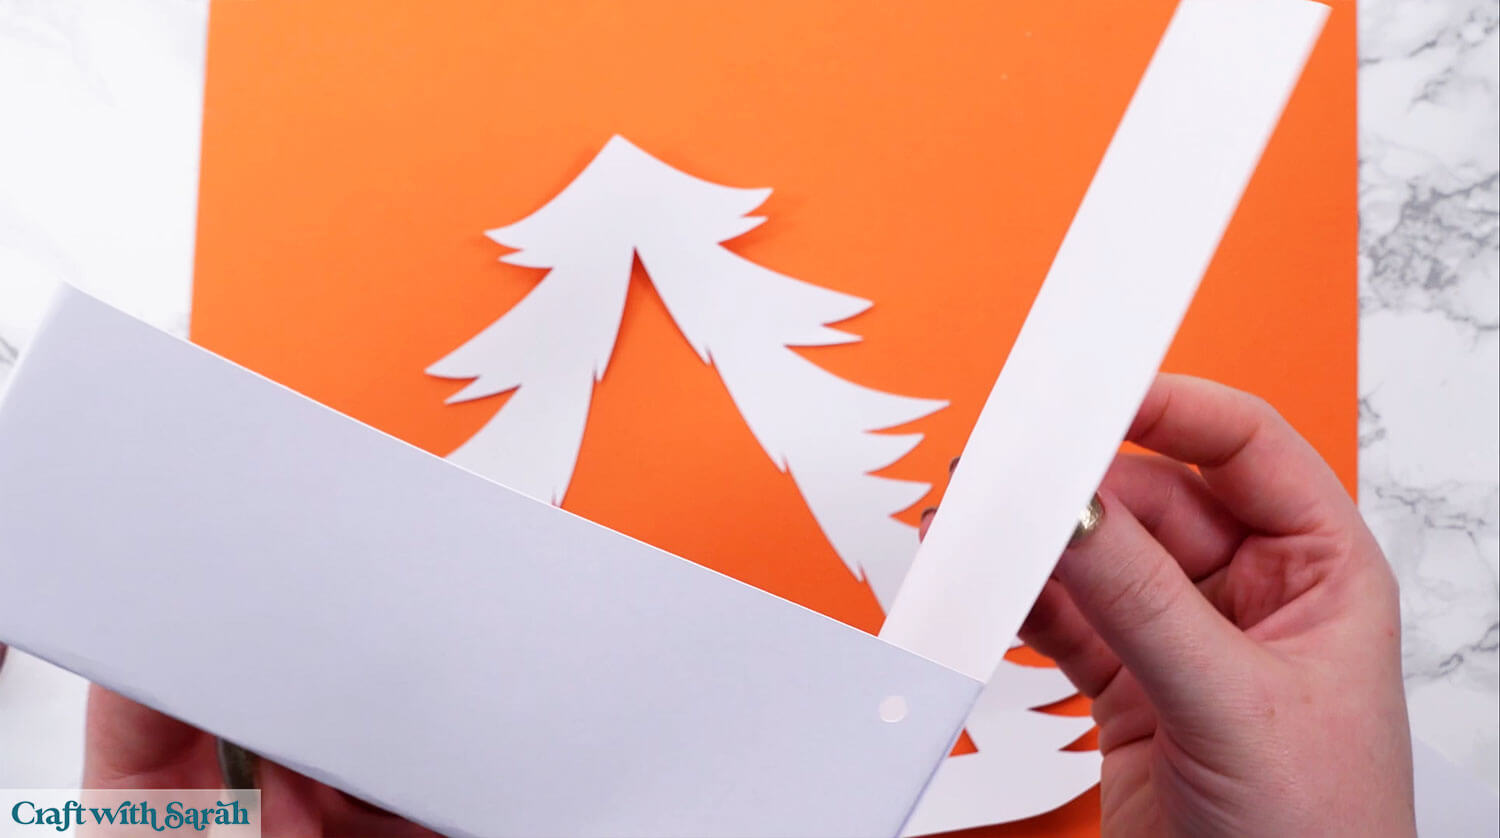
Use the tabs to glue them into one long line, then glue to the back of the tree shape.
Note that the tree edges on the long line won’t reach all the way to the edges of the main tree frame.
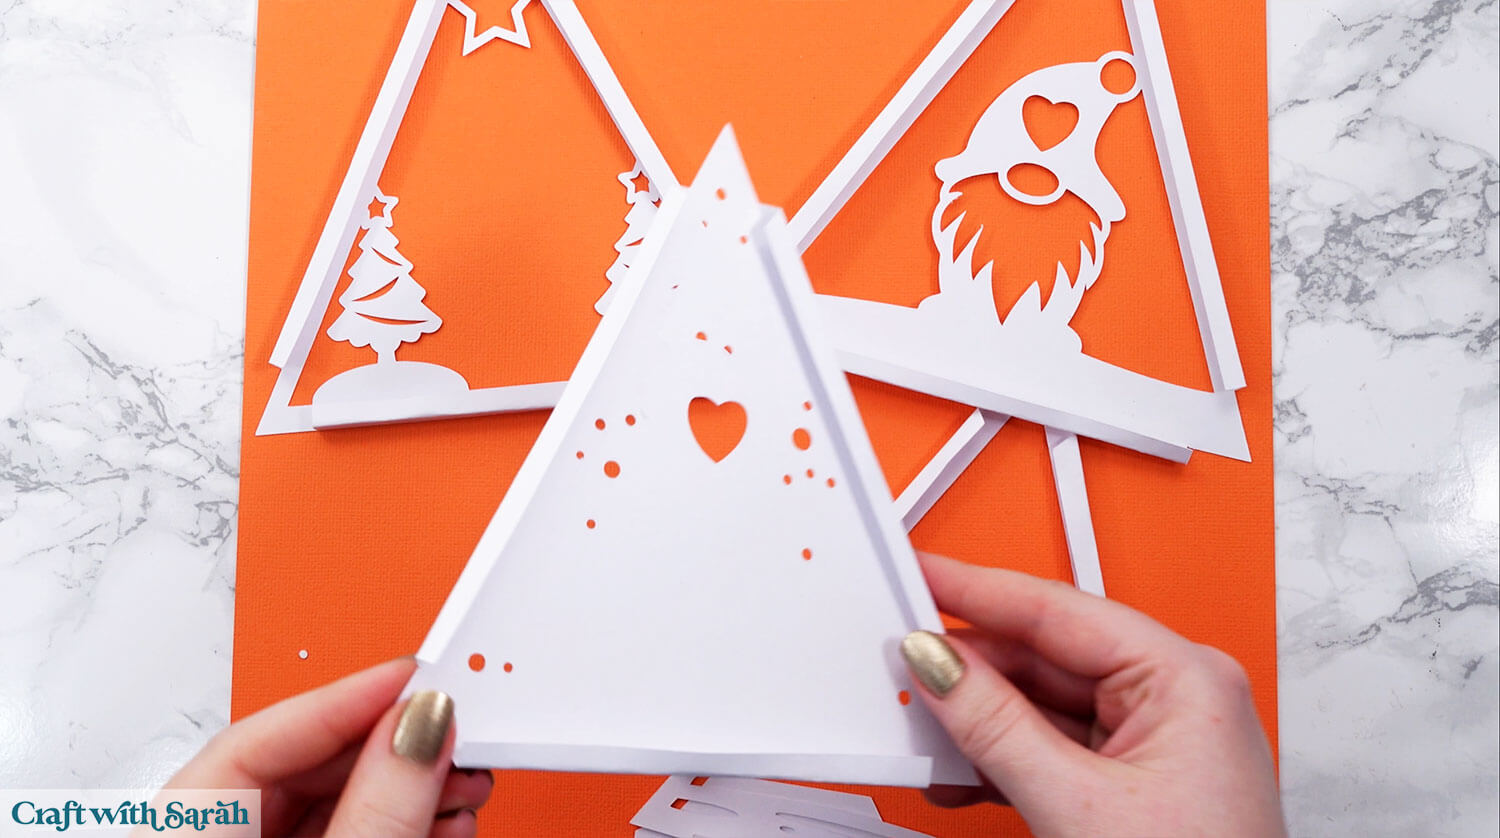
Step 8) Add the layers inside the frame
Place the scene layers into the base of the tree.
It starts with the snowy layer, then the star and trees, then the gnome and then the snow drift along the bottom.
Add the lid on top – it slots INSIDE the base (not around the outside).
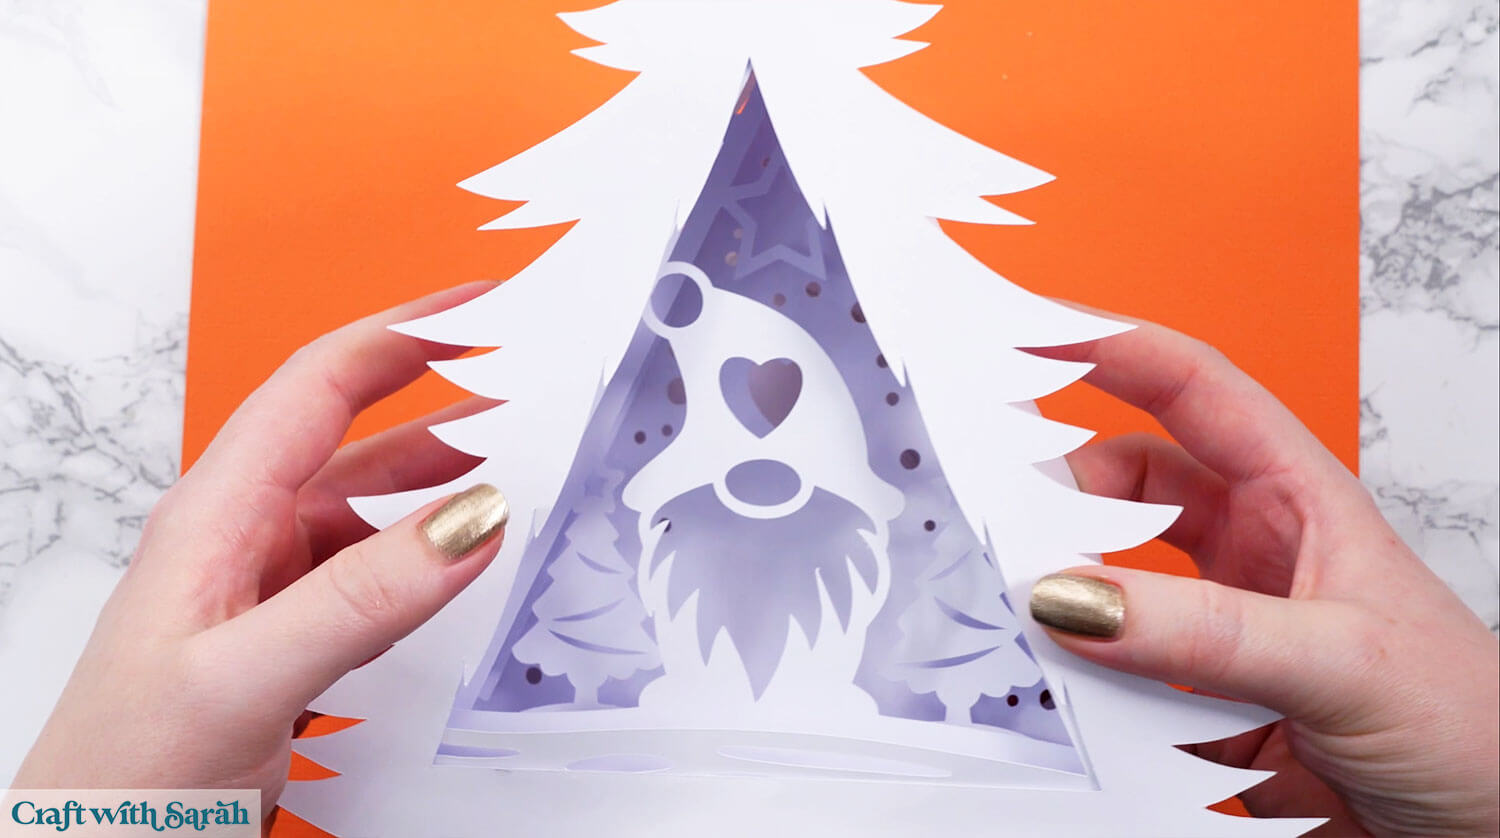
You will probably need to wiggle the scene pieces about to get them to sit flat, and to generally tidy up the appearance of the layering.
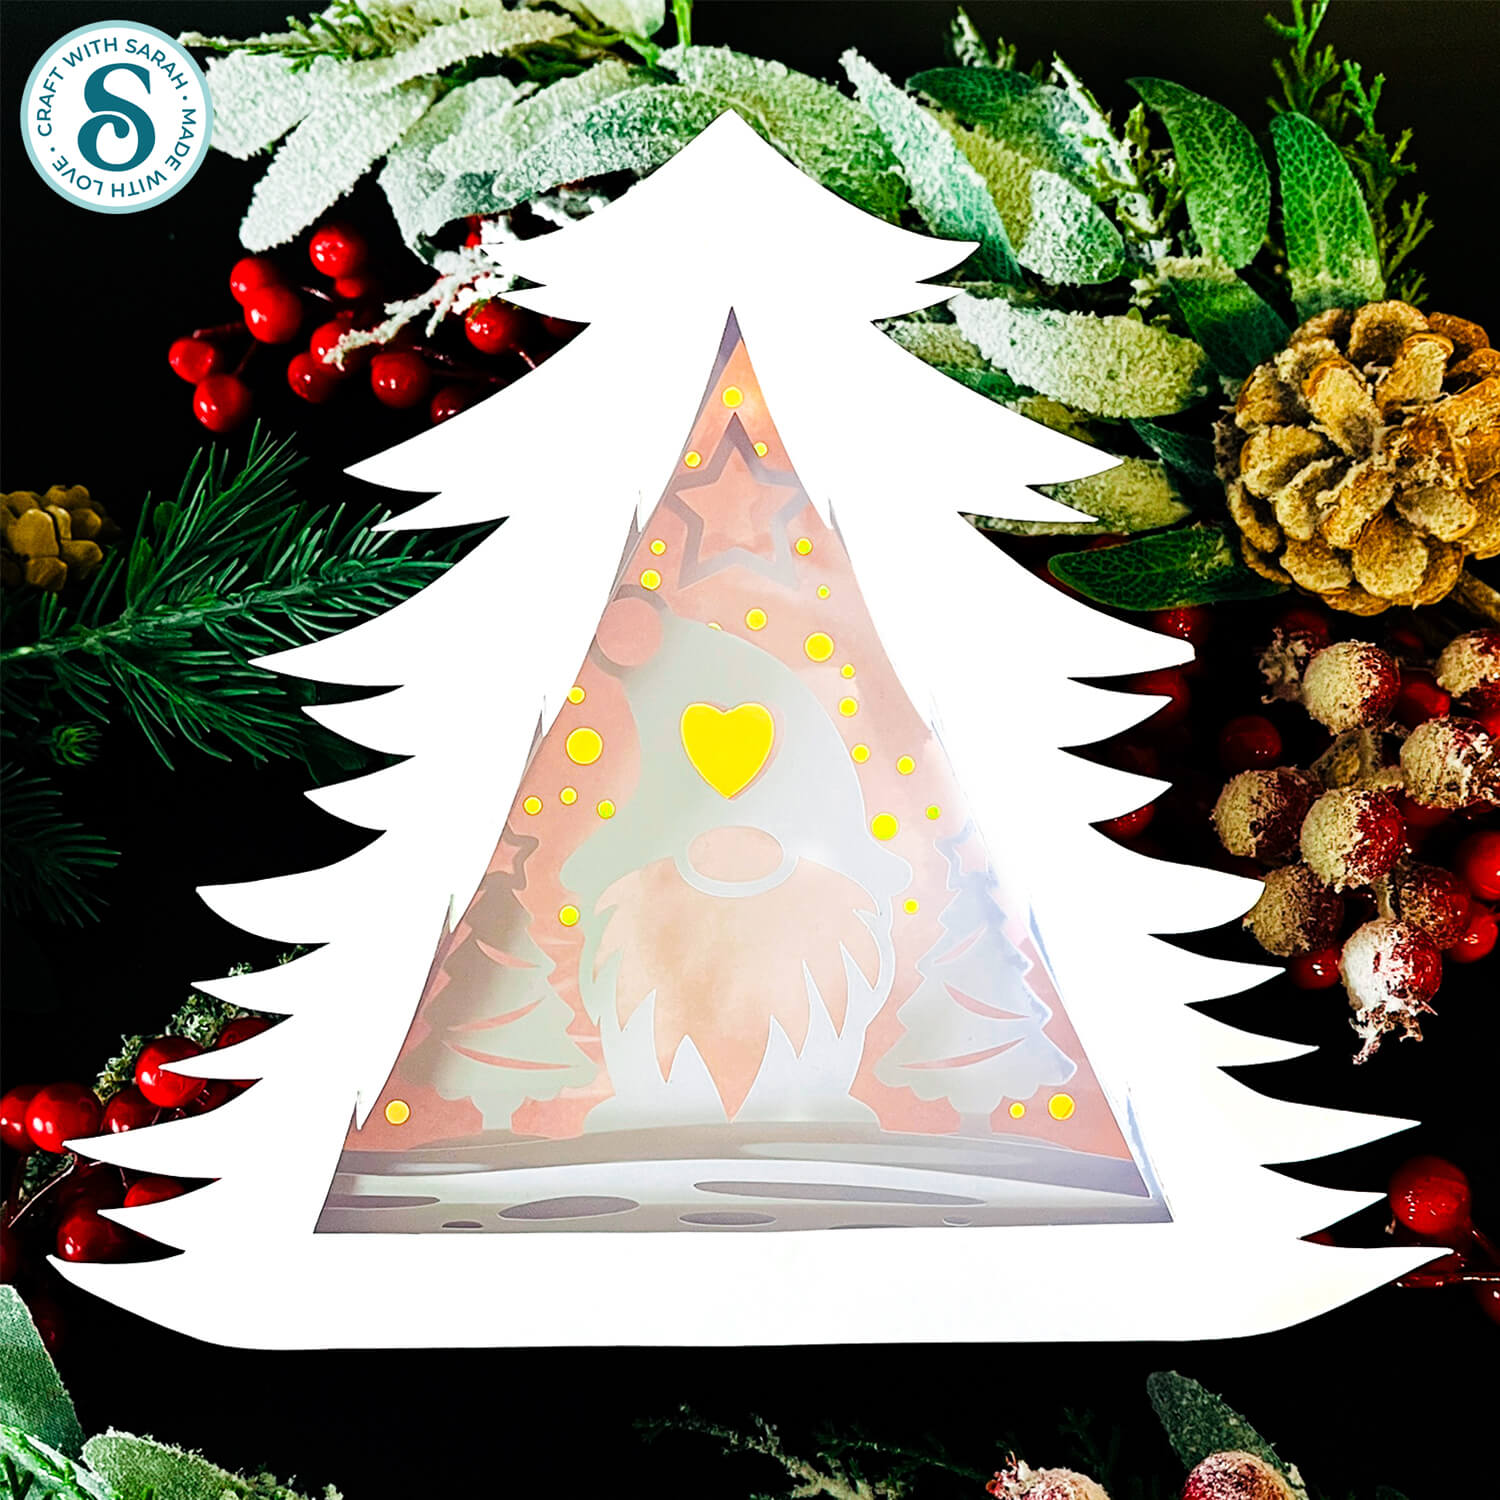
Turn the lights on to see it glow.
Christmas gnome shadow box ideas
With your tree-shaped gnome scene assembled, you’ve created a unique and memorable holiday decoration that can light up any space.
I love that the tree is freestanding as it makes it so easy to display.

Love Christmas gnome craft projects?
Check out these other festive gnome themed Cricut crafts:
- Christmas tree gnomes
- Gingerbread gnomes
- Reindeer gnomes
- Gnomes tangled in Christmas lights
- Santa Claus and Mrs Claus gnomes
- Gnomes with Christmas presents
- Angel gnomes
Get all those designs and more, including a full Nativity scene, in the Christmas Gnomes Mega Bundle.
Happy crafting,
Sarah x

