Spring Window Suncatchers 🦋 Spring CC 2026
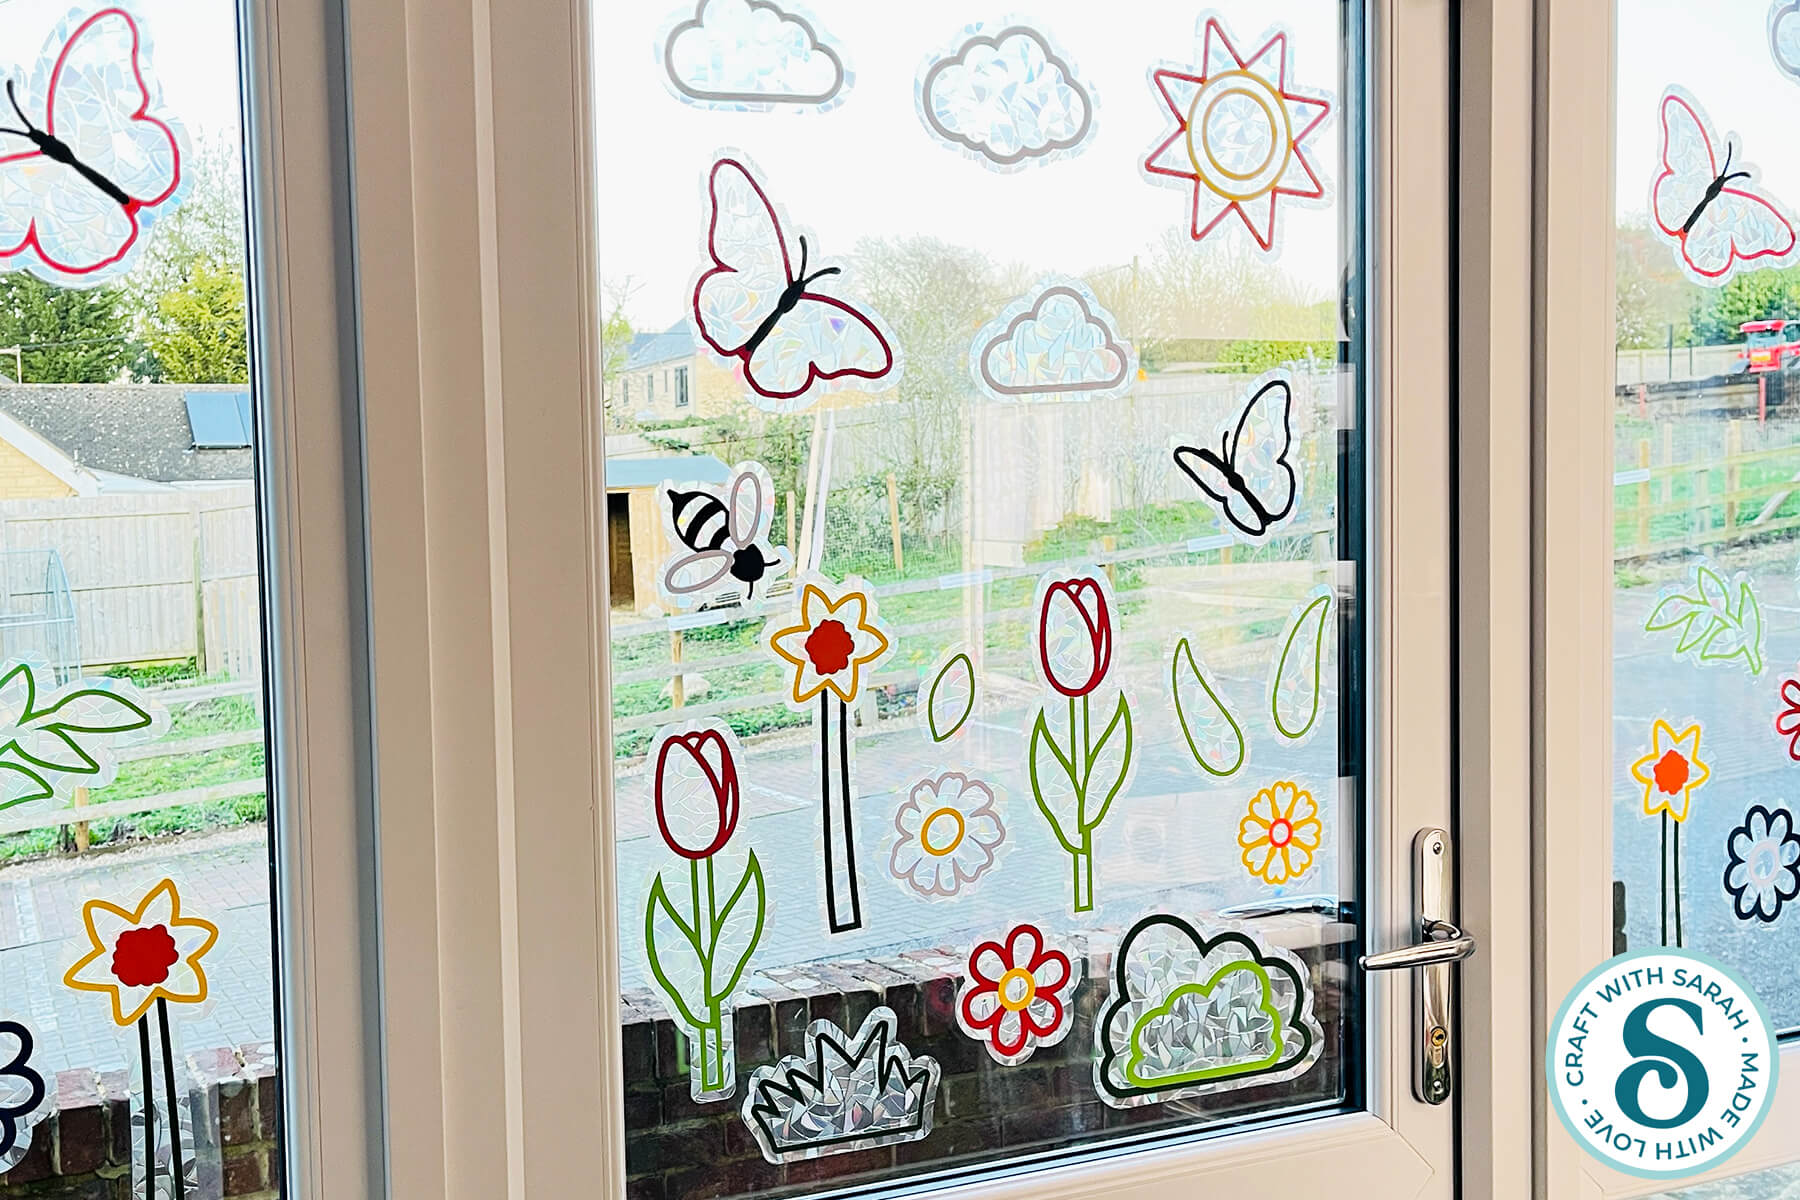
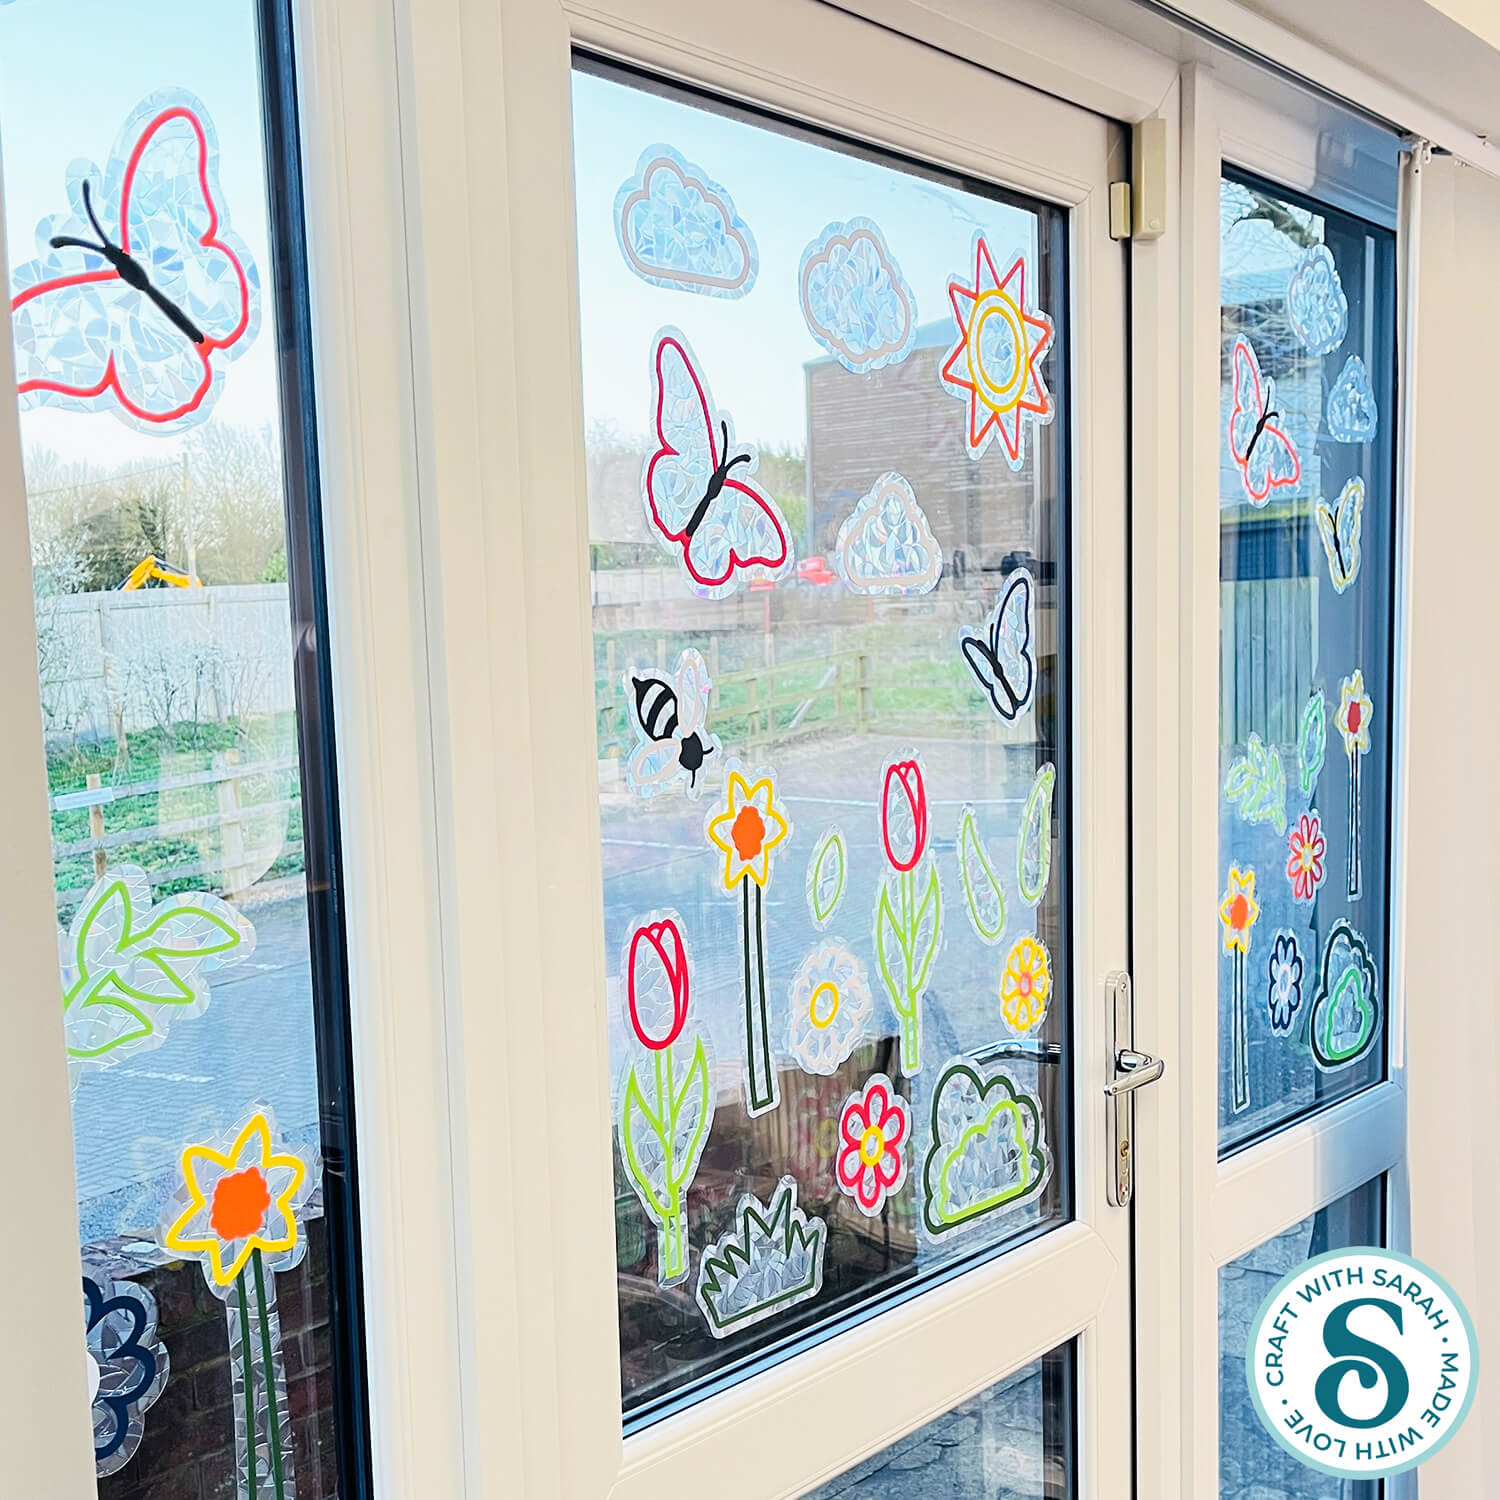
Welcome spring into the inside (and outside!) of your home with these pretty window decorations.
They use window cling (also known as window film) to make the rainbow mosaic effect around the edge of the pictures, and either adhesive vinyl or cardstock to build up the scene.
Design your own spring garden scenes to brighten up your home and enjoy beautiful windows that sparkle in the sunshine!

The lovely thing about these window suncatchers is that you can make them truly your own.
See how to design your own scenes, choosing which pictures to use and how large to make them.
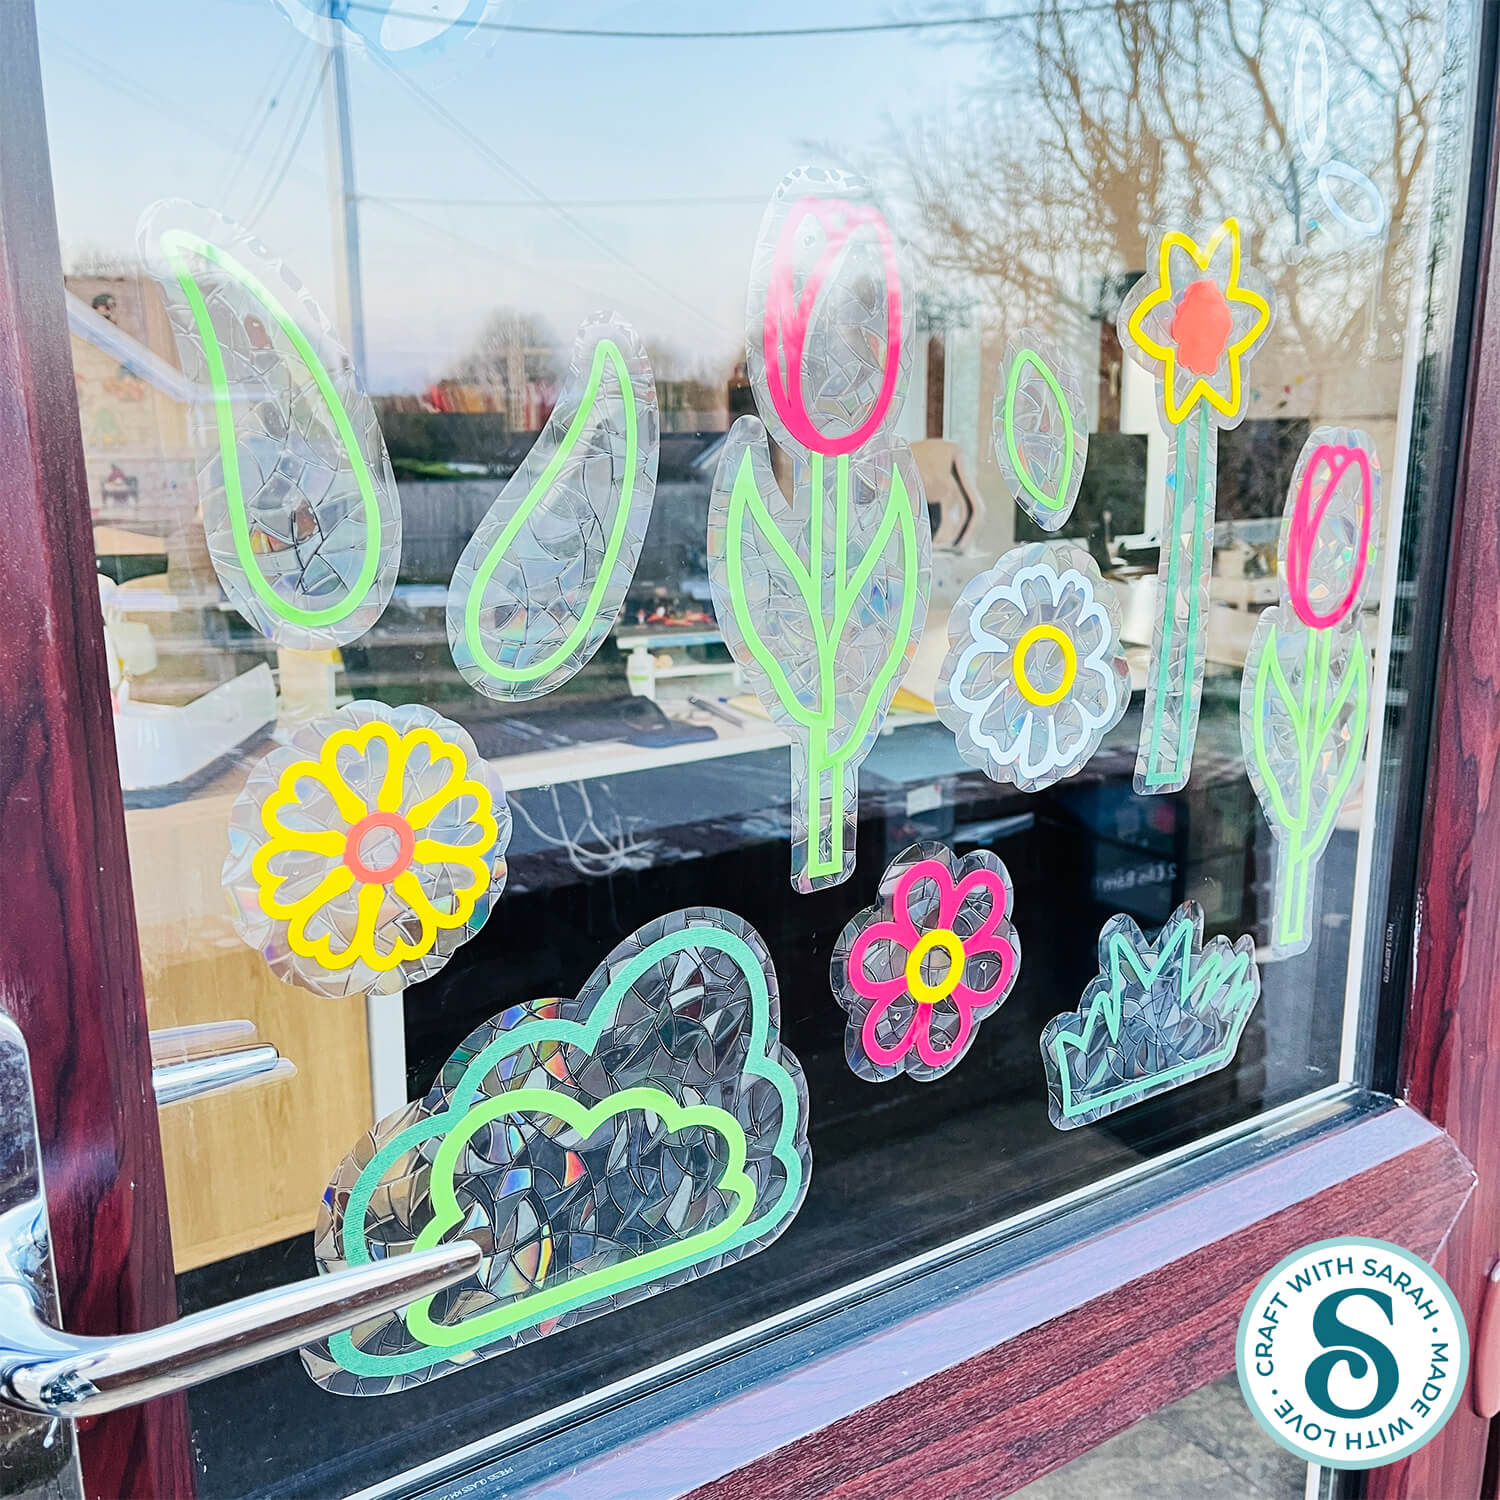
Make a whole garden scene like I did for the doors to my craft studio, or keep it simpler with just a couple of designs to draw the eye.
Note: Hand-cutting and printable versions are NOT included for this project.
This Project was part of the Spring Craft Countdown 2026
Window suncatchers craft materials supply list
Here is a list of the materials that I used to make this project.
Please note that some of the links included in this article are affiliate links, which means that if you click through and make a purchase I may receive a commission (at no additional cost to you). You can read my full disclosure at the bottom of the page.
- Cricut machine
- Light blue Cricut cutting mat
- Coloured Card (any thickness) OR adhesive vinyl
- Glue (I like Bearly Art Glue and Collall)
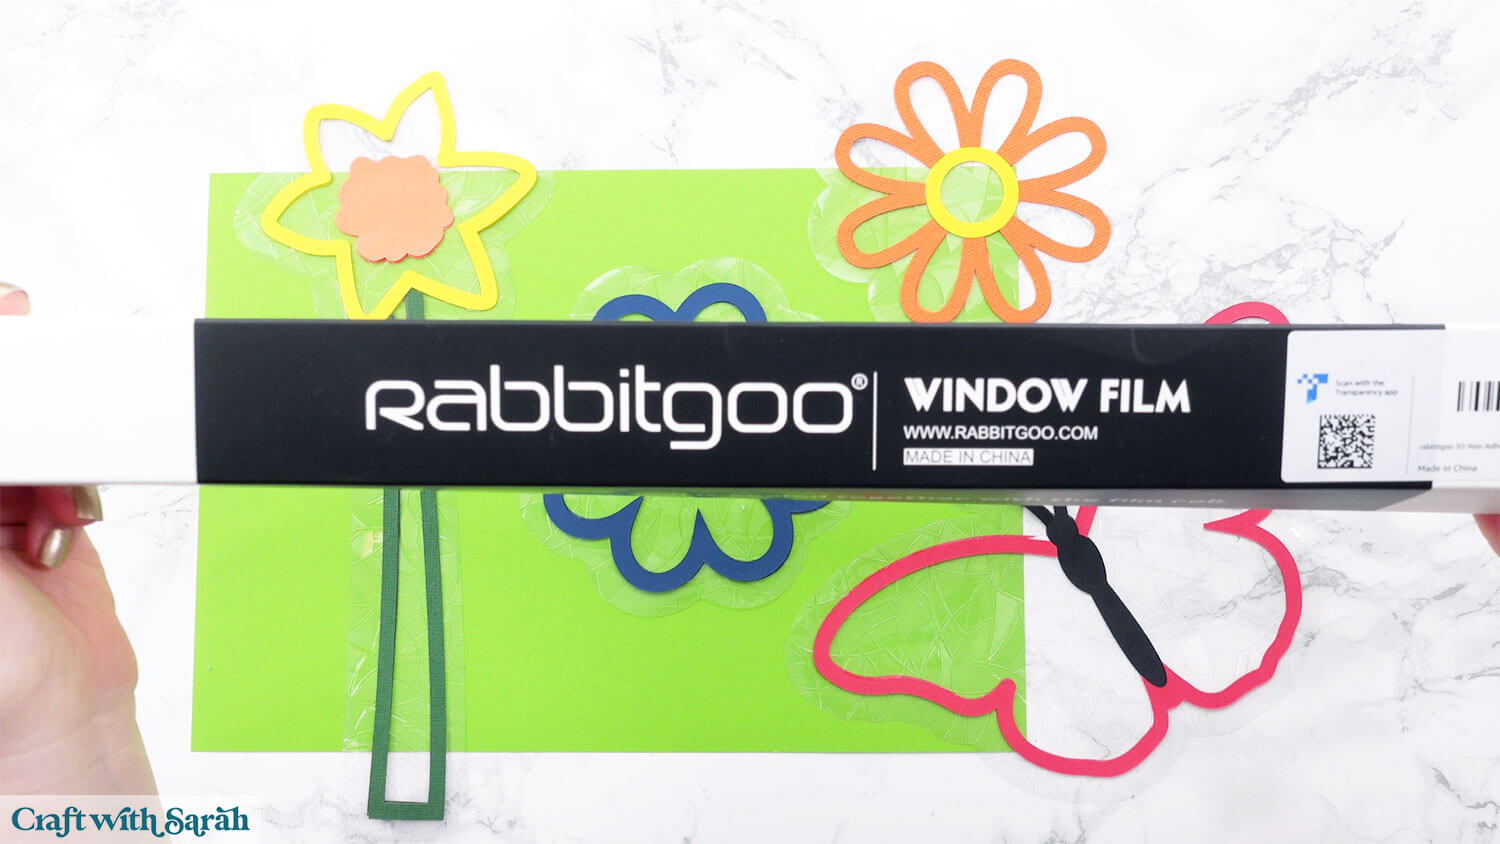
- Window Cling (aka Window Film) – this is the one I used
- Cleaning supplies to clean your window before application
- Small dish of water and small paintbrush/cotton buds/something similar
This project is suitable for the following types of Cricut machines: Explore series, Maker series, Joy Xtra, Joy and Joy 2. You will need to make the designs smaller to cut on the Joy or Joy 2.
Foundation learning
If you're new to making papercrafts with your cutting machine, check out these links to get you started.
They include videos on topics such as: which file to use with your type of cutting machine, how to load the files into your cutting machine's software, how to cut cardstock with your type of cutting machine, how to recolor and modify/customize the cut files and tips for displaying your projects.
- Help guides for Cricut machines
- Help guides for Silhouette machines
- Help guides for ScanNCut machines
The following tutorials are Cricut-specific, but many of the ideas will work similarly with a Silhouette or ScanNCut machine and any cut files that are shared in them are compatible with all types of cutting machine.
- How to score with a Cricut (even without scoring tools)
- Print then cut tutorial
- Design Space tools (Combine, Attach, Slice, Weld, Flatten, etc.)
- Pattern fill tutorial (for making backgrounds & cutting images to a specific shape/size)
- Free envelope SVGs that can be sized to fit any card
- Presentation boxes for handmade cards
- How to write inside cards with Cricut pens
- How to cut layered designs at a small size
- Design Space tips & tricks
- Cricut pens tutorial
- How to mount multiple designs in the same frame with magic guides
Cricut window cling video tutorial
Watch the video below to see how to make this project. Keep scrolling for a written tutorial.
Choosing your Window Cling
Window cling comes in lots of colors and patterns. The one I used has a stained-glass effect that shows rainbow colors when the light shines through. You can also find silver versions or even printed patterns.
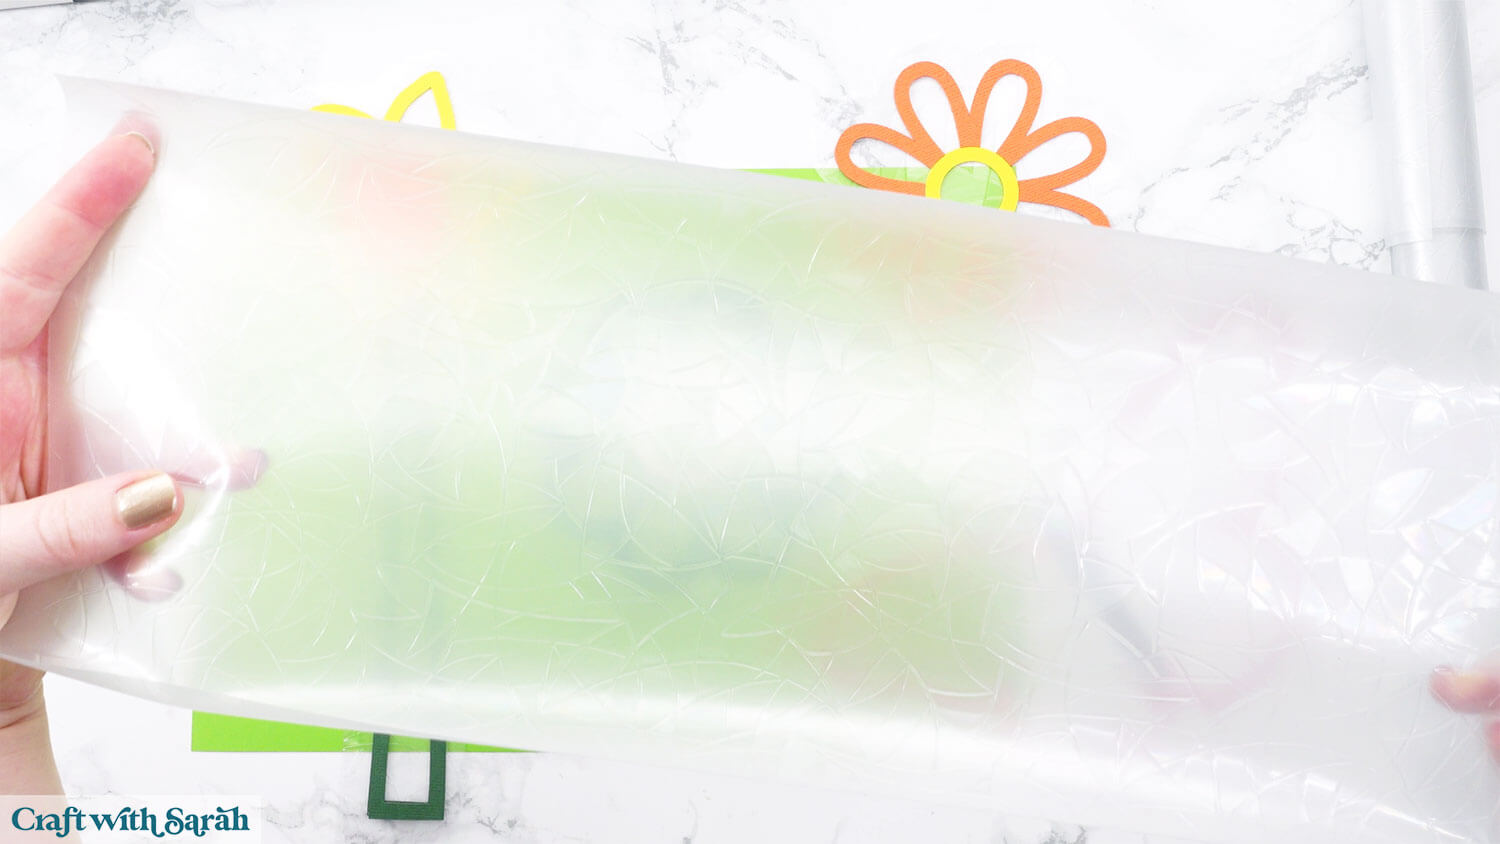
For Cricut cutting, cut the cling down to about 12×12 inches so it fits on your mat. You can place it cling-side up or flip it over and cut through the backing sheet if that works better for your blade. The backing helps keep it clean and preserves the tackiness.
I usually use the Heavy Cardstock or Kraftboard settings.
Written tutorial (with photos!)
Here’s how to make a pretty rainbow window display using a Cricut machine.
Step 1) Download the cutting file & upload to Design Space
Get the files using the box below.
Purchase the File(s)
This cut file is available as part of the Instant Access Bundle.
Or, purchase this design individually here
Before you upload the SVGs to Design Space, you need to unzip the download folder that they come in.
- How to unzip a folder on Windows computer
- How to unzip a folder on a Mac
- How to unzip a folder on an iPad/iPhone
- How to unzip a folder on an Android device
After unzipping, upload the SVG file(s) into your cutting machine software.
Not sure how to use cut files with your type of machine? The following links lead to videos on how to open cut files in:
- Cricut Design Space
- Silhouette Studio
- CanvasWorkspace (for ScanNCut machines)
The download folder also contains printable PDF versions of the templates for hand cutting.
If you are using Cricut Design Space, start a new project and then click the “Upload” button on the left of the screen.
You can then either click “Browse” to find the file on your computer, or drag-and-drop it.
Select the file in the “Cutting Files” subfolder called svg-window-cling-spring-craftwithsarah.svg
Press “Upload” on the next screen.
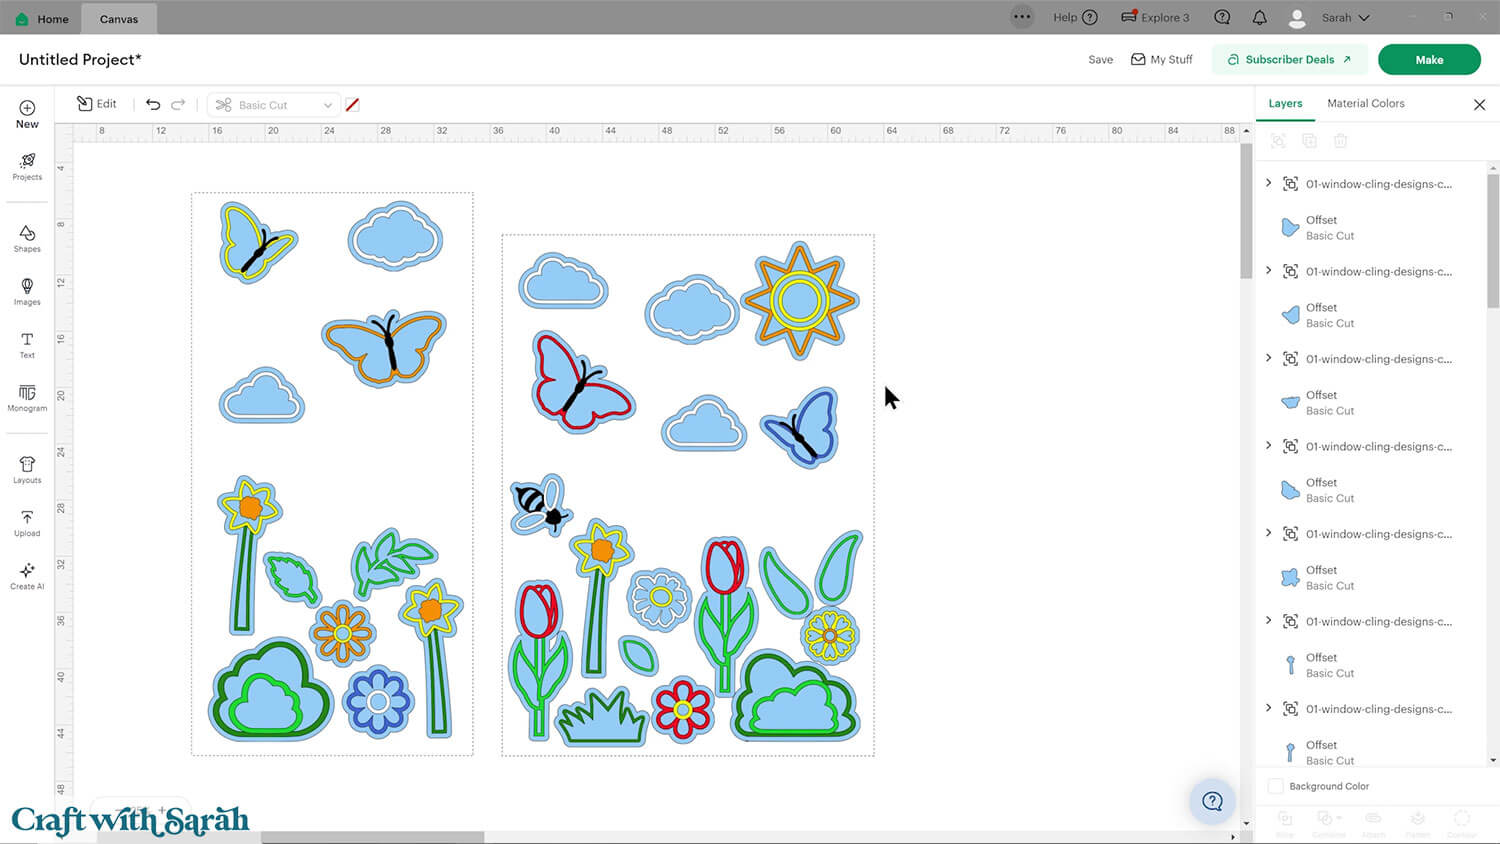
After uploading, the design should be automatically inserted onto your Canvas.
To hide the left sidebar (to give you more space for designing!), click the arrow that’s about half way down the page.
If the design doesn’t get inserted onto your Canvas, it will show under “Uploads” in your “Recently Uploaded Images”. Click on it and then press “Add to Canvas” to put it onto your Project.
Need help uploading SVGs? Get step-by-step instructions here in our detailed help guides for Cricut, Silhouette and ScanNCut.
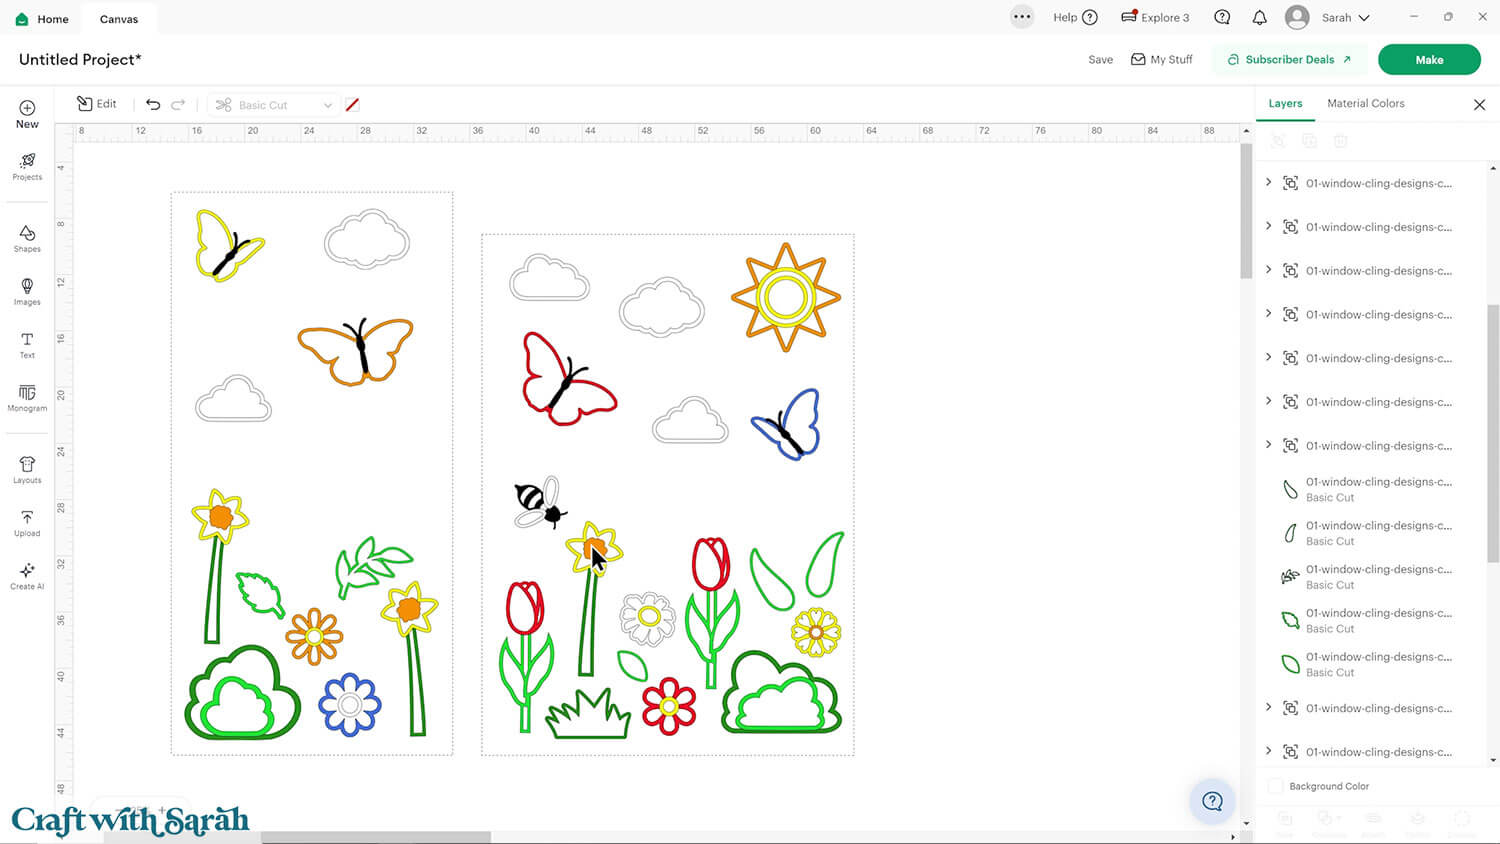
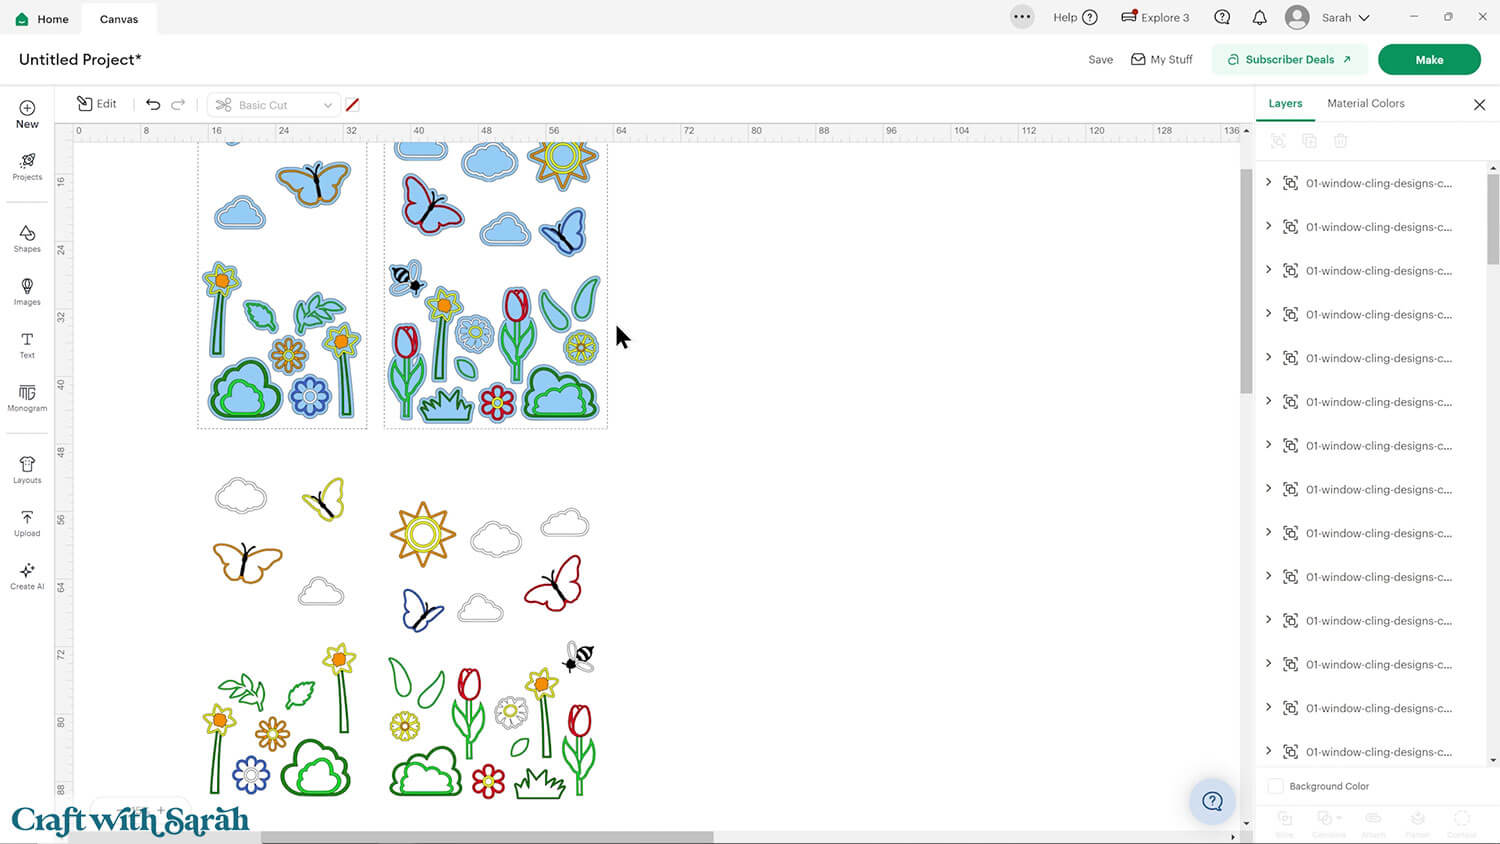
You’ll notice that the pictures don’t have the “outline” around the edges for the window cling. We’ll be adding that in Design Space using the “Offset” feature once our scene is complete.
This is because if I had included the outlines as part of the SVG then if you resized anything, it would change the thickness of those border for each picture, which looks a little messy as the pictures end up looking uneven.
It works much better to build the scene first, then add equal sized outlines to each picture at the end.
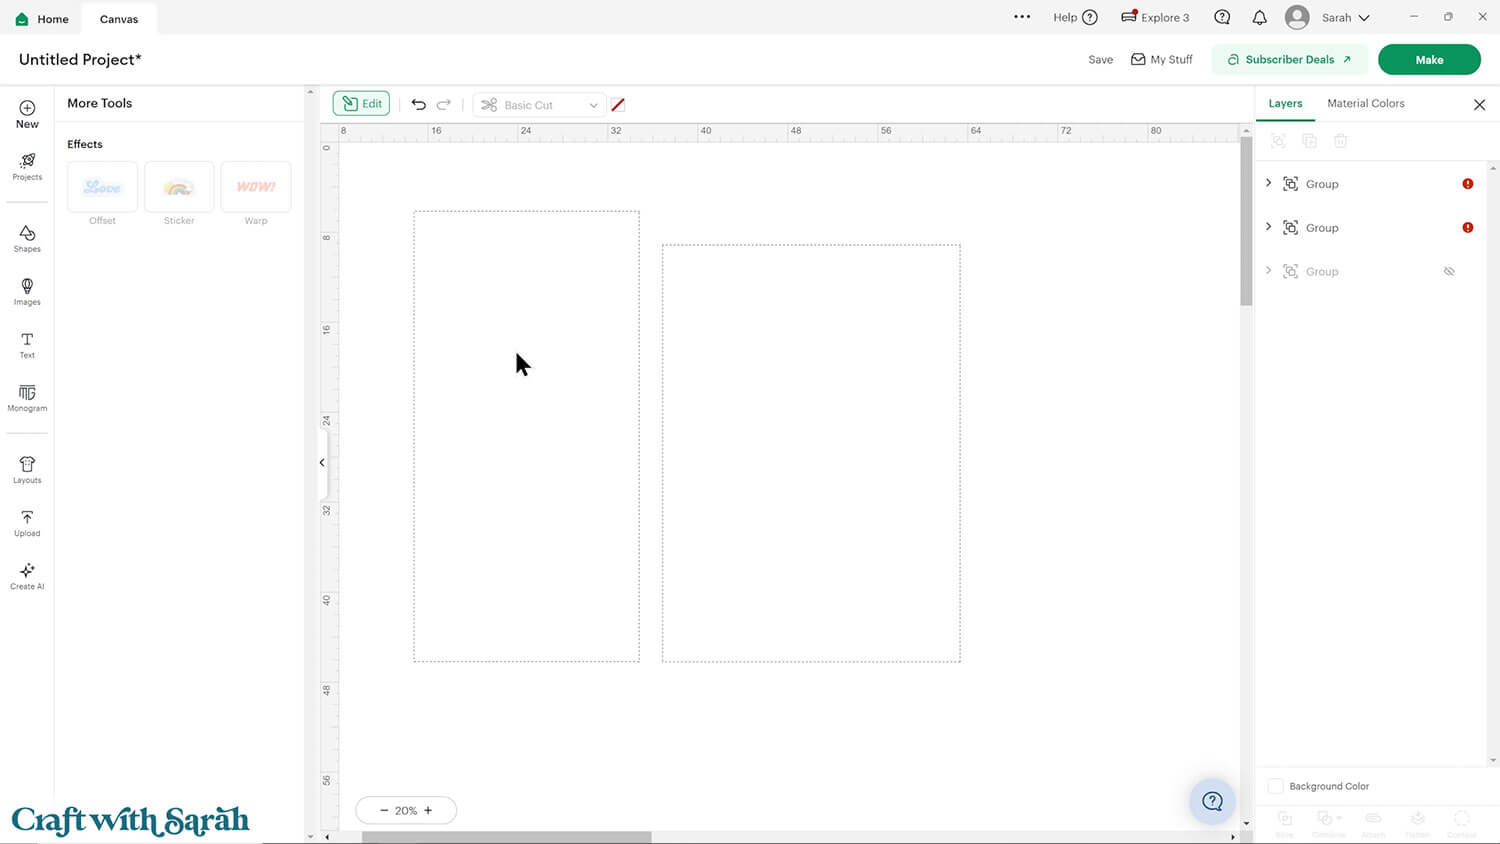
Step 2) Create a template for your window
Measure your window (or windows!).
Build a template in Design Space using score lines for each of the edges of the window.
This won’t be cut, it’s so that we can build our scene and know that everything will fit on the window.
The reason for using score lines instead of a rectangle is because Design Space makes it difficult to select smaller images that are placed on a larger one. If we used a rectangle then Design Space would keep trying to select the rectangle instead of the flowers/pictures, which creates quite a frustrating experience!
As score lines are thin and only go around the edge, they don’t have the same problem.
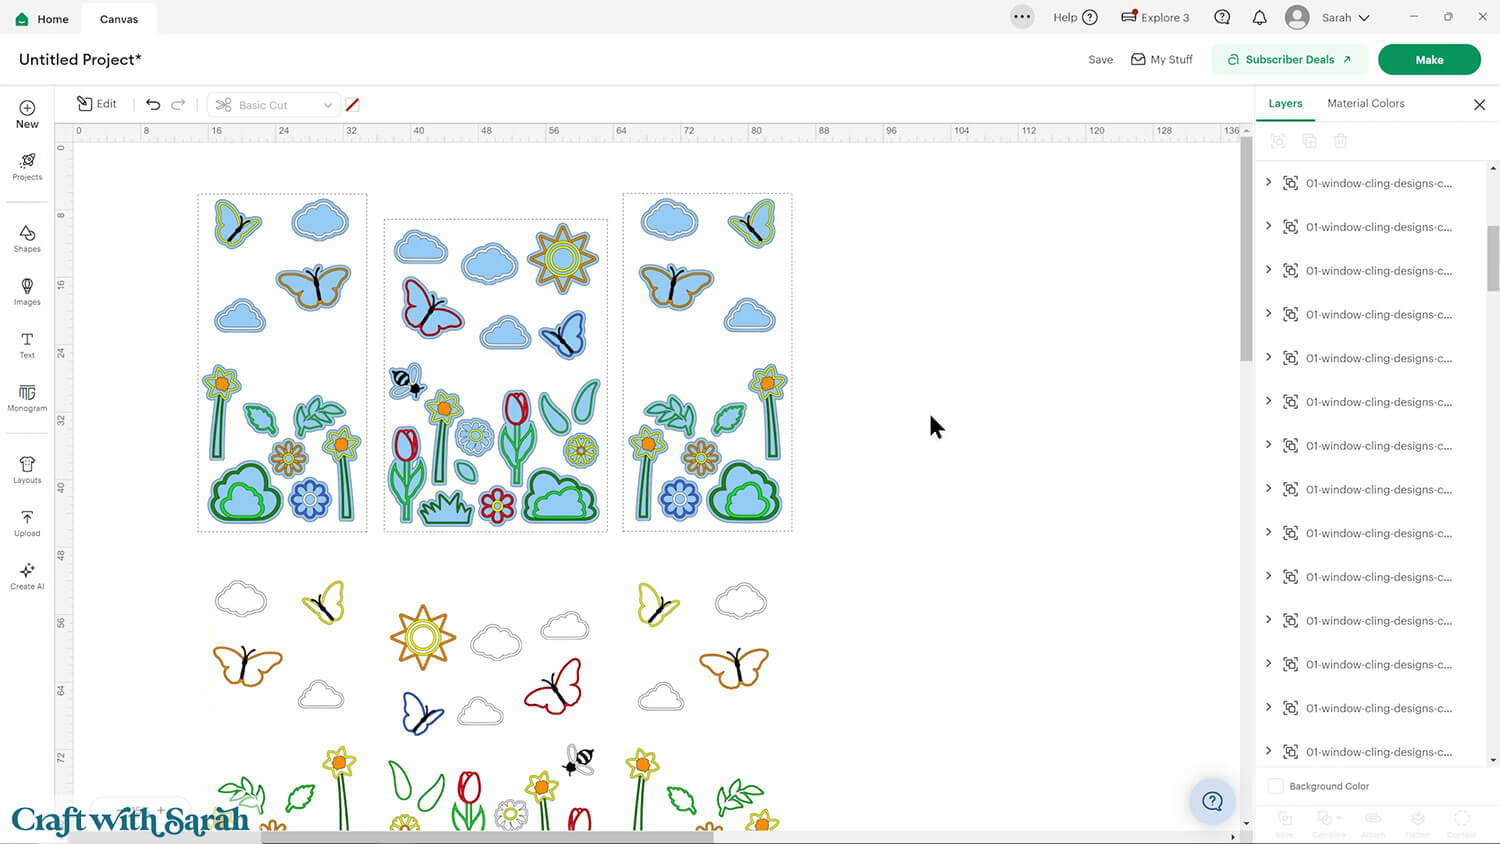
I’m going to put the suncatchers on the front door to my studio, which has three panels of glass.
I have created one template for the left part of my window and one for the middle section. I will duplicate the left section at the end and flip it around, to make the same pictures for the right-side of my door.
Step 3) Design your window display
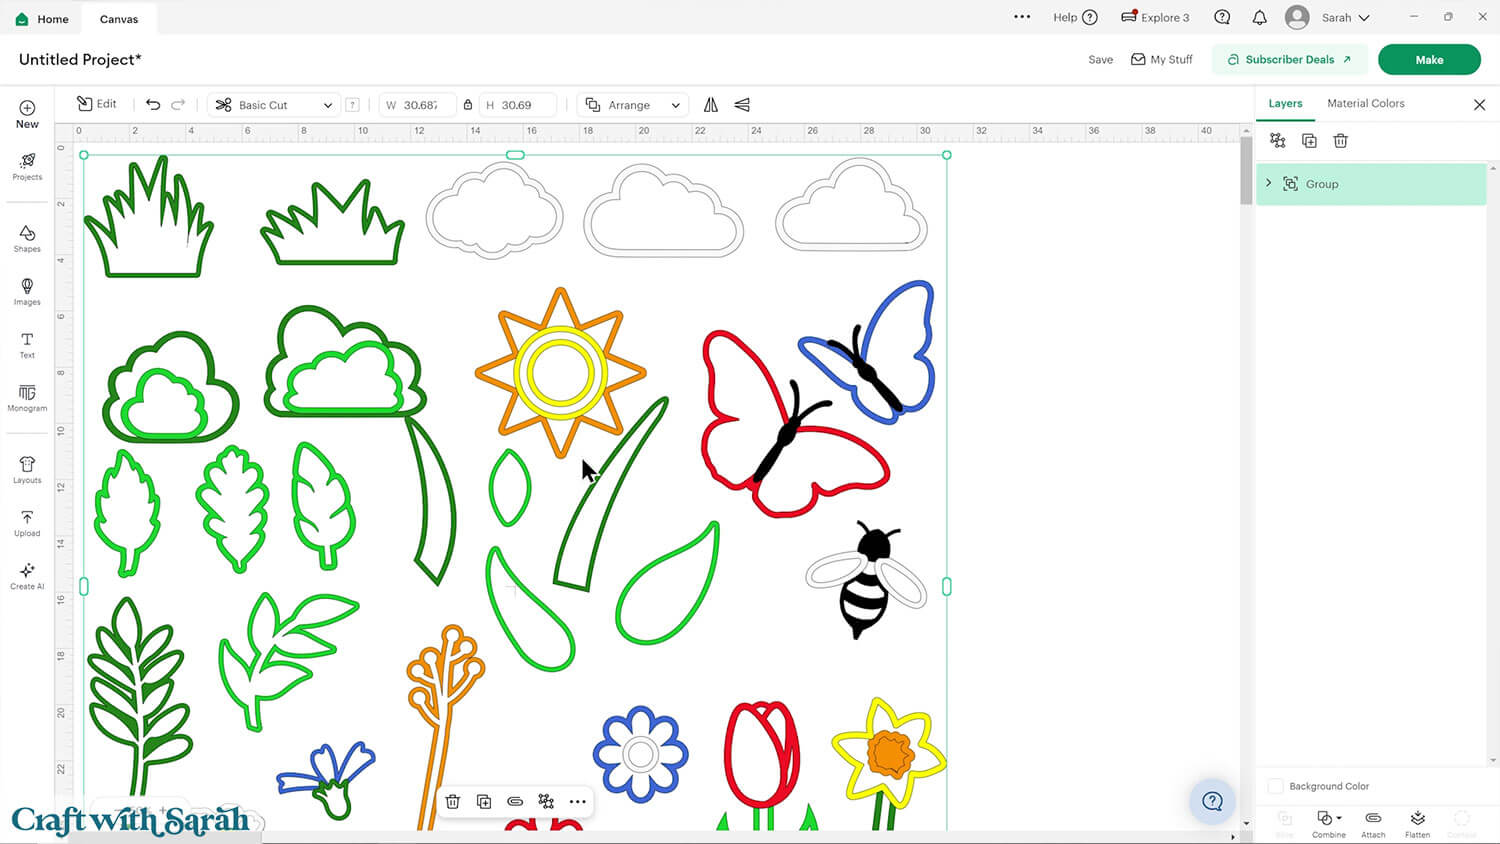
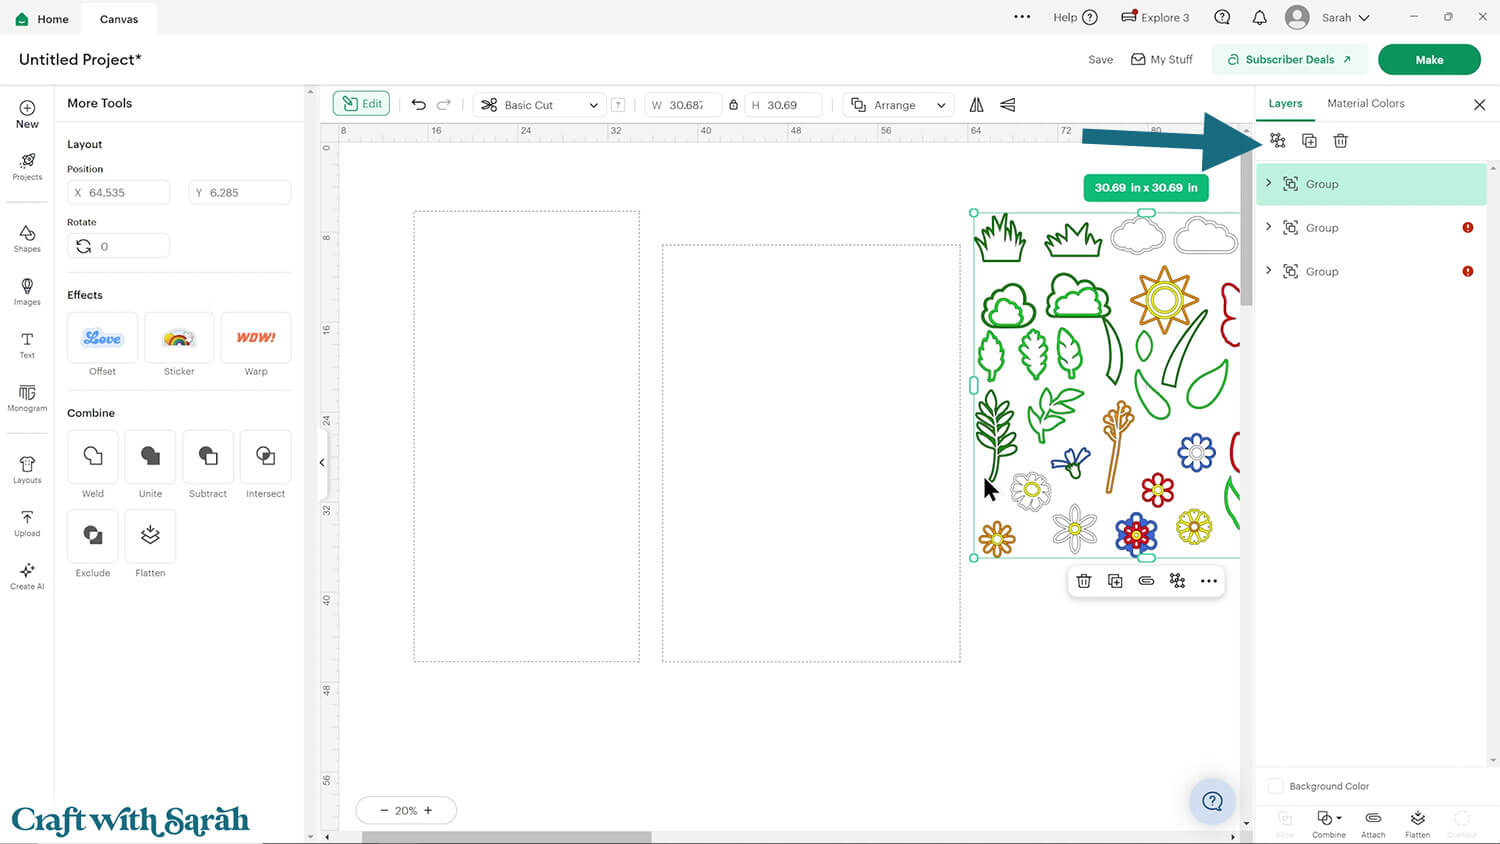
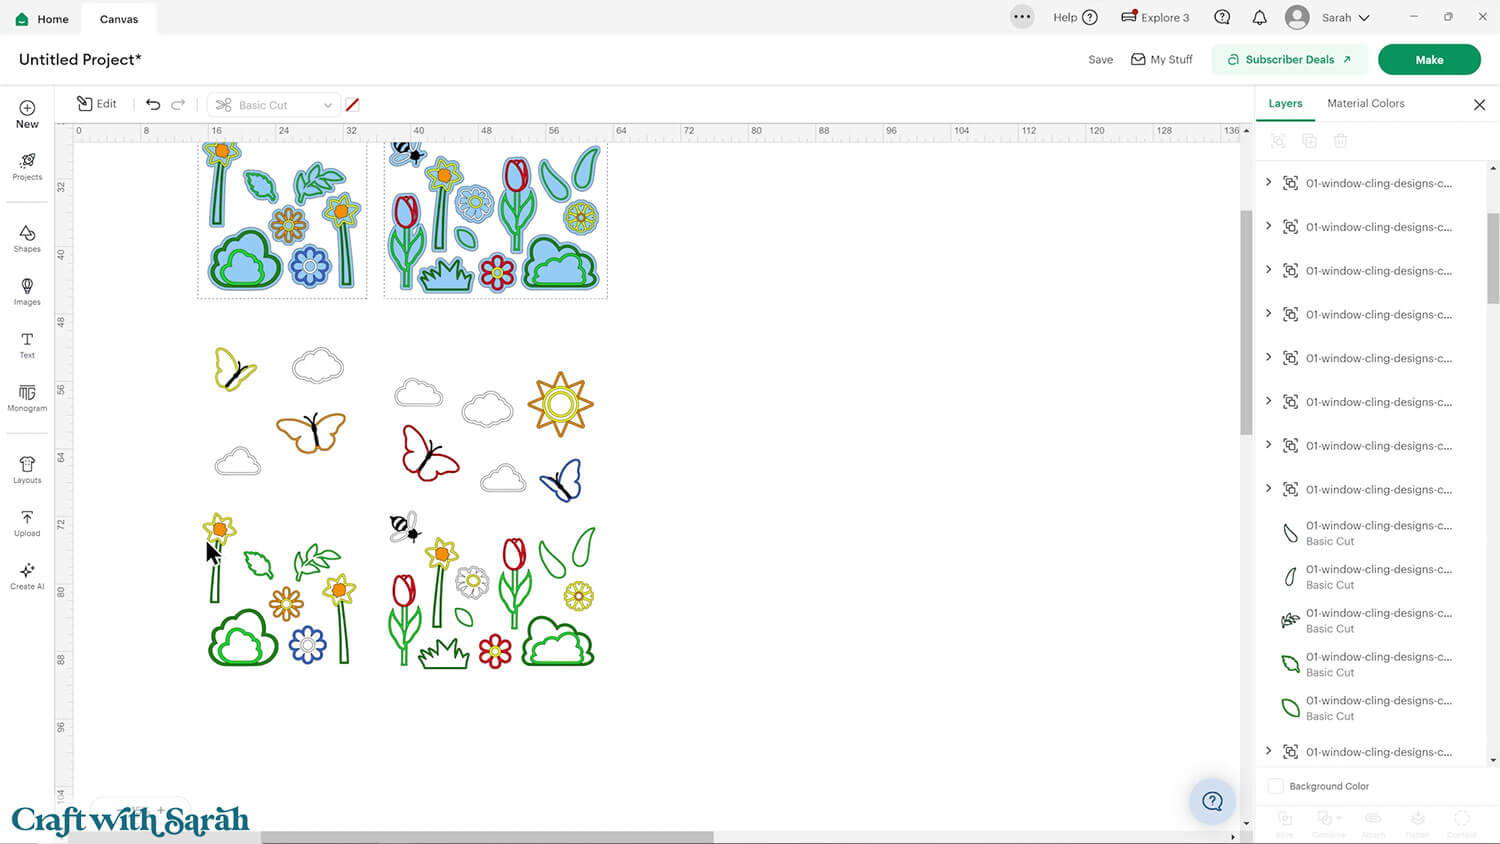
Click the window cling designs and move to the top of the layers panel with Arrange > Bring to Front.
“Ungroup” the design to separate out all of the different pictures.
Choose your preferred pictures and build up the scene.
You can resize the pictures bigger or smaller, rotate them and change the colours.
Note that for Cricut Explore and Maker models, the maximum size you can cut on a regular 12×12 cutting mat is 11.5 inches.
Remember that we need to add the window cling edges to the each picture in the next step. Therefore, a maximum of 11 inches on the longest side is best.
If you’re using a smaller Cricut machine then you need to stick to the limitations of your cutting machine.
TIP: Make sure the padlock icon above the width/height boxes is CLOSED before you resize any of the pictures. If it appears “open”, click it with your mouse to close it.
Step 4) Add the window cling layers
When you’re happy with your layout, save the project.
Then, it’s time to add the window cling outlines.
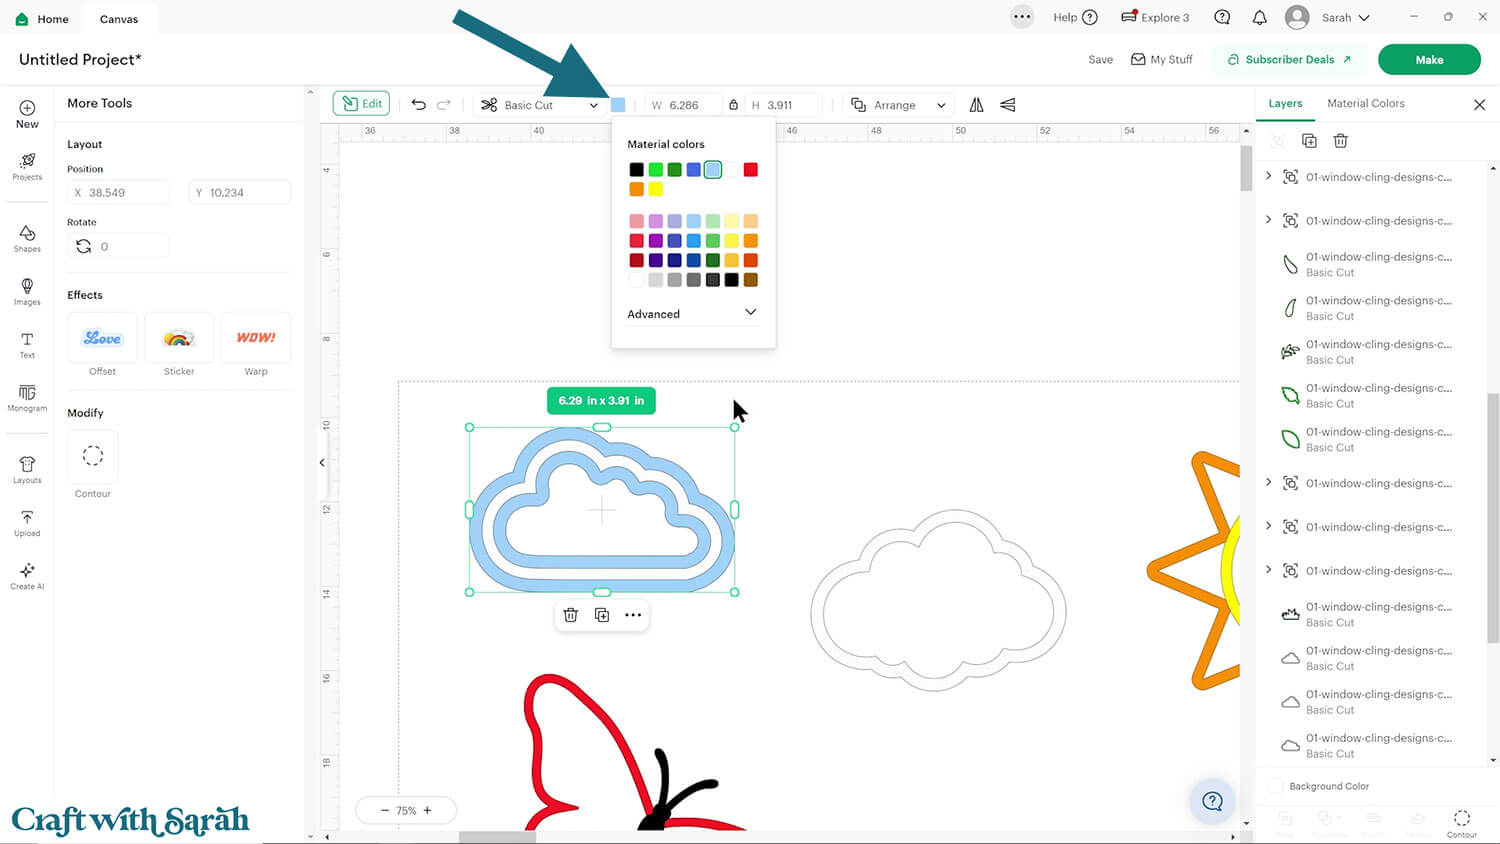
Click on one of the pictures and then press the “Edit” link along the top of the screen.
This slides in a panel on the left side of the screen with an “Offset” button.
Click “Offset” and choose your thickness. I used 0.3 inches.

Press “Apply” to make the Offset. Change the colour to blue.
If there are any gaps/holes in the middle of the Offset shape then those need to be filled in.
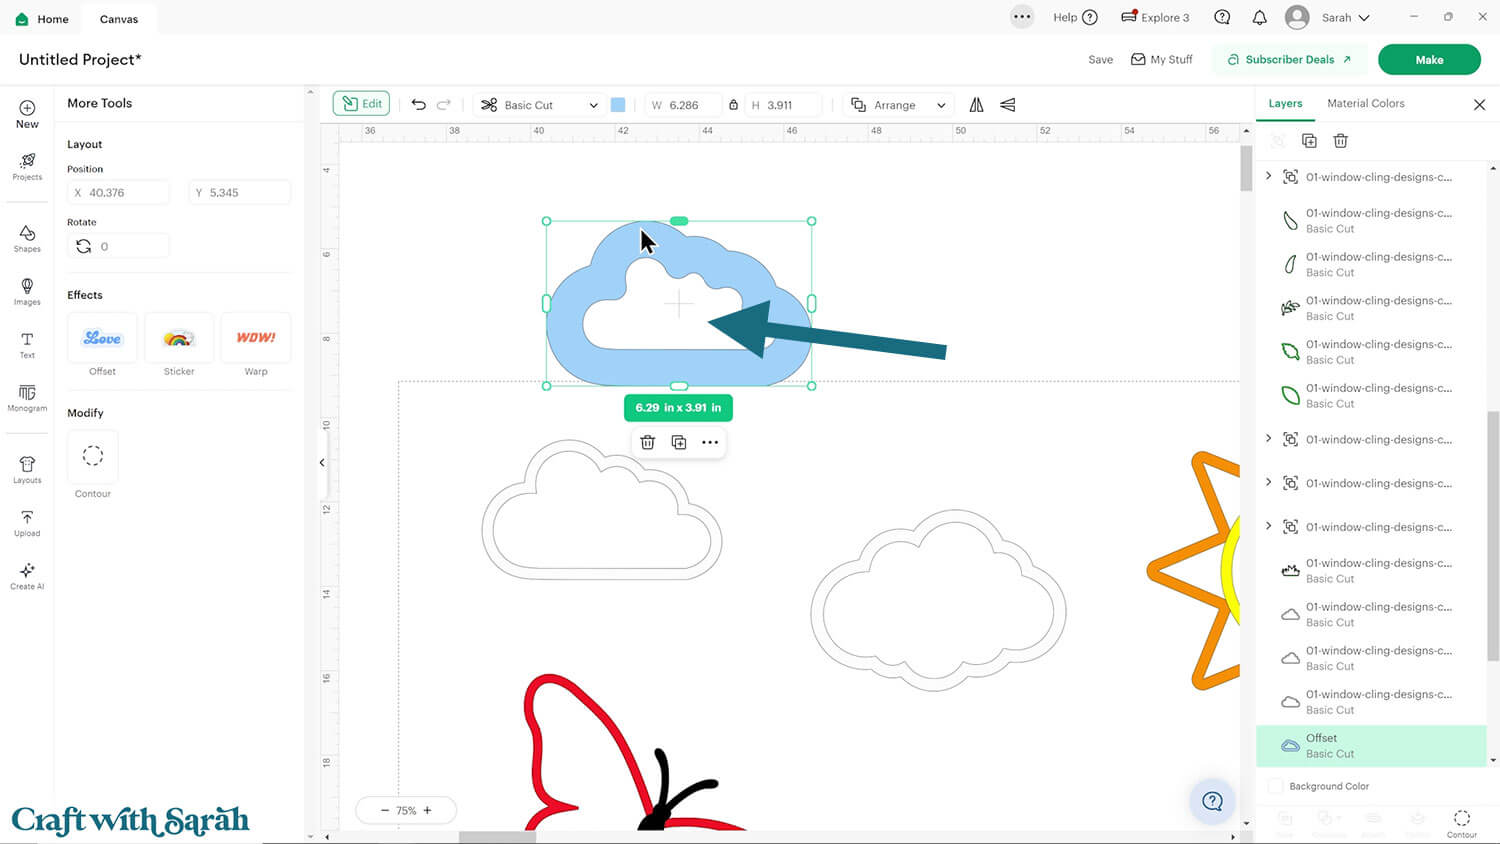
To do that, click the Offset layer and then press “Contour”.
Click “Hide All Contours” and then “Apply”.
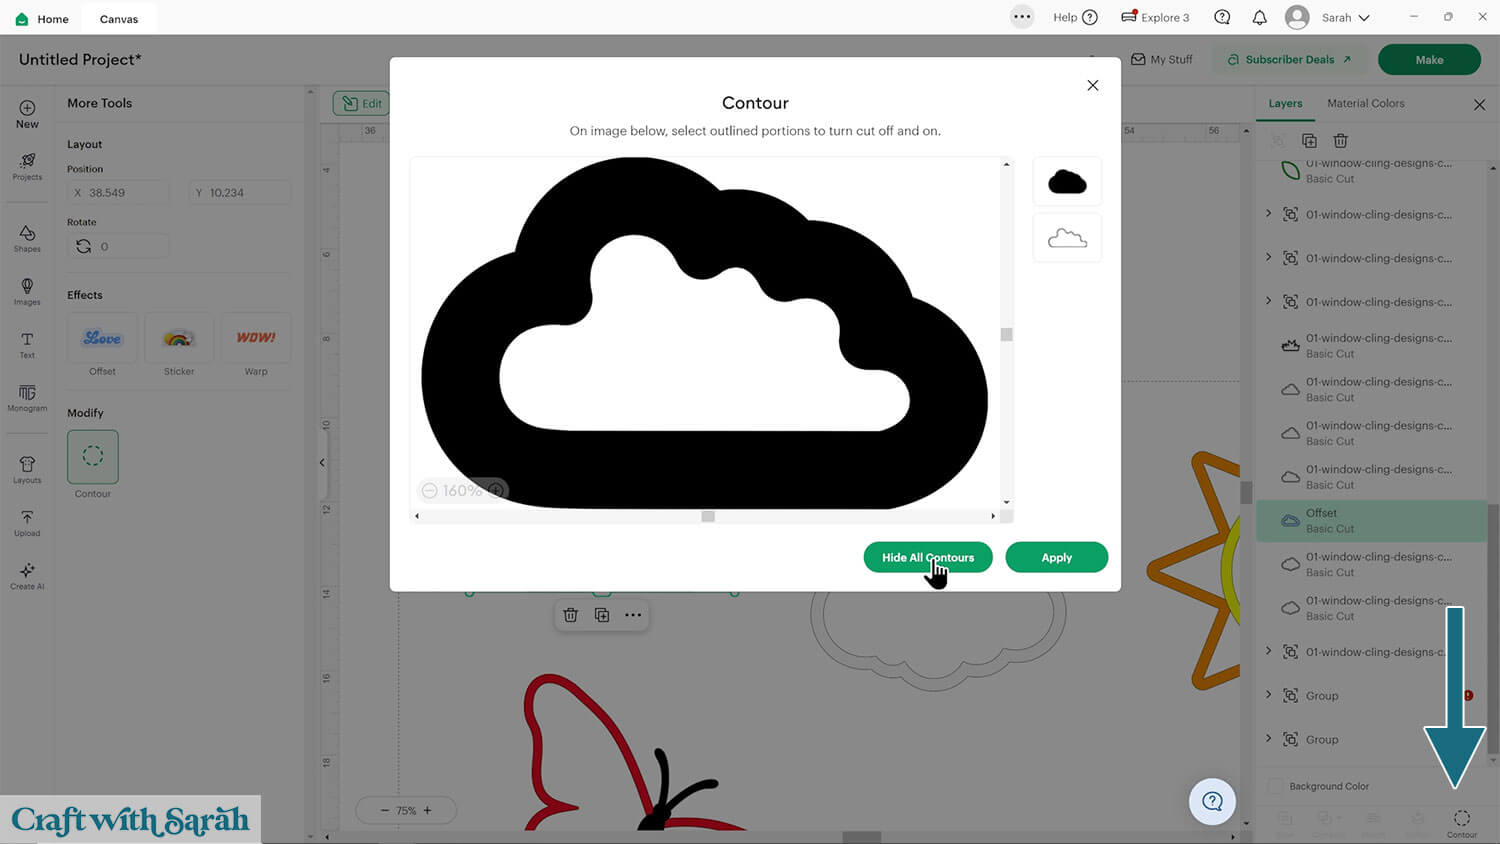
That will fill in the gap(s).

Repeat this for each picture, one-at-a-time.
After making each Offset, check the size to make sure it’s 11.5 inches or smaller on the longest side.
If it’s too big to cut, delete the Offset layer, resize the picture a bit smaller, than create the Offset again.
The reason for deleting it and re-adding is so that it remains the same thickness consistently across all the pictures.
Step 5) Prepare for cutting
If you are cutting the coloured parts of the pictures from adhesive vinyl then you are ready to cut.
If you’re using cardstock, you now have a decision to make: do you want to make the suncatchers single or double sided?
If they are single sided then you will see your glue marks from the outside of the window.
If they are double sided then they will look perfect from both sides.
To make your pictures double sided, “Duplicate” them to make a copy.
Move down underneath your main scene.
Delete the window template lines (the score lines) and the Offset pieces.
DO NOT MISSS THIS STEP!!! Select all the duplicated pictures and press “Flip Horizontal” to make them mirror images of the originals.
This is essential so that your pictures line up on the front and back of the window cling.
As a final step to my project, I created a copy of the left window panel and flipped it, ready to go on the right-side of my door.
Hide or delete the score line template layers before cutting.
Save your project before cutting.
Step 6) Cut out all the pieces
When you’re happy with how the project is looking in Design Space, click “Make” and follow the instructions on-screen to cut out all the pieces.
Use the Heavy Cardstock or Kraft Board setting to cut the window film. Make sure you cut on the side that does NOT have the adhesive backing on it.
To change the paper size, go into the dropdowns over on the left side of the screen and choose the paper size that you want to use. You need to change it for every single colour.
To save space on your cardstock, you can move things around by clicking and dragging. Make sure when you’re moving things about that nothing overlaps because otherwise, it won’t cut out properly.
TIP: New to using cardstock with your cutting machine? Check out these machine help guides for Cricut, Silhouette and ScanNCut that go through every step of the process, including tips for getting the best quality cuts from your machine.
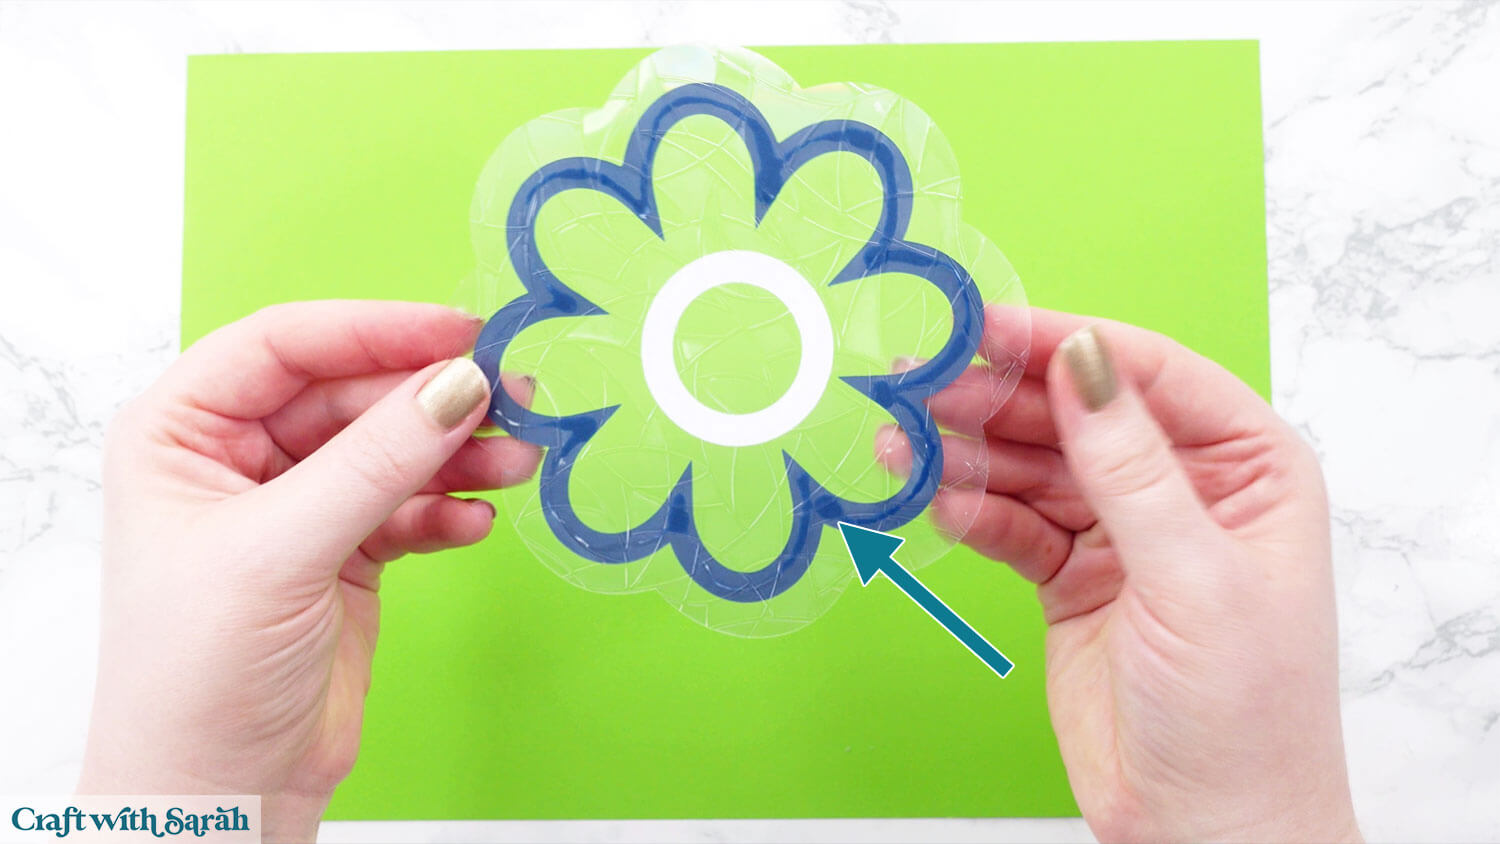
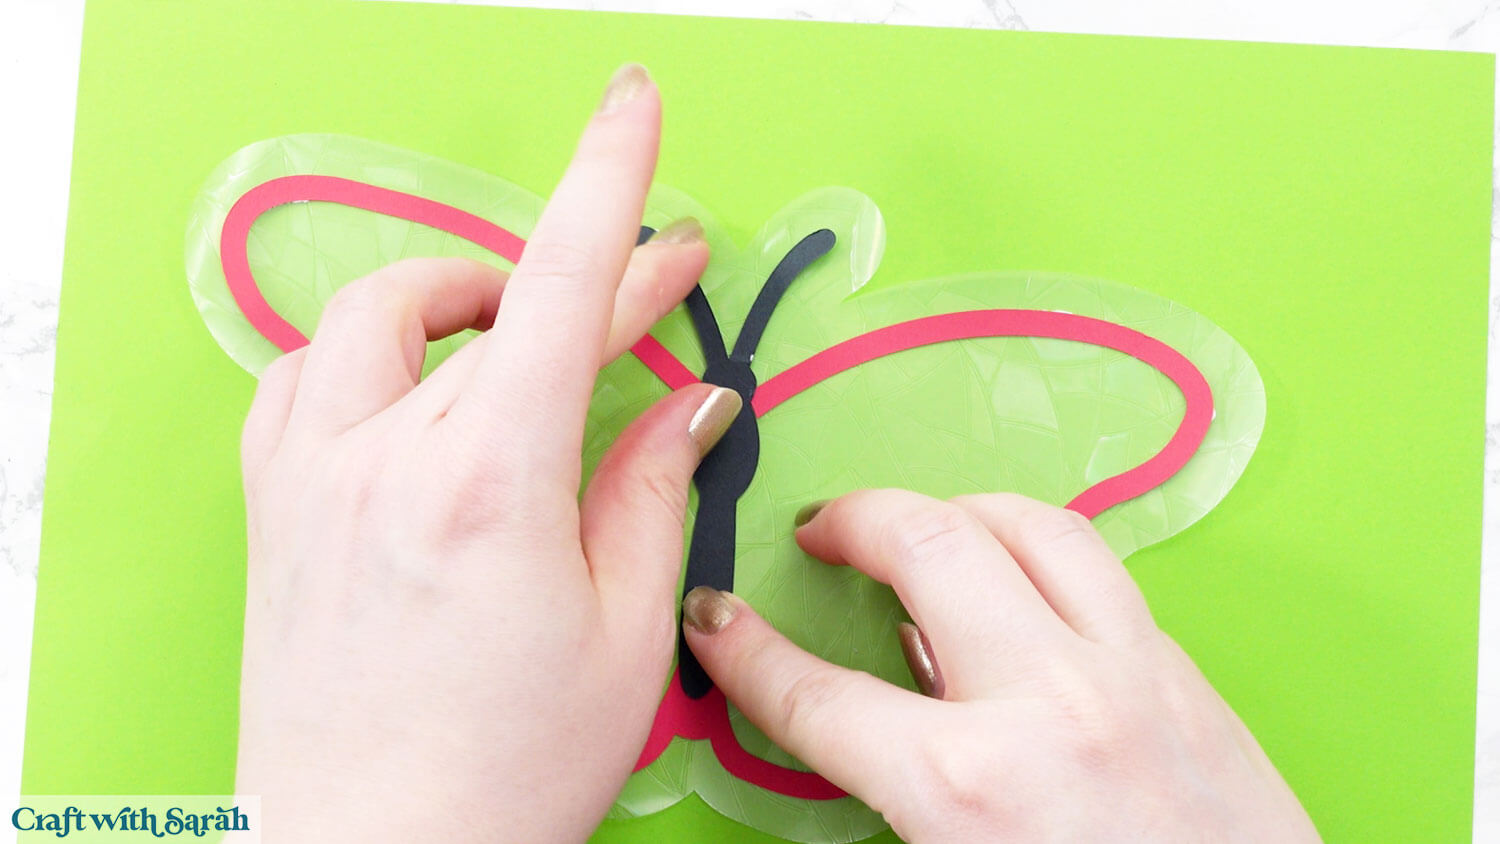
Step 7) Stick the window cling designs together
If you’re using adhesive vinyl then weed all the excess away from the designs and then stick the pieces to their window cling counterparts.
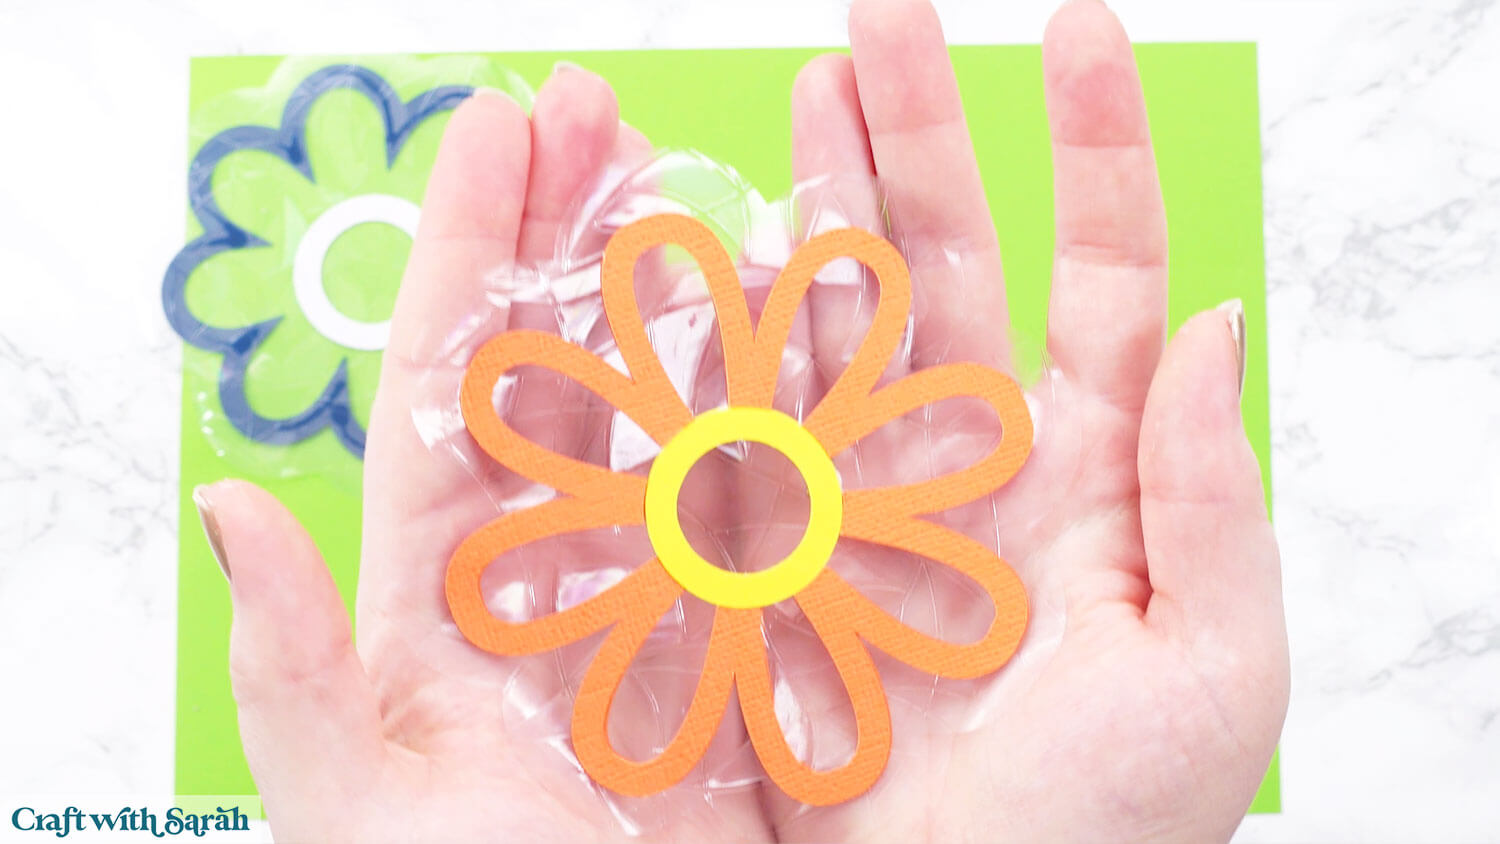
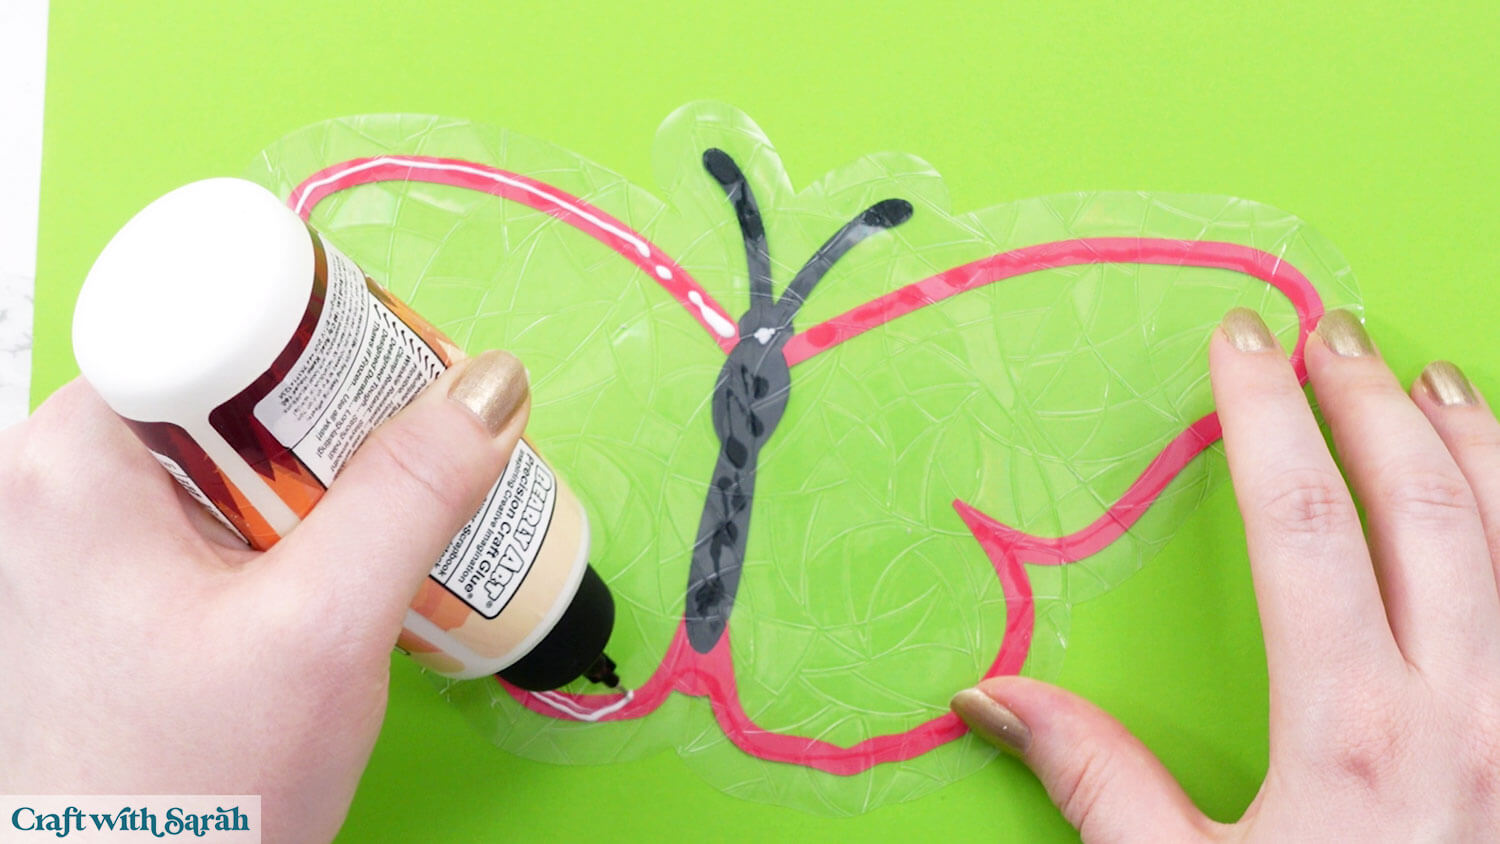
If you’re using cardstock, glue the coloured pieces onto the matching window cling shapes.
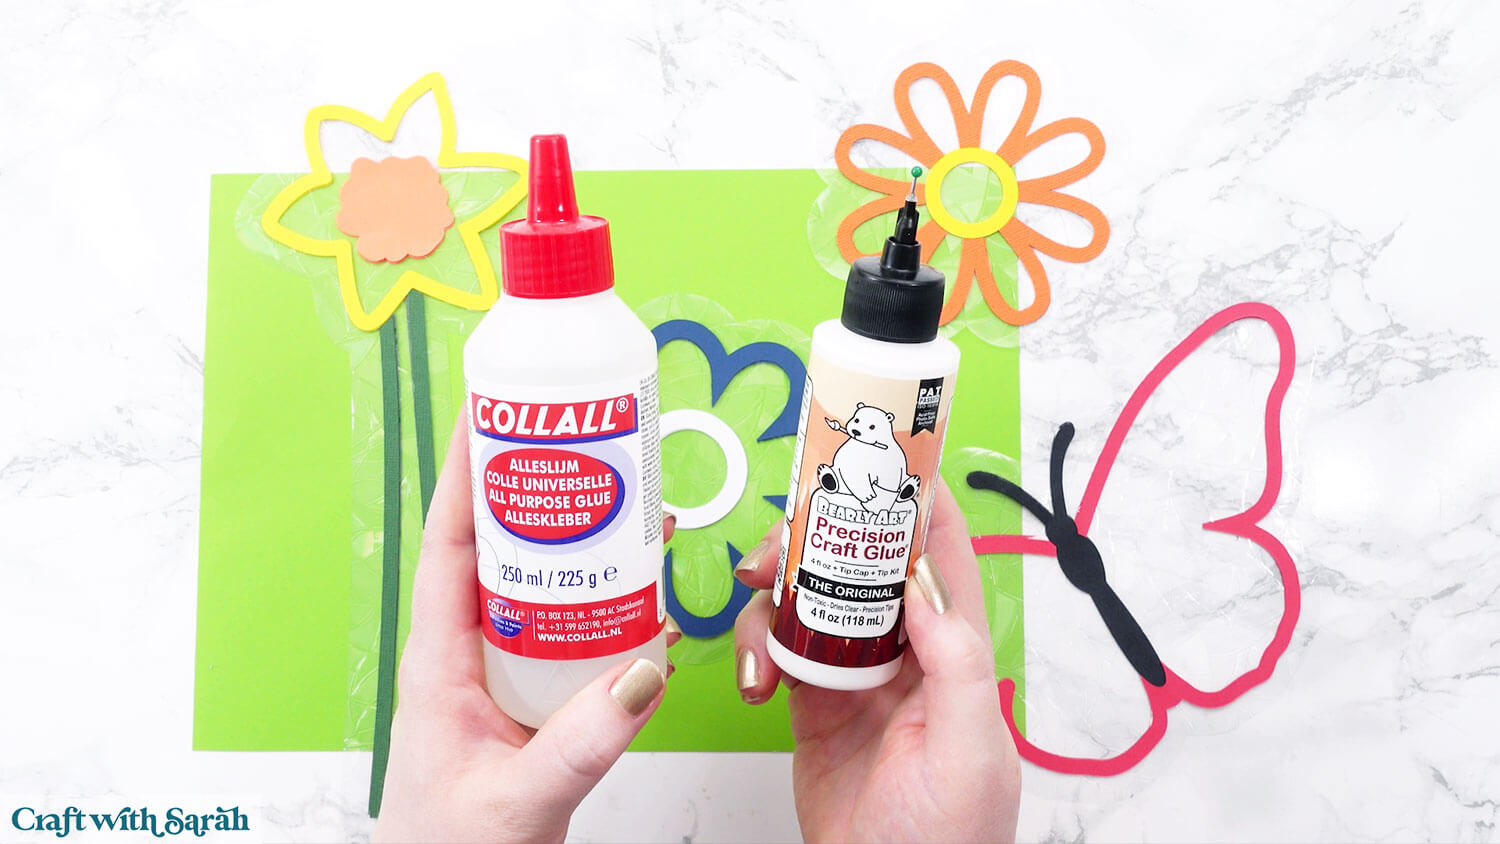
My favourite glues to use on papercraft projects are Bearly Art Glue and Collall All Purpose Glue.
These are great because they don’t “warp” or bend the cardstock like some glues do. You can use as much of it as you want and the card stays perfect – and it dries perfectly clear too!
Bearly Art Glue comes with a tiny nozzle to make it easy to apply glue to small areas of card. The Collall glue doesn’t come with this, so it’s easiest to decant it into needle tip applicator bottles so that you have more control.
When gluing, make sure you are sticking to the correct side of the window cling. It should be the side that does NOT have the adhesive backing on – i.e. the side that you will see from the inside of your home.
For my window cling, that’s the side where I can feel the indentations of all the mosaic shapes.
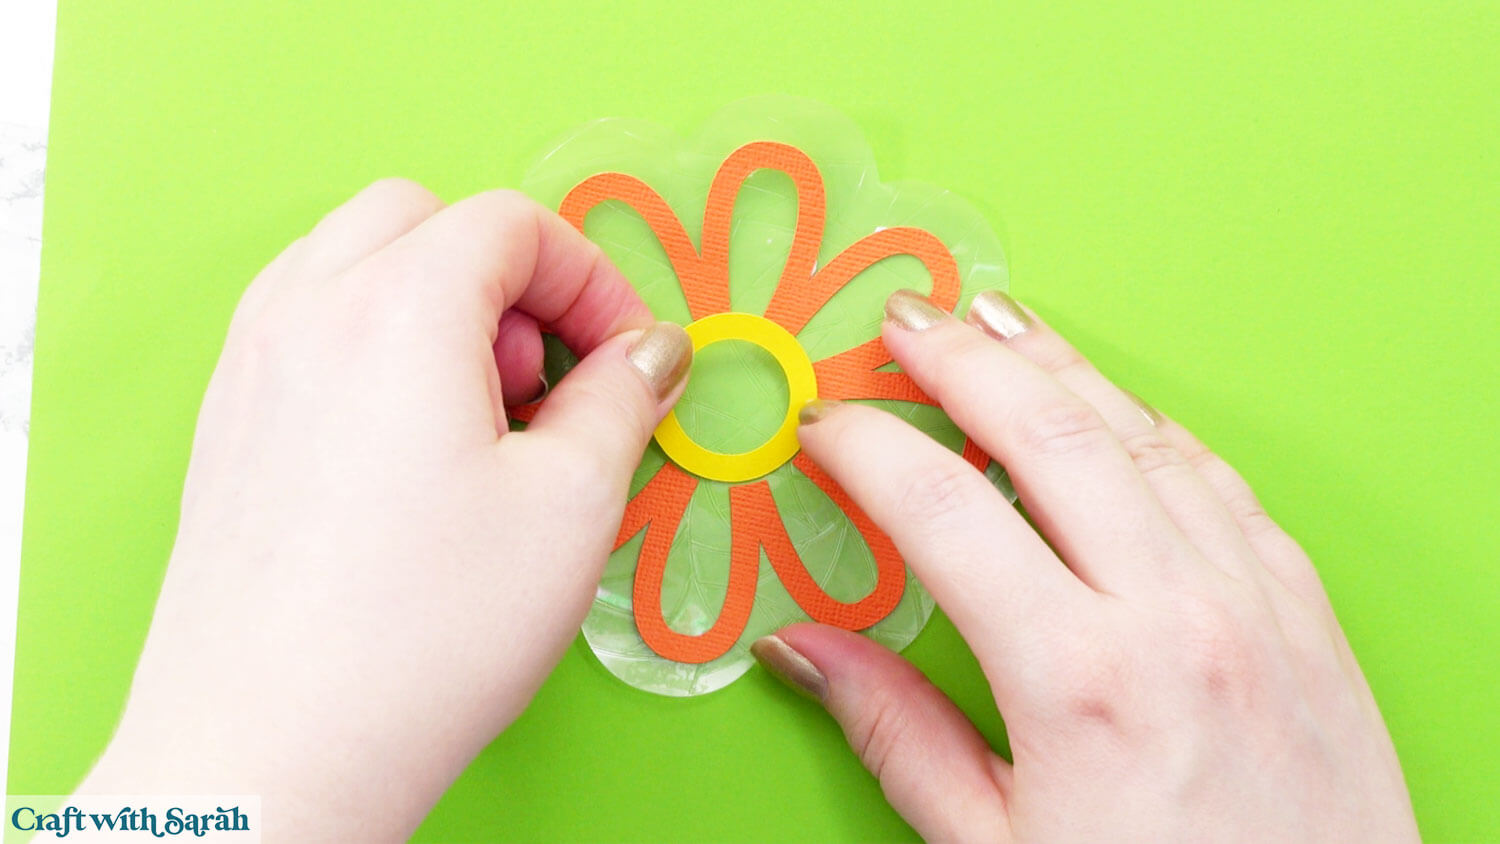
The coloured pieces of cardstock will press up against each other with no overlap.
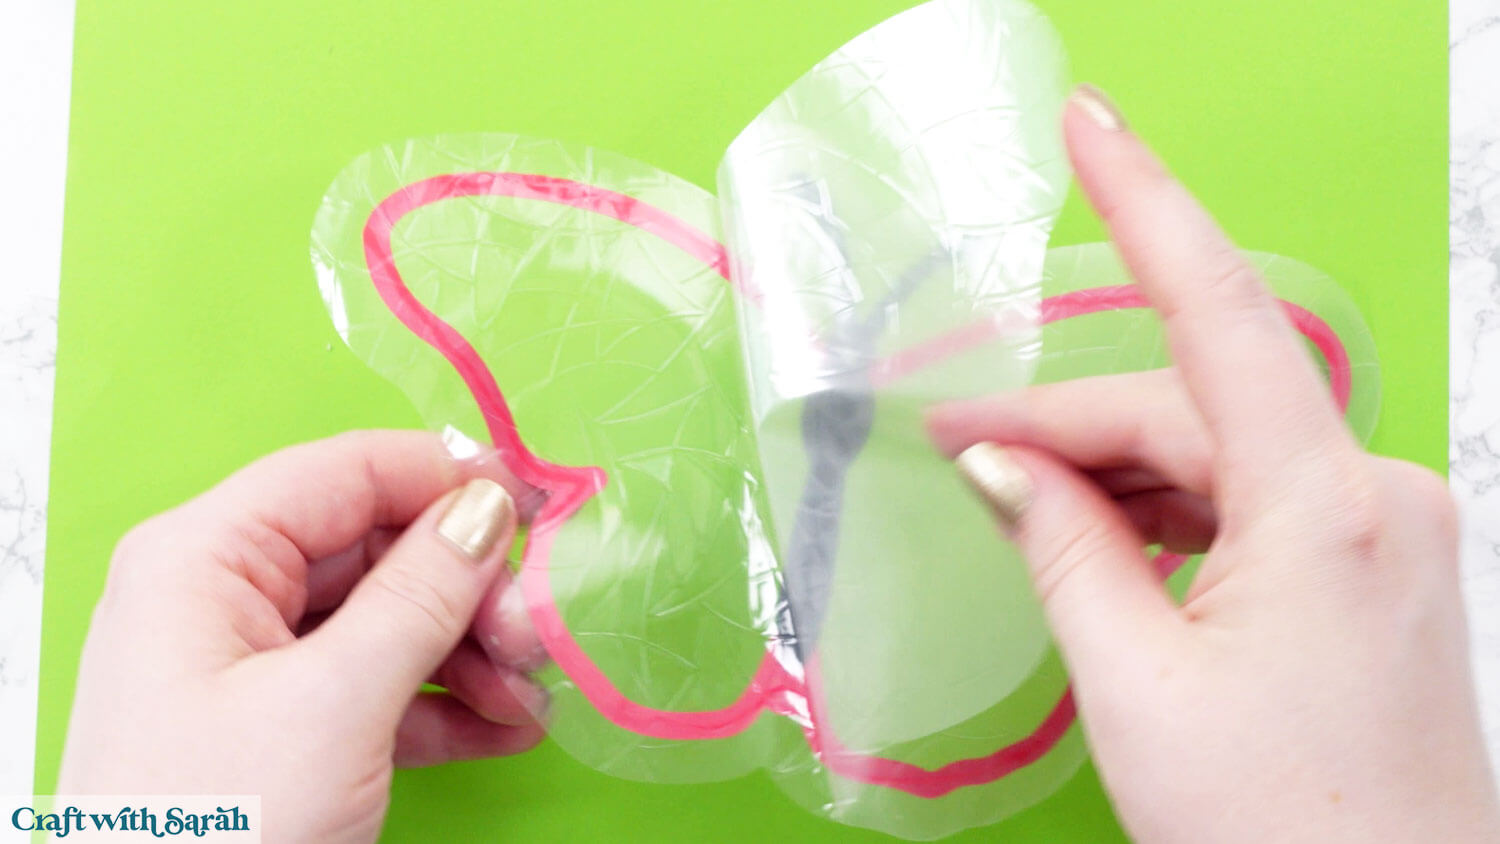
If you are making double-sided suncatchers then peel the protective film off the back and glue the second copy of each image onto the “tacky” side of the window cling.
Try not to touch the window film too much, to avoid leaving fingerprints that could affect how well it adheres to your window.

Step 8) Add the designs to your window
Give your window a good clean. Dirty windows make it difficult for the film to adhere.
The designs go on the inside of your window (i.e. inside your home – not on the “outside” where they risk being weather damaged).
You should just need to press the window cling designs against the glass for them to “stick”.
There is no actual adhesive – it’s more of a “static” effect that makes them stay on the window.
If you’re having trouble getting the designs to stay on the window then get a small bowl of water and a thin paintbrush, cotton bud or something similar.
Carefully paint a small amount of water on the tacky side of the window cling. Do NOT get any water on the cardstock!
Wetting the window film makes it stick better. Don’t worry if you see water drops after putting it on the window, as they will dry out over time.

Easy DIY suncatchers to make with a Cricut
After applying the window cling designs, they should stay adhered to the window for as long as you want them to be there.
To remove them, simply peel them off the window.
You may need to clean the windows after removing them as sometimes the “outline” of the window cling edges marks the glass, but it easily wipes off with some warm water.
This project was SO hard to photograph, but I hope that the pictures in this tutorial show how pretty these suncatchers look with the spring light shining through them.

Love window cling projects?
Check out these other Cricut crafts that use window film:
- Easter stained glass windows (free!)
- Autumn scene window (free!)
- Nativity windows for Christmas
- Giant witch’s cauldron for Halloween
- Pretty angel stained glass window
- Boating scene stained glass
Happy crafting,
Sarah x

