Build A Ghost Toppers 👻 HCC 2025
If you’re looking for a creative Halloween project with plenty of flexibility, this DIY ghost set might be just the thing.
Inspired by the paper dolls many of us grew up with, this version has a Halloween twist. You’ll be building your own spooky characters piece by piece.
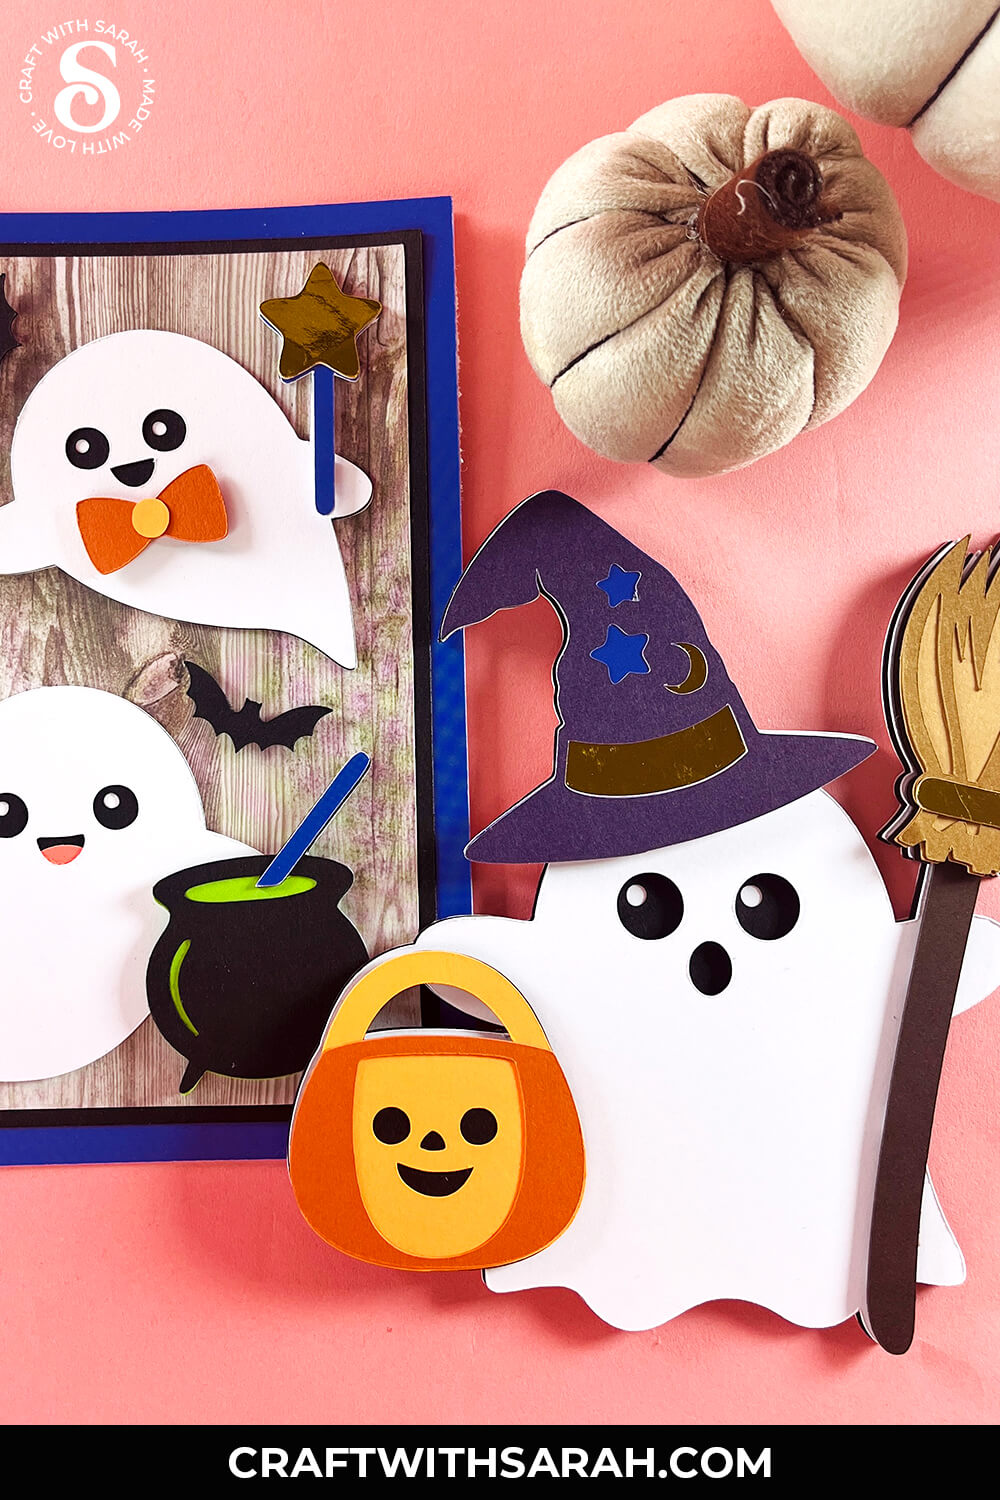
From witch hats to spooky accessories, each layer adds personality to your ghost, giving you endless ways to customise your design.

This project is great for a variety of uses. You can turn the pieces into magnets for your fridge or metal board, creating a fun and interactive display that can be changed throughout the Halloween season. Mix and match outfits, swap accessories, and keep the Halloween ghost characters fresh all month long.
If magnets aren’t your thing, you can also combine the pieces in Design Space to create layered ghost toppers for cards, scrapbook pages, or Halloween shadow boxes. Cut them from cardstock to build unique ghost characters ready to display.
The mix-and-match approach is also great for using up cardstock scraps, especially if you like switching between colors and textures.
This is a fun way to revisit the creative energy of paper dolls — with a slightly spookier twist.
This project was part of the 2025 Halloween Craft Countdown.
Halloween Ghosts Supply List
Here is a list of the materials that are used to make this project.
Please note that some of the links included in this article are affiliate links, which means that if you click through and make a purchase I may receive a commission (at no additional cost to you). You can read my full disclosure at the bottom of the page.
- Cricut machine
- Light blue Cricut cutting mat
- Coloured Card
- Glue (I like Bearly Art Glue and Collall)
- 3D foam pads
- Magnets (optional)
- Cricut scoring wheel or stylus (optional)
This project is suitable for the following types of Cricut machines: Explore series, Maker series, Joy Xtra and Joy.
Foundation learning
If you're new to making papercrafts with your cutting machine, check out these links to get you started.
They include videos on topics such as: which file to use with your type of cutting machine, how to load the files into your cutting machine's software, how to cut cardstock with your type of cutting machine, how to recolor and modify/customize the cut files and tips for displaying your projects.
- Help guides for Cricut machines
- Help guides for Silhouette machines
- Help guides for ScanNCut machines
The following tutorials are Cricut-specific, but many of the ideas will work similarly with a Silhouette or ScanNCut machine and any cut files that are shared in them are compatible with all types of cutting machine.
- How to score with a Cricut (even without scoring tools)
- Print then cut tutorial
- Design Space tools (Combine, Attach, Slice, Weld, Flatten, etc.)
- Pattern fill tutorial (for making backgrounds & cutting images to a specific shape/size)
- Free envelope SVGs that can be sized to fit any card
- Presentation boxes for handmade cards
- How to write inside cards with Cricut pens
- How to cut layered designs at a small size
- Design Space tips & tricks
- Cricut pens tutorial
- How to mount multiple designs in the same frame with magic guides
Video Tutorial for Build a Ghost Toppers
Watch the video below to see how to make this project. Keep scrolling for a written tutorial.
A big Design Space update is currently rolling out that changes how the screen looks, including the position of some of the buttons and tools. I had already recorded all the Countdown videos before the update was released, so unfortunately there will be areas of the videos that look different to your screen.
To help with this, I've recorded a walkthrough video that explains all of the Design Space changes so that you can see how to do everything in the new version.
Part 1: Uploading the cut files
Here’s how to make your own custom Halloween ghost creations using a Cricut machine.
Step 1) Download the cutting file & upload to Design Space
Get the files using the box below.

Before you upload the SVGs to Design Space, you need to unzip the download folder that they come in.
- How to unzip a folder on Windows computer
- How to unzip a folder on a Mac
- How to unzip a folder on an iPad/iPhone
- How to unzip a folder on an Android device
After unzipping, upload the SVG file(s) into your cutting machine software.
Not sure how to use cut files with your type of machine? The following links lead to videos on how to open cut files in:
- Cricut Design Space
- Silhouette Studio
- CanvasWorkspace (for ScanNCut machines)
The download folder also contains printable PDF versions of the templates for hand cutting.
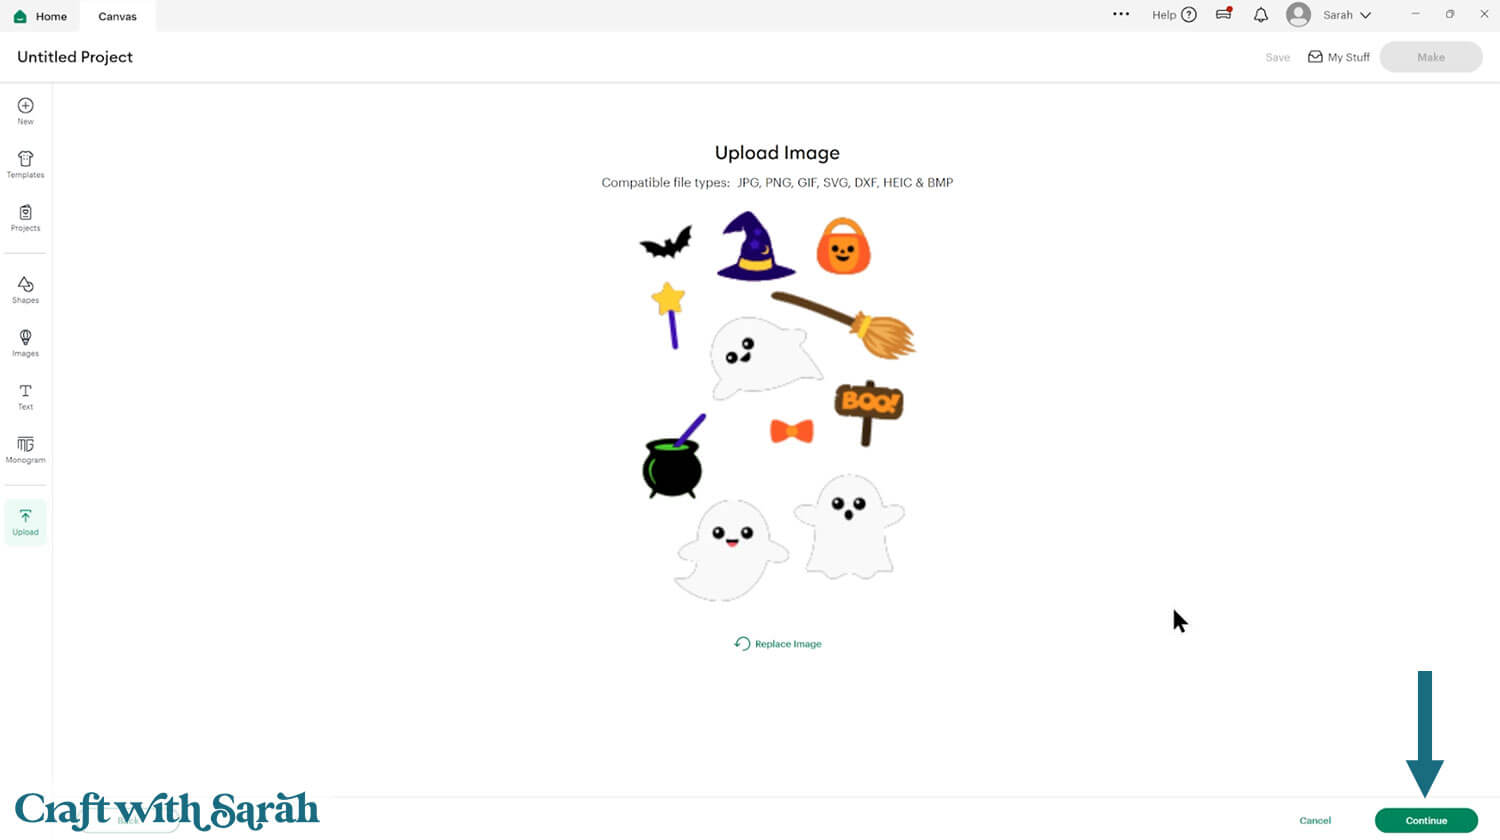
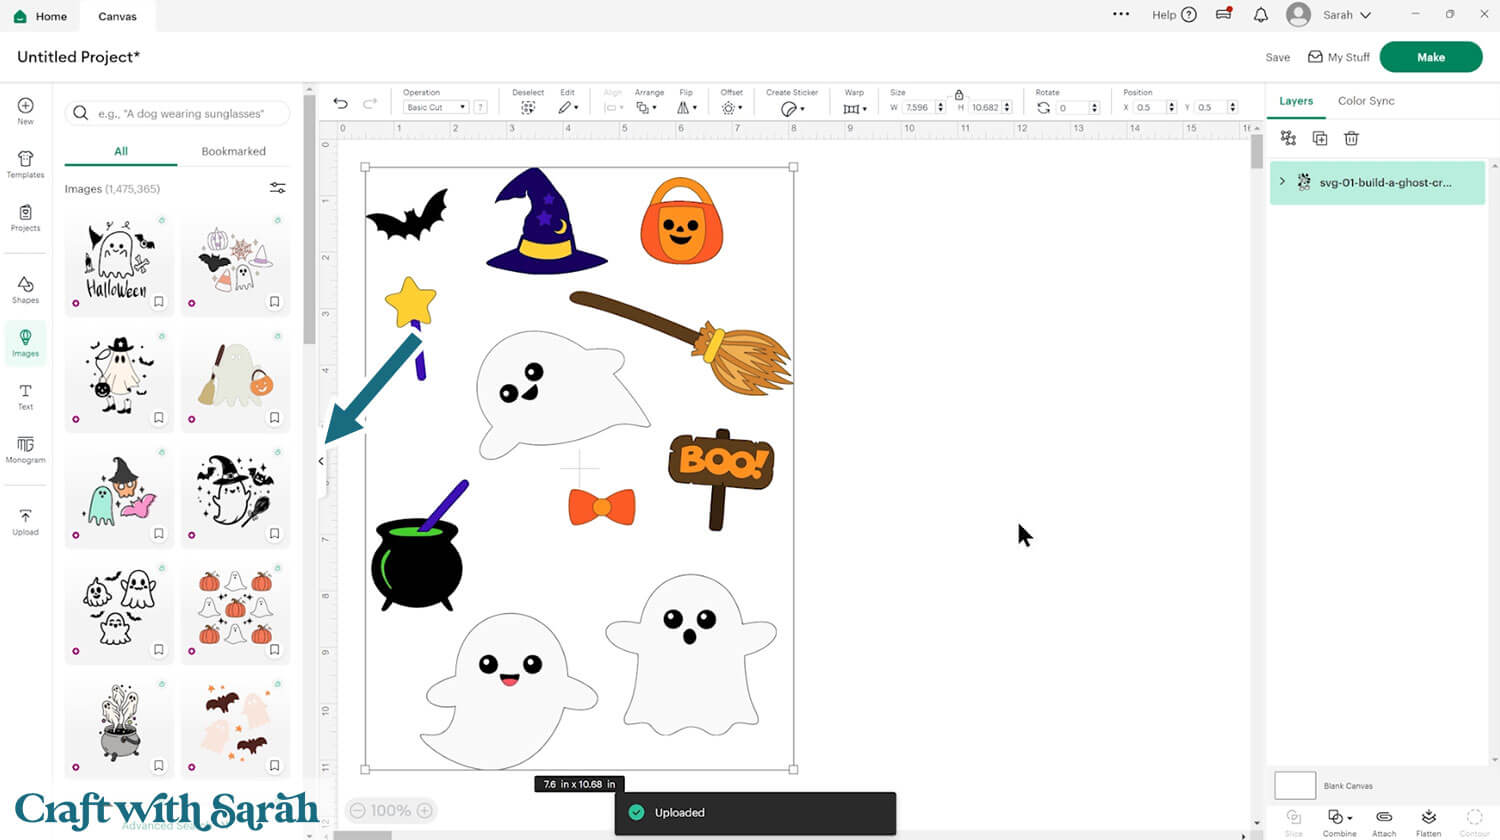
If you are using Cricut Design Space, start a new project and then click the “Upload” button on the left of the screen.
You can then either click “Browse” to find the file on your computer, or drag-and-drop it.
All of the ghosts and decorations come in one file to make them quicker to upload.
Upload the file in the “01 Cricut Version” subfolder called svg-01-build-a-ghost-craftwithsarah.svg
This is how it should look after you have selected the file:
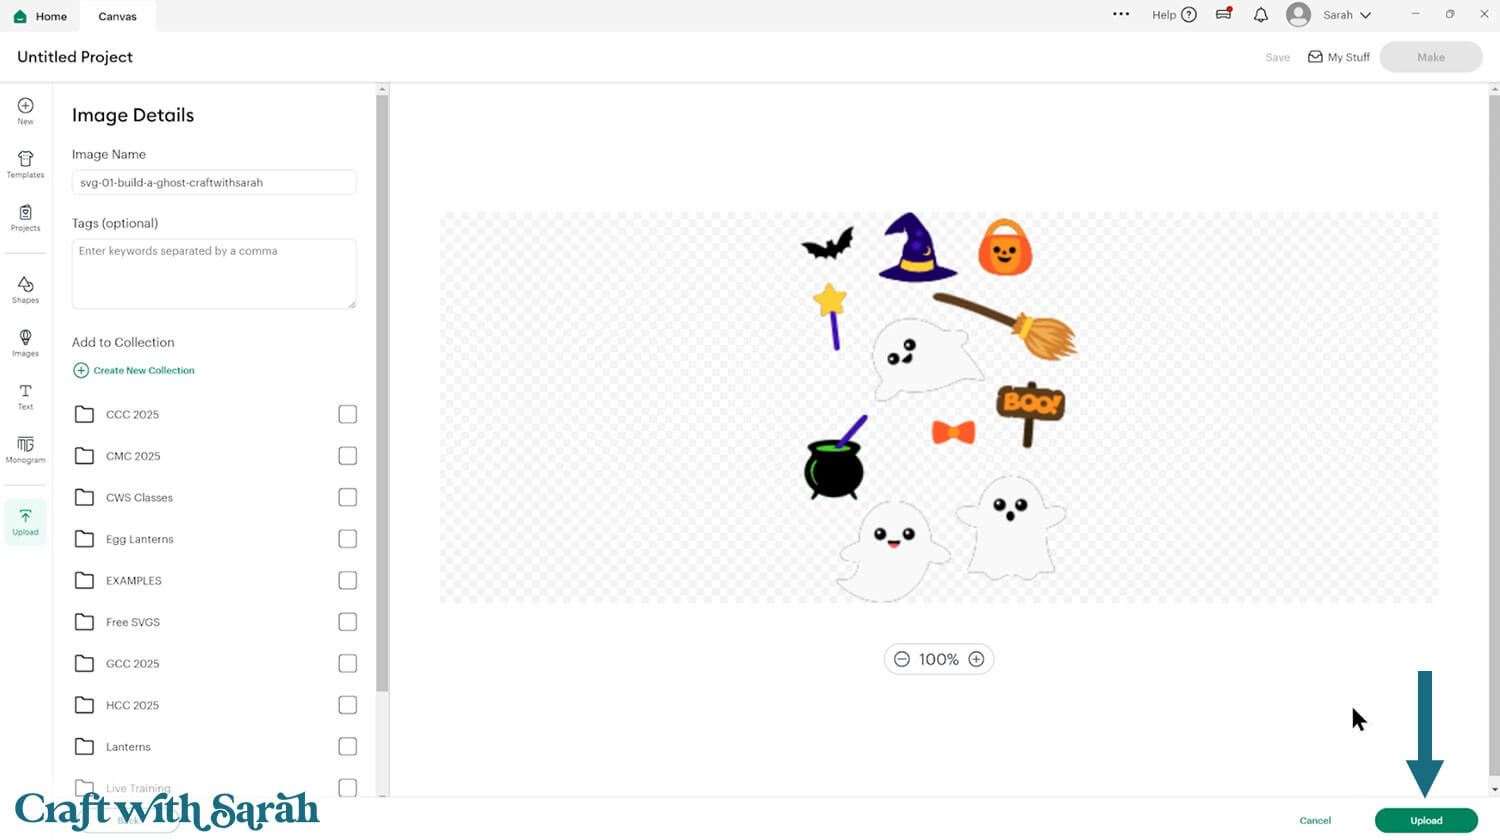
Don’t worry if the image preview appears blurry – it will show in full quality once it’s inserted onto your project.
Press “Upload” on the next screen.
After uploading, the design should be automatically inserted onto your Canvas.
Cricut have recently (as of June 2025) introduced a feature where you get a “pop out” bar of similar images when you Upload a design. To hide this bar (to give you more space for designing!), click the arrow that’s about half way down the page.
If the design doesn’t get inserted onto your Canvas, it will show under “Uploads” in your “Recently Uploaded Images”. Click on it and then press “Add to Canvas” to put it onto your Project.
Part 2: Making fridge magnets
The easiest way to start using the ghost designs is by making fridge magnets.
The ghost shapes come in a little small for magnets, so you may want to resize them.
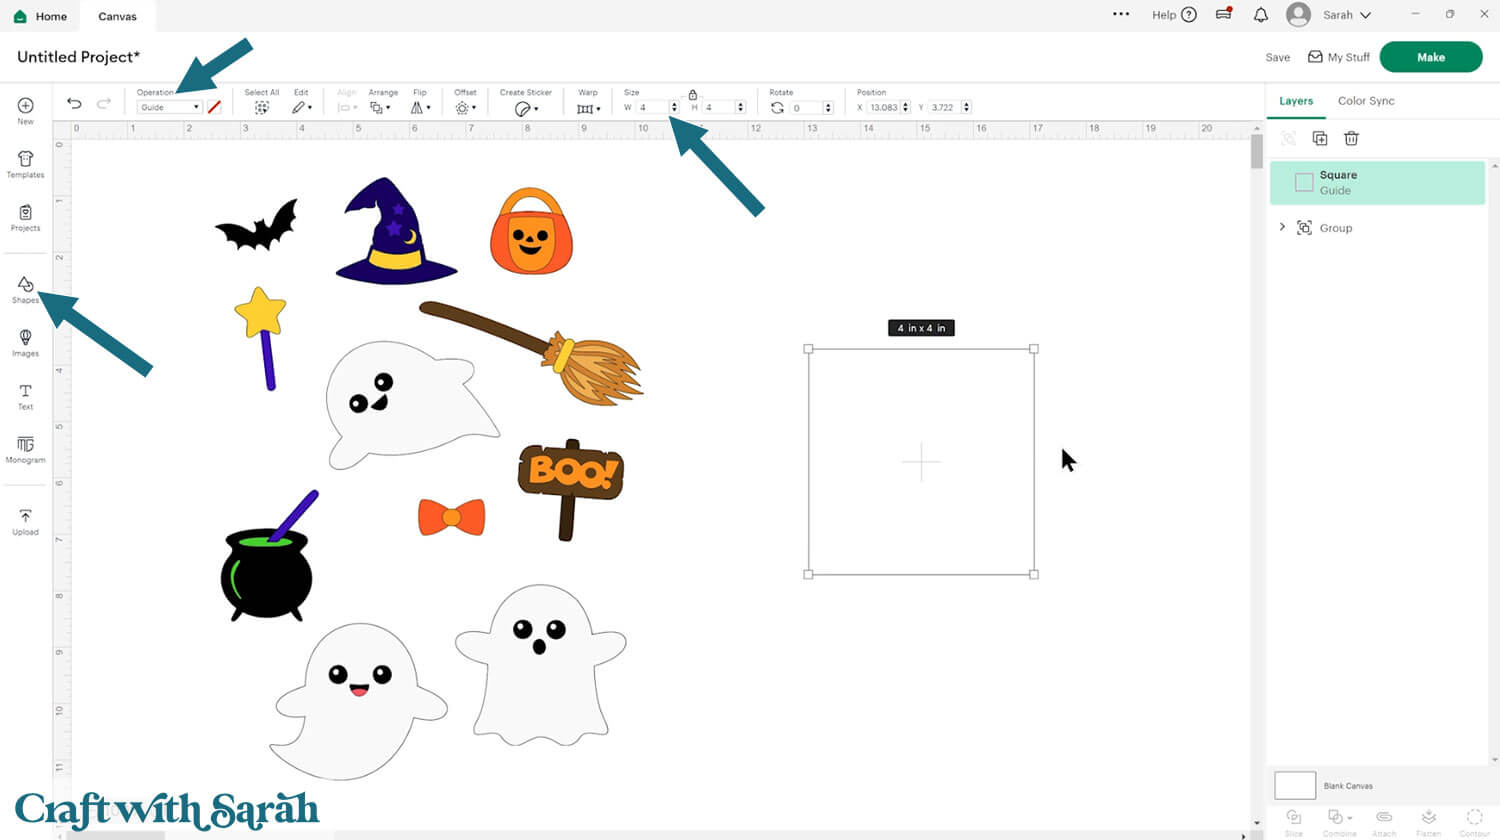
A good size is to make the ghosts around 4 inches tall. This makes them large enough to handle while still fitting nicely on your fridge.
To make them a specific size, click into “Shapes” and choose a square.
Make it the size that you would like your ghosts to be.
Change it to a “Guide” layer in the “Operations” dropdown menu.
With the ghost project grouped, move one of the ghosts over the guide and use it to resize the group until the ghost fits just inside.
You don’t need to be 100% accurate with the sizing, it’s more of a rough guide to make them a bit more of an appropriate size.
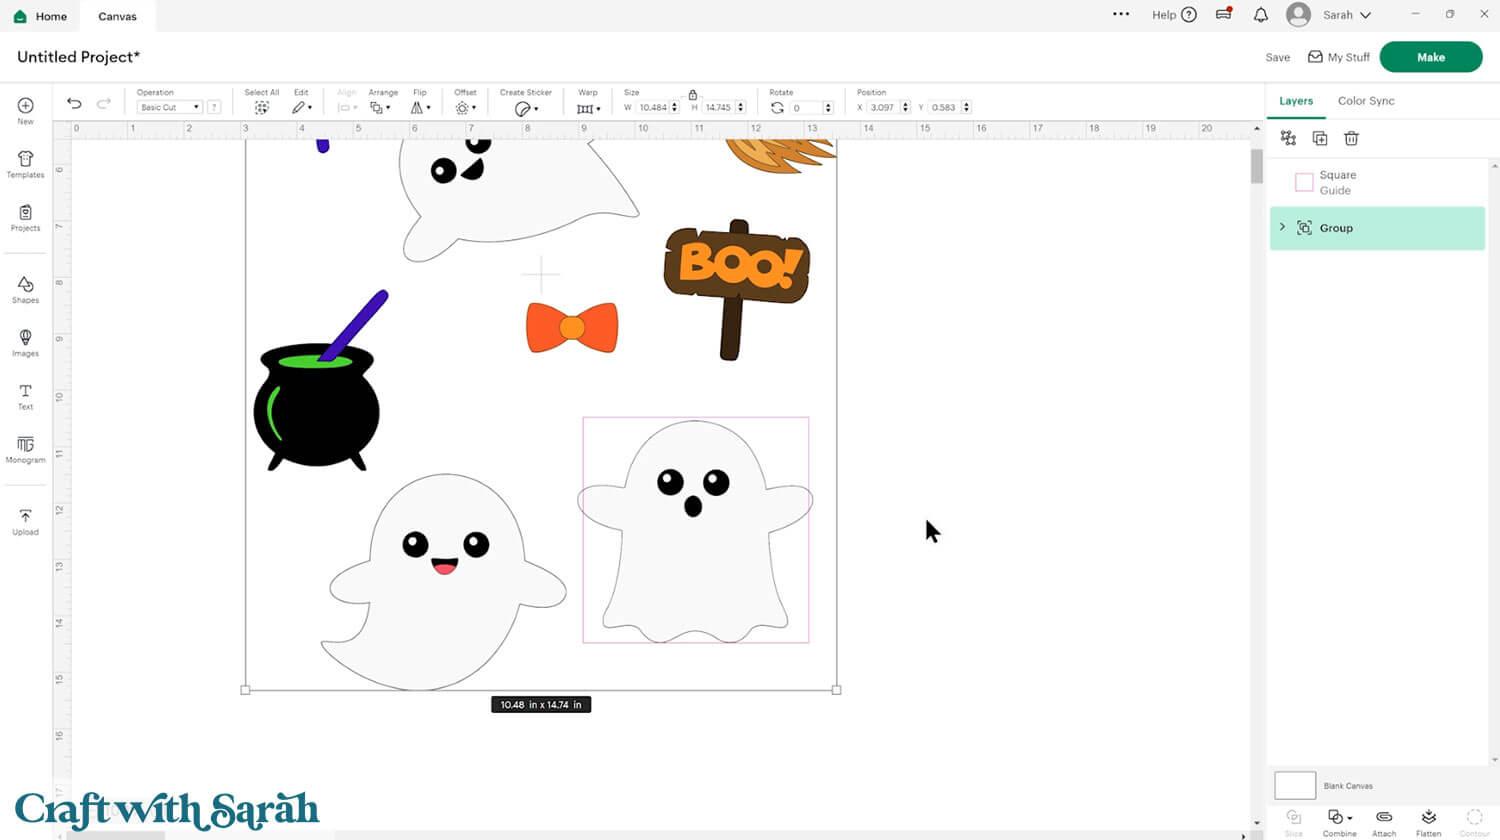
Keeping all the ghost imagery Grouped means that it will all resize in proportion. You don’t want a ghost which has all the accessories at a huge or tiny size in comparison!
Now you can delete the guide square.
When you’re happy with how everything is looking, press “Make” to start the cut process.
You can change the paper size in the dropdowns on the left.
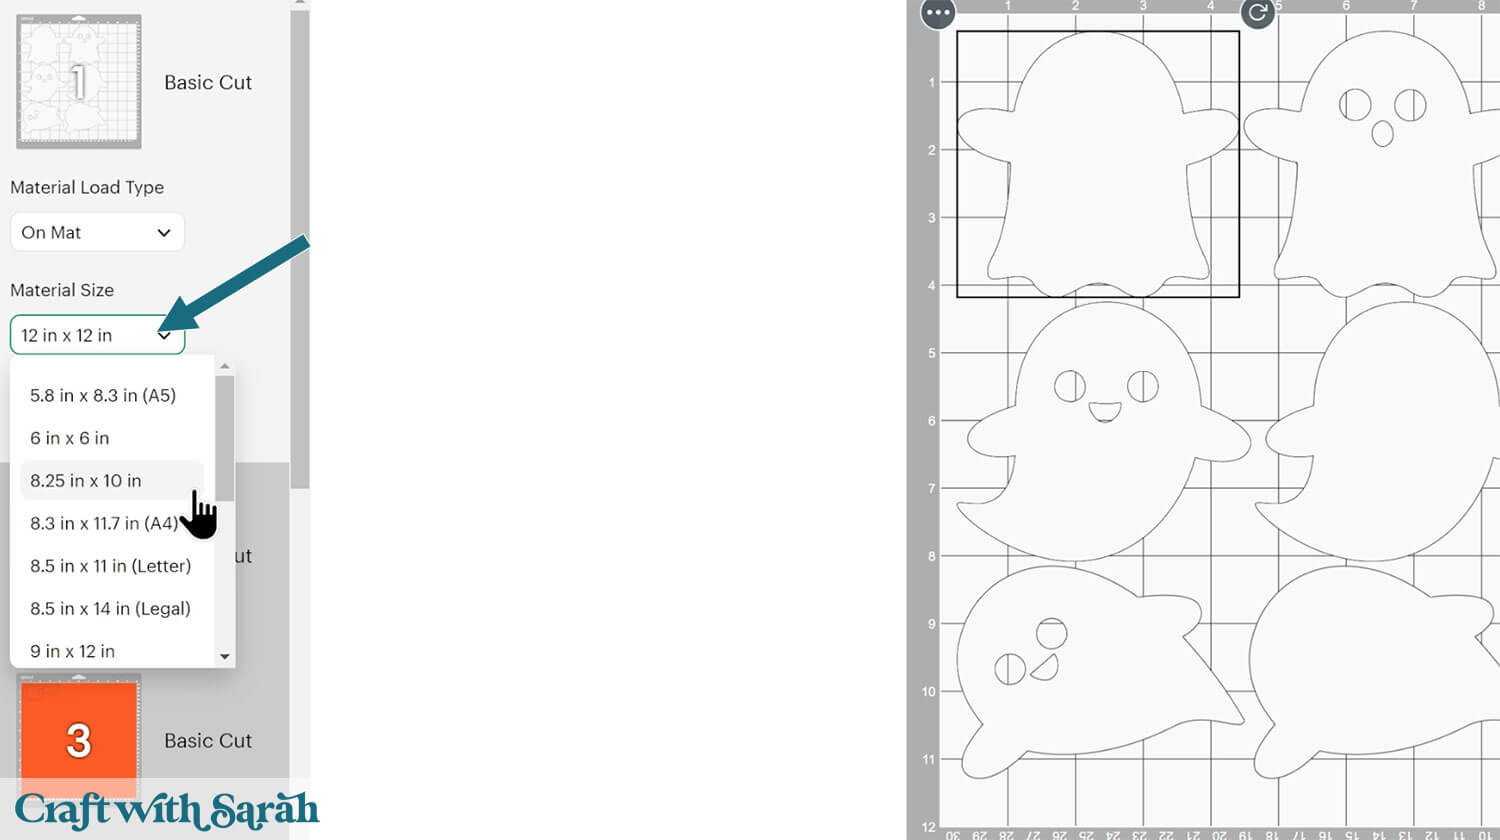
Follow the onscreen instructions to cut out all the pieces.
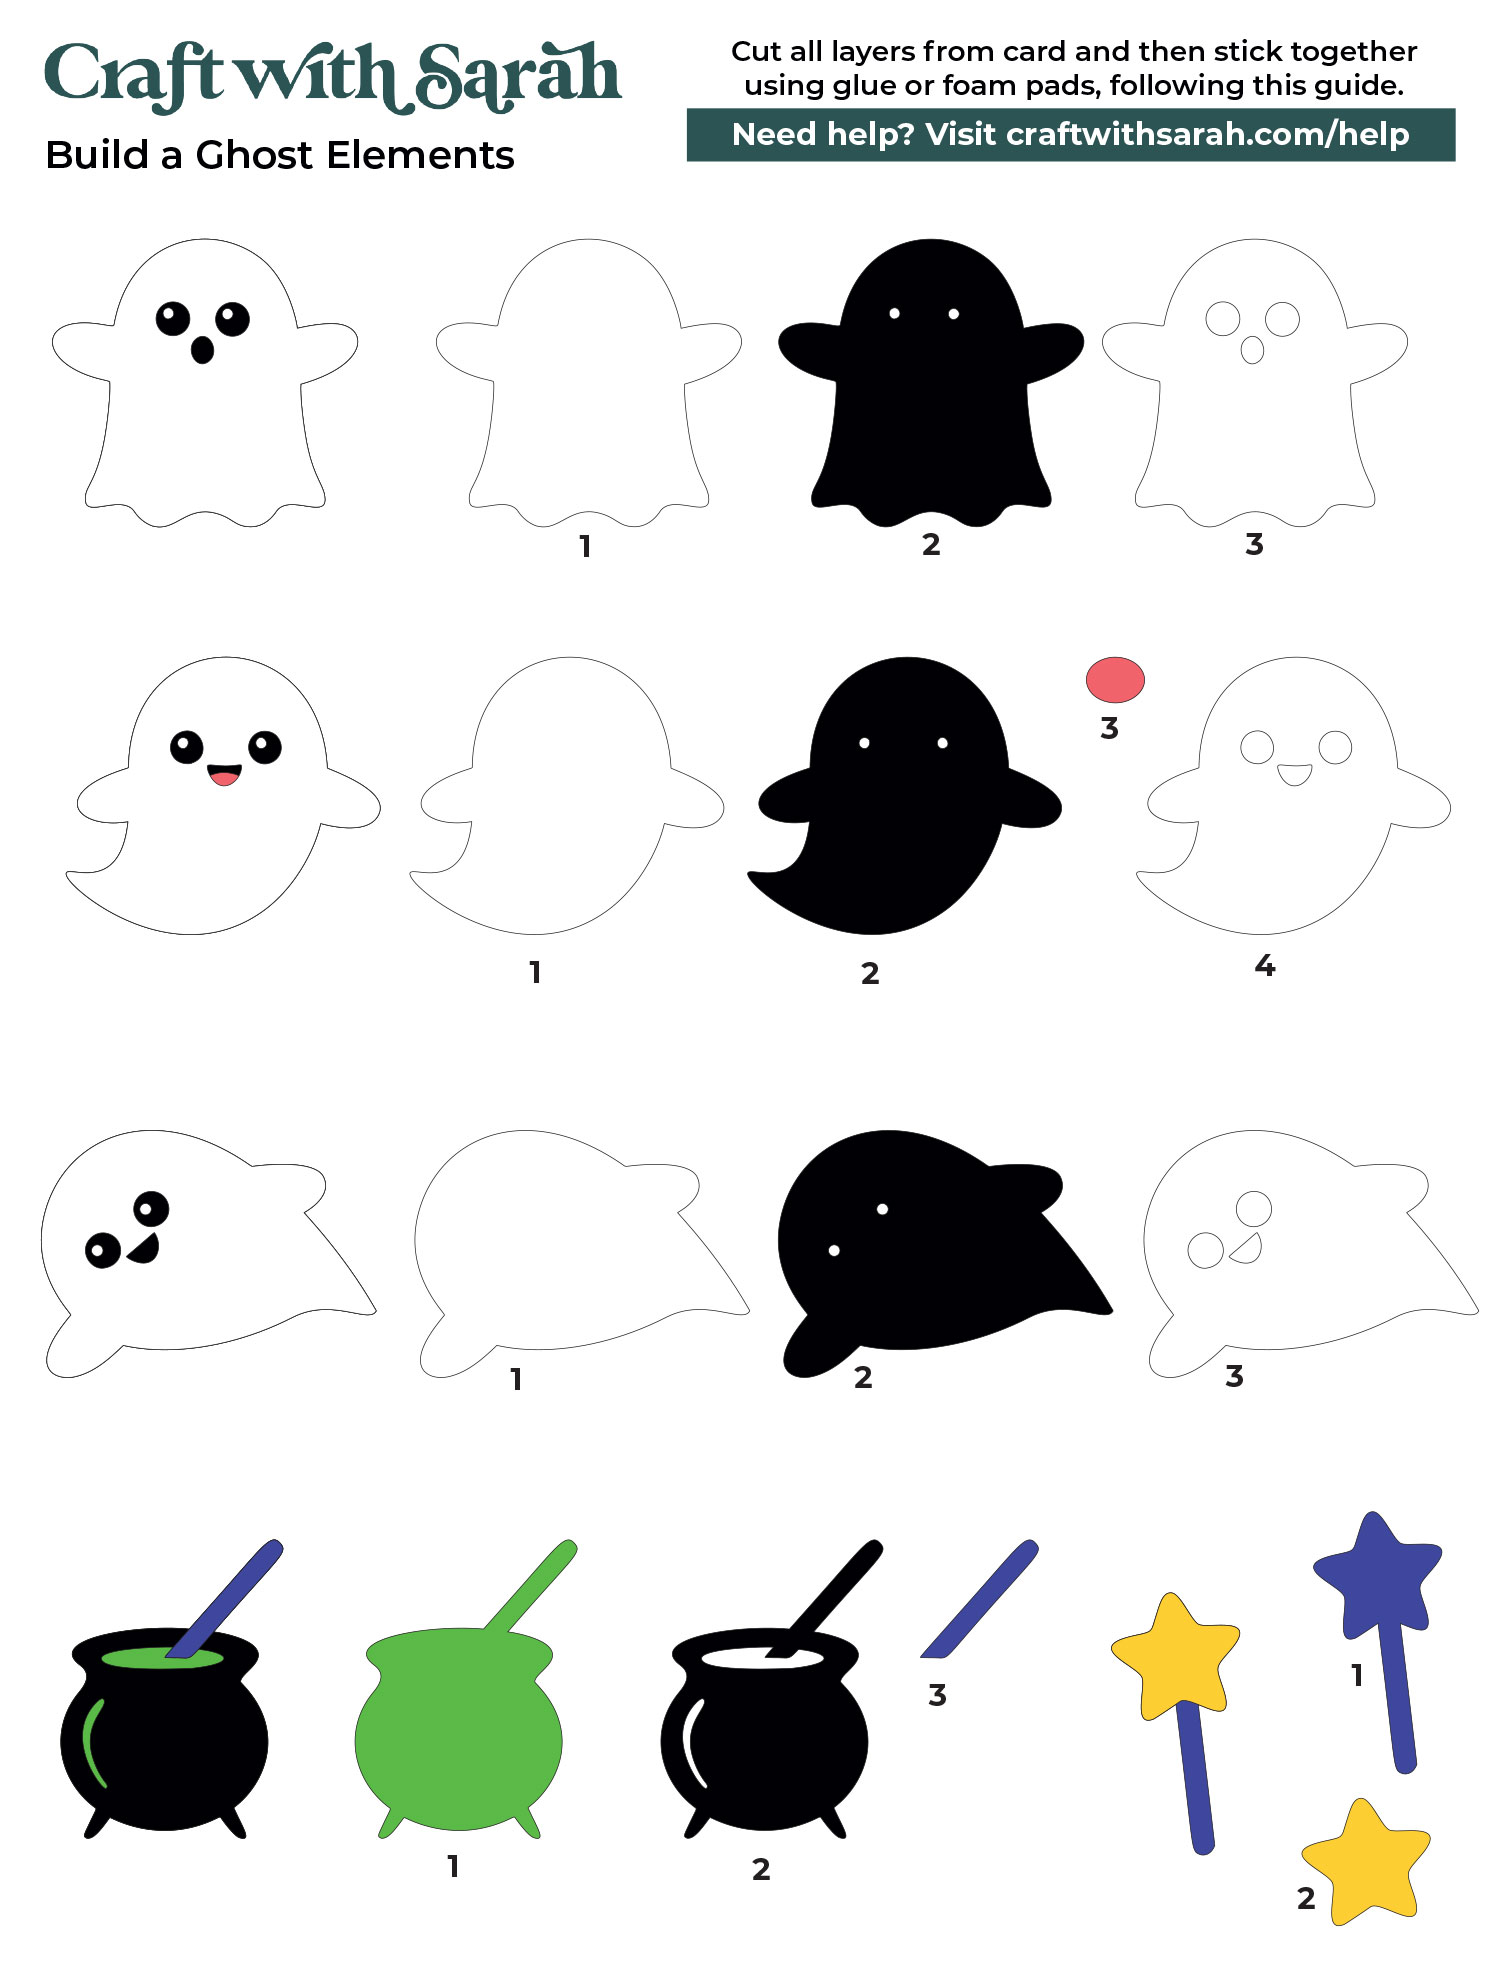
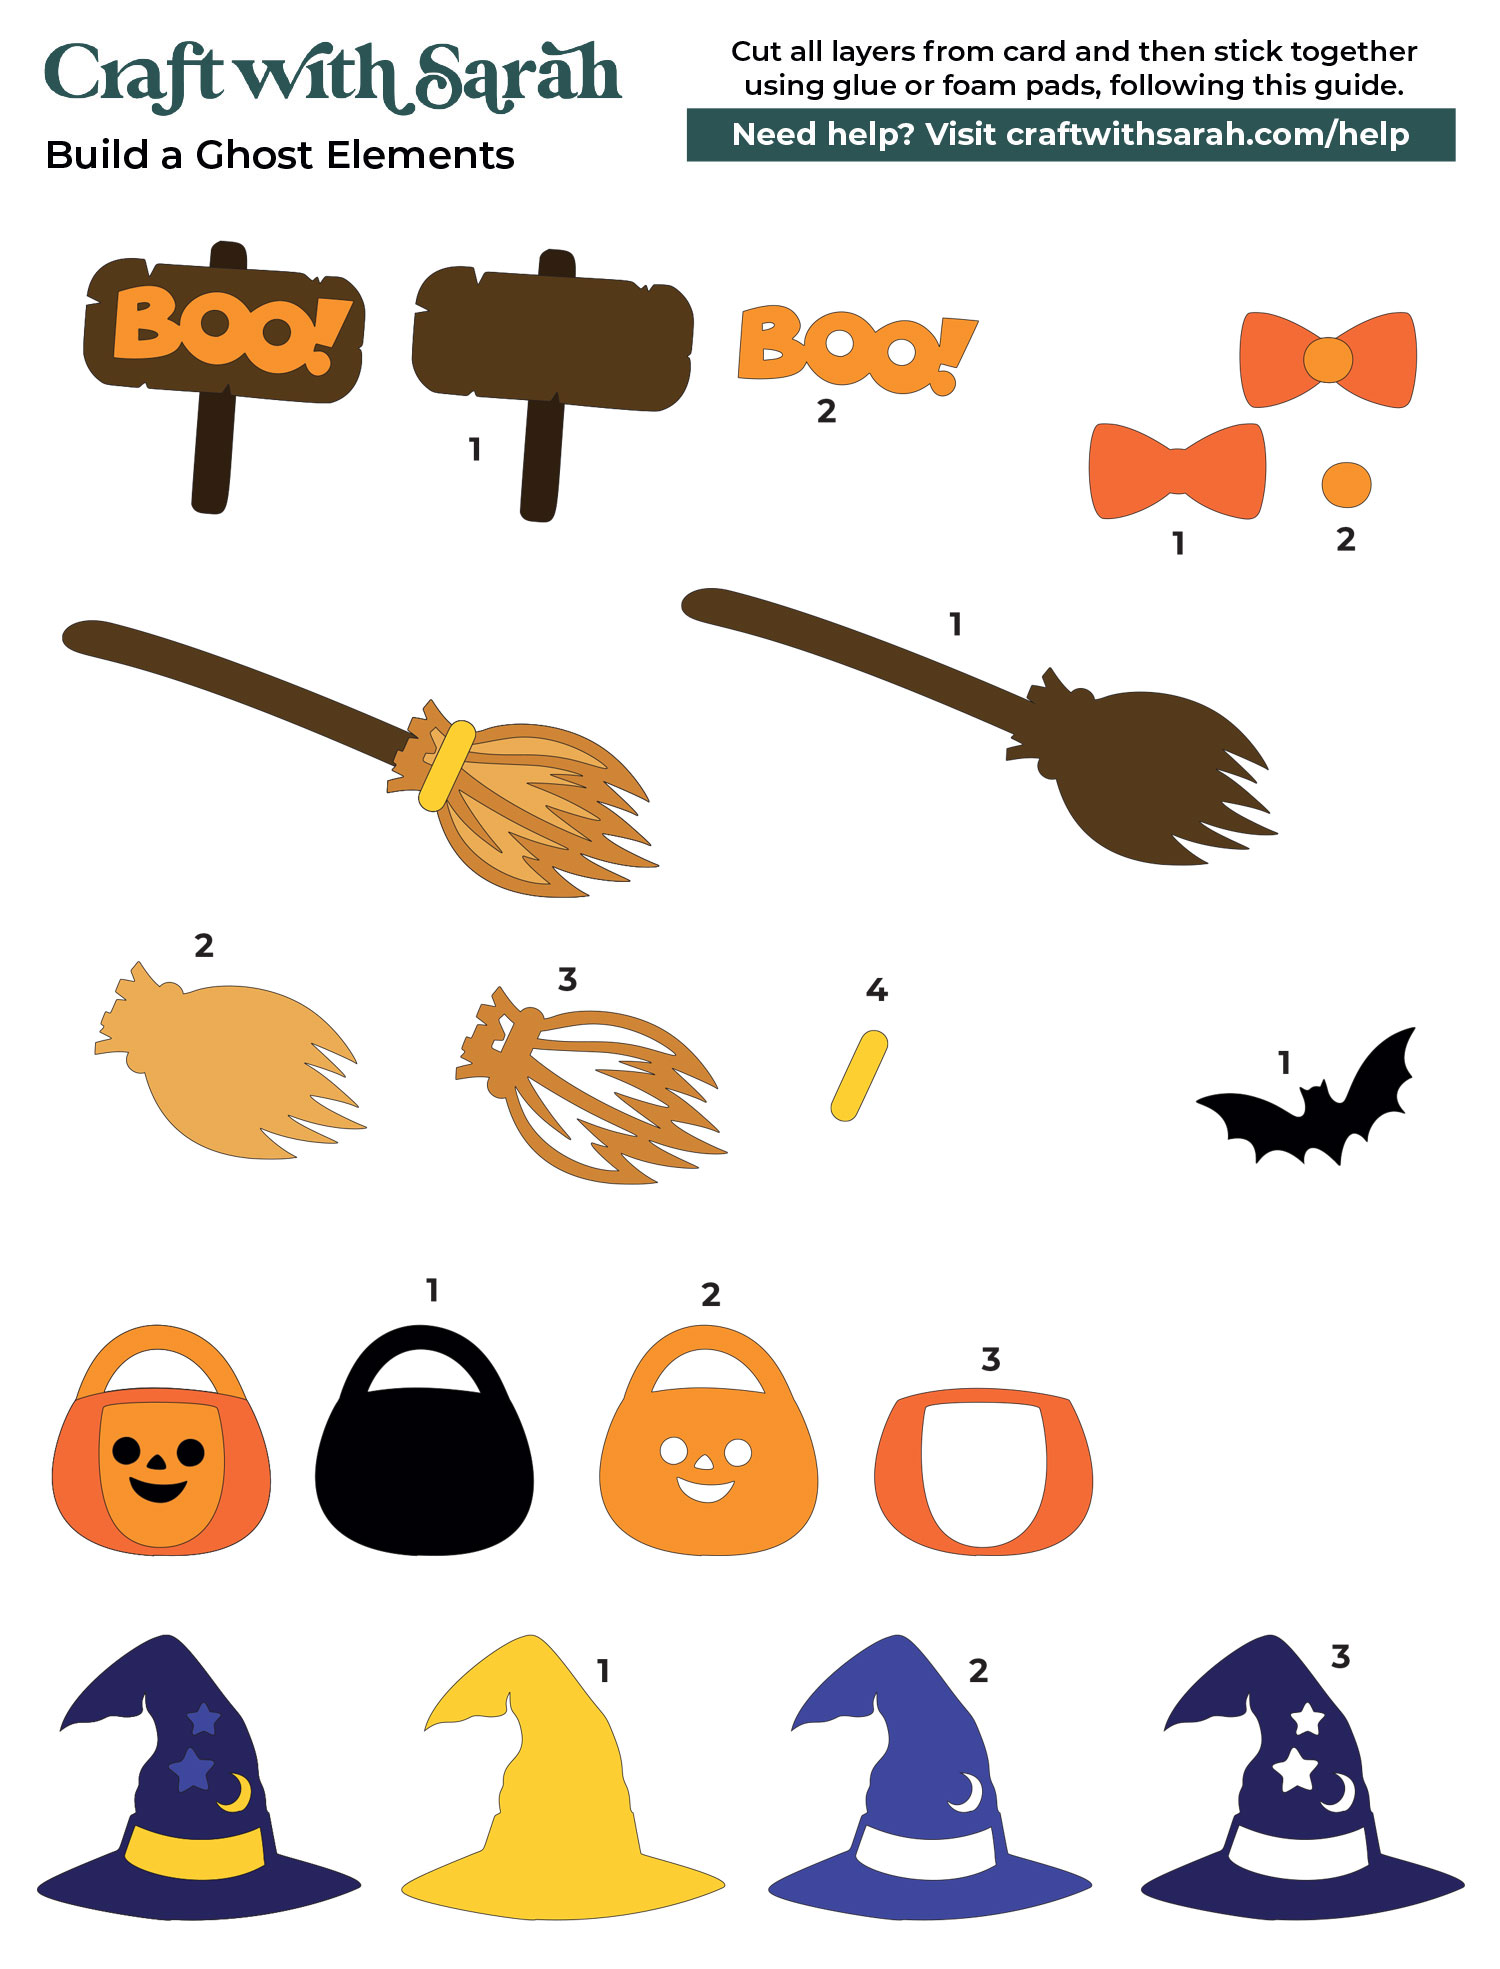
Glue all of the pieces of each picture together. You can use this assembly guide to see the order of all the pieces.
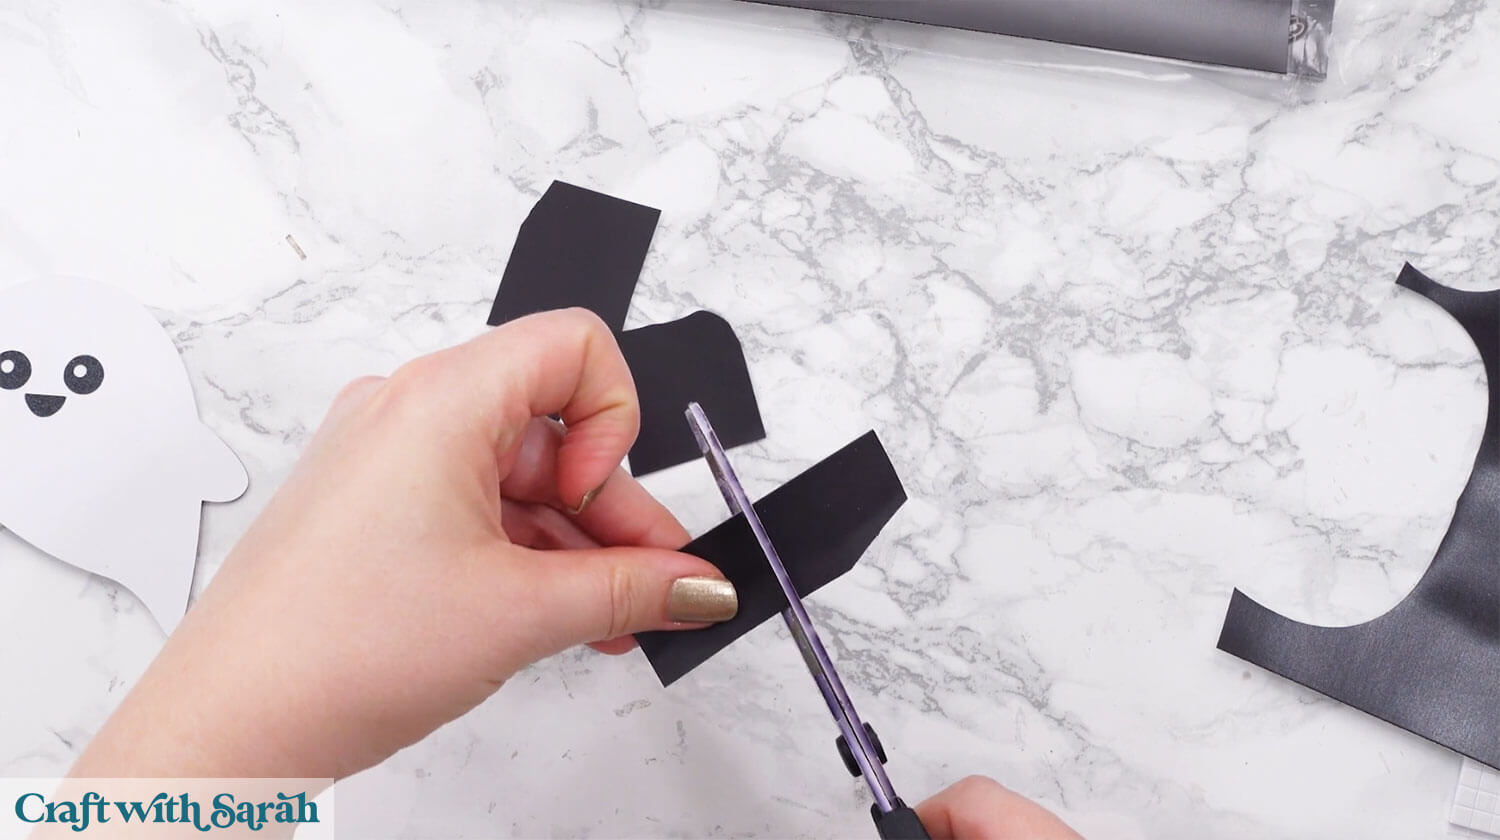
Add magnets to the back of each piece. I used magnetic sheets for mine and cut them into small squares with scissors.
You could also use individual magnets.
Or, to make the backs look neater, you could use your Cricut to cut the magnetic sheets into the full shape of each of the ghosts and accessories. Click here for a tutorial on cutting magnetic sheets with a Cricut.
It’s as easy as that! Kids (and adults too) will have fun mixing and matching the outfits every time they walk by the fridge.
Part 3: Creating layered papercraft projects
If magnets aren’t your style, you can use the ghosts for layered cardstock designs
In Cricut Design Space, you can arrange the accessories however you like. Add a hat, broom, pumpkin, or bow tie—whatever fits your ghost’s personality.
Once you’re happy with the layout, you can either cut each piece separately or do a little extra work in Design Space to join outlines together. This helps when using foam squares for dimension because it gives you a solid backing to stick the pieces to.
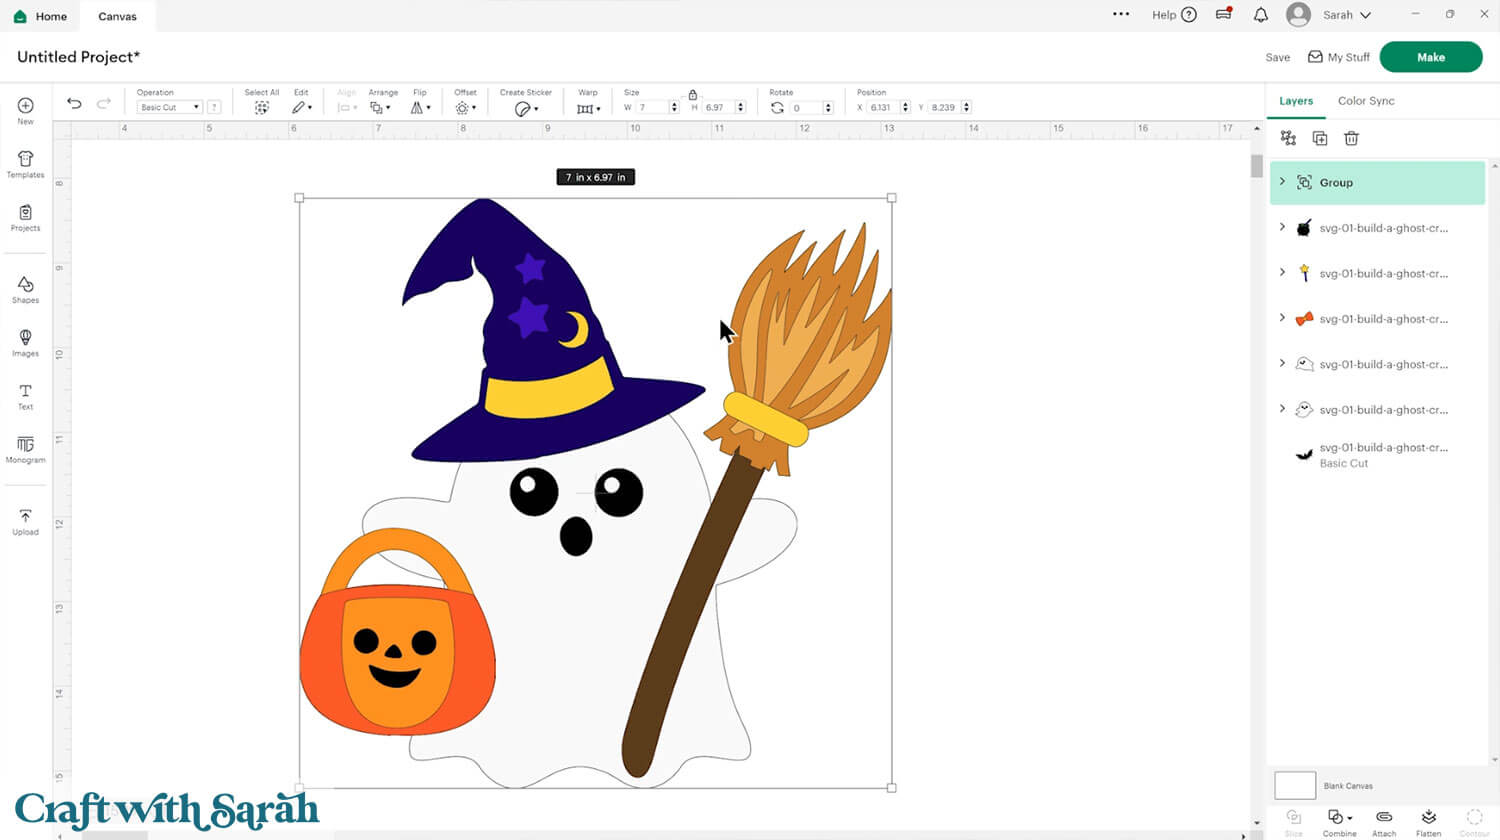
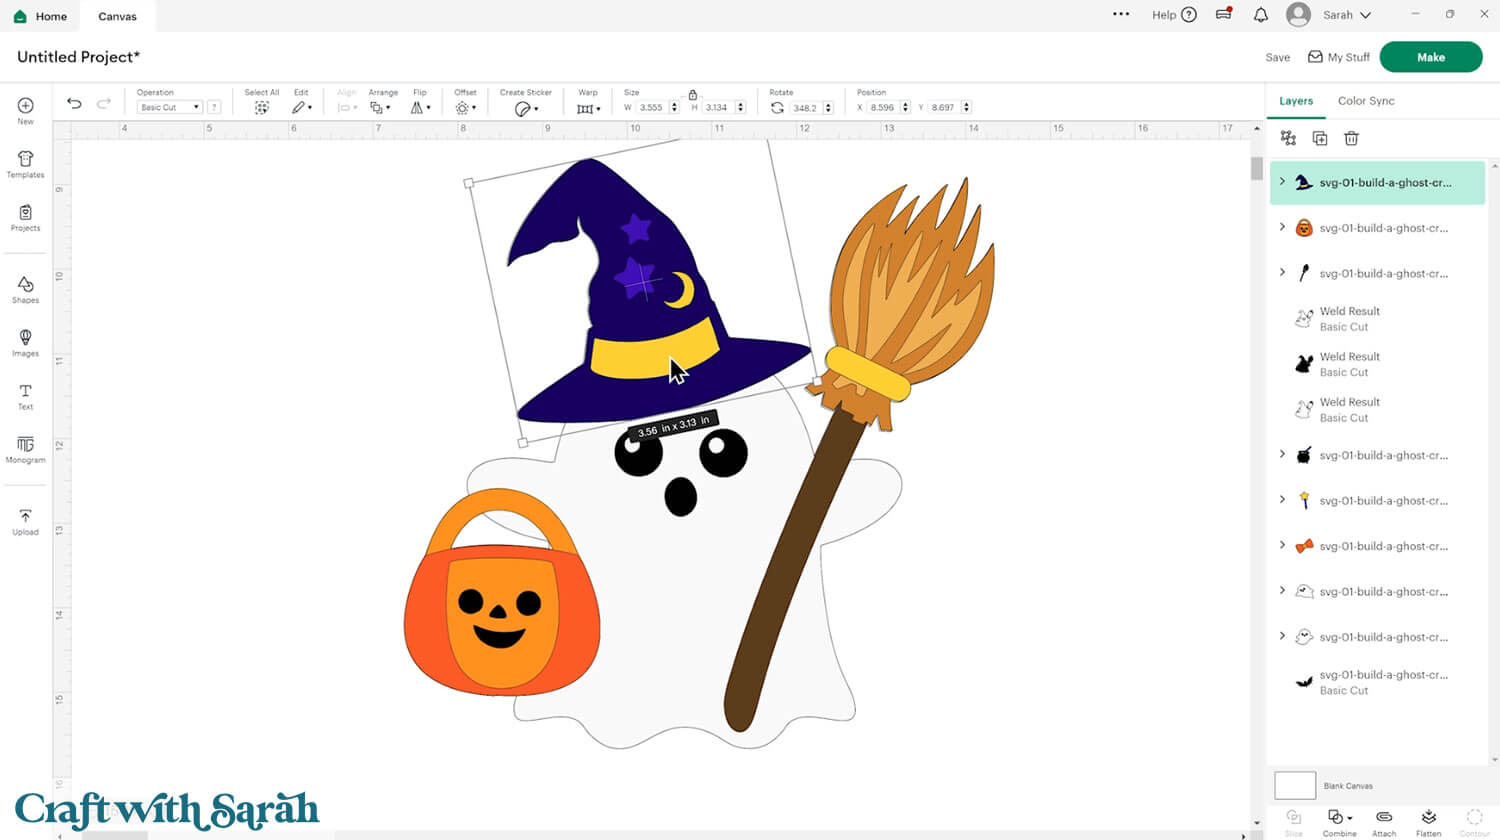
First, arrange your ghost on screen with all the accessories that you want. Here’s how mine looks:
Click on the bottom layer of one of the accessories and duplicate it in place by holding down the ALT key (Windows computer) or OPTION key (Mac), wiggling your mouse slightly and then clicking.
That will create a copy of that layer in exactly the same place.
After duplicating, hide the original accessory so that you can just see the duplicated bottom layer.
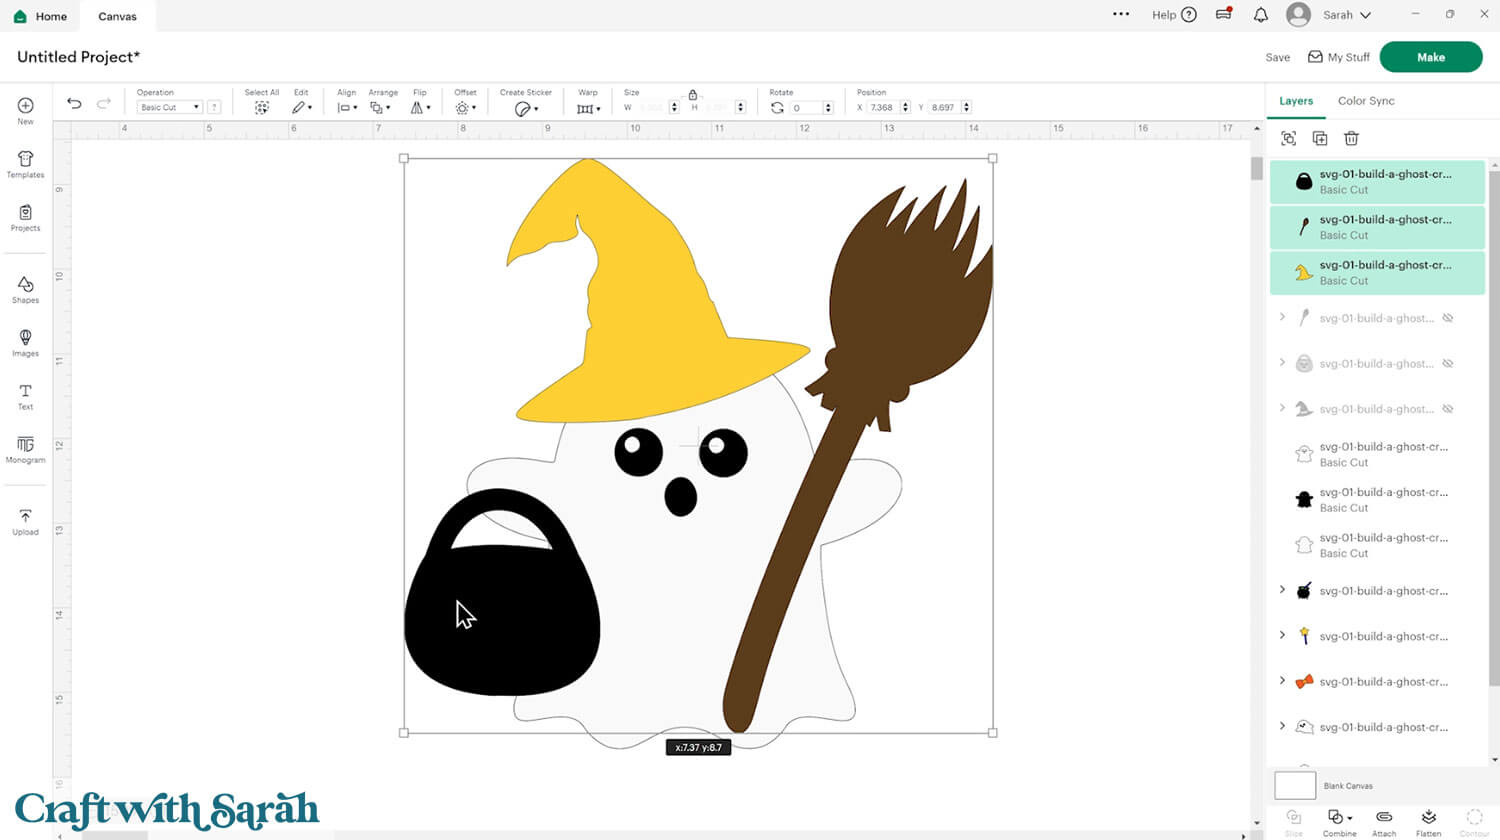
Make all your accessory duplicated layers the same colour.
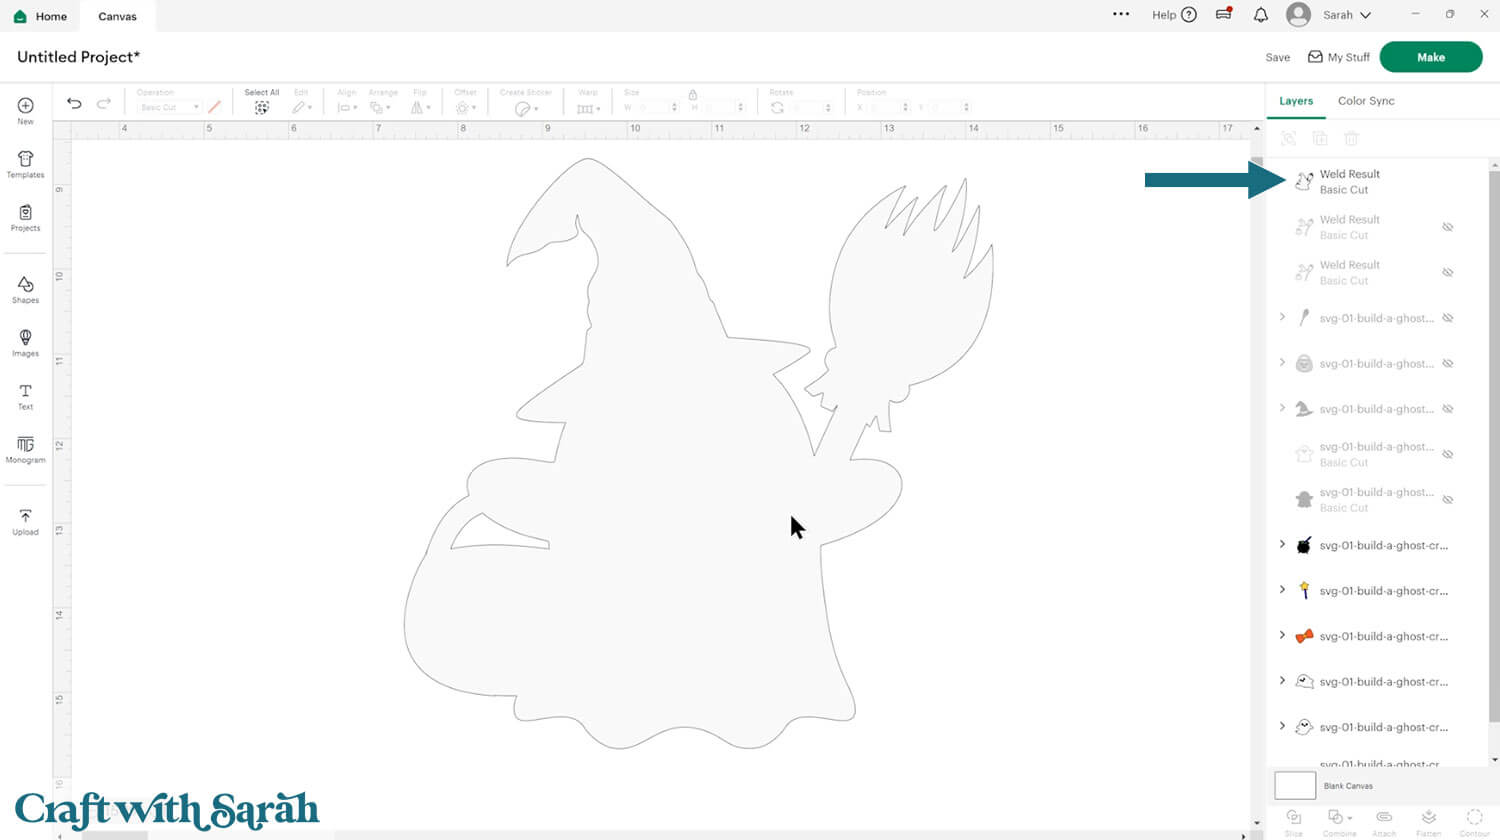
Select them all and press “Combine > Weld”.
Duplicate the Welded layer twice so that you have three in total.
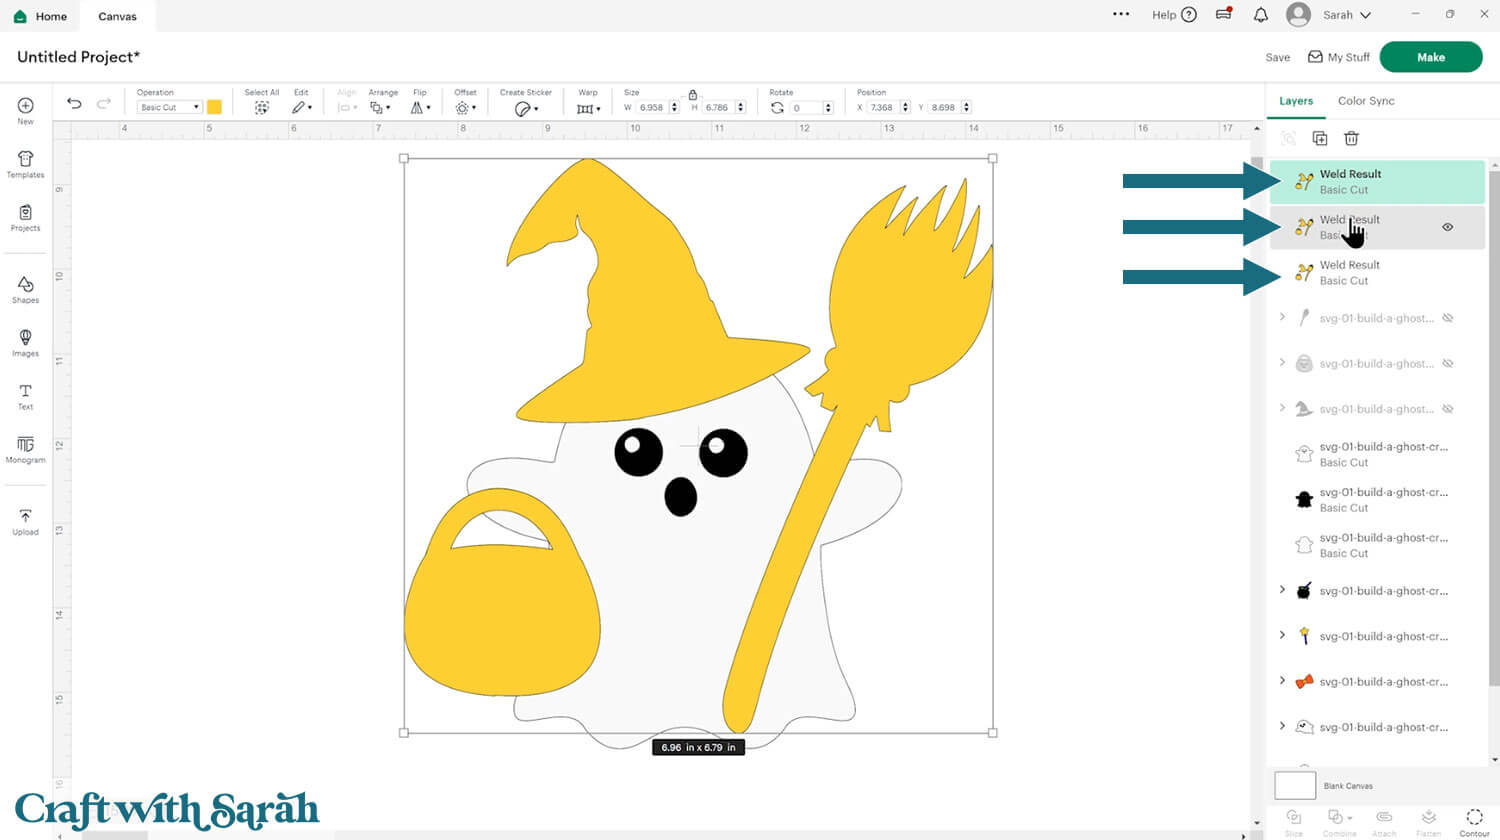
Hide two of the duplicated Welded layers.
Hide all but the bottom layer of your ghost.
Make the remaining Welded layer the same colour as the ghost (white).
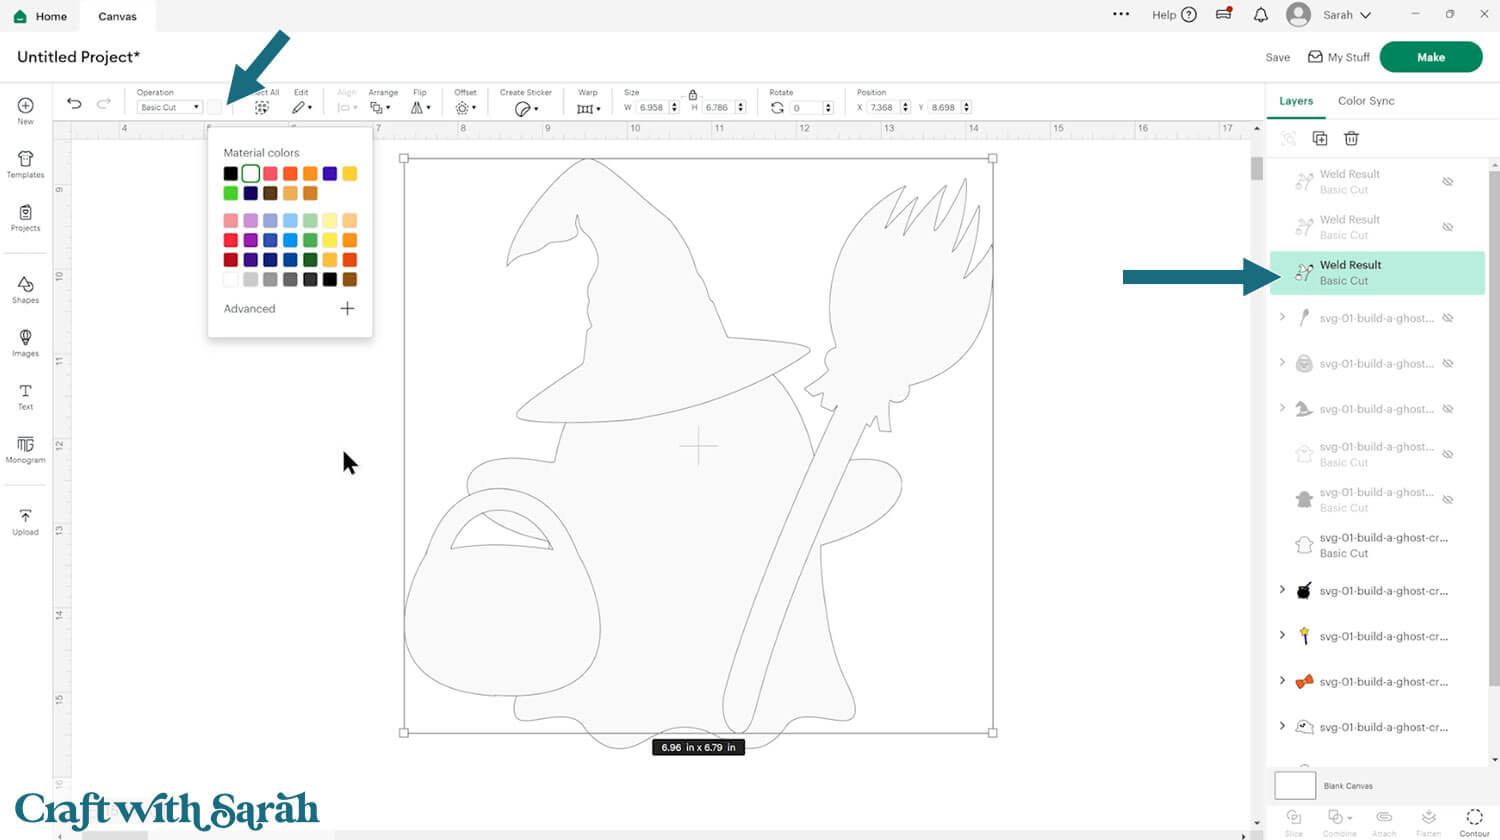
Select both layers and click “Combine > Weld” to join them together.
Turn on the next layer of the ghost and another of the Welded layers.
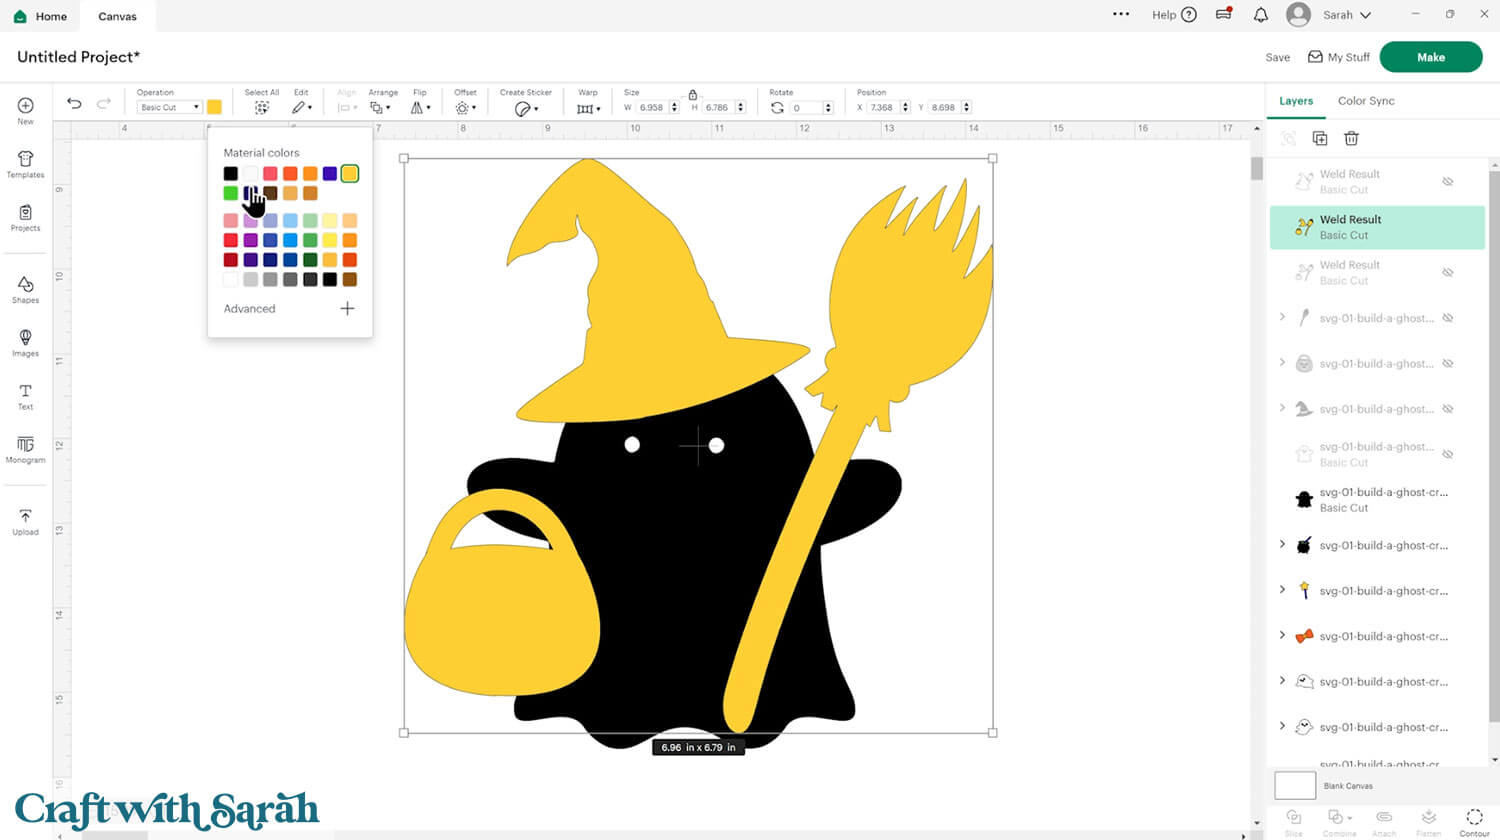
Change the colour of the Welded layer to black, then Weld it to the black layer of the ghost.
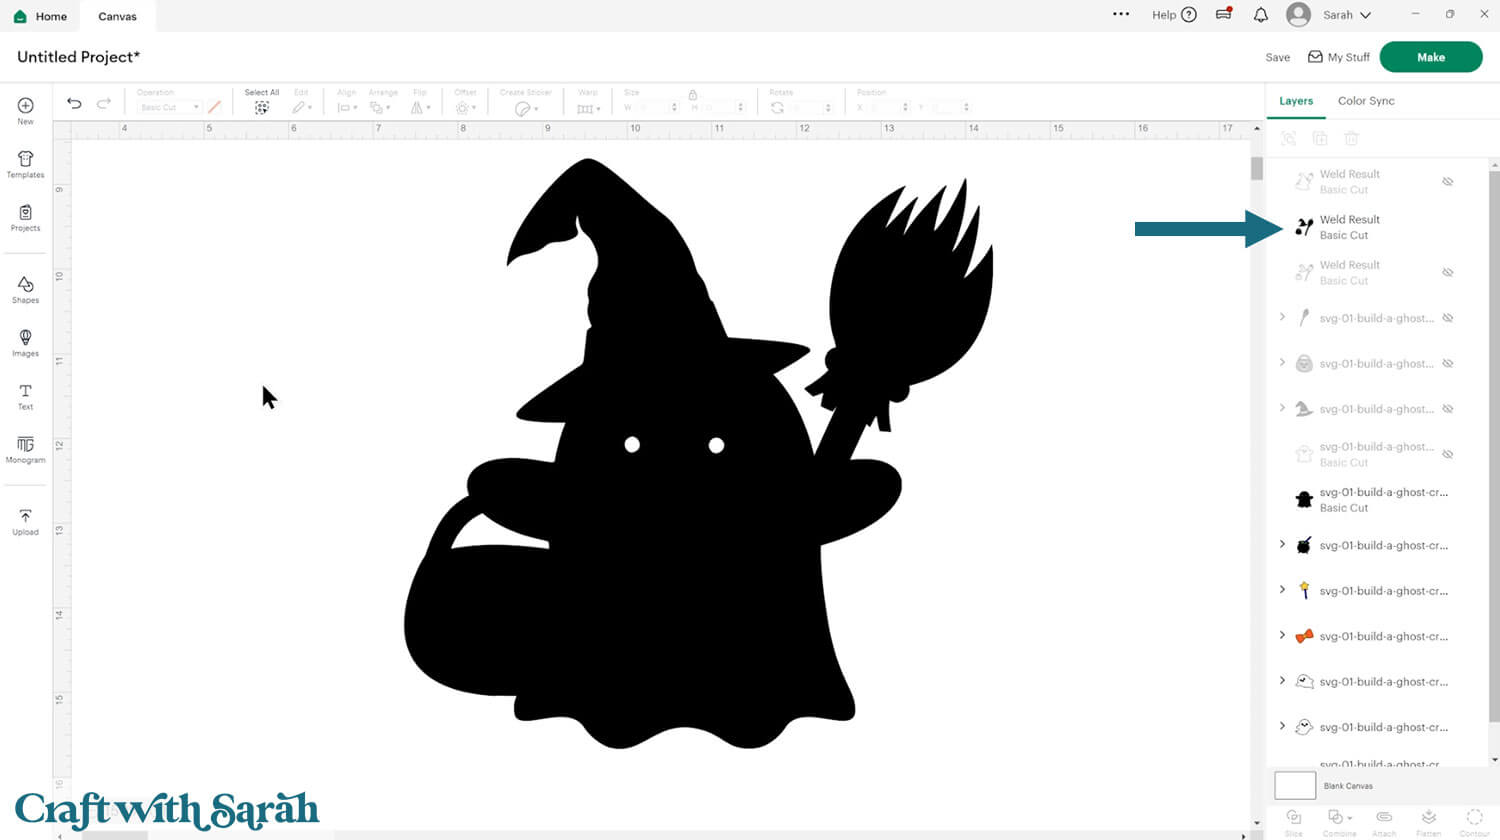
Repeat for the final layer of the ghost.
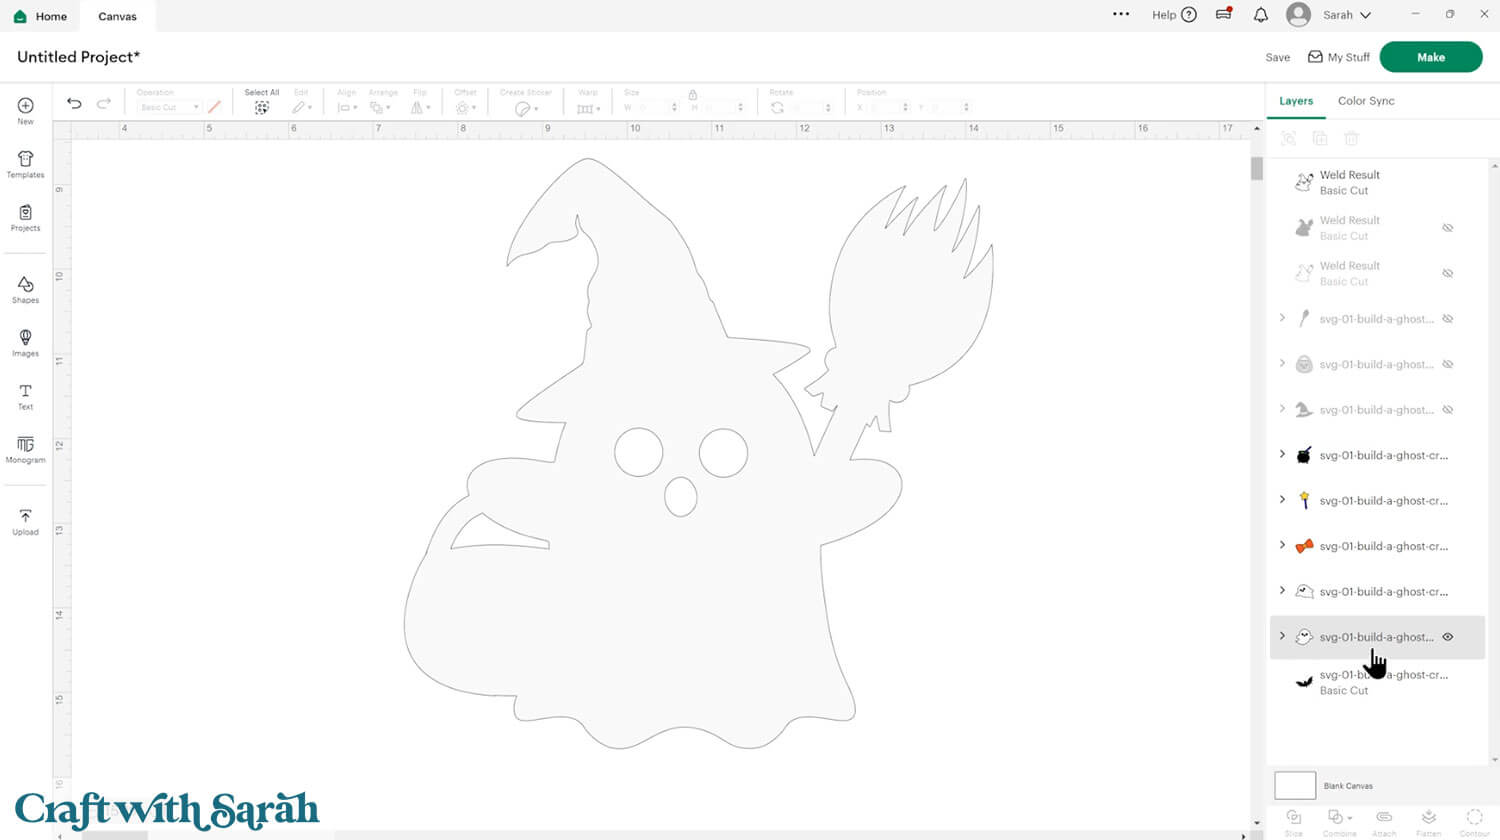
Turn all the other layers and groups back on. You may need to move the positions around in the layers panel to get it looking correct.
Part 4: Creating Greetings Cards
Once you’ve created your ghosts with all the accessories, you can make them into a greetings card.
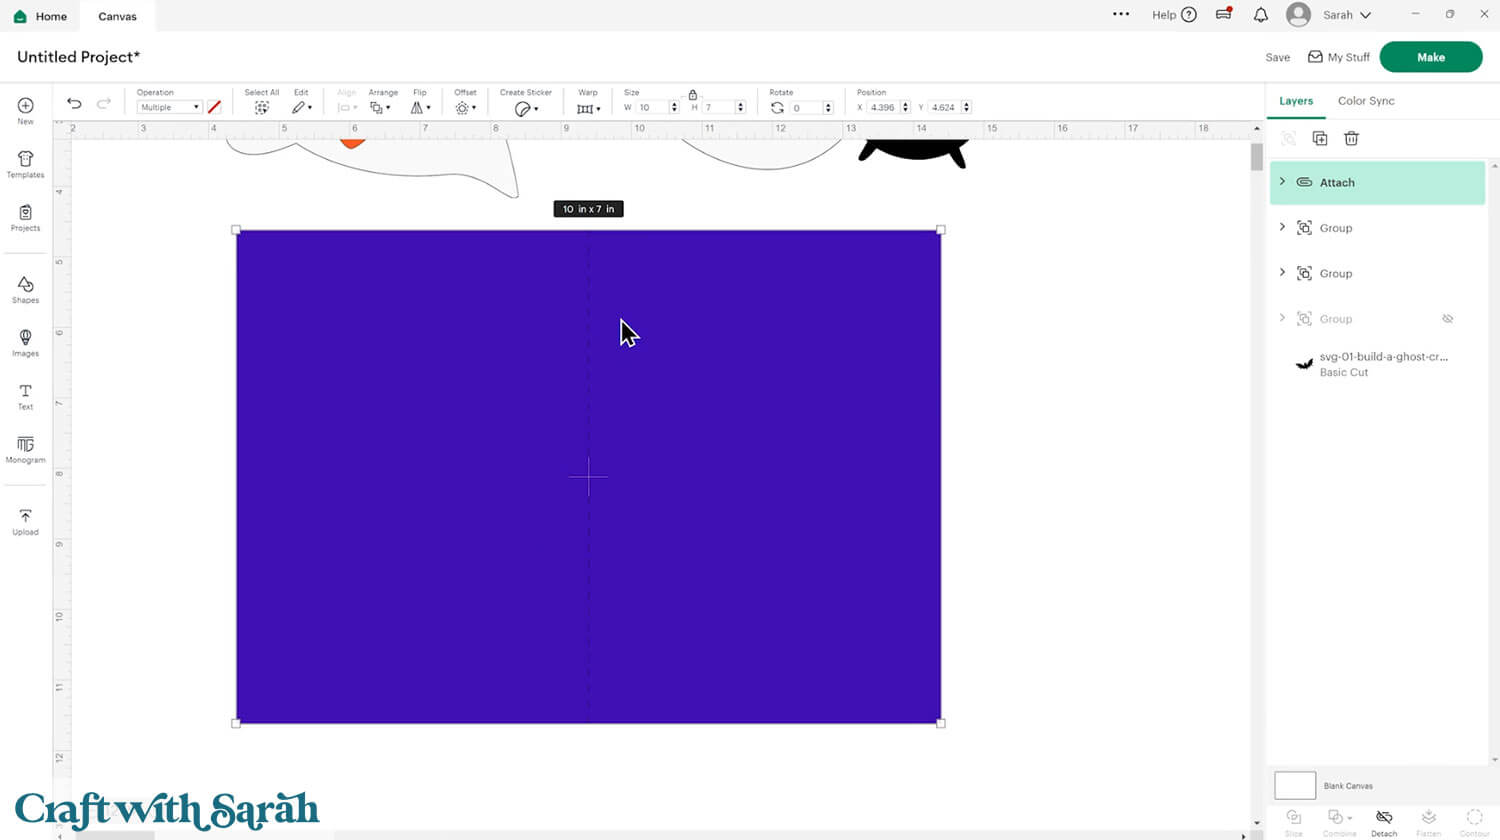
Start by going into Shapes and choose a square.
Make it 10×7 so that it will make a 5×7 inch card once folded.
Click to “Shapes” and insert a Score Line.
Make the score line 7 inches tall.
Select the score line and the base card layer and press “Align > Center” to put the score line in the middle of the card.
With both of those layers still selected, click the “Attach” button at the bottom of the layers panel. This tells the Cricut that we want it to do the scoring on the base card.
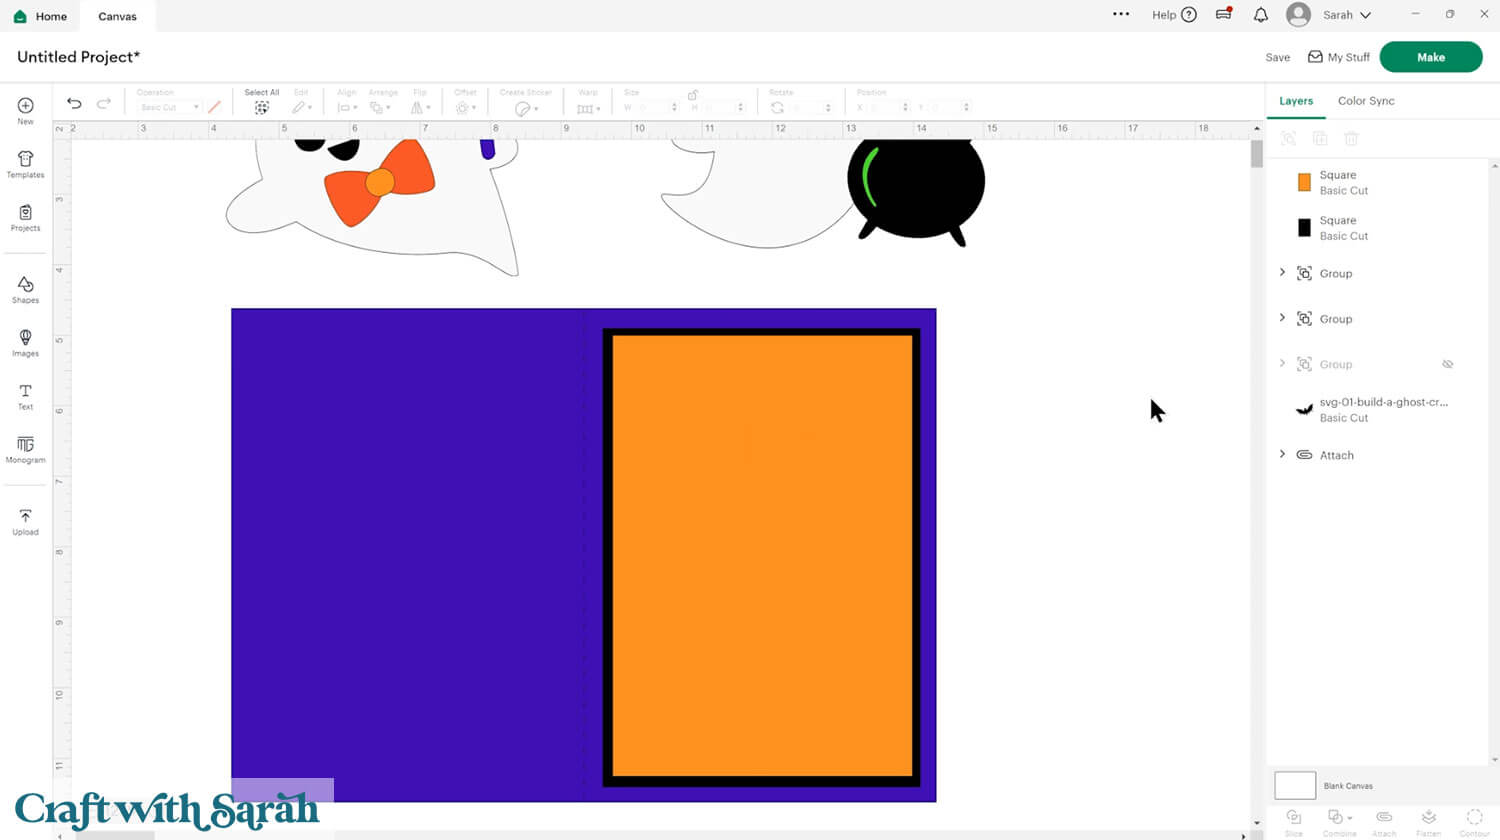
Now we can add some interest to the card front by making a border.
Go into shapes and choose another rectangle.
This time make it slightly smaller than the card front. I made mine 4.5 x 6.5.
Repeat the steps to add another rectangle but this time make it 4.25 x 6.25.
You could cut this one from a spooky patterned paper.
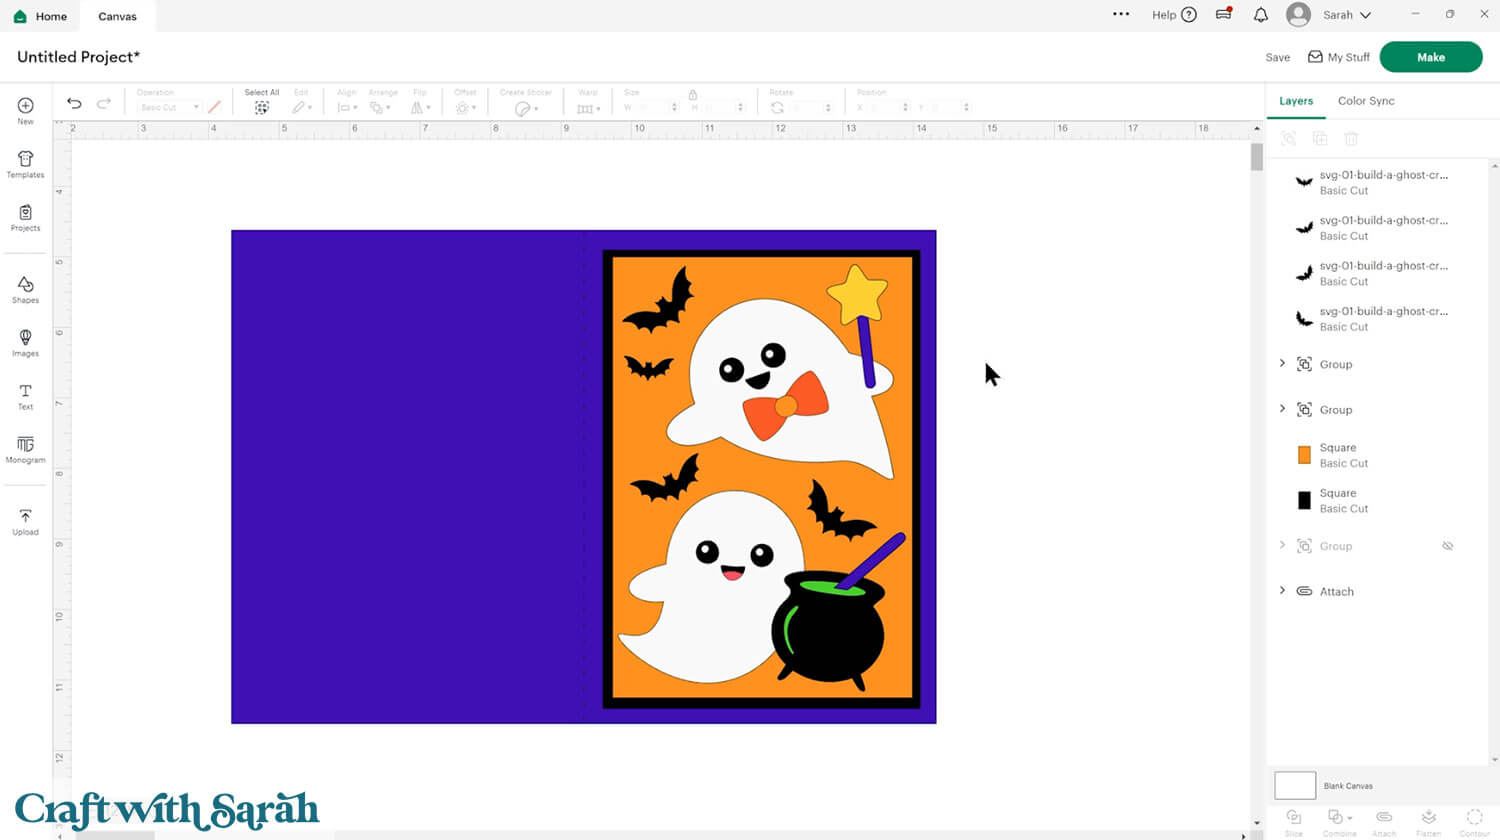
Drag the ghosts onto your card and arrange them as you wish. You may want to scroll up and follow the steps from the section above on how to join the layers together if you haven’t done already.
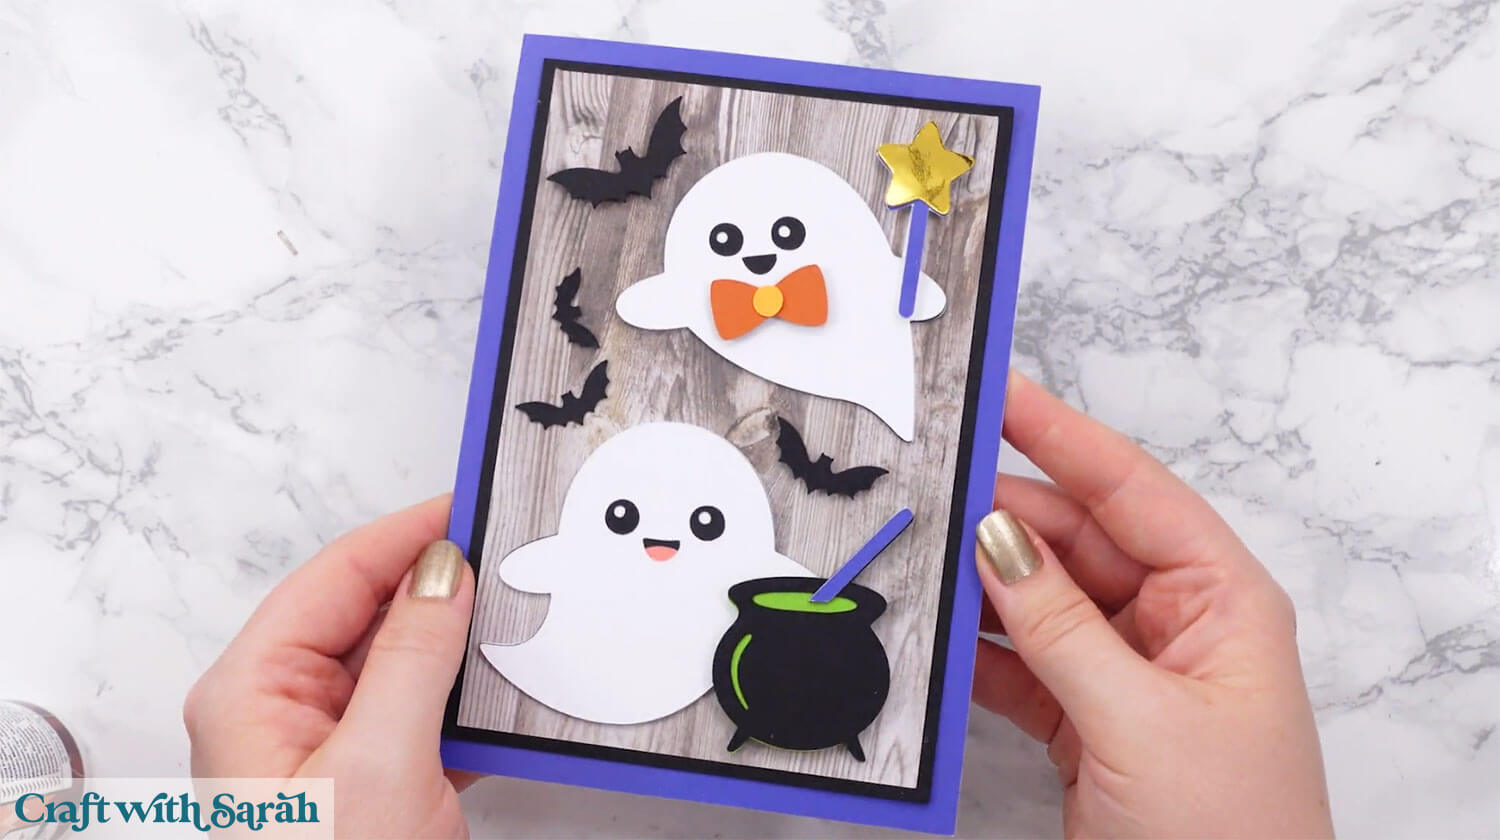
You can even add little bats or stars around the ghosts to fill in the empty spaces and bring the whole card together.
Here’s how mine turned out:
Cut the project and then glue all the pieces together.
You could add foam squares to some of the pieces of the ghost to add some dimension, or use foam squares to attach the ghosts to the card.
Mix and Match Toppers for Adorable Ghosts
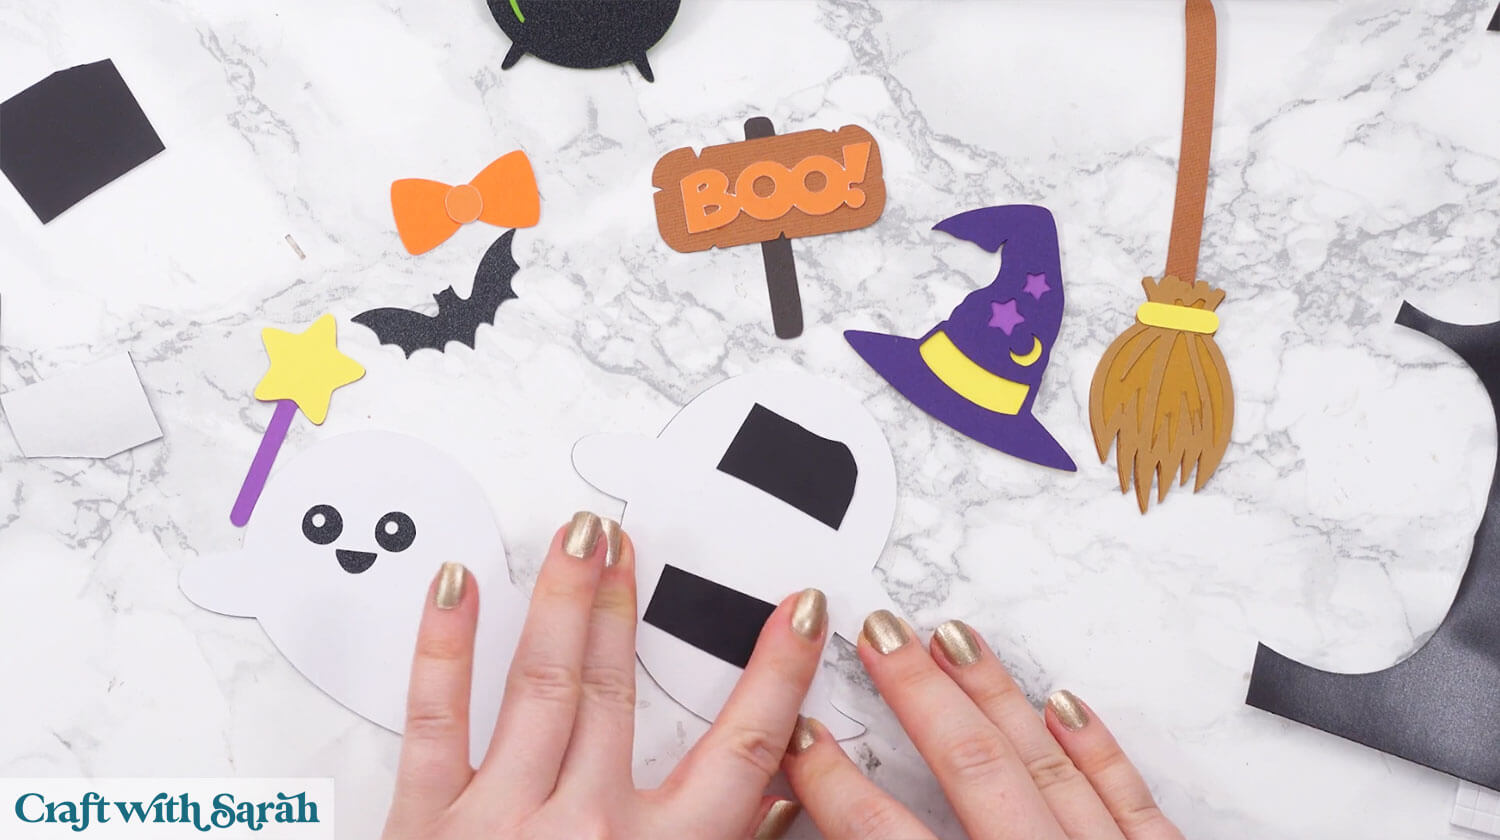
Once you’ve cut and assembled your pieces, you’ll have a whole collection of ghosts ready to use across a variety of projects.
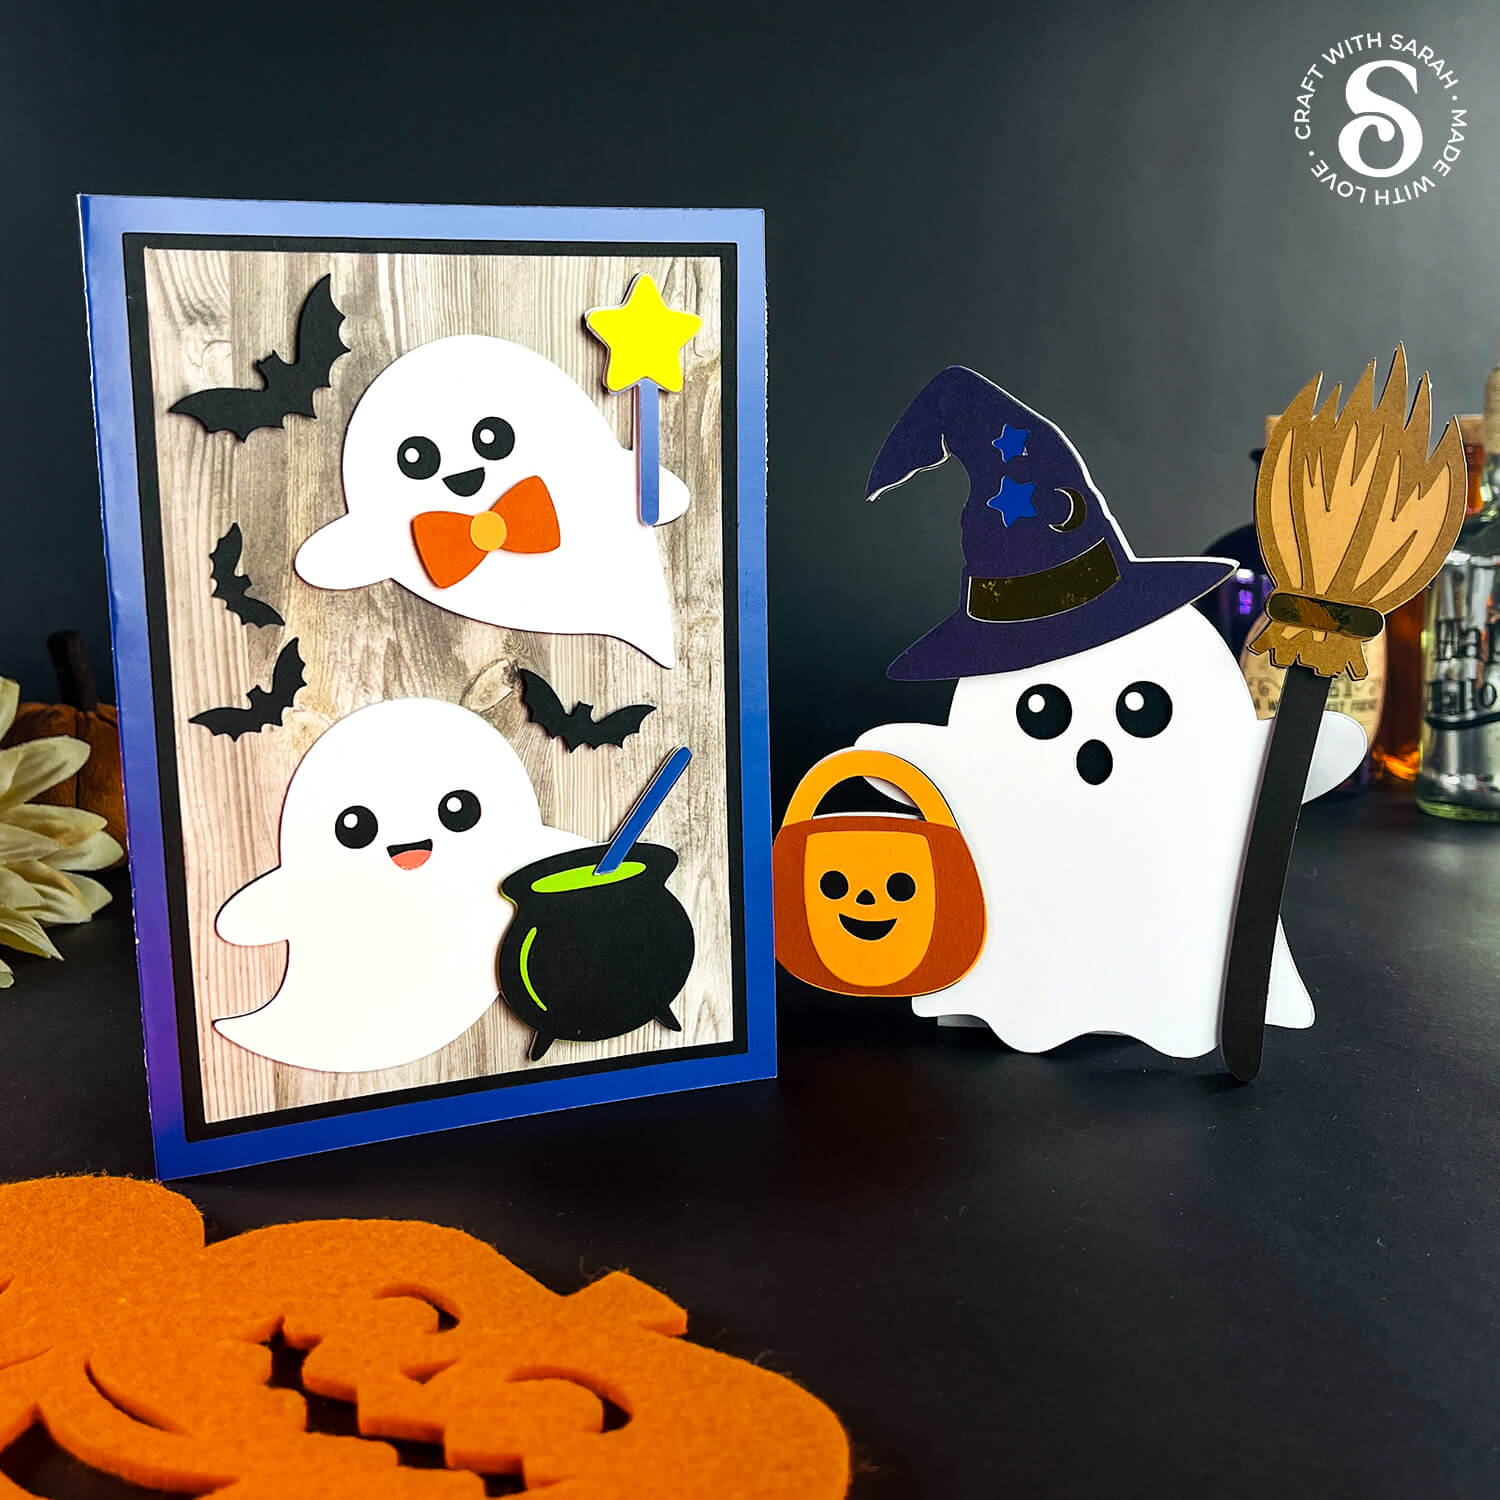
From fridge magnets and greeting cards to layered frames and scrapbook pages, these ghost toppers can be adapted to fit whatever you’re working on this Halloween.
However you choose to use them, these paper craft ghost designs are a great addition to your Halloween crafting collection.
Happy crafting,
Sarah x

