How to make Brindle Fur: 2 Different Ways
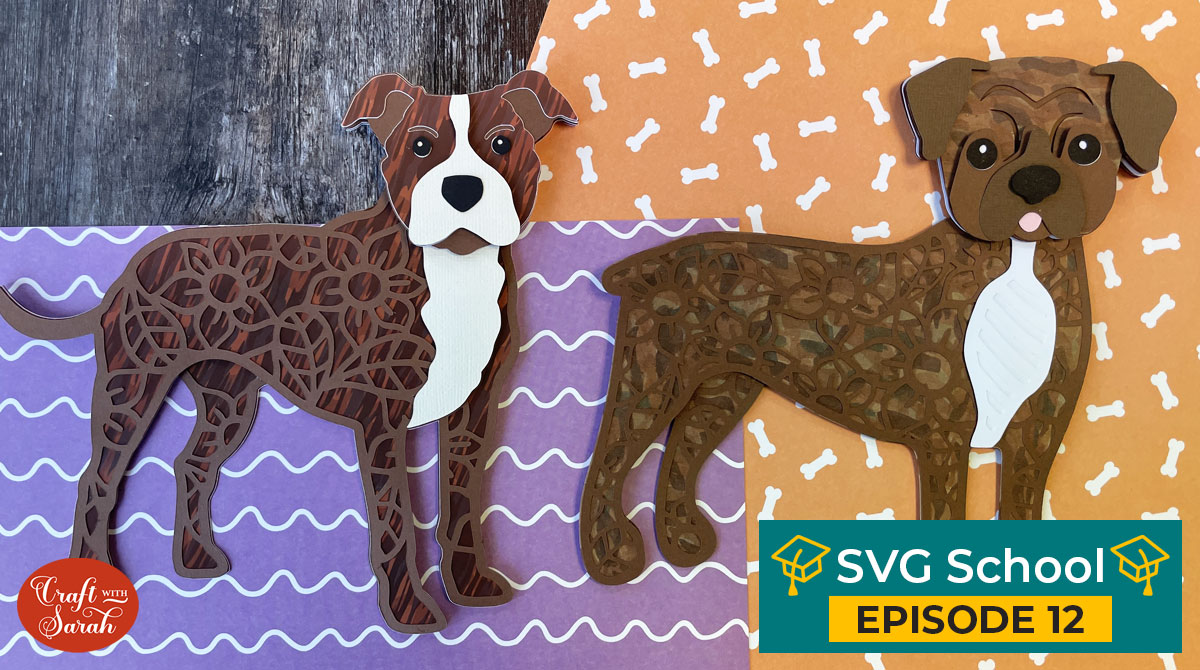
This tutorial shows you how to make brindle colored dogs. Brindle is an absolutely beautiful type of dog coat but it’s one of the hardest to replicate in paper craft form because of all of the different colors and patterns that go inside it.
Here are two separate ways to make a brindle effect for my layered dog SVGs. The first way uses alcohol markers and the second option uses a printed brindle pattern which you can download for free further down this page.
Please note that some of the links included in this article are affiliate links, which means that if you click through and make a purchase I may receive a commission (at no additional cost to you). You can read my full disclosure at the bottom of the page.
How to make brindle fur for layered dog papercrafts
Watch the video tutorial below. A full written tutorial with screenshots for each step is available further down this page.
Note: This tutorial was recorded using Design Space v6.11.113. Later versions of Design Space may look different to the video/screenshots shown on this page.
Video resources:
- Boxer dog SVG
- American Staffordshire Terrier SVG
- 150+ dog SVGs & 20+ cat SVGs
- Download Design Space
- Printable brindle pattern – available further down this page
Creating a brindle fur effect with alcohol markers
First we’re going to start with the alcohol marker version and I’m using the boxer dog SVG file.
This technique doesn’t require any changes in Design Space – just cut the layers of the dogs out as normal. Make sure you used a fairly light shade of brown for the “solid” body layers as those are what we will be coloring with the alcohol markers.
I’m using alcohol markers from Tonic Studios but there are lots of different brands available. Any kind of pens will do, so if you’ve just got regular felt tip pens they’ll be fine, or you can mix and match pens between different brands but what you want is a nice selection of around five to seven browns and grays in all different shades.
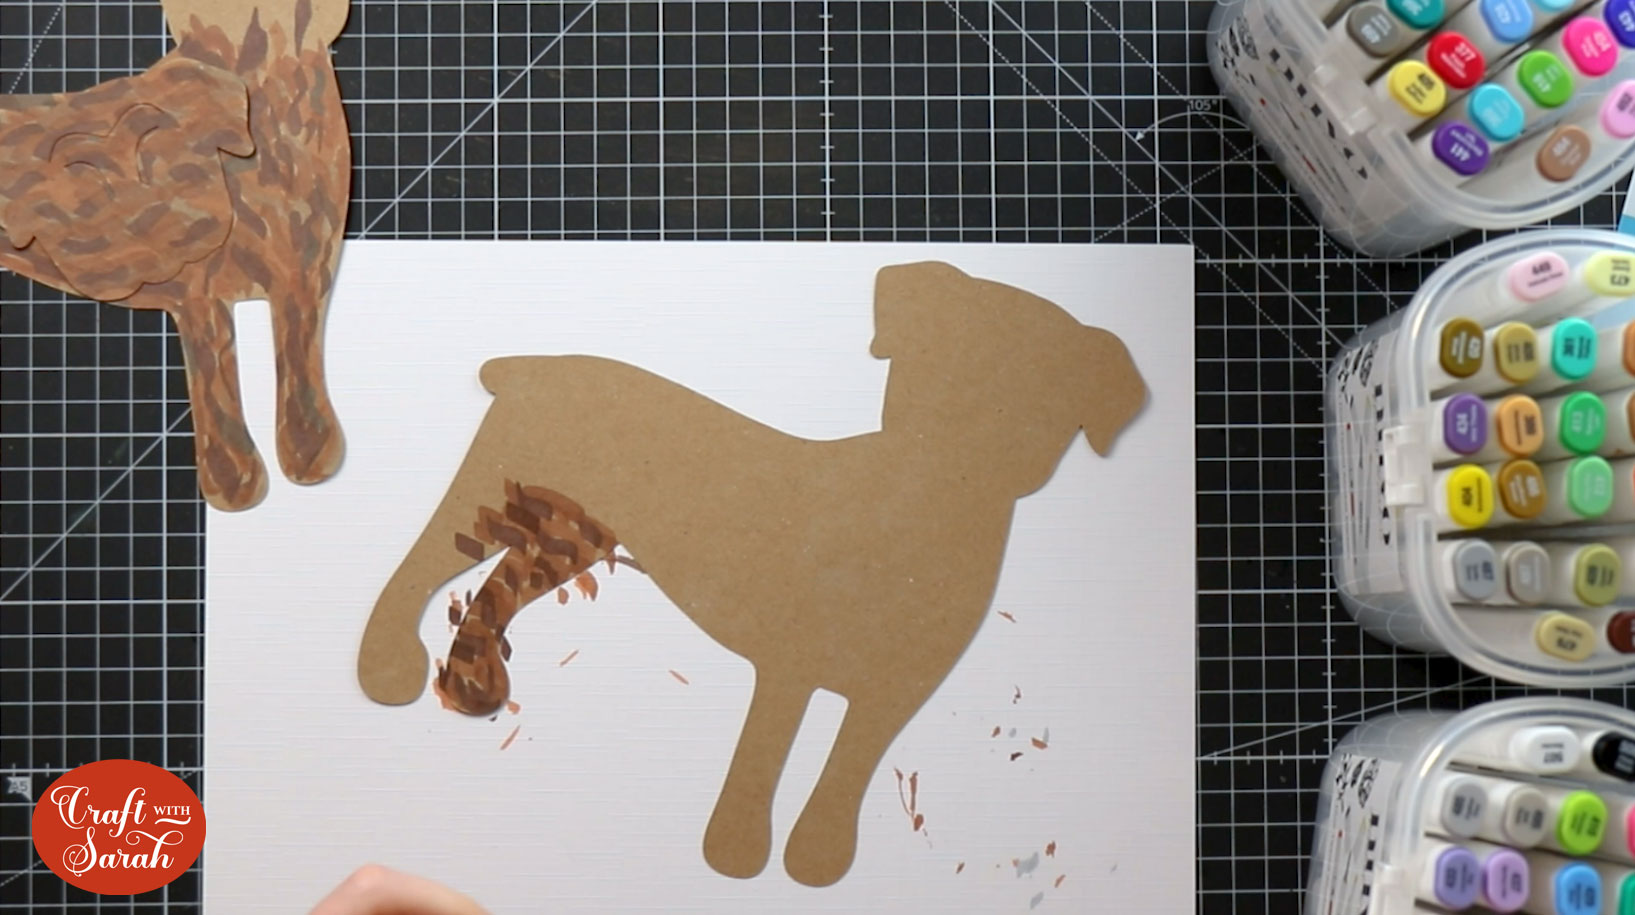
For the boxer, there’s three different layers that need coloring. I’ve already done the layer two, which look like this:
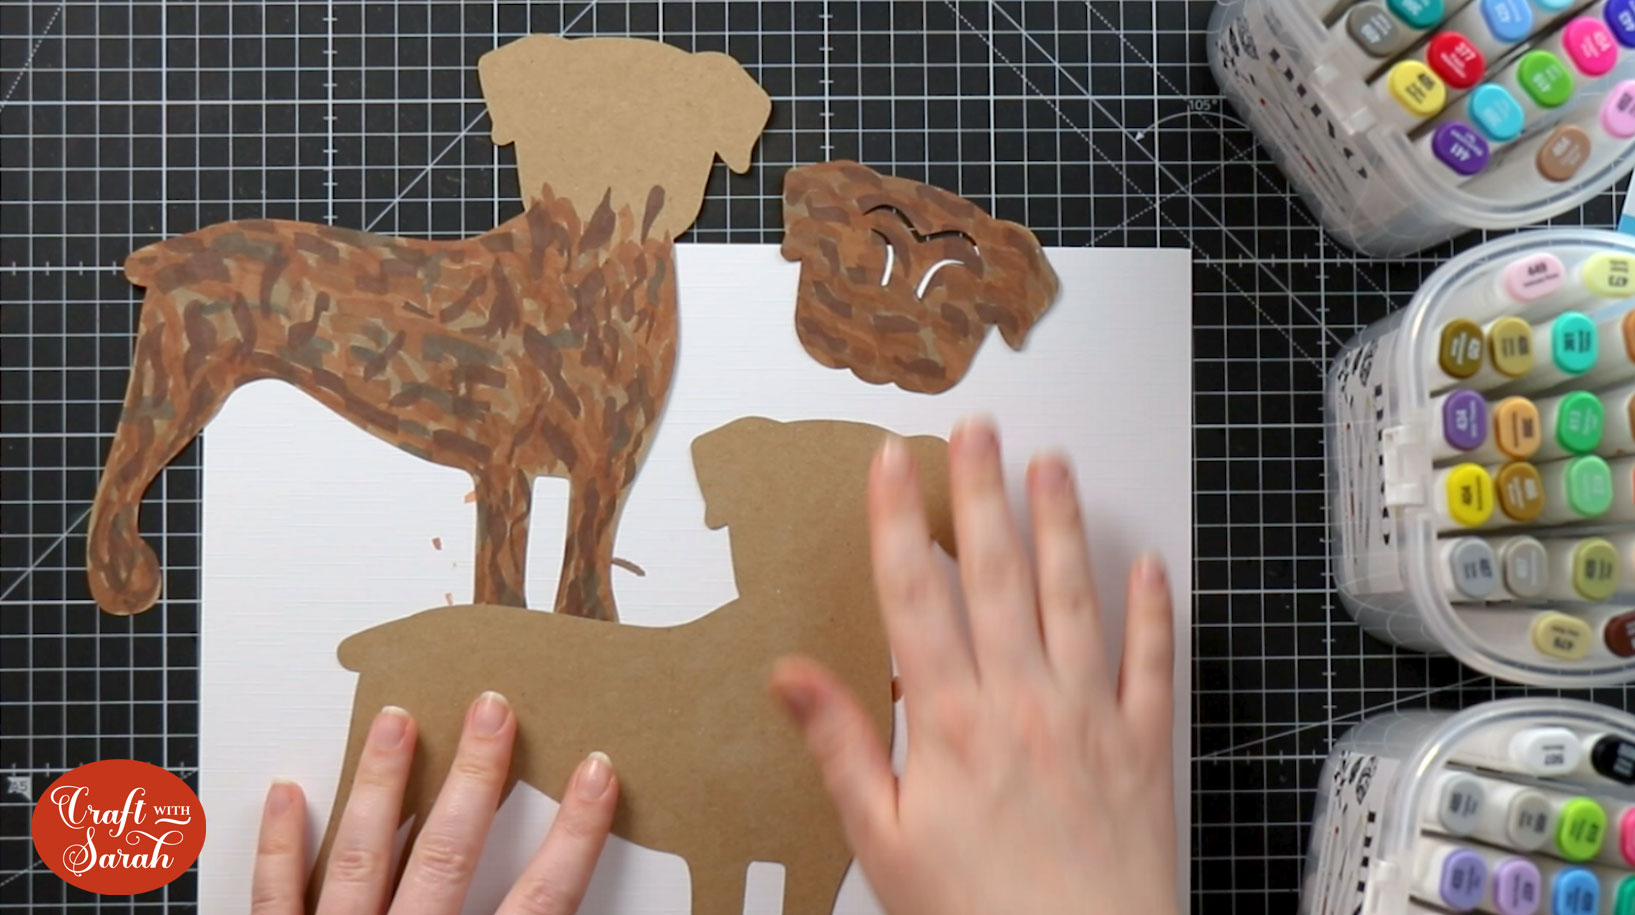
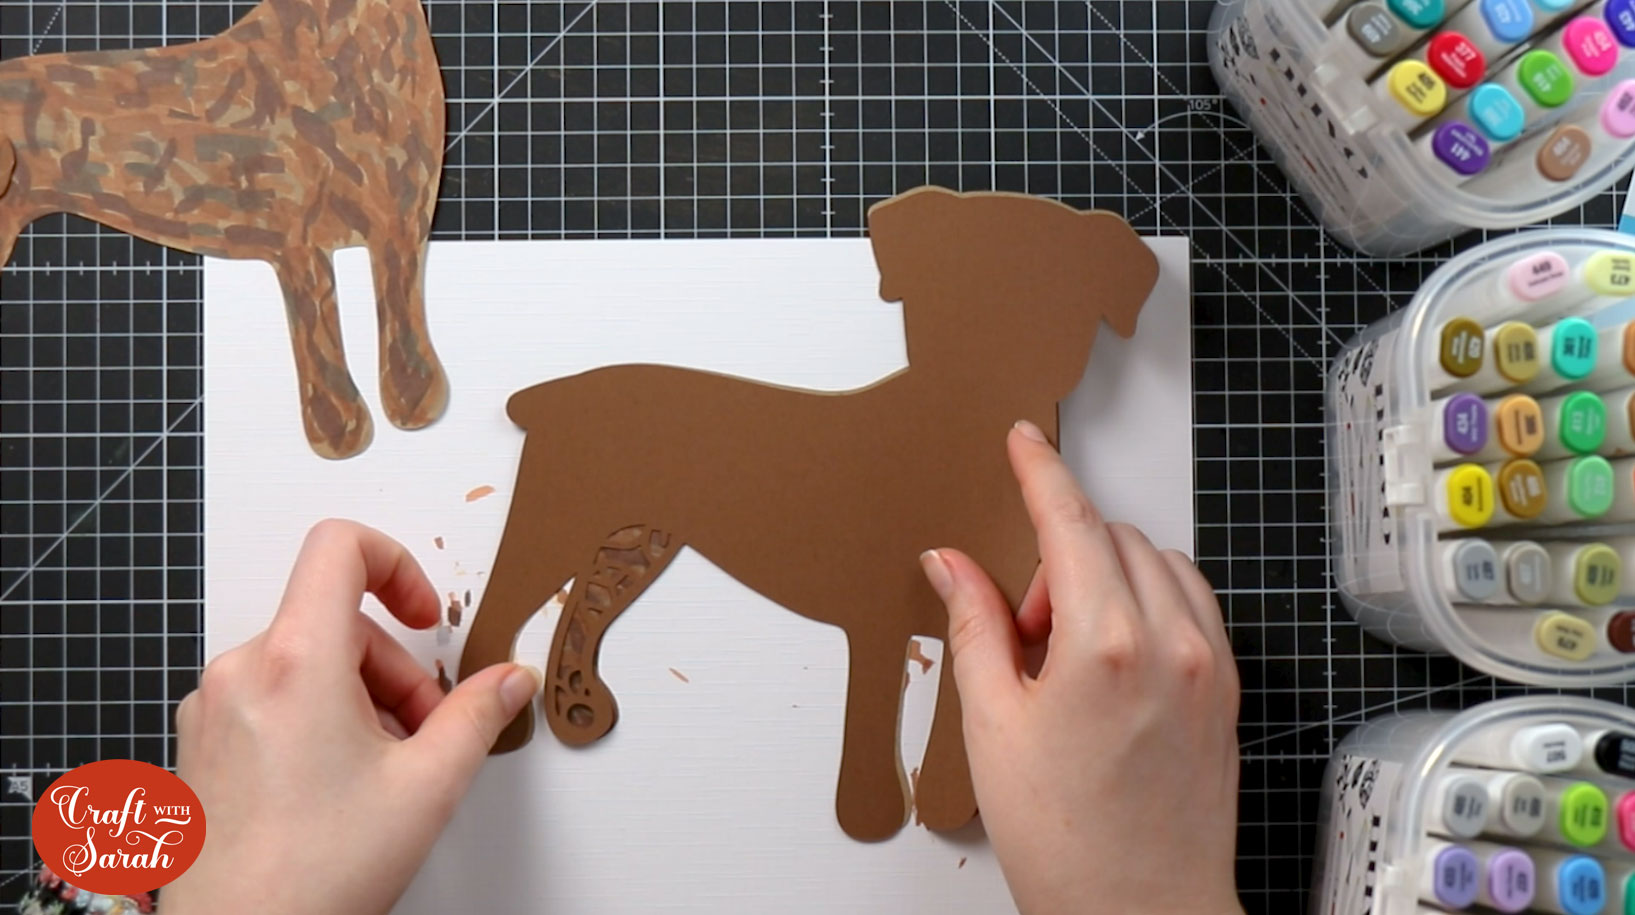
For the bottom layer, we’re only going to see the back leg through the floral layer which sits on top, so we don’t need to color the whole thing – just that leg section.
I’ve put a sheet of paper underneath because I am messy with coloring and didn’t want to get the pens on my work surface.
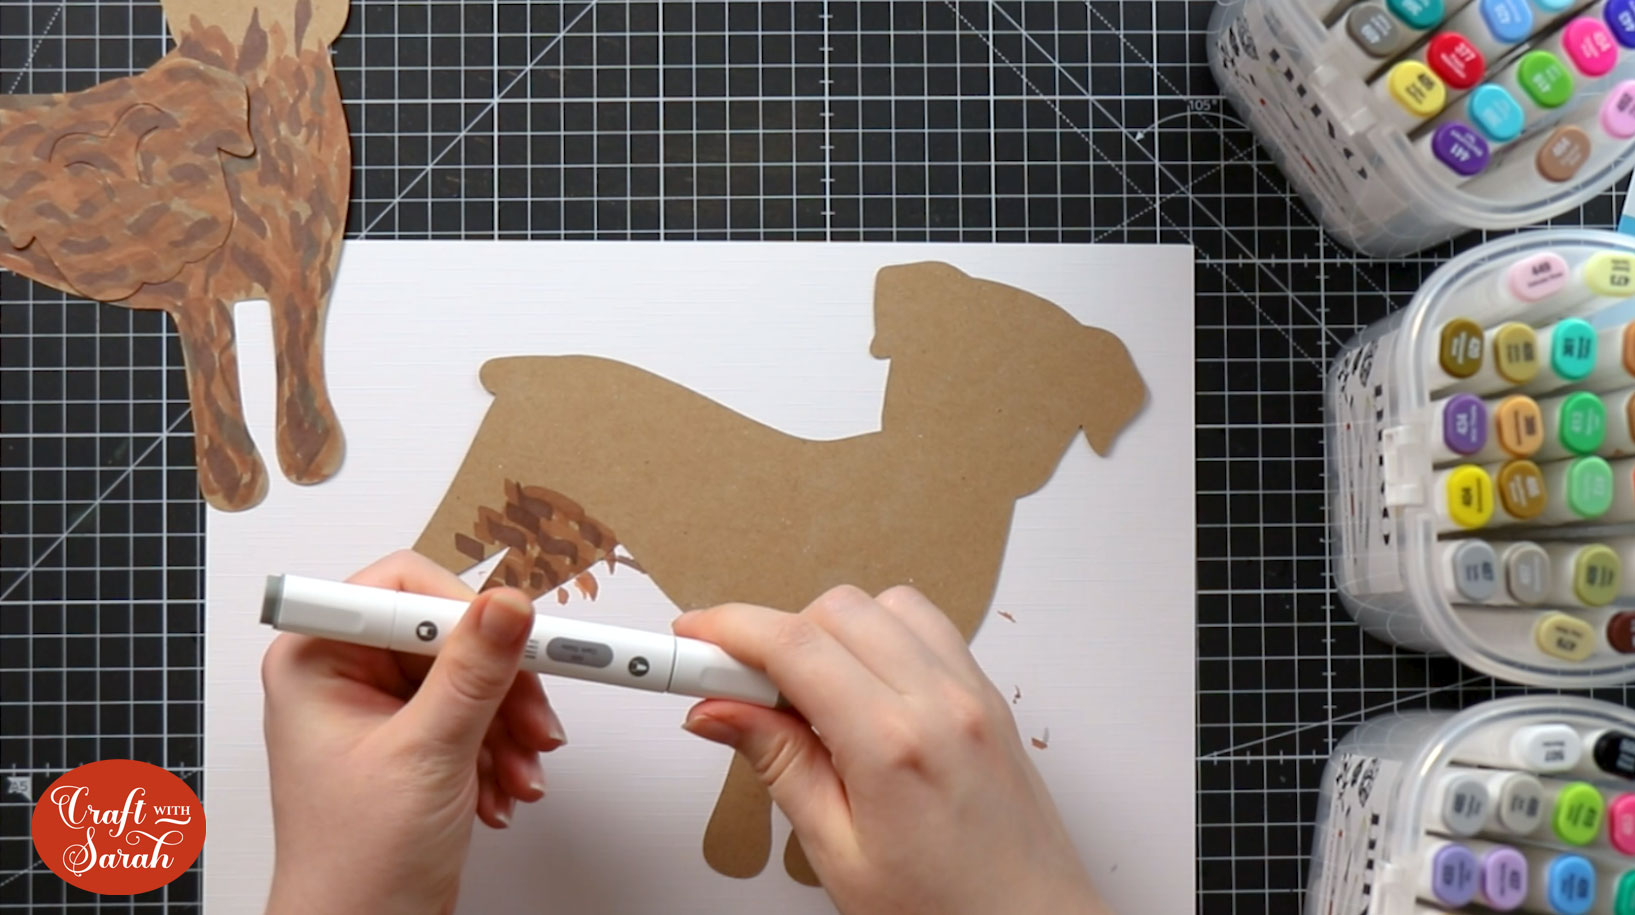
Start with a dark brown pen. I like the Tonic Studios alcohol markers because they’ve got a chiselled nib which makes it a lot quicker.
With that chiseled edge, draw some random wavy lines, almost like tiger print stripes.
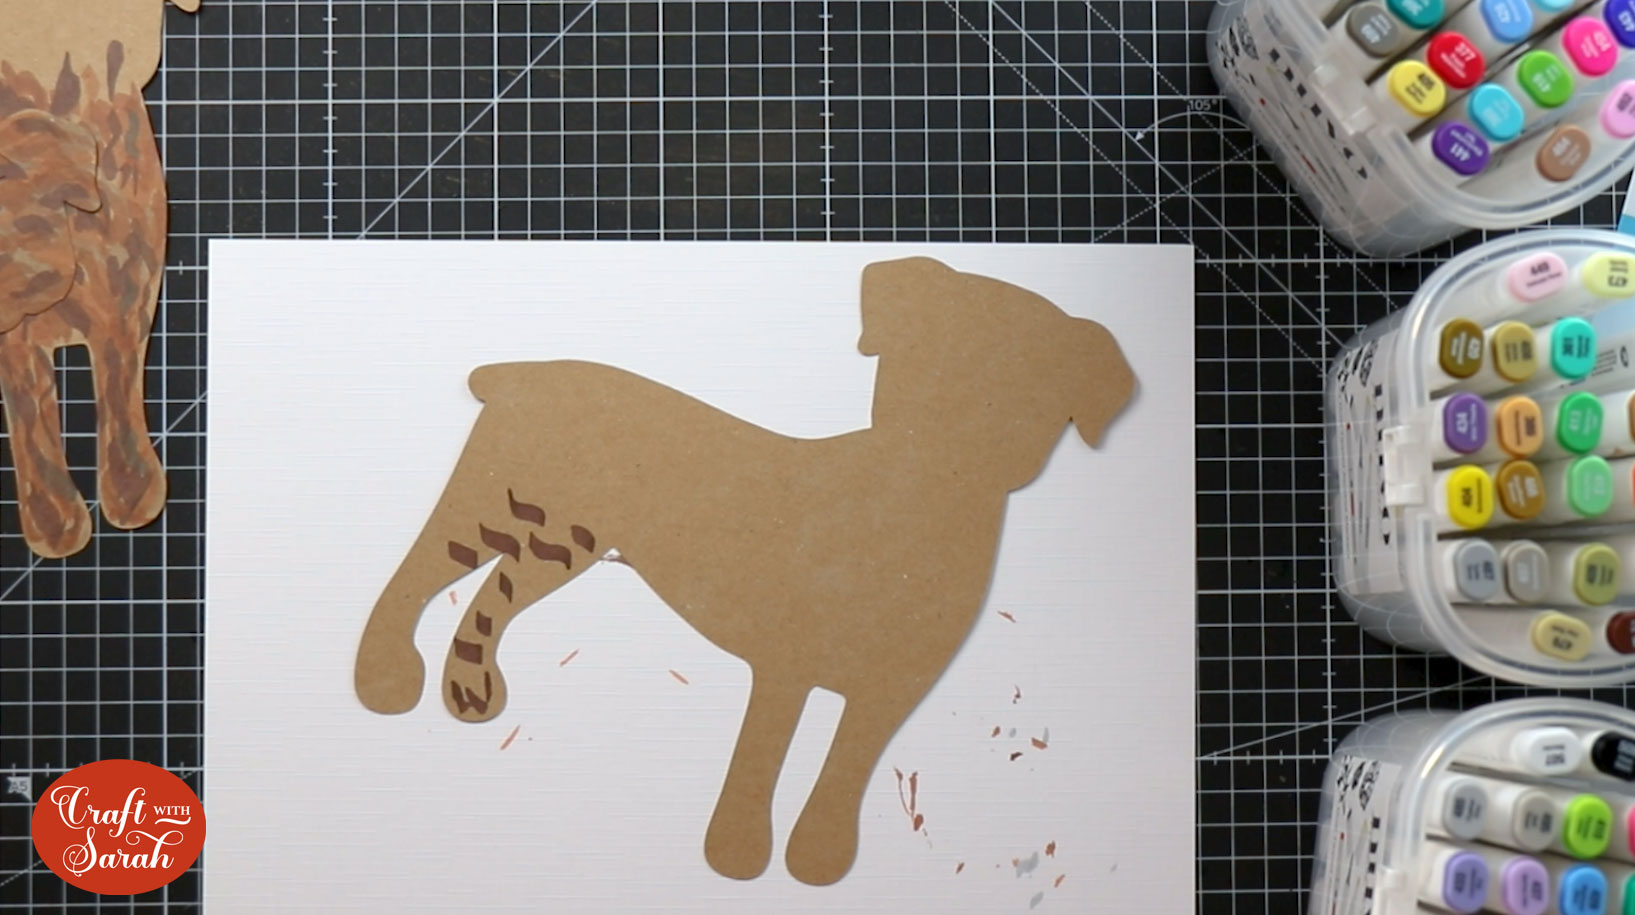
Then, do the same thing with loads of different colors just building it up all in different orientations and sizes and shapes just make it really random. You can take as much or as little time on this as you like.
I did it quite quickly which an almost abstract appearance. If you wanted to, you could spend a lot more time to get a more realistic brindle pattern.
I like to add some gray in there as well. It helps to fill in the gaps a bit and gives that little bit of difference to the colour palette. The nice thing about alcohol markers is the colors kind of blend together so it ends up looking much better.
You might be thinking that this doesn’t look very pretty at the moment because it’s very messy, however once you put the next layer on top it gives it that definition around the edges so it looks neater and helps the eye to balance out the colours better.
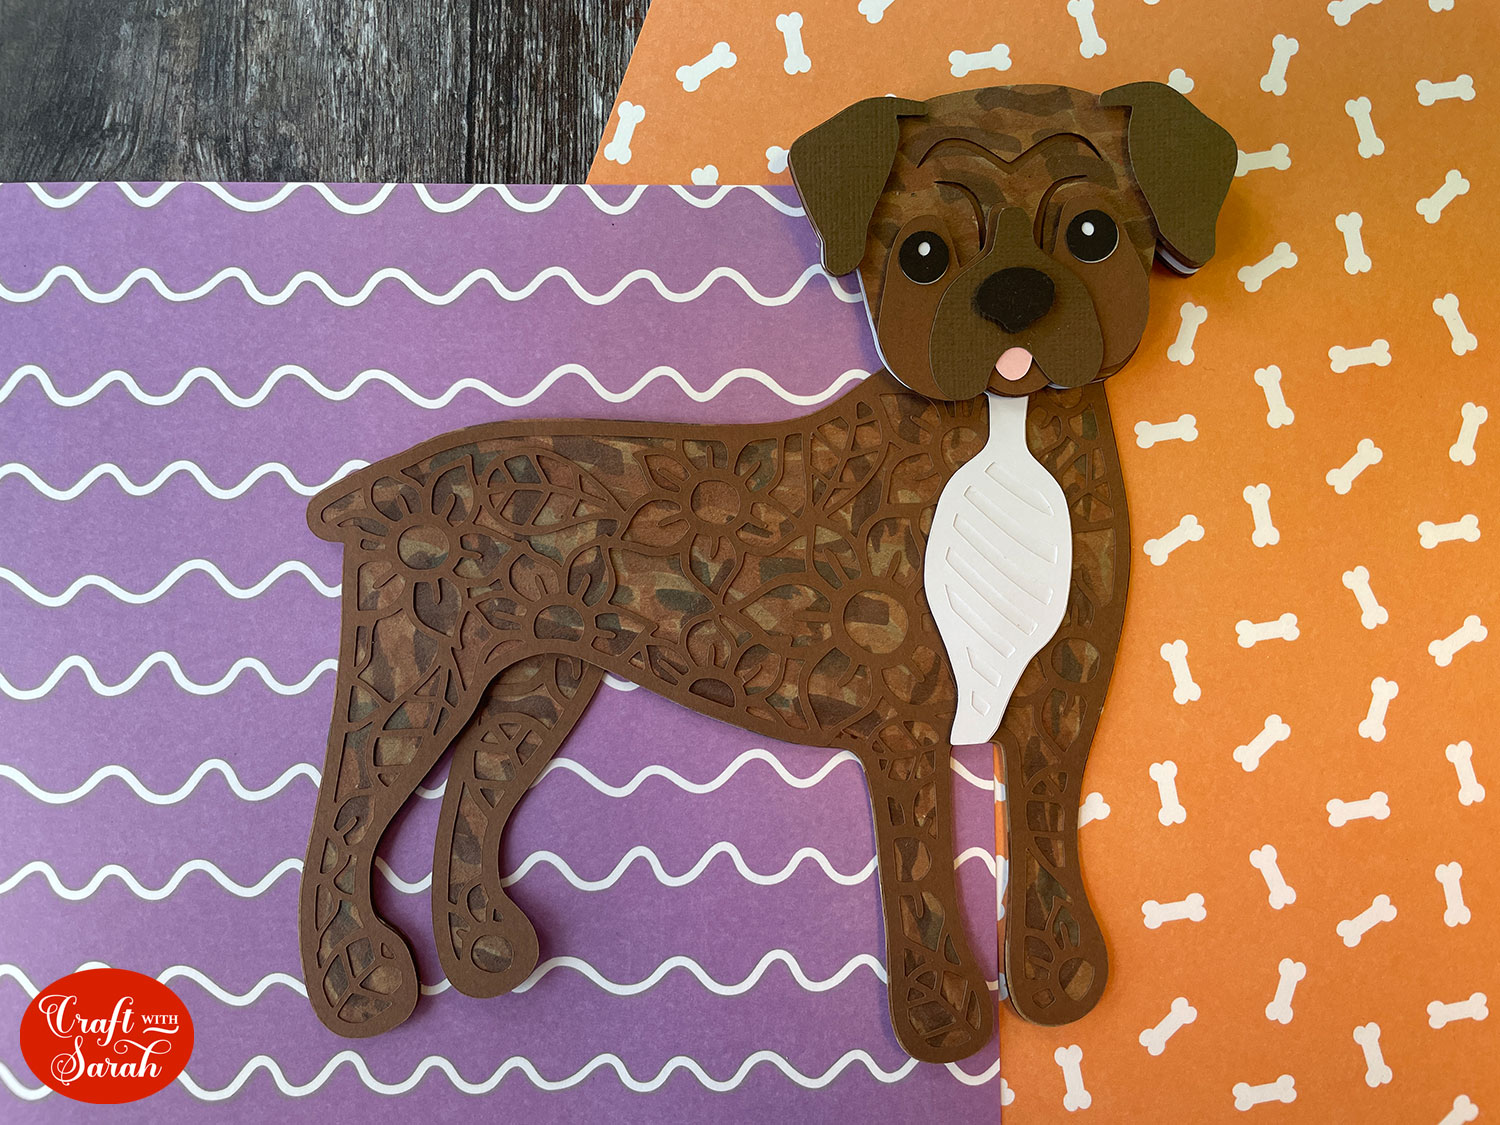
Here’s what the final version looks like, with all the layers stuck together:
How to make brindle fur using Print and Cut on a Cricut
The second method for creating brindle fur is by printing a brindle pattern on your home printer and using that to cut the solid layers of the body.
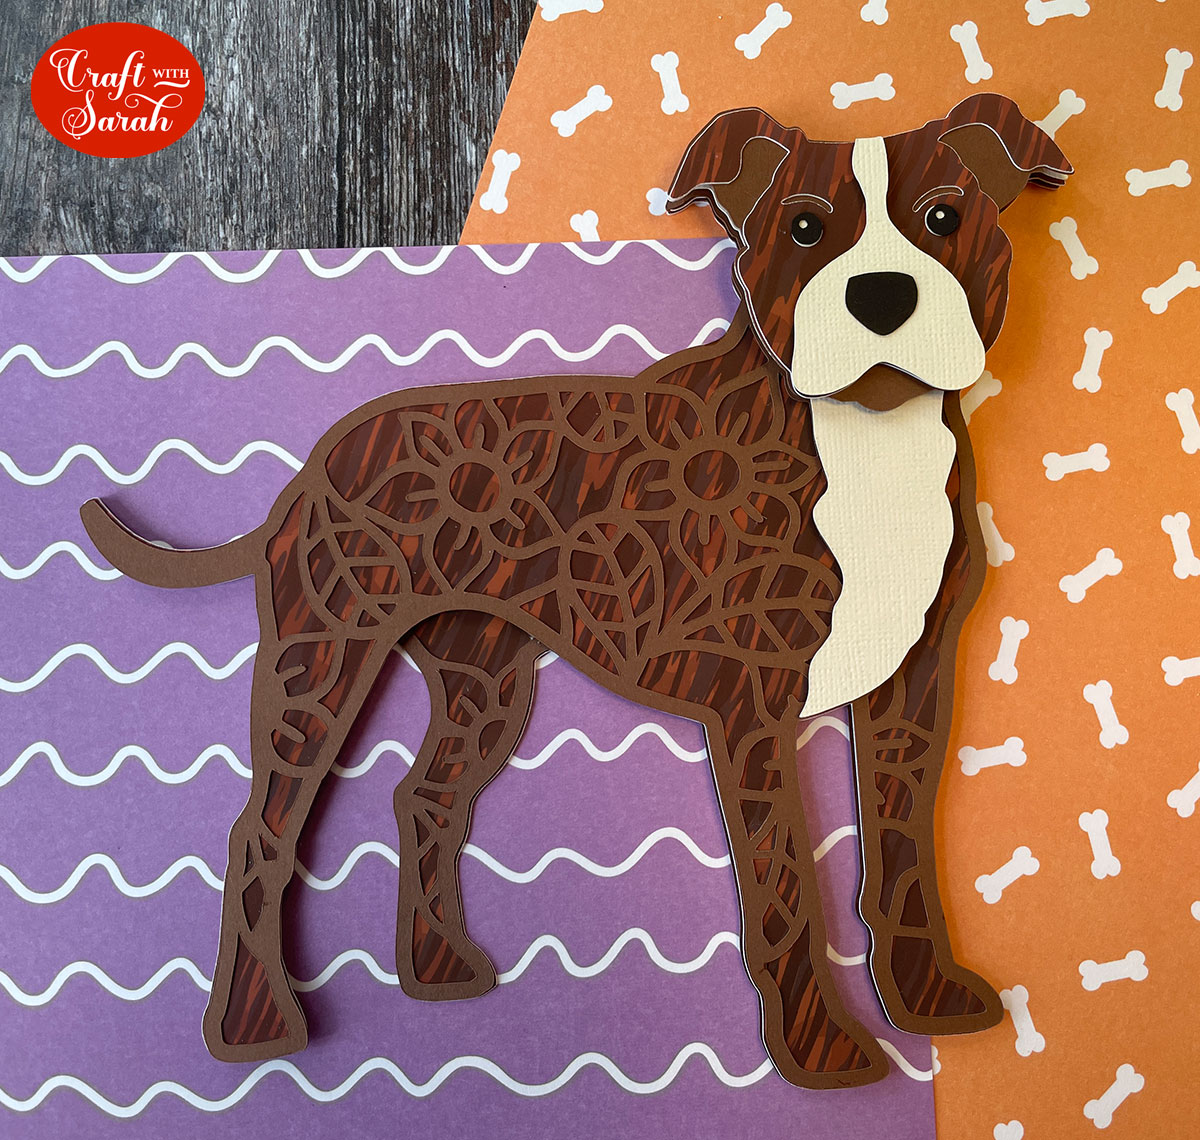
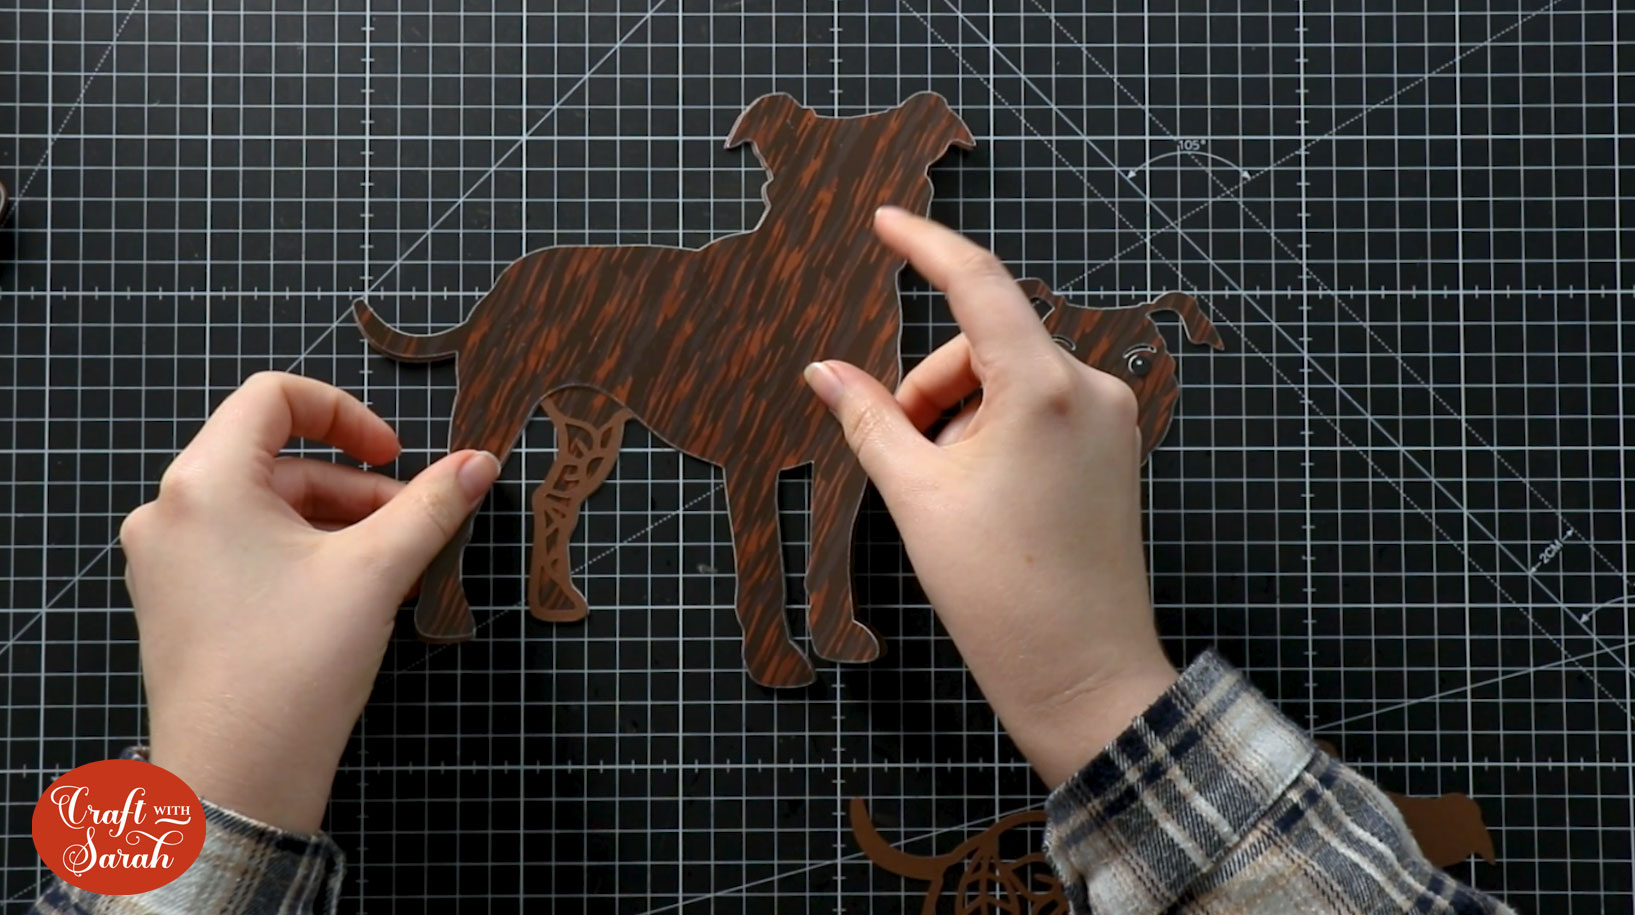
Here’s how it looks on my American Staffordshire Terrier design.
There are two different ways that you can use the printed brindle pattern.
The first is by printing the pattern through your normal printer settings onto photo paper or card and then all you need to do is just put that on your Cricut mat and feed it into your Cricut like you would do for any other sheet of colored card to cut the body shapes from it.
This is my preferred way to do it because it means that you can make your dog as wide or as tall as your printer can actually print.
The second way to do it is to use Cricut’s print and cut feature. For this, you would Upload the brindle pattern into Design Space and then use that to fill in the shapes of the body of the dog in Design Space itself.
This version saves printer ink because instead of the first version where you’re printing the whole square shape, all you need to print with this version is the exact shape of the dog that you’re going to use so there won’t be any excess that you will have to throw away.
However, the reason that I don’t like doing it this way is that it takes much more effort to get the design ready to print and also it means you’re limited to Cricut’s print then cut size on the machine.
With print then cut, you can only cut a maximum of 6.75 inches wide. That is large enough to cut most of my dogs, but it does limit you.
I’m going to show you how to do the first method, where you print the whole square of pattern onto your paper.
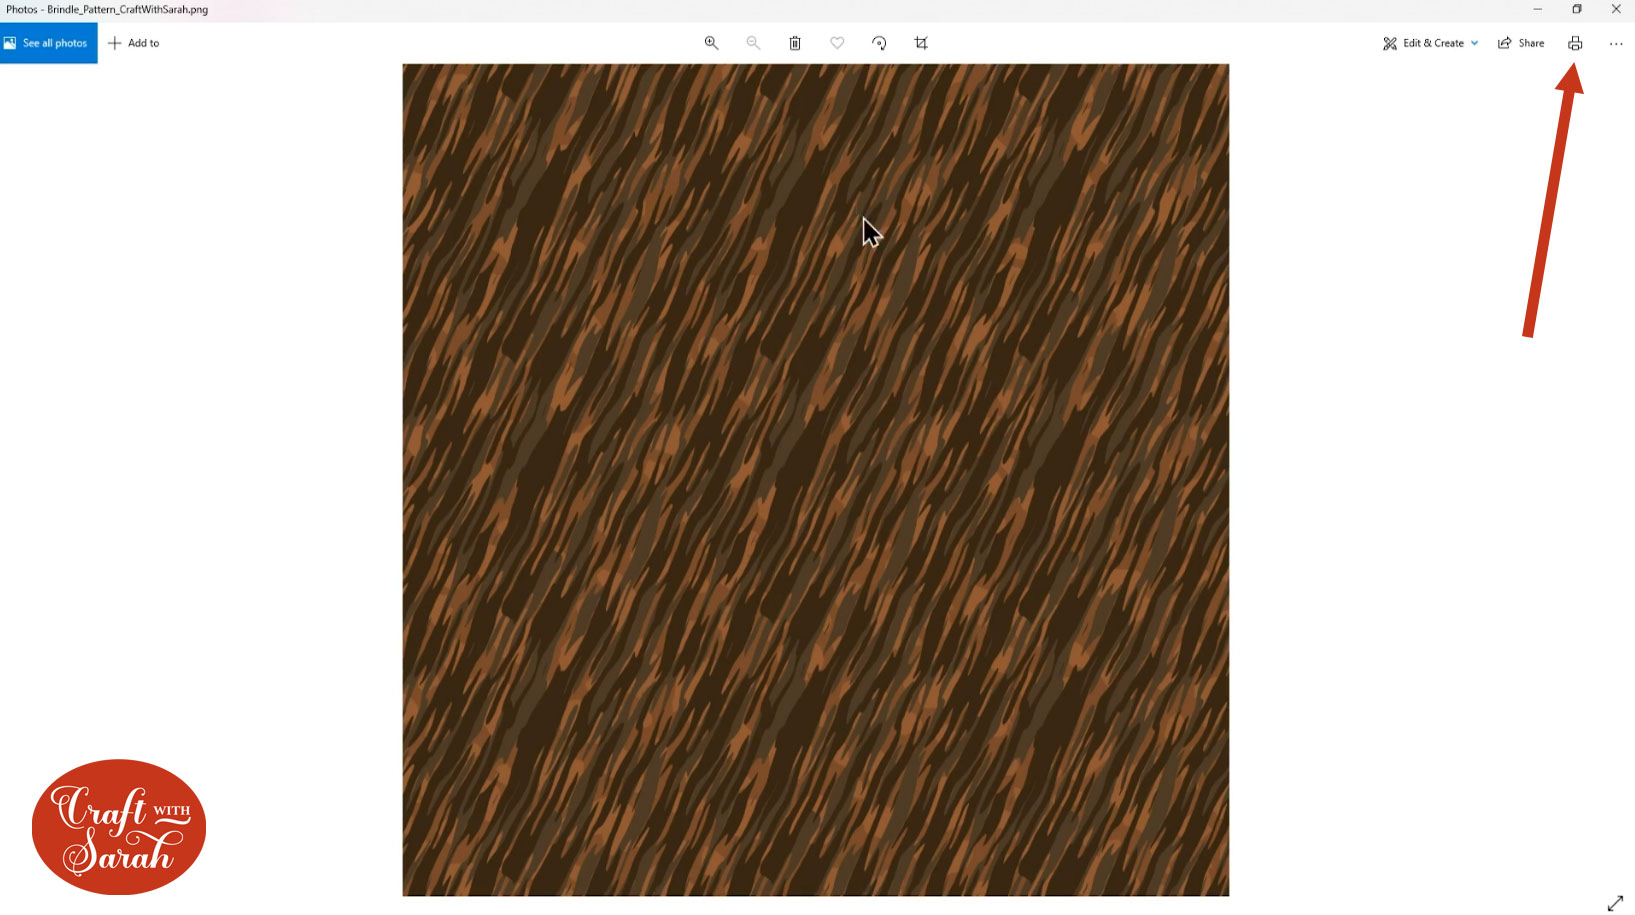
First, download the free brindle fur pattern to your computer:
It comes as a square and it will measure 8×8 inches. I’m on a Windows computer so I’m just showing this in the standard Windows image viewer program that opens when you double-click on an image.
You can then print it using whatever printing program or graphics design program you want.
On Windows, click the little print icon on the top or right-click and then press “Print”.
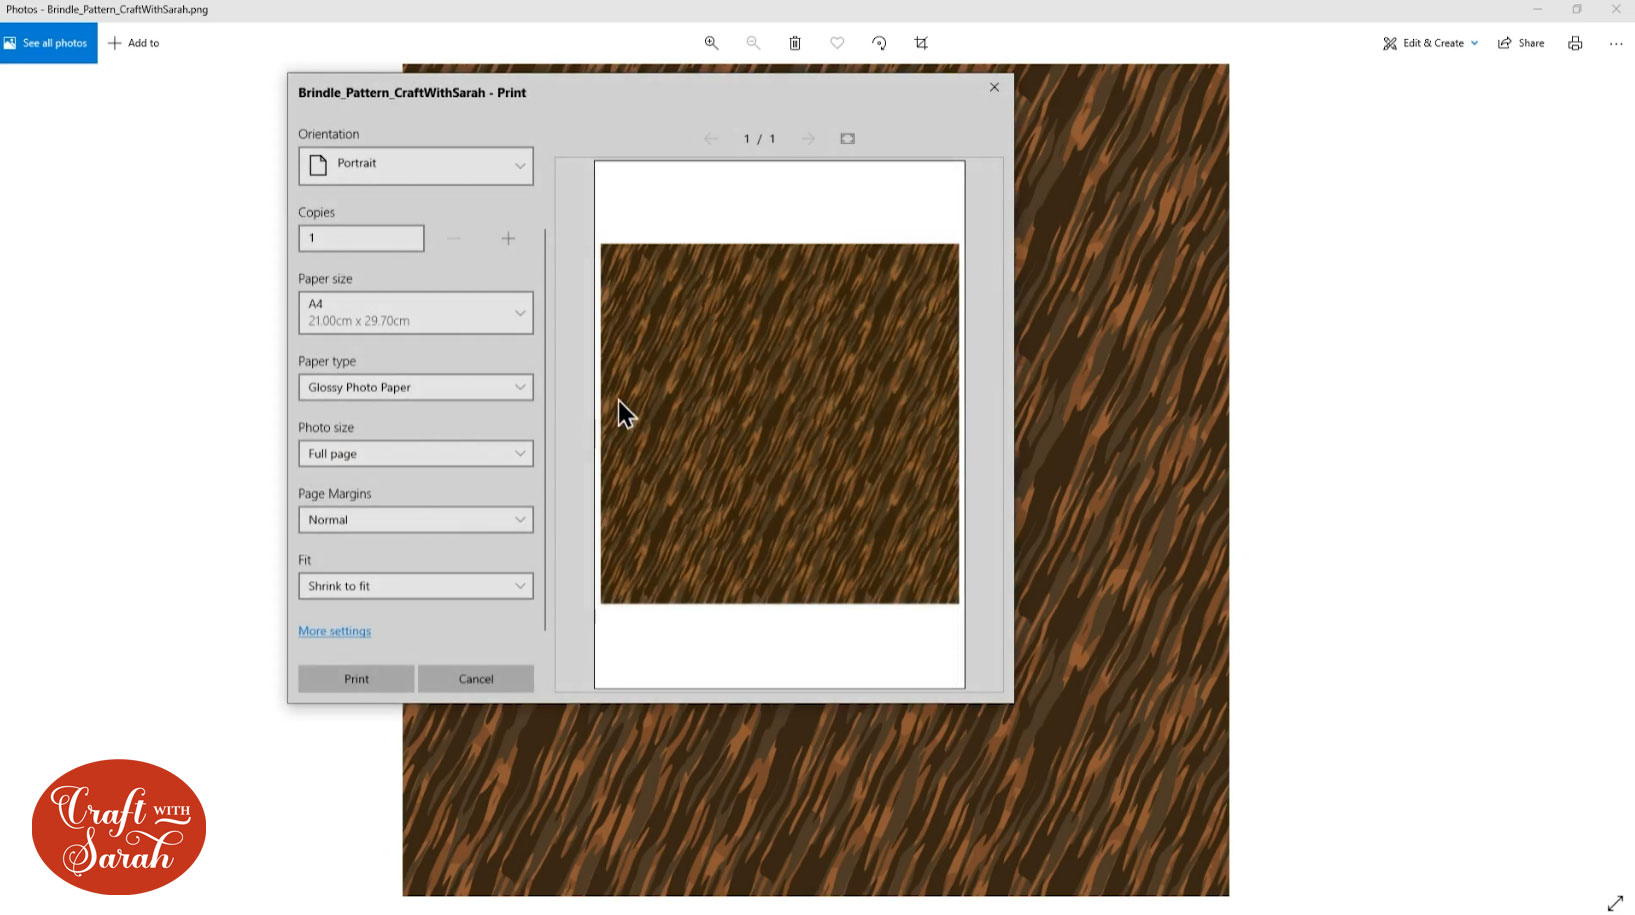
You’ll get a box which looks something like this. It might vary a bit depending on what Windows version you are using.

Select your printer and then choose the option to let the software change my printing preferences.
I’m using A4 glossy photo paper, and then under “Fit” at the moment it says “Fill page”. This means it’s going to stretch my square pattern to fill the whole of the A4 sheet of paper. If that’s the effect that you want then you can leave it like that, but if you cut it square then it won’t “stretch” the pattern like it’s trying to do at the moment.
To change it back to square, under “Fit”, change back to “Shrink to fit” and then it’ll go back to the original square.
Change the “Output quality” to high quality as that’ll get you a much better print quality.
Here are my final settings:
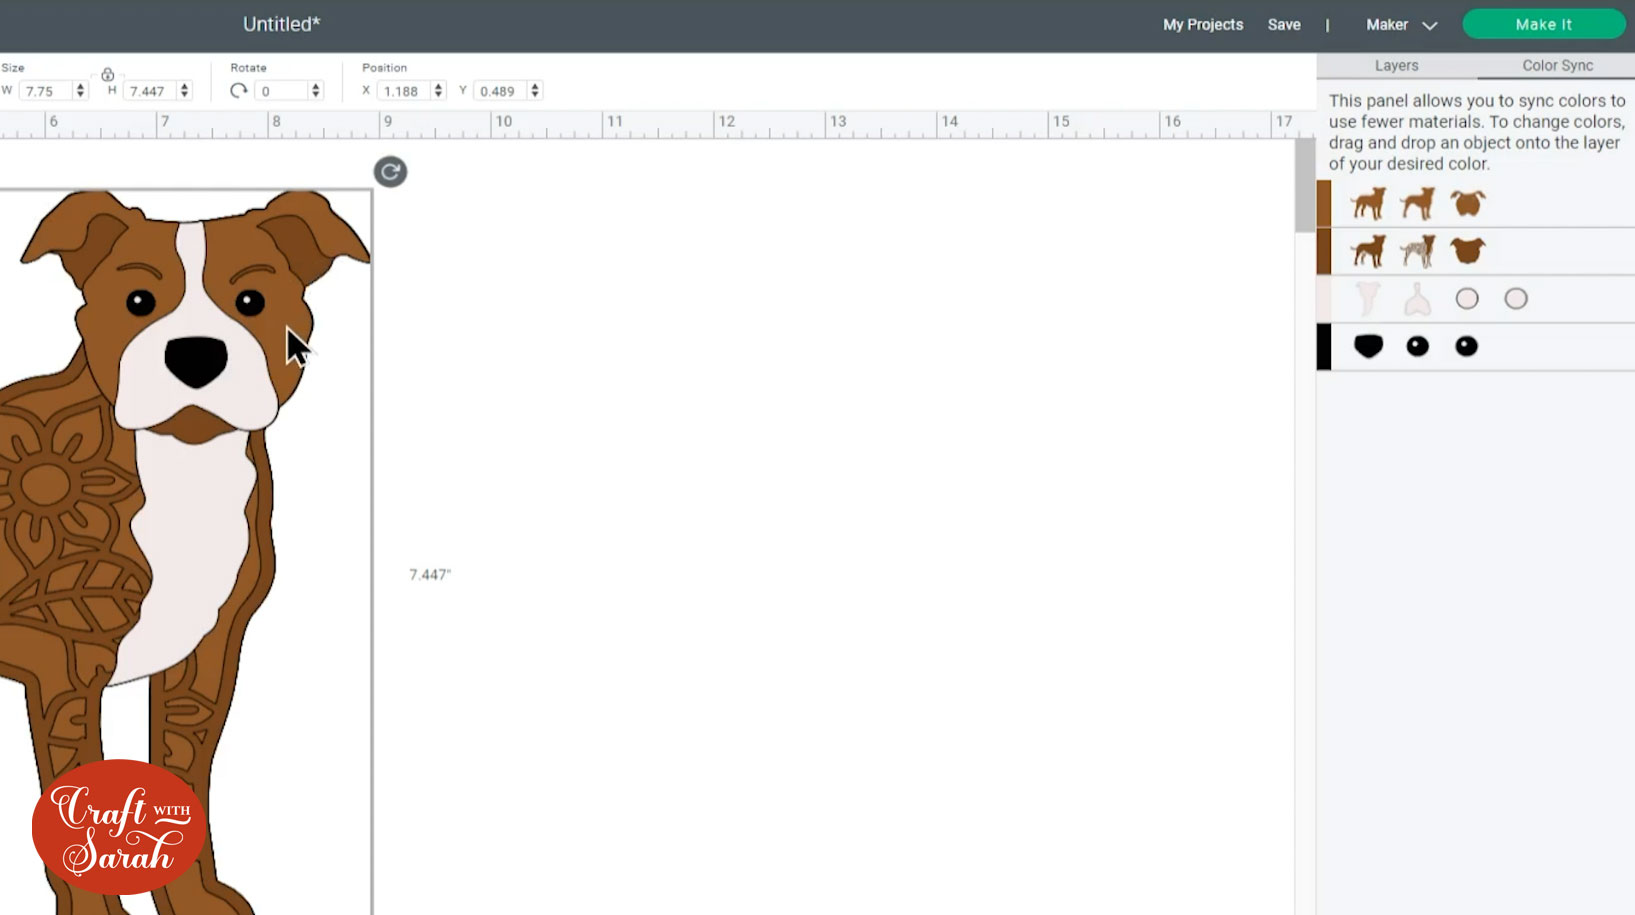
Load the dog design in Design Space. This is my American Staffordshire Terrier and if I click it at the moment I can see the size is 7.893 inches wide and 7.584 inches tall. I need to make it 7.75 inches on the largest size to make it fit my printed pattern.
The solid layers of the body are what will be cut from the brindle pattern.
I just want to make a quick change to the head because at the moment my brindle pattern will just be these little gaps in the ears and I’d prefer to actually have the main face in the brindle design, so I’m going to switch these colors around.
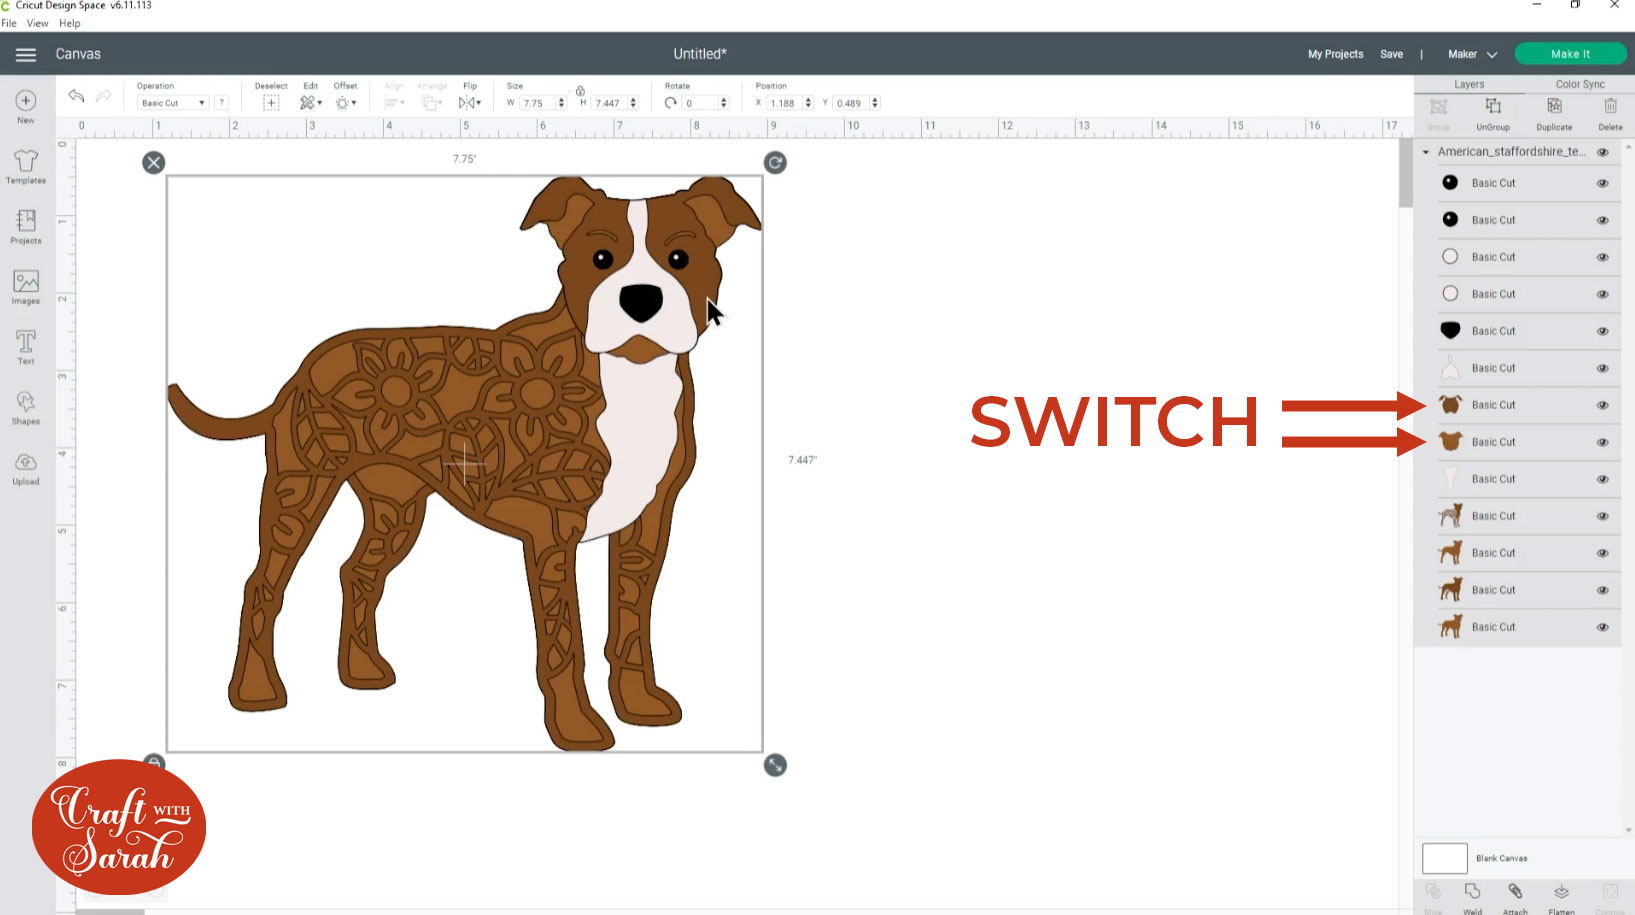
To do that, click “Color Sync” on the top right of Design Space. This splits out all of the layers of the design and organizes them by color.
Take the dark brown face click and drag it onto the light brown and then let go and it will change the color. Do the same with the other head to make it the darker brown instead.
If you’d like to learn more about how to recolor the dog designs in Cricut Design Space, including much more in-depth about how the Color Sync works, check out the following tutorials:
- How to Recolour Layered SVG Files [Part 1]
- How to Make a Tricolor Dog SVG: Recolouring SVGs [Part 2]
- How to add Patches to Layered Dogs: Recolouring SVGs [Part 3]
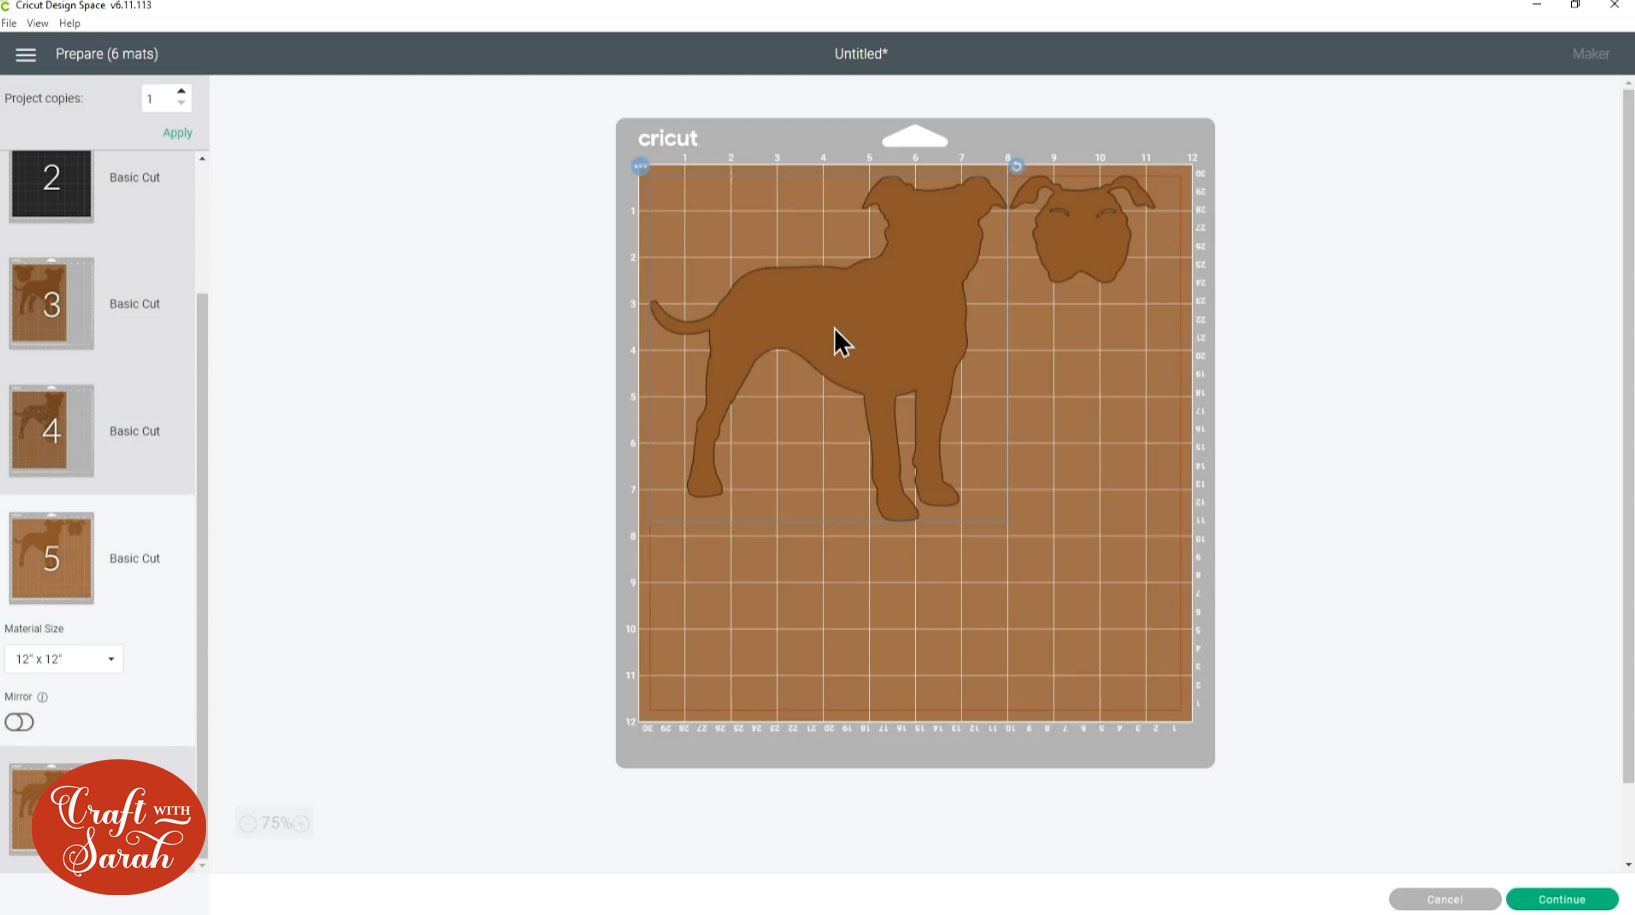
Now the dog is ready for us to click “Make it”. At this point you can click and drag your layers around to take up as little space as possible. Here’s the original layout that Cricut has set it to:
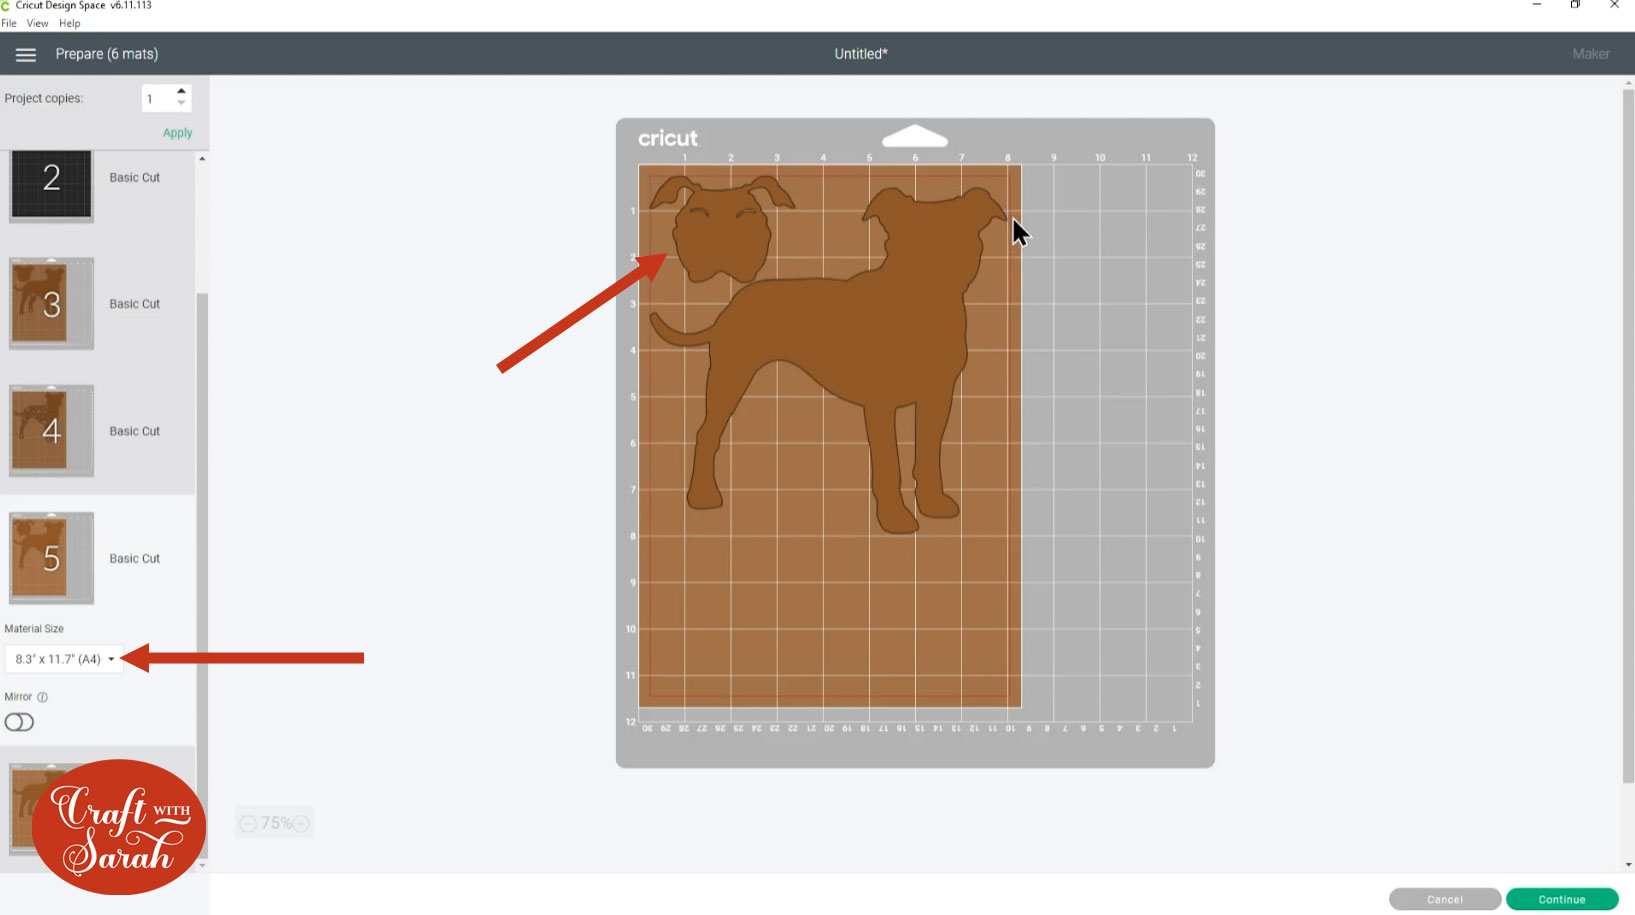
Change the paper size to A4 using the dropdown on the left and then drag the shapes around so they fit a little better. Be careful not to put any pieces on the mat where it won’t be cut from the printed pattern part of your paper.
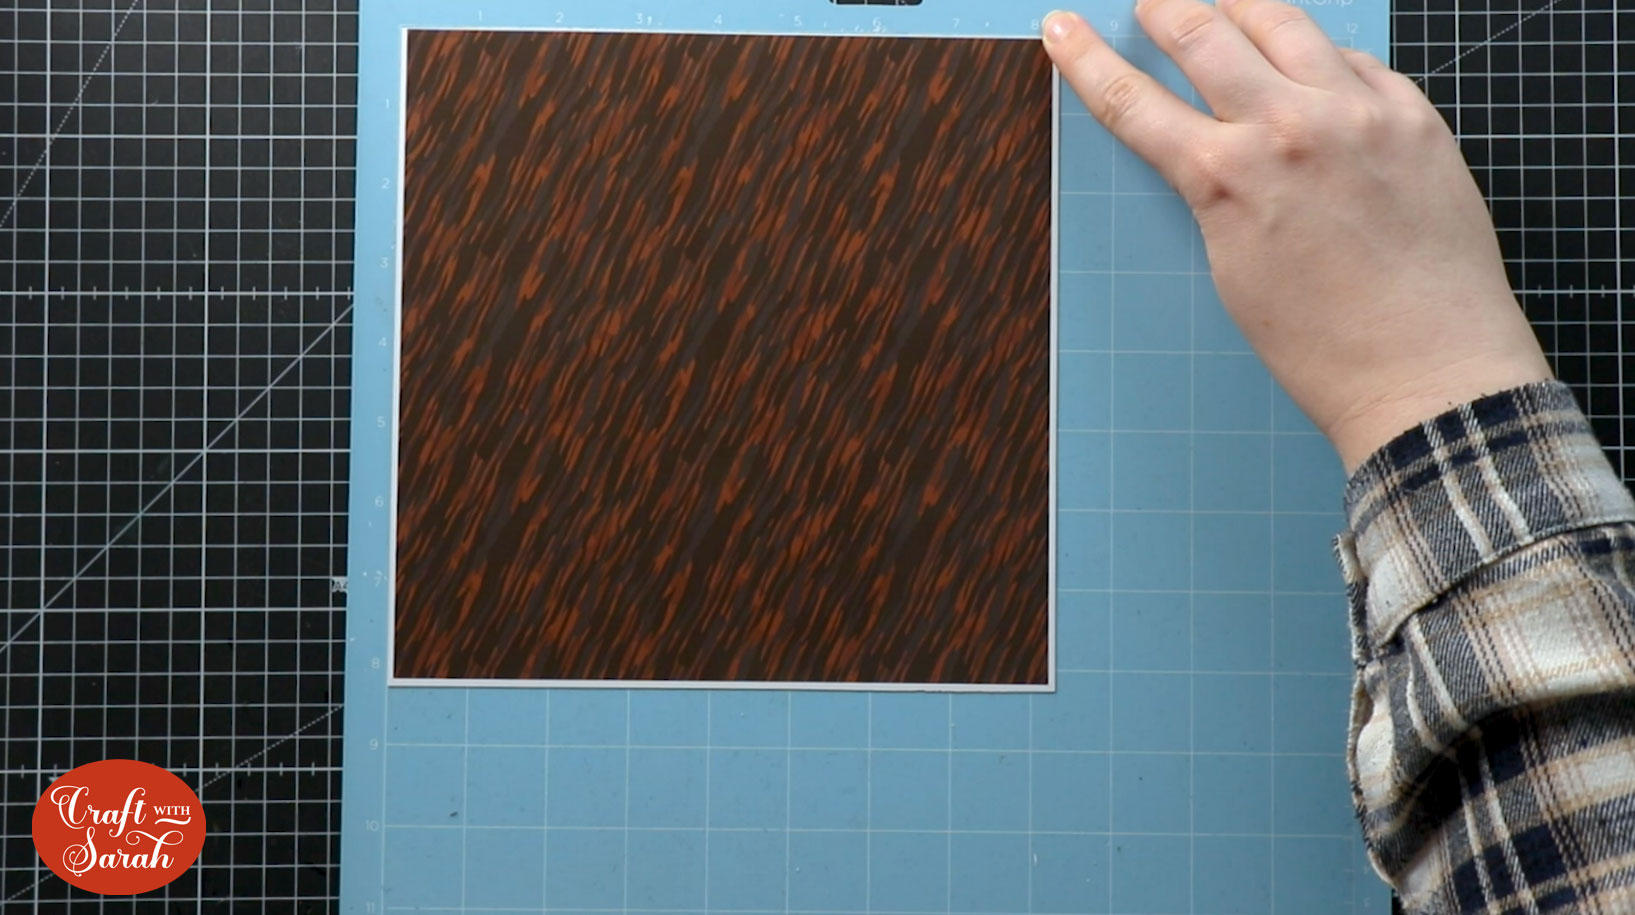
When you put your paper on the mat, make sure you line it up so that the pattern is in the direction you want it to appear on your dog. I’ve got mine with the stripe parts going down diagonally left, but if you want them to turn a different way then just make sure you put it onto your mat that way.
Here’s what it looks like cut out:
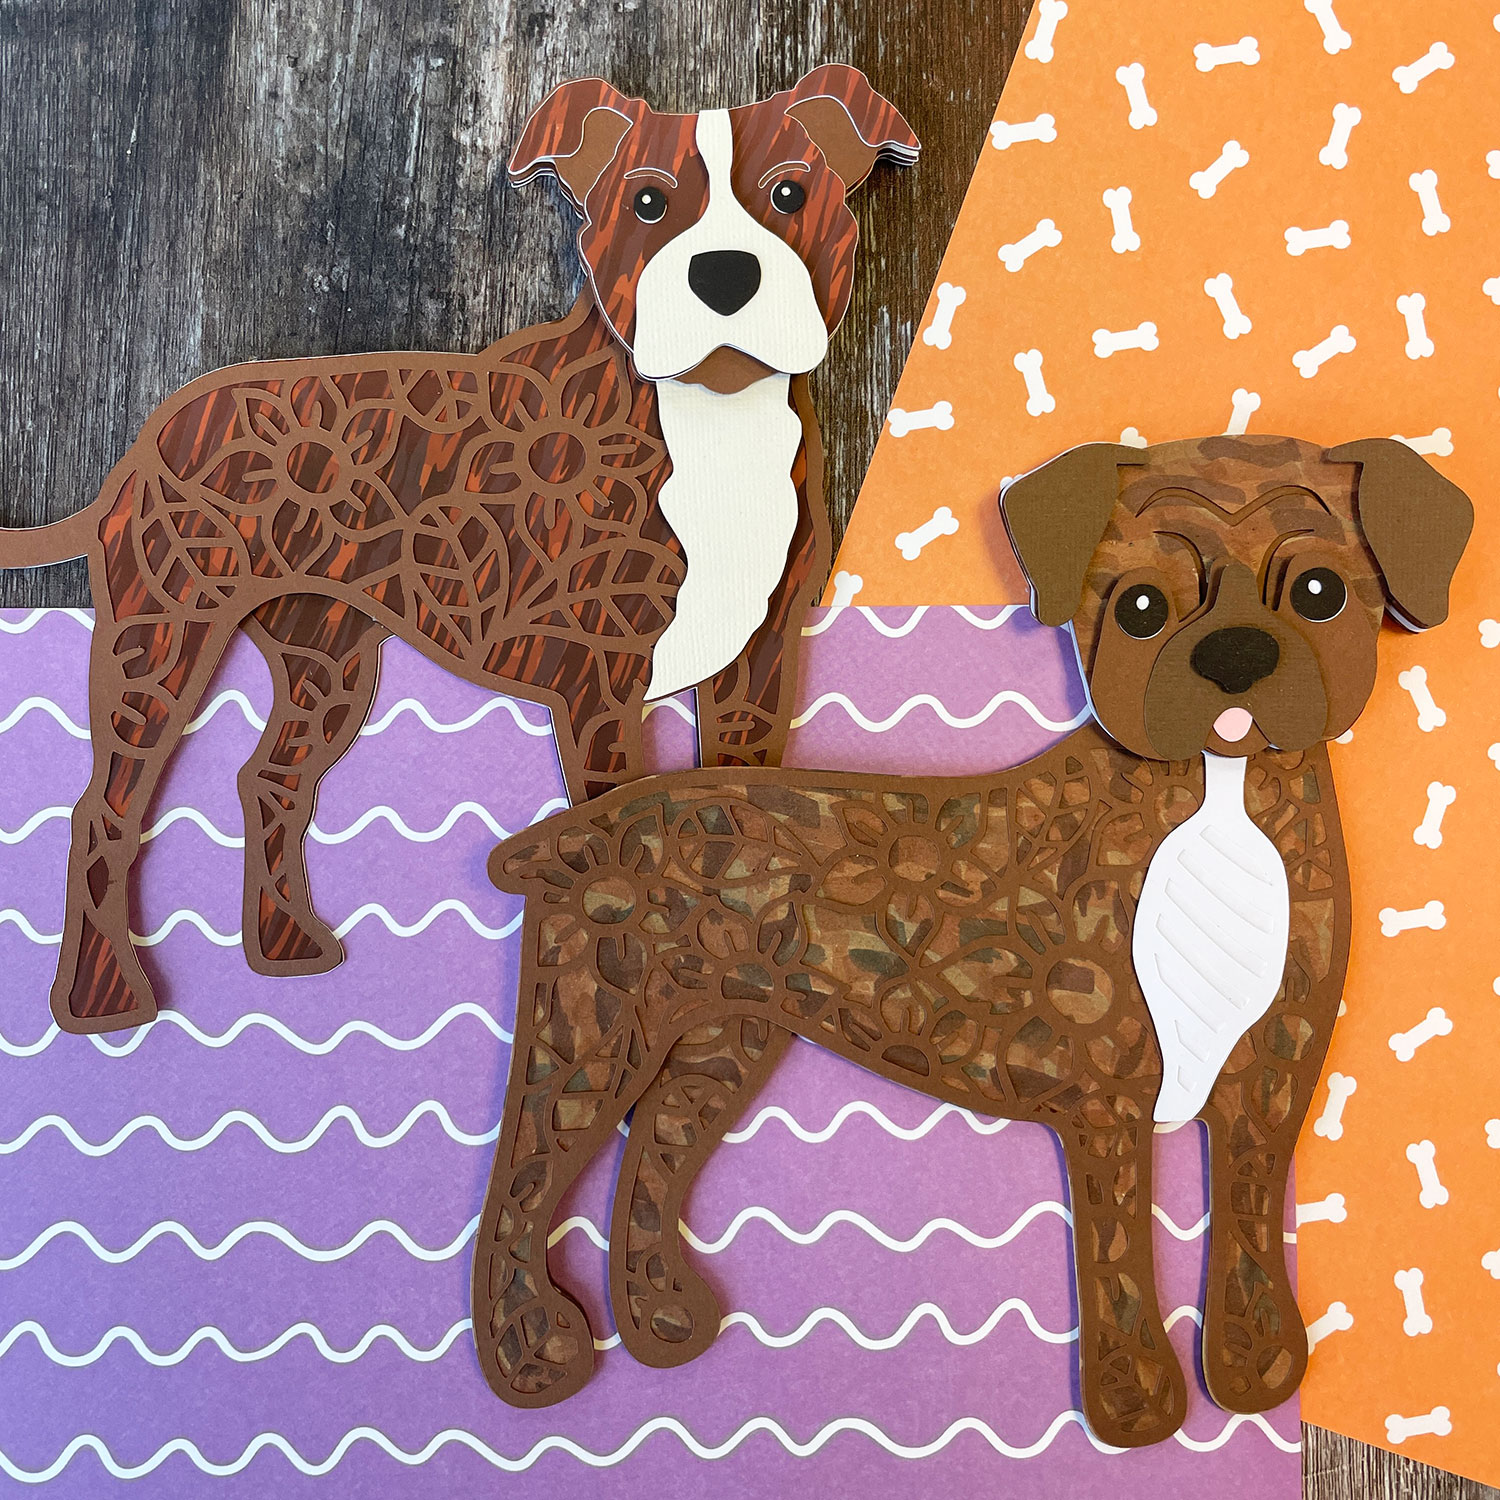
And here is the finished design, next to the alcohol marker version so you can compare the two techniques:
I hope you enjoyed this tutorial on how to create brindle fur patterns.
Don’t forget, I have over 150 dog designs and 20 cats to choose from in my SVG shop.
If you can’t see the perfect design, you may be able to make it by combining two different SVGs or by changing the colours.
[svg_school]
Happy crafting,
Sarah x

