How to add Patches to Layered Dogs: Recolouring SVGs [Part 3]
![How to add Patches to Layered Dogs: Recolouring SVGs [Part 3]](https://www.craftwithsarah.com/app/uploads/2021/08/shih-tzu-patches.jpg)
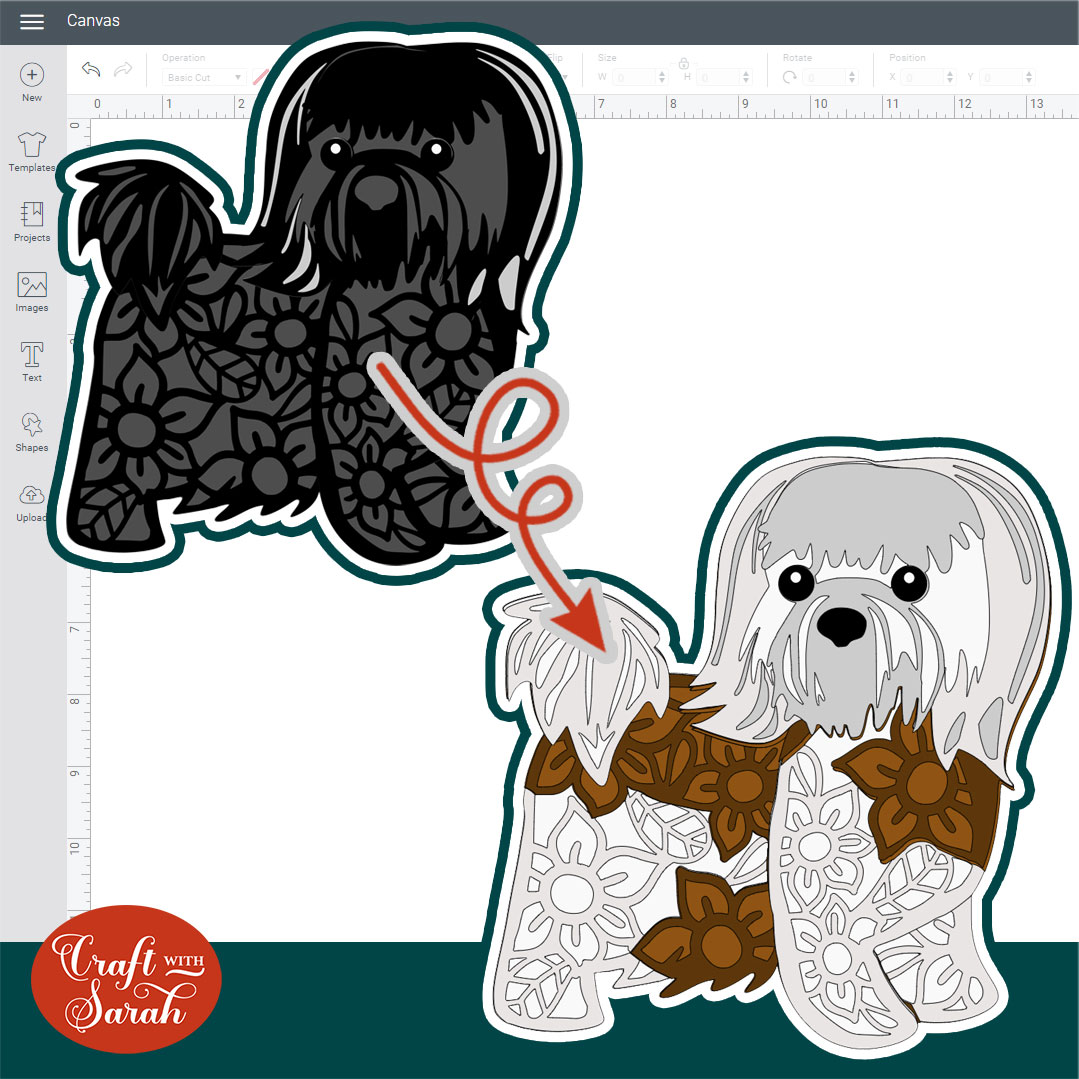
Learn how to recolour my layered dog SVGs to add patches to their coats.
This will help you better match the designs to your own pet, as coat colours and patterns can vary dramatically between individual dogs.
I’ll show you two different ways to add the patches. The first is a simpler way more suited to Design Space beginners, whereas the second way produces a more realistic effect but it takes longer to achieve.
Although I’m showing the example on the shih tzu design, the same techniques can be used to change the colours of any of my layered dog or cat SVGs.
[svg_school]
Please note that some of the links included in this article are affiliate links, which means that if you click through and make a purchase I may receive a commission (at no additional cost to you). You can read my full disclosure at the bottom of the page.
How to add patches to dog SVGs in Cricut Design Space
This is Part 3 of a 3-part mini series on how to recolour my layered dog SVGs.
Part 1: How to recolour (introduction)
Part 2: How to make a tricolor dog
Note: This tutorial was recorded using Design Space v6.11.108. Later versions of Design Space may look different to the video/screenshots shown on this page.
Video resources:
- Layered shih tzu SVG (Note – I updated the shih tzu design on 24th Aug 2021 so it now looks different to what you see in the video)
- 130+ dog SVGs & 20+ cat SVGs
- Download Design Space
- How to use layered SVG files (tutorial)
METHOD 1: BEGINNER VERSION
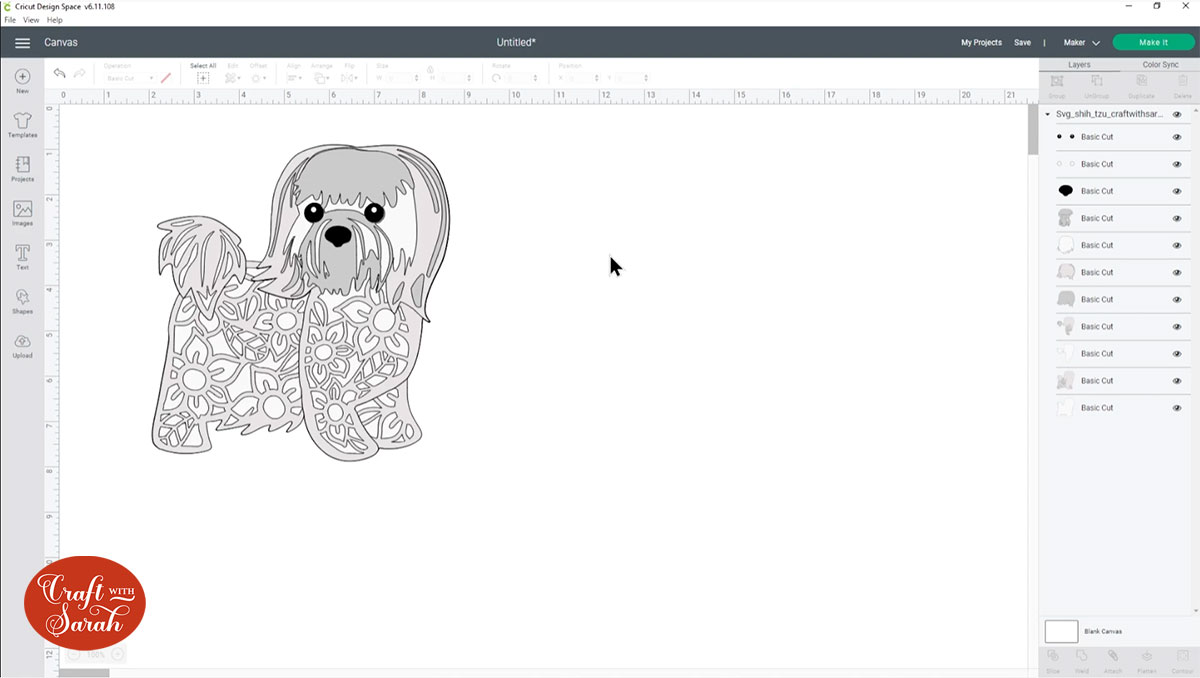
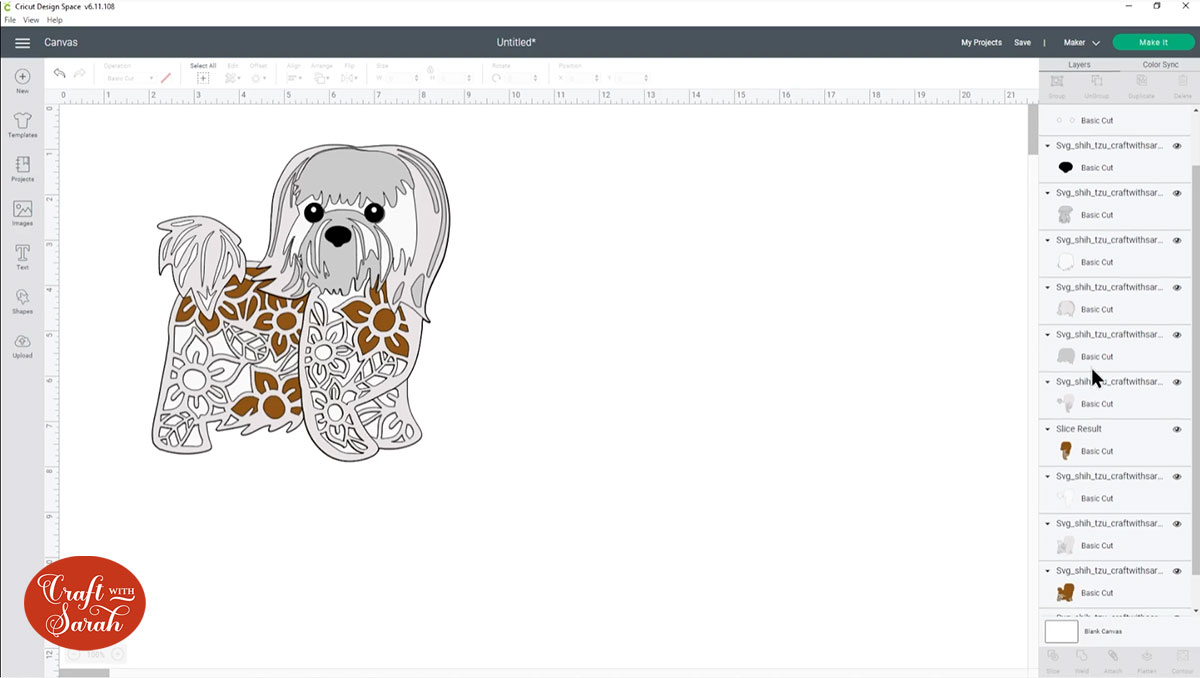
Step 1) Open the SVG file and change the main colour
Open your chosen SVG file and recolour it to the main body colour of the dog you are making.
Step 2) Add the patches
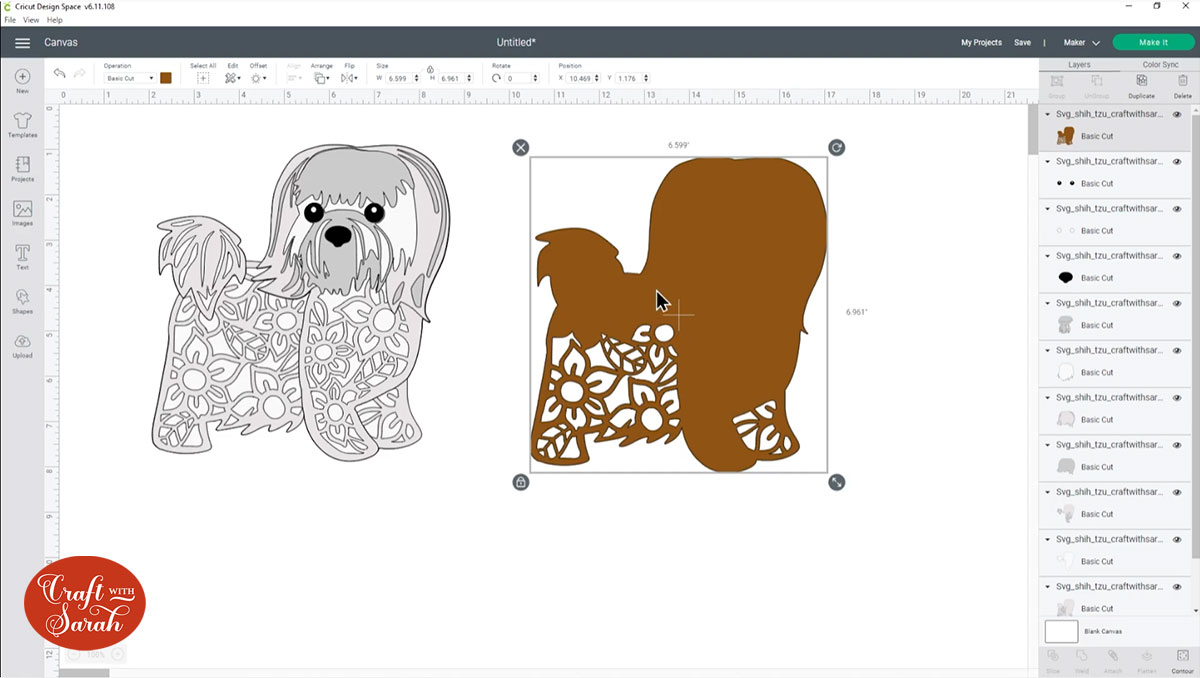
Click the main body layer with the flowers inside it by clicking that layer in the layers panel and then clicking “Duplicate”.
Recolour the new layer to the colour that you want the patches to be.
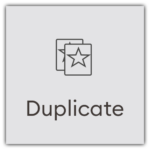
Select the new layer and then press “Contour”.

Click into the spaces in the flowers and leaves in the Contour window to fill in those pieces with your patch colour.
When you’re done, close the window and it will fill in the places that you clicked.
Repeat this for all the patches you want to add, on all of the floral layers for the design you are using.
Drag-and-drop the new layers in the layers panel until they sit behind the original floral layers.
You can now see your patches through the top layers of the flower patterns.
METHOD 2: ADVANCED OPTION
The above method works well and it’s a quick and fairly simple way to add patches to your dog craft project.
However, you may prefer to complete some extra steps to make the floral layers on top of the patches the same colour as the patches (brown) rather than being in the main colour of the dog (white).
Here’s how to do that!
Step 3) Duplicate the top layers
Pull your Contoured patch layers off to one side so you can see them.
Duplicate the top floral layer again and make it a slightly darker version of the colour you have already used for the patch.
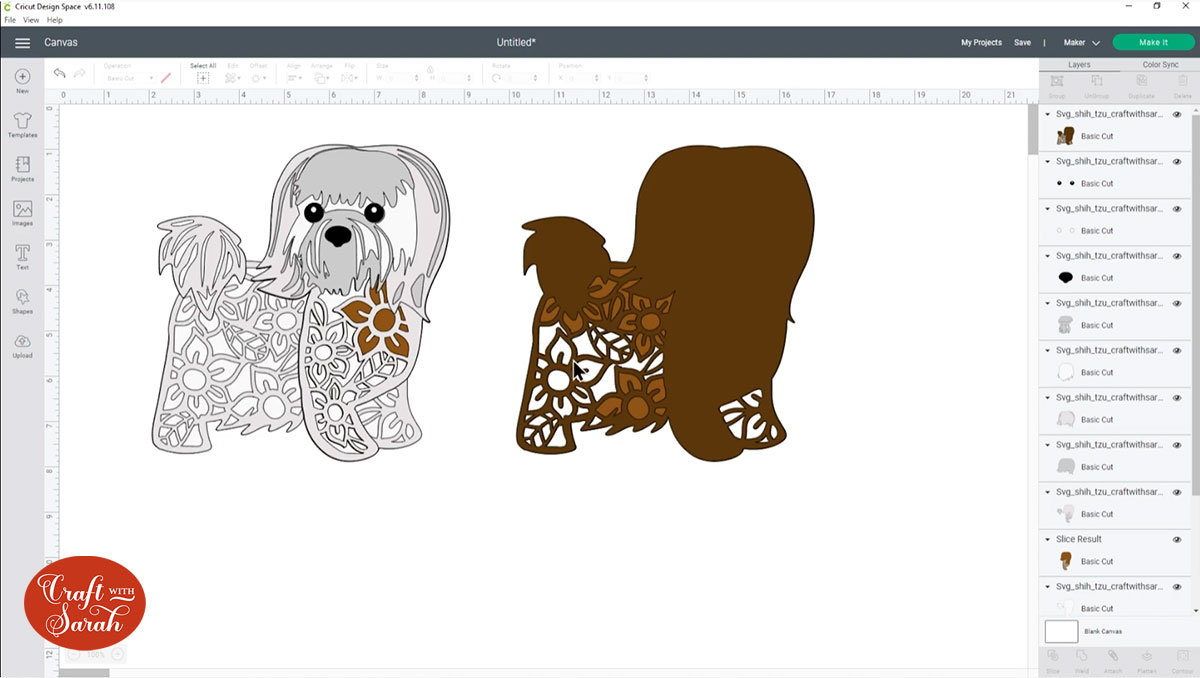
Step 4) Cut out the patch shapes
We now want to “cut away” all parts of the flowers/leaves and outline of the dog that are not part of the patches.
Go into “Shapes” and use a combination of squares and circles to form a “barrier” across all parts of the design you want to cut away.

Click one of the new shapes in the layers panel to select it. Then, press Shift on your keyboard and click all the other shapes so you have them all selected.
Click “Weld” to join them all into one layer.
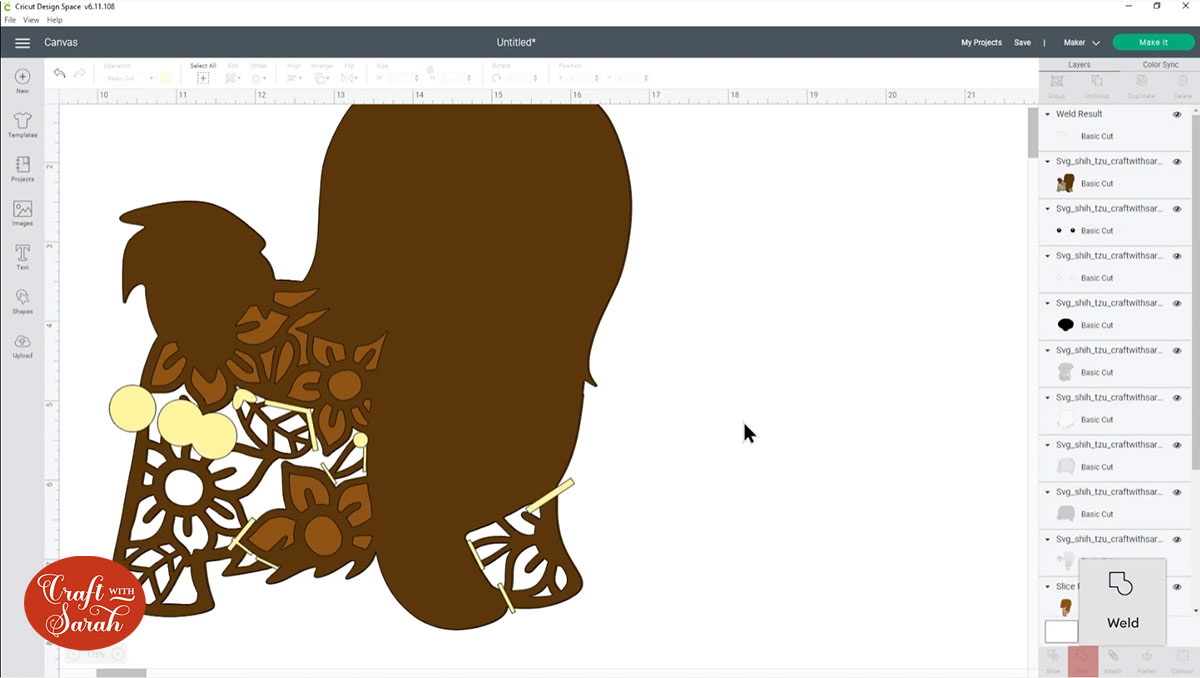
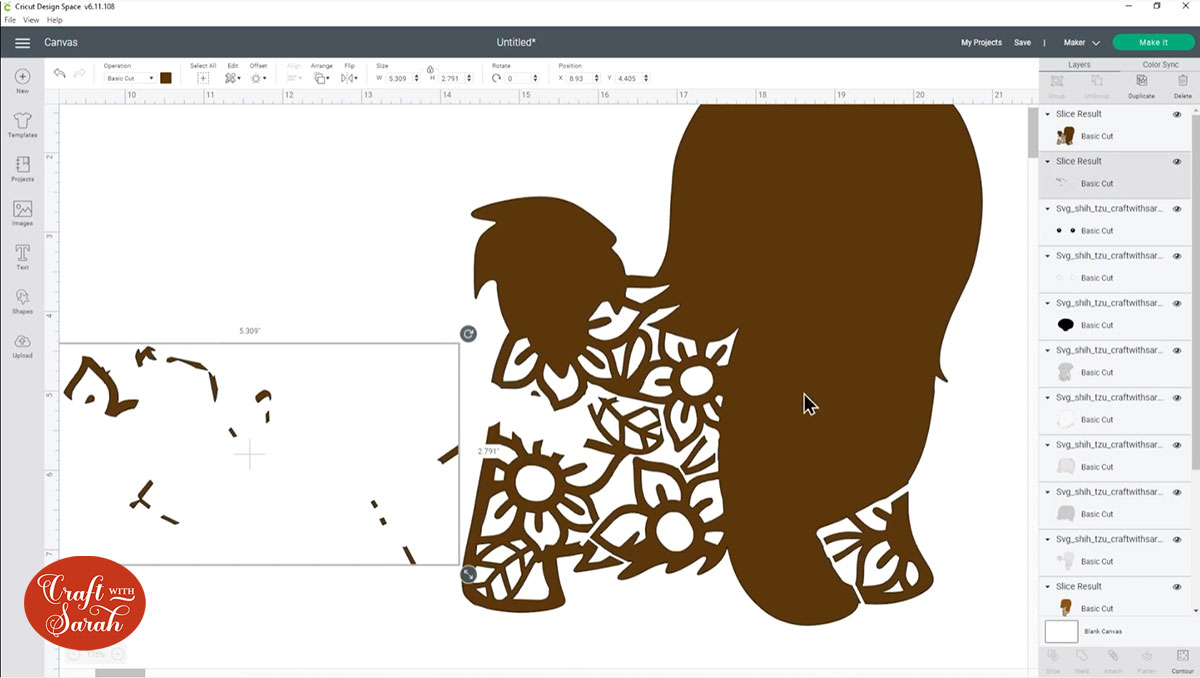
Select the welded shape layer and the darker patch colour layer. Press “Slice”.
This will cut the shapes out of your body layer.
Delete the Slice Result layers that you don’t need, for example the tiny pieces you can see here:
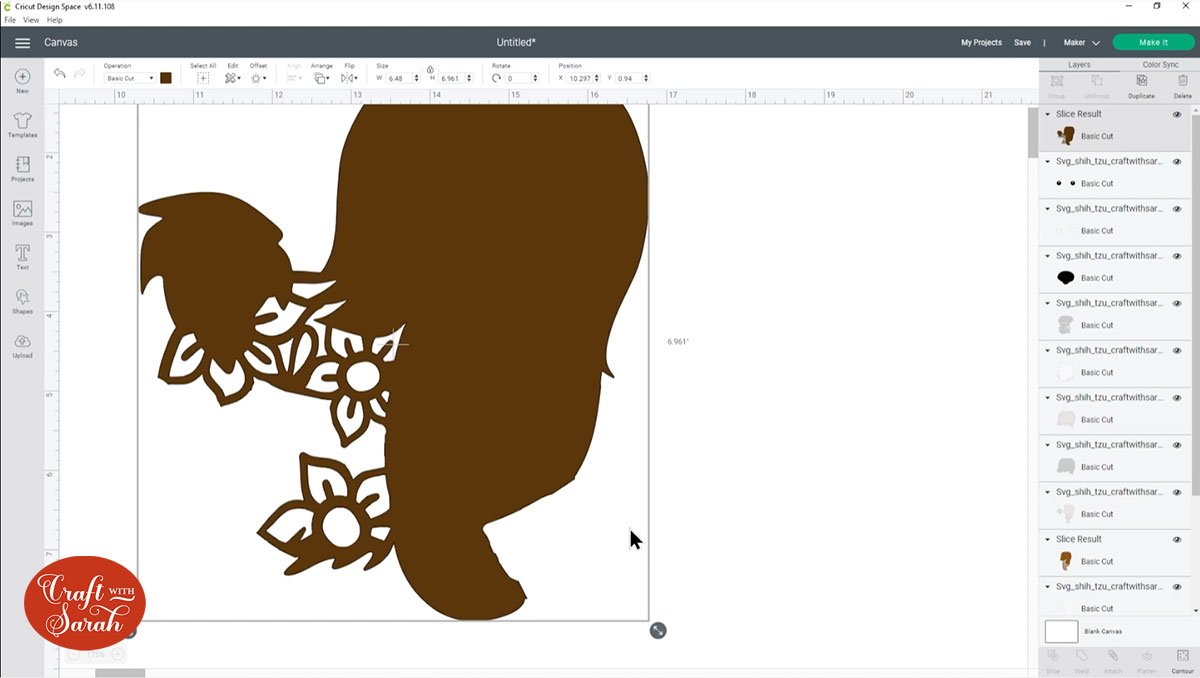
Click the main body layer and then go into “Contour”.
Click to remove all the pieces you want to hide.
Delete the original light patch colour layer (as that still has all the pieces we have just cut off).
Duplicate the darker patch layer, make it the lighter colour and then use Contour to hide all the gaps inside the patches.
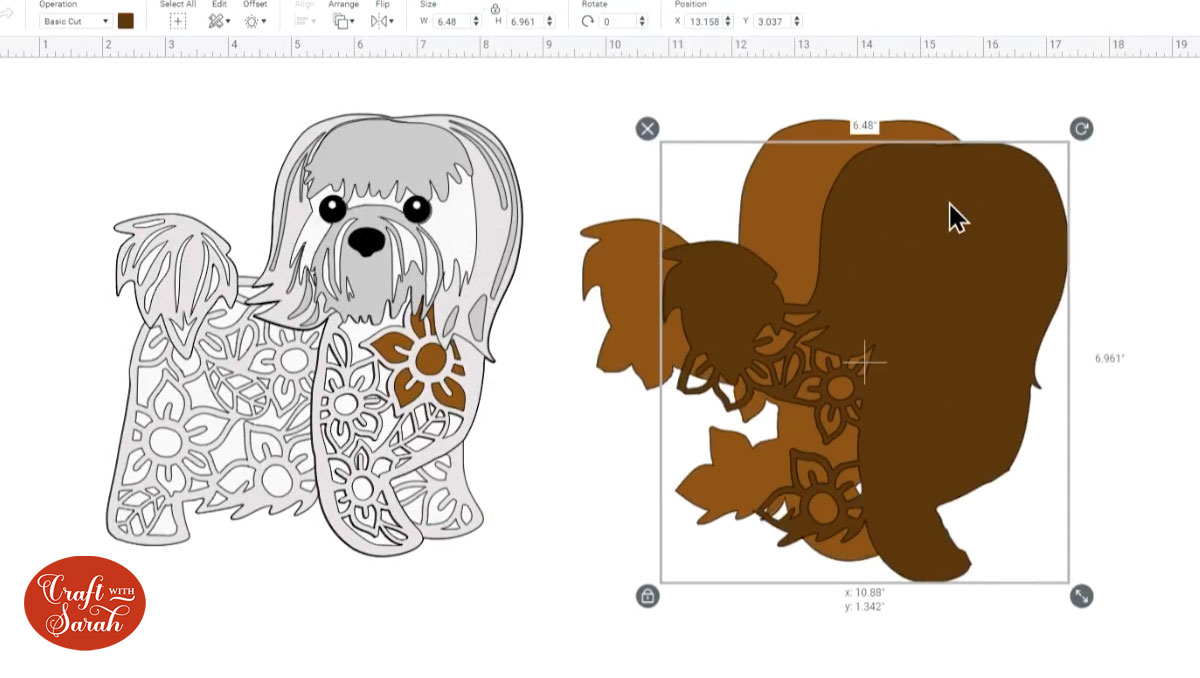
Drag the layers back into position and you can now see how this effect improves the overall appearance of the patches.
Repeat this for all other layers that you wish to add patches to.
I hope you enjoyed this tutorial on how to add patches to my layered mandala dog SVGs in Cricut Design Space.
Don’t forget, I have over 130 dog designs and 20 cats to choose from in my SVG shop.
I will be releasing additional tutorials in the next few weeks on how to further customize the designs to make them look even more like your beloved pet, as well as sharing ideas of craft projects to make with the layered files.
[svg_school]
Happy crafting,
Sarah x

