How to Make a Tricolor Dog SVG: Recolouring SVGs [Part 2]

Learn how to turn my layered dog SVGs into tricolor versions!
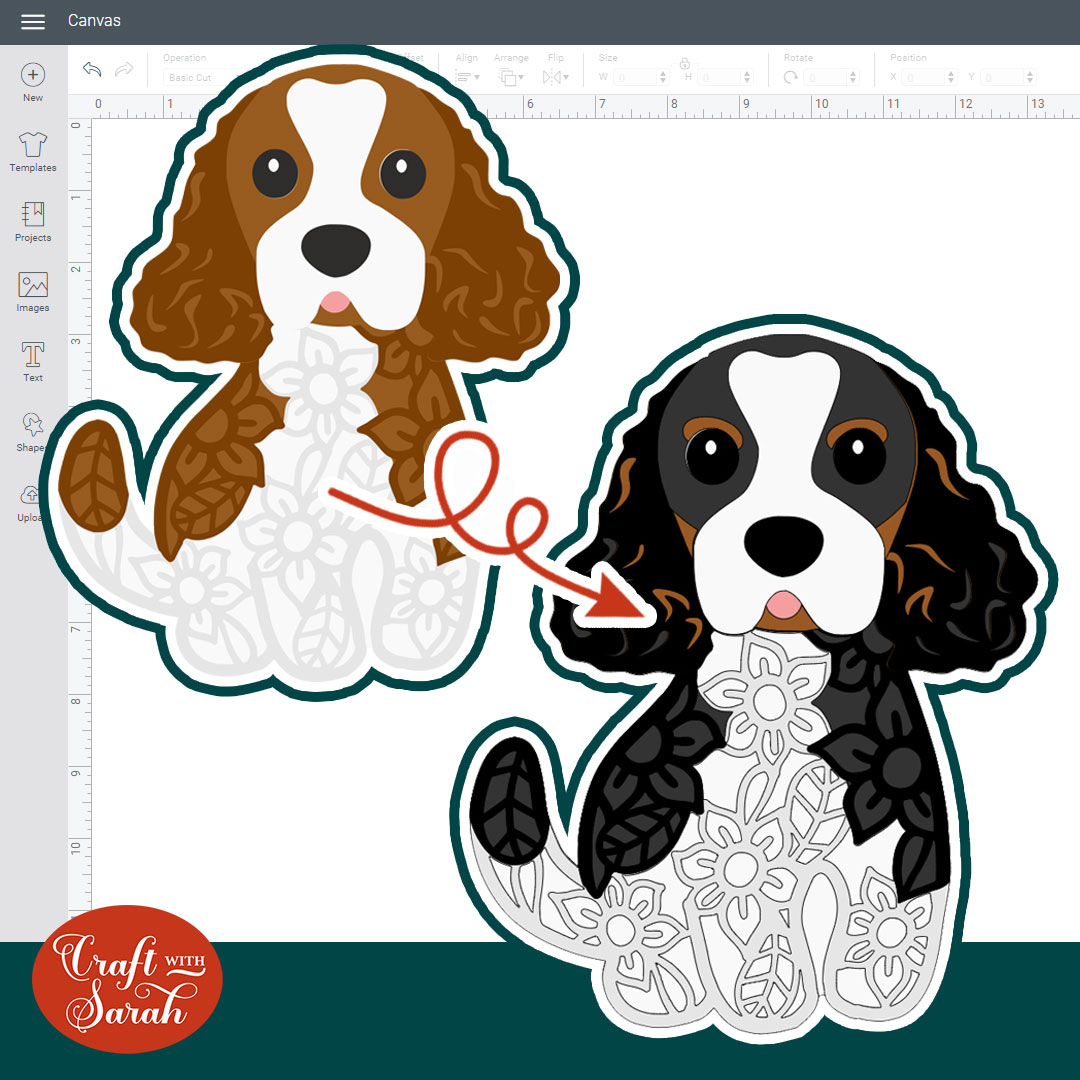
Sometimes changing the colours of my layered mandala dog SVGs to match your pooch can be a little tricky.
Tricolour dogs are a good example of this as they often have more colours in them than the original SVG so you need to get a little bit more creative with the modifications to add all the black, tan and white into the design.
This tutorial shows how to recolour the main layers of my dog SVGs to turn them into a tricolor version, including adding extra layers to the ears and head to form the brown-and-black effect and we’ll also add some extra eyebrow details.
[svg_school]
Please note that some of the links included in this article are affiliate links, which means that if you click through and make a purchase I may receive a commission (at no additional cost to you). You can read my full disclosure at the bottom of the page.
How to make a tricolor dog in Cricut Design Space
This is Part 2 of a 3-part mini series on how to recolour my layered dog SVGs.
Part 1: How to recolour (introduction)
Part 3: How to add patches of colour
Note: This tutorial was recorded using Design Space v6.11.108. Later versions of Design Space may look different to the video/screenshots shown on this page.
Video resources:
- Layered Cavalier King Charles dog SVG
- 130+ dog SVGs & 20+ cat SVGs
- Download Design Space
- How to use layered SVG files (tutorial)
How to make Tricolor Dog Fur in Cricut Design Space
Follow these steps to turn any of my dog SVGs into a tricolor version!
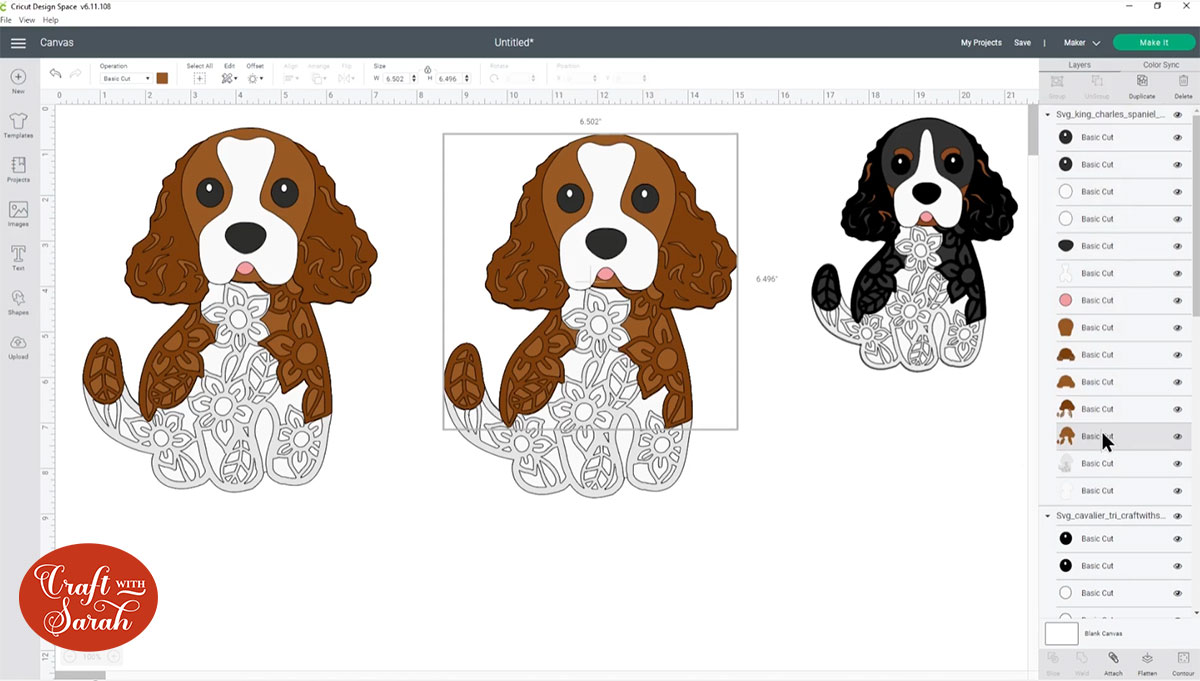
Step 1) Open the SVG file
Choose your layered SVG file and open it in Design Space.
When I was new to recolouring SVG files in Design Space I found it easiest to have a copy of the original design on my screen to refer back to layer, but if you don’t need that then you can skip the rest of this step.
To make a copy, right-click on the design and press “Duplicate”.
To make sure I didn’t miss a step when recording the steps, I kept a copy of the finished design that I had previously made on the screen to show the look I was trying to achieve, which is why there is a completed design already on the screen!
Step 2) Change the patch colours
If the dog already has patches then recolour them to black.
If the dog doesn’t have patches, keep an eye out for my next Design Space tutorial as that will show how to add patches.
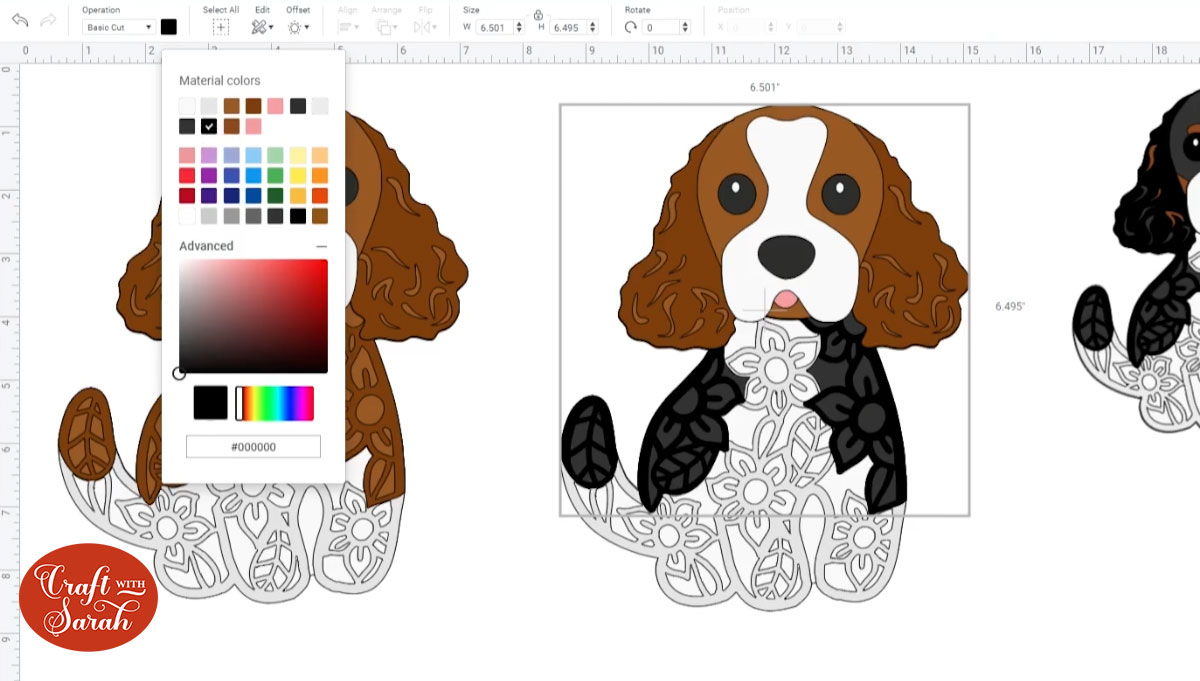
Step 3) Change the ear colours
Change the ear colours to black on top with a dark grey underneath to show the details through.
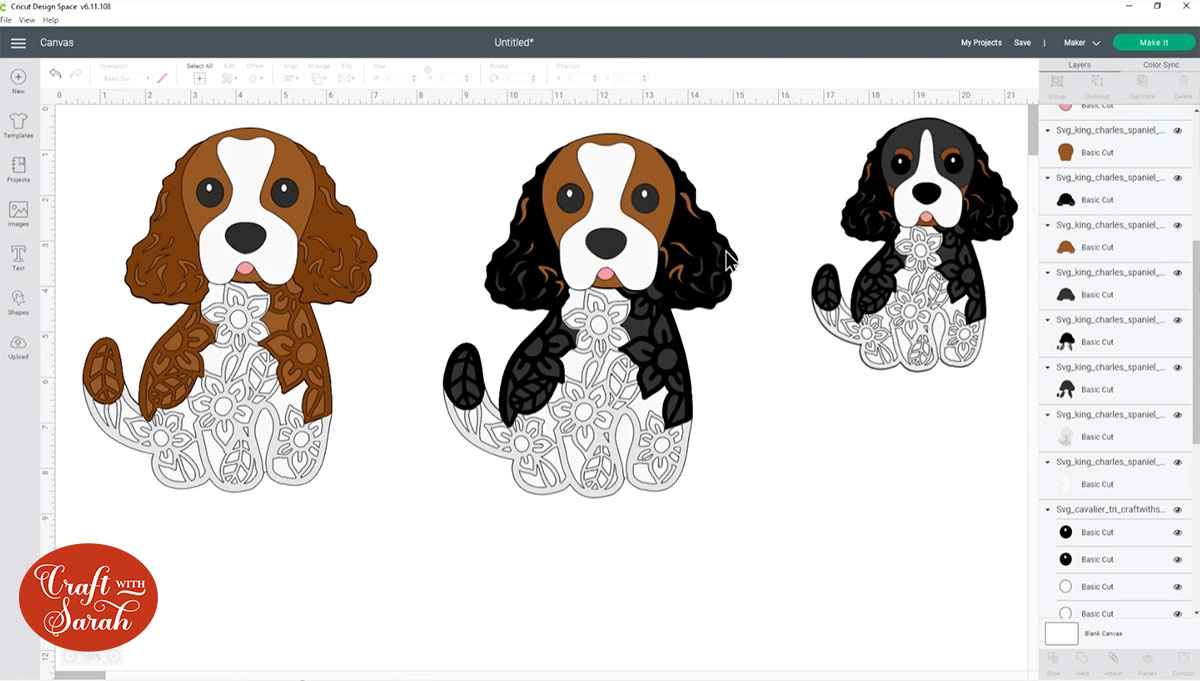
Many tricolor dogs also have bits of brown in their ears.
To achieve this look, find the layer that has the cutouts in the ears and duplicate it.
Make it brown and then use the “Contour” tool to remove some of the cutouts in the ears.

This will “fill in” those sections which means when you drag your new layer down below the black ears layer you will see some brown poking through the holes.
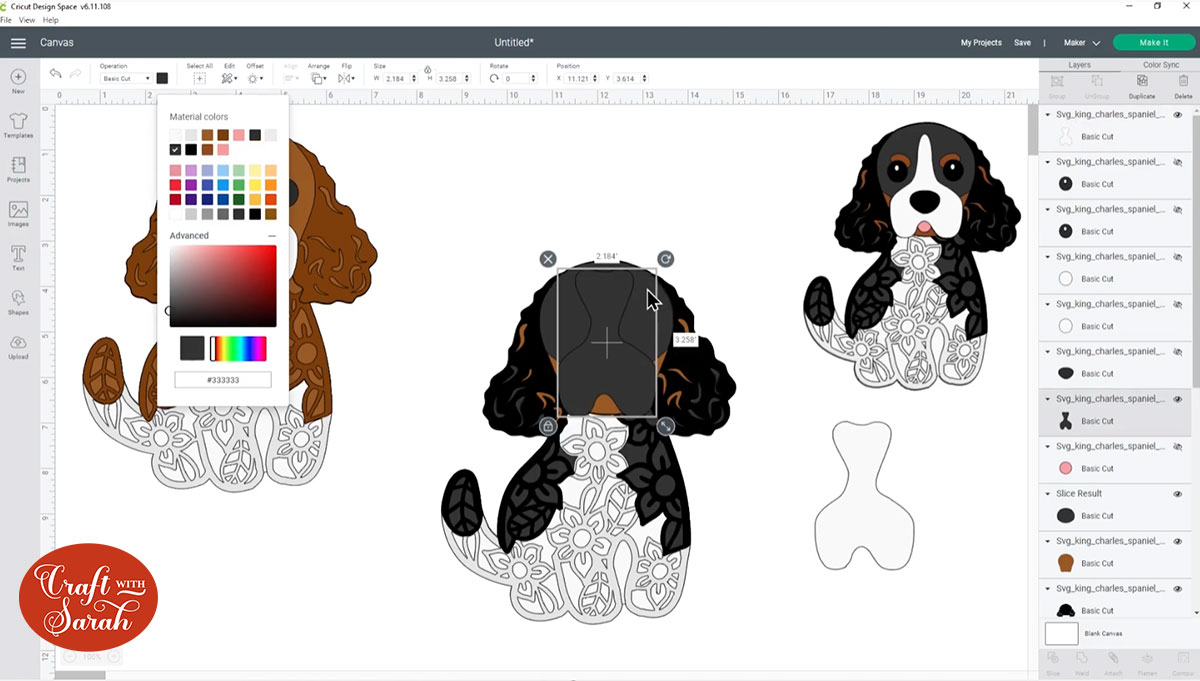
Step 4) Modify the head
I wanted to make a “two color” effect on the head of the dog, with black for the majority of the head but some brown at the bottom.
To do this, first duplicate the head layer and make it dark grey.
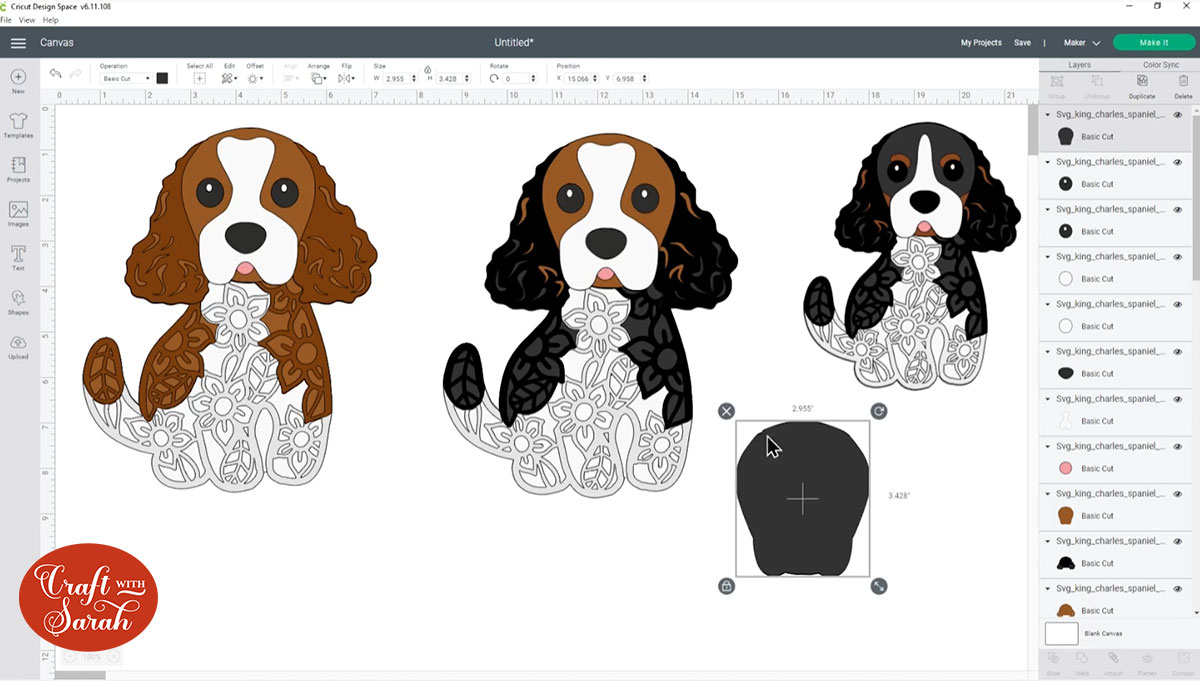
Position it on top of the design you are modifying so that it’s in the correct position.
Insert a Circle using the “Shapes” menu and place it over the head where you want to “crop” the dark grey layer. Make the circle a bright colour so it’s easier to see.

Click the circle layer then press Shift on your keyboard and click the dark grey head layer in the layers panel.
Use the Slice tool to cut the circle shape out of the head.
This will leave you with four “Slice result” layers like this:
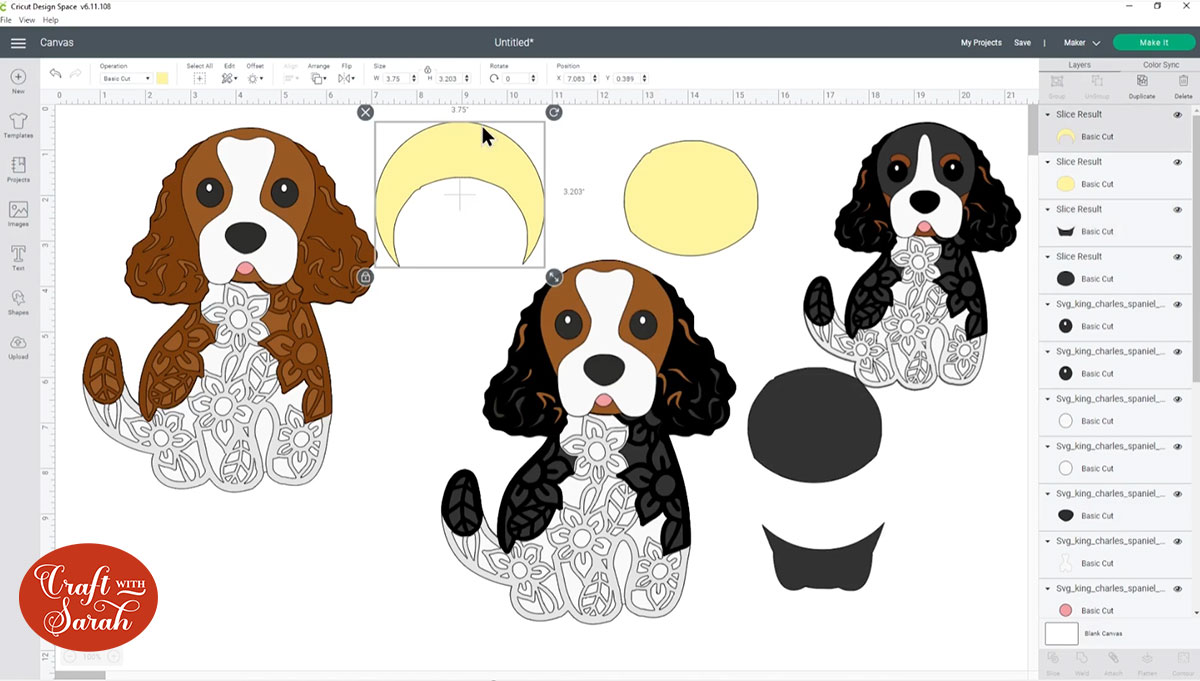
Delete the two layers that were the original circle (yellow layers) and also delete the bottom part of the head.
Your head should now look like this (I have temporarily hidden the eyes and nose to make it clearer to see what I’m doing).
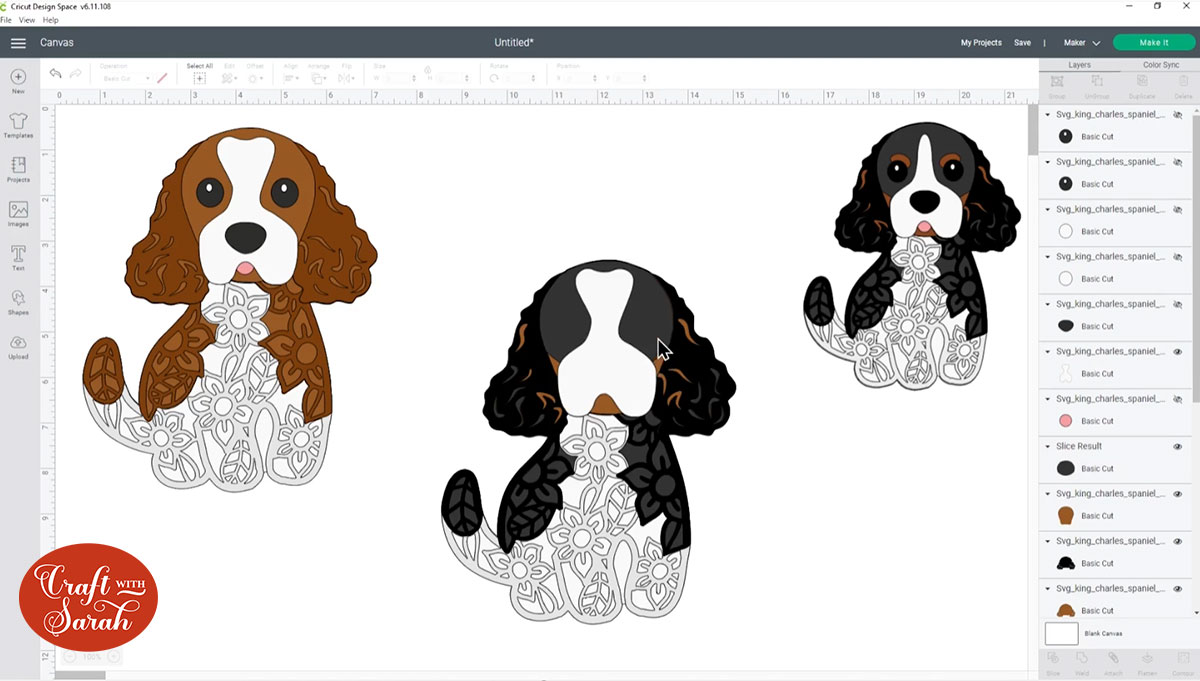
For an optional next step, consider Duplicating the white snout layer and then using the Weld tool to join one of them to your new grey head layer.
This will help your layers look more even when you stick them together, and will also make it easier to line up the snout layer.
Step 5) Add eyebrows
To add eyebrows to your tricolor dog, use a “jelly bean” image.
I used this one from Cricut Access:
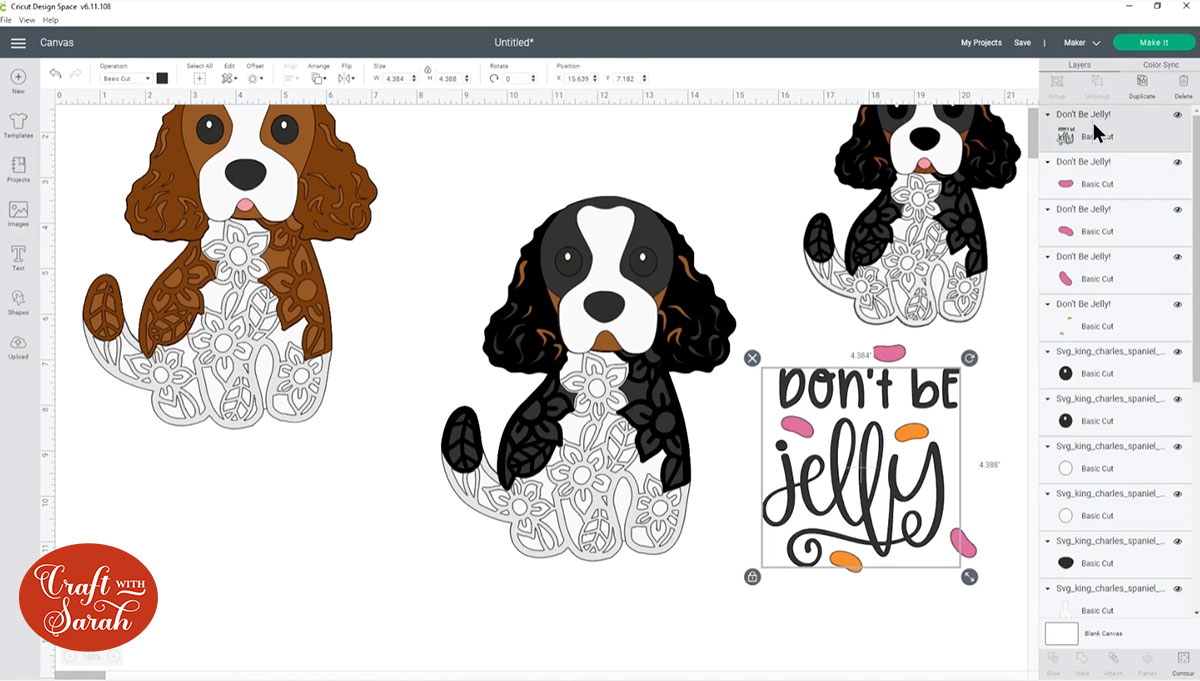
Delete the text layer and other jelly beans until you are left with just one.
Position it over the eye and resize/rotate until you are happy with how it looks.
Repeat for the other eyebrow.
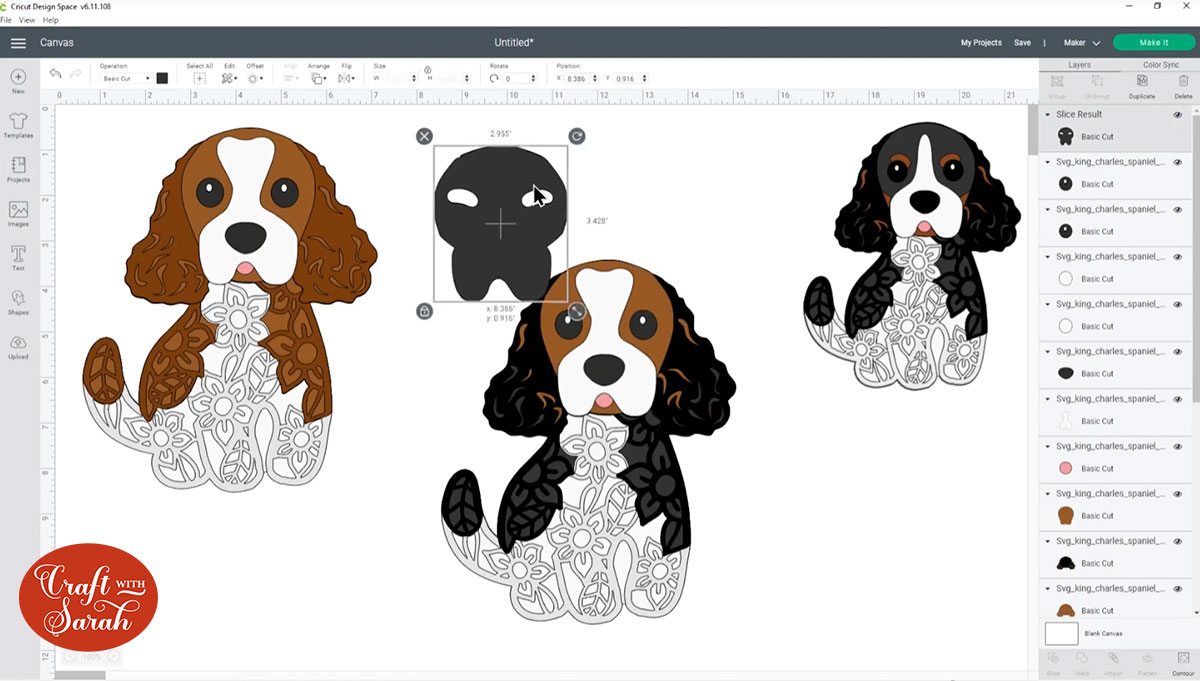
Next, we want to cut the jellybean shapes out of the head layer.
This is because otherwise it will make the eye layers hard to stick together as part of them would overlap the jelly bean shapes so the eyes wouldn’t sit level.
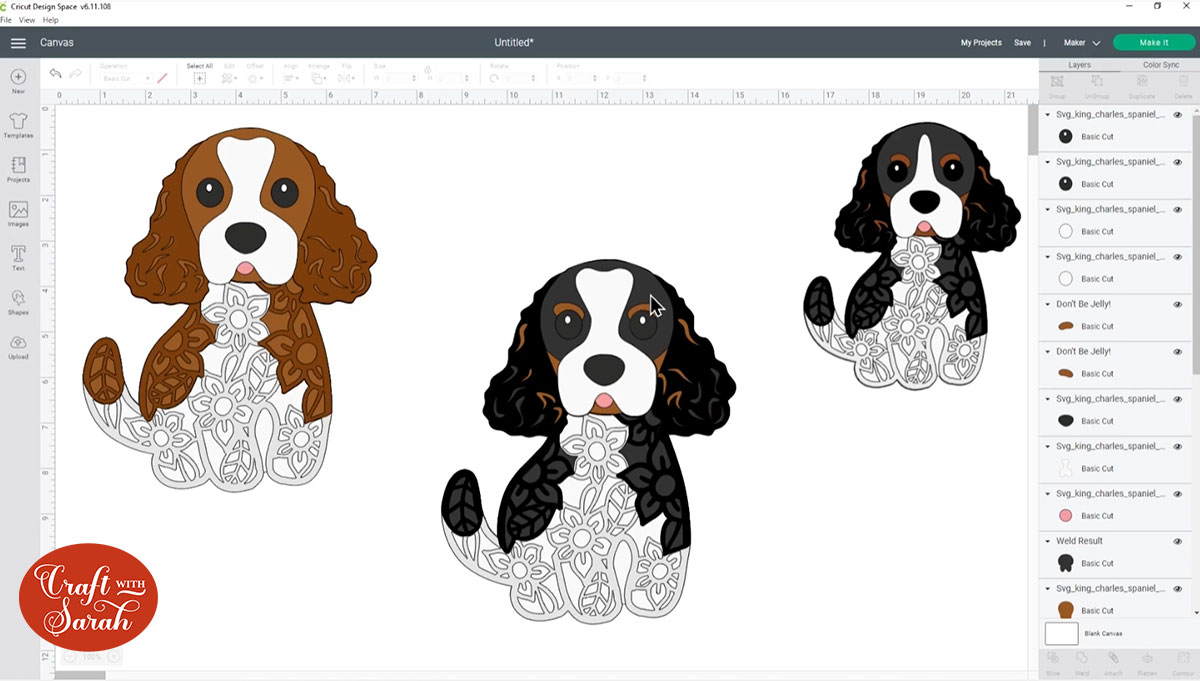
Select both jelly beans and Weld them together.
Then, select the new Welded layer and the grey head layer and Slice them.
Delete the brown layer and the grey jelly bean shapes until you are left with this:
Drag the head layer back into position, and there you go – your tricolor dog design is finished!
I hope you enjoyed this tutorial on how to make tricolor versions of my dog SVGs in Cricut Design Space.
Don’t forget, I have over 130 dog designs and 20 cats to choose from in my SVG shop.
I will be releasing additional tutorials in the next few weeks on how to further customize the designs to make them look even more like your beloved pet, as well as sharing ideas of craft projects to make with the layered files.
[svg_school]
Happy crafting,
Sarah x

