How to Recolour Layered SVG Files [Part 1]
![How to Recolour Layered SVG Files [Part 1]](https://www.craftwithsarah.com/app/uploads/2021/08/recolour-layered-svgs.jpg)
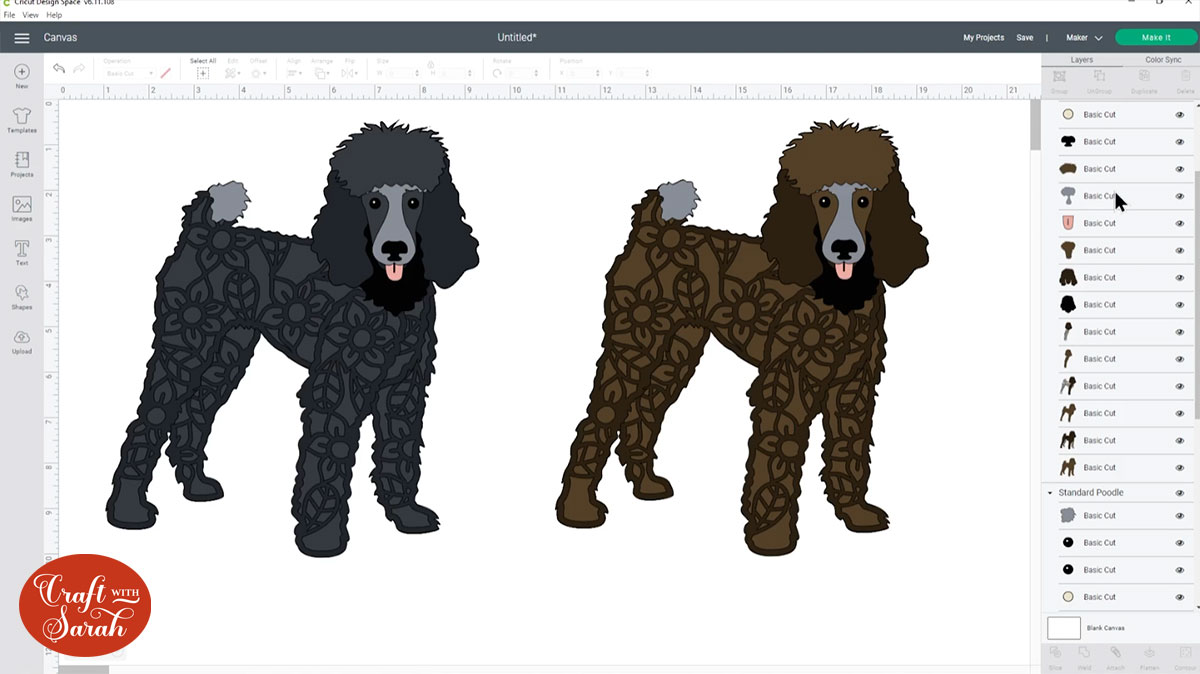
Learn how easy it is to recolour SVG files in Cricut Design Space! In this tutorial we’ll turn my black poodle SVG into a brown poodle!
This is Part 1 of a 3-part mini series on how to recolour my layered dog SVGs to better match your pet.
Part 2: How to make tricolor dogs
Part 3: How to add patches of colour
[svg_school]
Please note that some of the links included in this article are affiliate links, which means that if you click through and make a purchase I may receive a commission (at no additional cost to you). You can read my full disclosure at the bottom of the page.
How to Recolour Layered SVG Files in Cricut Design Space
Video resources:
- Layered poodle SVG
- 130+ dog SVGs & 20+ cat SVGs
- Download Design Space
- How to use layered SVG files (tutorial)
Step 1) Open the file in Cricut Design Space
Choose your layered SVG file and open it in Design Space.
When I was new to recolouring SVG files in Design Space I found it easiest to have a copy of the original design on my screen to refer back to layer, but if you don’t need that then you can skip the rest of this step.
To make a copy, right-click on the design and press “Duplicate”.
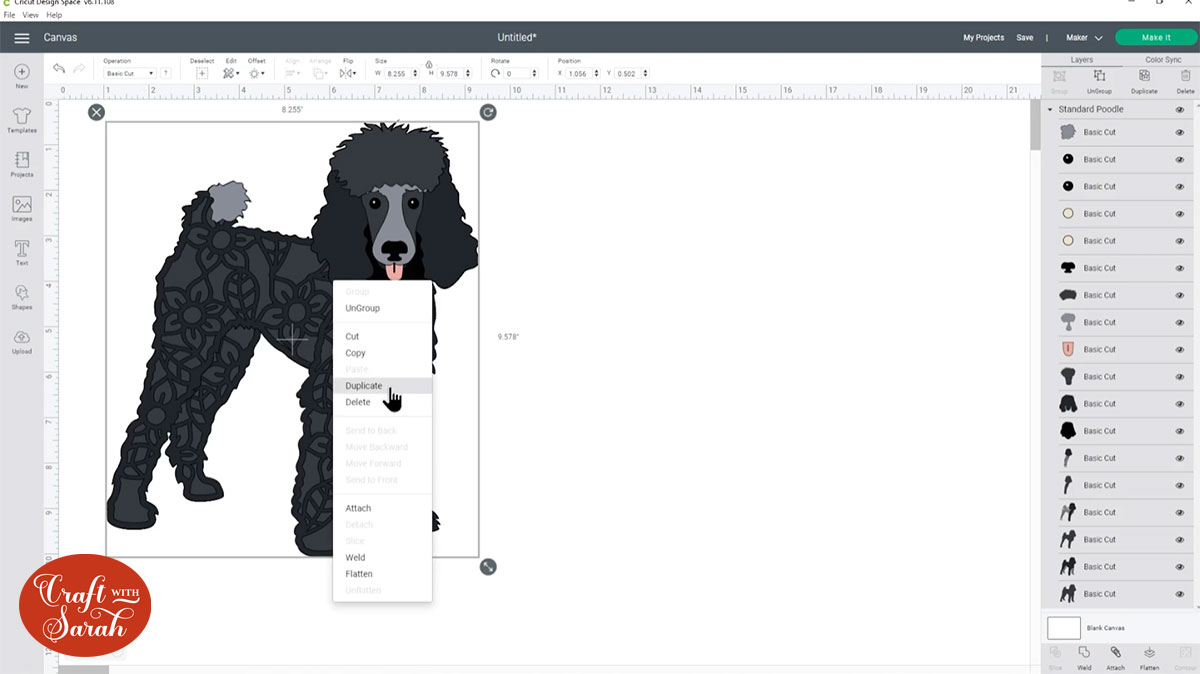
Drag the copy over to the other side of the screen.
Step 2) Change the first colour of layers
We are going to work from the bottom upwards, so click on the bottom layer of the design in the layers panel.
Click into the colour box on the top left of the screen.
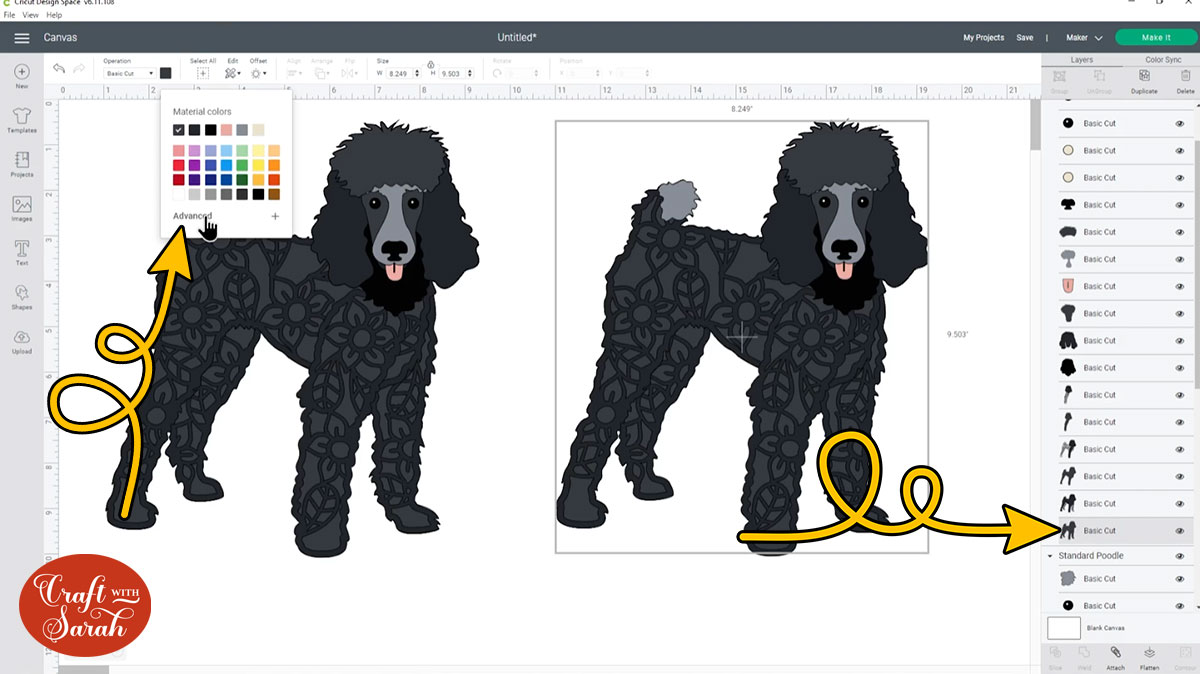
Click “Advanced” to open up more color options and then choose the colour you want to make the bottom layer.
Step 3) Change the other layers in the same colour
Now we need to change all other layers that should be cut in the same colour that you have just made the bottom layer.
There are three different ways to do that.
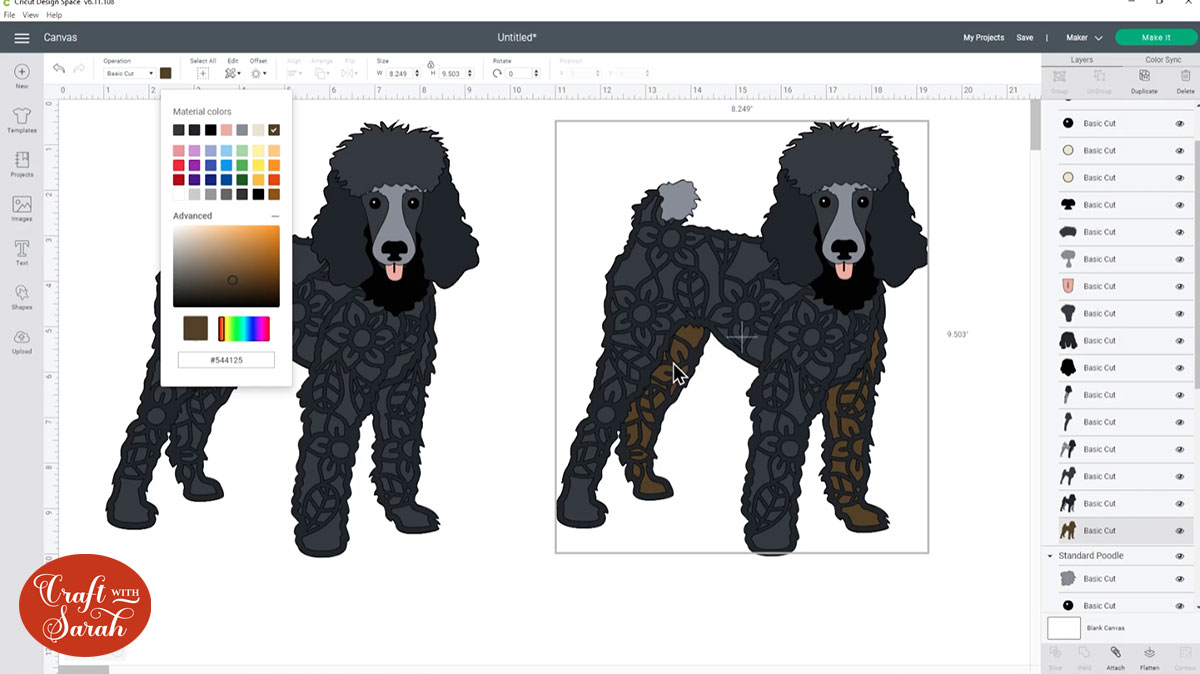
The first way is to click the next layer and then click back into the colour box. Your new colour should now show in the “Material colors” list in the top, so you can just click it to make the next layer the same colour.
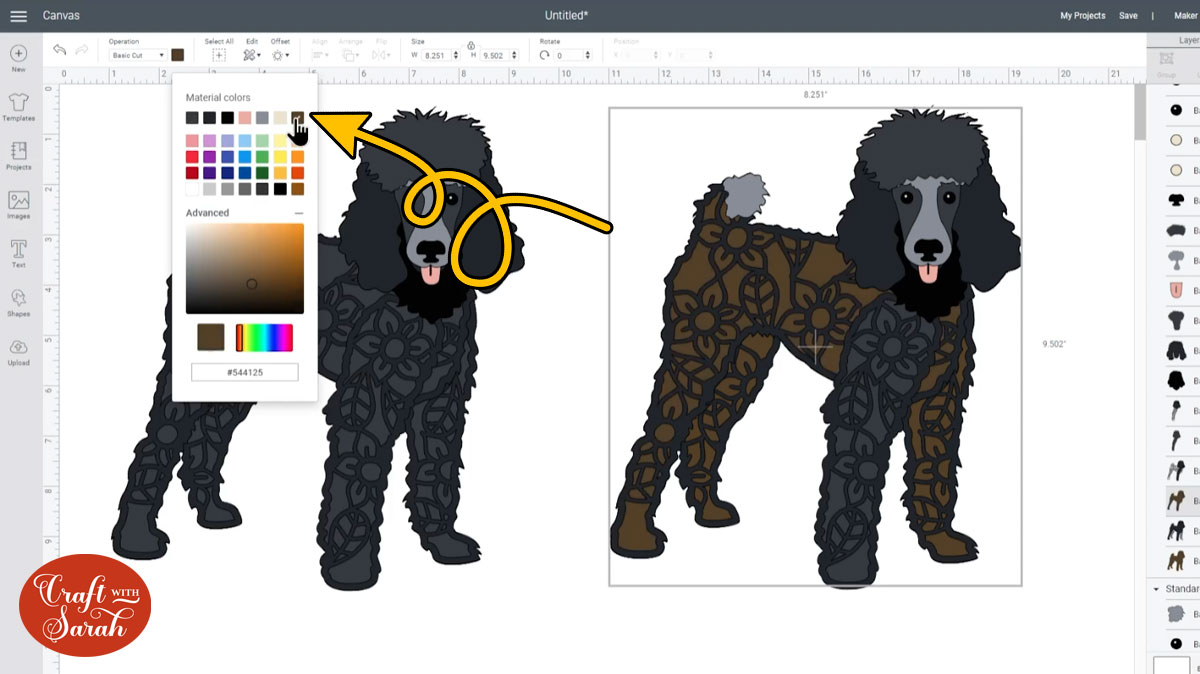
However, if you are working with lots of similar colours then it can be tricky to make sure you select the correct colour by doing it that way.
Another way you can change colours is to click-and-drag over the “colour code” which appears at the bottom of the colour box when you click the original layer that you have already recoloured.. It starts with a hashtag (#) and is then followed by a series of letters and numbers. This is a “hexadecimal code” which is a unique colour code that every single shade of every single colour has. It’s how computers know what colour to show you.
Press CTRL and C (or CMD + C on a Mac) to copy the colour code.
Click your next layer, then open the colour box and click into the box with the code. Delete what’s already in there and then press CTRL and V (CMD + V on a Mac) to paste the code you copied.
That will make the new layer turn the same colour as the first one.

The third way to match colours is to use the “Color Sync” option on the top right of your screen.
First, click the eye icon in the layers panel next to the Group title of the first dog (that you aren’t recolouring) to hide it.
Next, click “Color Sync”.
This changes how the layers look, so now they are separated by colour.
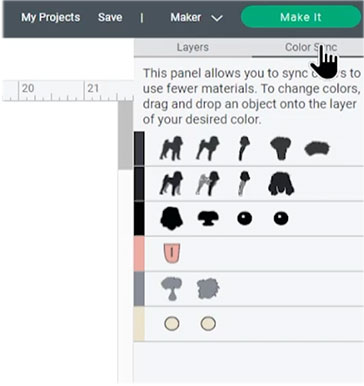
Drag the old colour of layers onto the new colour to change them.
Step 4) Change the next colour
Follow the same steps that you have just done but for the next colour of the layered file.
Step 5) Continue for the rest of the design
Continue with the same technique until you have changed all the colours that you wish to change.
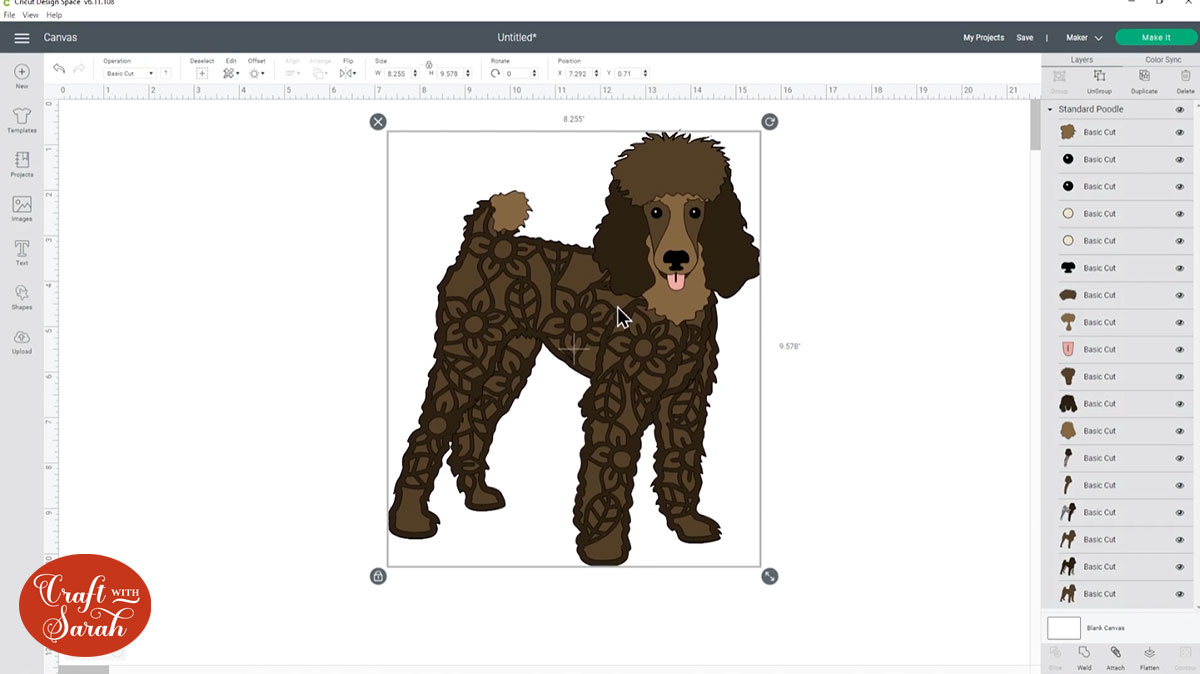
Delete the version that is still in the original colours and then you are ready to resize your new design and cut it out with your Cricut!
Don’t forget to save your Project when you’re done!
I hope you enjoyed this tutorial on how to recolour layered SVG files in Cricut Design Space.
Don’t forget, I have over 130 dog designs and 20 cats to choose from in my SVG shop.
I will be releasing additional tutorials in the next few weeks on how to further customize the designs to make them look even more like your beloved pet, as well as sharing ideas of craft projects to make with the layered files.
[svg_school]
Happy crafting,
Sarah x

