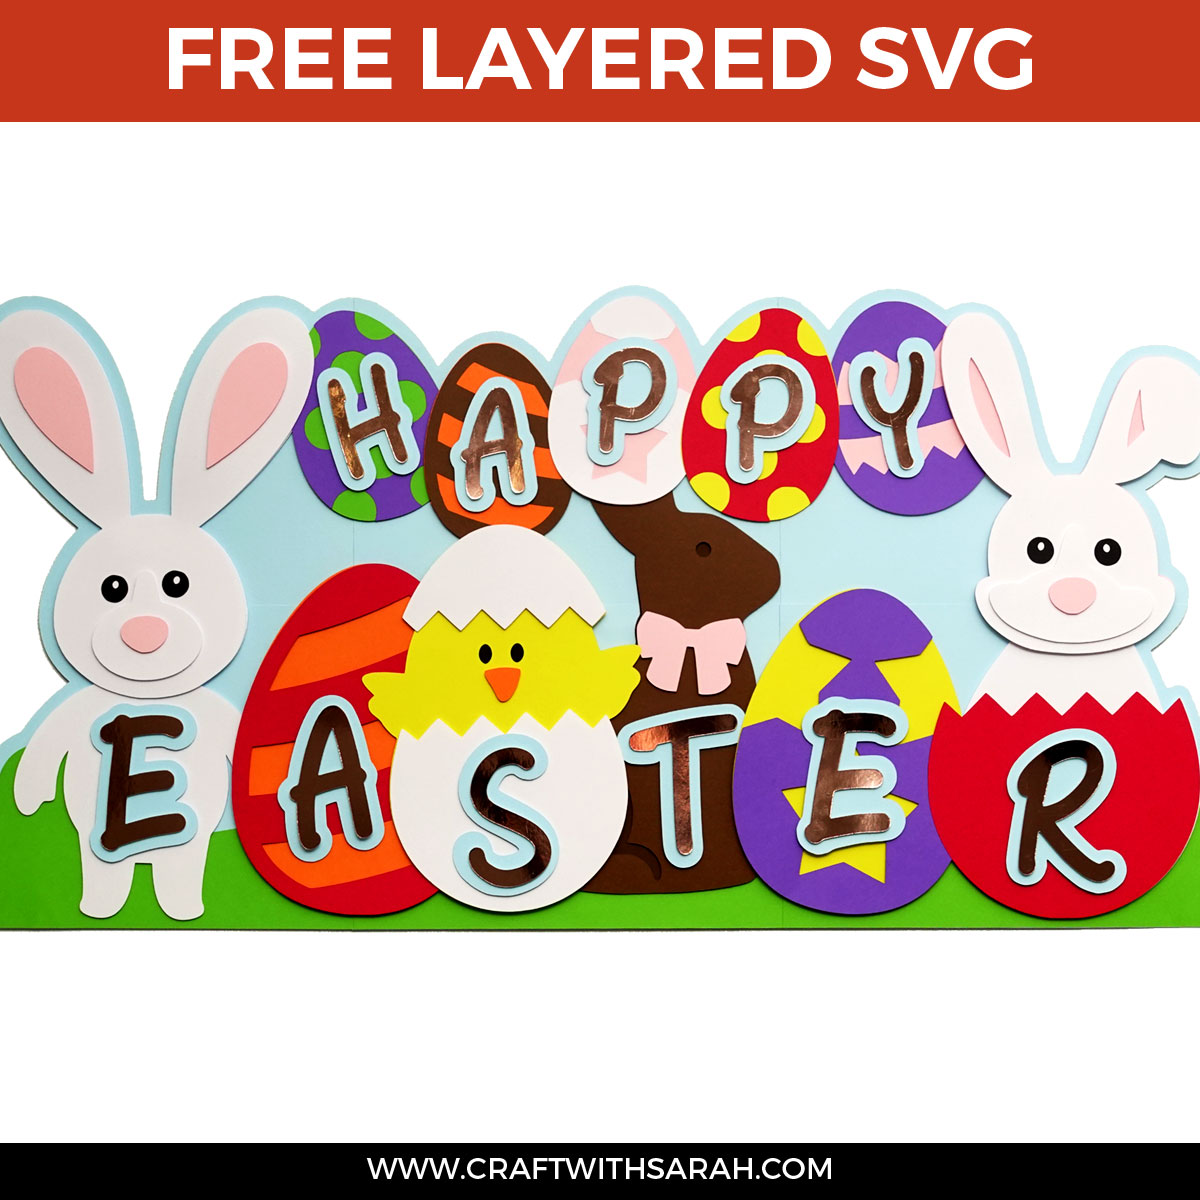
GIANT Layered Easter Sign SVG

Decorate your walls for Easter with this amazing and HUGE layered Easter sign.
This sign measures an incredible 28 inches wide, but the good news is that it can all be cut out on a regular 12×12 inch Cricut cutting mat!
The larger pieces come in sections that are stuck together to create the base of the design.
Supplies List
- Cricut machine (unfortunately this is too big to cut on the Cricut Joy)
- Light blue Cricut cutting mat
- Coloured Card
- Scissors
- Glue (my current favourites are: Collall, Art Glitter Glue, Bearly Art glue)
- 3D foam pads
- Double-sided tape runner
Video tutorial
Watch the video below to find out how to cut and assemble this project. Keep scrolling for a written tutorial, with step-by-step pictures!
Getting Started
1) Download the file
First, download the free Easter sign SVG using the box below.
Download the Free Cutting File
Please login to your account to download this file.
TERMS OF USE:
You may sell finished, handmade physical craft items that you have made using this product but must not sell or share the digital files. Read full terms of use
2) Unzip the zip folder
Before you upload the SVG to Design Space, you need to unzip the download folder that is comes in.
- How to unzip a folder on Windows computer
- How to unzip a folder on a Mac
- How to unzip a folder on an iPad/iPhone
- How to unzip a folder on an Android device
3) Upload the SVG file to Design Space
Open up Cricut Design Space and upload the file called SVG_Easter_Sign_CraftWithSarah.svg
Make sure you upload the file which starts SVG_ in the filename!!
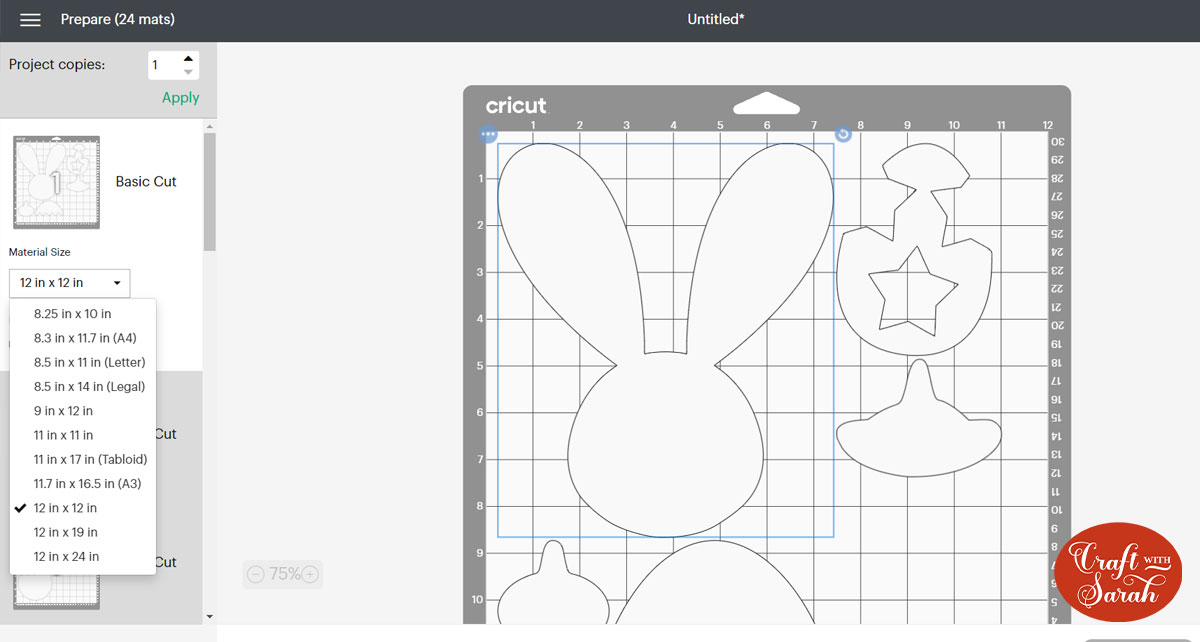
This is how it should look after you have uploaded the file:
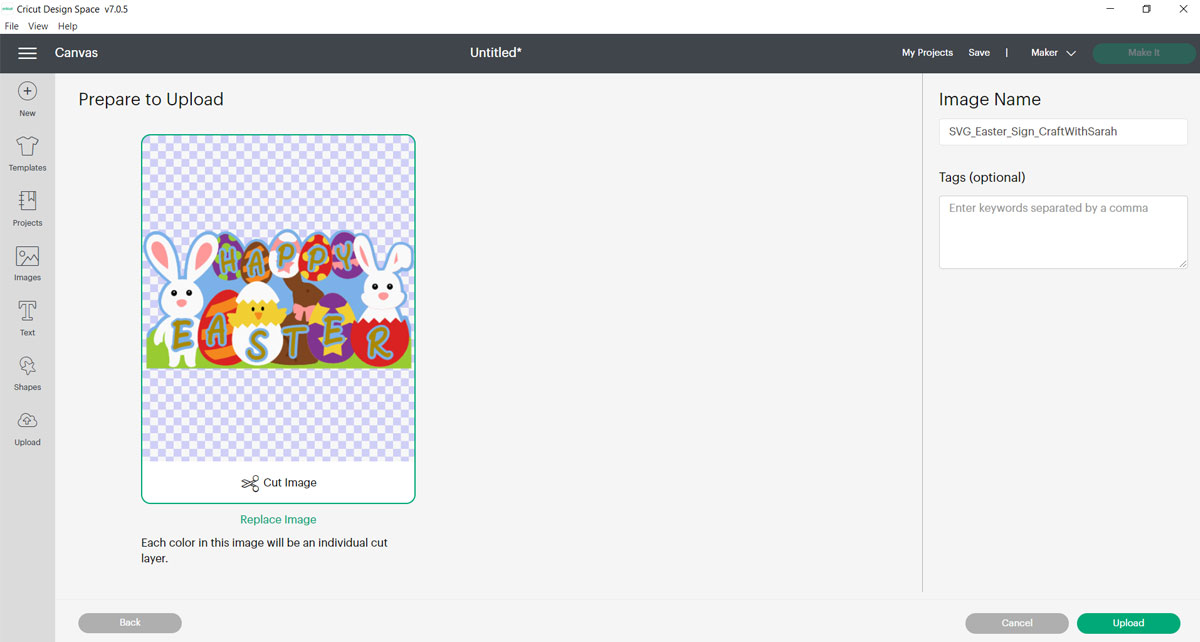
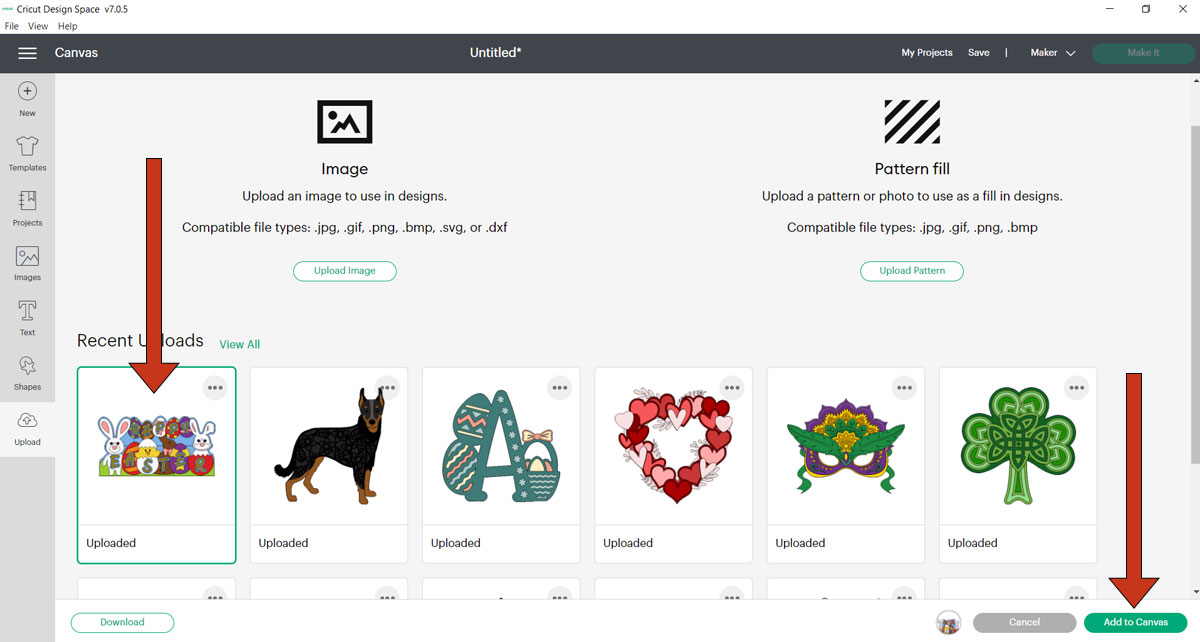
After uploading, the Easter design will show in your “Recently Uploaded Images”. Click on it and then press “Add to Canvas” to put it onto your Project.
4) Resize the design
The design will probably load in a bit smaller than we want to make it. I’m not sure why that’s happening, but don’t worry – it’s easy to change the size!
Click on the design and change the width to 28 inches and the height should automatically change to 14.398 inches.
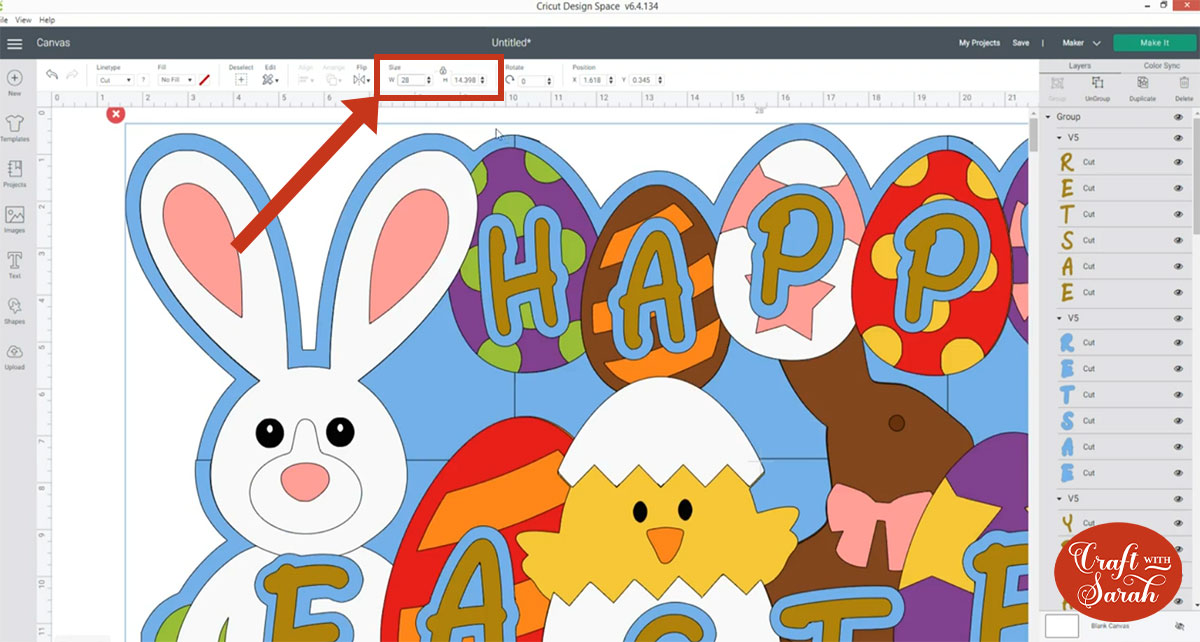
You can make it smaller if you want to, but I don’t recommend getting it bigger unless you have very large sheets of card.
If you cut it at 28 inches wide, it can be cut from A4 or 12×12 card.
If you want to cut it from US Letter sized card then make it 27 inches wide and 13.884 tall as it needs to be a bit smaller to fit on that size of card.
5) Cut out all of the layers
Click “Make It” when you are ready to cut the design.
The will split the design into all the different colours.
Go down the list of mats on the left side of the screen and change the paper size to suit the materials that you are using.
You’ll need to change the setting for each individual colour.
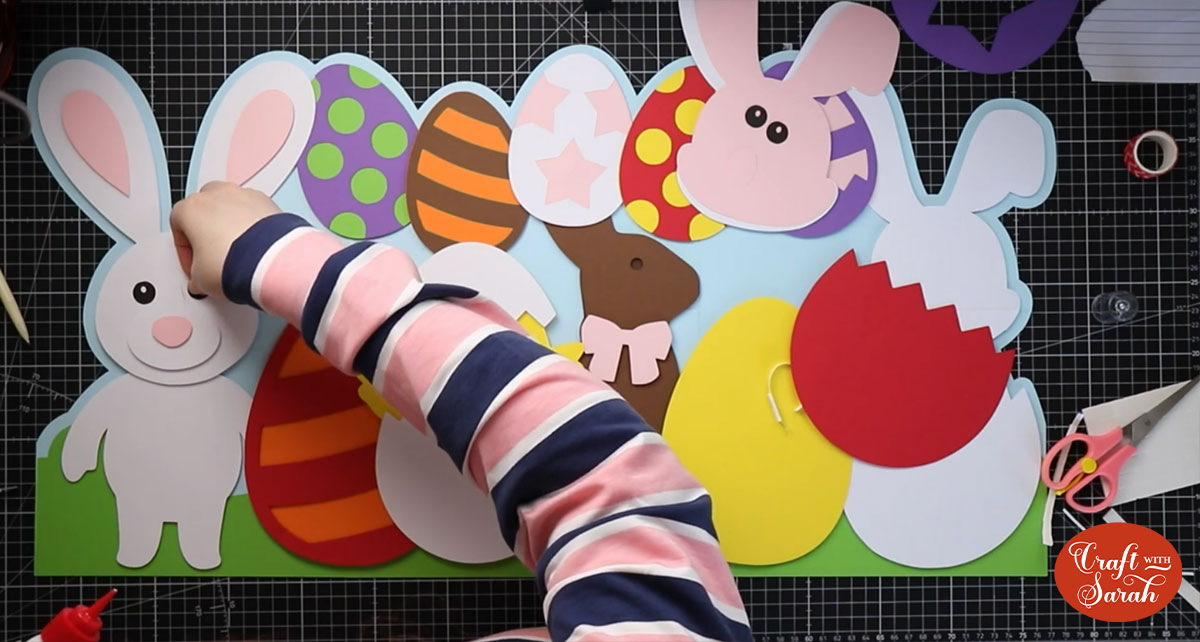
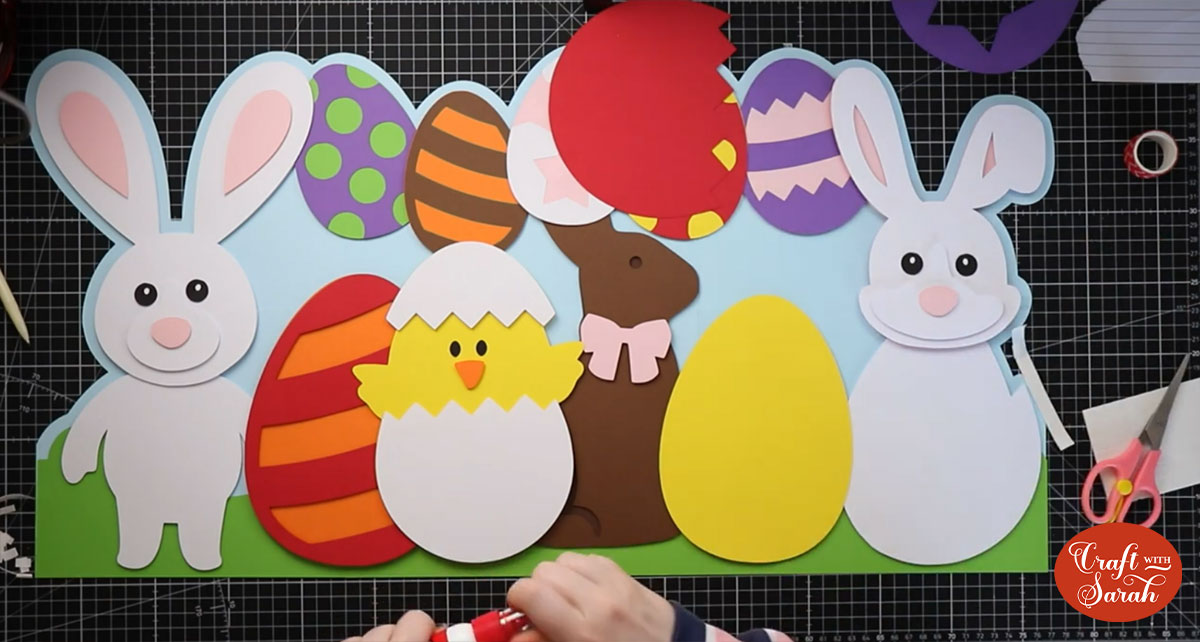
How to stick the Easter Sign together
After cutting out the design, it’s time to stick it together!
I promise, it’s easier than it looks and I’m here to walk you through every step of the way!
I recommend watching the video above to get a better idea of how to stick the layers together, particularly for the blue base piece which can be a little tricky.
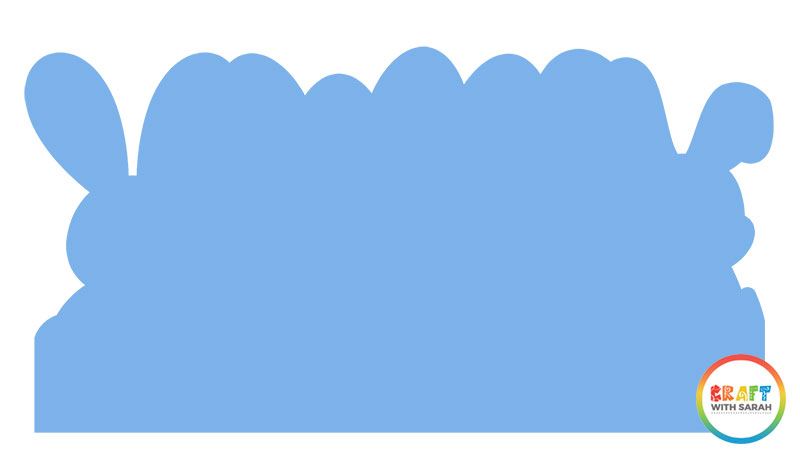
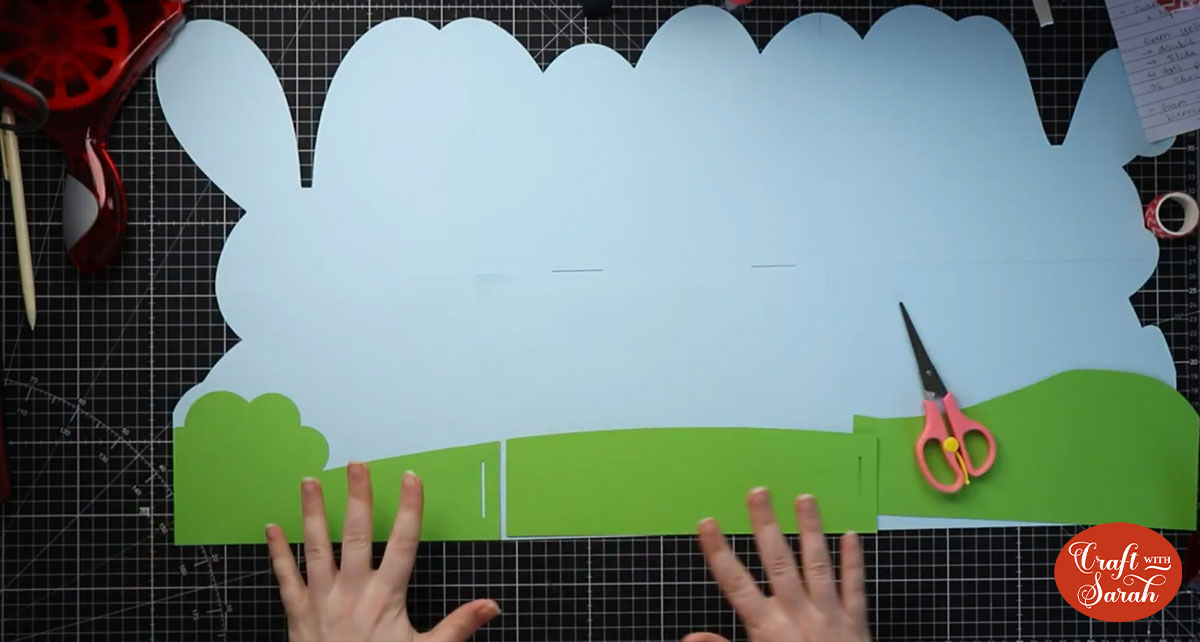
Step 1 – Blue base
Stick the six pieces of the base together with glue or double-sided tape.
This is the shape you are building:
Some of the pieces have little rectangles cut out of the sides. Use these as a guide for where to stick the next layers.
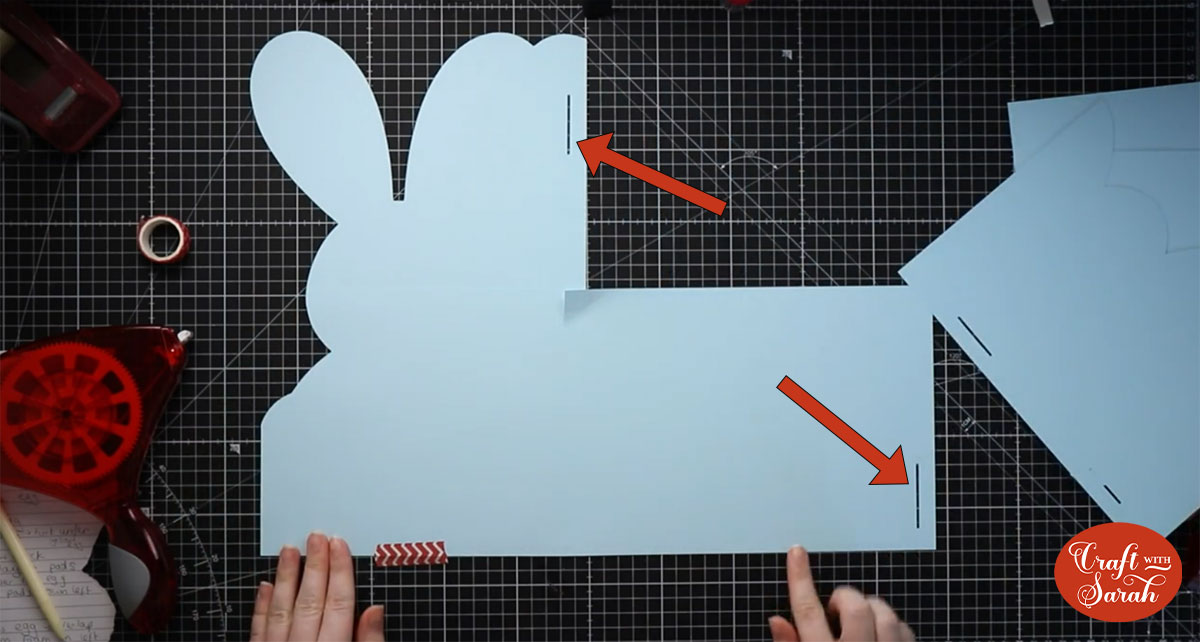
Slide the top layers over the layer with the rectangles in them so that the top layer completely covers the edge of the rectangle and you can’t see the gap any more.

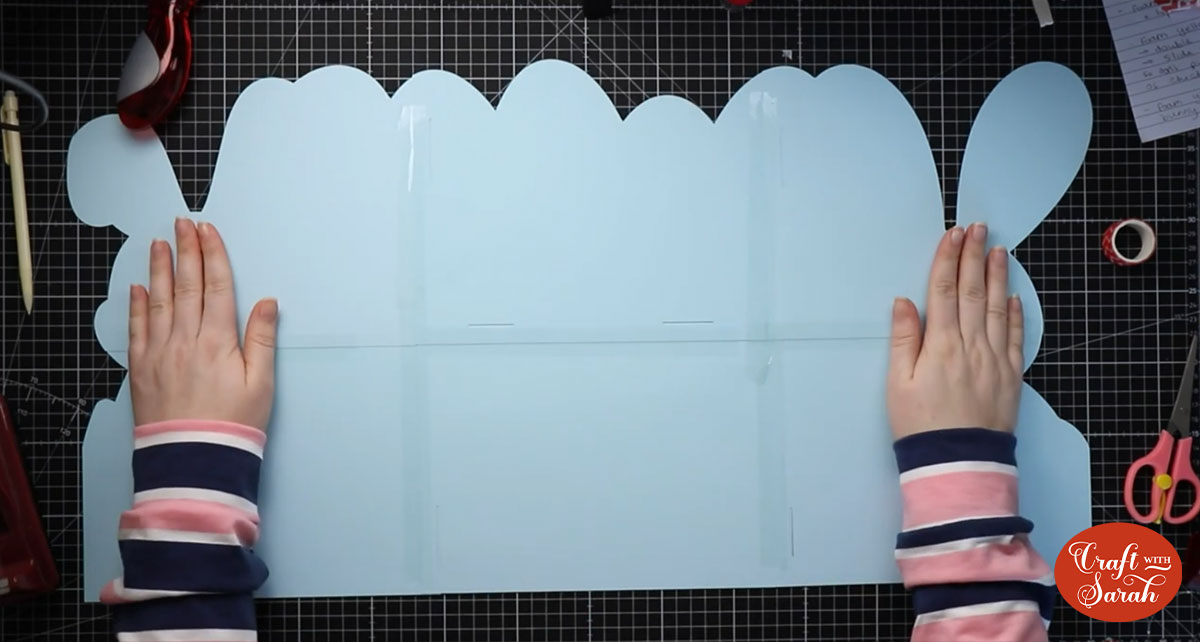
When you’ve stuck the pieces together, turn the design upside down and add sticky tape along the join lines to help strengthen them.
Step 2 – Grass
Stick the three “grass” layers together in the same way that you did for the blue layer above and then glue (NOT foam pads!!) the grass to the blue layer as shown.

The grass pieces have slots in them to help you line them up.
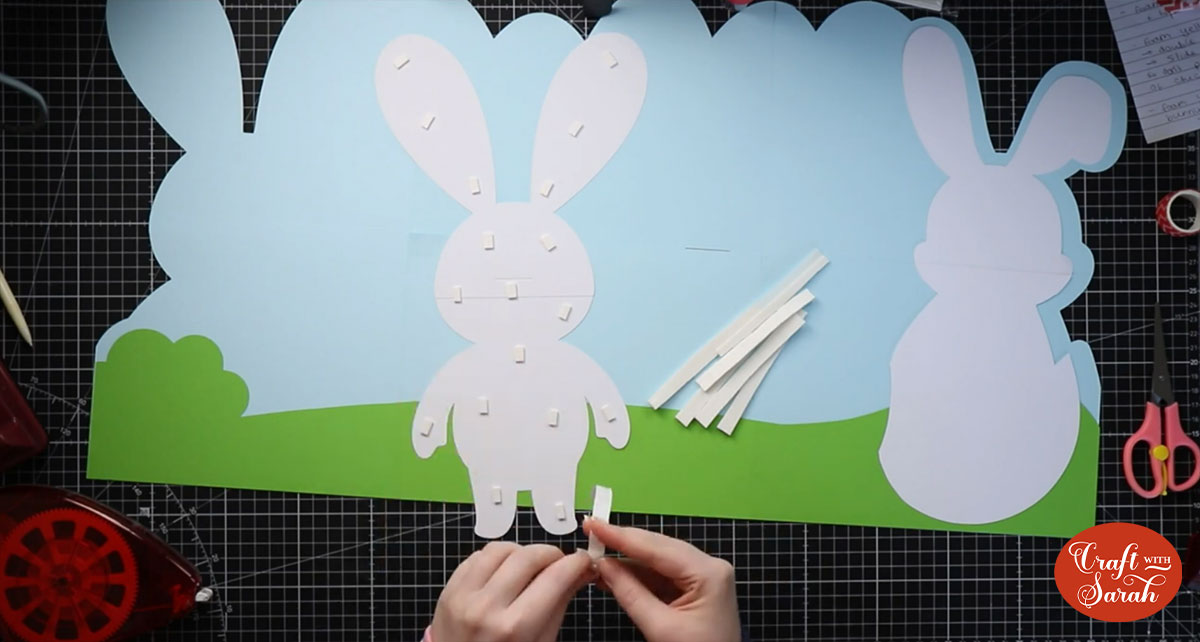
Step 3: Bottom layer of both rabbits
The bottom layer of each of the two rabbits come in two parts. Just like with the grass and sky, use the cutout rectangles to align the pieces together.
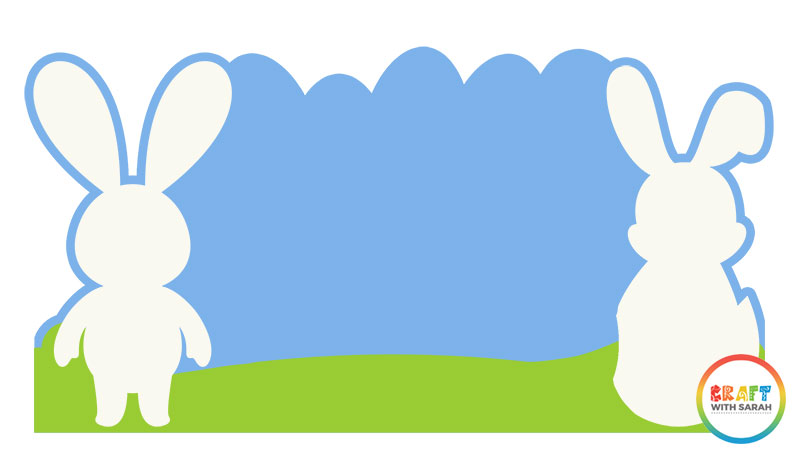
Stick the bottom layer of the rabbits to the design using 3D foam pads.
When adding the foam pads to the relevant layers, make sure you add some in the middle of the pieces of card so it give stability to the middles. If you don’t add any foam pads in the middles then it can “sag” under the weight of the other layers which doesn’t look as good.
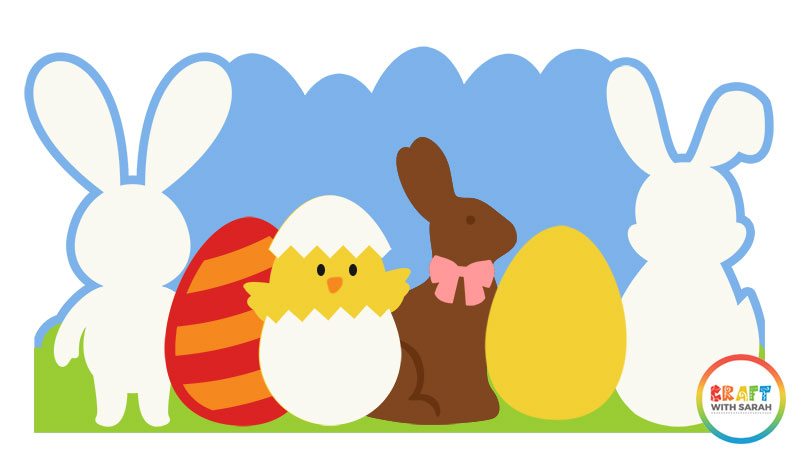
Step 4: Chocolate bunny bottom layer
Take the layers shown on the image below for the orange egg, chick, chocolate bunny and yellow egg and place them onto the design. DO NOT STICK THEM!!
You are just placing them on top to get the positioning correct.
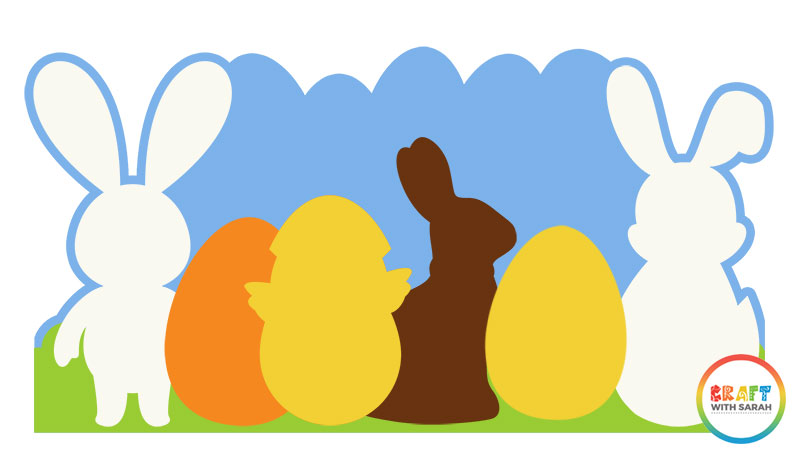
When you are happy with how the shapes are looking, use a little bit of washi tape/masking tape to temporarily hold the two egg shapes and the chick shape in place.
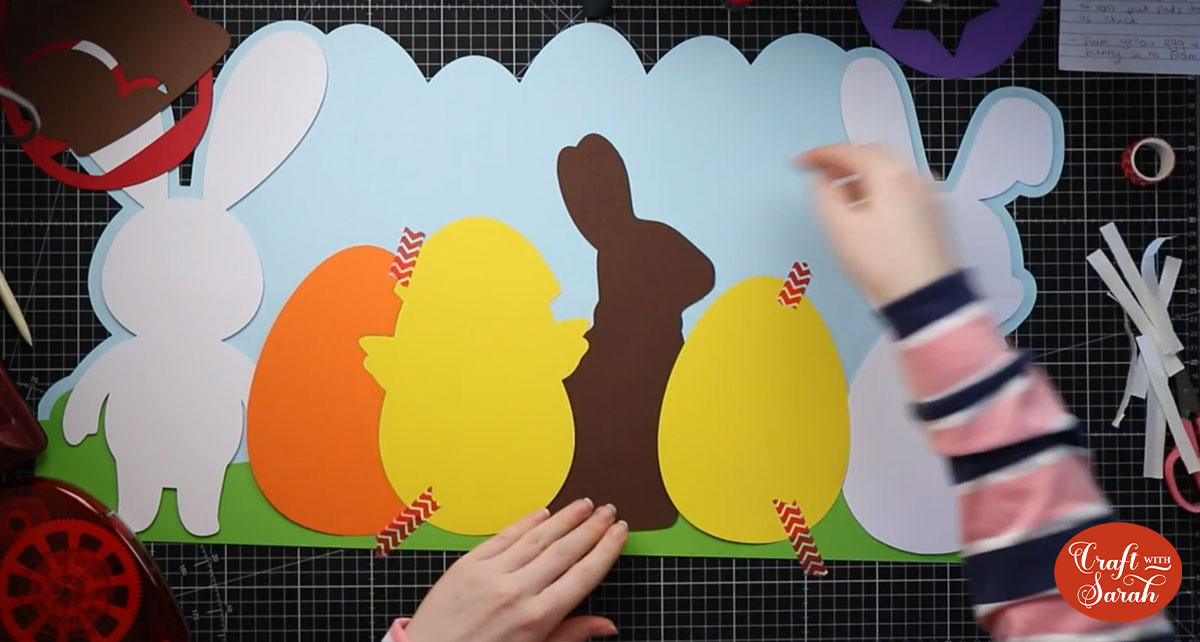
Use glue (NOT foam pads!) to stick down the chocolate bunny layer, making sure that you tuck it underneath the chick and yellow egg layers.
Step 5 – Left Easter egg
Use foam pads to stick the orange egg. Don’t put foam on the left of the egg as you need it to overlap the arm of the white rabbit.
Then, use more foam pads to stick the red egg on top of the orange one. You will need to “double up” the foam pads on the right of the egg to make sure it is level all the way across, due to the orange layer only reaching half way across the red one.
To do this, place the foam pads on the back of the design on that side of the red egg, then put another foam pad directly on top to double the height.
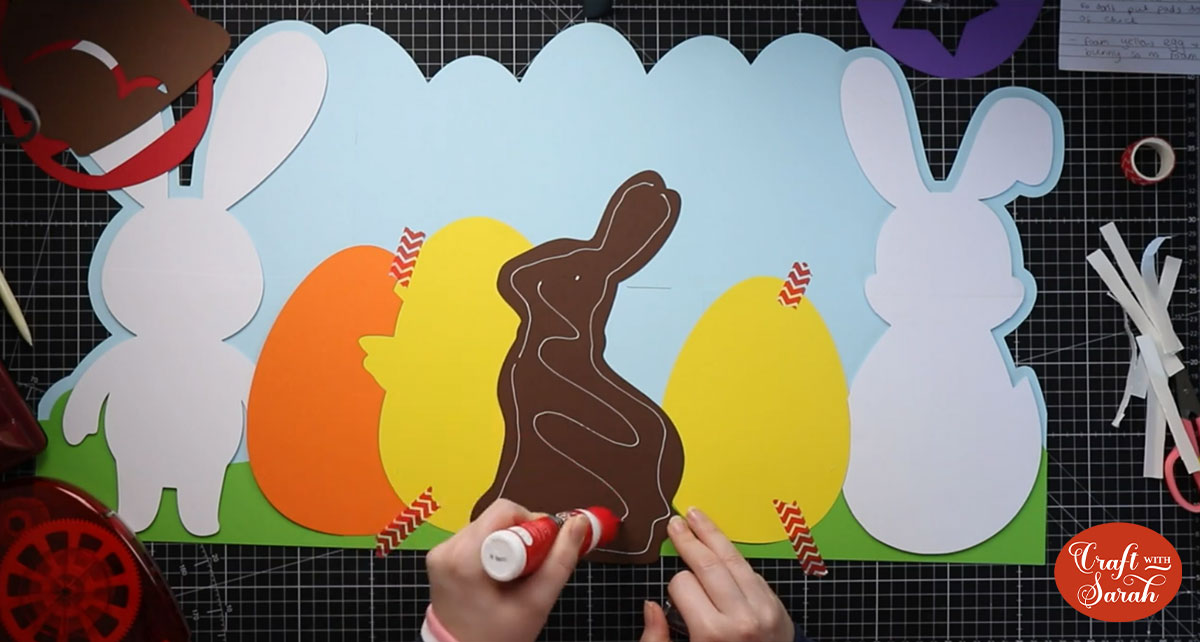
Step 6 – Chocolate bunny top layer
Use foam pads to stick the top layer of the chocolate bunny directly on top of the bottom layer.
Step 7 – Bottom layer of chick
The yellow chick layer is a little tricky because you need to carefully position the foam pads to make sure the card piece remains flat on top when it’s stuck on the varying levels of design underneath.
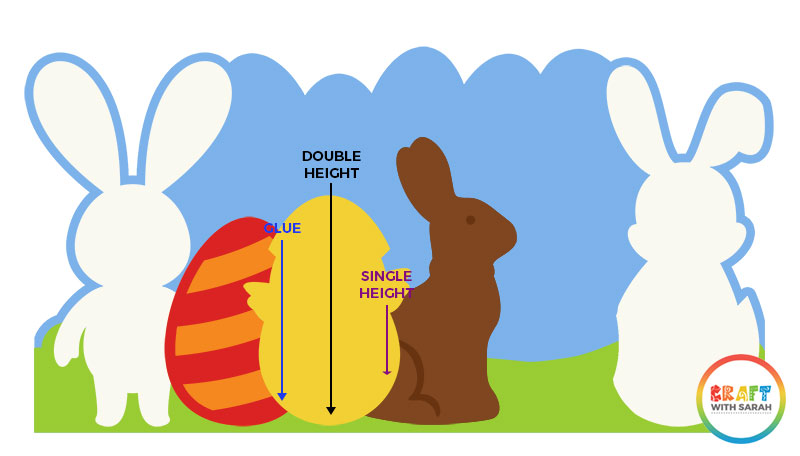
Use glue to stick the chick where it touches the red egg layer.
Place a double-height layer of foam pads down the middle of the chick.
Place a single layer of foam pads on the pieces of the chick that will be stuck on top of the bunny.
If you aren’t sure how to do this, please watch the video above.

Step 8 – Yellow egg
Stick the yellow egg shape on with foam pads. Don’t put foam pads on the very left or right edges as you need them to overlap the chocolate bunny and white rabbit as shown below.

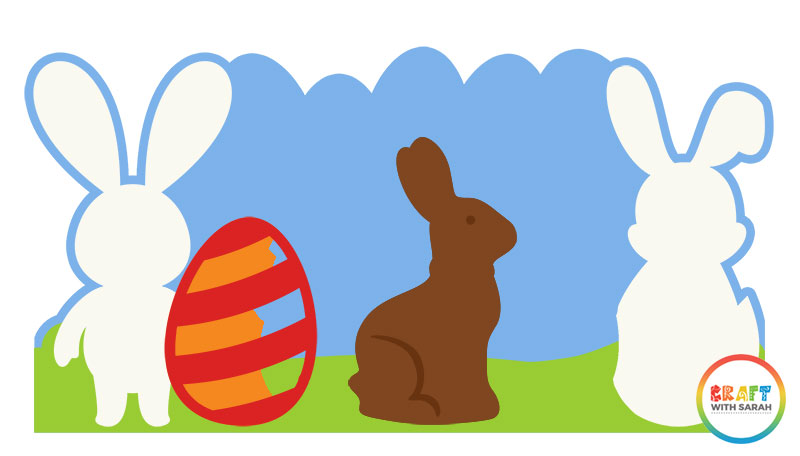
Step 9 – Finish the chick and chocolate bunny
Use foam pads to attach the pink bow to the chocolate bunny and the two egg shapes to the click.
Attach the eyes of the chick using glue or foam pads (or use googly eyes!) and the beak using foam pads.
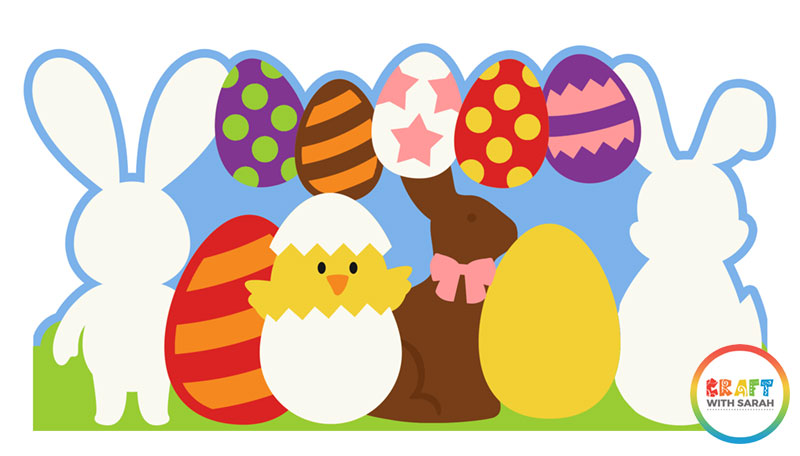
Step 10 – Top Easter Eggs
Each Easter egg that runs along the top of the design comes in two layers.
Glue the top layer to the matching bottom layer, following the image below as a guide.
The, use a single layer of foam pads to stick the eggs to the top of the blue base, leaving a thin blue border around the top.
Make sure you overlap the rabbits / chick / chocolate bunny as shown below, and overlap the five top eggs where shown too.
Step 11 – White rabbits
Add the rest of the layers to each of the white rabbits.
The top head layers will overlap the first and last Easter eggs along the top.
I’ve shown the heads in a slightly different colour on the image below just to make it easier to see where to position the layers. Yours will all be the same colour.

Here is what the first bunny looks like:
Here is what the second bunny looks like:
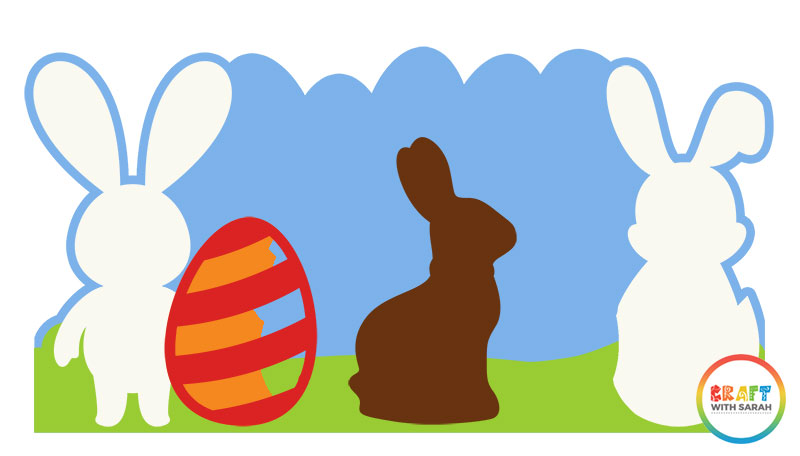
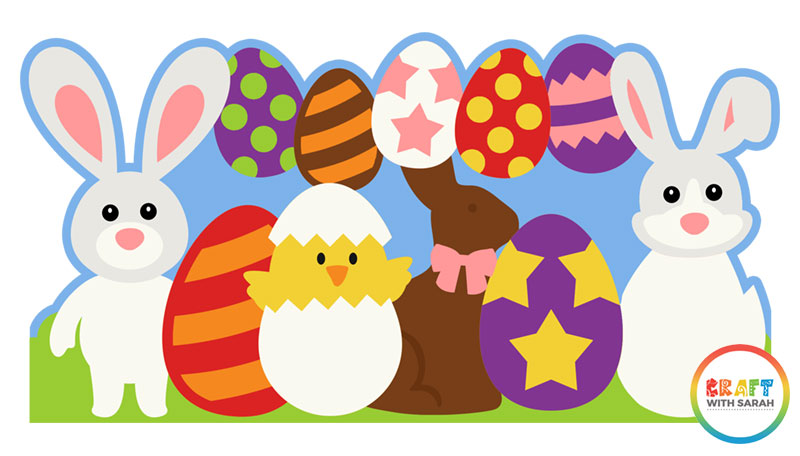
Step 12 – Easter egg stars
Stick the purple star layer on top of the bottom yellow egg with foam pads.
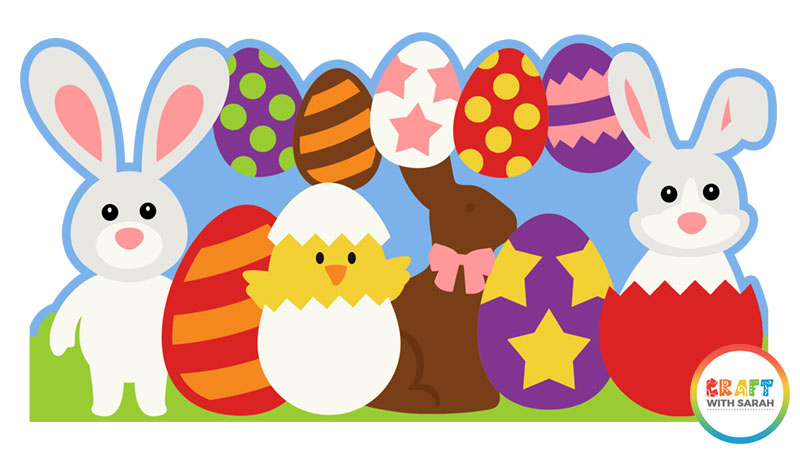
Step 13 – Rabbit egg shell
Stick the red egg shell to the bottom of the right-side rabbit.
Don’t put foam pads down the edge that overlaps the purple star egg layer as you need the red egg to overlap it.
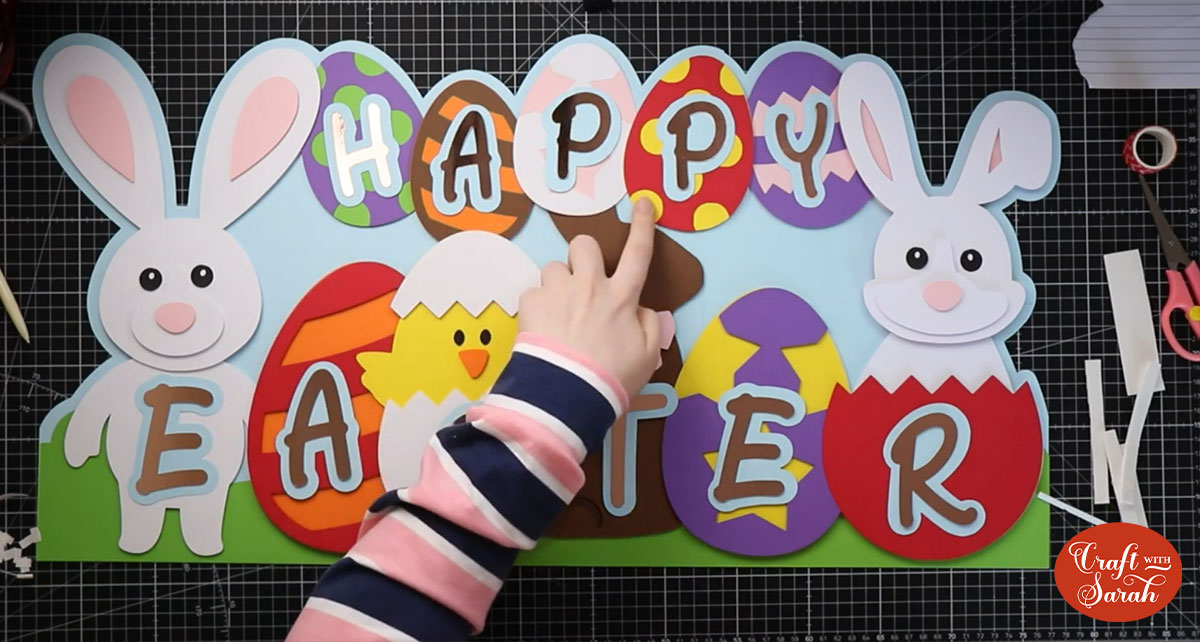
Step 14 – Happy Easter
If you are using the “Happy Easter” letters then it’s time to add them!
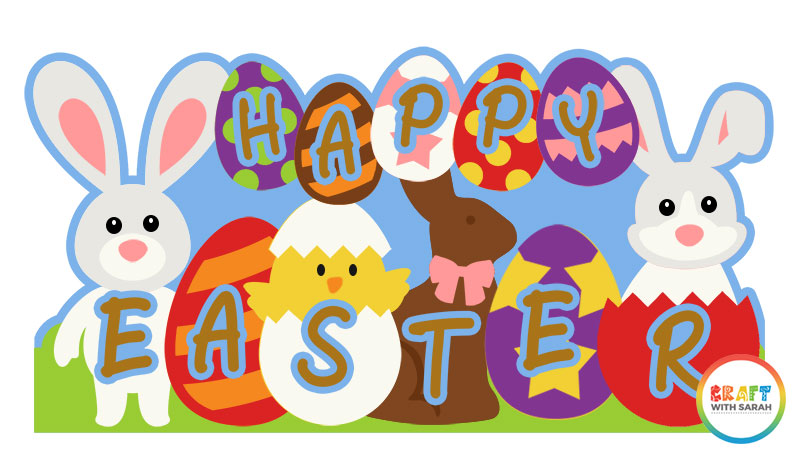
I like to place the un-stuck letters on top of the design first to make sure I get them all in the correct order (check your spelling!) and to make sure the smaller letters match up correctly with the shadow layers underneath.
Glue or foam pad the thin letters to the thicker shadow layers, then attach to the sign using foam pads.
And that’s it… you’re done! Phew!!
To attach the sign to the wall, put some blu-tack on the back and press it straight on. You’ll need quite a bit to hold it as it’s quite heavy with all the pieces of card on it.
Want more giant wall art signs?
I love designing giant off-the-mat signs to cut with my Cricut.
Here are some of the other designs I have created over the past few years. 🥰.
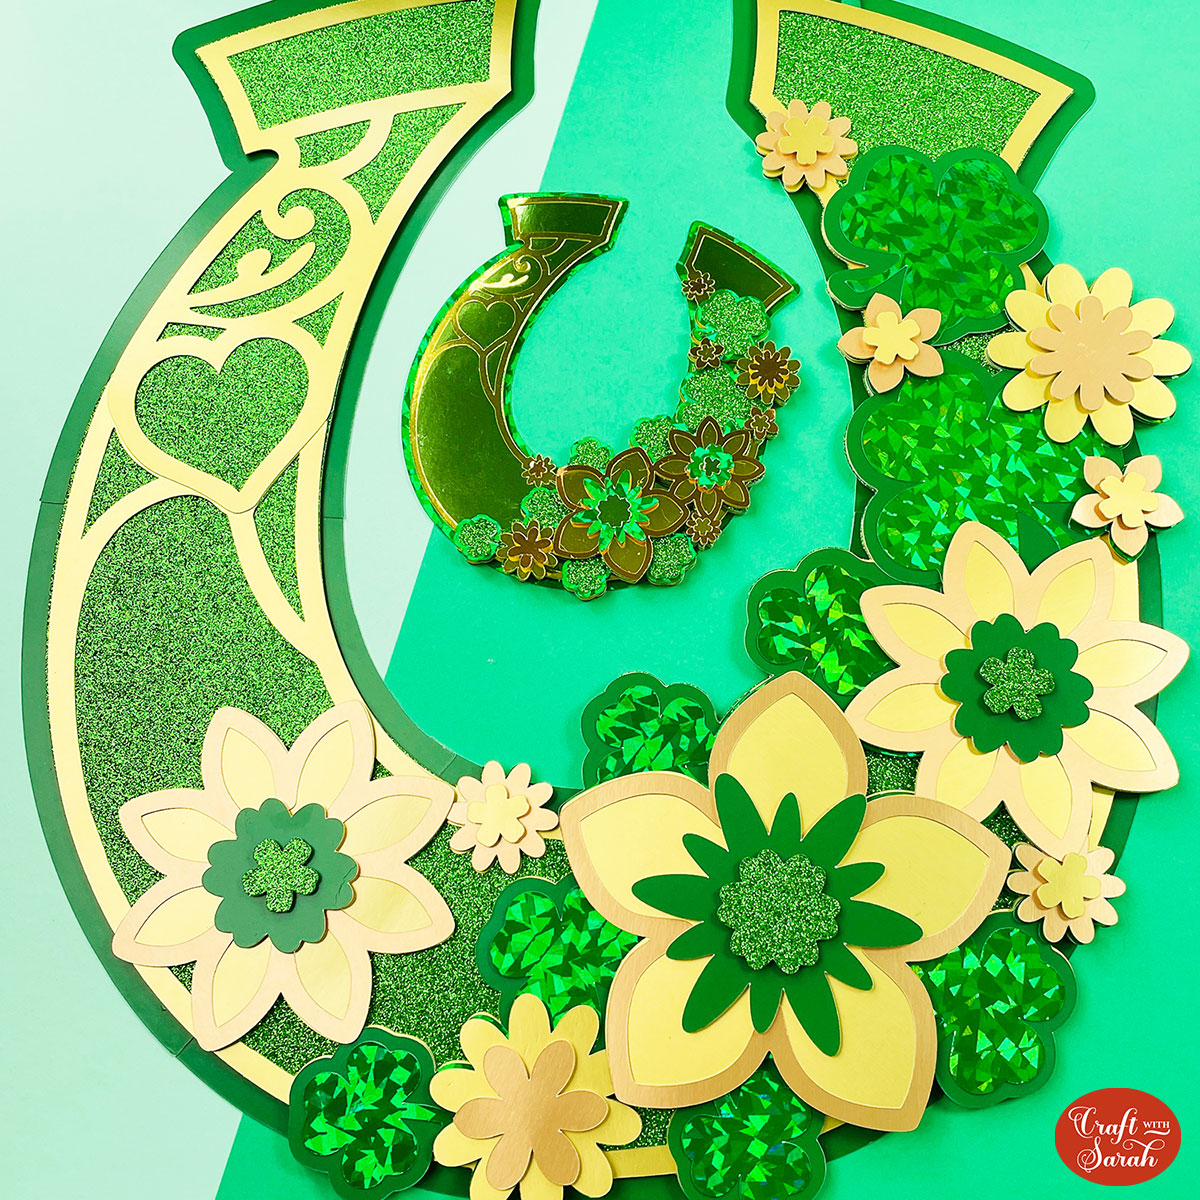
FREE - St Patrick's Day Lucky Horseshoe
Make a GIANT lucky horseshoe for St Patrick’s Day. This flower and shamrock filled design looks beautiful when cut from gold and holographic card to give it some shine.

FREE - Valentine's Day Banner
Get ready for the season of love with this giant Valentine’s Day banner. You can add some ribbon in the top if you want to hang it up, or simply prop it up on a shelf without the ribbon using the flat bottomed edge.
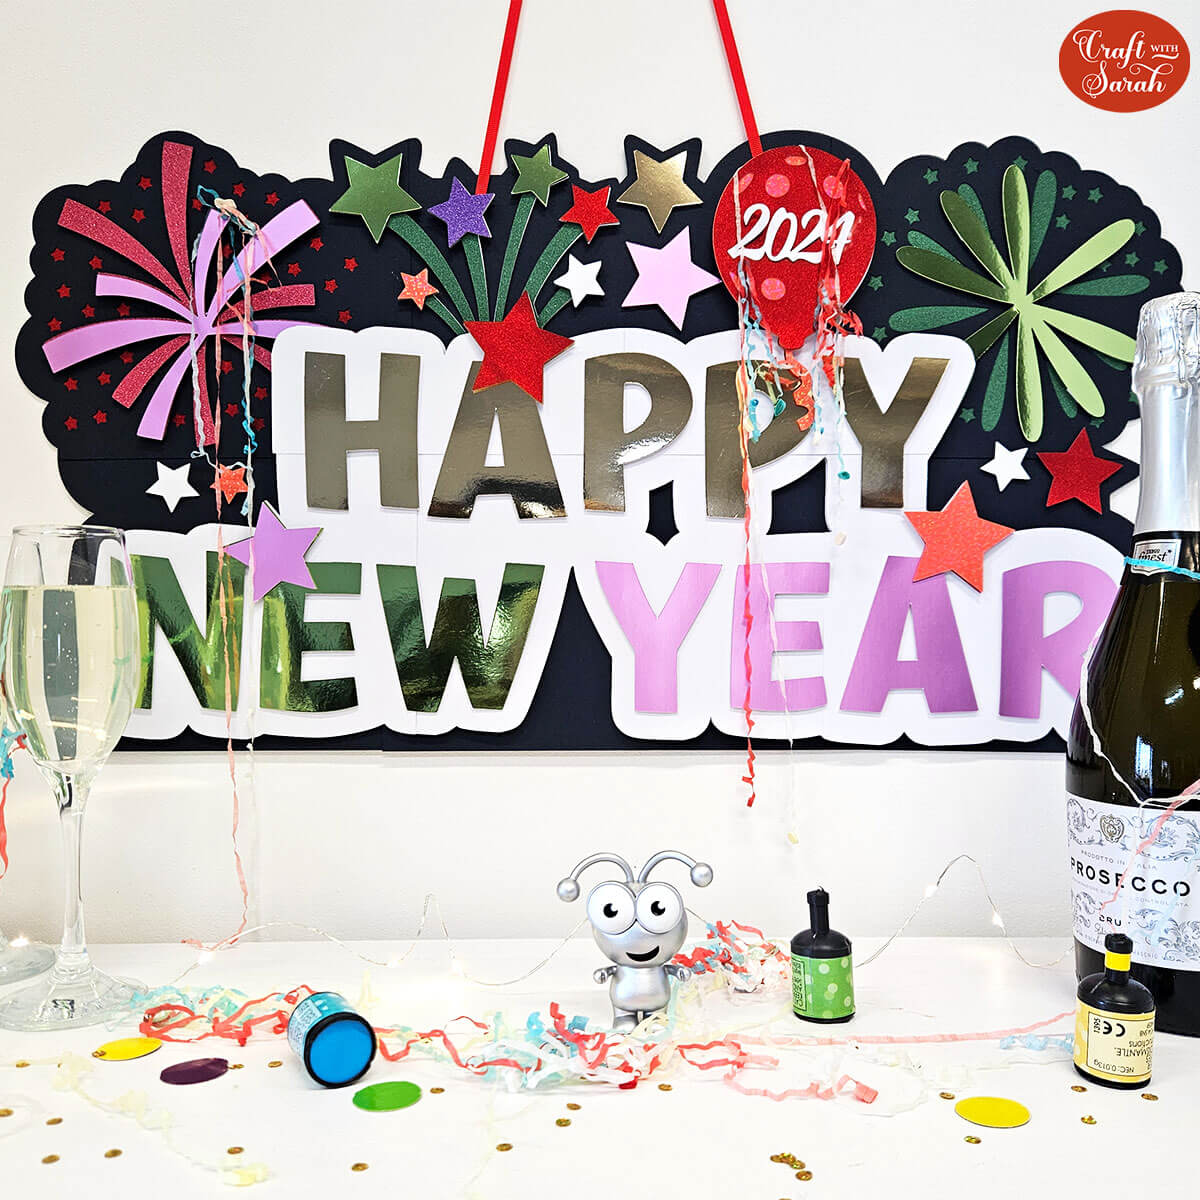
FREE - Happy New Year Sign
Make a Happy New Year giant sign to display for your New Year's celebrations.
Use holographic or glitter card to make the fireworks really sparkle!
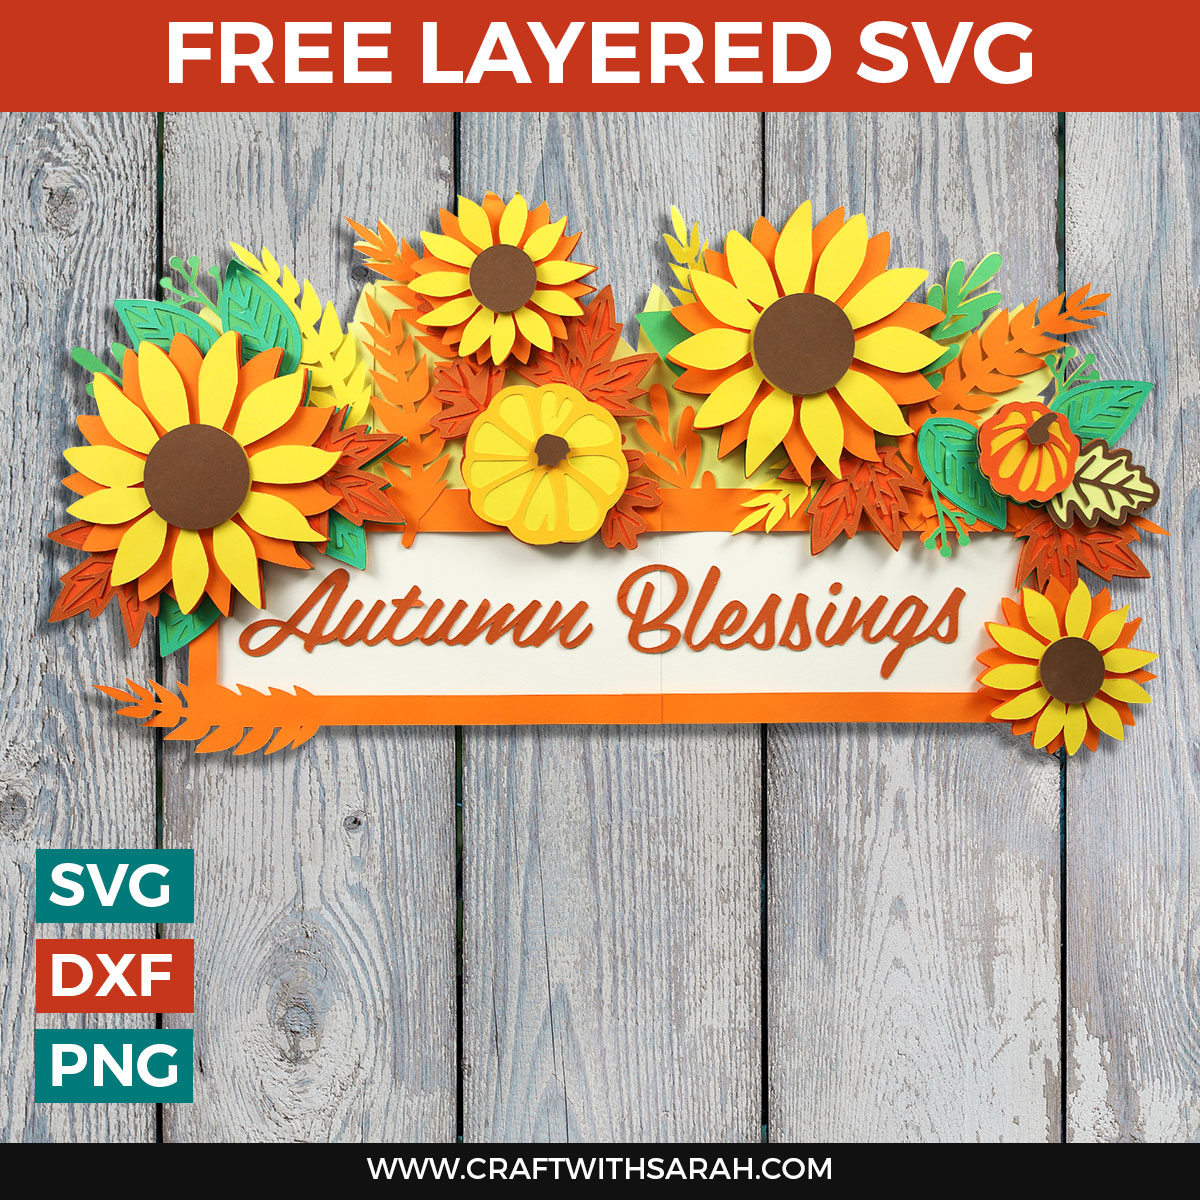
FREE - Giant Autumn Sunflowers Sign
Sunflowers and pumpkins are the stars of the show for this giant sign for Fall.

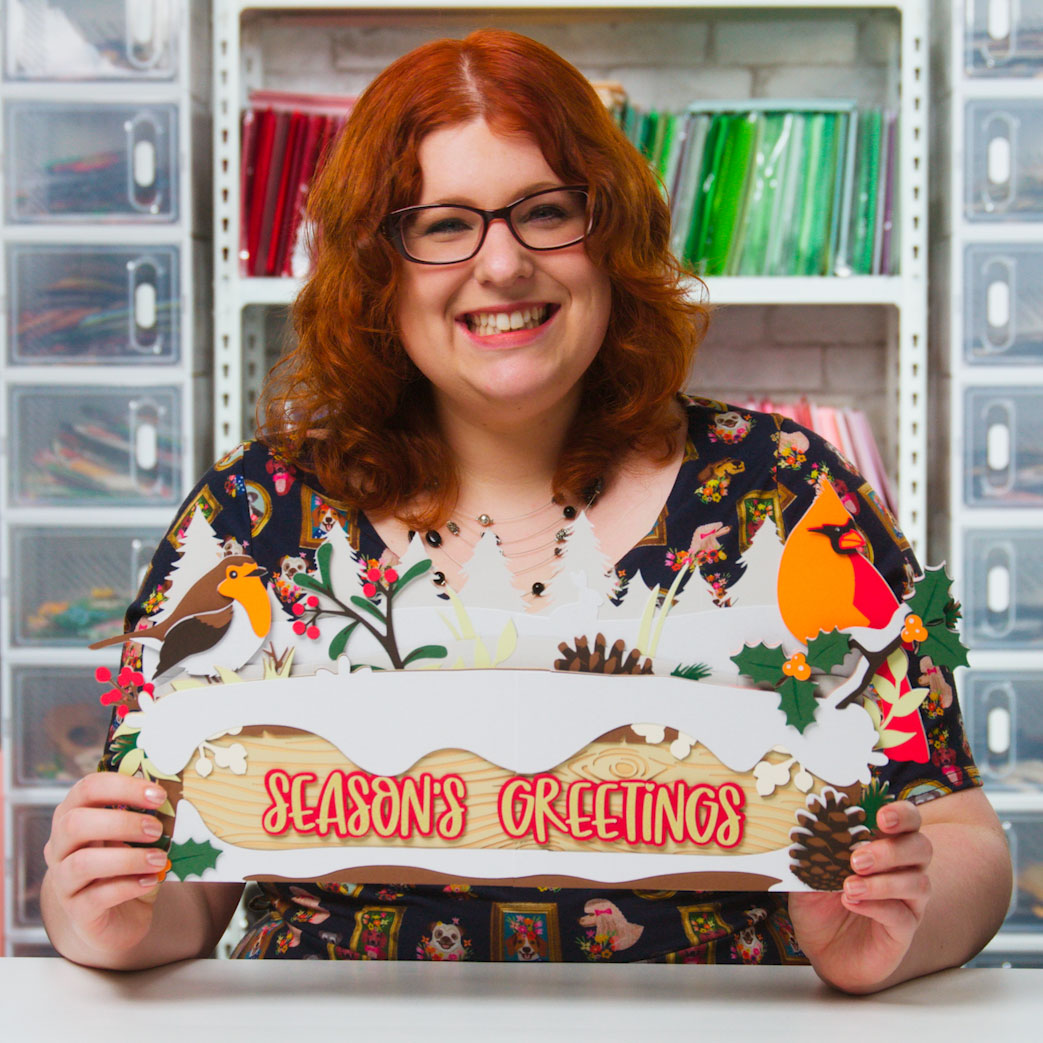
FREE - Merry Christmas Giant Sign
How cute are all these little Christmas characters?
Make wall decor that makes an impact with this giant off-the-mat design.
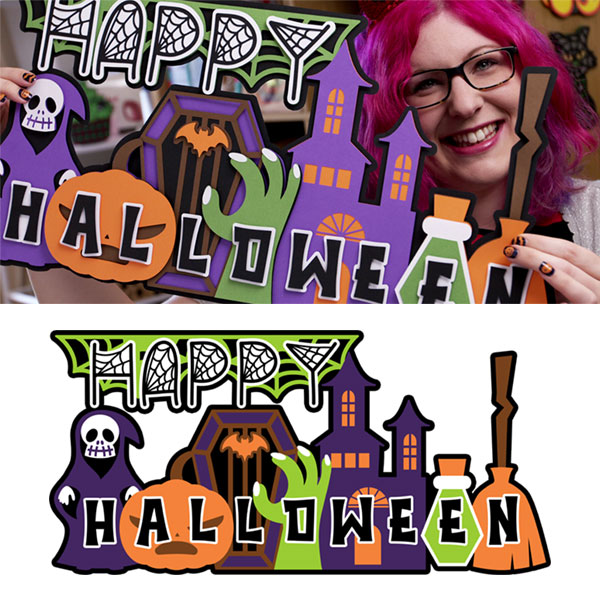
FREE - Giant Halloween Sign
Get ready for the spookiest season of them all with this giant Halloween wall art sign.
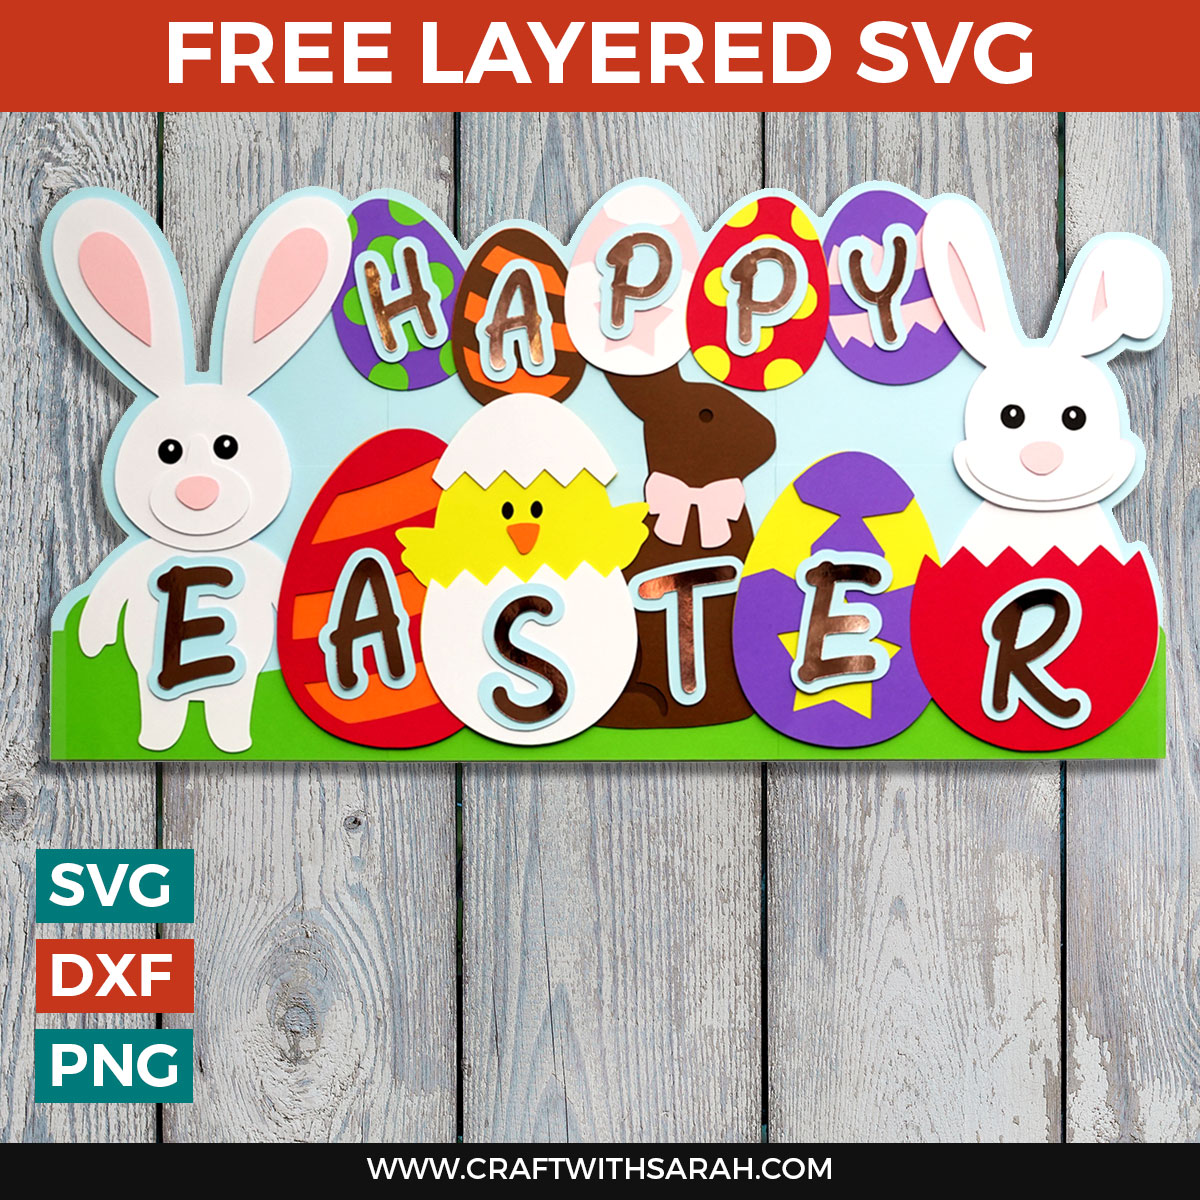
FREE - Giant Easter Sign
Decorate your walls for Easter with this amazing and HUGE layered Easter sign.

Giant Spring Sign
What could be more perfect for Spring than these gorgeous pastel coloured blooms?
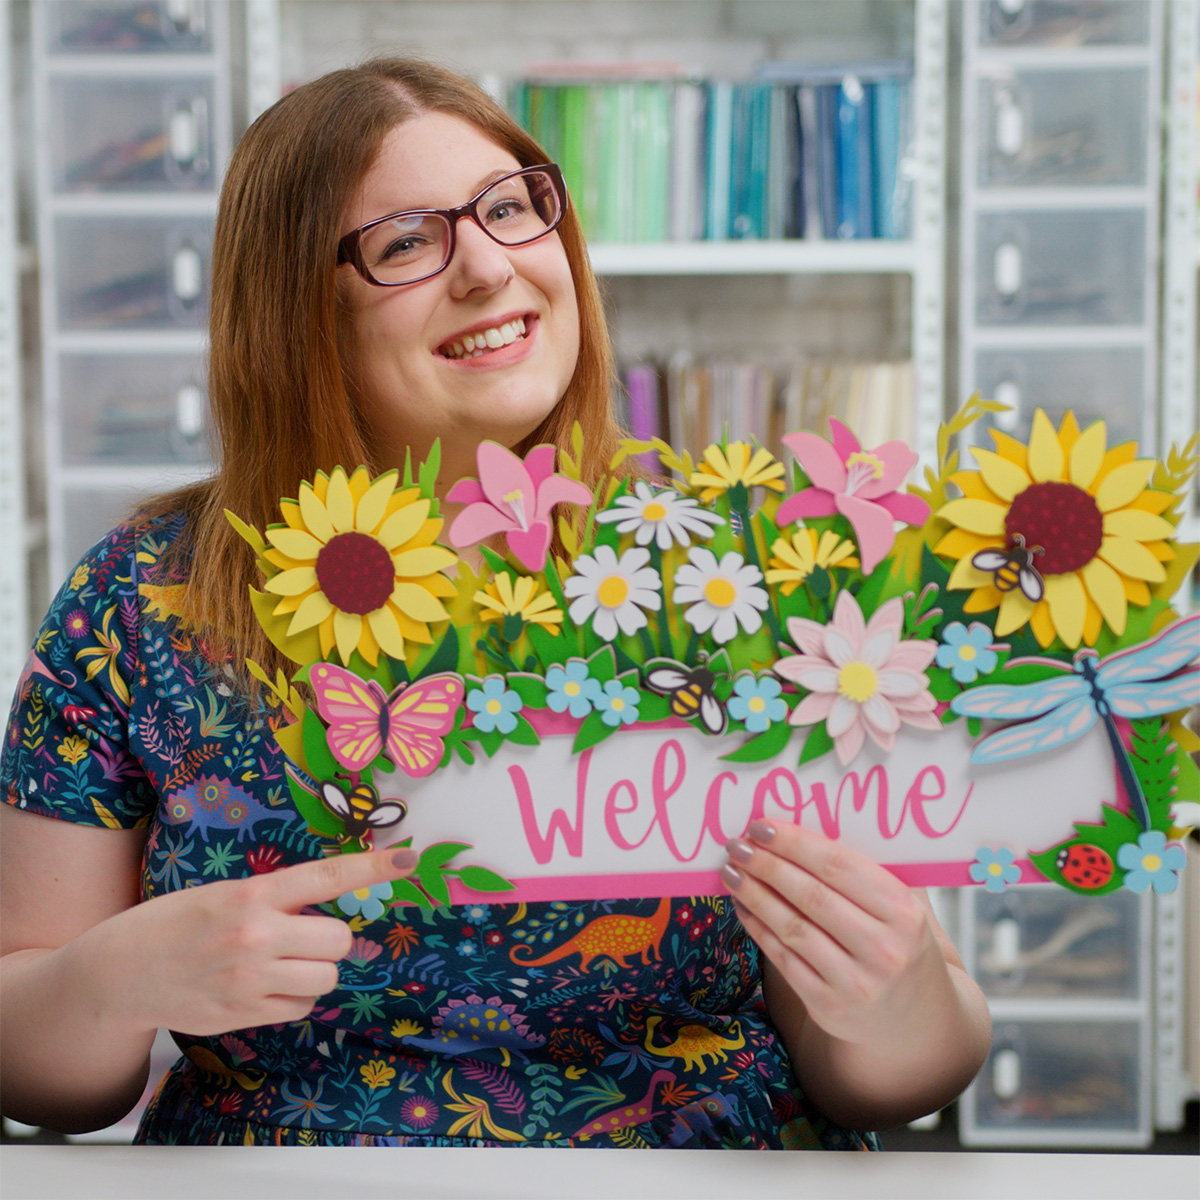
Giant Summer Sign
Make a beautiful floral welcome sign for Summer that's bursting with colour!
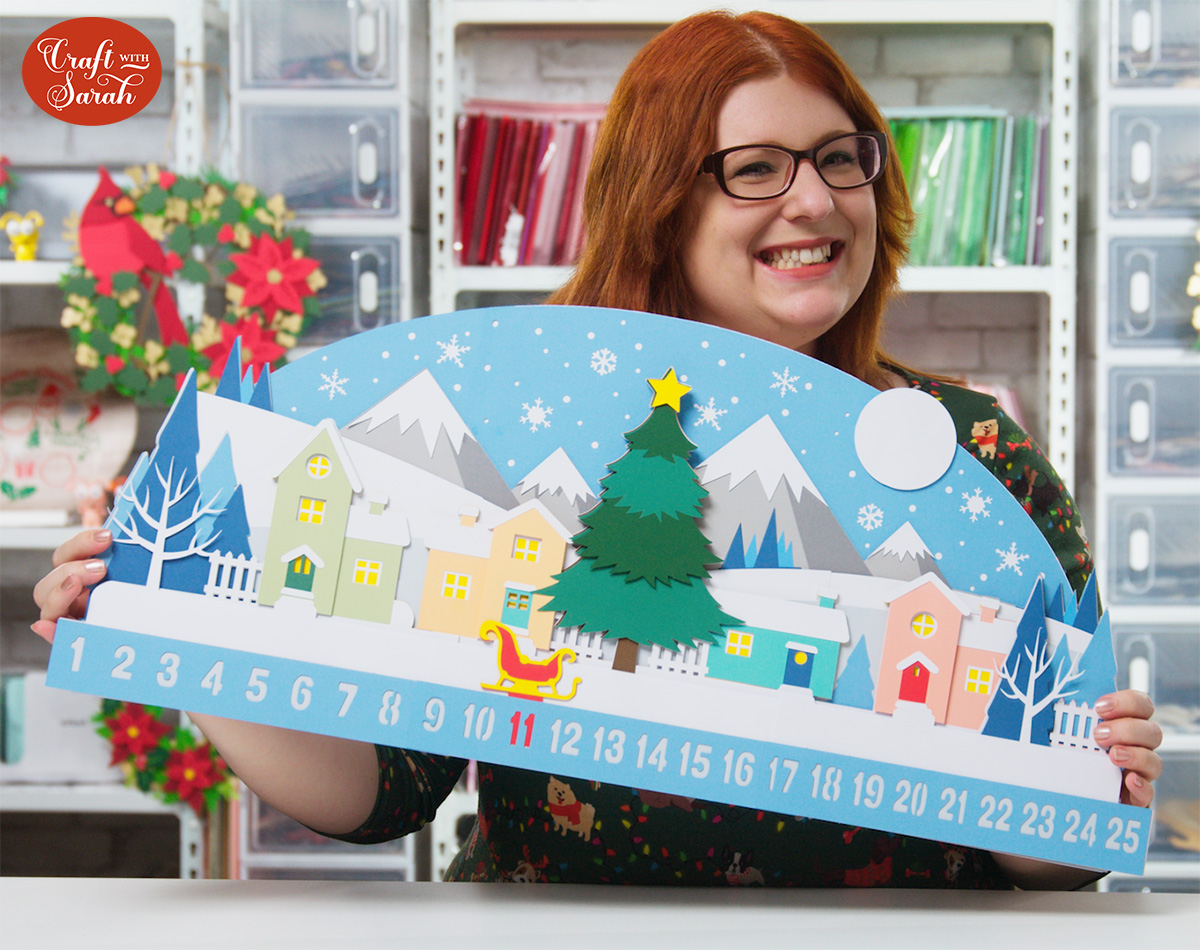
Advent Calendar
Count down the days until Christmas with this larger-than-mat Advent Calendar. Simply pull the sleigh out each day and move it along to the next number to track the number of sleeps until Santa comes to visit.
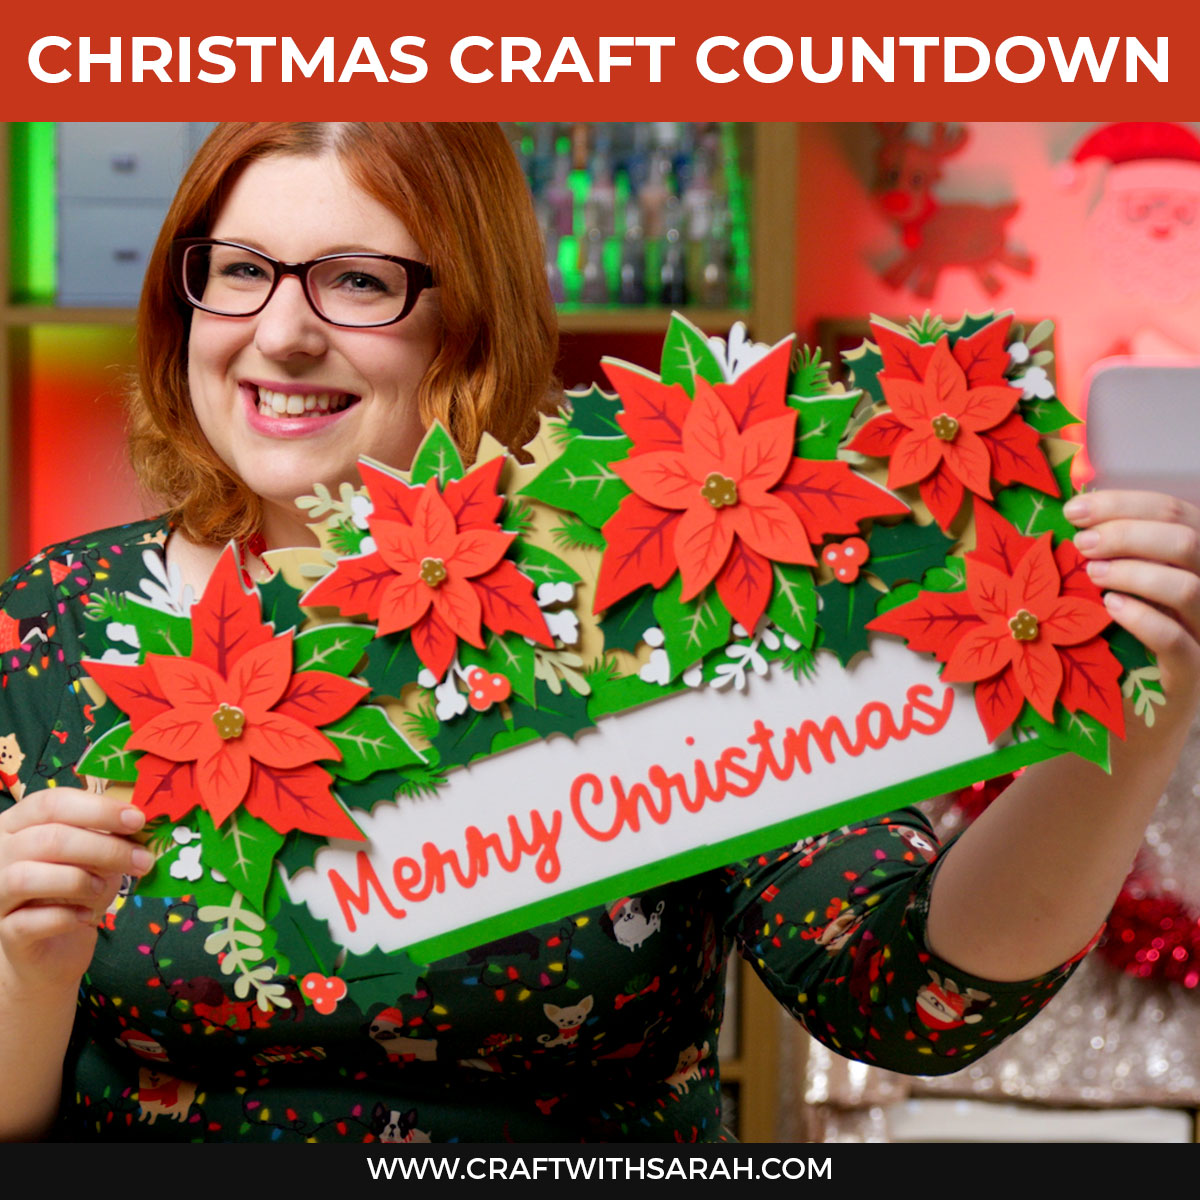
Giant Christmas Poinsettias Sign
Transform your home for winter with this beautiful poinsettia filled sign.
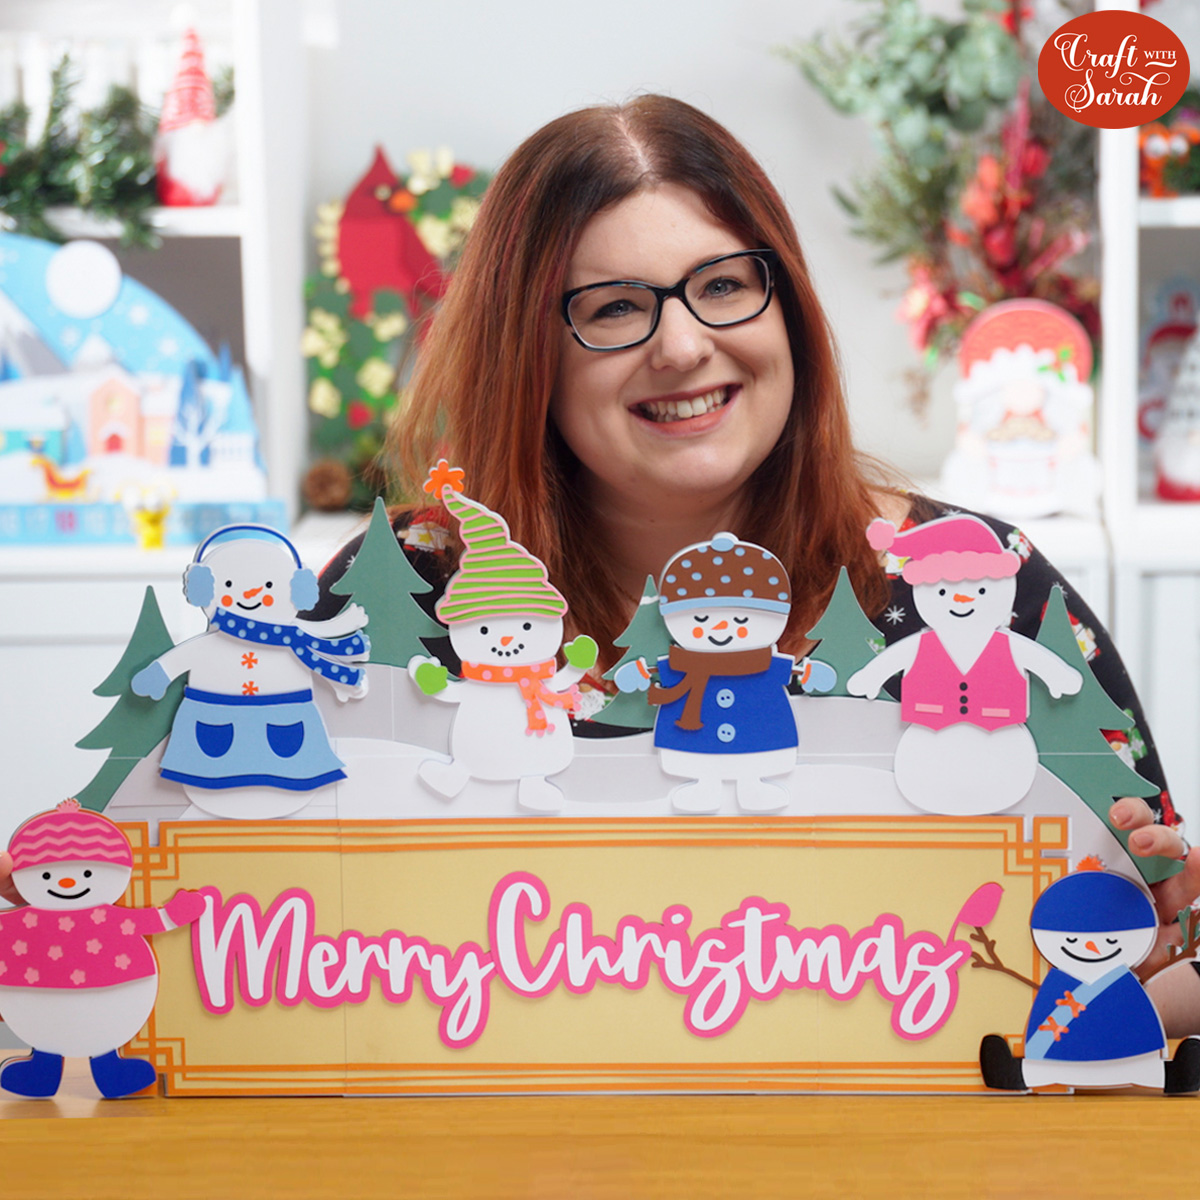
Snowman Giant Sign
Make an impressive snowman craft with this giant sign that’s FULL of happy little snowpeople. If you’d like to learn how to design your OWN giant signs, read to the end of the tutorial to find out how!
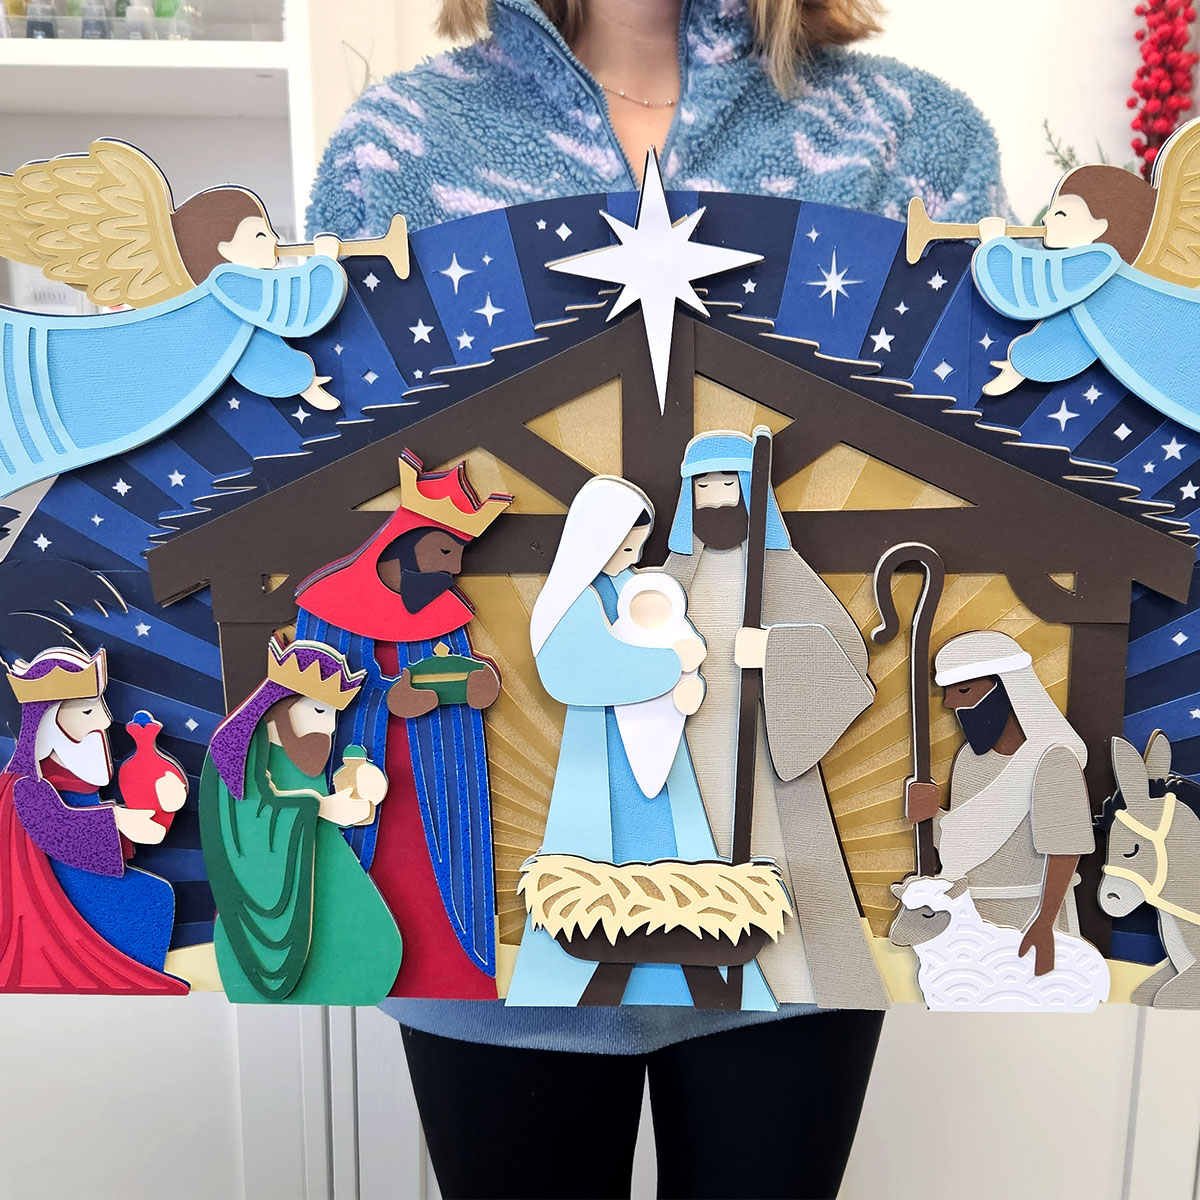
Nativity Giant Sign
This incredible giant Nativity sign measures a whopping 28 inches wide! What I especially love about this giant sign design is that all the Nativity characters are made as their own stand-alone layered designs, so you can use them on other projects such as greetings cards and shadow boxes too.
Happy crafting,
Sarah x

