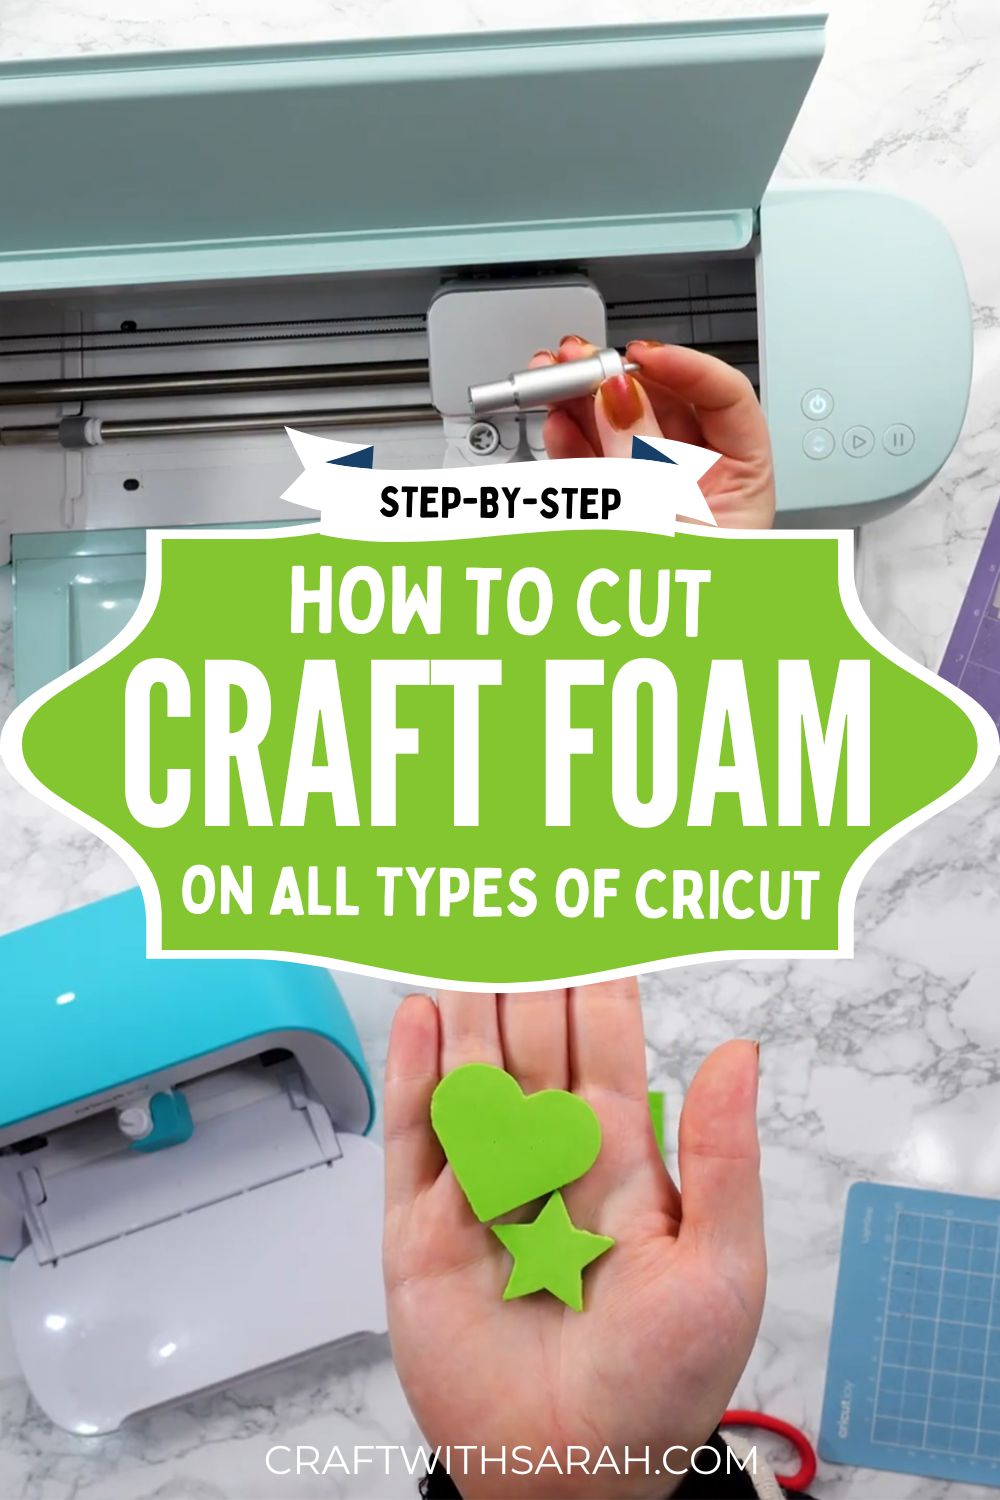
How to Cut Craft Foam With Any Cricut Machine
Craft foam (also called fun foam, funky foam or eva foam) is a wonderfully versatile material to add dimension and sturdiness to your Cricut projects.
It is especially useful for cardmaking, kids crafts, decorations, and interactive elements like shaker cards or turn the wheel cards.
This tutorial shows how to cut craft foam on different types of Cricut machine.
I did a full day of testing with a wide range of machines, cut settings and blades to create this guide.
This video and tutorial shows the results of my testing, including the best cut settings to use for each type of Cricut machine.
You do not need fancy blades to get started, although there are some speciality blades that do make the job easier.
For reference, this tutorial uses 2 mm thick craft foam, which is the maximum thickness that Cricut machines can cut.
Here are some fun foam products available on Amazon UK.
Please note that some of the links included in this article are affiliate links, which means that if you click through and make a purchase I may receive a commission (at no additional cost to you). You can read my full disclosure at the bottom of the page.
If you like in the UK (like me!) then shops such as The Range, Hobbycraft and The Works often stock fun foam.
The tutorial starts with some general instructions that are relevant to all types of Cricut machine.
Then it separates into each type of Cricut: Explore and Maker models, Cricut Joy Xtra and Cricut Joy.
Please note that I could not test cutting craft foam on a Cricut Venture as I don’t own that type of machine.
Video timestamps:
- 01:34 – Project Setup & Test Cuts
- 04:11 – Which Mat to Use?
- 08:58 – Cricut Explore & Maker Series: Blade Options
- 11:45 – Cricut Explore & Maker Series: Using the Standard Blade
- 20:07 – Cricut Explore & Maker Series: Using the Deep Point Blade
- 22:38 – Cricut Maker Series: Using the Knife Blade
- 28:39 – Cricut Joy Xtra
- 42:52 – Cricut Joy
- 53:58 – Conclusion
The importance of testing your cut settings
If you’re making a Cricut project that requires craft foam, it’s important not to jump in straight away without doing any testing – especially if you’ve never cut craft foam before.
You may need to practice first, to work out the perfect cut settings for your particular machine.
There are some variable elements that can effect the precise settings you’ll need, for example the sharpness of your blade, how sticky your cutting mat is, the thickness of your foam and the complexity of your design.
I strongly recommend running some test cuts first, with small design elements. That way, if it doesn’t cut through, you’ve only “wasted” a small amount of your foam.
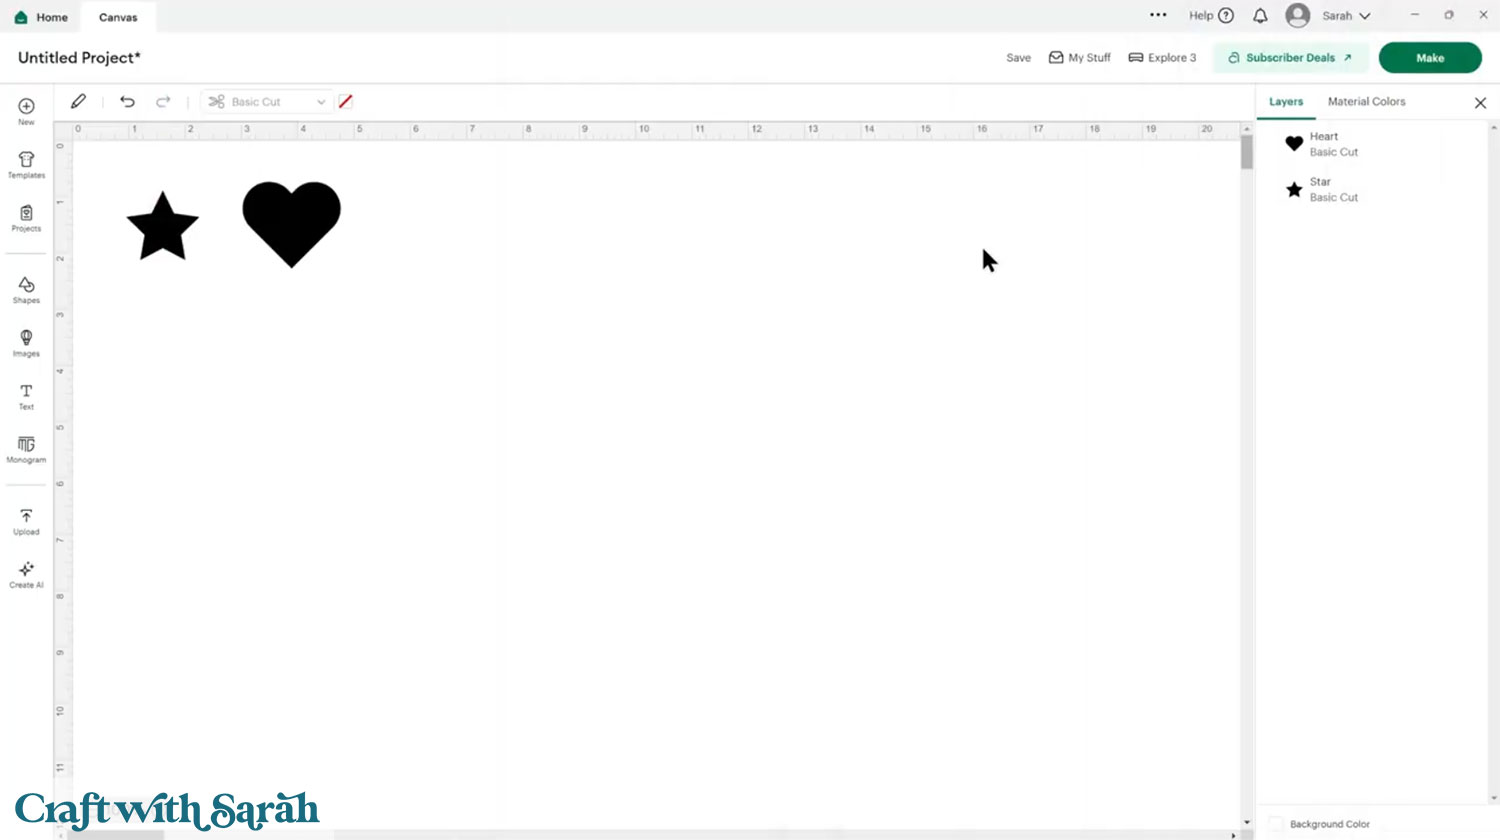
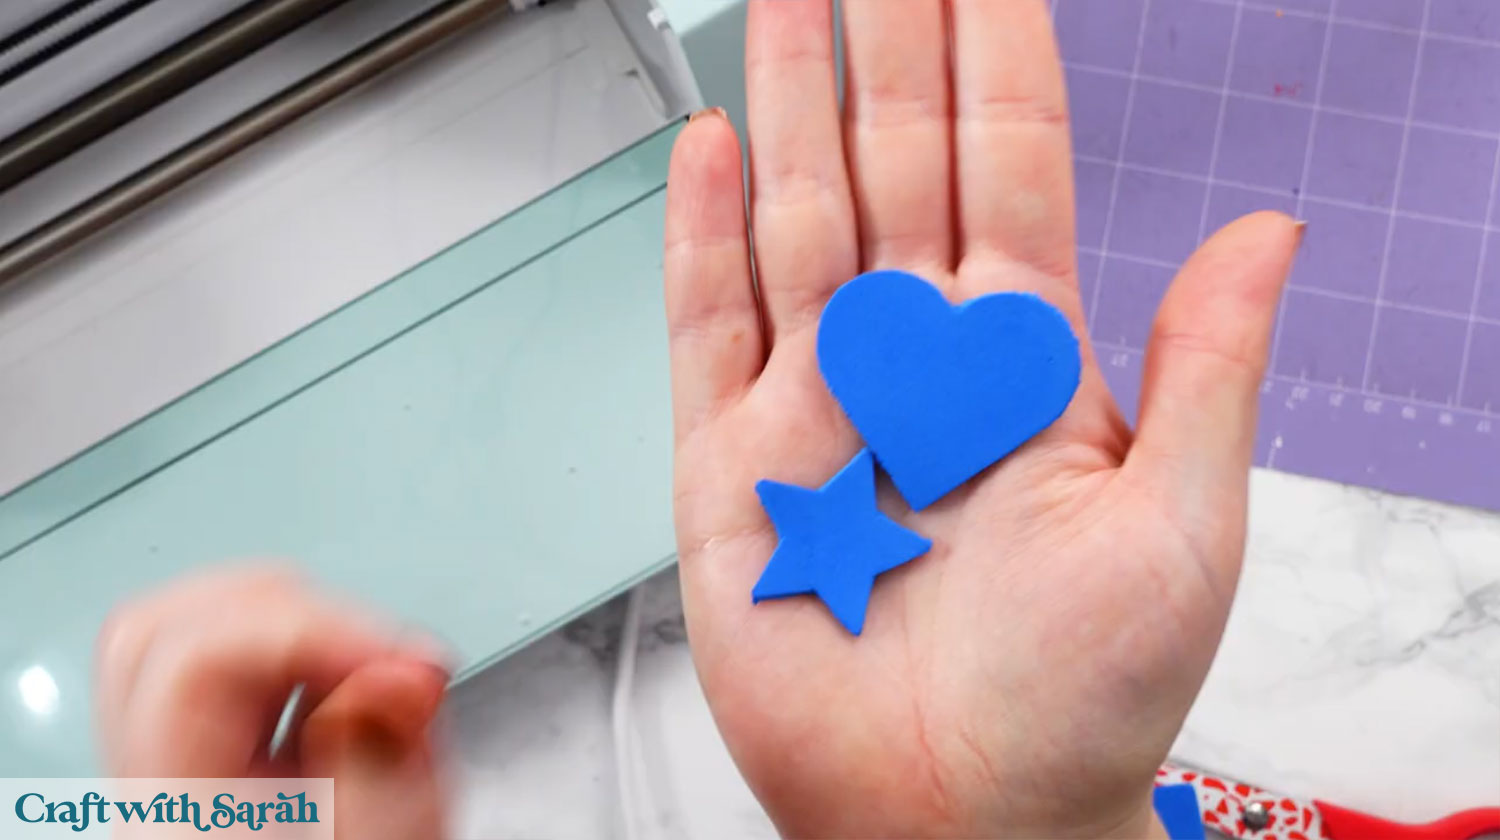
Choosing a test design
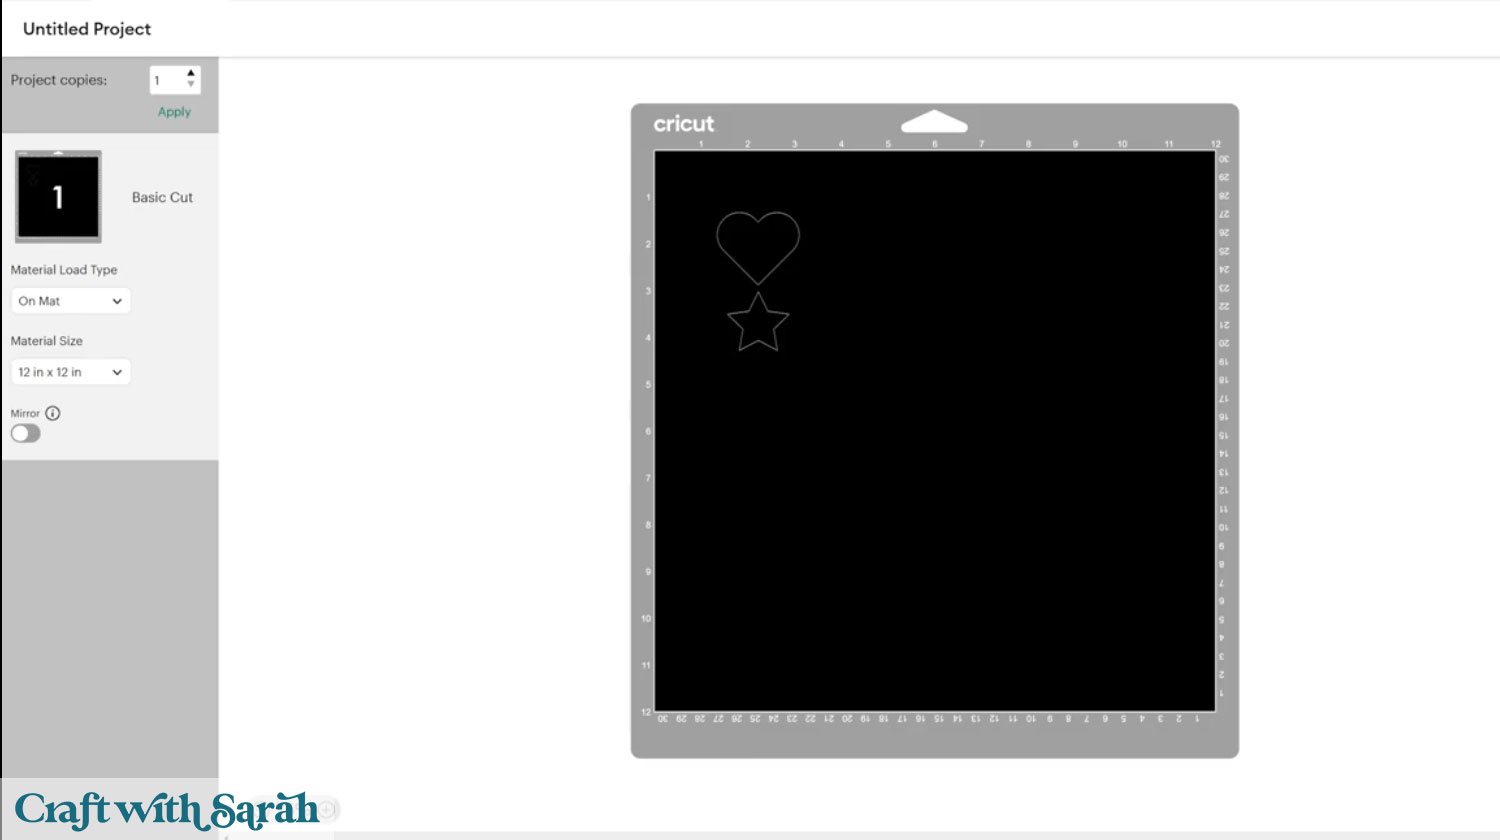
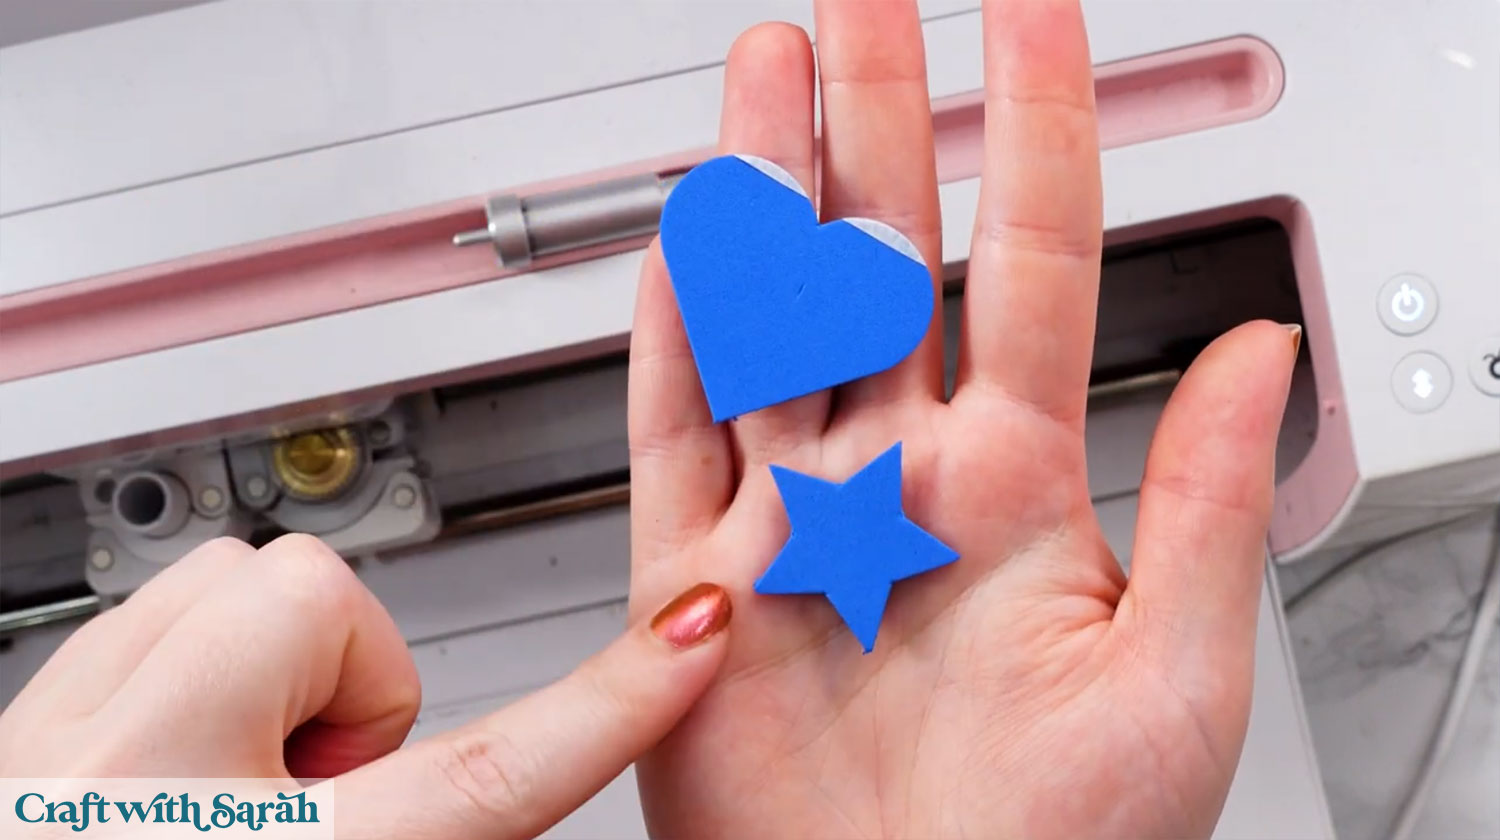
When working with foam, simple shapes work best.
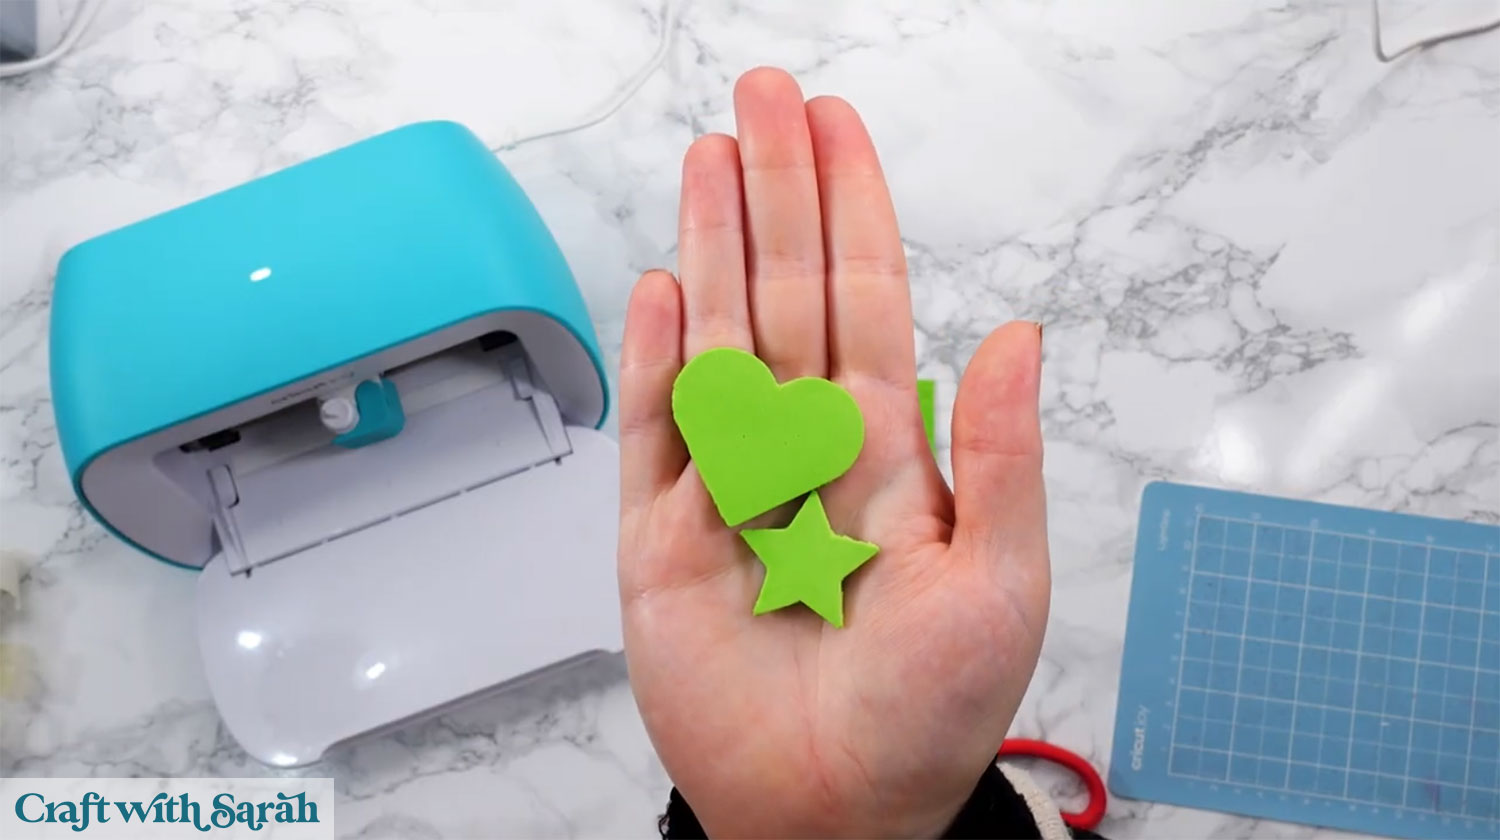
Stars, hearts, circles, and basic outlines are ideal. Avoid very thin lines or intricate designs, especially when you are just testing settings.
It is smart to start with small test cuts so you do not waste material. A star and a heart are perfect for this.
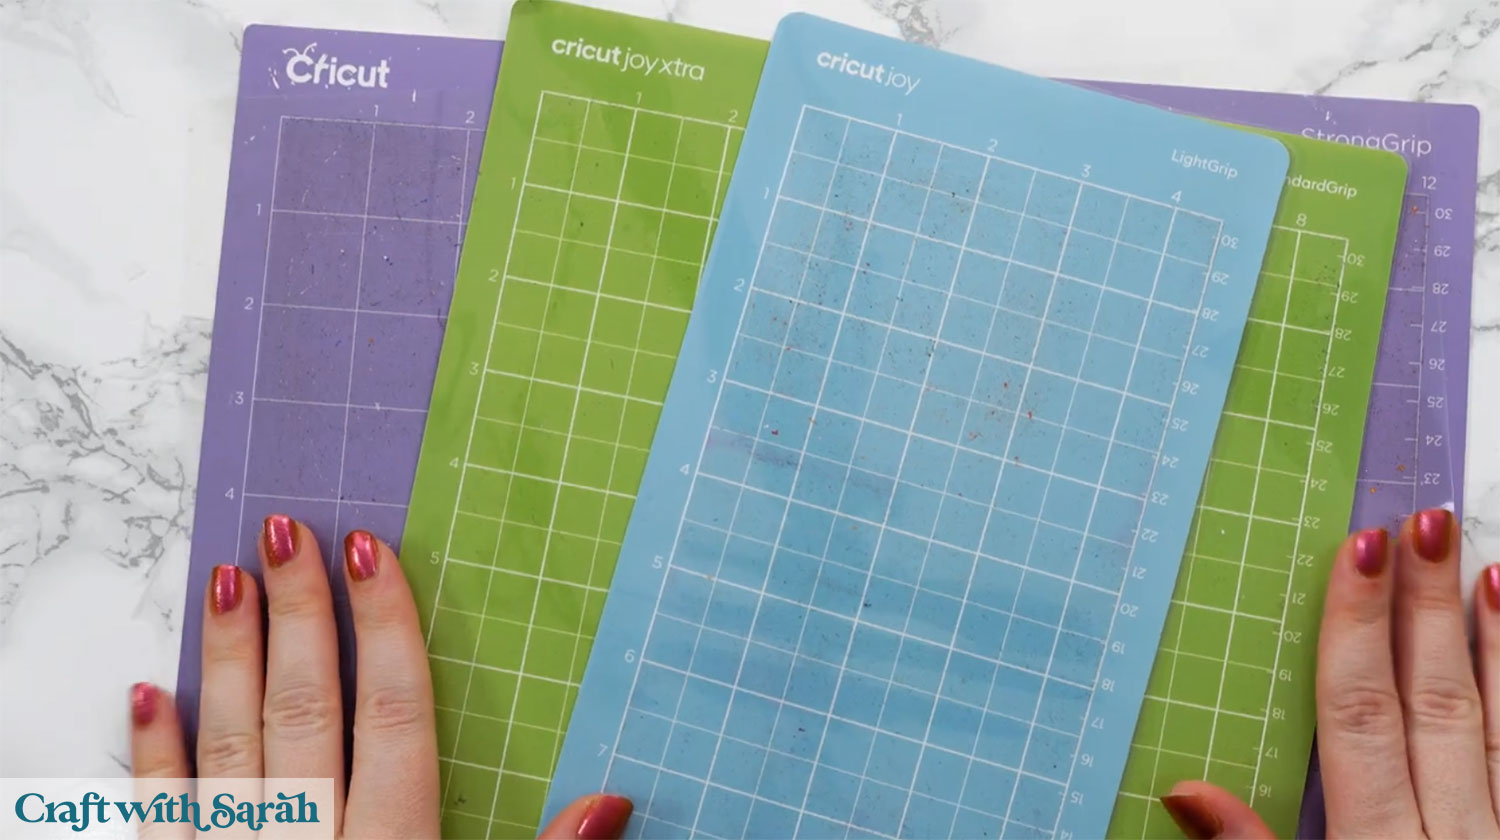
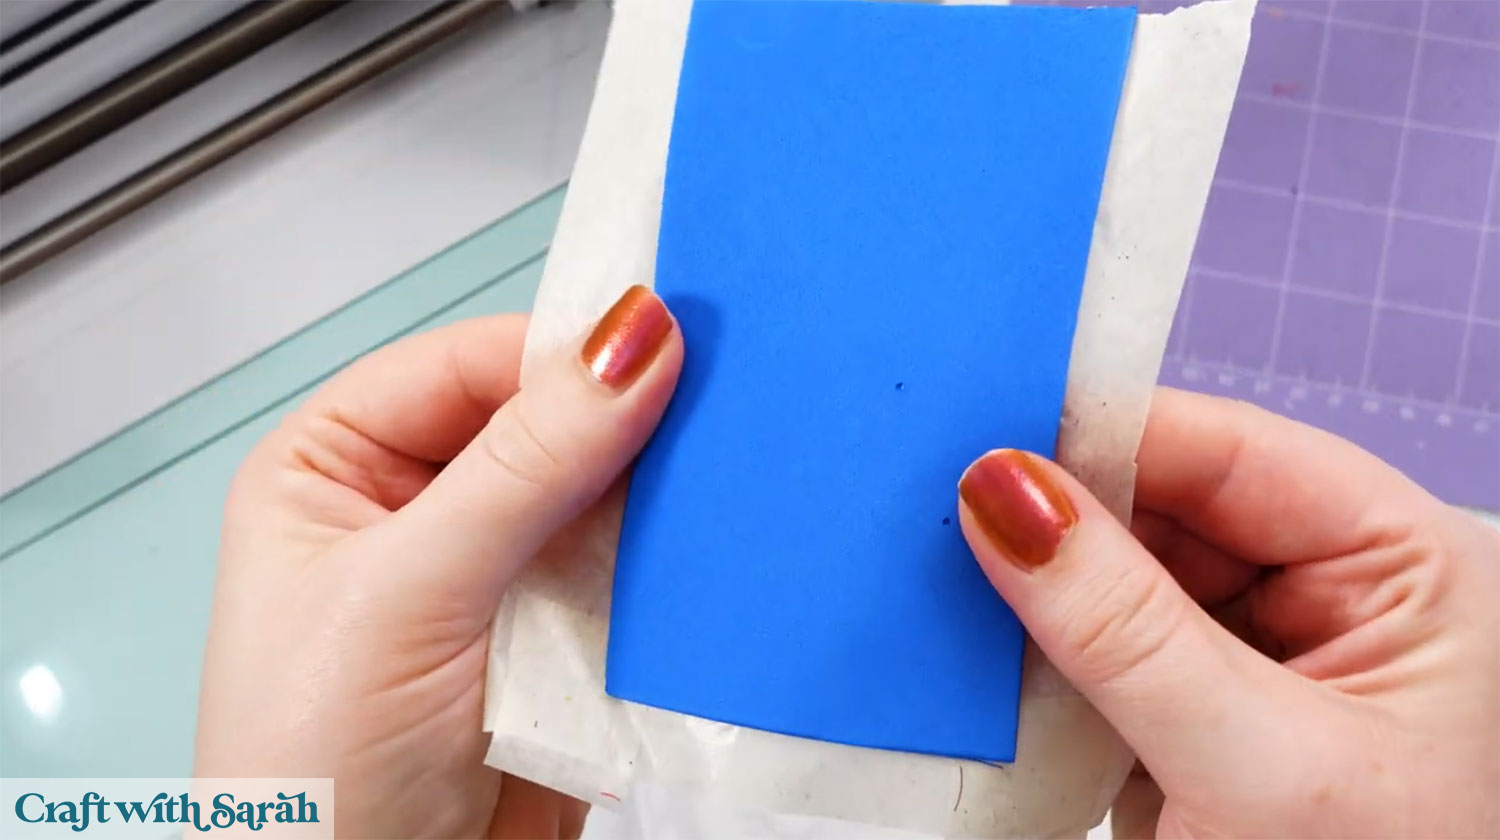
How to load craft foam on a Cricut cutting mat
You can use any Cricut mat: light grip, standard grip, or strong grip, although strong grip does work best to hold the craft foam securely.
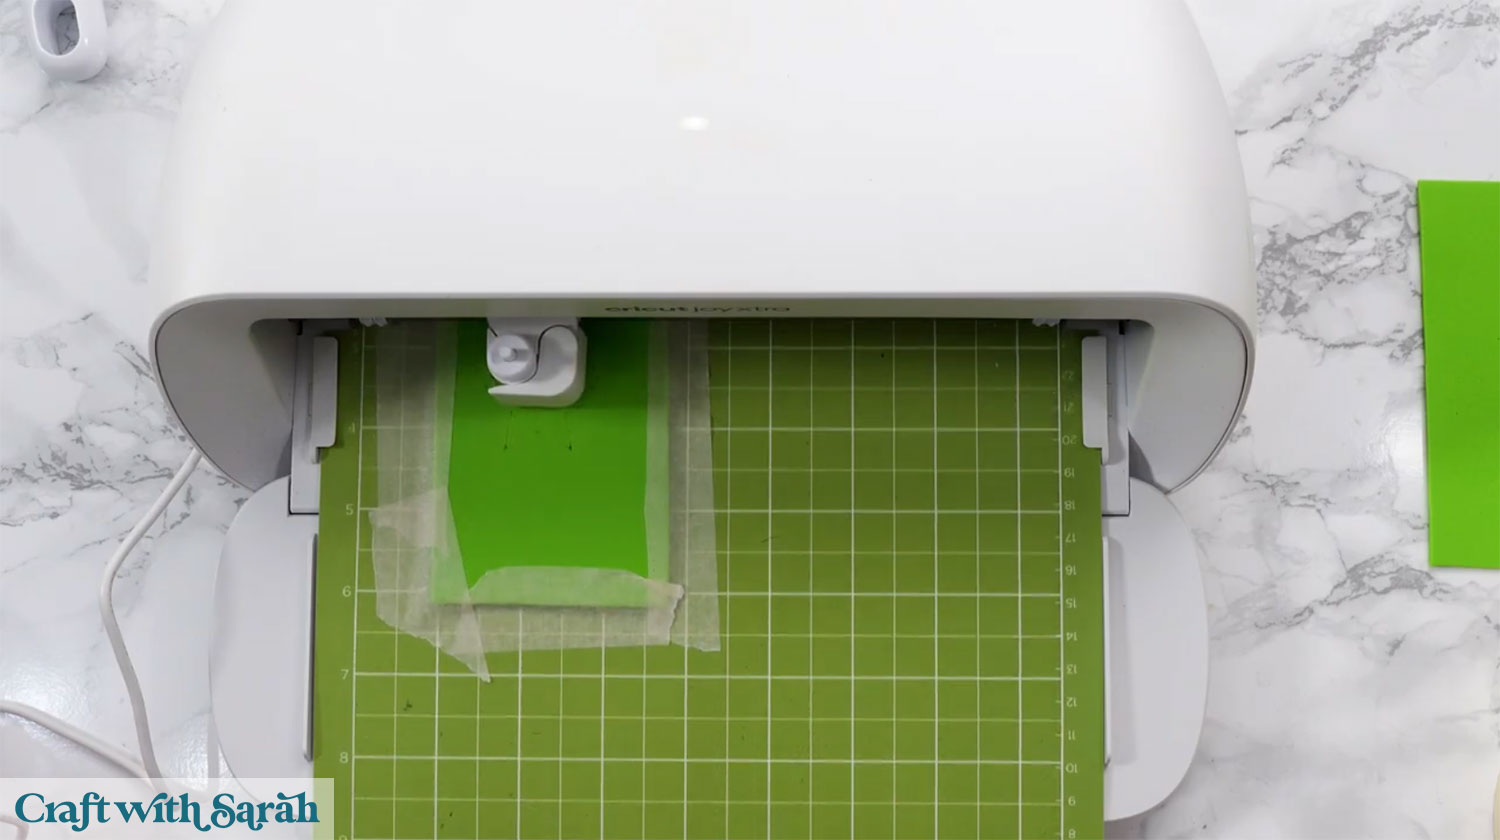
Place the foam slightly away from the top-left corner of the mat.
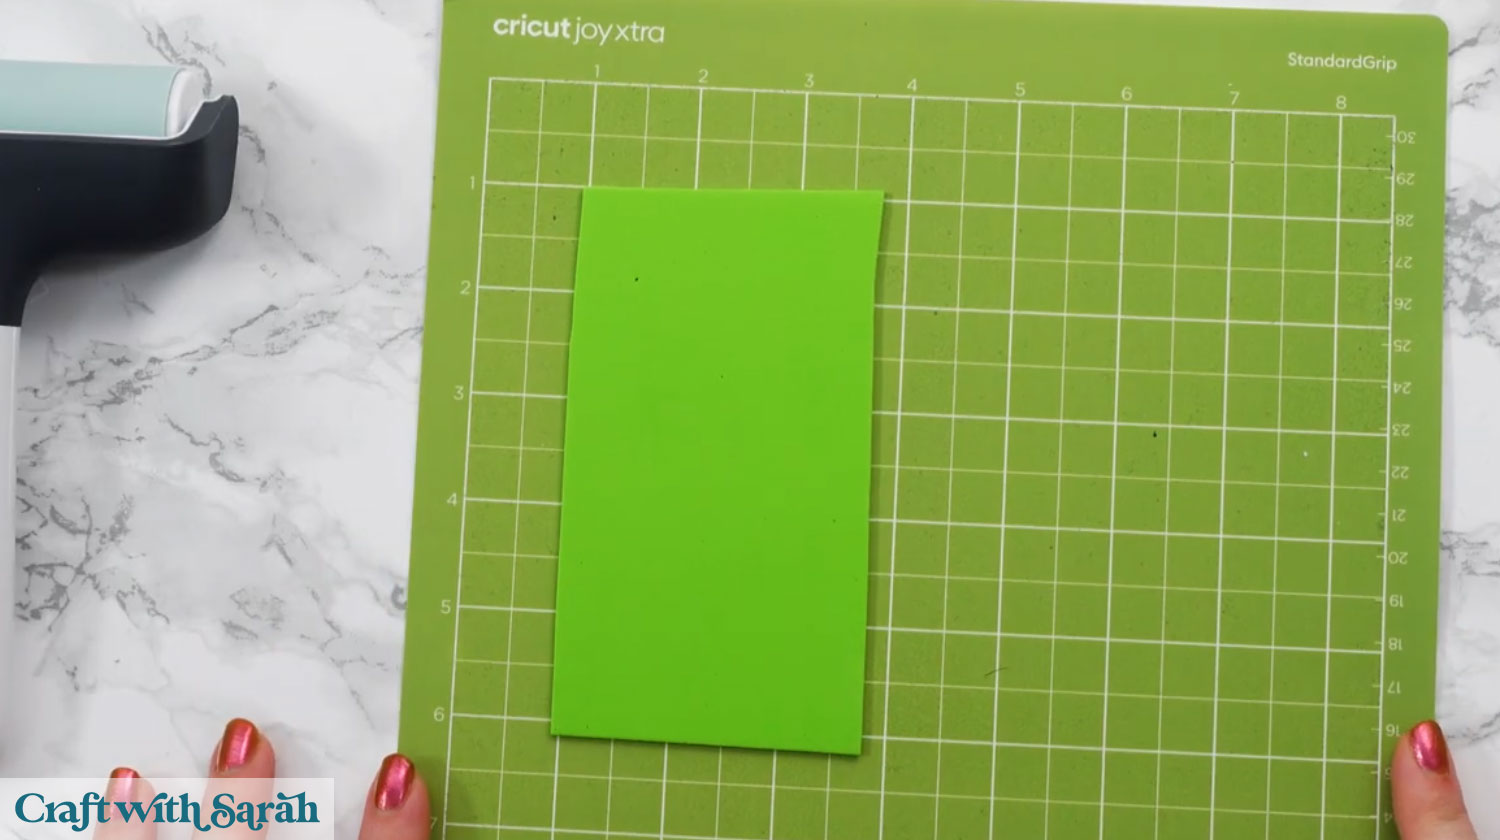
This gives room for tape to be added to stop it moving during the cut process.
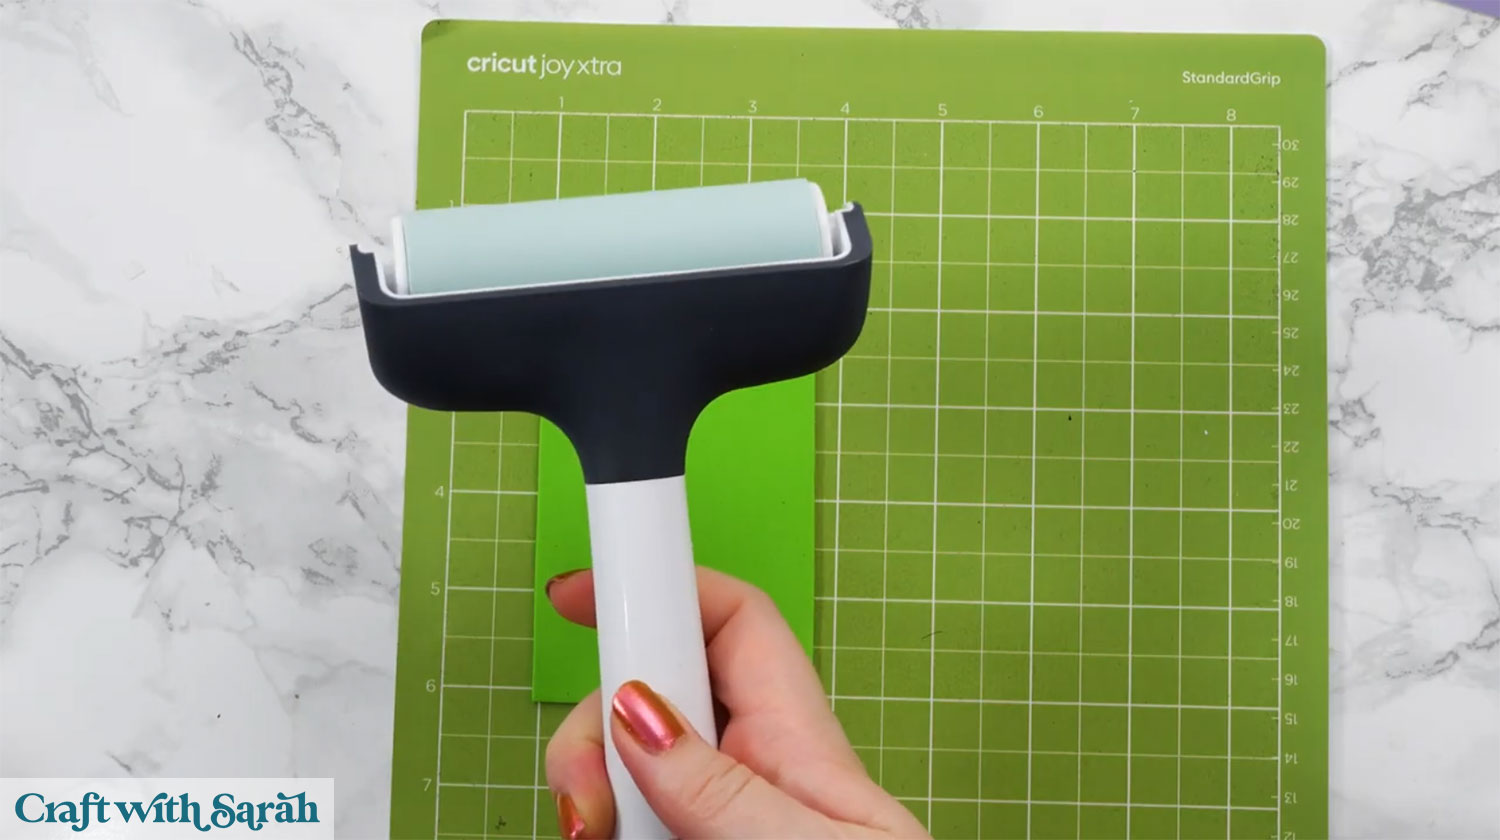
Press it down firmly using your hands, a brayer, or even a rolling pin.
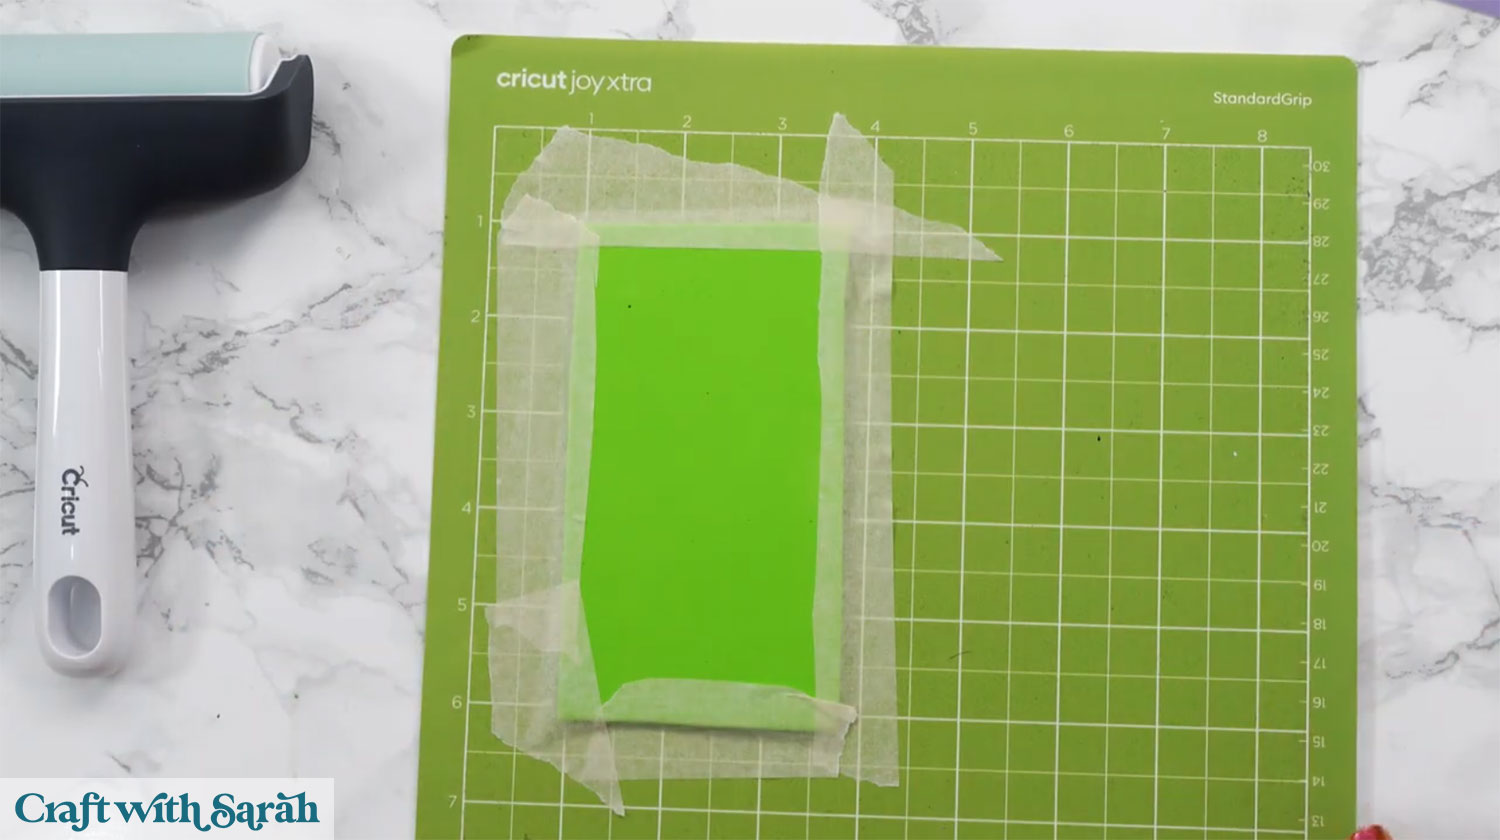
Tape all the way around the edges using masking tape or painter’s tape
This taping step really matters. Because foam often needs multiple passes, any movement will cause messy edges.
Remember to position your shapes on the cut screen to match where you have placed the foam on your mat.
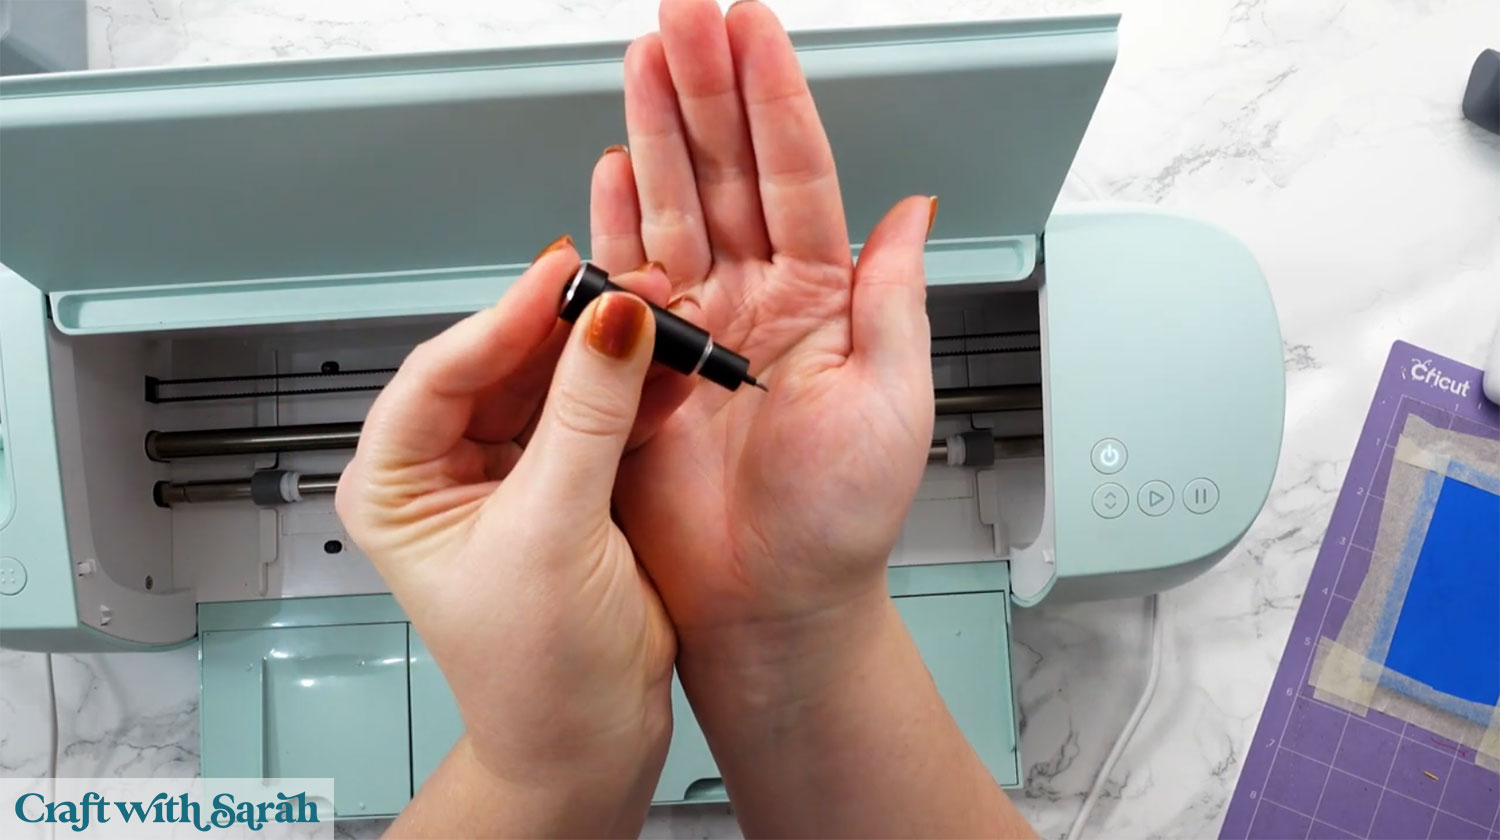
Preparing your Cricut machine for craft foam projects
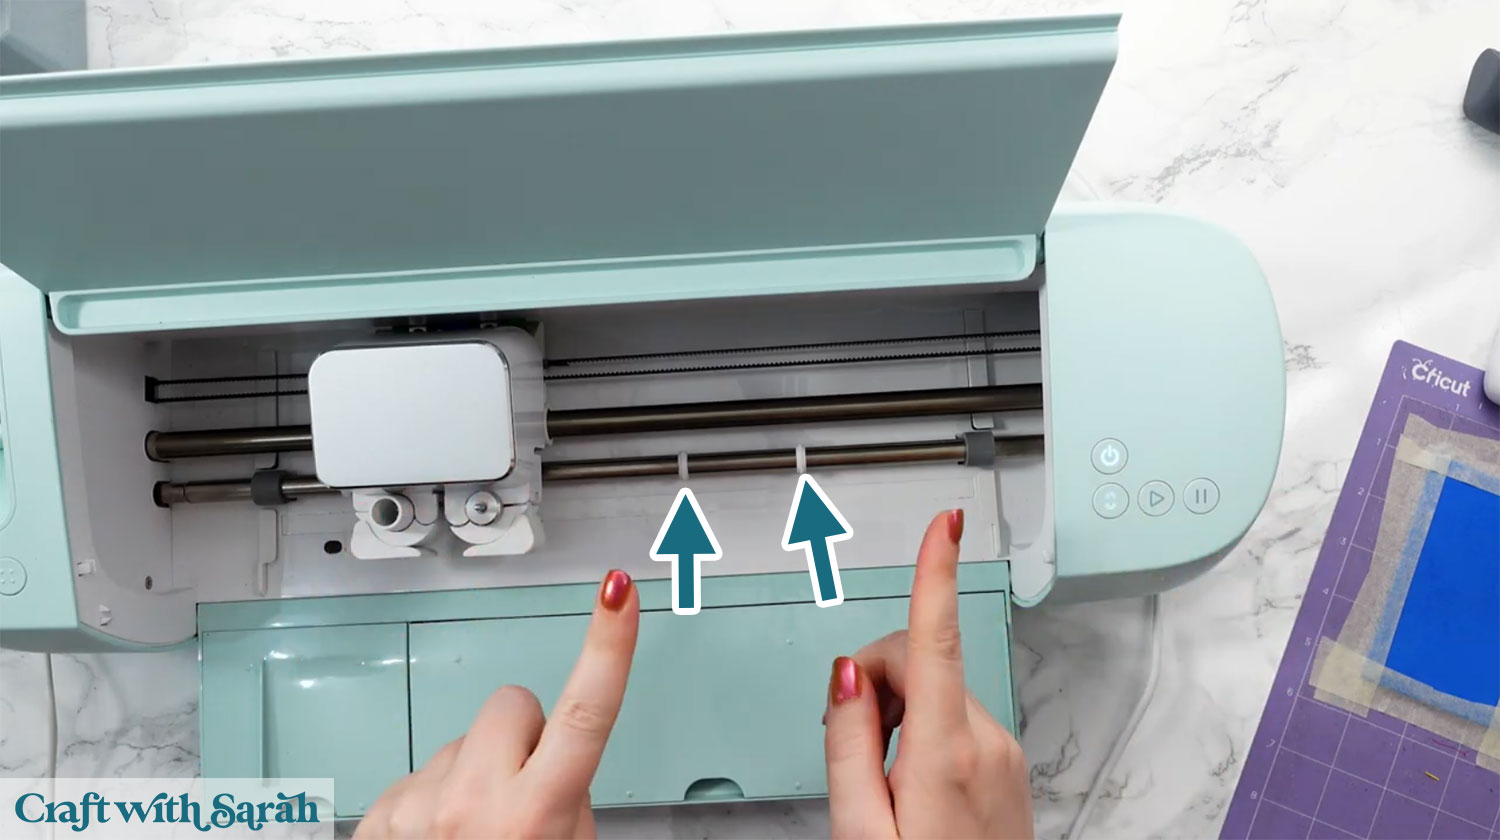
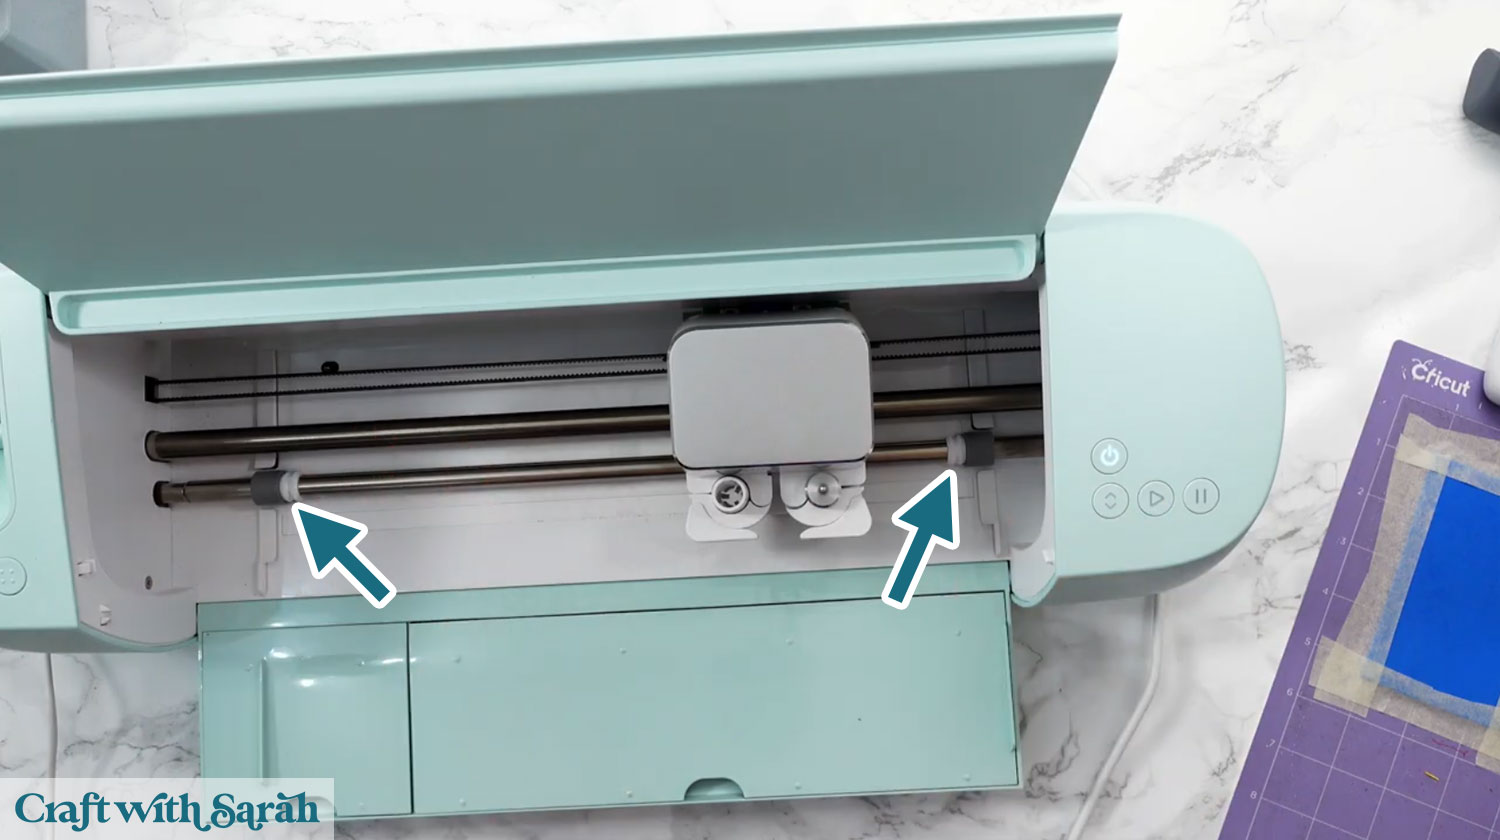
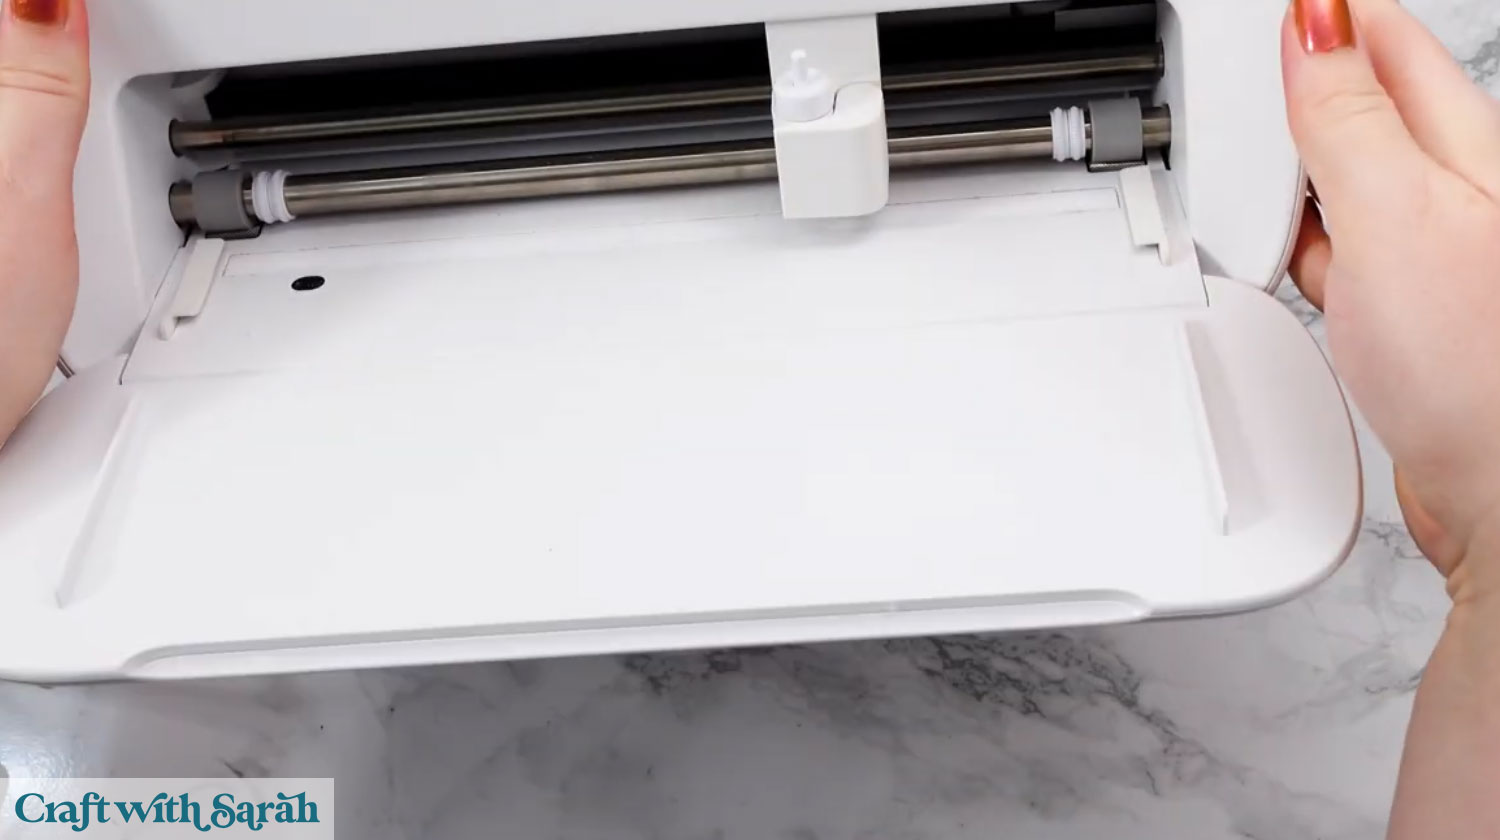
Before cutting, slide the white star wheels inside the machine all the way to the side. If you do not, they can leave dents in the foam.
The Cricut Joy doesn’t have star wheels, but the larger machines (including the Cricut Joy Xtra) do.
Creating a custom cut setting
If you are using the fine point blades (i.e. the blades that come with the machines) then you’ll probably need to make a custom cut setting.
The exact settings to choose may vary based on your type of machine, but the steps to create a custom cut setting are the same.
I list out the custom cut settings for each machine further down this tutorial.
To make a custom cut setting, click “Make” to start the cut process.
Click the “Browse All Materials” link.
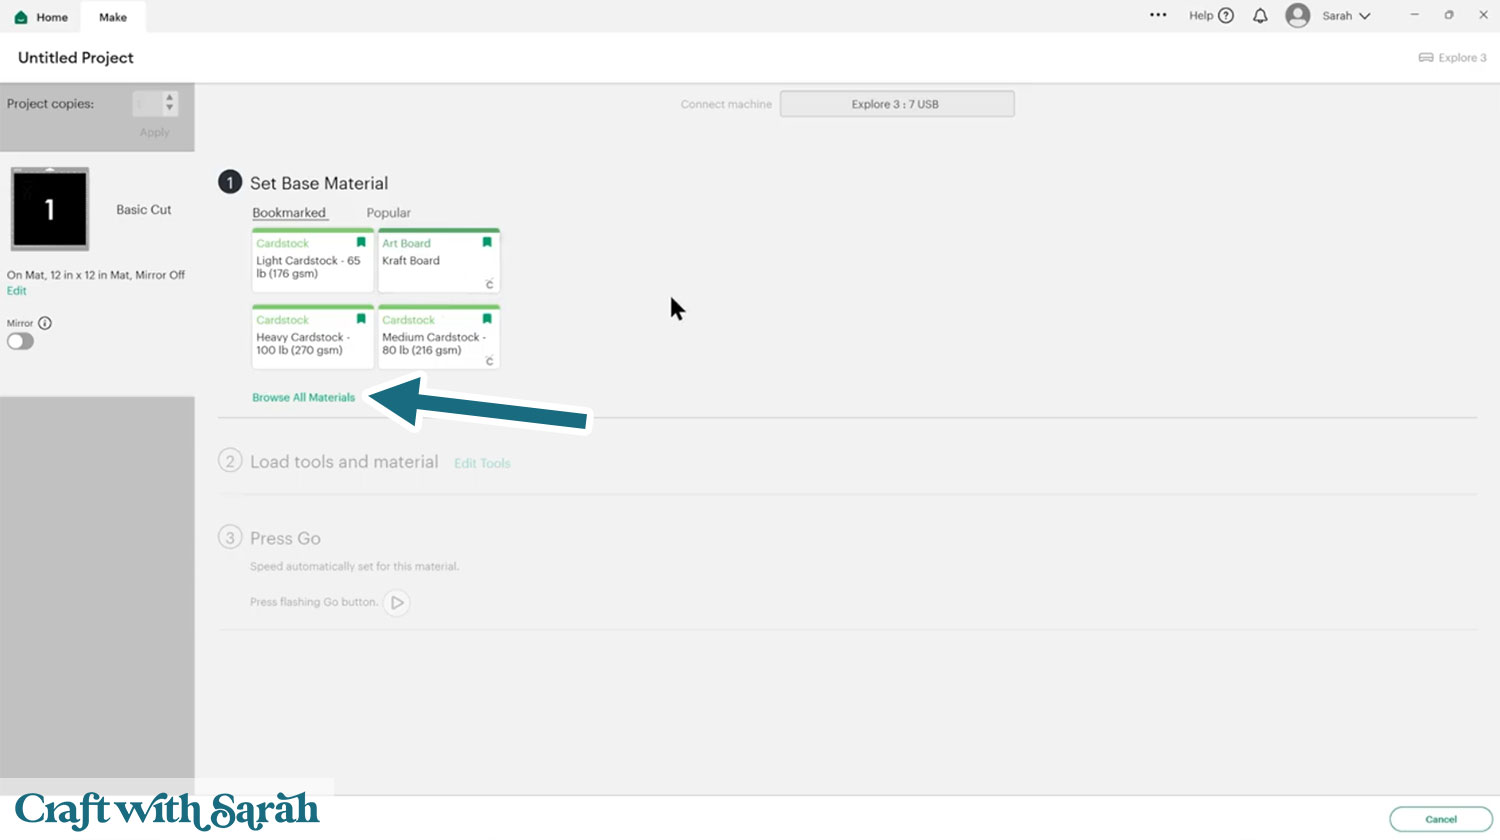
Scroll down to the bottom of the list of materials and click “Add New Material”.
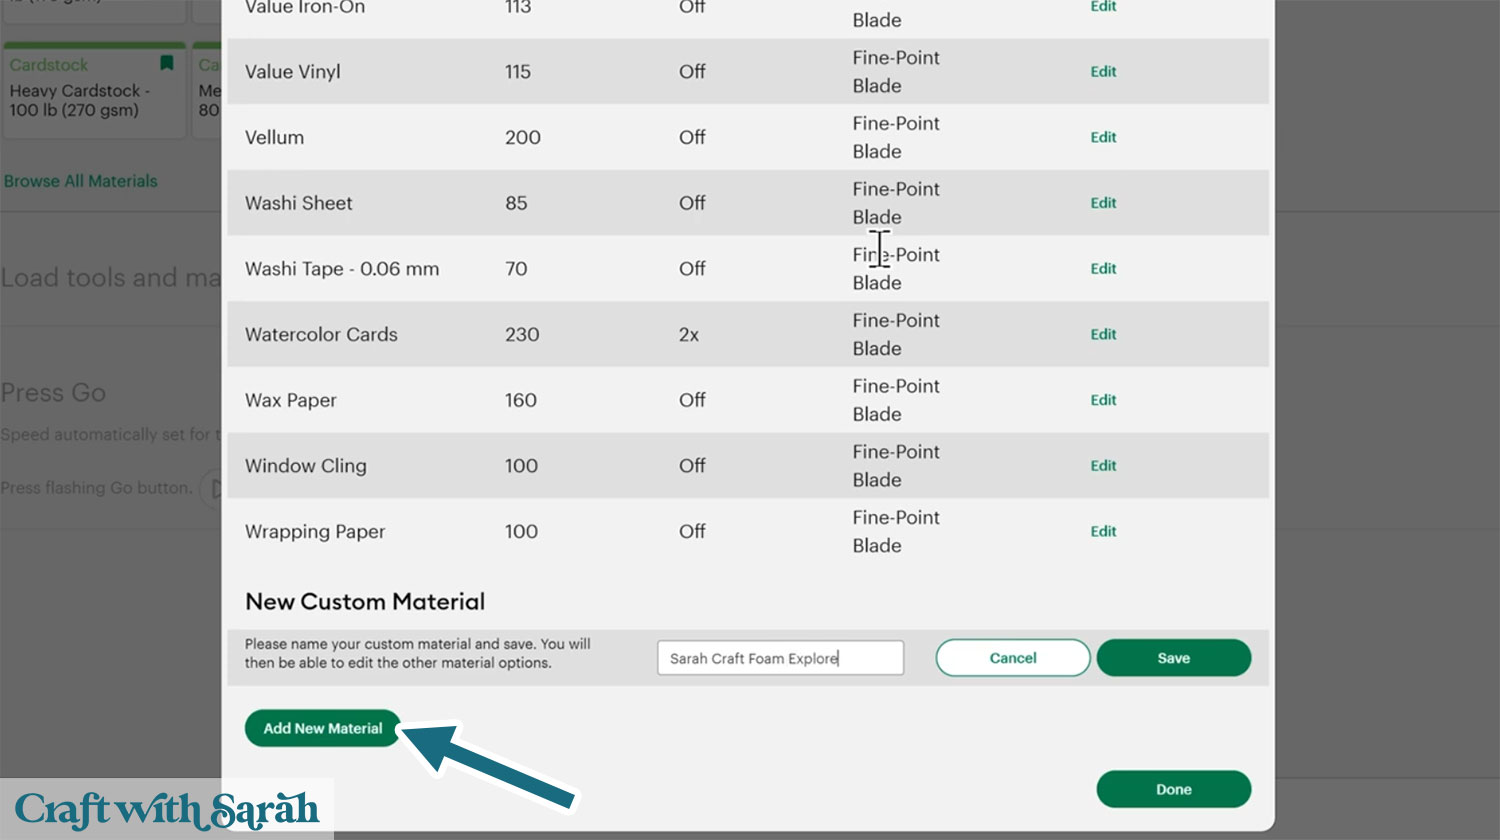
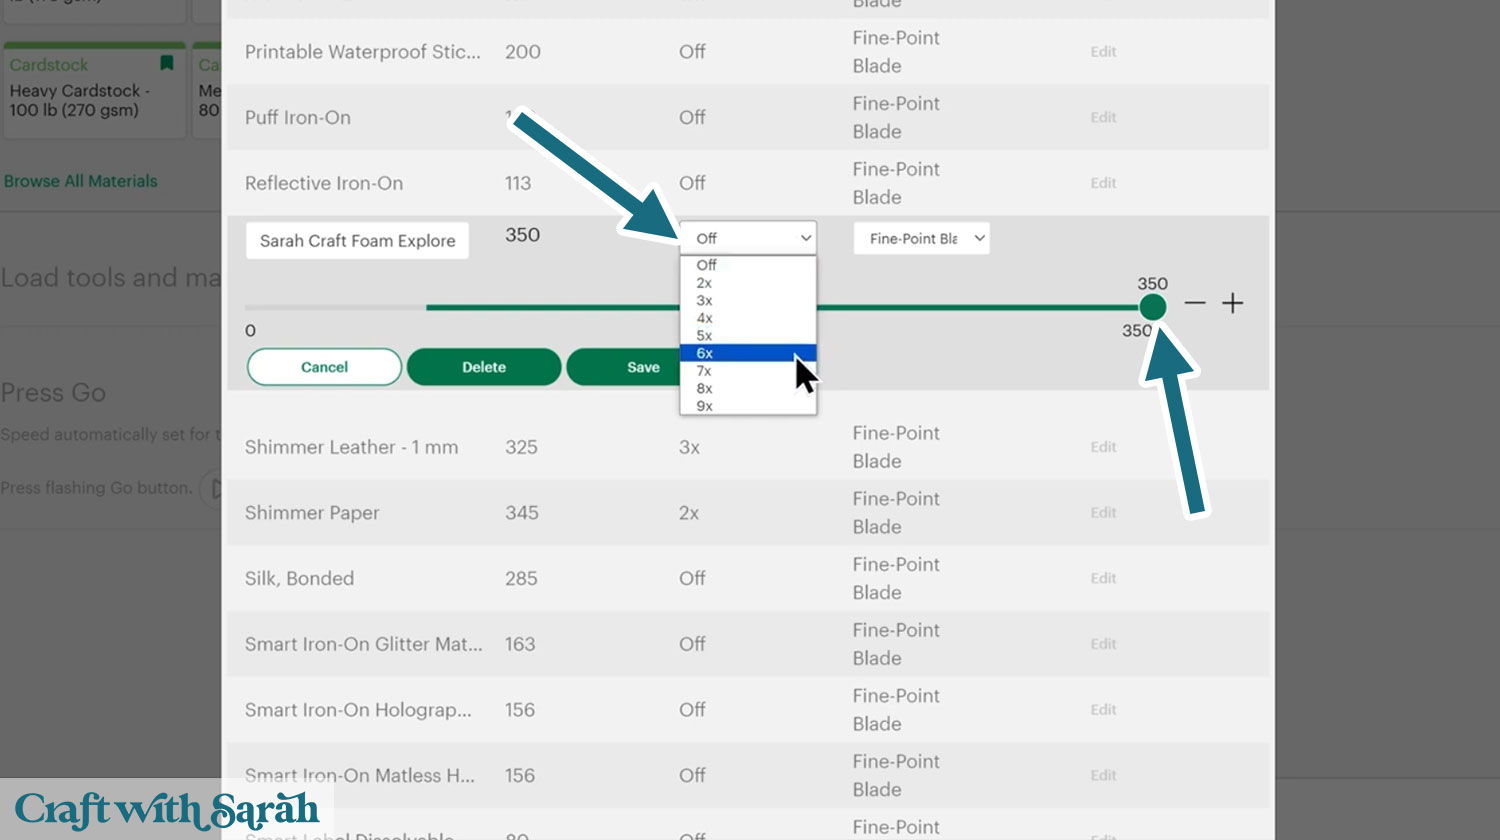
Give your material a name that you will recognise. Drag the pressure up to maximum.
Press “Save”, then edit the settings to change the number of passes.
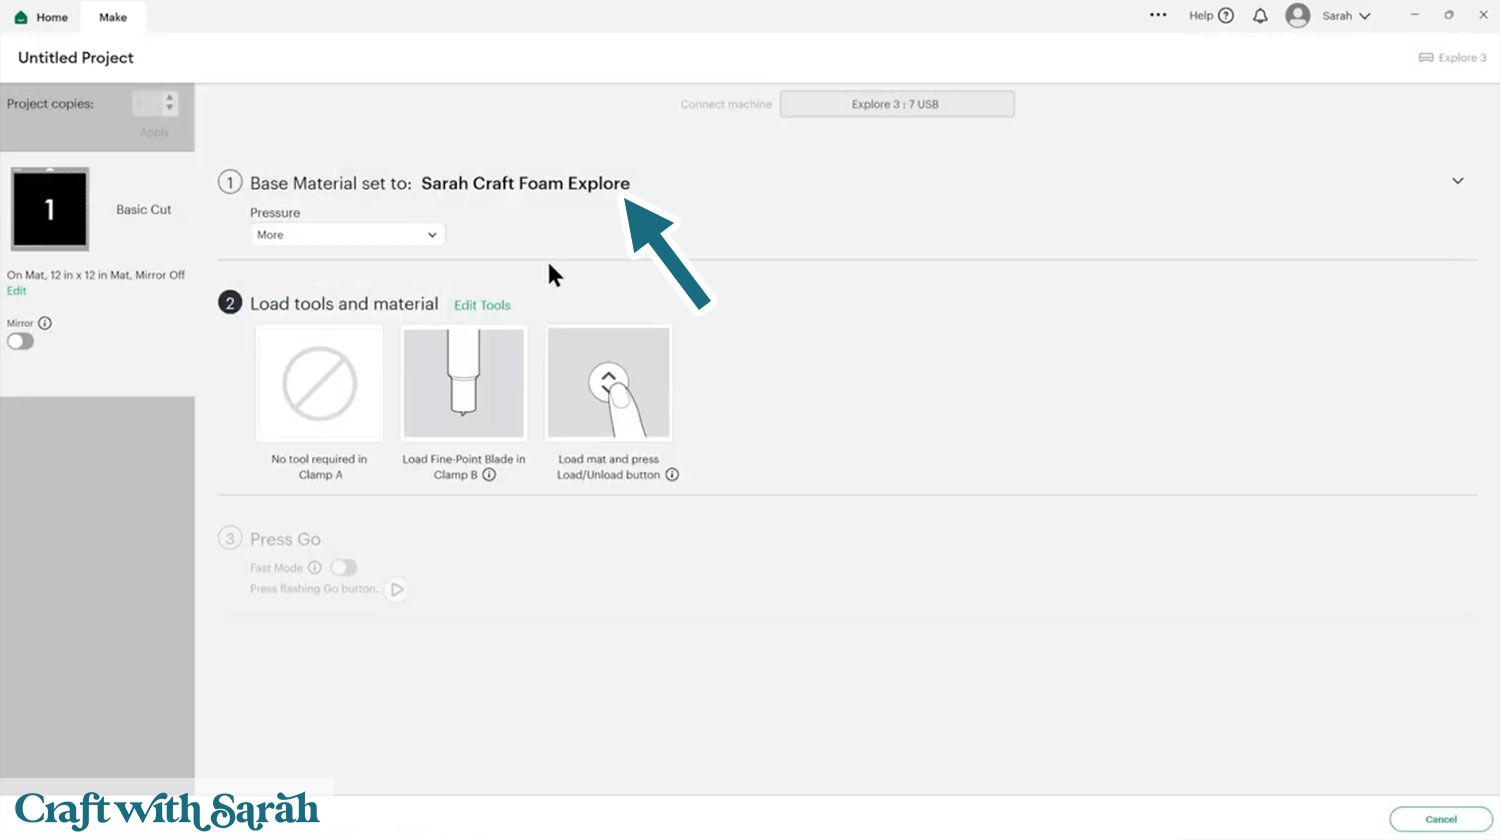
Now when you go back to the “Make” screen and once again click “Browse All Materials”, you can use the search box to find your new material.
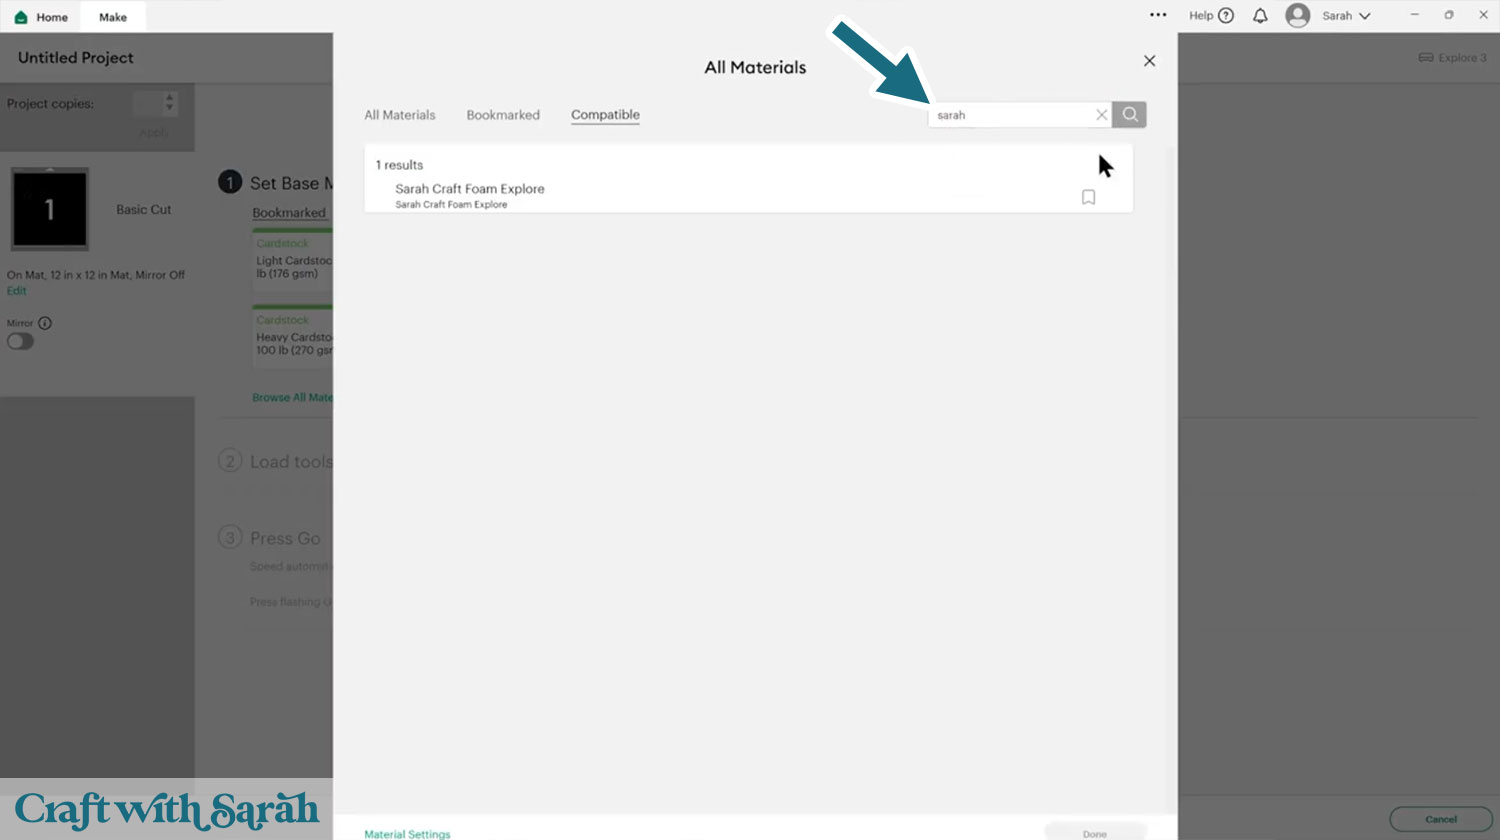
This sets up your Cricut to use your custom options.
Cricut Explore and Cricut Maker Machines
This section applies to Explore 3, Explore 4, and all Maker models. It is probably suitable for the Explore Air and Explore Air 2 as well, but I do not have those machines to test with.
Using the Fine Point Blade (the blade that comes with the machine)
Yes, you CAN cut craft foam with the standard Cricut blades! Yay!

Because there is no built-in setting that works perfectly, you will need to create a custom material setting in Cricut Design Space.
Custom cut setting for craft foam
- Pressure: 350 (maximum)
- Multi-cut: start with 3 passes
- Pressure setting during the cut: More
After cutting, check without unloading the mat. If it has not gone through, press the Go button again to repeat the cut in the exact same place.
Even with extra passes, the fine point blade usually does not cut all the way through.
Here’s how mine looked from the front:

The back doesn’t look cut at all, but don’t panic – it’s still good!
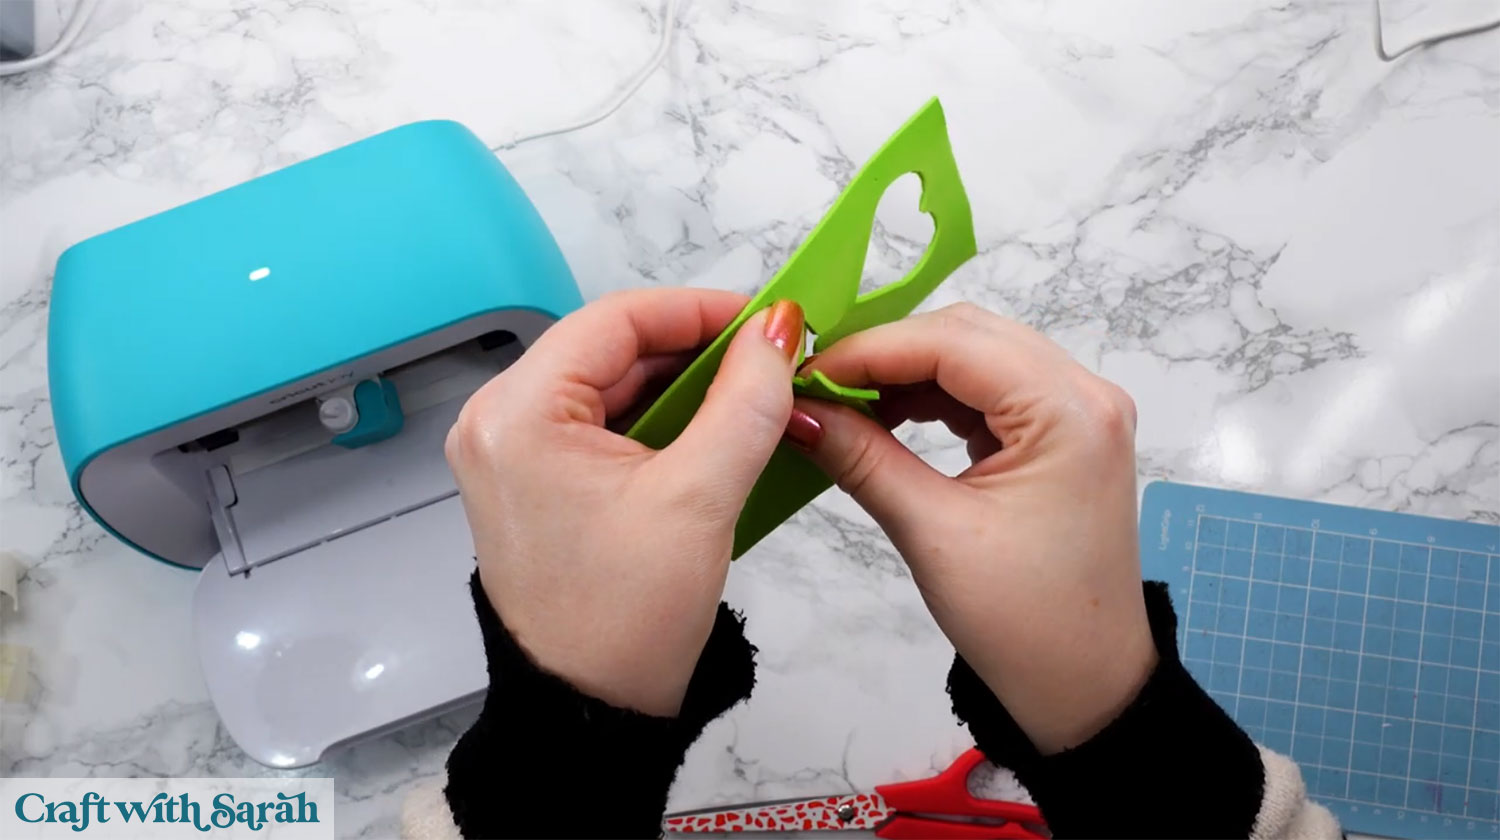
However, it cuts deeply enough that you can snip one edge with scissors and then gently tear along the cut lines.
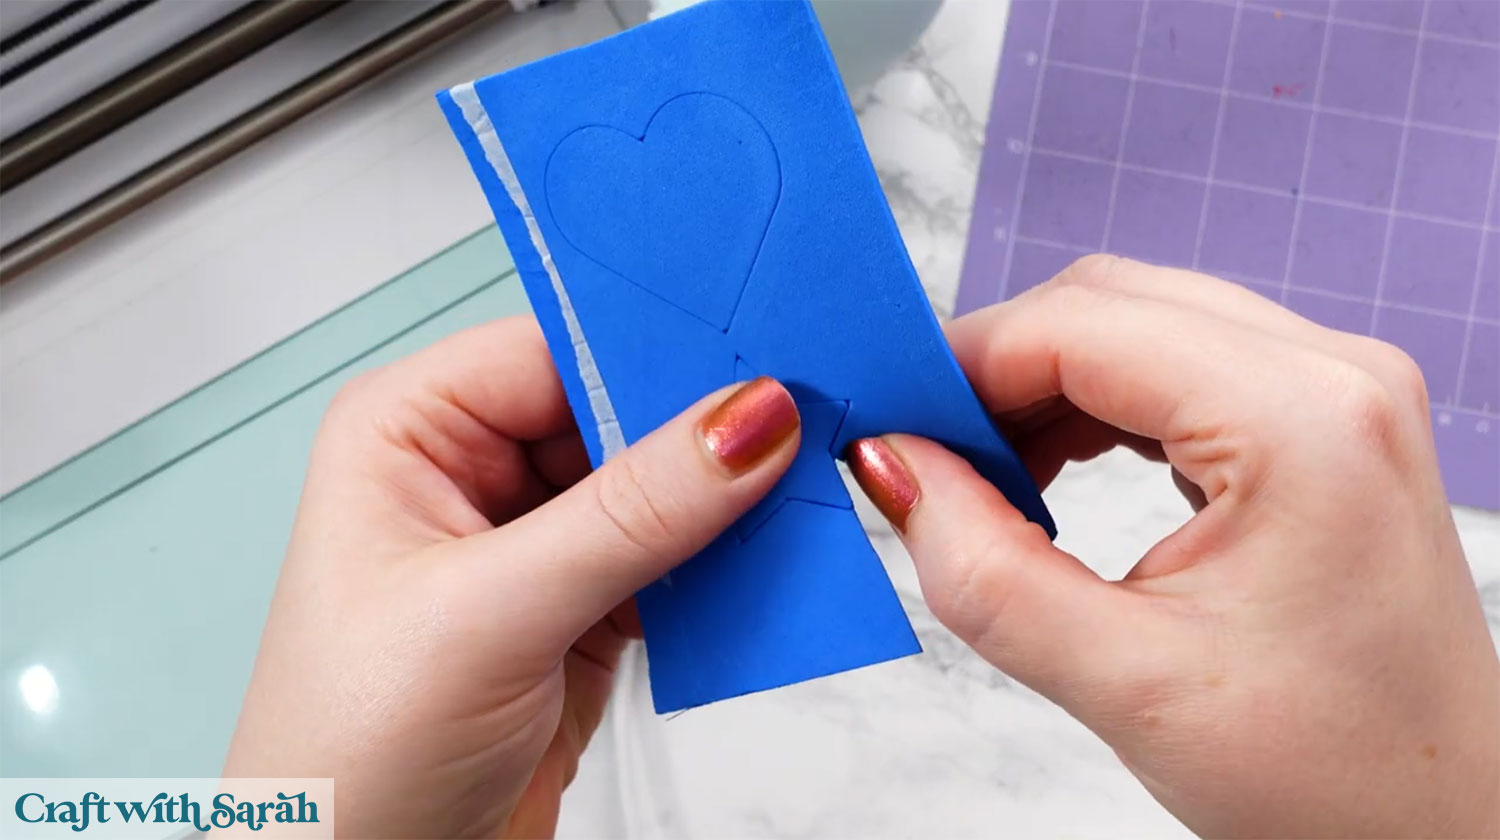
This method works surprisingly well and produces clean shapes with a little finishing.
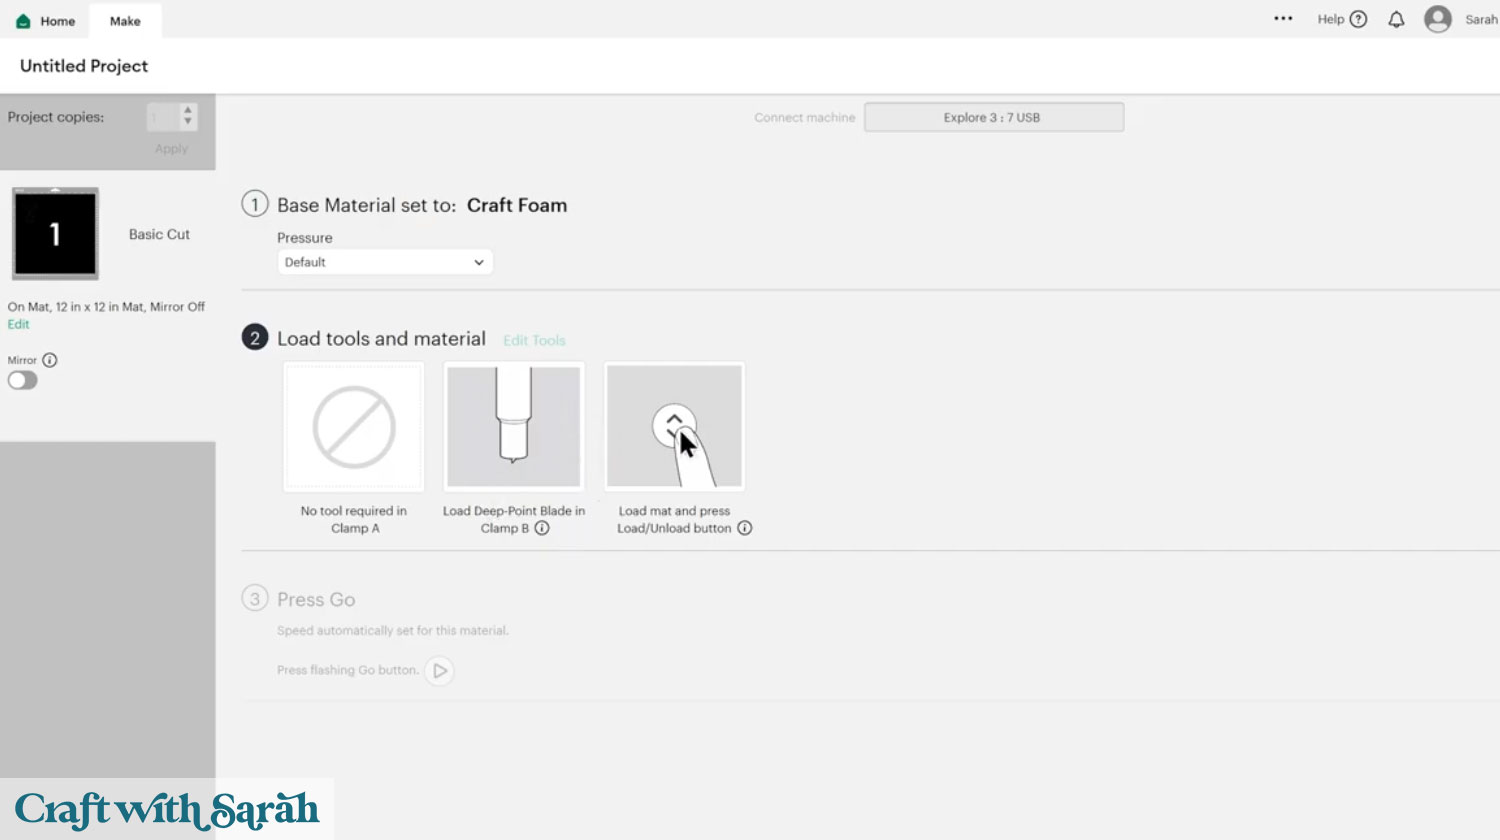
Using the Deep Point Blade
The deep point blade cuts a little bit further into the material than the standard fine point blades.
Deep point blades (with the black housing) can be used with any Explore or Maker model.
You don’t need a custom cut setting if you use the deep point blade – you can use the built-in “Craft Foam” material type.
Start with default pressure, not “More”.
If edges look rough after cutting, reduce the pressure and do another test cut. You may need to cut twice if this is the case.
The deep point blade cuts deeper than the fine point blade and usually only needs one pass. The edges may feel slightly rough, but it is quicker and easier overall.
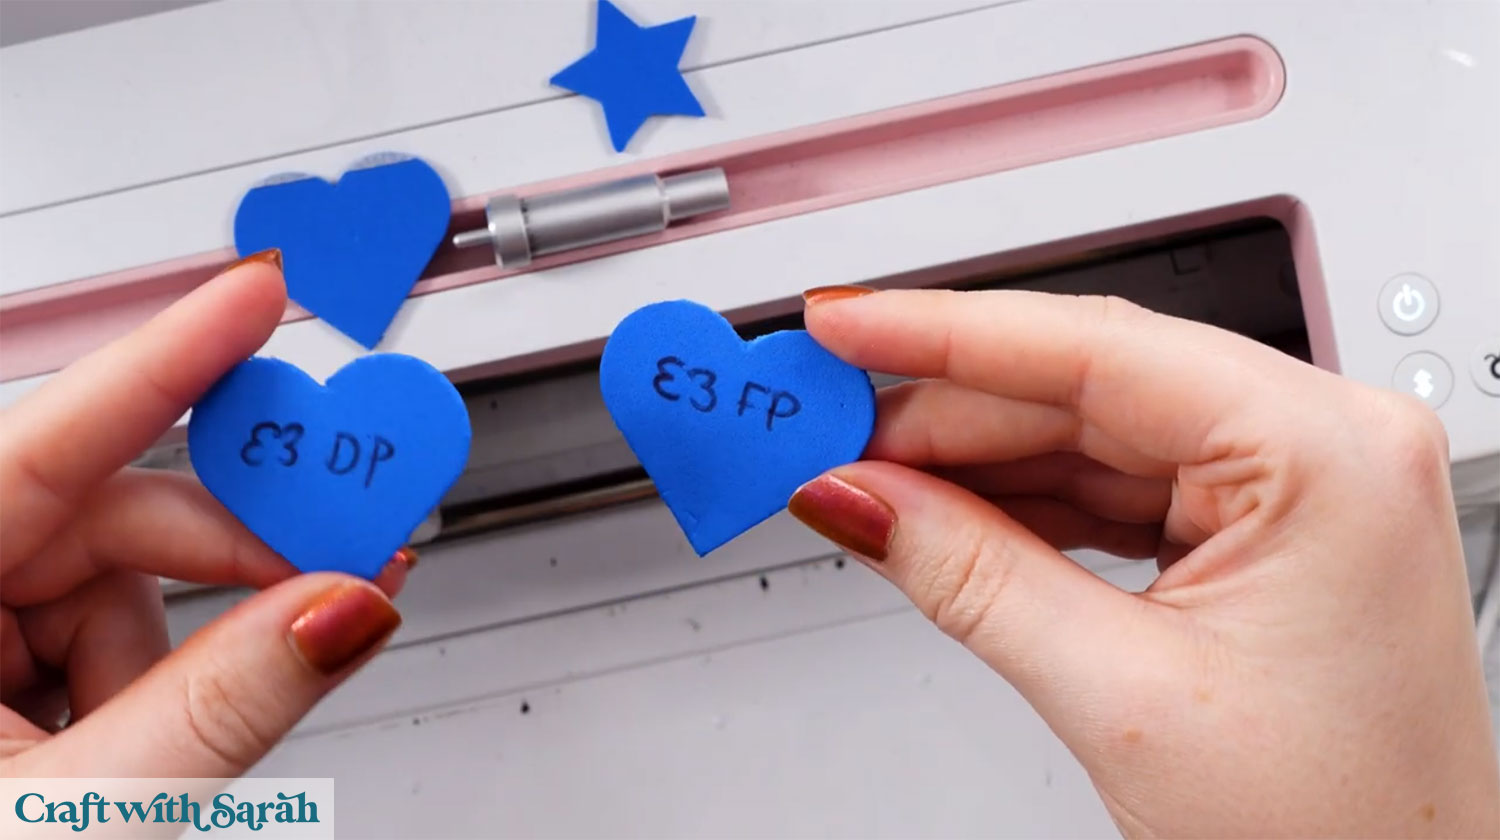
Here’s a comparison of the Explore Air 3 cutting the same shape with the fine point blade and the deep point blade.
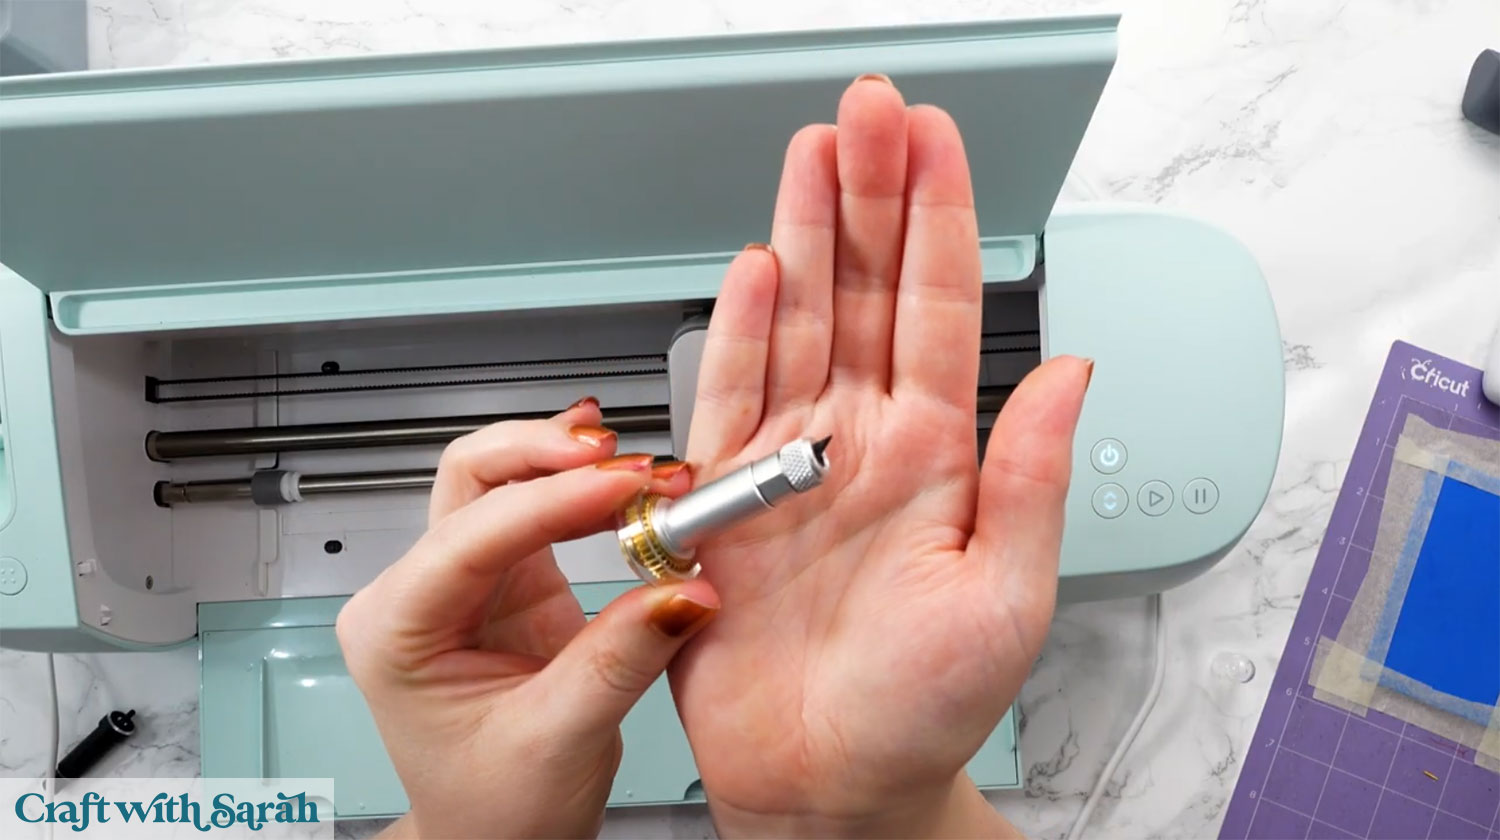
Using the Knife Blade (Maker models only)
If you own a Maker, Maker 3, or Maker 4 and have the knife blade, this is the best option for cutting craft foam as it gives the smoothest results and the neatest edges.
You can still use the Craft Foam setting, but you must change the tool selection to the knife blade using the “Edit Tools” link.
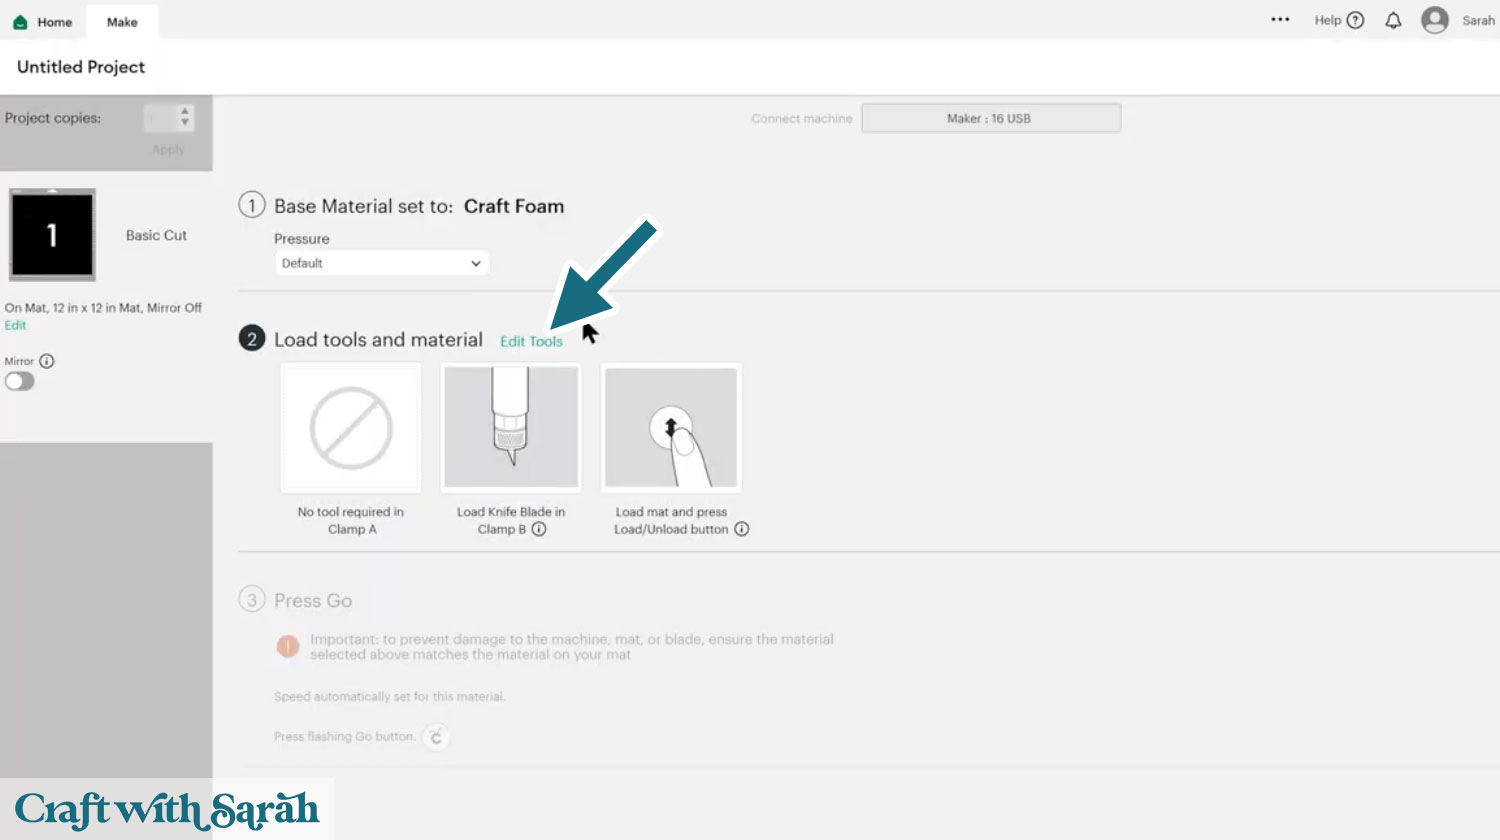
The knife blade has a slower cutting because the blade turns at corners, but it gives very smooth, clean edges and it usually cuts all the way through the craft foam on the first try.
If your completed craft foam cutouts will be visible – for example as wall decor, costume pieces, or signs – this blade gives the neatest finish.
Cricut Joy Xtra
The Joy Xtra is capable of cutting craft foam, even though Cricut does not officially list it as a supported material.
There is no built-in craft foam setting so you’ll have to create a custom material using the steps at the start of this tutorial.
Joy Xtra settings for craft foam
- Pressure: 350
- Multi-cut: start with 5 passes (if it doesn’t cut through you can increase the passes and try again)
- Pressure during cut: More
Before loading the mat, move the white star wheels to the side. These can leave deep tracks in foam if they roll over it.
After cutting, you cannot resend the cut in the same position. Check the foam once it ejects.
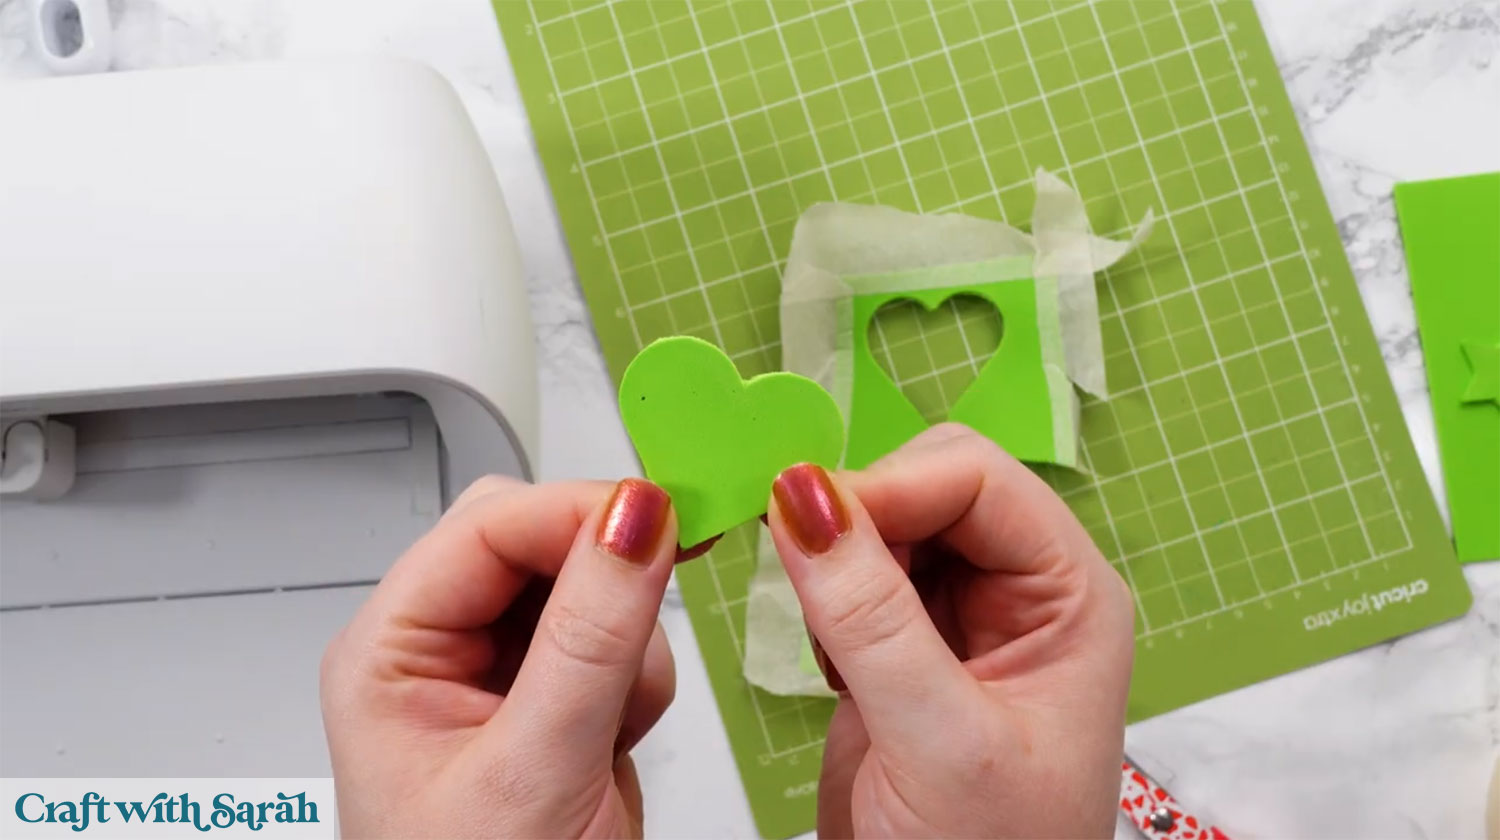
In most cases, the foam will be almost cut through. A small snip with scissors lets you gently tear the shape out cleanly.
Increasing the multi-cut to 7 or 9 passes can slightly improve edge smoothness, but it does not always cut deeper. Five passes is usually a good balance.
Cricut Joy
The original Cricut Joy is the most limited type of machine, but it can still handle craft foam.
However, this machine is not designed for thick materials such as funky foam so it will not cut all the way through on its own, even on the strongest and deepest custom cut settings with the maximum amount of passes.
Your results may vary depending on foam thickness, blade sharpness, and mat stickiness.

Joy settings for craft foam
- Pressure: 350
- Multi-cut: start with 5 passes. If that doesn’t cut through enough, modify your custom cut setting to be 9 passes.
- Pressure during cut: More
The Joy does not have star wheels, so you do not need to adjust anything inside the machine. Make sure the foam is taped very securely.
After cutting, you will see an outline of your shape pressed into the foam.
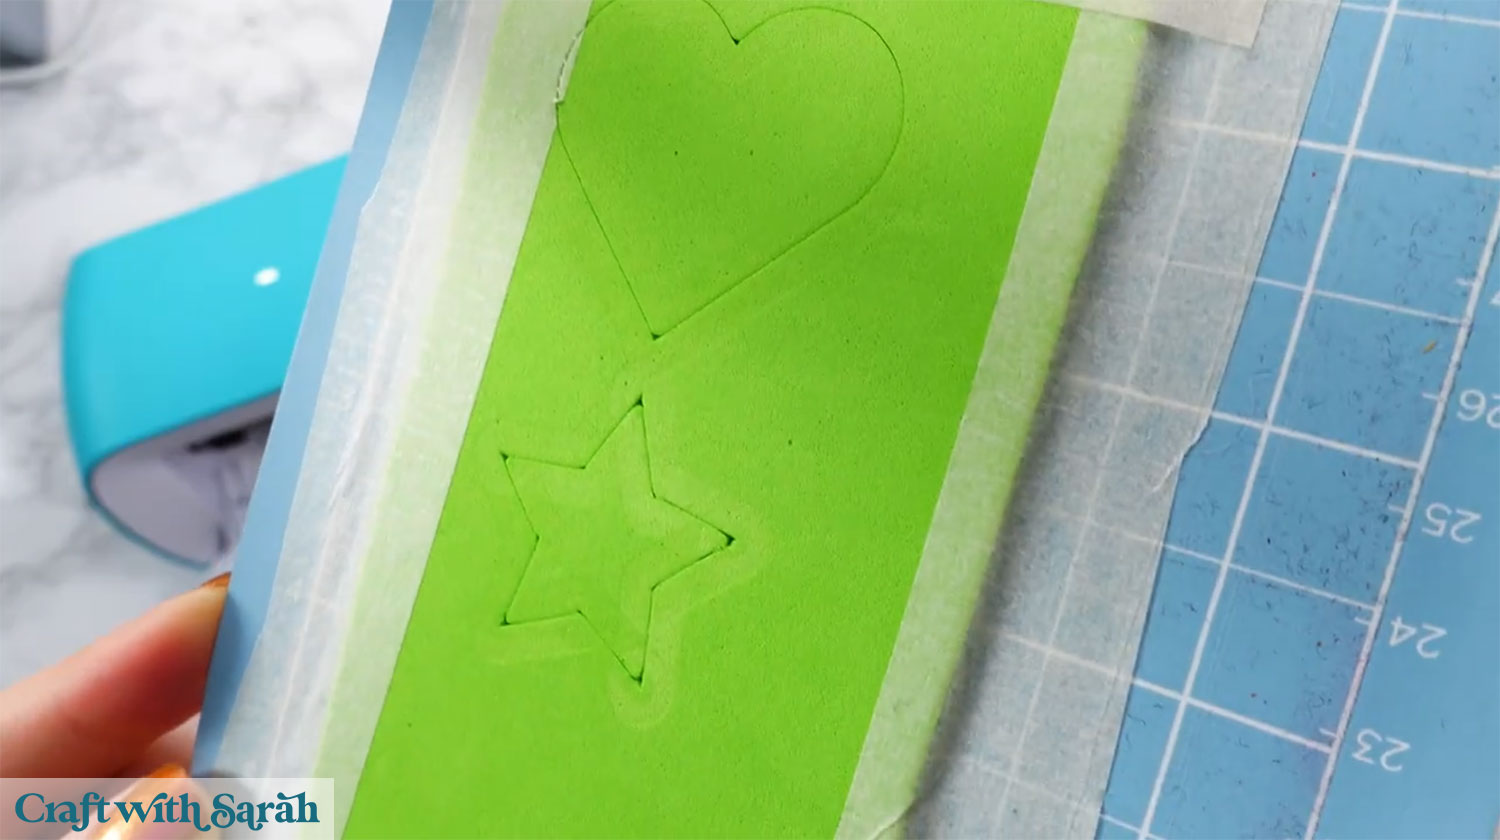
The cut will be very close to complete but won’t go all the way through.
Use scissors or a craft knife to finish the cut.
Once started, the foam tears easily along the cut lines
For simple shapes, this works well. Intricate designs are not recommended on the Joy.
Which Cricut blade is best for craft foam?
If you only cut foam occasionally, there is no need to buy extra blades. The blade that came with your machine can absolutely do the job.
Here is a summary of the different types of blade that are capable of cutting fun foam:
Fine point blade: Works on all machines, slower, usually requires manual finishing by tearing or using scissors
Deep point blade: Faster, better depth, slightly rough edges, Explore and Make models only
Knife blade: Best results, smooth edges, Maker machines only
Craft foam project ideas to make with a Cricut
Craft foam is an affordable, forgiving material that opens up many creative possibilities.
With the right setup and a little patience, every Cricut machine can cut it successfully.
If you would like to give it a try, here are some Cricut project ideas that use fun foam:
- Hero mask costumes
- Maze puzzle games
- Ball bearing games
- Turn the wheel cards
- Shaker cards
- Snowglobe cards
- Ornament shaker cards
- Wearable crowns
If you have felt unsure about trying foam before, I hope this guide gives you the confidence to give it a go.
Start with simple shapes, test your settings, and take your time.
Once you’ve worked out the precise settings needed for your particular machine, keep a note of them somewhere safe so that you can refer back to them the next time you cut foam with your Cricut.
Happy crafting,
Sarah x

