DIY Retro Games with a Cricut 🤩 Take on the Ball Bearing Challenge!
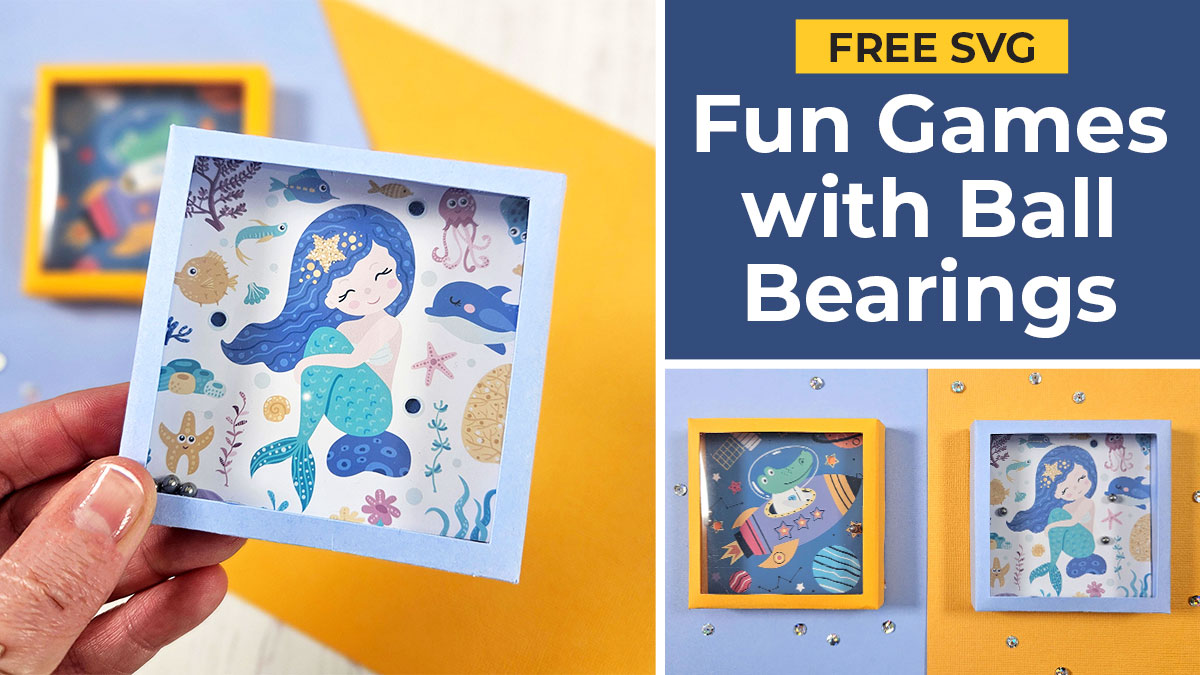
Who knew you could make a retro ball bearing game with a Cricut?
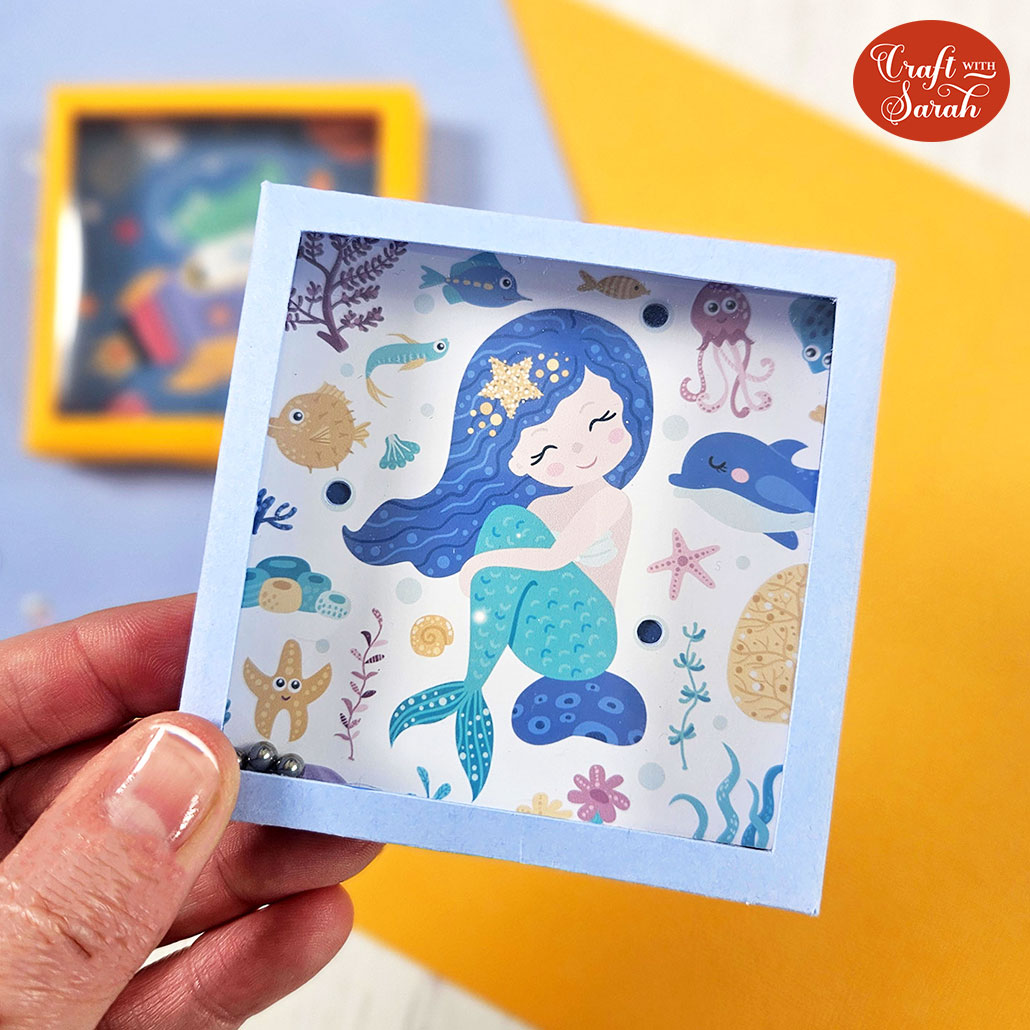
This reminds me of the little plastic games I used to play with as a child.
The picture has circular holes in it and the aim is to get a ball bearing into each hole at the same time, without any of the others coming out of place.
I’ve included two different designs, a mermaid and a little space crocodile but I’ll also show how you can add your own image or photograph and change the position of the holes for the balls to suit your chosen picture.
These would make lovely gifts for older children to use and give to their friends.
However, please note that these are not suitable for young children due to small parts.
Materials supply list
Here is a list of the materials that I used to make this project.
Please note that some of the links included in this article are affiliate links, which means that if you click through and make a purchase I may receive a commission (at no additional cost to you). You can read my full disclosure at the bottom of the page.
- Cricut machine
- Light blue Cricut cutting mat
- Cricut scoring wheel
- Coloured Card
- Collall All Purpose Glue or similar
- Needle Tip Applicator Bottle
- Double sided tape
- Hot glue gun
- Acetate
- Ball bearings
- Small piece of craft foam or thick cardboard (e.g. from a packaging box)
- Scissors
- Colour printer
- White cardstock or matte photo paper to print on
This project is suitable for the following types of Cricut machine: Explore Air 2, Explore Air 3, Maker and Maker 3.
Video tutorial
Watch the video below to see how to make your own ball bearing game.
If you prefer to read rather than watch, keep scrolling!
Ball Bearing Game Tutorial
Make ball bearing games reminiscent of your childhood… but this time, from cardstock using your Cricut machine!
Step 1) Download the cutting file(s) & unzip the downloaded folder
Download the files using the box below.
Download the Free Cutting File

Please login to your account to download this file.
TERMS OF USE:
You may sell finished, handmade physical craft items that you have made using this product but must not sell or share the digital files. Read full terms of use
Before you upload the SVG to Design Space, you need to unzip the download folder that it comes in.
Step 2) Upload the SVG file and printable into Design Space
Open up Cricut Design Space and start a new Project.
Click “Upload” and then find your unzipped version of the downloaded files for this project.

Choose either the mermaid or the space crocodile design.
I’m using the mermaid design for this tutorial, but it works exactly the same for the other design.
If you want to upload your own photo, you must still start by uploading one of the pre-made ones.
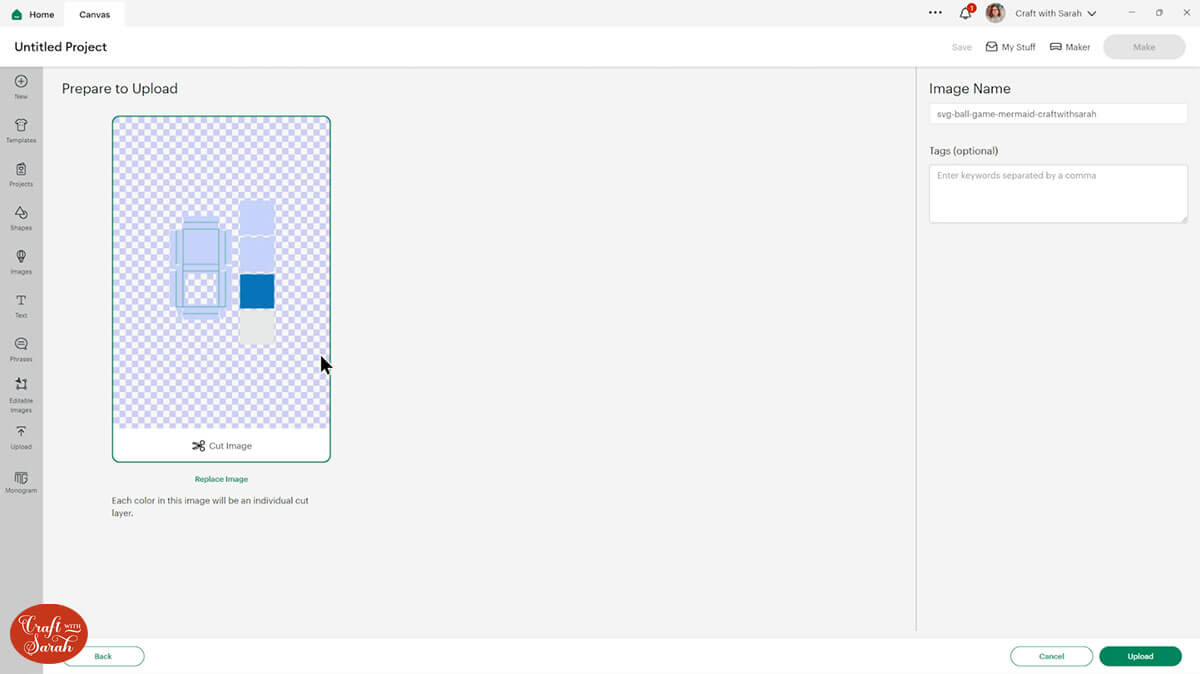
The file to upload for Cricut Design Space is the one called svg-ball-game-mermaid-craftwithsarah.svg
Make sure you upload the file which starts svg- in the filename!!
This is how it should look after you have selected the file:
You also need to upload the printable mermaid design. This is the file called printable-mermaid.png.
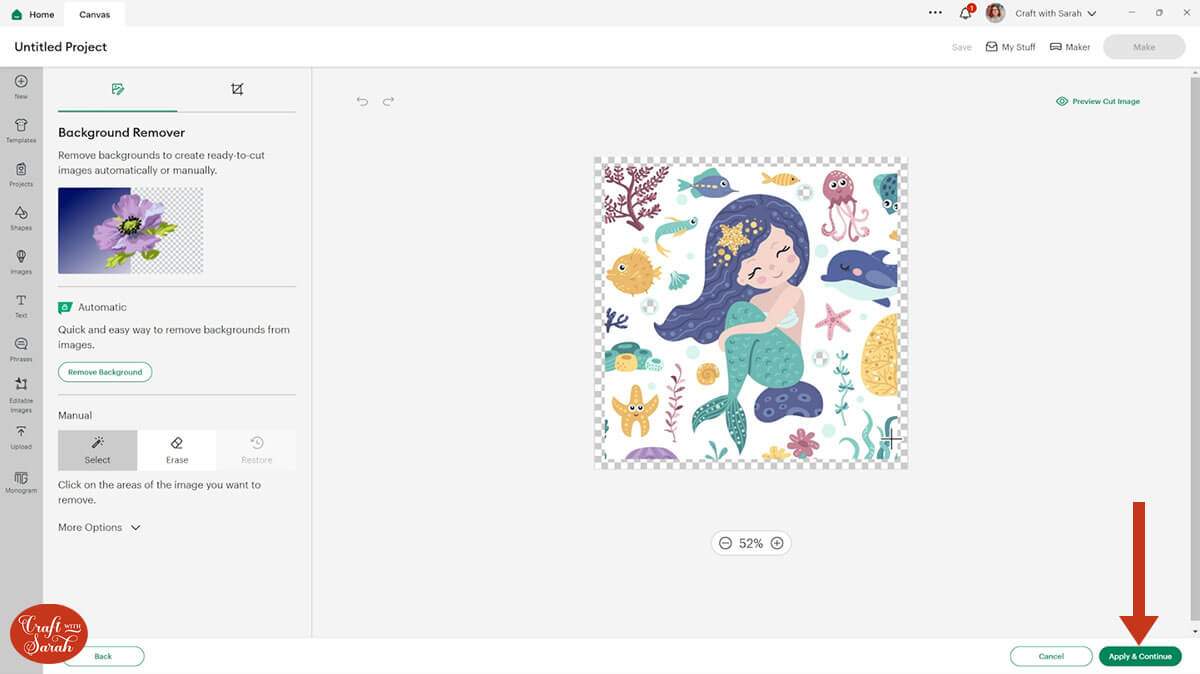
This is a Print then Cut image. Choose Complex as the Image Type press Continue.
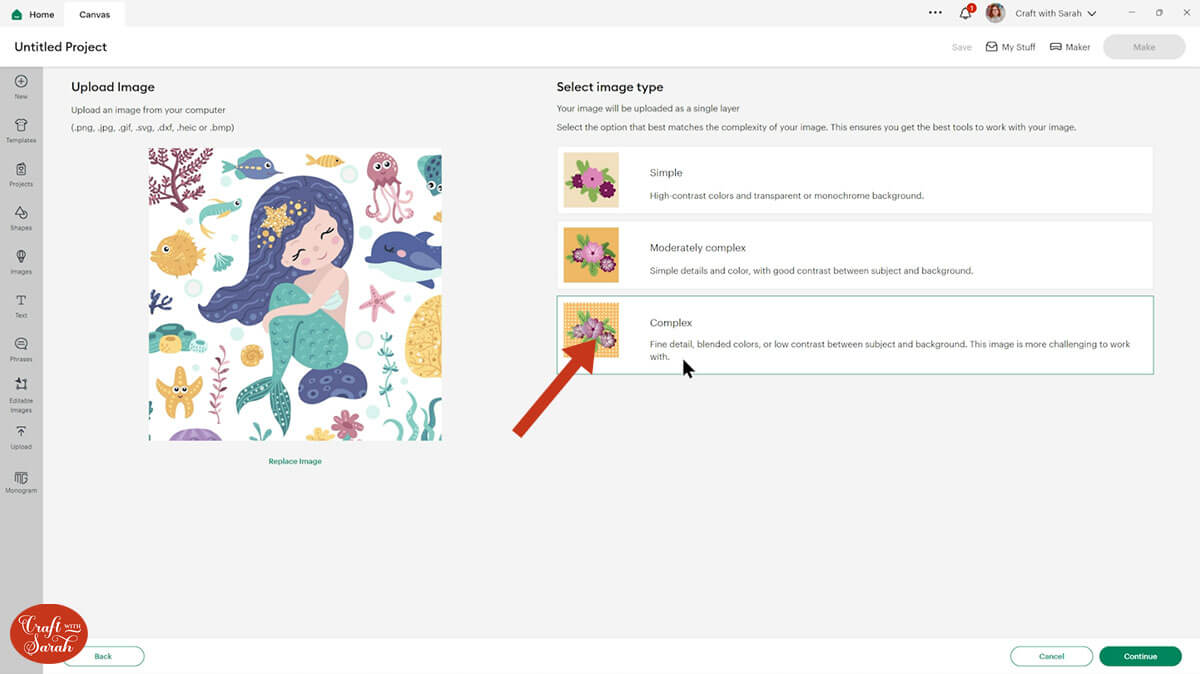
You don’t need to change anything on the next screen, just press Apply and Continue.
Select “Print then Cut” on the next screen.
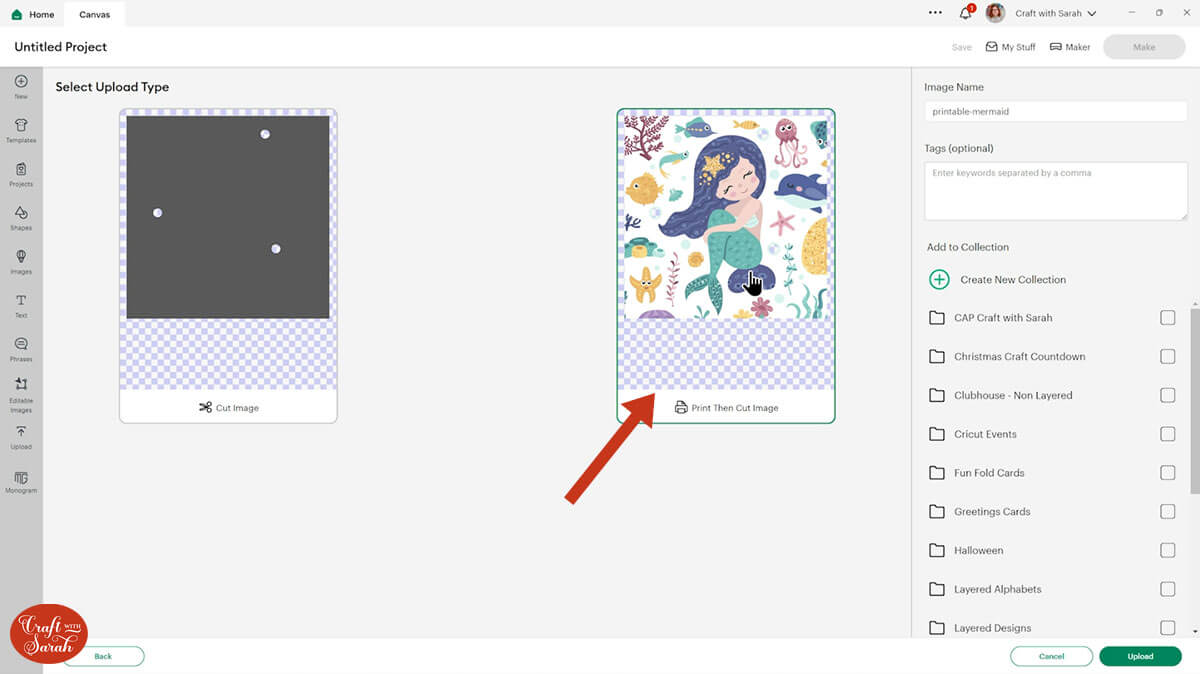
After uploading, both files will show in your “Recently Uploaded Images”.
Click on them and then press “Add to Canvas” to put them onto your Project.

Step 3) Size and format the files
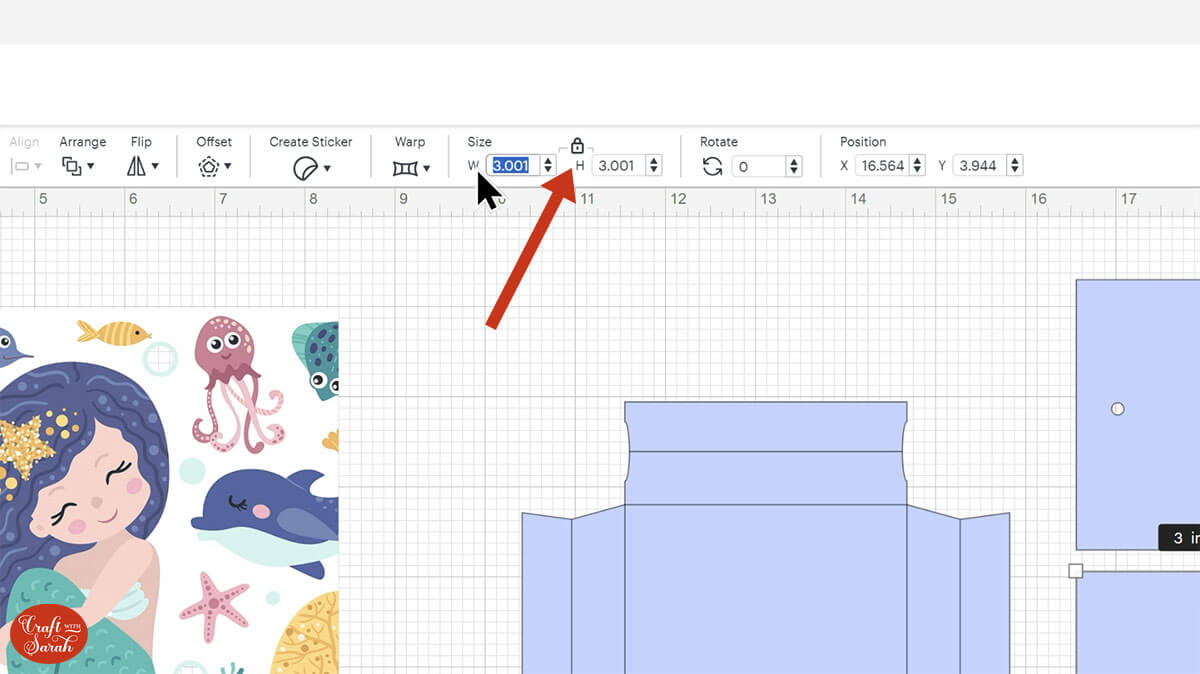
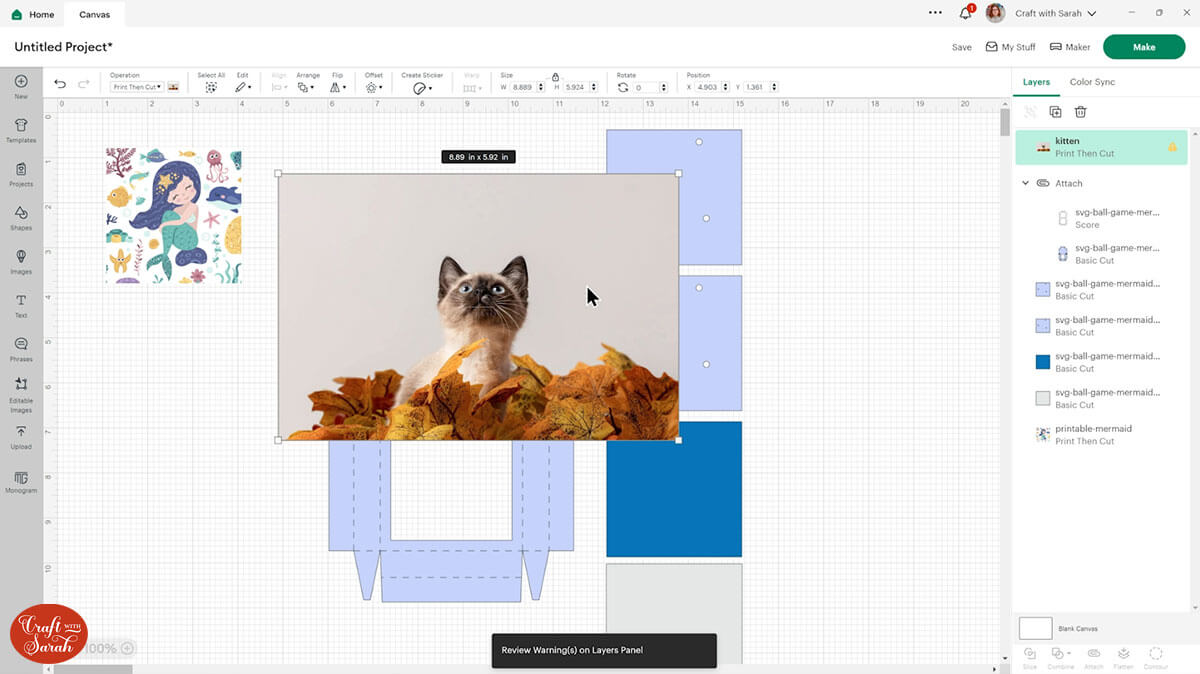
The box will load in at the correct size but your printable image will probably load in really big.
To size the printable image correctly, click on one of the square layers in the layers panel, note the measurements for it and copy them into the height and width boxes for the printable image.
The premade printable images have the holes for the ball bearings already made. If you are using your own image you will need to make the holes, but more on that later on in this tutorial.
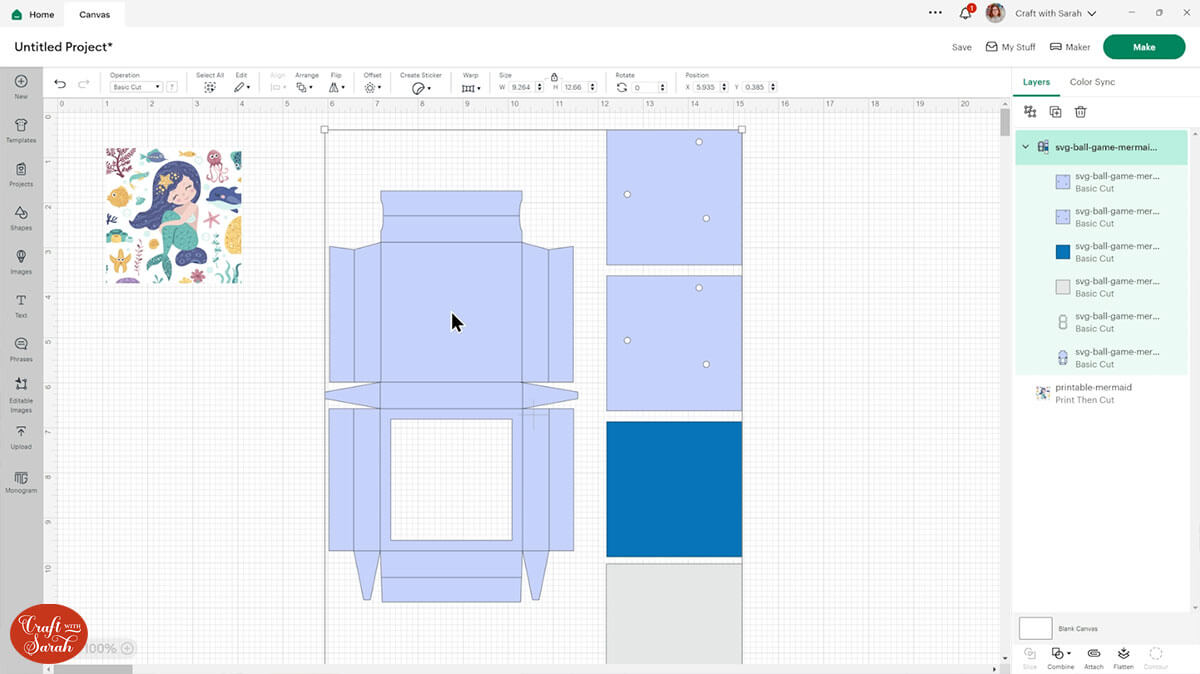
The pale grey square of the design needs to be cut from acetate. This will be stuck to the inside of the box like a little window which you can see through to complete the game.
The darker coloured square is going to be right at the bottom underneath the holes so it will show the colour through the holes.
Then we’ve got two copies of the same shape with the ball bearing holes cut in them. There are two copies to give a little bit of depth and dimension to the holes so that when the ball bearings go over them they will sit nicely in place.
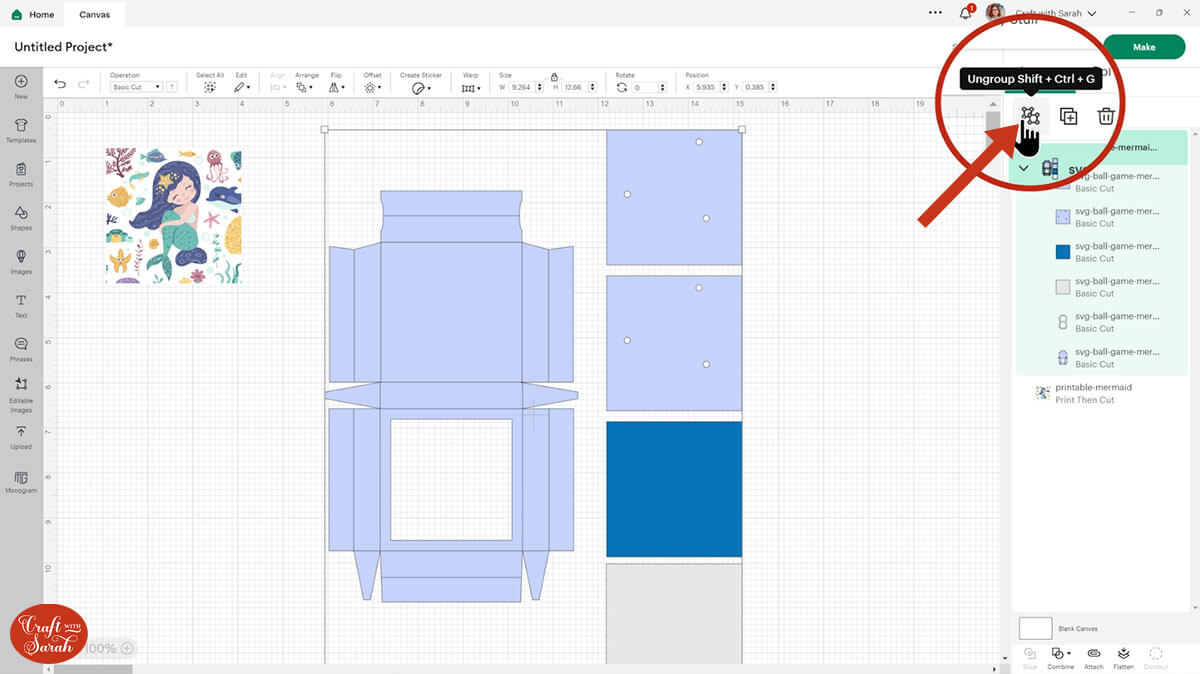
Next, we need to format the score lines. Click the box design and press “Ungroup” at the top of the layers panel.
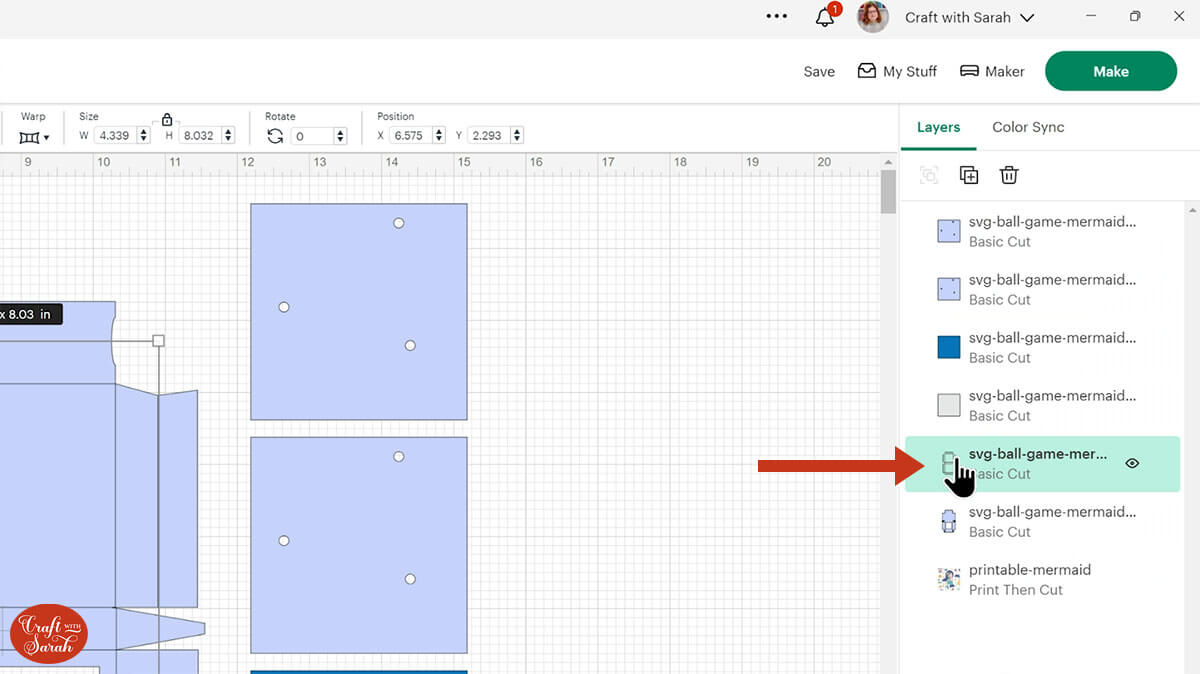
Look down the layers panel until you locate the layer which looks like lots of single horizontal and vertical lines. Click it in the layers panel to select it.
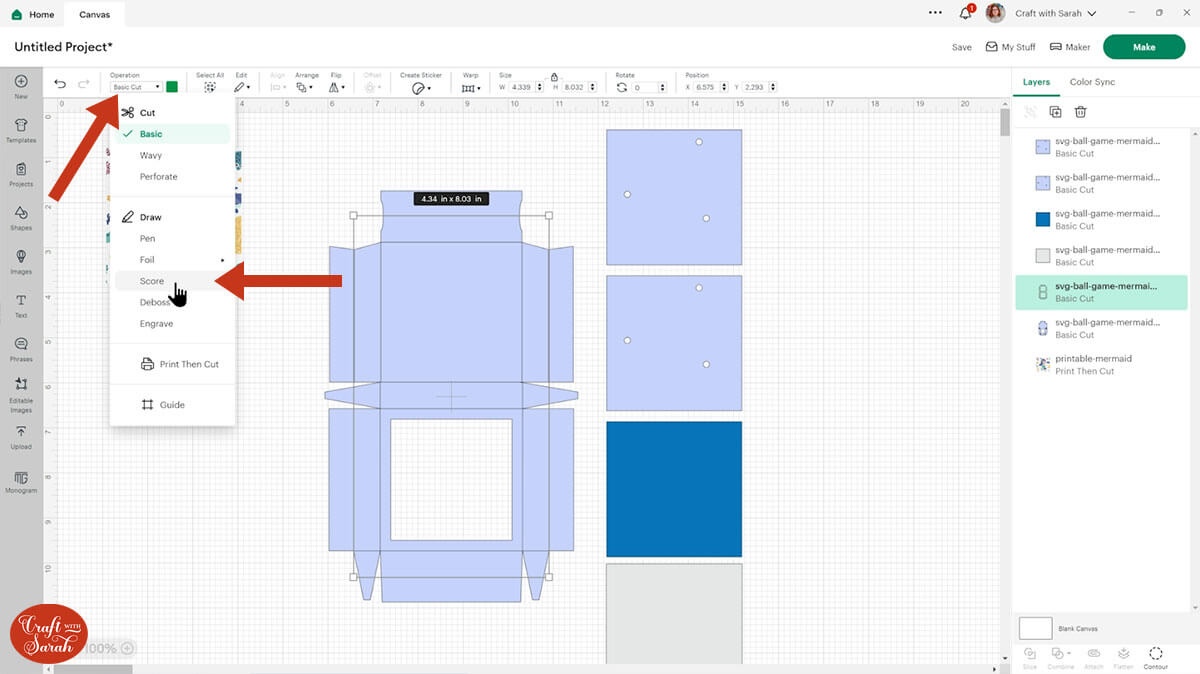
Click into the Operations dropdown menu and change this layer to “Score”.
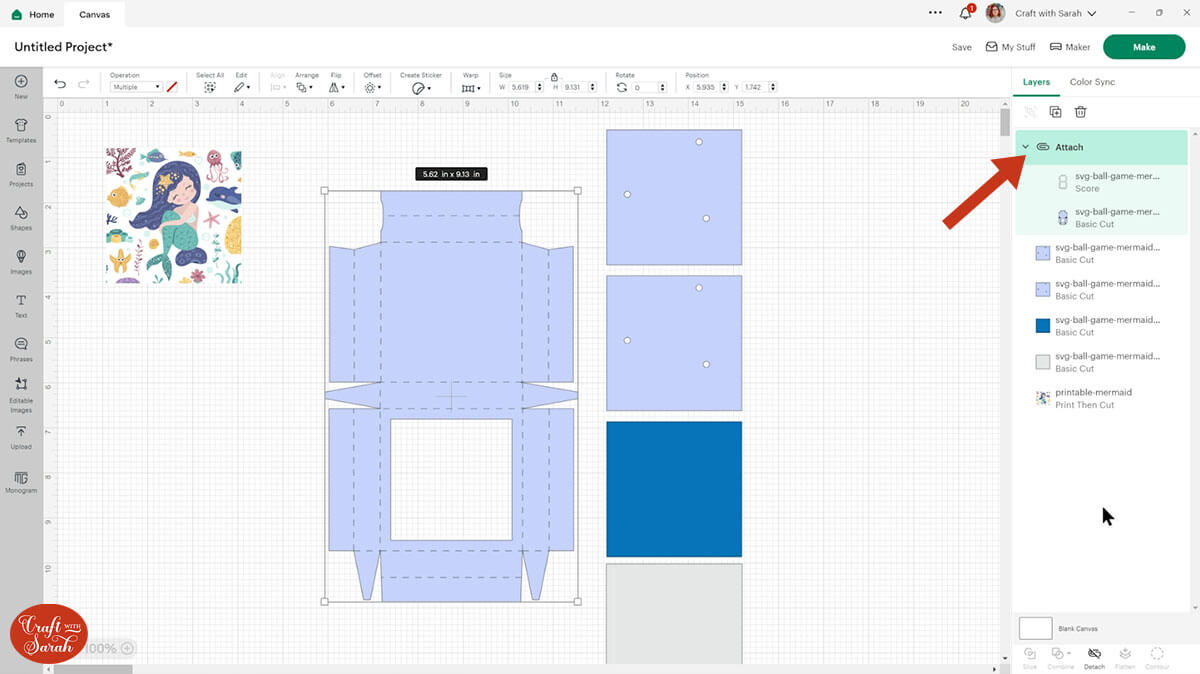
Drag a box around the main box and the score lines and press “Attach”. This is what tells the Cricut to do the score lines on the box shape.
Your layers panel should now be looking like this:
To change the image to a custom design, upload your chosen photo or image as a print then cut image (similarly to how I uploaded the mermaid image earlier in this tutorial).
Insert it onto your project.
Click on one of the solid squares and duplicate the layer by pressing the duplicate button at the top.
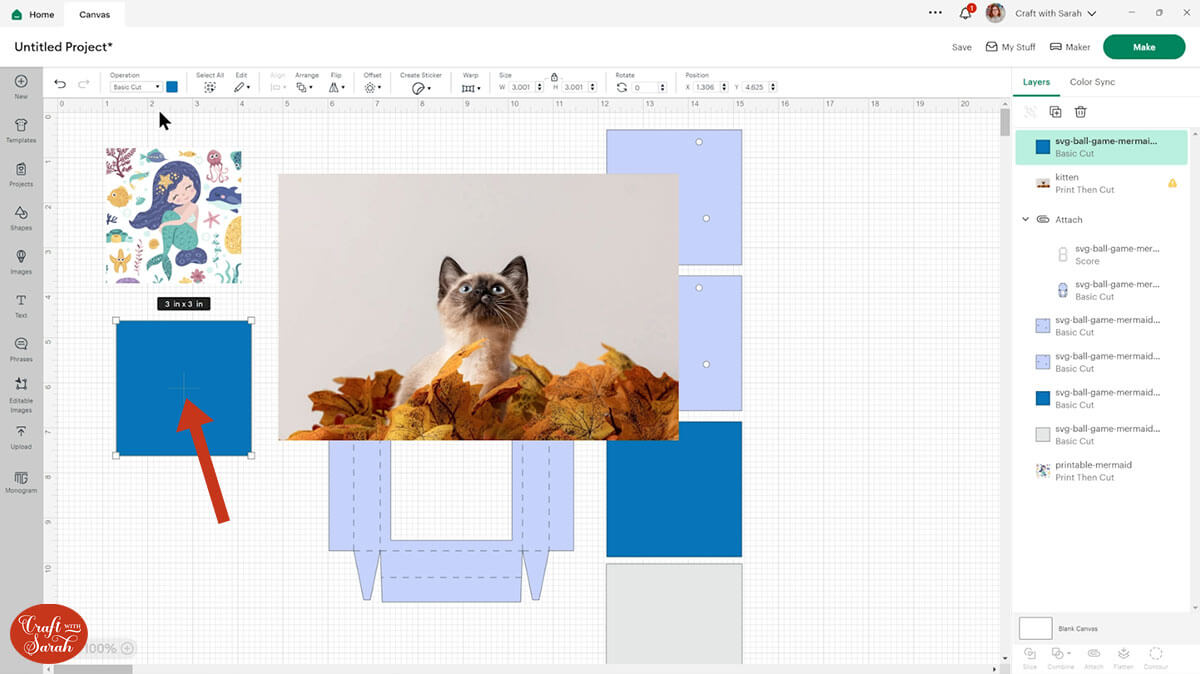
Move it so you can see it easily and then use the Operations dropdown to change it into a Guide layer. This will change its appearance, so now it looks like a pink outline.
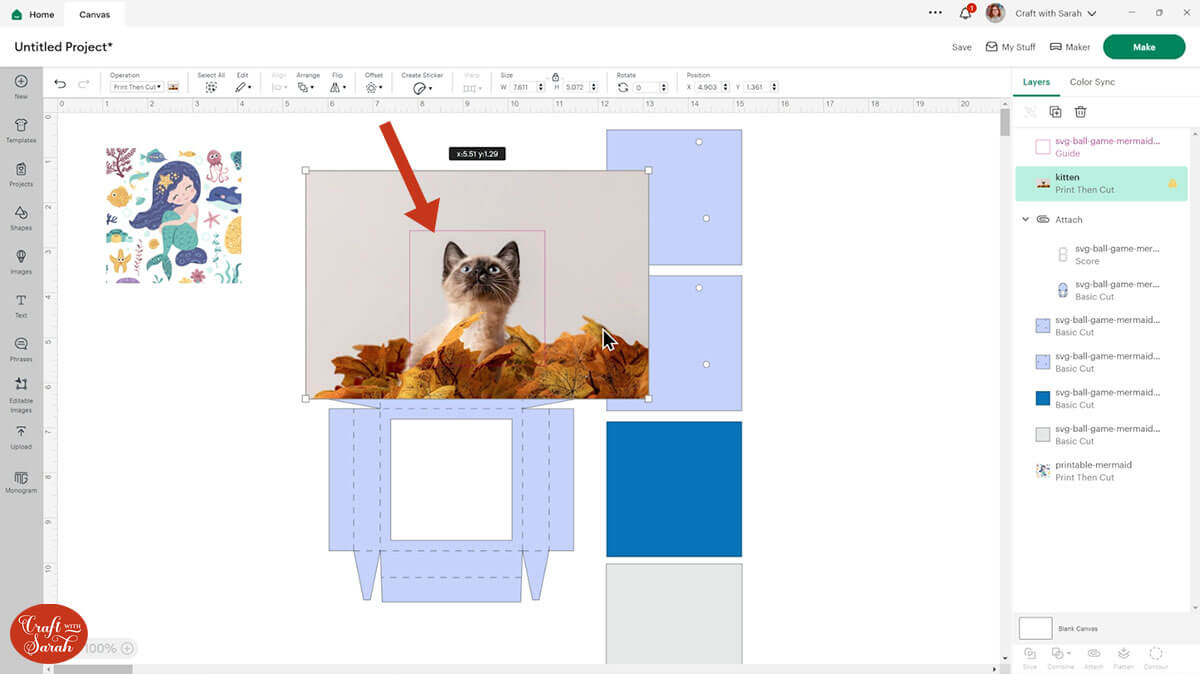
With the guide layer selected, press Arrange > Send to front and then position the square over your new photo.
Resize the photo (NOT the square!!!) until you are happy with the part of the image that’s appearing in the square shape.
Select the photo AND the guide layer and click “Slice”.
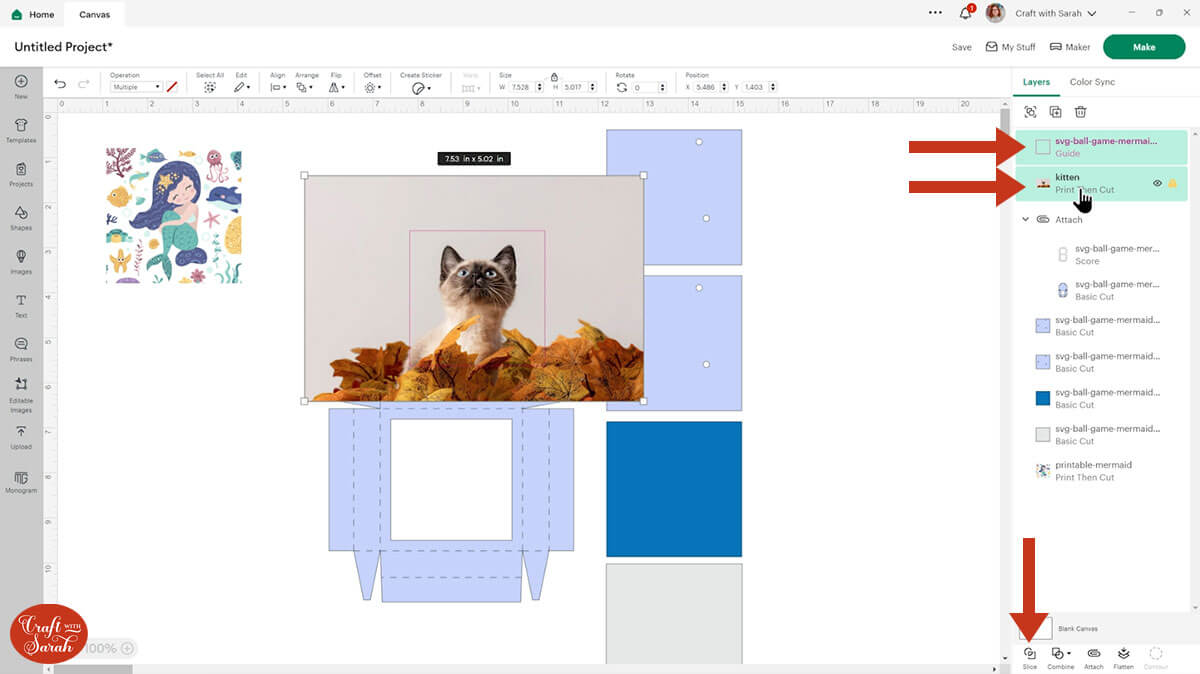
Now you have a perfect size square cut out. Delete the guide and the leftover pieces.

Now we need to add the holes for the ball bearings to go in.
Click on one of the existing squares with the holes and then down the bottom of the layers panel press Contour.
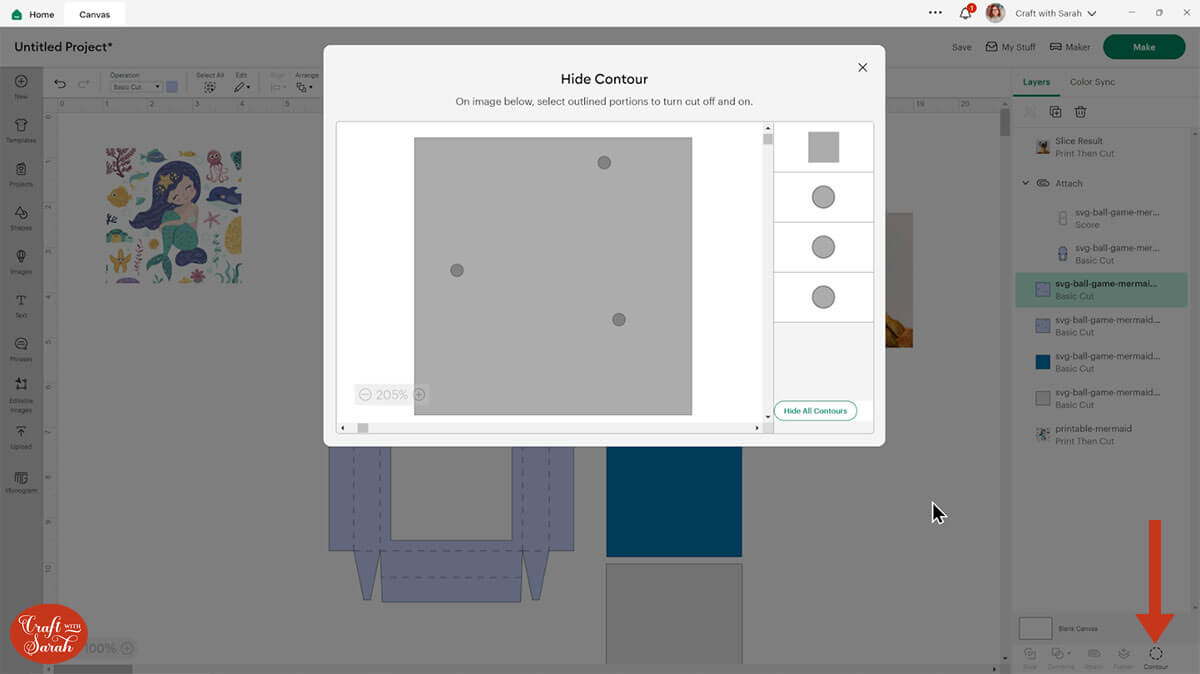
We’re going to be really sneaky here and hide all of these layers or pieces so that we just end up with one circle.
To do that, click the square picture and then two of the circles. You see they’ve now all greyed out. We’ve just got one circle left.
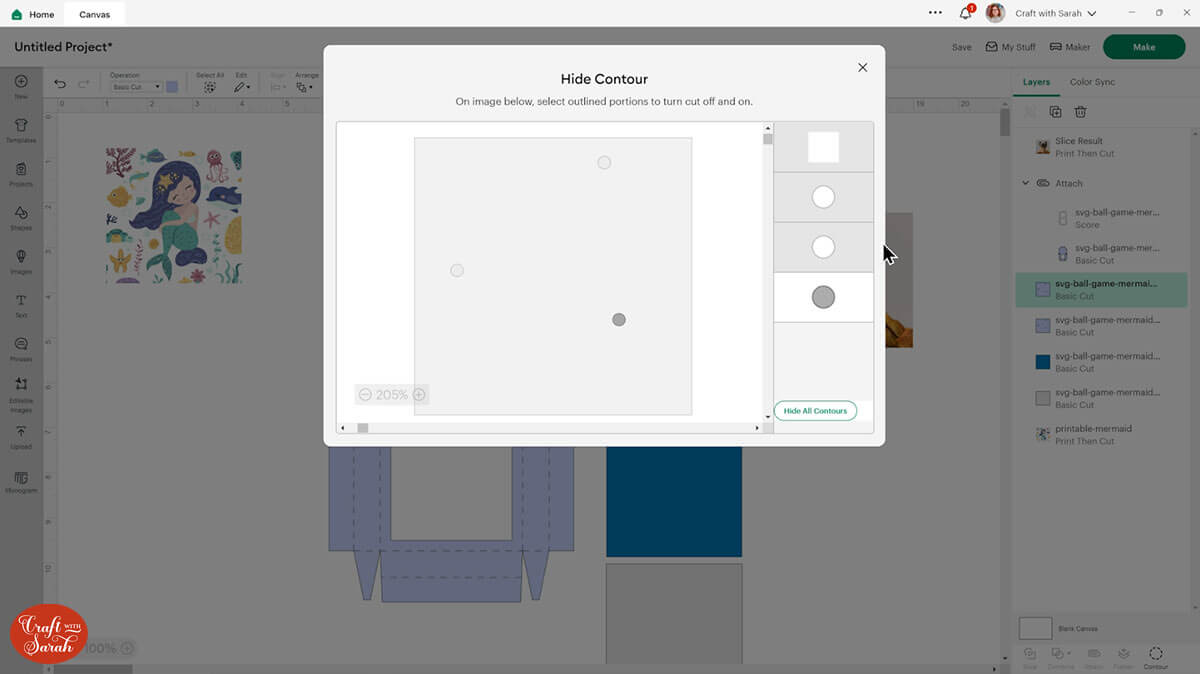
When you close the window you will see one tiny circle.
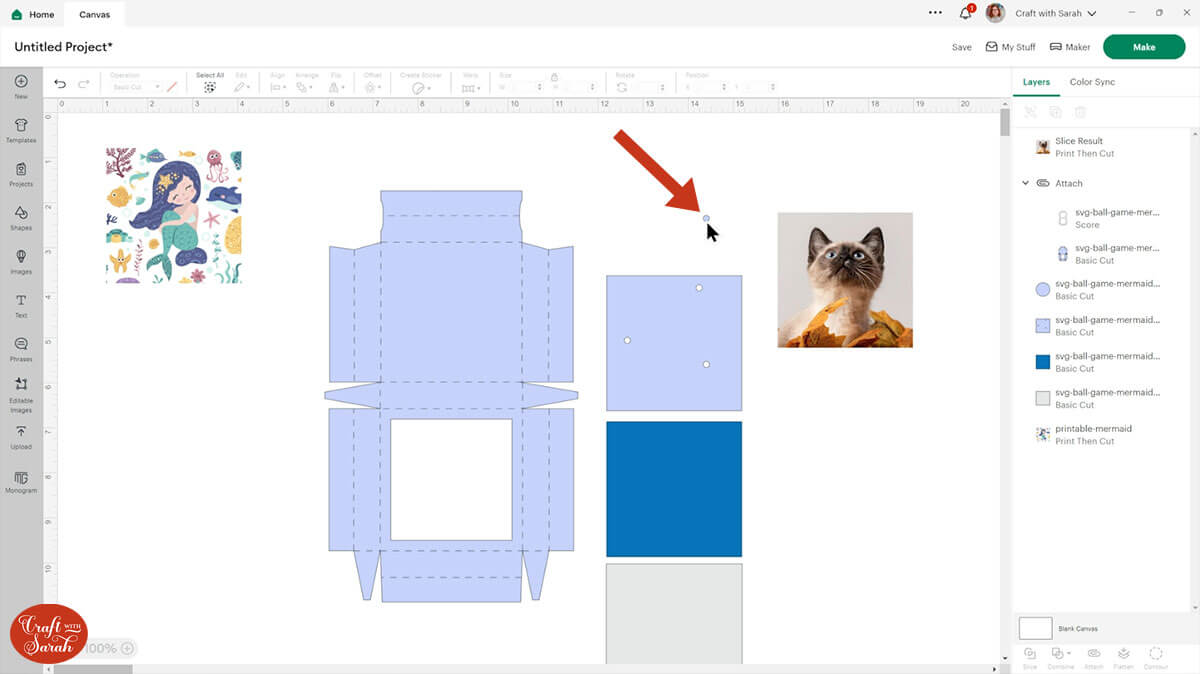
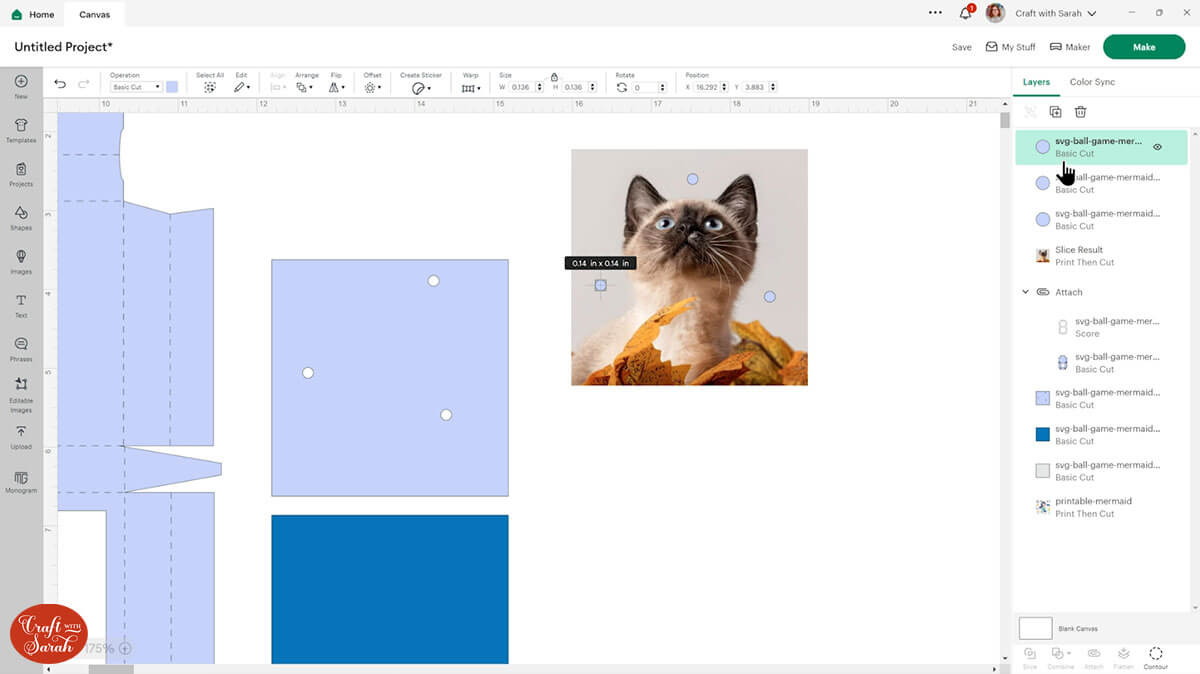
Now you can position this where you want it to cut. If you can’t see it, go Arrange > Bring to Front to move it on top of the photo layer.
Duplicate the circle twice and add those onto the photo too.
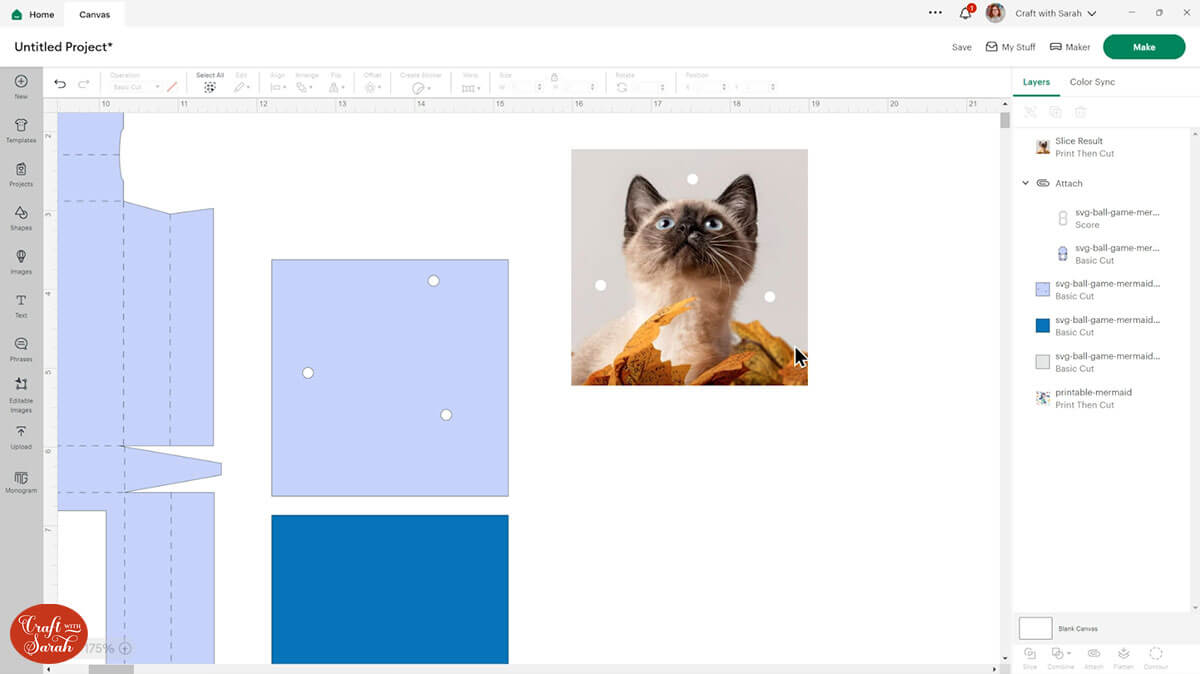
Select all of the circles and press Combine > Weld to join them together into one layer.
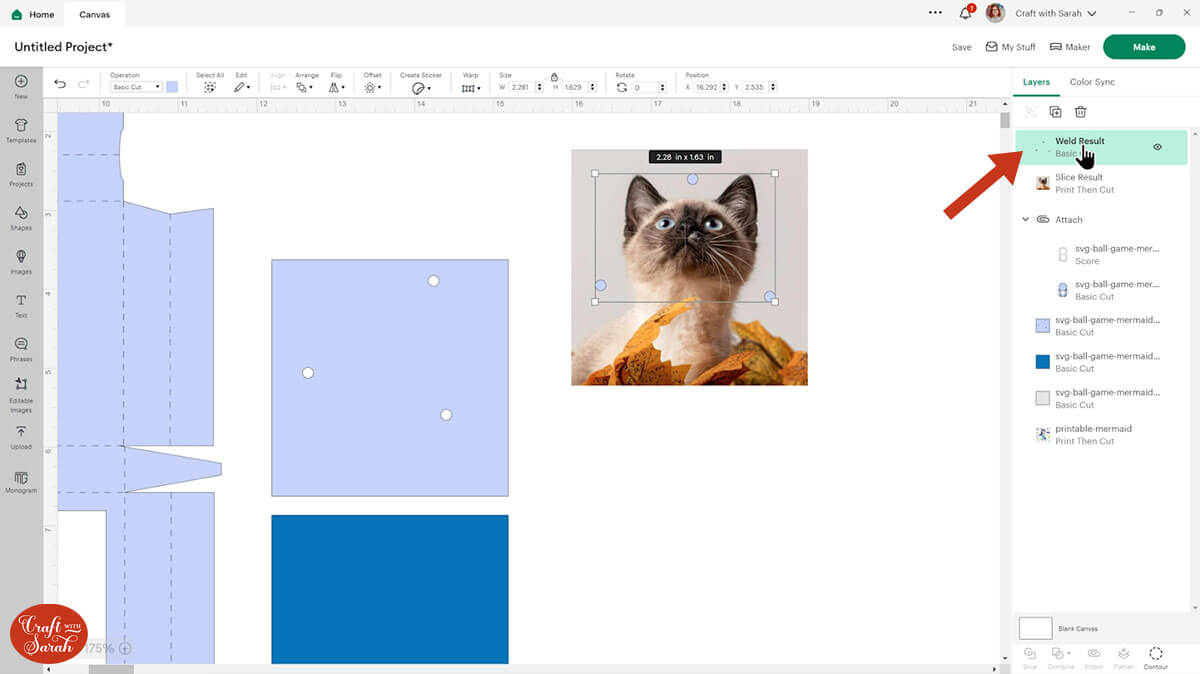
Select the Welded circles and the photo and press “Slice”.
Delete the Slice result layers until you just have the photo left, which now has three holes cut out of it.
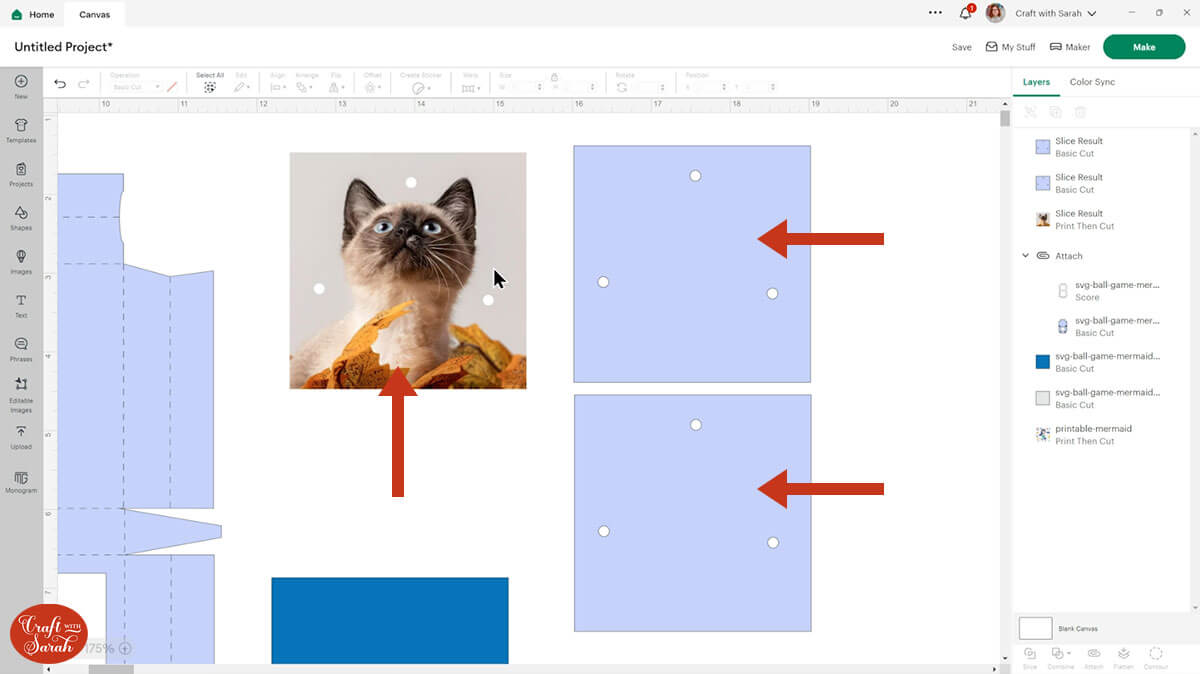
We then just need to make our two colored layers that will help make the balls sit in there a bit easier.
Delete the original squares with holes cut out from the SVG you uploaded at the beginning of this tutorial, as the holes won’t be in the correct position for your new image.
Take your image with the holes, press Duplicate to copy it, then use the Operations dropdown to change it from a Print then Cut layer to a Basic Cut. Make it the same colour as the main box.
Duplicate that new Basic Cut layer to make a second copy.
Your screen should now look something like this:
Step 4) Cut the project with your Cricut
Now that the project is finished, save the file and then click “Make”.
If you’re new to Print then Cut then you can find a detailed tutorial on how to do print and cut here.
When you’re happy with how everything is looking on the mats, press Continue to connect to your Cricut machine and get everything cut out from your cardstock, acetate and your Print then Cut image.
I did my Print then Cut onto matte effect photo paper rather than glossy photo paper because I was worried that glossy photo paper might scratch with the ball bearings going over it all the time, whereas matte paper has a little bit more resilience.
TIP: New to cutting cardstock with a Cricut? Check out this in-depth tutorial which goes through every step of the process, including tips for getting the best quality cuts from your Cricut.
Step 5) Stick the game together
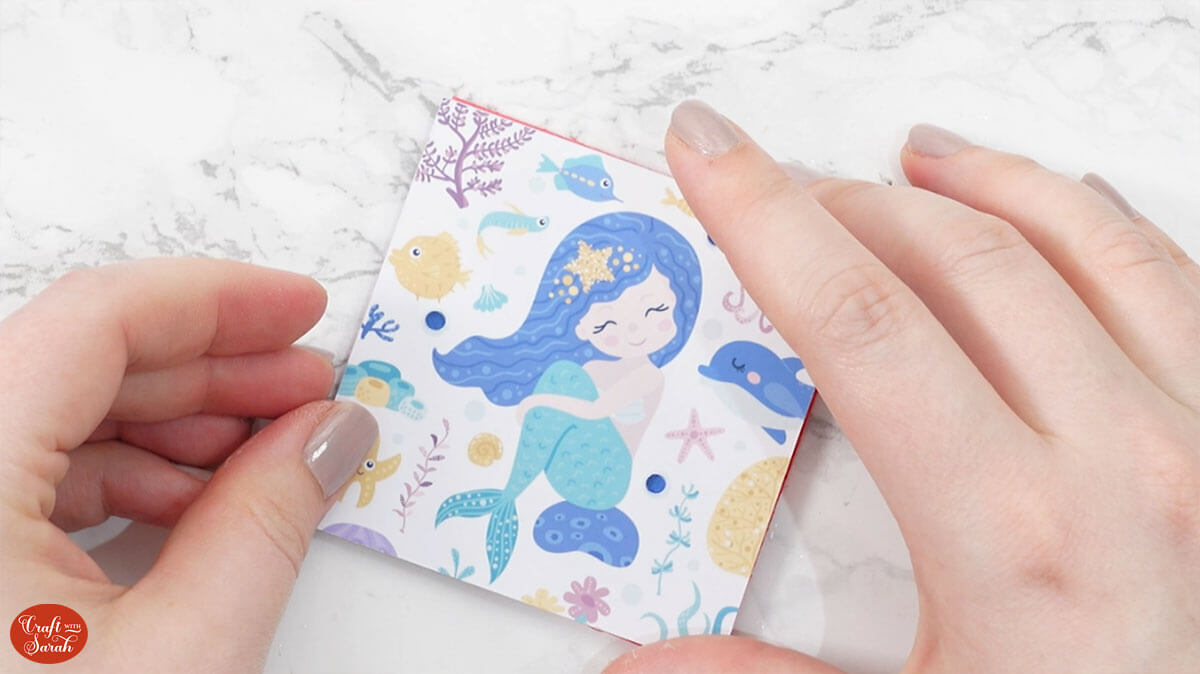
Take the box piece and turn it upside down. Fold along the score lines towards yourself.
Glue the acetate to the inside of the box, making sure it doesn’t have any gaps where the ball bearings may be able to escape.
You can use double sided tape for this bit if you’d rather.
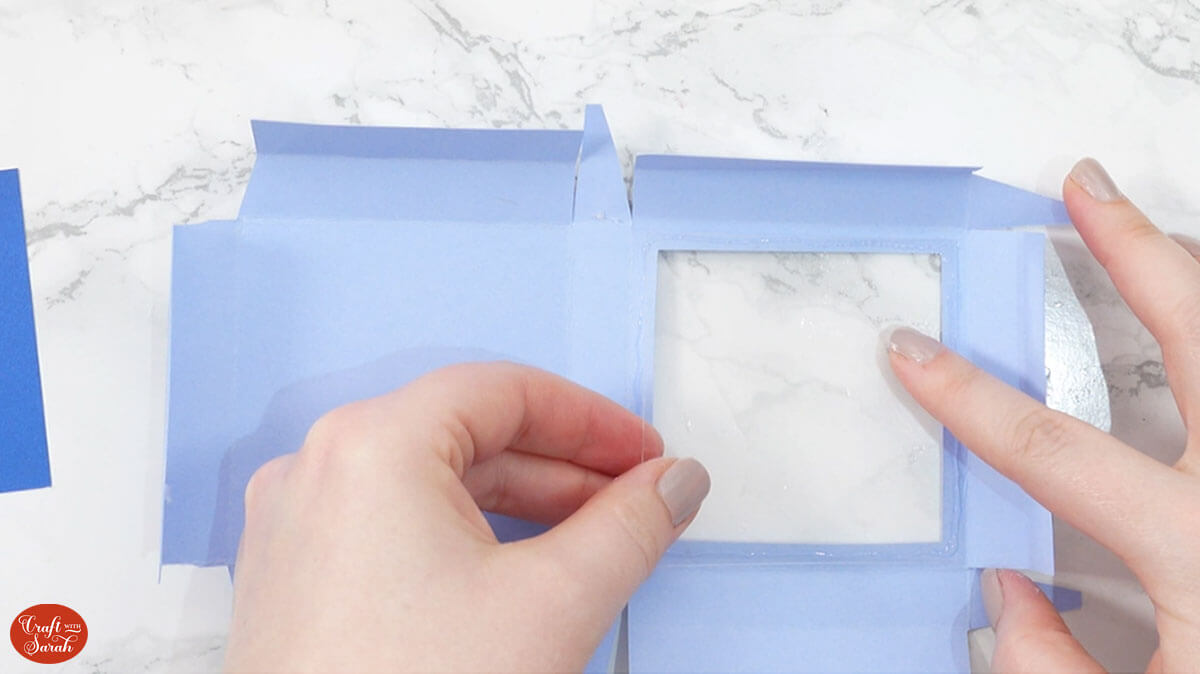
Take care not to get glue on the acetate where you will be able to see it.
Acetate can take a while to stick so I placed my ball bearings on top and left it for 5-10 minutes so that it didn’t pop off later on.

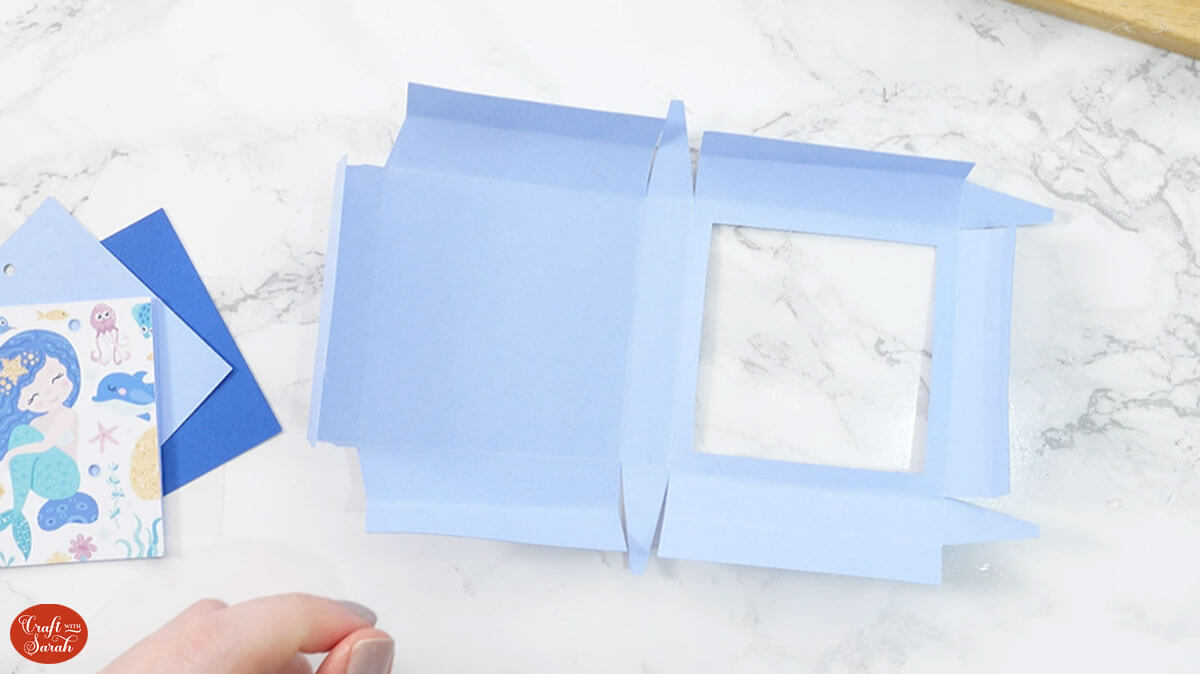
Whilst the acetate is drying, you can begin sticking the inside of the box together.
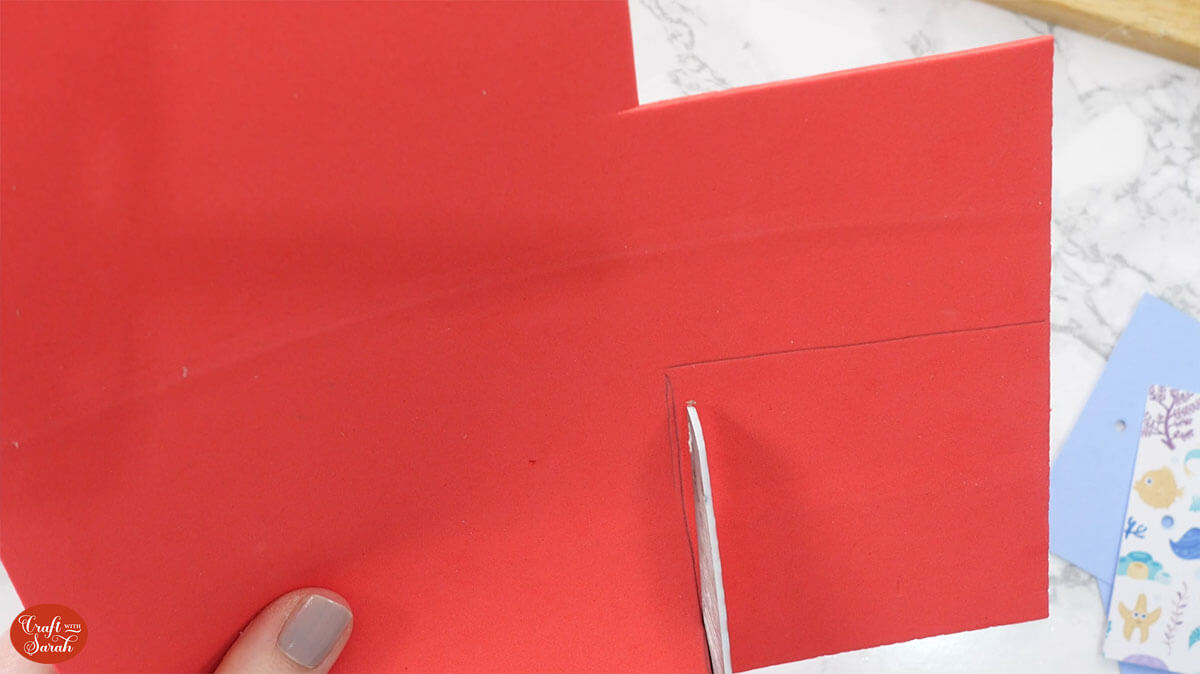
Use one of the squares as a template to cut out from craft foam or cardboard. Draw around the square and cut the shape out with some scissors.
This will be used to fill the box a little bit better.
It doesn’t matter what colour the foam is as you won’t see it at all, which is why cardboard works well too.
Glue one of the squares with the holes in it to the solid coloured square.
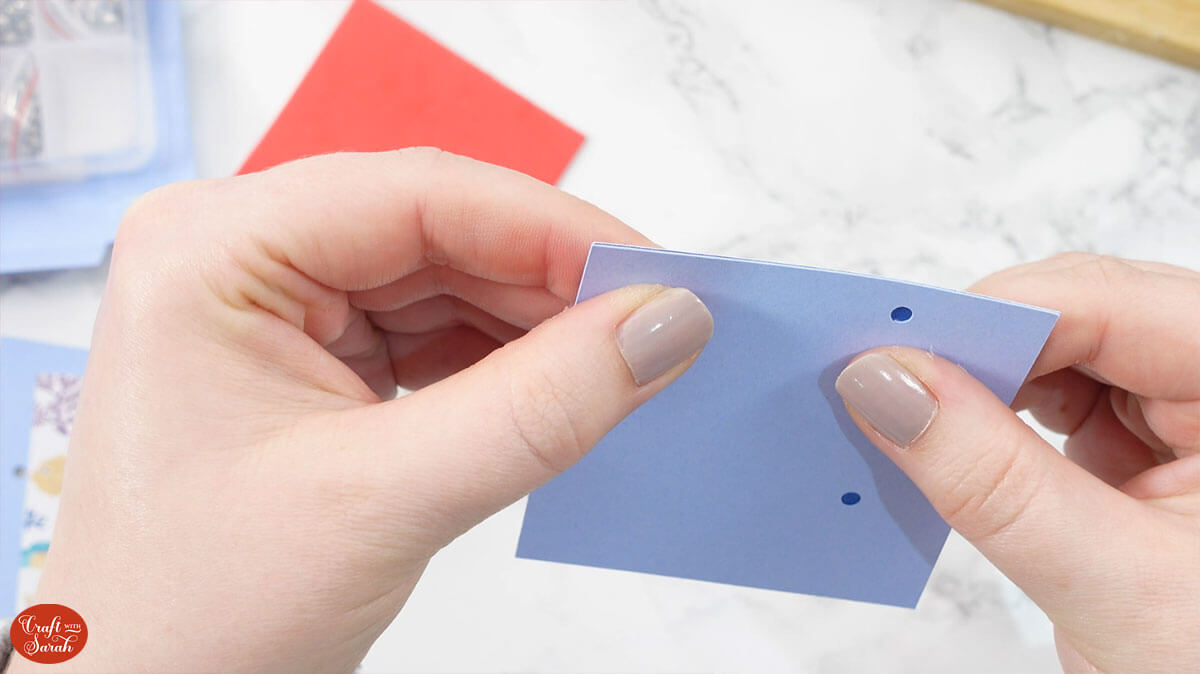
Glue the second square with the holes in it on top, then glue the printed image to the top of that.
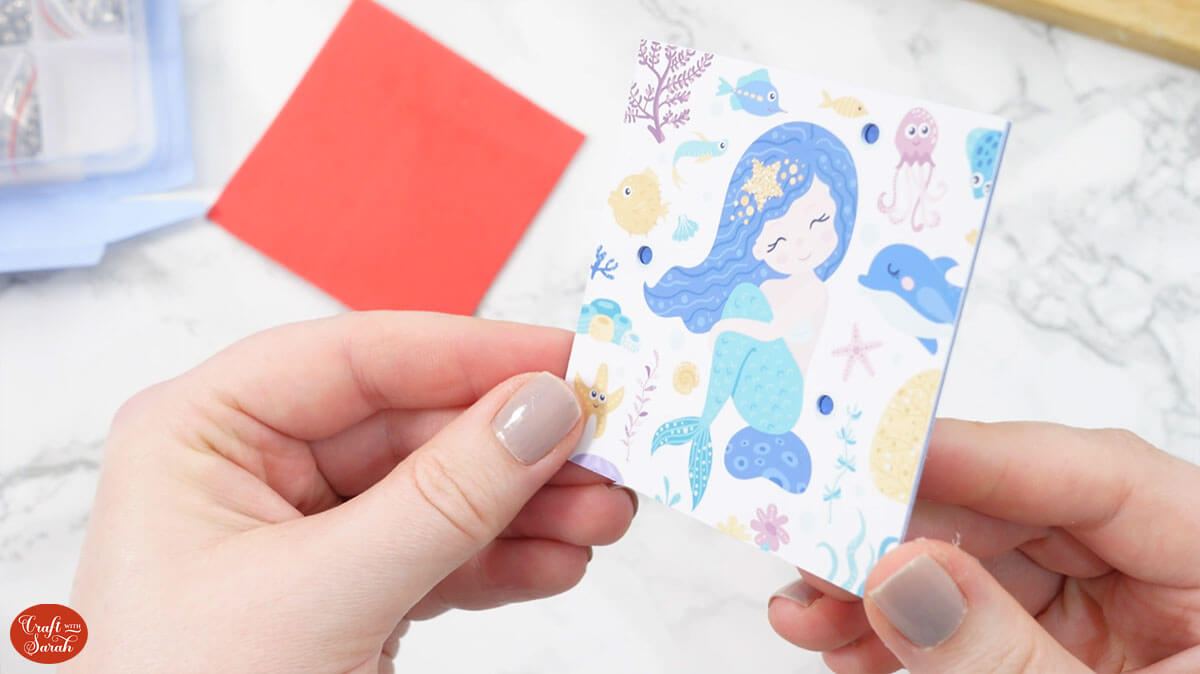
Stick the whole thing to the foam or cardboard square.
Allow everything to dry.
I used double sided tape to stick the box together as this was easier than glue.
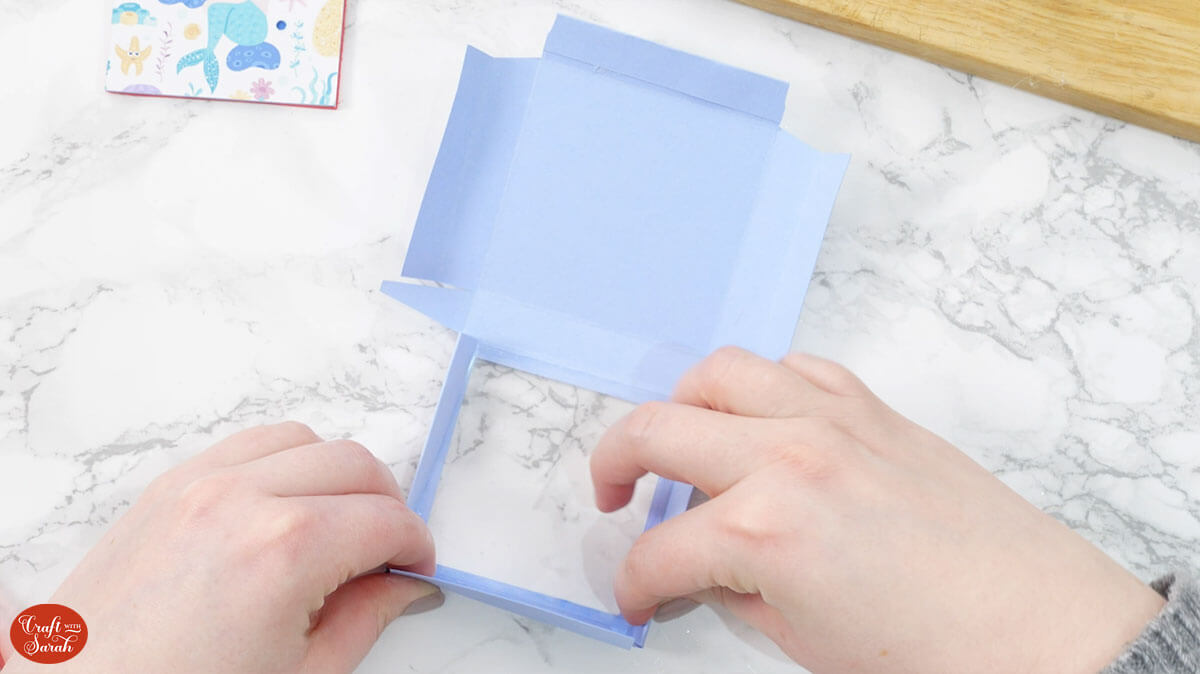
Start with the acetate on the right and you should be looking down at the inside of your box.
Apply double sided tape to the flap on the left which folds over onto itself.

Do the same for the flaps on the top and bottom of the right side.
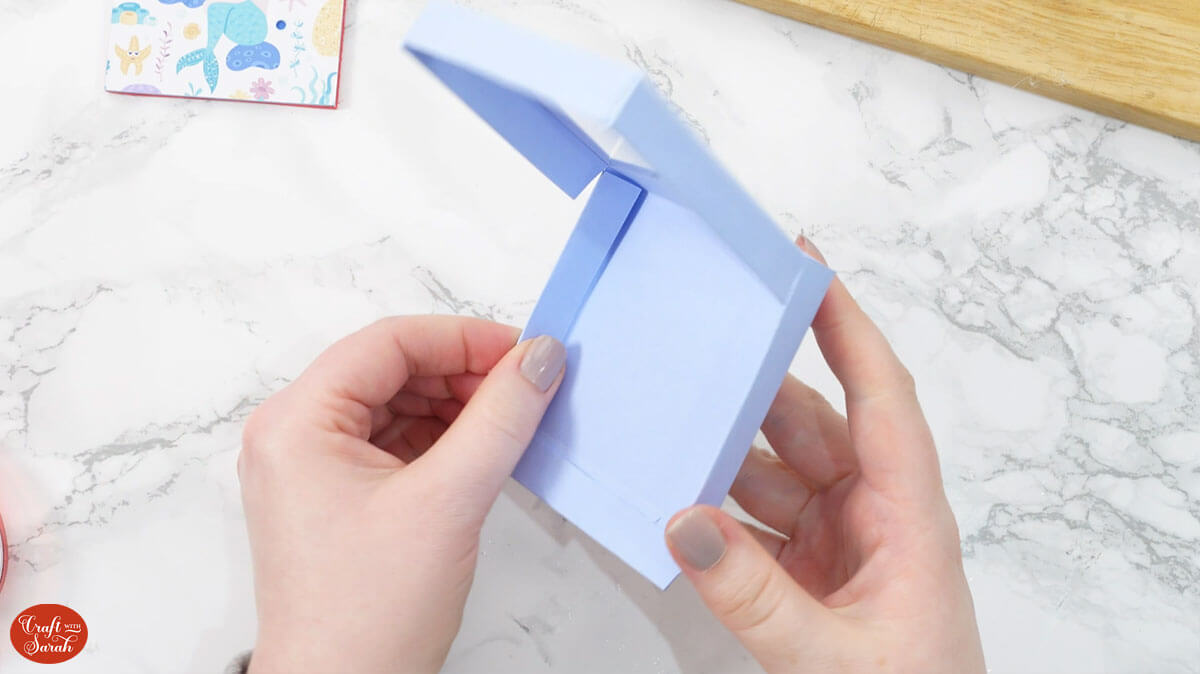
Turn your box over and apply double sided tape to the triangle tabs which are on the acetate side.
Add tape to the flap in between the triangles and fold the triangles inwards and the middle flap will go over and down to seal.
Apply tape to the larger triangles and then down the two sides next to the triangles.
Fold the triangles in and fold the flap over and down to seal on both sides.
Keep sticking and folding the sides in until the box is complete.
Add the image to the inside by sticking the bottom foam or cardboard piece to the inside of the box.
Place three ball bearings on top.
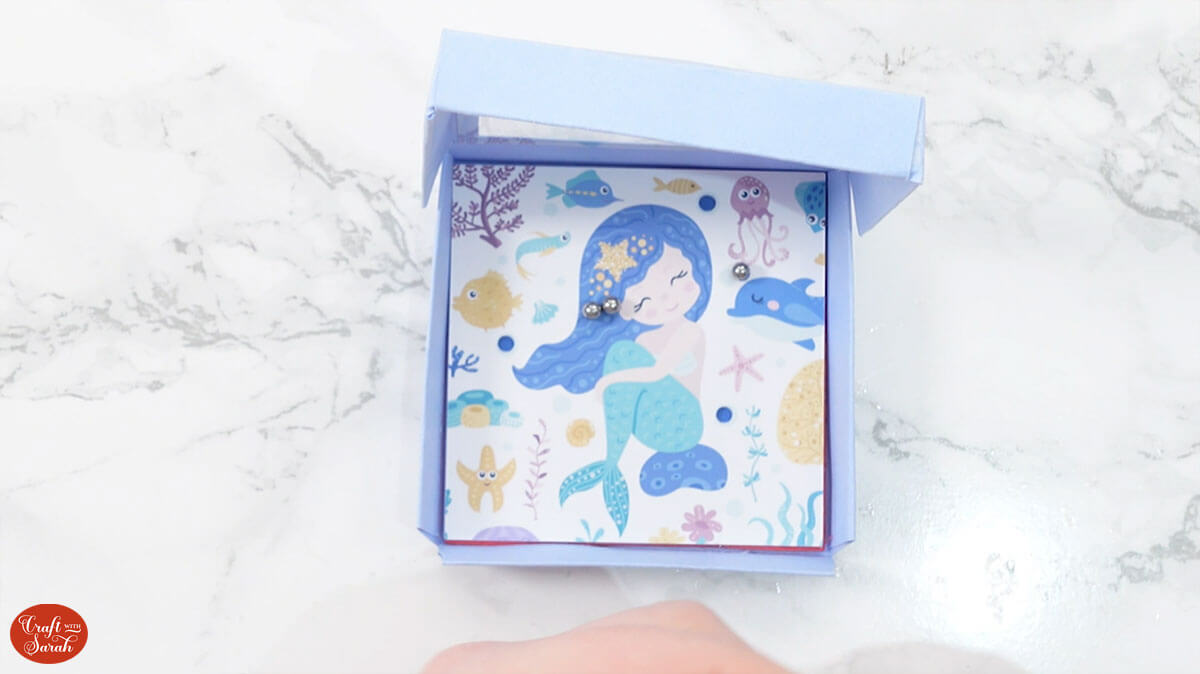
Take a glue gun and apply the glue to all the sides making sure there aren’t any gaps for the ball bearings to escape.
Add a thin layer which covers the whole area but leave a small gap between the top and bottom so that the glue doesn’t smush out the sides.
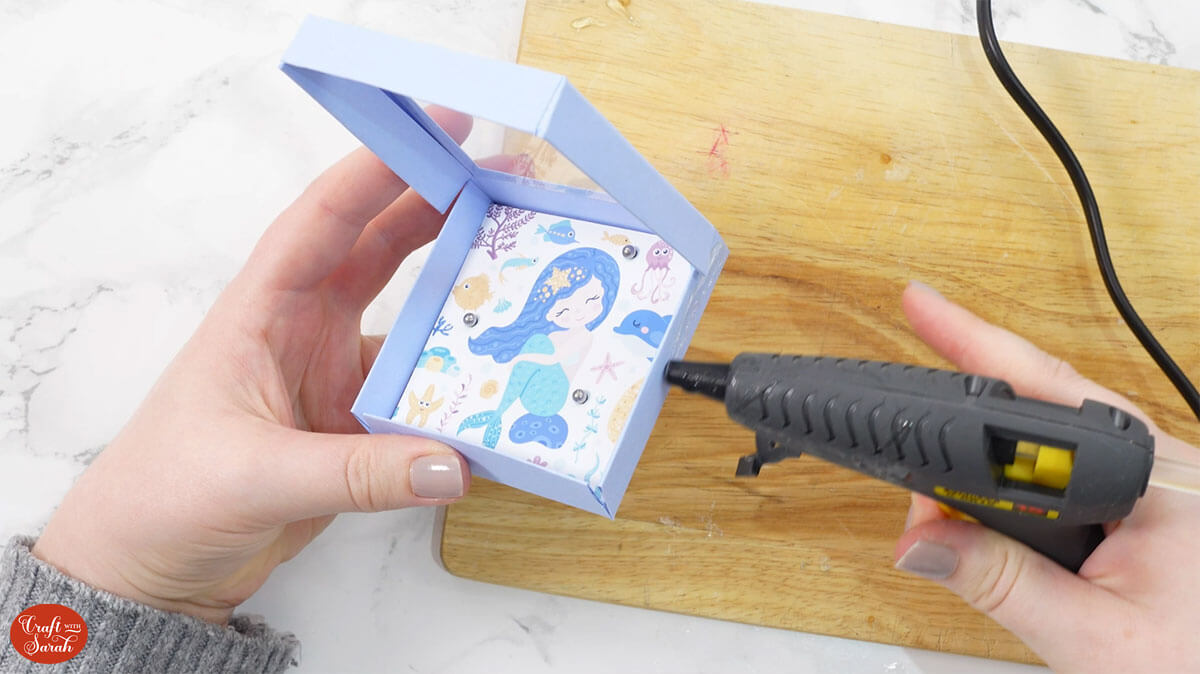
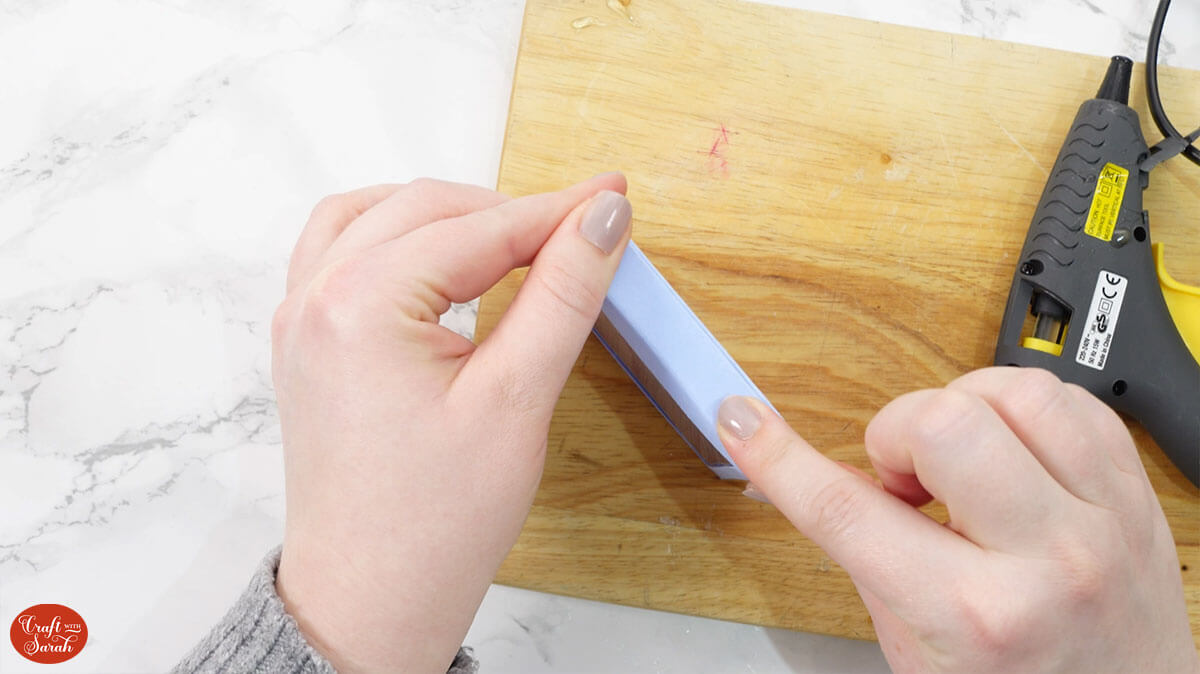
Shut the box and push the edges shut by running your fingers down the edges to spread the glue.
And now your retro ball bearing game is complete!
DIY retro ball bearing game
I love how you can use all sorts of different images inside your game as it means you can personalise it for whoever you are making it for.
It’s a great way to keep children entertained without a screen! You could make a few and they can have competitions with their friends or siblings to see who can complete the game in the fastest time.
Happy crafting,
Sarah x

