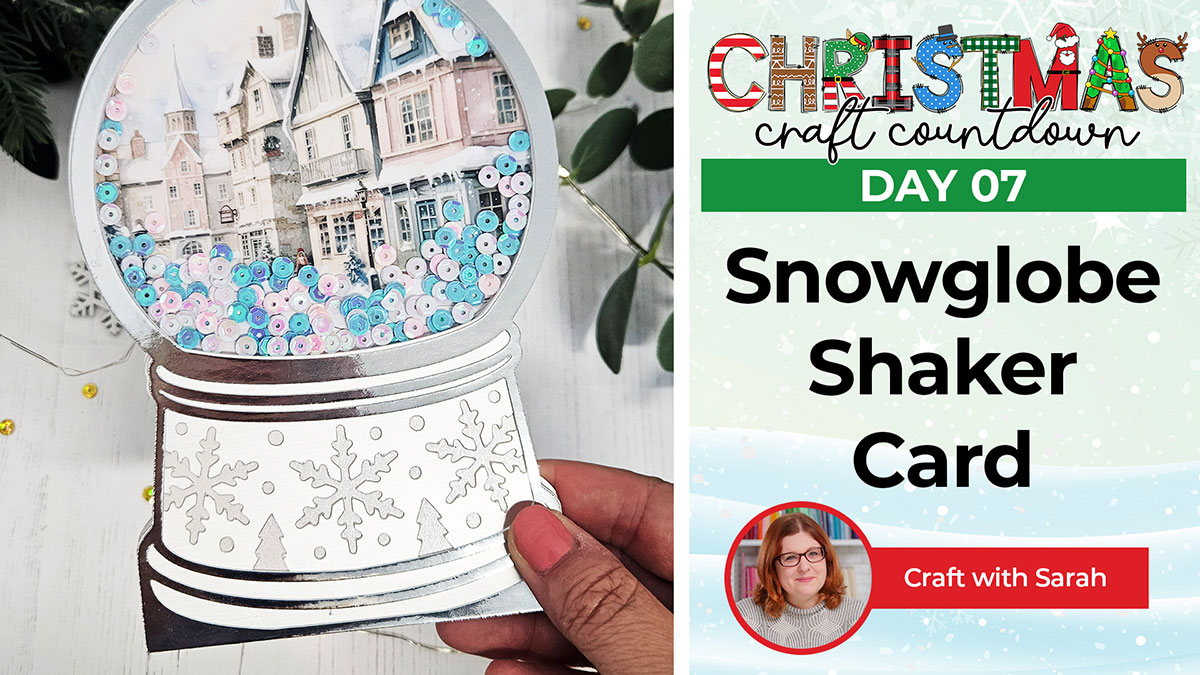
CCC 2023 Day 07 ☃️ Snowglobe Card with Print then Cut
Want to make your own shaker snowglobe card? Now you can, with this easy and fun snowglobe card template.
It’s Day 7 of the Christmas Craft Countdown and today we are making snowglobe shaped greetings cards.
This is a fun interactive greetings card that you can add sequins, beads or glitter to the middle of to replicate a real snowglobe effect.
The best thing about this card is that you can add whatever picture you want in the middle, using Cricut’s print then cut feature.
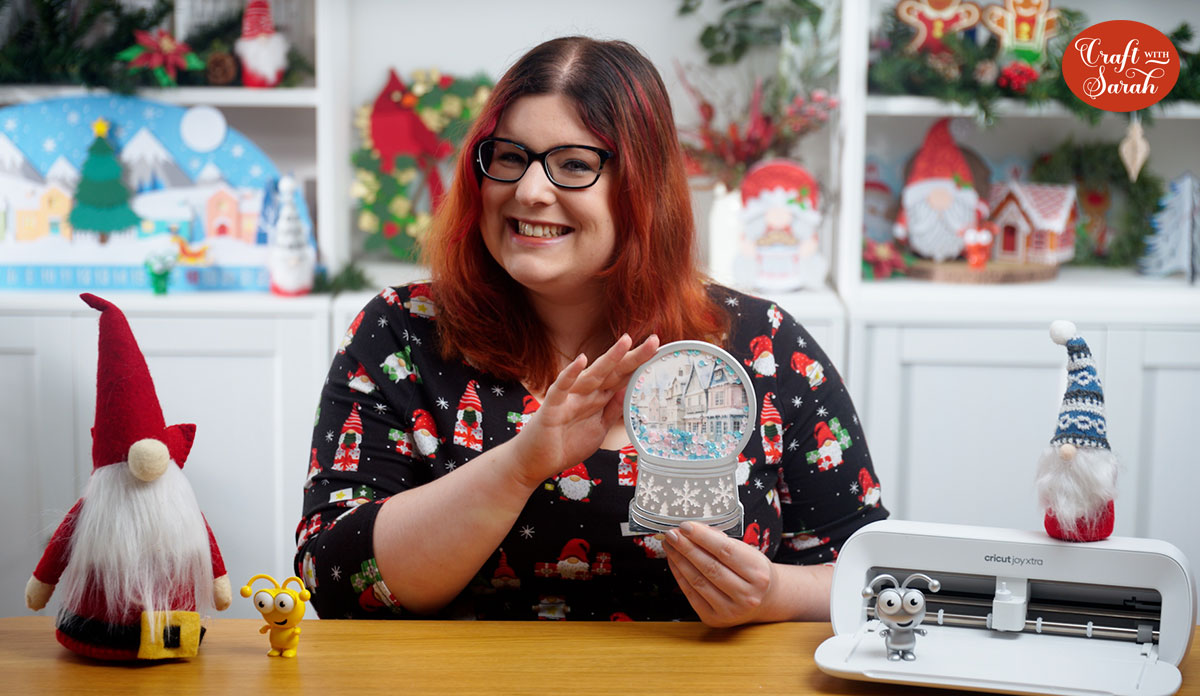
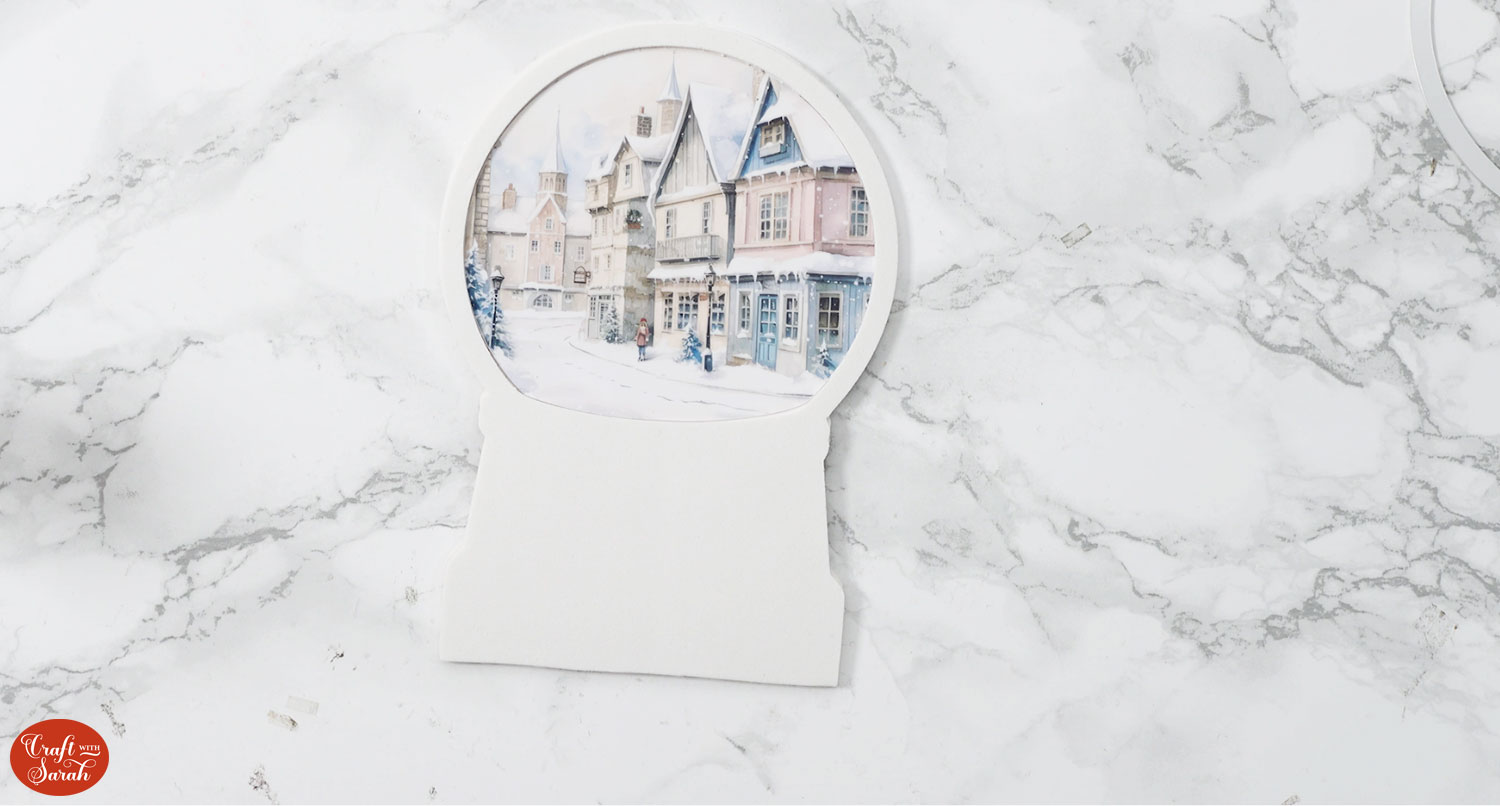
I chose a winter village scene which is also included as part of the file download, but you can add anything in the middle. I think it would be lovely with a Christmas-themed family photo in there.
An envelope template is included too, that the card fits into perfectly.
This will be a really special Christmas card to make for your loved ones this year.
This Project was part of the Christmas Craft Countdown 2023
Materials supply list
Here is a list of the materials that are required to make this project.
Please note that some of the links included in this article are affiliate links, which means that if you click through and make a purchase I may receive a commission (at no additional cost to you). You can read my full disclosure at the bottom of the page.
- Cricut machine
- Colour printer
- Light blue Cricut cutting mat
- Strong grip Cricut cutting mat
- Deep point blade or knife blade (for cutting the foam)
- Cricut Scoring Wheel or Cricut Scoring Stylus
- Cardstock in various colours (I used several different types of silver)
- 12×12 inch patterned scrapbook paper (for the envelope)
- Glossy photo paper
- Fun foam / Funky foam
- Acetate
- Glue
- Double sided tape
- 3D foam pads
- Sequins, small embellishments, glitter, mini snowball decorations, etc to go inside the shaker
- Washi tape or masking tape
This project is suitable for the following types of Cricut machine: Explore Air 2, Explore Air 3, Maker, Maker 3. It cannot be made on the original Cricut Joy as that machine does not have print then cut functionality. To use the Joy Xtra, hand-cut the fun foam layer with scissors.
Video tutorial for snowglobe card template
Watch the video below to see how to make this snowglobe card.
If you prefer to read rather than watch, keep scrolling!
Christmas Snowglobe Card Tutorial
Here’s how to make a custom snow globe greetings card with a Cricut machine.
Step 1) Download the cutting file(s) & unzip the downloaded folder
Download the files using the box below.
Purchase the File(s)
This cut file is available as part of the Instant Access Bundle.
Or, purchase this design individually here
Before you upload the SVG to Design Space, you need to unzip the download folder that it comes in.
Step 2) Upload the SVG files into Design Space
Open up Cricut Design Space and start a new Project.
Click “Upload” and then find your unzipped version of the downloaded files for this project.

The file to upload for Cricut Design Space is the one called svg-snowglobe-card-craftwithsarah.svg
This is what it should look like during the upload process:
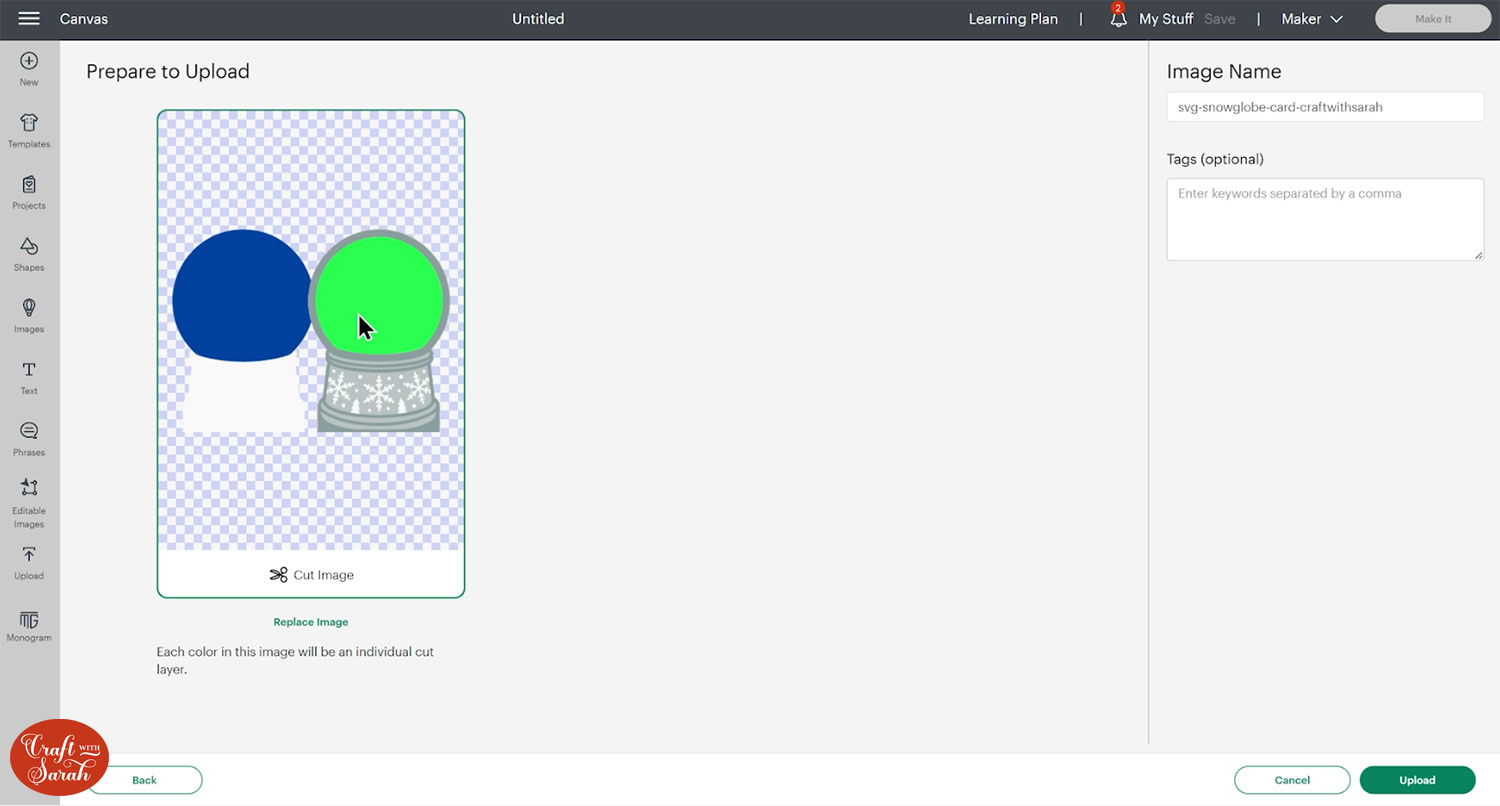
It looks a bit strange with the blue and green shapes, but don’t worry – this is what it’s supposed to look like.
Make sure you upload the files which start svg- in the filename!!
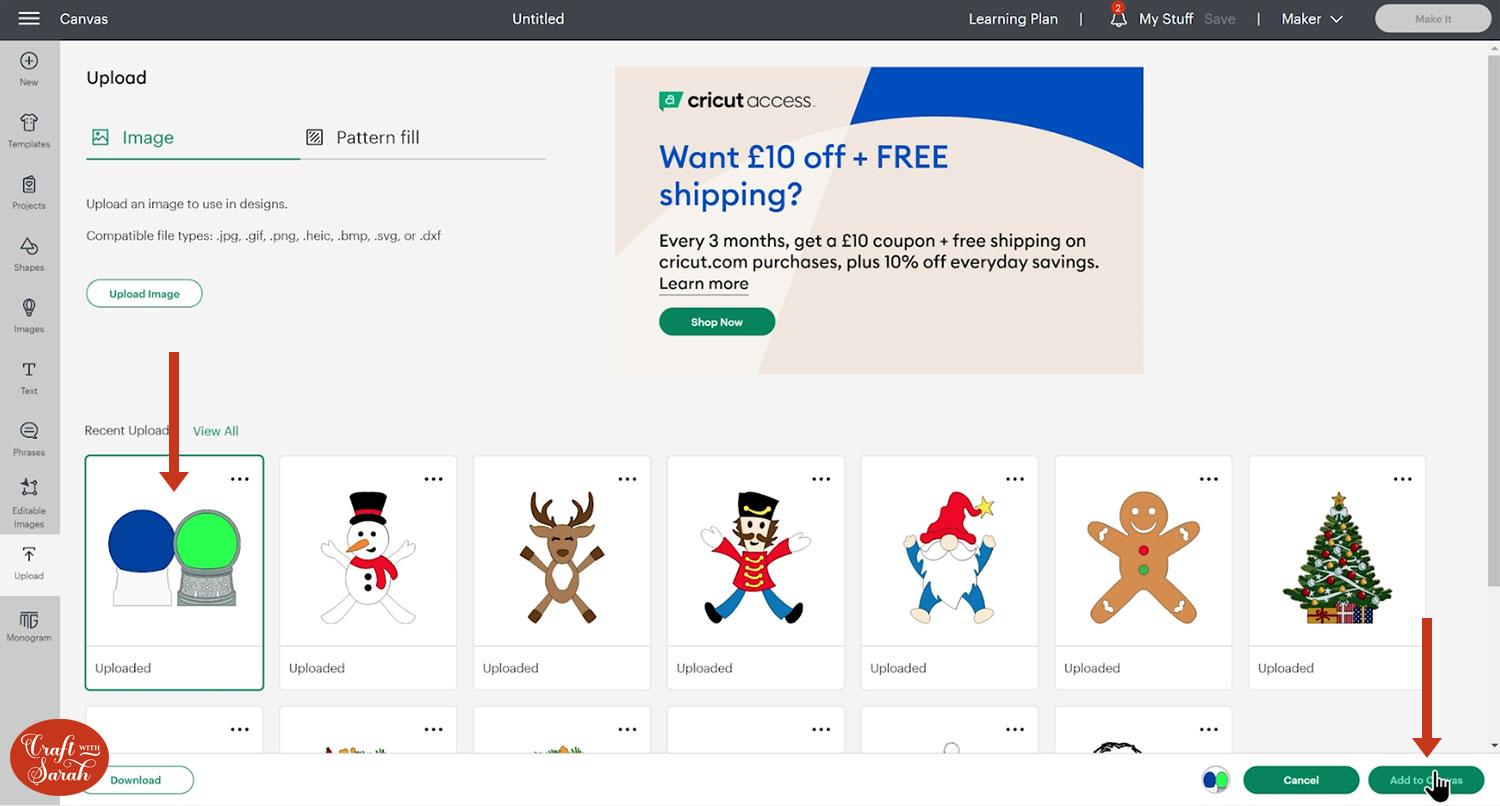
After uploading, the design will show in your “Recently Uploaded Images”.
Click on it and then press “Add to Canvas” to put it onto your Project.
The design should load in at 9.249 inches wide and 6.751 inches tall.
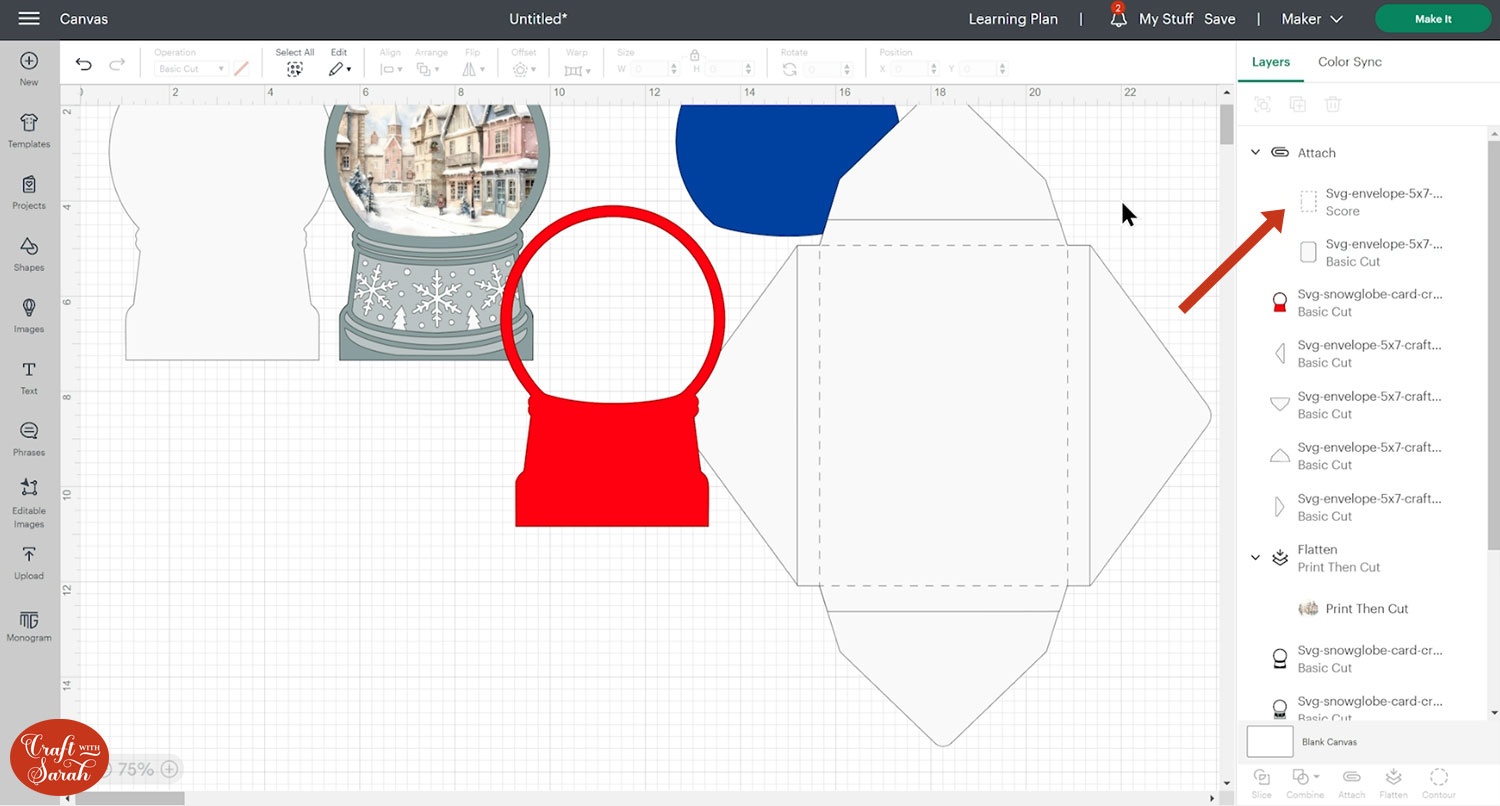
I have moved some of the layers about on the below image to better show what is included in the template:
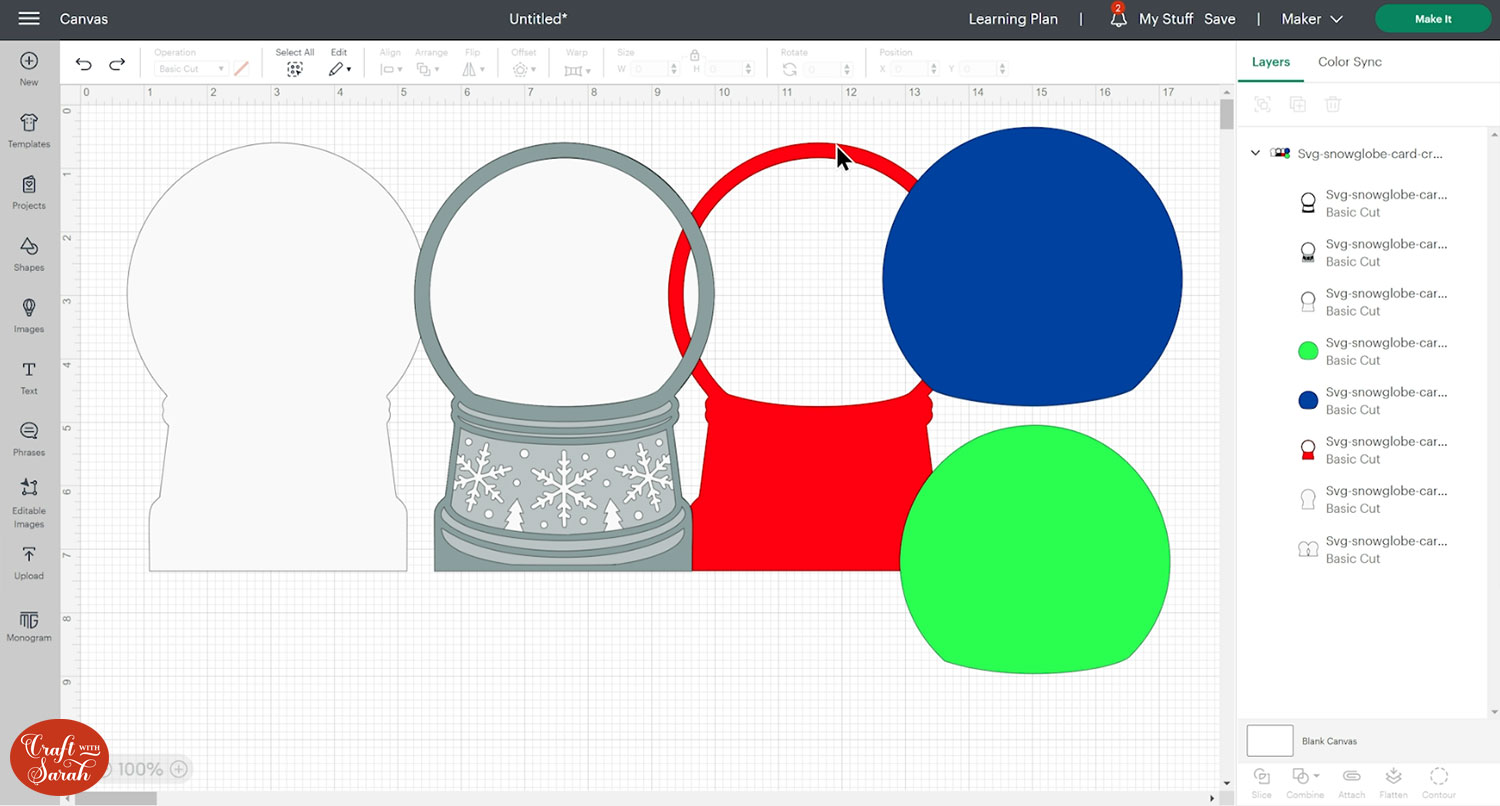
The blue layer is the piece you will be cutting from acetate to make the front of the shaker.
The green layer is for the photograph or printed image to sit in the middle.
The red layer will be cut from craft foam. If your shaker decorations are quite big (for example, if you’re using polystyrene snowballs), you will need to duplicate this layer by clicking the Duplicate button. This will make more space for your embellishments to move about.
Step 3) Add an image or photograph
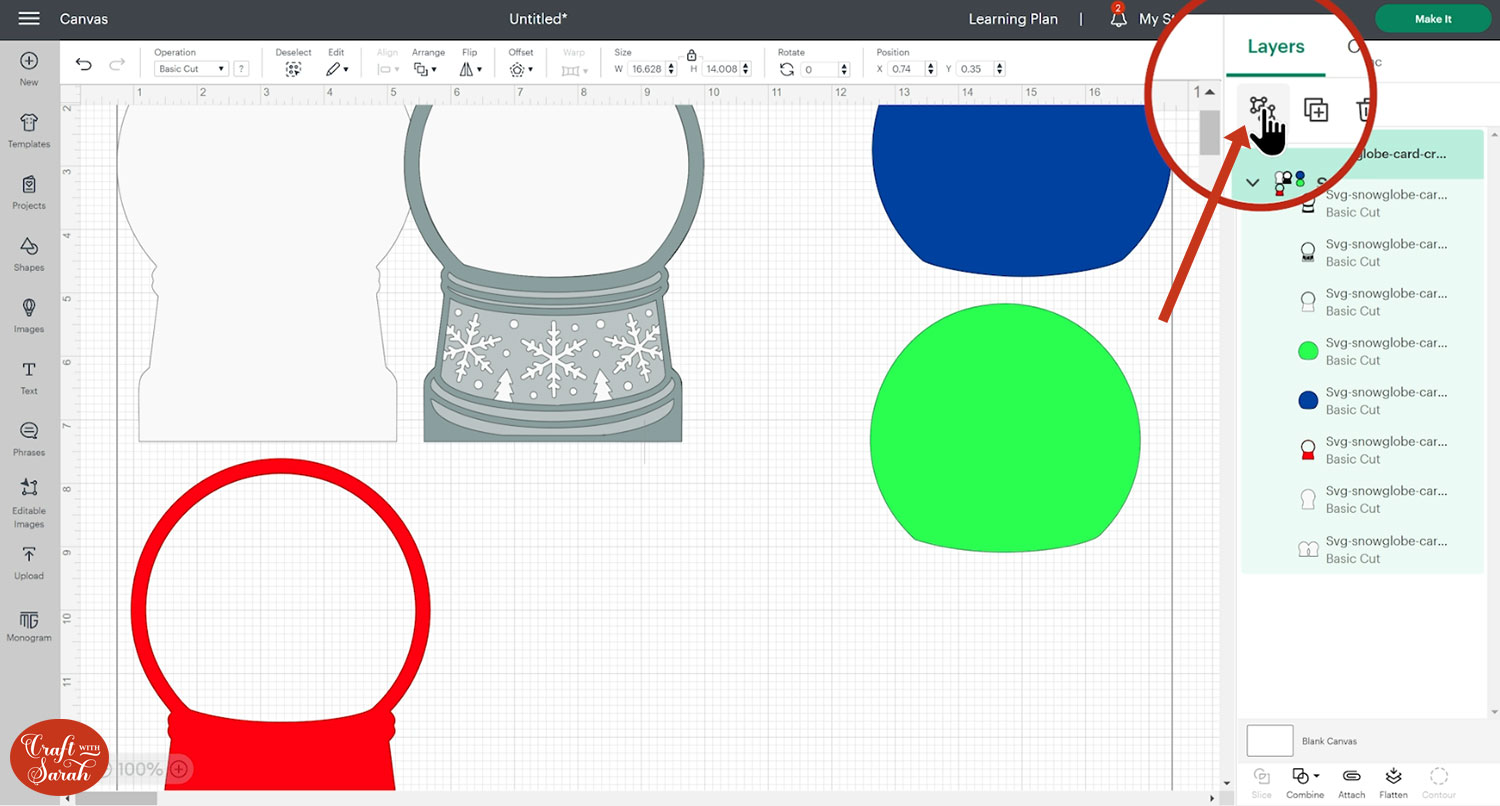
Ungroup the layers so that they are easier to work with.
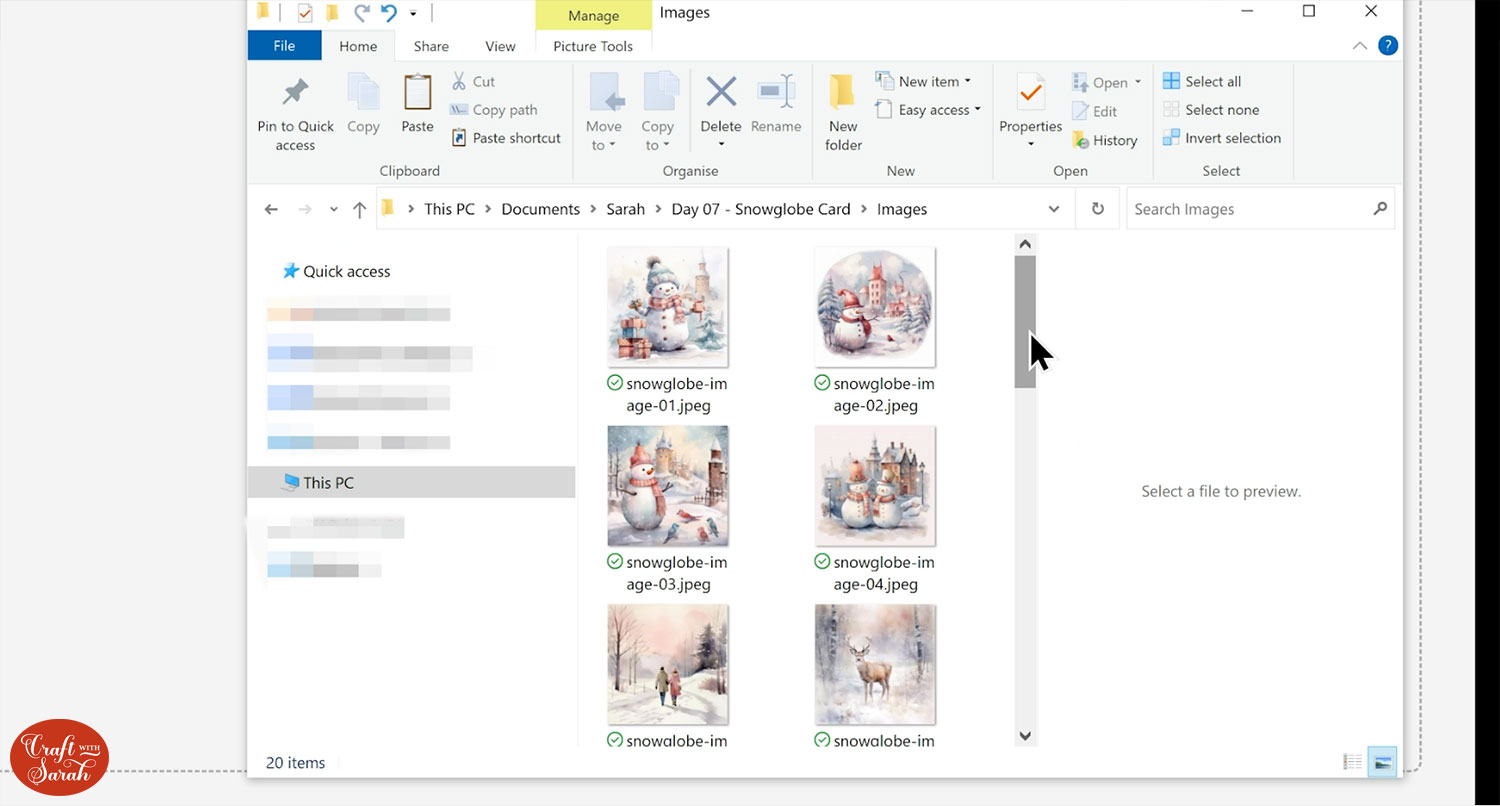
Go into Upload and Upload Image to choose what you would like in the middle of your snowglobe. Either an image/graphic or a photograph would look lovely.
There are 20 different winter snow scene images included in your download folder which you can choose from too.
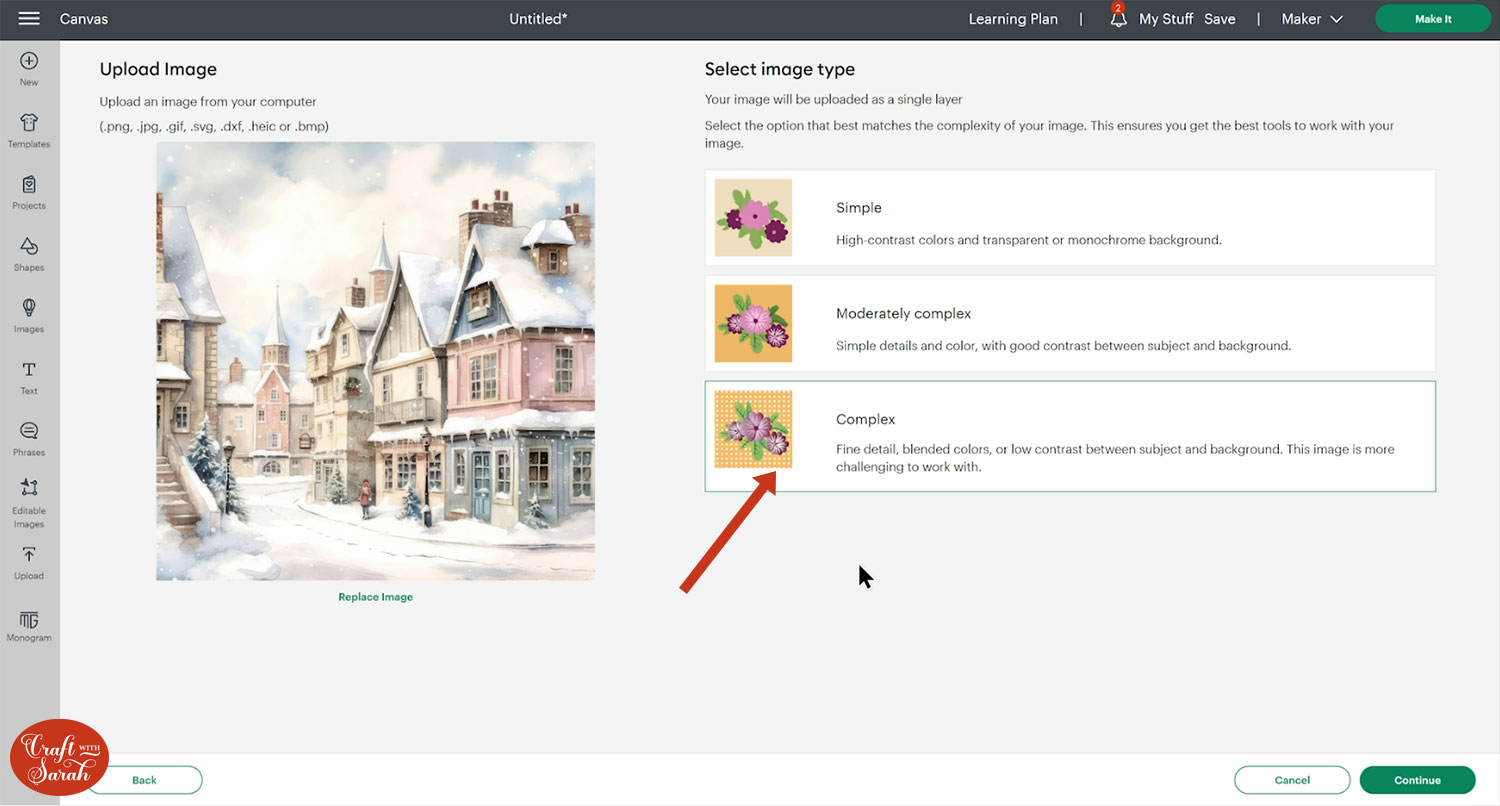
When loading in your image, choose Complex and press Continue.
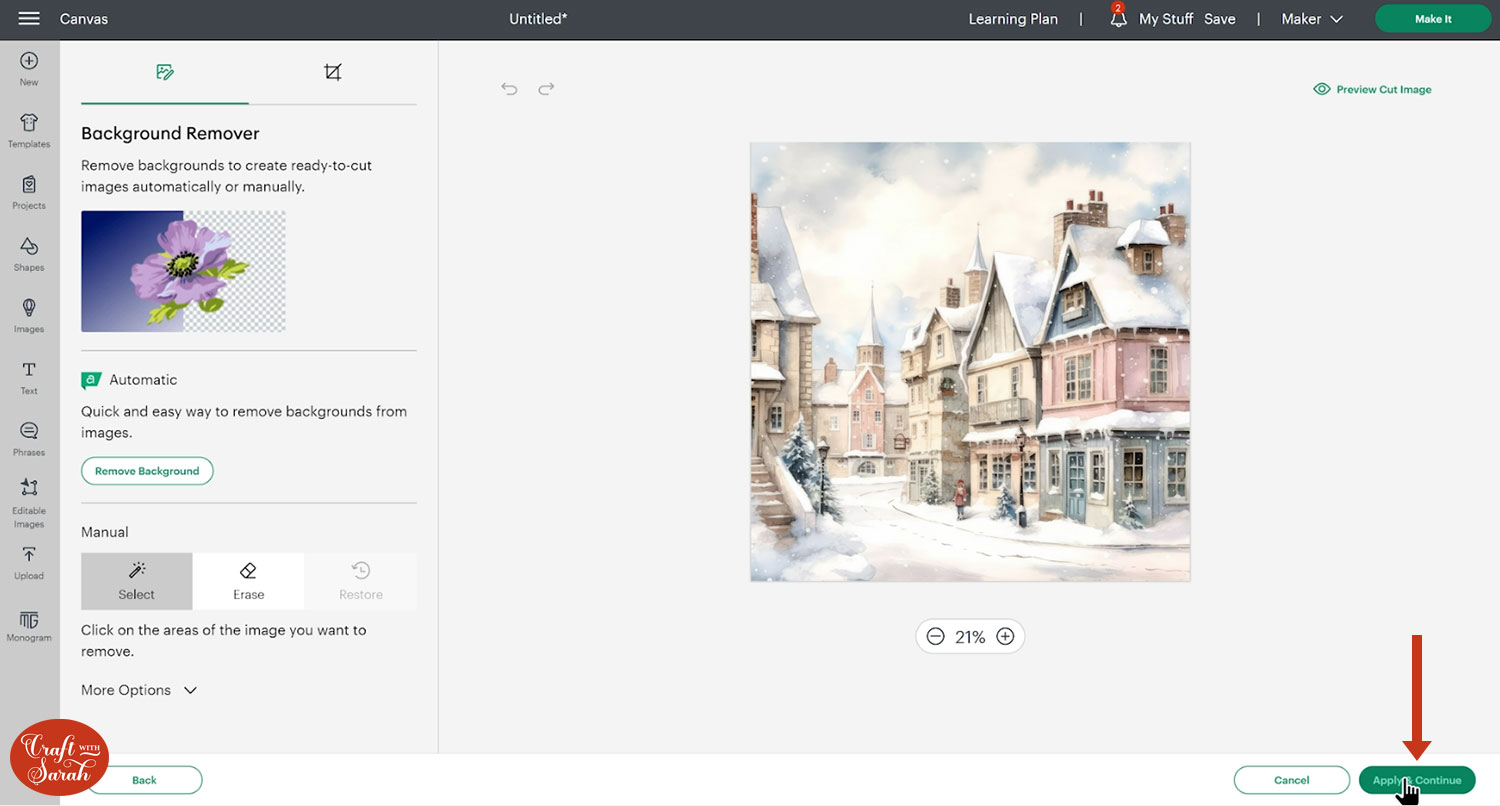
Press Apply and Continue on the next page.
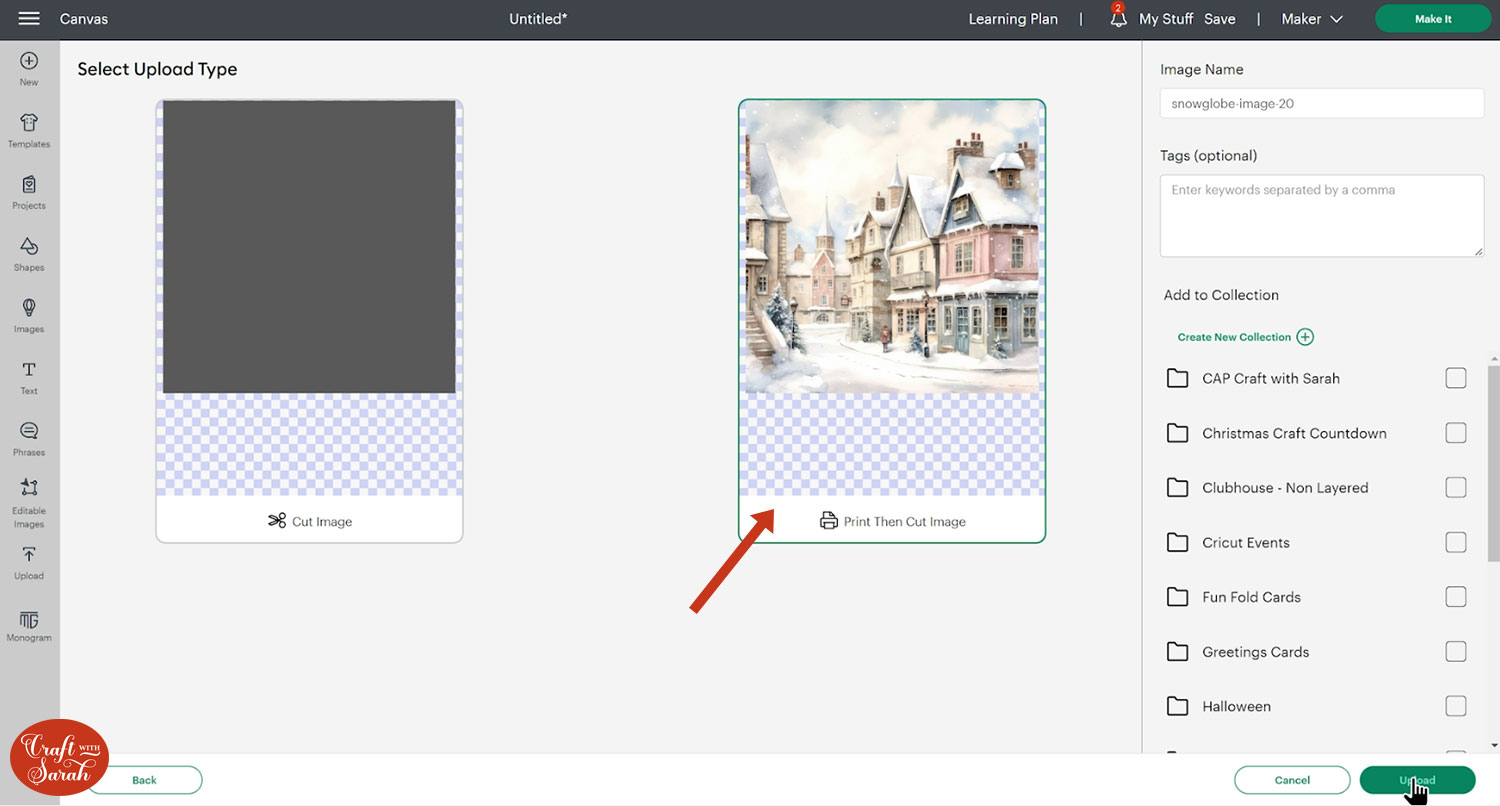
Choose Print then Cut Image and then Upload.
The image will probably load in huge, so resize it down to around 5 inches wide.
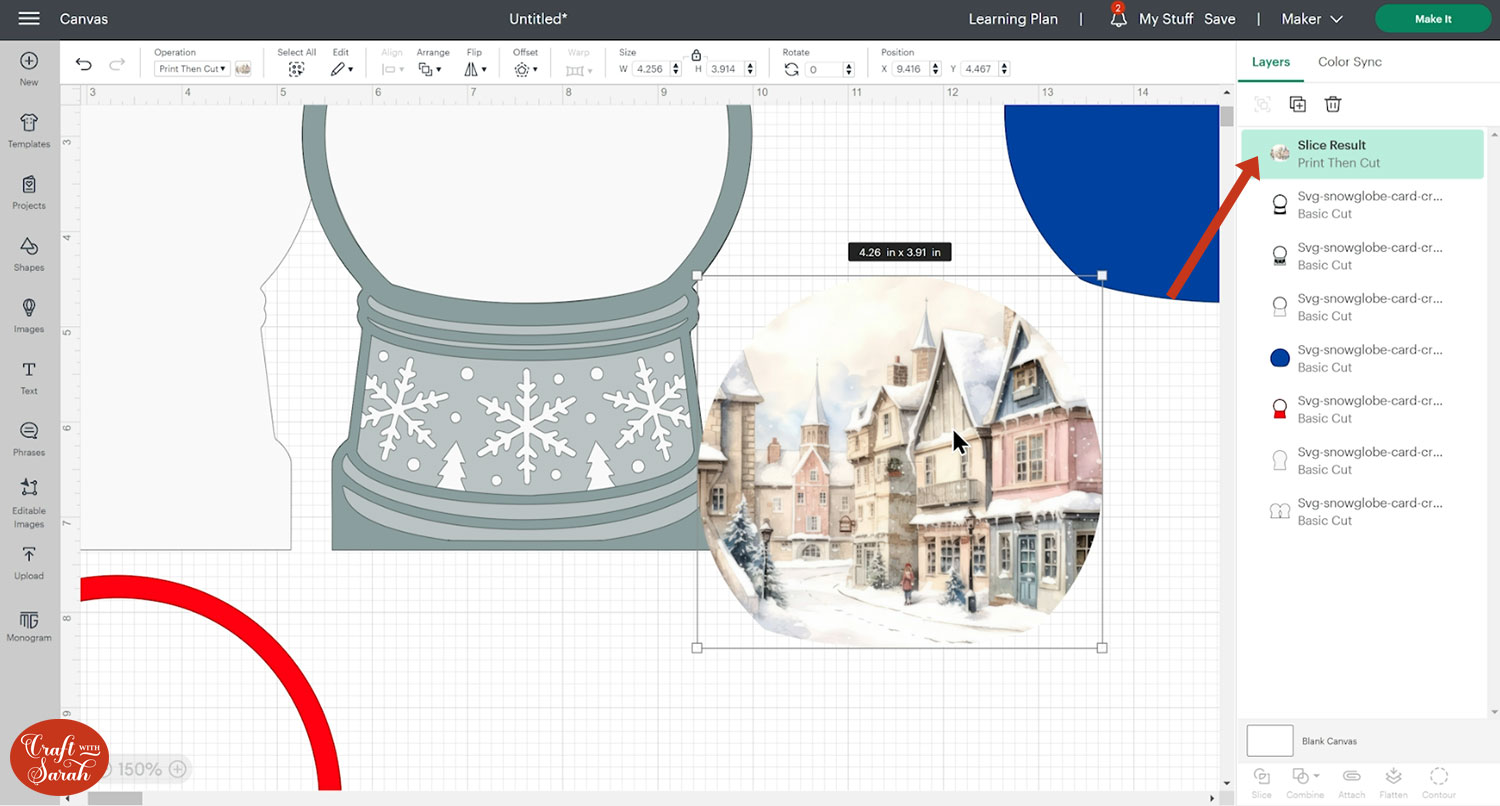
To cut the photo into the shape of the snowglobe, click the green layer and then press Arrange >Bring to Front to move the green layer above everything else so that we can see it better.
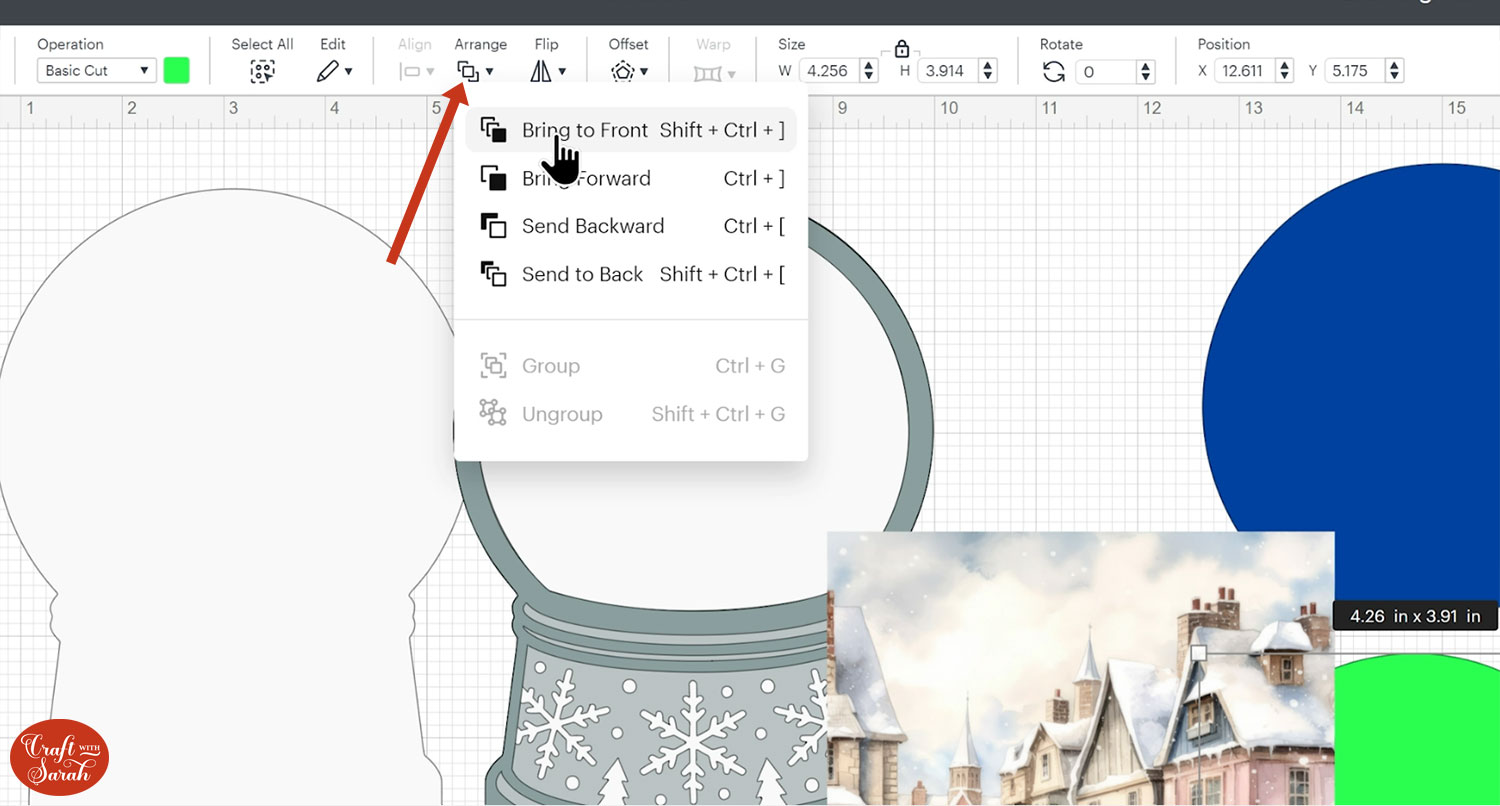
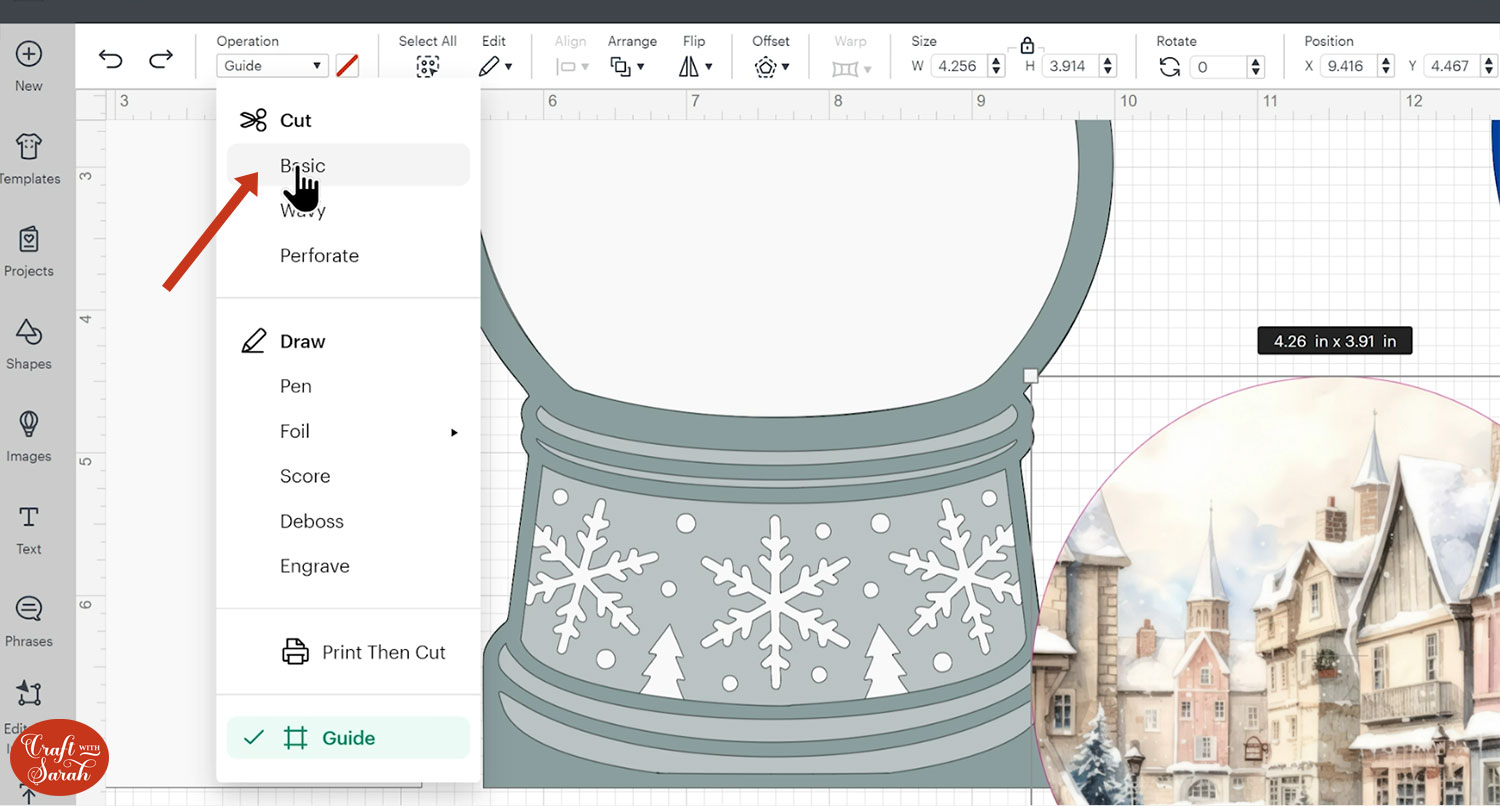
Change it to a guide layer under operation so that it becomes a pink outline.
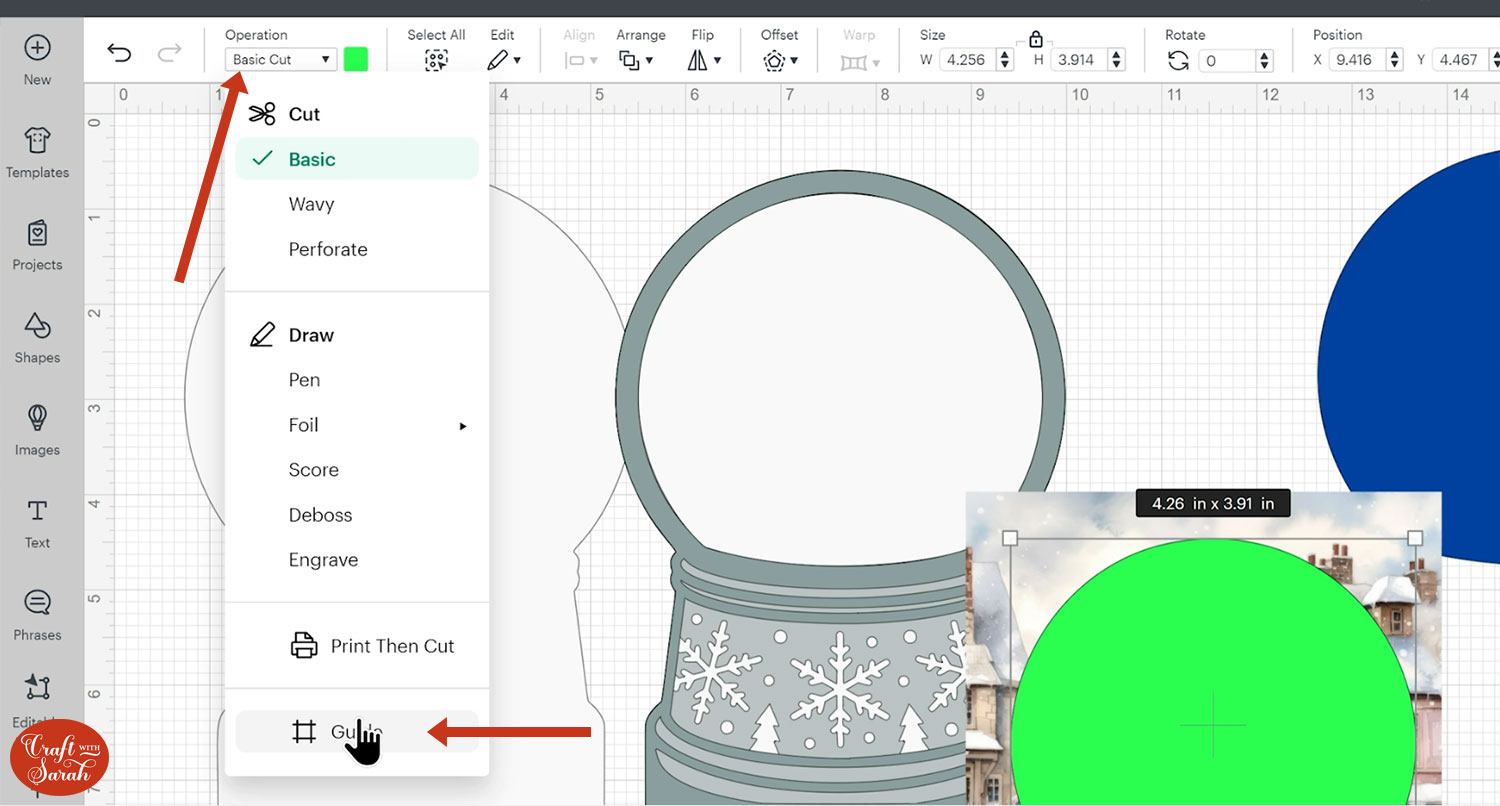
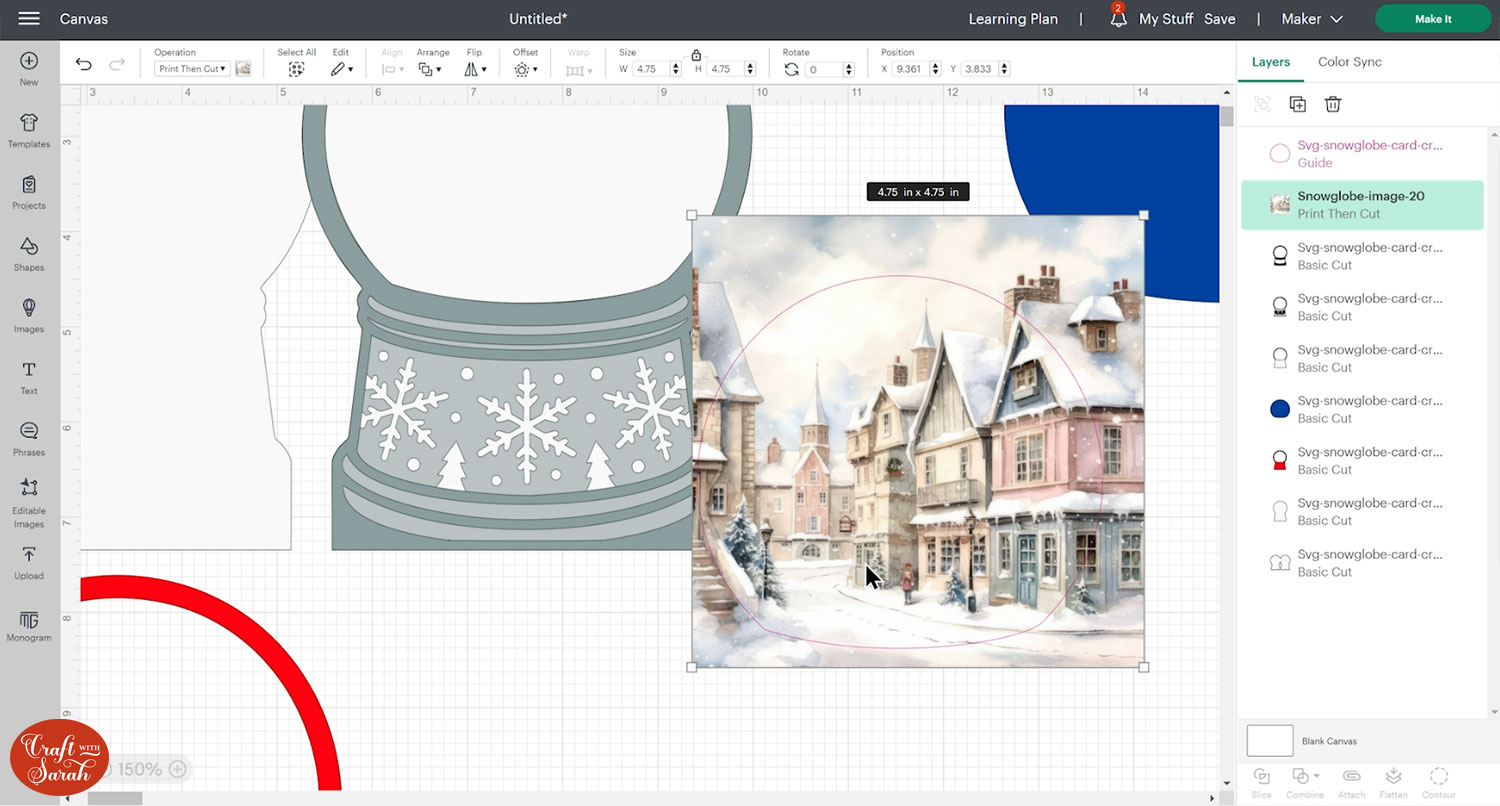
Move the guide shape on top of your image/photo and position it where you want the image to show though.
IMPORTANT – Do NOT change the size of the guide shape, otherwise it will not fit on the card!! If you want to change the size of the image, resize the PHOTO/IMAGE instead.
Make sure that the image will completely fill all of the guide shape with the print.
Select the guide layer and your image and press Slice to cut the snowglobe shape out of the image.
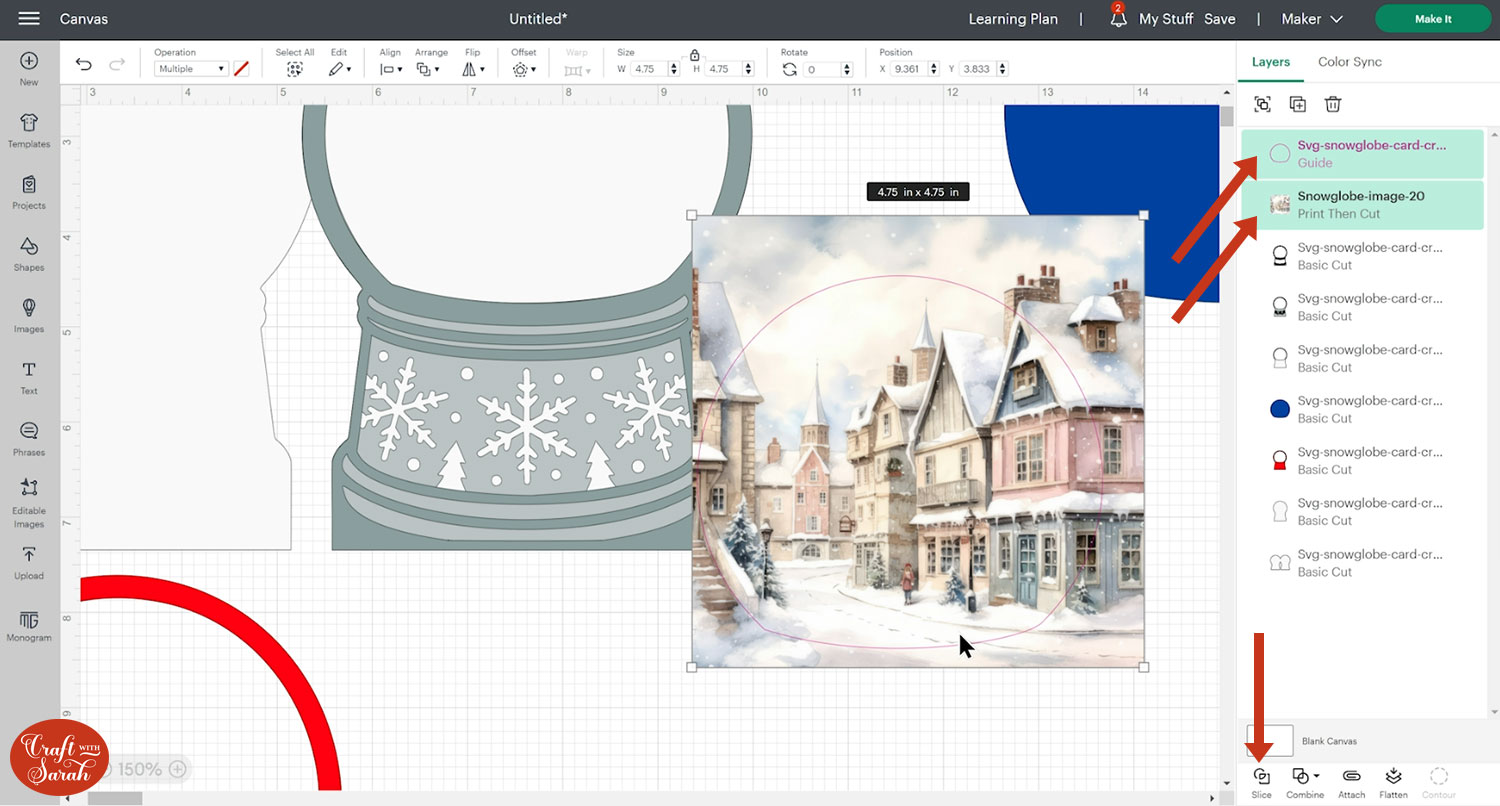
Delete the guide layer and the outline/edge left over from slicing as you don’t need them anymore.
If you’re using an image that has some transparent parts on it, it may not cut out the entire shape. You will need to do something slightly differently.
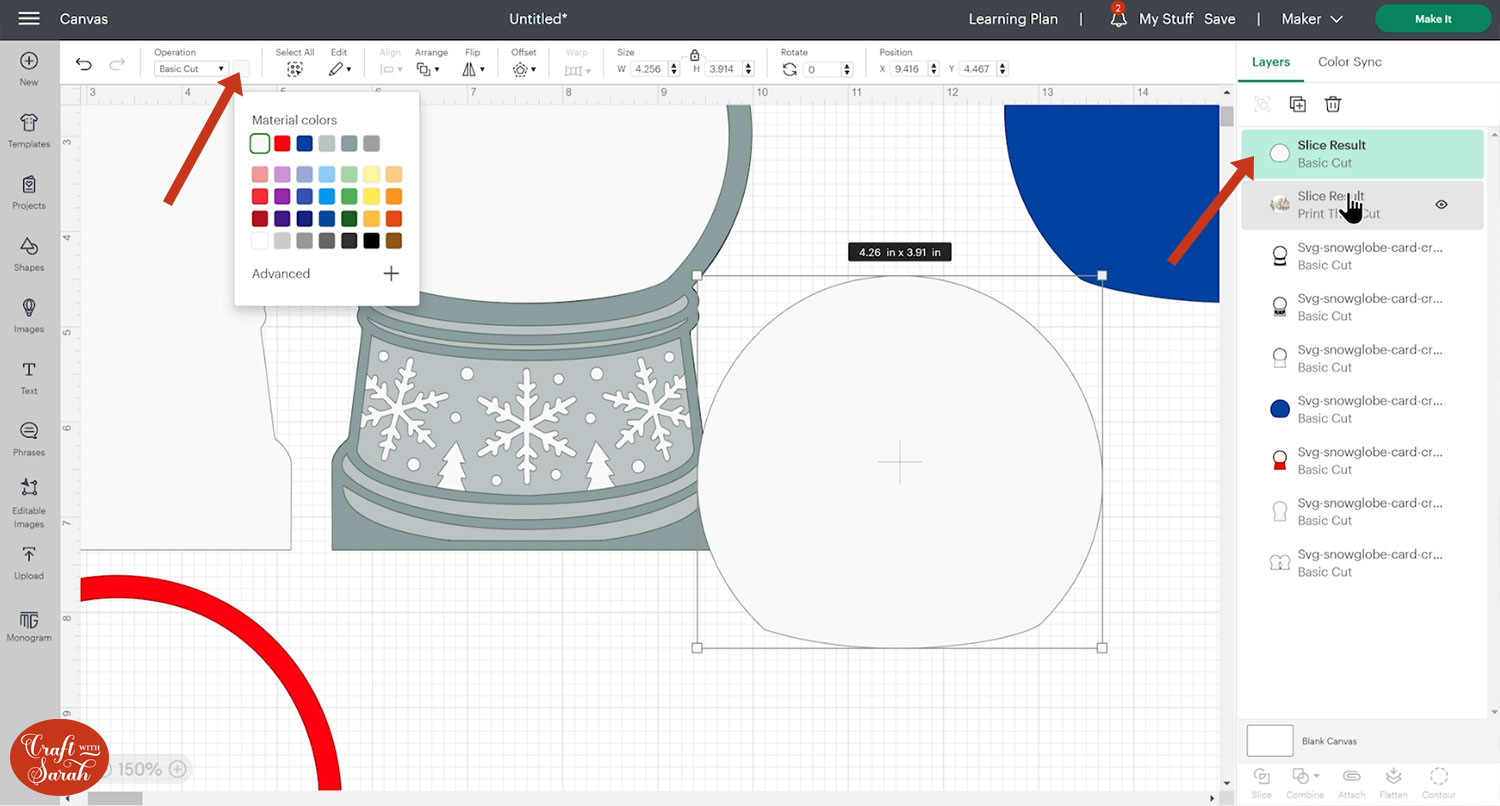
If so, don’t delete your guide layer (if you have already deleted it, press “Undo” until it comes back). Click on the guide layer and change it back to a Basic Cut under the Operations dropdown.
Change the colour to white.
Move the white shape underneath your image so that they both line up.
Select both your Print then Cut image and the white shape and click Flatten.
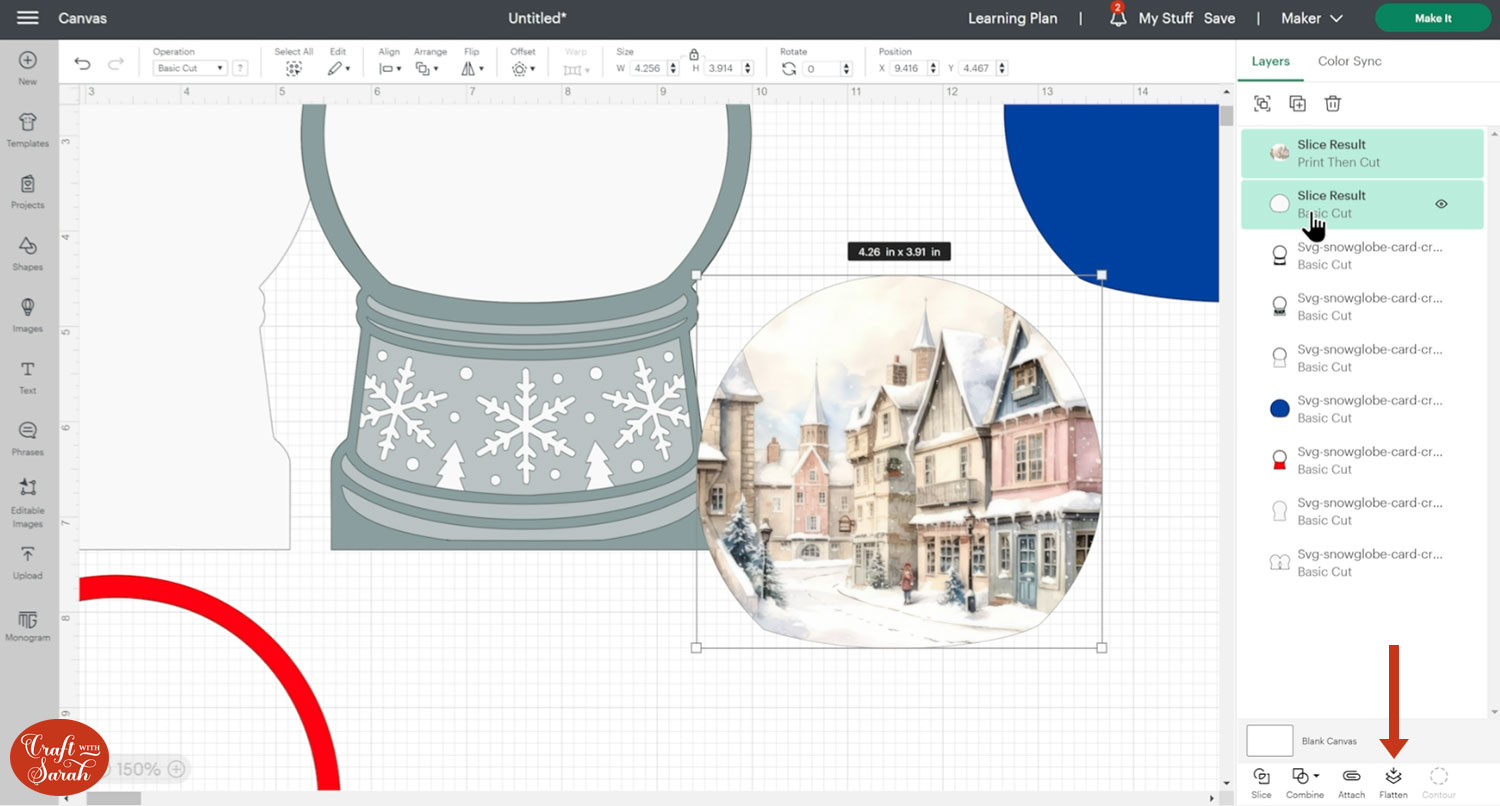
This will merge the two layers into one, meaning that the white background will get added to any bits of the image that were previously transparent, allowing the Cricut to cut around the edge of the entire shape rather than trying to cut out the transparent areas.
Step 4) Format the envelope
This card will fit into a standard 5×7 inch envelope. You can delete the envelope layers and skip this step if you already have one.
If you don’t have one or if you’d prefer to make your own, keep reading.
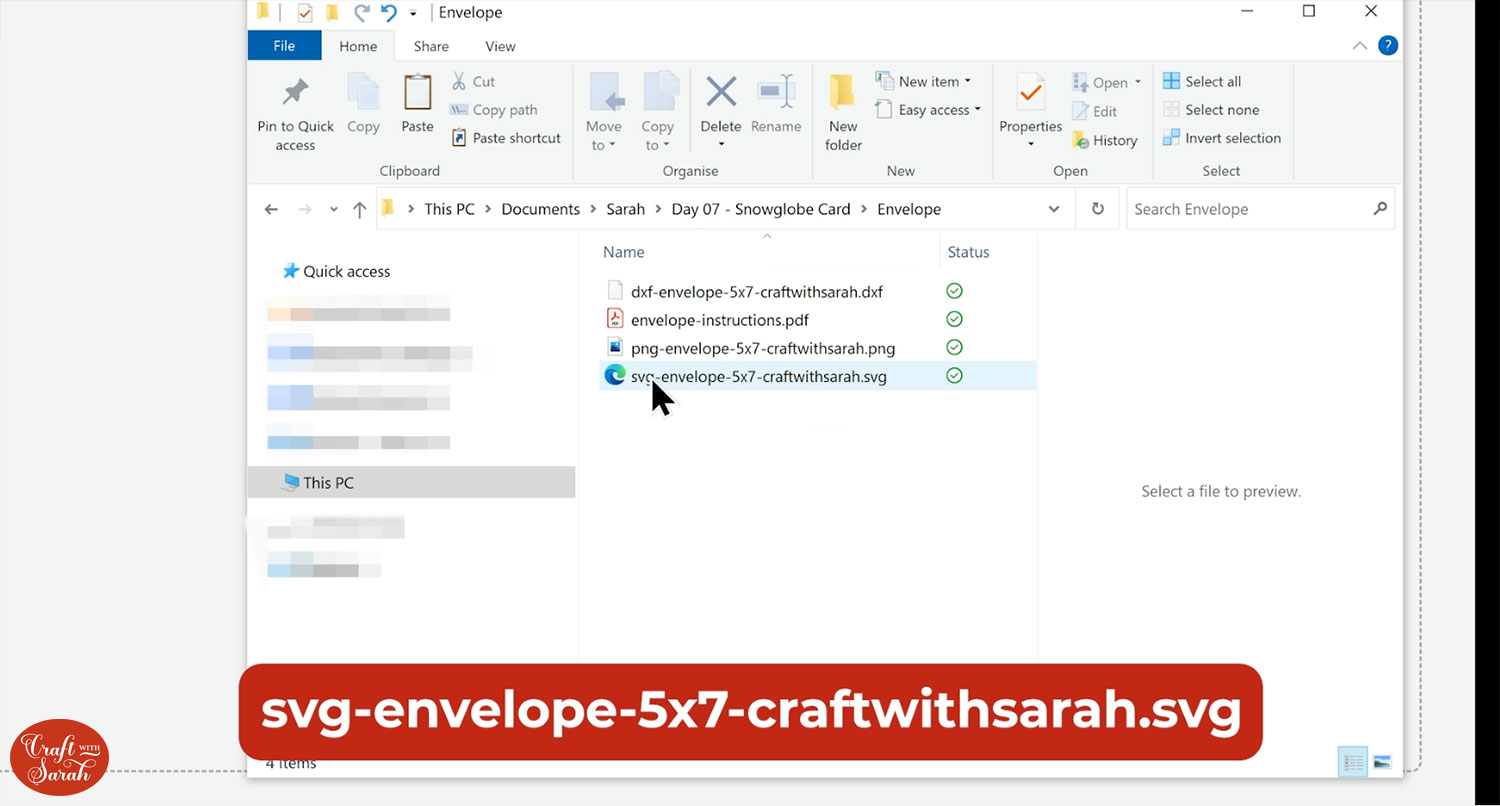
Go back into Upload and Upload Image. Go into the envelope folder from the download and load in the file called svg-envelope-5×7-craftwithsarah.svg
Resize the envelope to match the card using the red snowglobe layer as a guide, as that is the full size of the front of the card.
Leave a small gap around the edges to allow for the height of the card due to the foam.
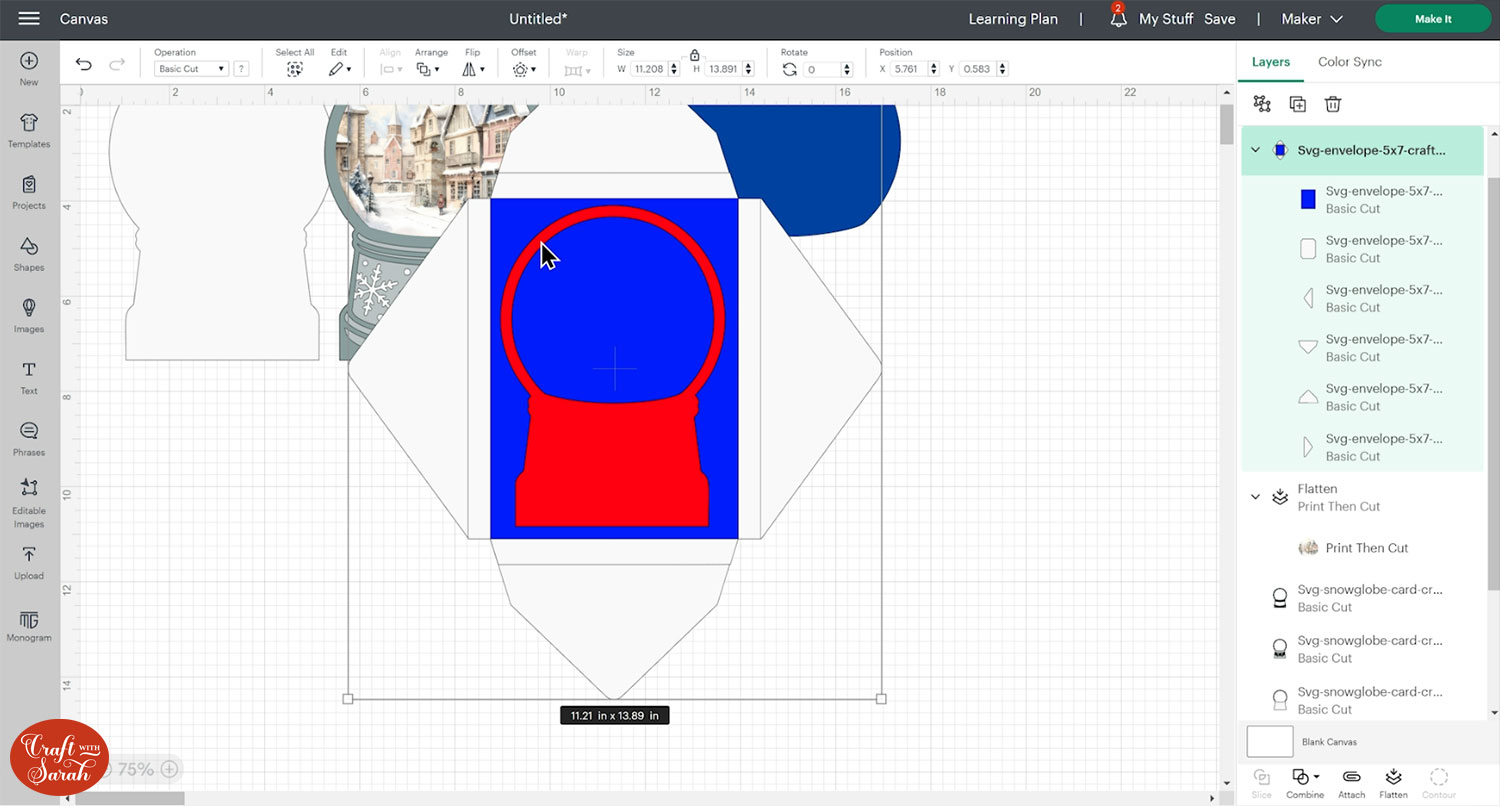
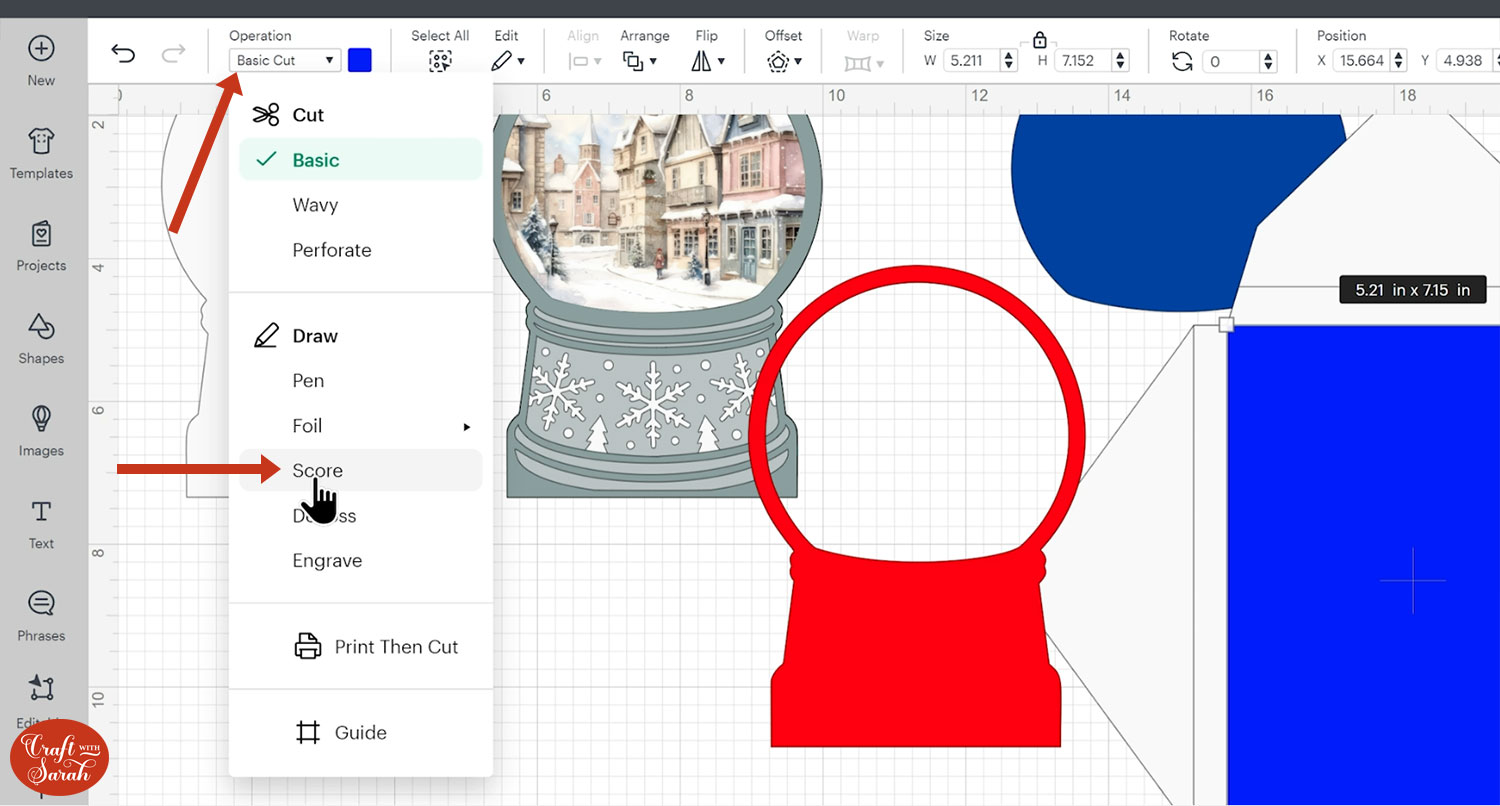
Click the blue rectangle layer of the envelope and change it to a score line using the Operations dropdown.
Click the whole envelope and Ungroup the layers.
Click the rectangle that you’ve just changed to a score line, then press shift on your keyboard and choose the rectangular layer underneath.
With those two selected, press Attach. Attach is what tells the Cricut that we want it to do that score on that rectangle piece.
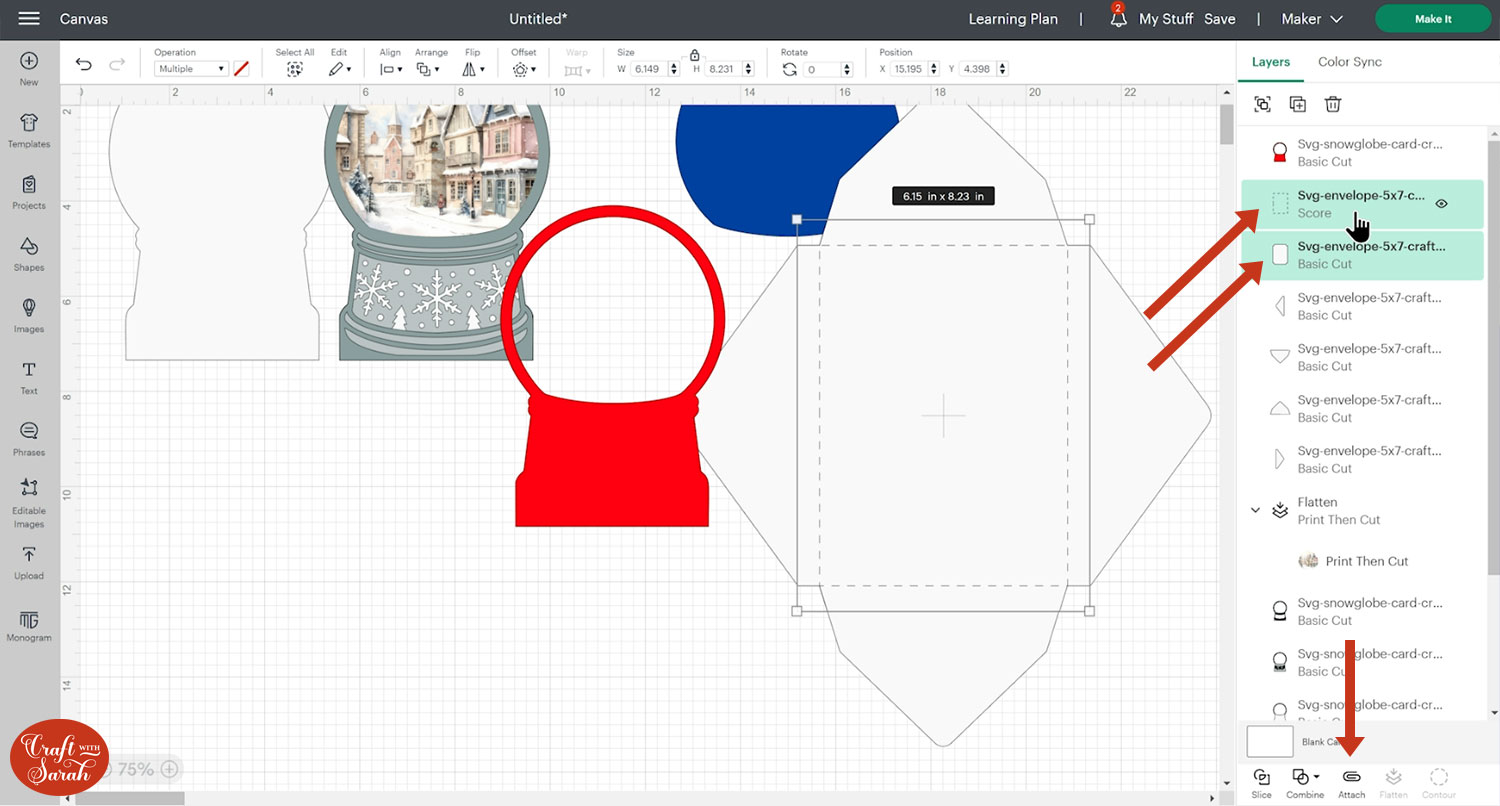
Make sure you ONLY attach those two layers. You do not need to attach the triangle “flaps” of the envelope.
You can have the Cricut address the envelope for you. Here is a tutorial for how to address envelopes with a Cricut machine.
Step 5) Cut the snowglobe greetings card
Save your project.
Click “Make It” and follow the steps on-screen to get everything cut out with your Cricut machine.
Don’t forget, the BLUE layer needs to be cut from acetate and the RED layer needs to be cut from craft foam.
Here are some extra tutorials you may find helpful:
Step 6) Stick the snowglobe card together
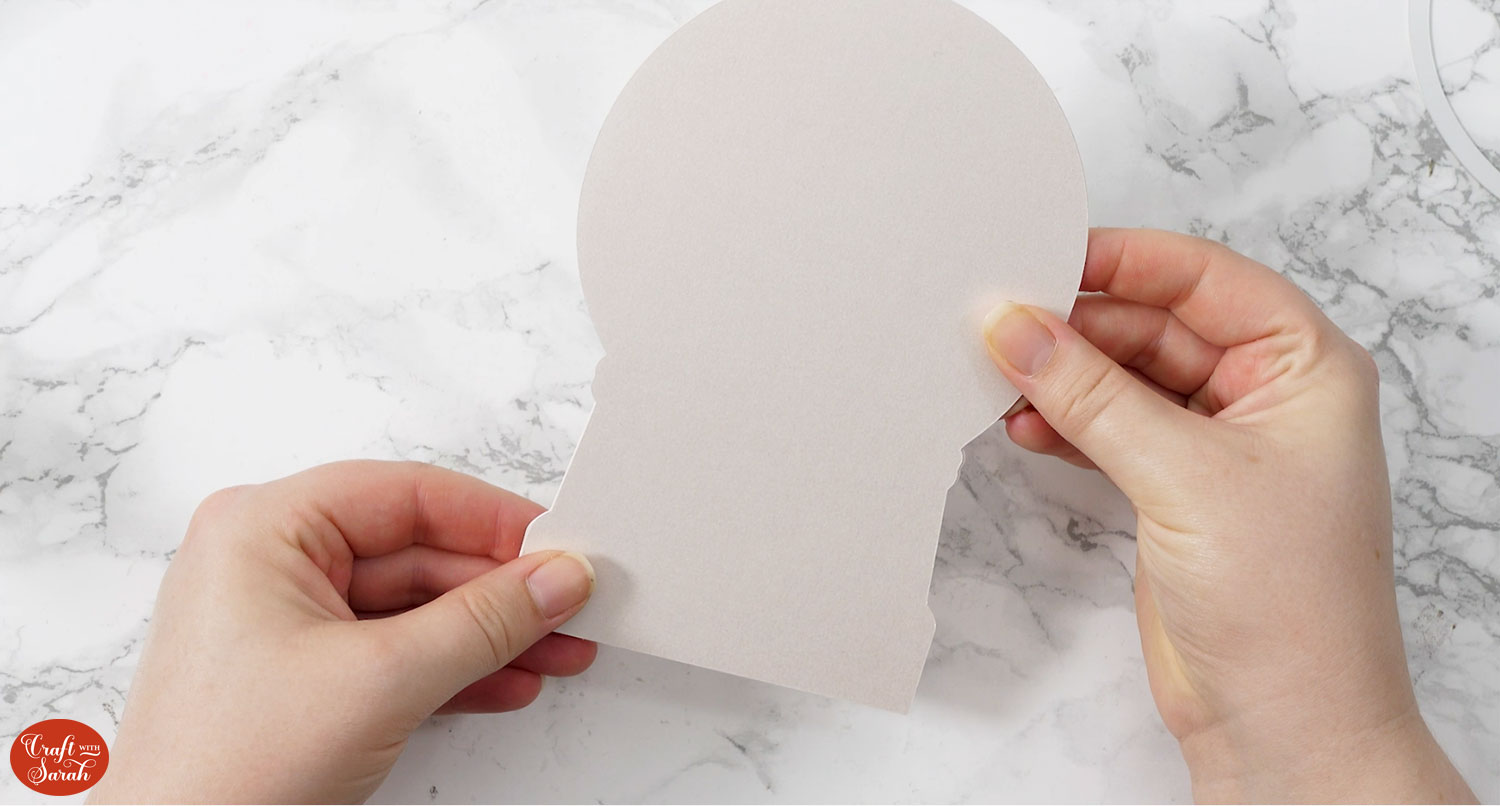
Fold the base card in half.
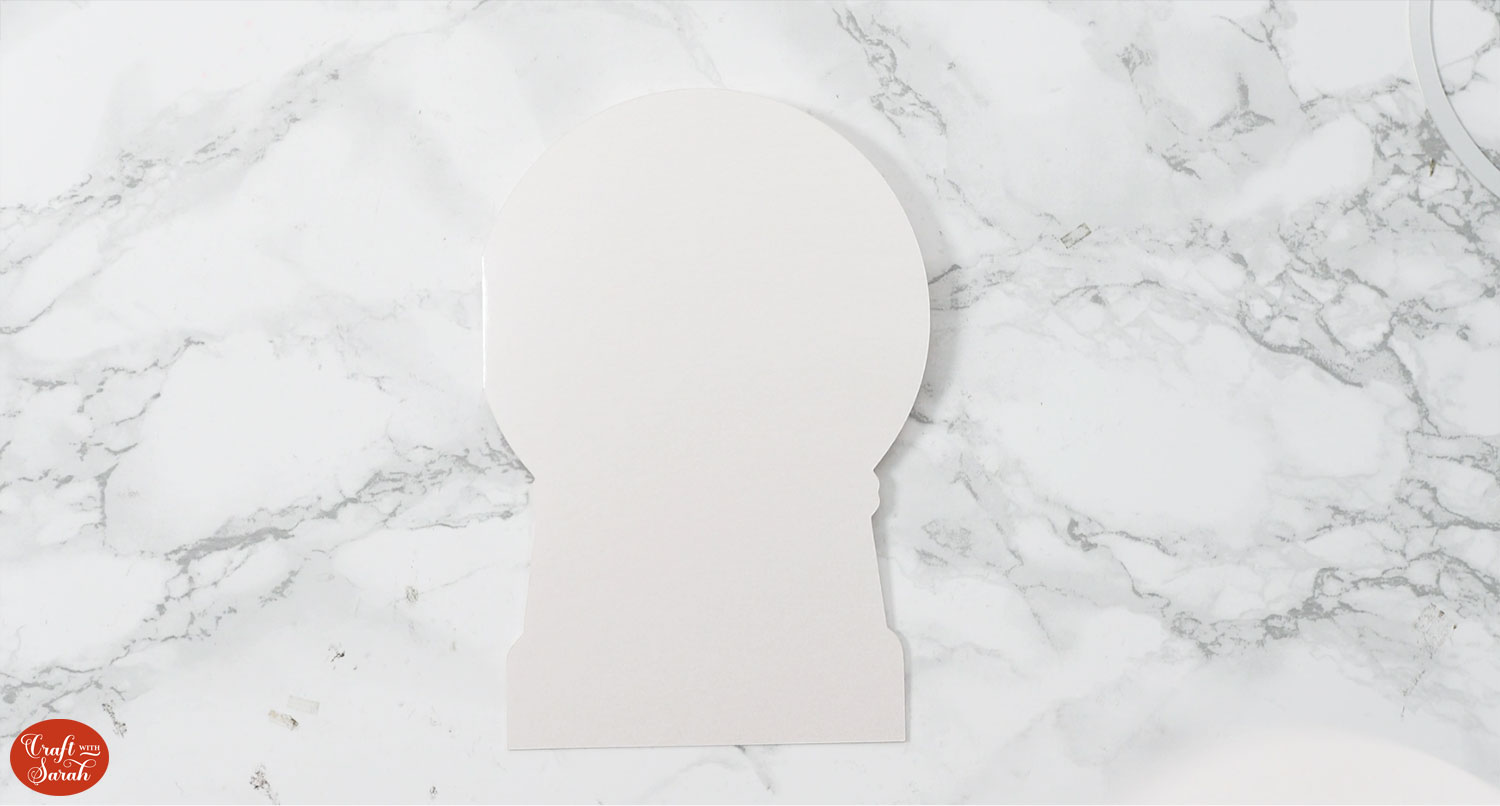
To hide the fold, there is another snowglobe shape in that same colour which is to be glued next so that we will have the full snowglobe outline.
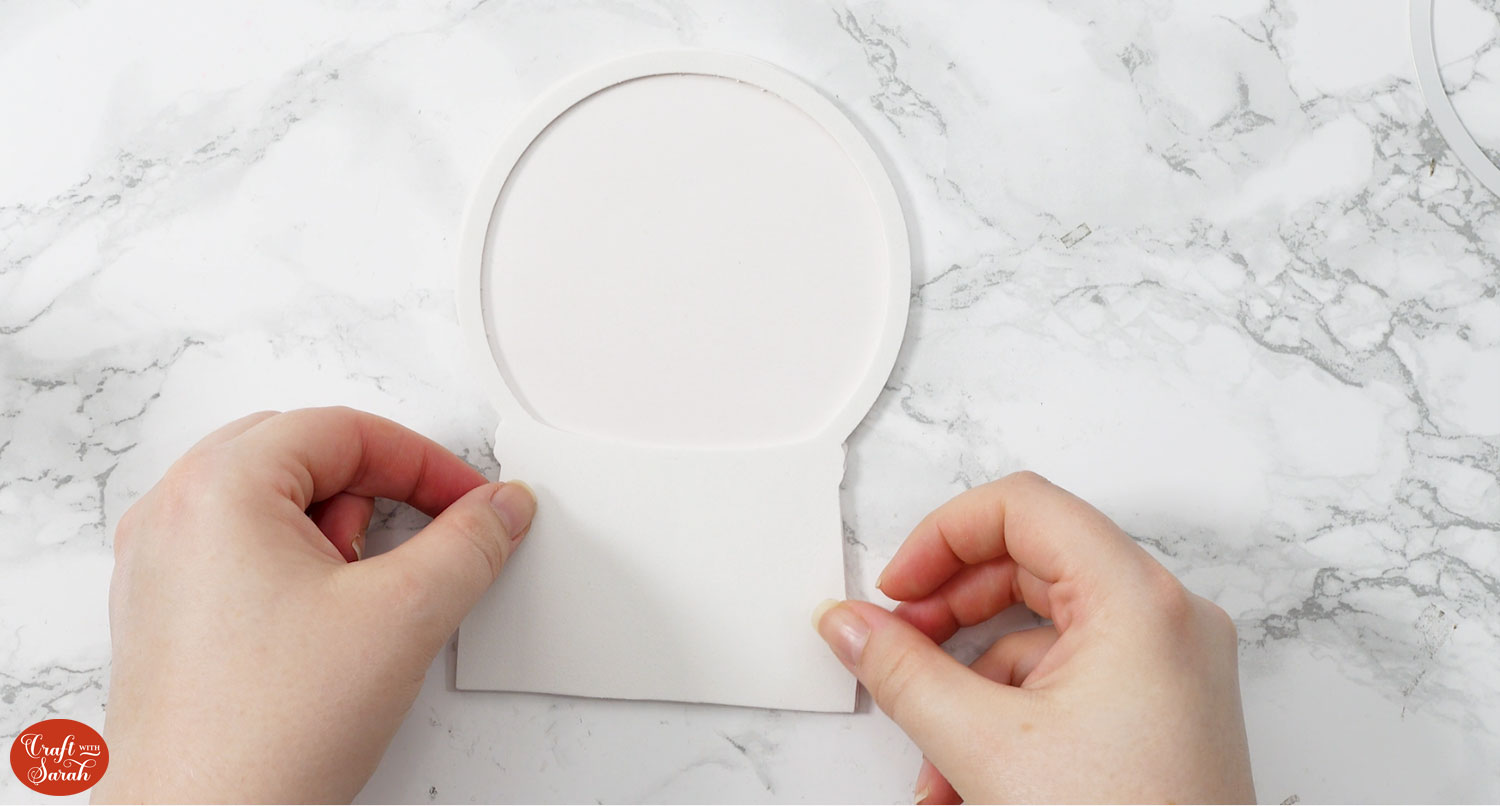
Glue the foam layer around the edge of the snowglobe making sure there are no gaps so that the embellishments can’t escape. Push down gently so that the glue doesn’t squish out the sides.
Glue your printed image into the middle. It should fit perfectly in the foam but do move the frame about a bit if you need to as the foam can warp when it’s cutting.
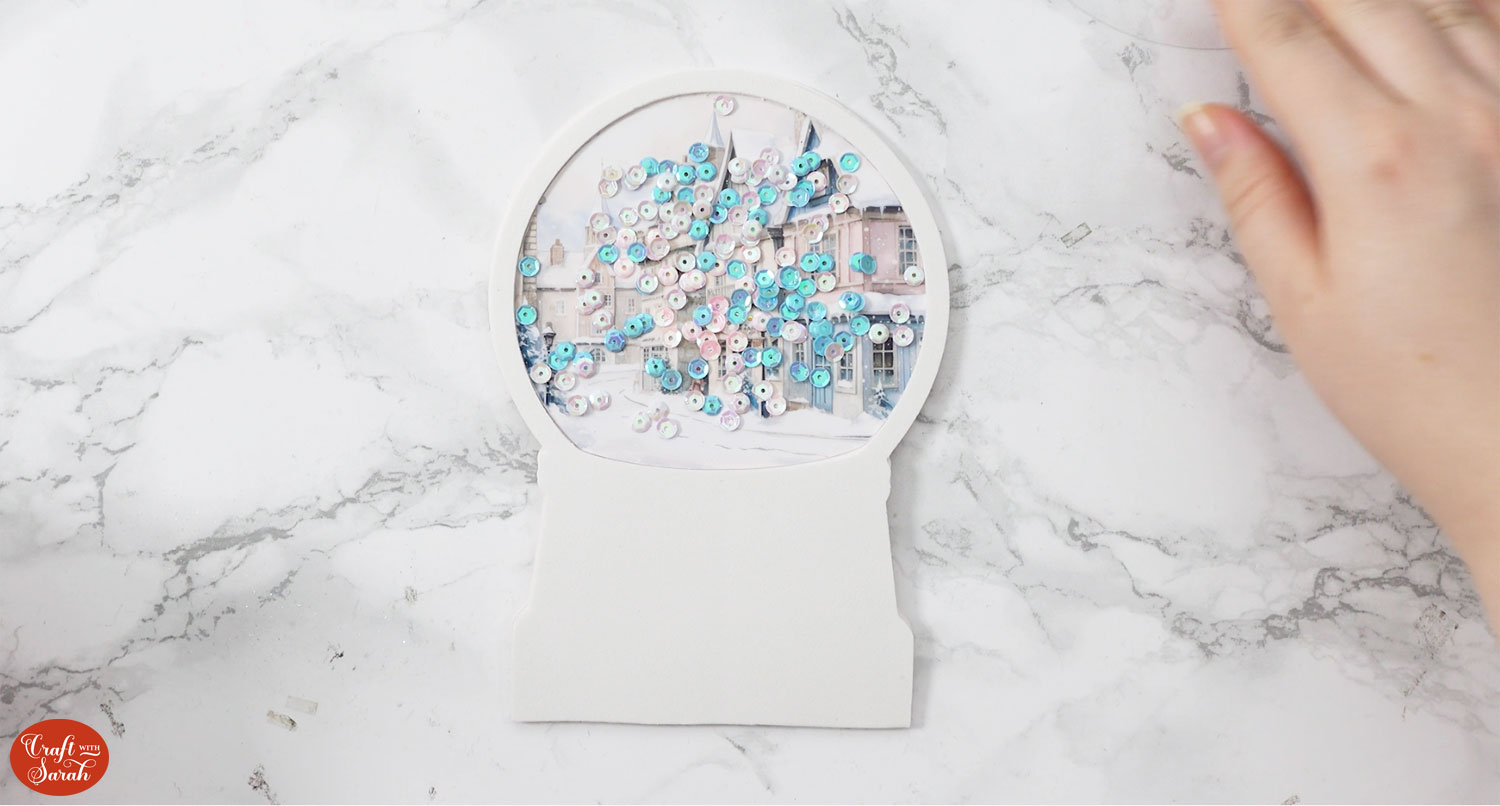
Making sure your embellishments aren’t thicker than the foam (as otherwise they won’t be able to move about in the globe and the acetate will squash them). Sprinkle them into the middle.
If they are too tall, cut another foam layer and glue it on top of the one that’s already there to increase the depth.
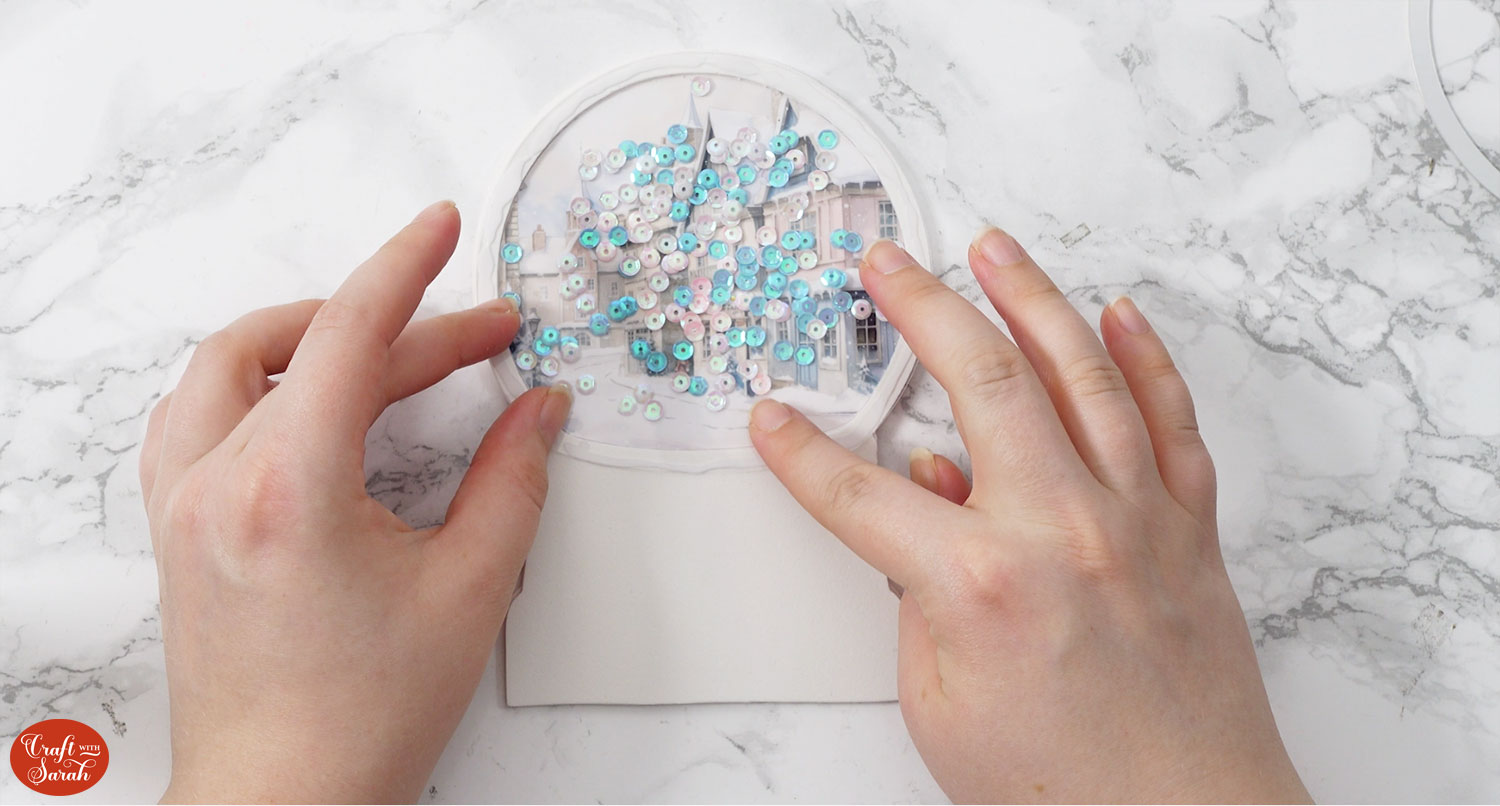
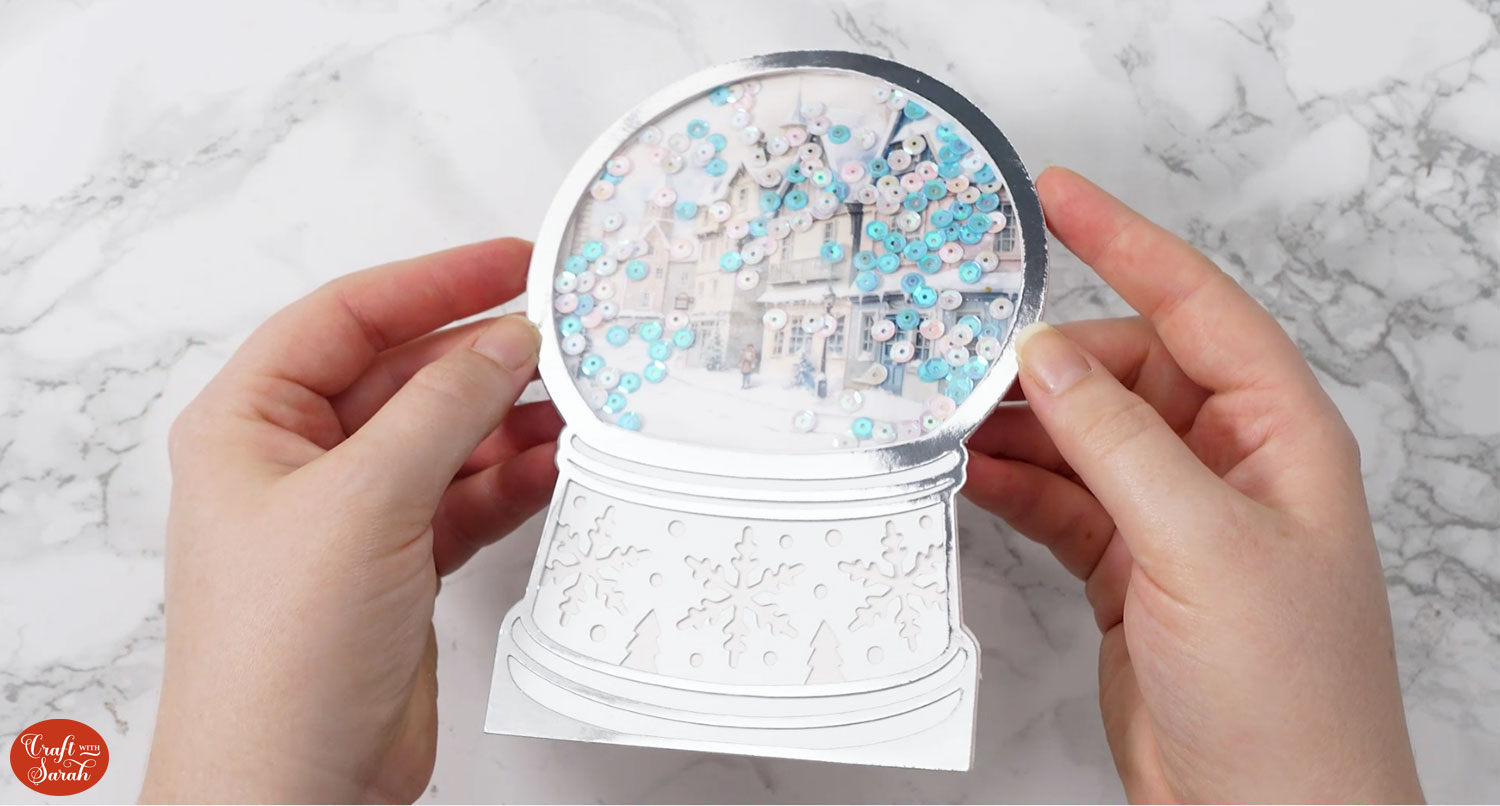
Add the acetate to the top with glue, making sure there are no gaps for the embellishments to escape. Gently tap around the edge to get the glue all the way around.
Glue the white piece on top.
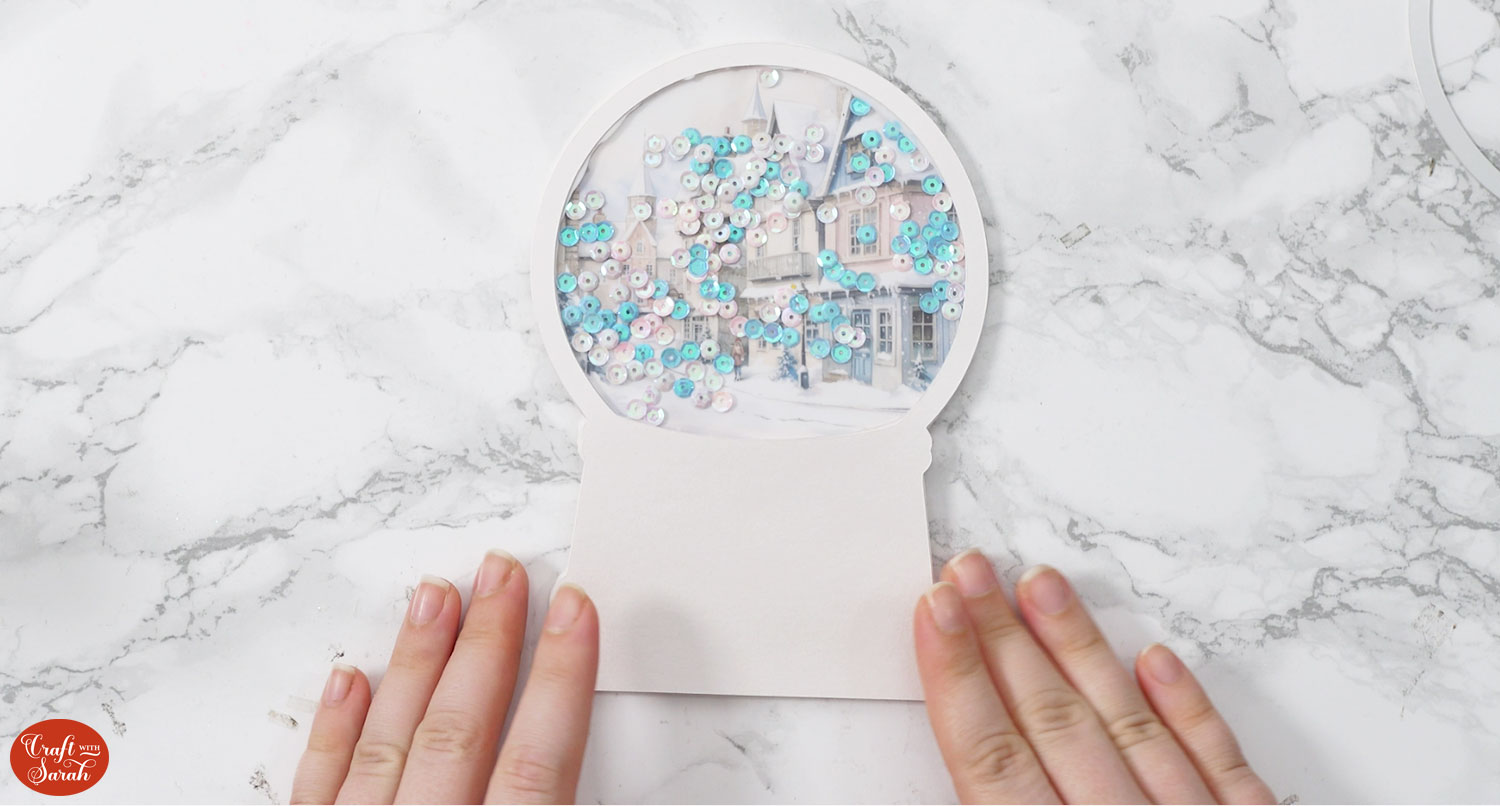
Next to glue is the layer with the snowflakes cut out.
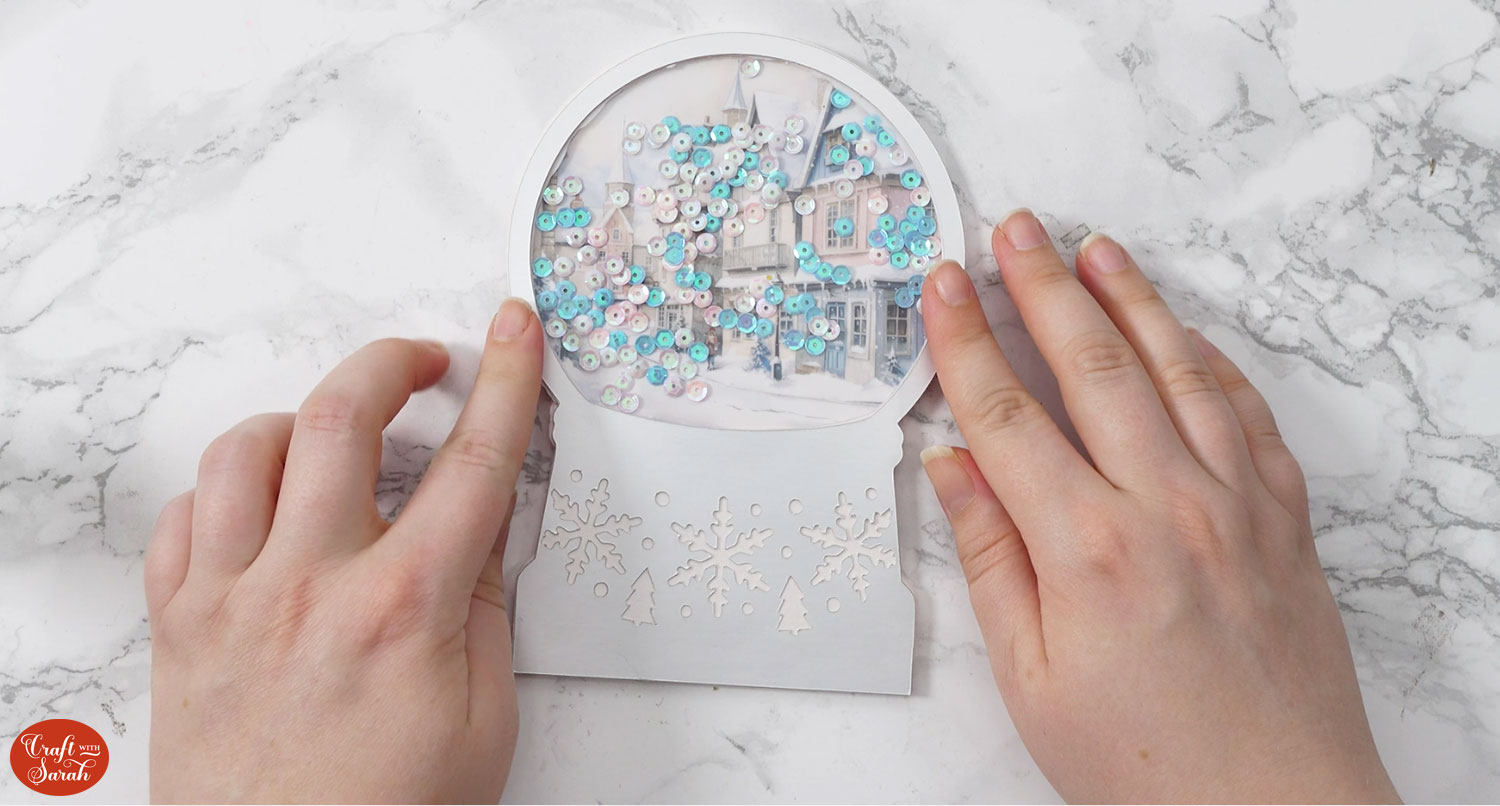
Finally, glue on the outline layer of the snowglobe.
Step 7) Stick the envelope together
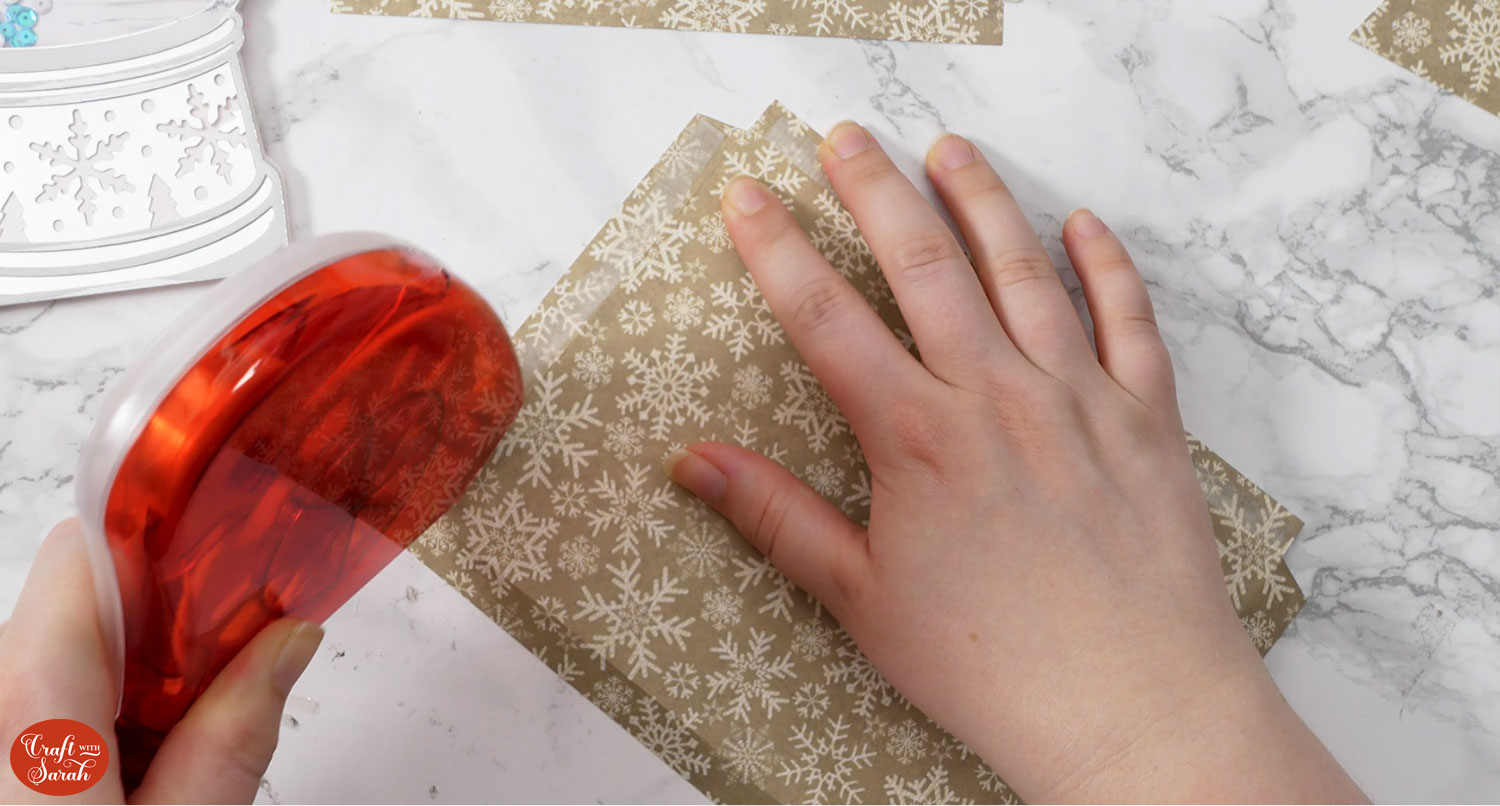
If you used paper that is different colours on each side, you’ll need to choose which pattern to appear on the outside of the envelope and which to appear on the inside.
If you’re posting your card and one of the sides of your paper is white, it might be better to have the white on the outside and the pattern on the inside so that it’s easier to read the address. It adds a beautiful touch to open up the envelope to reveal a beautiful Christmas pattern.
As I will be hand-delivering my card, I am going to put the pattern on the outside.
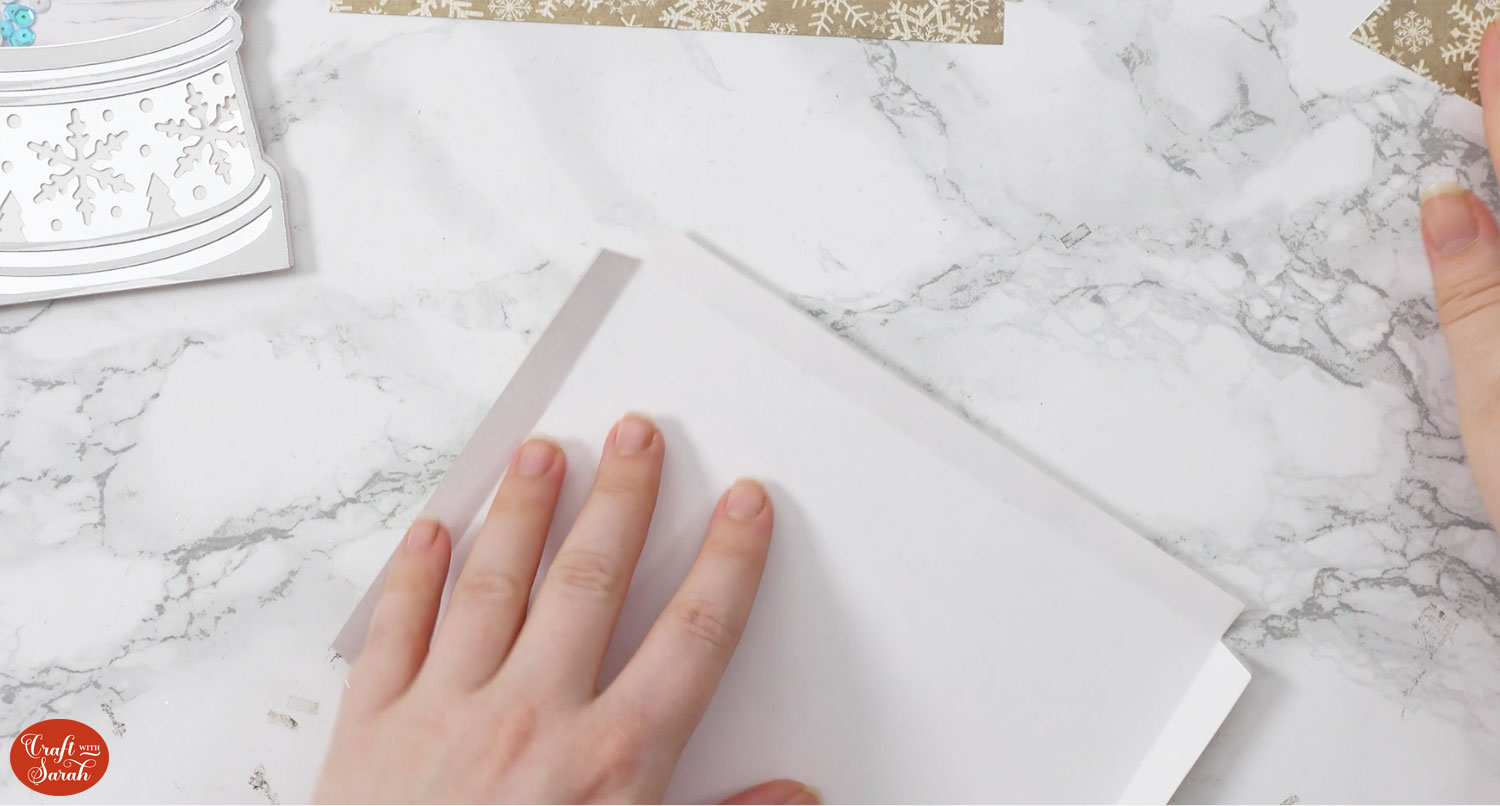
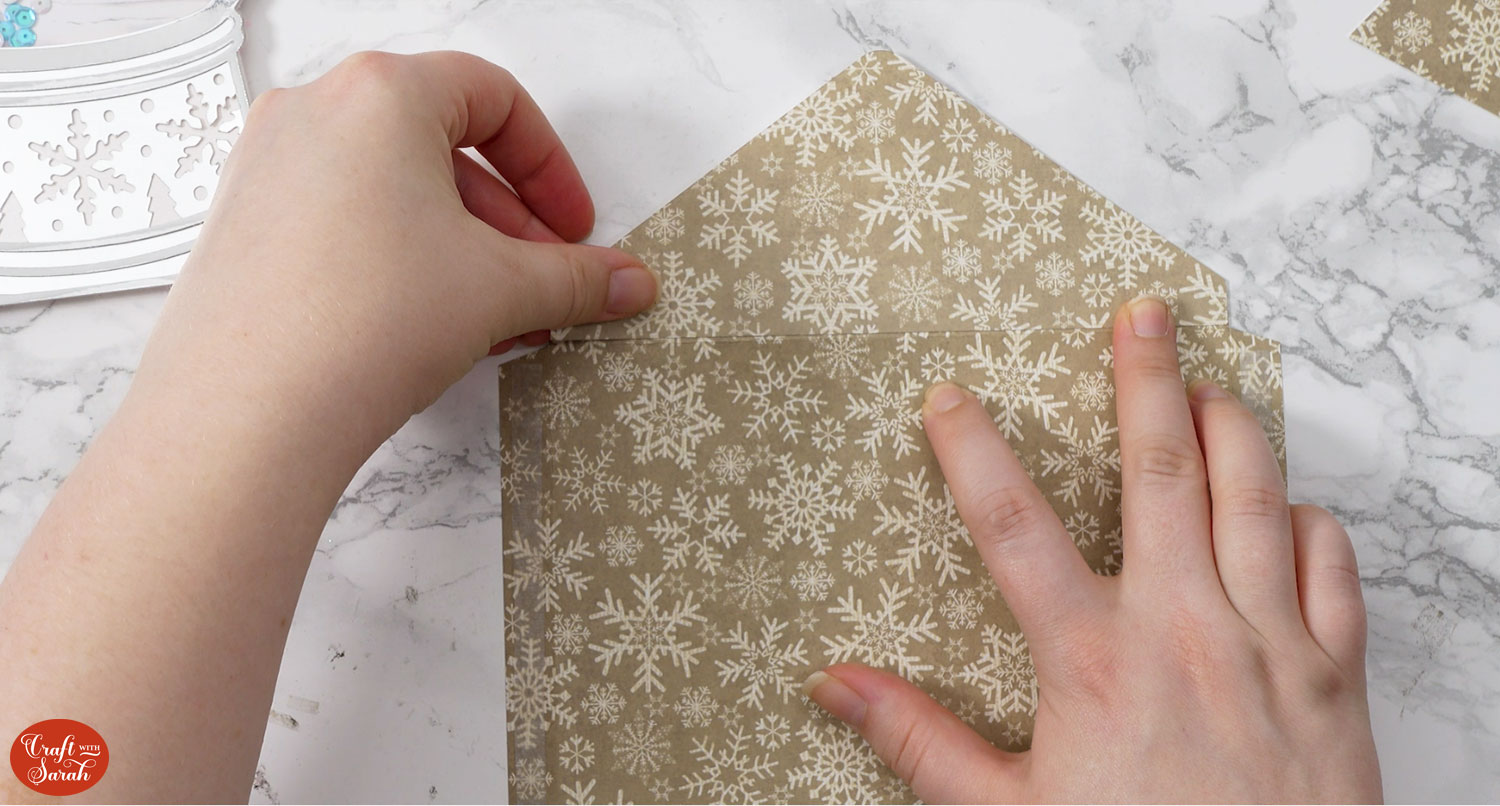
Position the rectangular piece of card so that the INSIDE is facing upwards, and fold fold upwards along all of the score lines.
I use double sided tape for my envelopes as it sticks instantly.
Then the rectangular piece over and run your tape down each of the four tabs up to the score line. Make sure you don’t go any further than the score lines.
Stick the flaps on by lining them up using the score lines.
Turn your envelope over. Fold in the two smaller flaps and add your double sided tape to the two bottom sides which will meet the larger flap.
Fold up the larger flap to meet the two smaller ones and stick it to the tape.
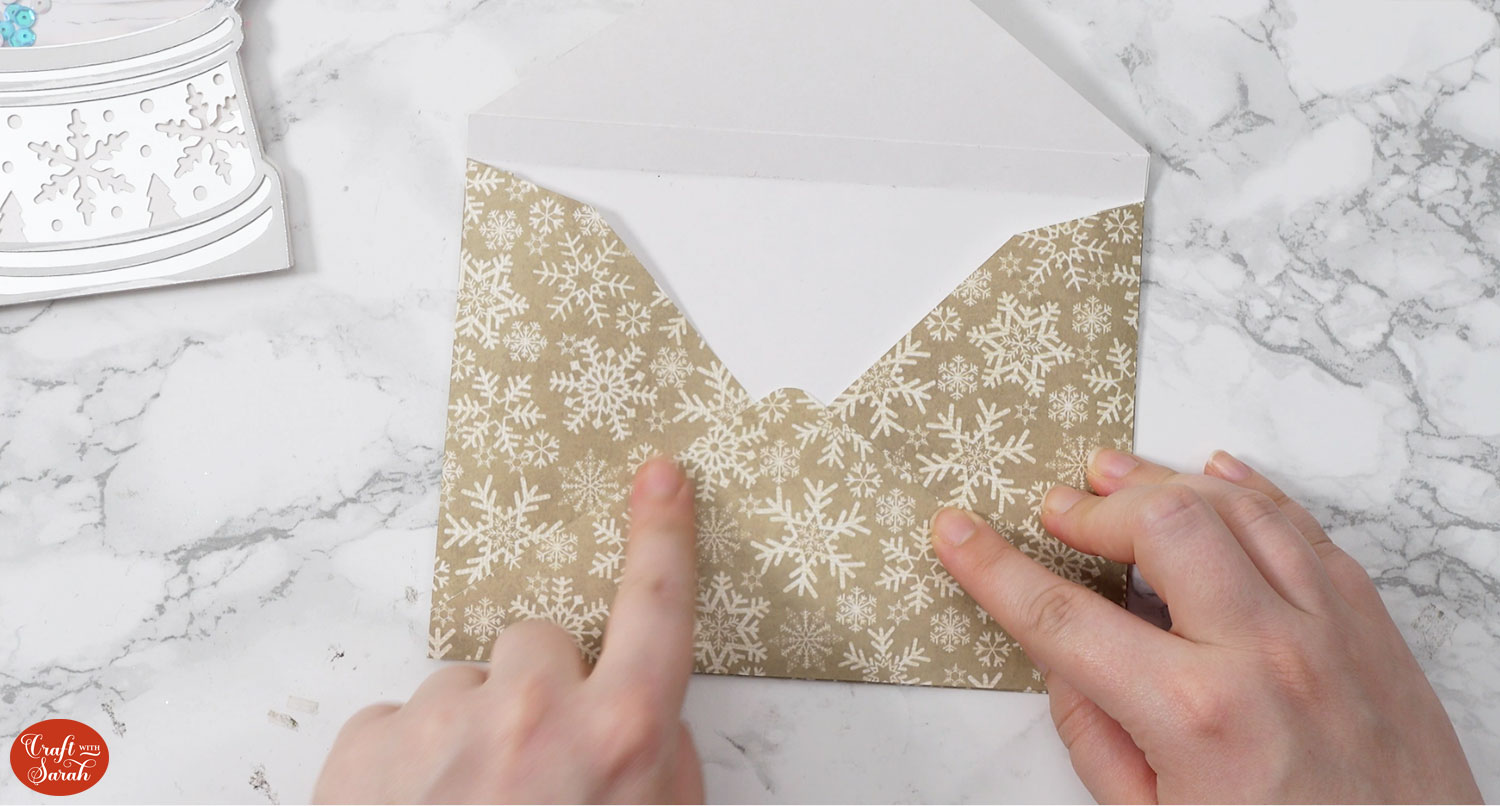
Now you have both your snowglobe card and envelope all finished.
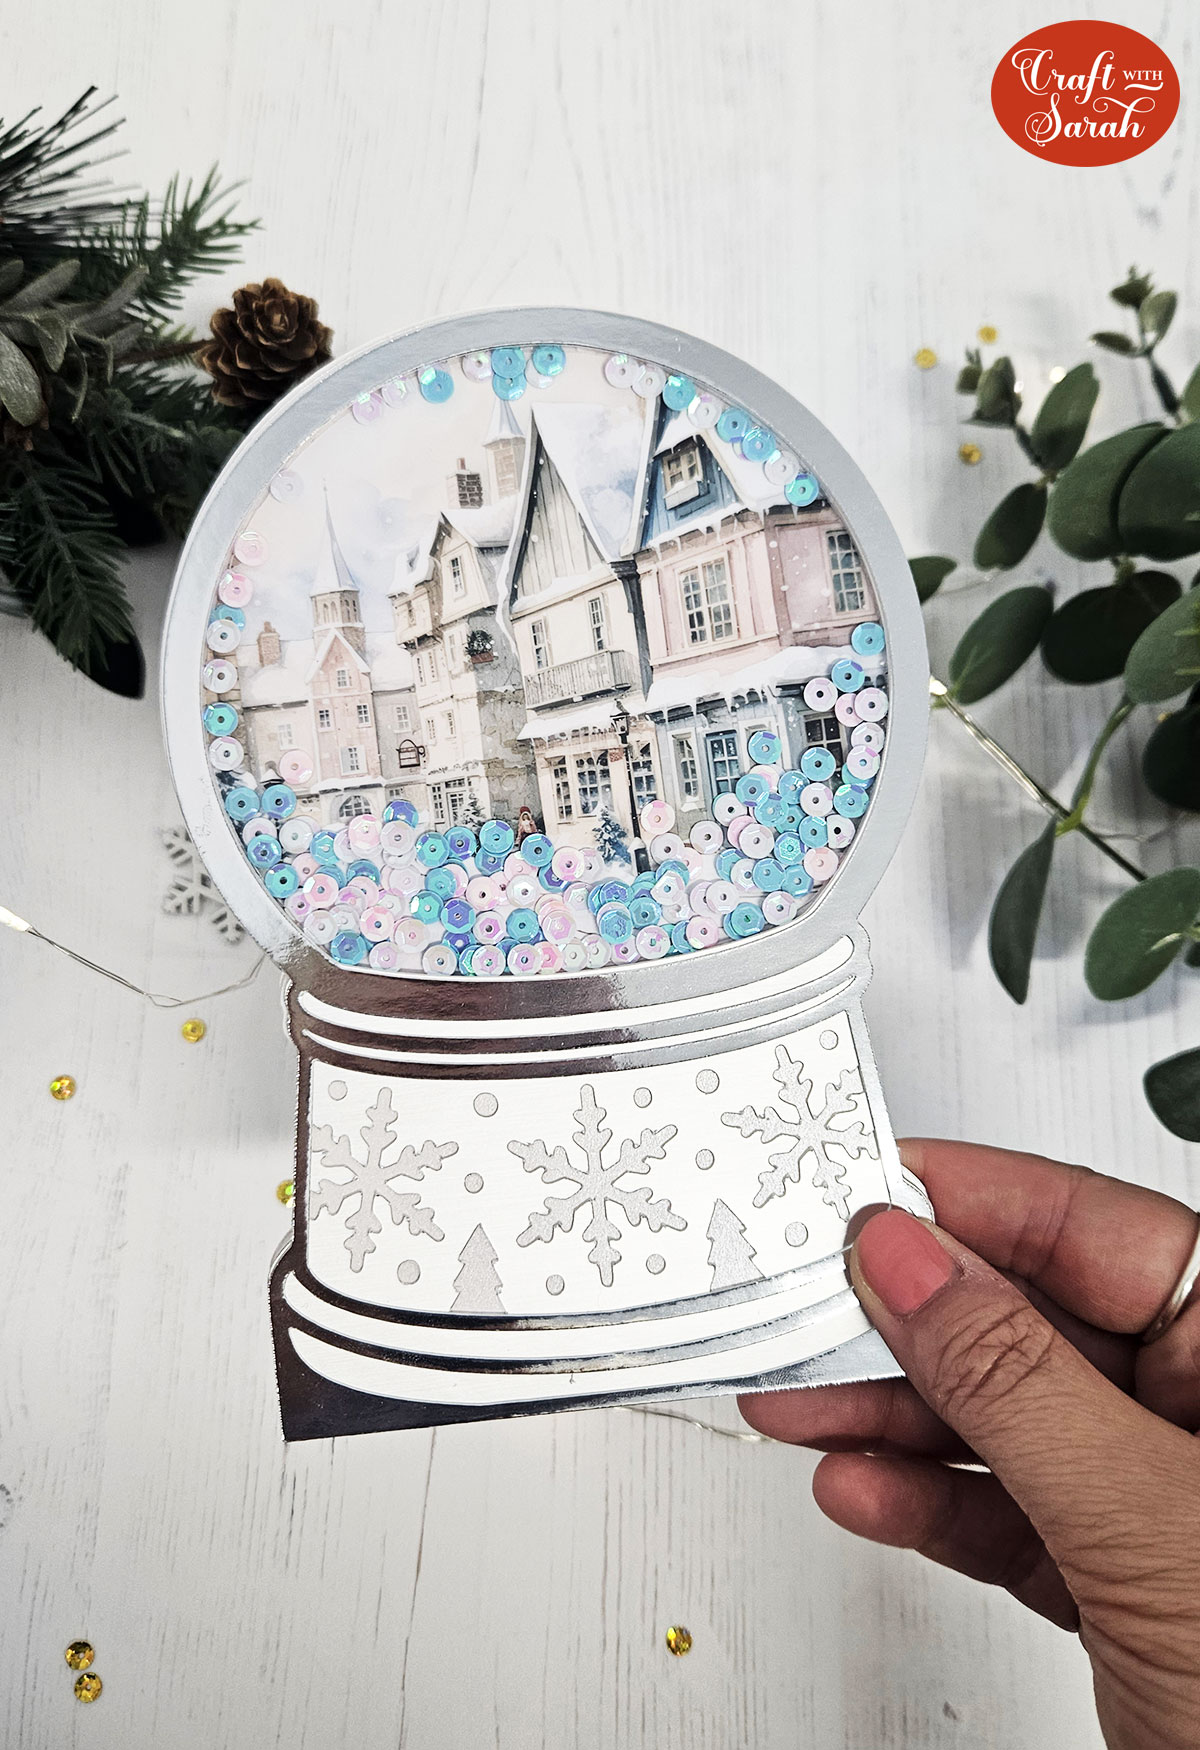
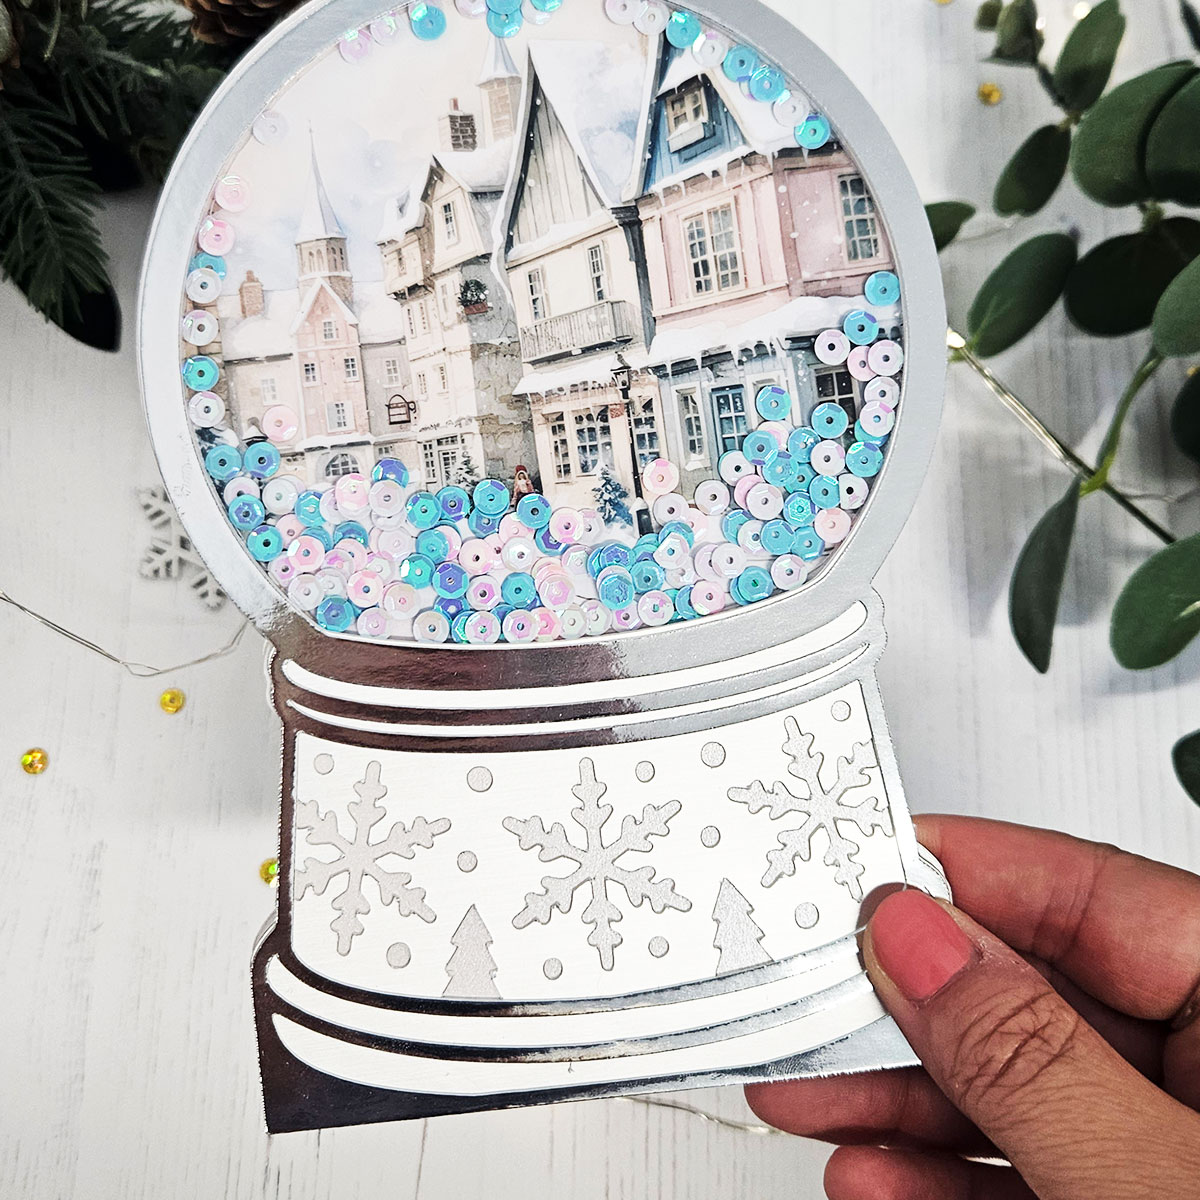
Custom snowglobe card made with a Cricut
I hope you enjoy making this snowglobe card!

This card would be so special to receive with a photo of a happy memory inside or a favourite snowy scene.
All the embellishments inside add such a lovely touch and I can imagine all the different things you could put inside to complete the snowy scene.
Happy crafting,
Sarah x

