DIY Hero Masks: How to Cut Craft Foam on a Cricut Maker
DIY hero masks are a fun project for you and your kids to craft together for that extra special touch to this year’s Halloween costumes!
This tutorial really tested me because I tried something I’ve never done before: cutting craft foam on my Cricut Maker. You’ll see along the way I made one mega mistake at the beginning and then I managed to turn it around and picked up some great tips for cutting craft foam along the way.
I tried two different Cricut blades: the deep-cut blade and the knife blade. Which do you think worked best? Keep reading to find out!
Let’s see how to cut craft foam with a Cricut Maker!
DIY Halloween mask SVGs
Here’s how to cut and assemble my free layered Halloween masks.
The mask templates can be cut from cardstock if you don’t want to use foam or if you don’t have a Cricut that’s capable of cutting foam (you need the Maker or Maker 3 to use the knife blade).
Download the Free Cutting File

Please login to your account to download this file.
TERMS OF USE:
You may sell finished, handmade physical craft items that you have made using this product but must not sell or share the digital files. Read full terms of use
After download, you’ll need to unzip the folder. How you do this is different depending on the type of computer or mobile device you are using.
- How to unzip folder on Windows computers
- How to unzip folders on Mac computers
- How to unzip folders on iPads/iPhones
- How to unzip folders on Android devices

Video tutorial: How to make Halloween masks with craft foam
Watch the video below to find out how to cut these Halloween hero masks on a Cricut Maker using craft foam.
Cutting craft foam with the Cricut Deep Point Blade
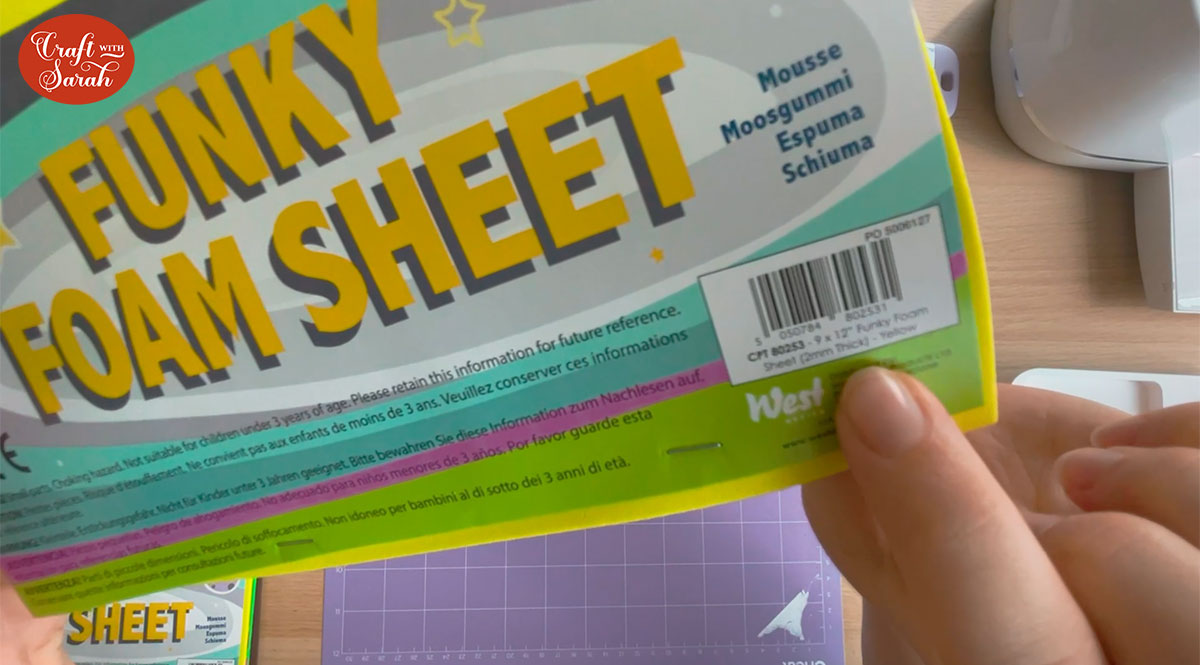
Here’s the craft foam that I’ll be cutting. It’s 2mm thick which is a good thickness for cutting on a Cricut Maker.
Craft foam is also known as “funky foam” and it can usually be found in the kids craft sections of stores. I bought mine from “The Range” which is a UK store.
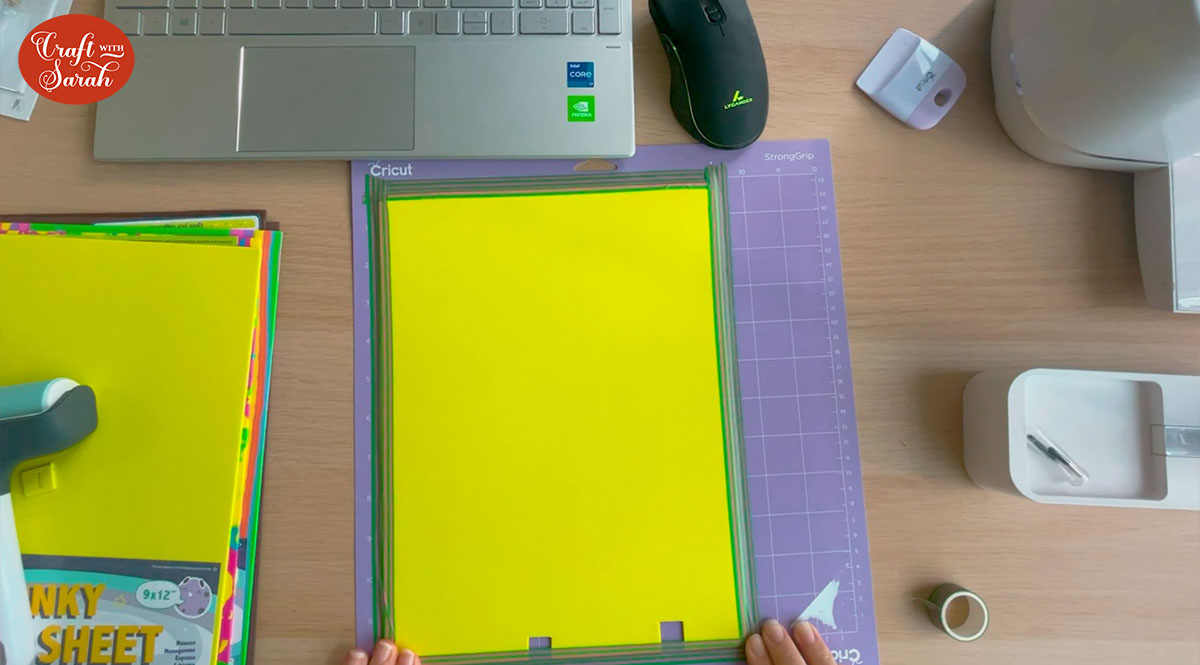
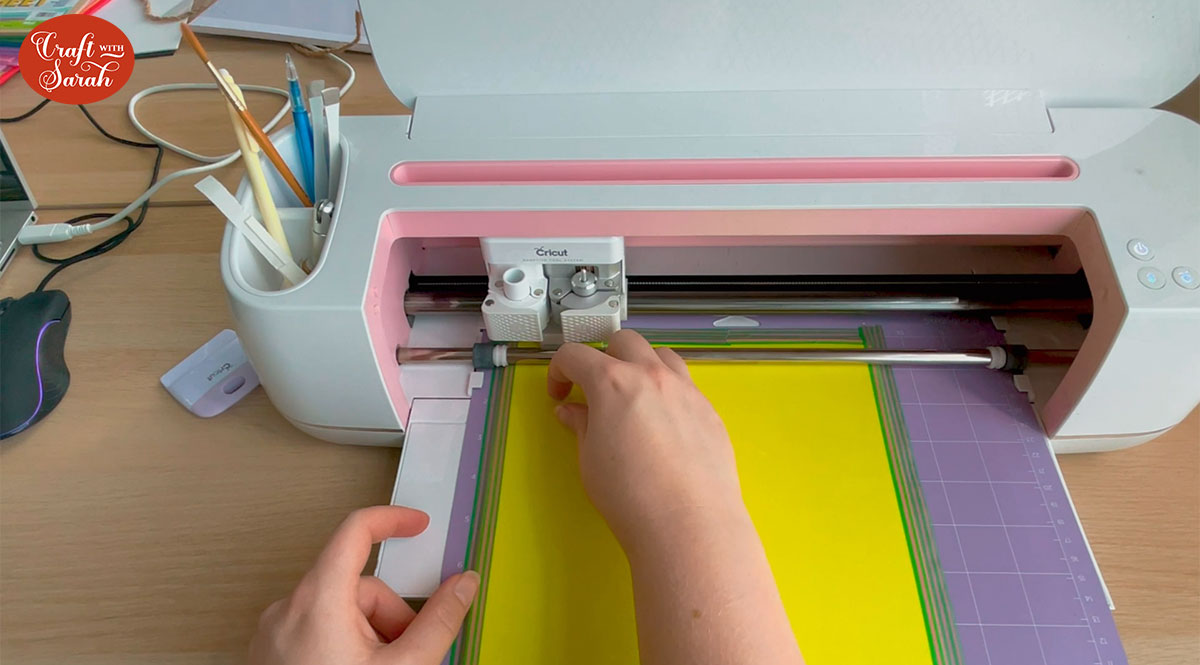
Put the foam on a strong grip mat (purple) and use a brayer to push it down really firmly. Take some washi tape and go along every single edge pushing it down really firmly.
If you don’t have washi tape you could use masking tape or painters tape but it’s really important that you get your foam stuck because this is a thick material and we don’t want it moving inside the Cricut as it goes through as that will affect the cut and it could also damage the machine.
To start with, I tried the deep-point blade.
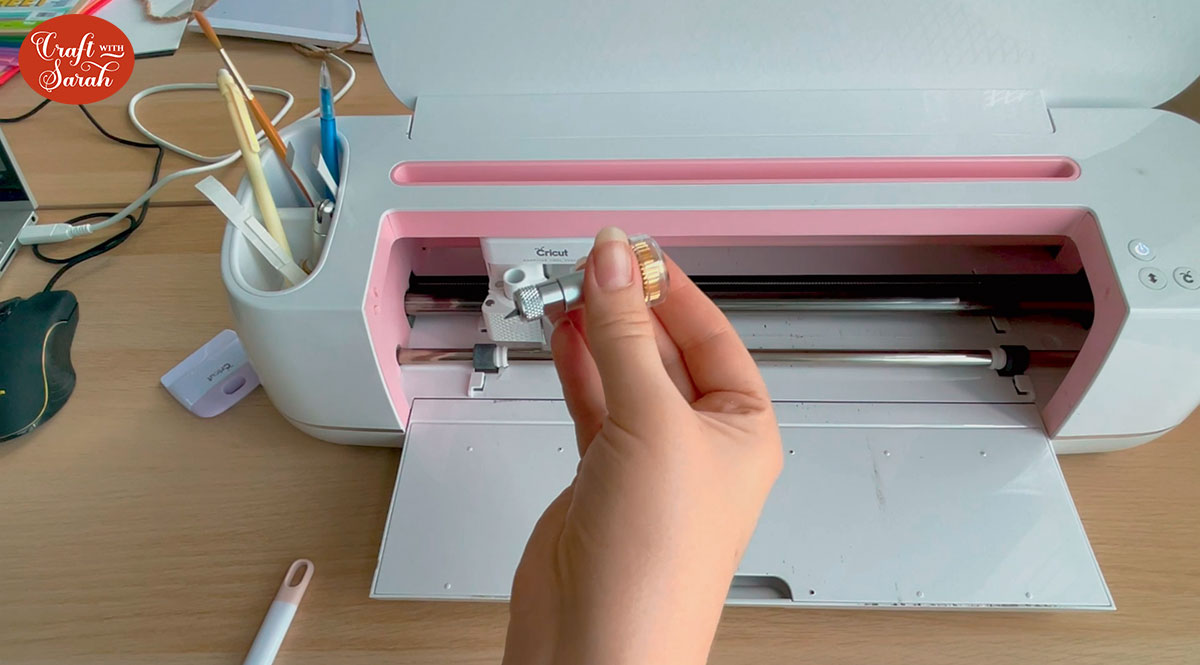
Take out the fine point blade first. Use a pair of tweezers or something similar to “grab” the blade and pull it out. Don’t make the mistake that I did and use your fingers – those blades are SHARP!!
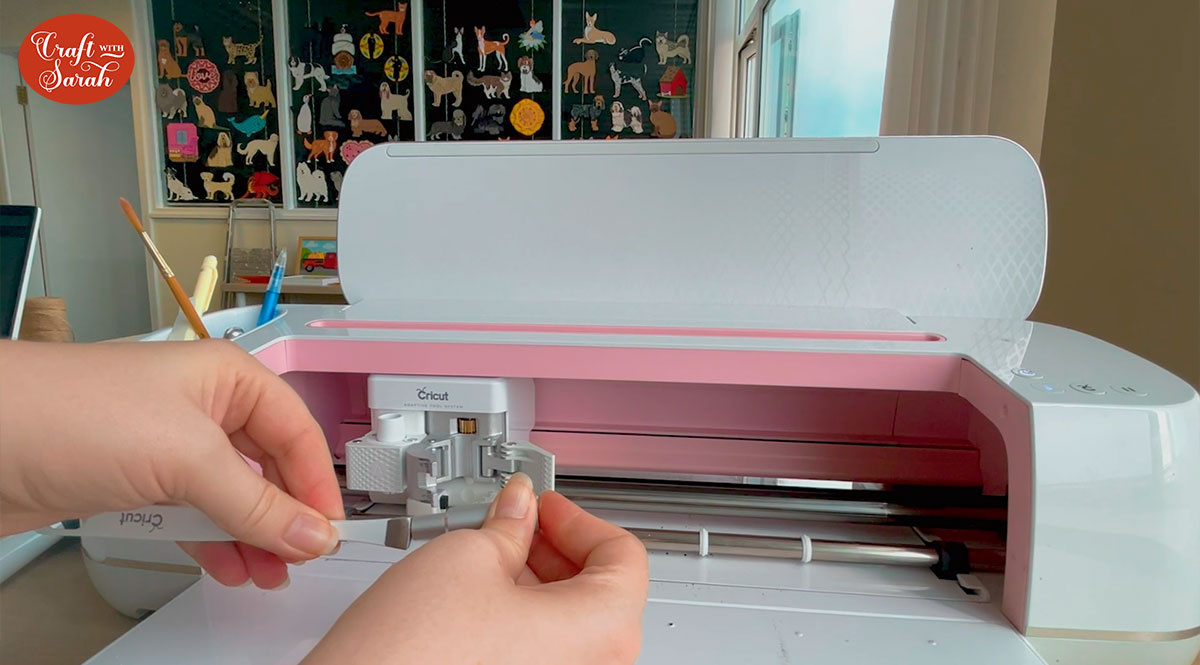
If your deep-point blade is new, take off the little plastic covering and that will reveal the blade underneath.
You just need to drop it into your housing so that the blade is at the bottom and there’s a magnet in there so it’ll just pull the blade in.

Put it back into the Cricut. Make sure you put your fine point blade somewhere safe so that you don’t lose it!
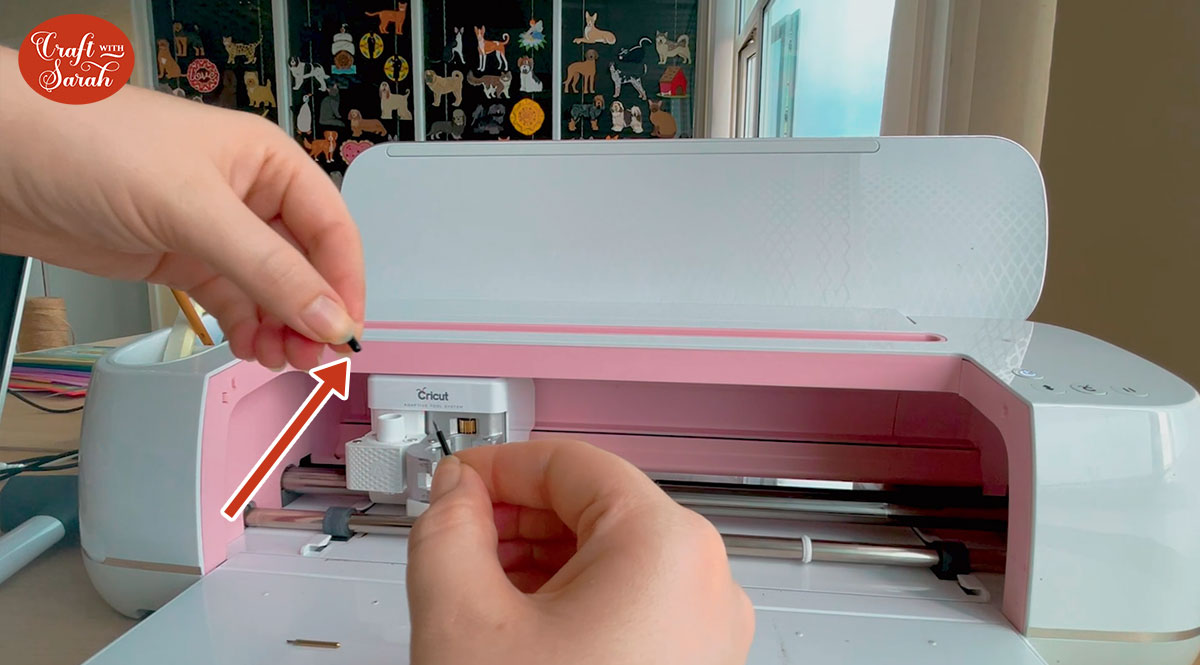
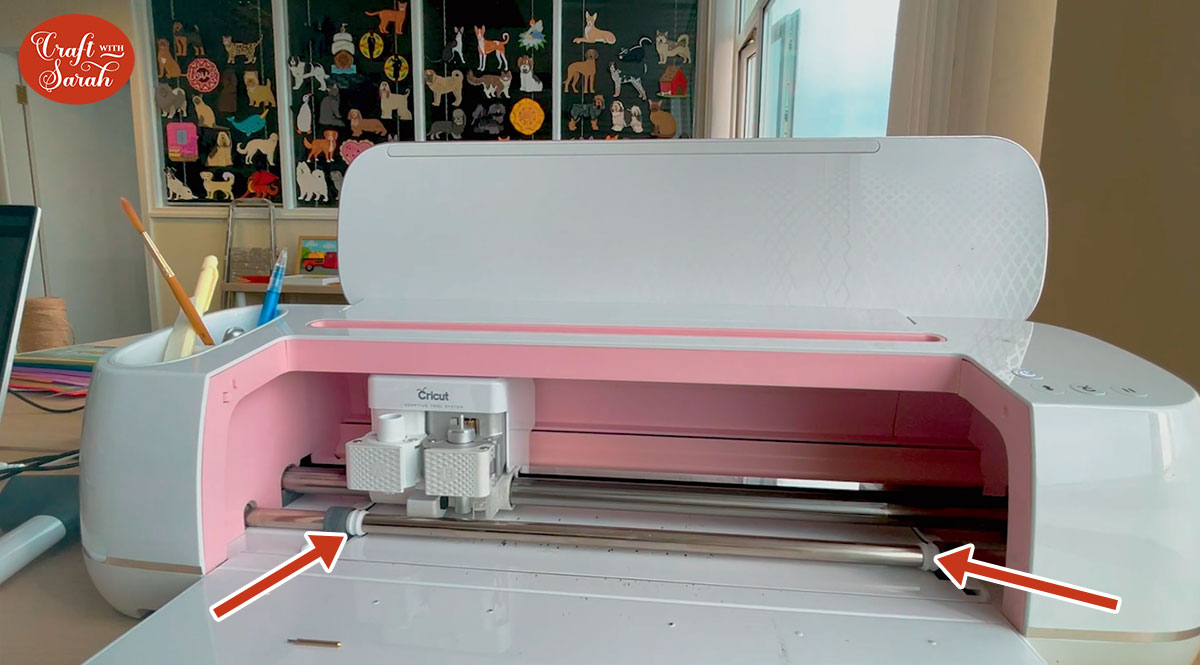
Next we need to move the star wheels – the little white wheels inside the Cricut. Normally they help the material to feed in, but in this case it would damage and mark the craft foam so just gently slide them all the way to the edge.
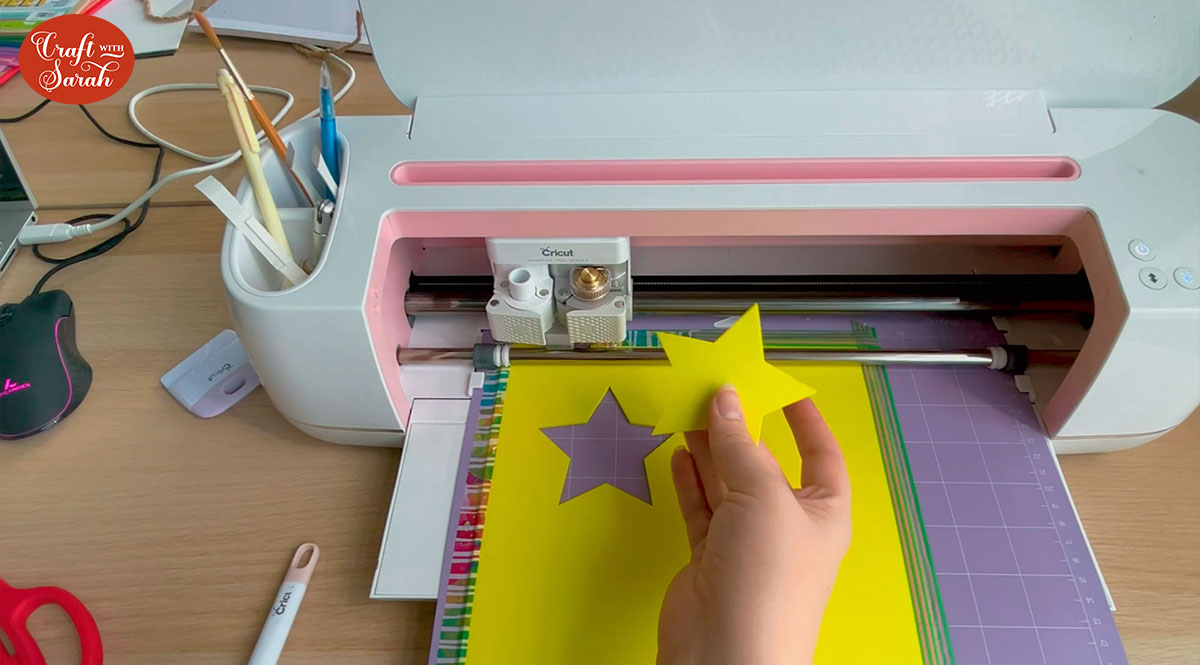
As I hadn’t cut craft foam before, I started with a simple test of just cutting a star shape.
After clicking “Make It”, click “browse all materials” select “Craft Foam”.
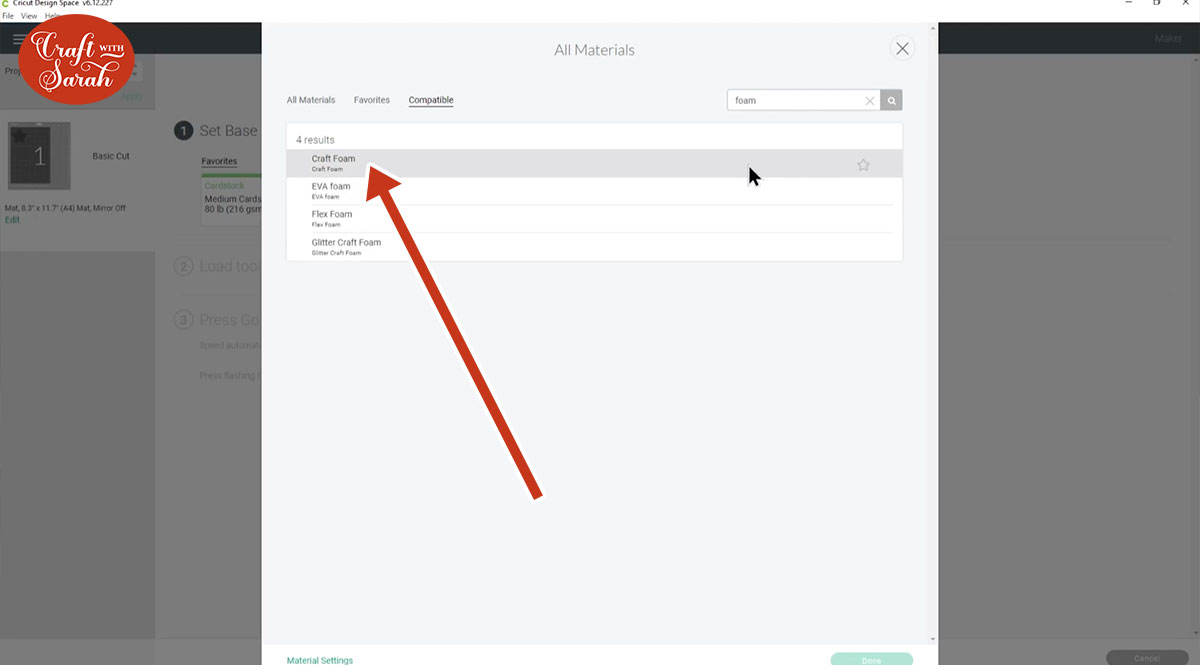
Click “Done” and then it tells you to move your star wheels all the way to the right which we’ve already done.
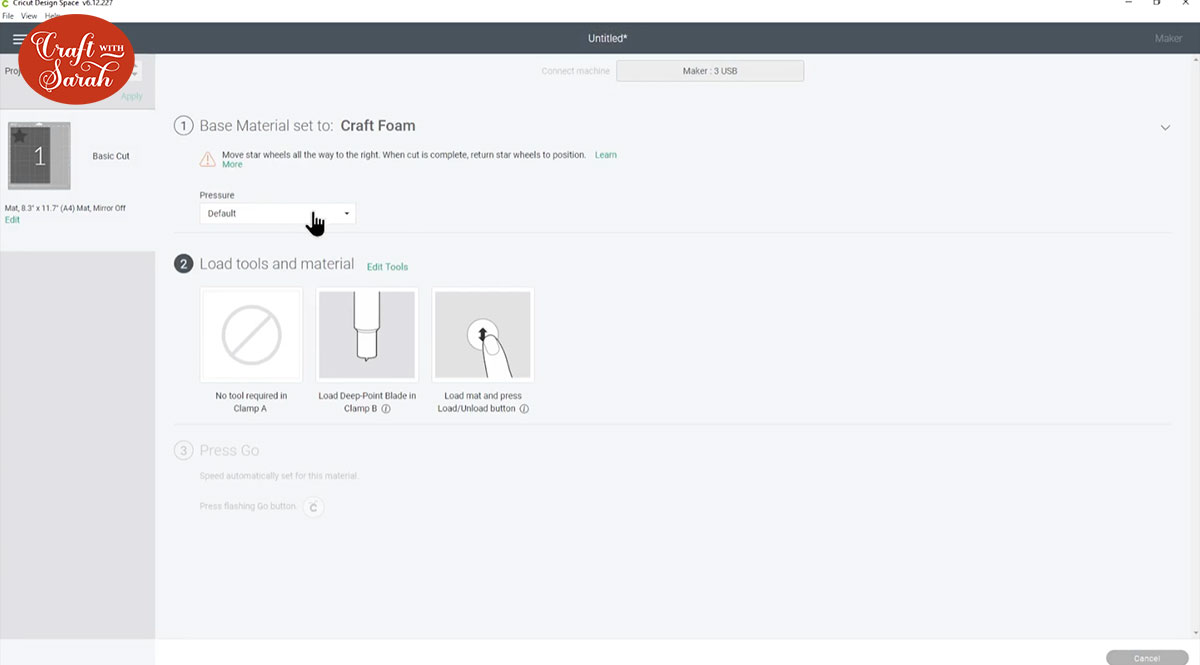
I completed the cut, but wasn’t convinced it had cut through so I tried to peel out the star shape but I was right – it hadn’t cut through. I pressed the “Go” button on the Cricut again to repeat the cut, and it still didn’t cut through.
I tried it several more times and it STILL didn’t cut through… so I decided to move on to the Knife blade instead to see if that worked better.
How to cut craft foam with the Cricut knife blade
The knife blade is a special blade for the Cricut Maker and Maker 3 that can cut much thicker materials than normal, so I was more confident that this would work on the craft foam.
This is what it looks like:
I took the foam off the mat and turned it the other way around to try cutting the “test star” from the other site.
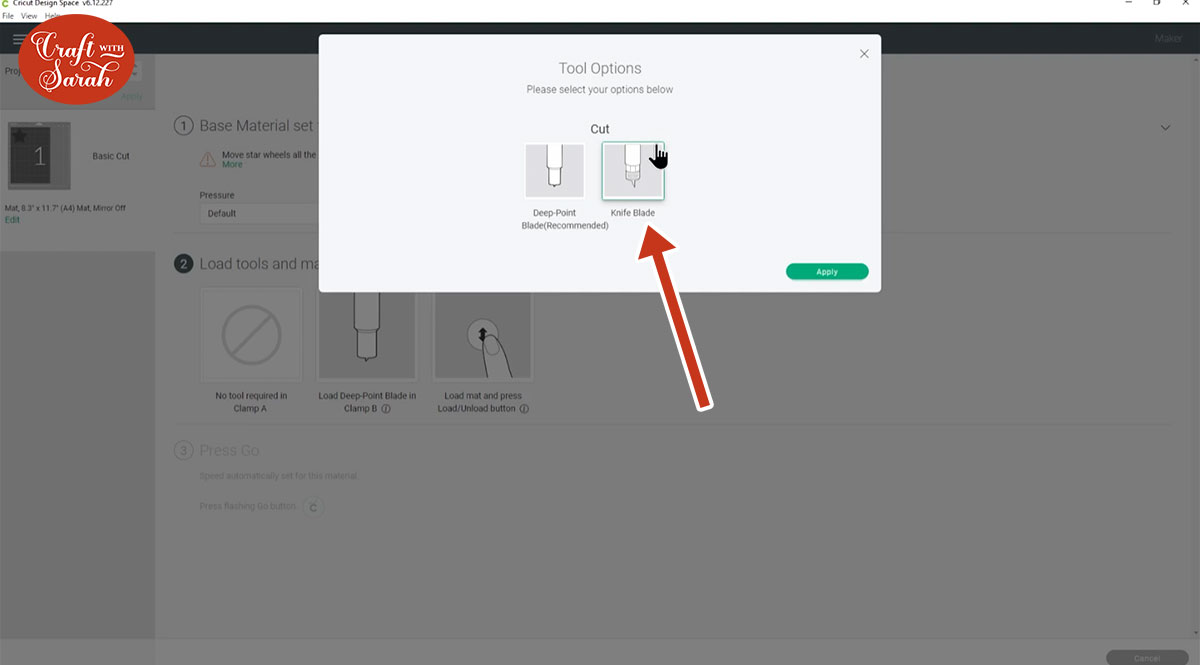
To cut with the knife blade, select “Craft Foam” as the material and then click the “Edit tools” link.
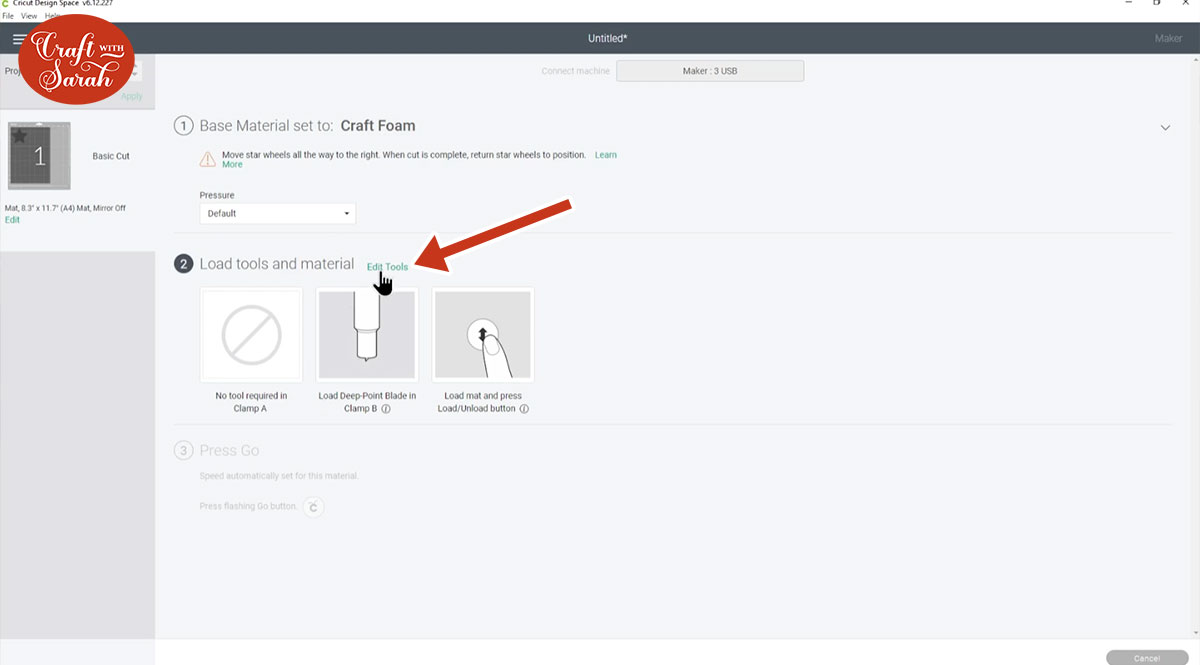
Choose “Knife Blade” in the popup that appears and then click the “Apply” button.
The knife blade is more like a scalpel, so it can only really go one direction at a time and then it needs to rotate. The little wheel at the top will rotate every time it goes to a different direction and then it’s cutting all of the lines one at a time. The knife blade does several passes by default, so it cut the star outline once and then did the same cuts again.
This time, it cut through perfectly on the first time – wahoo!
My star cut beautifully with the knife blade, so I decided to try cutting the hero mask next.
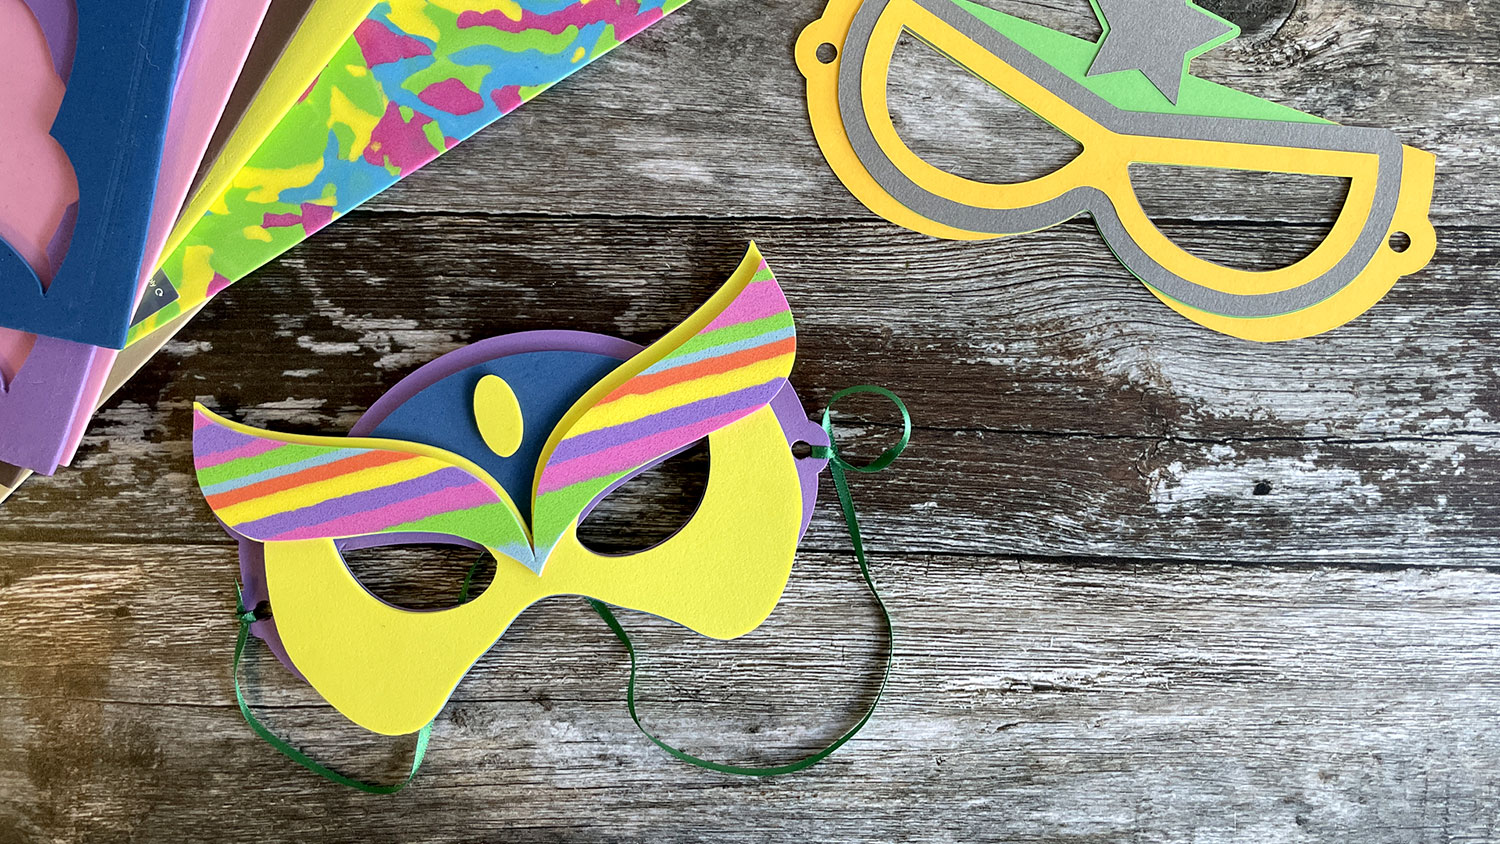
DIY Hero masks with craft foam
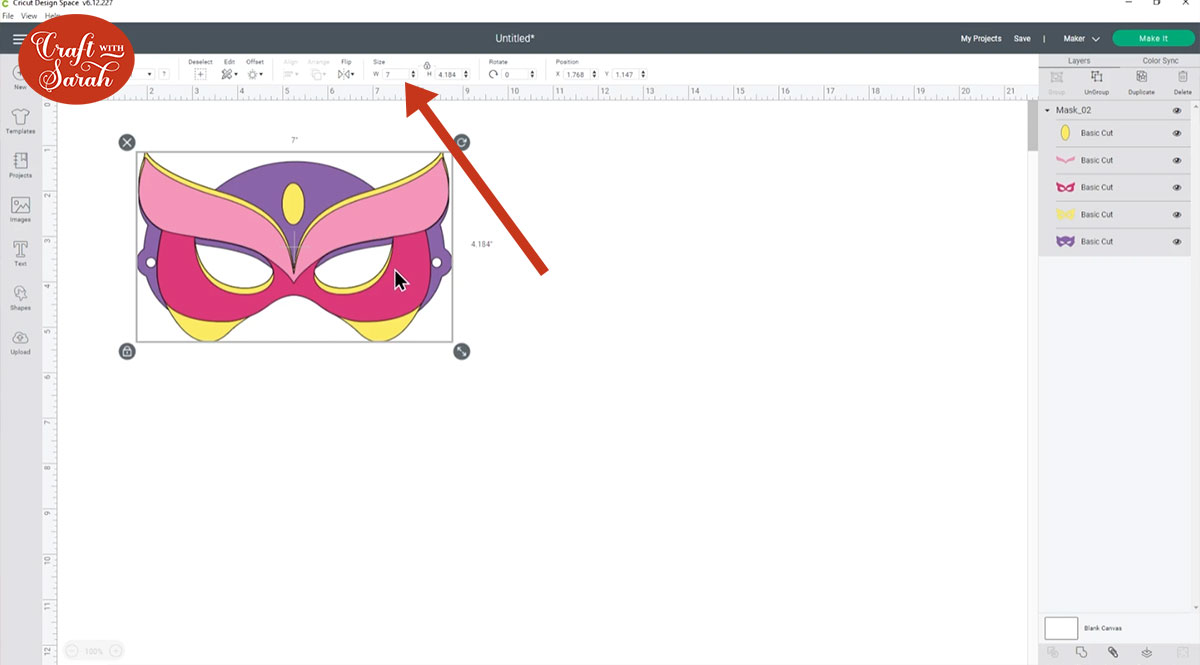
As I was making the mask to fit my face, I resized it in Design Space to 7 inches wide.
I followed exactly the same steps as I did with the test start, including securing the foam to a strong grip mat, making sure the star wheels were moved out of the way and using the knife blade.
Here’s how all the pieces cut…
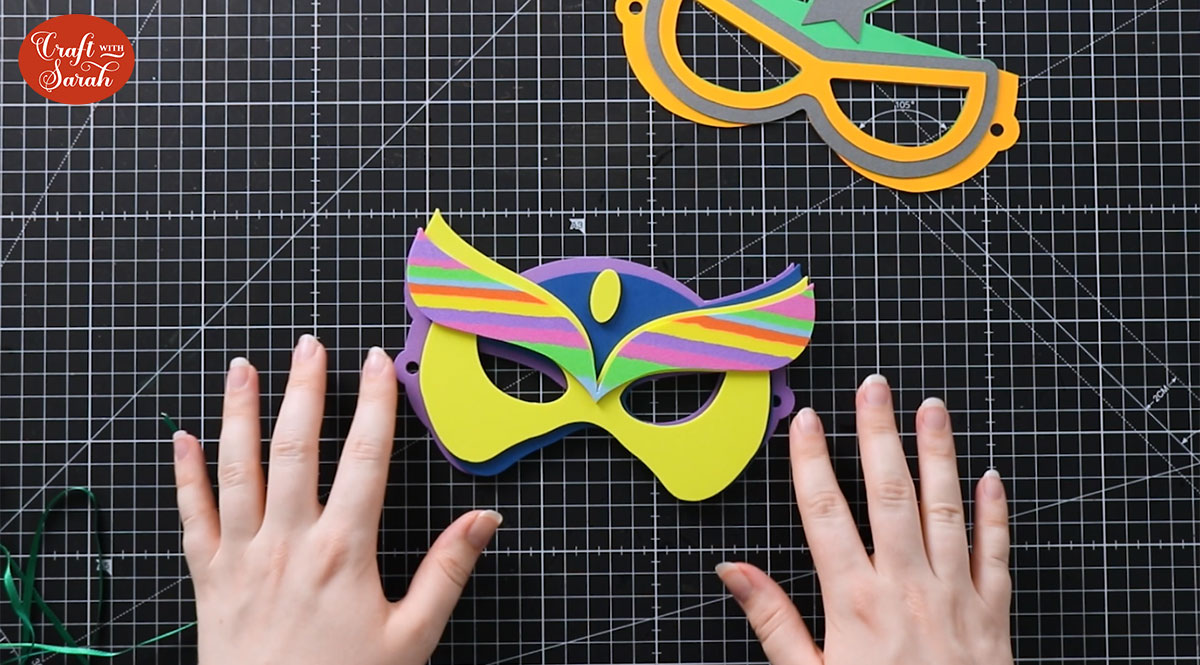
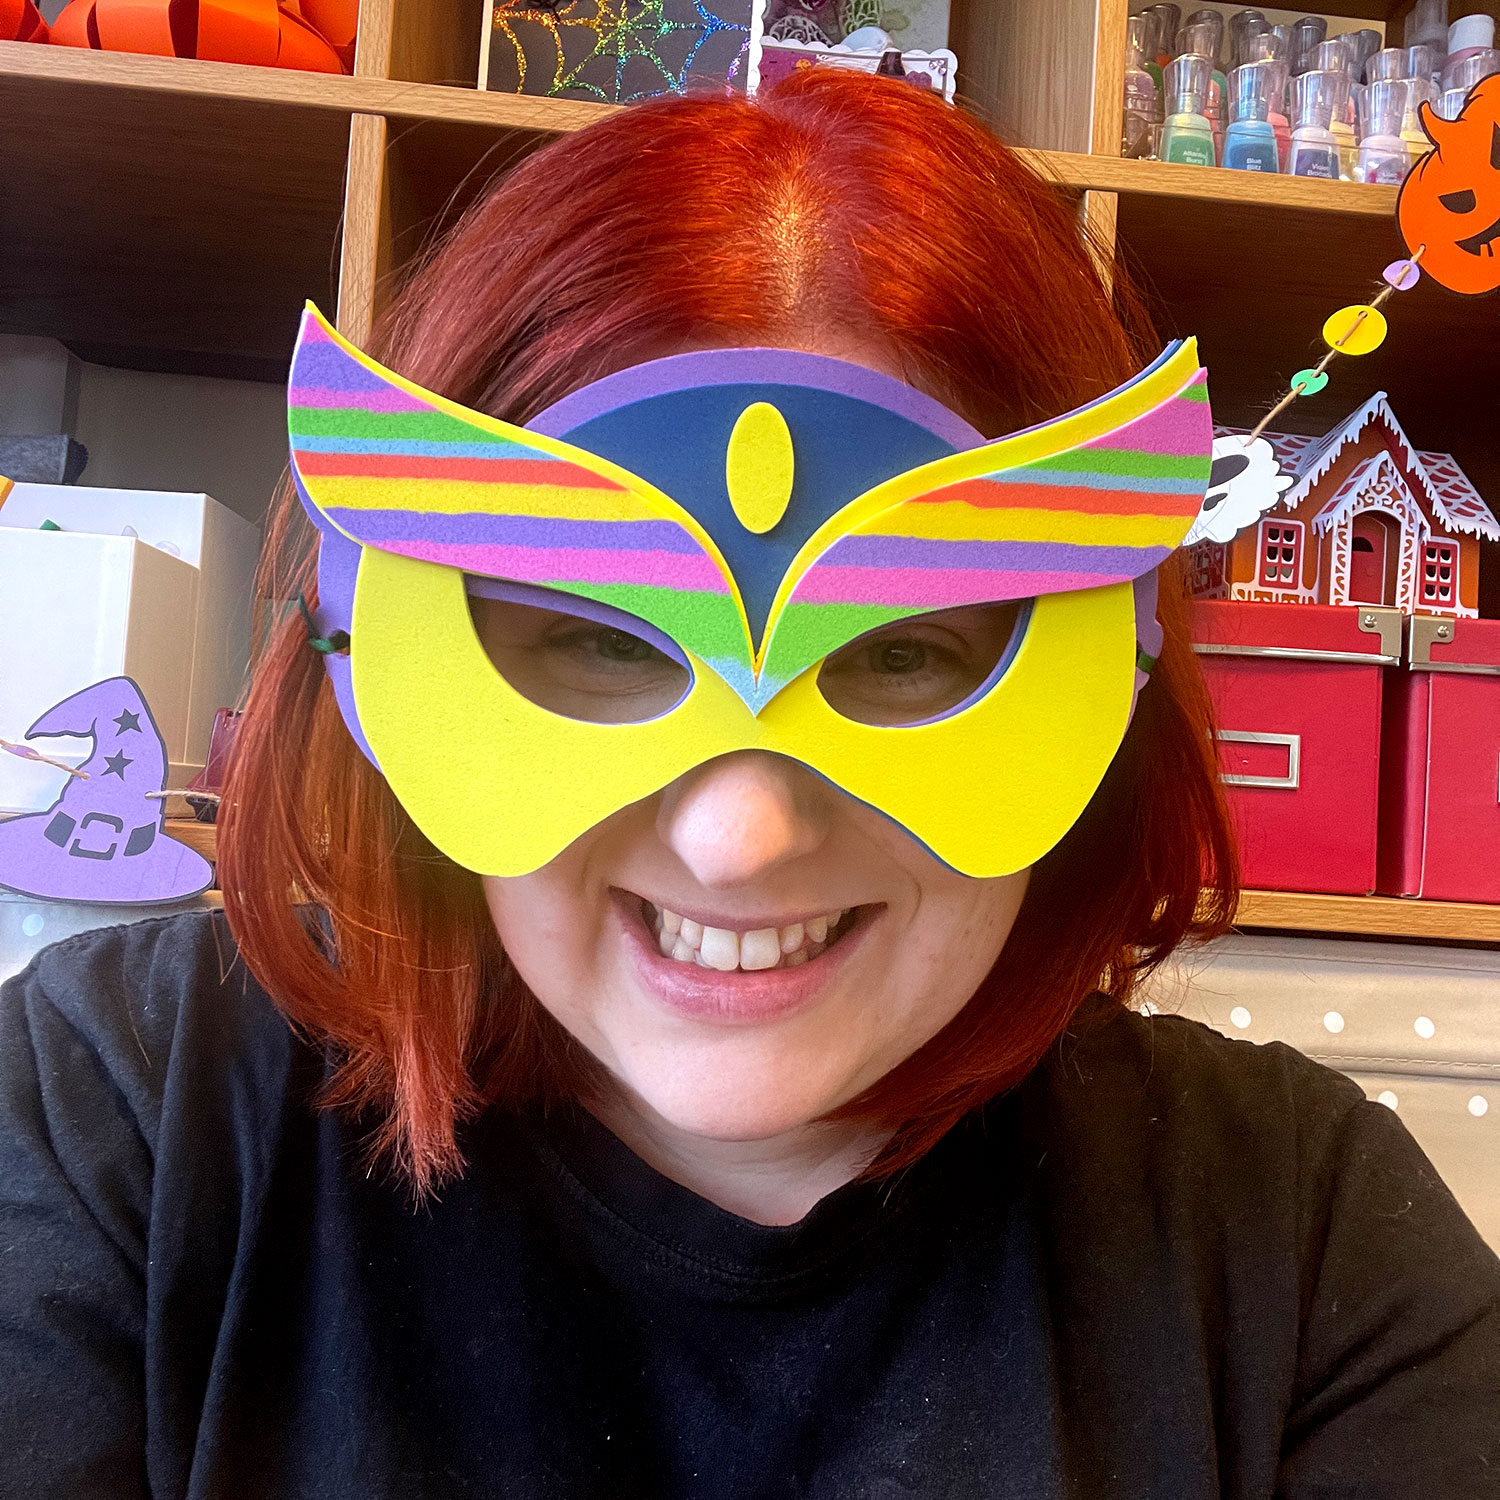
The edges are cut perfectly and I’m really happy with how it turned out!
Then, all you have to do is stick the layers together!
I used my favourite Collal glue, but any glue should be fine or you could possibly use double-sided tape but I’m not entirely sure if that will hold the layers together as effectively as glue.
Thread some ribbon or elastic through the holes and tie it together, and then you’re finished!

I cut the second mask from cardstock and that worked well too, although I prefer the one made from foam as it’s more “bendy” so I think it will be more durable when it’s being worn.
I hope you enjoyed this tutorial on how to make DIY super hero masks from craft foam.
If you’d like to make more Halloween projects, check out my free SVGs – there are loads to choose from and new designs are added regularly!
Happy crafting,
Sarah x

