3D Easter Eggs 🌷 Slot-Together Easter Cricut Craft
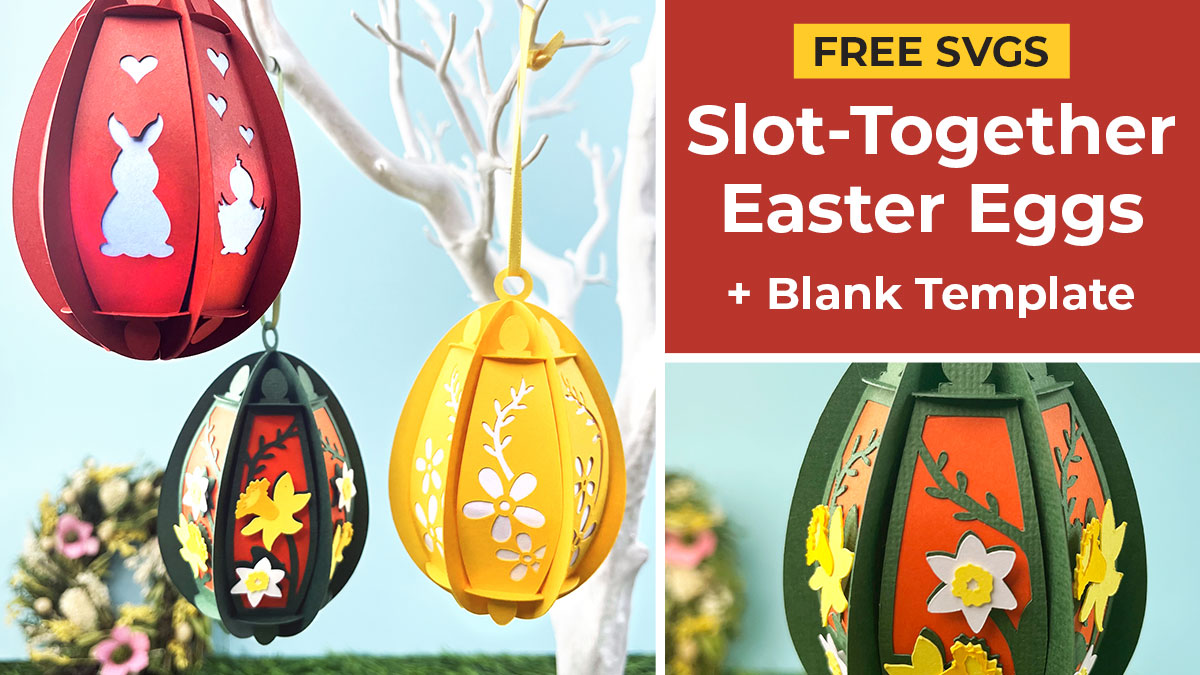
These little 3D Easter eggs are a lovely way to add some subtle decoration to your home this Spring.
Add battery powered tea lights or fairy lights inside for a lovely glow OR hide some chocolates in the middles for an extra special Easter treat!
Cut out the pieces and slot them together for the EASIEST 3D crafts for Easter.
The pieces “slot” together so most of the ornament can be put together without glue. The only glue you’ll need is to stick the background coloured pieces to each of the outer sections.
Or, leave those parts off for a completely no-glue craft project!
Three different free Easter egg SVGs are included in this tutorial. A blank template is included too, with no images in the sides, so you can design your own projects.
For even more designs, scroll to the bottom of the post 🙂
Materials supply list
Here is a list of the materials that I used to make this project.
Please note that some of the links included in this article are affiliate links, which means that if you click through and make a purchase I may receive a commission (at no additional cost to you). You can read my full disclosure at the bottom of the page.
- Cricut machine
- Light blue Cricut cutting mat
- Coloured card
- Collall All Purpose glue or similar
- Needle tip applicator bottle
- Ribbon
This project is suitable for the following types of Cricut machine: Explore Air 2, Explore Air 3, Maker, Maker 3, Venture, Joy Xtra and Joy.
Video tutorial
Watch the video below to see how to make this project. Keep scrolling for a written tutorial.
Written tutorial (with photos!)
Here’s how to make your very own 3D Easter eggs using a Cricut machine!
Step 1) Download the cutting file(s) & unzip the downloaded folder
Download the Free Cutting File
Please login to your account to download this file.
TERMS OF USE:
You may sell finished, handmade physical craft items that you have made using this product but must not sell or share the digital files. Read full terms of use
Before you upload the SVGs to Design Space, you need to unzip the download folder that they comes in.
Step 2) Upload the SVG file into Design Space
Open up Cricut Design Space and start a new Project.
Click “Upload” and then find your unzipped version of the downloaded files for this project.
Go into the “SVG Files” subfolder and select a design to upload.
There are three designs to choose from: snowflakes, festive images and Santa with reindeer.
This is how it should look after you have uploaded the file:
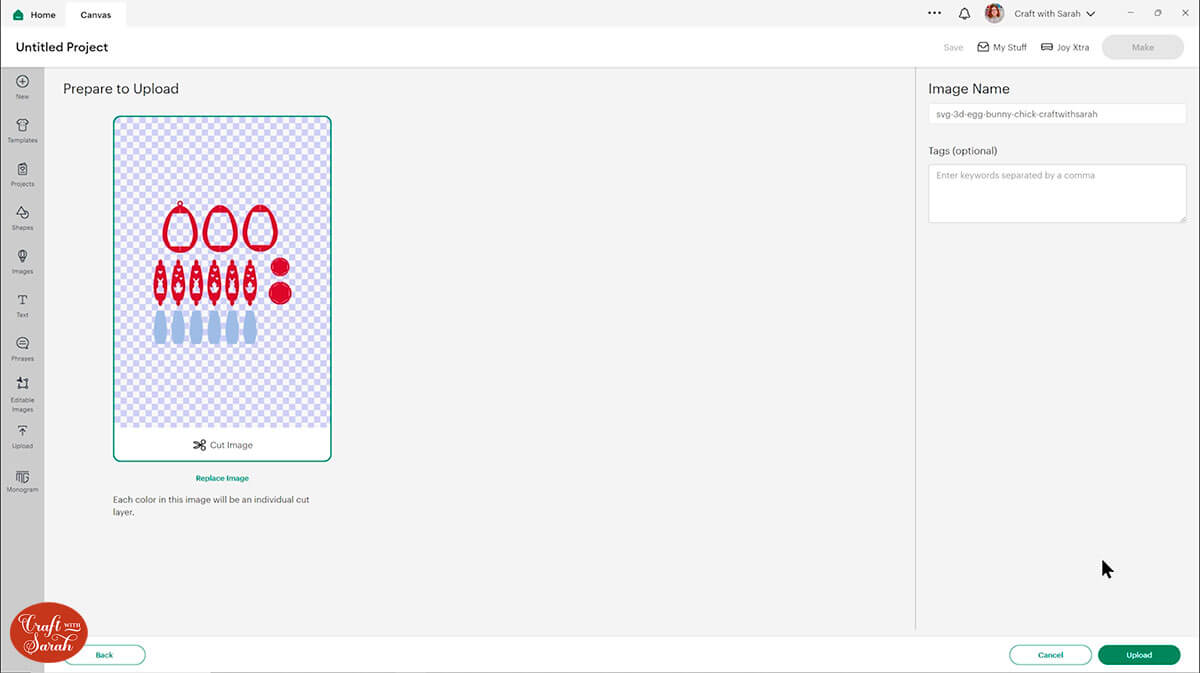
Make sure you upload the file which starts svg- in the filename!!
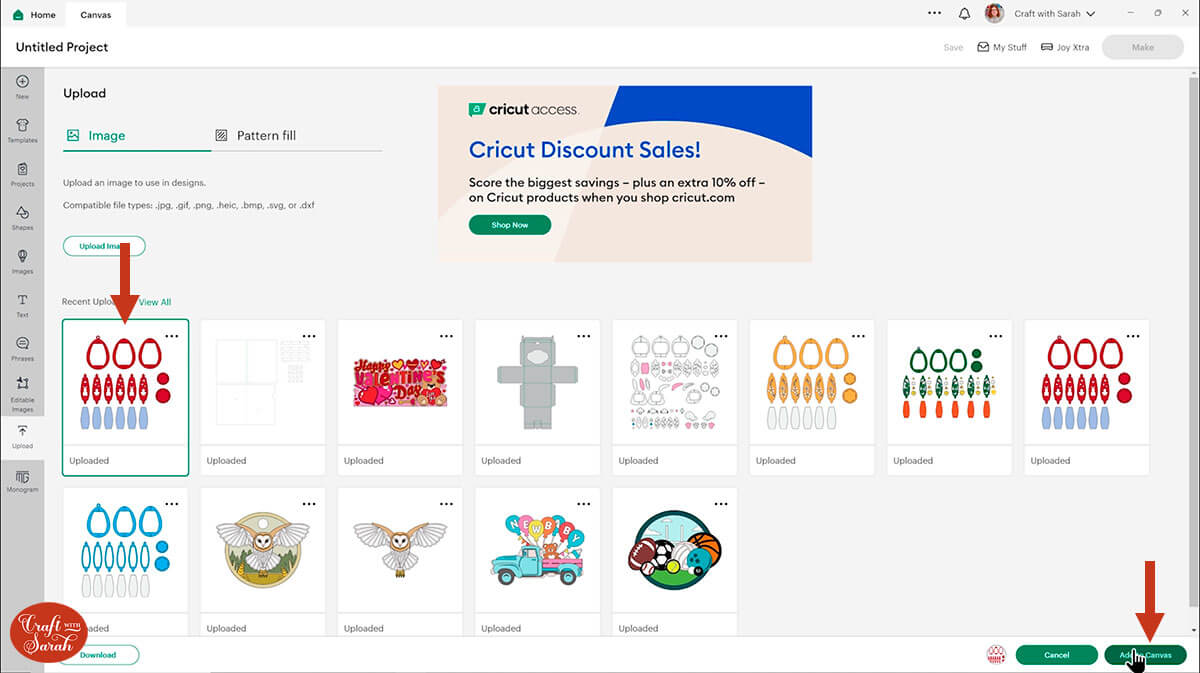
After uploading, the design will show in your “Recently Uploaded Images”.
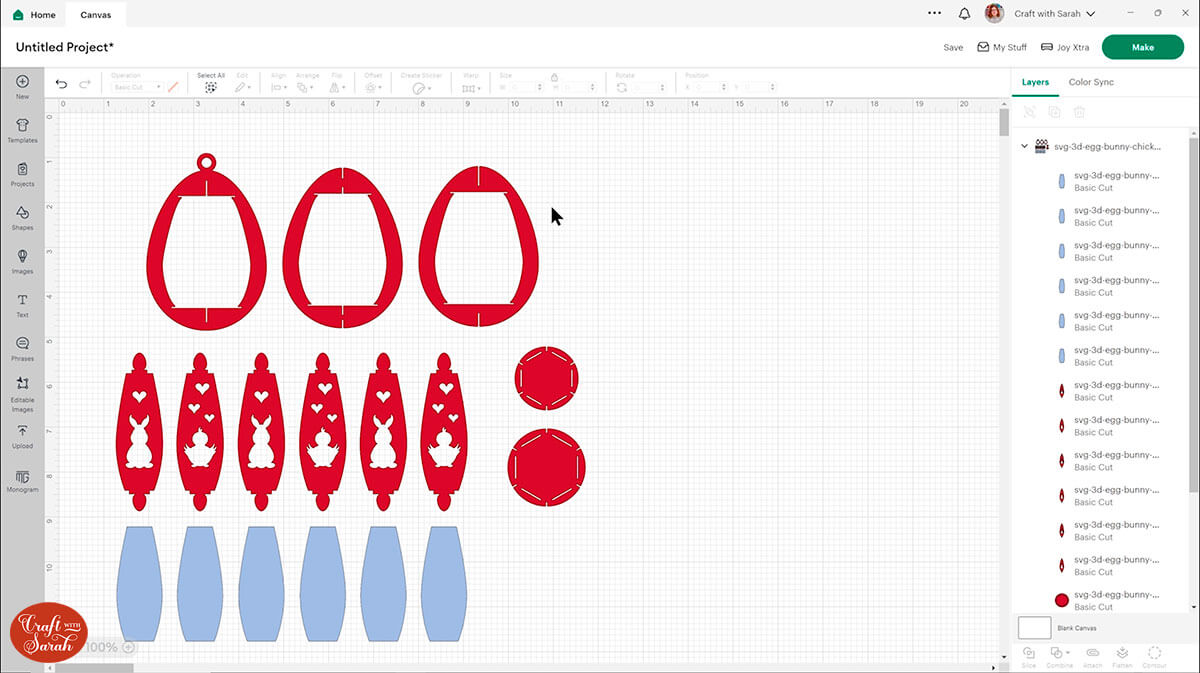
Click on it and then press “Add to Canvas” to put it onto your Project.
The ornaments will load in at the correct size to make a finished decorations that’s approximately 3.5 inches tall, not including the ribbon hoop.
This is big enough to put a UK sized Cadbury Creme Egg inside.
Due to the intricate cuts in the patterns, I don’t recommend making them smaller, but you can resize them larger without issue.
TIP: If you resize the ornaments, make sure the padlock icon above the width/height boxes is CLOSED before you resize. If it appears “open”, click it with your mouse to close it.
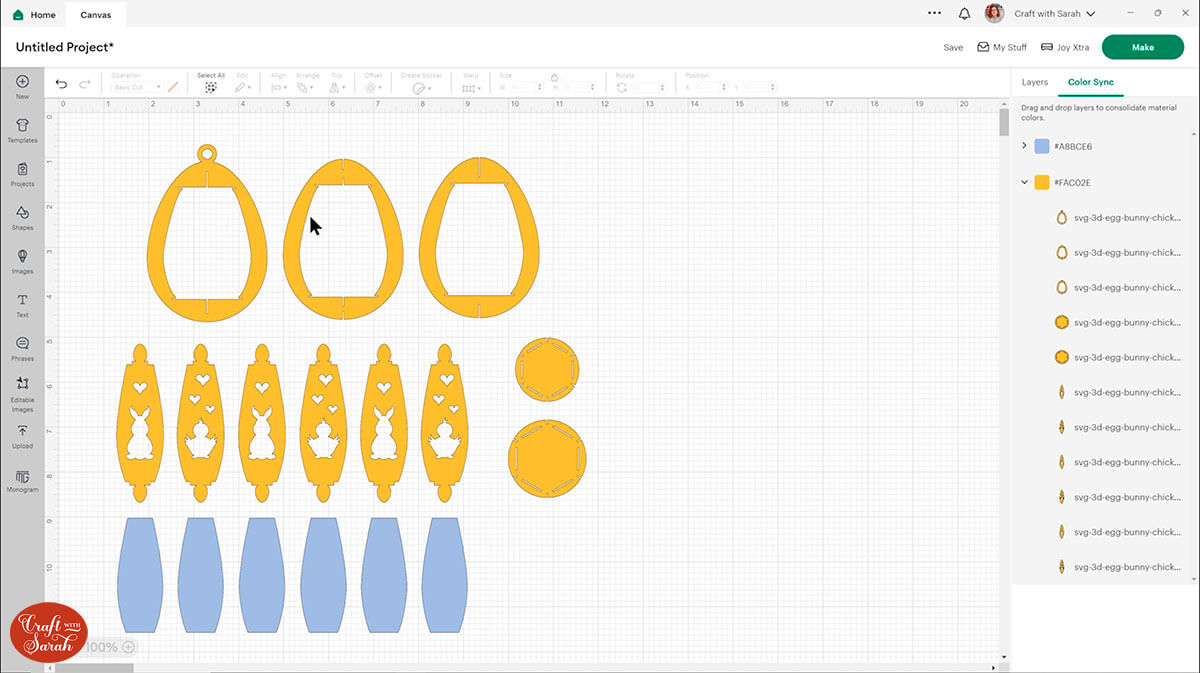
You may wish to re-colour the pieces to match the cardstock you want to cut it from, to check that you’re happy with the colour combinations.
Step 3) Cut out the project from cardstock
When you’re happy with how the project is looking in Design Space, click “Make It” and follow the instructions on-screen to cut out all the layers.
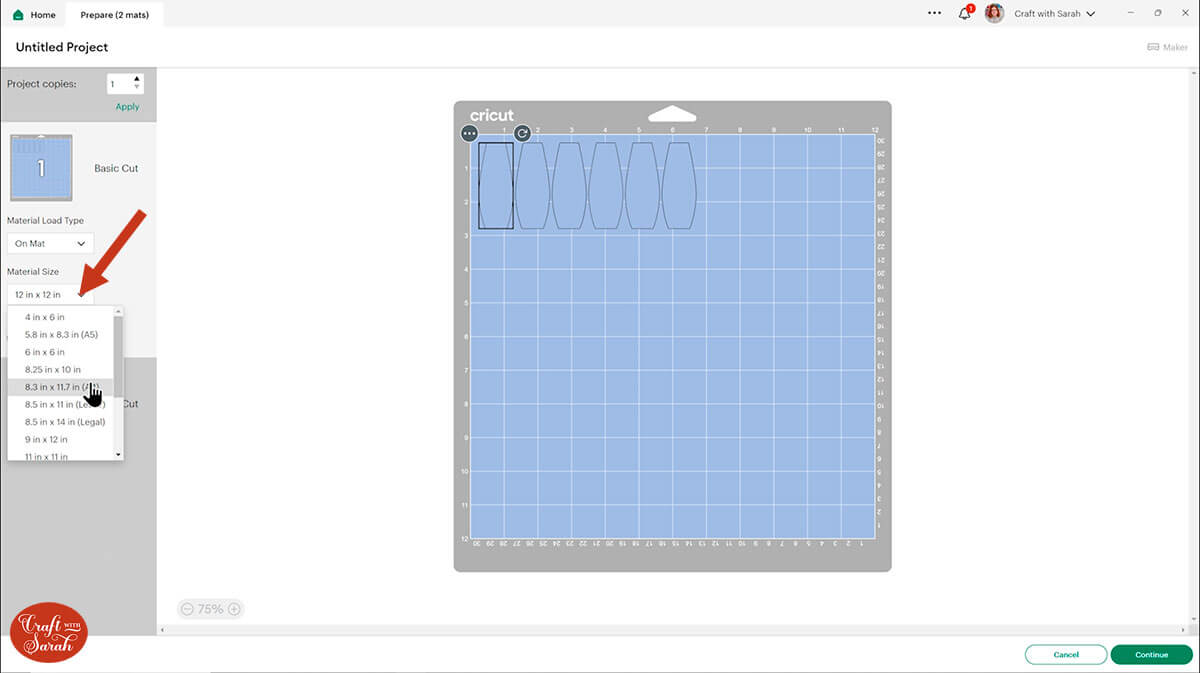
To change the paper size, go into the dropdowns over on the left side of the screen and choose the paper size that you want to use. You need to change it for every single colour.
To save space on your cardstock, you can move things around by clicking and dragging. Make sure when you’re moving things about that nothing overlaps because otherwise, it won’t cut out properly.
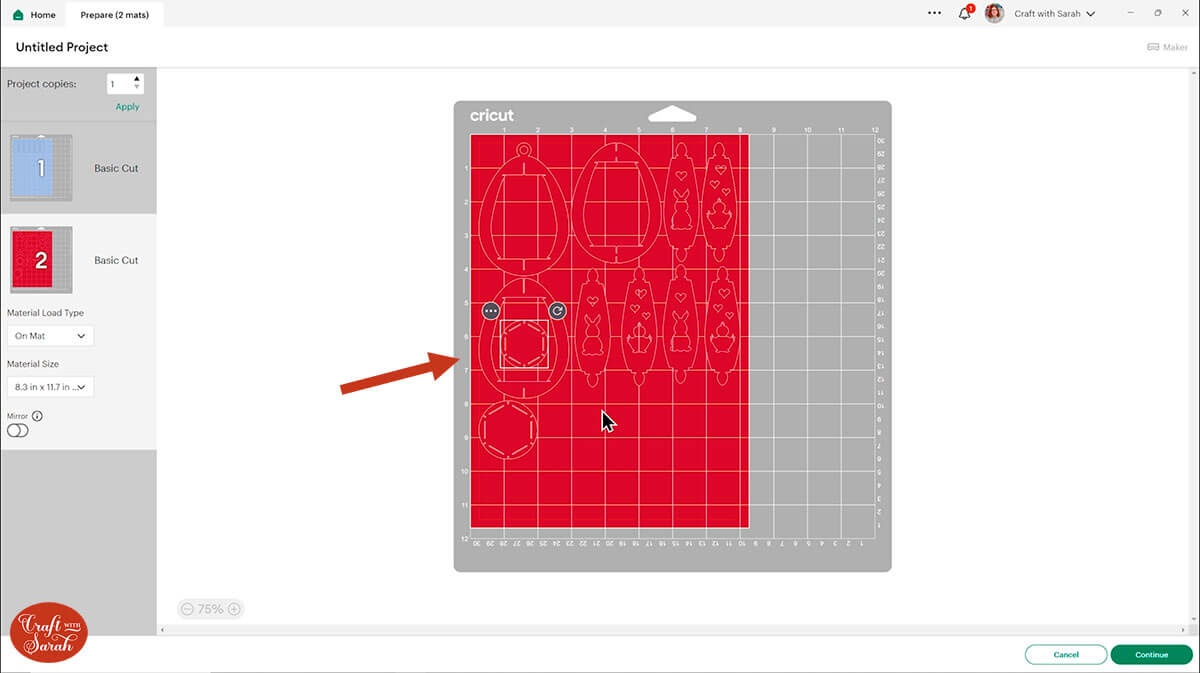
Cut the main ornament pieces from medium or heavy weight cardstock (don’t use Kraft Board as that’s too thick). A solid-core cardstock that’s coloured on BOTH sides of the paper works best, as you can see the front and back sides of the card on the finished ornament.
The inner background shapes work best when cut from coloured paper or thin card. These are optional and can be left off to make the sides “see-through” instead.
The sides of the ornaments have small details on them, so use a sticky light-grip mat and a brayer tool/rolling pin/scraper to press the cardstock onto the mat so it’s really well stuck.
TIP: New to cutting cardstock with a Cricut? Check out this in-depth tutorial which goes through every step of the process, including tips for getting the best quality cuts from your Cricut.
Step 4) Do the glueing for the project
If you are using the backings for the window panels, glue them into place now.
Just use a tiny amount of glue and make sure you don’t press the pieces together too hardly, otherwise the glue might “smush” out the sides and become visible.
The shapes are thinner on the top than the bottom, so make sure you stick them the correct way round.
Leave everything to one side to let the glue dry fully.
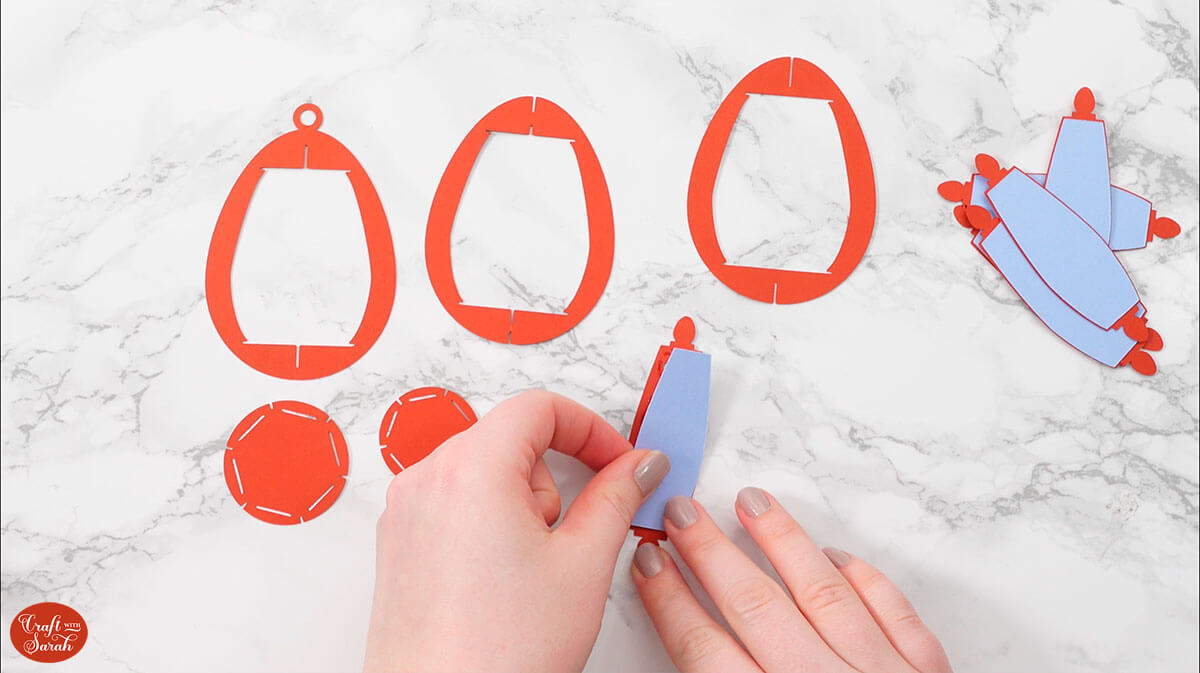
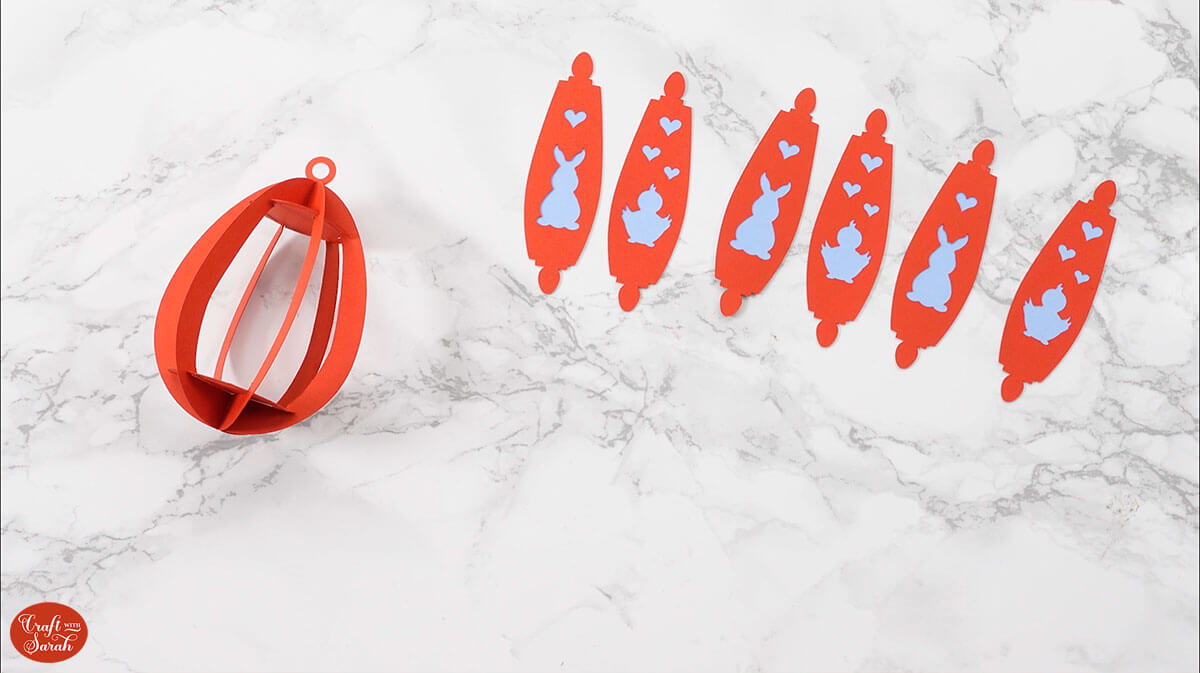
Step 5) Assemble the ornament structure
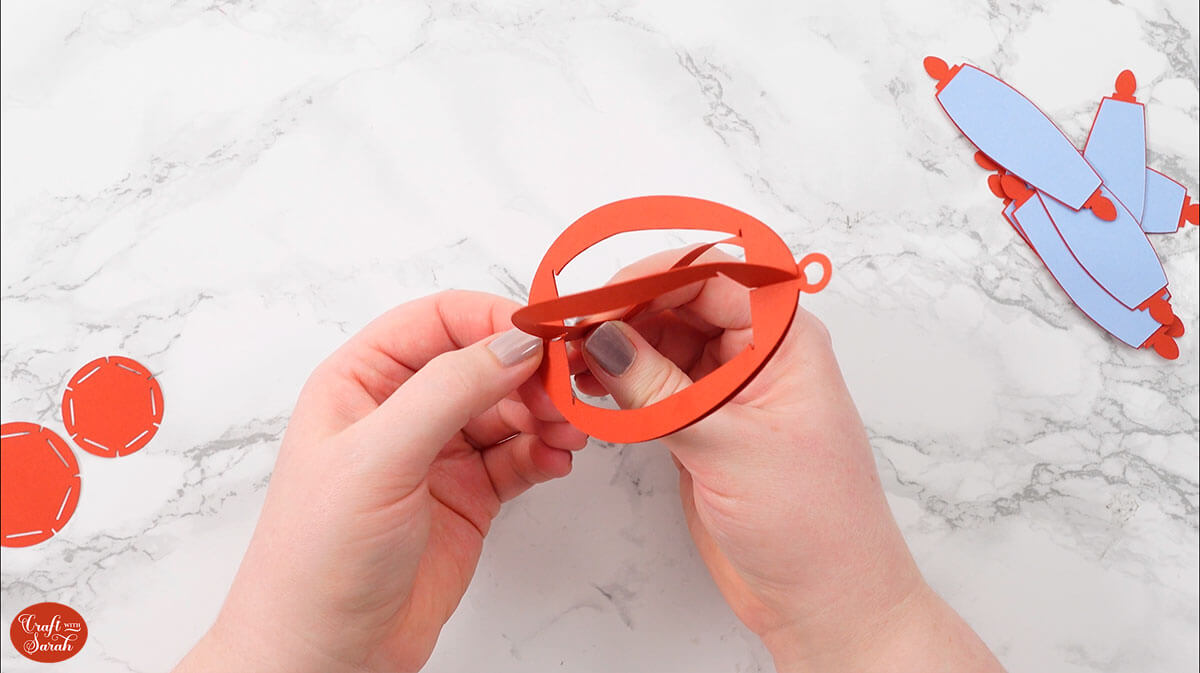
Select the following pieces and make sure they are in the order listed below.
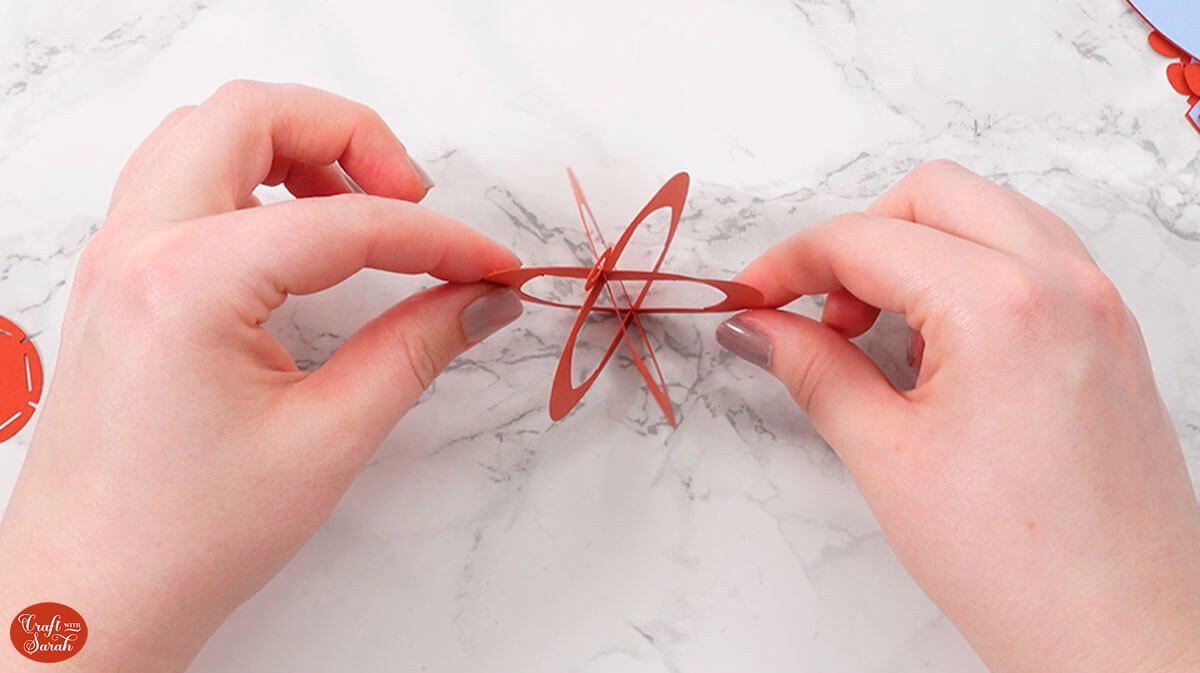
Slot the second structure piece into the top of the first piece, then carefully slit it into the bottom too.
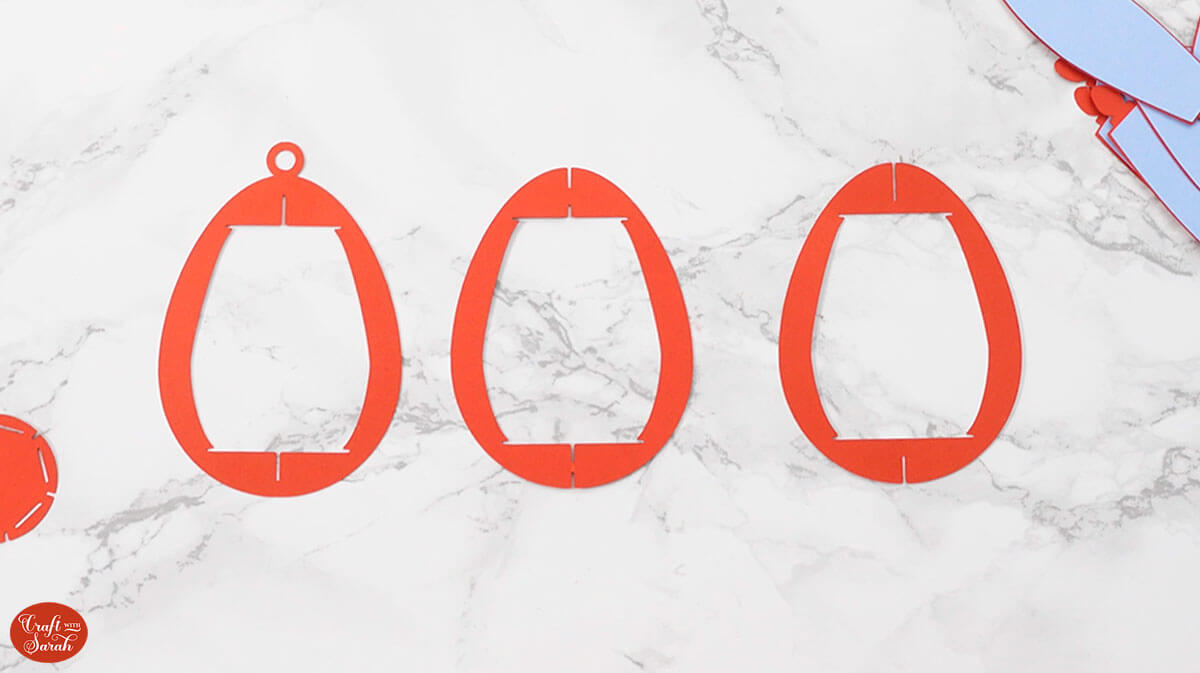
After slotting them together, they will be able to be opened up into a four-sided shape like this:

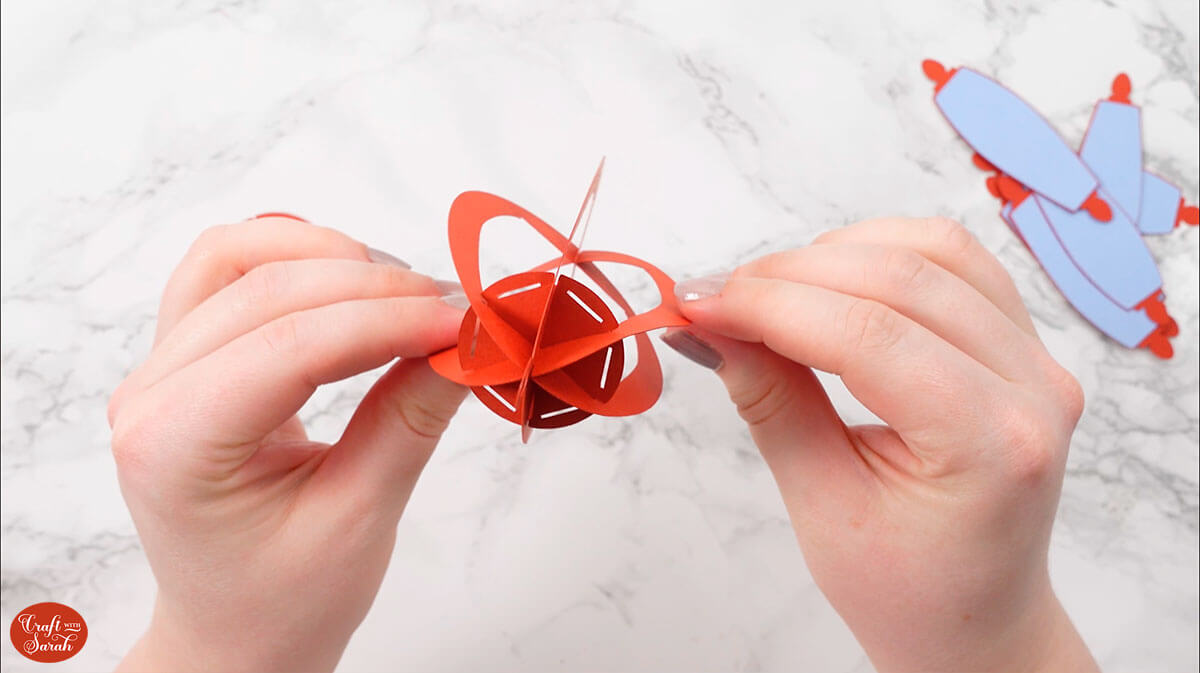
Hold the two pieces flat against each other, then slit in the third structure piece.
You will end up with six sides.
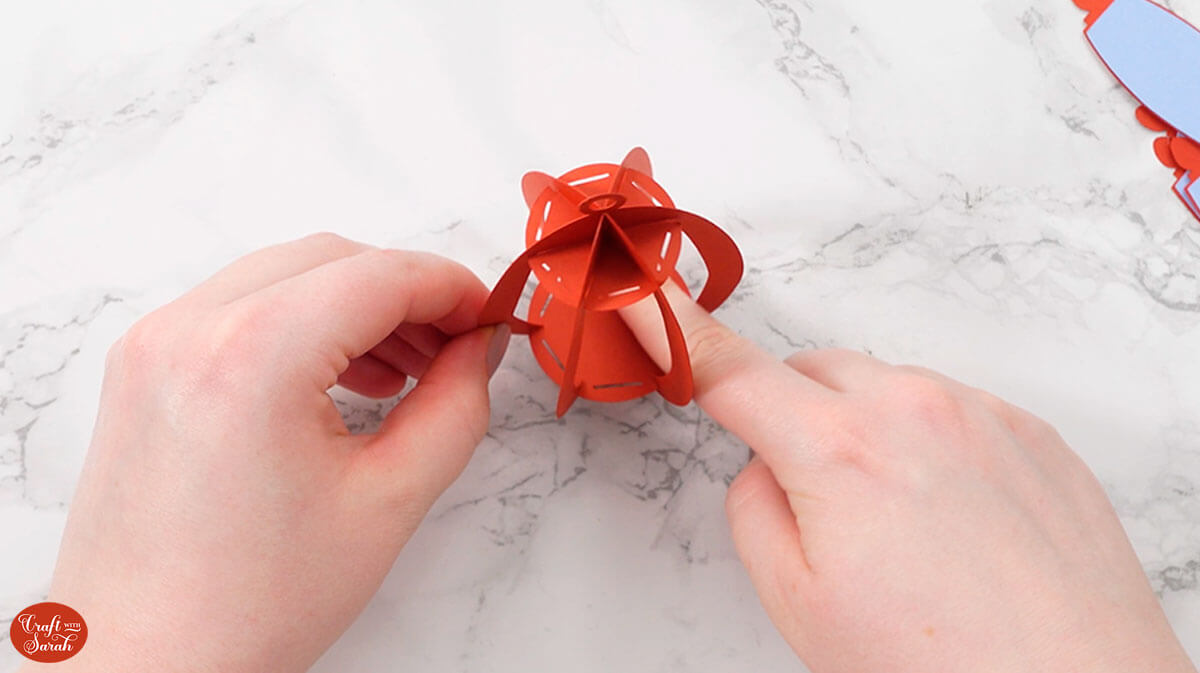
Place the smaller of the two circles into the top of the ornament and slot the outer ridges into the little gaps in the main shapes.
This is a little bit fiddly, so take it slow and be careful that you don’t rip any of the pieces of card.
Repeat with the bottom circle.
Step 6) Add the window panels
Lay out the window panels in the order that the appear in Design Space.
Most of the ornaments have repeating sides, so there may be 2 or 3 different designs that get repeated to make the 6 sides in total.
Slide the top “egg” shape of one of the side panels into the ornament.

Gently bend the shape and slot the bottom “egg” shape into the bottom of the ornament.
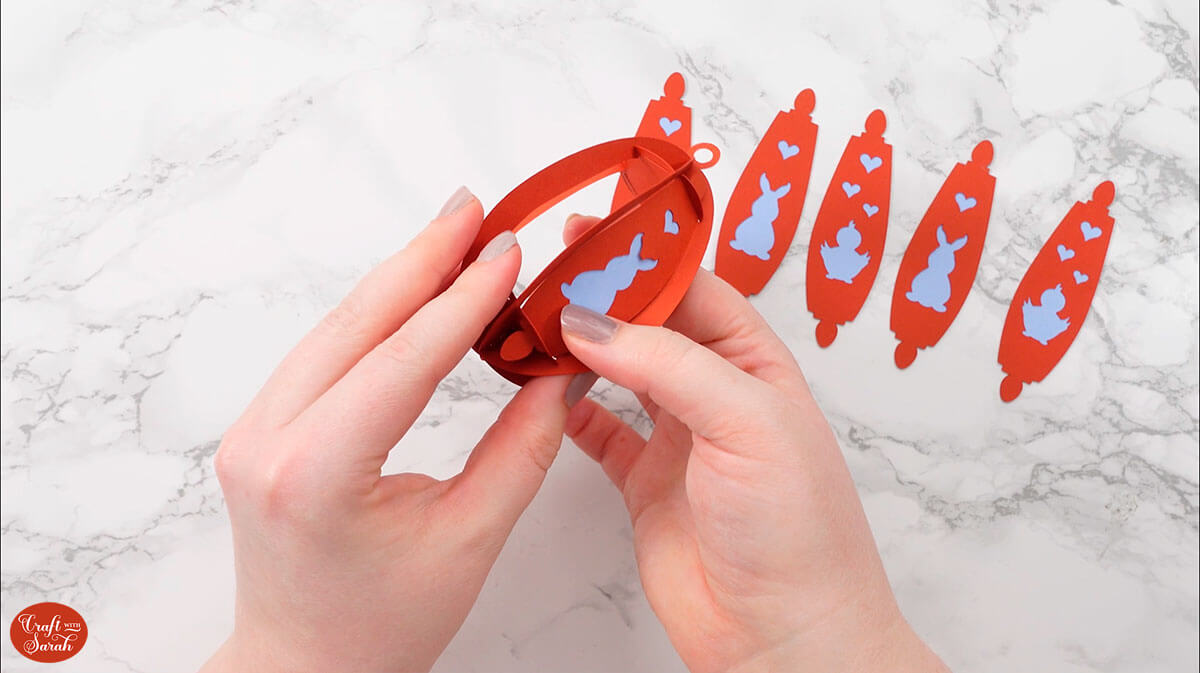
Repeat for the remaining sides.
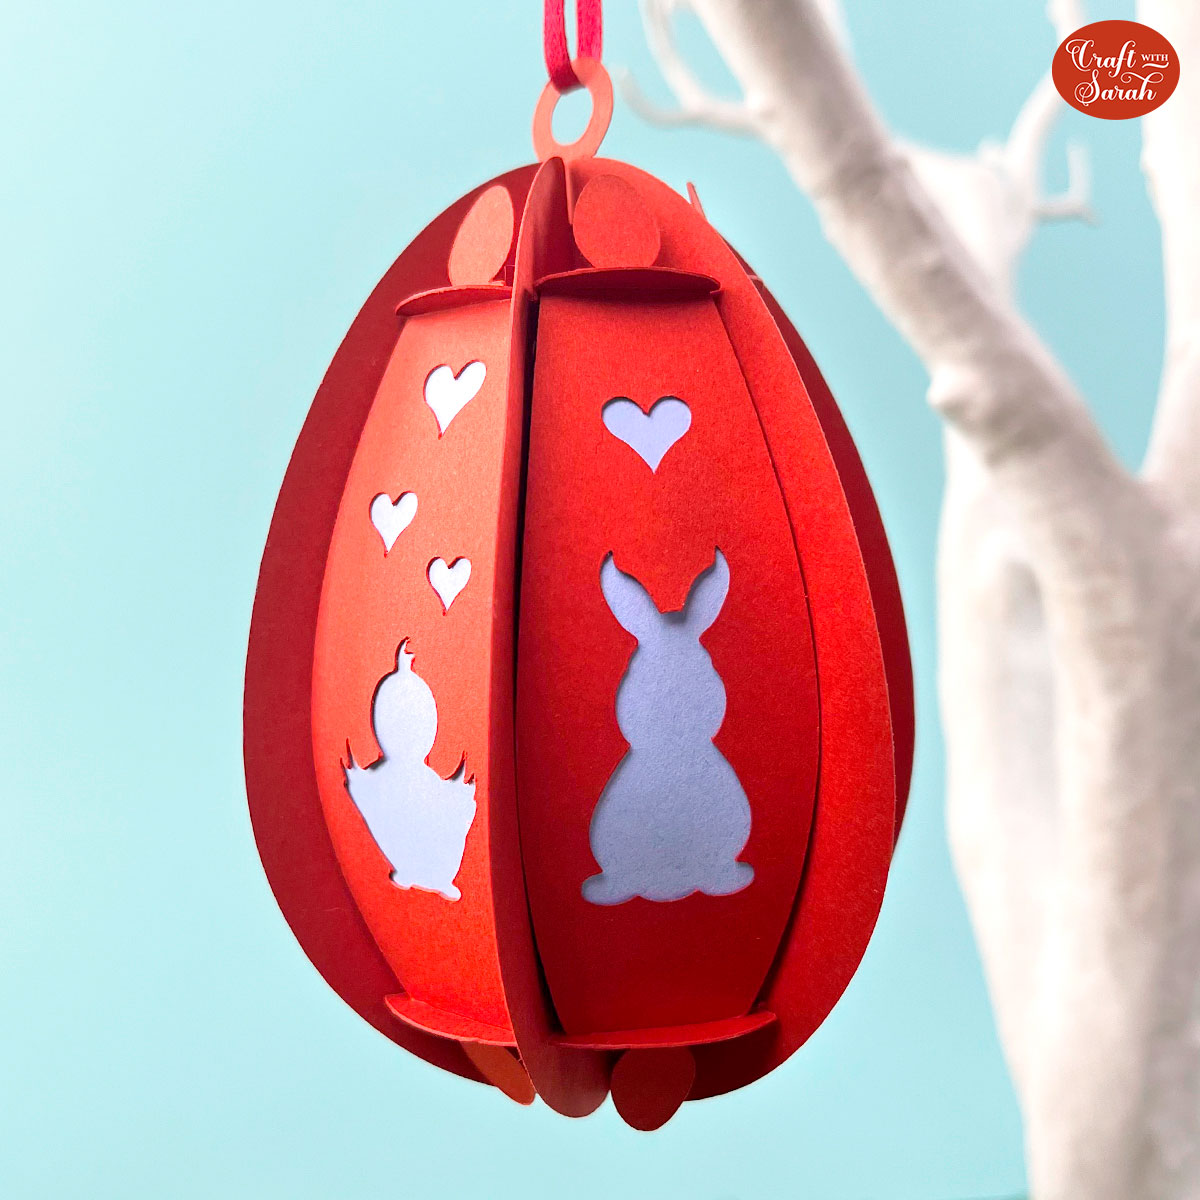
Thread some ribbon through the hole in the top and then that’s it – your 3D Easter egg is finished!
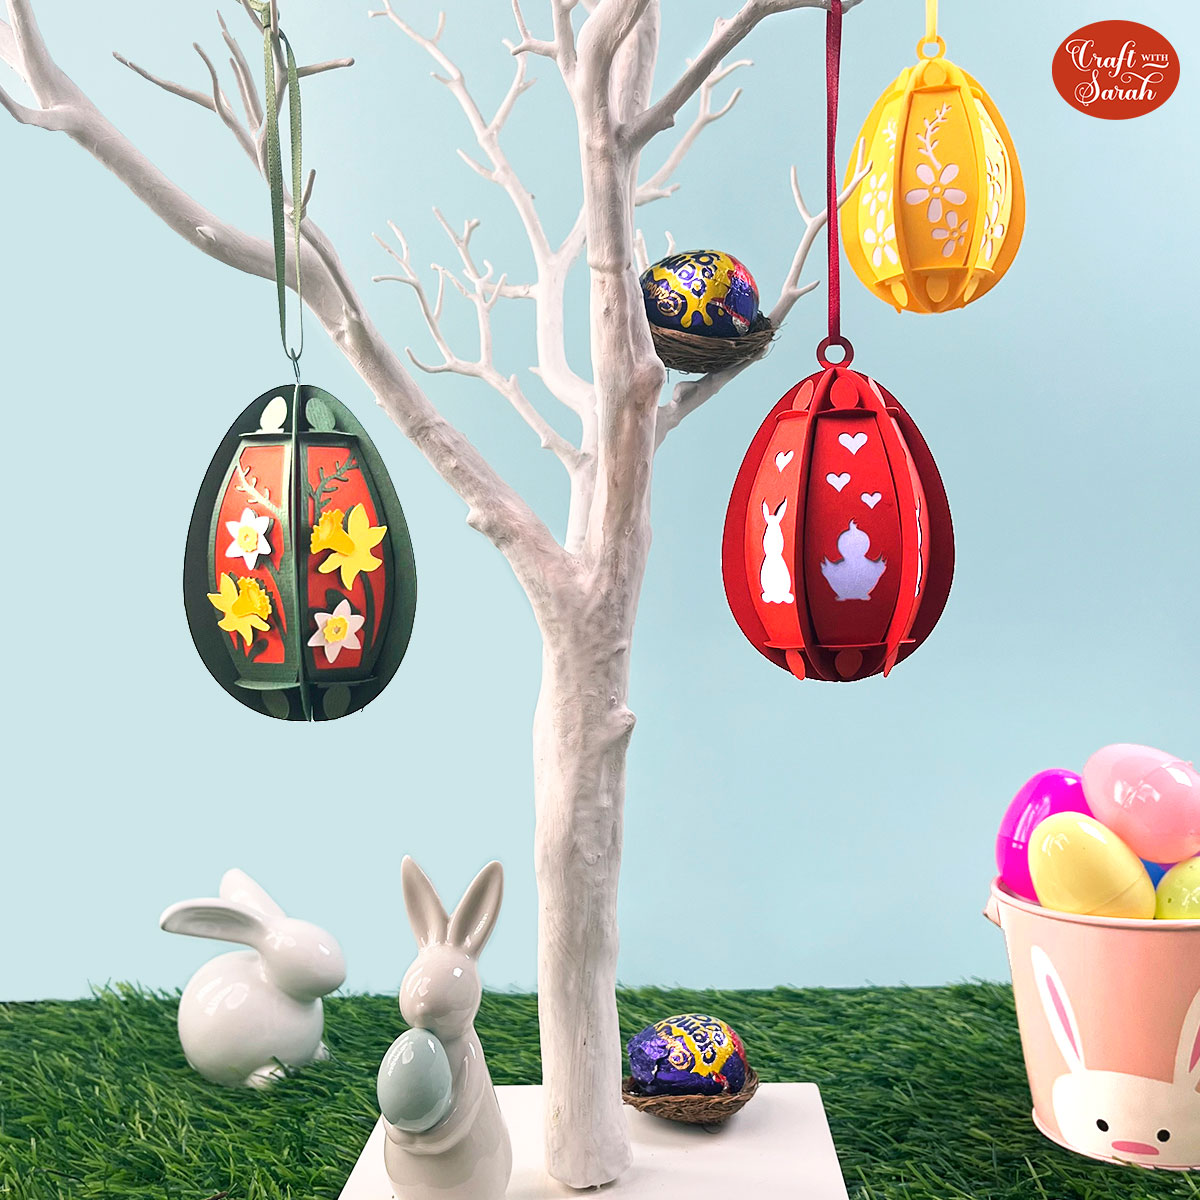
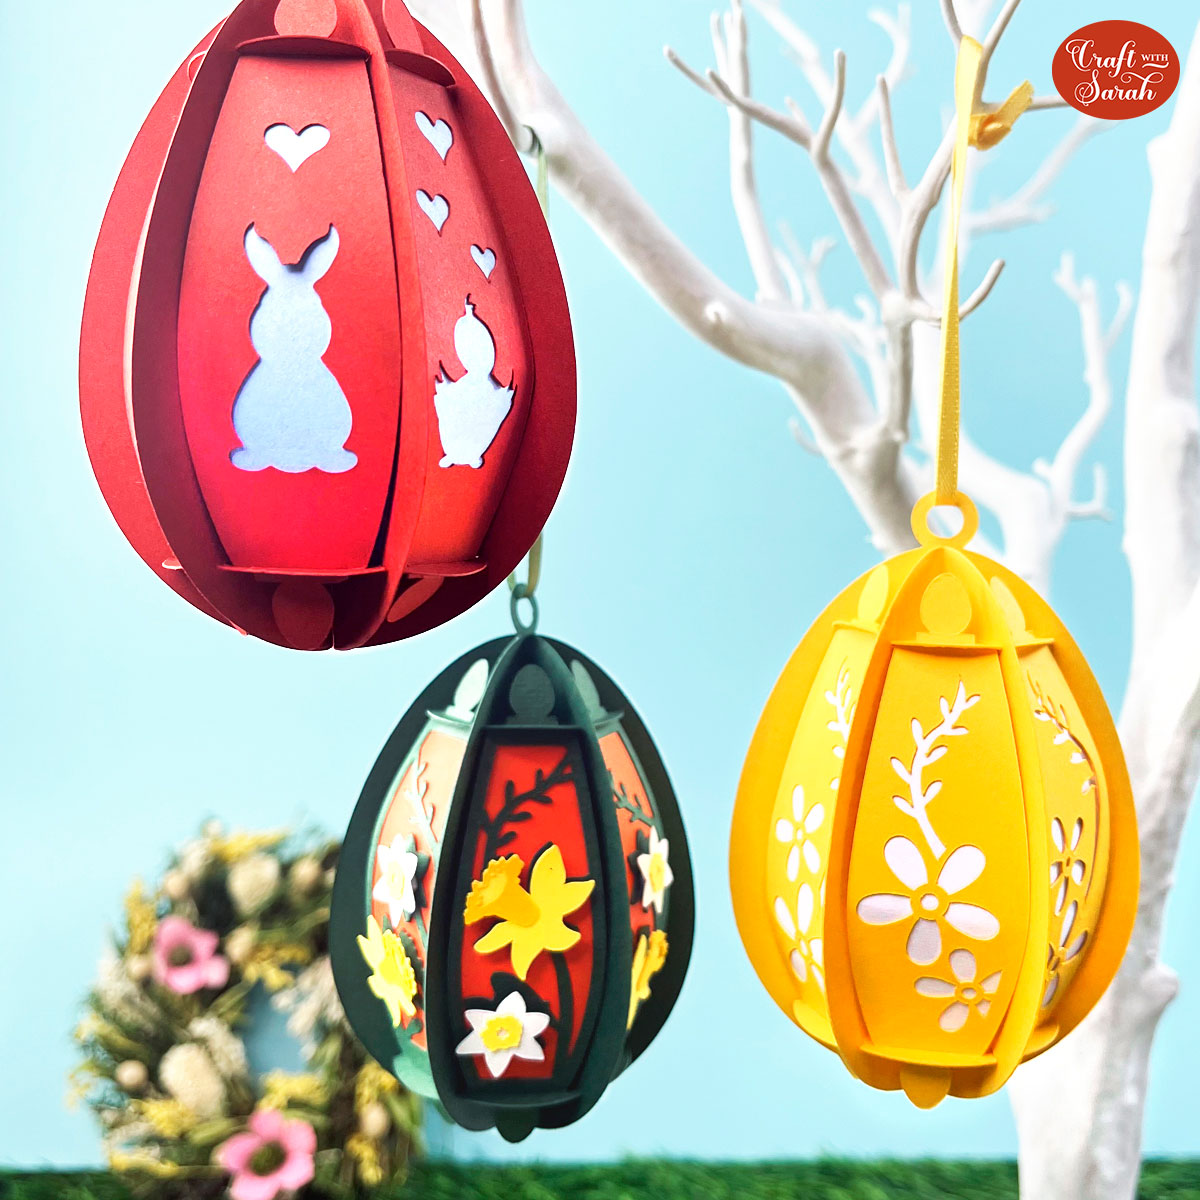
DIY Easter egg decorations
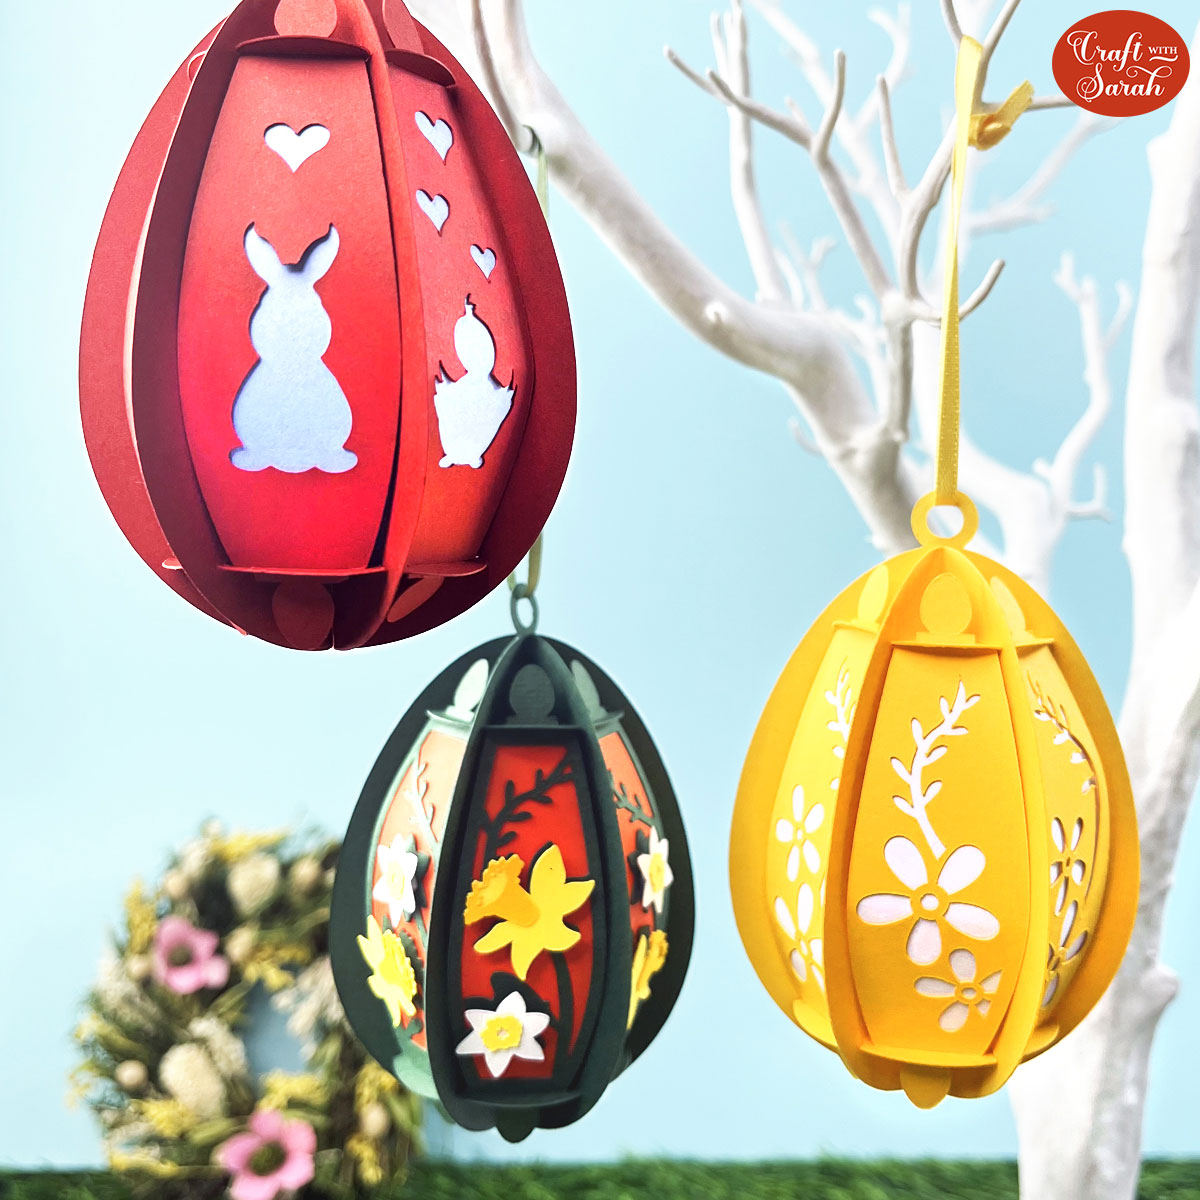
I hope you enjoy making these 3D slot-together Easter eggs.
They look lovely when displayed all together!
If you would like even more designs, check out my Cricut Design Space profile.
I’ve added some extra designs on there. You will need the Cricut Access subscription to be able to cut them for free.
I’ve also made a “Cricut” version of the three designs from this tutorial so that you can open them straight away, instead of having to download and upload the SVG files.
- Blank template (from this tutorial)
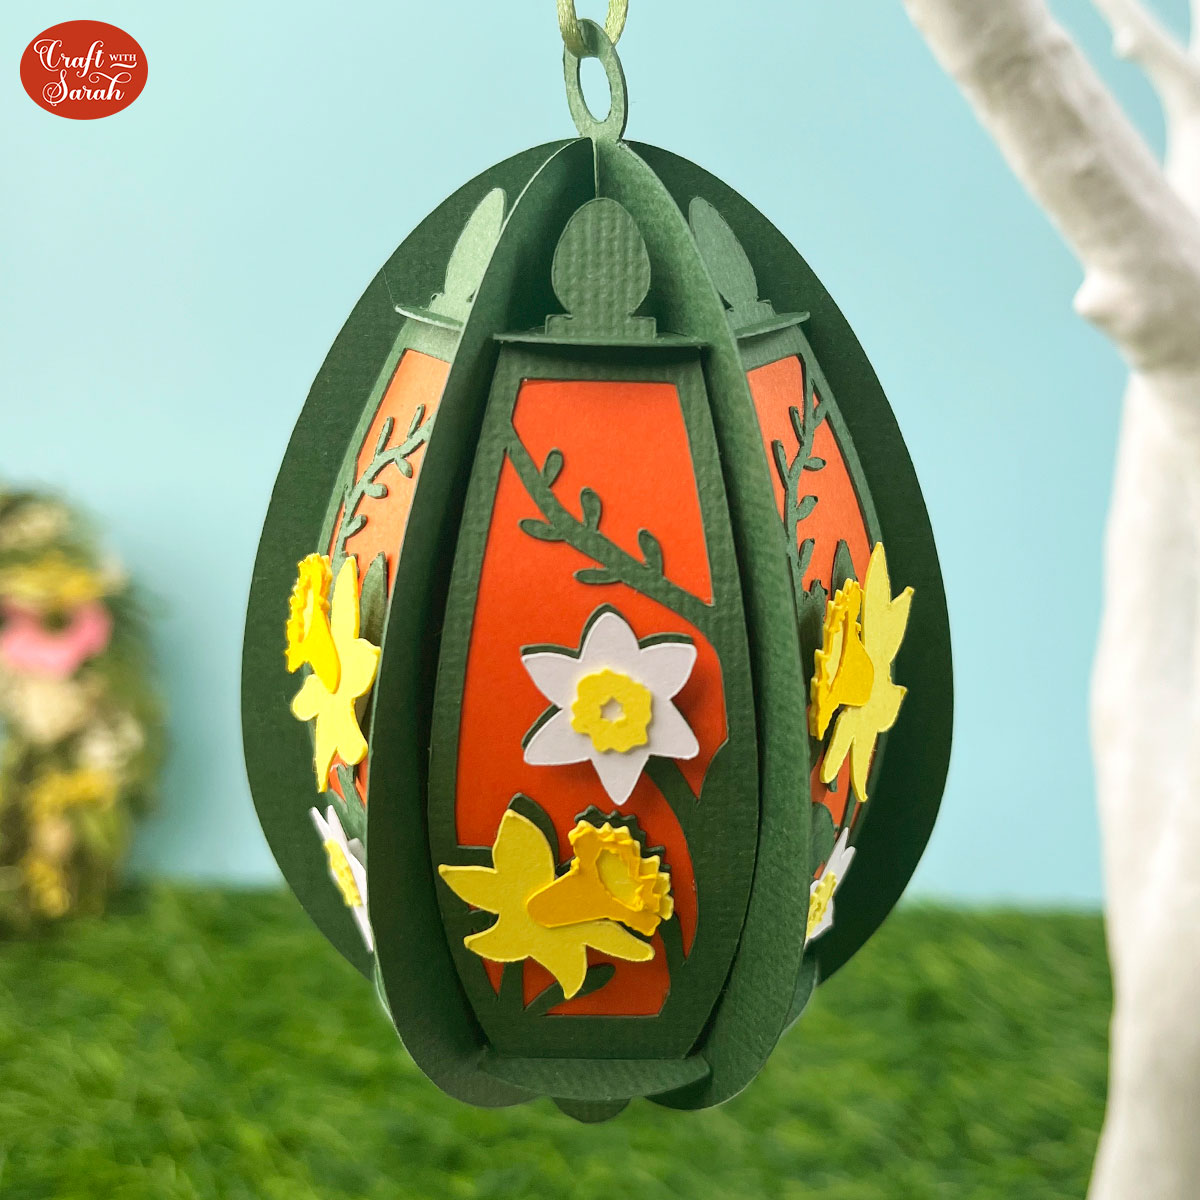
- Daffodils (from this tutorial)
- Spring Flowers (from this tutorial)
- Bunnies and Chicks (from this tutorial)
- Butterflies (Cricut Access exclusive)
- Easter Cross (Cricut Access exclusive)
- Bumble Bees (Cricut Access exclusive)
Happy crafting,
Sarah x

