Make a GIANT Birthday Sign 🎈 The BIGGEST Cricut Birthday Banner!

Make a giant wall art sign to welcome guests to your birthday party!
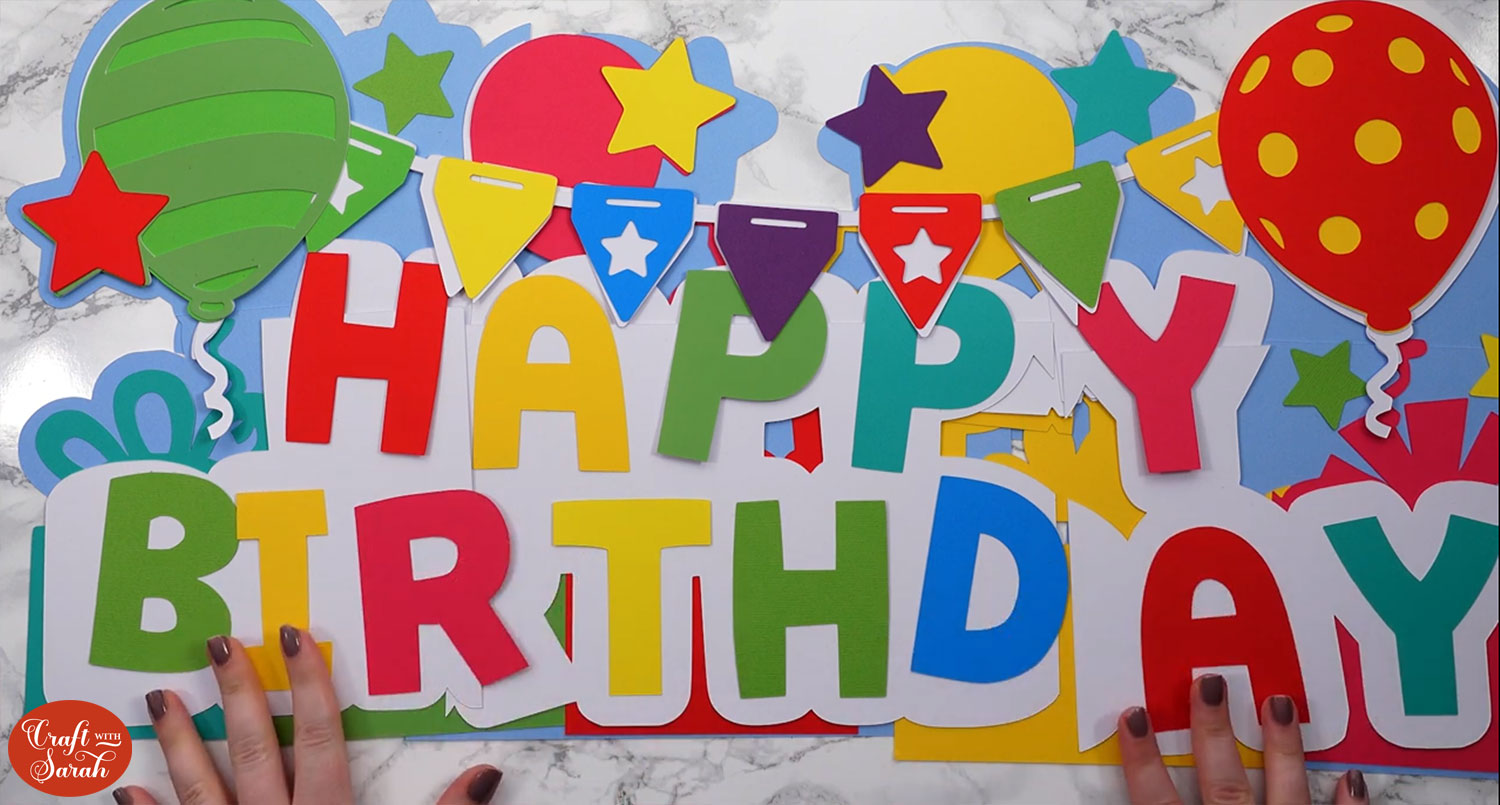
This giant Happy Birthday sign is filled with bright colours, bunting, balloons and stars.
The completed sign measures 27 inches wide and approx. 13.6 inches tall , but the cut file comes in sections so it can be cut from regular 12×12, US Letter or A4 paper on your Cricut machine.
(Or, download it for free if you are a Craft Clubhouse member)

Video tutorial: DIY Cricut birthday banner
Watch the video below to find out how to cut and assemble this Cricut birthday banner. Or, keep scrolling for a written tutorial.
Note: This video was recorded with Design Space version 7.34.123. Later versions might look a little different.
Layered birthday banner craft materials
Here is a list of the materials that I used to make this project.
Please note that some of the links included in this article are affiliate links, which means that if you click through and make a purchase I may receive a commission (at no additional cost to you). You can read my full disclosure at the bottom of the page.
- Giant birthday sign SVG
- Cricut machine (Explore or Maker product lines)
- Light blue Cricut cutting mat
- Coloured Card
- Collall All Purpose Glue
- Needle Tip Applicator Bottle
- 3D foam pads
- Sticky tape/cellotape
- Twine/ribbon to hang it up with
Where to get the giant birthday sign
This design is available to purchase in my SVG shop.
(Or, download it for free if you are a Craft Clubhouse member)
Before you can use the file, you need to unzip the download folder that it comes in.
- How to unzip a folder on Windows computer
- How to unzip a folder on a Mac
- How to unzip a folder on an iPad/iPhone
- How to unzip a folder on an Android device
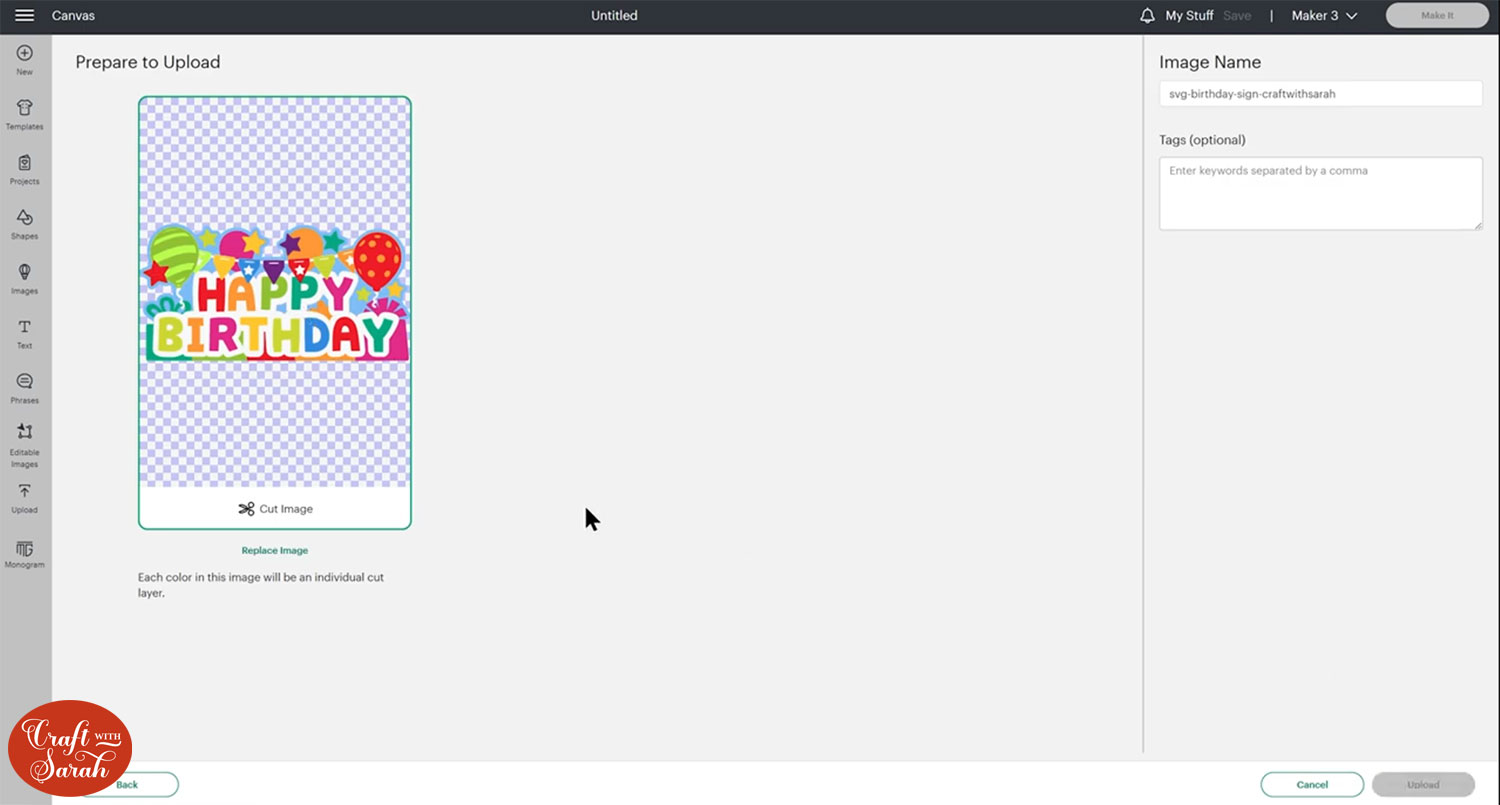
Upload the file called svg-birthday-sign-craftwithsarah.svg into Cricut Design Space.

This is how it should look after you have uploaded the file:
After uploading, the design will show in your “Recently Uploaded Images”. Click on it and then press “Add to Canvas” to put it onto your Project.
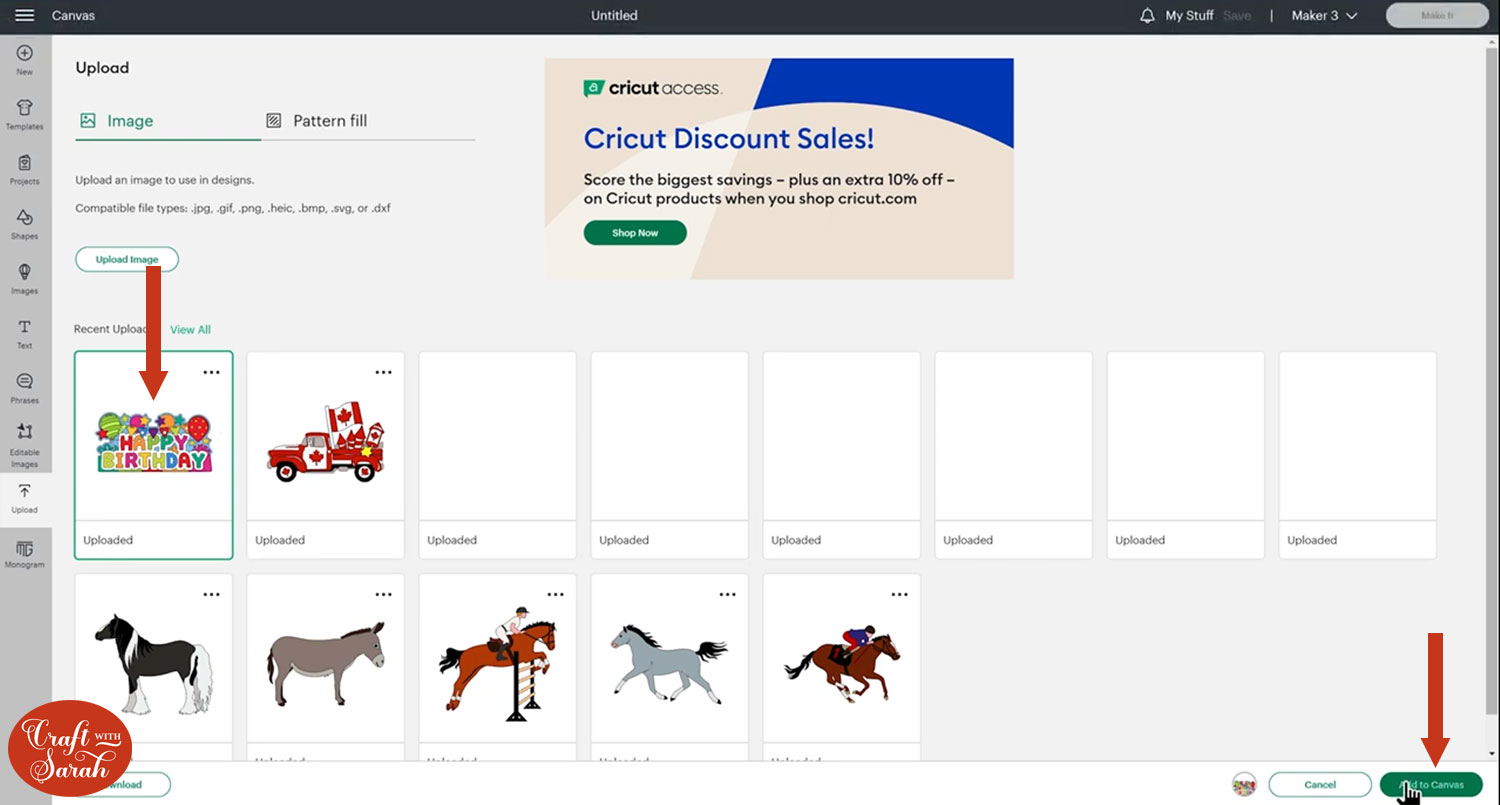
When you insert it onto your Project it will load in big.
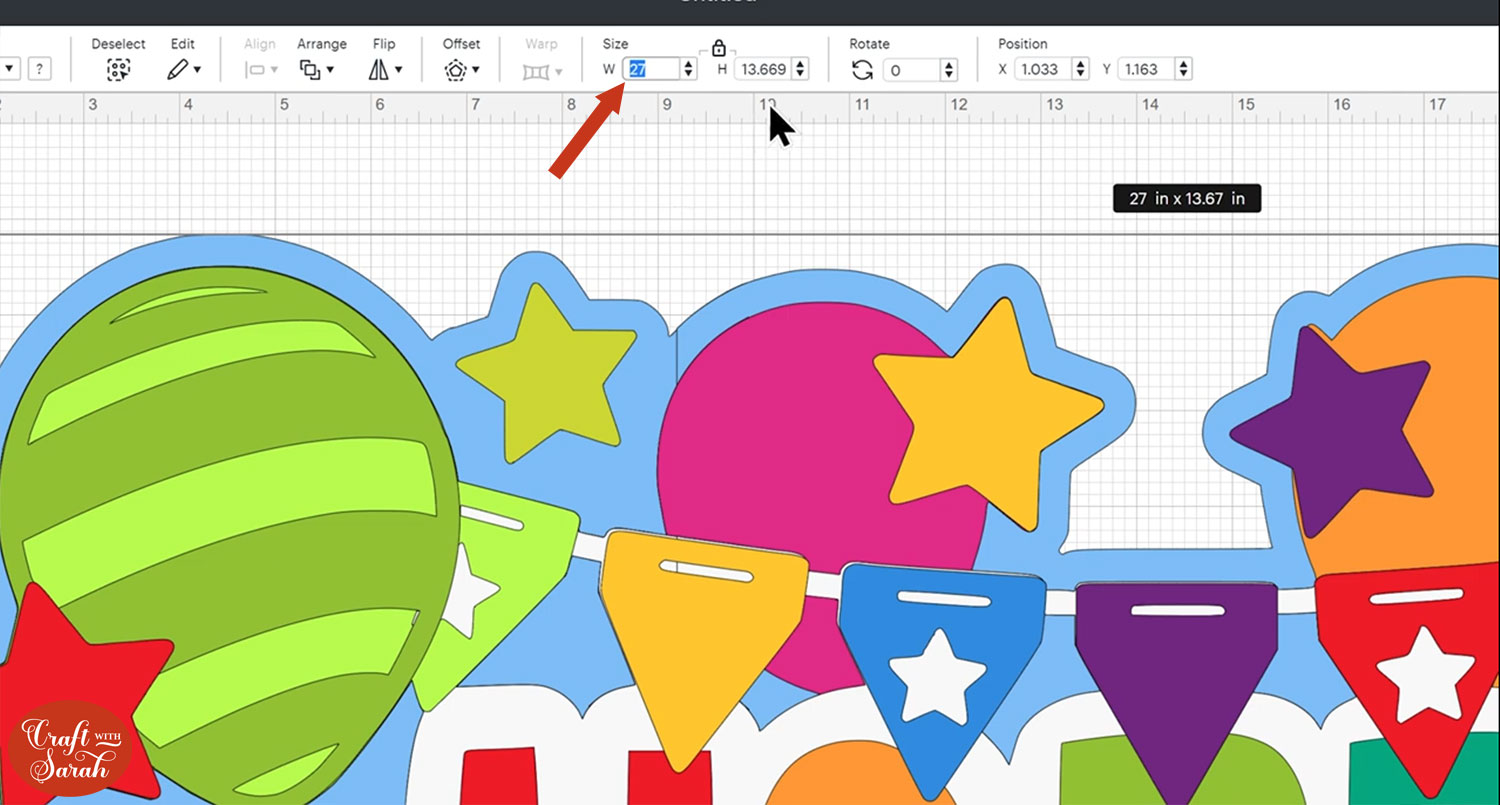
It might not open at the correct size, so make sure you change the size to match the sign you want to make.
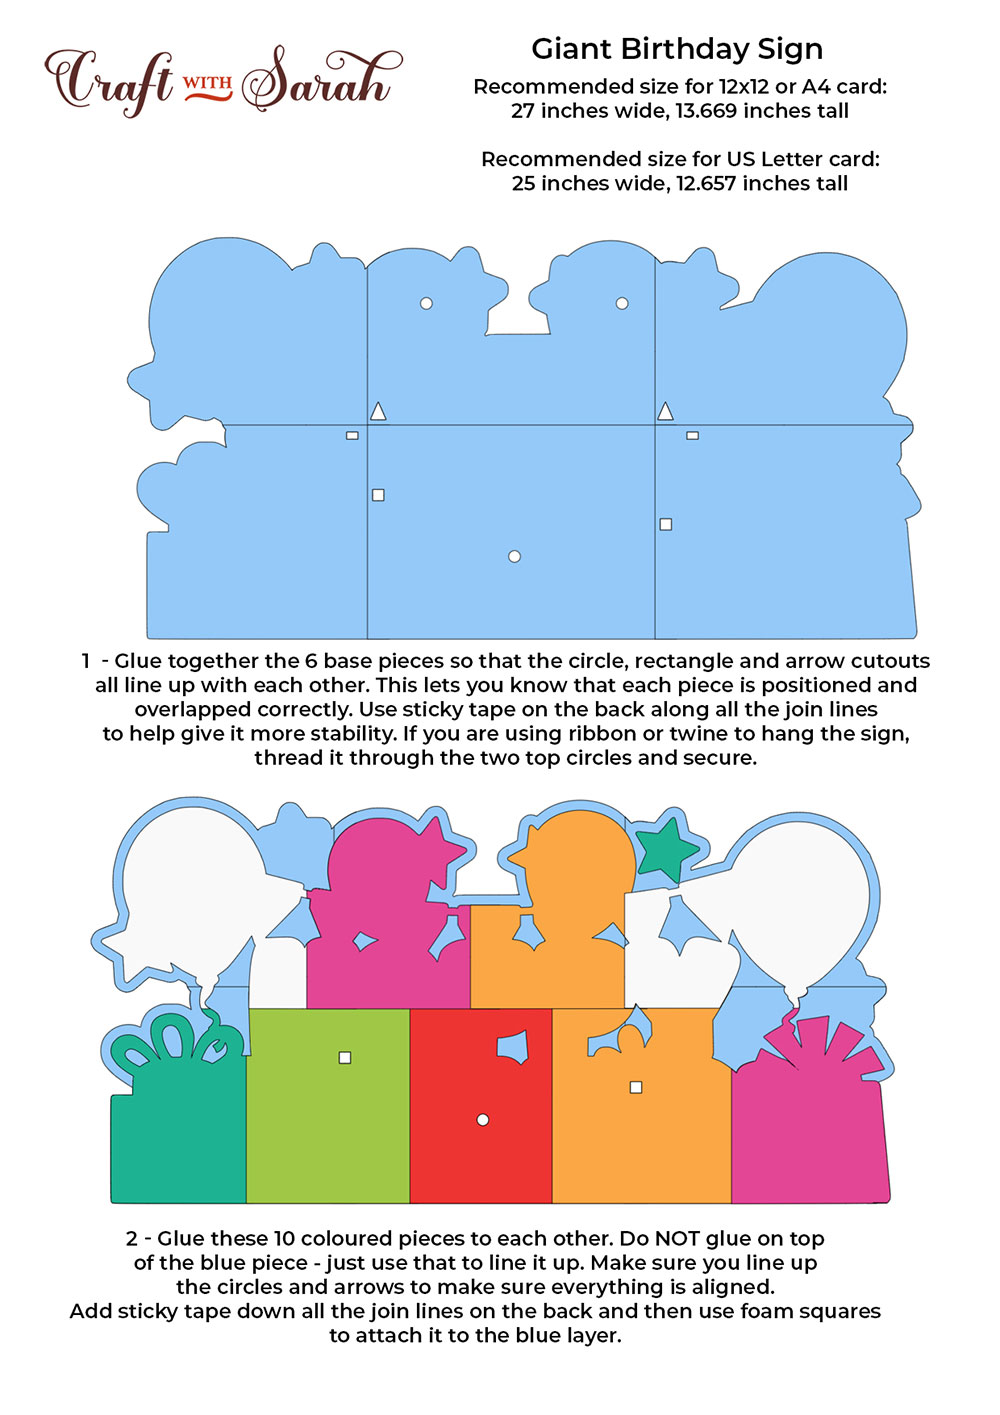
You can make this whatever size you wish but I recommend 27 inches wide and 13.669 inches tall for 12X12 or A4 card, or 25 inches wide and 12.657 inches tall for US letter card.
It needs to be a little smaller for US Letter card because it isn’t as tall as the other two paper sizes.
The bottom layers are in sections, so even though it’s really big, you can still cut it from regular US letter, 12×12 or A4 card on a regular sized cutting mat.
Once you’re happy with how the birthday banner is looking in Design Space, go ahead and cut everything out.
Fair warning, it might take a while! I think it took me about an hour to get all the different pieces cut.
Giant birthday sign SVG: Assembly Guide
The download folder contains an Assembly Guide PDF file. Have this open on your computer or print it out so that you can refer to it when sticking the design together.
I highly recommend taking the time to position all the layers in the correct order before you start sticking anything together.
Some of the pieces are quite similar in size so you don’t want to accidentally stick them in the wrong place!
Carefully move the layers away from the base of the sign, keeping the layers for each individual section together so you don’t have to work out the order again later.
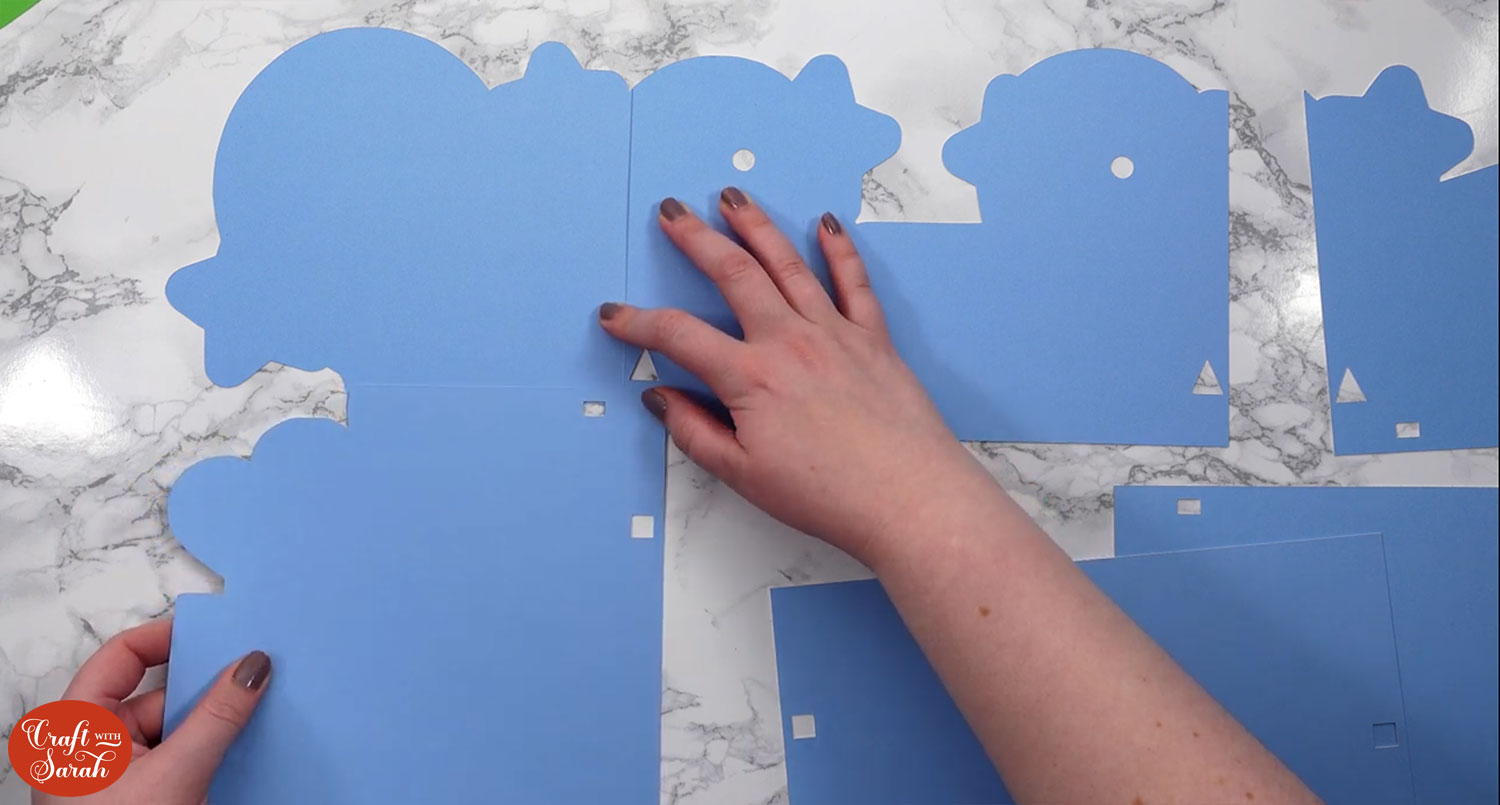
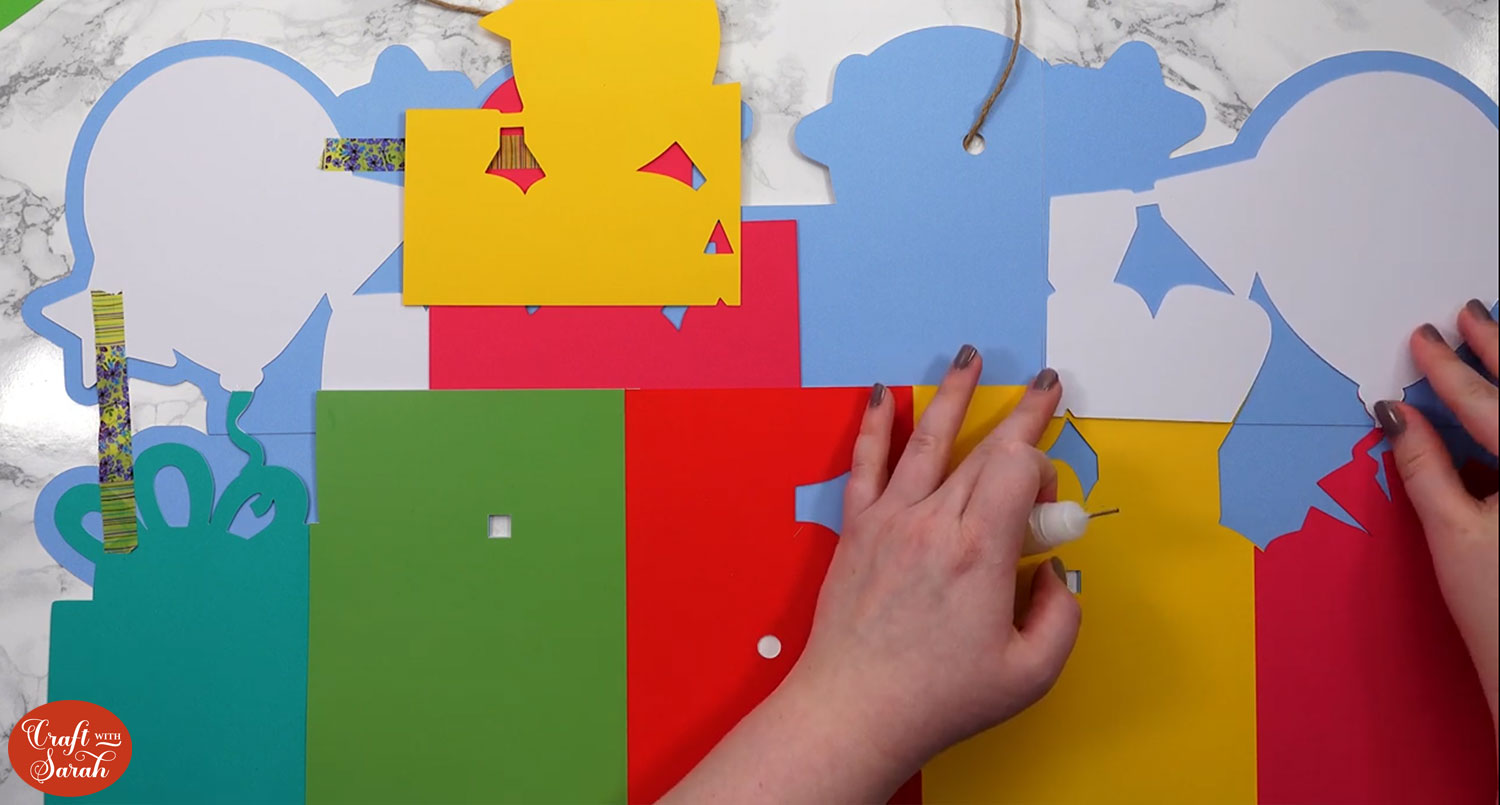
Step 1: Stick the base together
Glue the six base piece together. To line them up, place the triangles and rectangles on top of each other. Each piece will overlap slightly to give a more secure base.
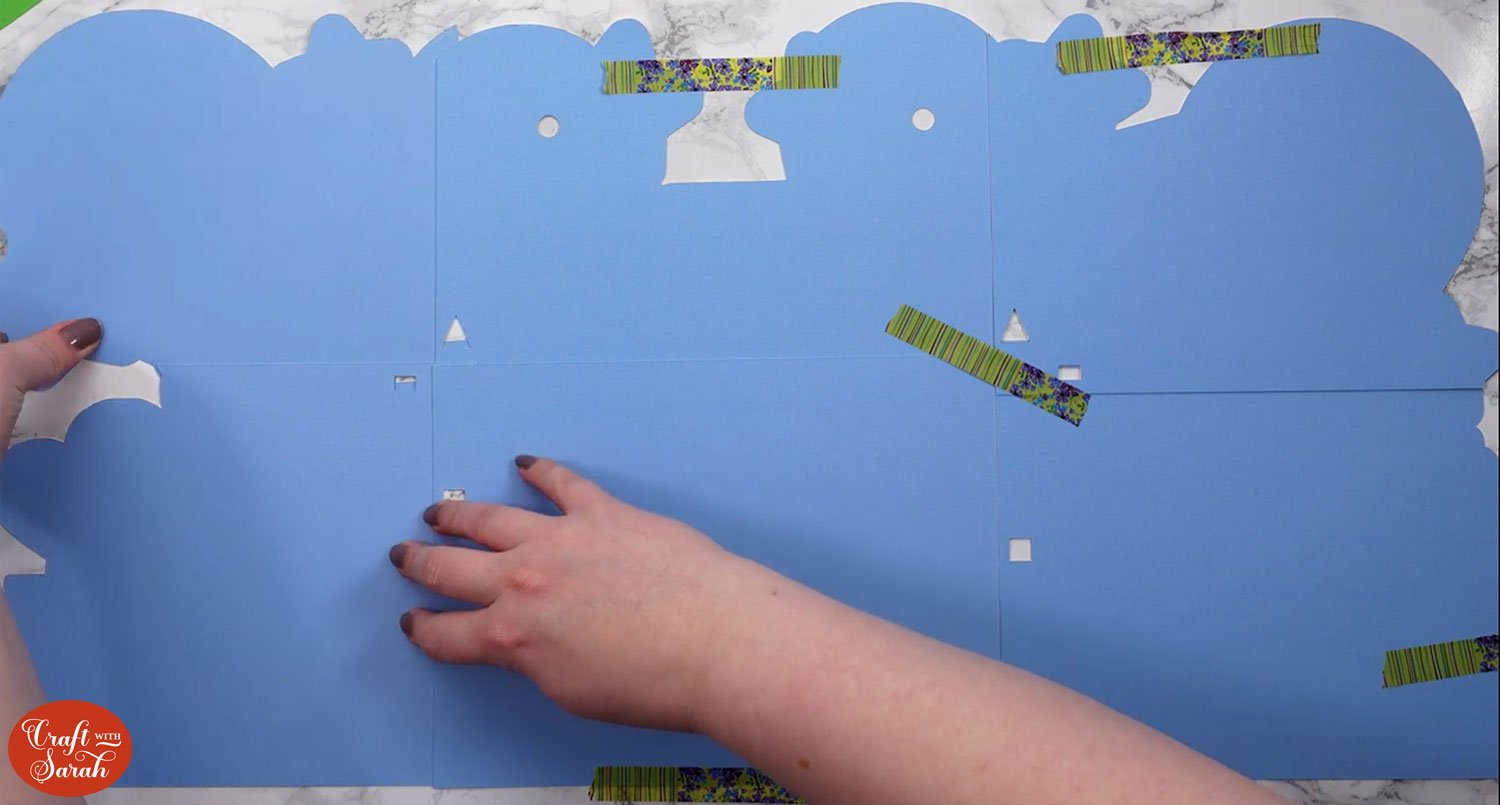
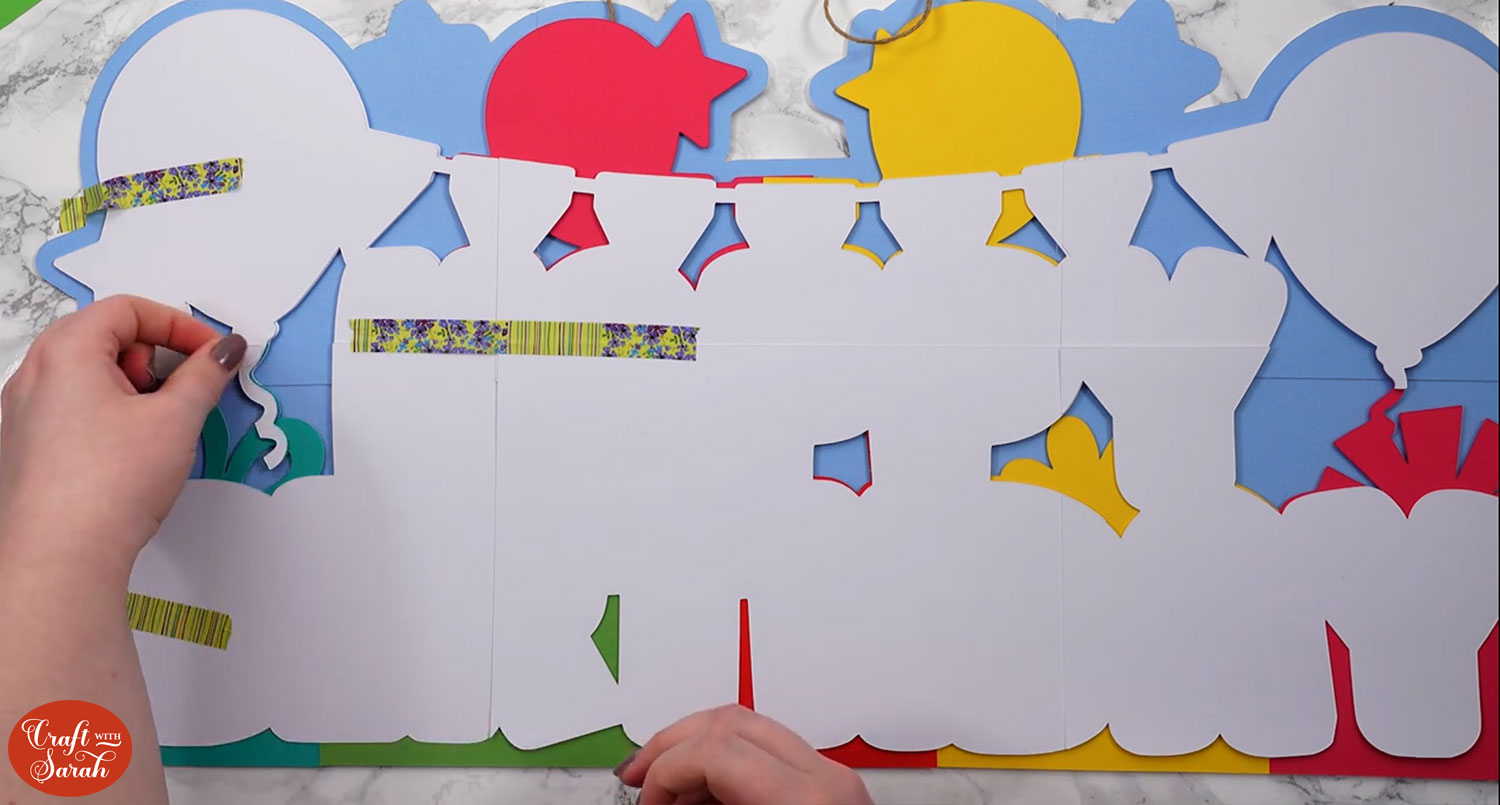
I like to get all the base pieces into position and washi tape them together and tape them to my table so they won’t move around.
That way, I know that it will definitely all line up when it’s stuck!
After gluing them together, turn it upside down and add sticky tape down all of the join lines to help make them more stable.
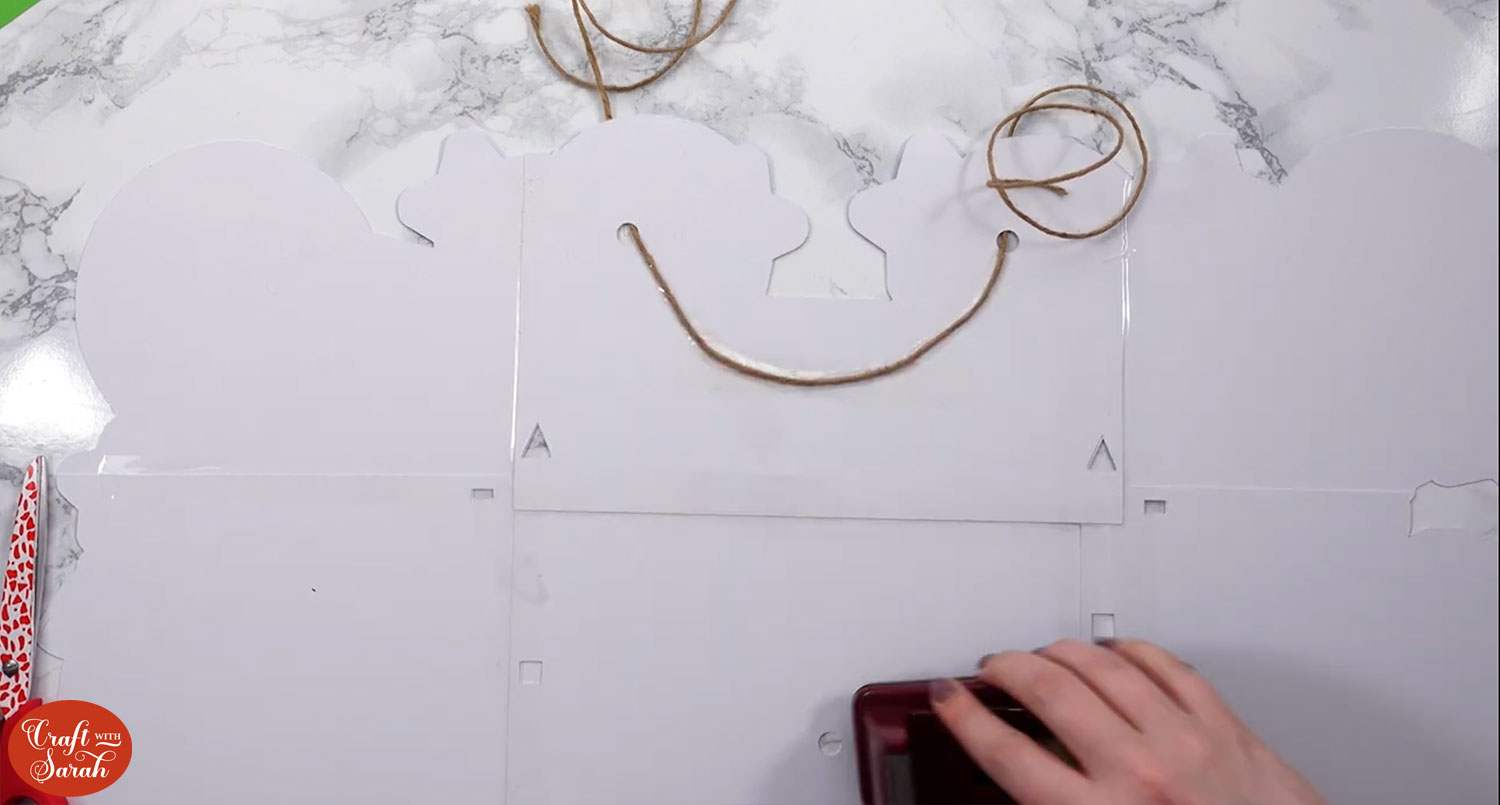
If you want to add twine or ribbon to hang your sign, add this now by threading it through the two circular holes along the top of the sign and taping it into place.
Step 2: Add the next base layers
Position the pieces for the next layer on top of the blue background.
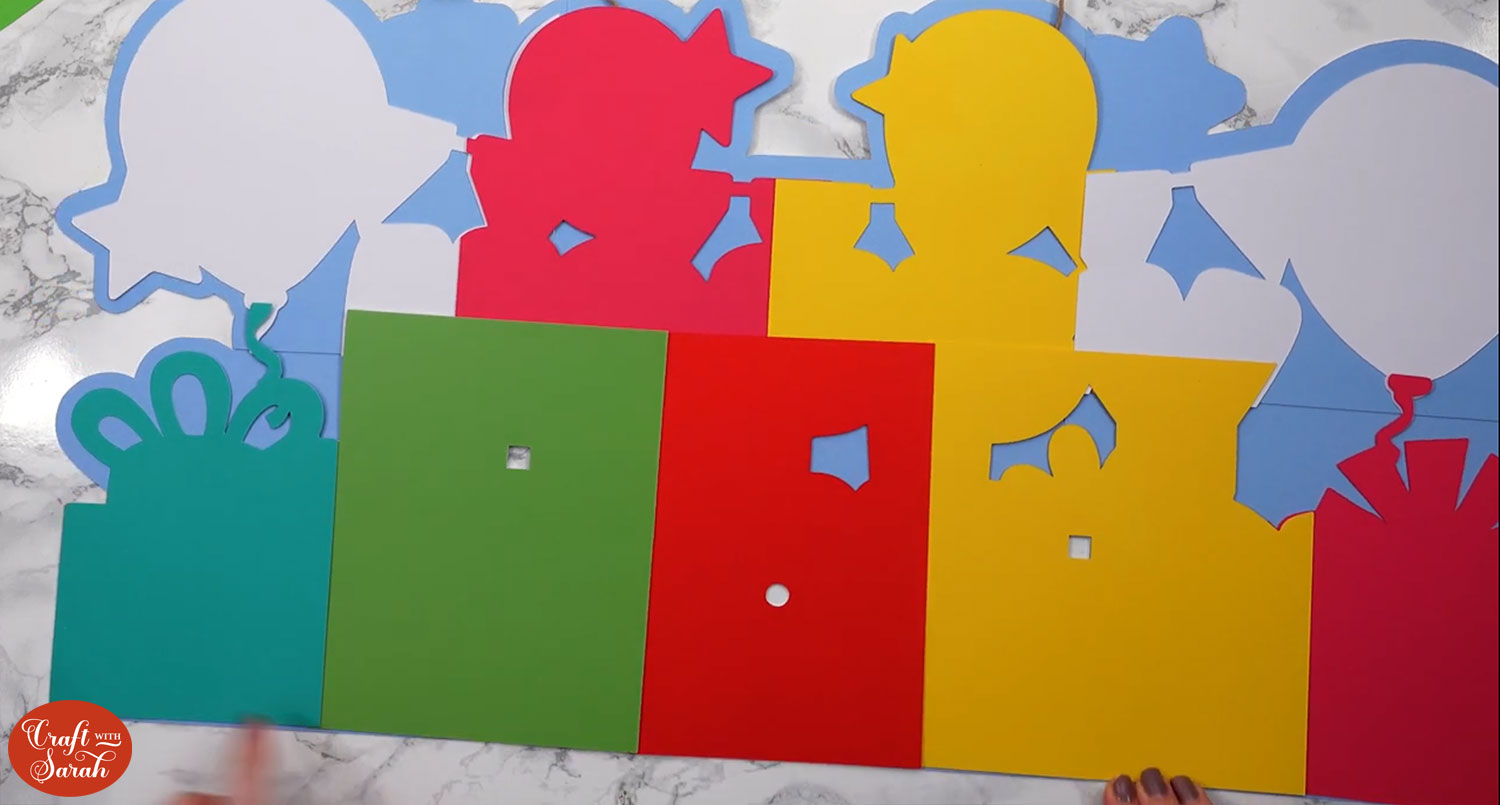
Glue these pieces together, but do NOT attach them to the blue background yet.
When finished, turn the piece upside down and add sticky tape down all the join lines.
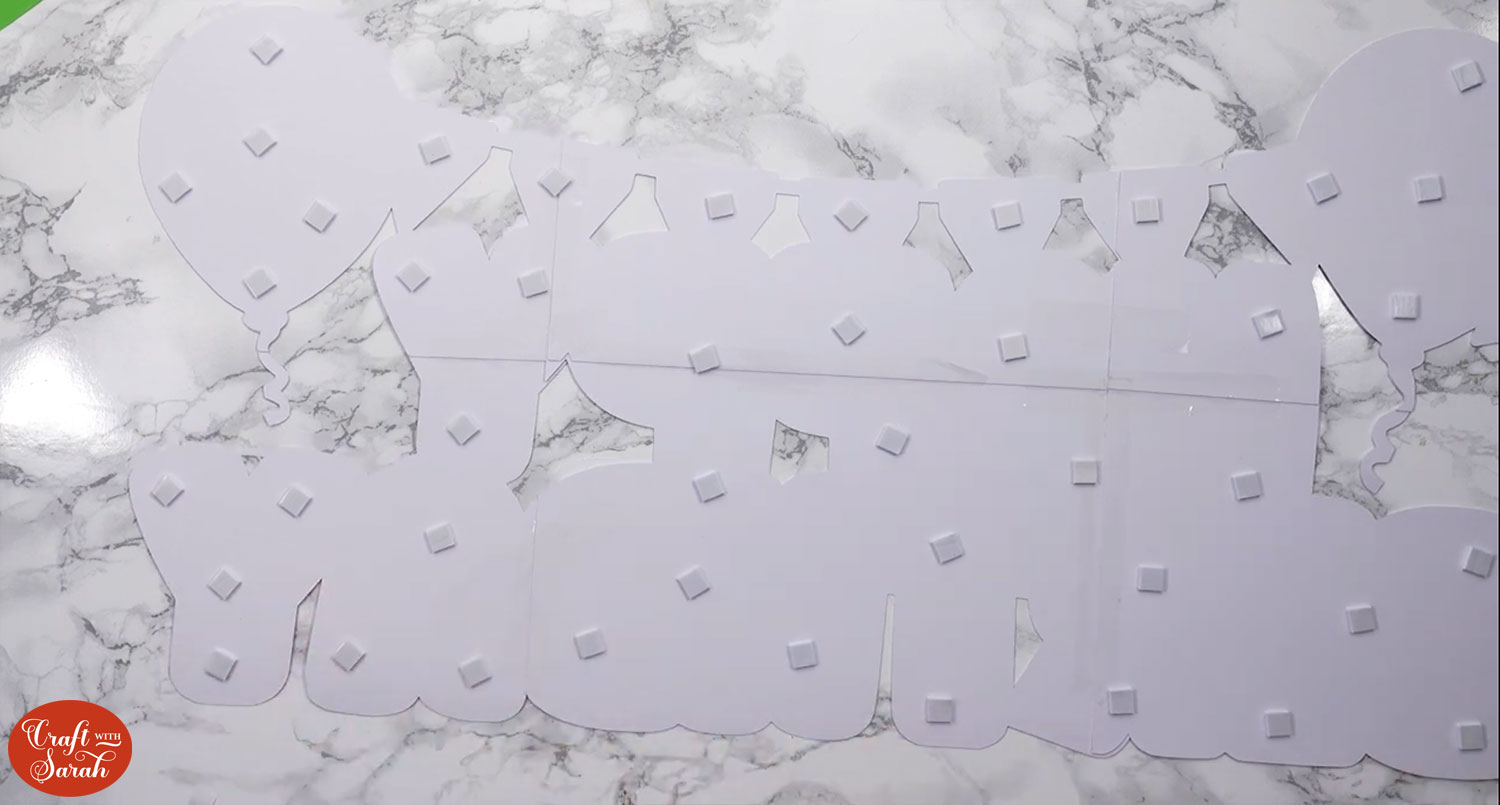
Stick foam squares to the back of the piece. You need lots, as it’s so big!!
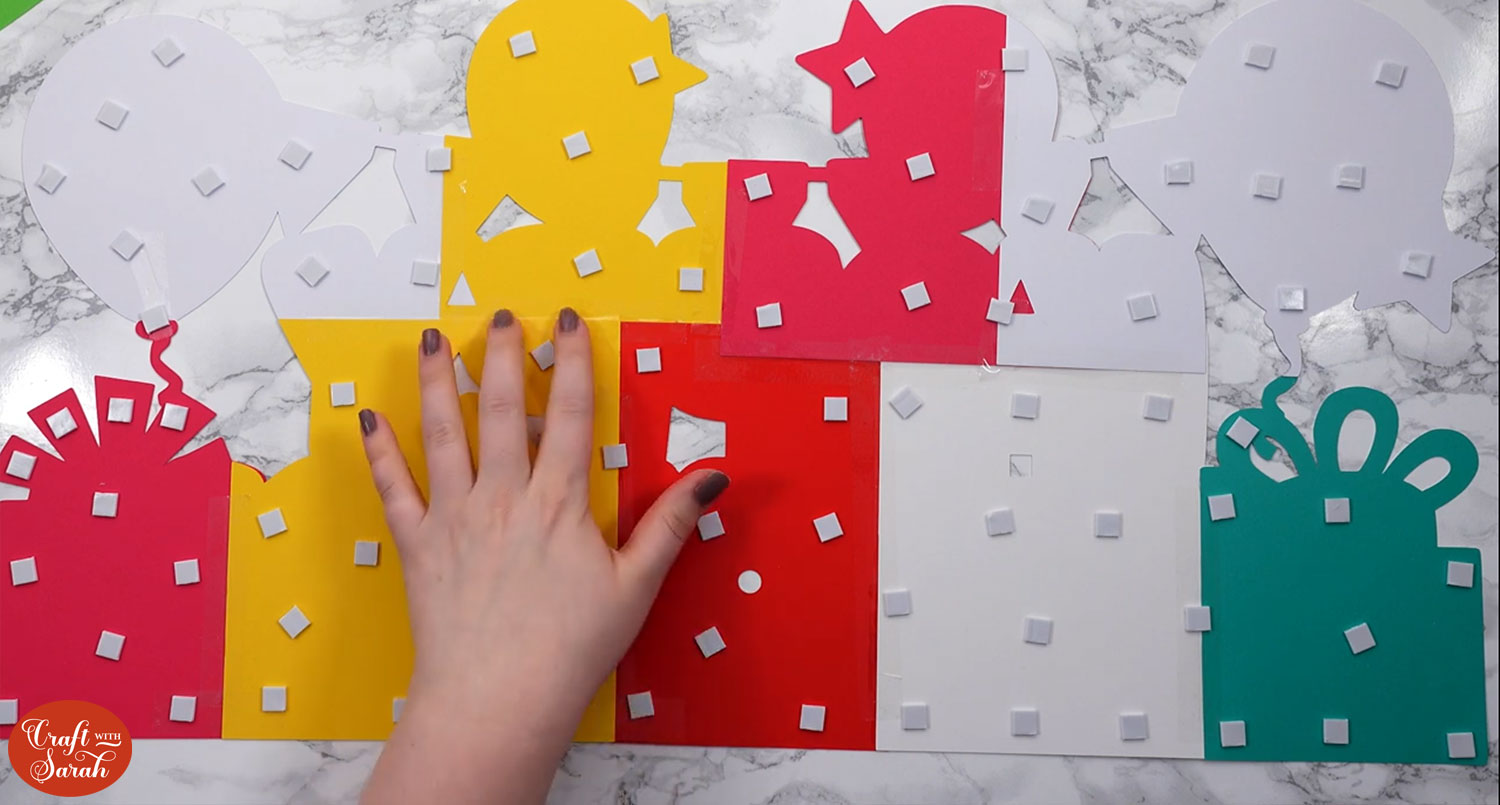
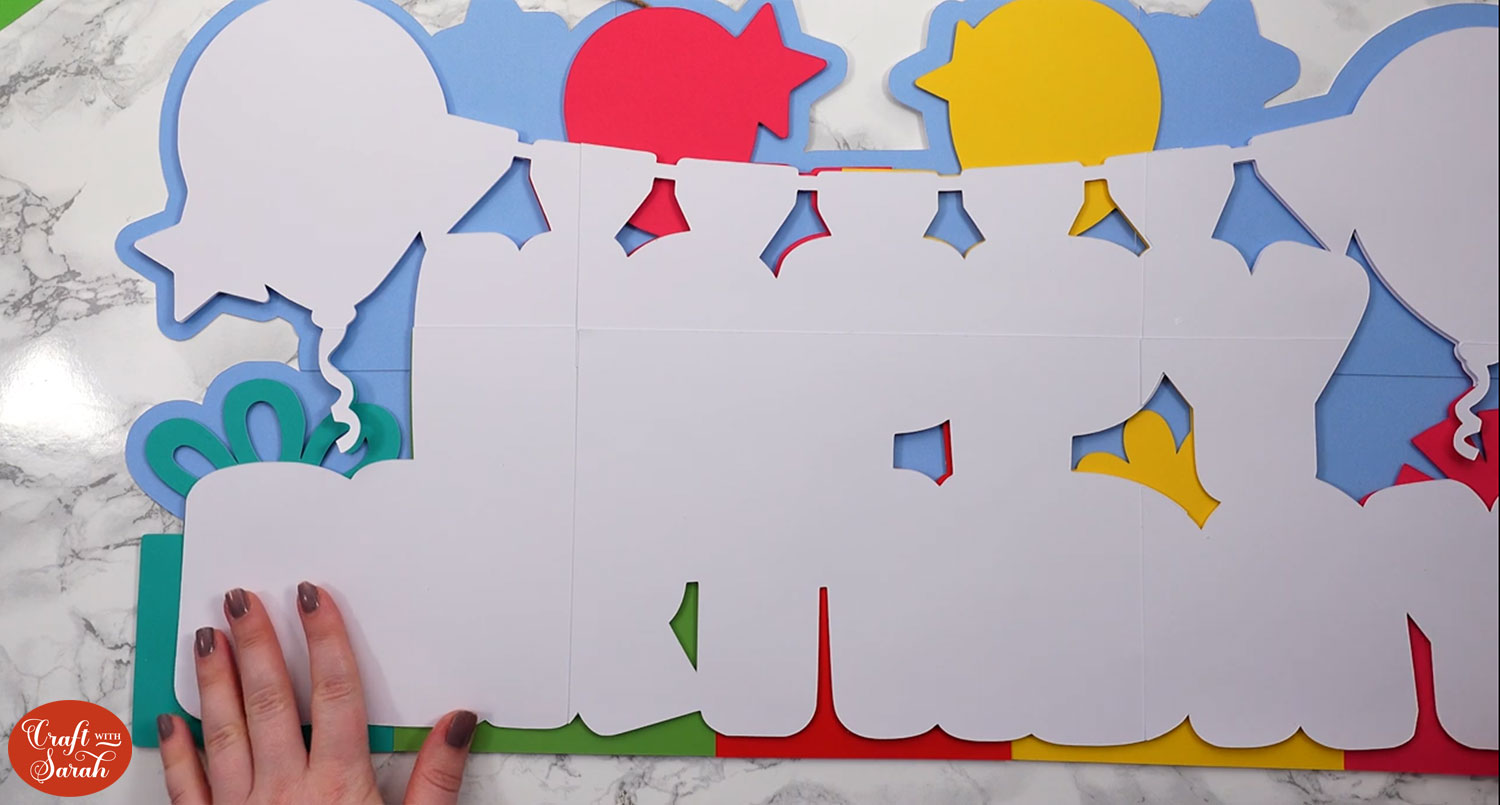
Carefully stick this on top of the blue background. There should be a thin line of blue running around the edge of all the design APART FROM along the bottom, where the new layer will perfecly sit against the bottom of the blue.
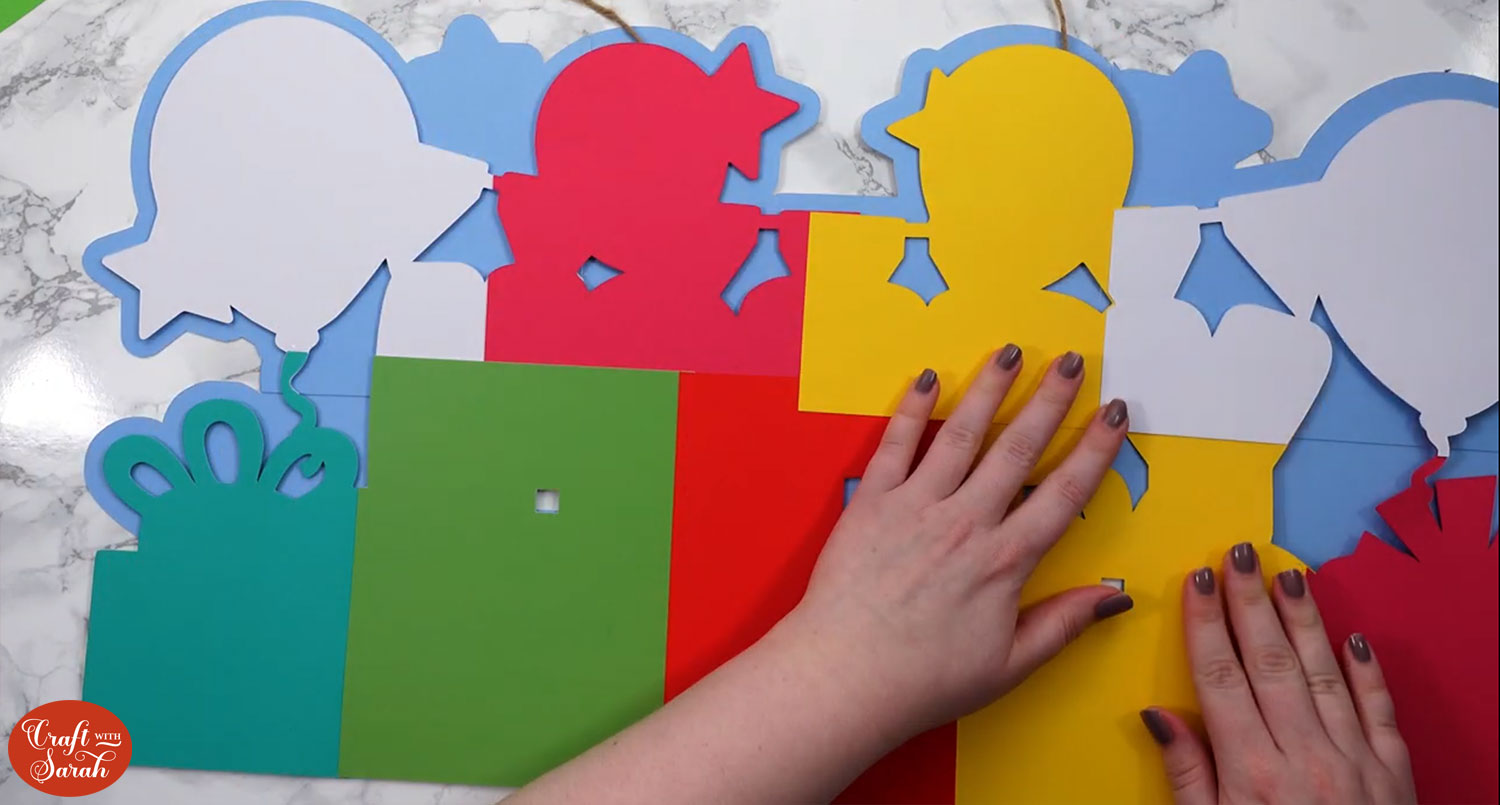
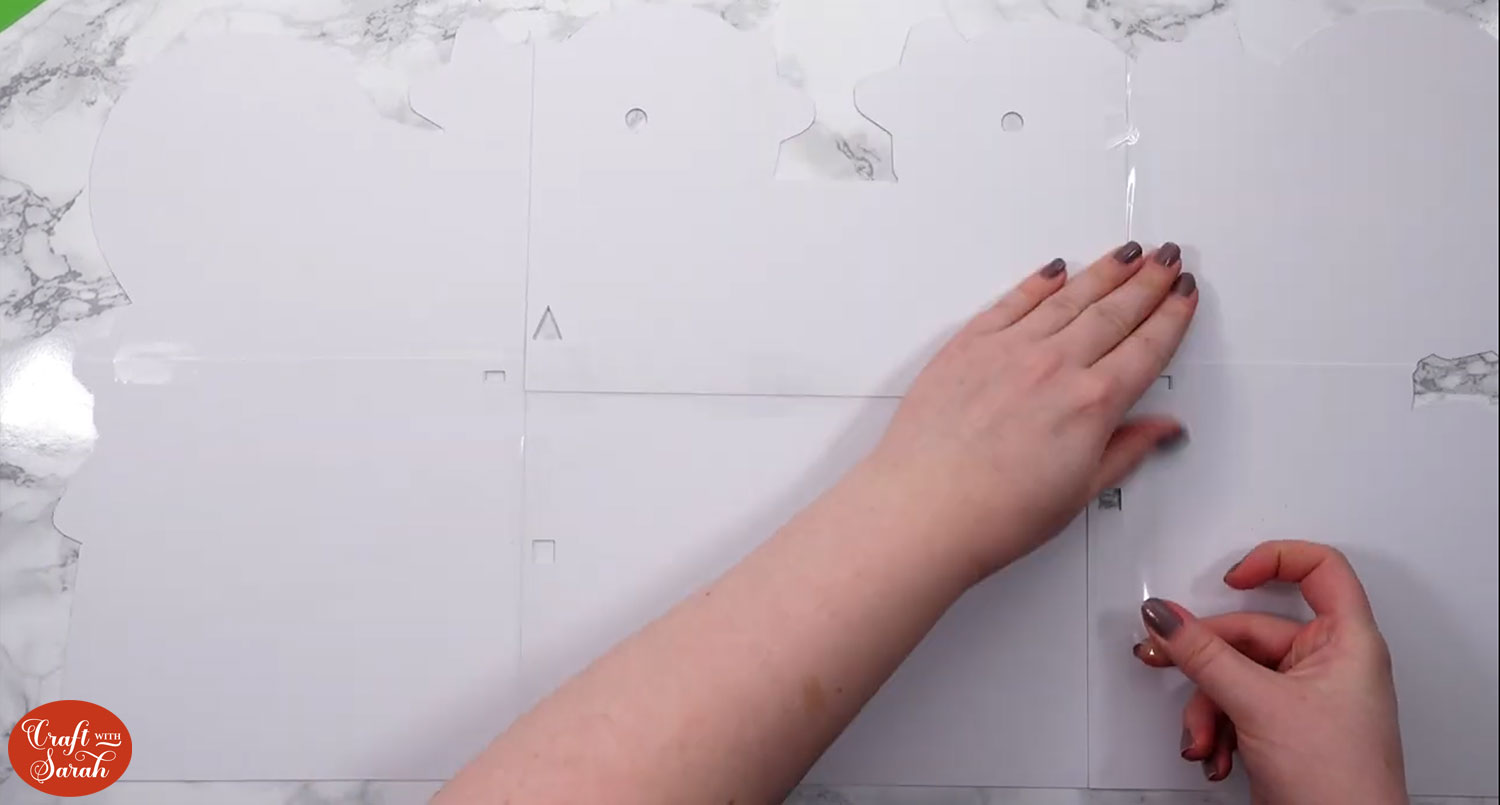
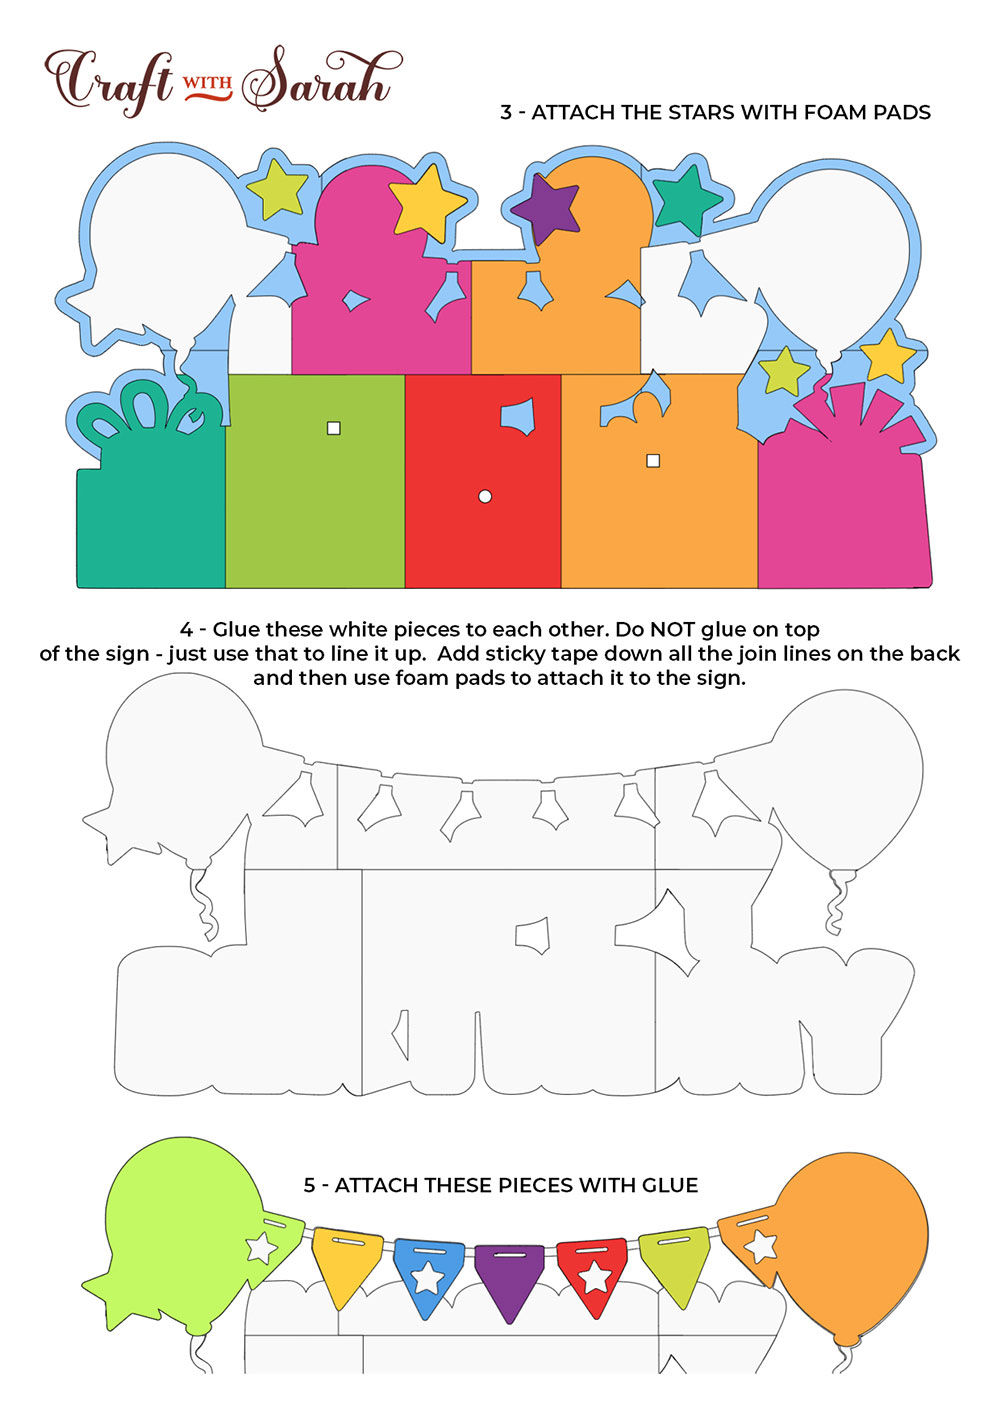
Step 3: Add the next large layer
This is the last “multiple piece” layer to add on.
Place the white shapes on top of your design and washi tape them in place, then stick the white pieces together.
Do NOT stick them to the coloured layer underneath yet!
When finished, turn the piece upside down and add sticky tape down all the join lines.
Attach foam squares to the back of the piece. Once again, you need lots, due to the size.
Stick to the giant sign. Use the balloons on the left and right of the design to see where to line it up.
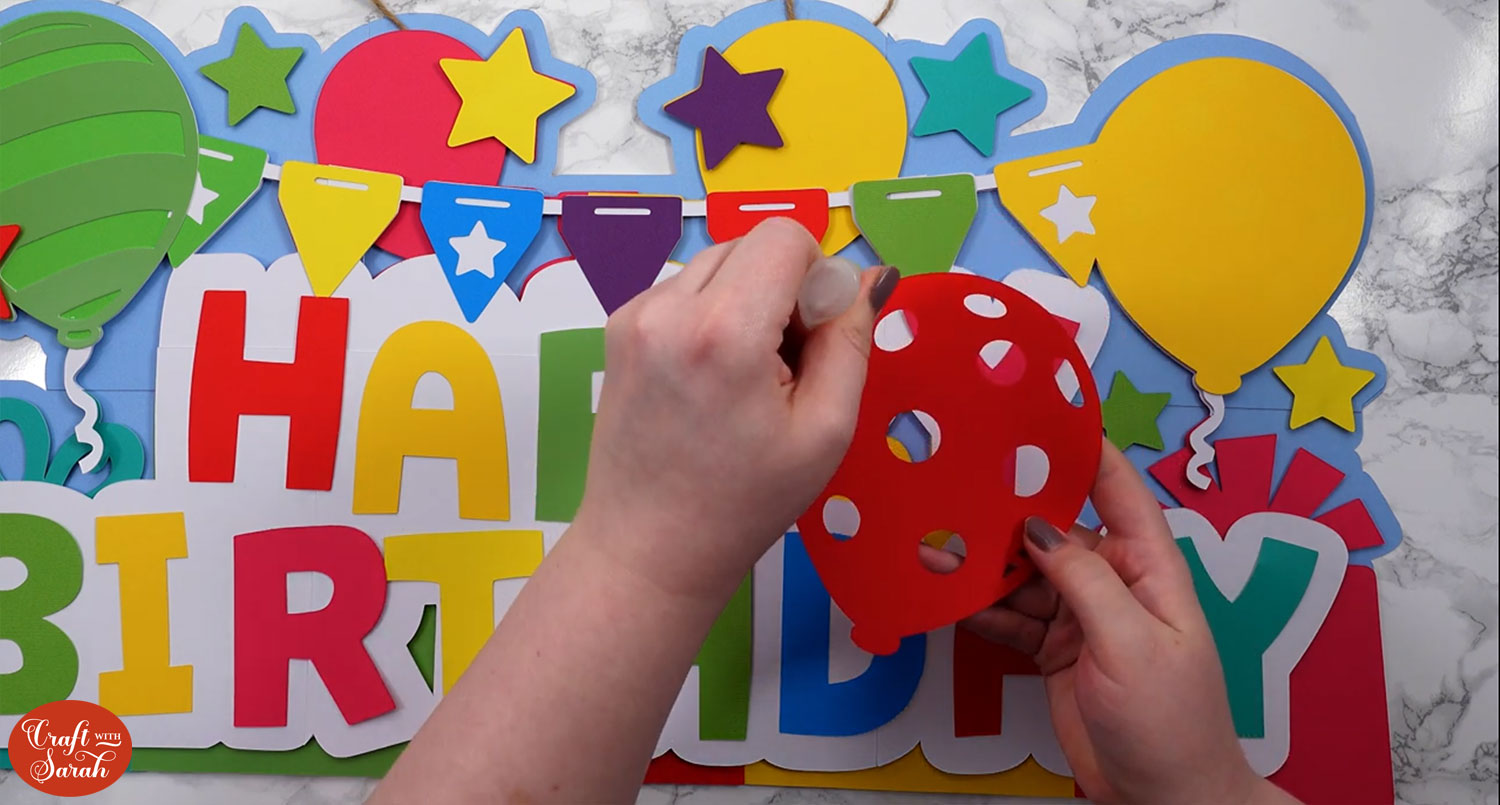
Step 4: Add on the remaining pieces
Work through each of the remaining pieces, following the assembly guide.
Use a combination of foam pads and glue to stick together all the layers and attach them to the sign, following the Assembly Guide.
When using foam squares on large layers, make sure you place them in the middle as well as around the edge so that the cardstock doesn’t bend downwards in the middle.
The pages of the assembly guide are shown below.
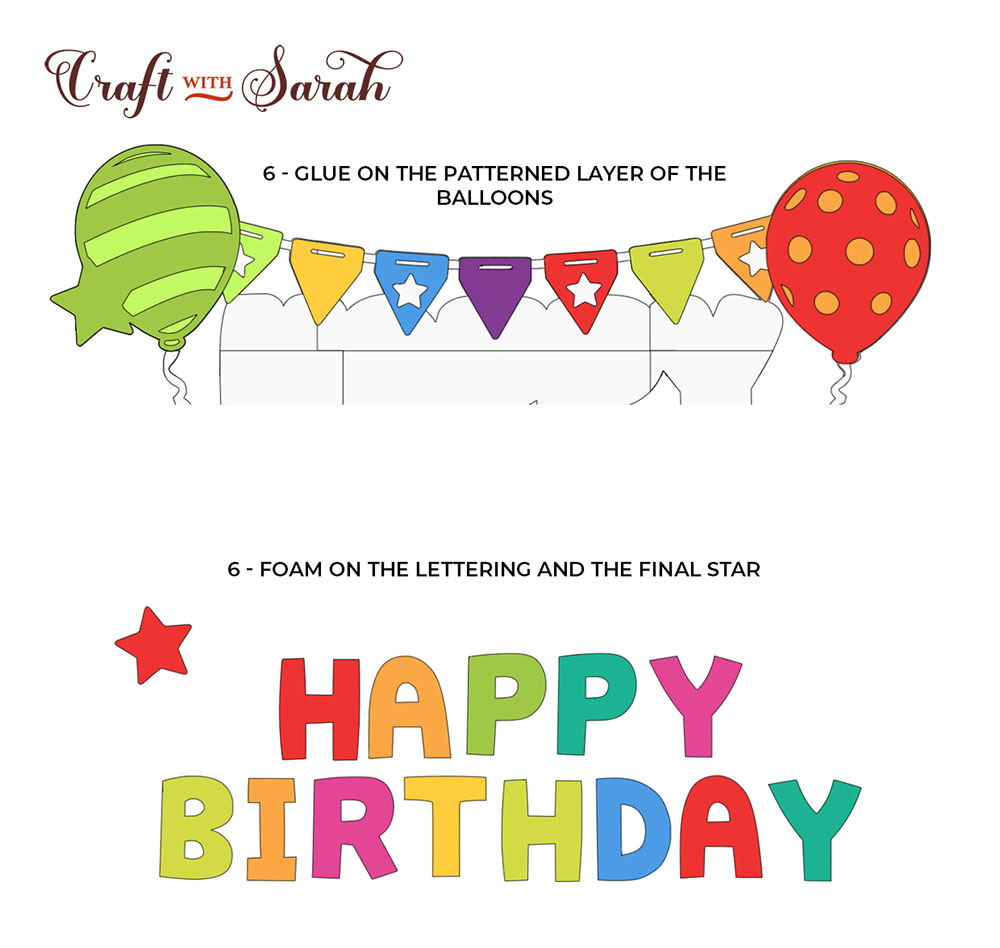
After sticking on all of the layers, it will look like this:

I hope that you enjoy this layered wall art sign SVG!
It takes quite a while to make, but it’s definitely worth it as it’s so beautiful!
Want more giant wall art signs?
I love designing giant off-the-mat signs to cut with my Cricut.
Here are some of the other designs I have created over the past few years. 🥰.
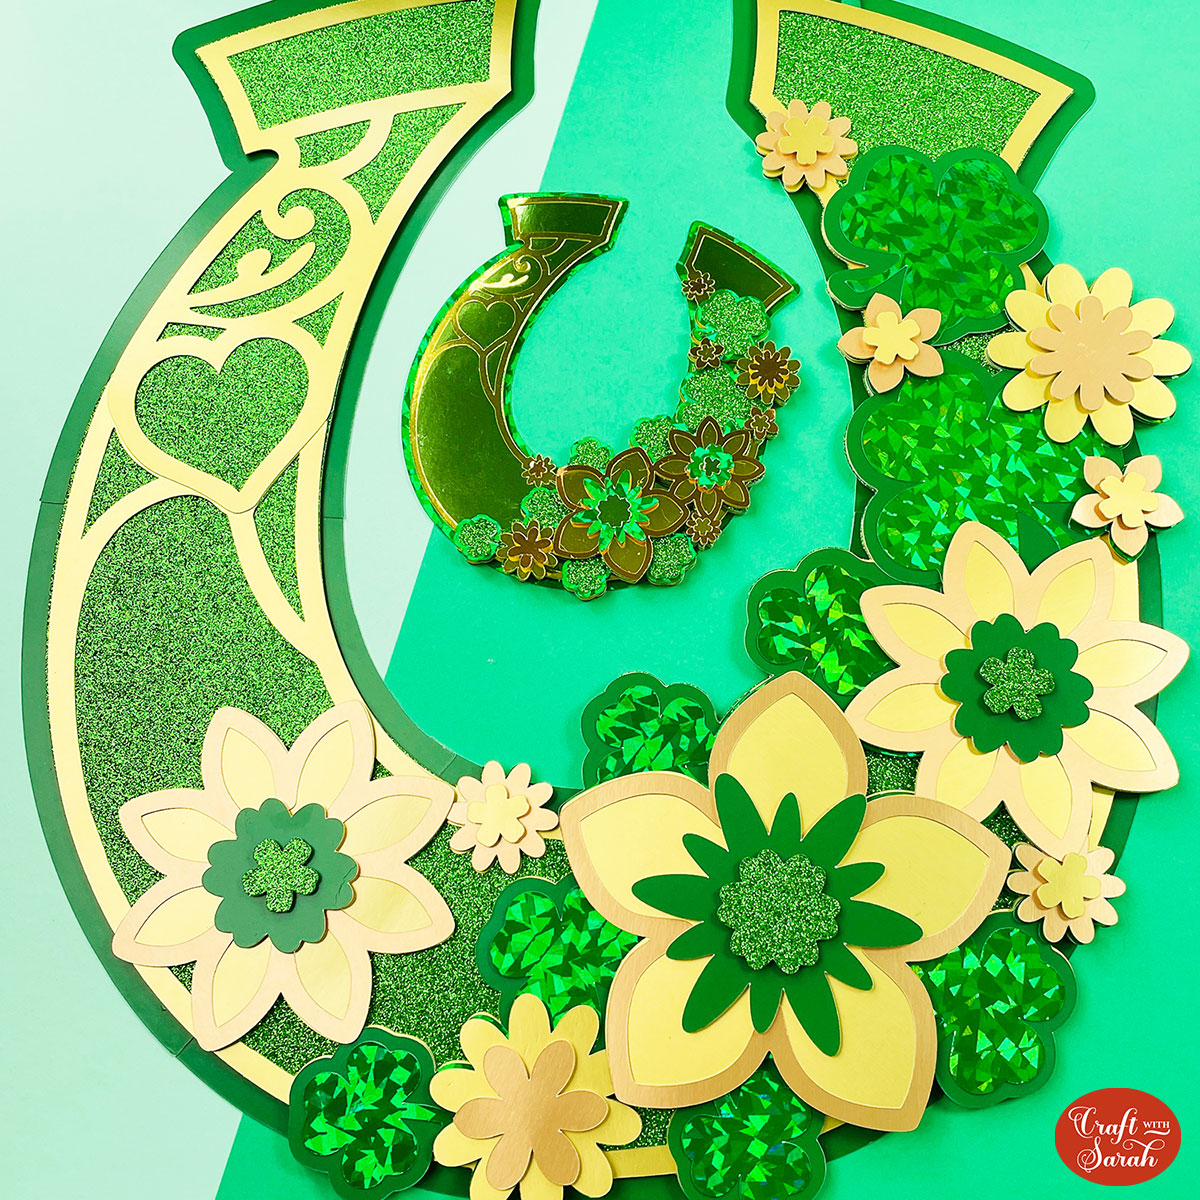
FREE - St Patrick's Day Lucky Horseshoe
Make a GIANT lucky horseshoe for St Patrick’s Day. This flower and shamrock filled design looks beautiful when cut from gold and holographic card to give it some shine.

FREE - Valentine's Day Banner
Get ready for the season of love with this giant Valentine’s Day banner. You can add some ribbon in the top if you want to hang it up, or simply prop it up on a shelf without the ribbon using the flat bottomed edge.

FREE - Happy New Year Sign
Make a Happy New Year giant sign to display for your New Year's celebrations.
Use holographic or glitter card to make the fireworks really sparkle!
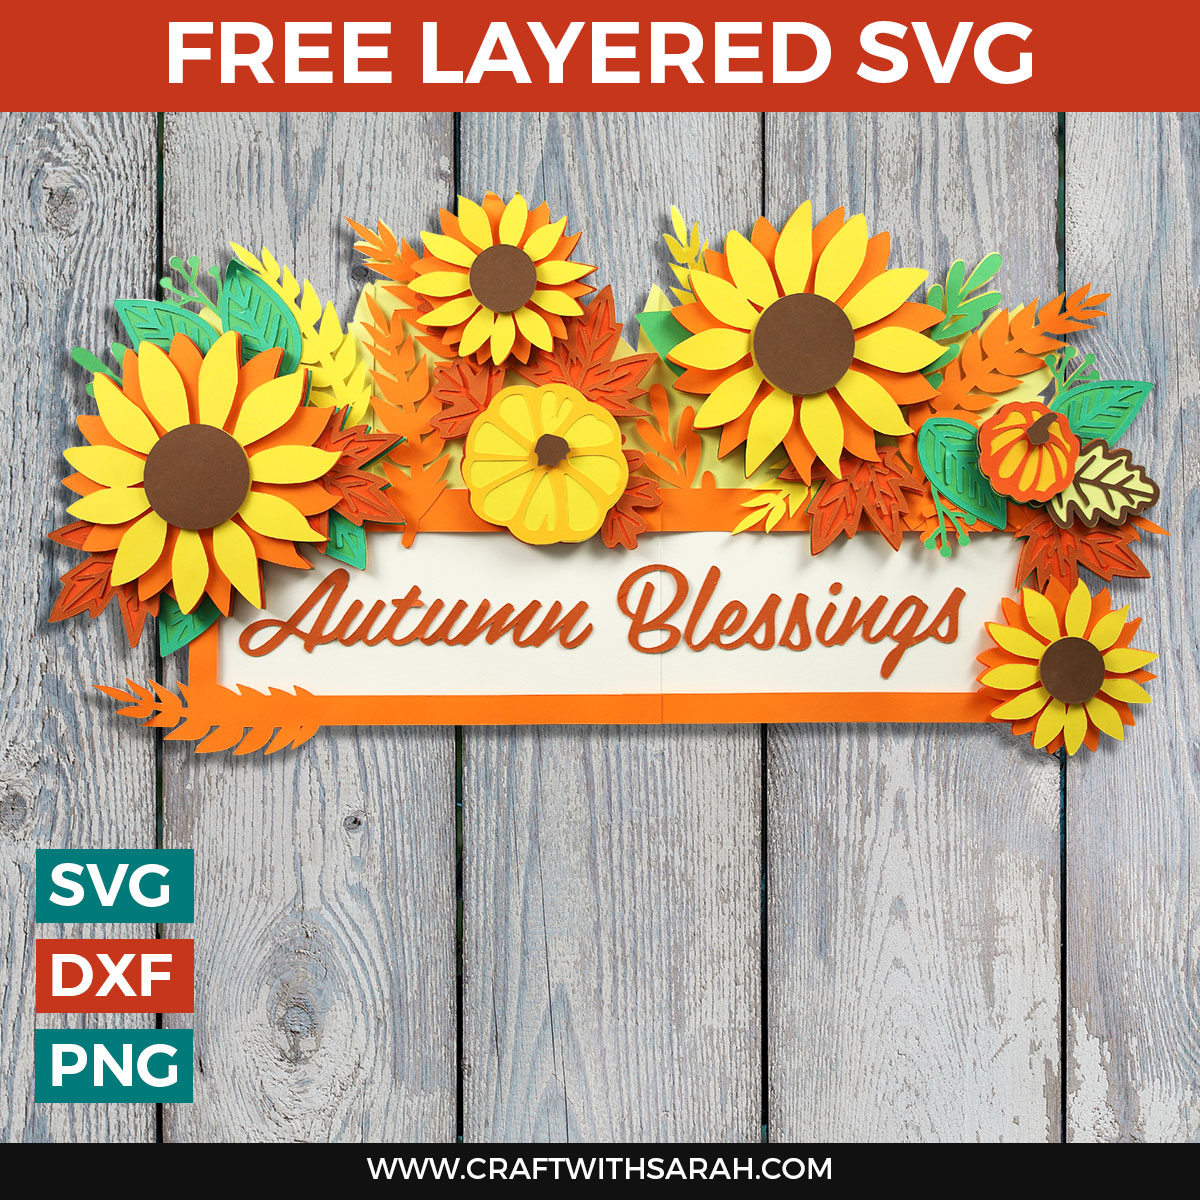
FREE - Giant Autumn Sunflowers Sign
Sunflowers and pumpkins are the stars of the show for this giant sign for Fall.

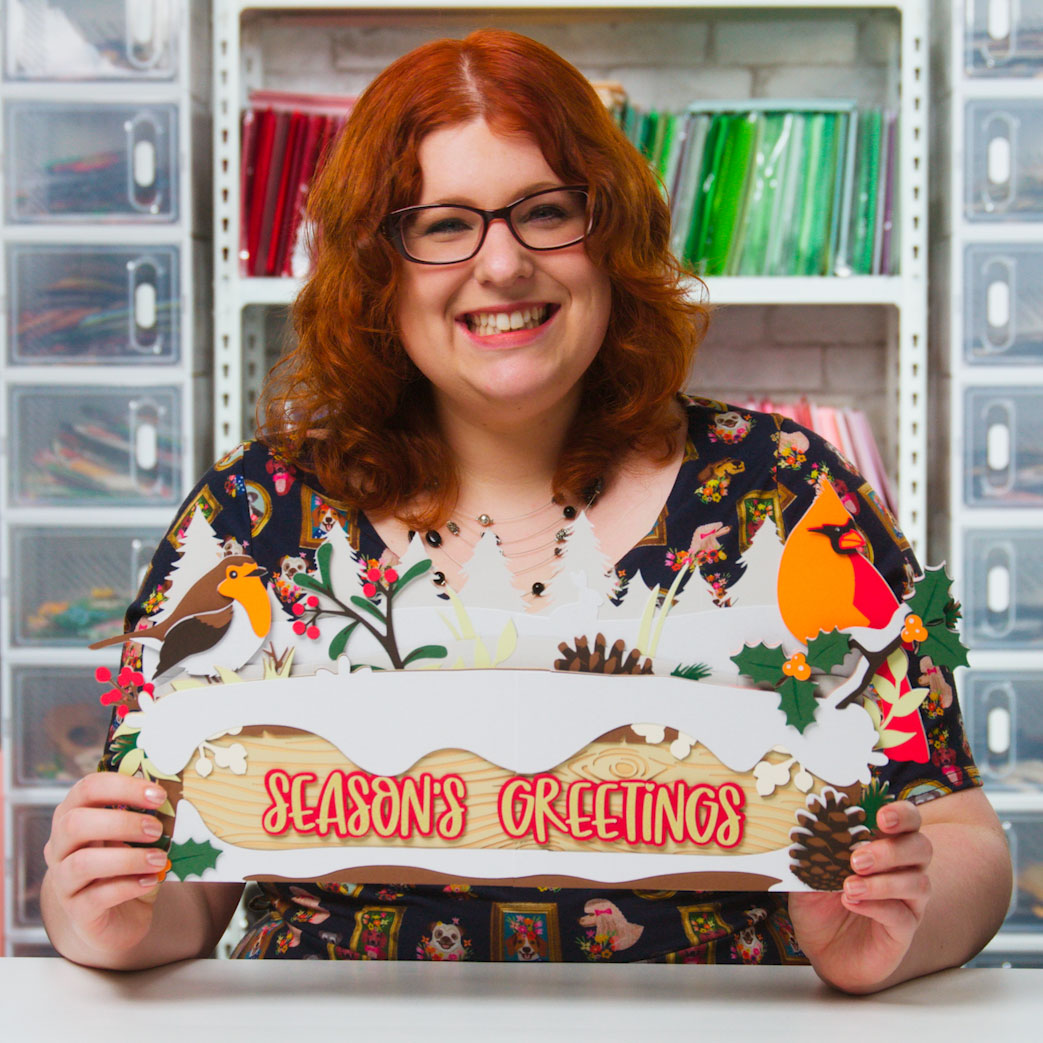
FREE - Merry Christmas Giant Sign
How cute are all these little Christmas characters?
Make wall decor that makes an impact with this giant off-the-mat design.
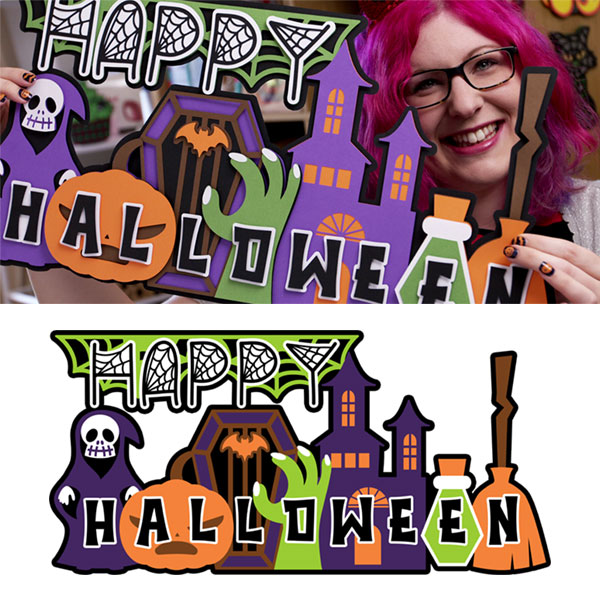
FREE - Giant Halloween Sign
Get ready for the spookiest season of them all with this giant Halloween wall art sign.
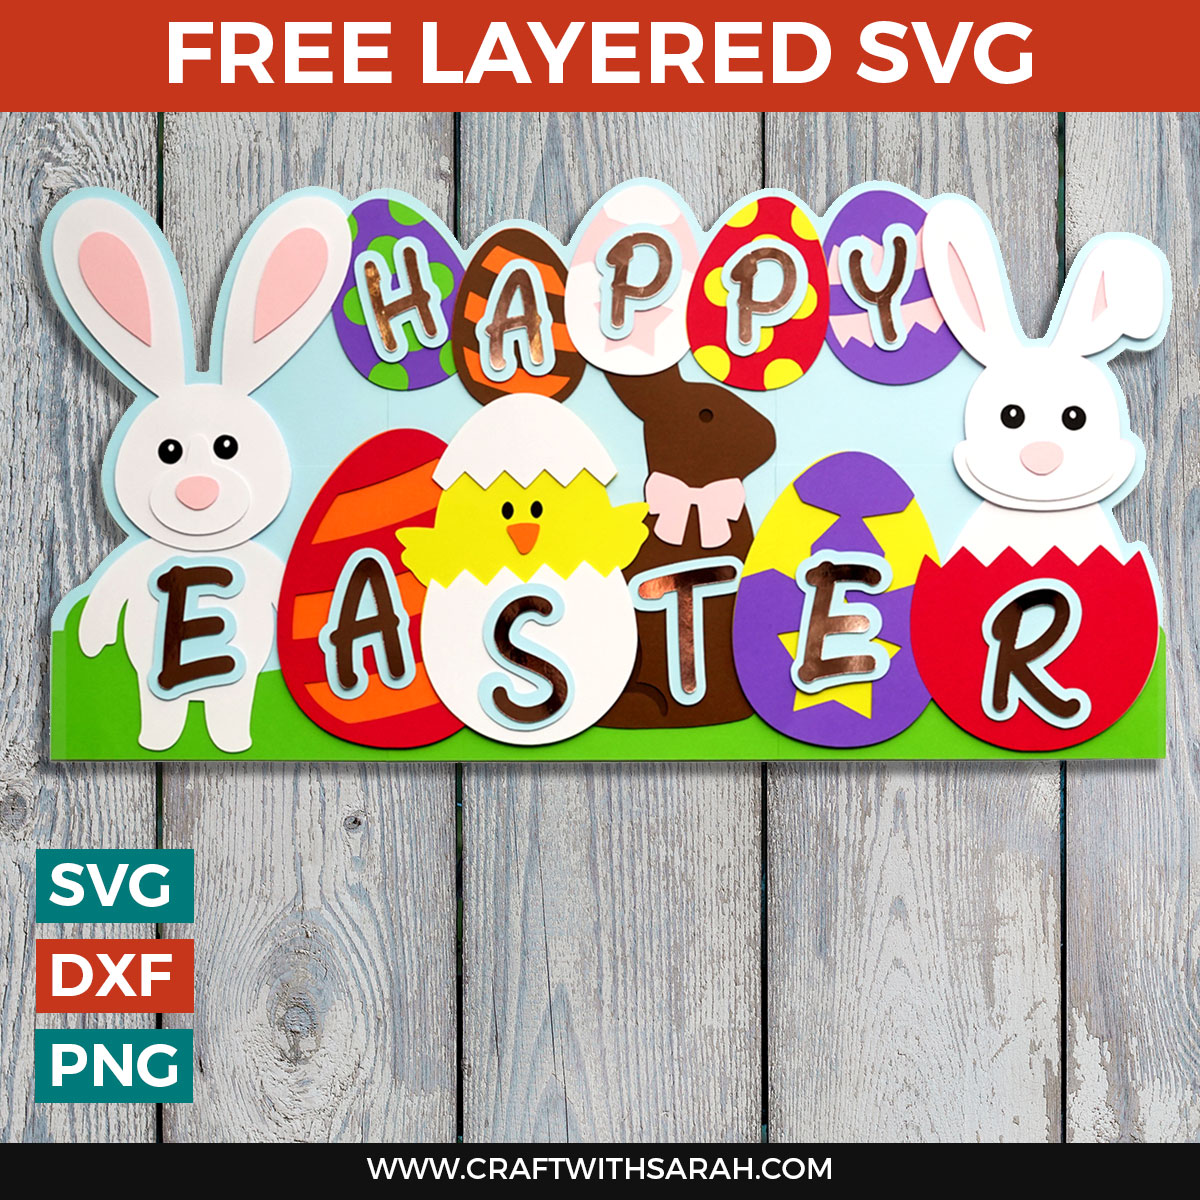
FREE - Giant Easter Sign
Decorate your walls for Easter with this amazing and HUGE layered Easter sign.

Giant Spring Sign
What could be more perfect for Spring than these gorgeous pastel coloured blooms?

Giant Summer Sign
Make a beautiful floral welcome sign for Summer that's bursting with colour!
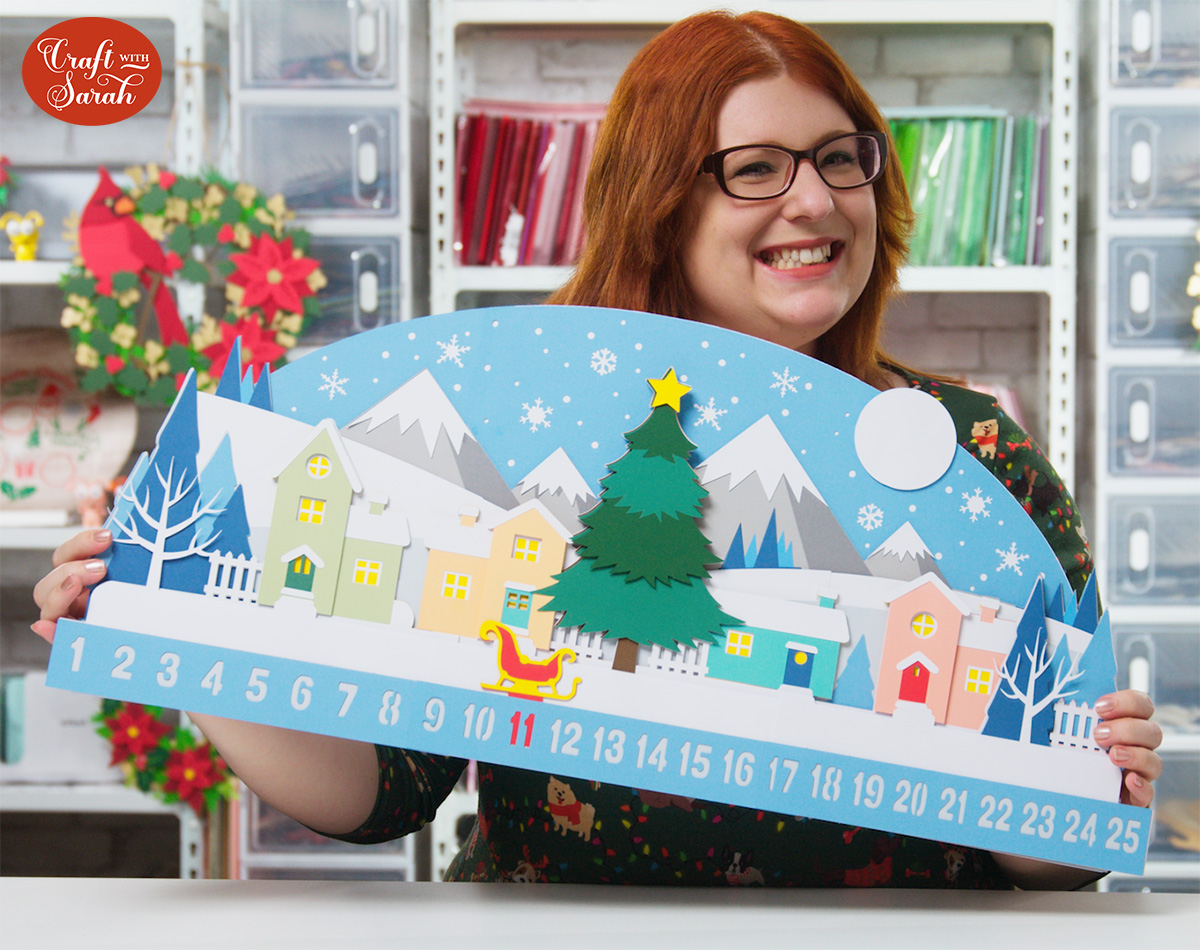
Advent Calendar
Count down the days until Christmas with this larger-than-mat Advent Calendar. Simply pull the sleigh out each day and move it along to the next number to track the number of sleeps until Santa comes to visit.
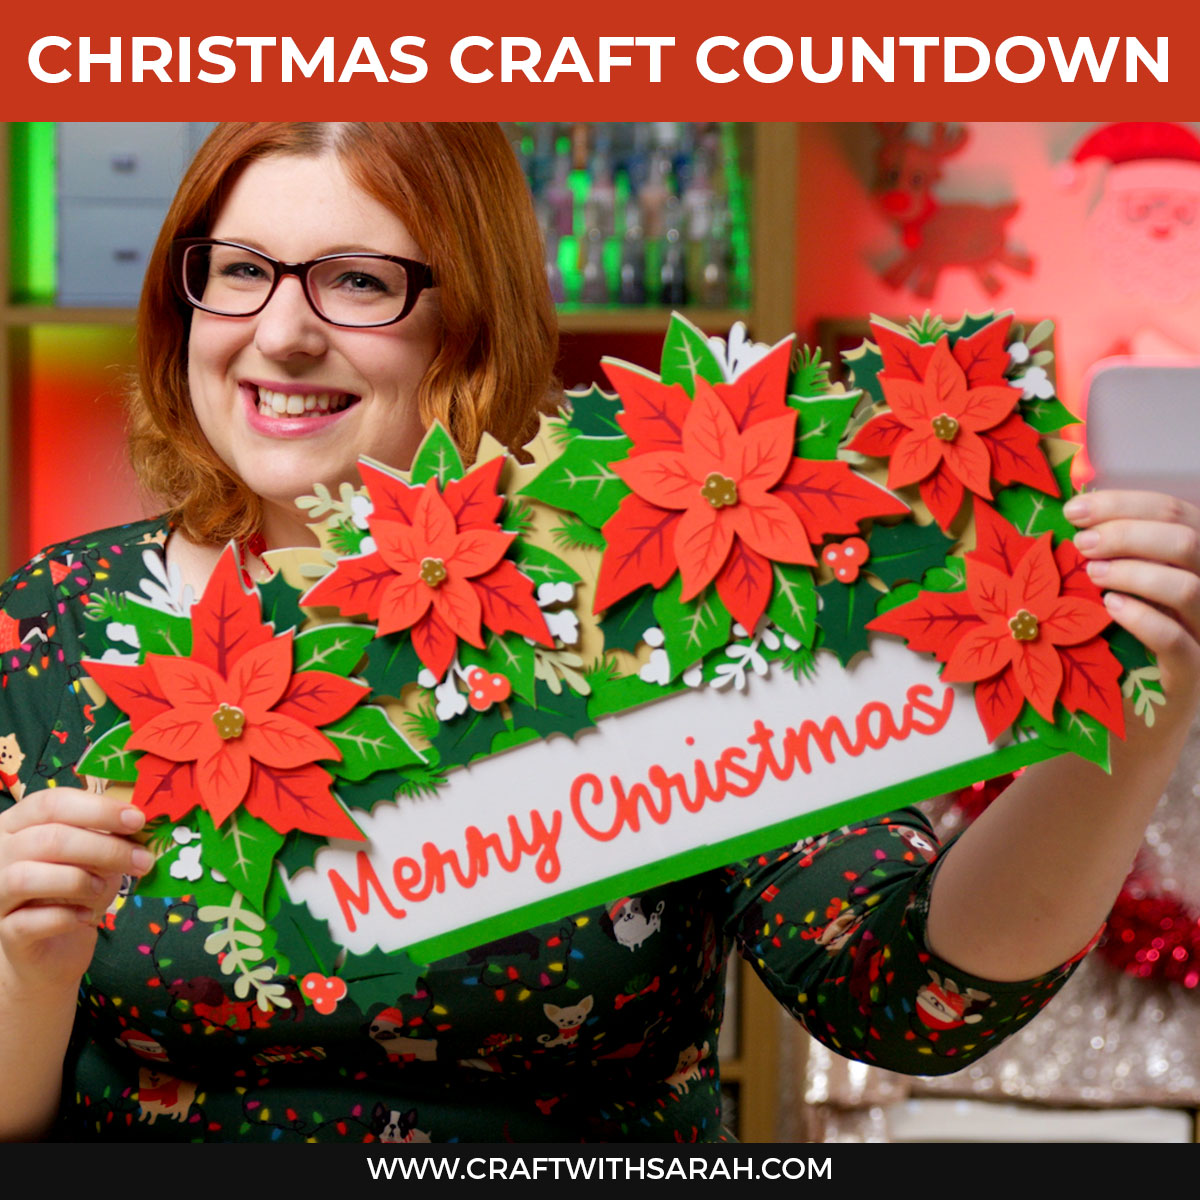
Giant Christmas Poinsettias Sign
Transform your home for winter with this beautiful poinsettia filled sign.
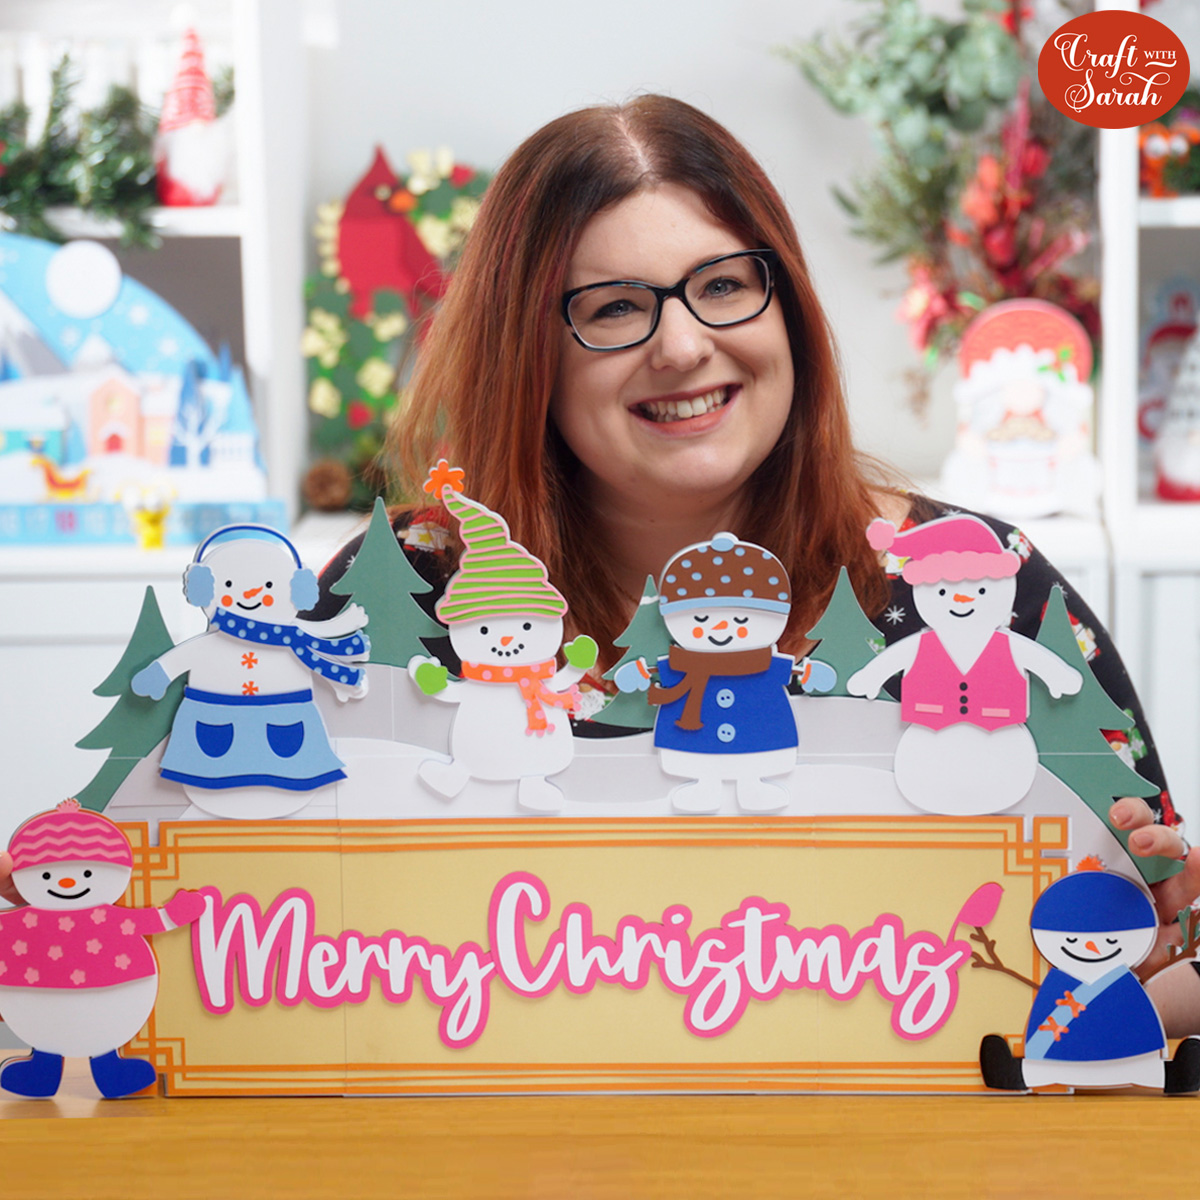
Snowman Giant Sign
Make an impressive snowman craft with this giant sign that’s FULL of happy little snowpeople. If you’d like to learn how to design your OWN giant signs, read to the end of the tutorial to find out how!
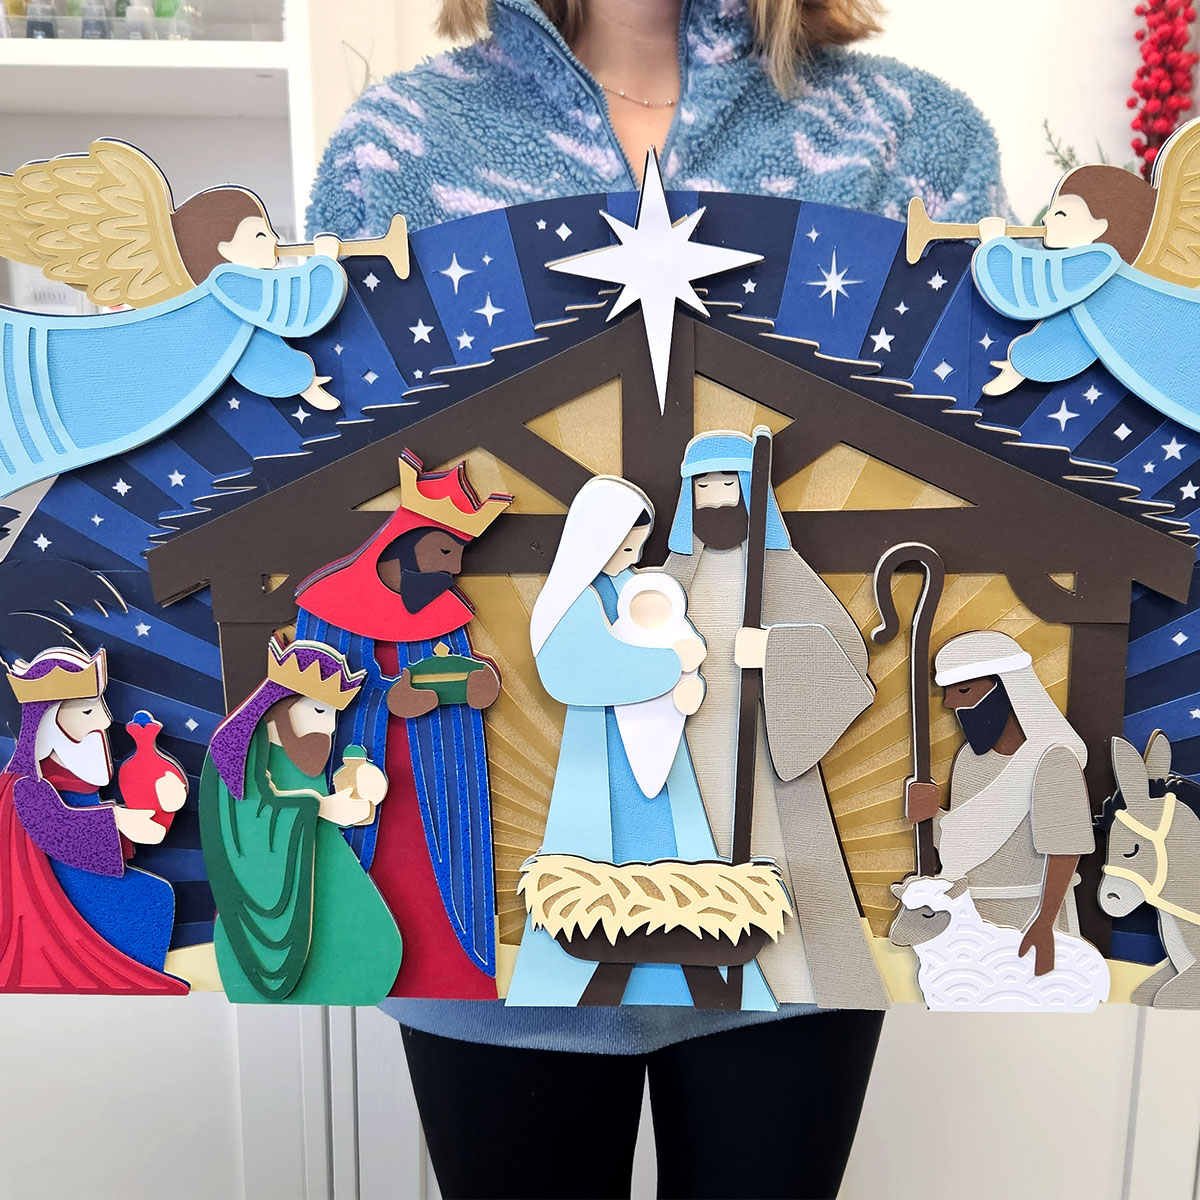
Nativity Giant Sign
This incredible giant Nativity sign measures a whopping 28 inches wide! What I especially love about this giant sign design is that all the Nativity characters are made as their own stand-alone layered designs, so you can use them on other projects such as greetings cards and shadow boxes too.
Happy crafting,
Sarah x

