3D Snowman Papercraft ☃️ Slot-Together Design
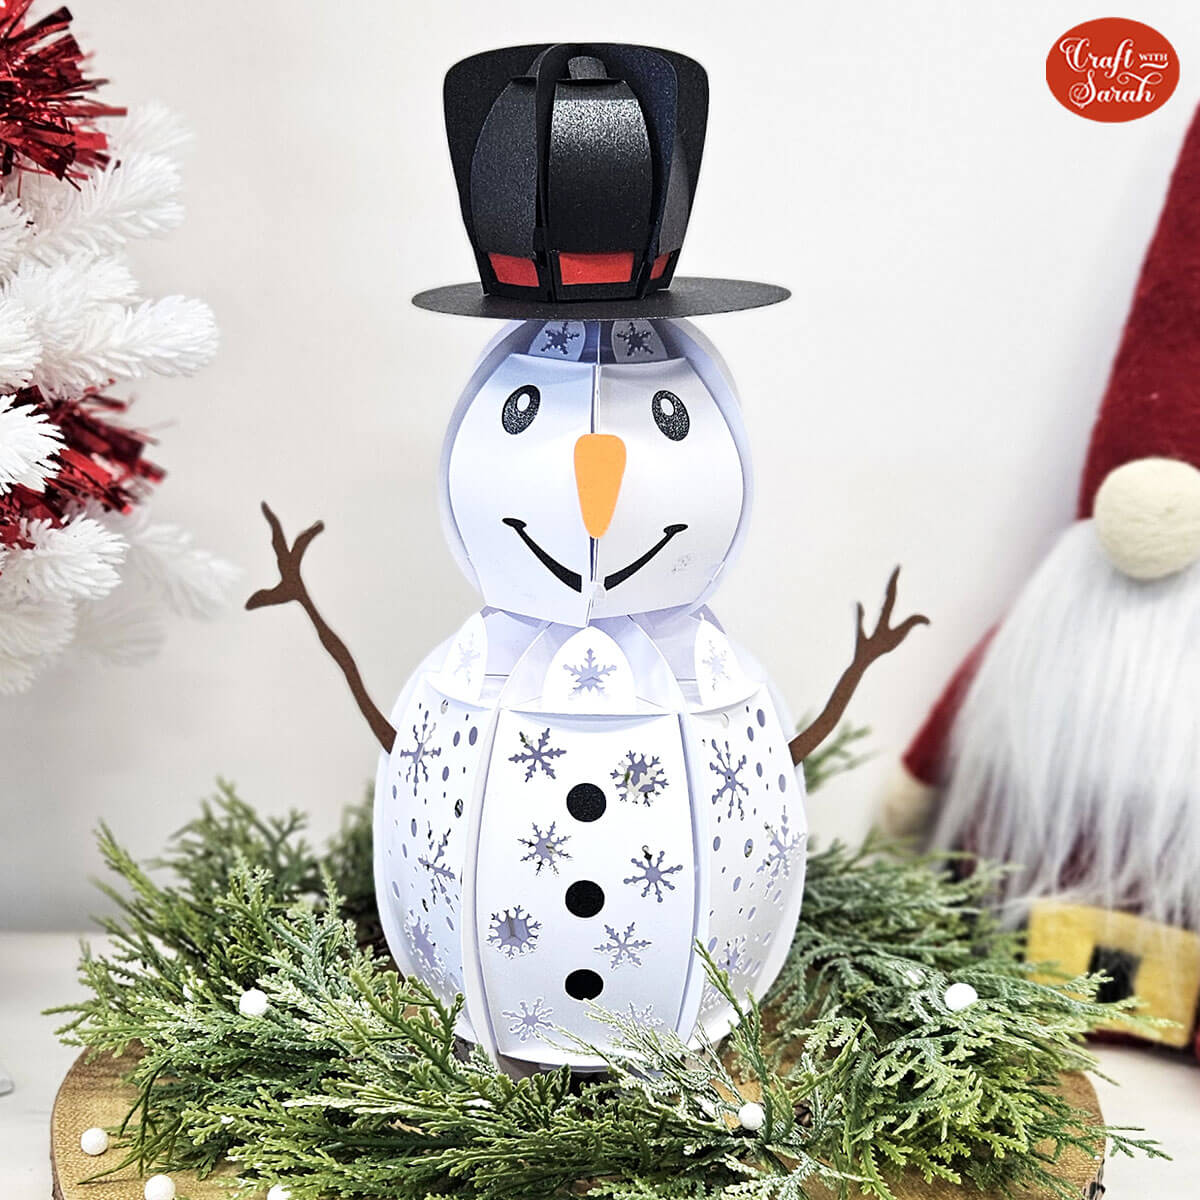
Make a 3D snowman for Christmas with this papercraft design.
This adorable little snowman (almost) goes together without the need for any glue, using a clever slot-together technique.
That means you can easily take it apart after Christmas to store it flat in a folder or envelope, ready to get out and make again next year.
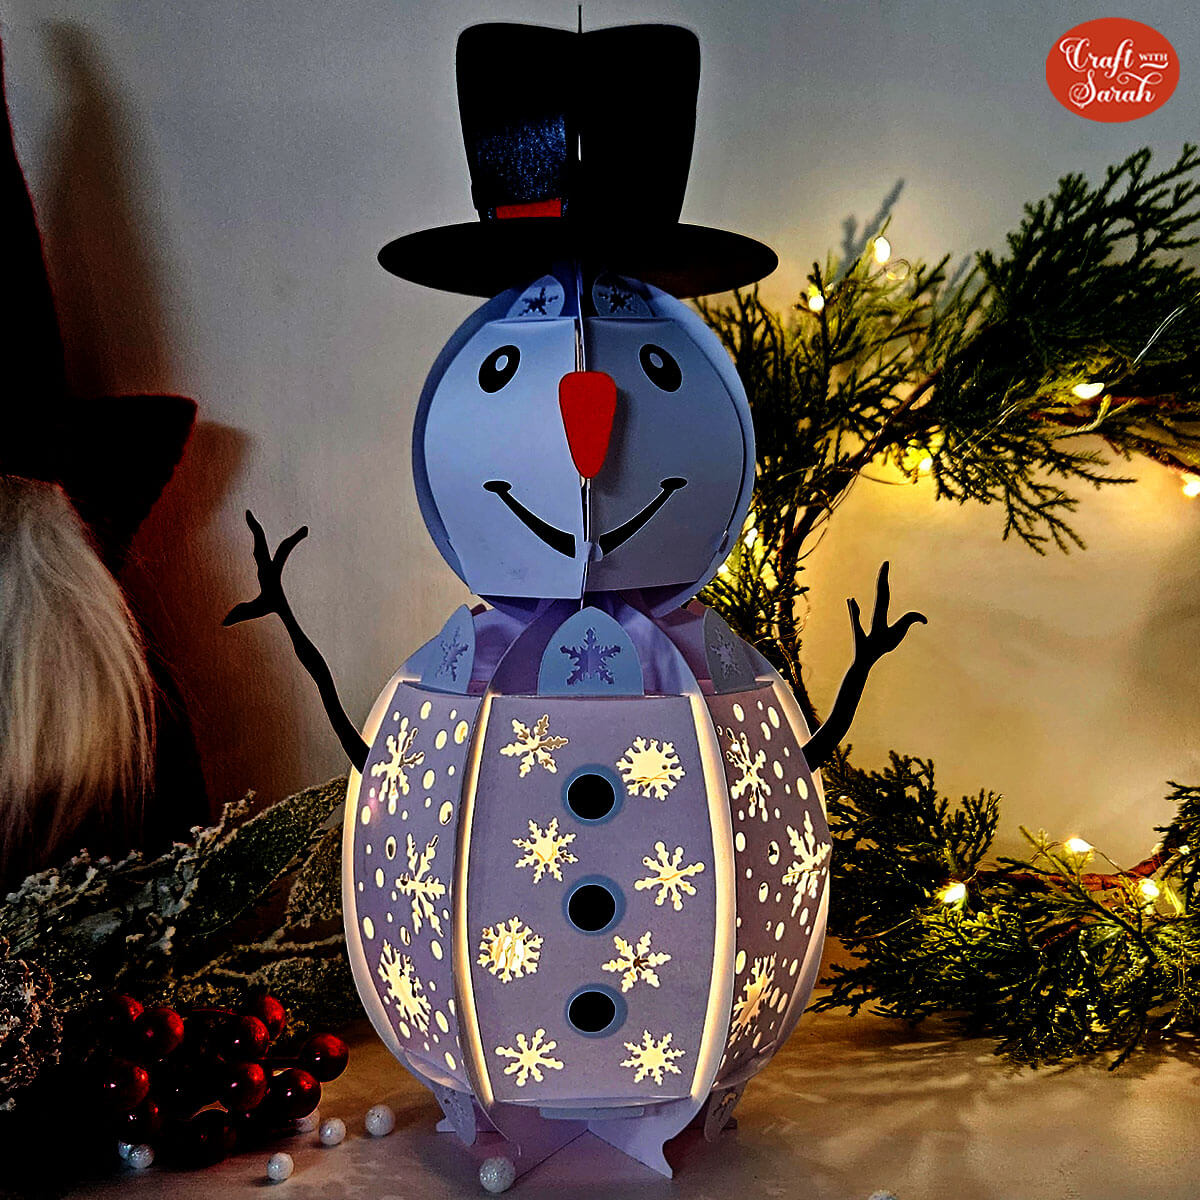
Add a battery-powered candle or fairy lights to make it glow from the inside.
Materials supply list
Here is a list of the materials that I used to make this project.
Please note that some of the links included in this article are affiliate links, which means that if you click through and make a purchase I may receive a commission (at no additional cost to you). You can read my full disclosure at the bottom of the page.
- Cricut machine
- Light blue Cricut cutting mat
- Cricut scoring wheel or Cricut scoring stylus
- Coloured card
- Collall All Purpose glue or similar
- Needle tip applicator bottle
- Battery powered candle or fairy lights (optional)
This project is suitable for the following types of Cricut machine: Explore Air 2, Explore Air 3, Maker, Maker 3, Venture and Joy Xtra.
Video tutorial
Watch the video below to see how to make this project. Keep scrolling for a written tutorial.
Written tutorial (with photos!)
Here’s how to make your very own 3D snowman papercraft project using a Cricut machine!
Step 1) Download the cutting file(s) & unzip the downloaded folder
Download the Free Cutting File

Please login to your account to download this file.
TERMS OF USE:
You may sell finished, handmade physical craft items that you have made using this product but must not sell or share the digital files. Read full terms of use
Before you upload the SVG to Design Space, you need to unzip the download folder that it comes in.
Step 2) Upload the SVG file into Design Space
Open up Cricut Design Space and start a new Project.
Click “Upload” and then find your unzipped version of the downloaded files for this project.
Go into the “Cut Files” subfolder and then select the file called svg-3D-snowman-craftwithsarah.svg
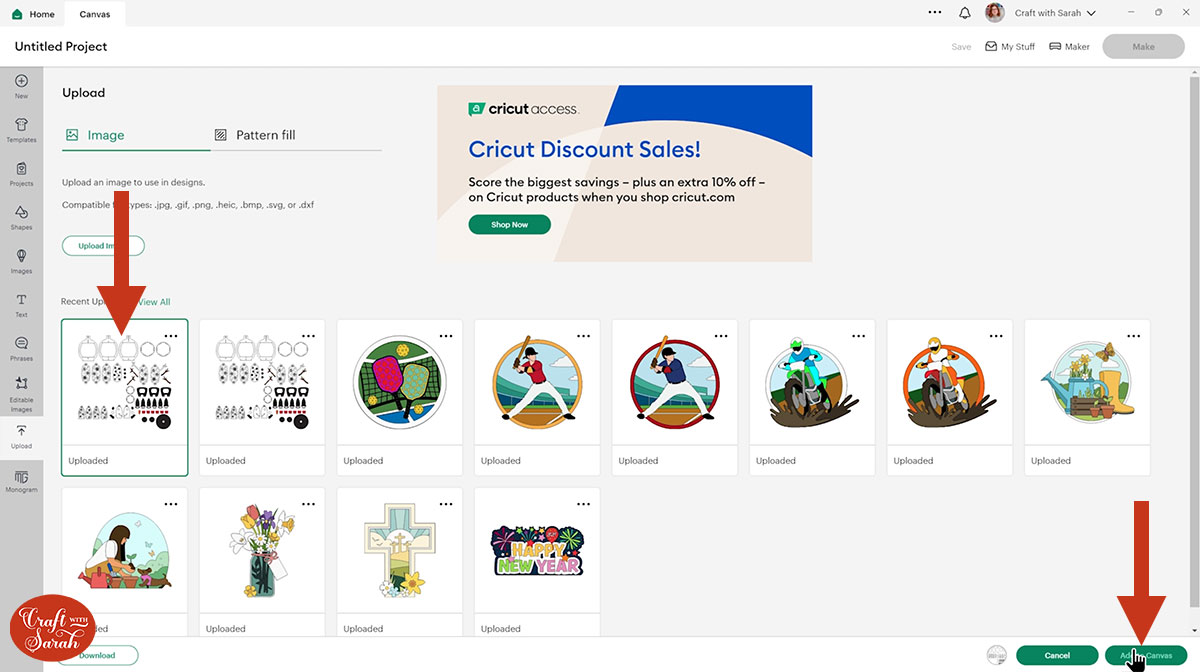
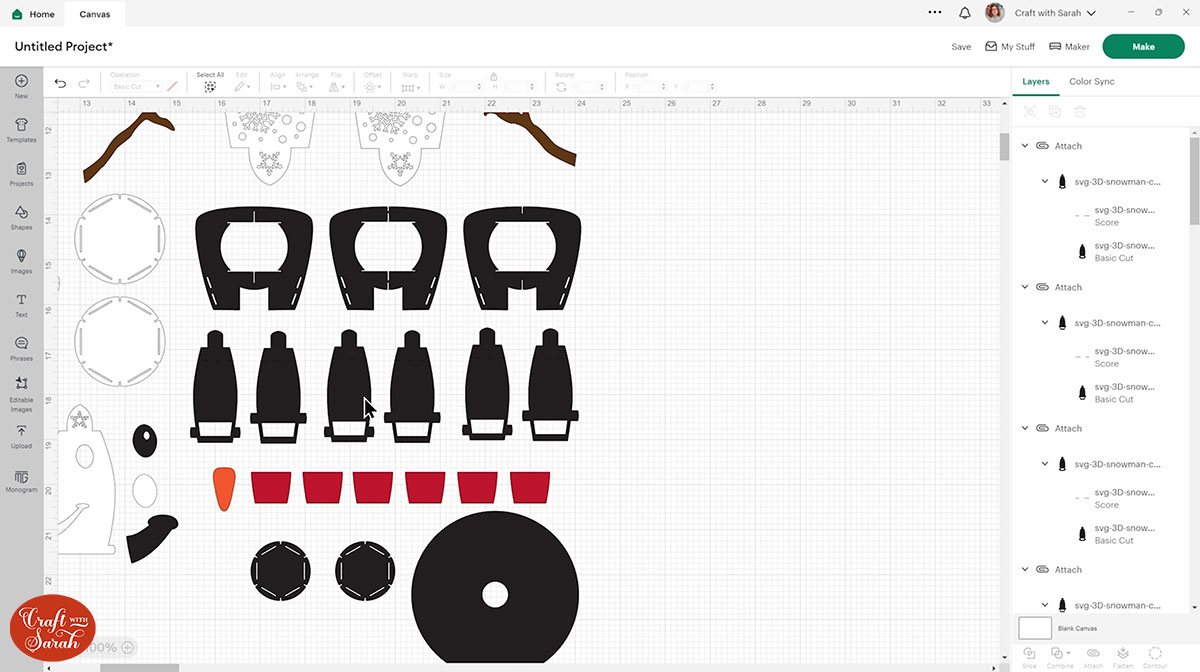
This is how it should look after you have uploaded the file:
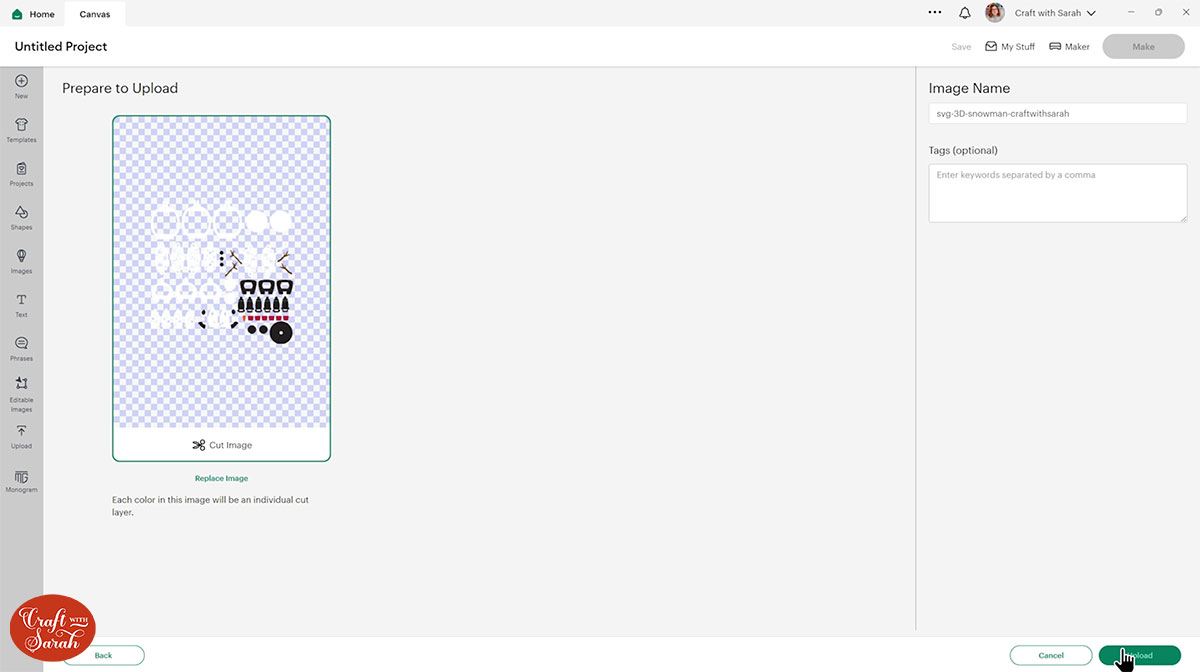
Make sure you upload the file which starts svg- in the filename!!
After uploading, the design will show in your “Recently Uploaded Images”.
Click on it and then press “Add to Canvas” to put it onto your Project.
The snowman will load in at the correct size to make a finished design that’s just approximately 10.5 inches tall.
The design loads in at 23.25 inches wide and 23.5 inches tall.
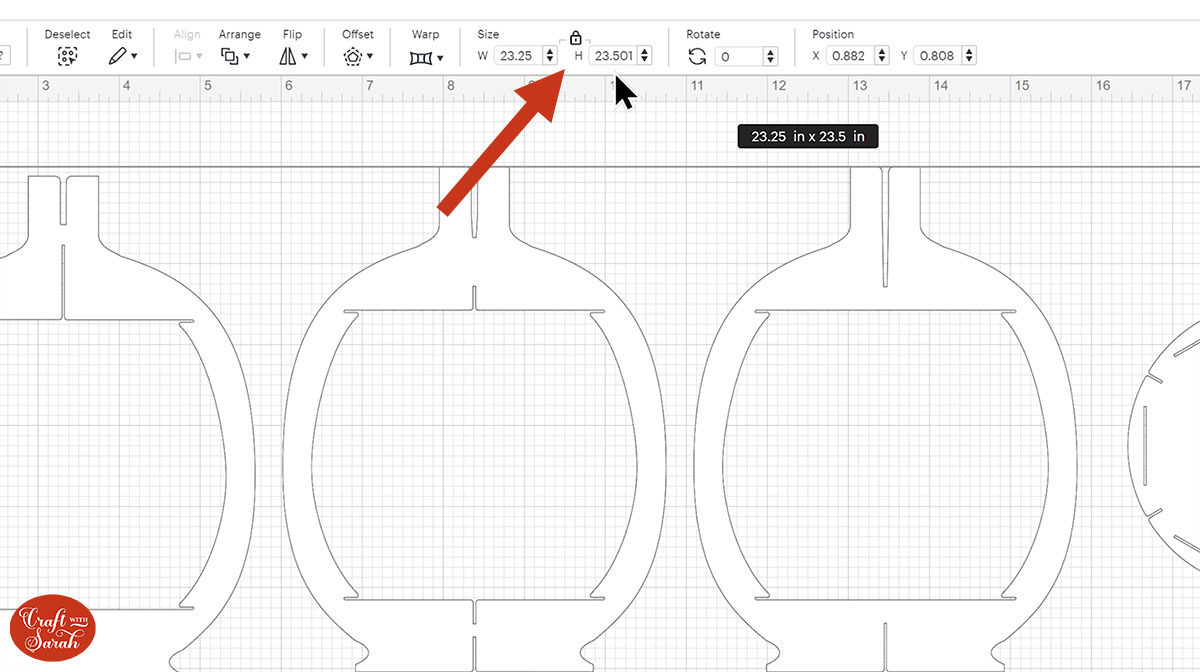
You can resize it to make it bigger if you want to make more of an impact with your snowman centerpiece, but I don’t recommend making it smaller as it may get difficult to slot the pieces together.
TIP: If you resize the snowman, make sure the padlock icon above the width/height boxes is CLOSED before you resize. If it appears “open”, click it with your mouse to close it.
Step 3) Format the score lines
Some of the pieces of the snowman have score lines to make them easier to put together.
If you don’t have a scoring stylus or scoring wheel for your Cricut machine (or if you are using the Cricut Joy Xtra), you can delete the score lines.
However, if you do have one, here’s how to format them so that your Cricut knows to score them.
First, click the design and press the “Ungroup” button.
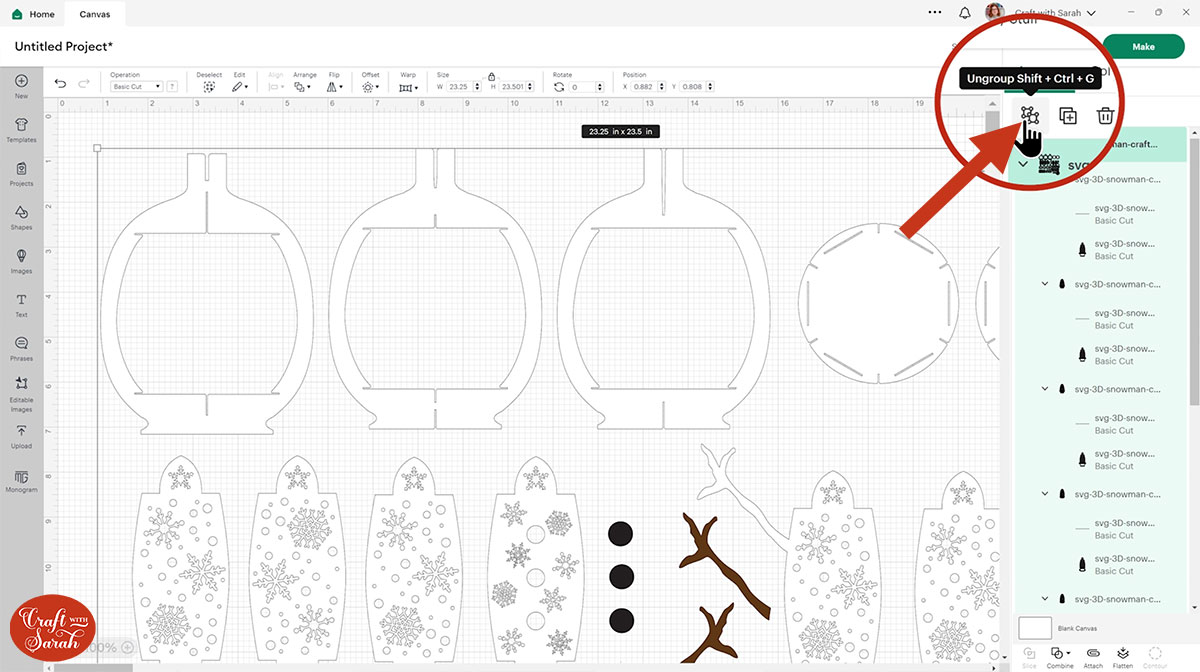
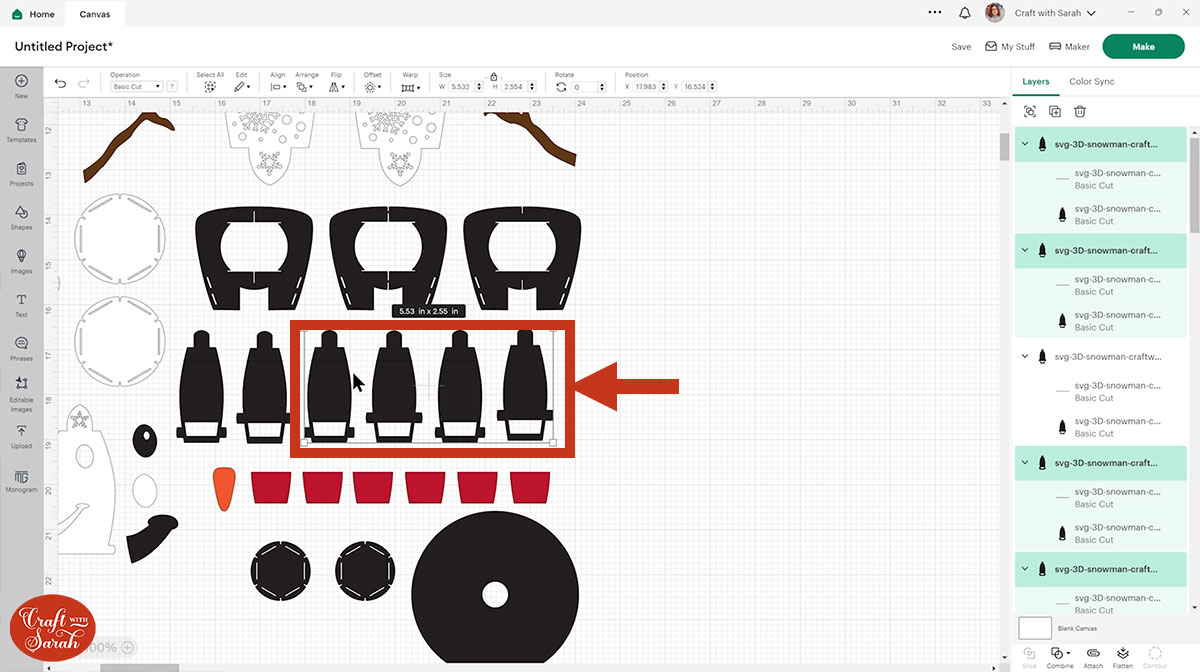
Look for the “mini-groups” that remain in the layers panel. Each of these contains a horizontal line and a black piece underneath.
There are six of these included to make each of the sides of the hat, however it’s actually only two different designs.
To make the next step quicker, you can delete the four shapes on the right-side.
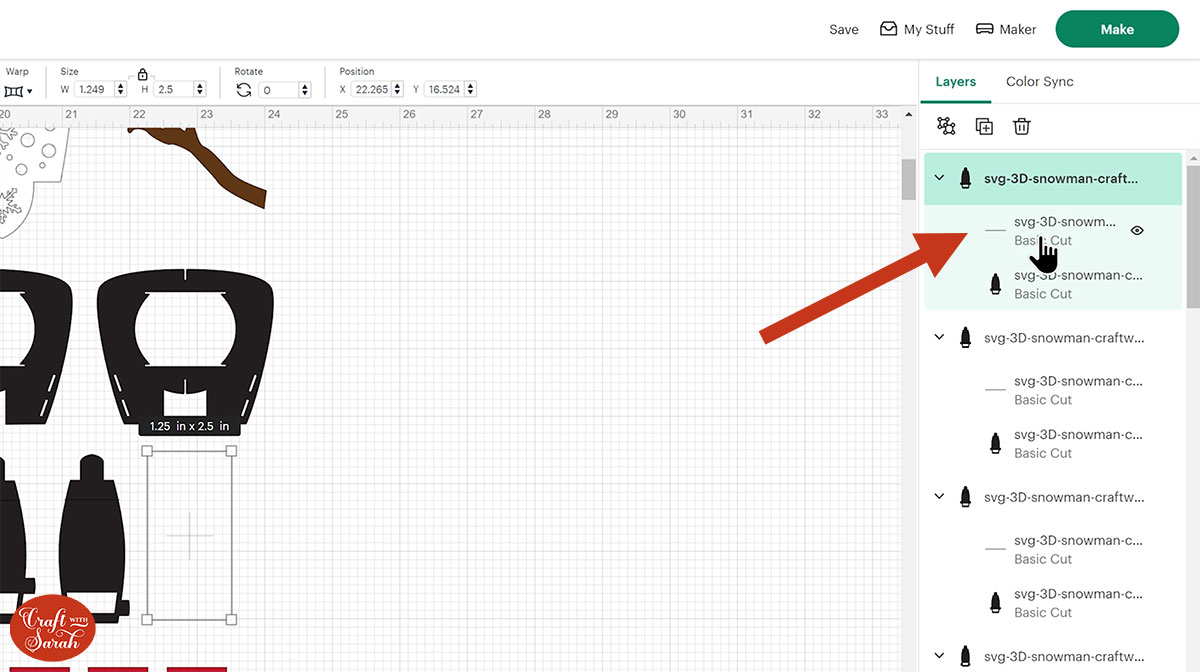
Click the layer in one of the remaining “mini-groups” that looks like a horizontal line.
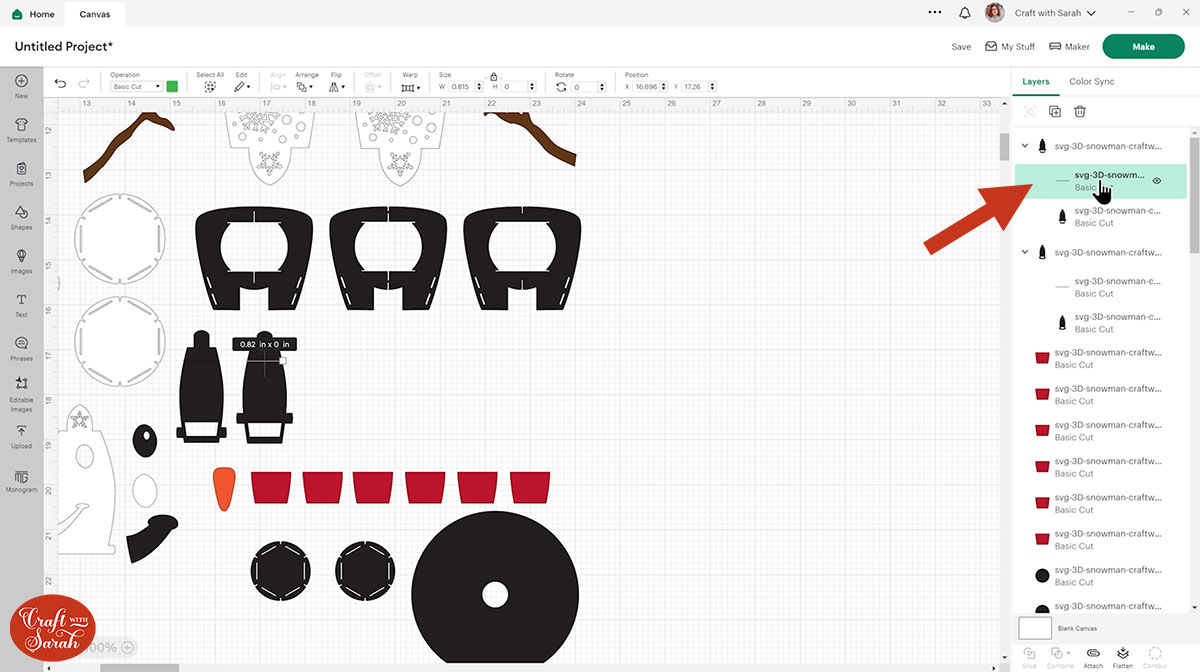
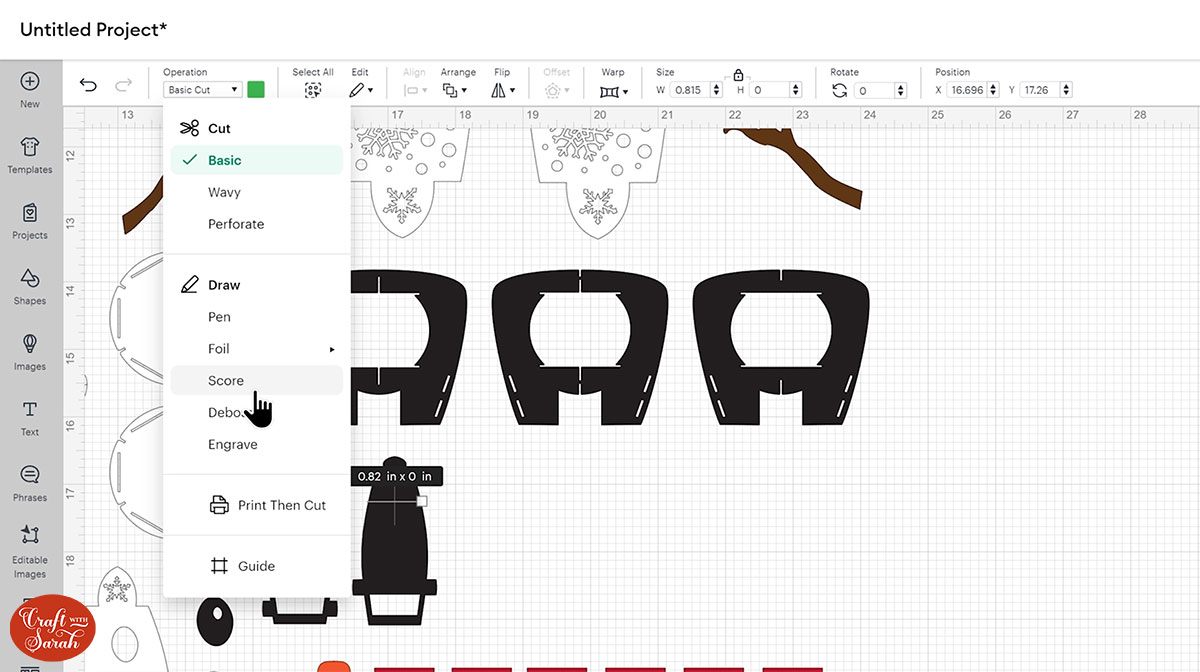
Change it to “Score” under the Operations dropdown.
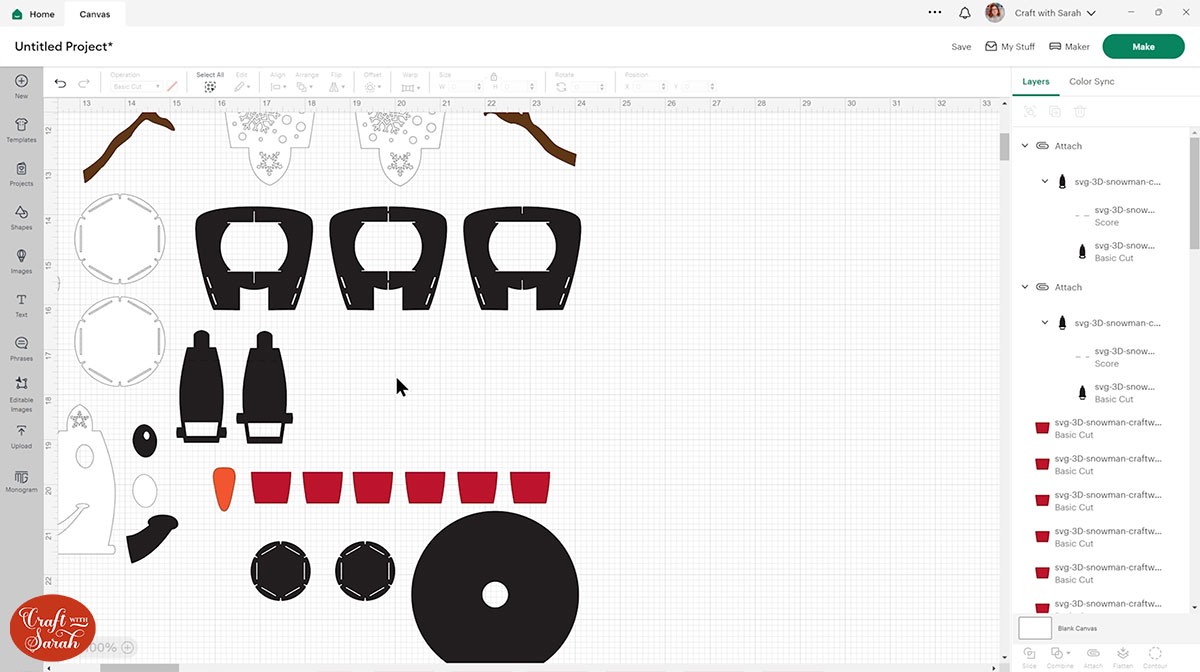
Select the “mini-group” that contains that score line and the matching black shape and press “Attach” to join the score line to the shape.
Do the same steps for the other “mini-group”.
This is how your layers should be looking now:
Duplicate the two “mini-groups” twice, so you’ll end up with three of each of them.
That’s all the formatting that’s needed for this design.
Step 4) Cut out the project from cardstock
When you’re happy with how the project is looking in Design Space, click “Make” and follow the instructions on-screen to cut out all the layers.
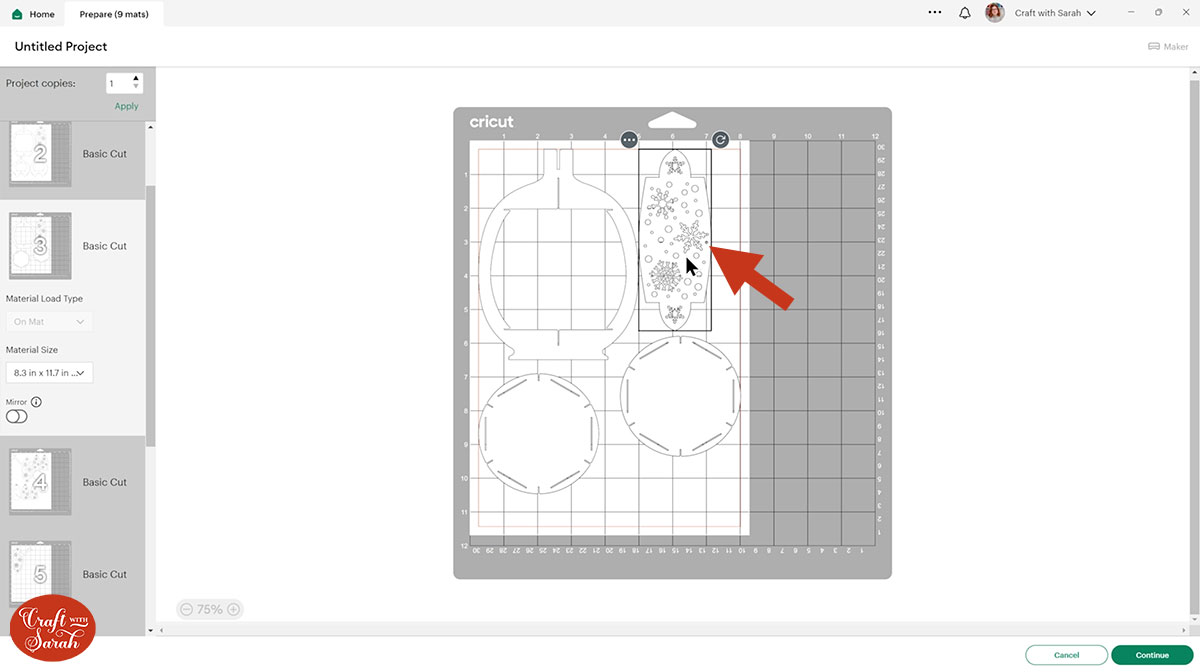
To change the paper size, go into the dropdowns over on the left side of the screen and choose the paper size that you want to use. You need to change it for every single colour.
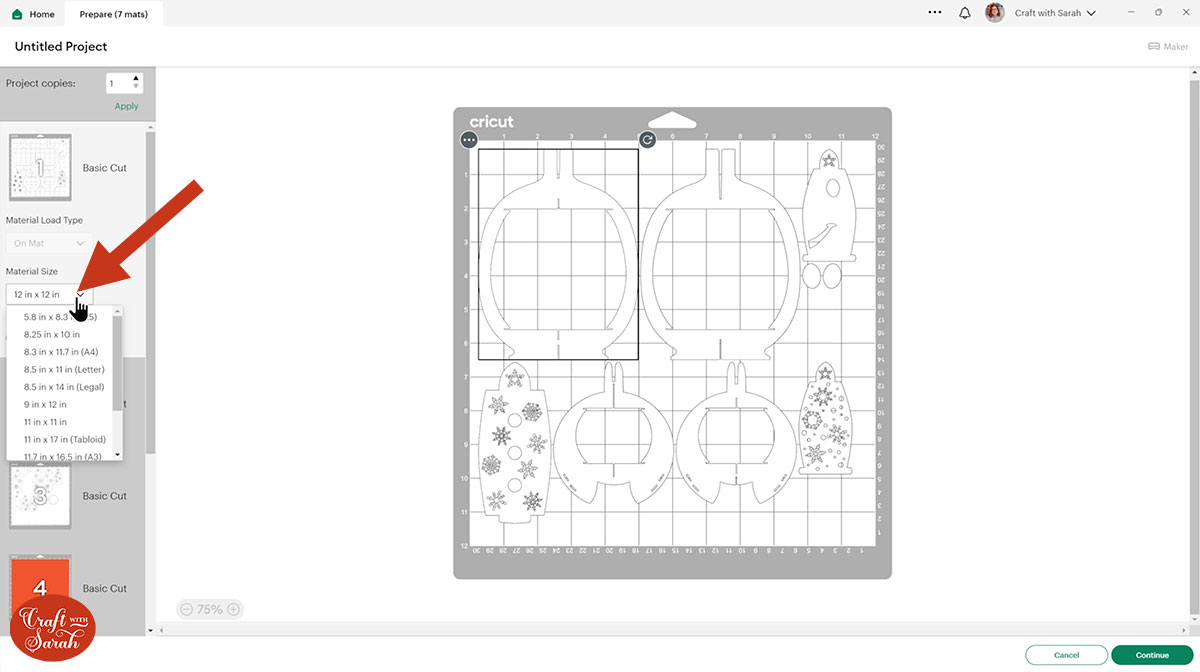
To save space on your cardstock, you can move things around by clicking and dragging. Make sure when you’re moving things about that nothing overlaps because otherwise, it won’t cut out properly.
TIP: New to cutting cardstock with a Cricut? Check out this in-depth tutorial which goes through every step of the process, including tips for getting the best quality cuts from your Cricut.
Step 5) Assemble the body of the snowman
The snowman is primarily “slotted” together without the need for any adhesive, however there are some bits which need to be glued to add extra details.
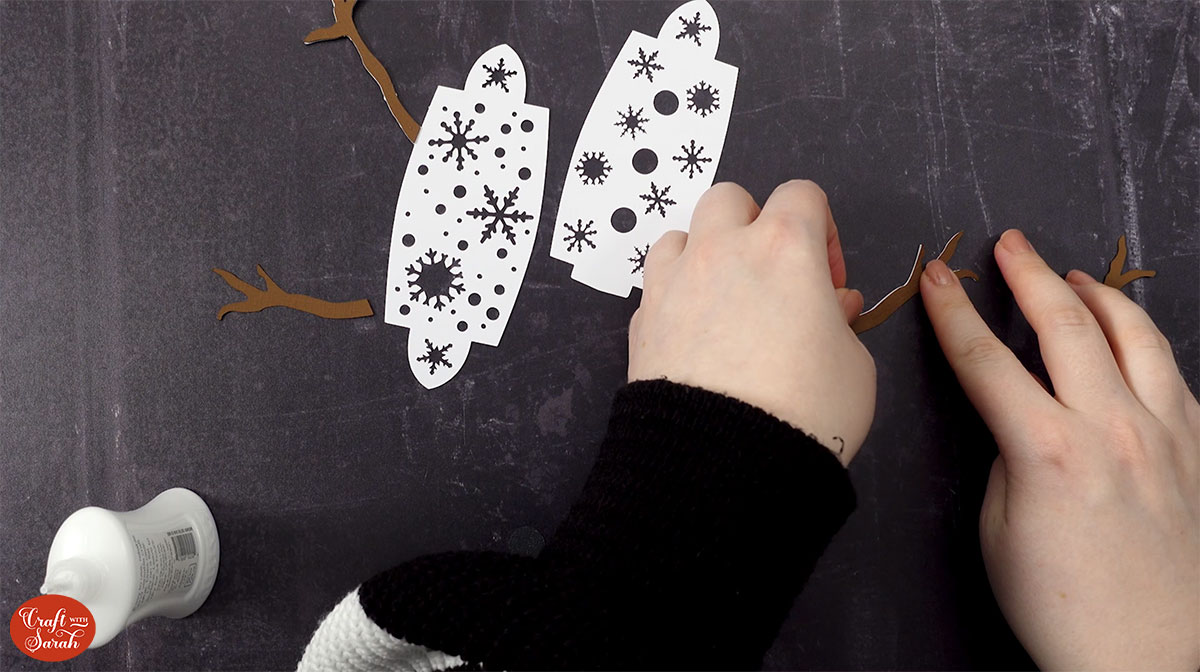
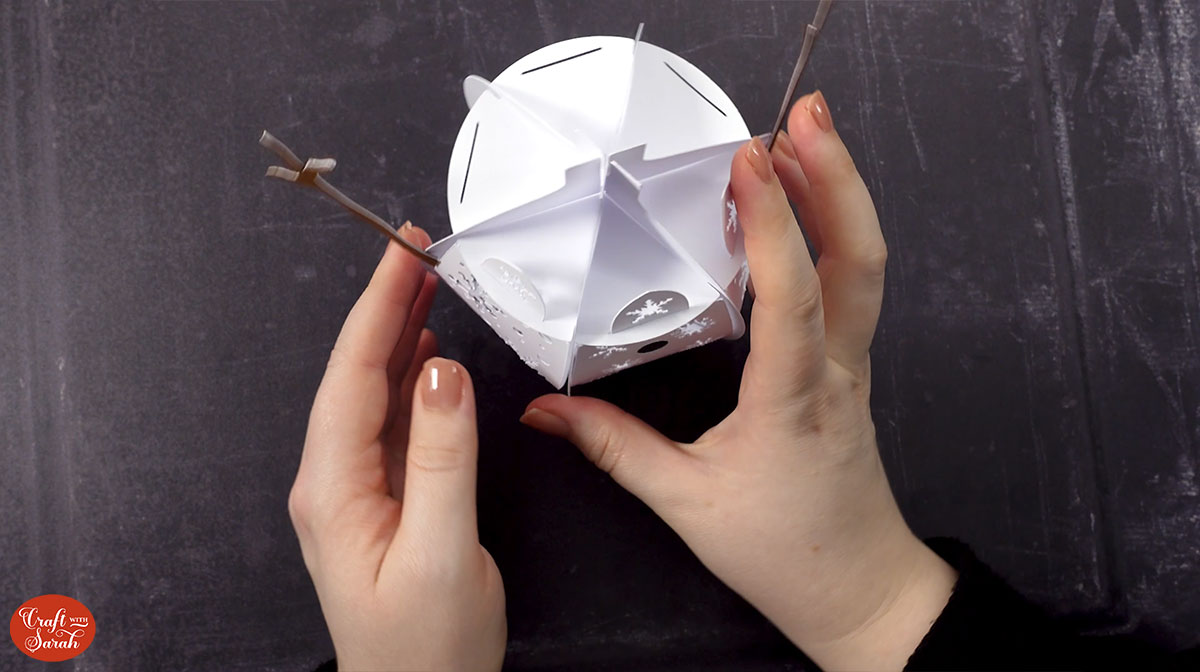
Glue the brown branches to the matching branches on the white body pieces.
There are four branches in total so you can add one to the front and one to the back of the white pieces.
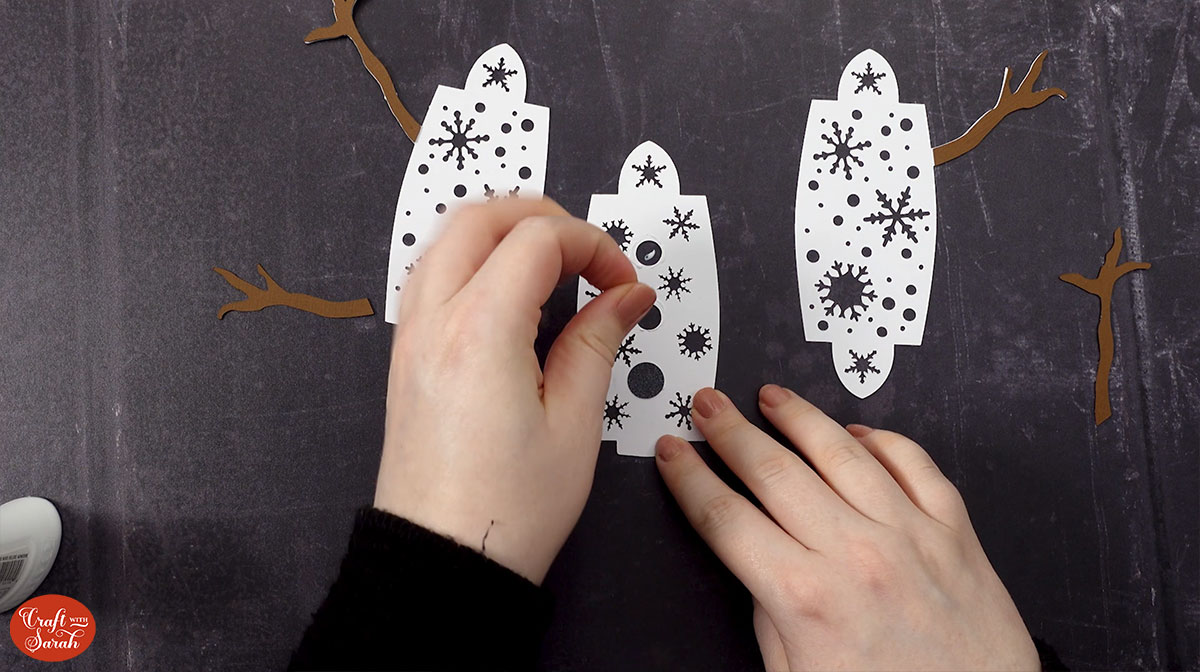
Glue the three black circles to the back of the piece of the snowman’s body that has the small rectangle shape on the bottom.
Leave everything to one side to let the glue dry fully.
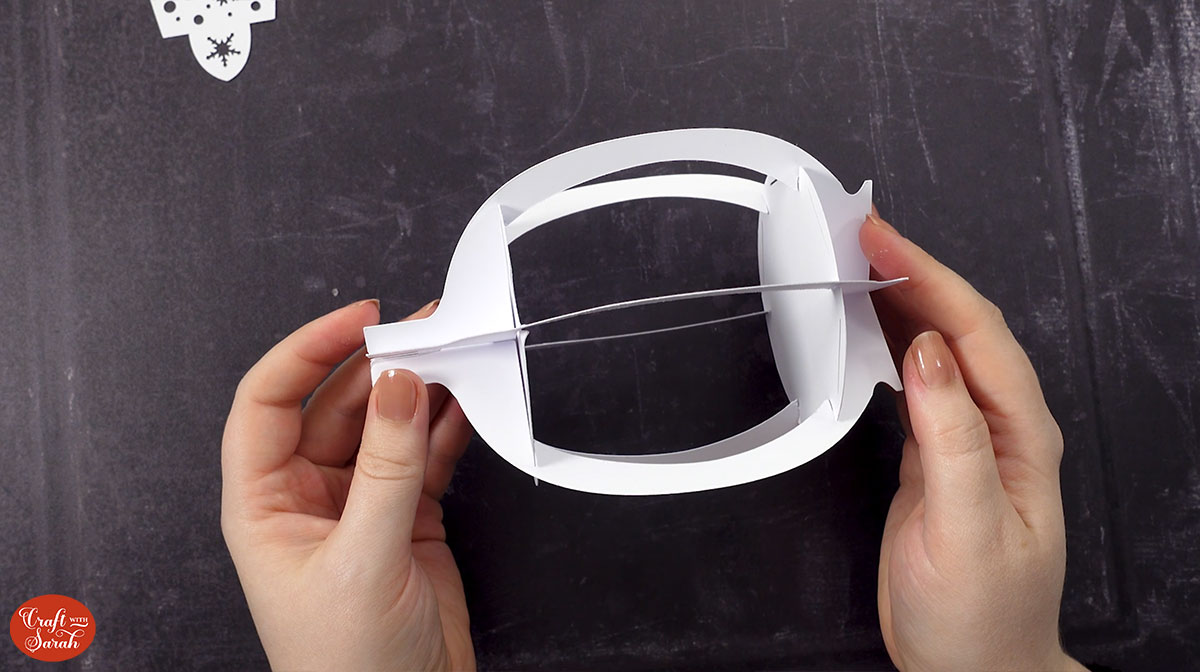
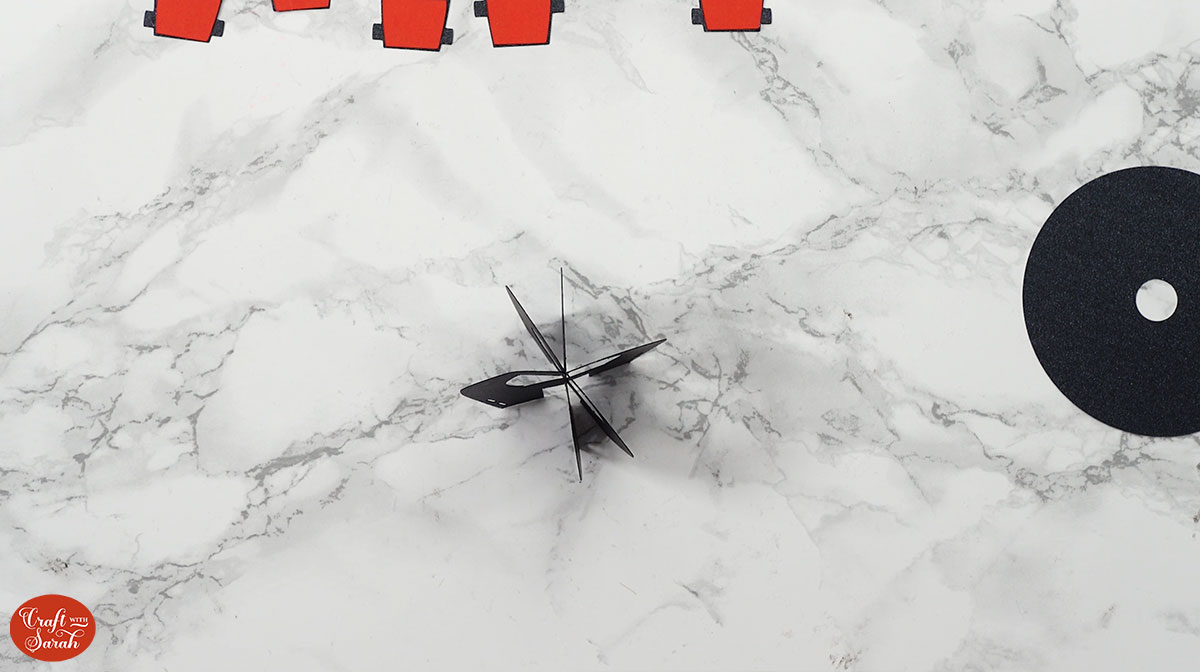
Select the following pieces and make sure they are in the order listed below.
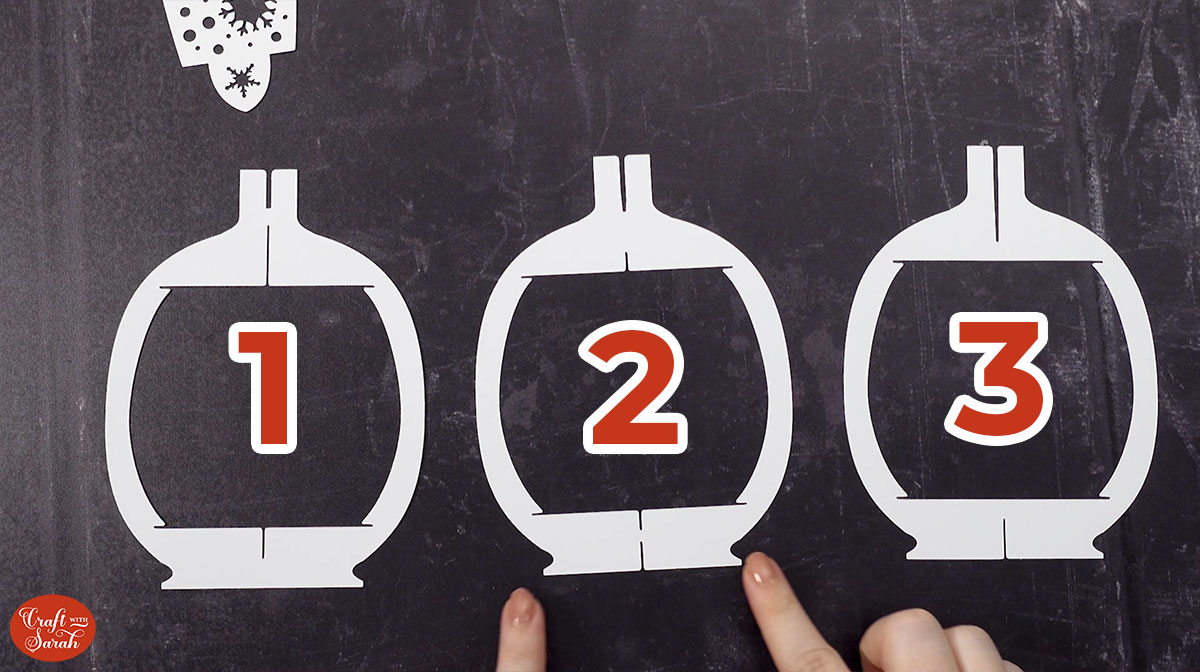
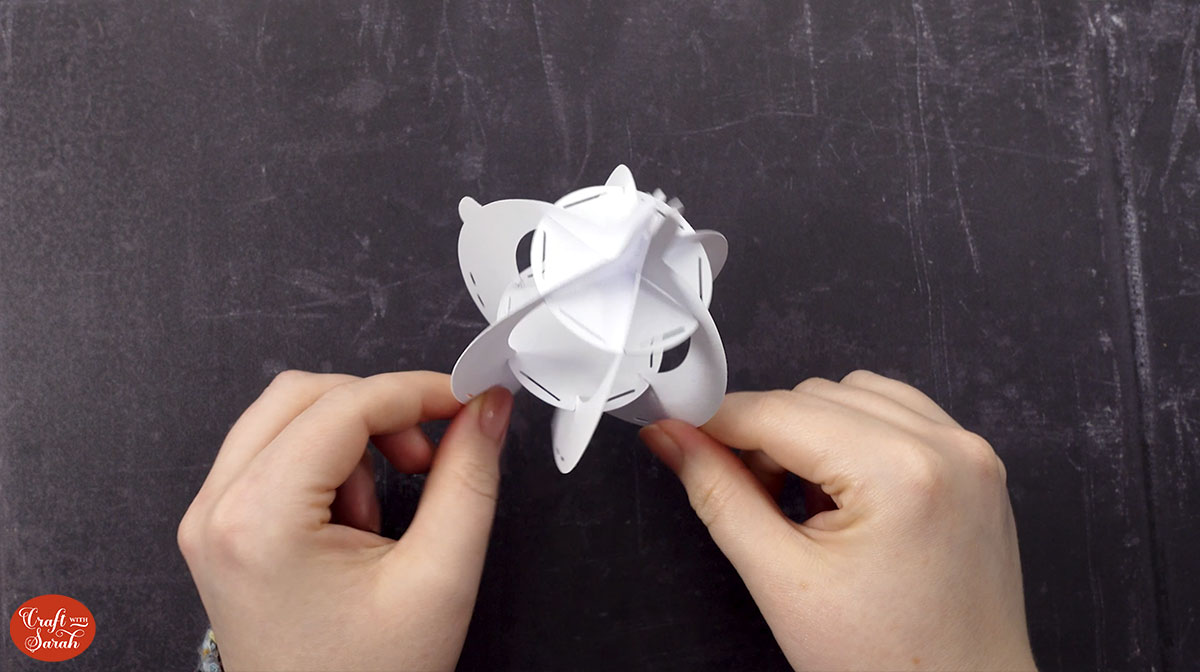
Slot the second body piece into the top of the first piece, then carefully slit it into the bottom too.
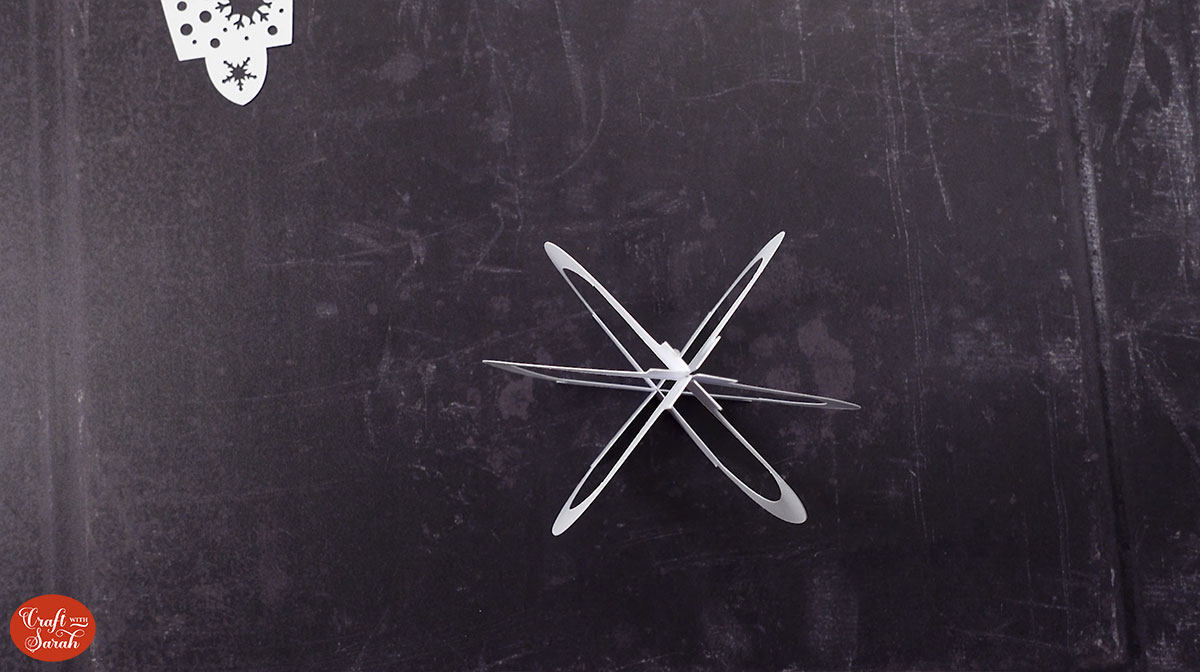
Hold the two pieces flat against each other, then slit in the third body piece.
You will end up with six sides that will stand up unassisted.
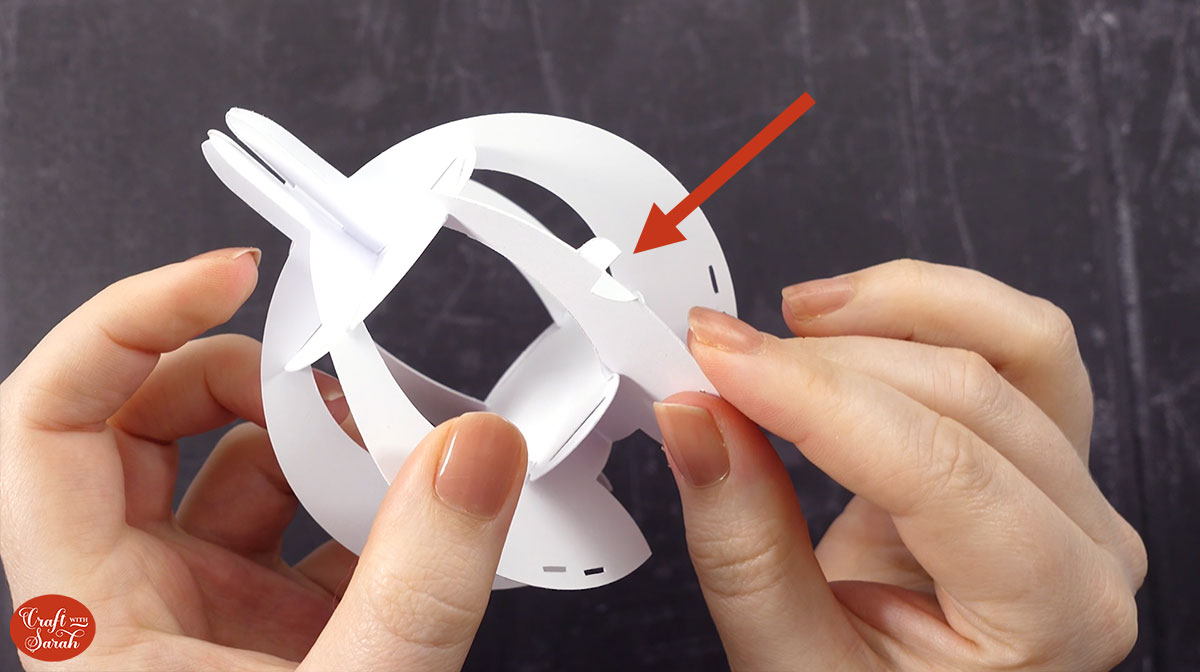
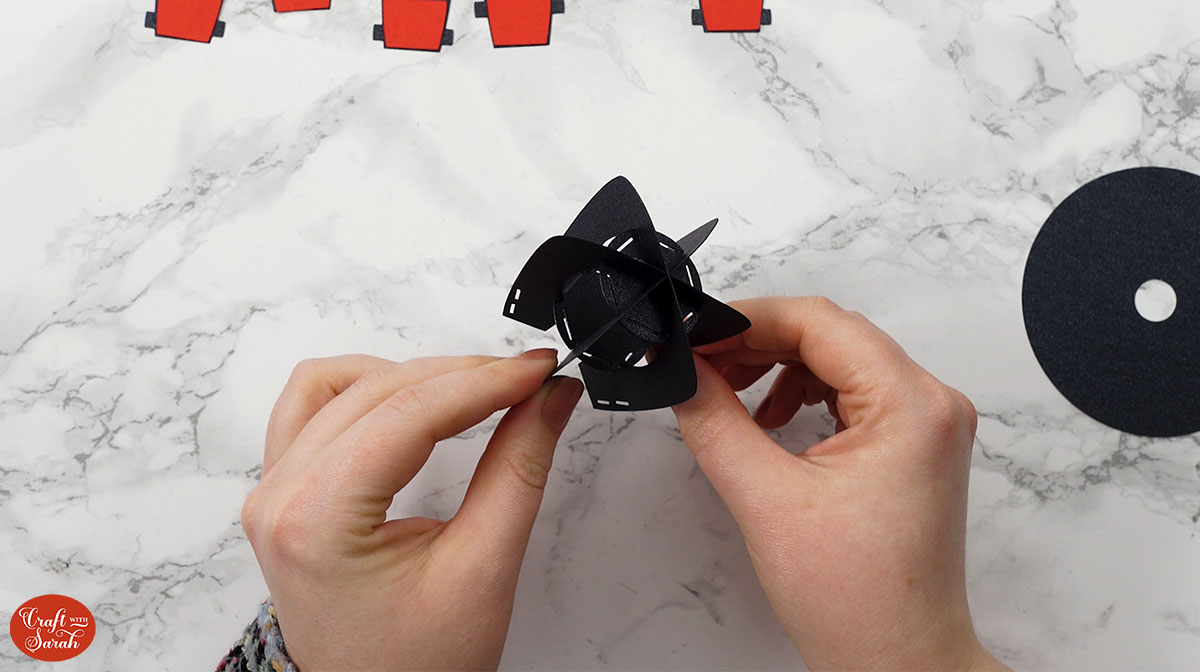
Take one of the largest white circles, slide it into the middle of the body and maneuver it so that the slits in the edge of the circle are pushed into the slits in the outer body pieces.
This is quite fiddly and the cardstock is delicate, so be very careful to not tear anything.
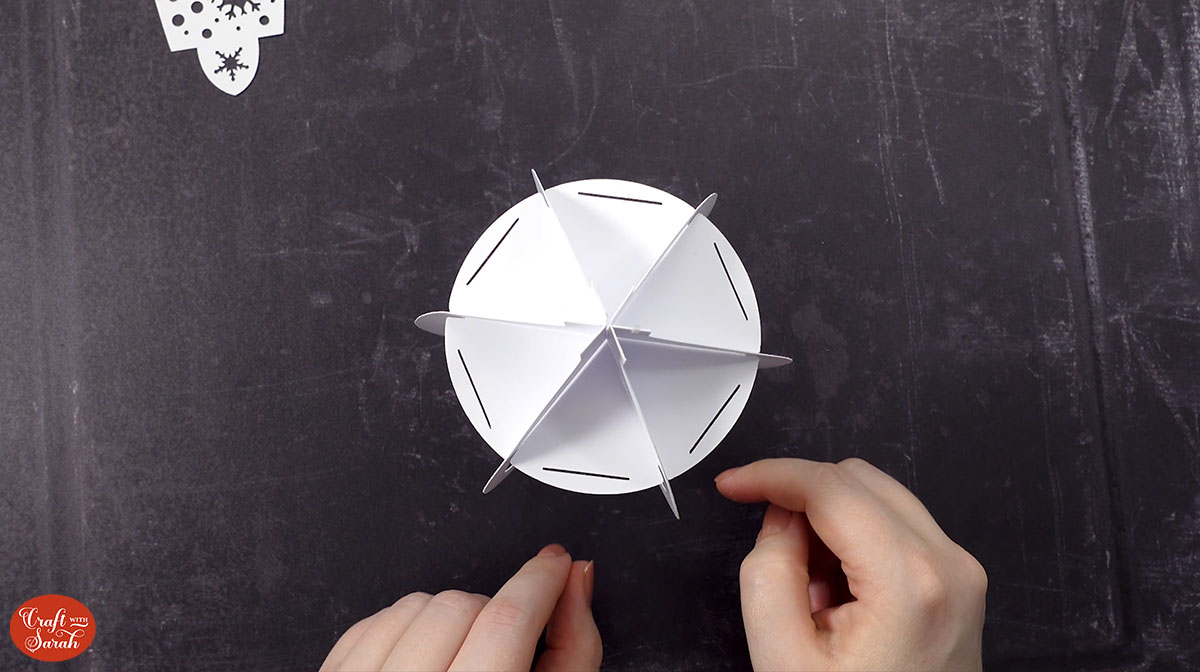
Slide the other large white circle into the bottom of the body and ensure all the slits are in place.
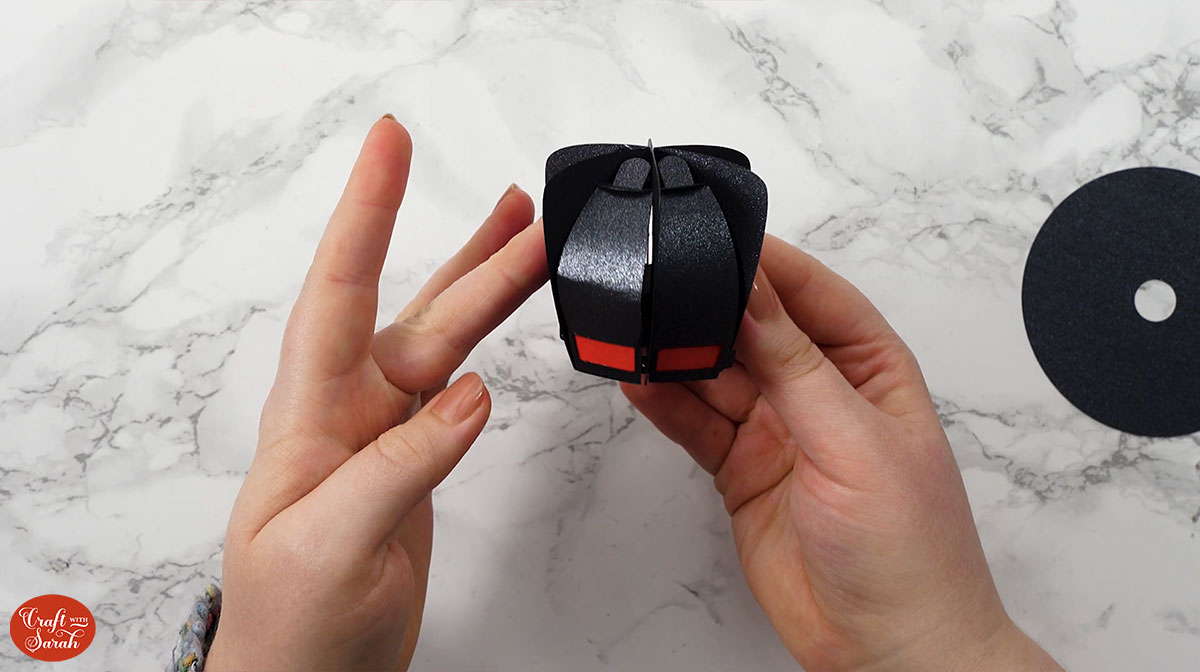
Take the piece of card that has the three coal “buttons” on it and slot it into one side of the body. It doesn’t matter which side you put it in.
Add in the sides with the branches attached. Put one on either side of the first piece that was slotted in.
Add the remaining three sides in any order.
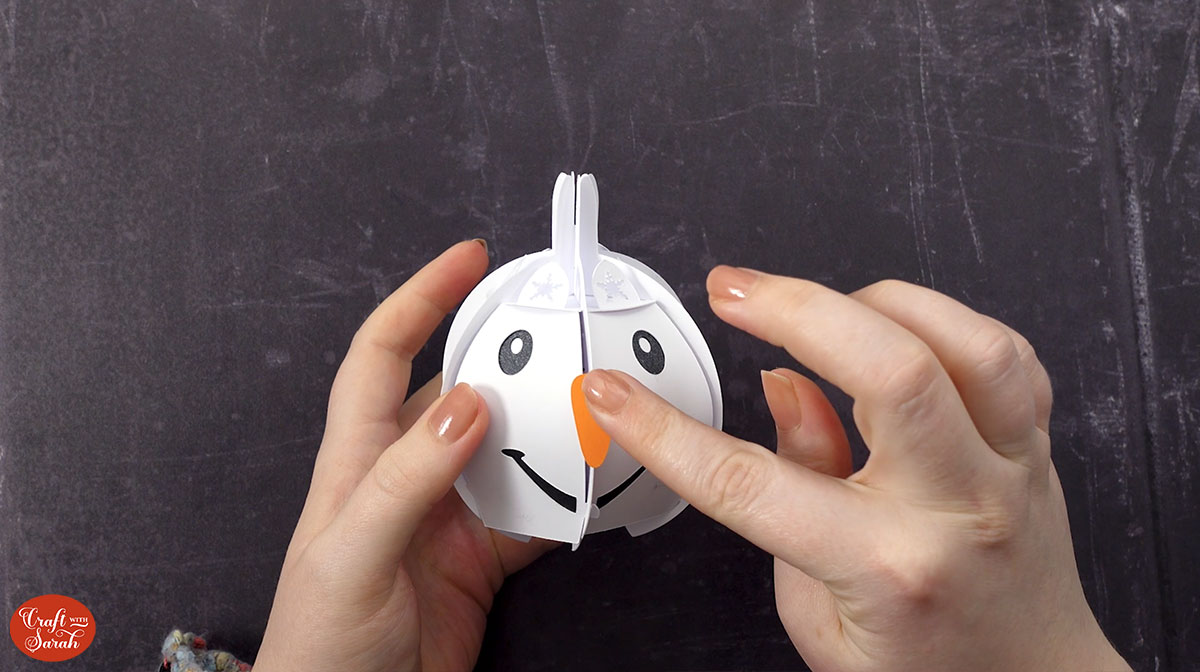
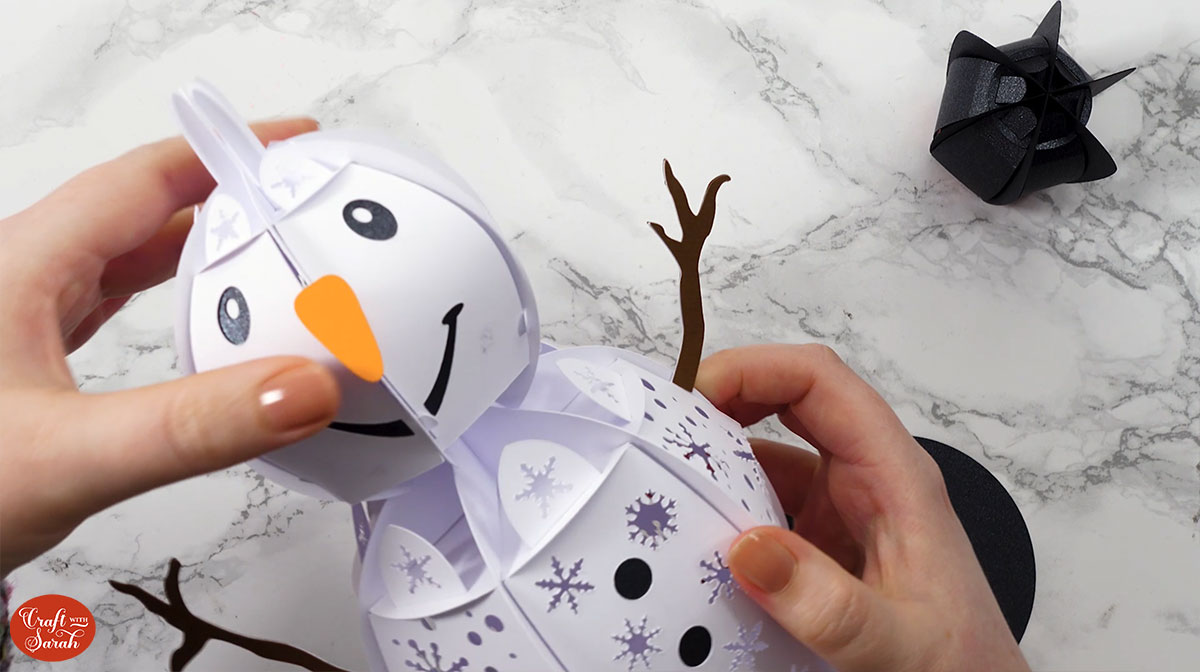
Step 6) Assemble the head of the snowman
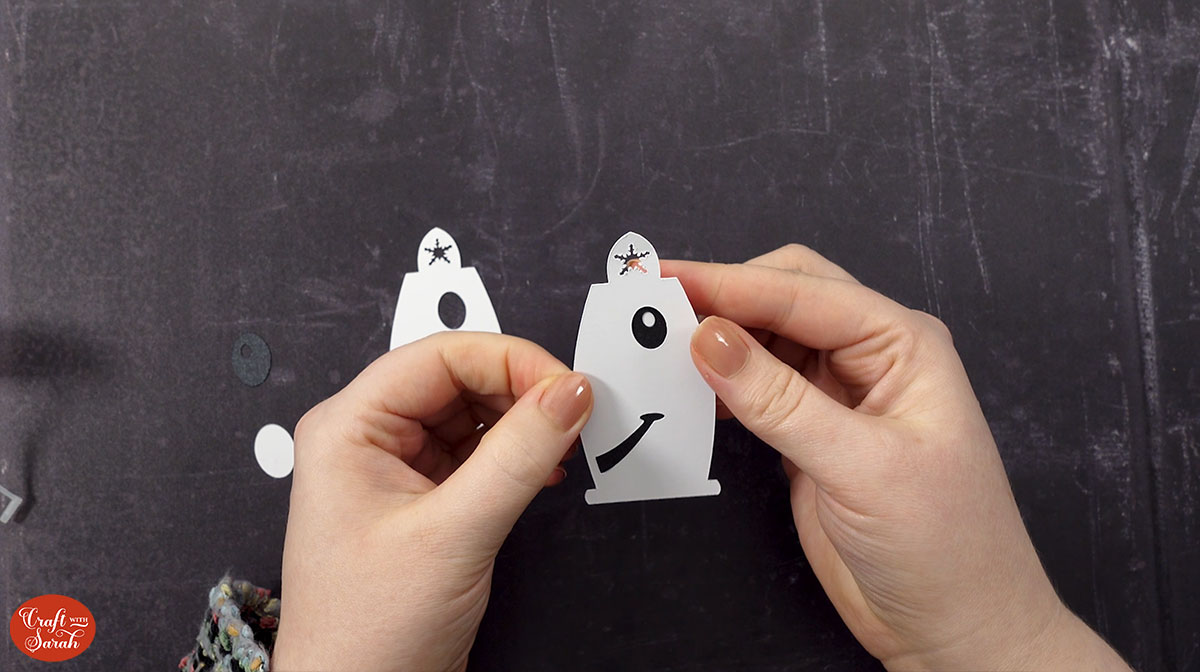
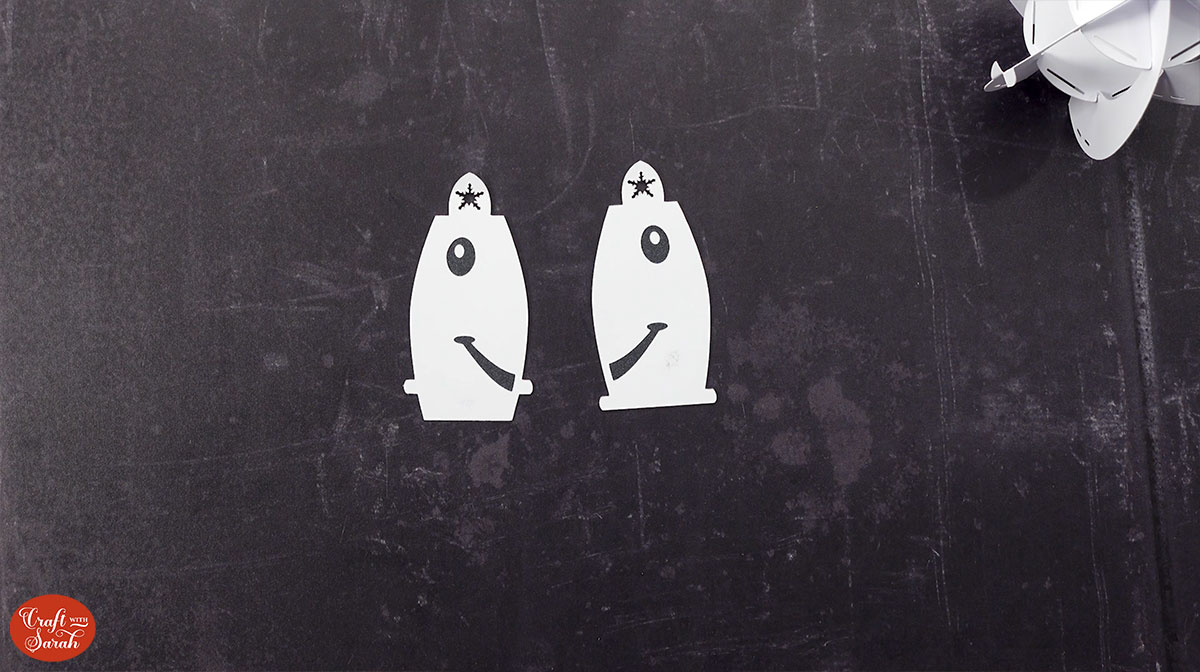
Glue the eye and mouth pieces to the back of the two sides of the snowman’s head that has the corresponding cutouts.
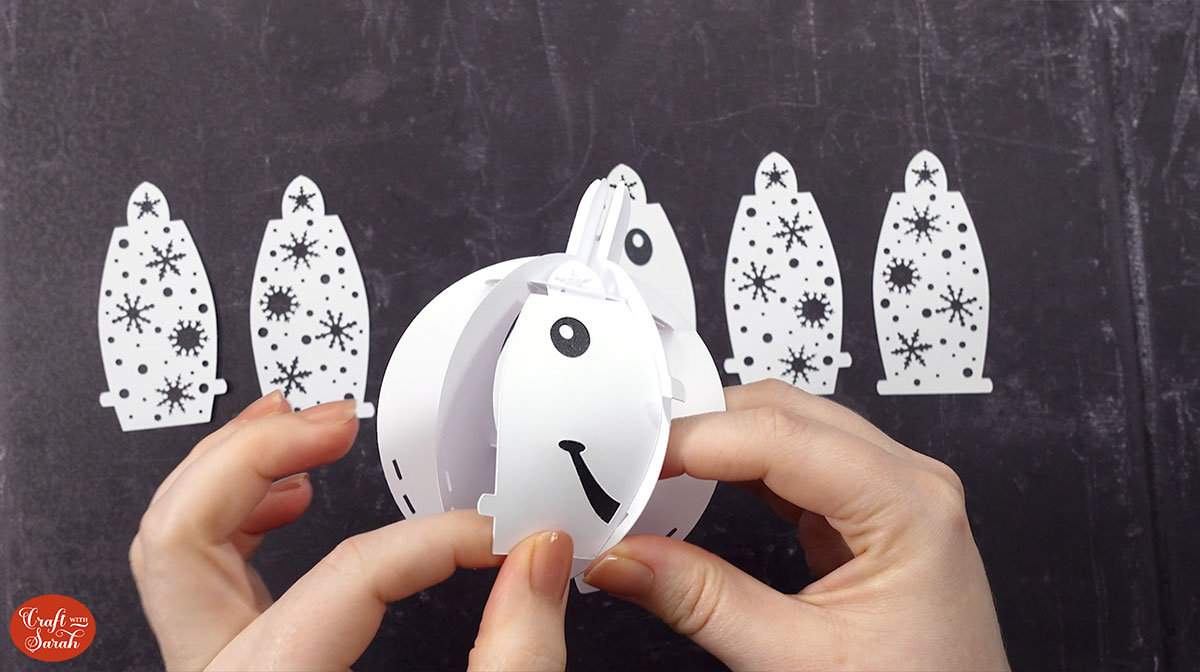
Put the head of the snowman together in the same way as the body.
Slot the structural head pieces together first, in this order:
Add the remaining two white circles into the top and bottom of the head.
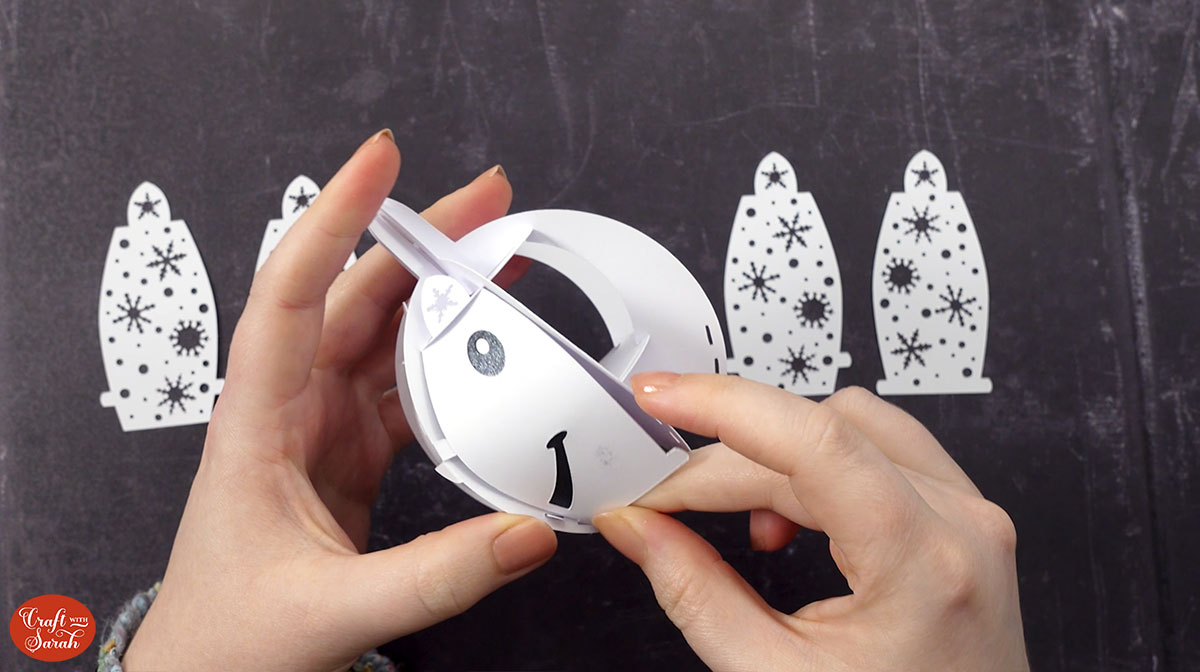
Look for the side of the head that has a little “tab” on the end. There will be a cut line down the middle.
Fold one side to the left and one to the right. This will form a “ledge” for the nose to be stuck to.
The side panels for the head go in slightly differently to the body.
Instead of slotting in at the bottom, there are tabs on the sides.
Three of the sides have tabs that are higher up than the other tree.
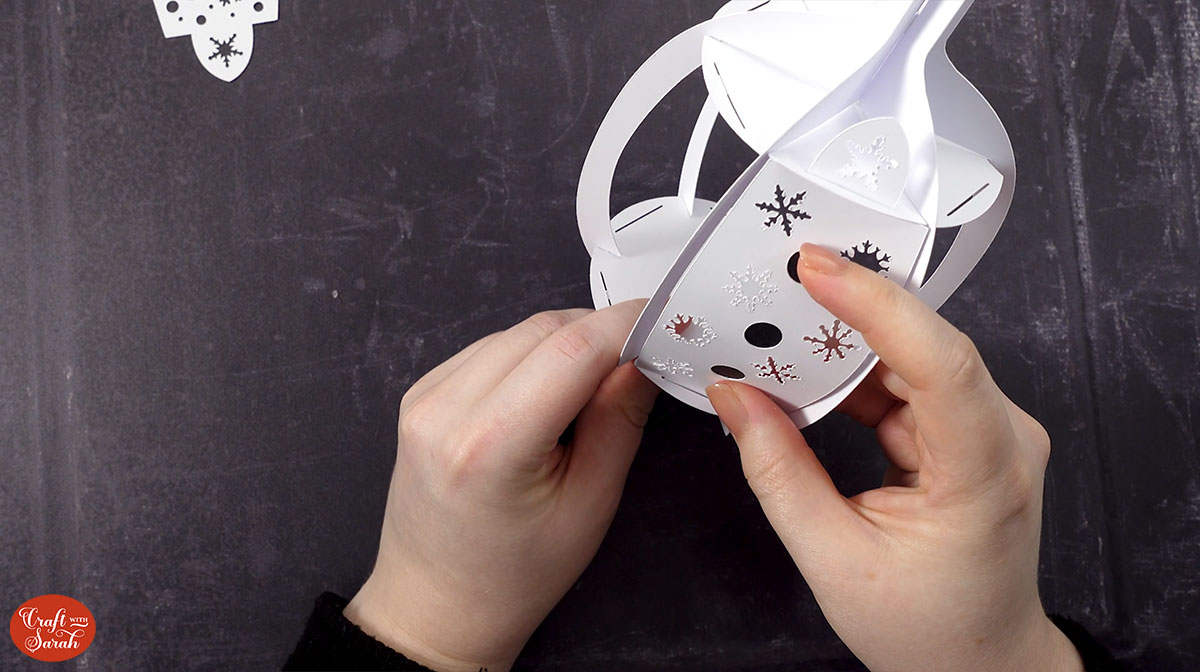
Slot in one of the pieces with the eye and mouth. This needs to go on one side of the “ledge” side that we folded out a moment ago.
The side with the HIGHER tabs goes into the TOP holes along the edge of the structure.
The side with the LOWER tabs goes into the LOWER holes along the edge of the structure.
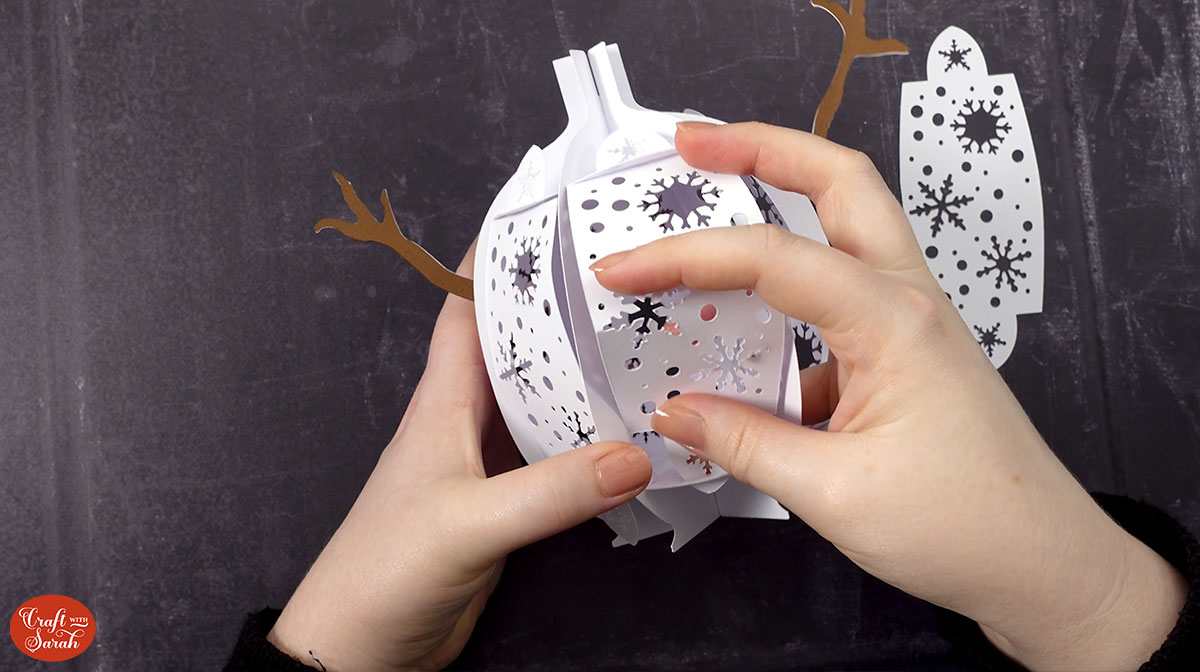
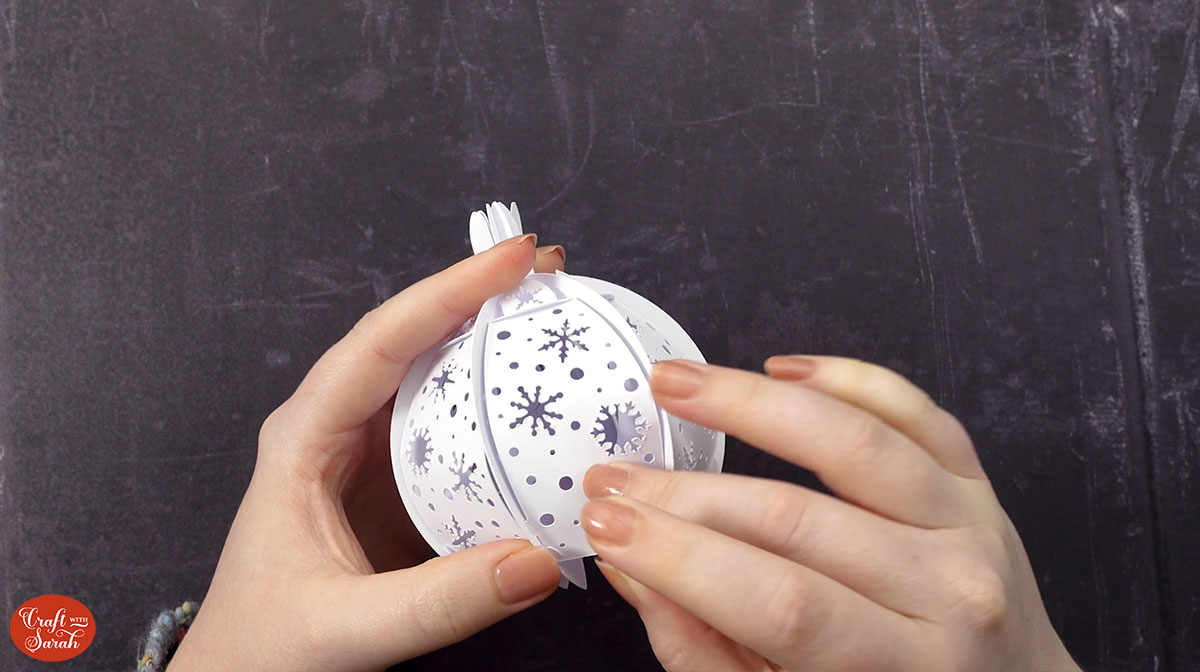
Add the snowflake panels, making sure you alternate the higher and lower tabs.
Glue on the nose.
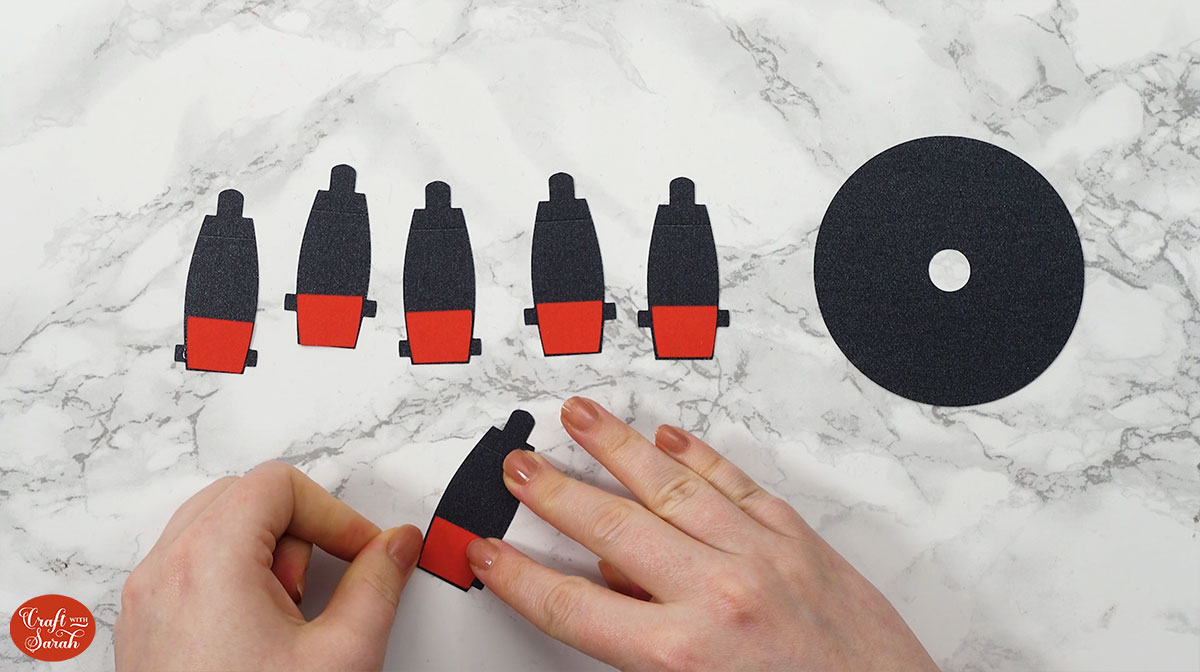
Step 7) Assemble the snowman’s hat
Lay out the six inner panels of the hat so that the side of the card that the Cricut scored on is facing upwards towards you.
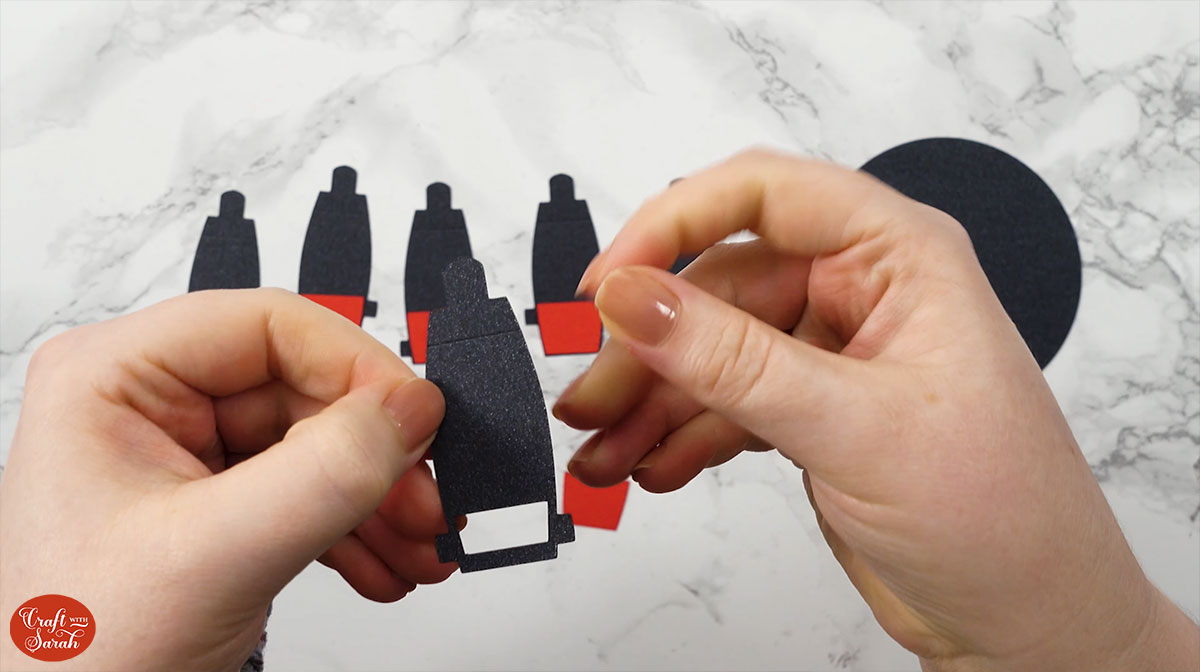
Glue on the red pieces to cover the holes.
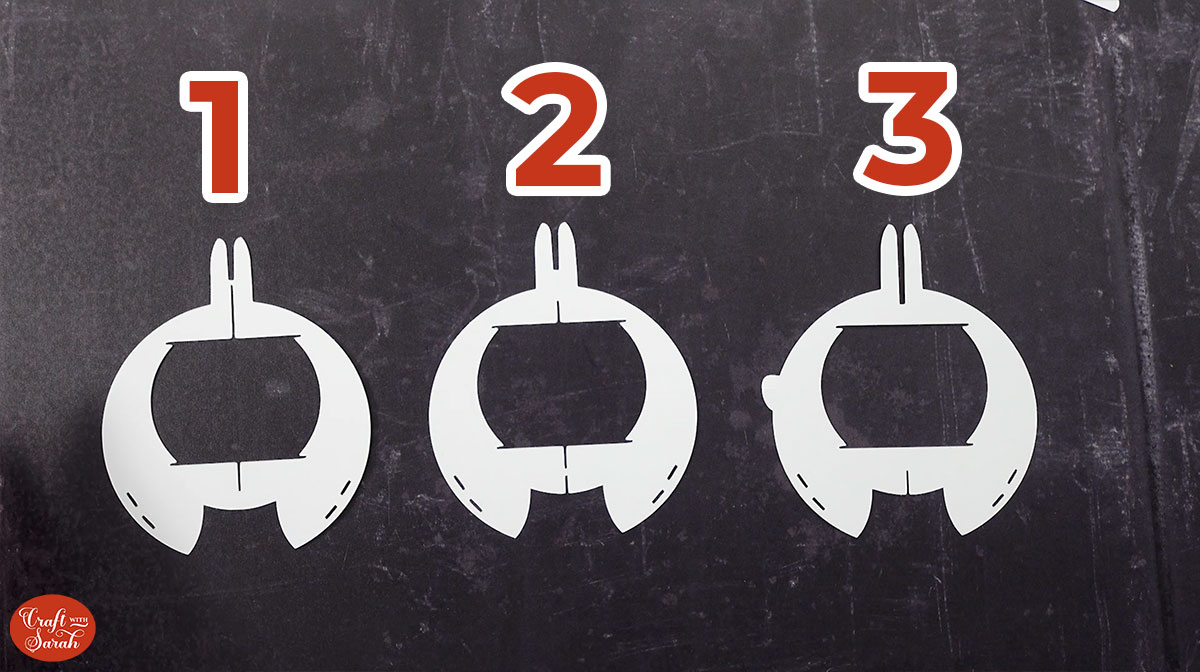
Slot together the structure pieces of the hat, in this order:
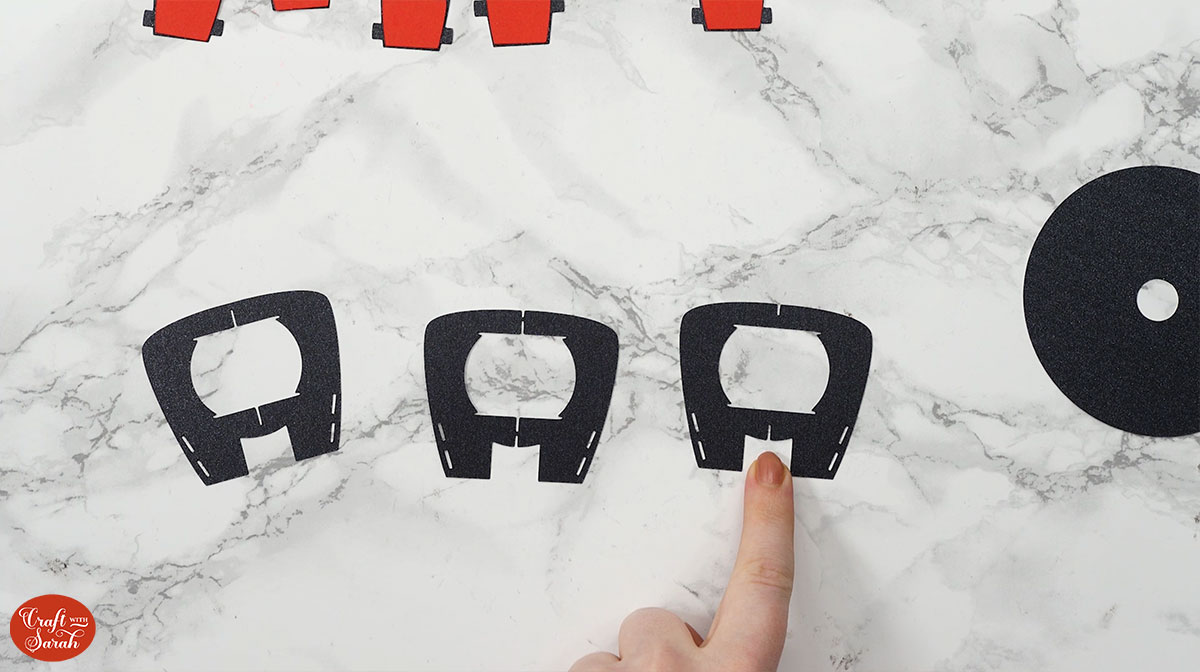
These pieces are a bit tricky to slot into each other, so be careful not to rip the card.
Slot in the two smaller black circles to the top and bottom.
Thread in the inner panels. Alternative the two different shapes, so put in one with HIGHER tabs first and then one with LOWER tabs next.
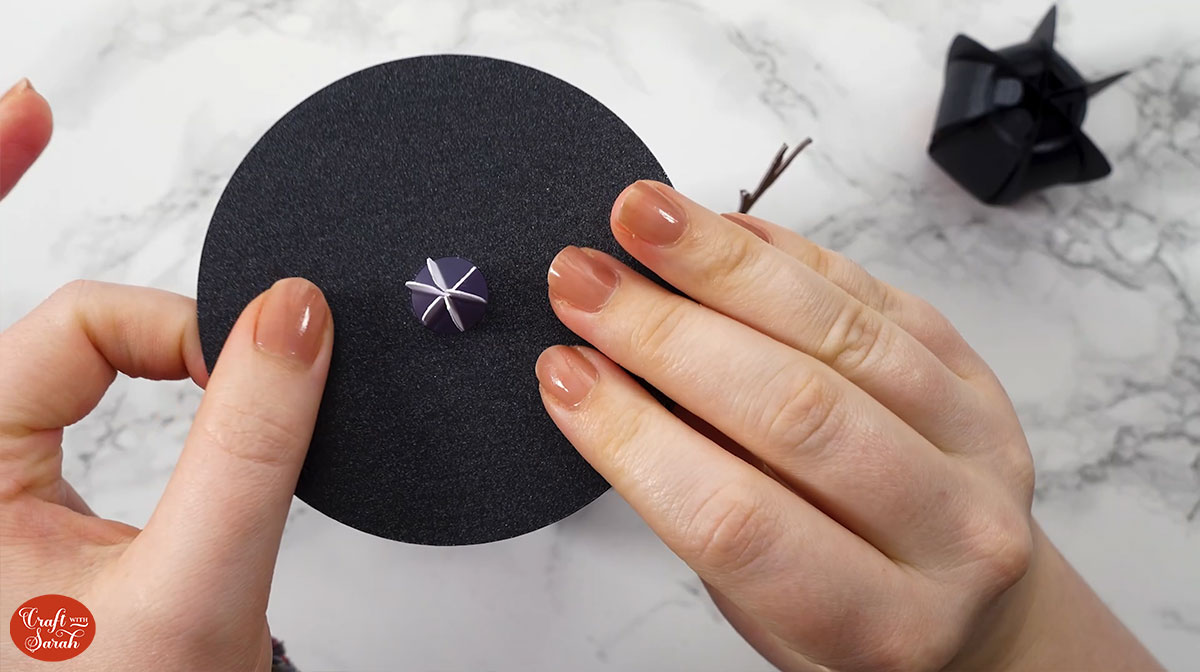
Step 9) Put the snowman together
If you are planning to add battery-powered fairy lights or a battery candle inside the snowman, now is the best time to do it. Carefully remove one of the body sections and add your lights inside, then replace the section.
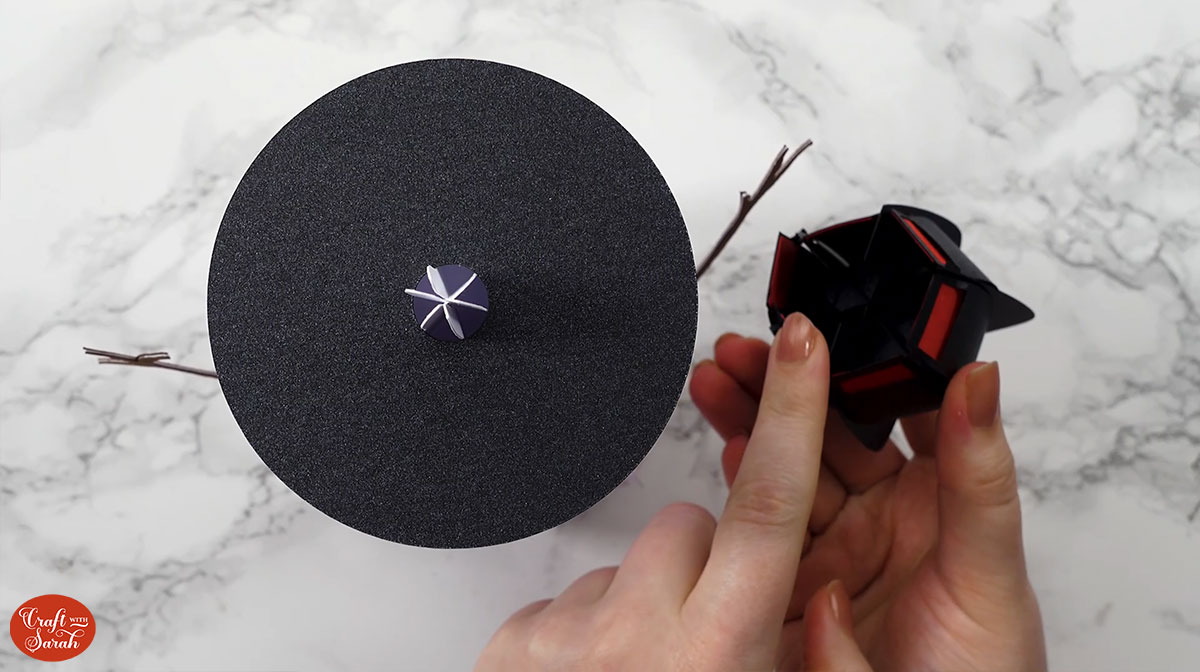
The underside of the snowman’s head has a “star” shape where the different segments meet.
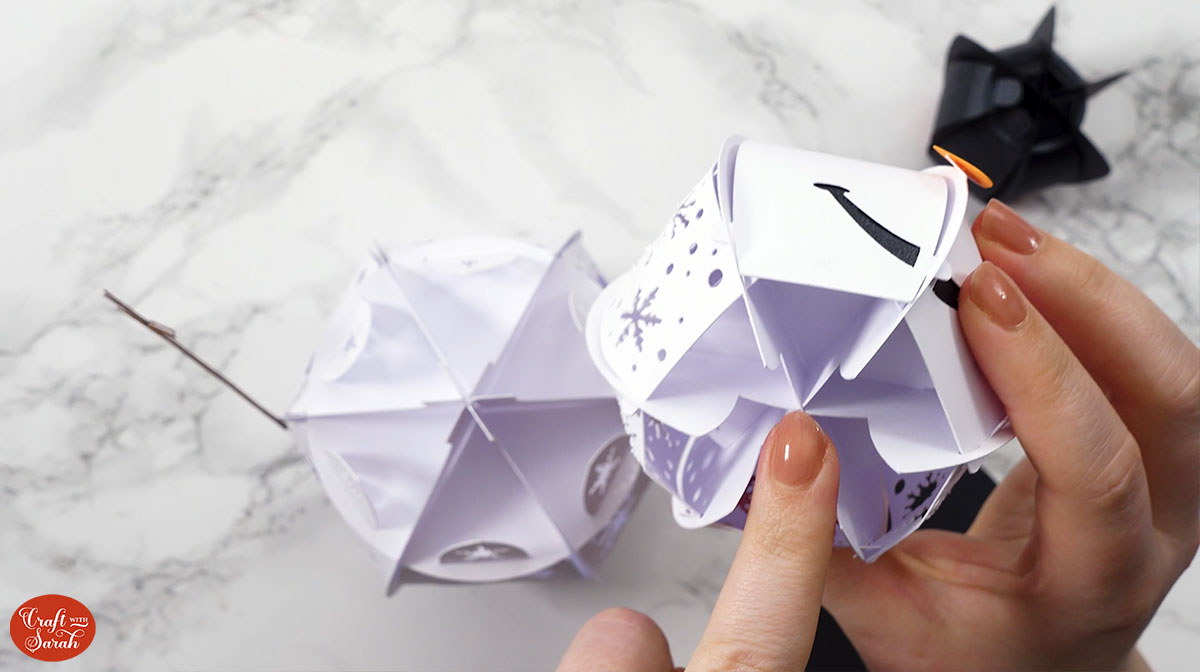
This slots in to the “star” on top of the body.
It might take a bit of wriggling to get them in place!
Slide the black ring of cardstock over the top of the snowman’s head to form the rim of the hat.
Thread the hat onto the top of the head.
3D snowman craft for Christmas
I hope you enjoy making this Christmas craft with my free snowman SVG.
He looks so lovely with his cute little smile.
I love how he looks all lit up with fairy lights inside!
Happy crafting,
Sarah x

