Engraved Metal Bookmarks with the xTool M1 Laser Machine
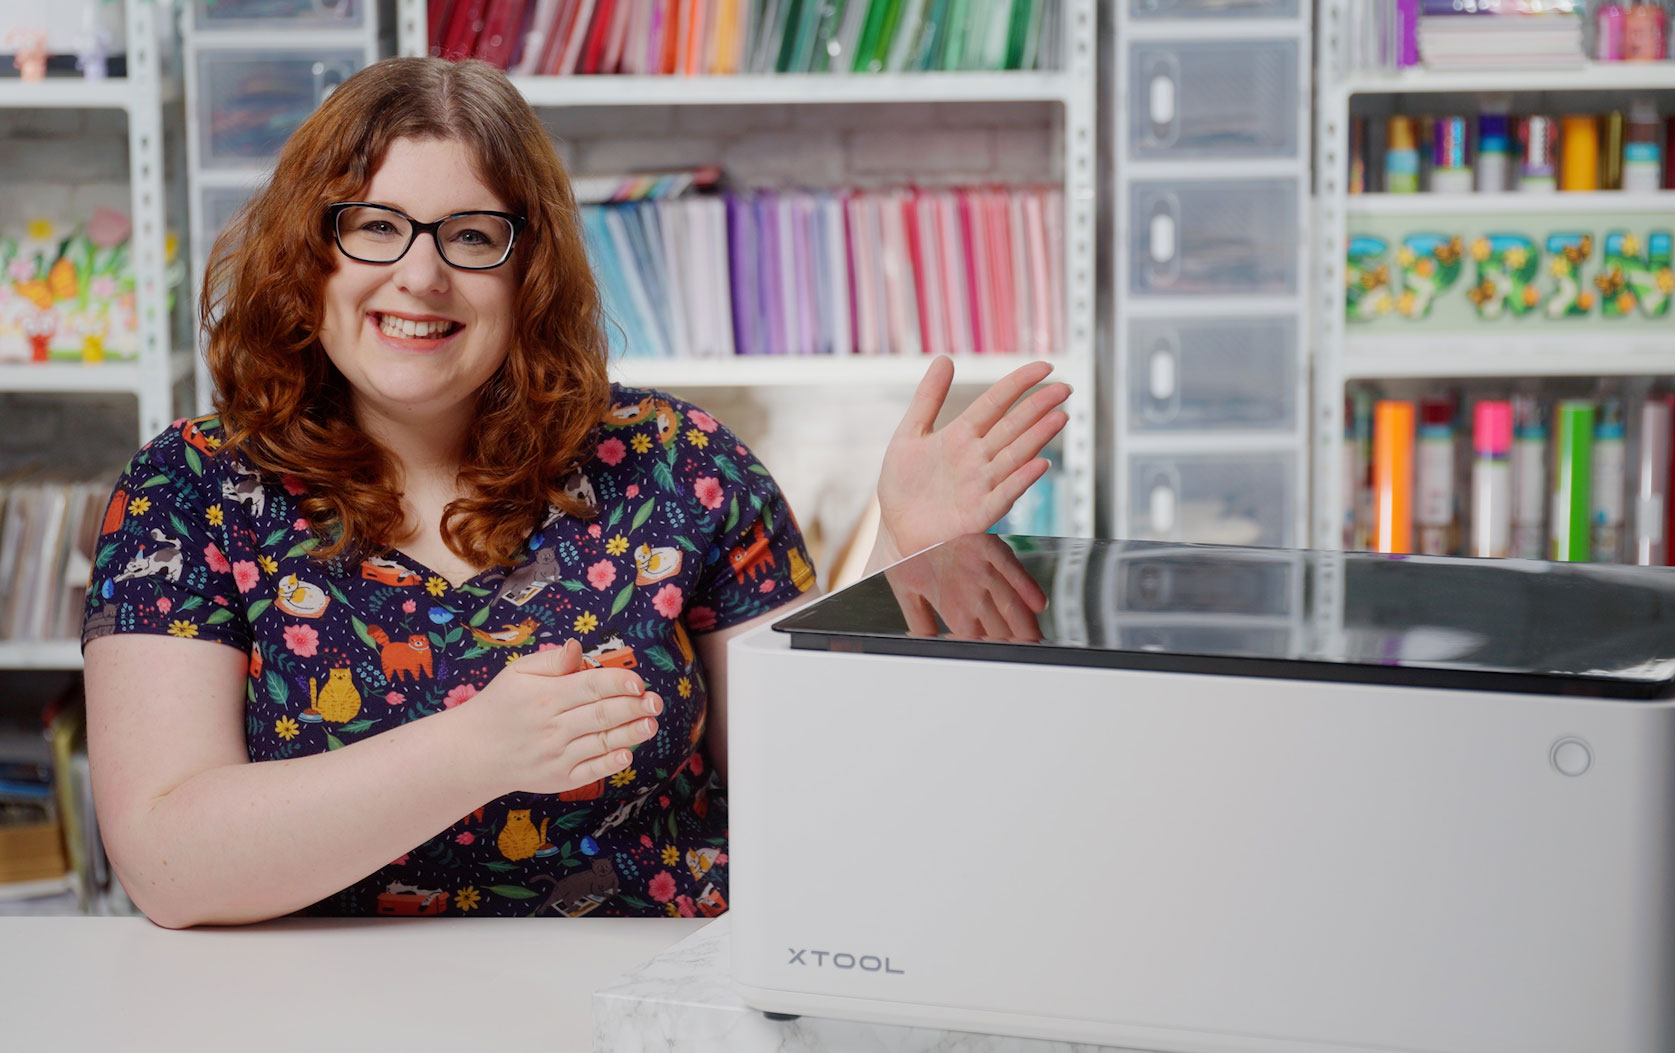
Engraving on metal using an xTool M1 laser cutter is so easy and fun!
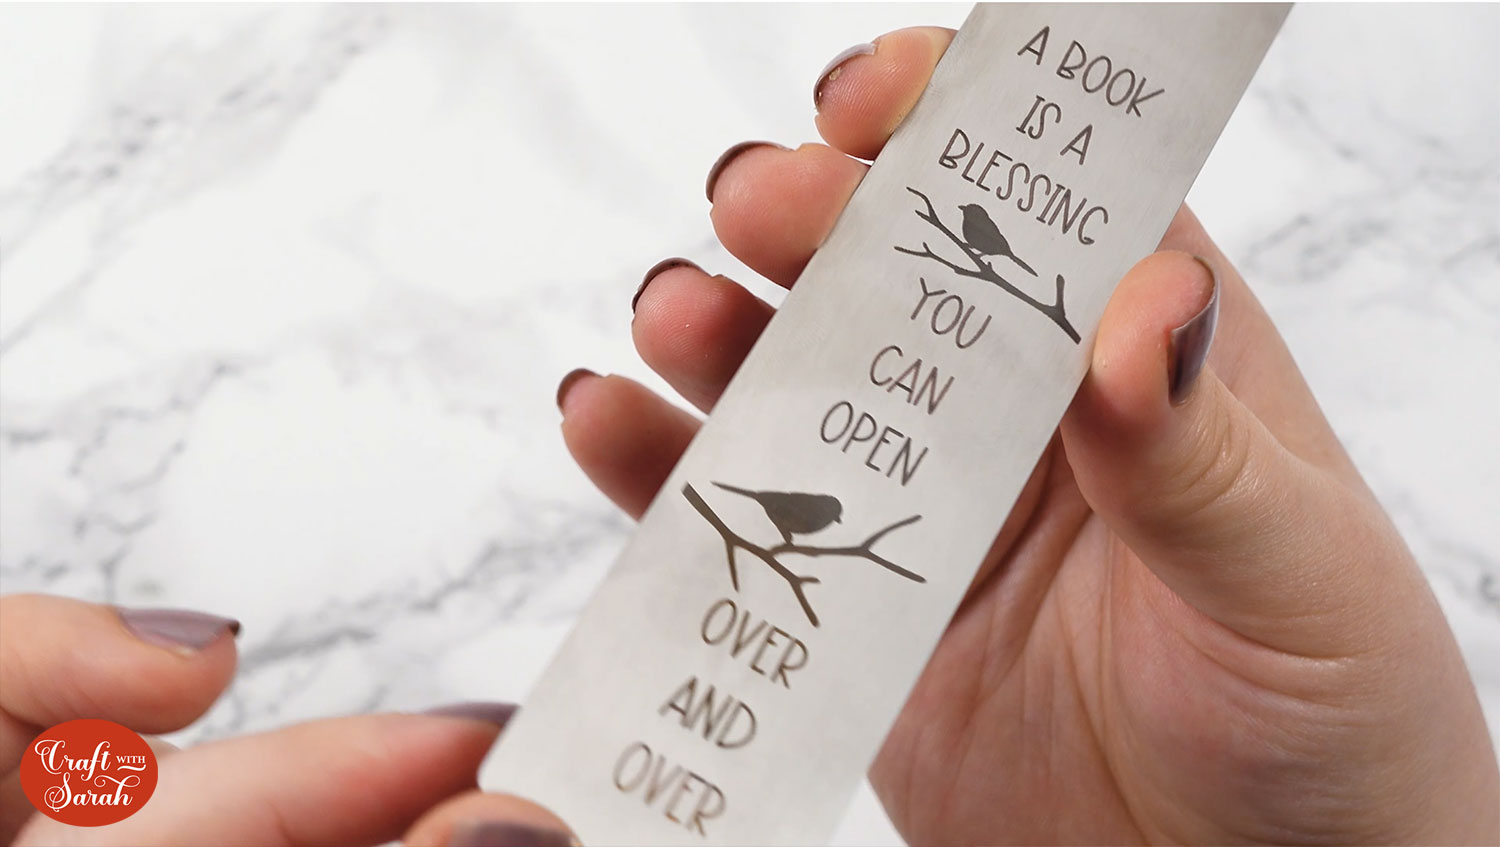
The technique can be used to make wonderful personalised gifts, such as these engraved metal bookmarks.

xTool very kindly sent me the M1 machine for free so that I could test it out and put it through its paces. All opinions and project ideas are my own.
Please note that some of the links included in this article are affiliate links, which means that if you click through and make a purchase I may receive a commission (at no additional cost to you). You can read my full disclosure at the bottom of the page.
Find out more about the xTool M1
How to engrave on metal with a laser machine
I was pleasantly surprised at how simple it was to engrave on these metal bookmarks.
Deciding which bookmark blanks to purchase was a bit trickier as I wanted to make sure that material I chose was suitable for engraving in a laser machine.
I chose these UNICRAFTALE stainless steel blank bookmarks and they etched beautifully!
Watch the video below to see how to turn these from a plain silver bookmark into one that’s etched with any pattern or SVG design of your choice.
If you prefer to read rather than watch, keep scrolling!
DIY metal bookmarks: How to make personalised bookmarks
Can you engrave stainless steel with an xTool M1 laser cutter? Yes, you can! Here’s how…
Step 1) Choose your bookmark design
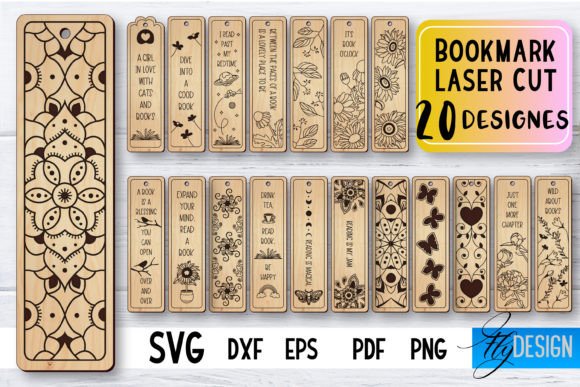
The most time consuming part of the whole process was deciding what design to etch onto my metal bookmark!
I eventually settled on this set from Creative Fabrica.
Download your chosen design and unzip the folder.
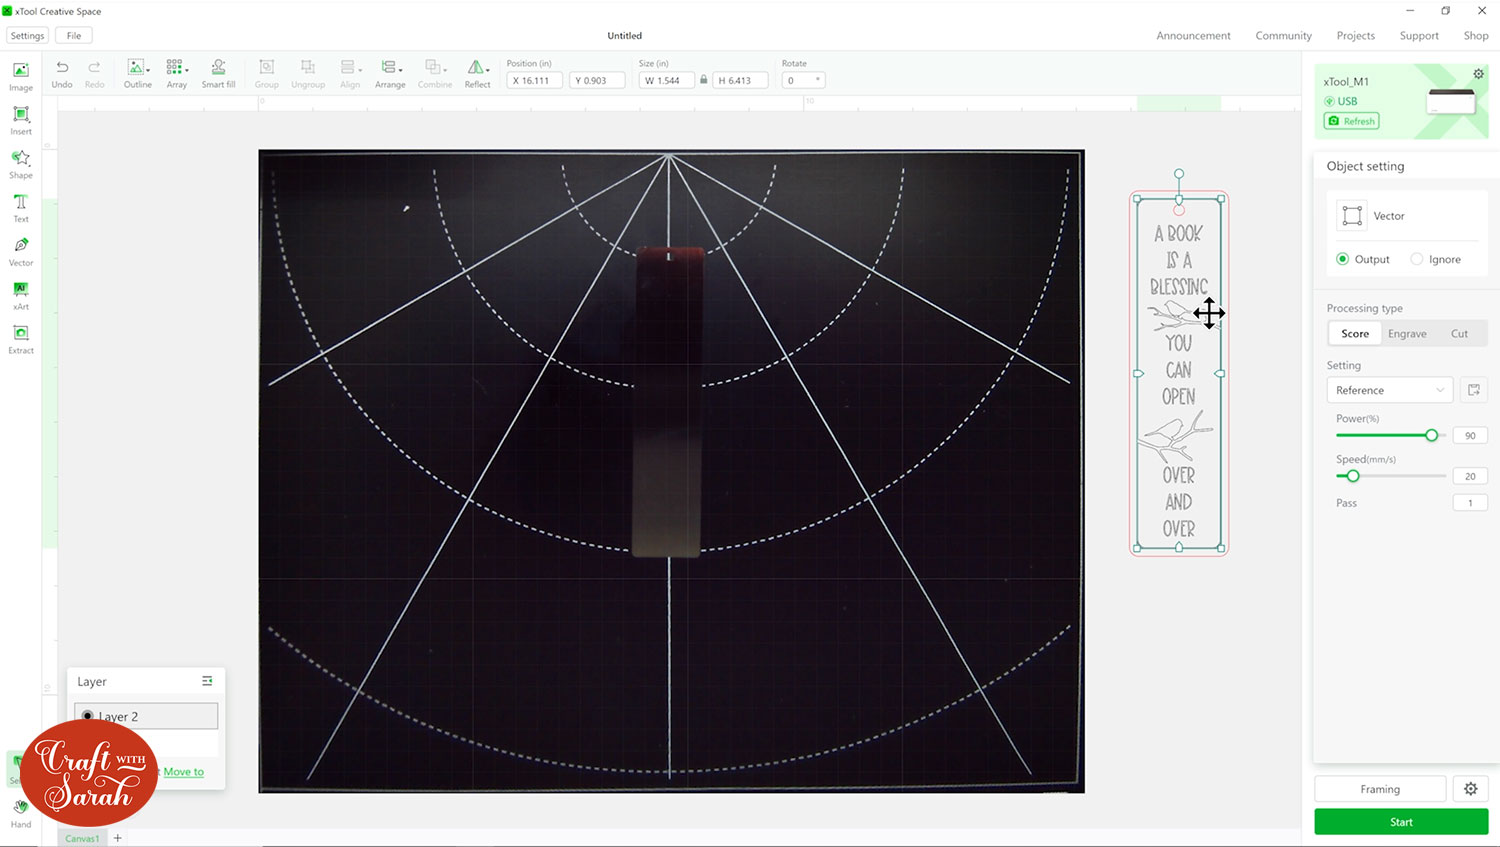
Open the xTool Creative Space software and begin a new project. Click File > Import to load in the SVG file.
I have already put my metal bookmark blank into the laser cutter. I recommend placing the bookmark inside your laser cutter as straight/vertical as you can make it. The straighter it is, the easier it will be to line up the design.
Step 2) Format the SVG design if needed
I needed to do a little bit of tweaking to my design, as it loaded in too big. I also didn’t need the bottom layer of the design, so I deleted that one.
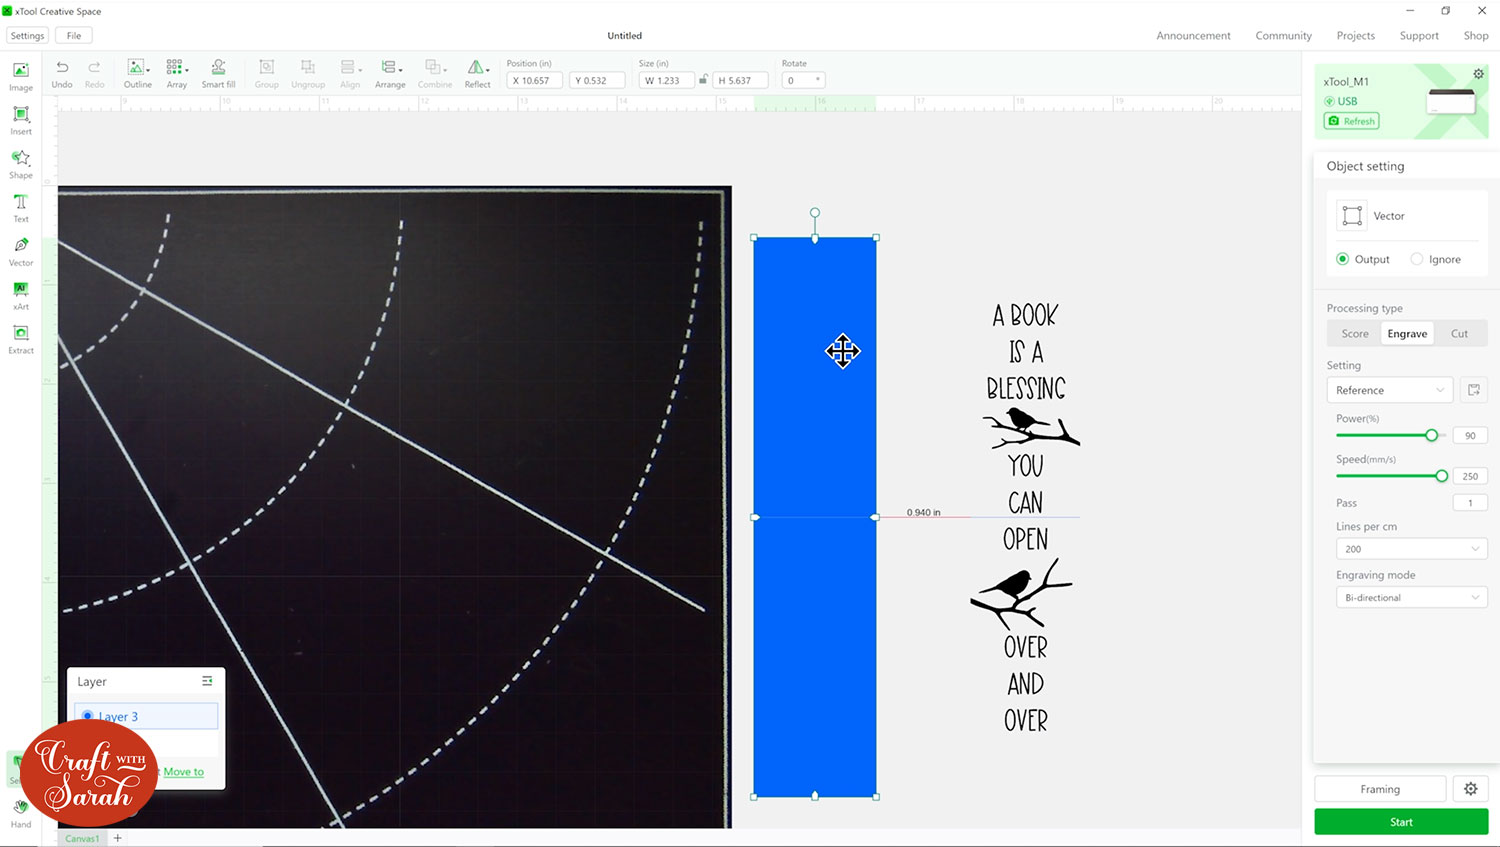
It is a bit tricky to see the dark bookmark on the dark background of the laser cutter.
To make it easier, draw a rectangle the same size as the bookmark.
Change the rectangle processing type to “Engrave” and then right-click on it to fill it with a colour.

Move the rectangle to the side of the screen and use it to resize the SVG design.
The design came in a different proportion to my bookmark blanks, so when I resized it to fit, it didn’t look quite right.

You might need to think outside the box a little bit to get the SVG design to perfectly align with your bookmark.
For mine, I decided to remove the line from all four sides so that it wouldn’t be so obvious that the design didn’t quite match my bookmark shape.
To do that, I created four rectangles and sized them so that they completely covered the outside line on the SVG, without covering over any of the details in the middle.
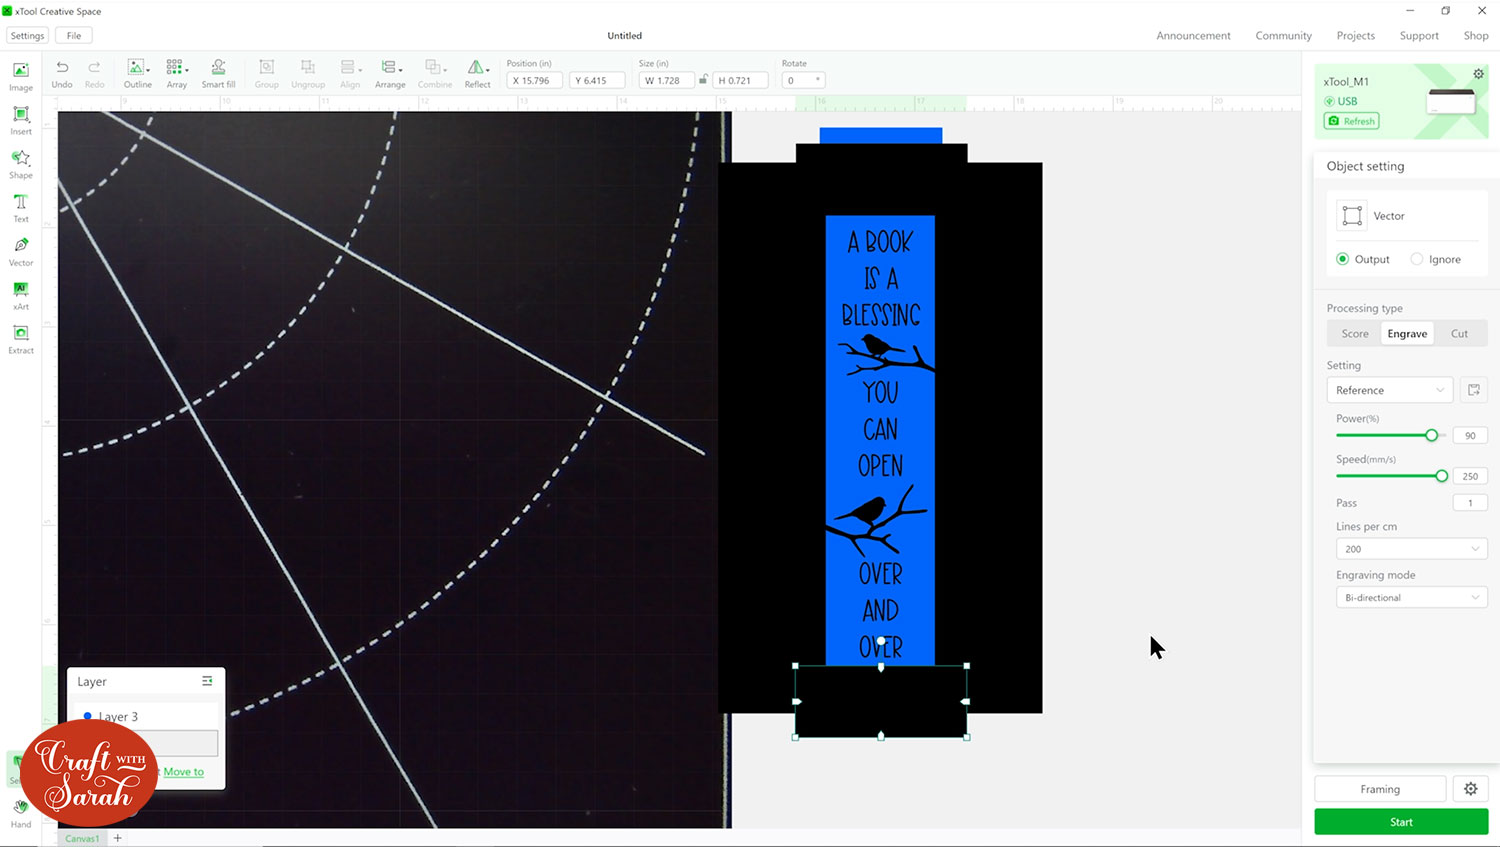
Select all the rectangles and then press Combine > Unite to join them into one shape.
Select the new shape and the SVg design and press Combine > Subtract.
That has removed the rectangle shape from the SVG design, thus getting rid of that border line that was spoiling the bookmark.
Position the modified design on top of the rectangle and resize to fit.
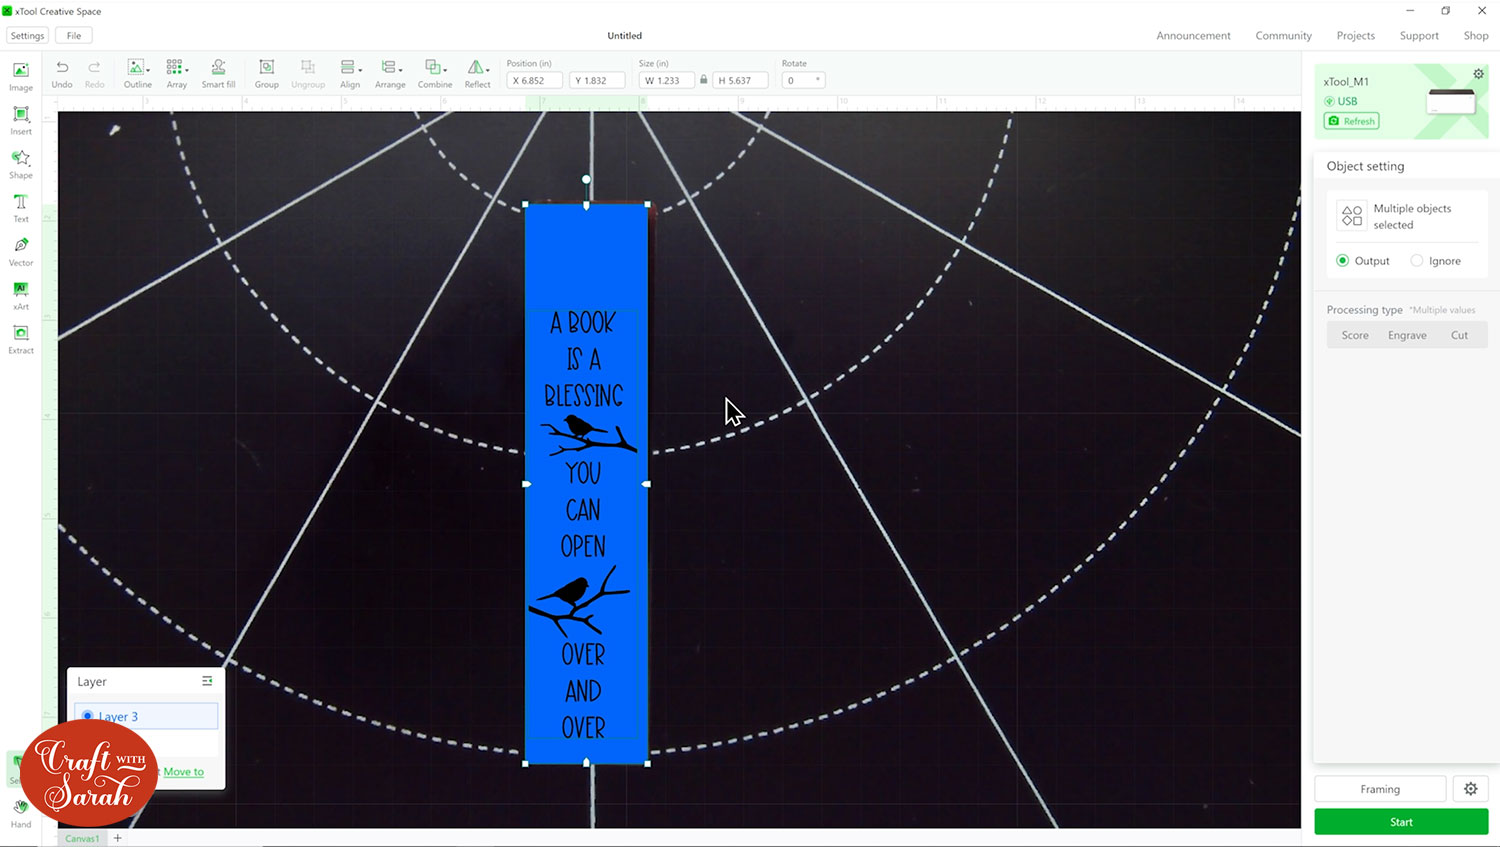
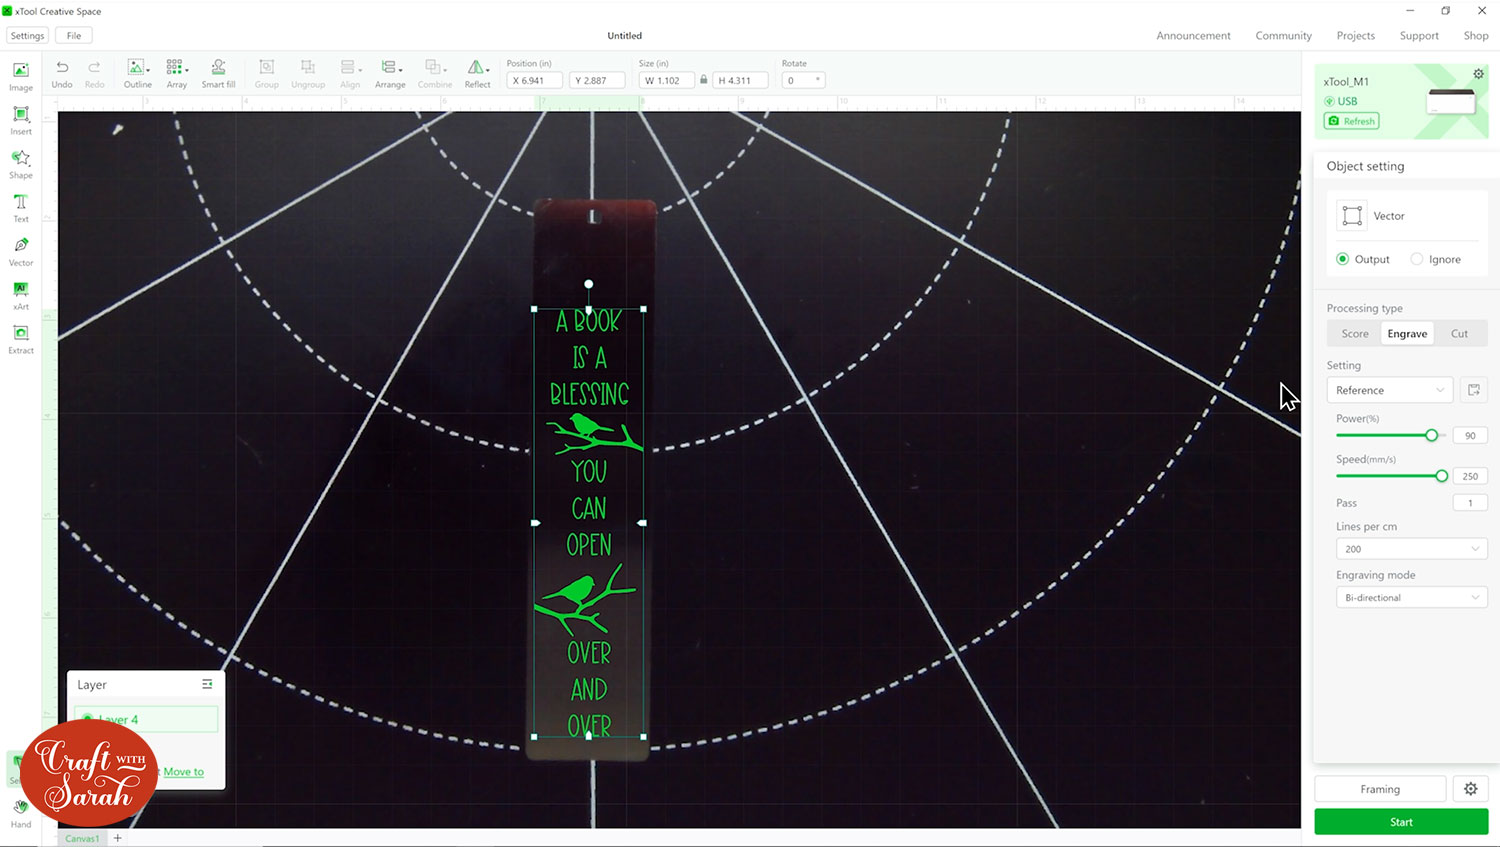
When you’re happy with how it’s looking, delete the rectangle layer and make sure the bookmark design is set to Engrave.
Step 3) Set the material type
Change your laser settings to a suitable material.
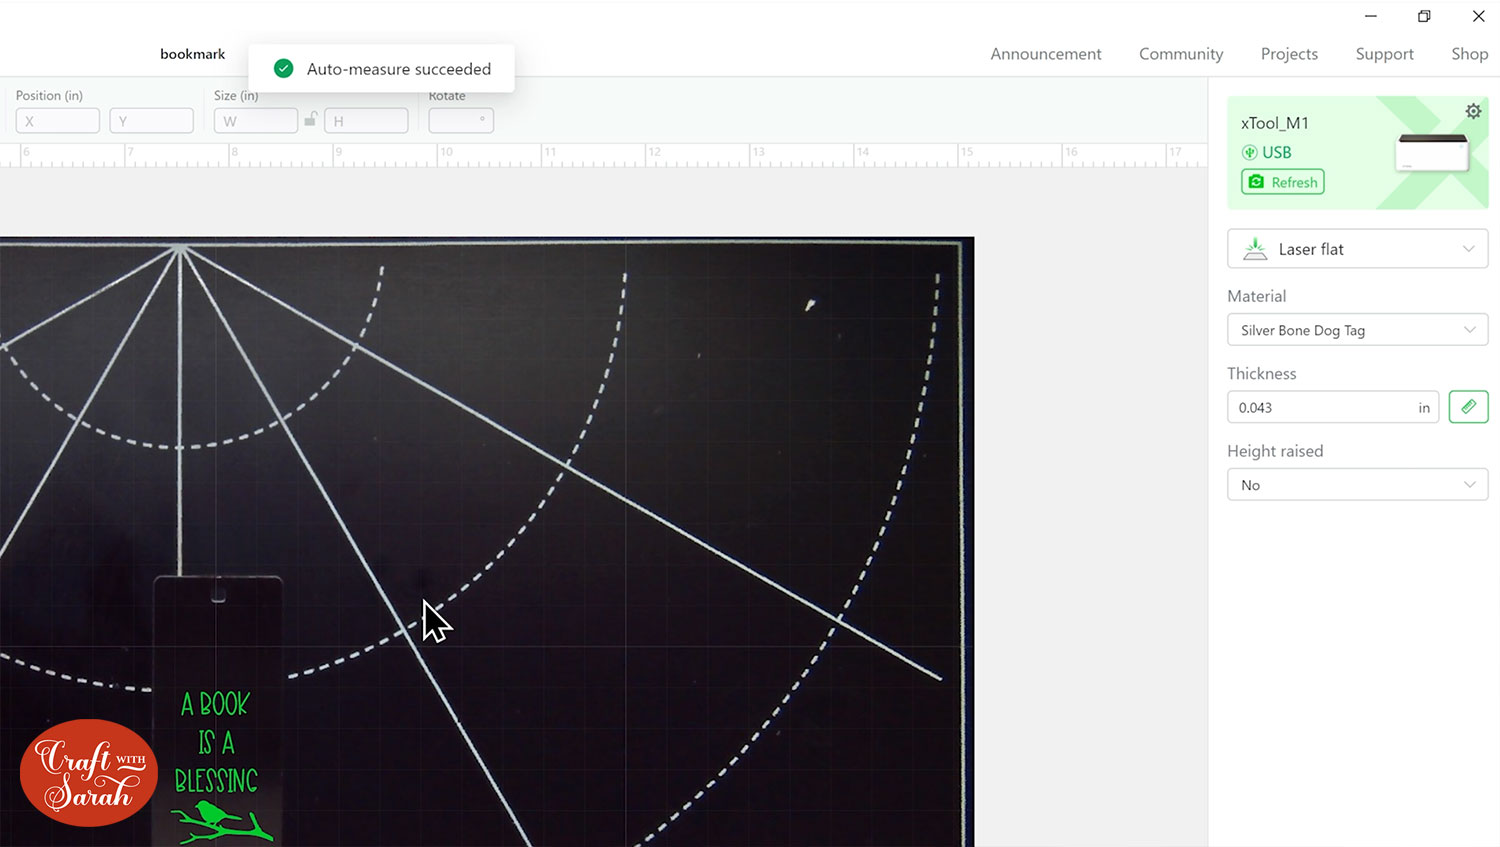
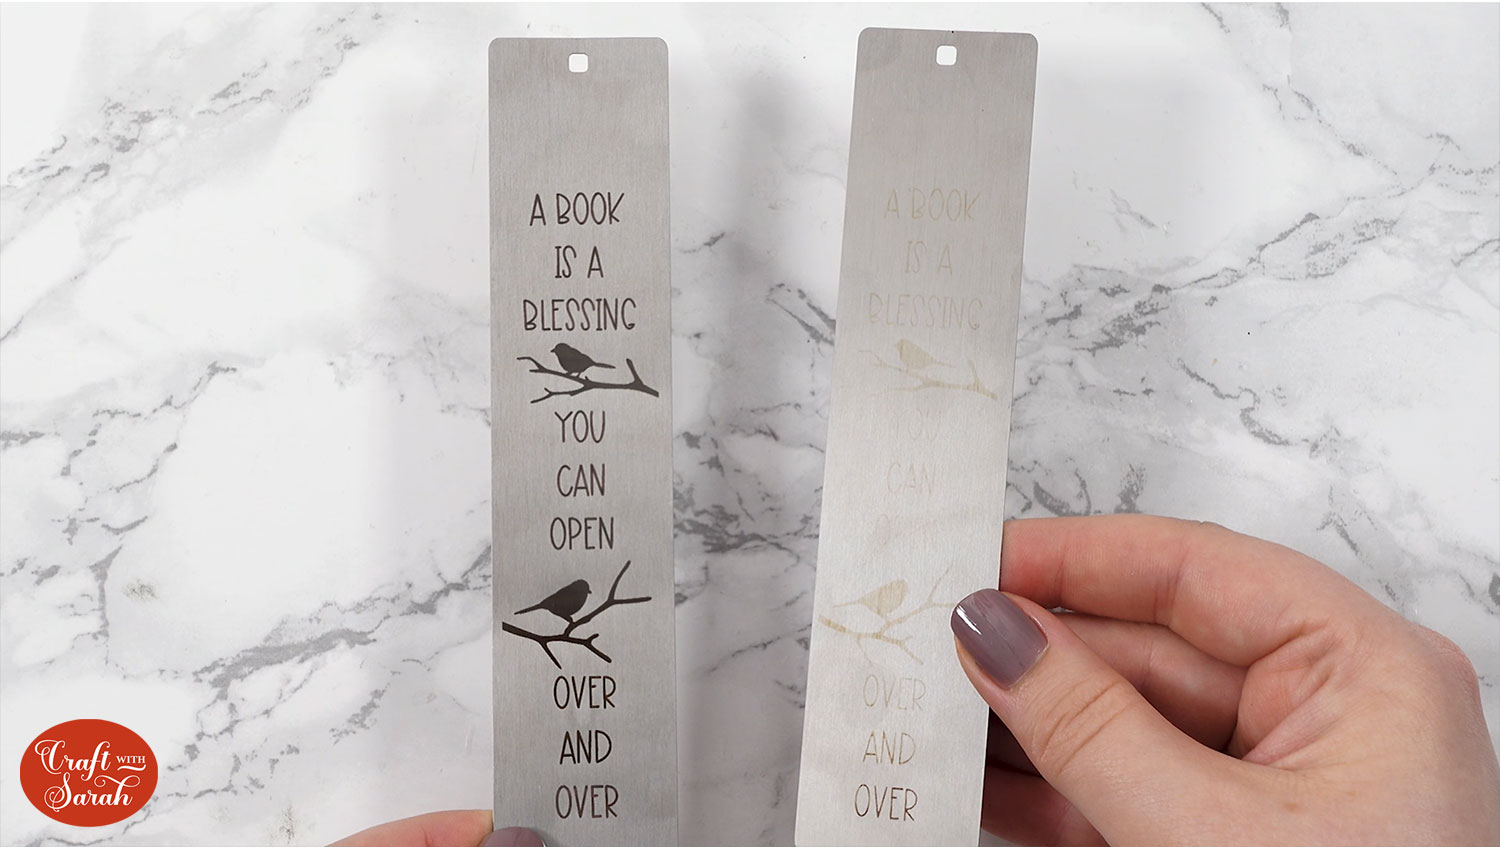
I first set it to be my flat laser on a metal business card, which was the closest thing I could see in the list of available materials. However, when I did the engraving process, it didn’t leave much of an impact.

For my second attempt, I used Silver bone dog day as the material type instead, which worked much better. I also upped the laser strength and engraving lines for my second attempt.
Click Automeasure to get the machine to measure the height of your bookmark blank. This is important because the laser needs to know the depth and position of the bookmark.
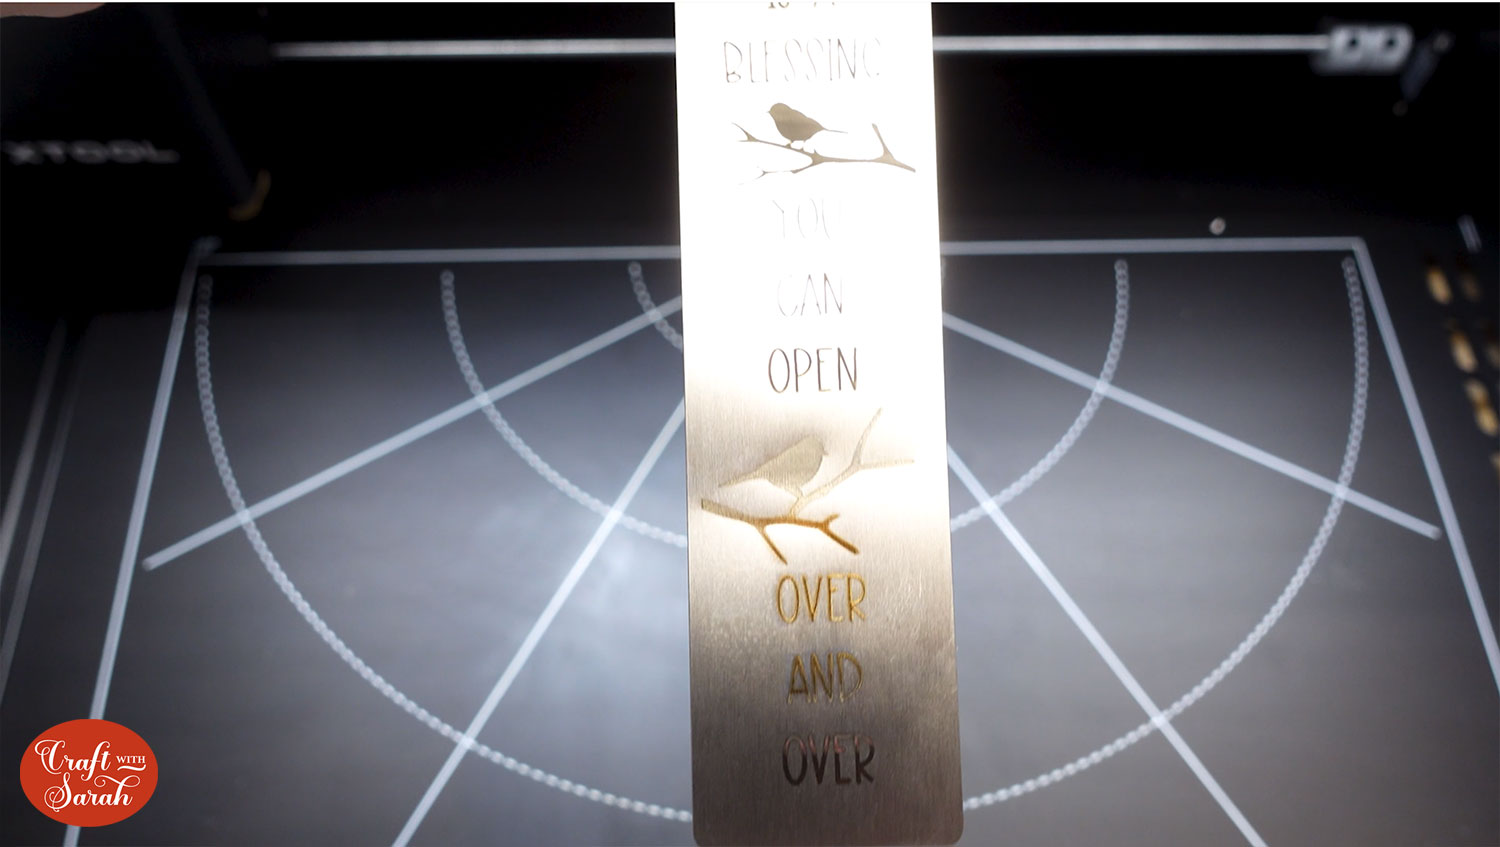
Step 4) Engrave the metal bookmark
Complete the framing process and then begin the engraving process.
My bookmark took just over 10 minutes to finish.
This time, with the silver bone dog tag material selected, the engraving looked much better!
It did look slightly burnt down on the bottom though. You can see it’s kind of gold and brown whereas at the top it’s beautifully silver. I’m not sure what would make it burn at one end and not the other.
However, after wiping the whole thing with an alcohol wipe, a lot of that burned effect was removed, so it now look pretty consistent the whole way down.
I’m guessing that the reason it burnt at the bottom was because the bookmark warped a little bit during the engraving process, which raised the bottom section up a but from its original framing position.
But it’s only very minor, you can hardly tell.
It’s a really cute bookmark and I think if I put this under something heavy for a couple of days it’s gonna flatten it right back out and then you won’t even notice it’s warped.
Here’s a comparison between my first and second engraving attempts.
Review of xTool M1 metal engraving function
Overall, I am really happy with how my metal bookmark turned out.
I’m wondering if there is a way that I could stop it from warping in the future. Maybe some heat proof tape along the top and the bottom to hold it into the machine without it moving.
As long as the tape doesn’t cover any of the bookmark where the design will be placed, I think that might work.
I just need to give it another clean because it’s covered in fingerprints again and then thread some ribbon or a tassel through the top hole and then I’ve got myself a brand new bookmark

I hope you enjoyed this tutorial on how to engrave metal bookmarks with an xTool M1 laser cutter.
You can find more xTool M1 tutorials here, and there will be more coming soon!
Happy crafting,
Sarah x

