
Transfer Peel Off Sticker Negatives onto Cards
Learn how to transfer a peel off sticker negative onto a brand new handmade card with this handy card making hack!
Don’t you just HATE having to throw away card making supplies that totally SHOULD be usable? I’m EXACTLY the same!
I looked at all my old peel off stickers and thought there HAS to be a way to use up all the leftover bits of sticker.
And you know what…. THERE IS!
Trashing peel off sticker negatives is now a THING OF THE PAST.
Turn your old card making supplies into something NEW and BEAUTIFUL with the aid of a simple roll of masking tape!
Please note that some of the links included in this article are affiliate links, which means that if you click through and make a purchase I may receive a commission (at no additional cost to you). You can read my full disclosure at the bottom of the page.
The EASIEST Way to Upcycle Peel-Off Sticker Negatives into Card Toppers
Watch the video to find out how EASY it is to turn those leftover bits of sticker into a brand new greetings card.
How to make a card out of peel-off sticker negatives
You will need…
- Peel-off stickers
- Masking tape/painters tape
- Bone folder
- C6 scallop-edge card
- Dovecraft Festive Wonder Paper Pack
- 3D foam pads
- Tacky glue
- Sticky gemstones
How to transfer peel off sticker leftovers with masking tape
A simple roll of masking tape (painters tape) is all you need for this easy card making technique!
Top tip: If there are any pieces missing from the negative design from when you pulled up the original sticker, find a matching image on your peel-off sheet and use pieces from that one to fill in any gaps on the design you are transferring.
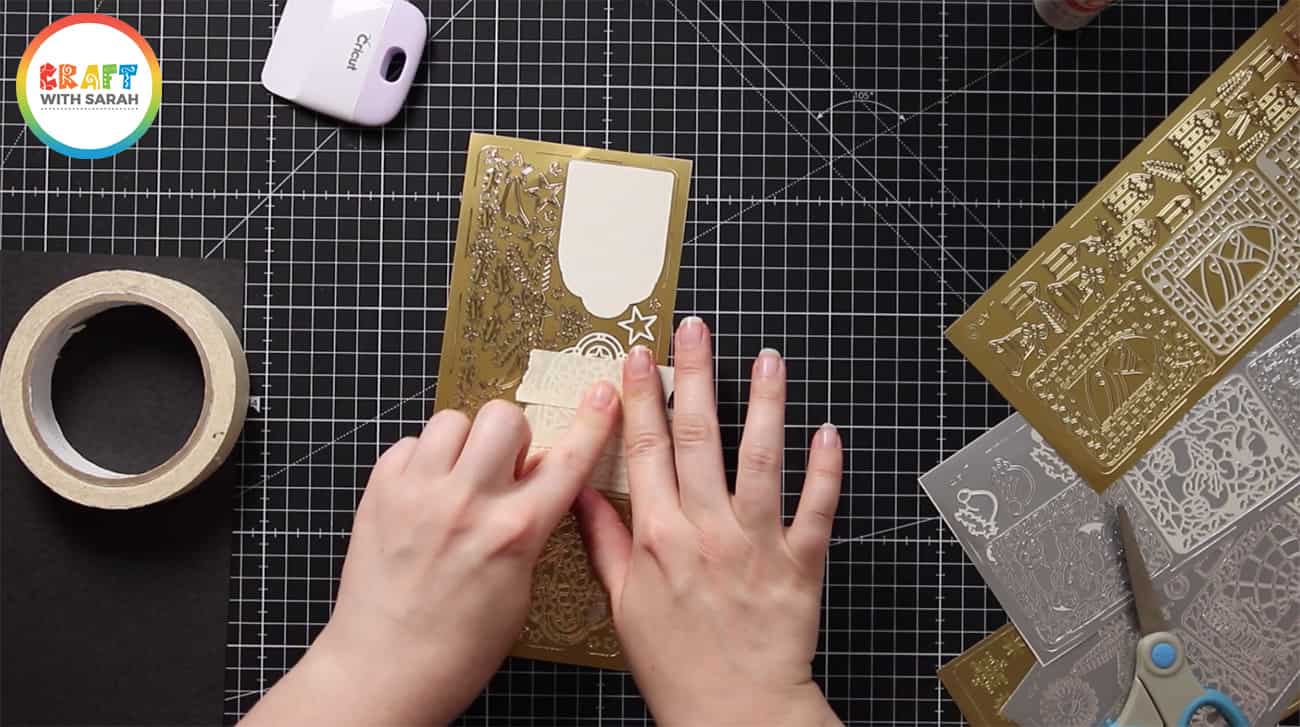
1) Layer strips of masking tape over the peel-off sticker negatives
Be sure to overlap each strip of tape so that they are touching and you don’t have any holes.
2) Burnish VERY well!
Burnish (rub) the peel-off sticker parts with a bone folder, Cricut scraper tool or anything similar that has a hard, smooth edge.
Rub the whole of the negative design.
You may need to press quite hard and go over it a few times to make sure the bits of sticker will adhere to the masking tape.

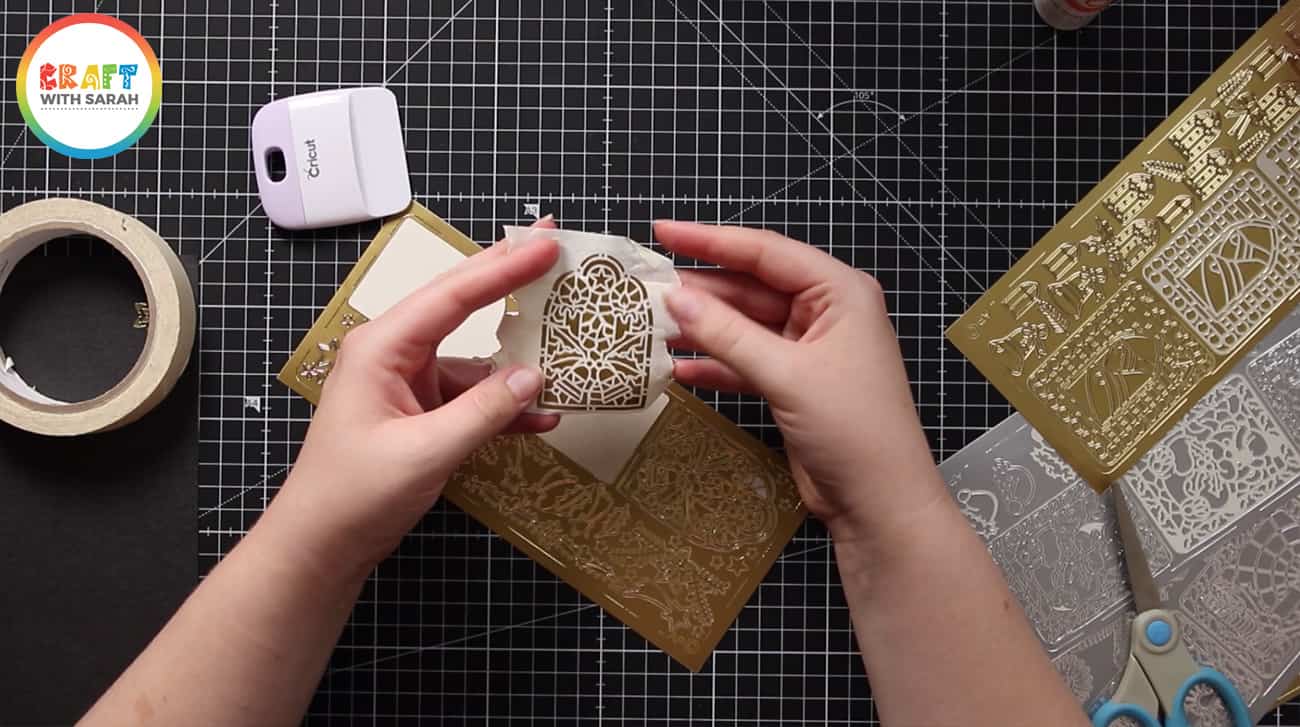
3) Carefully remove the masking tape
If you find that pieces of the design are not transferring to the masking take then burnish them so more until they do lift up with the tape.
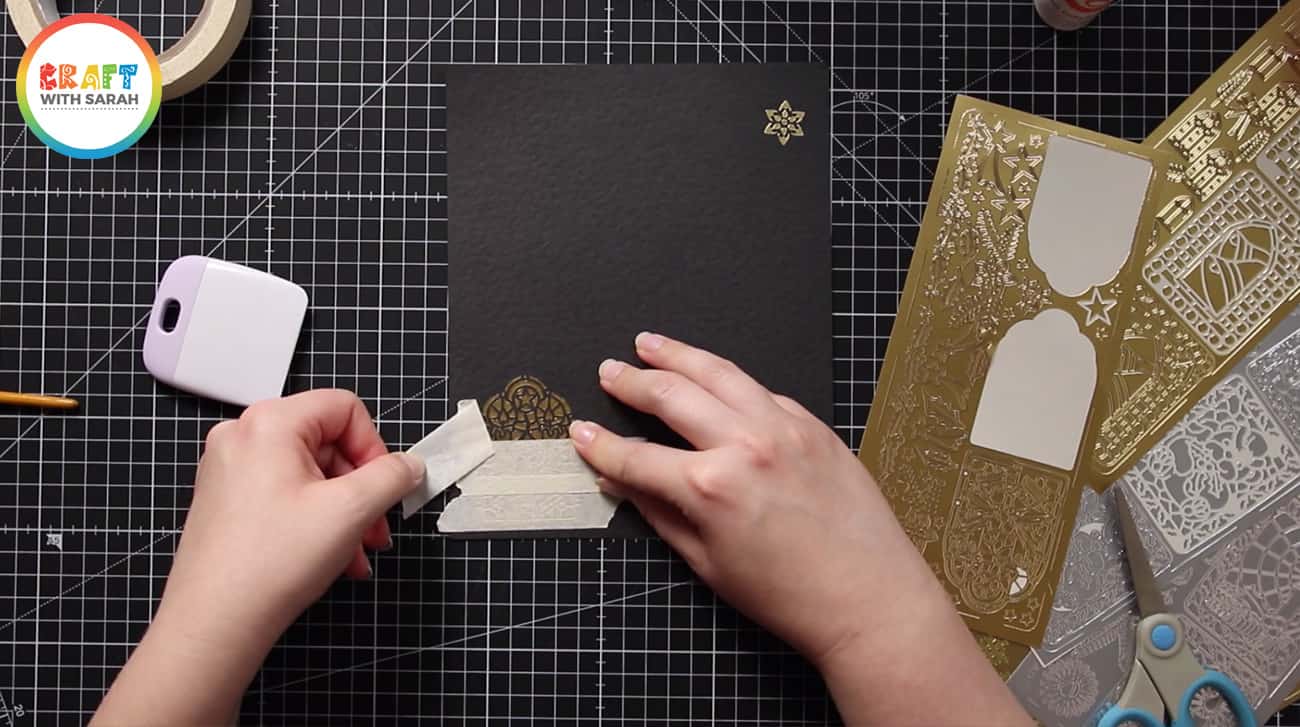
4) Stick the masking tape to a piece of card
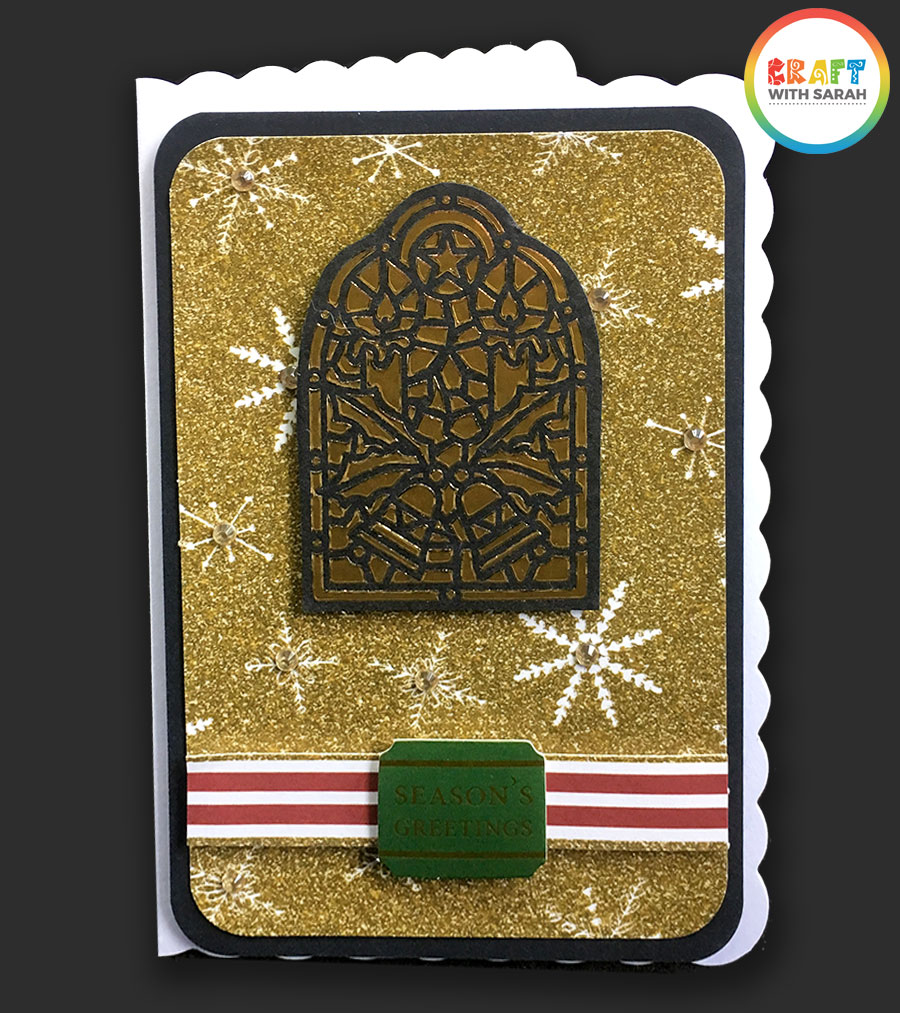
I used hammer-effect black card as darker card tends to show up gold and silver peel-off stickers more effectively than lighter colours of card.

5) Remove the masking tape
Slowly peel off the masking tape, one strip at a time.
If parts of the sticker are still stuck to the tape then re-attach the tape to the card and burnish it gently with your bone folder or scaper tool.
This time we are re-sticking the pieces of peel-off to the card instead of the masking tape.
6) Cut around the edge to finish your card topper
I fussy-cut around the edge of the design to leave a thin black border around the edges.

7) Make a handmade card!
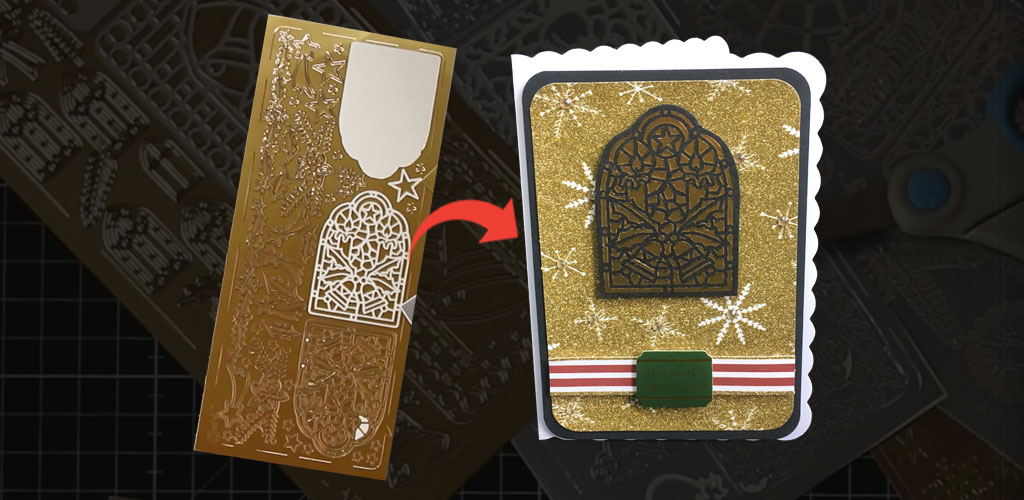
Your gorgeous peel-off negatives topper is now ready to be used on a card.
I created a Christmas card using a white scallop-edge card base, more black card, gold glitter card and a “Season’s Greetings” sentiment topper.
I just LOVE how it turned out – it’s so sparkly!
Upcycle your craft materials today!
I hope you enjoyed this tutorial on how to get even MORE value out of your peel-off stickers by using the negative parts left behind after you’ve removed the main stickers.
Peel-off stickers are my secret weapon for creating professional quality handmade cards. Find out how I use them as part of my BEST card making hacks.
Happy crafting,
Sarah x