
Personalize Soft Toys with the Cricut Easypress Mini

Create adorable personalized gifts this Halloween by using the the Cricut Easypress Mini to customize soft toys into super-special creations that children will love!
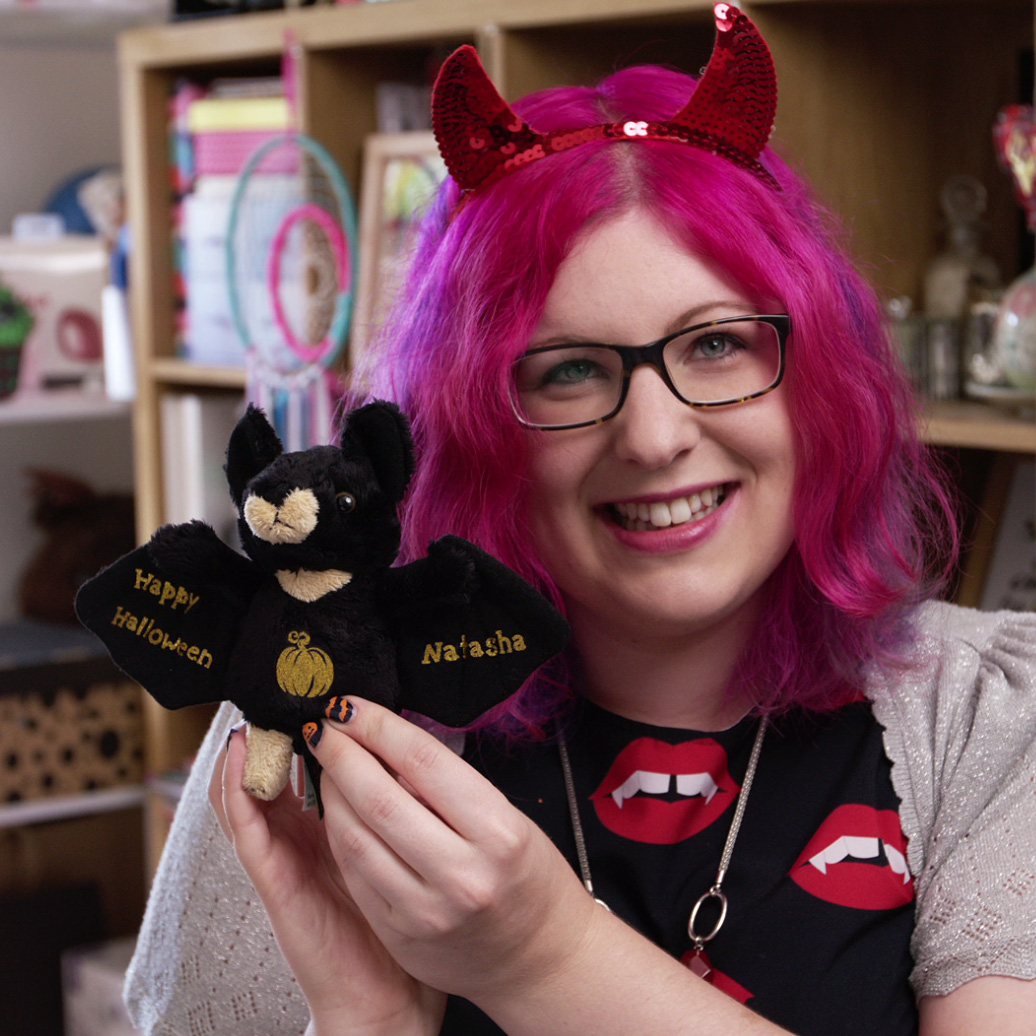
I wanted to push myself out of my comfort zone for the Halloween Craft Countdown, so for this tutorial I’m trying something new by using my Cricut Easypress Mini (for the FIRST time!) to add personalization to this cute little bat stuffed animal.
Contents:
Please note that some of the links included in this article are affiliate links, which means that if you click through and make a purchase I may receive a commission (at no additional cost to you). You can read my full disclosure at the bottom of the page.
About this project
Last Christmas, personalizing elf soft toys from the Dollar Store was one of the season’s biggest Cricut crazes!
I saw posts EVERYWHERE of all these cute little elves being jazzed up with vinyl to add a child’s name, or some other fun details.
I thought to myself… if this can be done for Christmas, why not Halloween too?
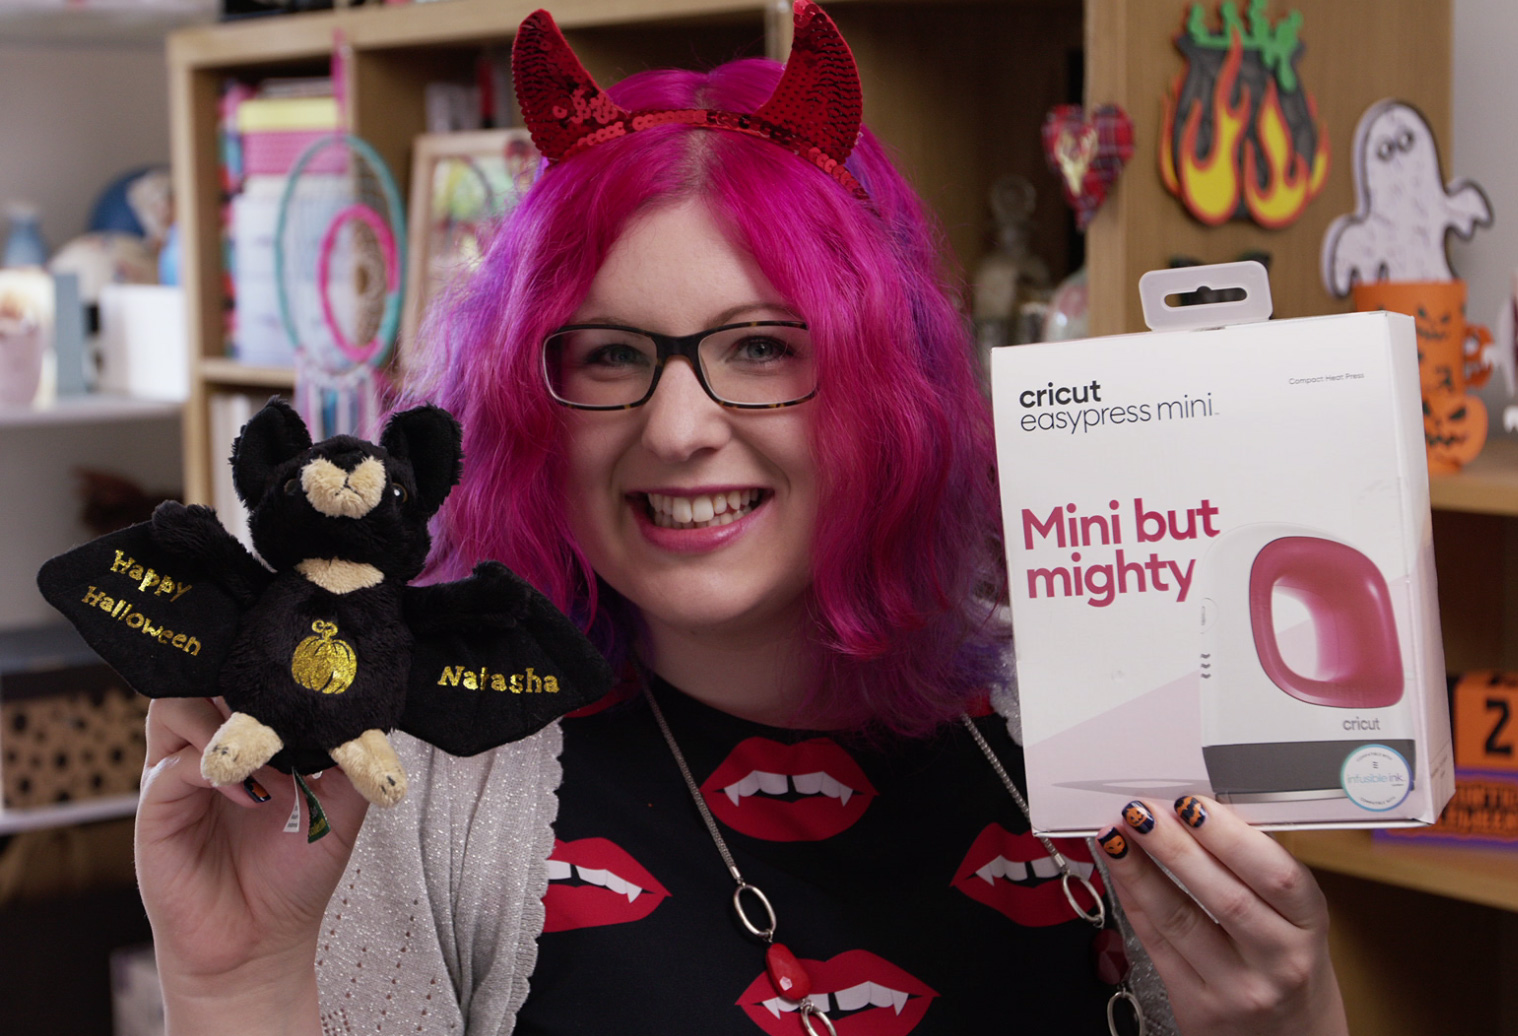
And so the idea for this tutorial was begun! In fact, I bought a Cricut Easypress Mini JUST so that I could create the cute little bat.
It was totally worth it – he is ADORABLE! Wouldn’t you agree?
Video tutorial for personalizing soft toys
Watch this video to see how to design the vinyl for your soft toys, and then use a Cricut Easypress Mini to stick it to the toy.
A full written tutorial is available further down on this page.
Materials list for customized soft toys
- A digital cutting machine such as a Cricut Maker or Cricut Explore
- A light-grip Cricut mat
- A soft toy – here’s the bat one I used
- Heatproof tape
- Heat transfer vinyl
- Cricut Easypress Mini
- Heatproof mat
How to design your vinyl
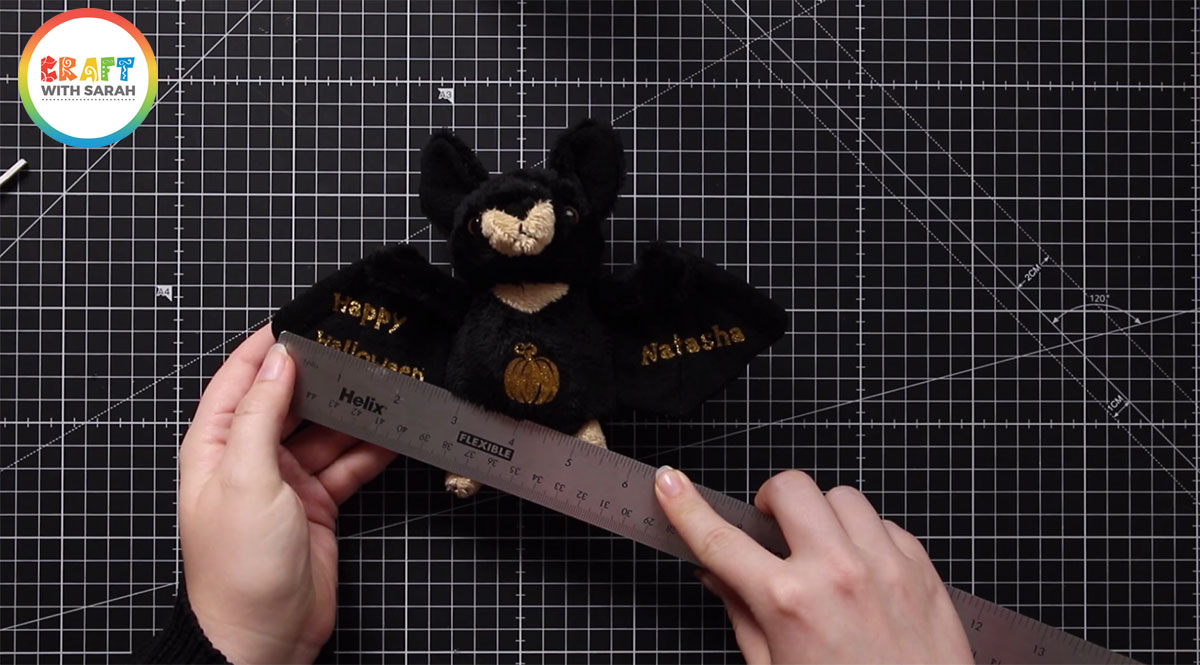
Step 1) Measure the soft toy
Measure the spaces of the soft toy that you want to add vinyl to.
Try to measure the size of a rectangle or a circle of the space.
For mine, I can fit a design that’s 2 inches wide and 1 inches tall on the wings, and a 1 inch square in the middle.
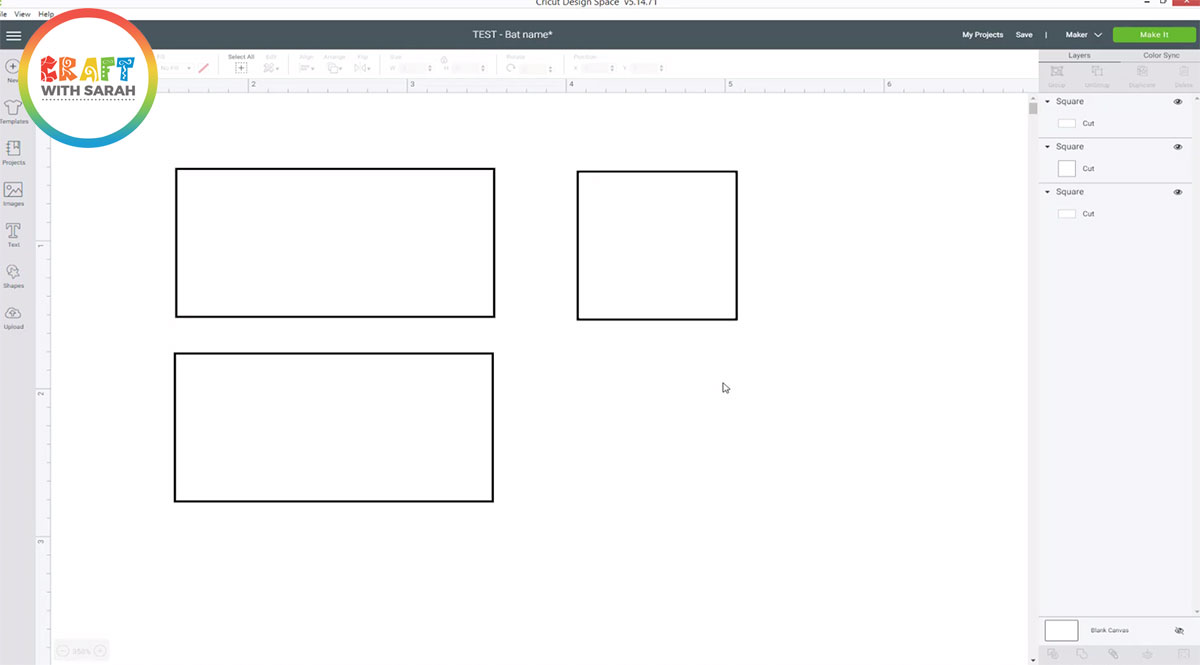
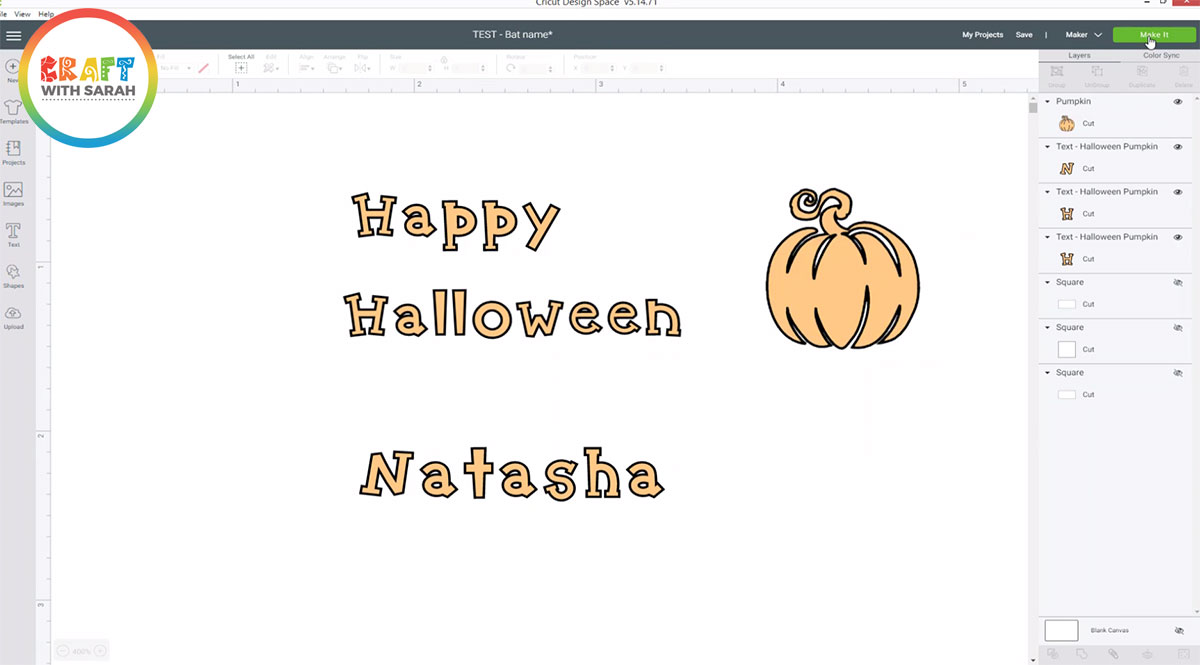
Step 2) Create base shapes in Design Space
Use the “Shapes” tool to create shapes that are the size of your measurements from Step 1.
Here are two 2×1 inch rectangles (1 for each wing) and a 1-inch square for the tummy.
Step 3) Create your designs
Create the designs to fit inside each of your base shapes.
I used a combination of the text tool and images to create my designs.
When you are finished with a design, hide the base shape layer by clicking on the little eye icon next to it in the layers panel.
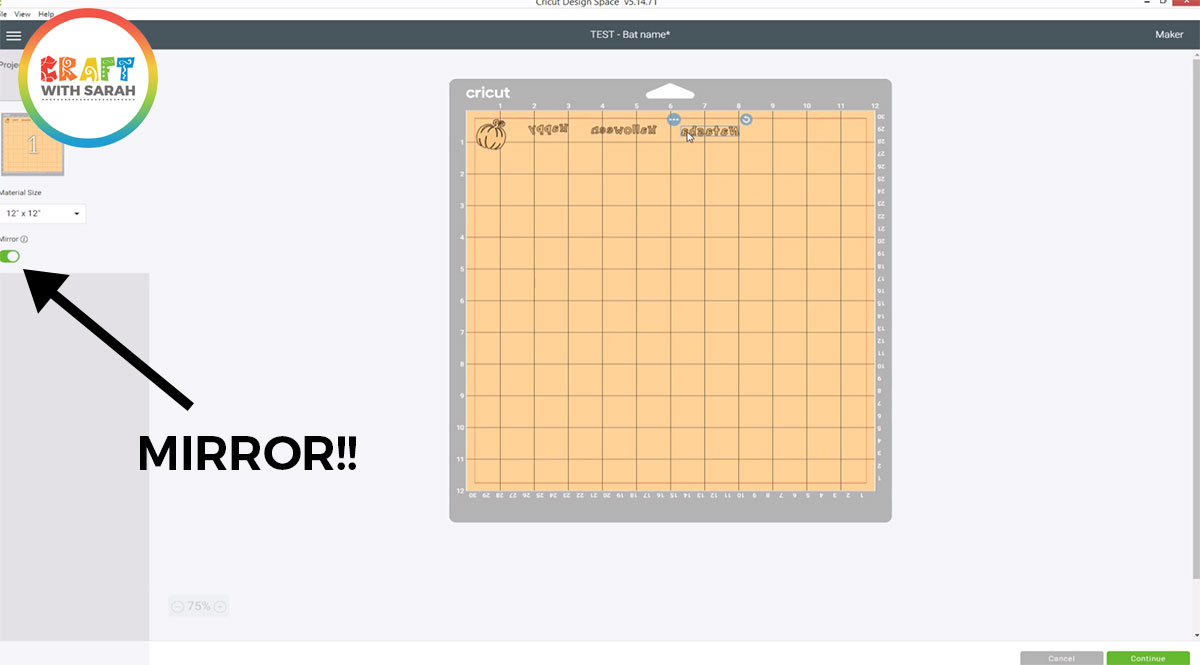
Step 4) Cut the design from heat transfer vinyl
Click “Make it” and cut your designs from heat transfer vinyl (HTV) – also called iron-on vinyl.
Don’t forget to mirror your design by clicking the little toggle on the left of the screen!!
How to add vinyl to soft toys
Here’s how to attach your vinyl design to the soft toy using a Cricut Easypress Mini.
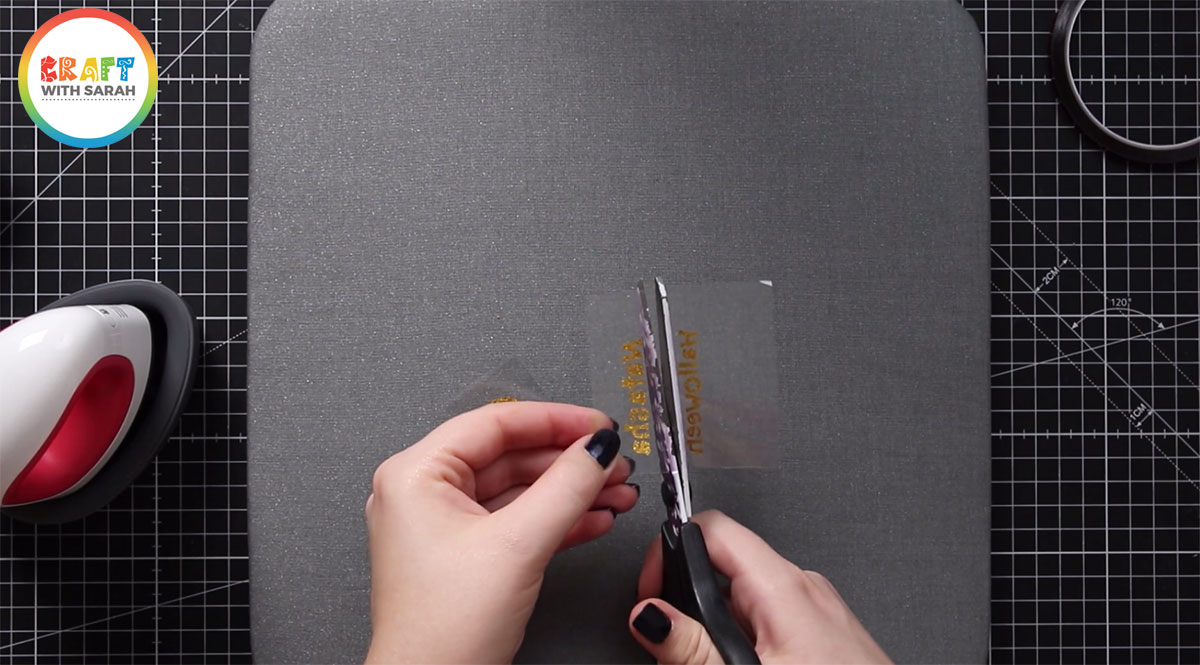
Step 1) Weed your vinyl designs and cut them to size
Remove the excess vinyl from each part of the design so that all that remains on the plastic backing are the parts that you want to iron on to the toy.
Cut each piece to size.
Step 2) Add the heat transfer vinyl
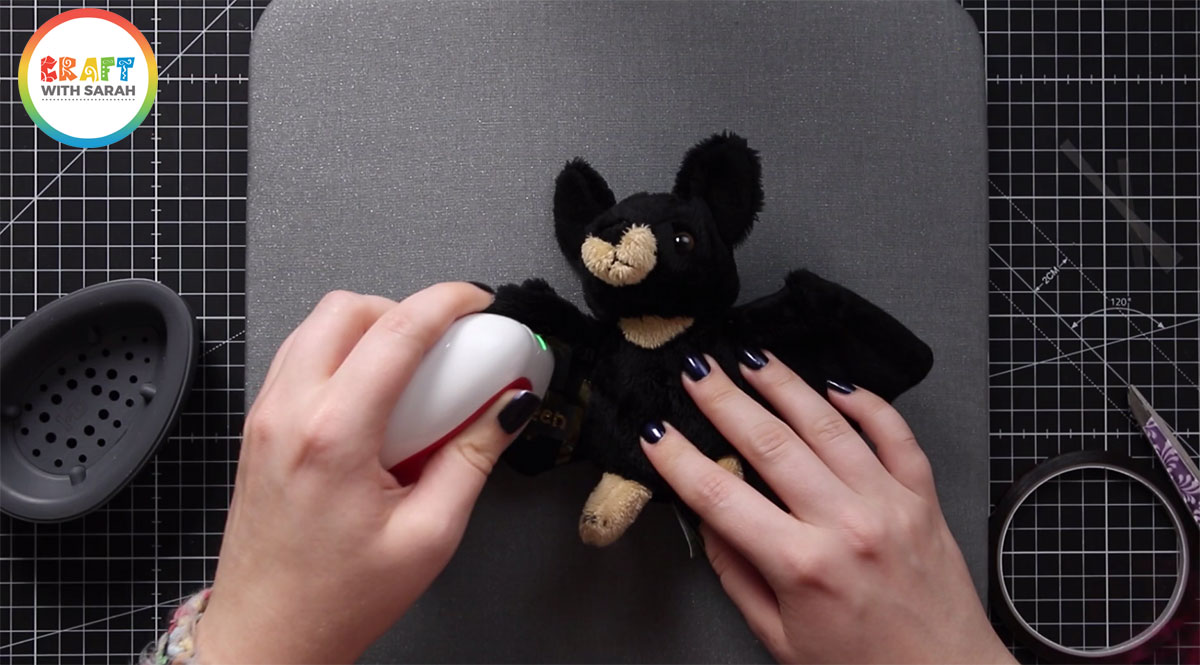
Heat up your Easypress Mini by pressing the button twice. The lights will be orange to start with, and will go green when it’s heated up.
Stick the first part of the vinyl to your toy using heat resistant tape.
The tape is important as it will stop the vinyl from moving around on the uneven surface when you’re pressing it.
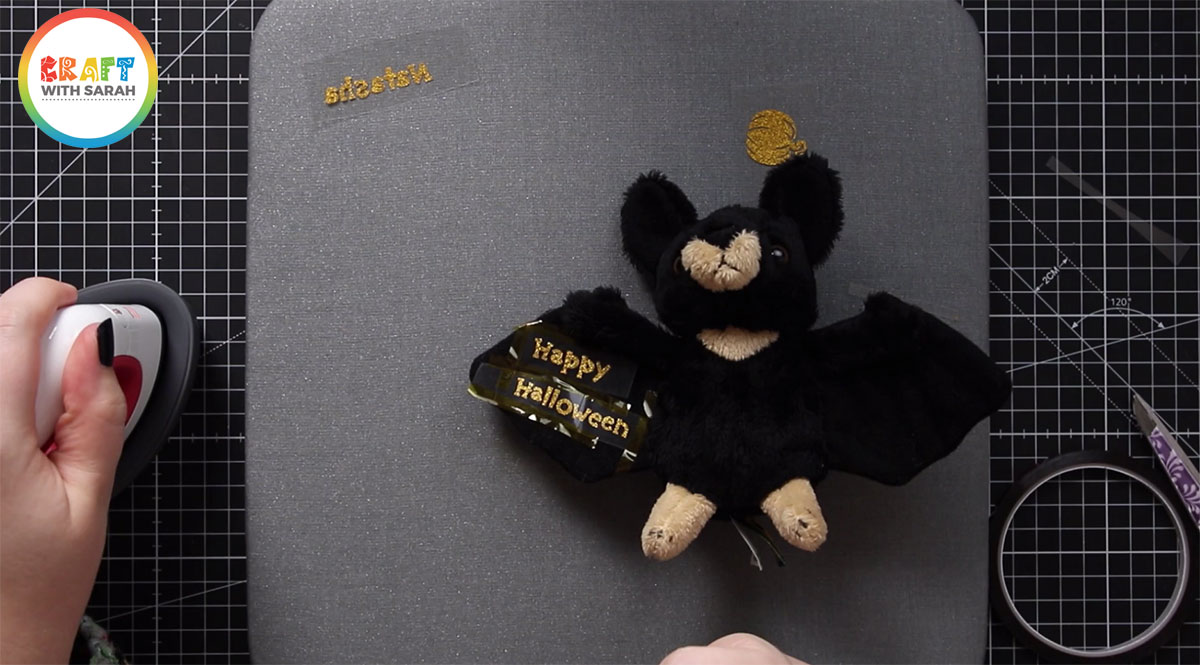
Set a timer on your phone for the recommended time for the specific vinyl type you are using, then when your Easypress Mini is hot, press over the vinyl design to stick it to your toy.
Don’t forget to use a heat proof mat to protect your work surface!
I used the tip of the Easypress Mini and gave it a little bit of pressure as the design is small, so the tip helps to get a better transfer.
When you peel off the plastic backing, do it slowly so you can see if any parts haven’t stuck properly. If they haven’t, put ALL the plastic back on so all your vinyl is covered, then just go over the bit that hasn’t stuck for about 5 seconds with the Easypress Mini.
Step 3) Repeat for all sections of vinyl
Repeat the same step for any other places that you want to add vinyl.
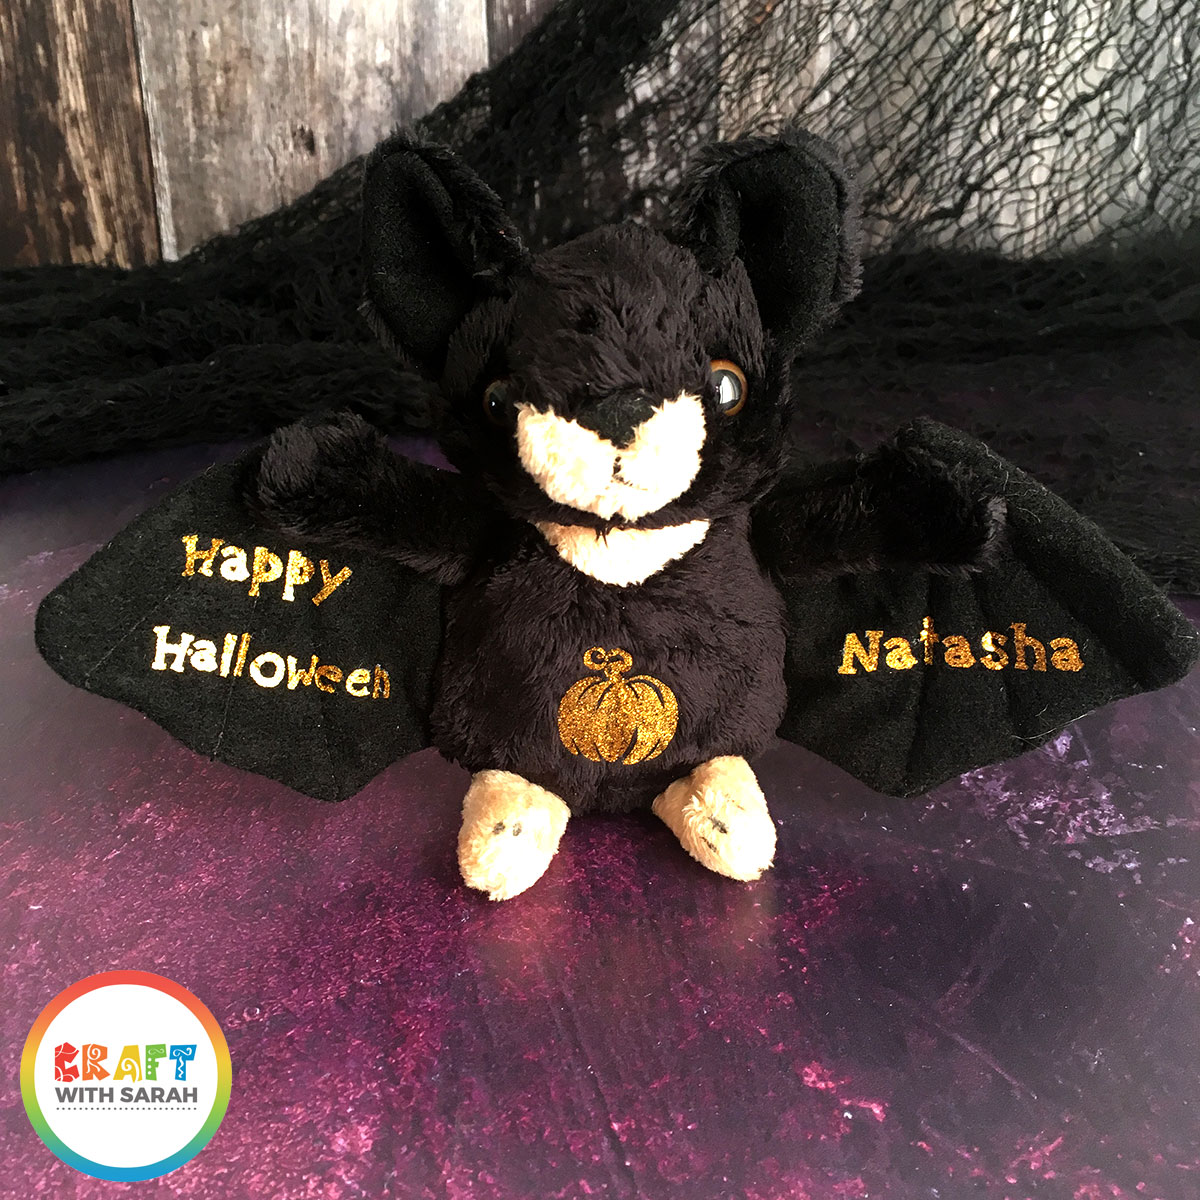
When you are finished, you’ll end up with something like this:
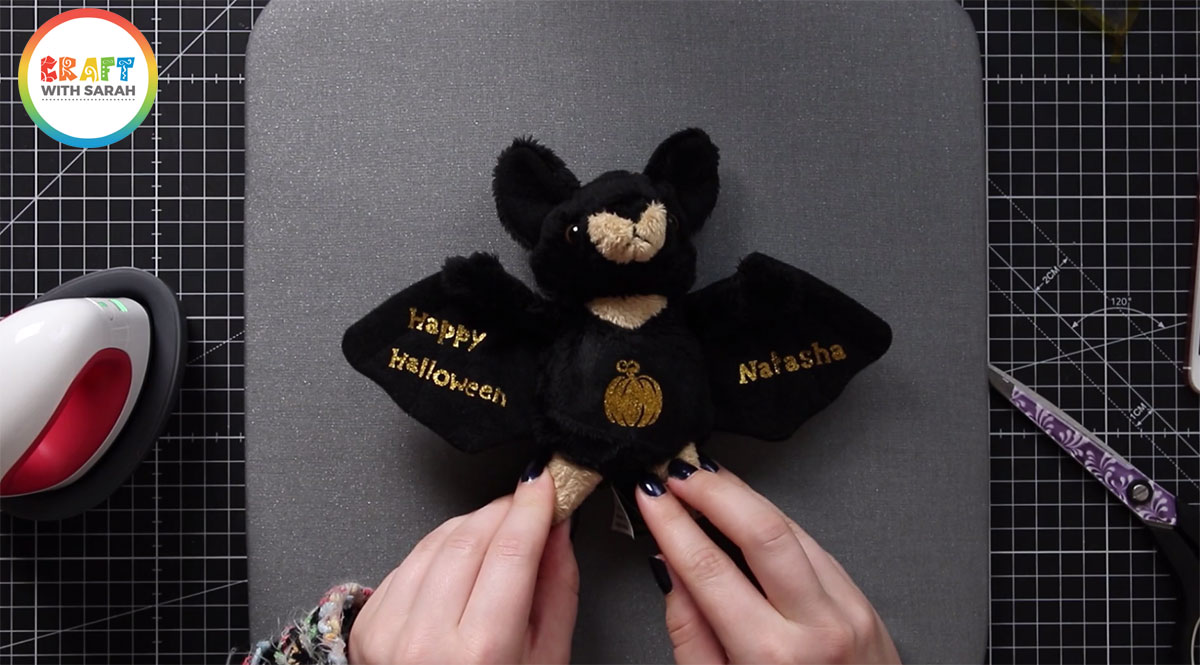
How cute is he? A wonderful personalized gift to give this Halloween!
I hope you that enjoyed this tutorial on how to design your own vinyl decals in Cricut Design Space and then add them to soft toys using a Cricut Easypress Mini.
Happy crafting,
Sarah x