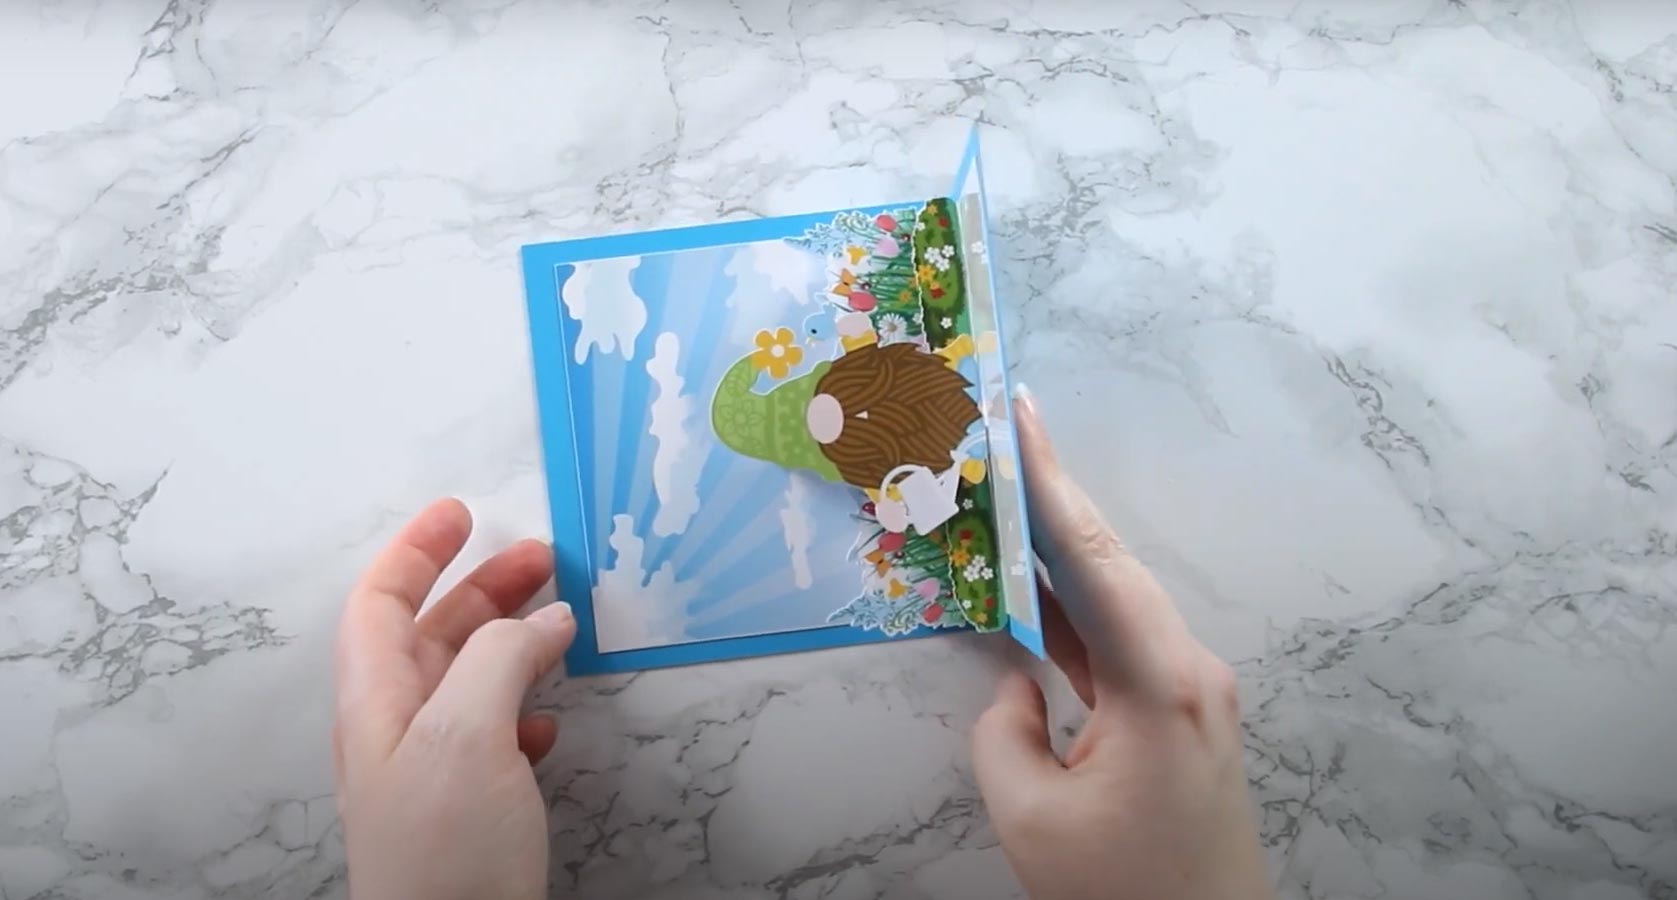
Cute Gnome Pop Out Card Using Cricut’s Print Then Cut
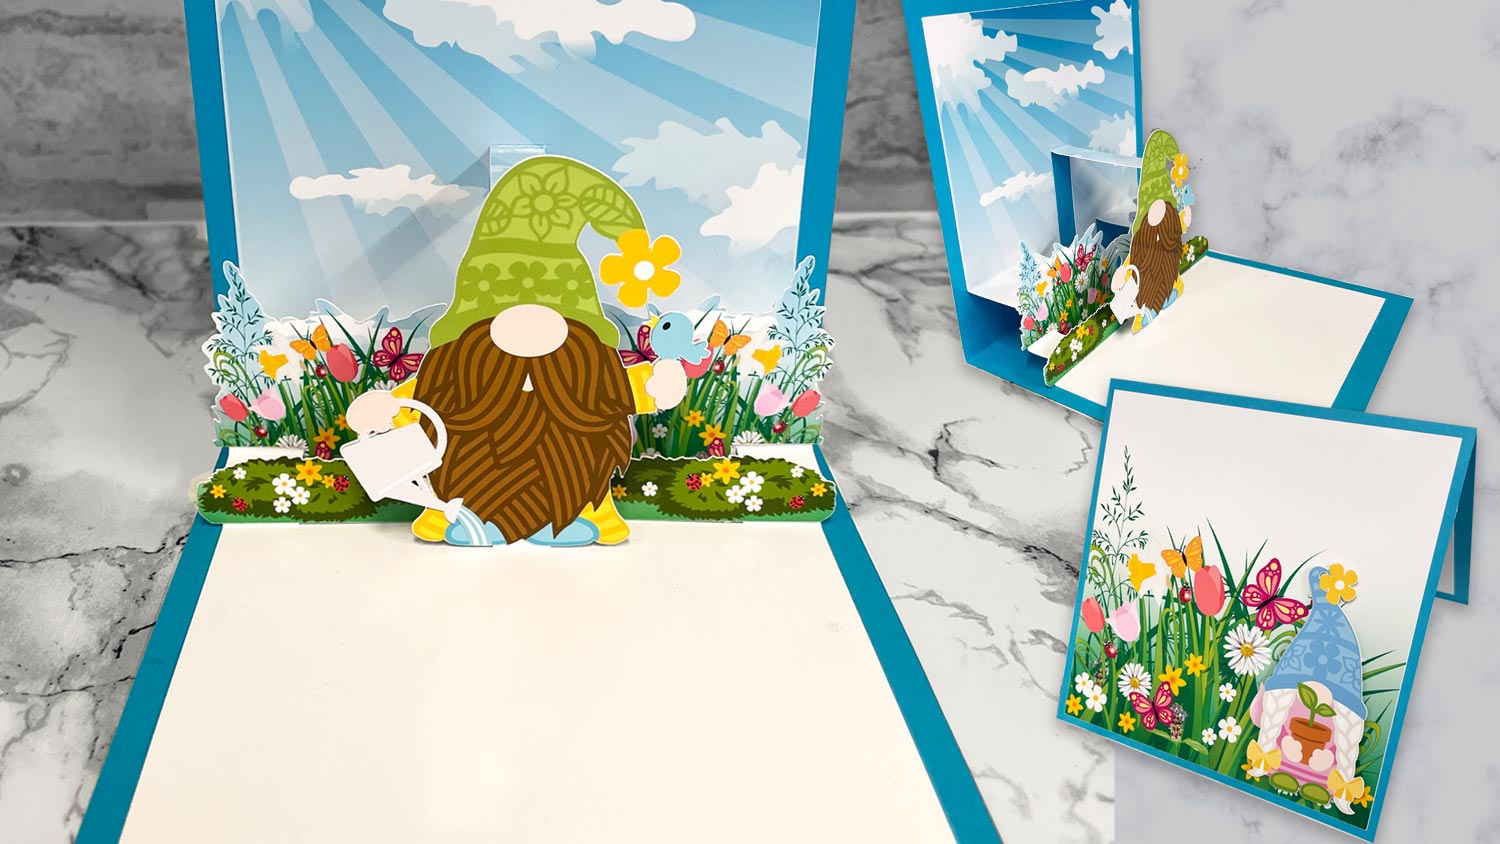
This spring gnome popout card is so easy and fun to make using Cricut’s Print Then Cut feature.
If you’ve never tried print & cut on your Cricut machine, you’re missing out!
Cricut print then cut is an awesome feature of Design Space and Cricut machines. It lets you print something out on your normal home printer and then load it into your Cricut and it will cut it out for you – how cool is that?
I LOVE making cards and other crafts using print and cut as it’s a great way to add detail and depth to your handmade projects whilst keeping the perfectly smooth cutouts that you know and love about your Cricut.
It always amazes me how well the Cricut can cut around printed shapes.
This spring gnome pop up card is the perfect example and a great project to learn how to print then cut on a Cricut machine.
Pop out card video tutorial
Watch the video below to find out how to cut and assemble this spring themed popout card project. Or, keep scrolling for a written tutorial.
Note: This video was recorded with Design Space version 7.4.141. Later versions might look a little different.
Materials needed:
Here is a list of the materials that I used to make this project.
Please note that some of the links included in this article are affiliate links, which means that if you click through and make a purchase I may receive a commission (at no additional cost to you). You can read my full disclosure at the bottom of the page.
- Cricut Maker
- Light blue Cricut cutting mat
- Colour printer
- 1 sheet of blue card
- Glossy photo paper
- Cricut scoring wheel
- Collall All Purpose Glue
- Needle Tip Applicator Bottle
- 3D foam pads
Pop out card instructions
Here’s how to make your very own print then cut popout card using a Cricut machine!
Step 1) Download the free file & unzip the downloaded folder
Download the Free Cutting File

Please login to your account to download this file.
TERMS OF USE:
You may sell finished, handmade physical craft items that you have made using this product but must not sell or share the digital files. Read full terms of use
Before you upload the files to Design Space, you need to unzip the download folder that they come in.
- How to unzip a folder on Windows computer
- How to unzip a folder on a Mac
- How to unzip a folder on an iPad/iPhone
- How to unzip a folder on an Android device
Step 2) Upload the files into Design Space
Open up Cricut Design Space and start a new project.
Click “Upload” and then find the unzipped version of your download folder.

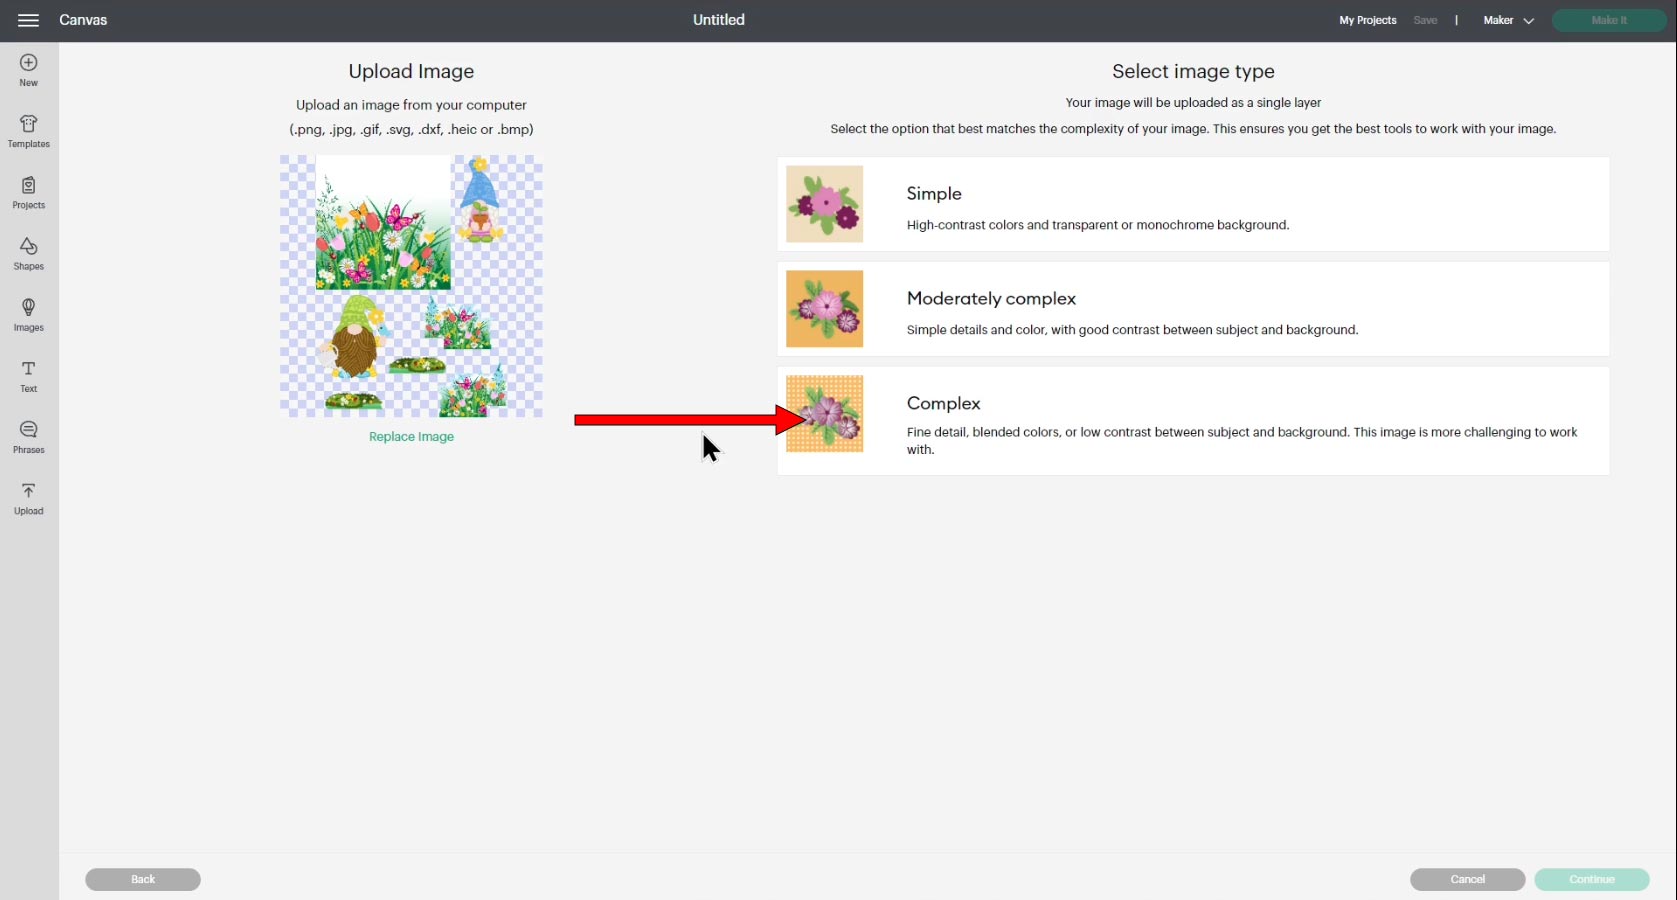
Go into the “Files to Upload” folder and select the file called PNG_Printable_Gnomes_CraftWithSarah.png
Choose “Complex” on the first screen and click “Continue”.
You don’t need to change anything on this screen so just click “Apply & Continue”.
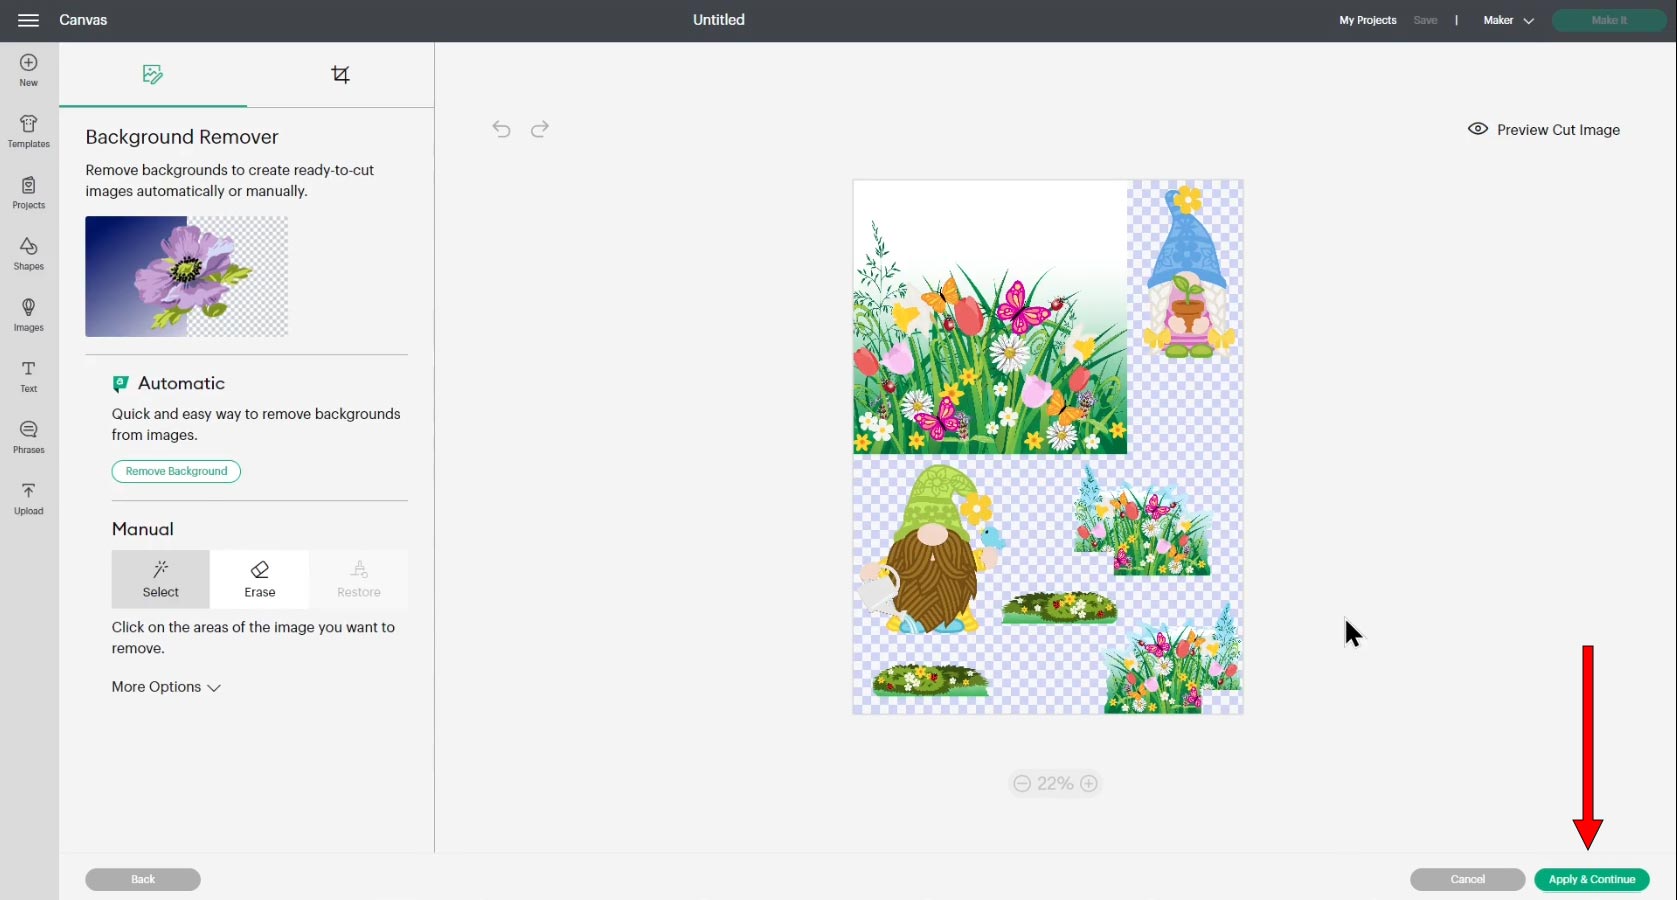
Select “Print Then Cut Image” on the next screen and click “Upload”.

Repeat those steps to upload the file called PNG_Printable_Sky_Gnomes_CraftWithSarah.png from your download folder.
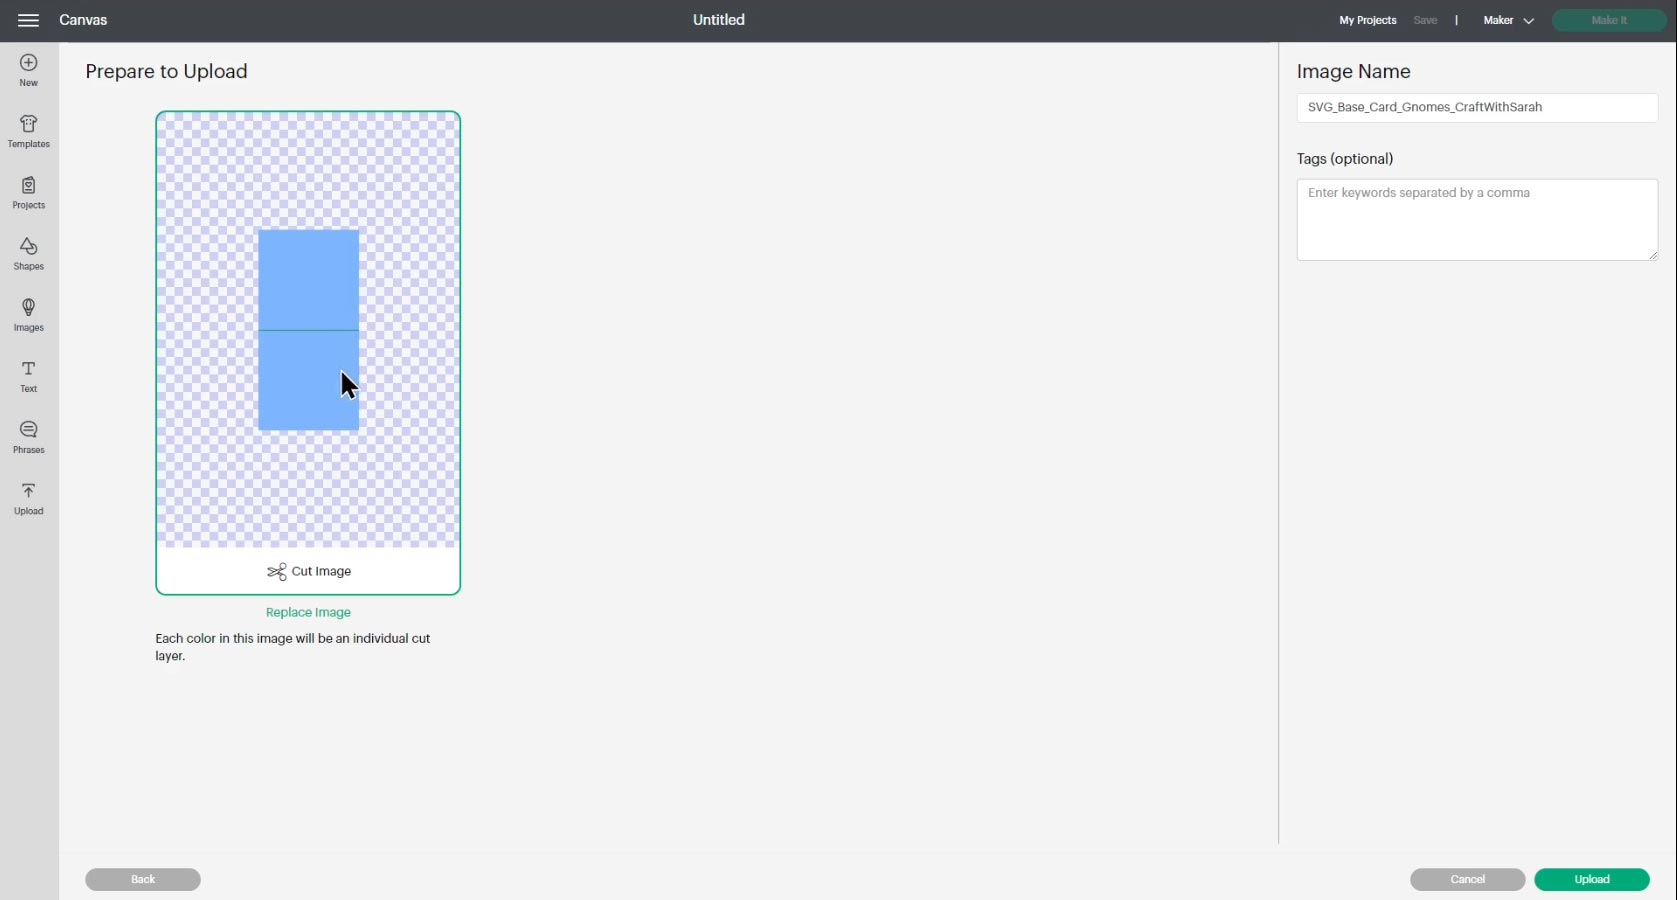
Then, upload the two SVG cutting files: SVG_Base_Card_Gnomes_CraftWithSarah.svg and SVG_Popout_Gnomes_CraftWithSarah.svg
These are standard cut files with no “print then cut” elements, so the upload process look a little simpler:
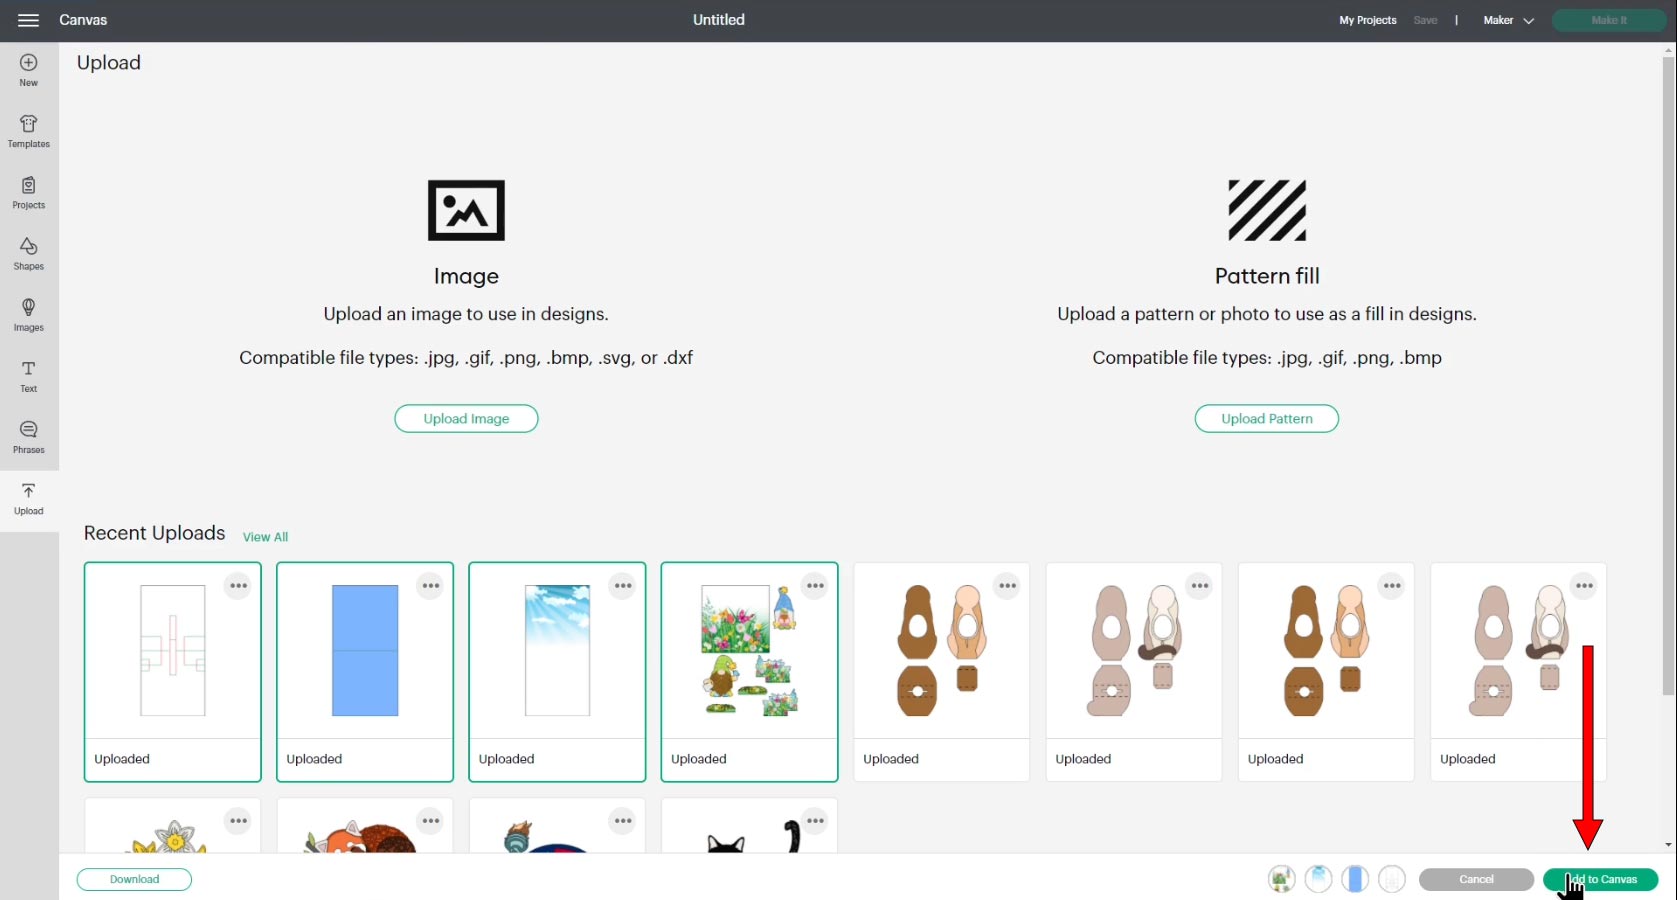
After uploading all four files in the “Files to Upload” folder, the files will show in your “Recently Uploaded Images”. Click them all and then press “Add to Canvas” to put them onto your Project.
Step 3) Resize the print then cut images
For some reason the print then cut layers load in huge to Design Space so we need to make them smaller.
This is how my Design Space looks after all the images load onto the Project. As you can see, the print then cut images are waaaaay bigger than the base card!

Resize the Clouds layer to 4.5 inches wide and 9.25 inches tall.
Resize the floral layer to 6.75 inches wide and 9.25 inches tall.

Step 4) Format the clouds image
We need to do a little bit of clever formatting to the clouds print then cut image to add the cut and score lines of the pop out card onto it.
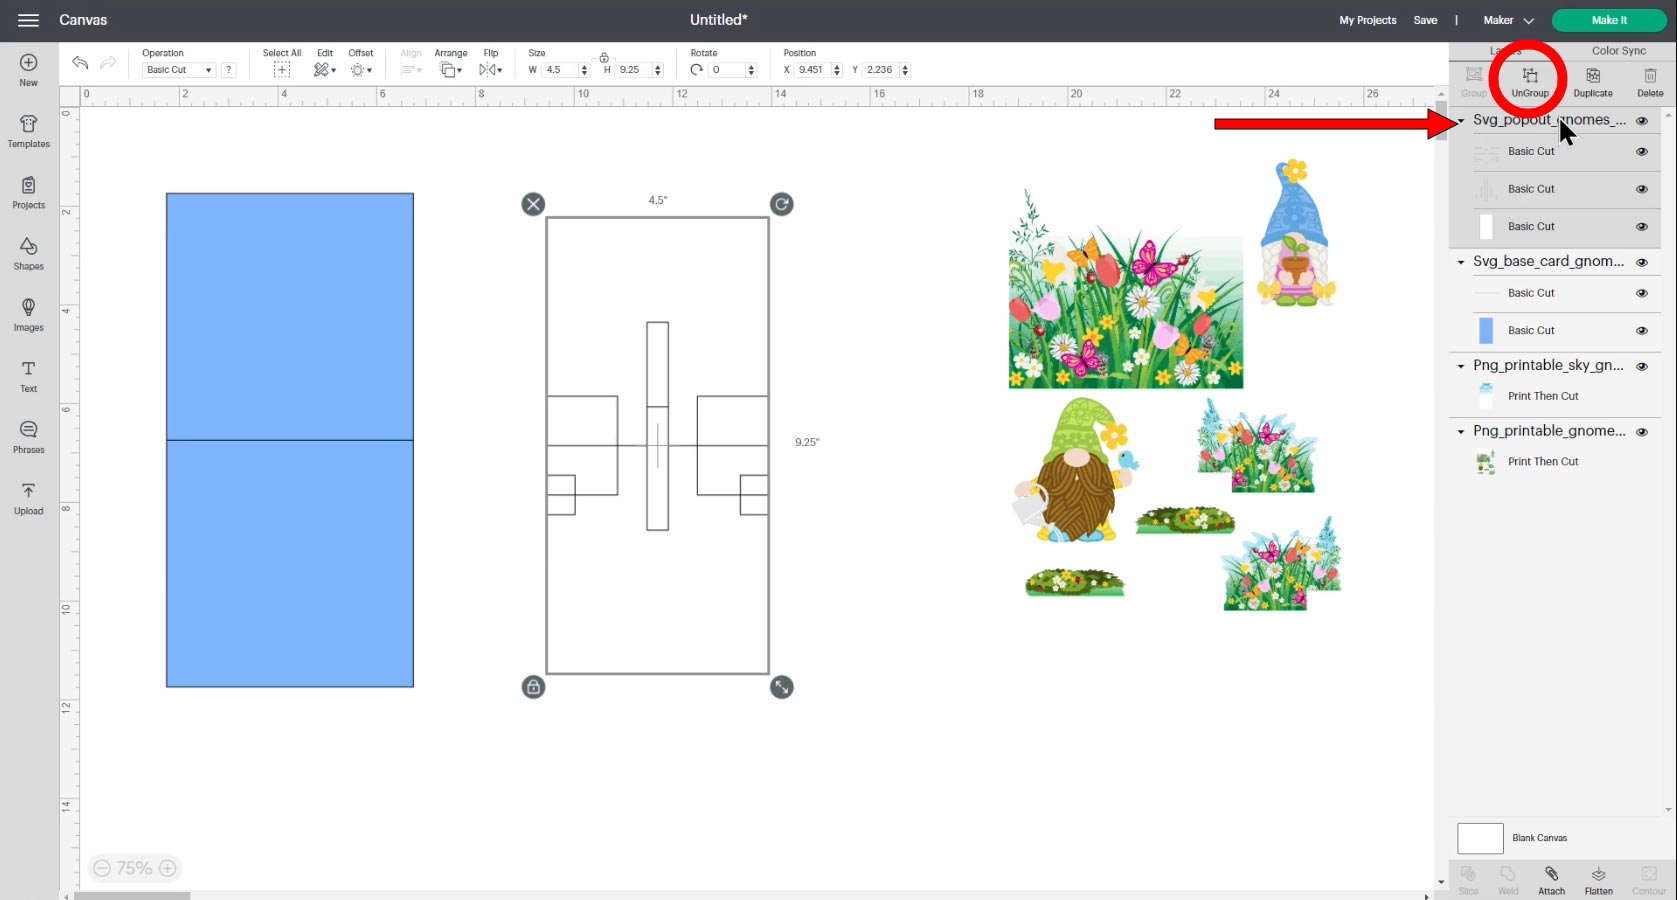
First, make sure the white rectangle “cut image” Group is 4.5 inches wide and 9.25 inches tall.
Select that Group and the clouds image and click “Align” and then “Center” to put them one-on-top of each other.
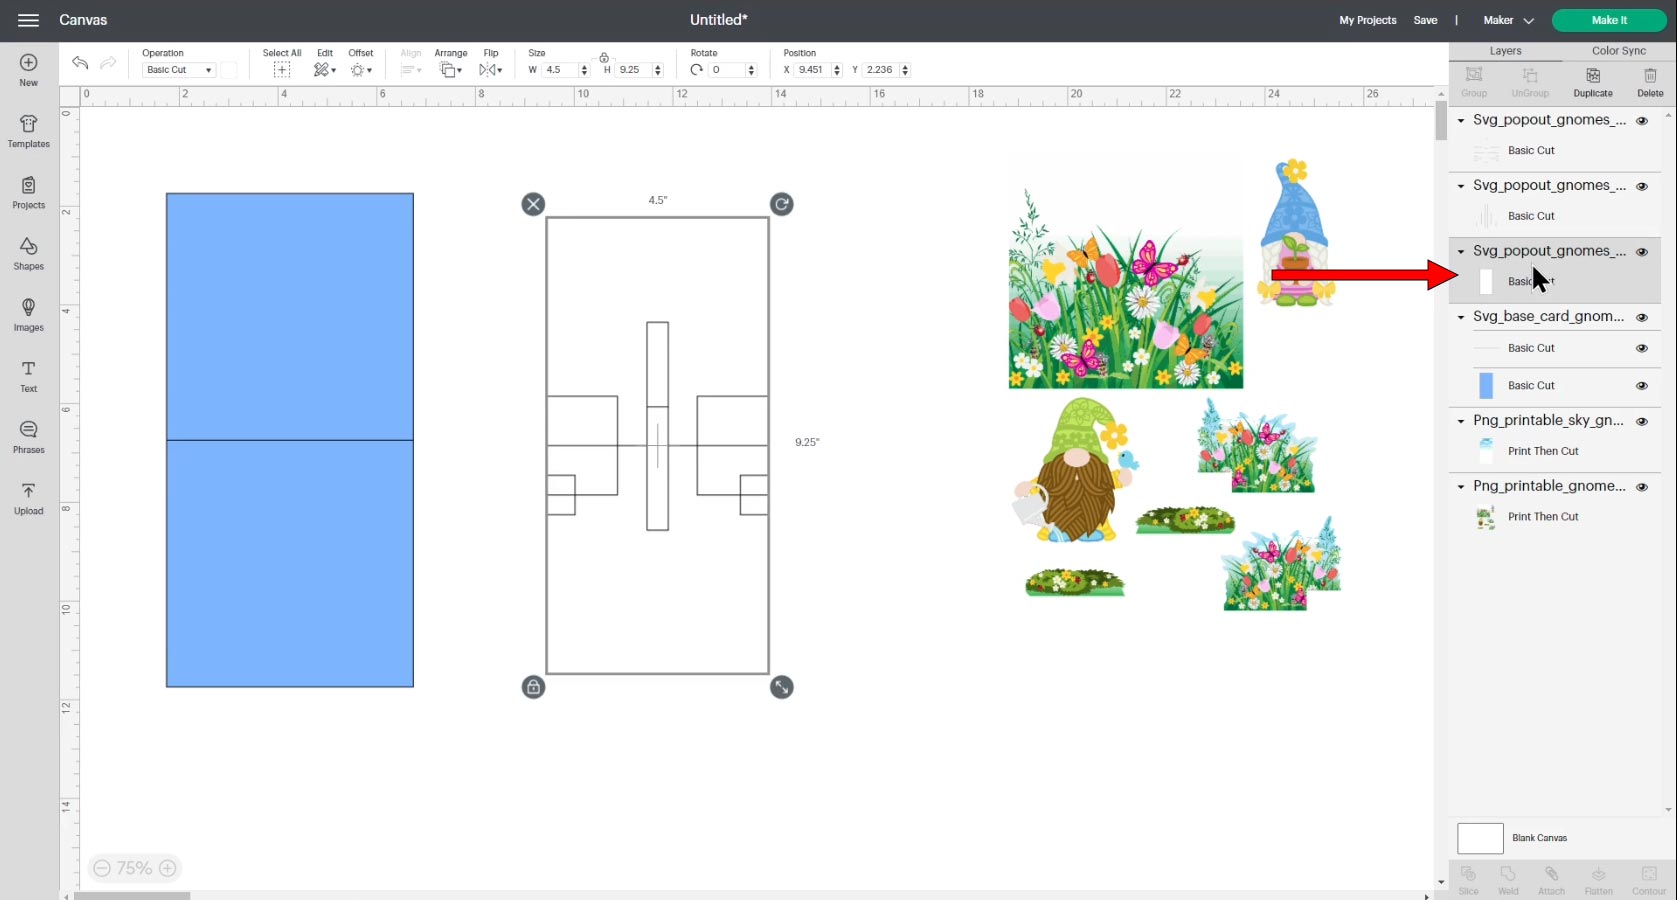
Click on the white rectangle Group in the layers panel and click “UnGroup” to separate out the layers.

Click on the white rectangle layer in the layers panel and press “Delete” on your keyboard.
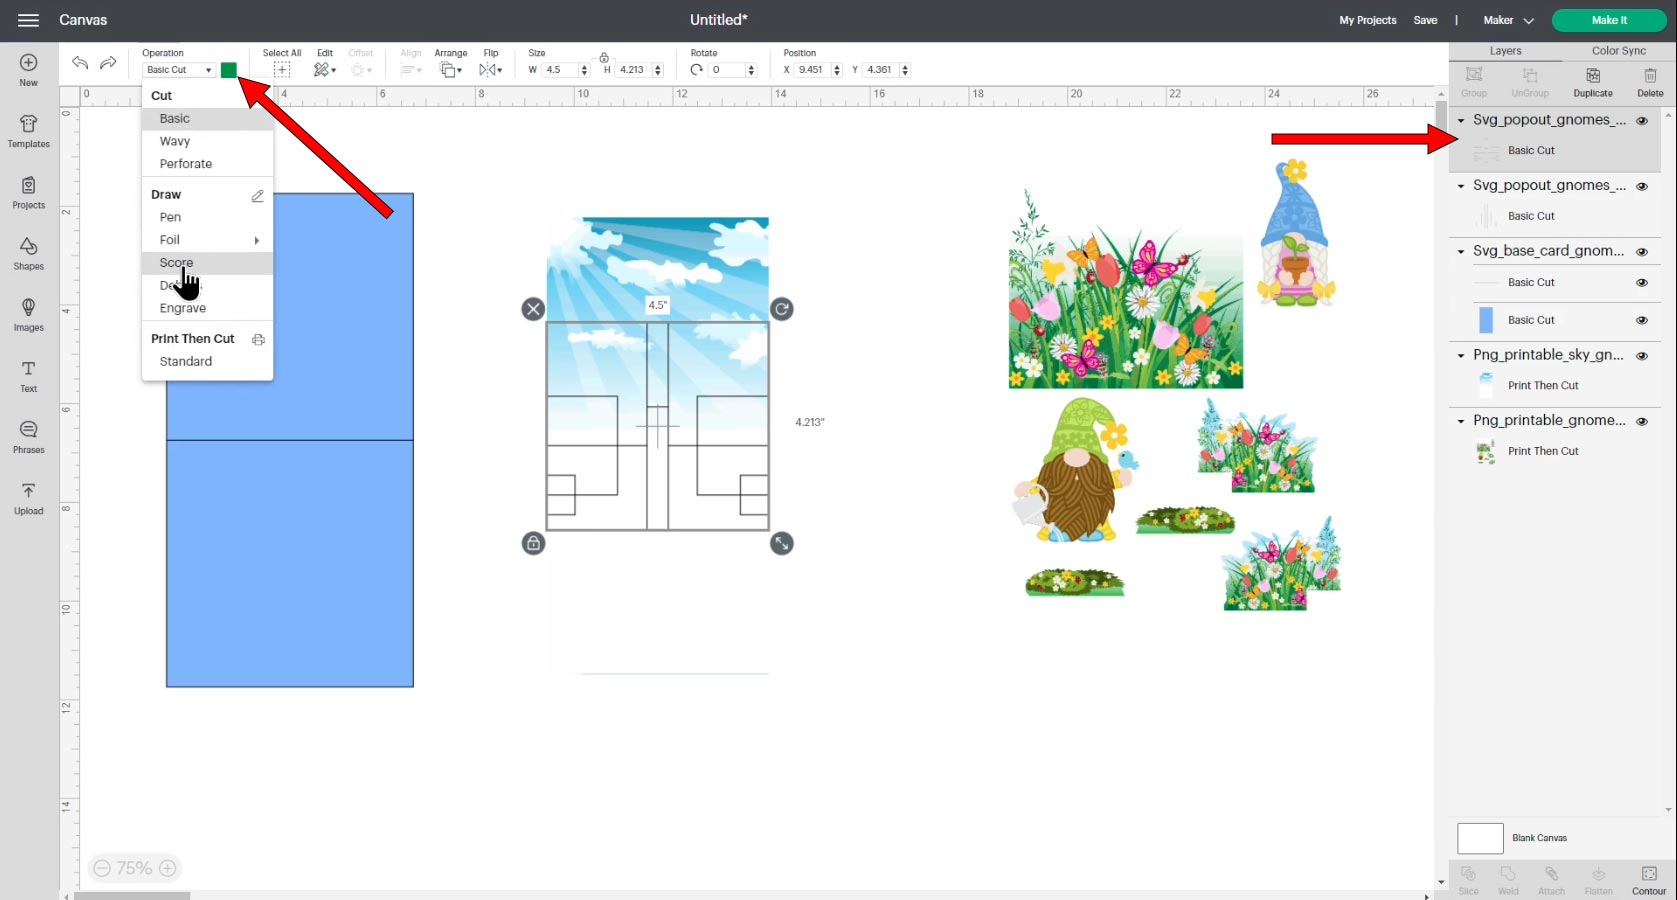
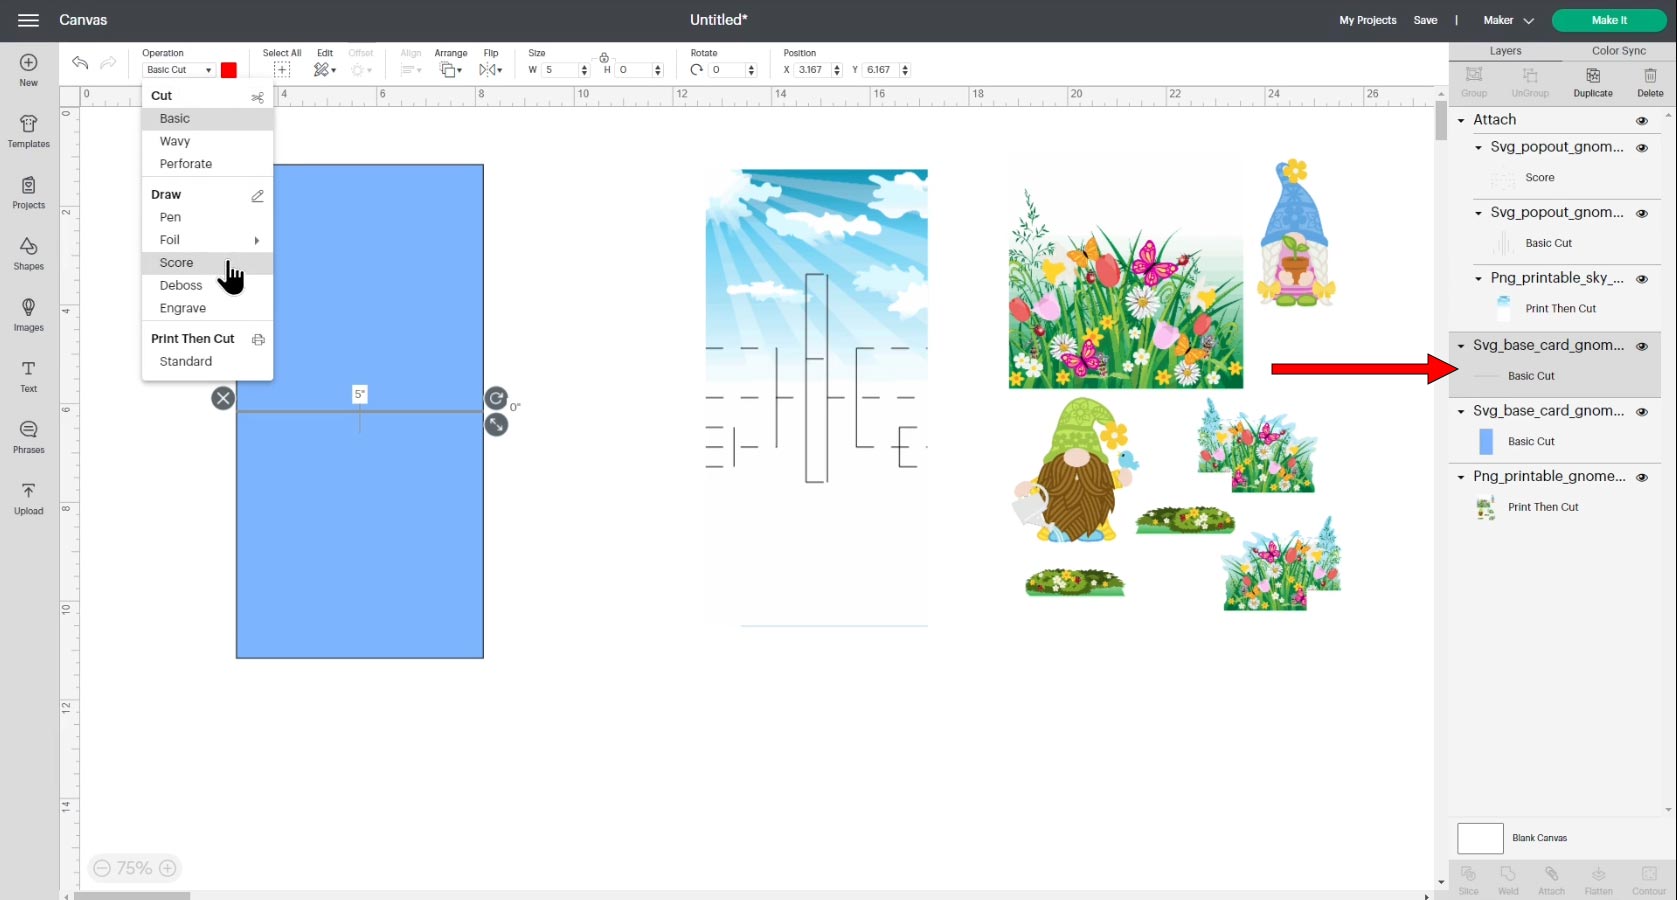
Click on the line layer that shows up as green in the colour box (NOT the one that shows up as red) and change it to a “Score” line in the Operations dropdown menu.
Select the layer that you have just changed to “Score”, the cut line layer underneath it and the Clouds image and press “Attach”.
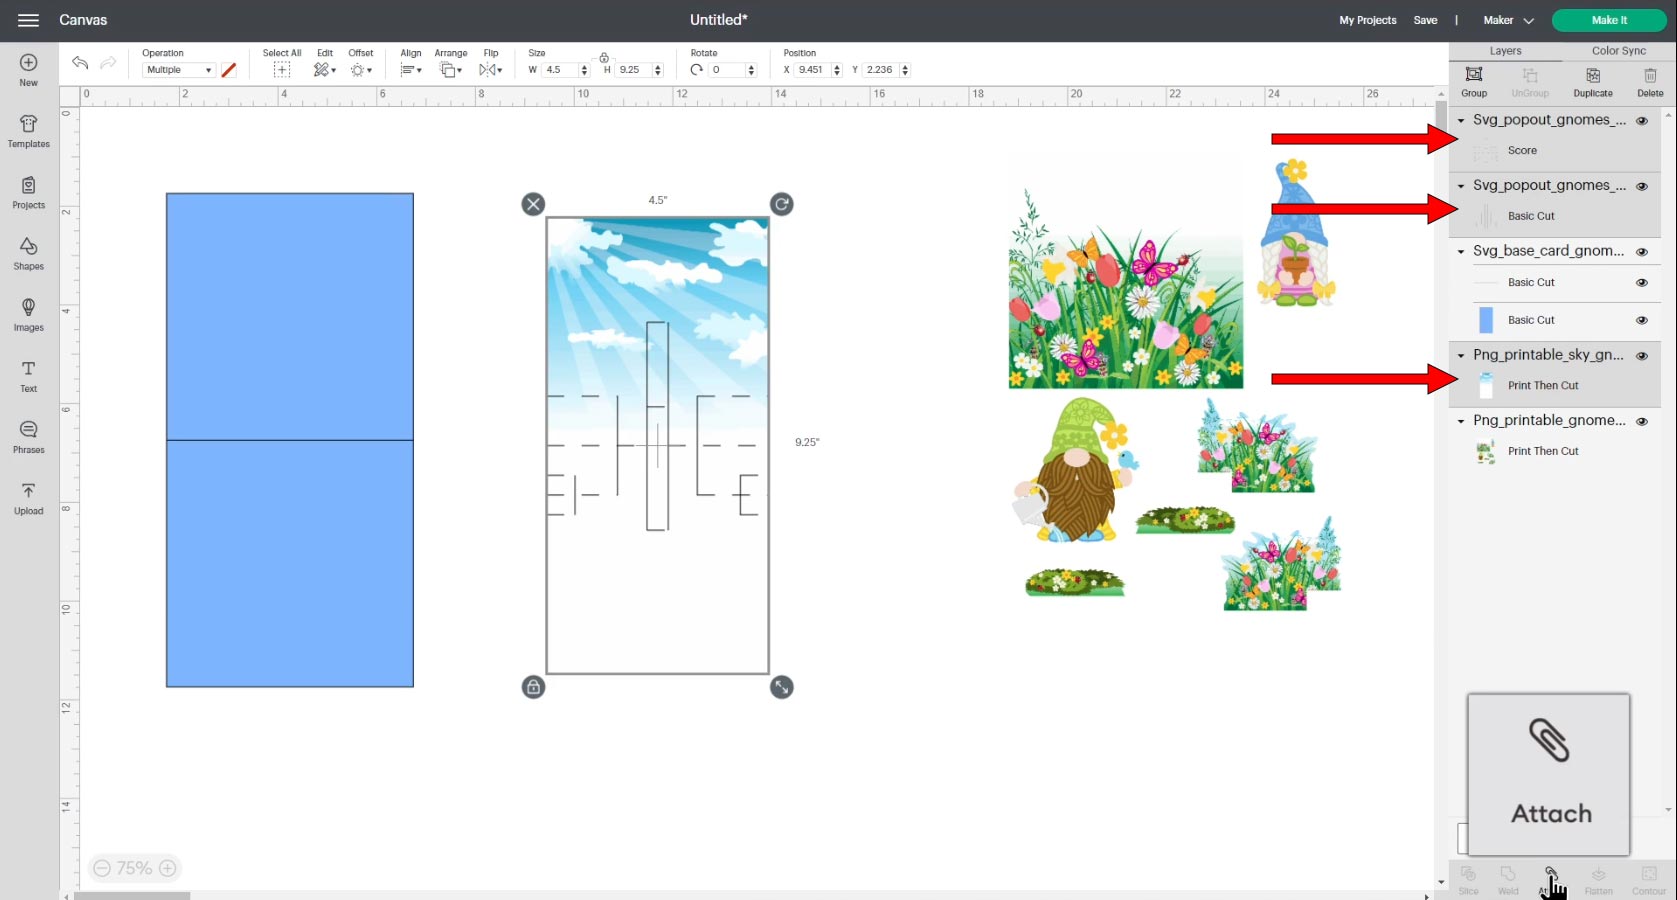
This tells the Cricut that we want it to do those score and line lines on top of the printed clouds.
Step 5) Format the base card
We need to do something similar for the score line on the base card.
Click the blue rectangle group (base card) and press Ungroup.
Click on the layer with the horizontal line and change it to “Score” in the Operations dropdown menu.
Select the blue rectangle and the score line and press “Attach”.
Your layers should now look like this:
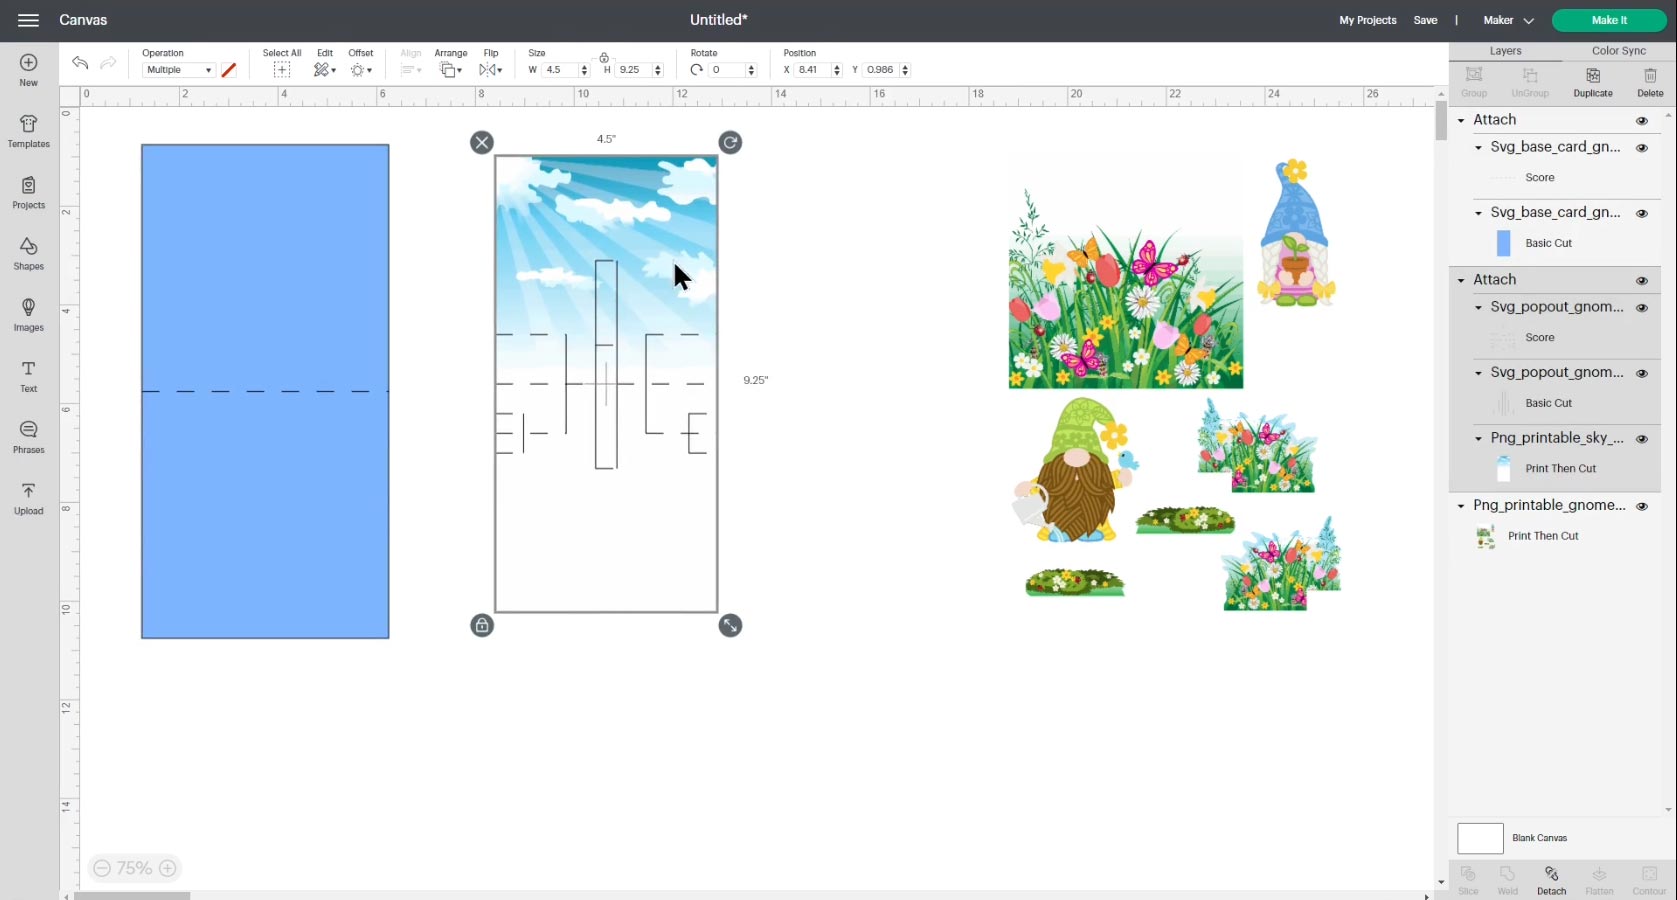
It’s ok if they are in a different order to my screenshot, but you should have the Score lines set as shown, and the relevant layers should be “Attached” to each other.
Save your project at this point so that if you want to make the card again in the future, you don’t need to repeat all of these steps!
Step 6) Cut out the project
Click “Make It” in the top right corner of the screen.
Your screen should look something like this (if the pages are in a different order, that’s fine):
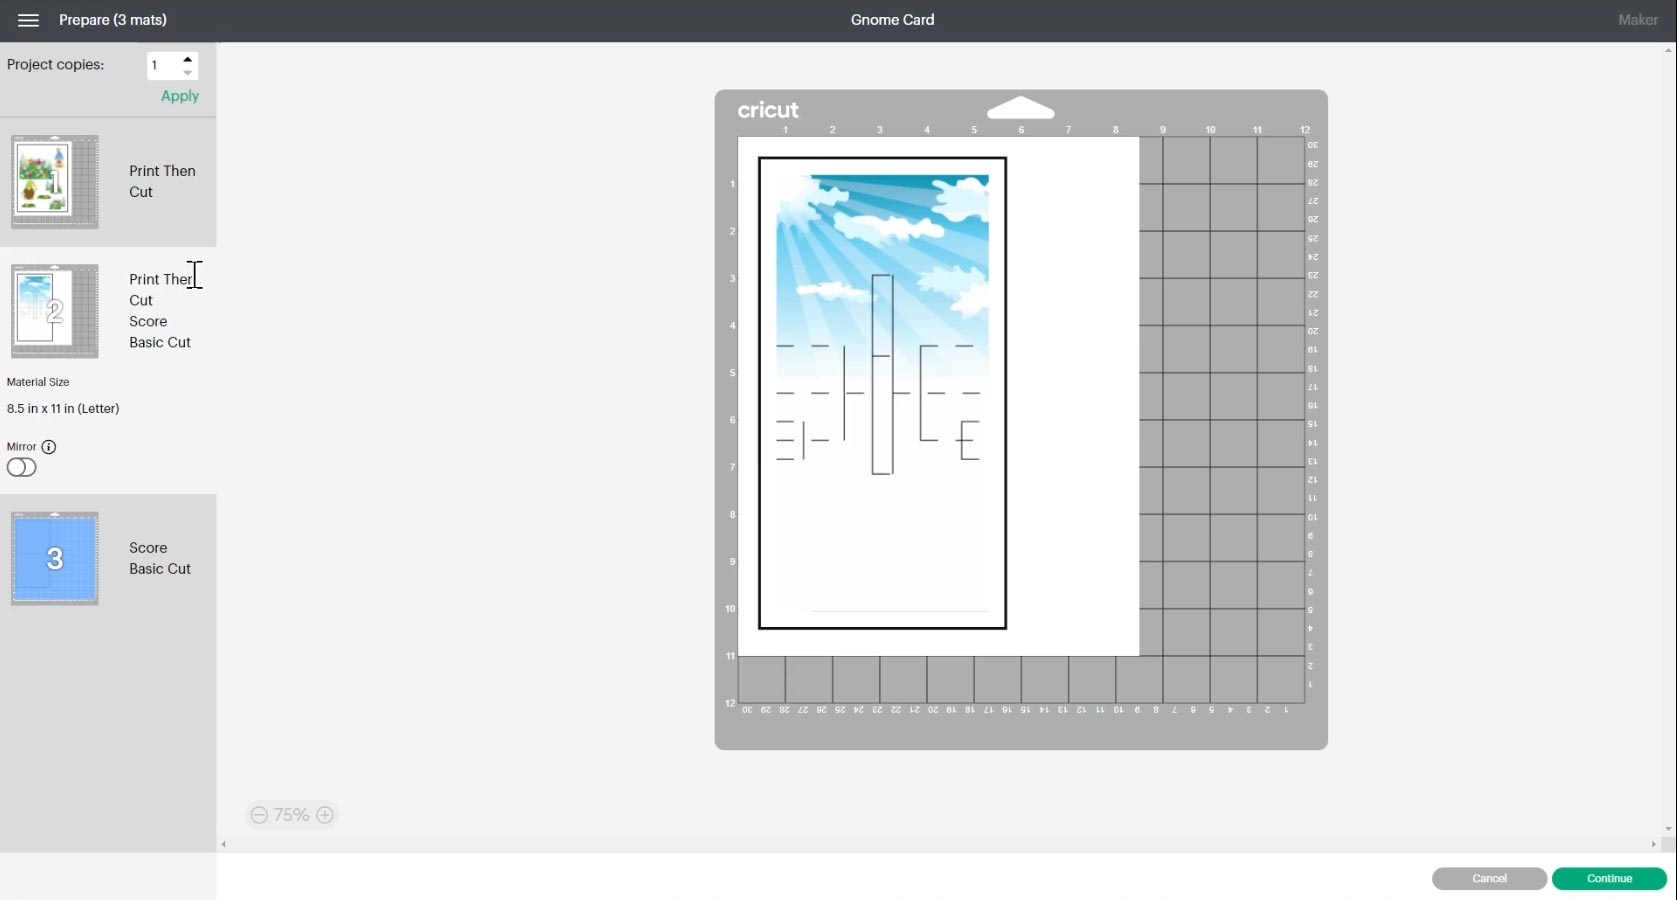
Click the top option on the left (mine is the gnomes/flowers) and click “Continue”, then “Send to Printer”.
You might find that the “preview” of the printout image is messed up. This is a Design Space bug but don’t worry, it will still print correctly. To get it to show correctly, press the “X” on the top right and then click “Send to Printer” again.
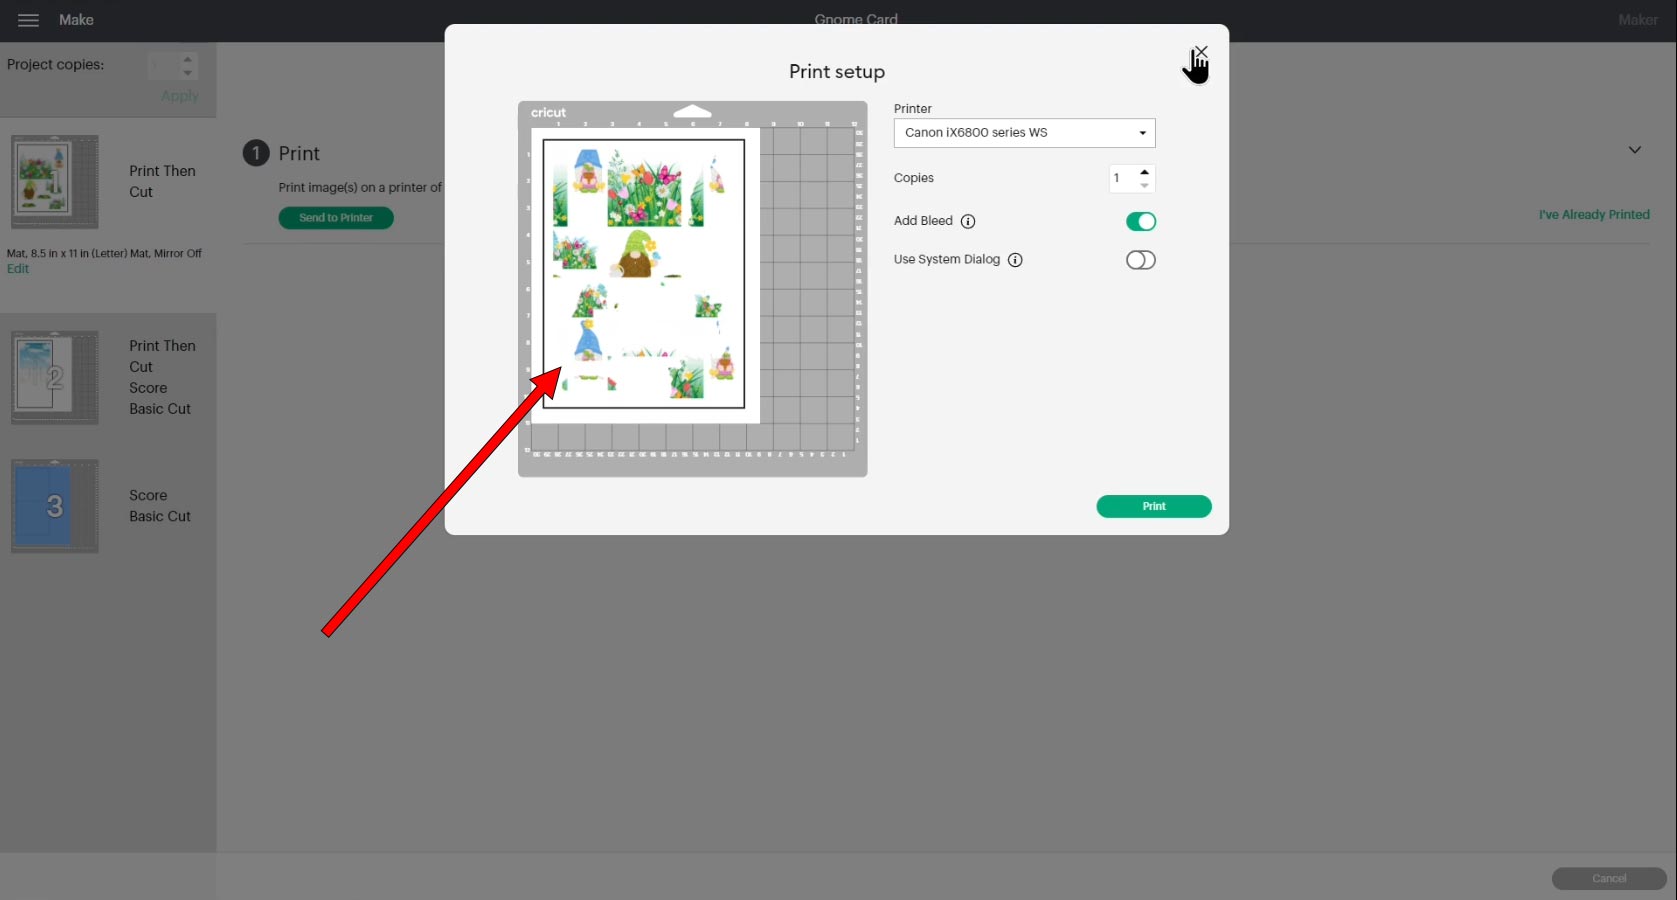
In the printer popup window, make sure the Bleed is ON and also turn on the “Use System Dialog” option.
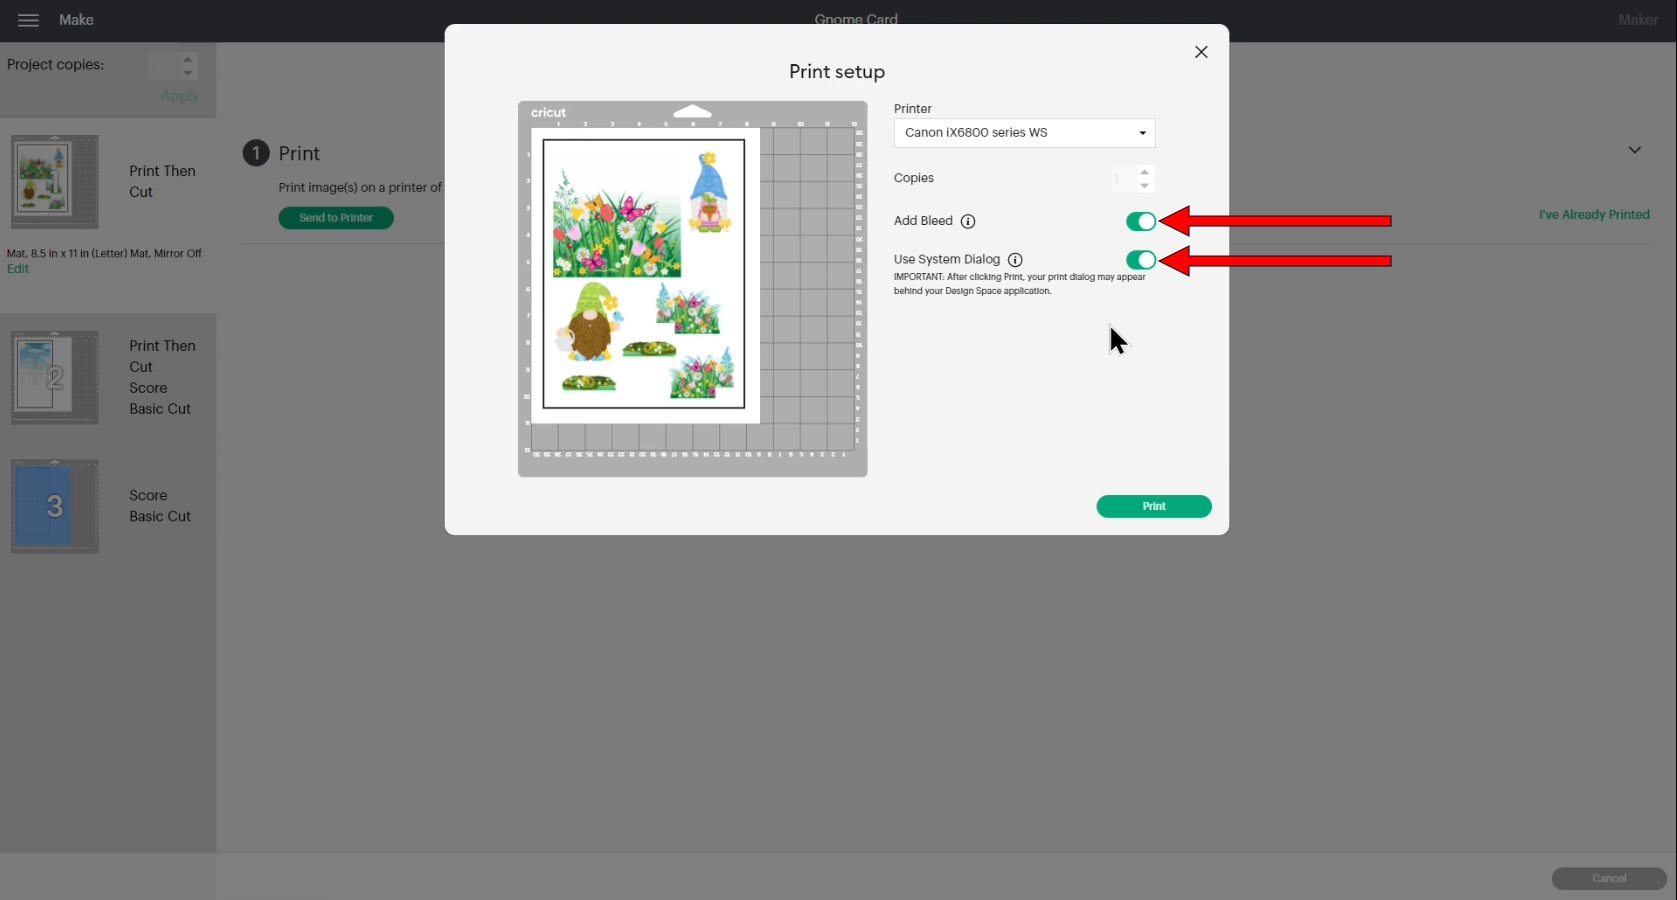
Press “Print”. This will open up your printer settings.
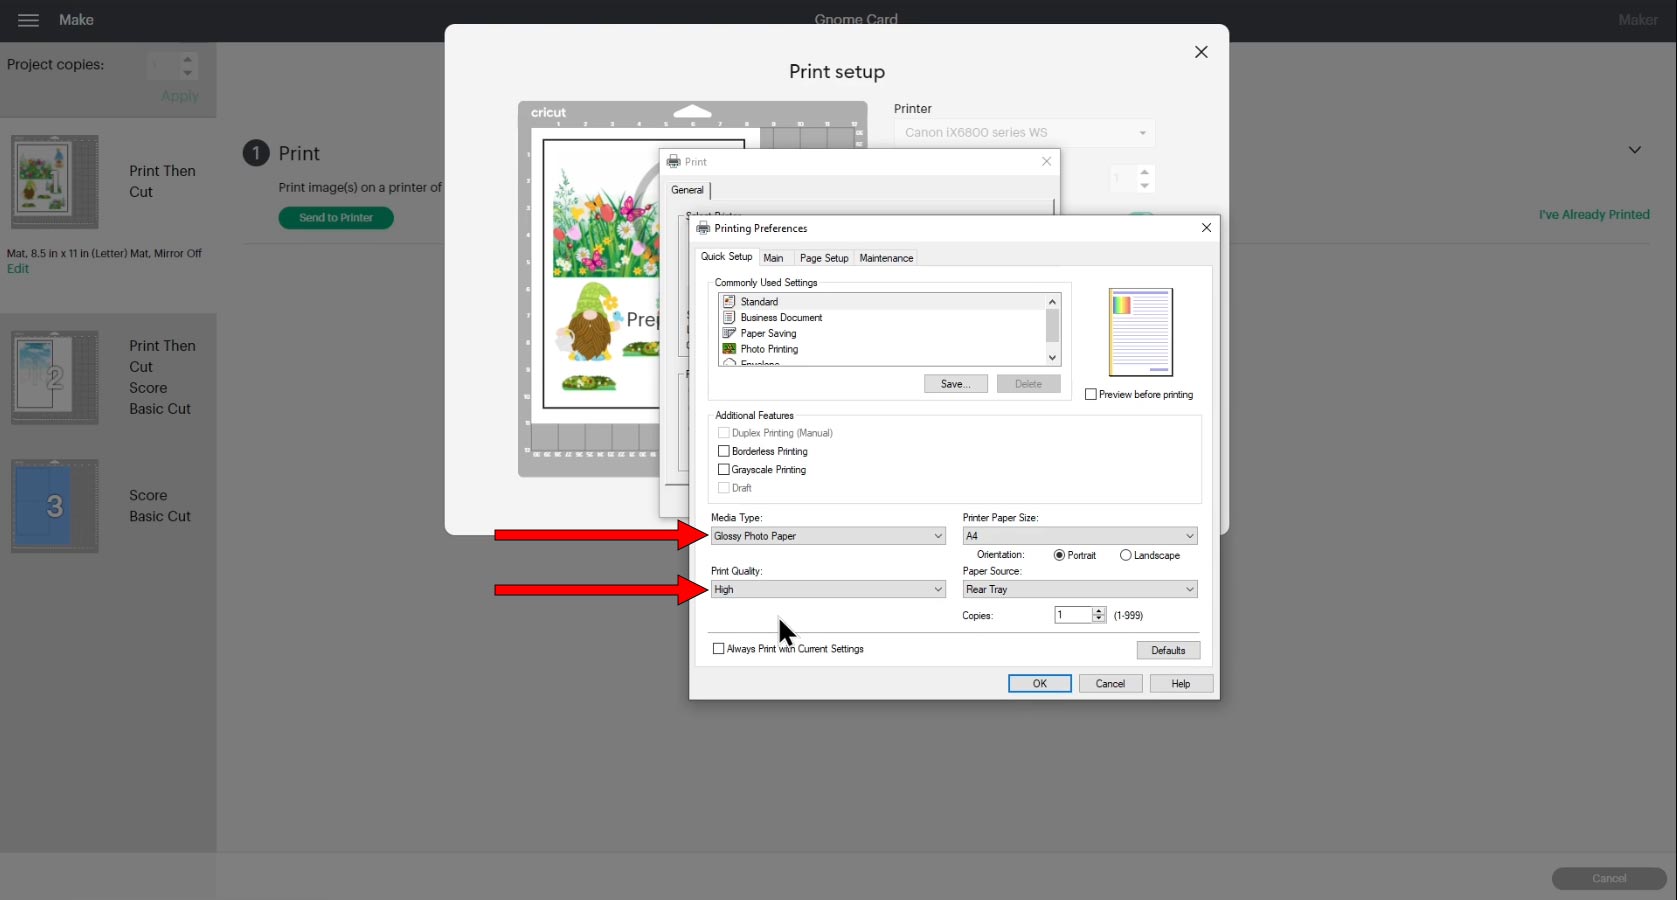
In your printer preferences, select the correct material type that you are printing on (I used glossy photo paper) and change the print settings to the highest quality available.
Note – a black border will be printed around the edge of the image. This is completely normal. Cricut uses this black border to line up its sensors so it knows where to cut.
Follow the instructions on-screen to print then cut all the sheets to make this card.
You will need a scoring wheel or scoring styles for the clouds image and the main base card.
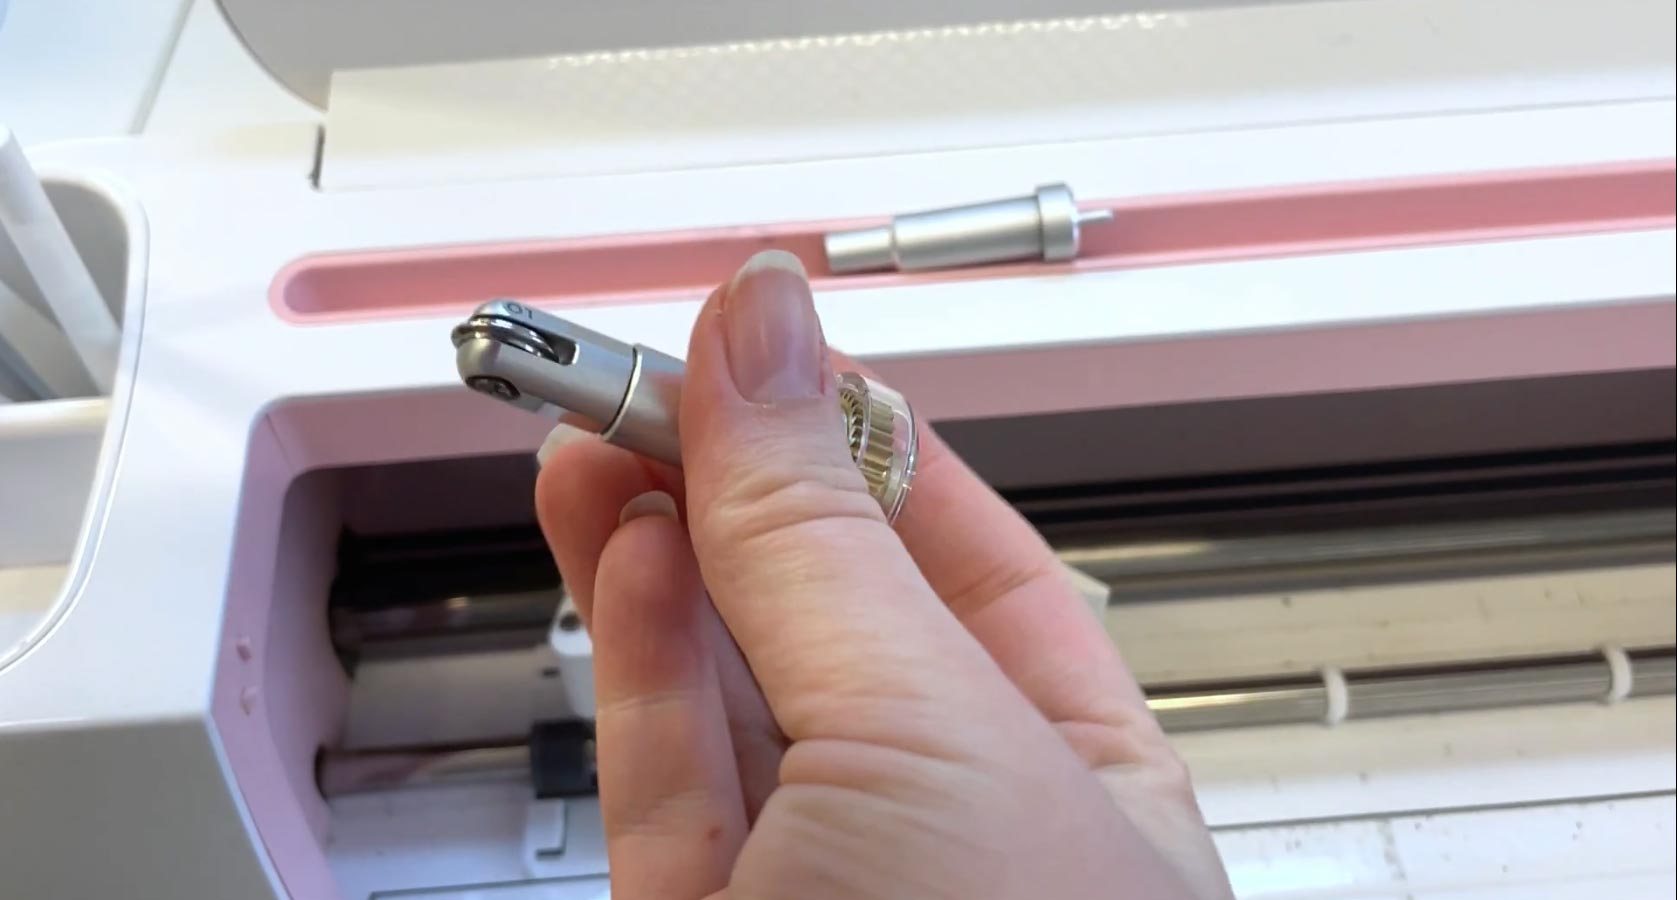
New to print then cut? Watch the video at the top of this page for a full step-by-step guide on how it works.
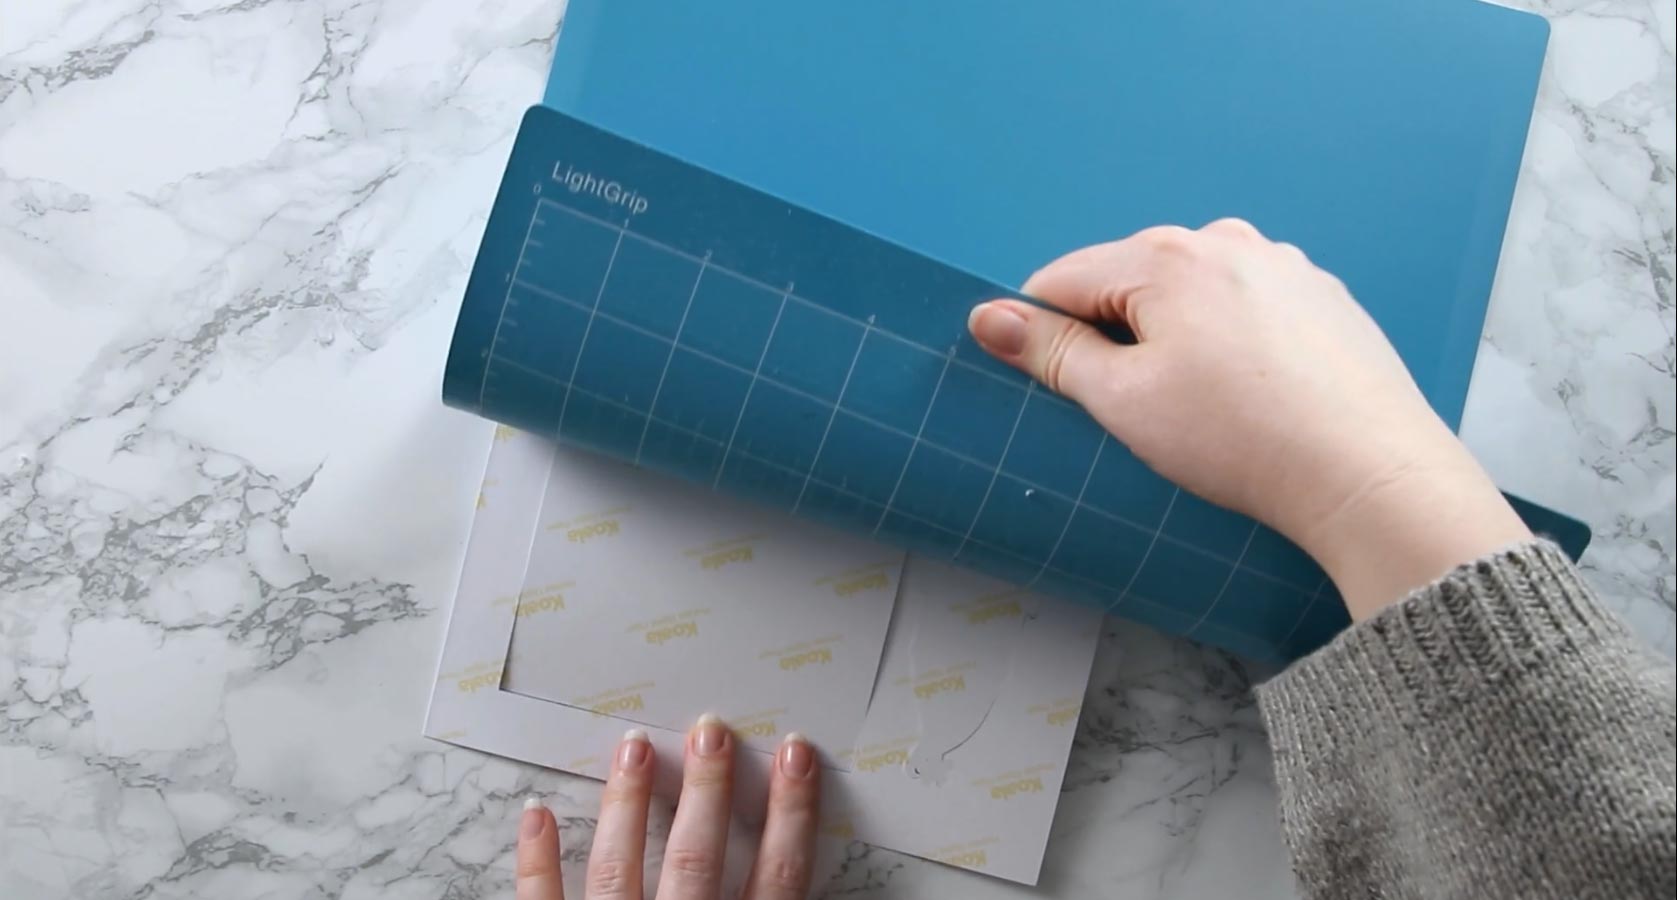
A tip for getting cardstock off your cutting mat without it bending/warping is to turn the mat upside down and gently bend the mat away from the card, using your other hand to keep the card flat along your work surface.
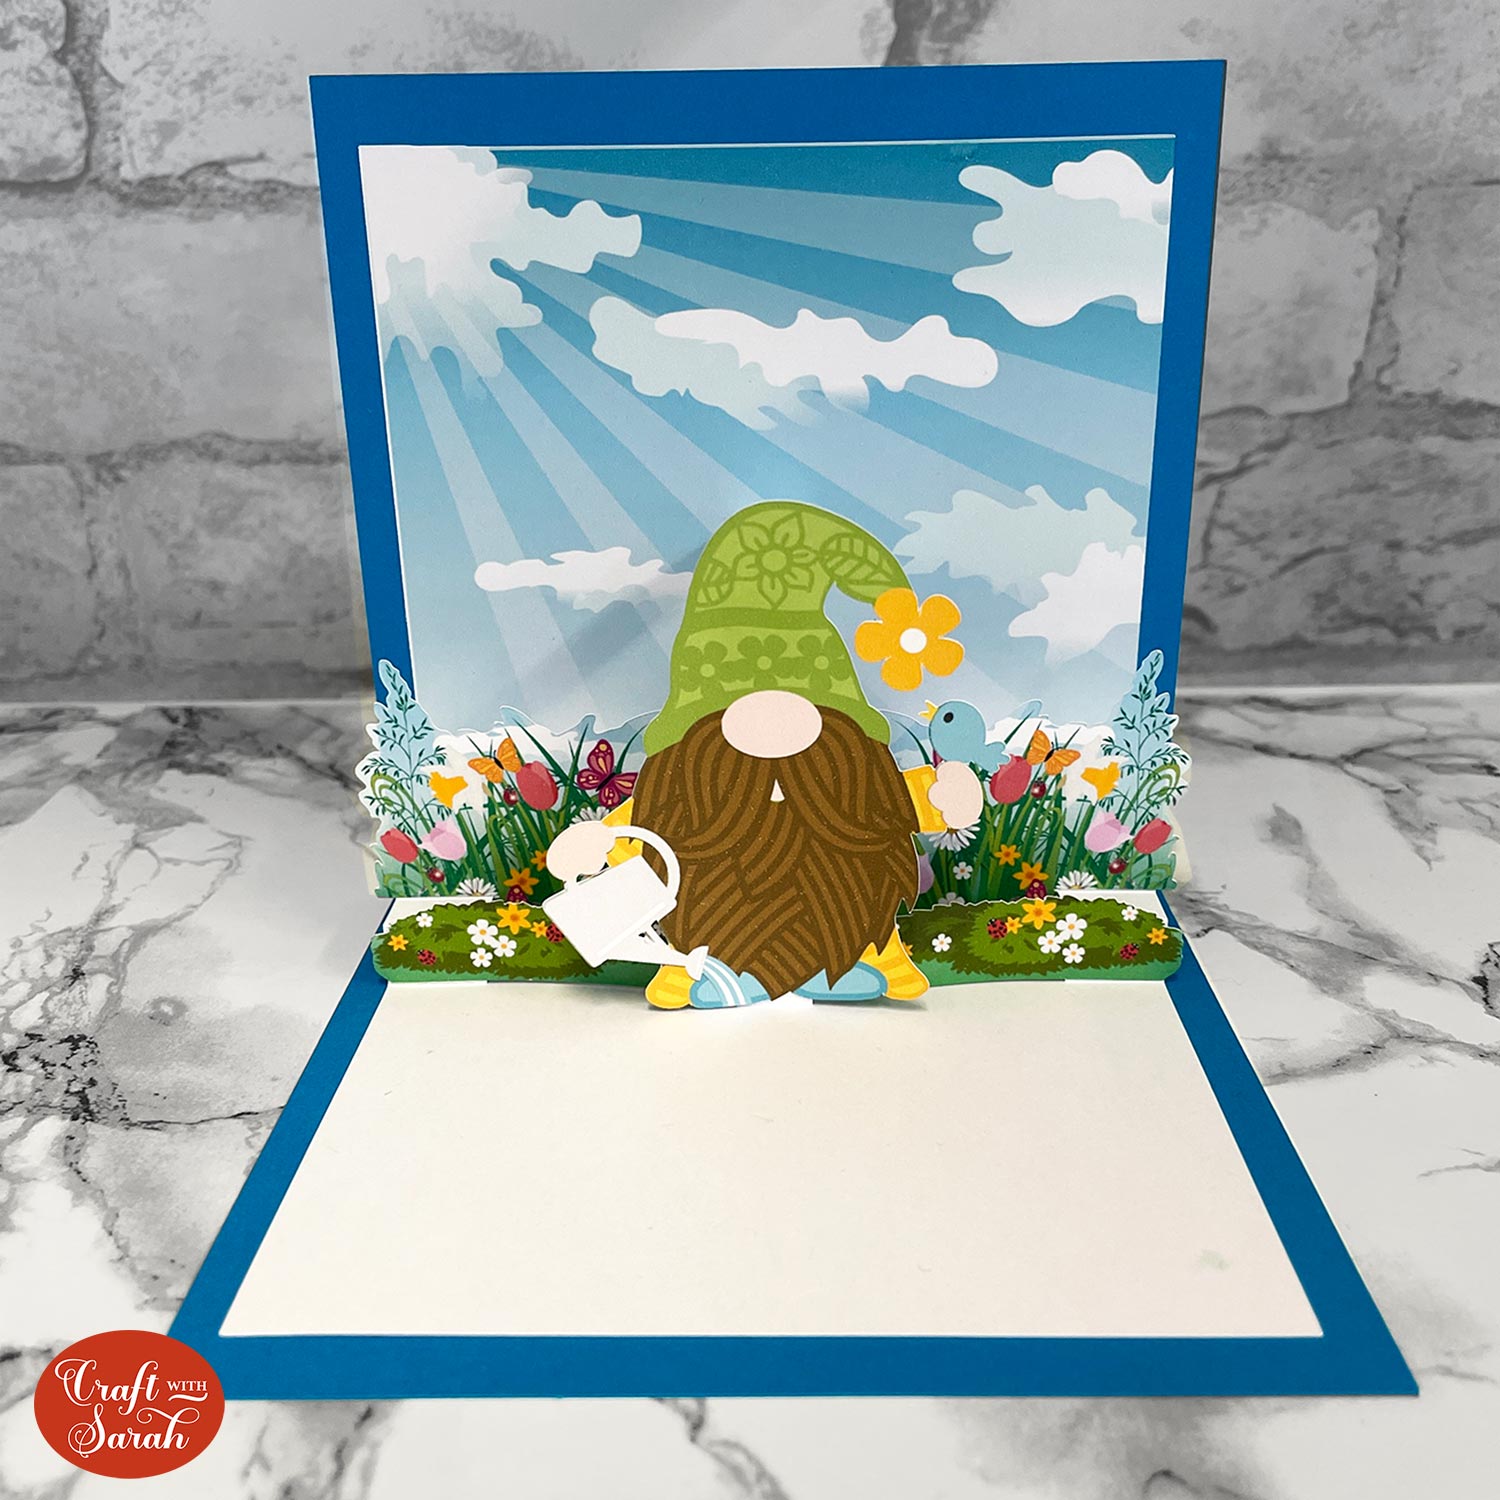
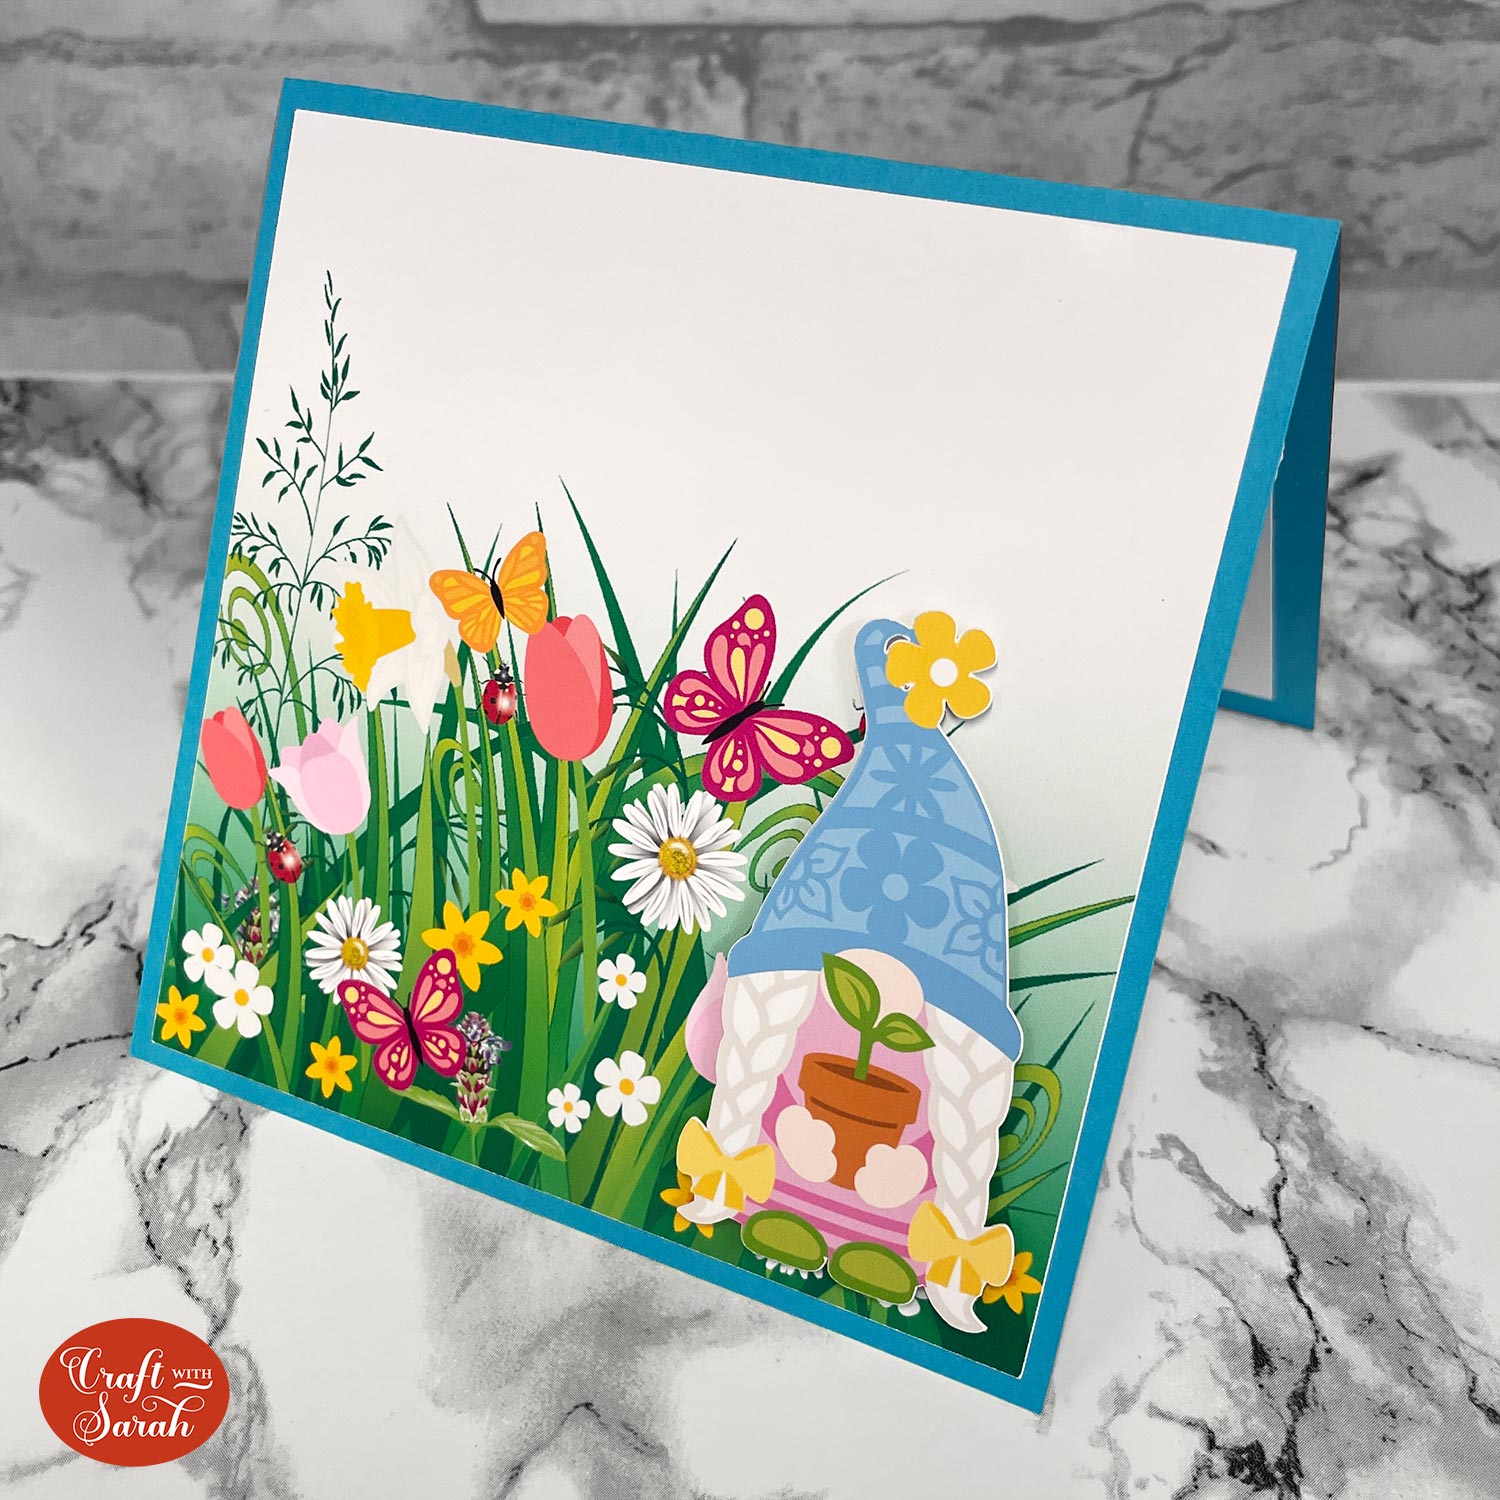
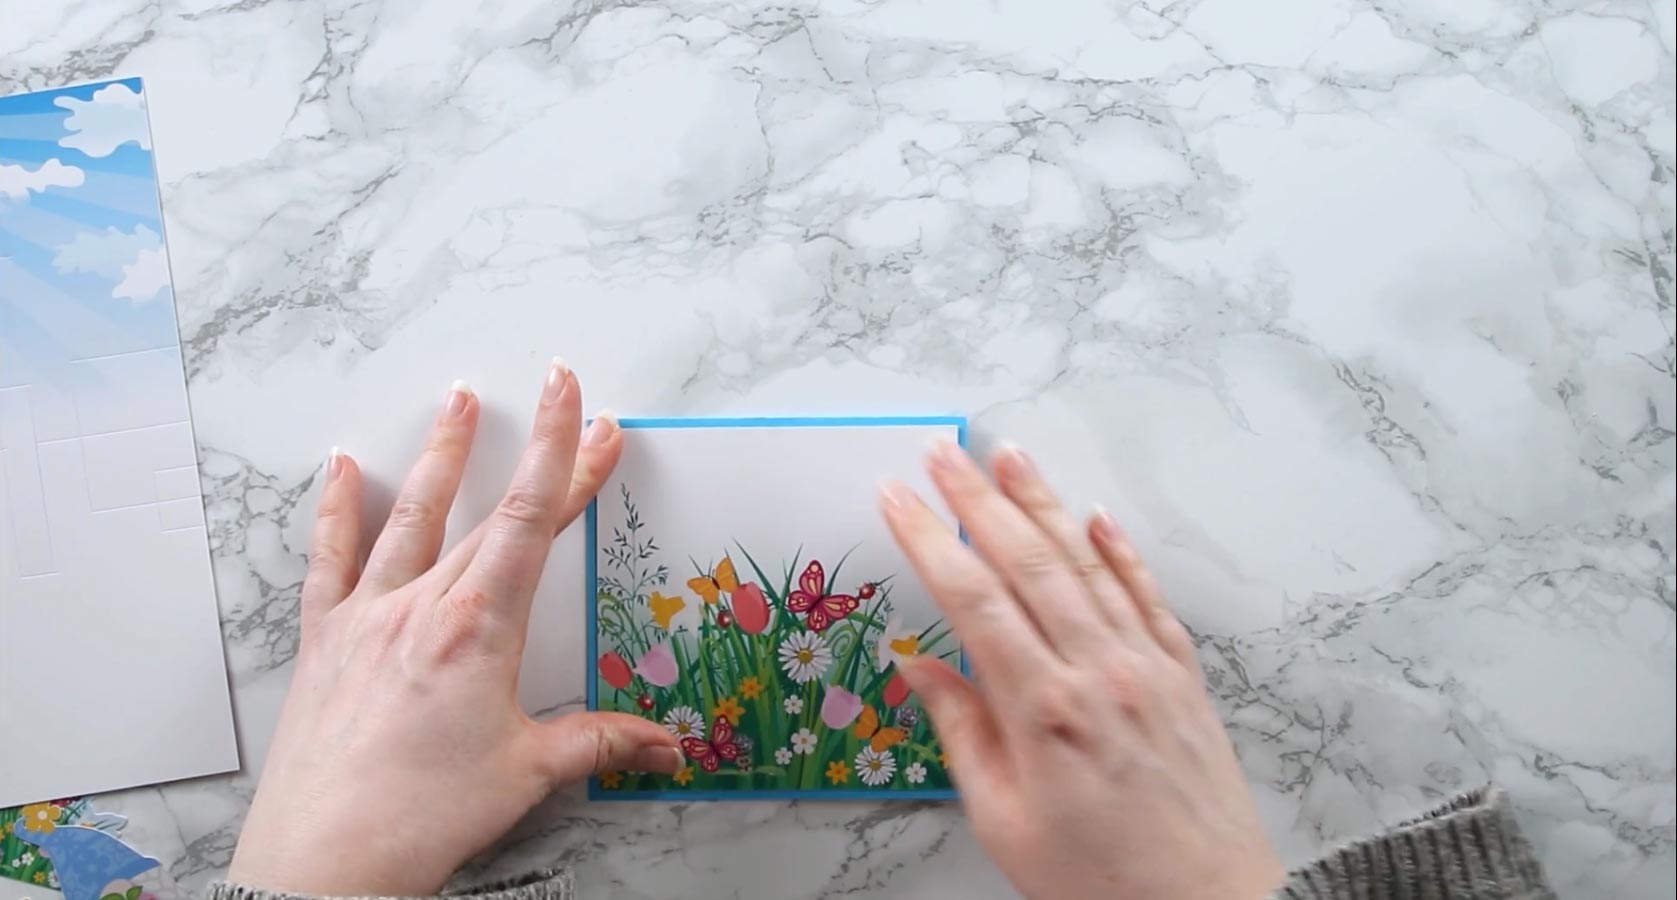
Step 7) Stick the front of the card
Fold the base card in half along the score line.
Glue the floral square image to the front.
IMPORTANT – the score line for the card needs to be at the TOP of the card (i.e. this is a “tent fold” card).
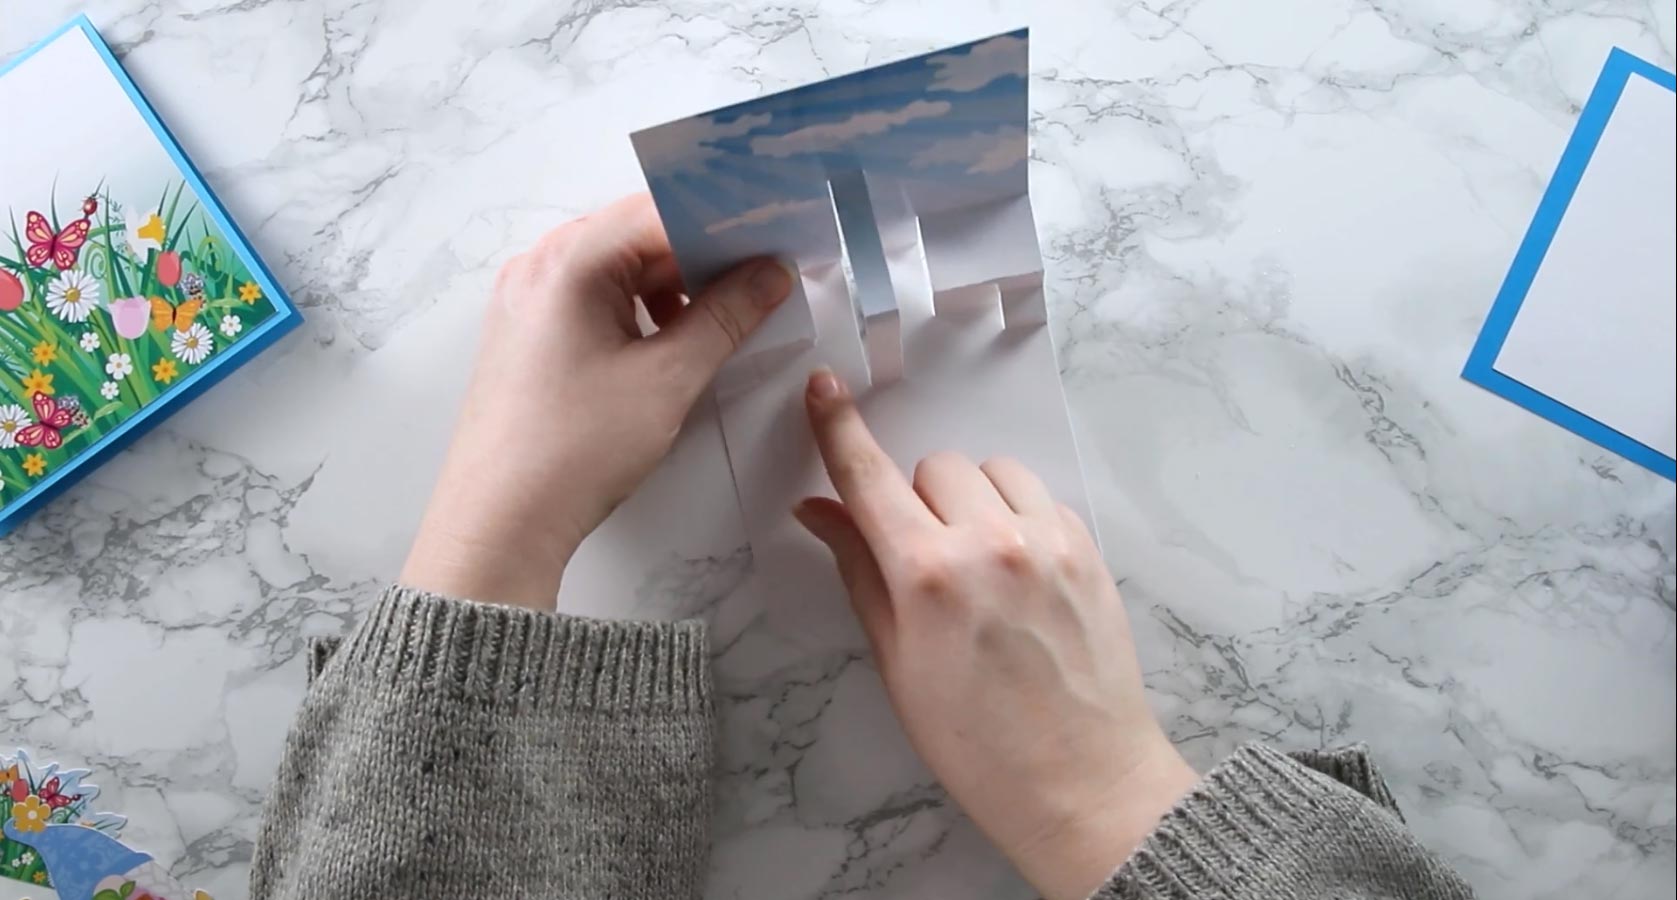
Step 8) Fold the popout insert
Fold the score lines of the popout insert using the following guide:
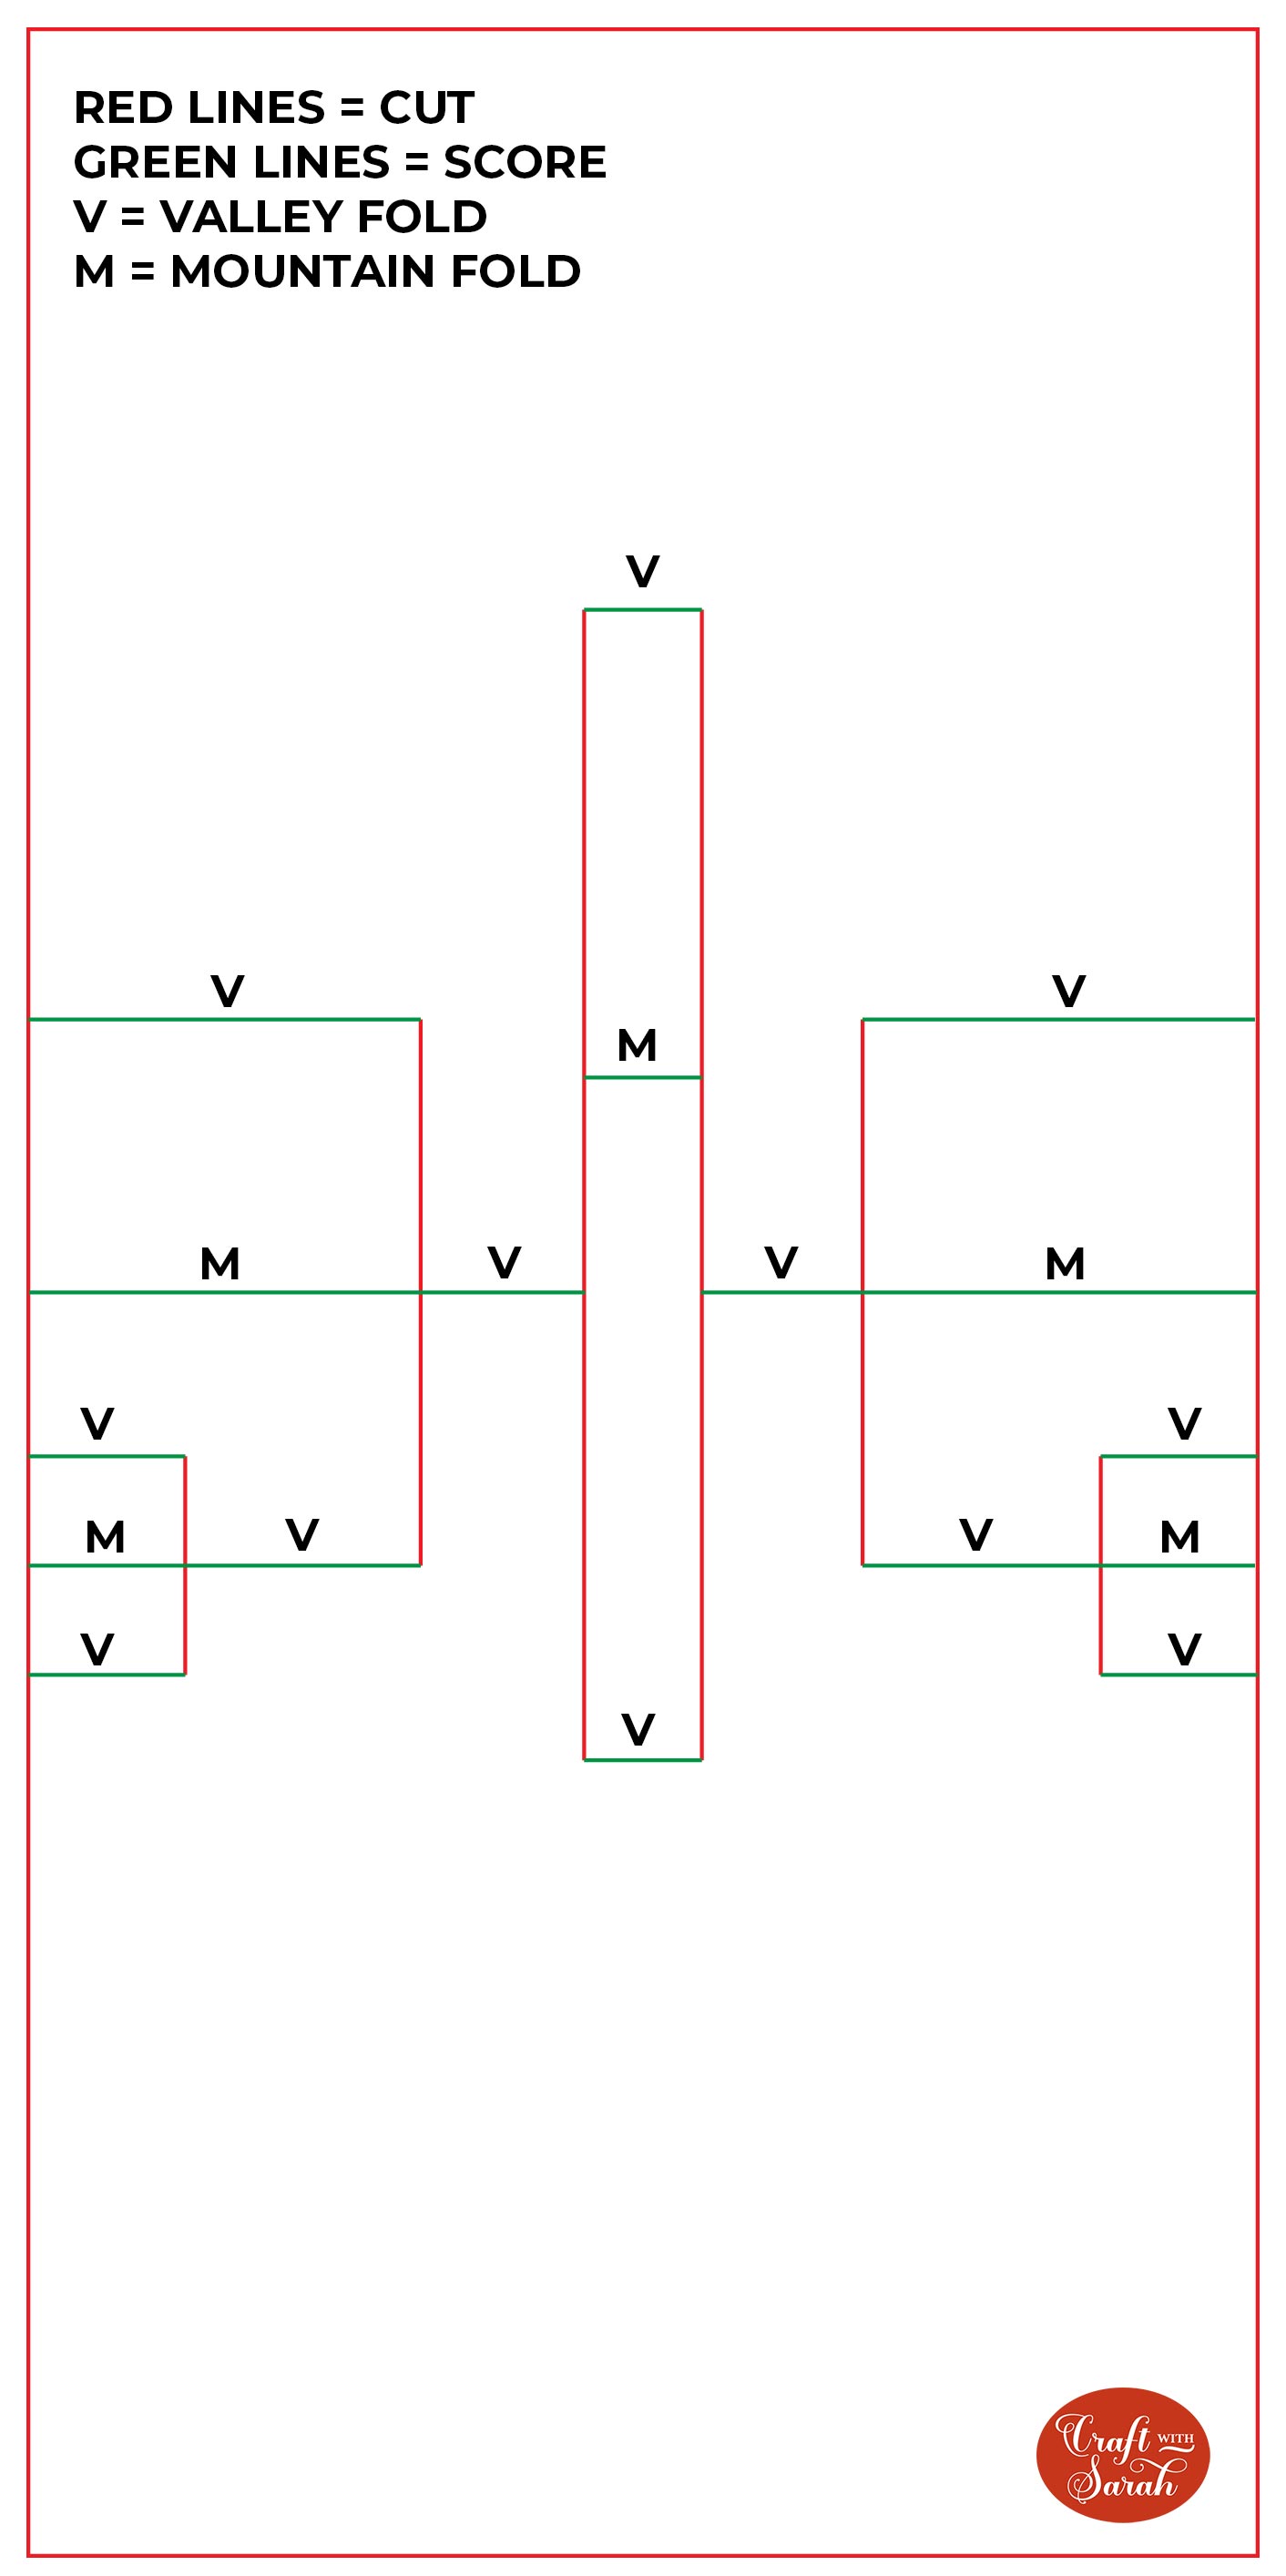
Mountain folds are when the “point” of the fold is at the top so it looks like a mountain. A valley fold is when the fold goes download so it looks like the letter “V”.
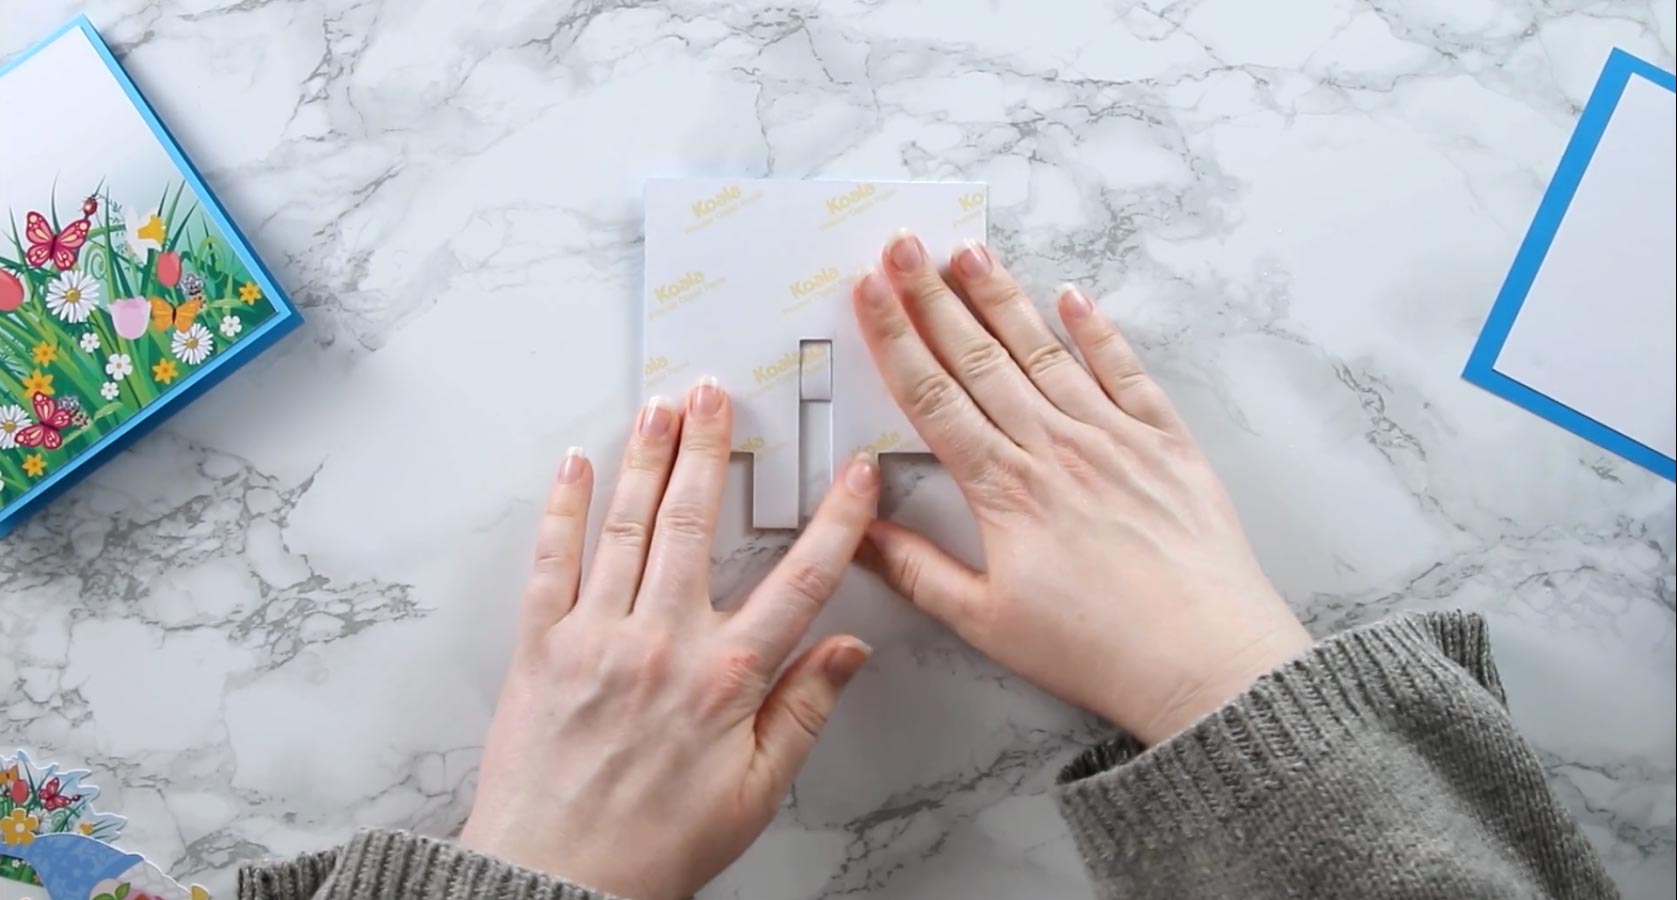
It should look like this when done:
Close the pop out insert and press it down along all the fold lines to get a crisp, strong fold along each of them. Turn it upside down and do the same on the other side.
Step 9) Glue the popout insert inside the base card
All glue to the back of the popout insert where shown on the image below. Do NOT add it anywhere else!
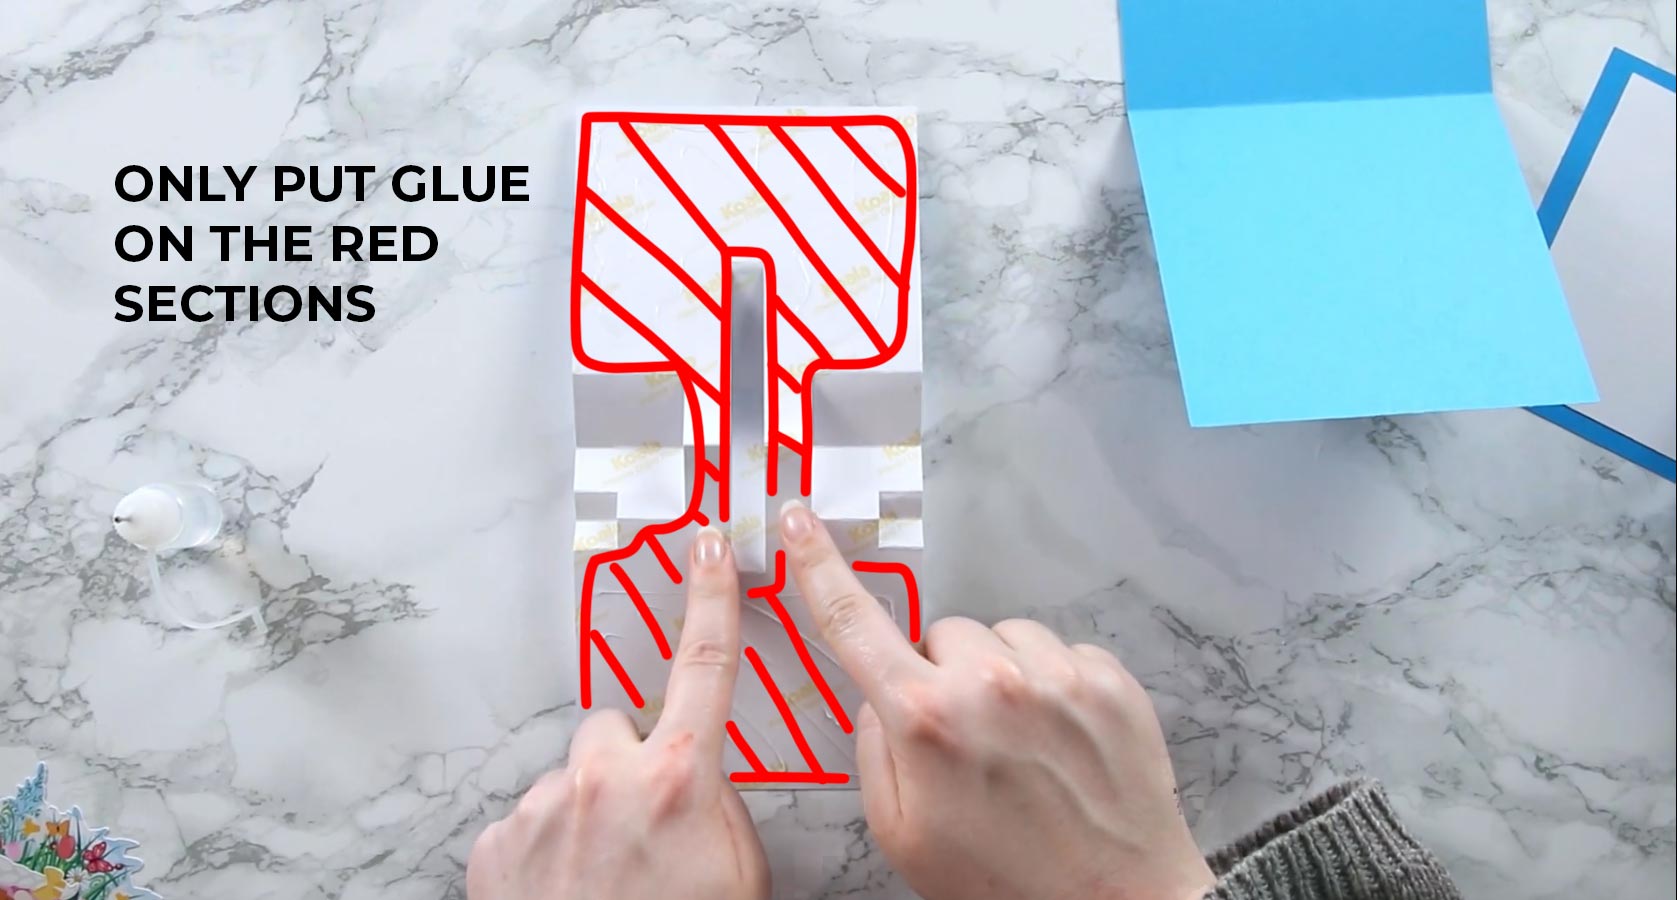
Glue to the inside of the base card.

Step 10) Add the printed elements
Put glue on the forward-facing parts of the back rectangle shapes.
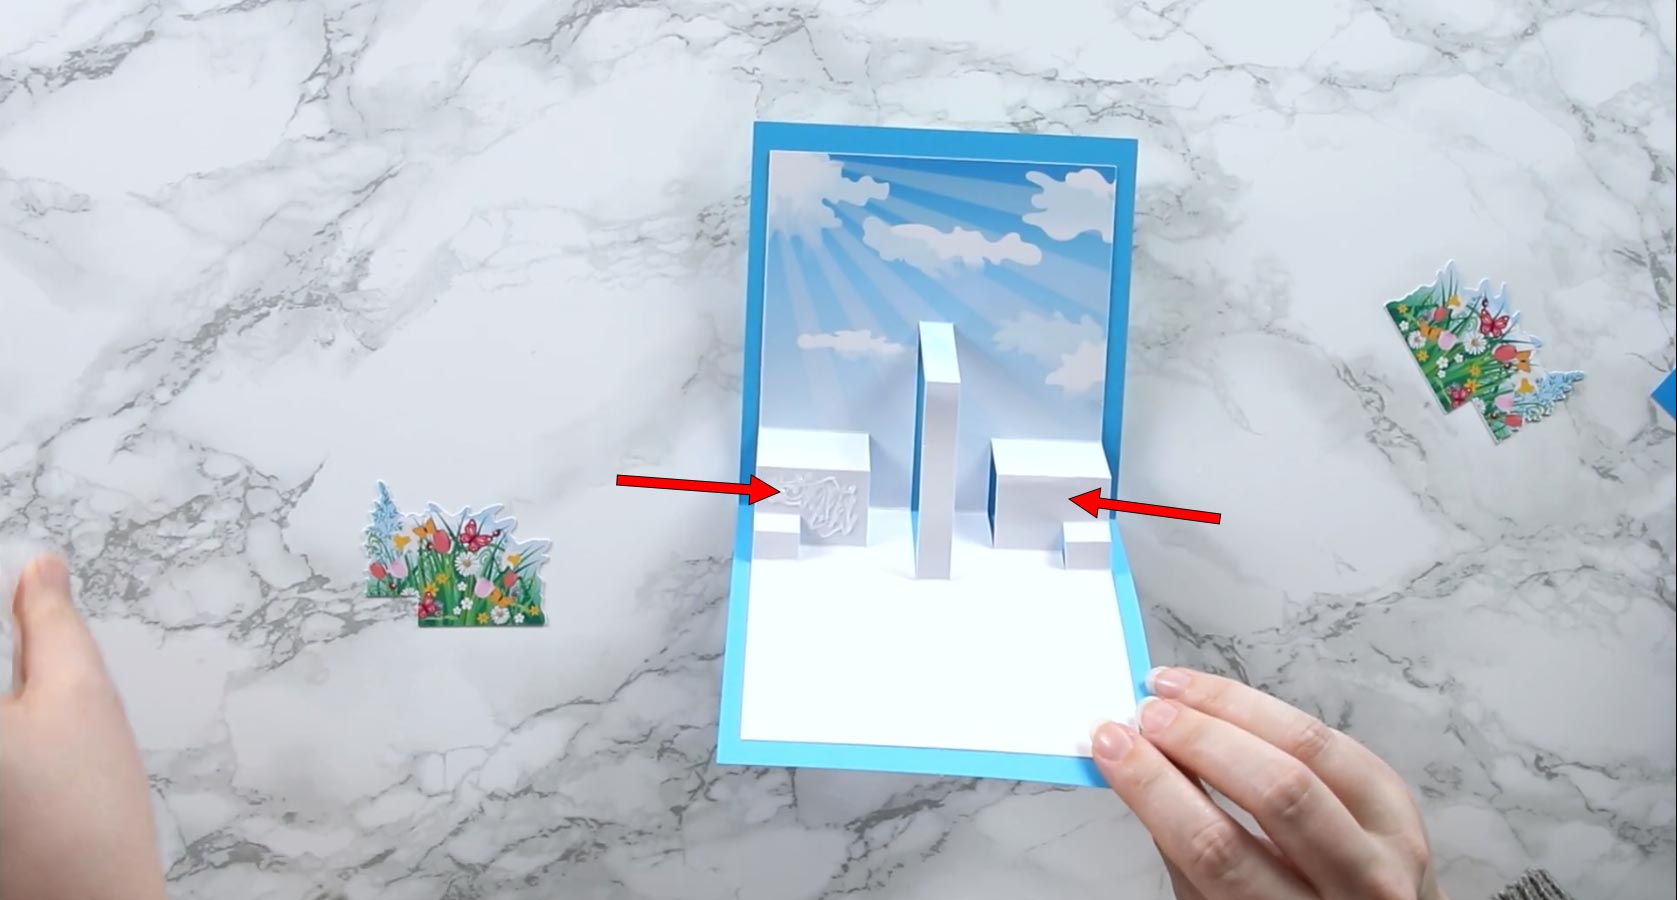
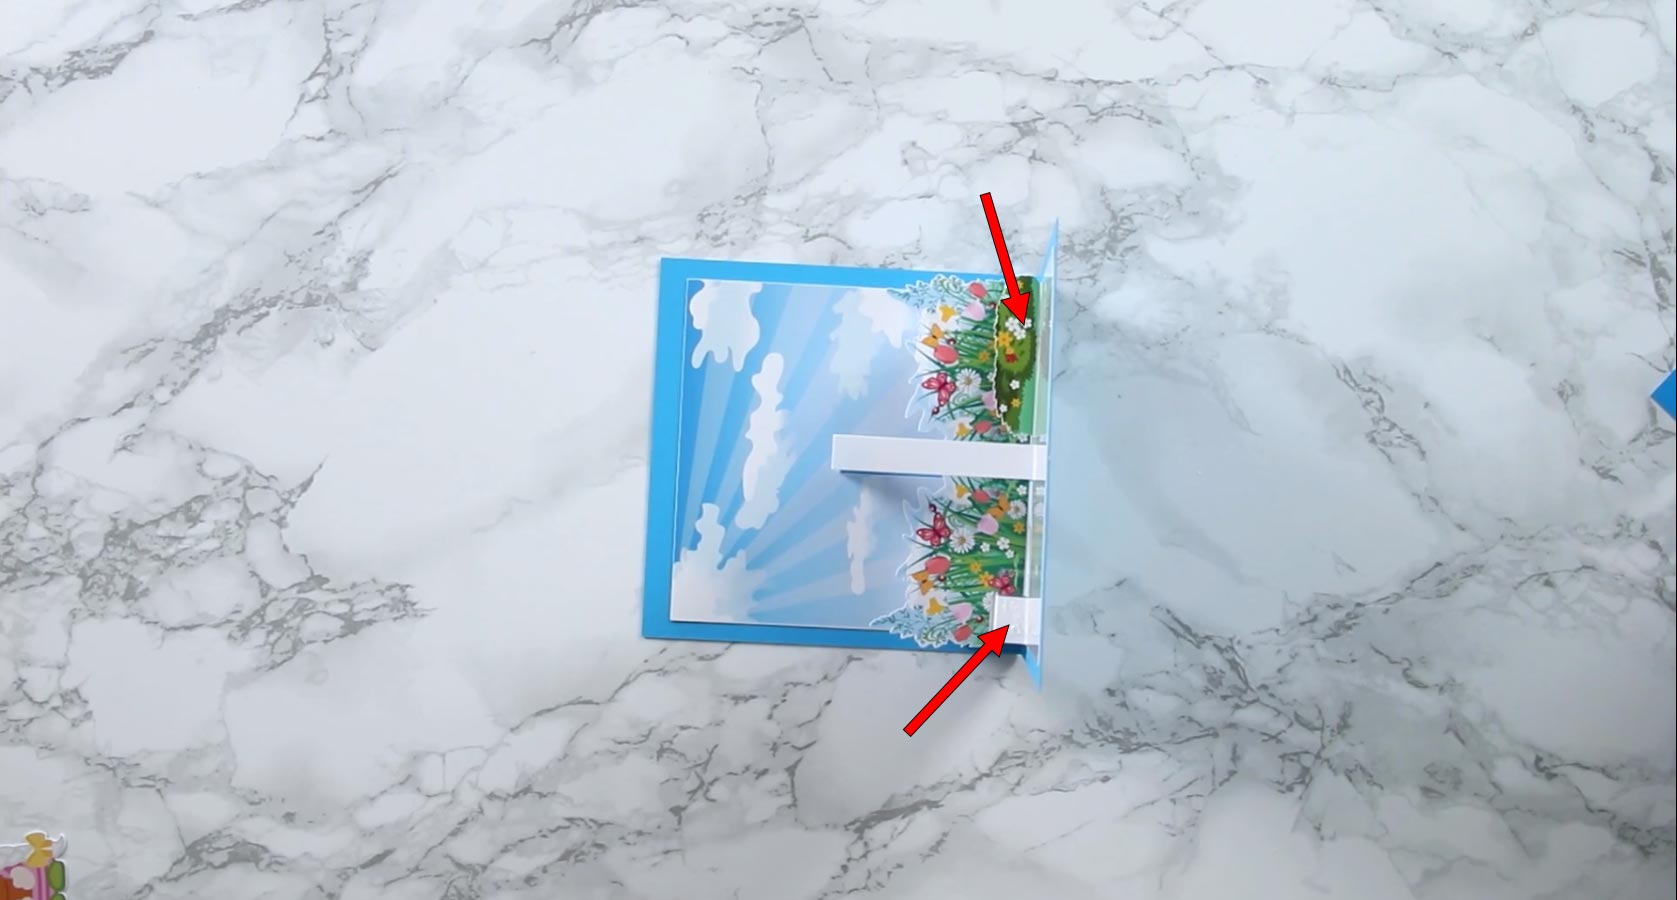
Glue on the flower pieces that have the little squares taken out of one side.
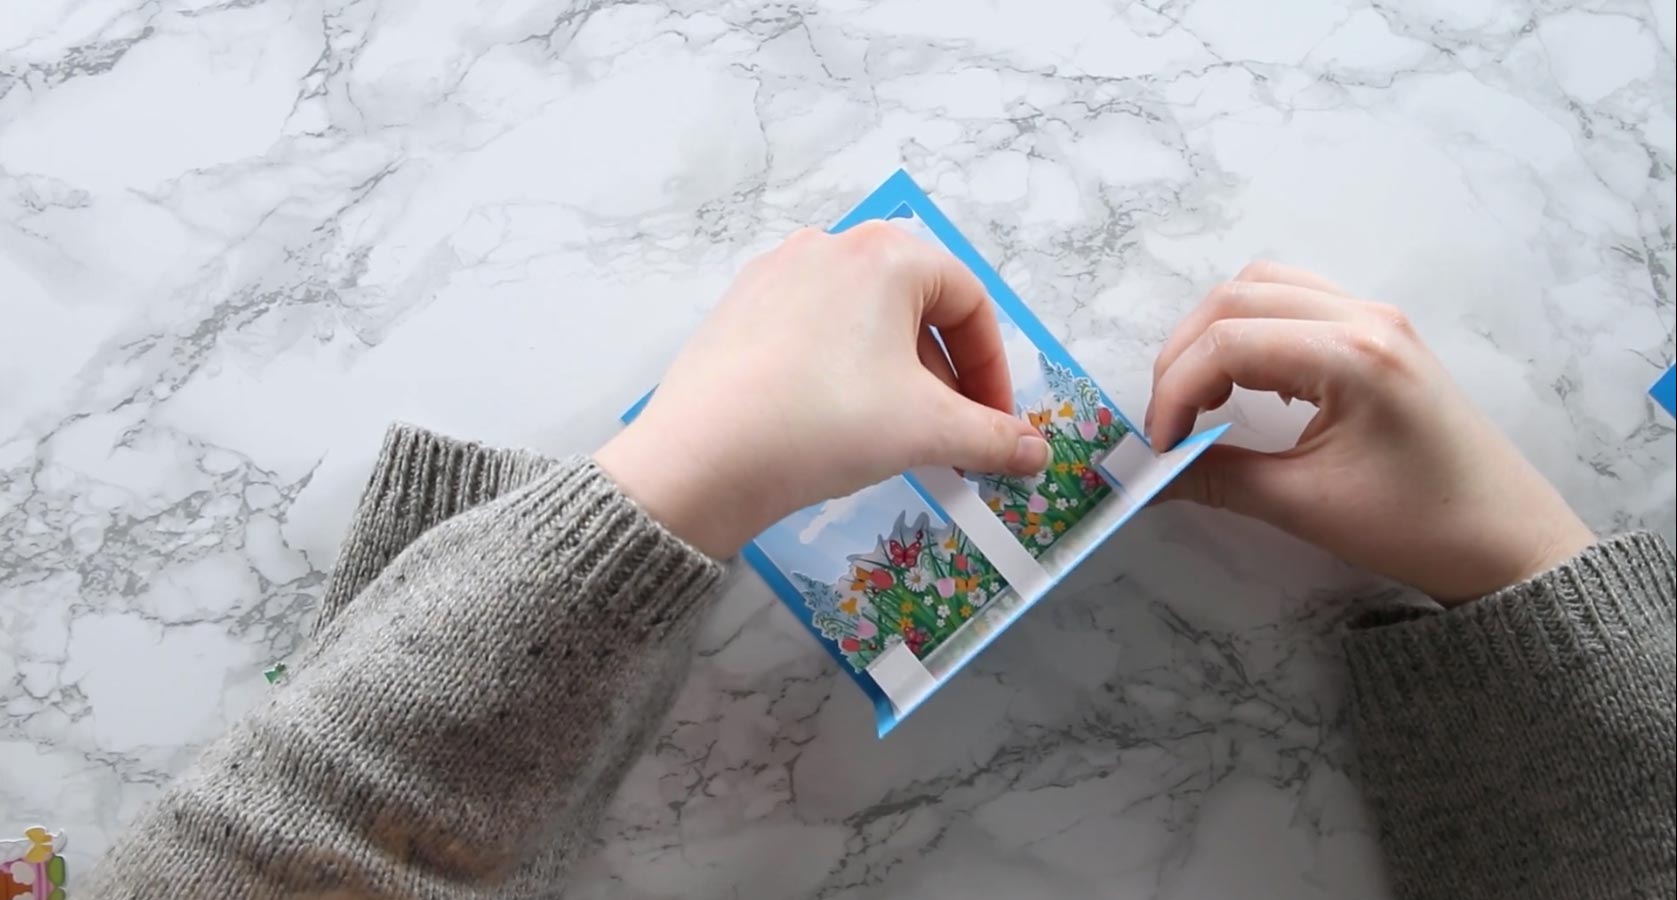
Top tip: Position the card so that the front of the card is on your work surface, as shown. This means gravity holds the printed pieces in place until the glue has dried.
Add glue to the forward-facing parts of the front squares and stick on the little bush shapes.
Finally, add glue down the front-facing part of the long, thin rectangle and glue on the male or female gnome cutout.
Step 11) Make an envelope (optional)
Included in the download folder is a square envelope template.
To make an envelope for the card, upload the SVG into Design Space and insert it into your Project.

It loads in too small for our card, so we need to make it bigger.
Hide the base card, clouds and flower/gnome layers by clicking the little eye next to them in the layers panel.
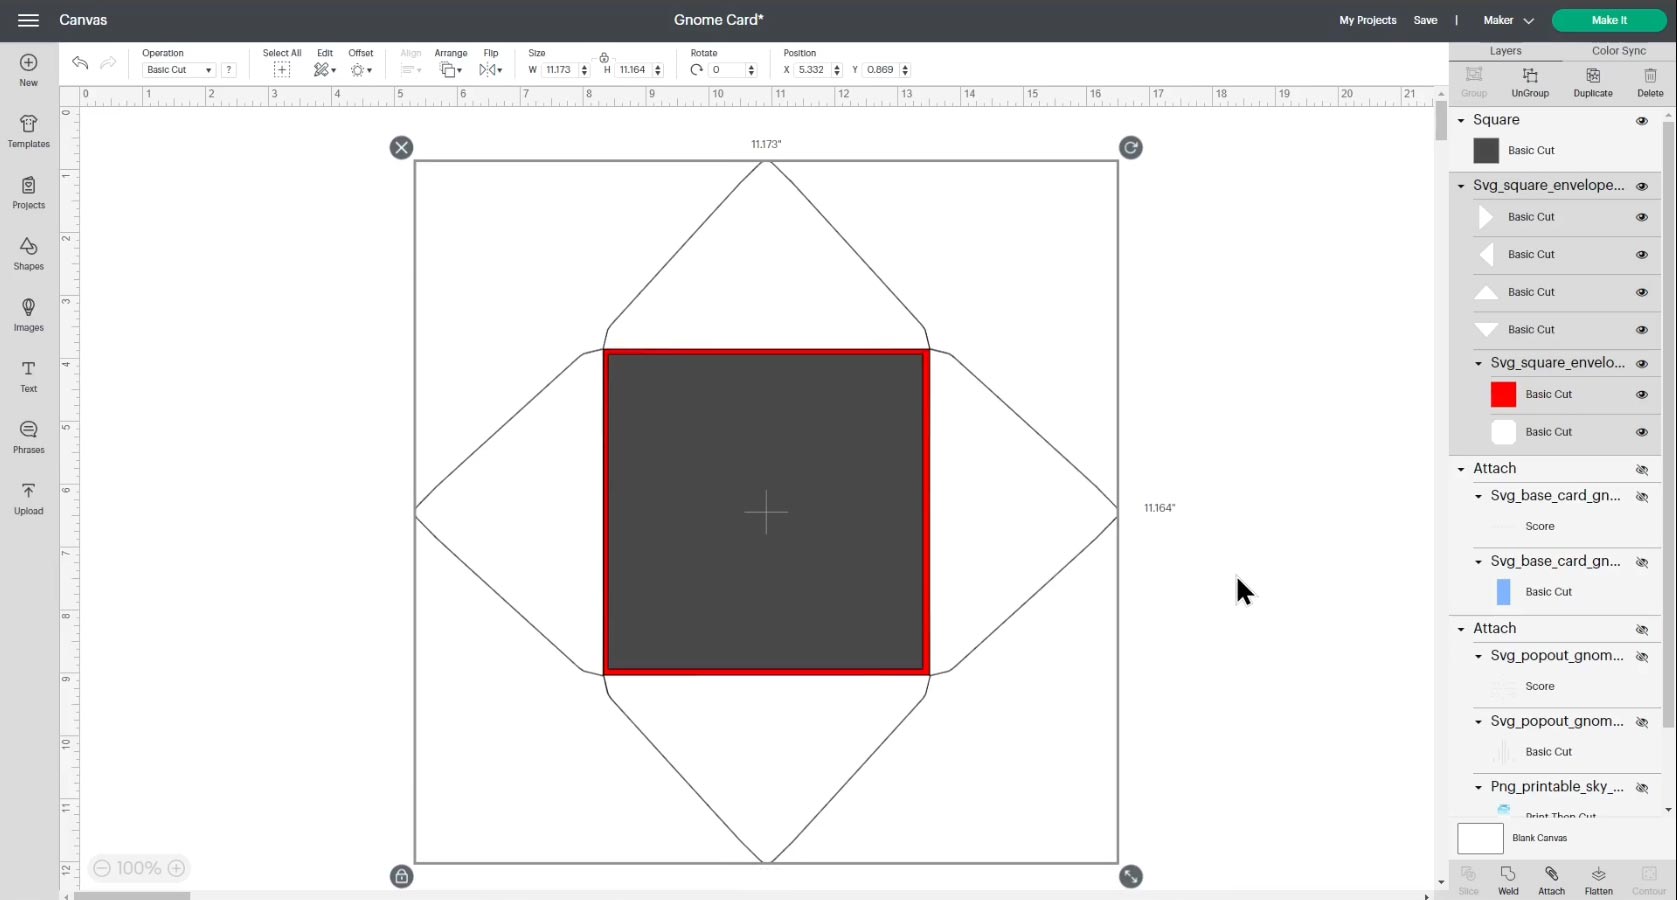
Use the “Shapes” to make a square and size it to 5×5 inches (the size of our card).
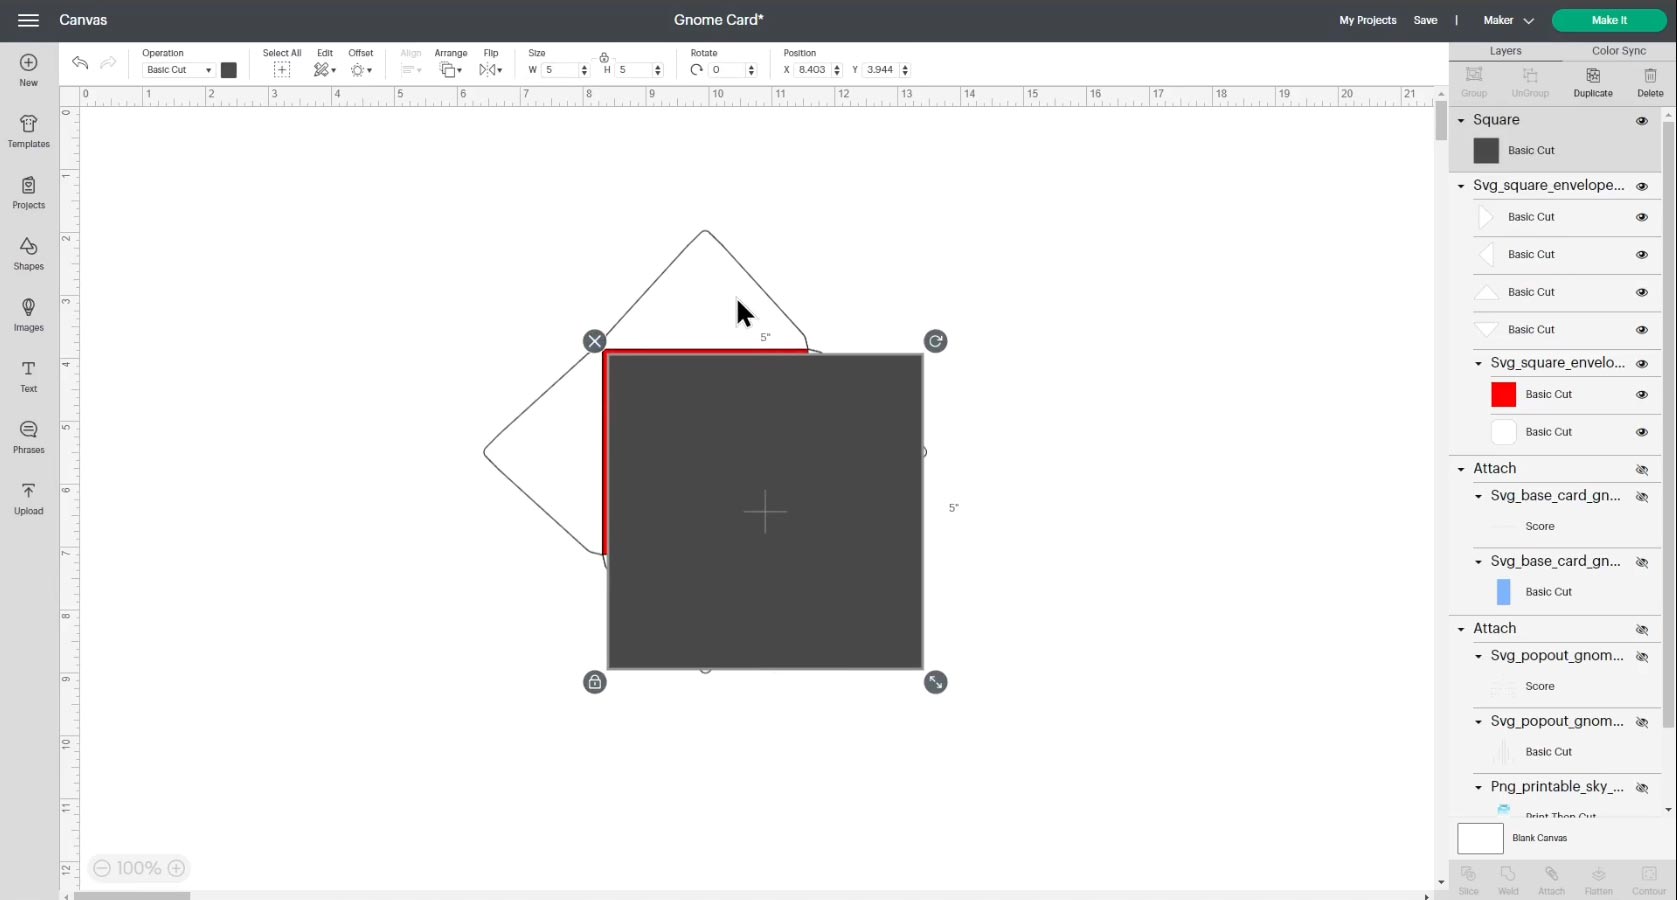
Resize the envelope so that the red square is slightly bigger than the 5×5 inch square.
The reason we are making it a little big bigger is to allow space inside the envelope for the thickness of the card to fit in nicely.
Delete the 5×5 inch square.
Click the envelope and “Ungroup” the layers.
Click the red rectangle layer and change it to “Score” in the Operations dropdown.
“Attach” that square to the layer underneath.

Cut out the envelope.
Turn the base envelope piece upside down and fold all the score lines upwards.
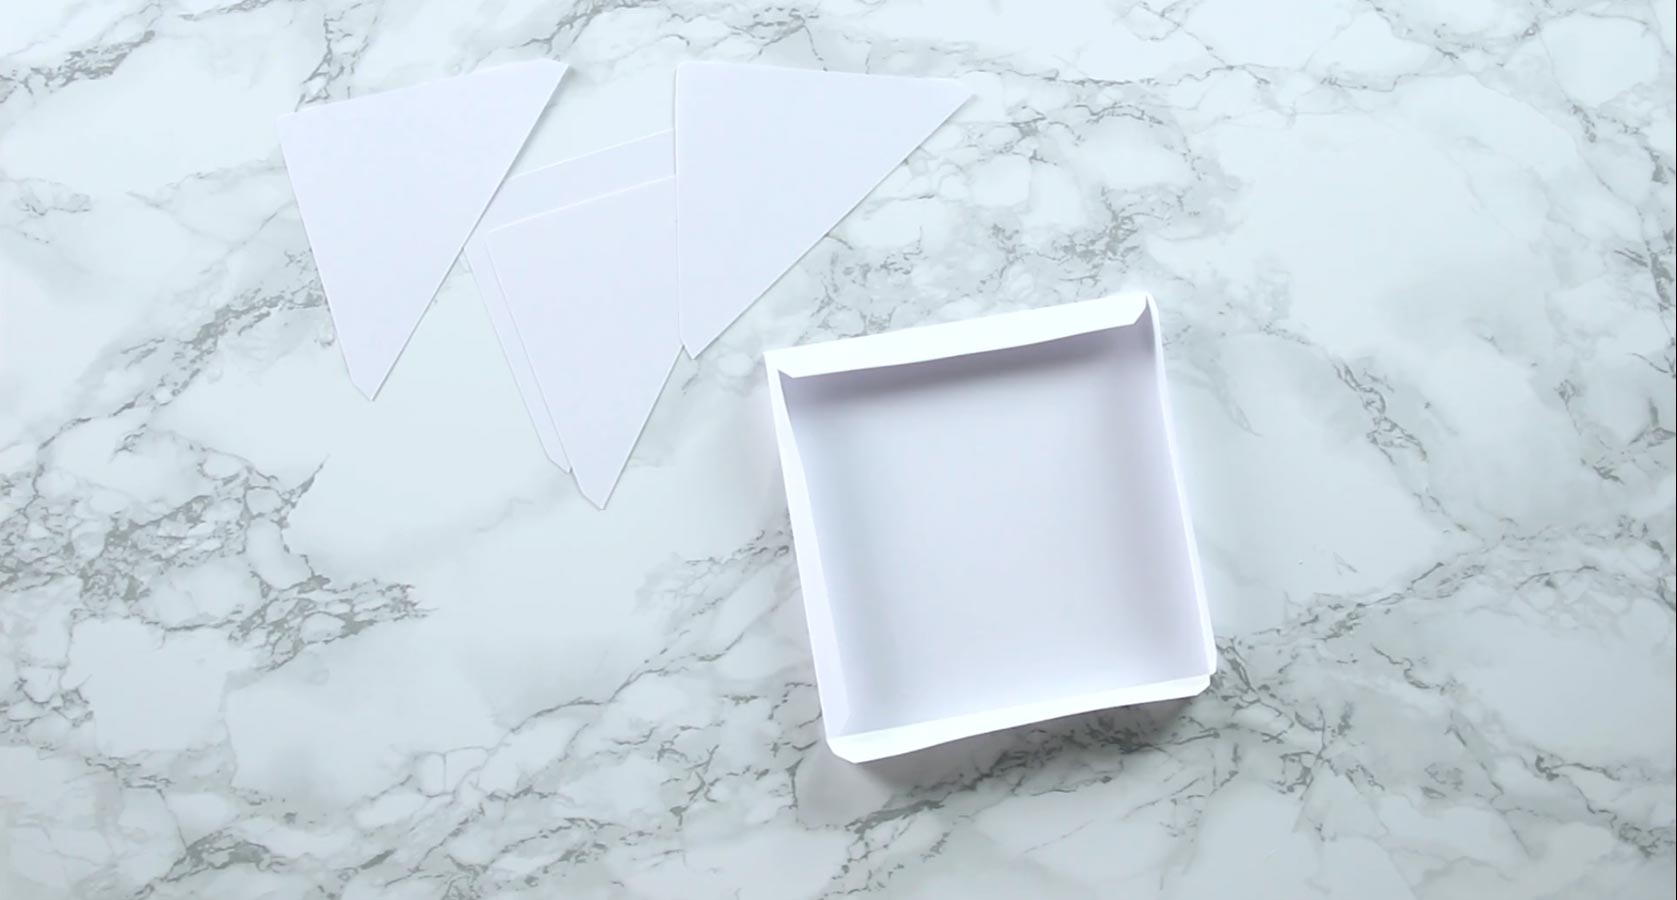
Working one-at-a-time, add double-sided tape or glue down each of the folded sections and stick a triangle to it.
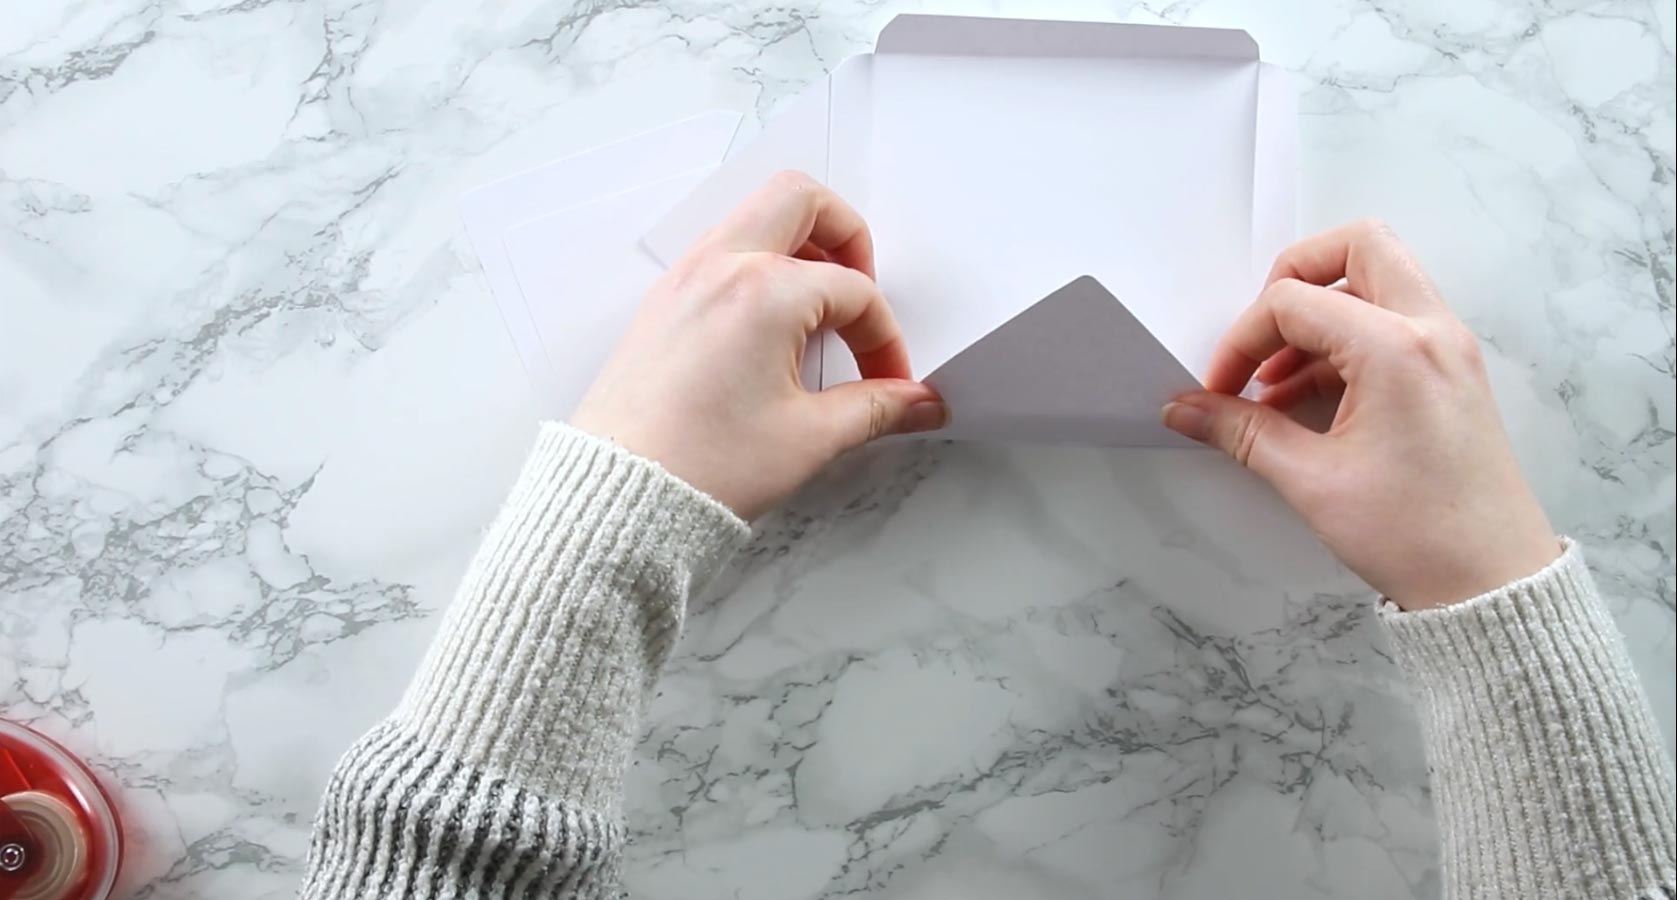
Place a small amount of glue or double-sided tape along one of the corners of the envelope.
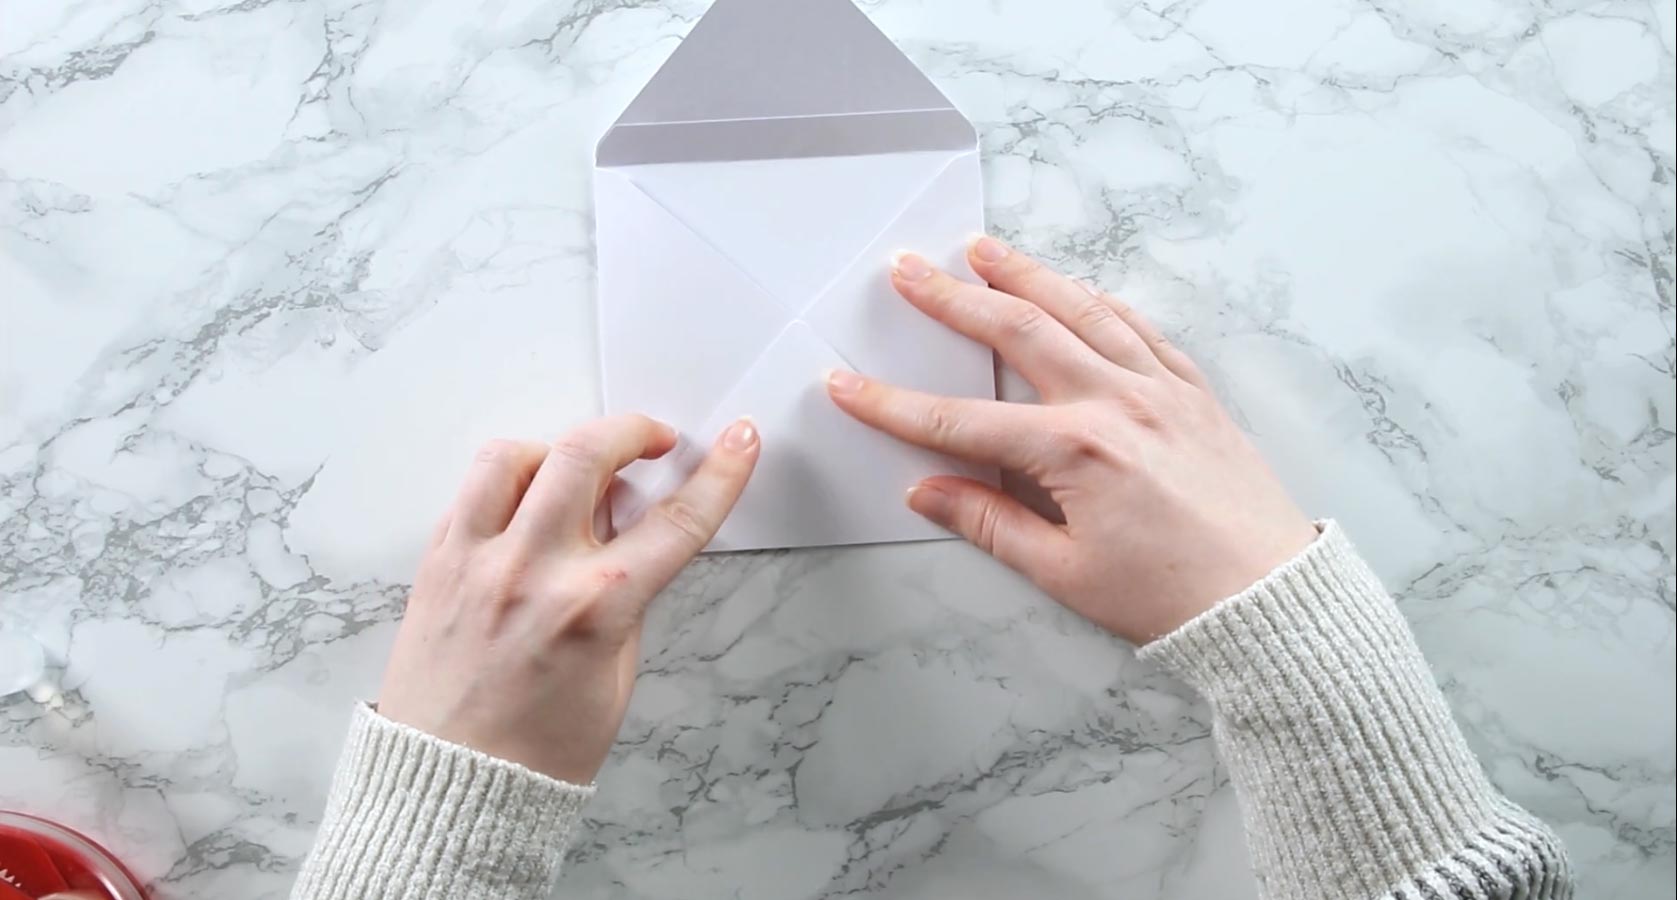
Fold in the opposite side and stick it.
Glue along the edges of those two sides and fold up the bottom of the envelope to stick.
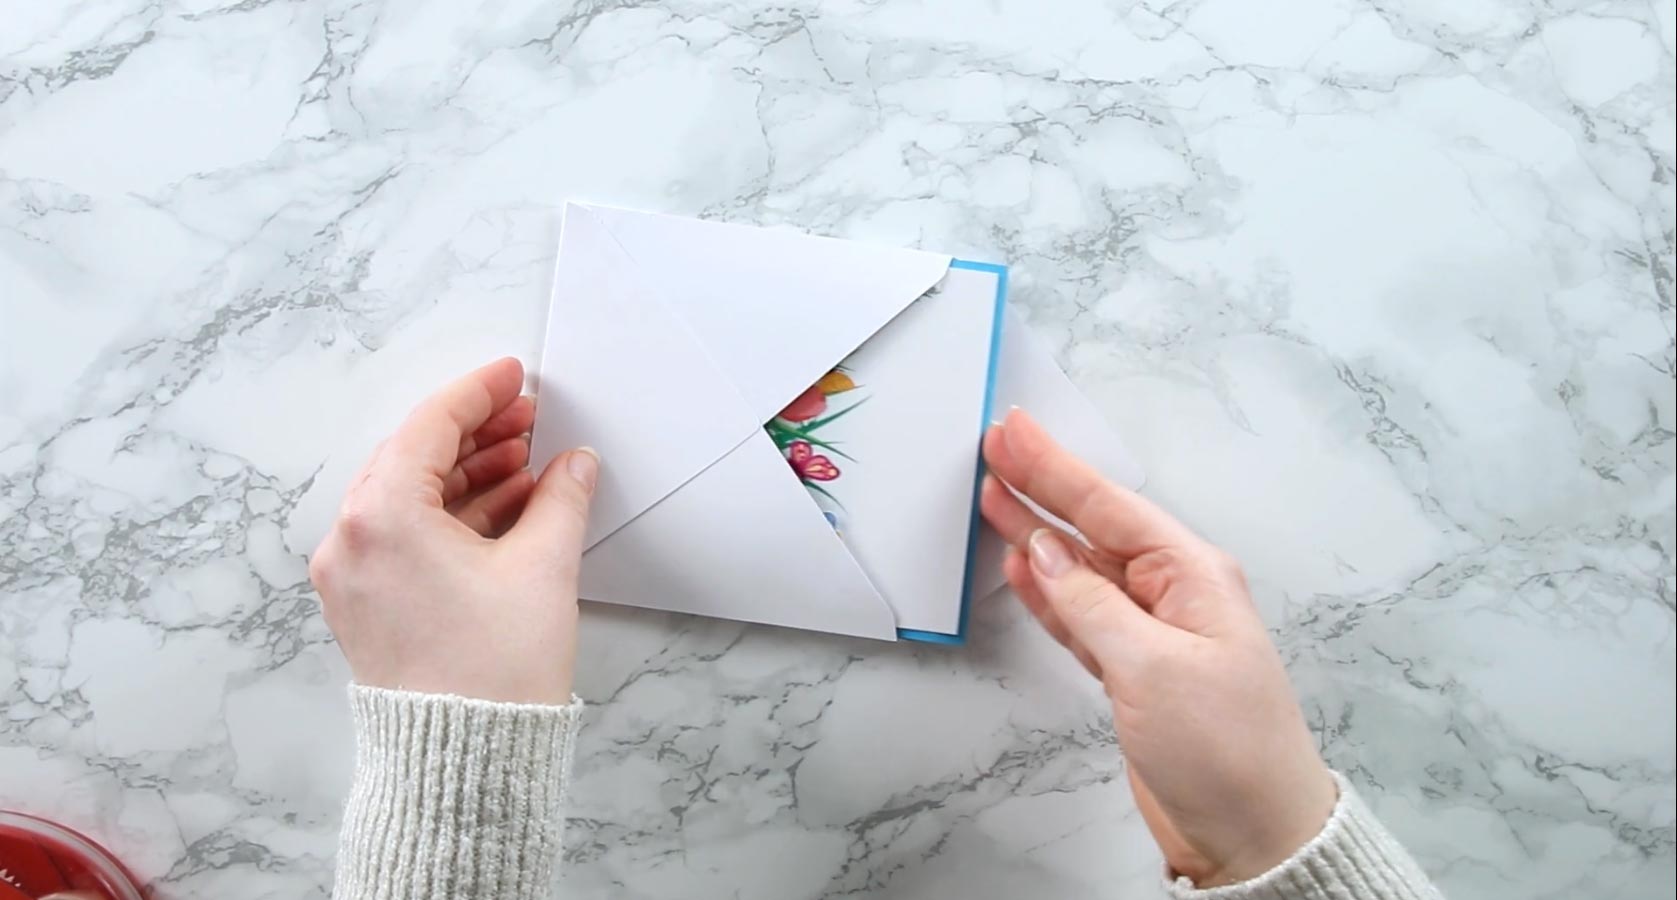
Your envelope is now ready for your card. Use glue, tape or even pretty washi tape to stick down the top flap of the envelope once the card is safely inside.
And there you have it – your spring gnome pop out card is finished!
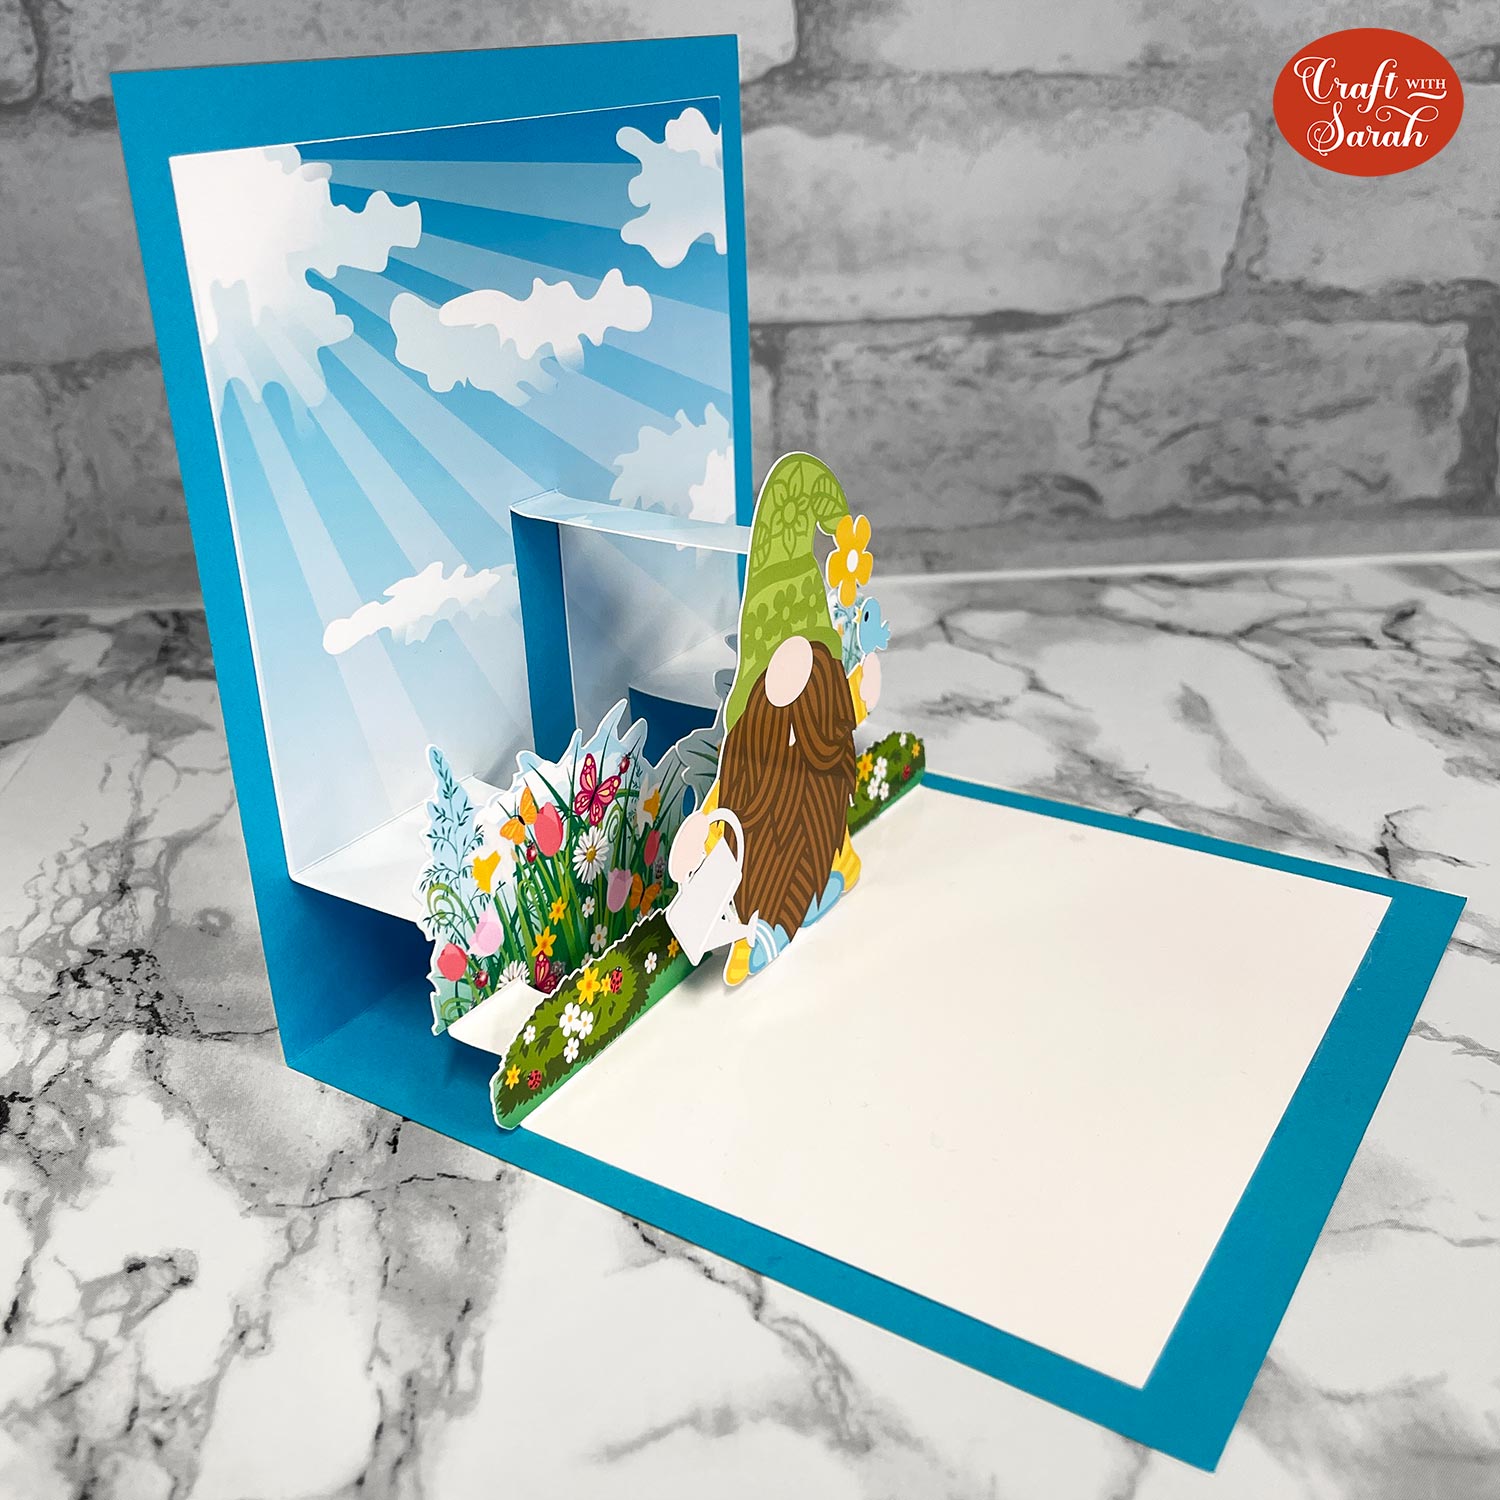
I hope that you enjoyed this tutorial on how to make a pop out card using Cricut’s print-and-cut feature.
Stay tuned for more card making tutorials coming soon!
Happy crafting,
Sarah x

