Easy DIY Halloween Paper Garlands
Make a spooky paper garland for Halloween with your Cricut machine!
Paper banners are a quick, easy and affordable way to decorate your home for Halloween.
In this tutorial I’ll show you how to make a paper garland, plus how to customize the free Halloween banner SVG file to change the characters around or to give it a different “look” to how the file loads by default.
DIY Paper Garlands
Watch the video below to find out how to cut and assemble this Halloween paper garland project. Or, keep scrolling for a written tutorial.
The link to download the free SVG is a little further down this page. Look for the pale green box 🙂
Paper garland materials
Here is a list of the materials that I used to make this project.
Please note that some of the links included in this article are affiliate links, which means that if you click through and make a purchase I may receive a commission (at no additional cost to you). You can read my full disclosure at the bottom of the page.
- Cricut Maker
- Light blue Cricut cutting mat
- Coloured Card (I used 160gsm weight of card)
- Collall All Purpose Glue
- Needle Tip Applicator Bottle
- Twine
How to make a paper garland for Halloween
Here’s how to make this cute paper garland, with lots of Halloween characters on it.
Step 1: Download the free SVG
Download the Free Cutting File

Please login to your account to download this file.
TERMS OF USE:
You may sell finished, handmade physical craft items that you have made using this product but must not sell or share the digital files. Read full terms of use
Before you upload the SVG to Design Space, you need to unzip the download folder that it comes in.
- How to unzip a folder on Windows computer
- How to unzip a folder on a Mac
- How to unzip a folder on an iPad/iPhone
- How to unzip a folder on an Android device
Step 2: Upload the SVG file into Design Space
Open up Cricut Design Space and upload the file called SVG_Halloween_Garland.svg
Make sure you upload the file which starts SVG_ in the filename!!
After uploading, the paper garland will show in your “Recently Uploaded Images”. Click on it and then press “Insert Image” to put it onto your Project.
The SVG loads in quite large overall, but that’s because there are so many images as part of it. You do NOT need to resize it to make it smaller.

Step 3: Customize the file if you want to make changes
You can modify the cut file to customize the garland to your personal design preferences.
For example, you might want to change the size, or only have pumpkins on your garland and no other images.
To customize the pictures that will appear in the garland, first click on the whole design and press “Ungroup”.

This separates out all the pictures, so now you can click on the ones you don’t want to use and press Delete on your keyboard to remove them.
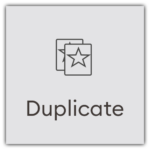
If there are any that you want to make copies of, click onto them and then press Duplicate.
Play about with the images until you are happy with how the final banner will look.
If you want to resize the images to make a larger or smaller garland, you’ll first need to re-group all the images so that they resize “in proportion” with each other.
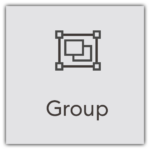
To do this, first click Select All.

Then, press Group.
Now you can change the width and height of the group using the boxes at the top of the page, and the whole collection of images will change at the same time.
For this tutorial, I cut the design exactly as it appears when you load in the SVG file, and at the size it automatically loads in it.
When you’re happy with your changes, click “Make It” and follow the on-screen instructions to cut everything out with your Cricut machine.
Step 4: Stick the images together
Use glue to stick the different parts of each image together.

Step 4: Assemble the paper garland
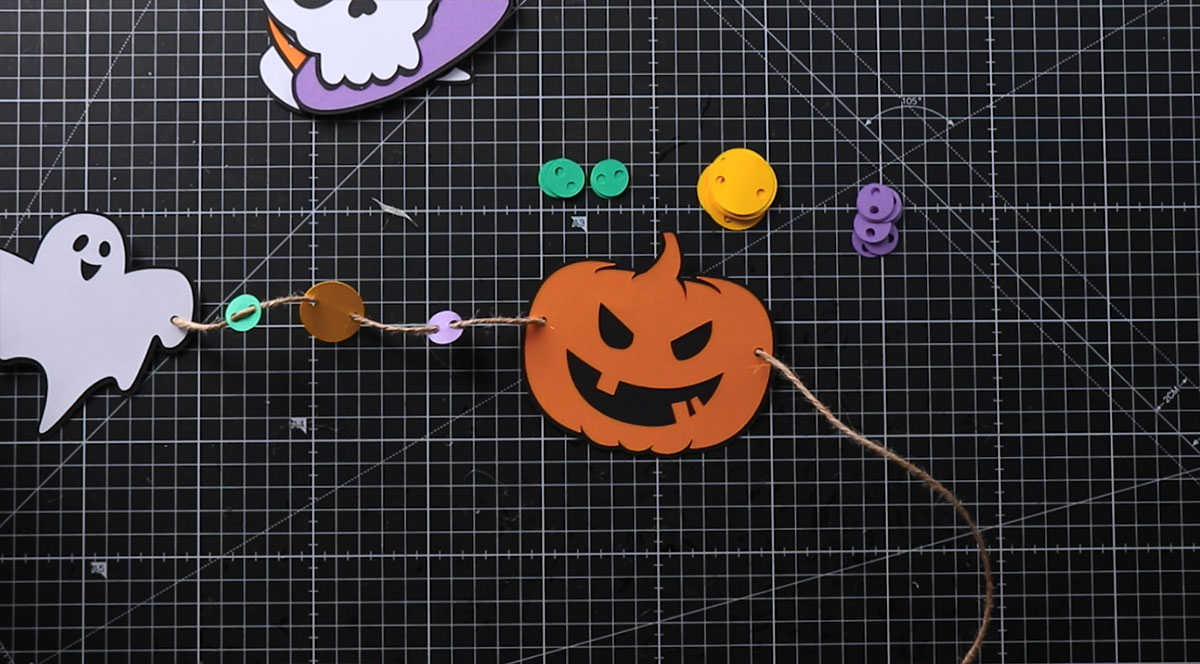
Use string, twine or ribbon and thread the images onto it to make the paper garland.
I used twine which gives a lovely rustic effect, but it can be a bit messy as some of the fibres come off as you are threading it through the holes.

I didn’t cut the twine from the reel until I had threaded everything on, as I didn’t want to risk it being cut too short!I
To top the end of your twine from fraying whilst threading it, wrap a small piece of washi tape or sticky tape around the end.
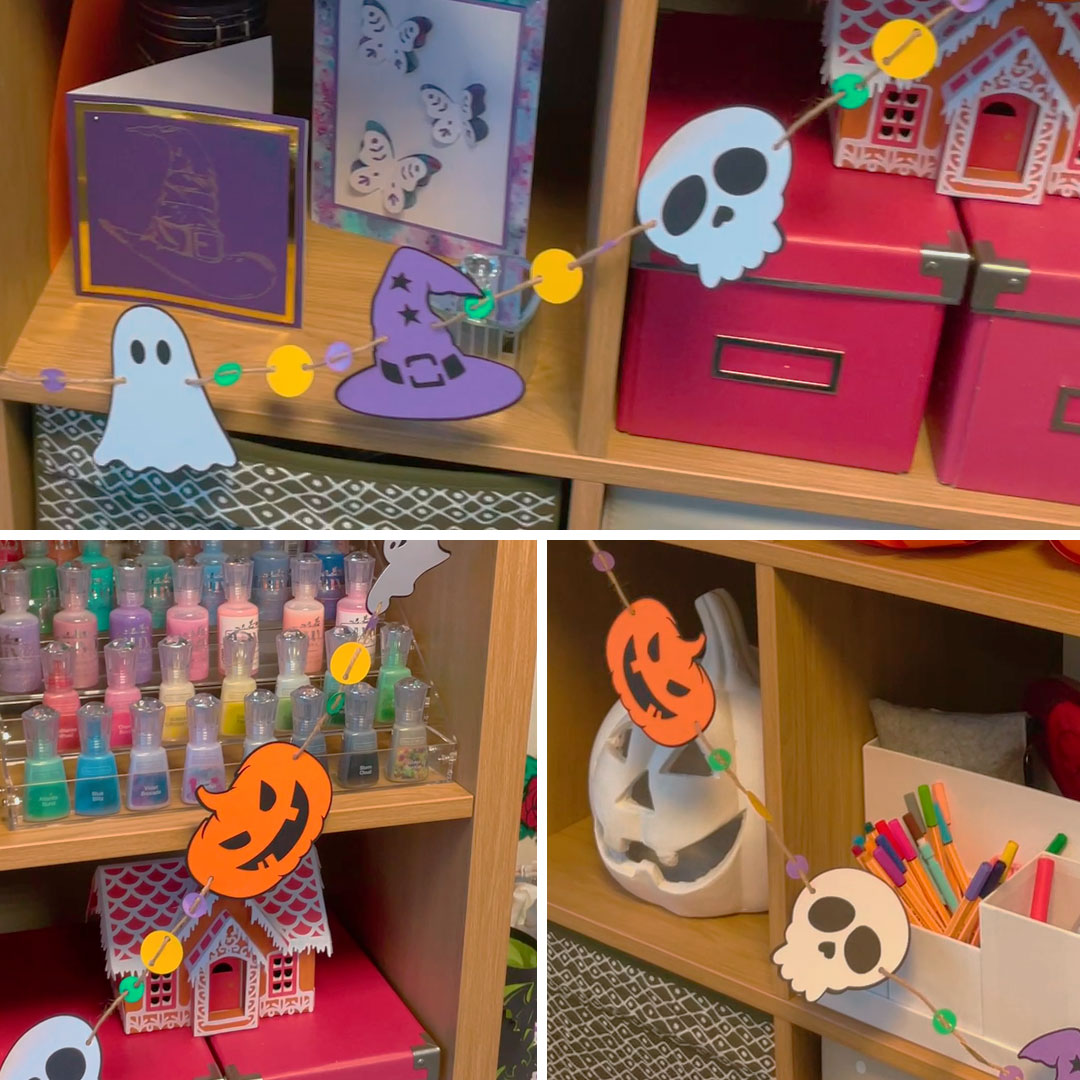
Use the small circles as “spacers” between the images.
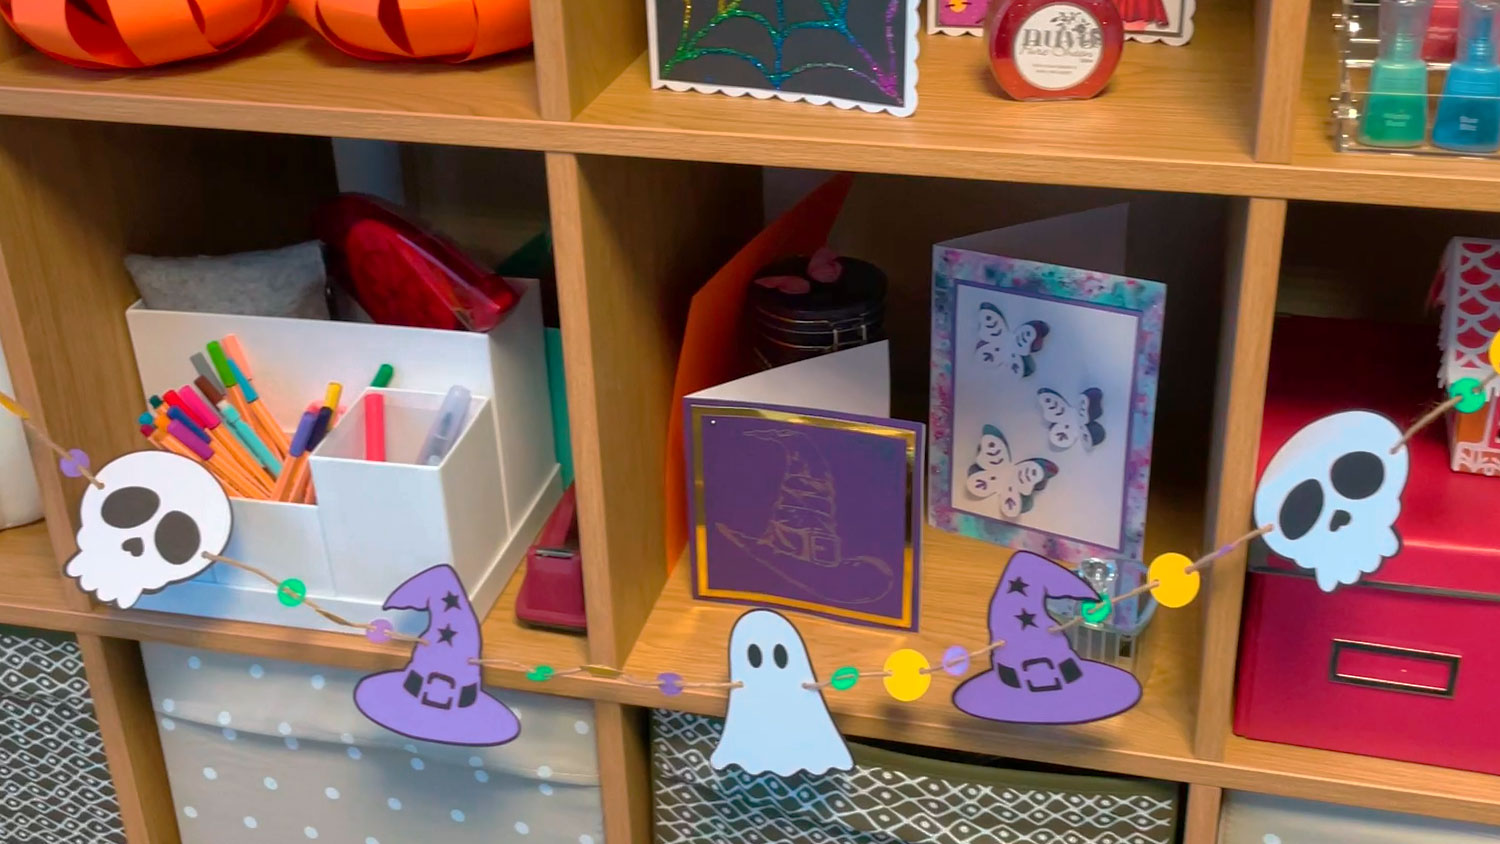
Once you’ve threaded all the images and circles on, your Halloween paper garland is ready to display!
I put some push pins into the corner of my IKEA Kallax shelving unit and then tied each end of the twine around the pins.
I love how this looks in my craft studio, and it was really easy to make!
I hope you enjoyed this tutorial on how to my a DIY Halloween paper garland.
If you’d like to make other projects like this, check out my free SVGS for loads more Halloween craft ideas.
Happy crafting,
Sarah x

