Free Cat Layered SVG | Make a Papercraft of your Cat!
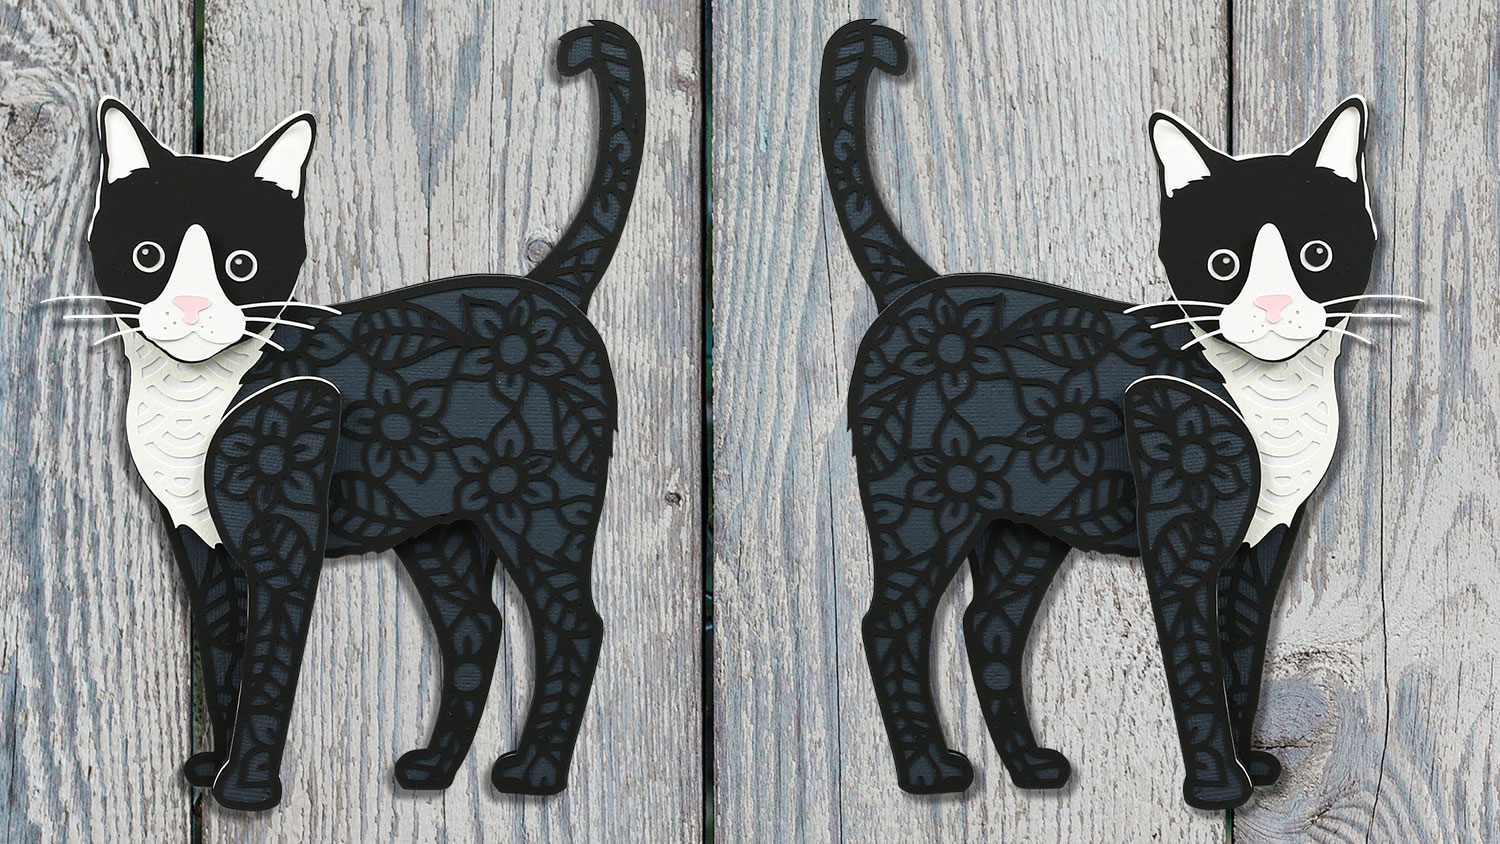
Make a papercraft of your cat with this free cat layered SVG.
Find out how to make your very own cardstock version of your cat, and how to change the SVG design to better match your pet.
Layered cardstock projects are my favourite type of craft to make, especially when making designs of my pets, or the pets of my friends and family.
Projects that involve layering cardstock can seem a little daunting at first, especially if you are new to working with paper and card.
However, don’t let their beautiful, intricate looks fool you. They’re actually pretty simple to make!
Here’s a complete guide on how to upload layered SVGs into Design Space, modify the design to suit your needs, cut it from cardstock and then stick all the layers together.
But fair warning – once you’ve tried a couple of layered cardstock designs… you might not want to stop!
Here are a few of the layered cat designs I’ve made over the last couple of years:
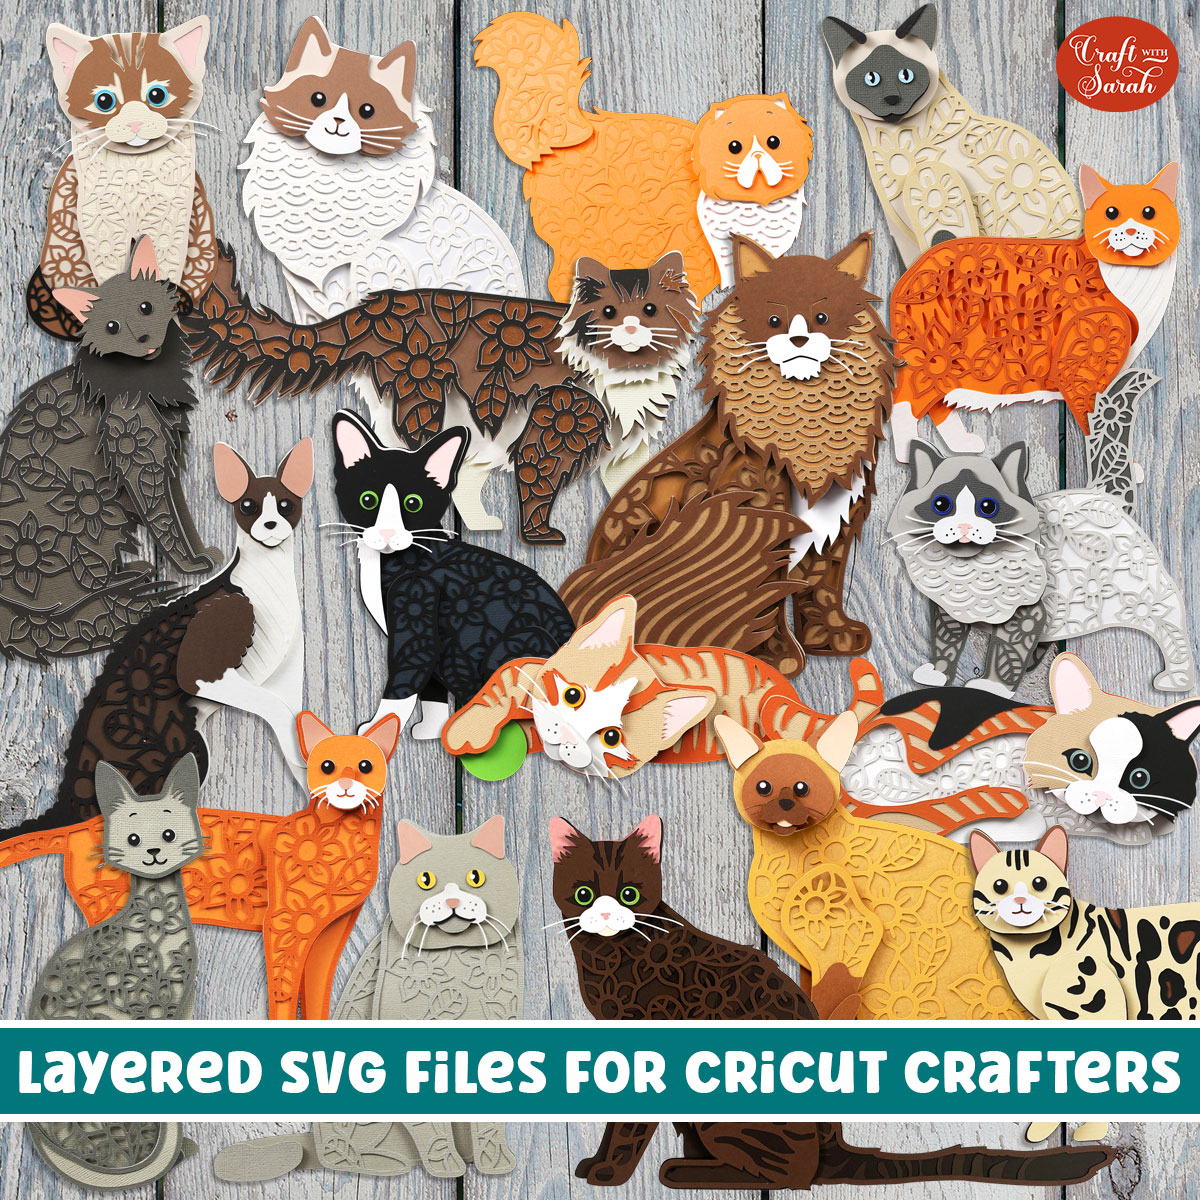
Quite a collection, right? I love them! 😍
All of the designs from the photo above are available to purchase in my SVG shop, as well as even MORE layered cat SVGs. There are almost 30 in total to choose from.
Or, keep scrolling for a gorgeous little kitten design that’s FREE to download!
How to make layered cat papercraft with a Cricut
This video shows the whole process of making your own little kitty cat out of cardstock. Prefer to read rather than watch? Keep scrolling for a step-by-step written tutorial (with photos).
3D layered paper art with a Cricut
Learn all there is to know about cutting and making layered cardstock cats on a Cricut in this step-by-step tutorial!
Materials List
Here is a list of the materials that I used to make this project.
Please note that some of the links included in this article are affiliate links, which means that if you click through and make a purchase I may receive a commission (at no additional cost to you). You can read my full disclosure at the bottom of the page.
- Cricut machine
- Light blue Cricut cutting mat
- Coloured Card (I use 160-240gsm weight of card)
- Collall All Purpose Glue
- Needle Tip Applicator Bottle
- 3D foam pads
- Square shadow box to frame (optional)
Step 1: Choose your Layered cat SVG
The very first thing you need to do is download your SVG. There are lots of cat designs (and other animals!) in my SVG shop. I also have a huge collection of free layered SVGs to download!
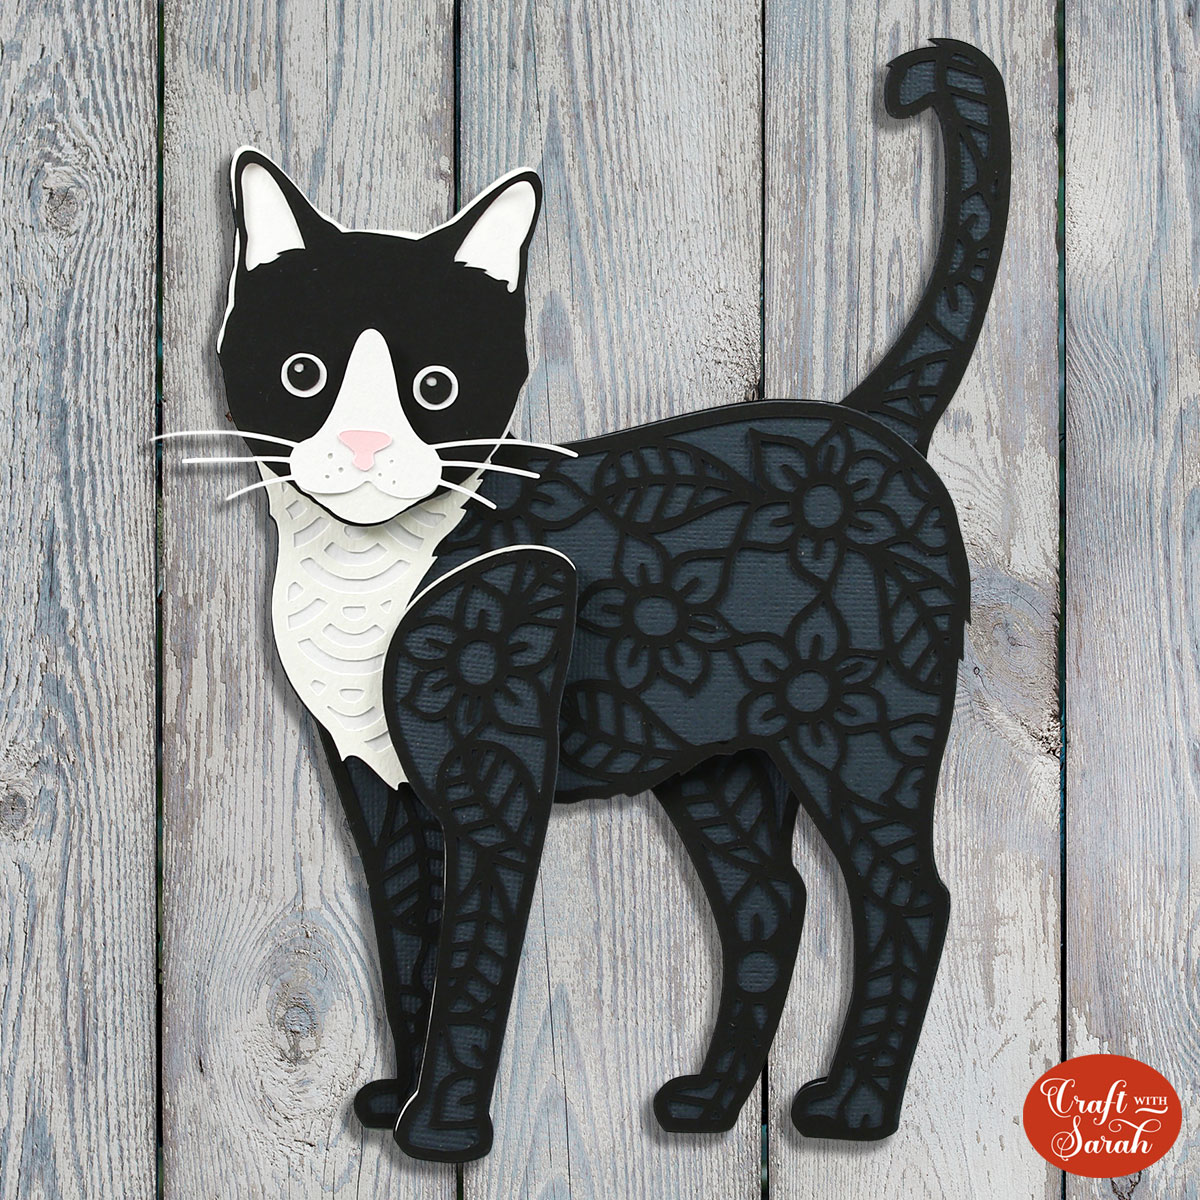
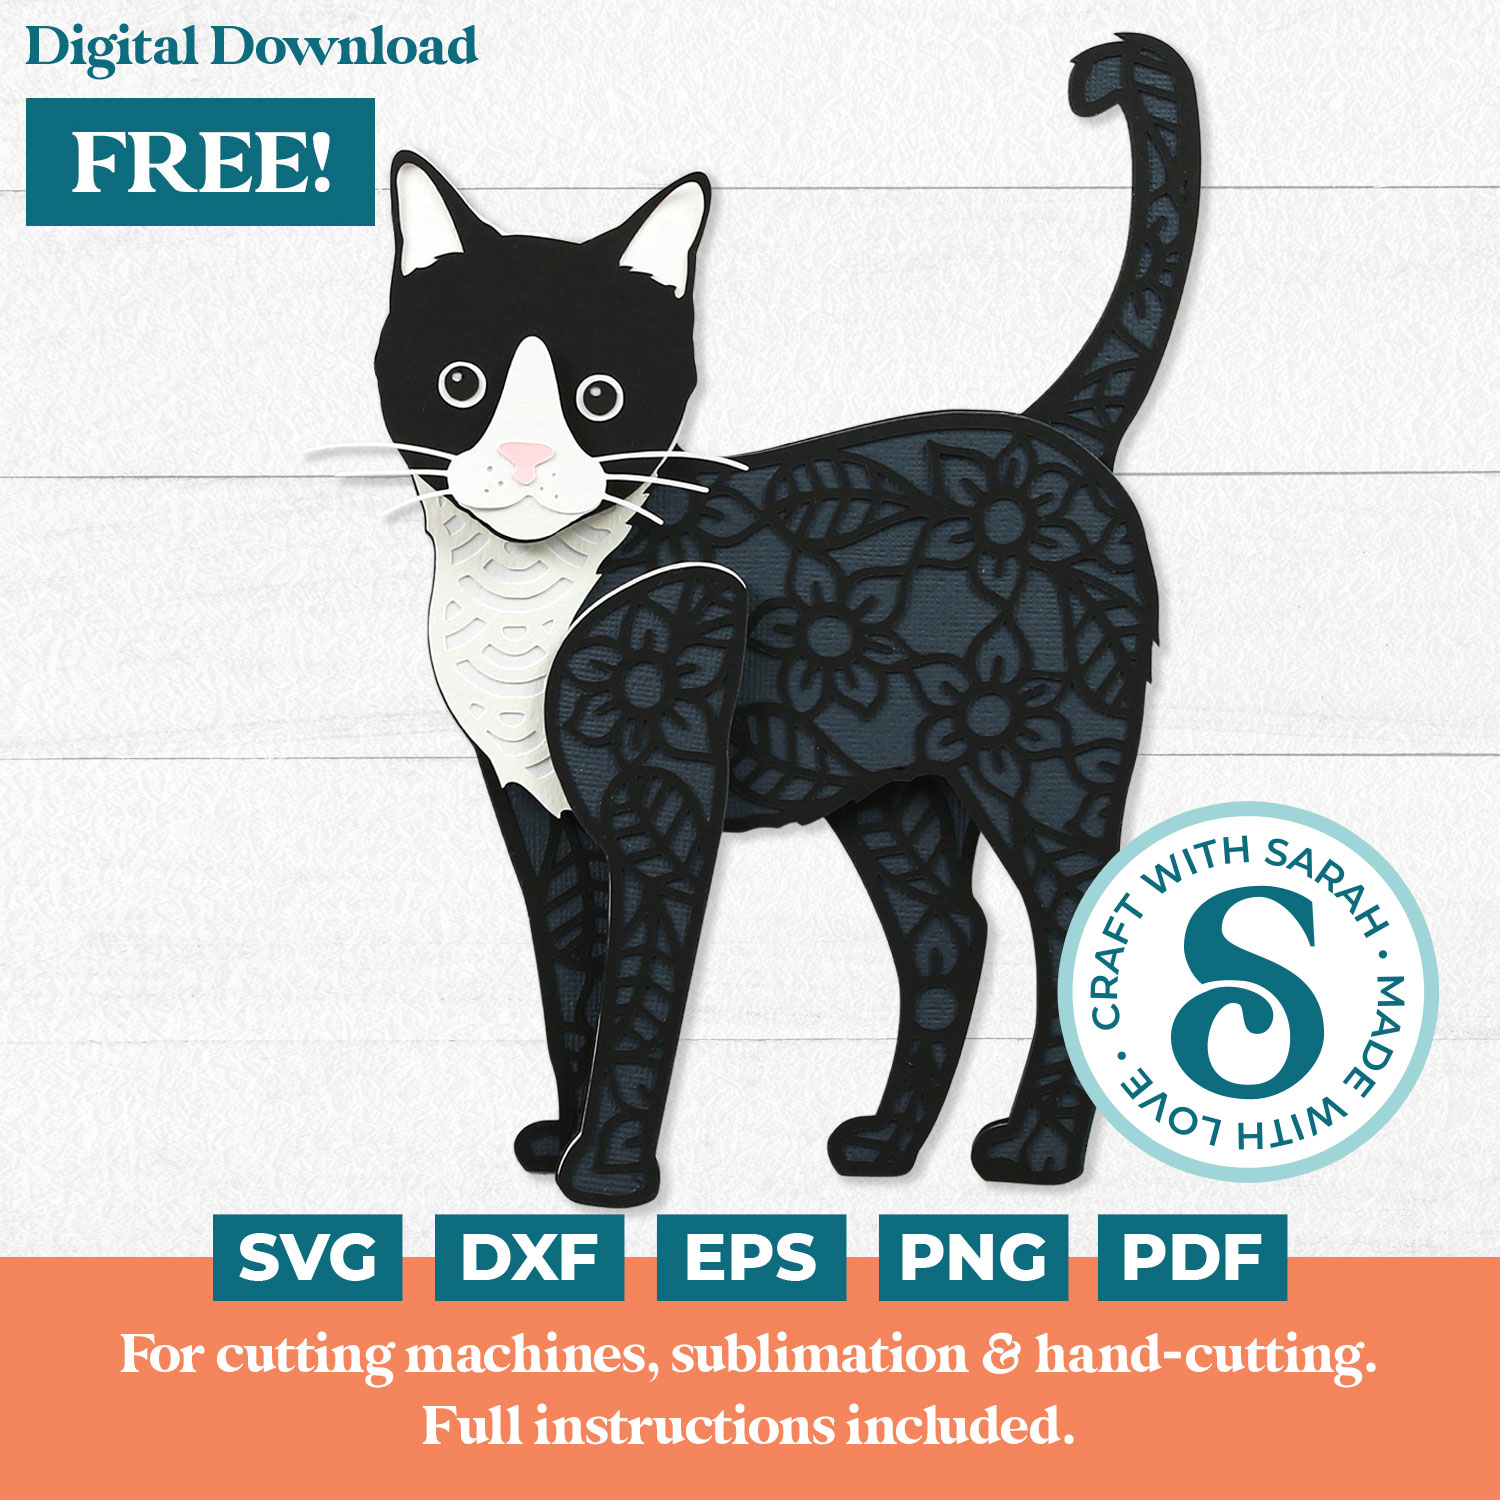
For this tutorial, I’m going to use my free design of a gorgeous little black-and-white kitten. You have been asking me for ages for a free version of one of my layered cat SVGs, so here he is and I really hope you like him. He’s definitely got the cuteness factor!
Download the Free Cutting File
Please login to your account to download this file.
TERMS OF USE:
You may sell finished, handmade physical craft items that you have made using this product but must not sell or share the digital files. Read full terms of use
Step 2: Unzip the folder
All the files on my website come in zip folders.
A zip folder is a way for me to give you multiple files in one contained folder. Instead of having to download each file individually, you only have to click ‘download’ once and they’re all in that zip folder.
This works well for making the download process easier and quicker for you, but there is one little step you need to do before you can open these files in Cricut Design Space and that is to unzip the folder.
The instructions on how to unzip a folder will depend on the type of computer or device you are using. Click the links below to find out how to unzip folders on your particular setup:
- How to unzip folder on Windows computers
- How to unzip folders on Mac computers
- How to unzip folders on iPads/iPhones
- How to unzip folders on Android devices
Step 3: Upload the SVG to Cricut Design Space
Open up Design Space and open up a blank canvas by clicking ‘new project’.
Click ‘upload’ on the left-hand side of your screen.

When you click ‘upload image’ this will open a pop-up that will let you browse the files on your computer.
Make sure you find the unzipped folder that you have just created and then choose the file which starts SVG_ in the filename.
This part is REALLY important, because the other files won’t load in Design Space. You MUST select the one which starts SVG_ in the filename.
For the free cat design, it’s the file called SVG_Free_Cat_CraftWithSarah.svg
Here is what Design Space should look like after you have selected the SVG file. It shows the image in the preview on the left and you can see all of the layers, but they’re all in the correct position.
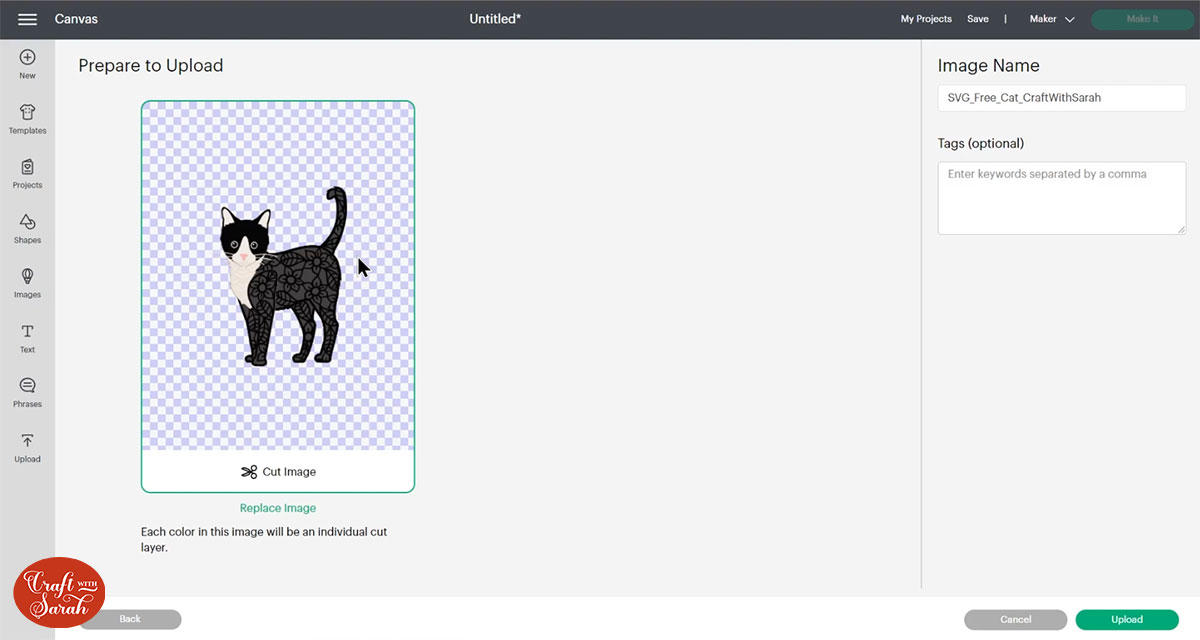
If after you’ve uploaded it you see all of the layers completely separate from one another on the screen, that means you’ve uploaded the wrong file. If that’s the case, click “Cancel” and then try again, making sure to select the file which starts SVG_ in the filename.
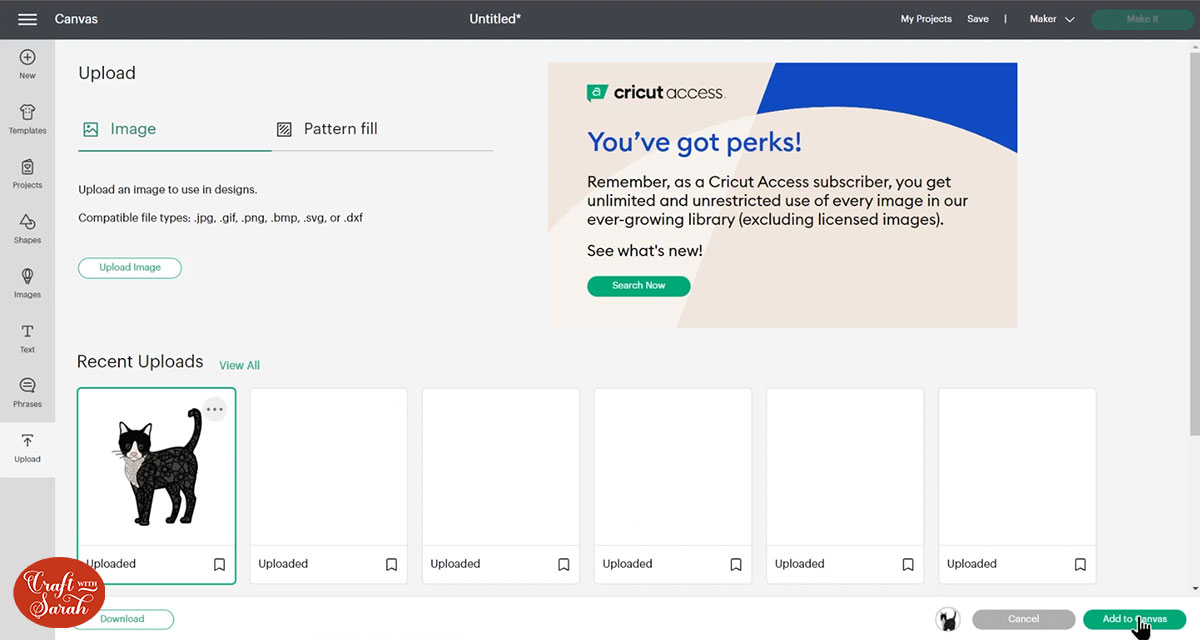
After you have selected your SVG design, click “Upload” and it will appear in your Recently Uploaded Images.
Click the newly uploaded image and then click “Add to Canvas”.
Step 4: Resize the SVG in Design Space
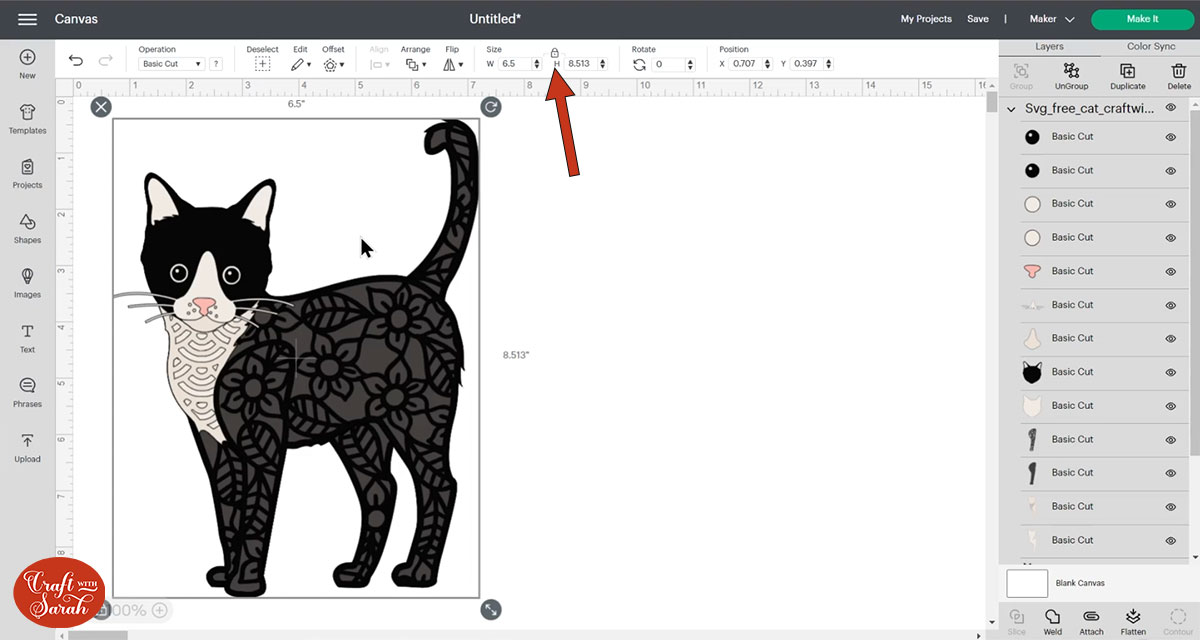
Use the width and height boxes at the top to resize the design to the size you want to cut it out.
Make sure the padlock icon is LOCKED (closed). That means that you only need to set the width OR the height and the other measurement will automatically change to resize the design in proportion.
For example, when I typed 6.5 inches into the “width” box, the “height” automatically changed to 8.513 inches.
Note: Sometimes when Design Space updates to a new version it can affect the size that SVG files are loaded in at, so it’s really important to check the size before you cut the design.
Step 5: Modify the design if needed
At this point you may want to make some extra changes, particularly for the dog and cat designs to get it looking exactly like your pet. For example, you might want to recolor the layers add extra details or maybe even combine several designs into one.
I find it easiest to make the colour changes in Design Space first before cutting from card so that I can check I’m happy with how it’s going to look.
It takes a little bit of practice to get used to changing all the different layers, but it can all be done from within Design Space.
I have a free video series which goes through how to do all of that and more. SVG School teaches you how to customize SVG files in Cricut Design Space to make bespoke cutting projects.
There are videos on how to recolor SVGs, how to make tri-color animals, how to add patches to a dog or cat’s coat, how to combine parts from different designs such as heads and ears, how to make multi-coloured fur, how to turn layered designs into greetings cards and even my top shadow box framing tips.
All SVG School tutorials
At this point, make any changes that you wish to make to your design and then when you’re finished use the save button on the top right to save your design. That means you can come back to it at a later time and all of your changes will be saved.
Here’s how the cat SVG might look recoloured to make a ginger cat, following this recolouring tutorial.
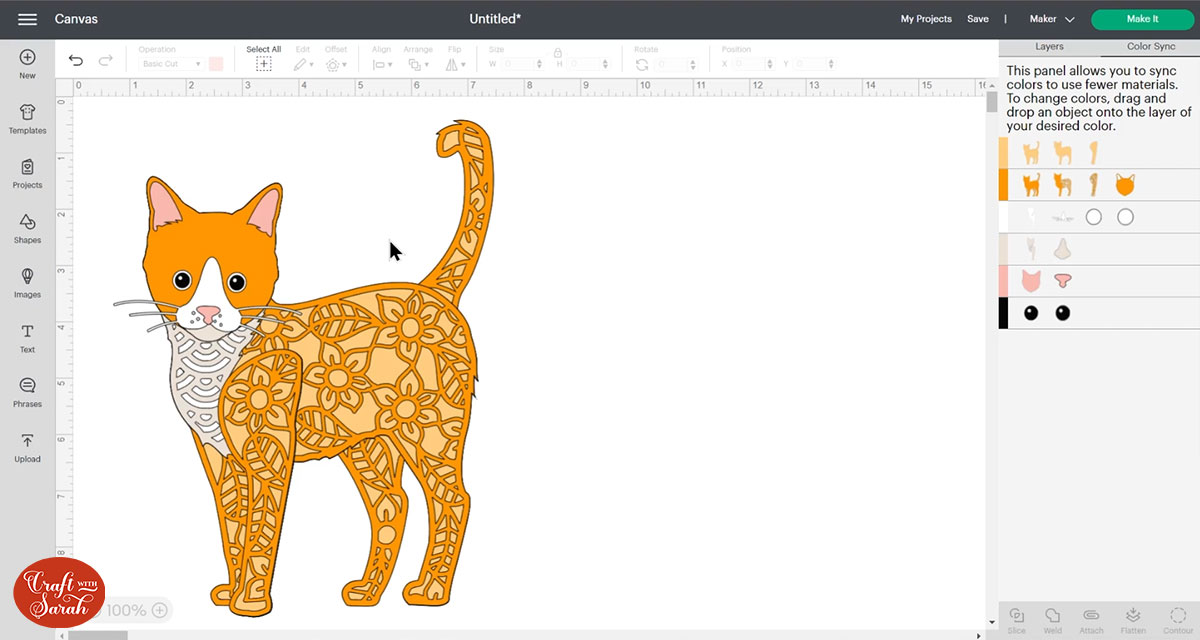
However, I’m going to keep mine exactly as it is originally looked, so it’s ready for me to cut.
Step 6: Cut the layered SVG
Click ‘Make It’ in the top right and it will split out all of the different colours onto separate mats.
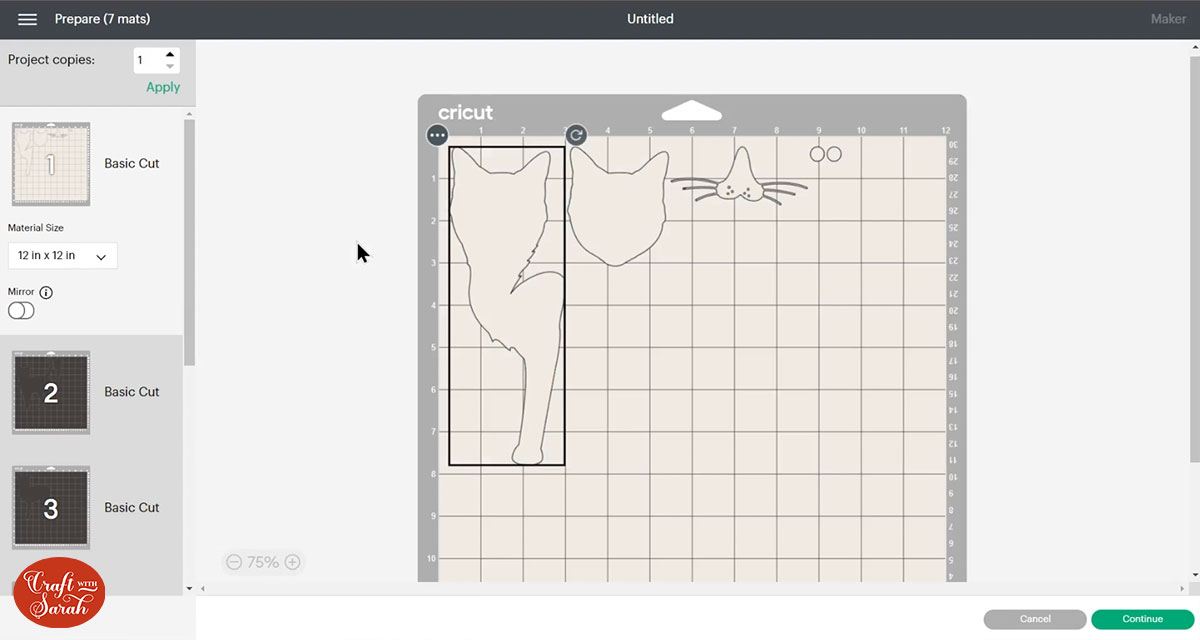
Look down the list of mats on the left and find the colours of cardstock you will need from your card collection.
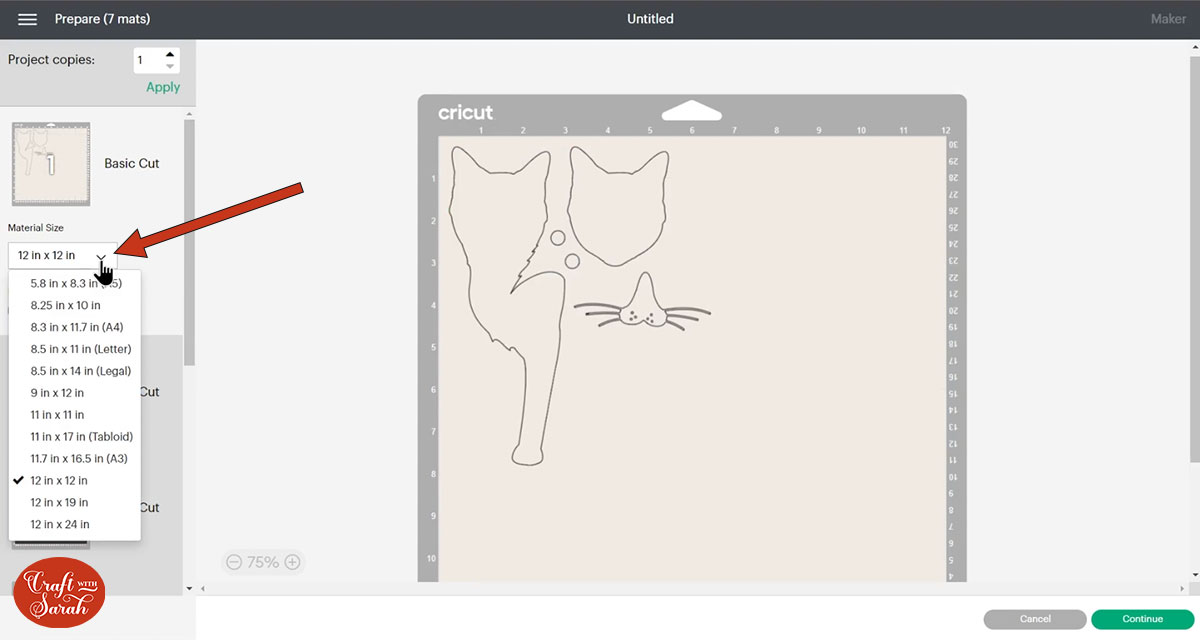
If your card isn’t 12×12 inches in size then you need to use the dropdowns underneath each mat to change the paper size. You need to separately change the paper size for every colour/mat in the list down the left.
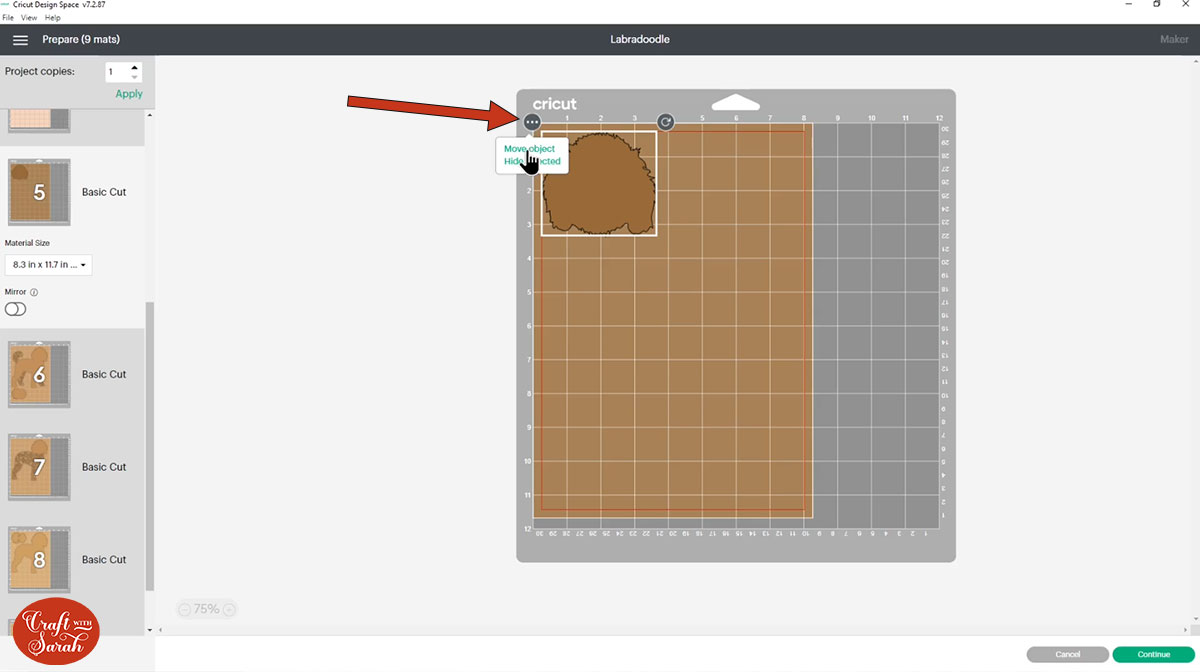
To save space on your cardstock you can click and drag layers to move them about so that it just fills in the gaps a little bit better.
Sometimes you can trick Design Space into using less sheets of card by moving the shapes around on the mats.
If you think there is space on a mat to move some of the other shapes to, click the shape you want to move and then click the three little dots on the left.
Click “Move object”. This opens a popup that shows all the mats.
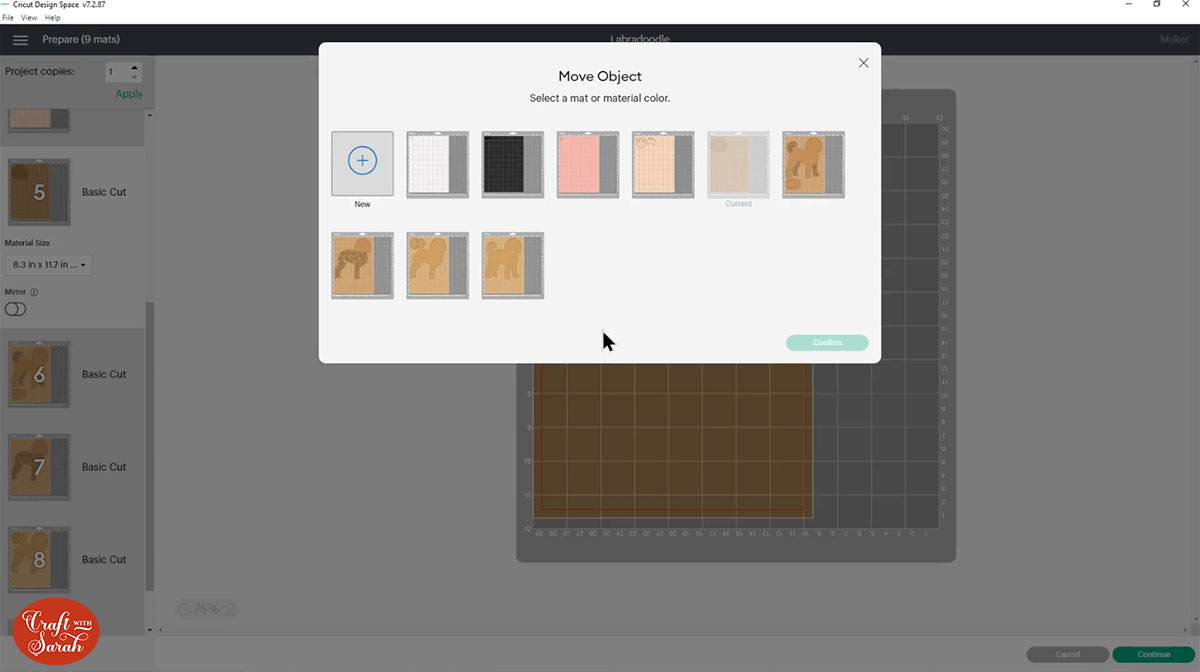
Click the mat that you want to move the shape to.
IMPORTANT – You MUST select a mat that’s the SAME COLOUR as the shape you are moving!!
This will move the shape, but it will probably be on top of the other shapes so we need to move it, otherwise it will cut wrong.
To move a shape around, click-and-drag it. Use the arrow button to rotate a shape around.
This is a great Cricut hack for using less materials when you’re cutting a layered SVG!
When you’re happy with the positioning, click “Continue” and then follow the on-screen instructions to out all the layers with your Cricut machine. Watch the video at the top of this page for a detailed step-by-step guide to how to cut cardstock on a Cricut machine.
I get asked quite a lot what card stock I use to make the cat designs and my layered designs in general. I tend to use 160-240gsm card or thereabouts because it’s quite lightweight so it’s easy to cut with the Cricut. My favorite brown card and gray card to use for the cat breeds is this set from Sizzix Surfacez.
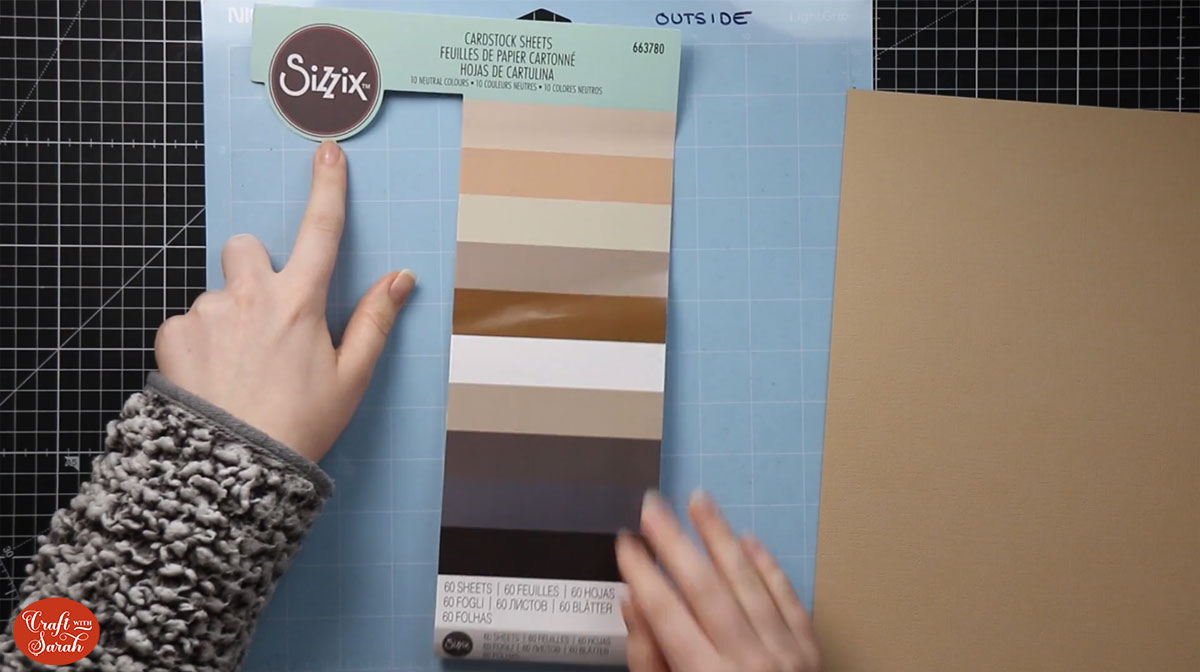
Because it’s lightweight, it cuts well and having the linen effect pattern doesn’t affect how it cuts and these just work so well for the cat breeds. The colors are brilliant and very lifelike.
Top tip: To stop your card “curling” when you take it off the mat, instead of peeling the card off of the mat, turn the mat upside down and peel your mat away from the card. Use your hand to keep the card flat against your desk.
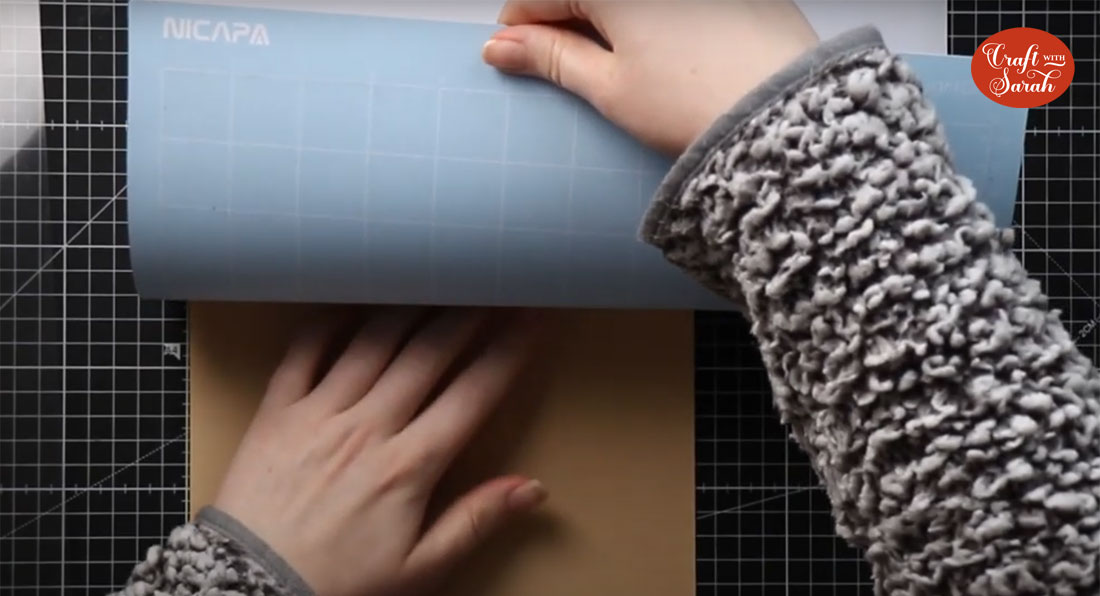
When you’re finished, make sure you put the plastic wrap back on your mat to protect it.
Step 7) Assemble the layered design
We’re going to stick all of these pieces of cardstock together using a combination of glue and 3D foam squares.
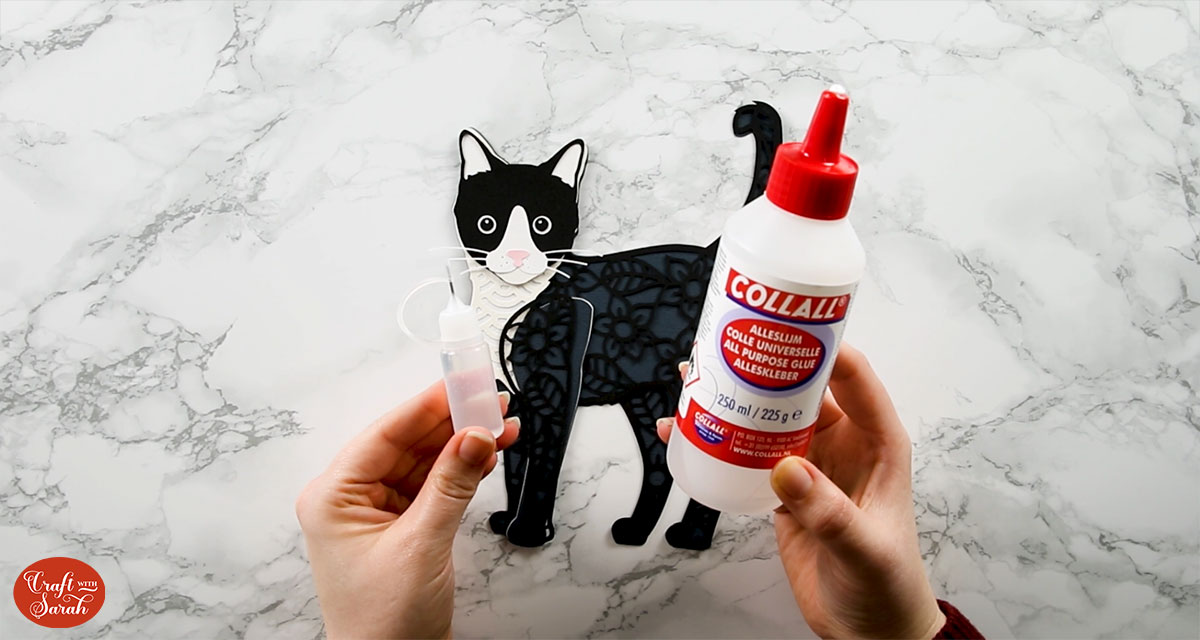
I live in the UK and the glue I like to buy is called Collall. It’s really good because it doesn’t bend or wrinkle the cardstock like some glues can do. Other glues that are more available in other countries are Bearly Arts Glue and Art Glitter Glue. It doesn’t actually have any glitter in it, it’s just a name.
I put my Collall glue into these needle-tip bottles from Amazon so I can easily get the glue into all the tiny pieces of the card.
The foam squares that I use are from Dot & Dab but any brand will do. I like these ones because they’re quite small which means again I can fit them where I need them to go. If yours are bigger then that’s okay, they’re really easy to cut smaller with just a regular pair of scissors.
For this cat I’m going to use black foam squares instead of my normal white ones, which means they will “blend in” to the black card better so you won’t be able to see them from the sides.

I like to lay the pieces one on top the other to check I’ve got everything cut out right and from the correct colours before I start sticking it together.
Use the assembly guide pdf which came in your purchase/download to see which layers to put on in which order and which ones to stick with foam, and which ones to stick with glue.
All of my layered SVGs come with a guide like this.
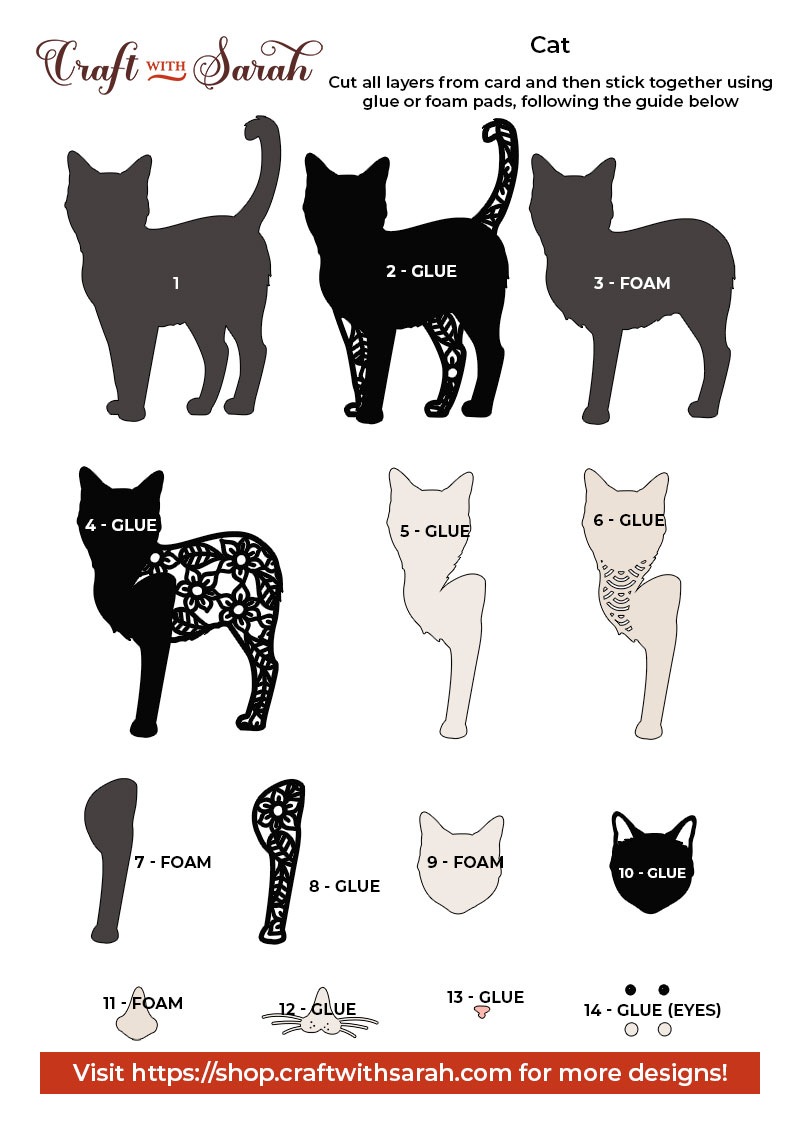
When making layered designs, we start from the bottom and work our way up so I need to move all of these layers out of the way apart from the very bottom two. My bottom two for this design are the solid body which includes the tail and then the detail on top of that which is the flowers.
The flower layer is a glue layer so turn it upside down and bring in your glue. You want to make sure you put a good amount on here because this is our very bottom so it’s going to have all the extra layers on top of it and that’s going to end up quite heavy so we need to make sure that this isn’t going to come off of our solid bottom layer.
The nice thing about the glue is you do have a little bit of wiggle room to move it about a bit before the glue dries if you haven’t quite lined it up.
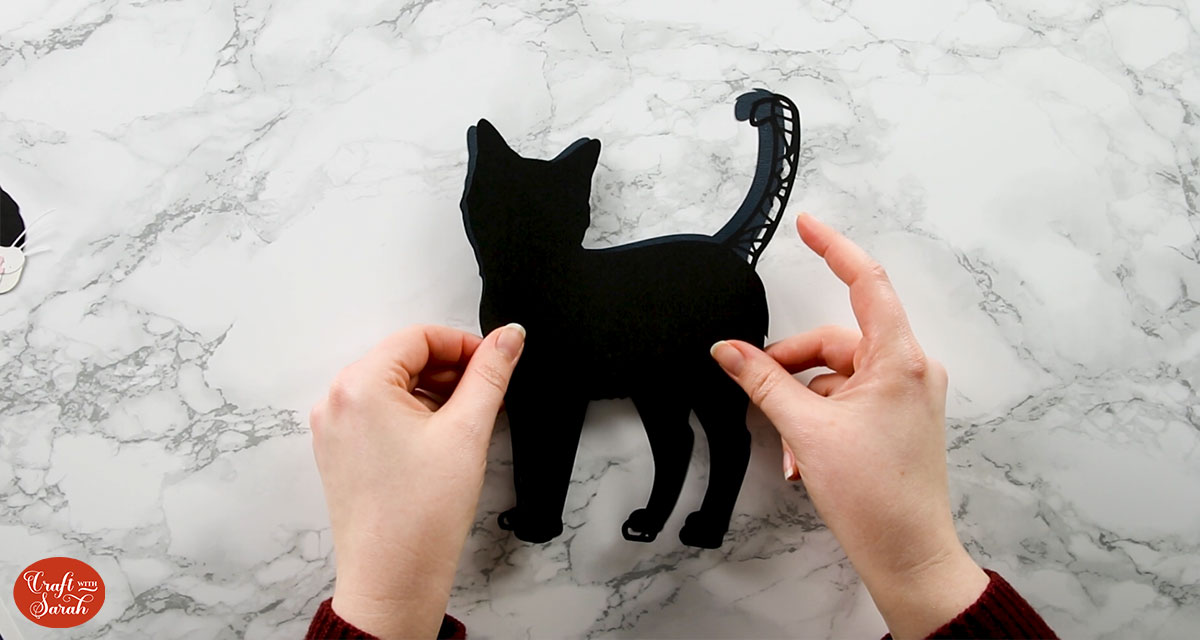
The next layer for this cat is the solid body layer and this is going to be a foam square layer.
To add the foam pads, turn the layer upside down and place the pads around the bottom side of the card.
You want to make sure you add foam to all of the extremity parts; legs and ears on the cat, so the bits that are sticking out from the rest of it. That’s to make sure that they’re all nicely stuck to the layer beneath it, and they won’t start coming away.
You also need to make sure you put foam in any large spaces in the middle and that’s to stop the card from sagging once you put all the other layers over the top. If you don’t put anything in the middle, then there’s nothing there to stabilize it and that can cause it to sag.
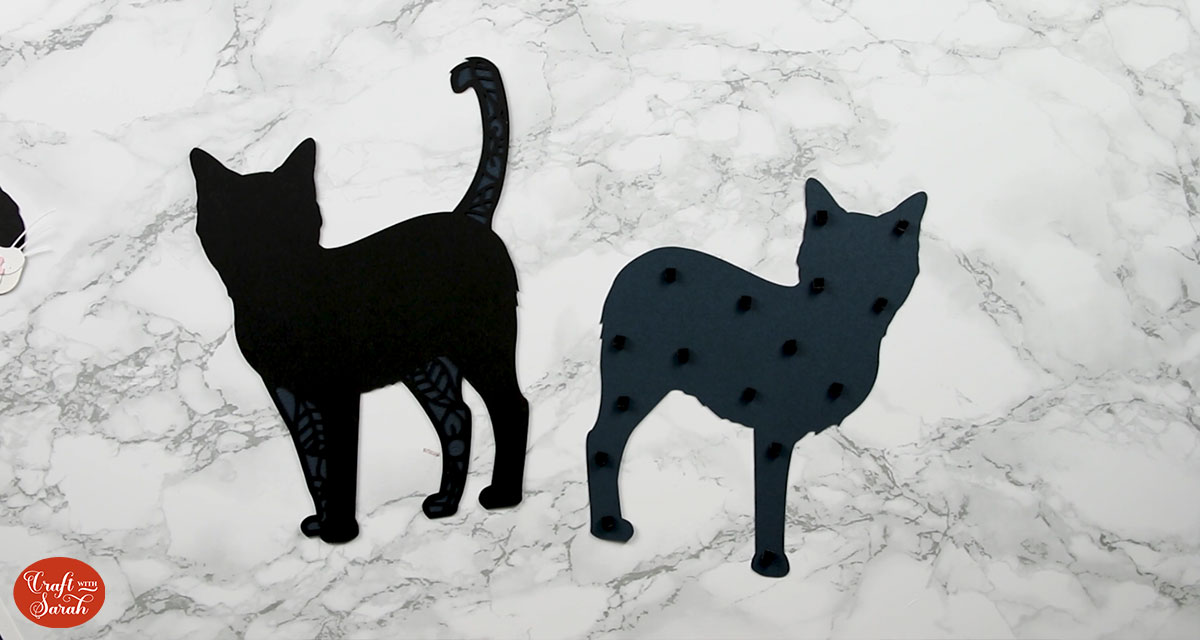
Make sure that the foam doesn’t cover up any of the holes or go outside the design. If it does, then it means you’ll be able to see the foam through it when you turn it over and it will look a little bit messy, so try not to do that.
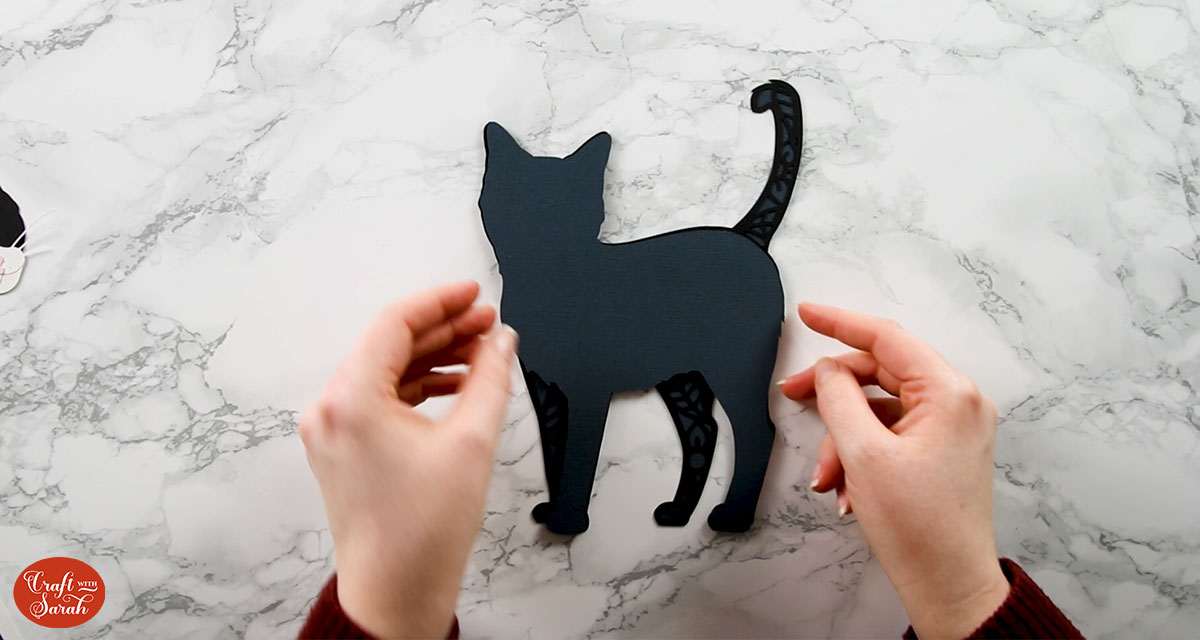
Once you’re happy with the foam pad positioning, peel off the top paper parts of each piece to unveil the stickiness underneath.
When sticking layers together, I tend to gently lie the pieces on to start with just in case I mess up the positioning and need to try again. Because I only gently drop it on to start with, I can peel it off without damaging the card and try again.
Continue sticking each layer together, following the assembly guide PDF, until you are done!
Be careful with small pieces such as as eyes, noses and tongues as they can be a little tricky to pick up… and they are easy to lose by mistake!
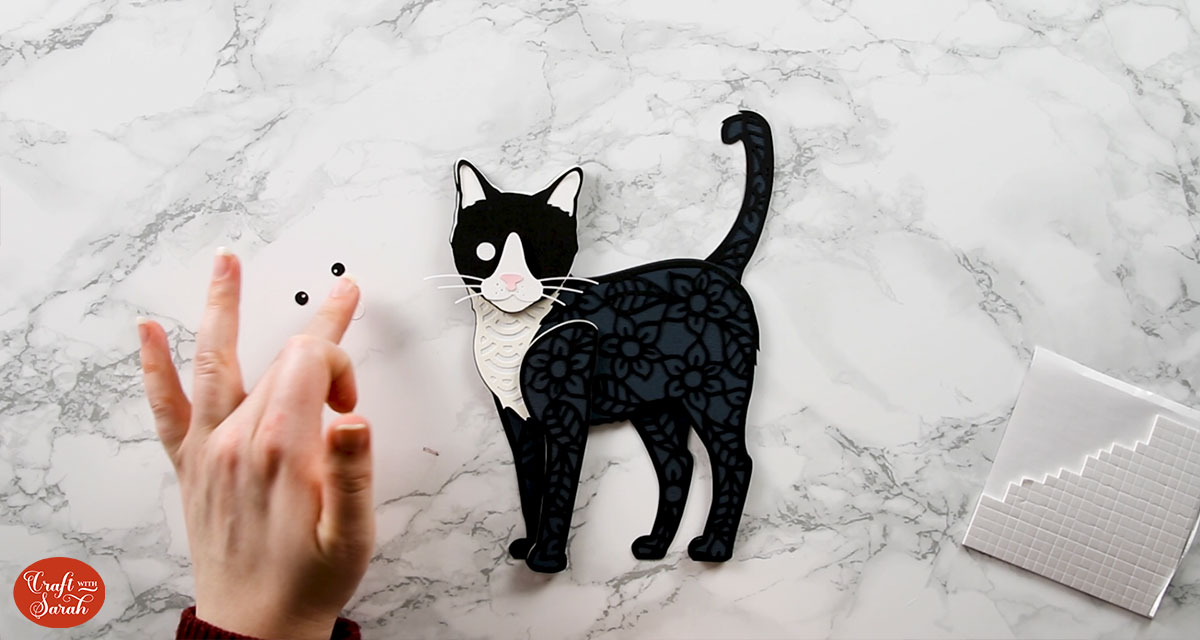
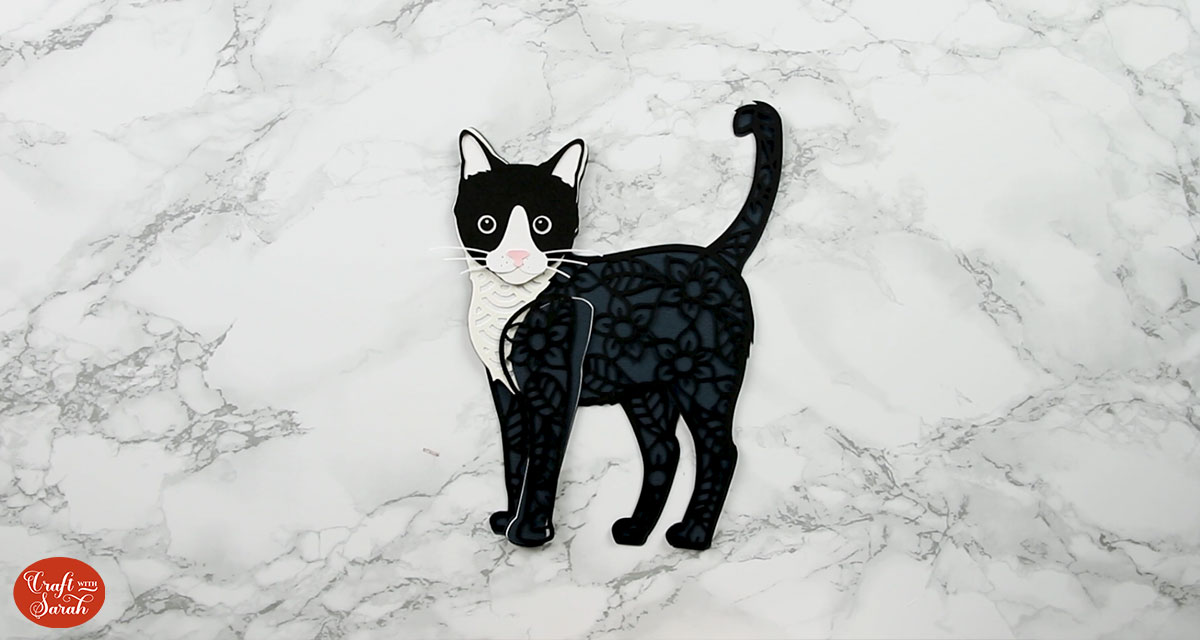
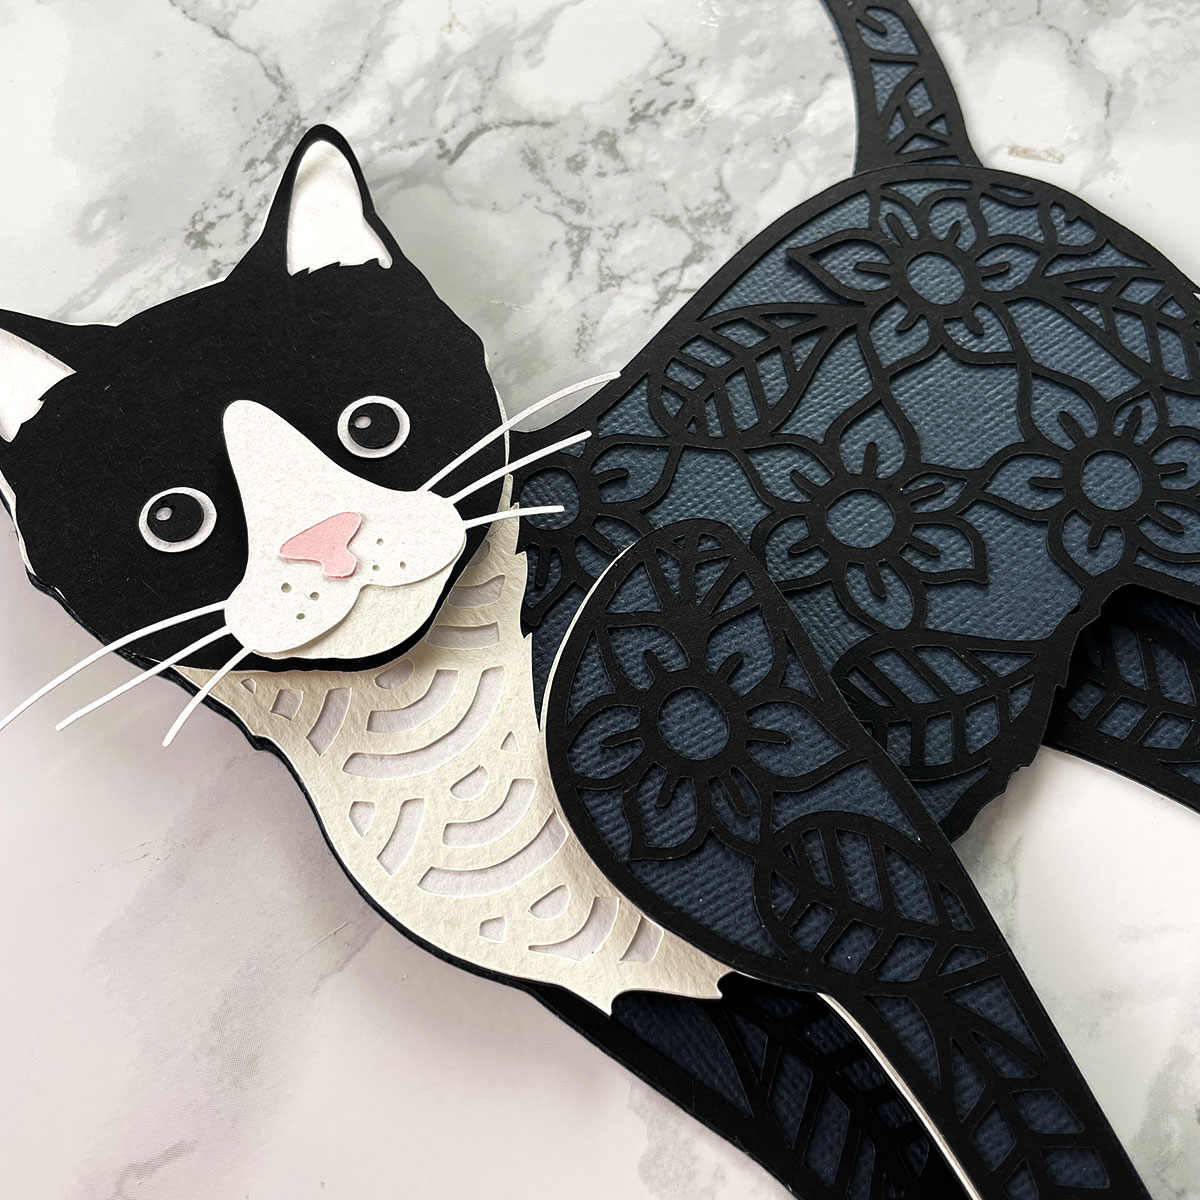
My little cat is all complete! Here he is – he looks really cute! I’m very happy with how he turned out.
He is now ready to go into a shadow box frame, onto a greetings card or even stuck straight onto the wall with some blu tack.
Just look at all of the layers making up the face! It gives such a lovely 3D effect and adds to the realism of the deisgn.
Here are some tutorials on how to frame layered cardstock designs:

Shadow Box Framing Tips
Discover my Number One hack for making sure that your design will fit its frame perfectly every time without wasting any of your craft materials!

Beautiful DIY Shadow Boxes
Ever wanted to design shadow box backgrounds? Learn how to design backgrounds for shadow boxes or photo frames using Cricut Design Space.
I hope you enjoyed this tutorial on how to make layered cardstock projects with your Cricut machine with my little black-and-white cat or kitten as the star of the show.
Don’t forget, I’ve got almost 30 other layered cat SVG available in my SVG shop, plus over 200 layered dog SVGs, small pets (rabbits, guinea pigs, ferrets, etc.) and other animal designs.
Happy crafting,
Sarah x

