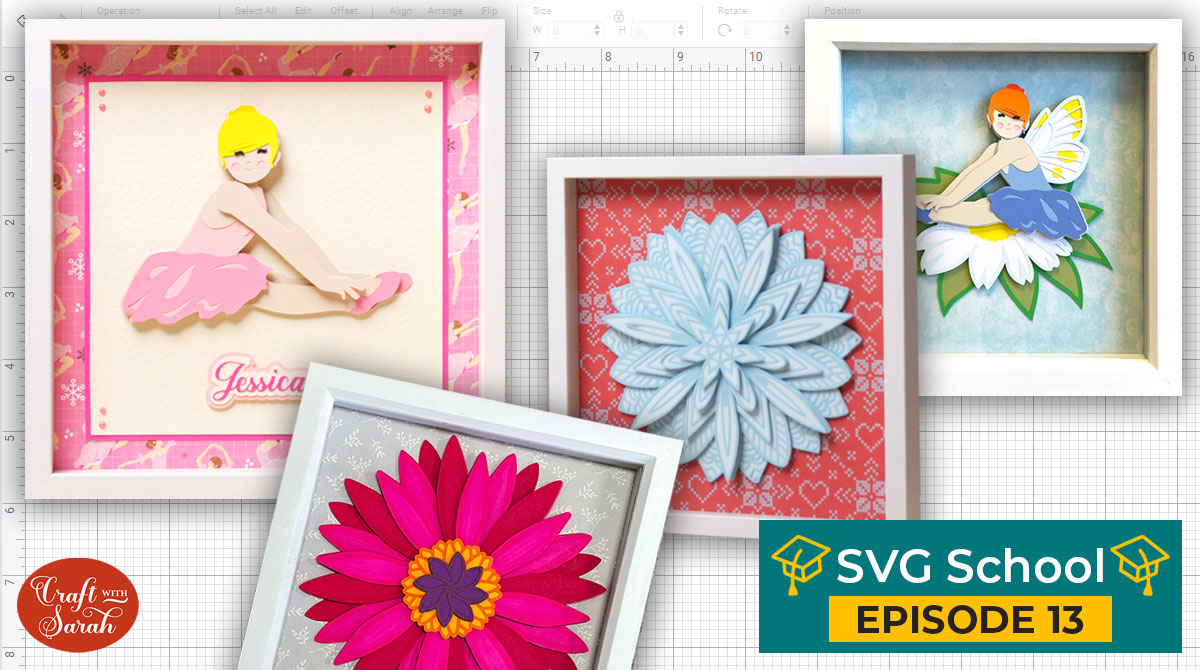
How to Frame Layered SVGs | Shadow Box Framing Tips
Do you struggle with how to frame Cricut papercraft projects?
How do you know what size to cut it to fit correctly in your frame? How big should you cut the background papers, and how to do you layer them?
This tutorial will show you how to perfectly size layered SVG files in Cricut Design Space to fit in the frame exactly as you want them to.
Discover my Number One hack for making sure that your design will fit perfectly every time without wasting any of your craft materials!
[svg_school]
Please note that some of the links included in this article are affiliate links, which means that if you click through and make a purchase I may receive a commission (at no additional cost to you). You can read my full disclosure at the bottom of the page.
How to frame papercraft projects
Watch the video below to see how to frame layered SVGs in a shadow box or photo frame. Keep scrolling for a written tutorial!
Note: This tutorial was recorded using Design Space v6.11.113. Later versions of Design Space may look different from the video/screenshots shown on this page.
Video Resources
- Free Fairy SVG file
- Free Ballerina SVG file
- How to make layered name tags using “Offset”
- Download Design Space
Tips on how to frame craft projects
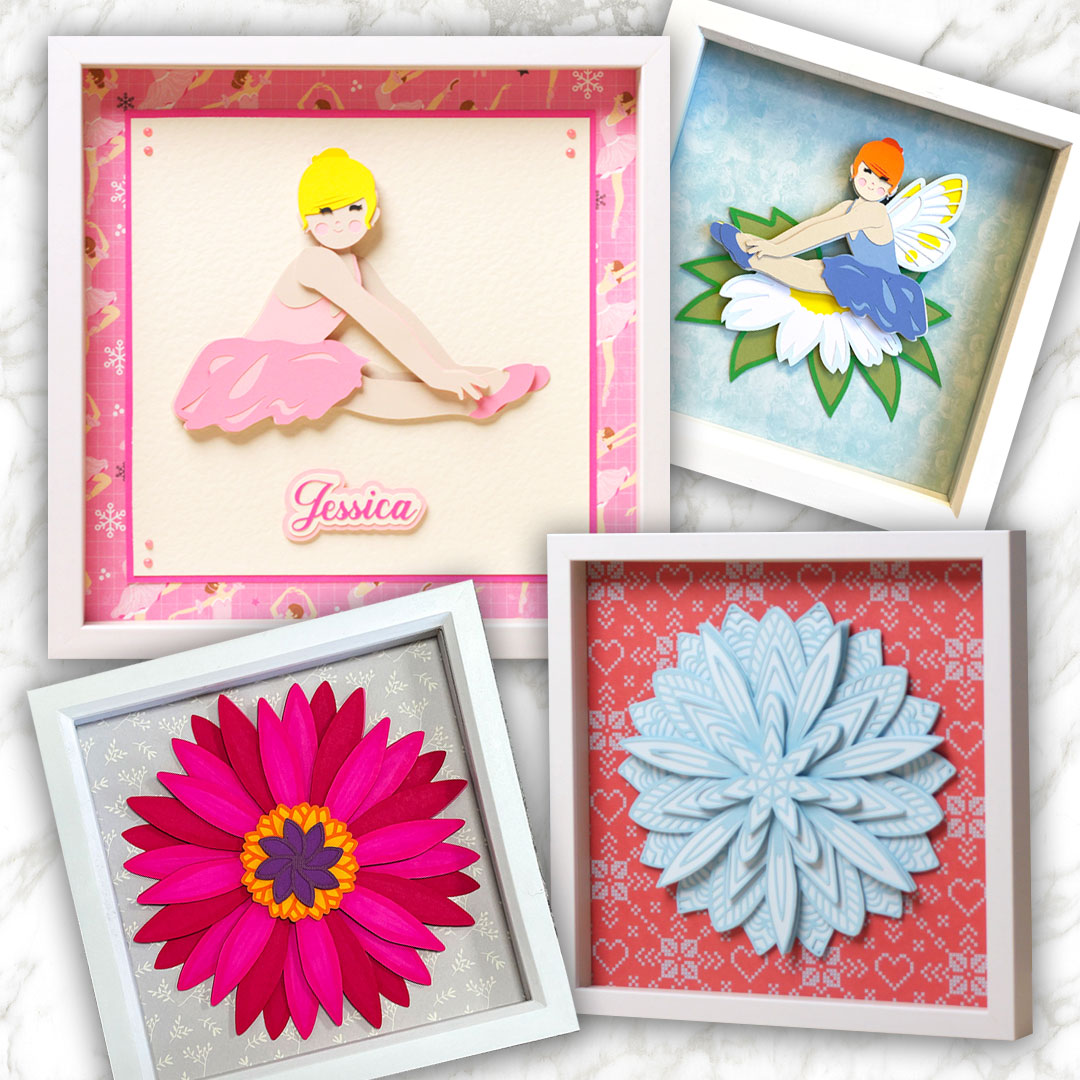
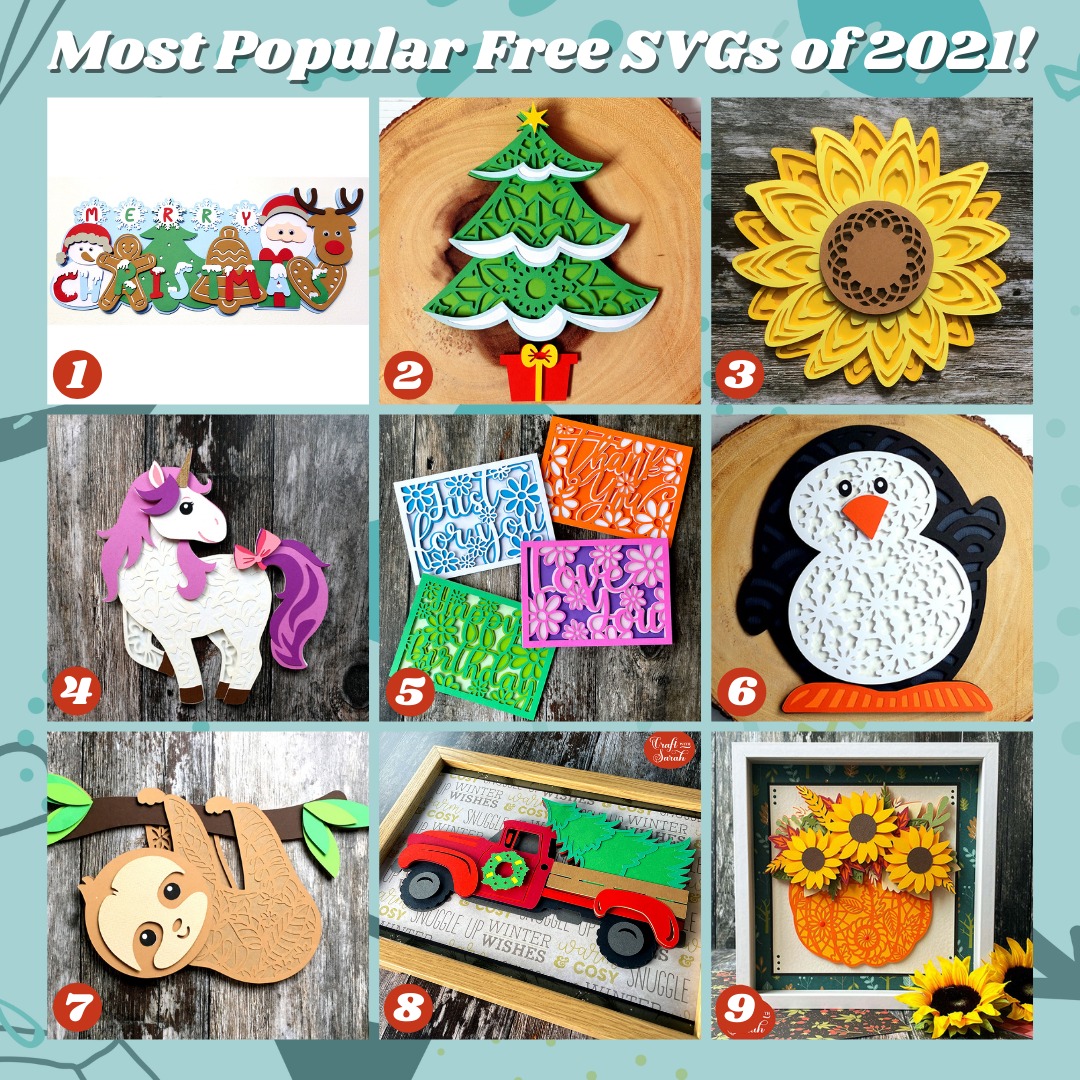
The first thing to do is to decide on which layered SVG to make for your shadow box. I have over 30 free layered SVGs available, including all of the designs shown below:
Choose your favourite design, download it and then Upload the SVG file into Cricut Design Space, then let’s get started on resizing it to fit our frame!
New to layered SVGs? Click to find out how to load them into Design Space
Next, decide how you want to frame your project.
Do you want the background to be one single sheet of cardstock or patterned paper? Or, do you want to add several coordinating pieces to make a more detailed look to your shadow box background?
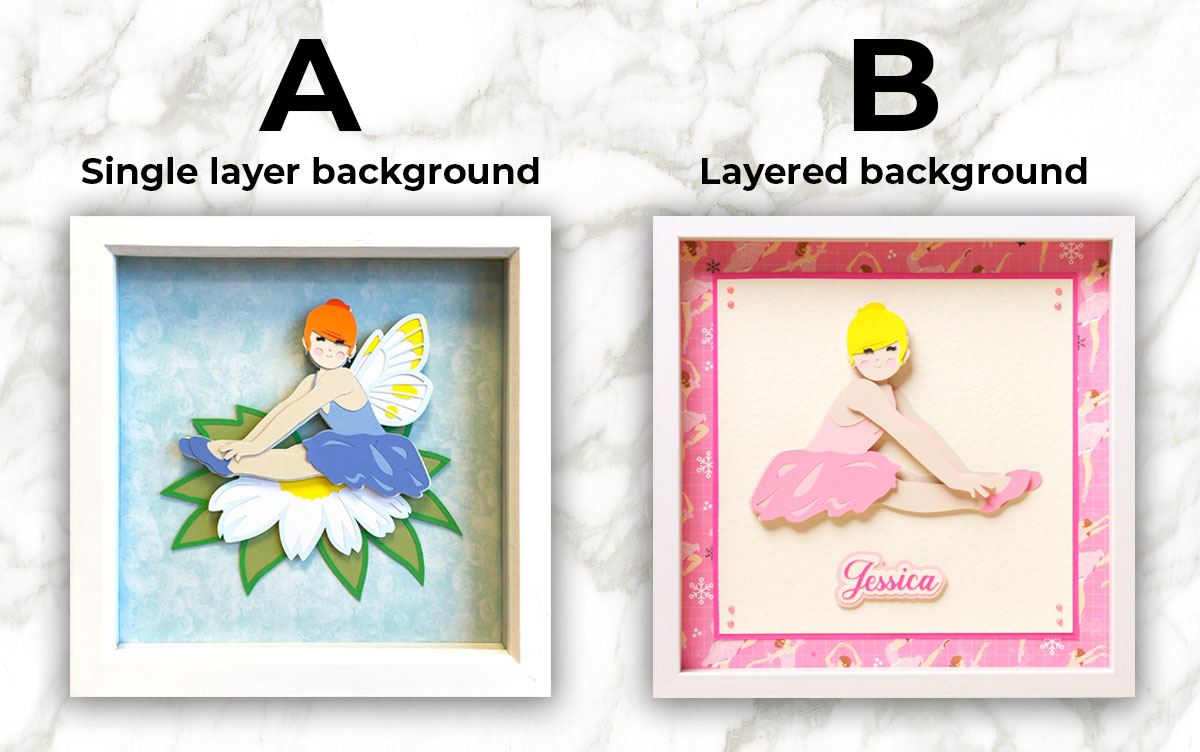
Instructions for both methods are written below.
Method A: Single layer background
Step 1) Measure the shadow box
Get your chosen shadow box frame. Turn it over and peel up all the small tabs in order to remove the back frame. Remove the wooden spacer.
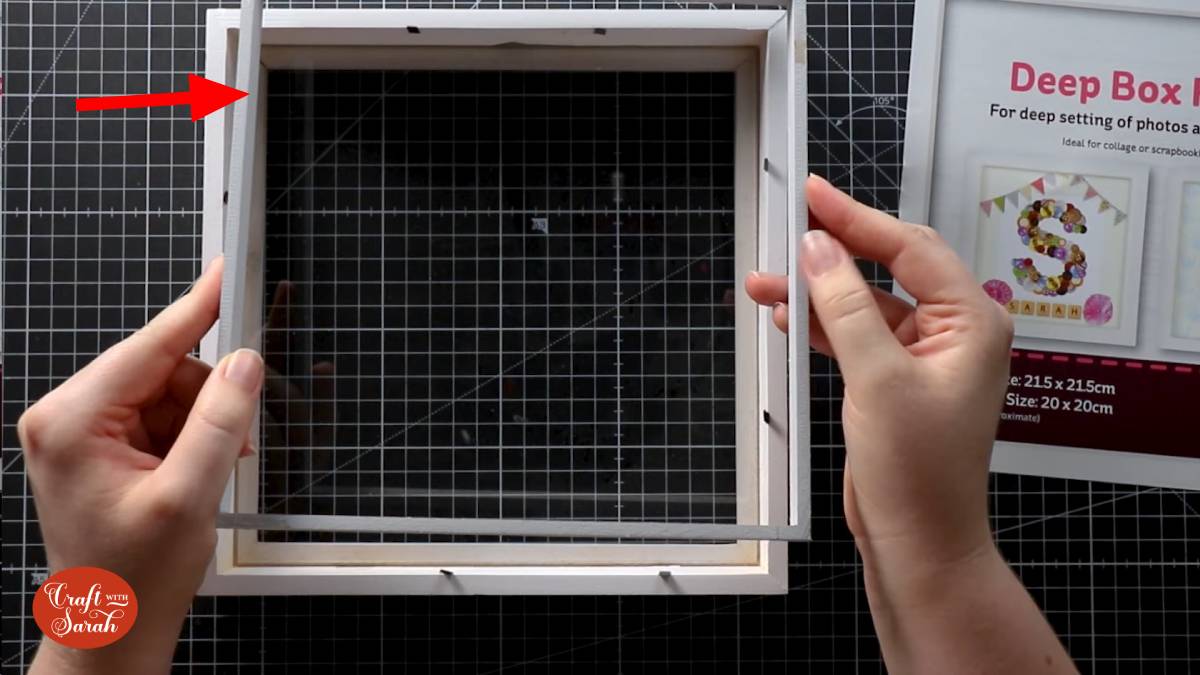
Measure the spacer with a ruler from one edge to the other. This will be the size that you cut the background paper. My frame measures 8.5 inches square.
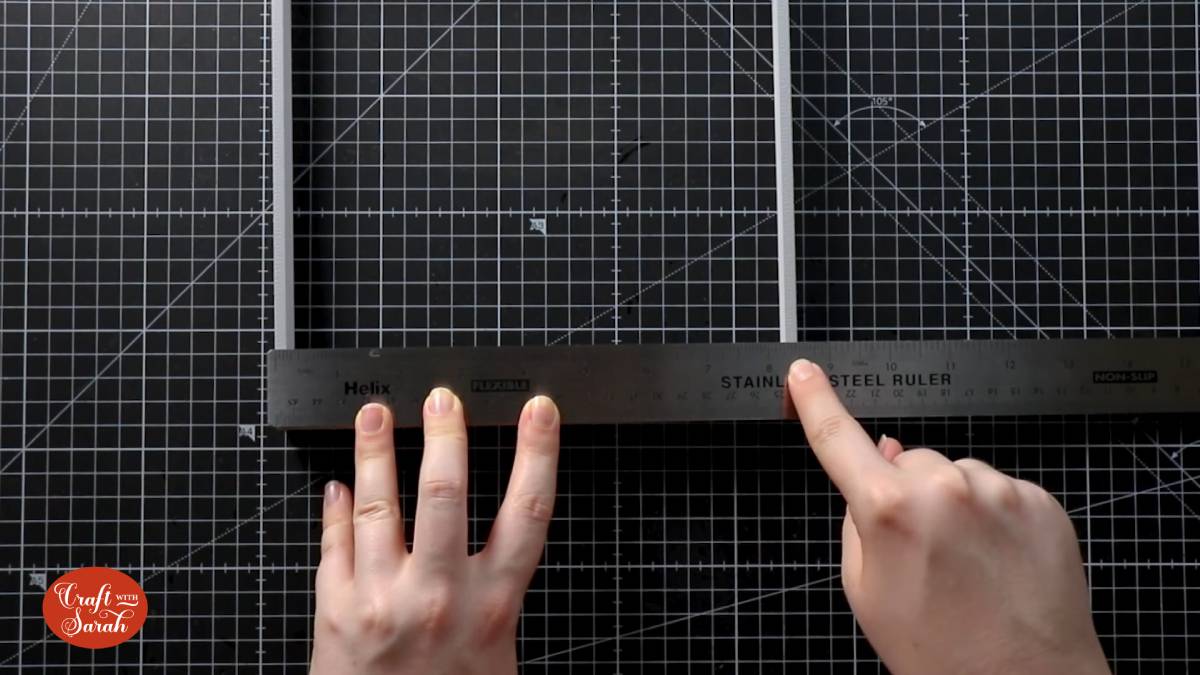
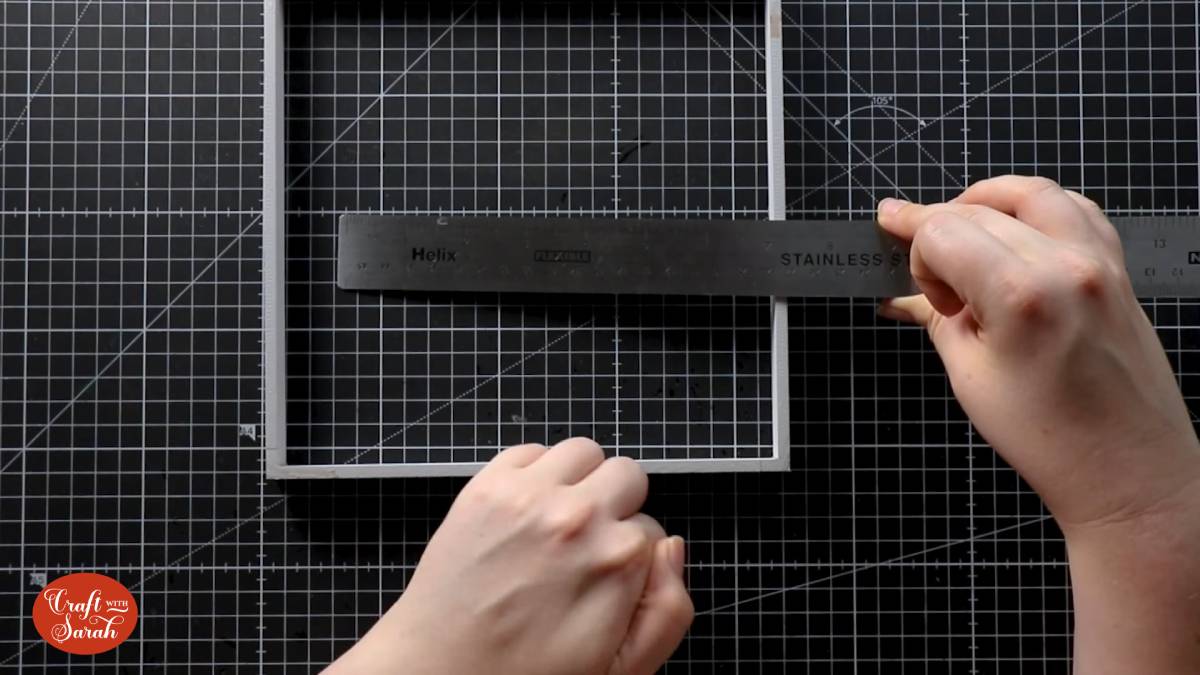
Position your ruler across the middle of the spacer to work out what size to make the layered SVG. Remember that some of the space inside the frame will be obscured by the beveled edges of the front of the frame.
I’m going to make my fairy 6.5 inches in width.
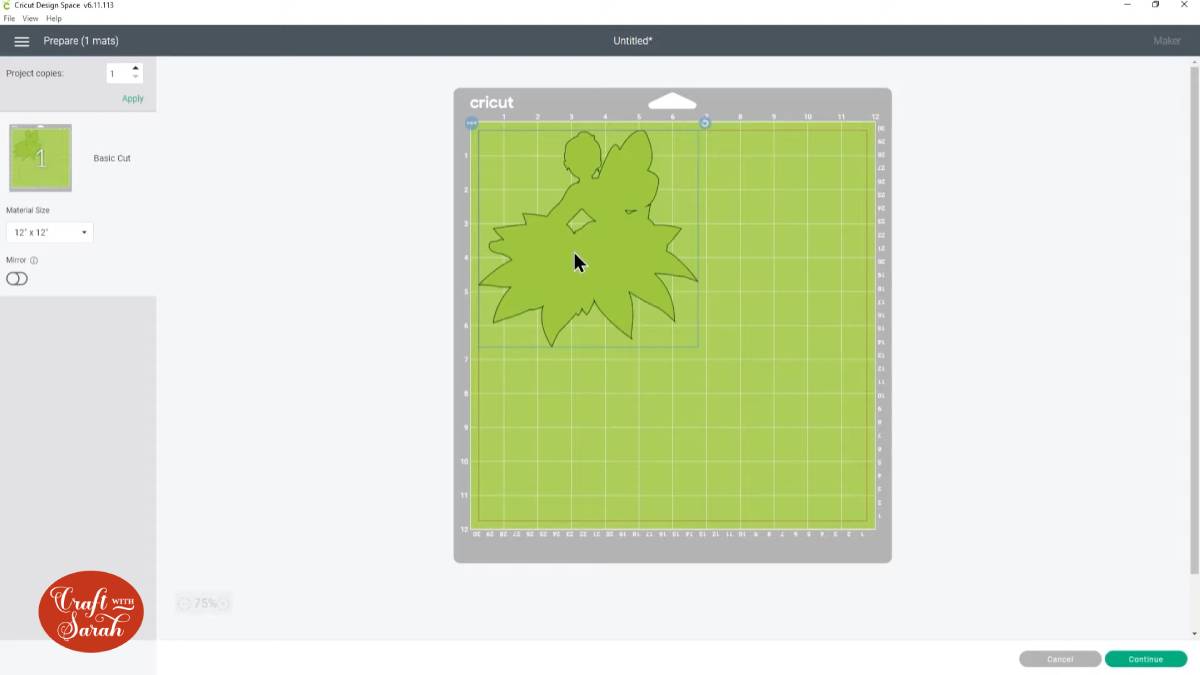
Step 2) Resize the design in Design Space
To resize the design, click on it to highlight it and then use the width and height boxes at the top of the screen.

Now it’s time for my BEST tip for checking you have sized it correctly!!
Before cutting your design for the shadow box, make sure the size is exactly what you need by cutting the bottom layer from scrap material.
Do this by hiding the other layers by clicking on the little “eye” icon next to each layer in the layers panel.
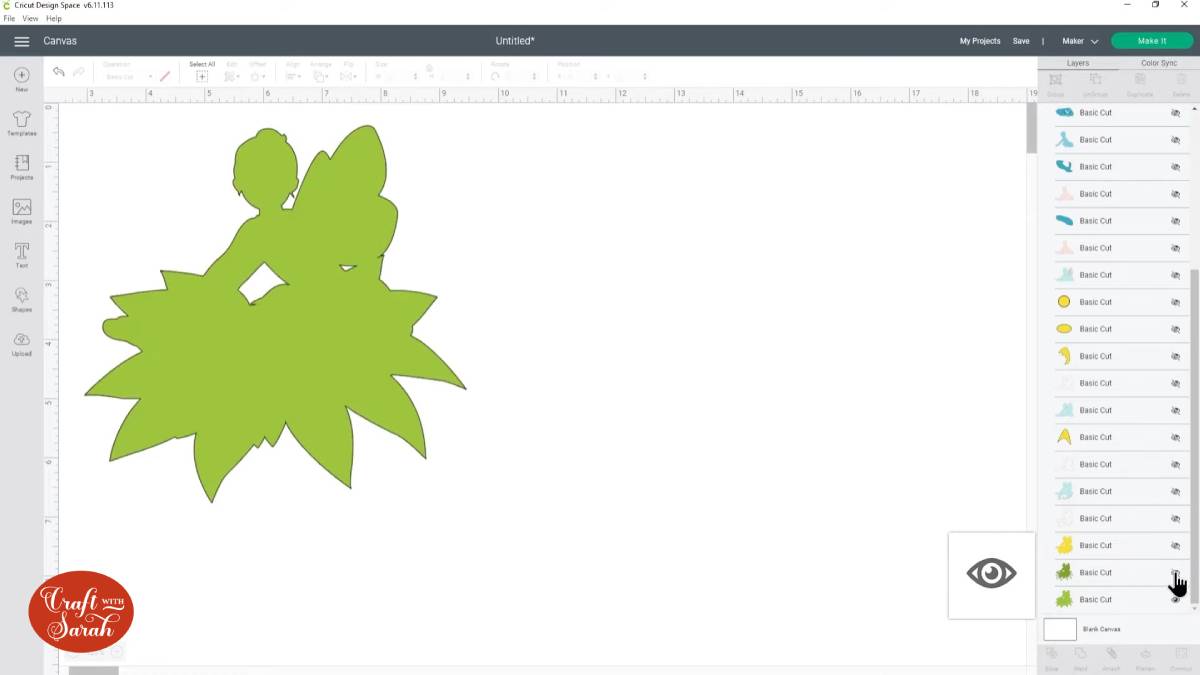
Step 3) Cut the bottom layer
Once you only have the bottom layer remanining, click ‘Make It’. This is only a test cut, so don’t use your final materials!!
Use scrap card, or even a sheet of copy paper / printer paper to make sure you don’t waste any expensive materials.
Cut this layer and see how it sits in the shadow box. If the size is not correct, you can try again without wasting anything.
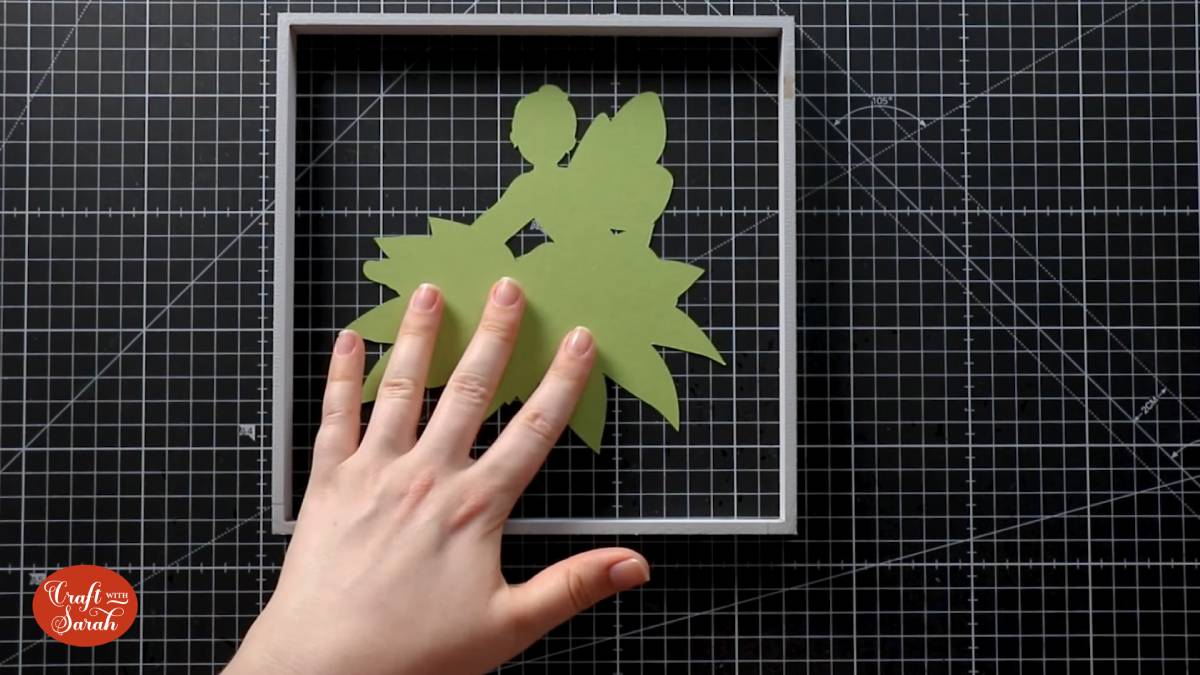
If the size is correct, “Finish” the test cut in Design Space and then then the other layers back on by clicking the “eye” again.

When all the layers are showing, click “Make It” and follow the on-screen instructions to cut everything out with your Cricut.
Step 4) Frame the design
Stick your layered design together using the Assembly Guide that was included when you downloaded it.
I like to make up the layered design before choosing the background paper so that you can check all the colours work well together.
Cut a piece of card or patterned paper to the size of your shadow box space frame that we measured in Step 1 (mine was 8.5 inches). Check that it fits inside your shadow box.
When you’re sure of the fit, glue the layered design into the middle. Or, use blu-tack if you want the design to be easily removable in case you want to change the background in the future.
Clean the frame’s glass with an alcohol wipe or glasses cleaner, add the spacer inside the frame, place your background in the frame, add the backing and then close it all up.
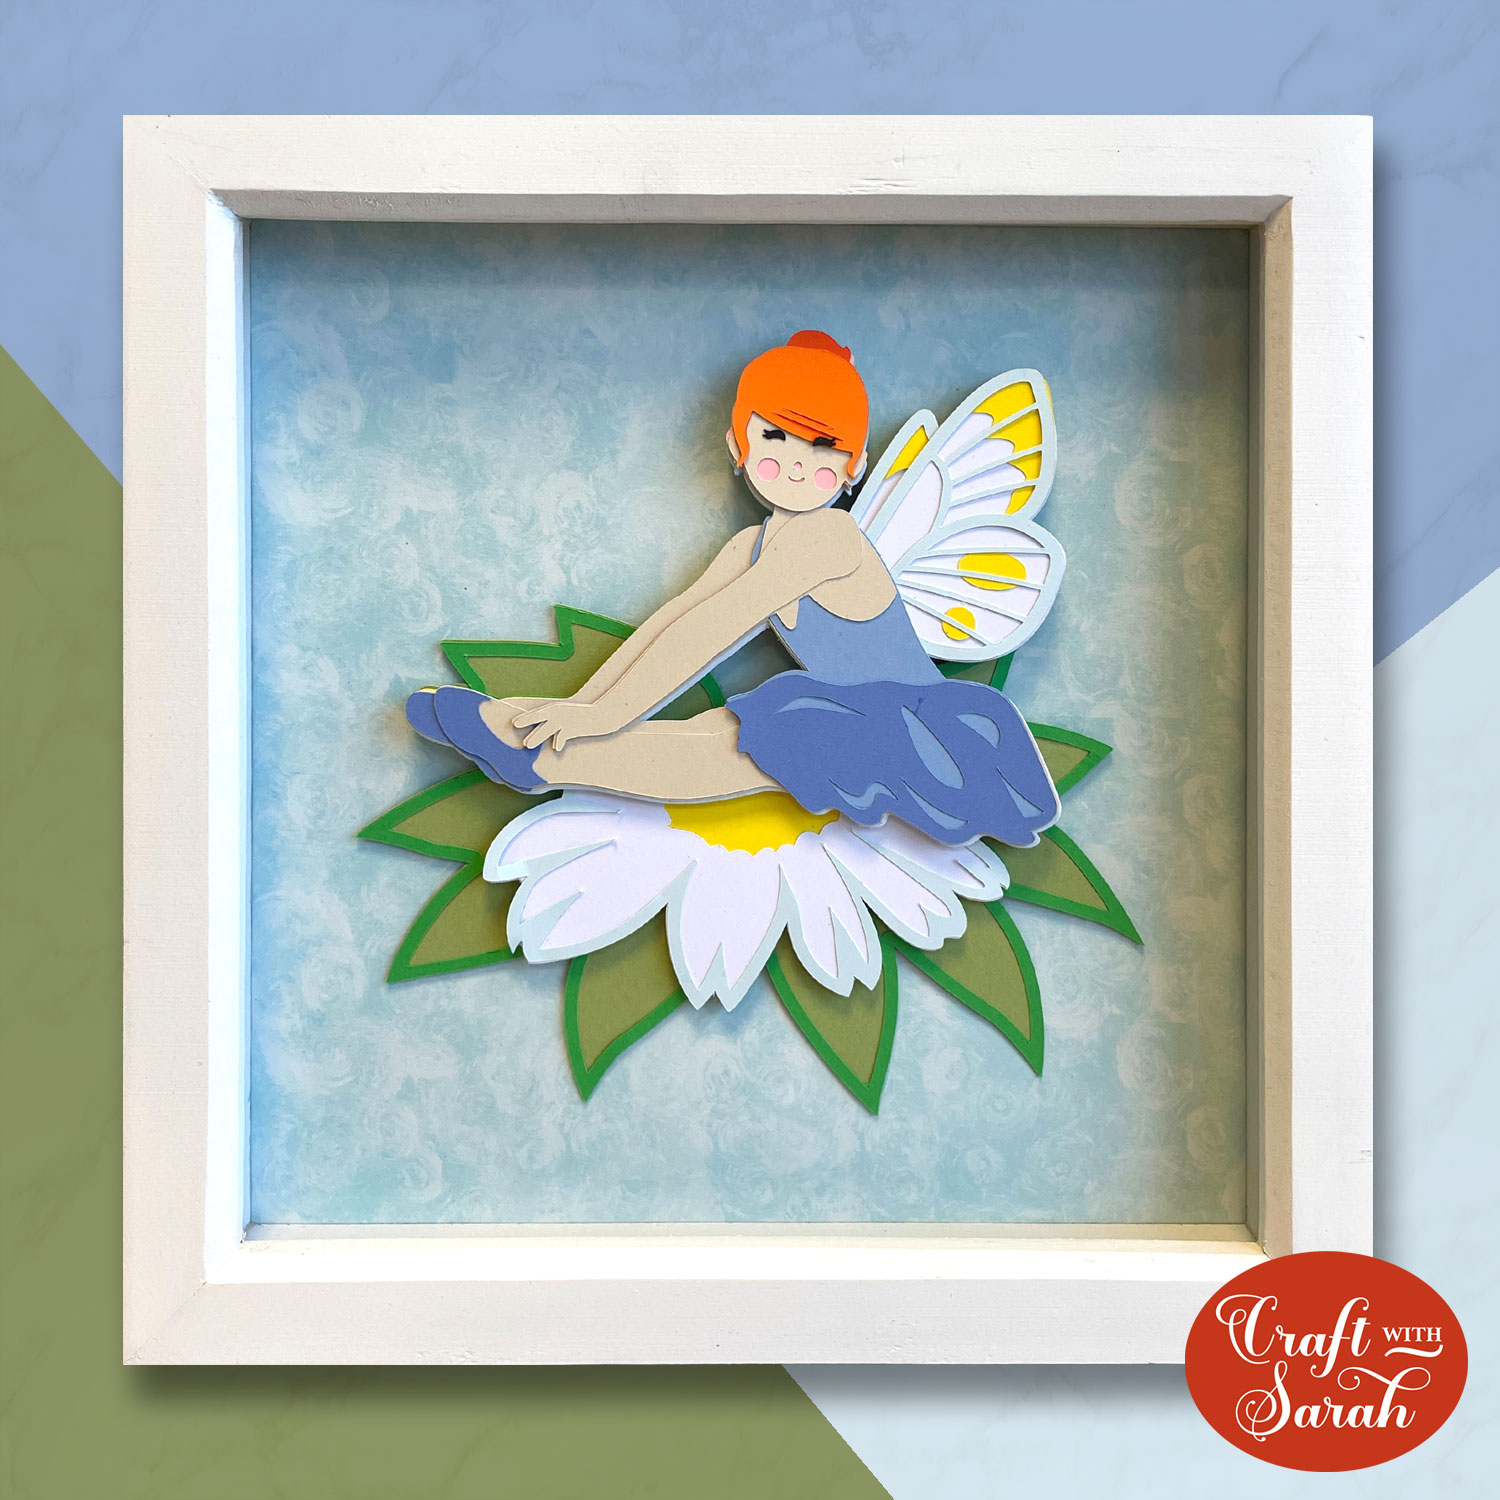
And there you go – a beautiful, perfectly framed layered papercraft project!
Method B: Layered background
Want to add a little bit of extra depth and detail to your background? Add some layers!
Step 1) Cut your background layers
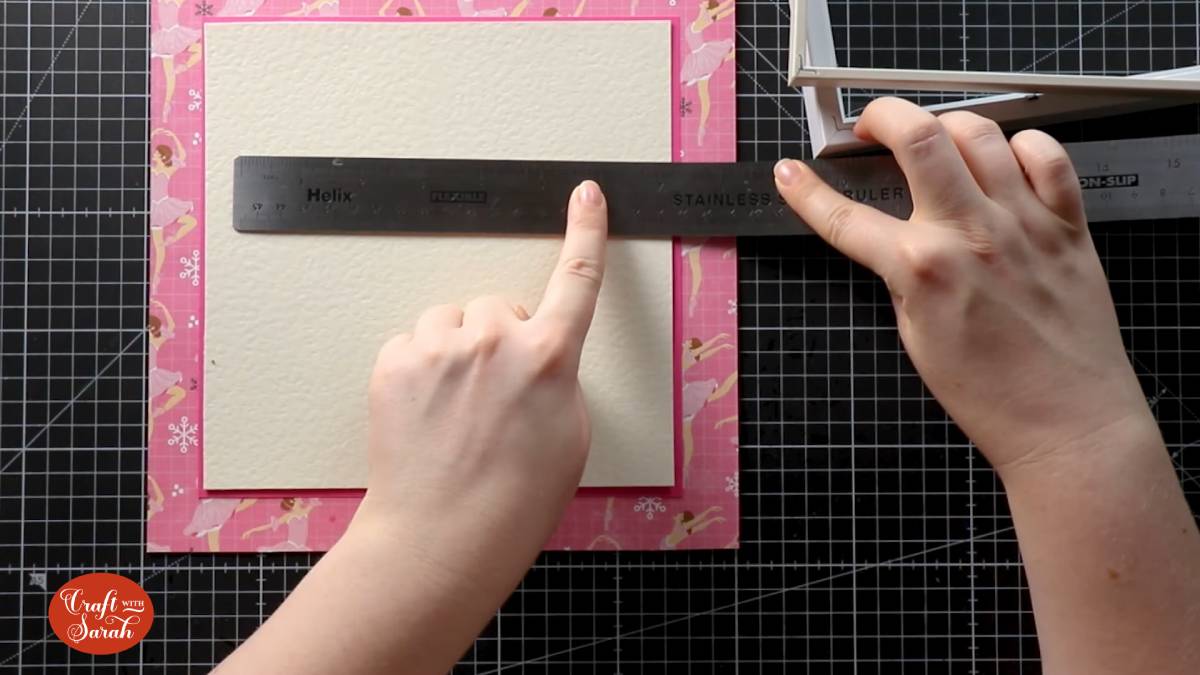
Open up the frame and remove the spacer. Measure the spacer with a ruler from one edge to the other. This will be the size that you cut your largest piece of background paper.
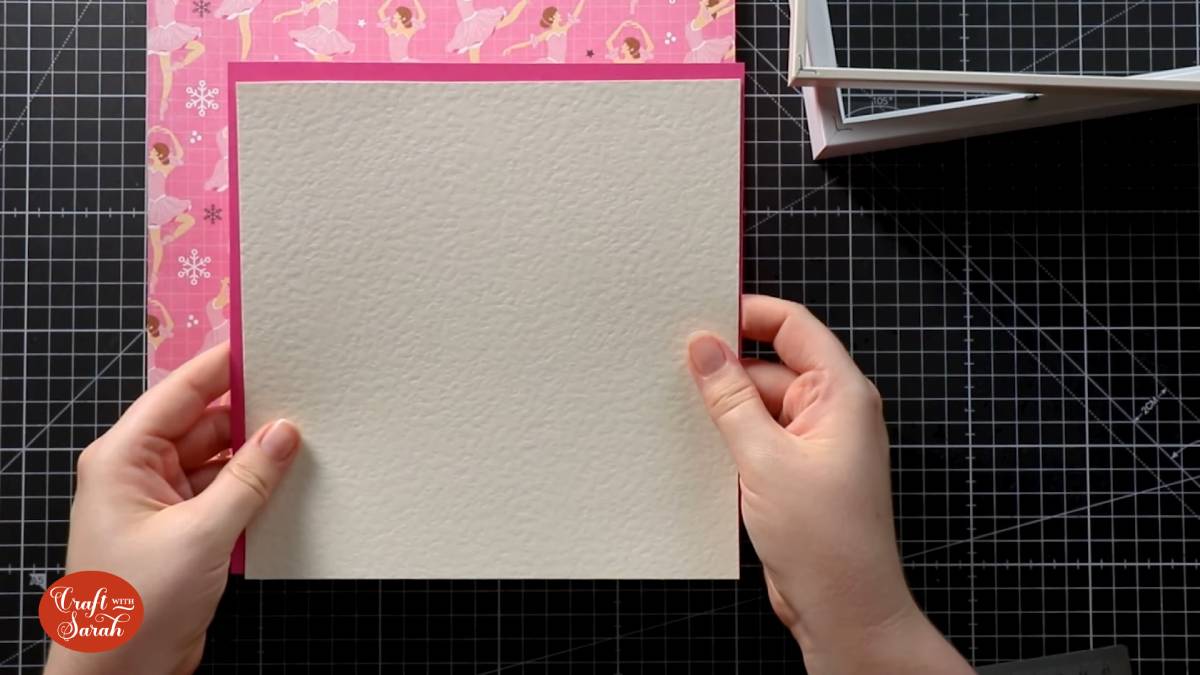
I like to use a heavily detailed or patterned paper for this layer as it will stand out behind the SVG design without being too distracting.
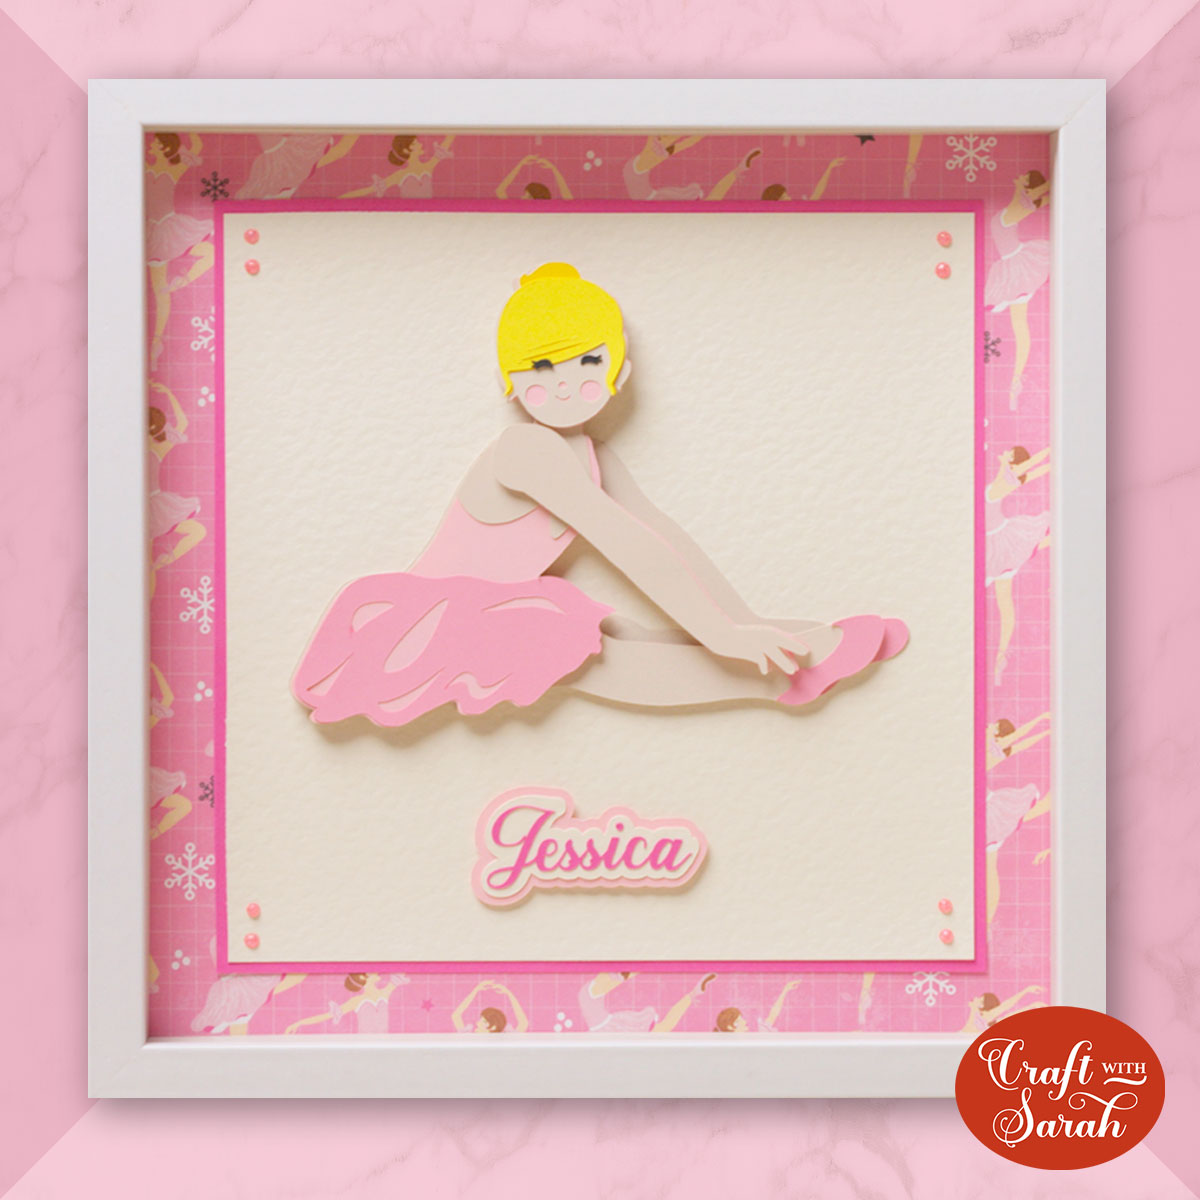
I happened to have a piece of ballet dancer patterned paper, which was perfect for the layered ballerina design.
Next, cut a smaller square in a bright or dark colour. Remember that some of the edges of the largest square of paper will be hidden by the edges of the front of the frame when it’s all put together, so make sure you make the inner squares small enough that you can still see a good amount of the pattern.
Cut one more piece of card, slightly smaller than the second square. I usually make mine 0.25 inches smaller. Use a white or pale-coloured card so that your layered design will stand out when it’s glued on top.
Step 2) Resize the layered SVG design
Place the ruler on the background in order to decide the size of the SVG design layers that will go on top of it.
Load the SVG design into Design Space and resize it using the width and height boxes at the top of the screen.
Step 3) Cut out the layered design
Follow all the steps from Method A to test-cut the bottom layer of the design. Again, if you’re not entirely used to sizing layers, use scrap paper or card for this test cut to make sure you are happy with the size before committing to the full cut.
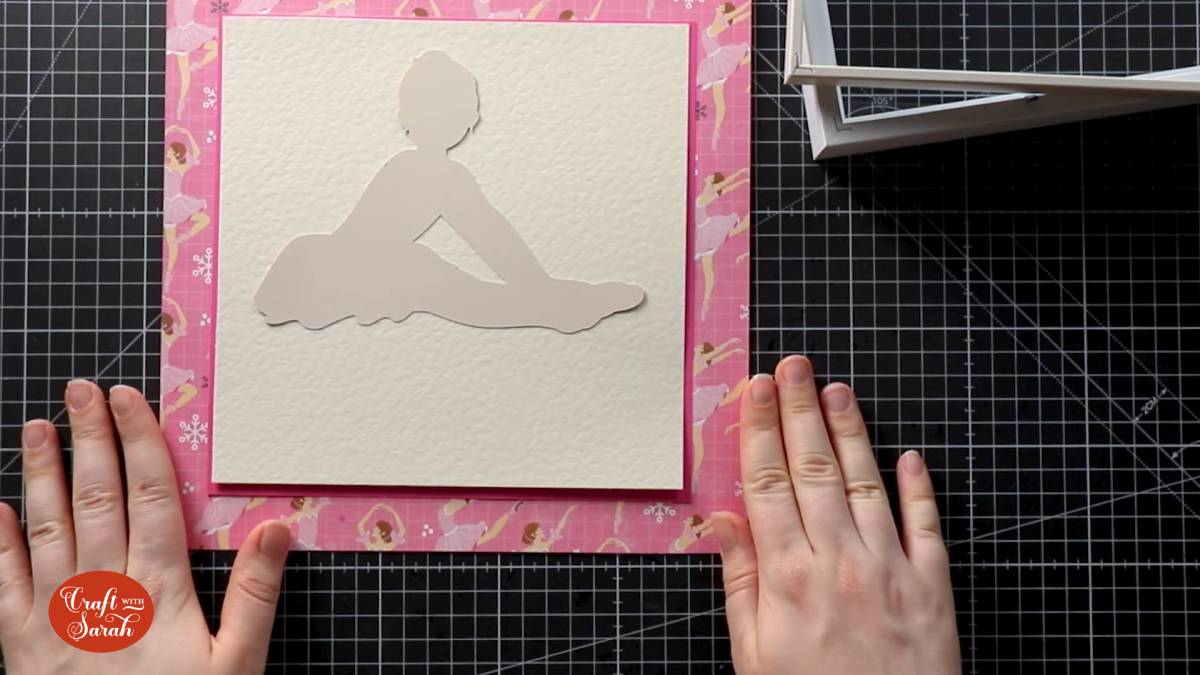
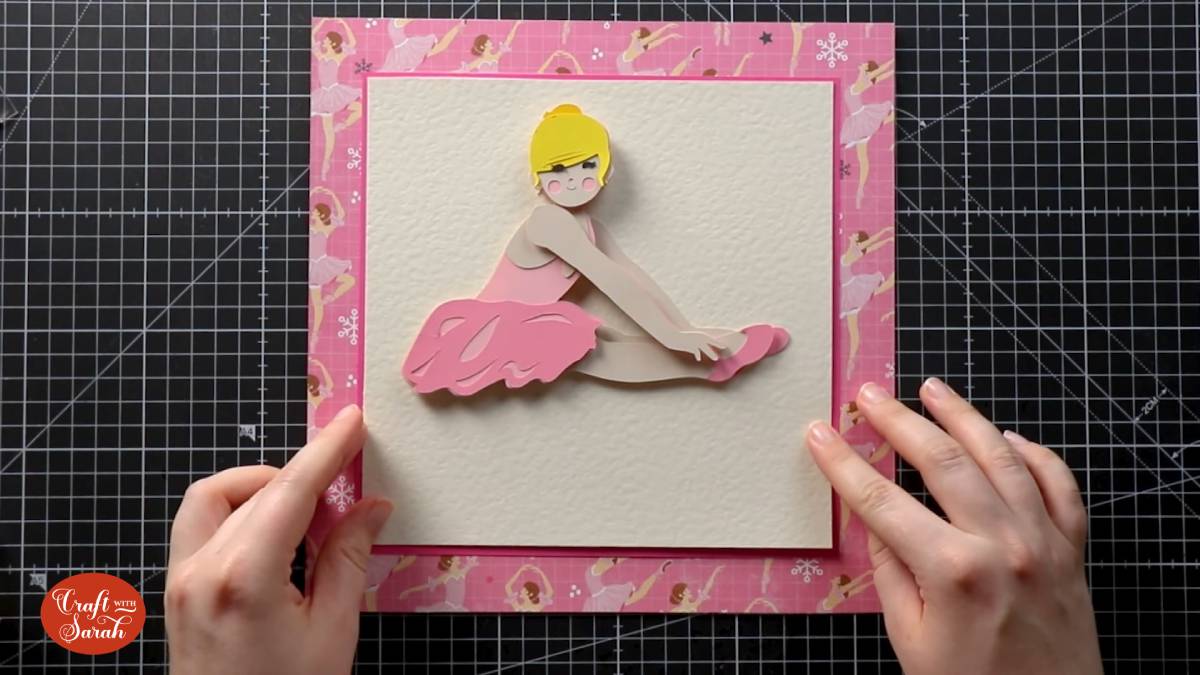
Stick the layers of the ballerina together using the Assembly Guide included in your download folder.
Position it on top of the background layers but don’t stick it down yet – we’re just checking we’re happy with how it’s looking before committing to gluing things down.
I’m leaving some space at the bottom to add a child’s name to the personalize the frame.
Step 4) Glue the background together
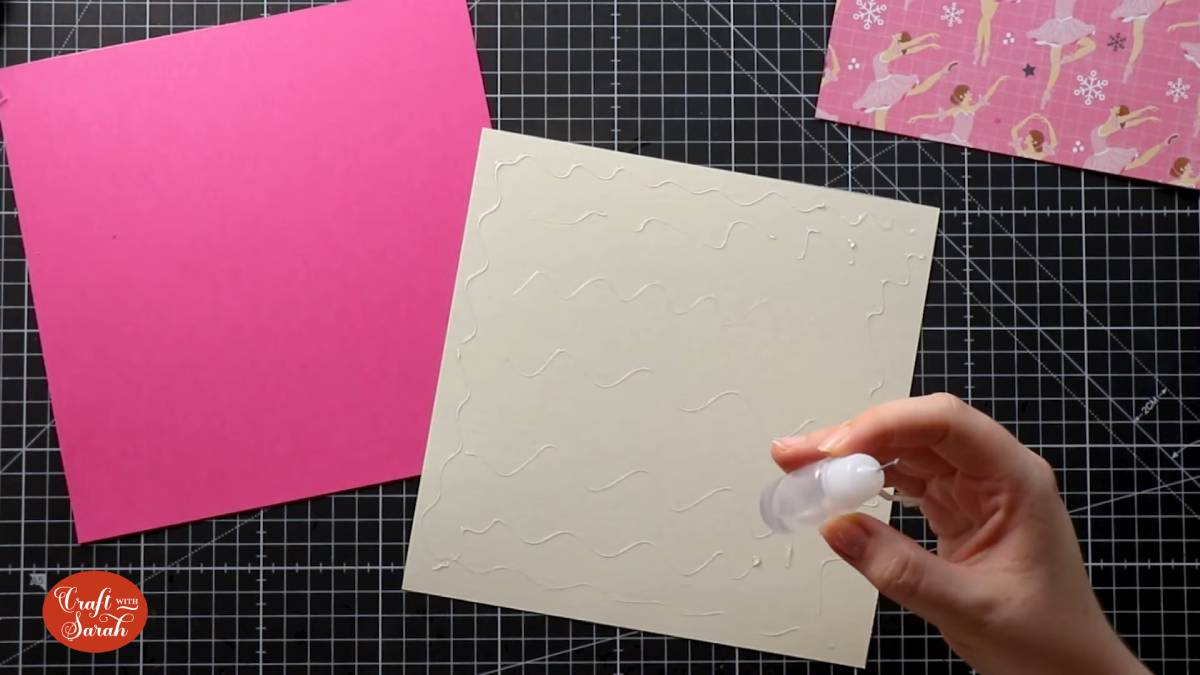
Use glue or double-sided sticky tape to attach the background layers together.
My favourite glue to use on papercraft projects is Collall All Purpose Glue.
It’s SO good because it doesn’t “warp” or bend the card stock as some glues do. You can use as much of it as you want, and the card stays perfect – and it dries perfectly clear too!
To make it even easier to apply glue to layered card projects, I highly recommend getting some of these needle tip applicator bottles to put the glue into.
Step 5) Frame your layered design
Glue the layered design in place.
Add any extra embellishments such as name personalizations, toppers, flowers, gemstones, etc.
Let it all dry out for a few minutes and then insert it all in the shadow box.
I hope you enjoyed this tutorial on how to perfectly size layered SVG files in Cricut Design Space to ensure they fit in your frame exactly as you want them to.
Want to uplevel your shadow box backgrounds?
For even more detailed backgrounds, check out this tutorial on how to design shadow box backgrounds.

[svg_school]
Happy crafting,
Sarah x

