How to Make Custom Iris Folding Patterns + 3 Templates
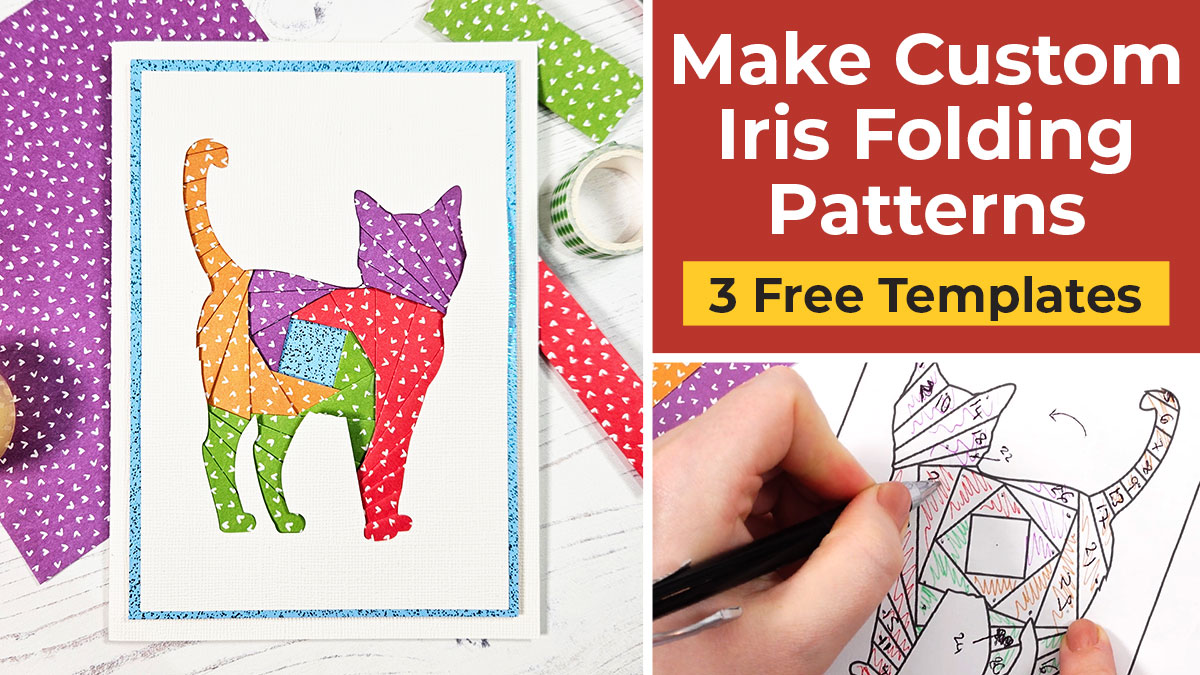
Learn how to design your own iris folding patterns with any image of your choice!
I’ll show how you can turn any picture or silhouette into a folding pattern with either a square, a triangle or a pentagon spiral inside.
Not only will you learn how to choose the perfect shape and make the pattern fit your silhouette, but also how to add the numbering, choose different colors and get beautiful spirals every single time.
Let’s get started!
Video tutorial for creating your own iris folding patterns
We’ll be using Design Space to create our own bespoke iris folding patterns.
Prefer to read rather than write? Keep scrolling for a written tutorial.
How to make iris folding templates
Step 1) Download the base templates
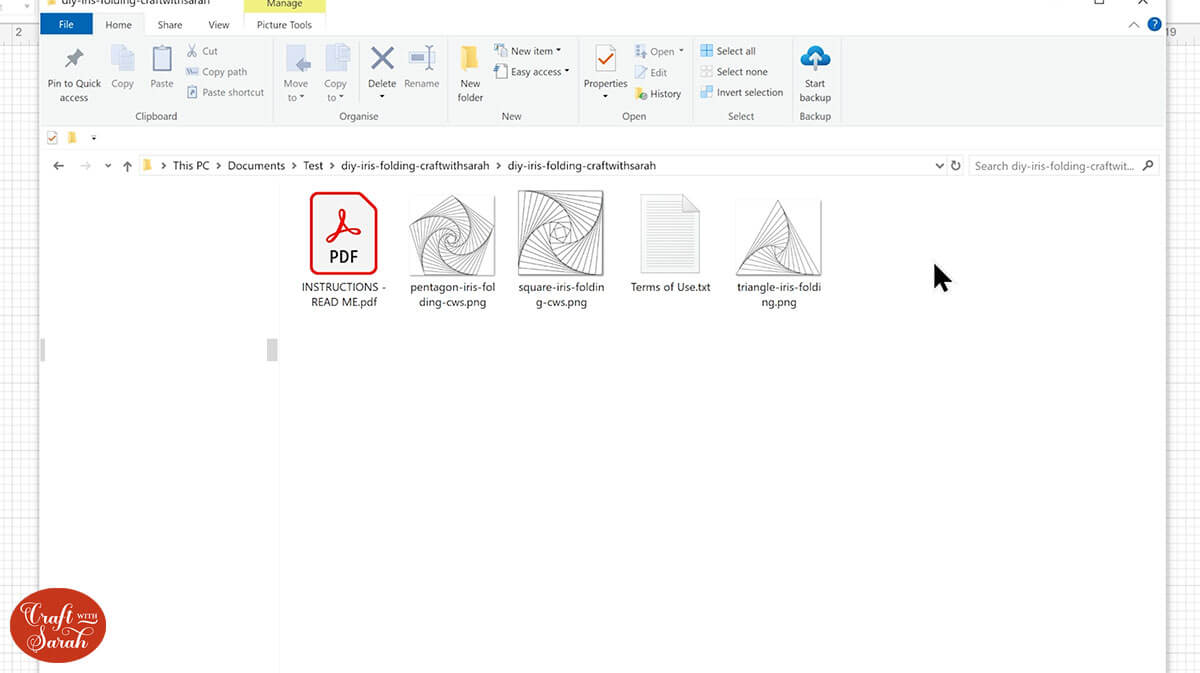
Use the button below to download the square, triangle and pentagon iris folding templates.
Before you upload the templates to Design Space, you need to unzip the download folder that they come in.
- How to unzip a folder on Windows computer
- How to unzip a folder on a Mac
- How to unzip a folder on an iPad/iPhone
- How to unzip a folder on an Android device
Step 2) Upload the template to Design Space
The three templates to choose from are a pentagon, a square and a triangle.
The most commonly used shapes for iris folding are the square or the triangle but I thought I’d introduce one with an extra swirl just if you want to be a little bit more adventurous. You’ll want to select the one which works best for your chosen silhouette image (more on silhouettes in step 4).
Open up Design Space and start a new project and then click Upload over on the left and then Upload Image.
Click Browse to find the file on your computer or drag and drop it in.
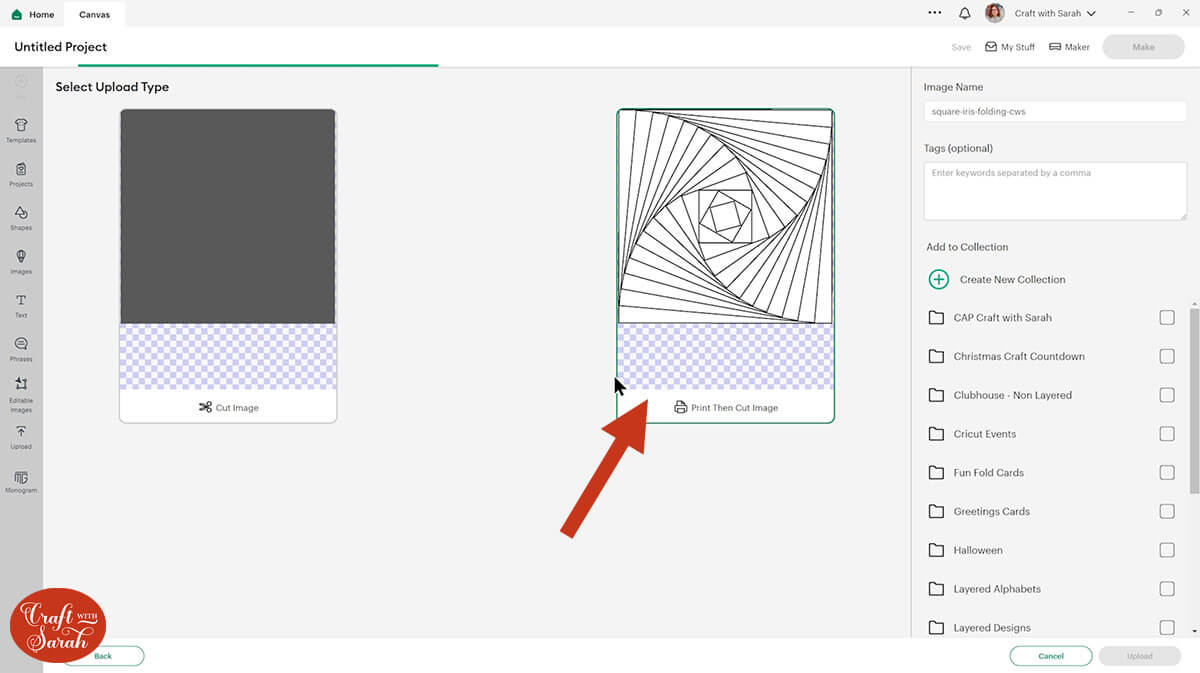
The file will load in as a Print then Cut Image. Choose Complex as the image type and press Continue.
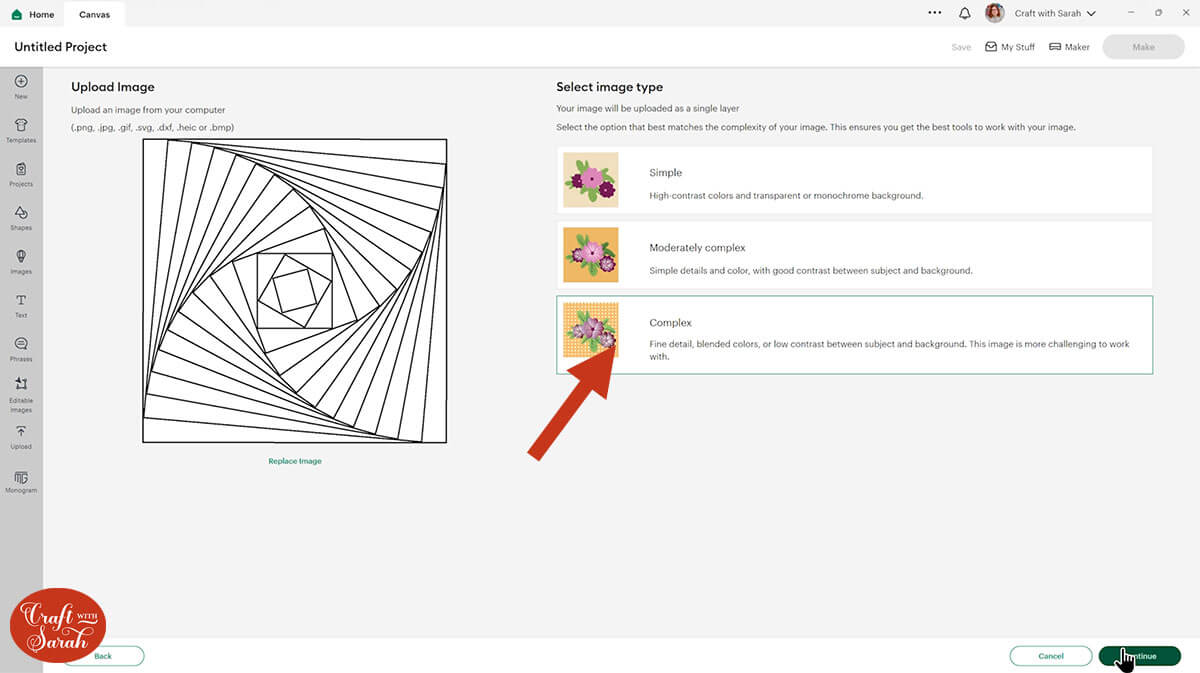
You don’t need to change anything on the next screen so just press Apply and Continue.
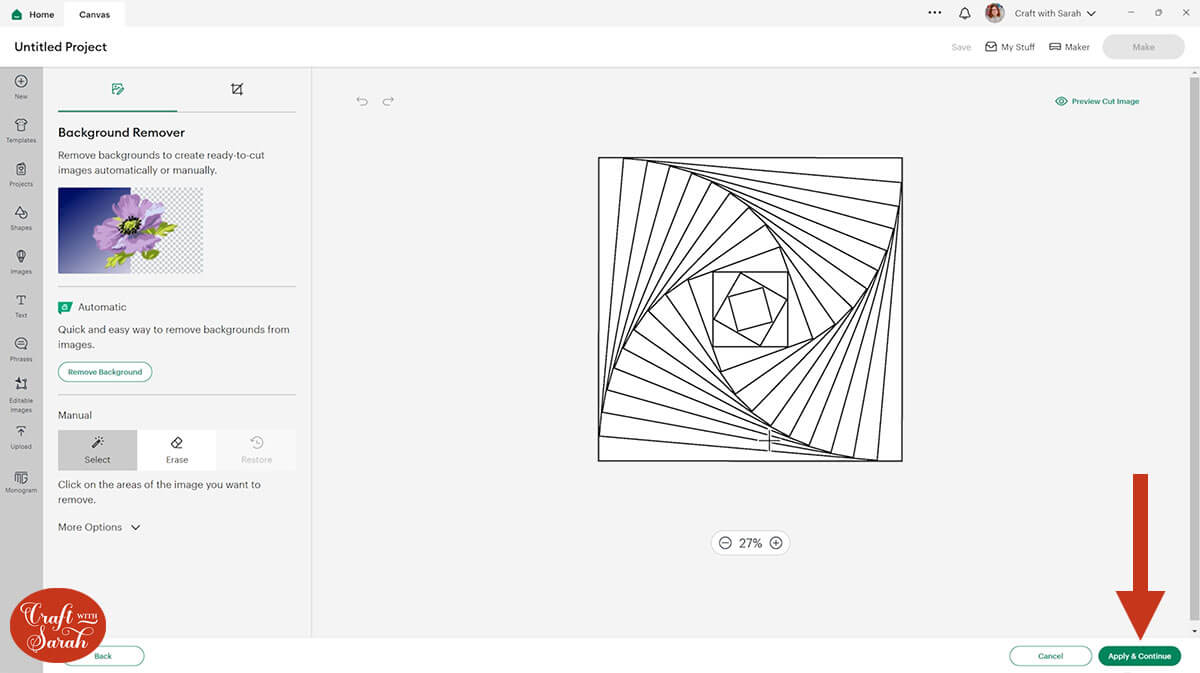
Choose Print then Cut Image and then Upload. Add the image to your Canvas.
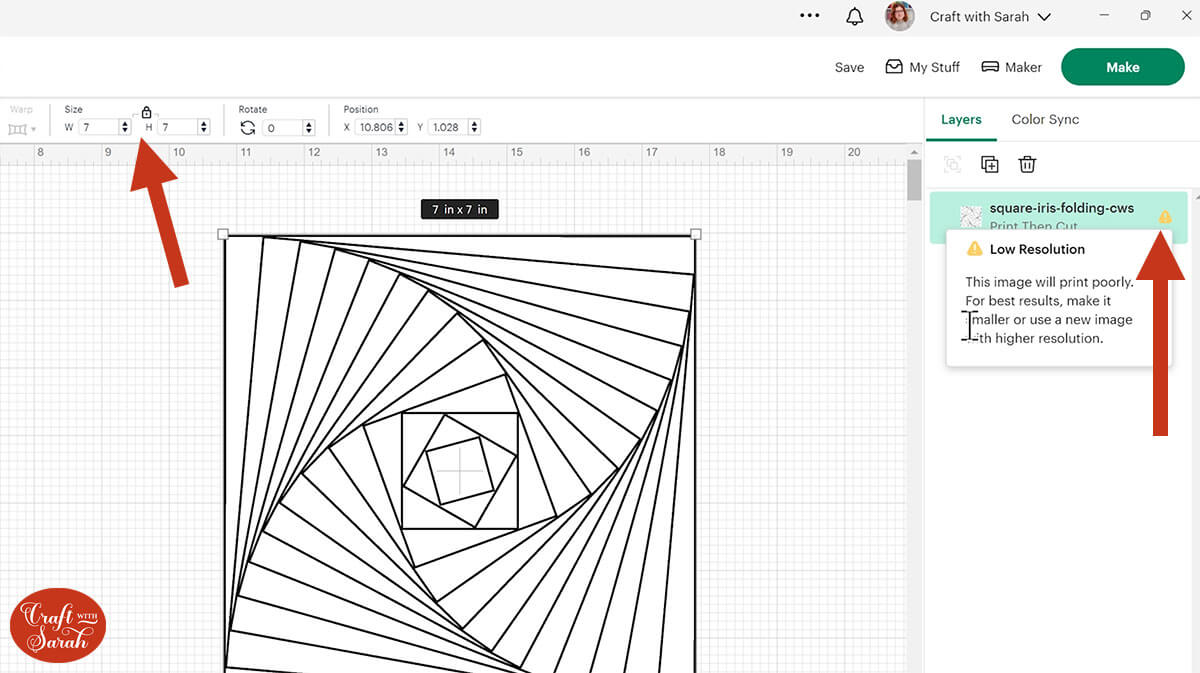
When it loads into Design Space you may have to make it smaller as it tends to load quite big. I changed my square to 7 inches.
Don’t worry if you see the “Low Resolution” notice in the layers panel, you can ignore that message as it doesn’t matter at all for this project.
Step 3) Create a card base
I made my card a standard 5×7 but you can make your card whatever size you wish, or you can use a pre-made card blank if you prefer.
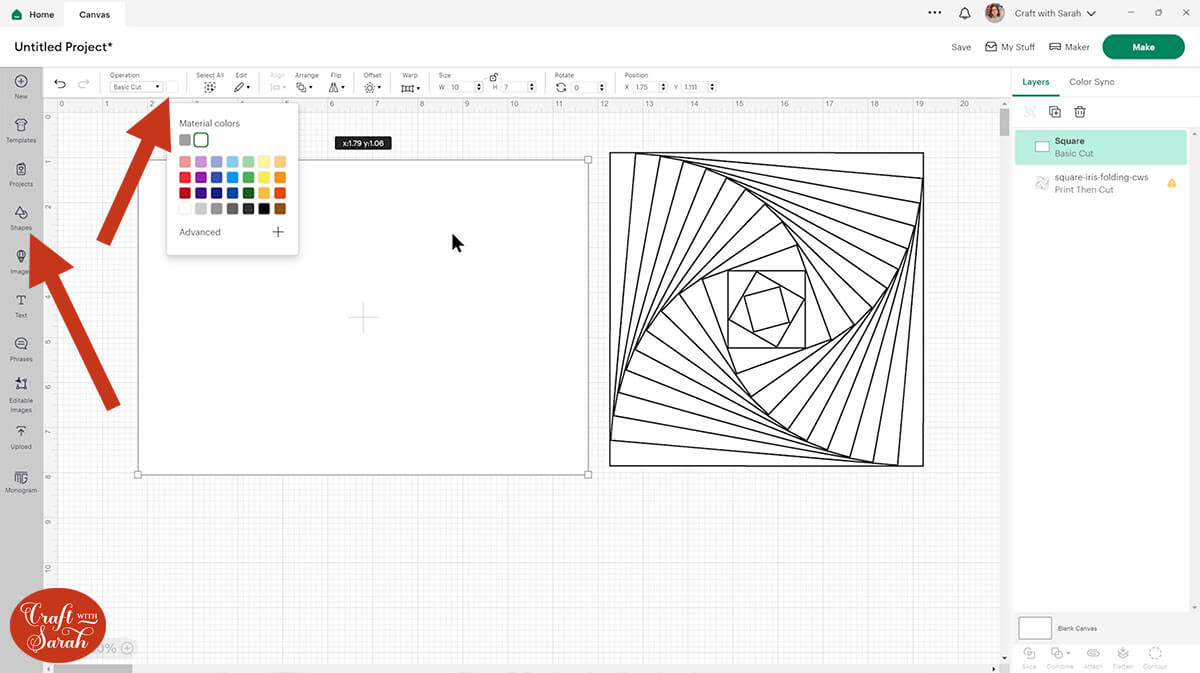
To make your card base, go into Shapes and select a square. Size the width to 10 inches and the height to 7 inches so that when it’s folded, it will be 5×7.
I coloured mine to white.
If you have a scoring wheel or stylus you may want to add a score line so that your card is easier to fold. Don’t worry about this step if you don’t have either of those.
Go into Shapes and choose a score line. Set it to the height of your card.
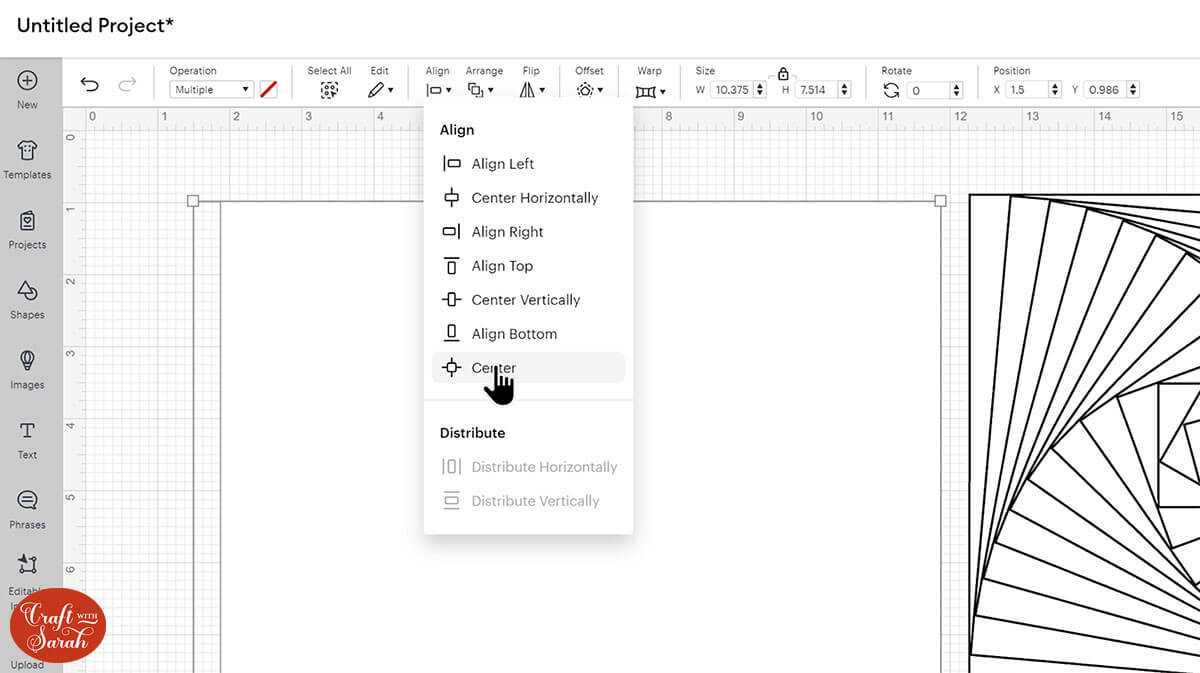
With your card and score line selected, go into Align, Center so that your score line is now in the middle of your screen.
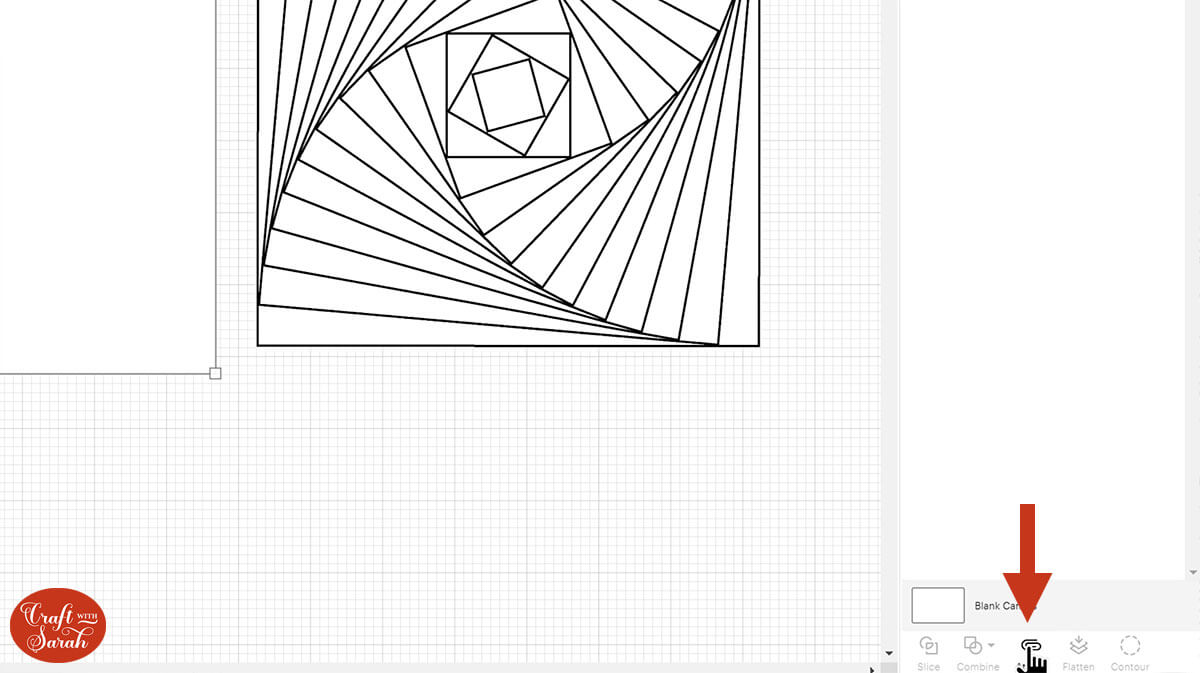
Select both the layers again and press Attach.
To add a coloured border to your card, go into Shapes and select a square. Click the padlock icon above the width/height box so that it appears unlocked. Resize your square to make a rectangle that is half an inch smaller on each side than your card front.
For me, that meant a 6.5 inch tall and 4.5 inch wide rectangle.
Repeat the steps again to make another rectangle that goes on top which is another quarter of an inch smaller; mine was 6.25 inches tall and 4.25 inches wide.
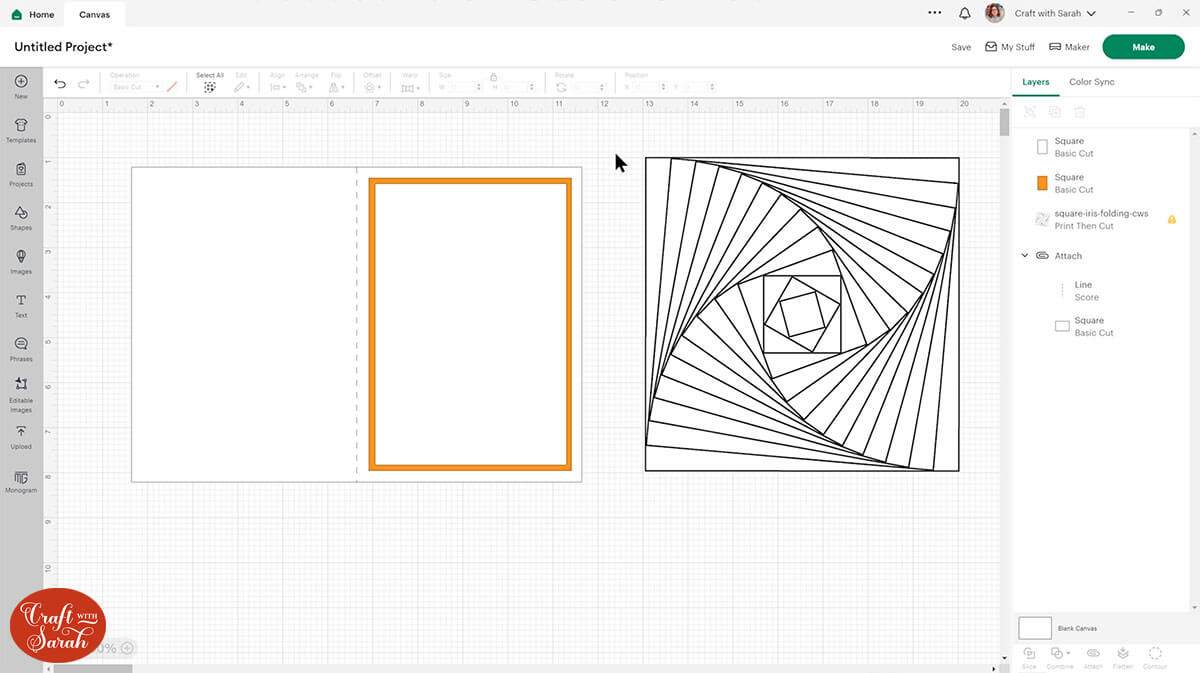
This top rectangle is the shape that the iris folding aperture will be cut out from.
Step 4) Choosing a silhouette or image
You can use any uploaded image or SVG that you have or if you have Cricut Access you can look through the image library.
For example, I could search for cat silhouette. Change the operation type to “Cut Only” in the filters on the left of the search results to help you find things a little easier and also change the Layers filter to “single layer”.
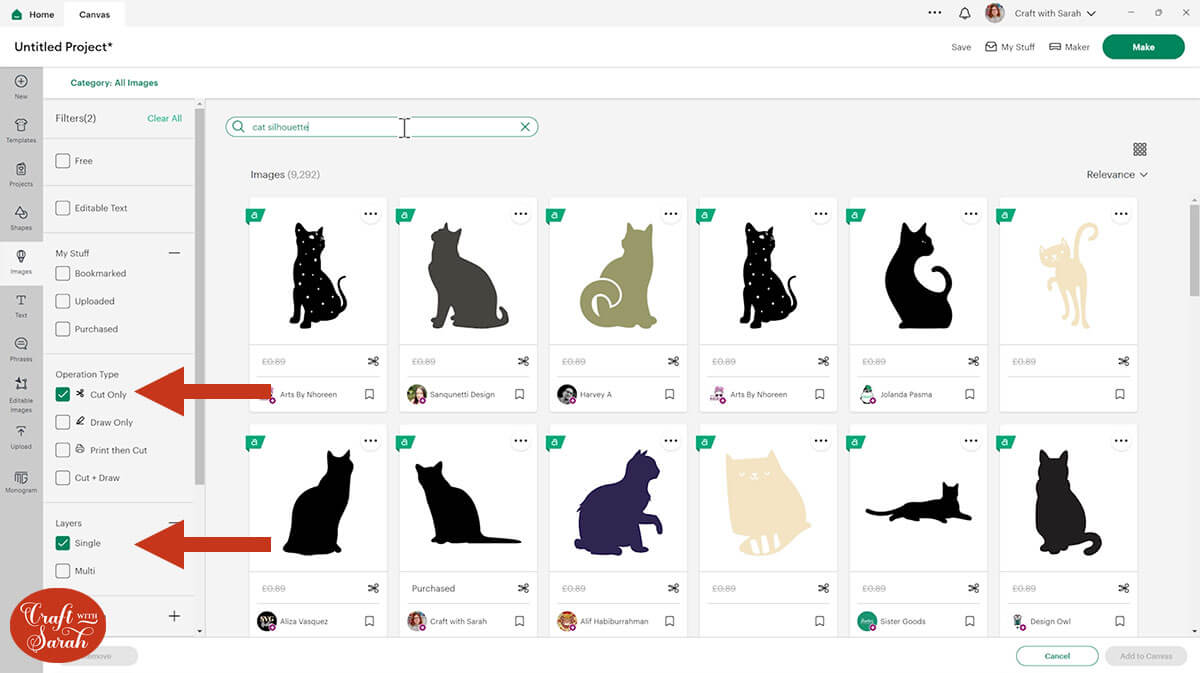
When looking for an image you want to choose one that is just a pure silhouette.
If you’re looking for a particular animal, I have hundreds of silhouette images available on my Cricut Design Space profile which you can find by searching “Craft with Sarah” from the Design Space homepage and scrolling down to Community Members, or click here to view my profile.
Step 5) Size the pattern
Once you have chosen your image, resize it to whatever size you want it to appear on your card.
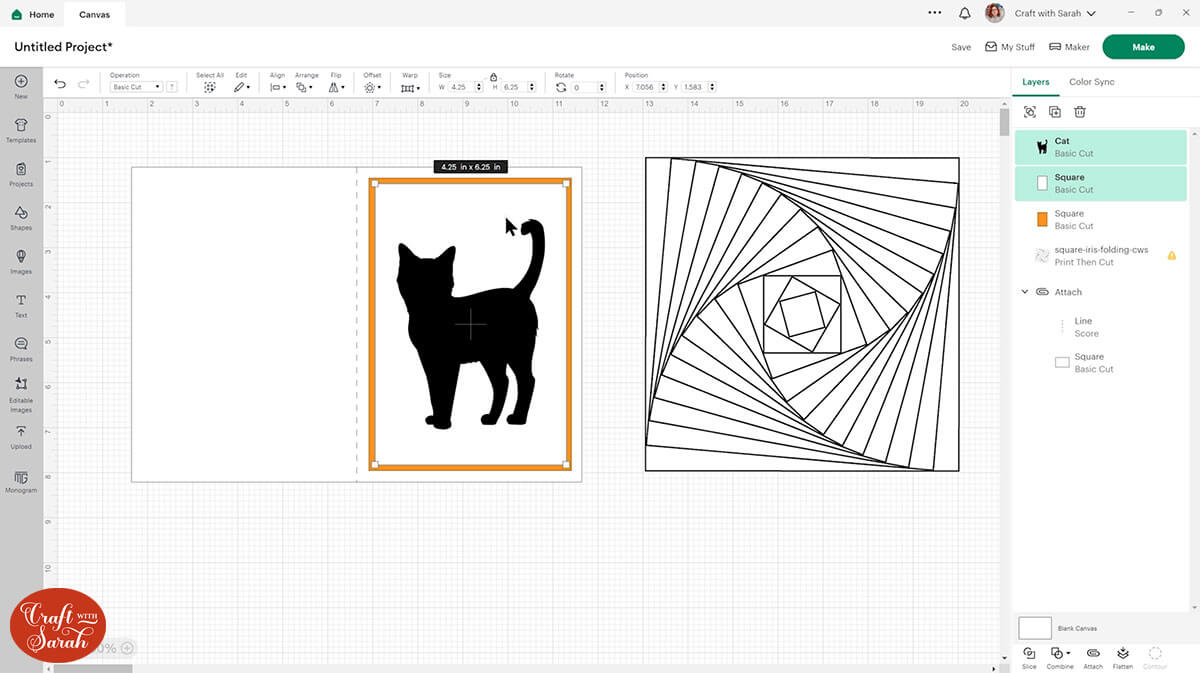
Select both the image and the rectangle underneath and go Align, Center to place the silhouette in the middle of your card front.
With them both still selected, go Combine > Subtract to cut the image out of the background. Now you will be able to see everything behind it.
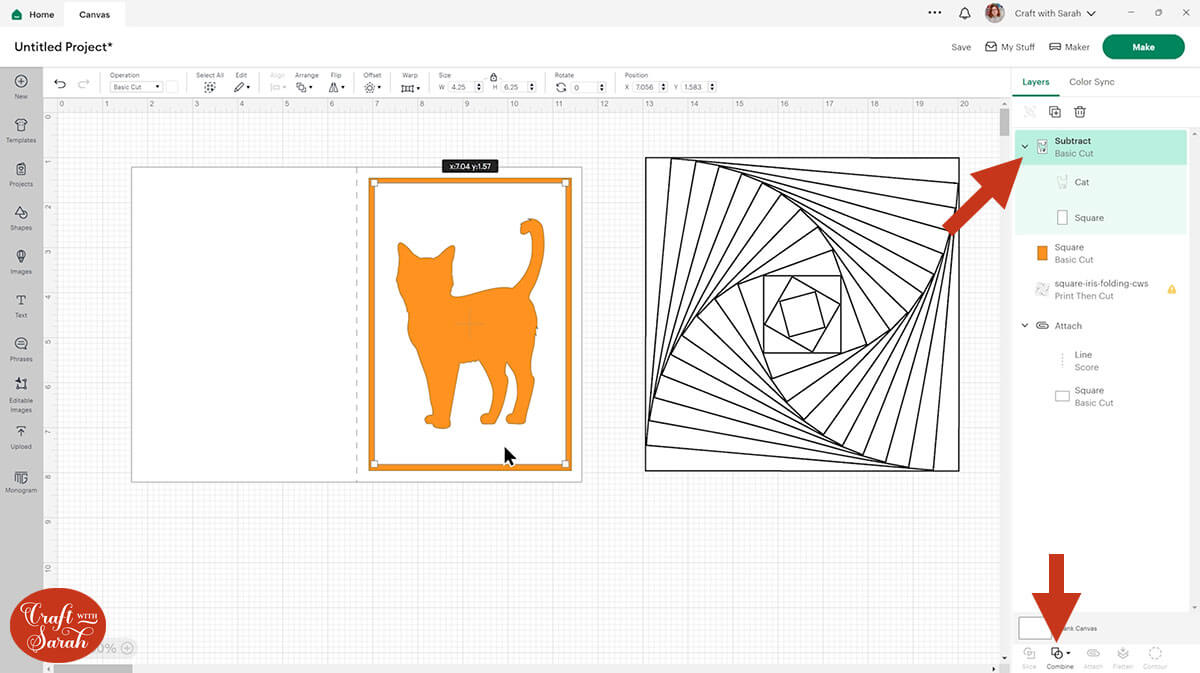
Now we need to resize the pattern so that it will show through the cut out image where we want it to.
Click the pattern template and go Arrange > Bring Forward so that it sits under the cut out layer in the layers panel.
Play about with the size until the lines appear how you want them too.

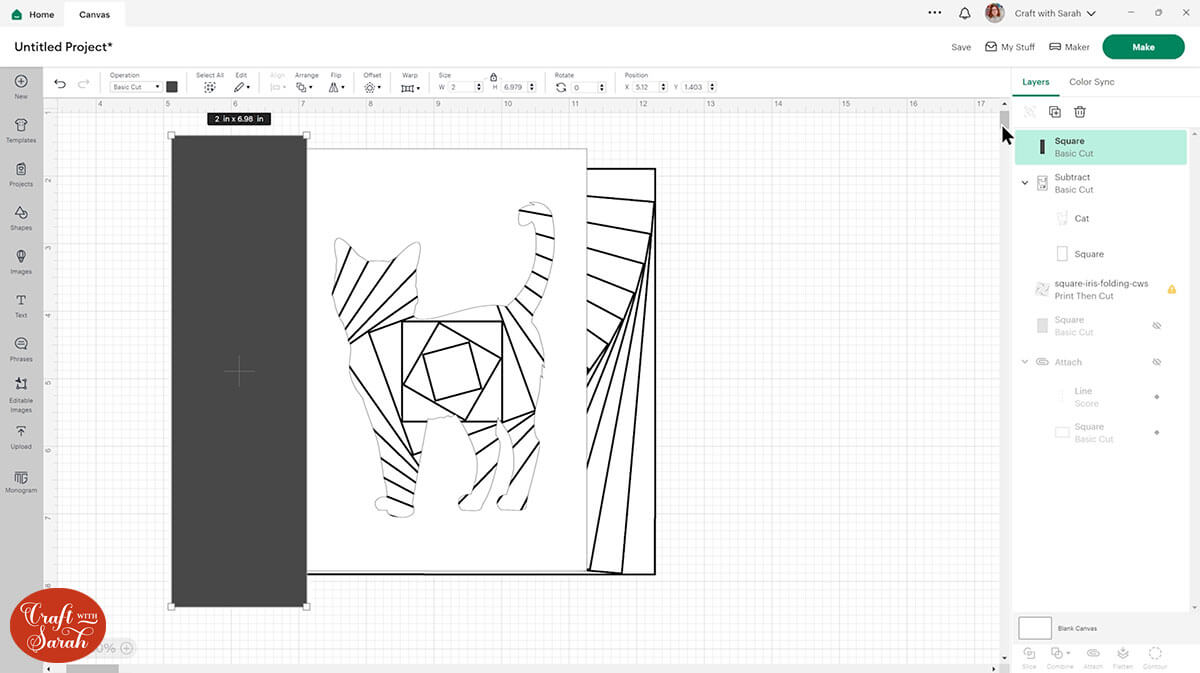
To remove the excess pattern, hide the card and coloured rectangle in the layers panel.
Go into shapes and choose a square.
Make it bigger so that it covers all the “excess” of the pattern on one side of your white rectangle.
Duplicate the rectangle and make as many as you need to fully cover all the excess of the pattern.
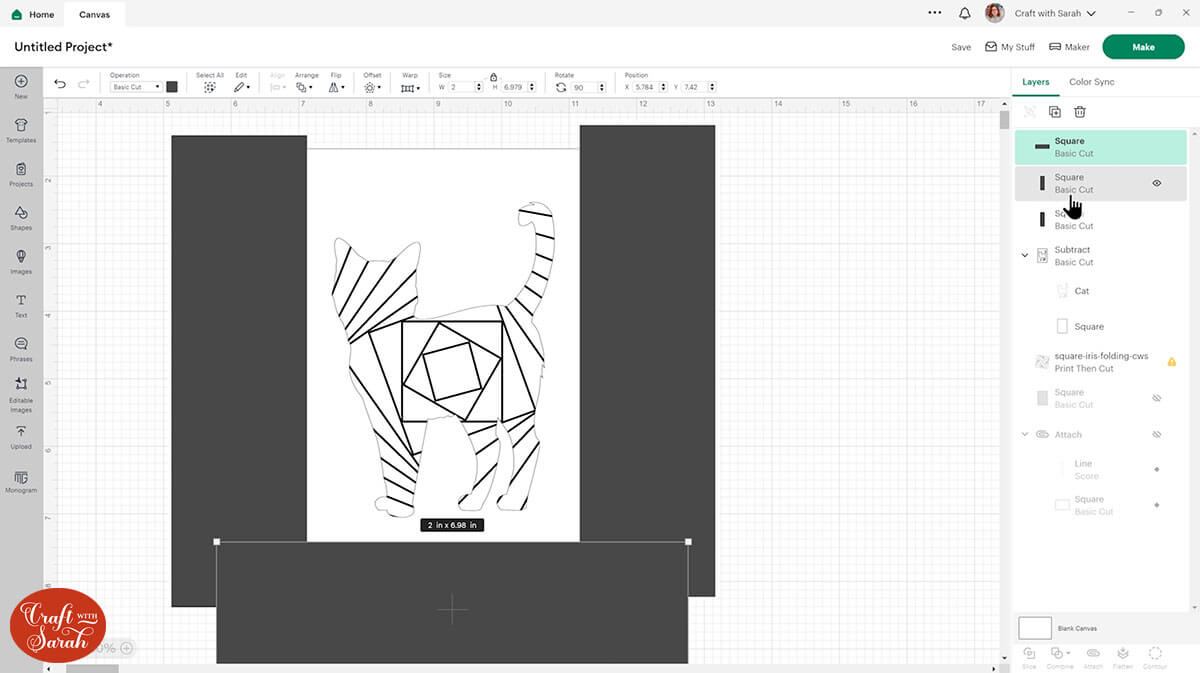
Select all of those grey rectangles and press Combine > Weld to join them into one layer.
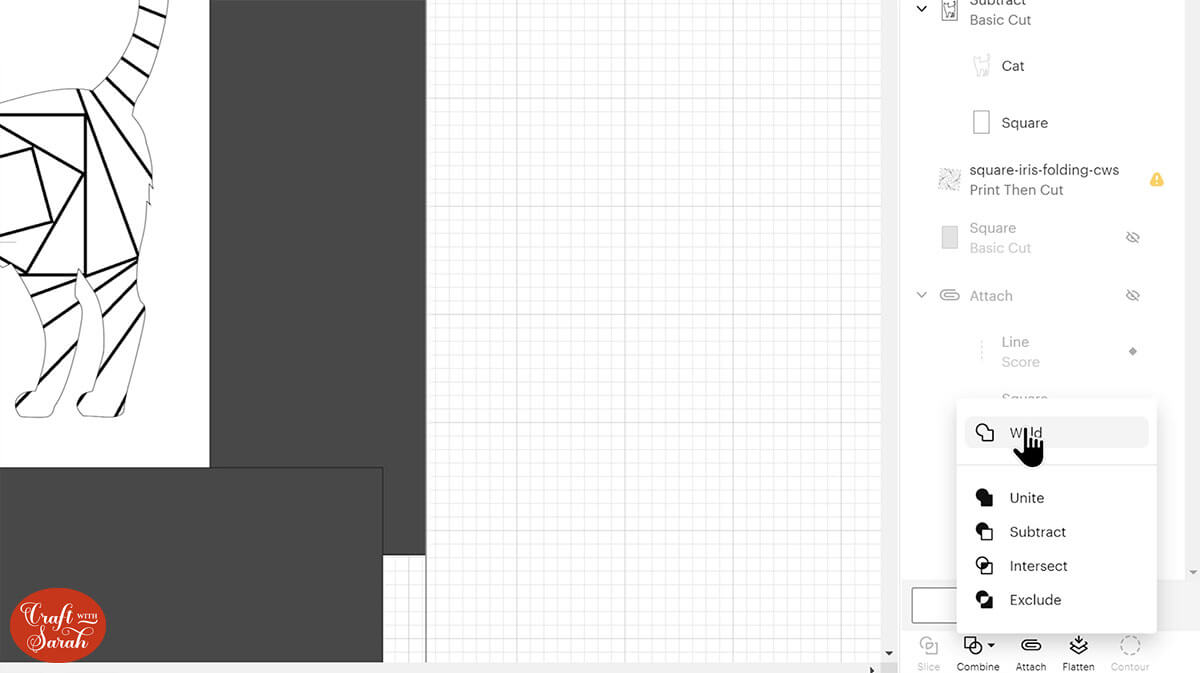
Select the welded rectangles along with the pattern layer and click Slice. Delete the bits you don’t need.
Step 6) Format the aperture
Hide the pattern layer so that you are left with just your aperture layer (the white rectangle with the silhouette subtracted from it).
Press the ALT key on your keyboard and click on top of the layer to make a duplicate in exactly the same place.
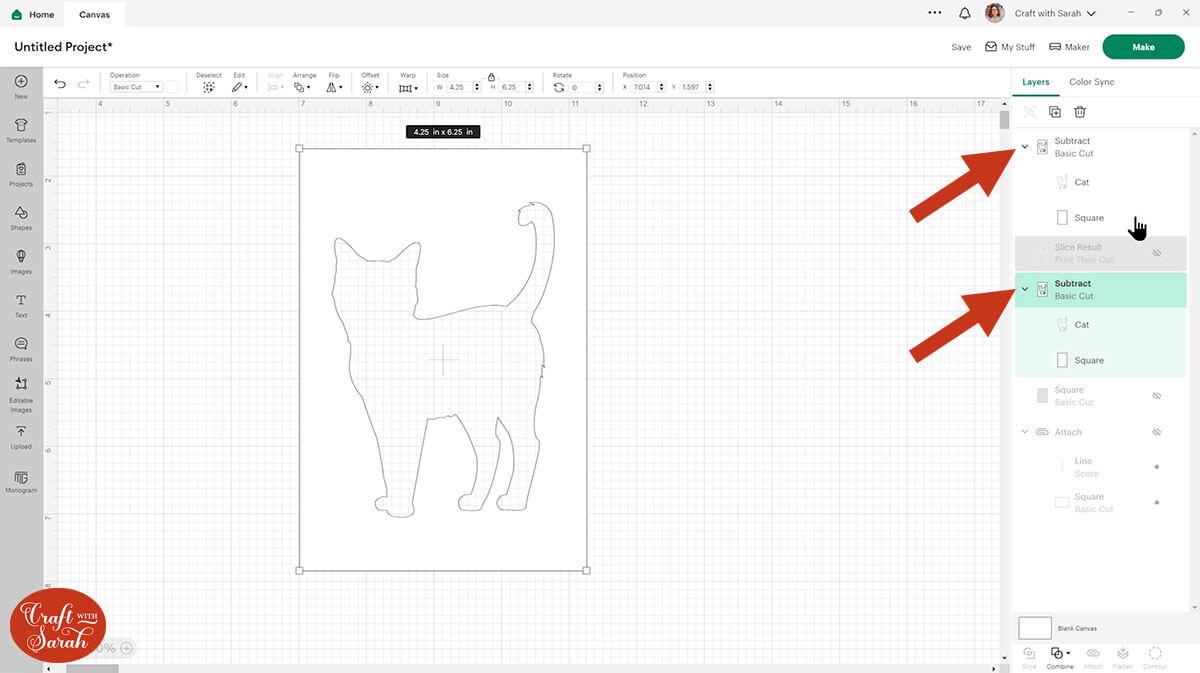
Hide your duplicated layer.
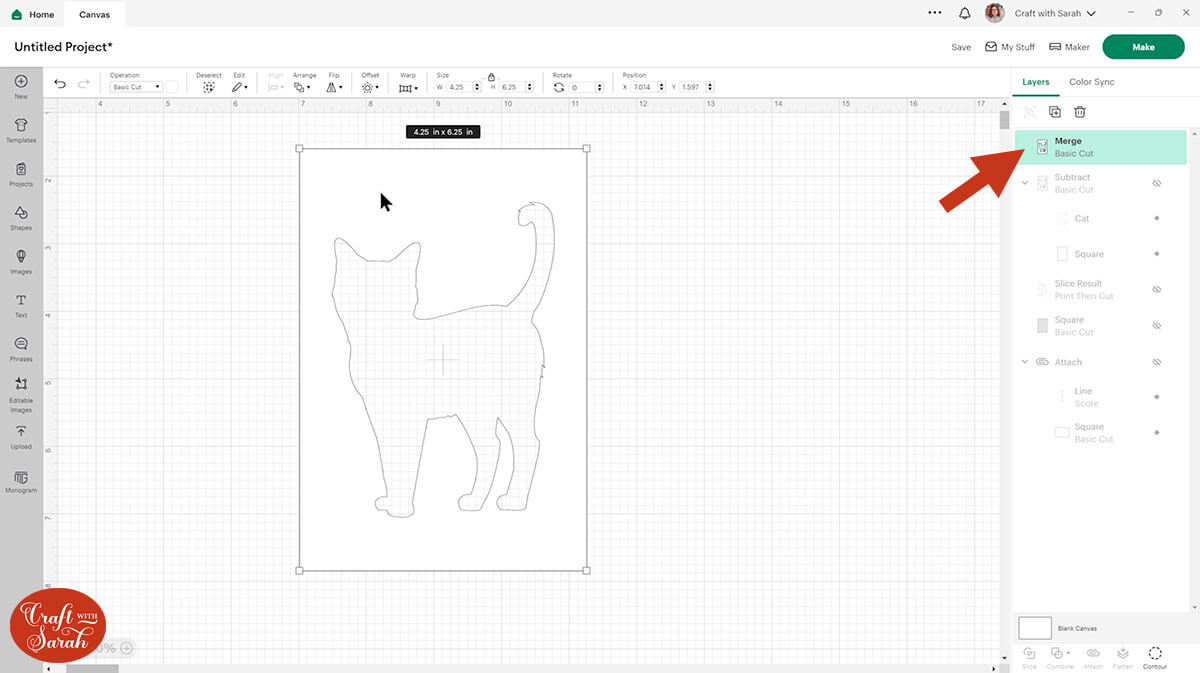
Select the original in the Layers panel and go Combine > Merge Layers to turn it into one layer.
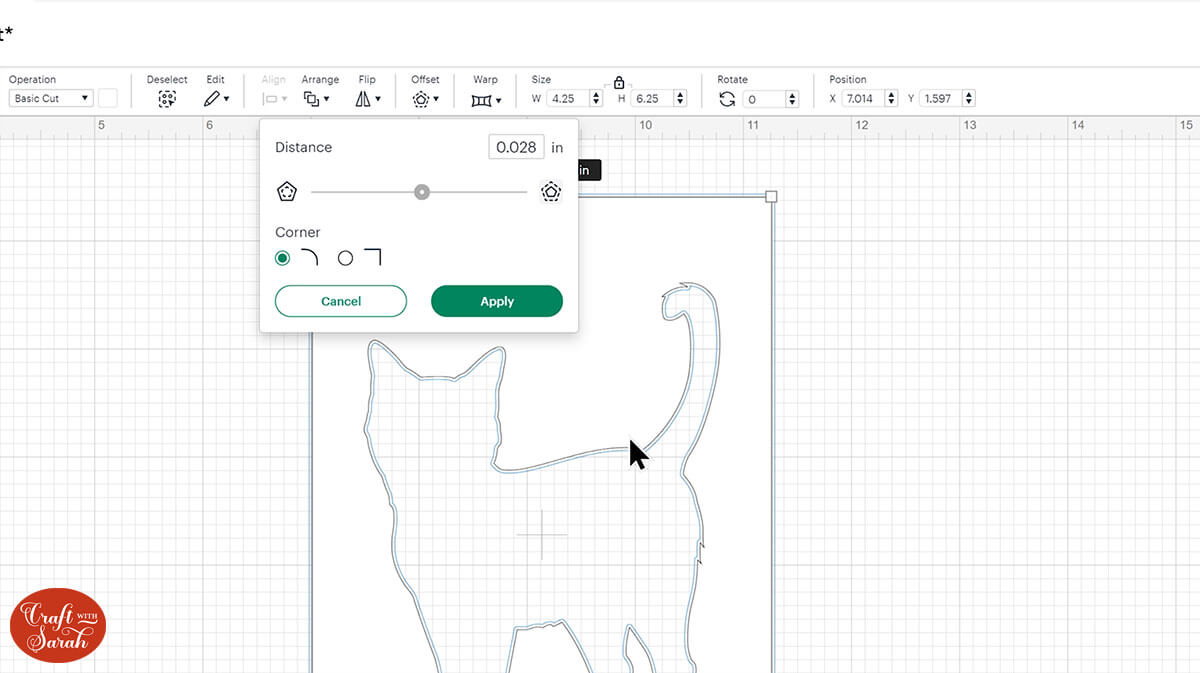
Then go into Offset and give it a very small offset. Press Apply.
Make the pattern layer visible again.
Select all three layers: the pattern, the white rectangle and the offset layer and press Flatten to turn that into one Print then Cut Image.
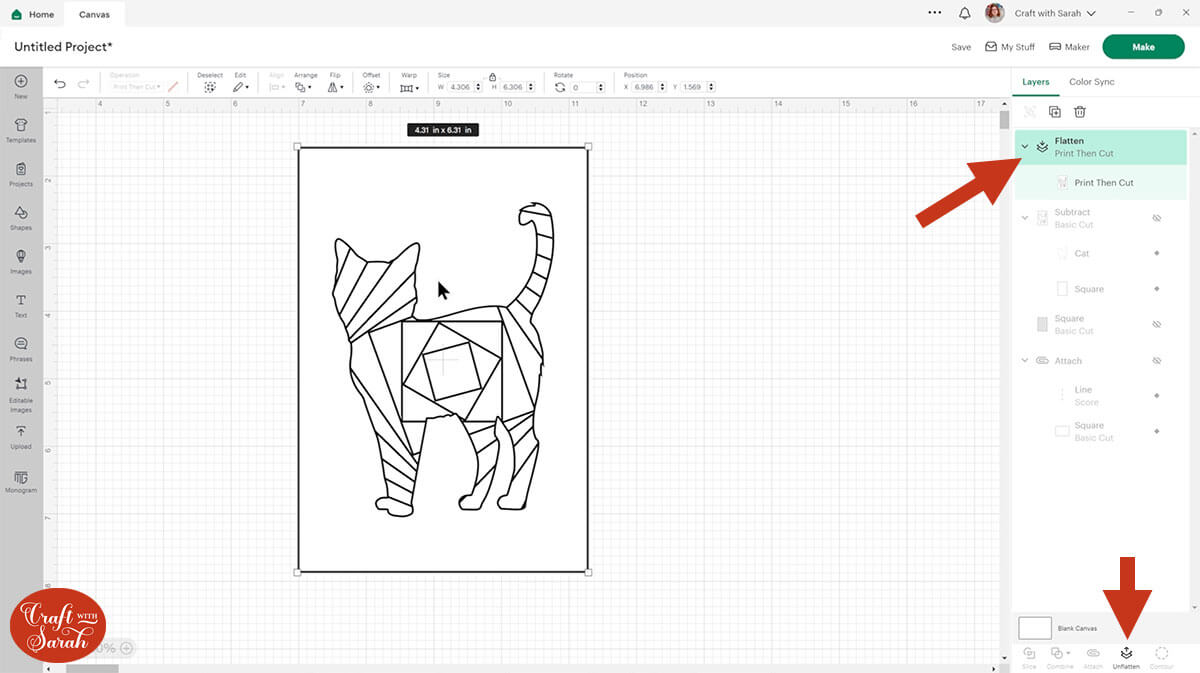
Move it to one side and turn all the other layers back on.
!! IMPORTANT !!
This is because we will be doing the folding from the reverse, so we need to cut EITHER the aperture or the pattern in the opposite direction.
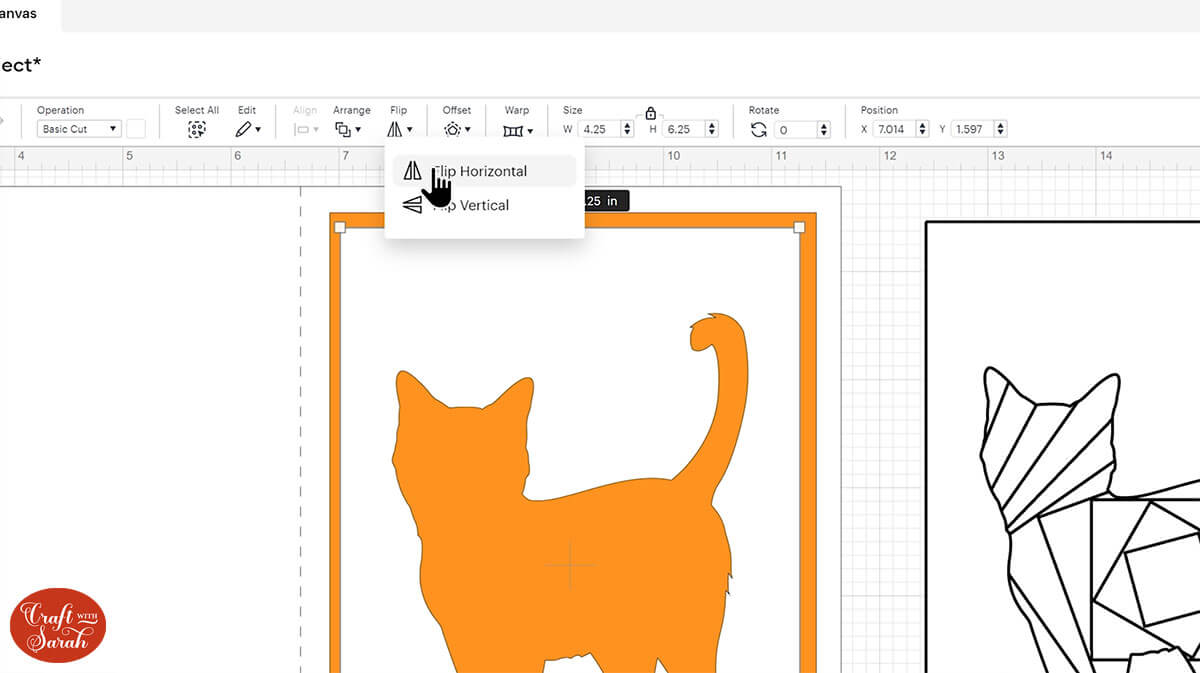
Choose which one you would like to flip and then press Flip > Flip Horizontal.
I decided to flip my card front, which means that when my card is finished the cat will be facing the opposite direction. To keep your silhouette looking exactly as it does on the screen when the folding is complete, flip the pattern instead.
Don’t forget to save your work after that hard work!
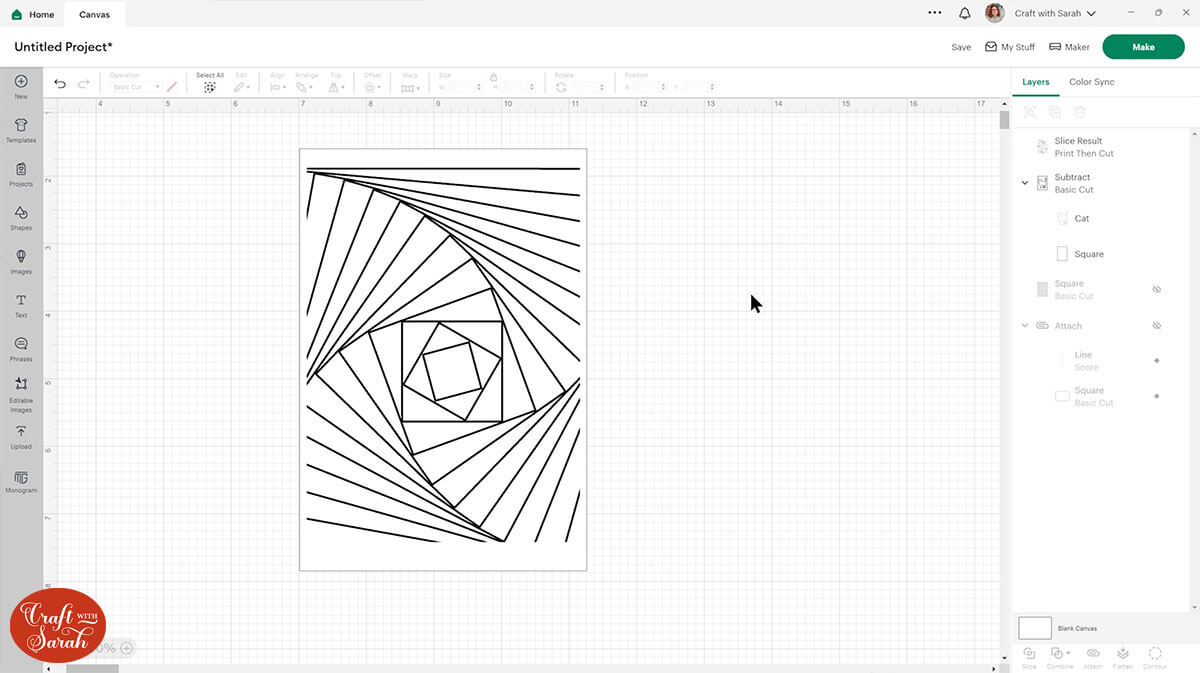
Click “Make” and get everything cut out. Remember that you don’t have to do the “cut” part of the Print then Cut Image, you just need to do the print as you are using it as a pattern to follow.
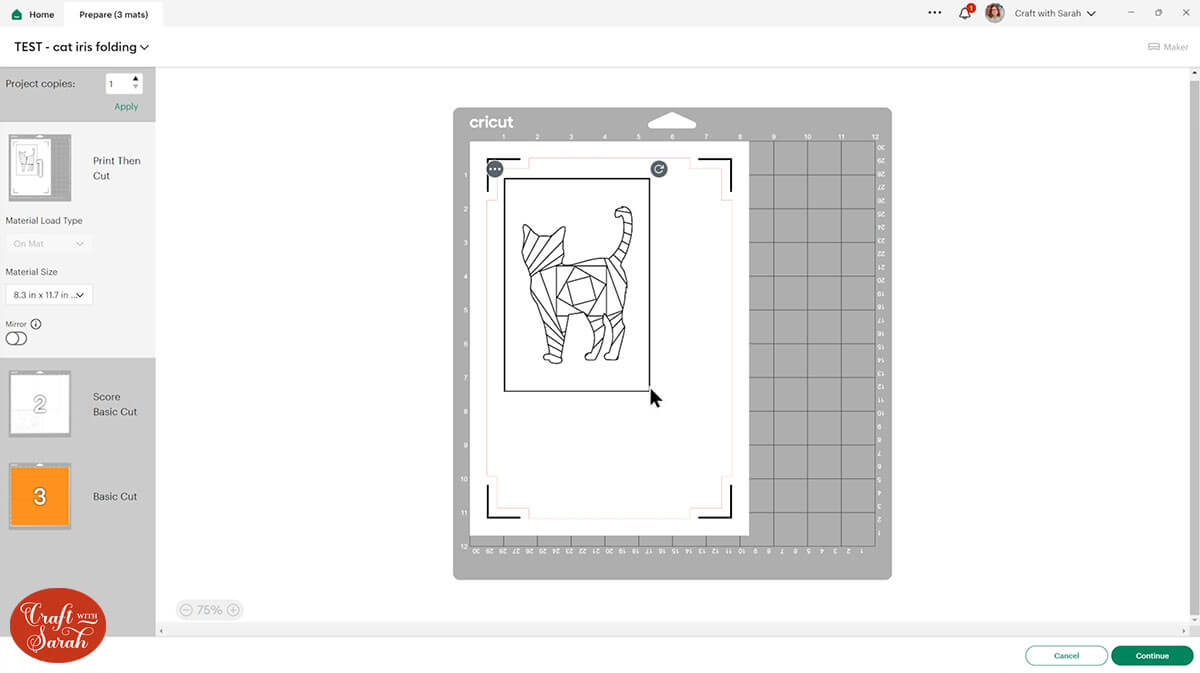
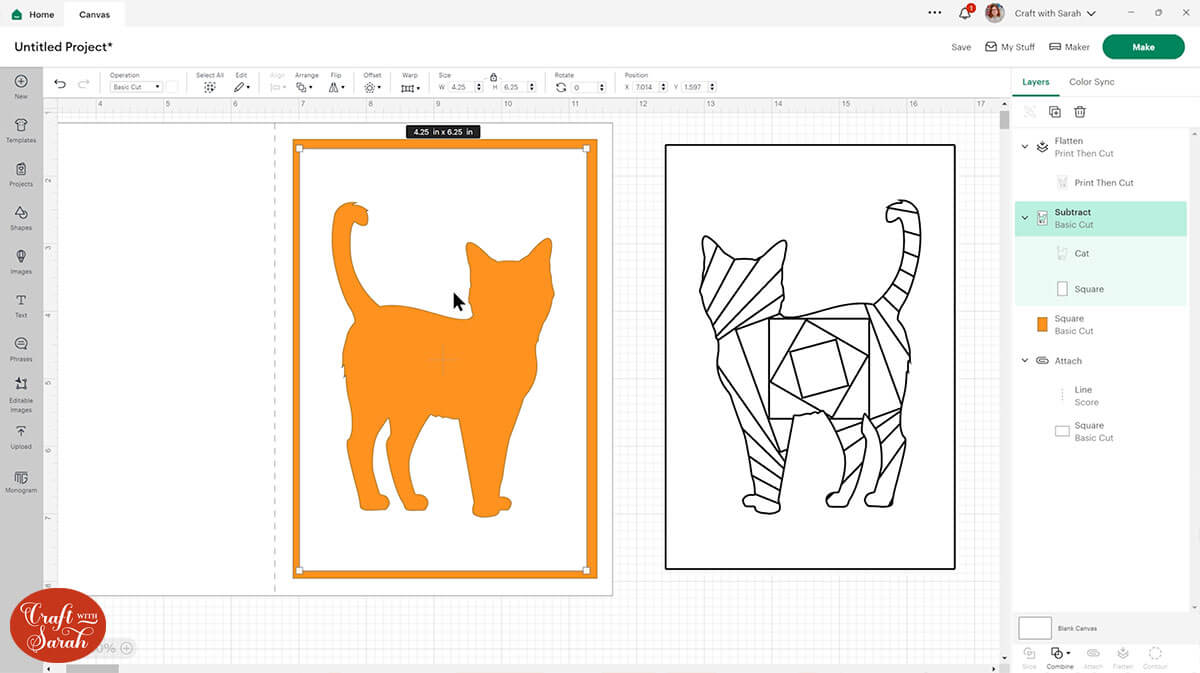
Here’s what you should end up with:
Step 7) Add colours and numbers to the pattern
Traditionally, iris folding patterns have numbers on them to show you the order in which to place all the strips of paper.
This step is optional, but it will help you to work out where each colour goes once you start the folding.
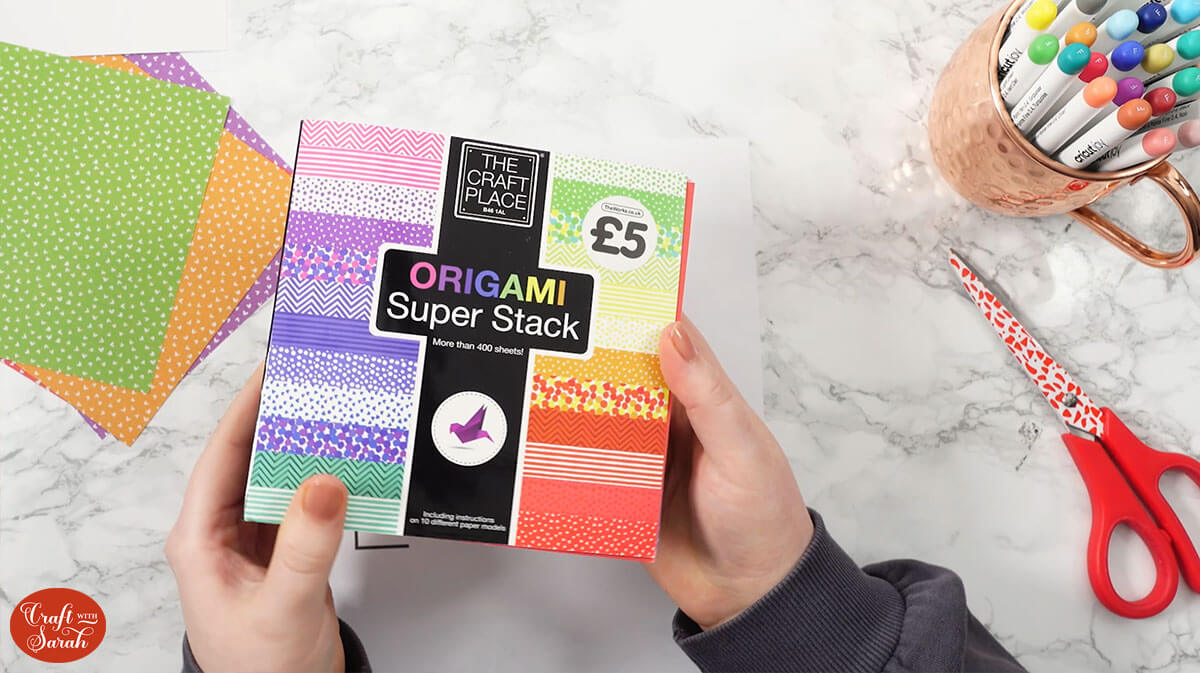
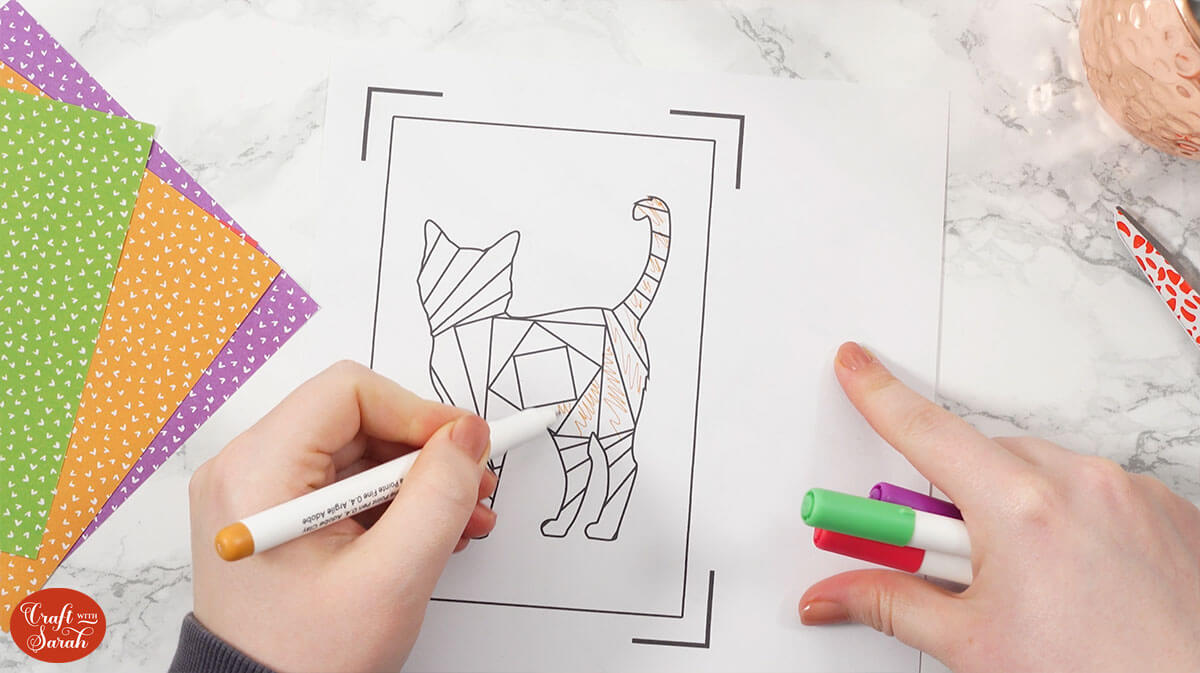
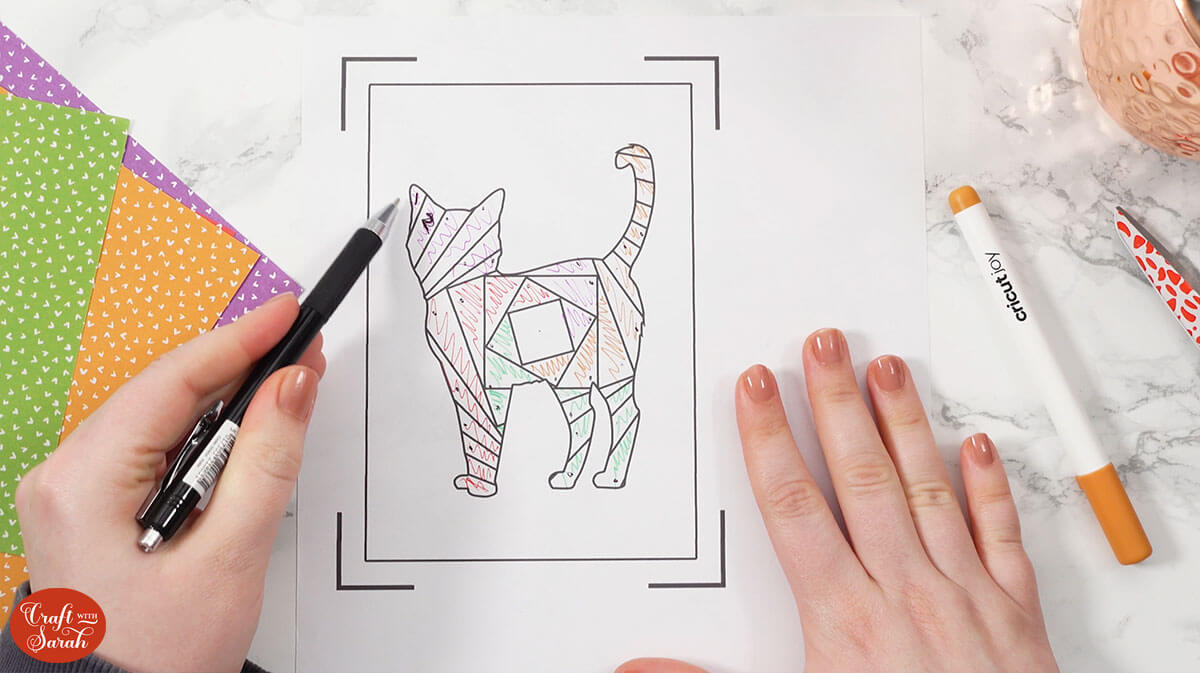
Choose which paper you would like to use. I chose 4 as there are four sides to my square spiral. I have orange, purple, green and red.
I’m using origami paper as it’s nice and thin so it stops the final card from being too bulky.
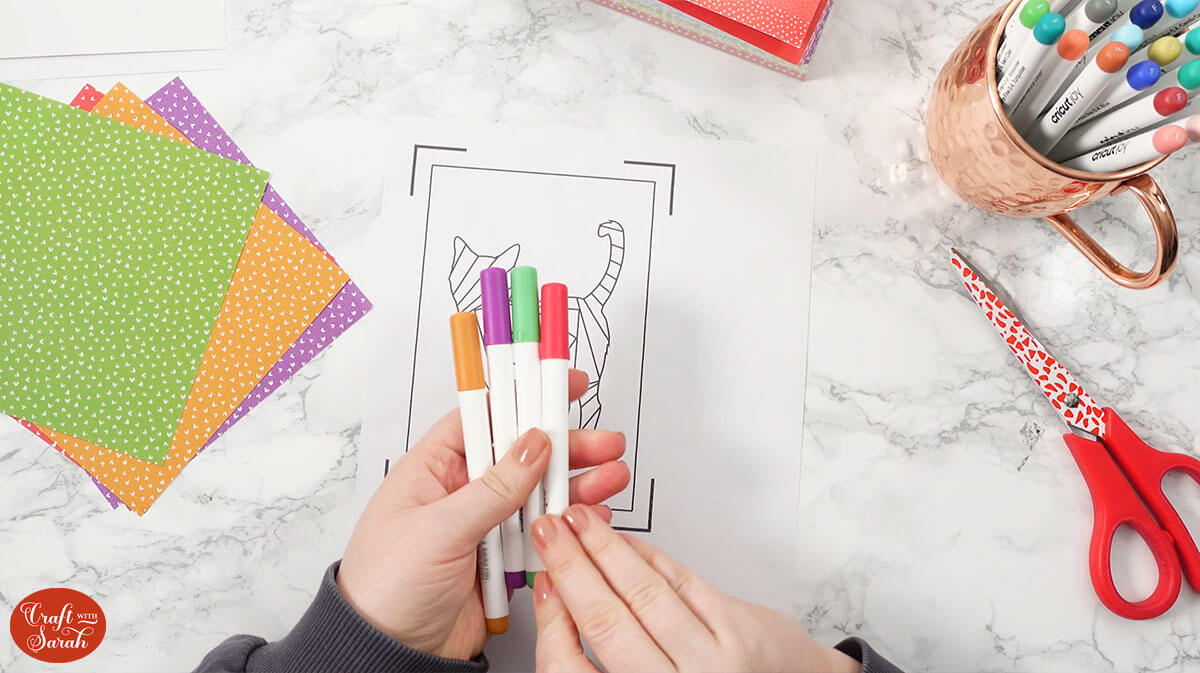
Colour in the spirals of the design to match your colours.
If you are using similar colours (e.g. two different orange patterns of card) then you can use different pen colours to make it obvious which ones go where.
Have a look at your pattern to see if there are any sides to the “spiral” that have lots more folds in them than others.
For me, that’s the spiral that goes into the tail, so I’ll start with that one. Follow where the spiral goes, colouring in roughly as you go.
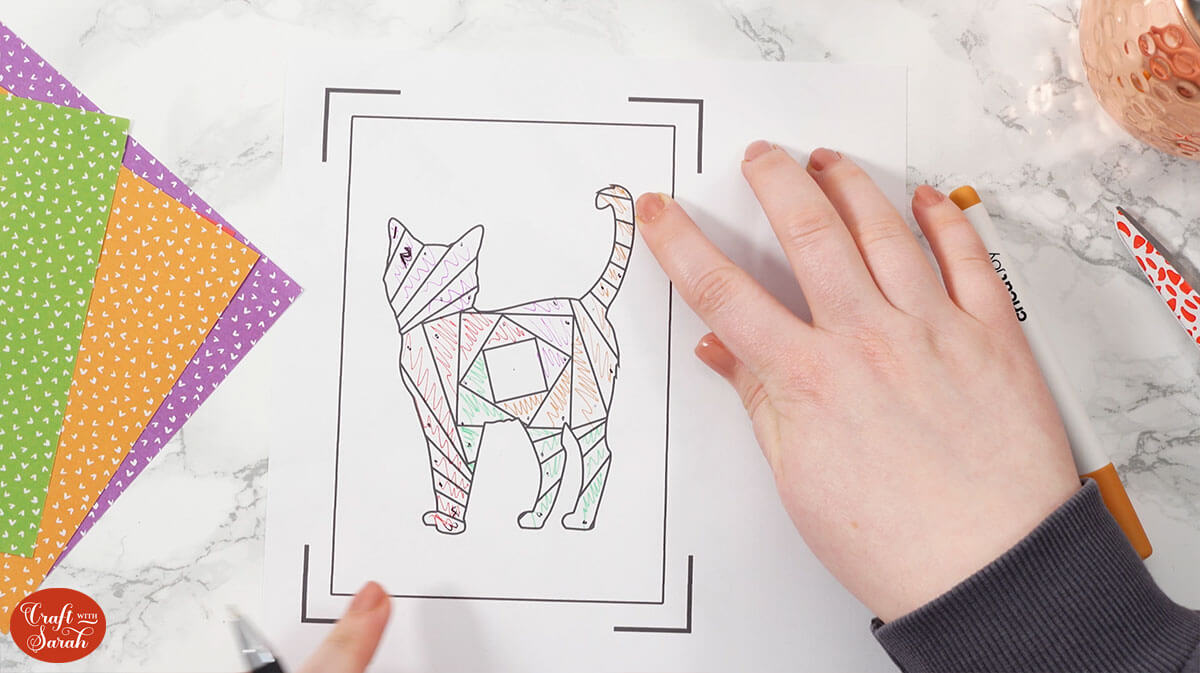
Follow it around until you get to the middle.
Do the same for the next side of the spiral and colour.
Some parts of the spiral might be spread across different parts of your cutout. For example, my green spiral covers the two back legs of the cat but it also goes into the front legs on the other side of the cutout.
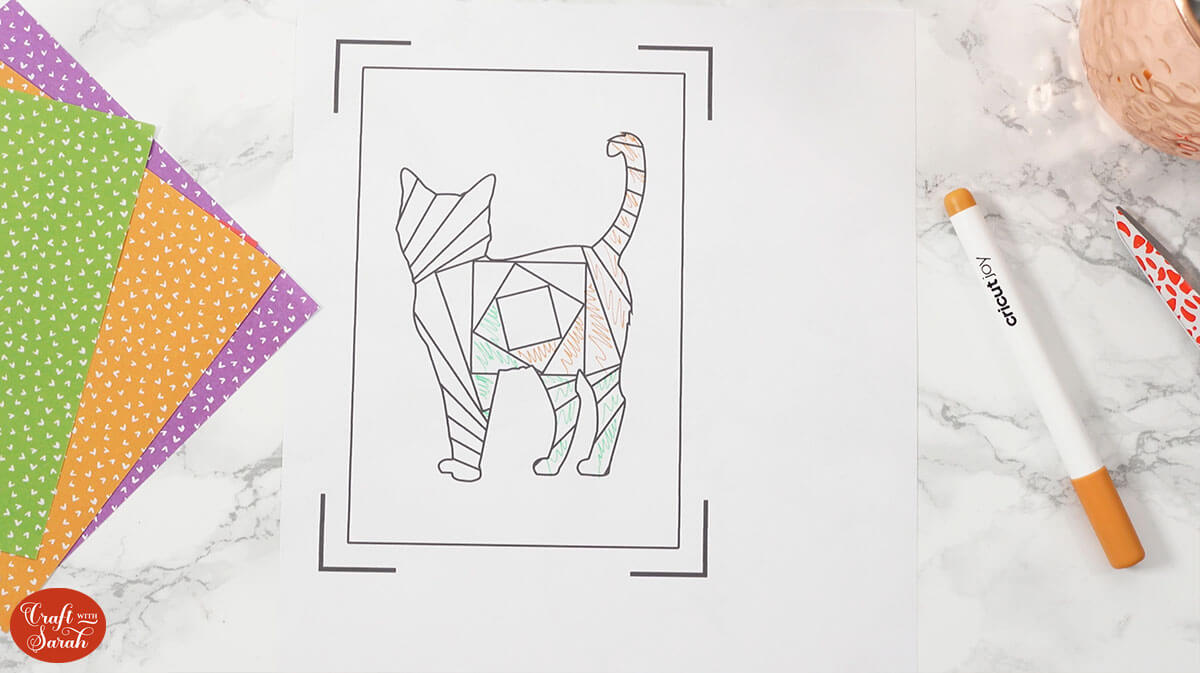
Continue until you have coloured all of the spirals.

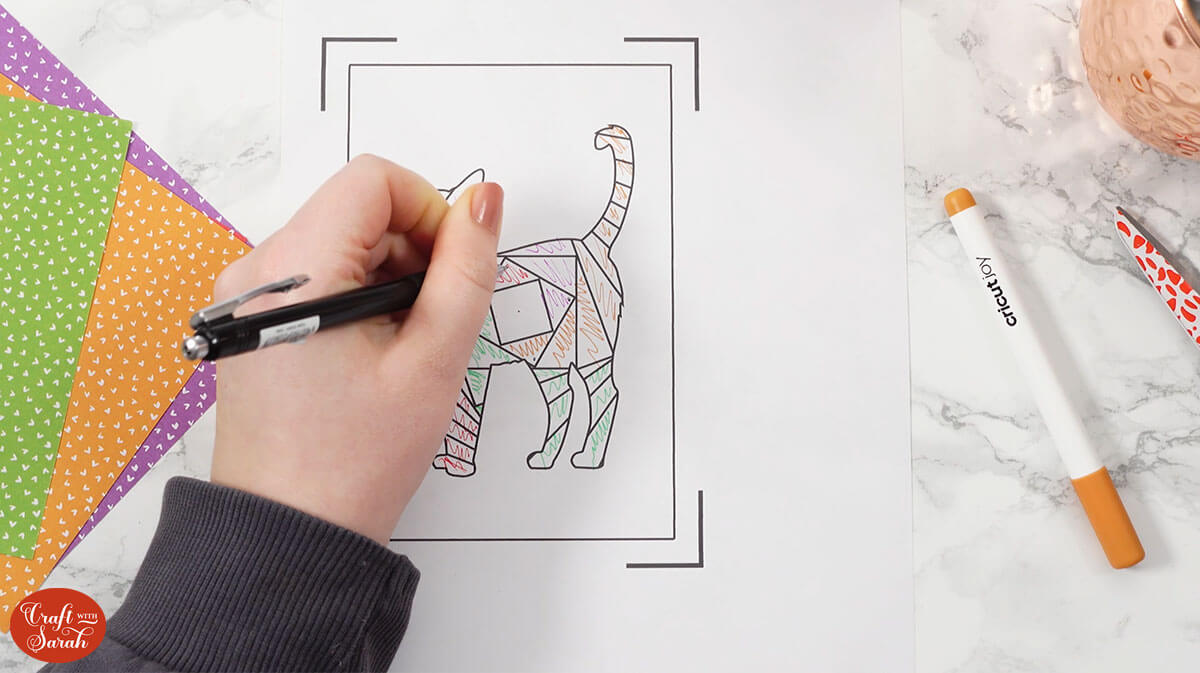
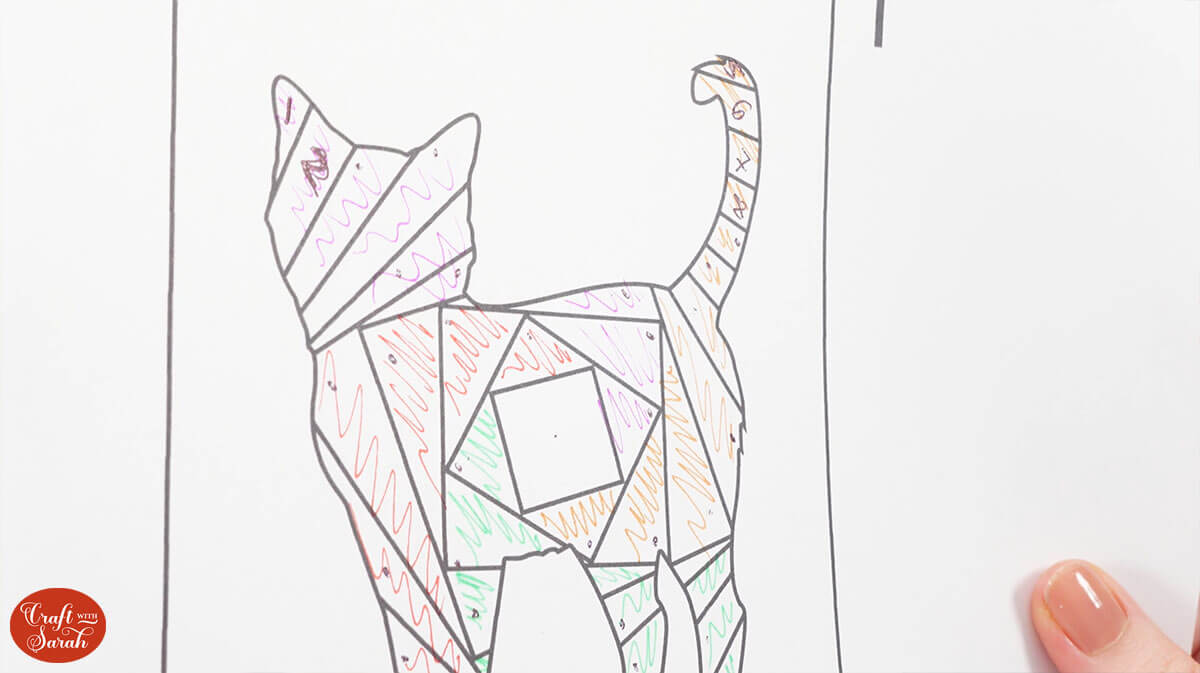
Next, we are going to add the numbers in.
Before you do that, take a pen or pencil and count the spirals outward, starting from the middle. This will help us work out where to start numbering.
Surrounding the middle square, you can see I have all four of my colours. I marked a dot in the corner of each of them so that I know I have four and that I have marked each of that “first” segment of the spirals.
Work outwards onto the next colours. Again, I have all four colours surrounding the previous ones so I can add a dot into each of them.
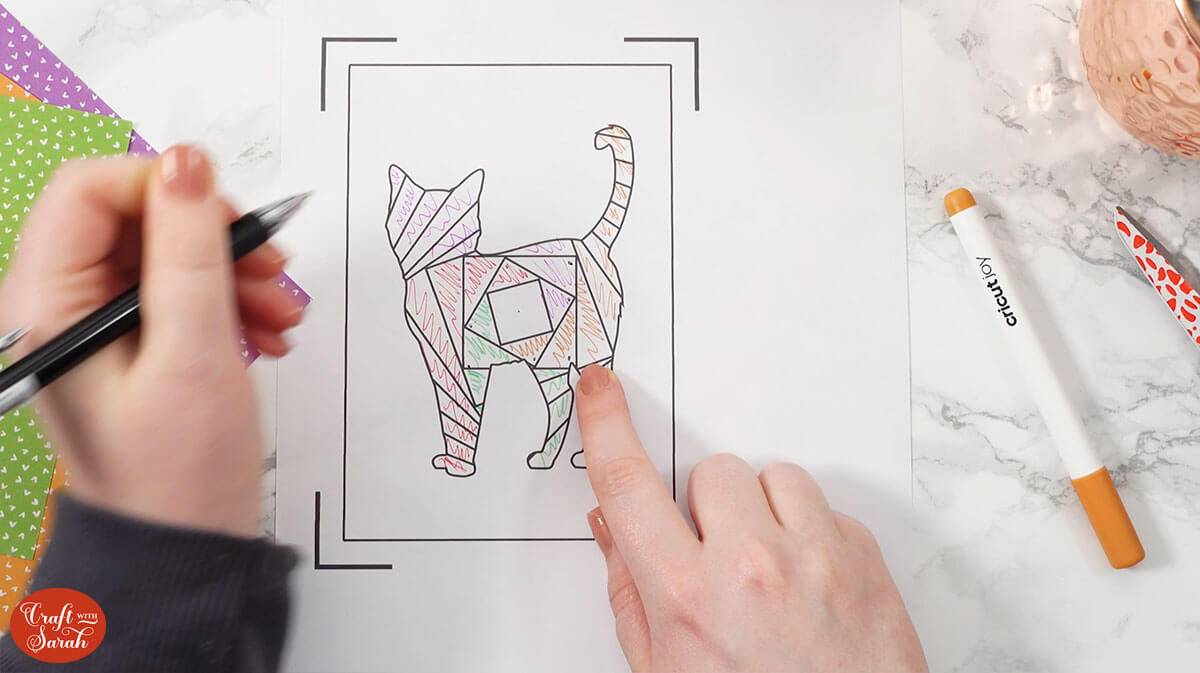
Continue counting and adding dots for as long as you have one of every side to your spiral on the next “segment”.
Here, you can see that I got to my last green.

This is the point where all of the spirals, where you’ve got one of each colour, are complete.
You will see there are a few left over without dots drawn on them in the other colours.
At this point, we can start numbering, starting with one of the colours that have segments in without dots.
It doesn’t matter which one you pick as long as nothing overlaps, which it shouldn’t do.
I began with a number 1 in my top purple which was on the cat’s ear. Mark the next purple with number 2 (if you have one) but stop when you come to a segment that contains one of the dots you made earlier. Don’t add numbers to anything with a dot.
Number your next un-dotted colour, carrying on from where you left off (this was the bottom red section for me).
I didn’t have any greens without a dot so I didn’t number any of those.
Move on to your next colour if there are any to number. I had a few orange ones to number which brought me up to the number 8.
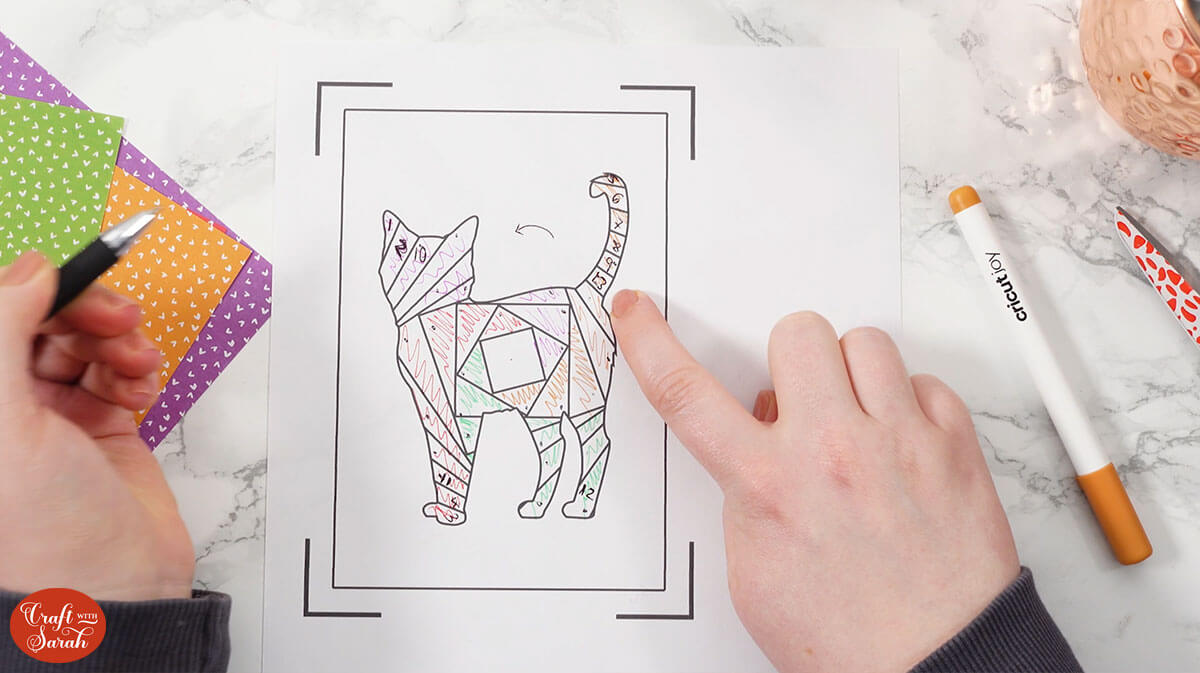
We need to make sure that the “spirals” are numbered in the correct direction to make sure that we follow it through correctly when folding.
To work out the direction of the spiral, choose a segment where you can see all of the different spirals, follow it around and choose the direction where you are alternating colours once you get to the end of the spiral.
For example, if I follow mine around I’ve got orange, purple, red, green then my next one would be orange because I’d move inwards one so that would be the direction.
You can even add a little arrow to help you remember.
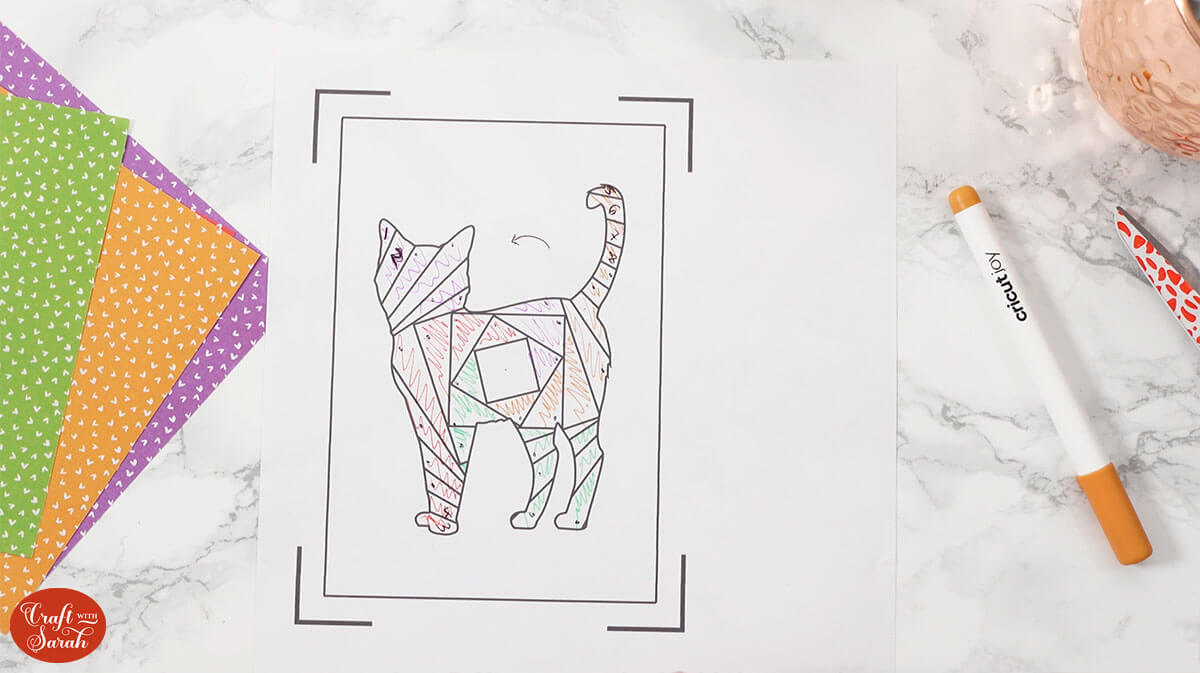
You wouldn’t go in the other direction as you can see that you would end up doing two greens in a row. If I tried my folds in the other direction, it would go: red, purple, orange, green and then green again, which is incorrect.

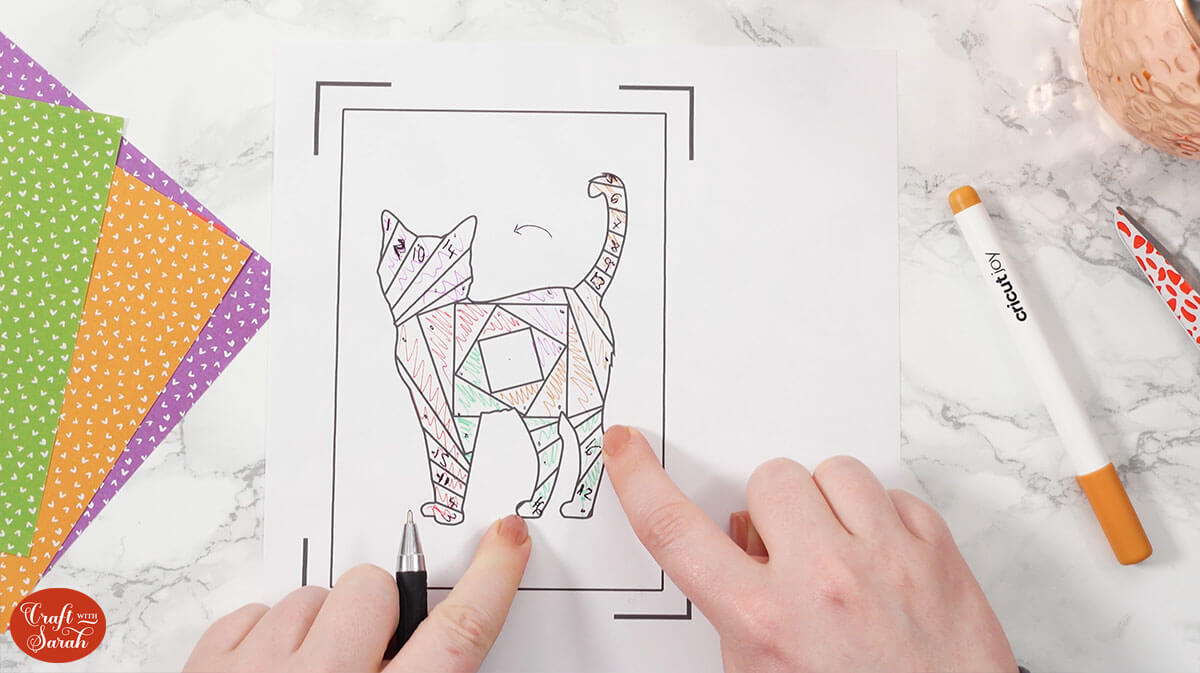
Now that you have worked out the direction, you can number the other colours.
I carried on from my previous numbering, following the direction of the spiral. Number the corresponding colours that make up the spiral.
For example, my next orange was number 9, I then numbered the corresponding purple number 10, the red 11 and the green 12.
Continue numbering the colours as you work your way round in the direction the spiral is going in.
There may be some parts to watch out for where you need to number two the same as they are in the same line. You can see this in the image below.
Continue numbering your colours until you get to the middle square.
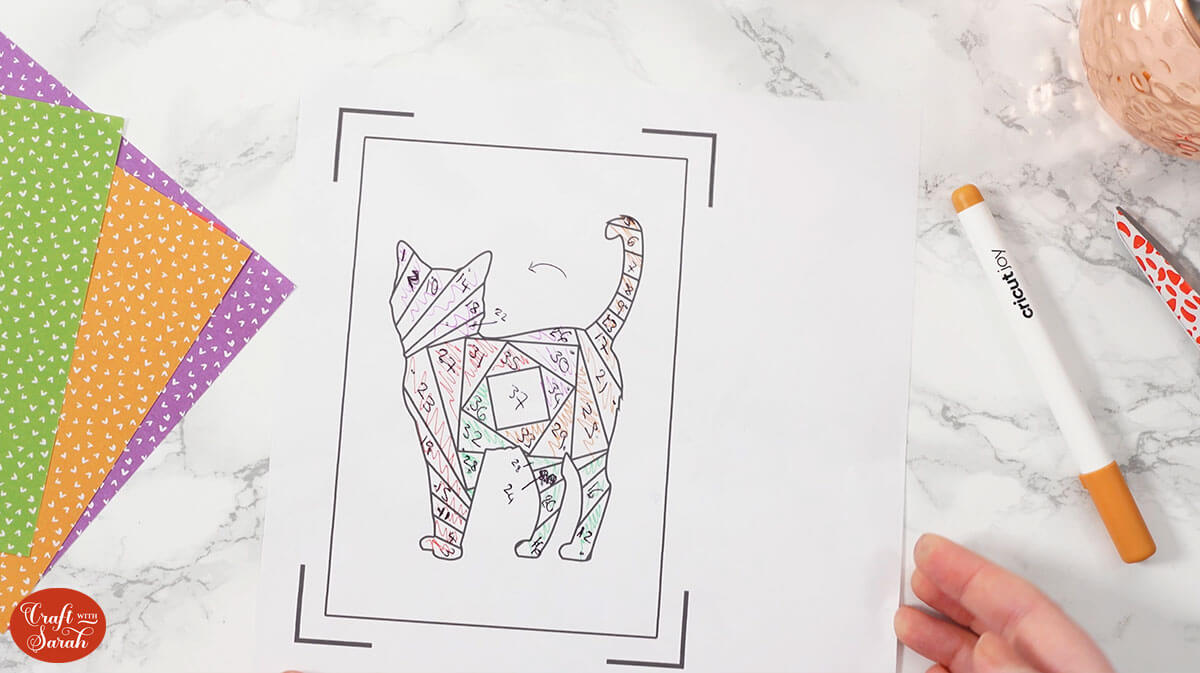
Now you’ll be able to complete the folding. If you’re not sure how to do this part, click here for my tutorial on how to do Iris Folding.
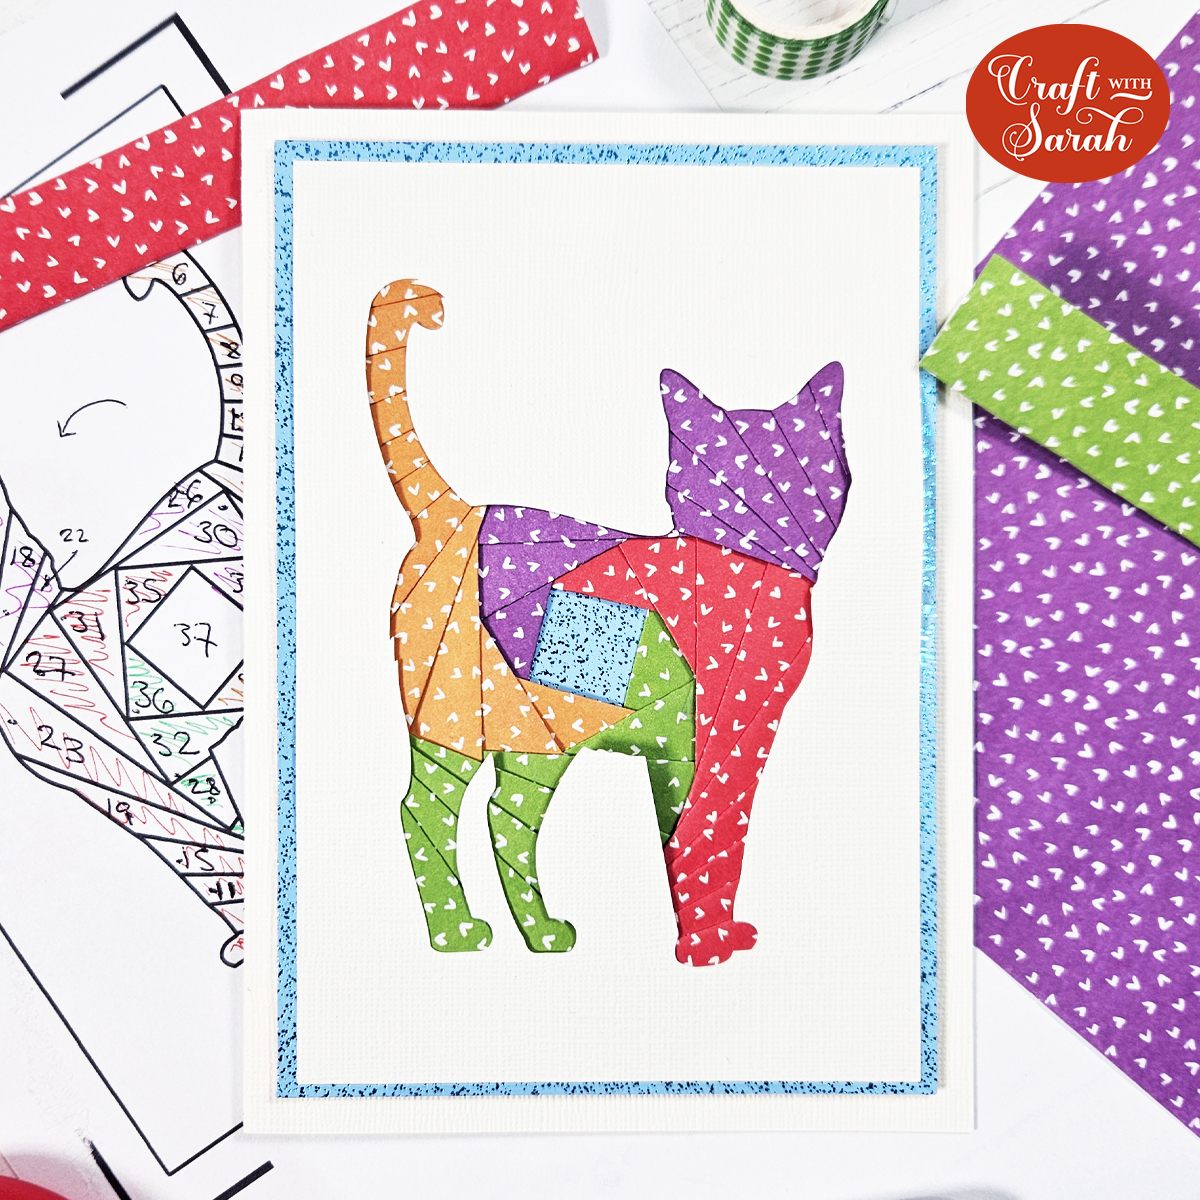
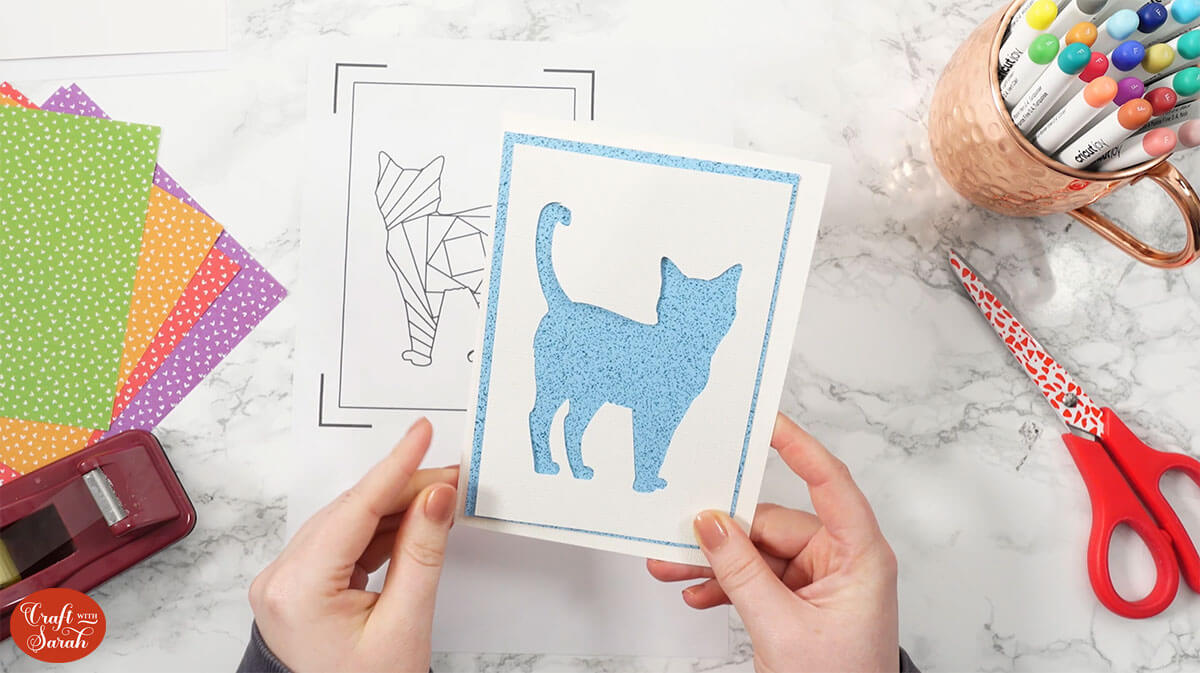
Don’t forget to mount your Iris Folding to the card blank to make a beautiful greetings card.
Now your Iris Folding Pattern and design are complete! Isn’t it a great sense of achievement to create your own?!
I love how it turned out using the heart patterned paper in different colours.
Happy crafting,
Sarah x

