CCC Day 19 ❄️ Christmas Table Place Settings
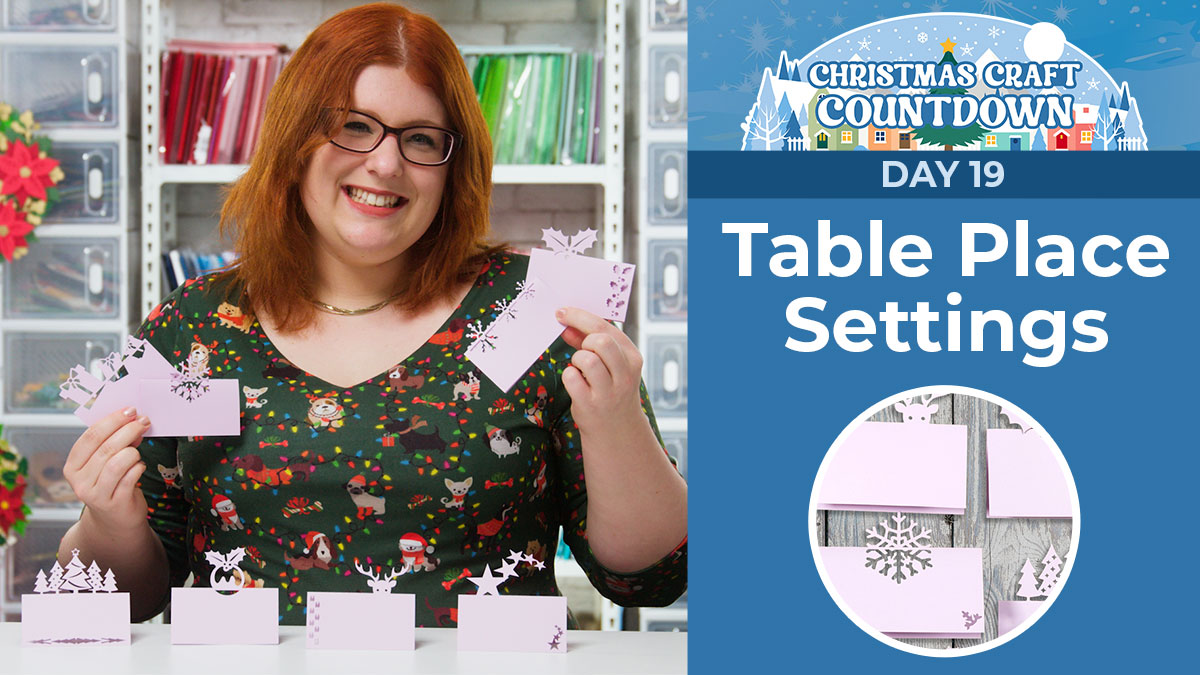
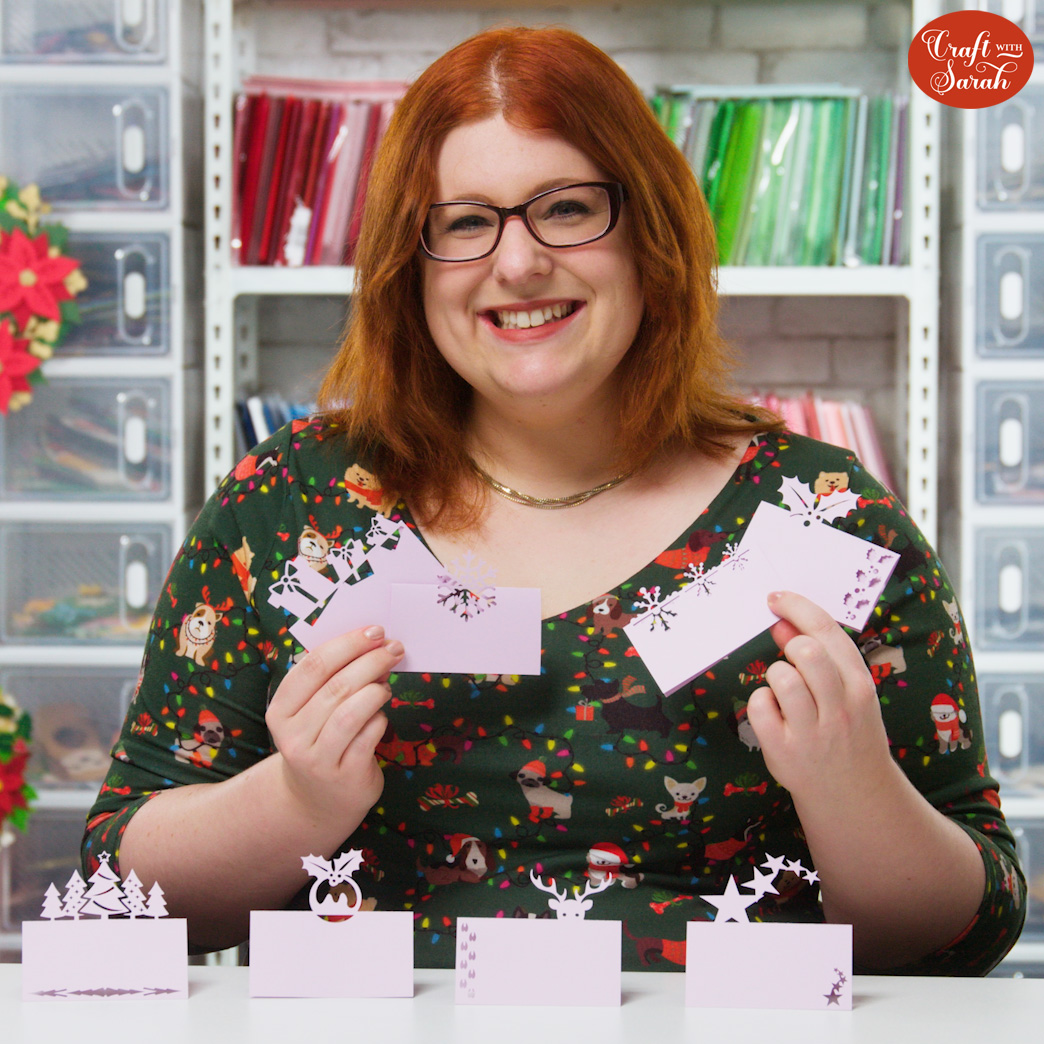
Welcome your Christmas dinner guests to the table with personalized place settings made with your Cricut!
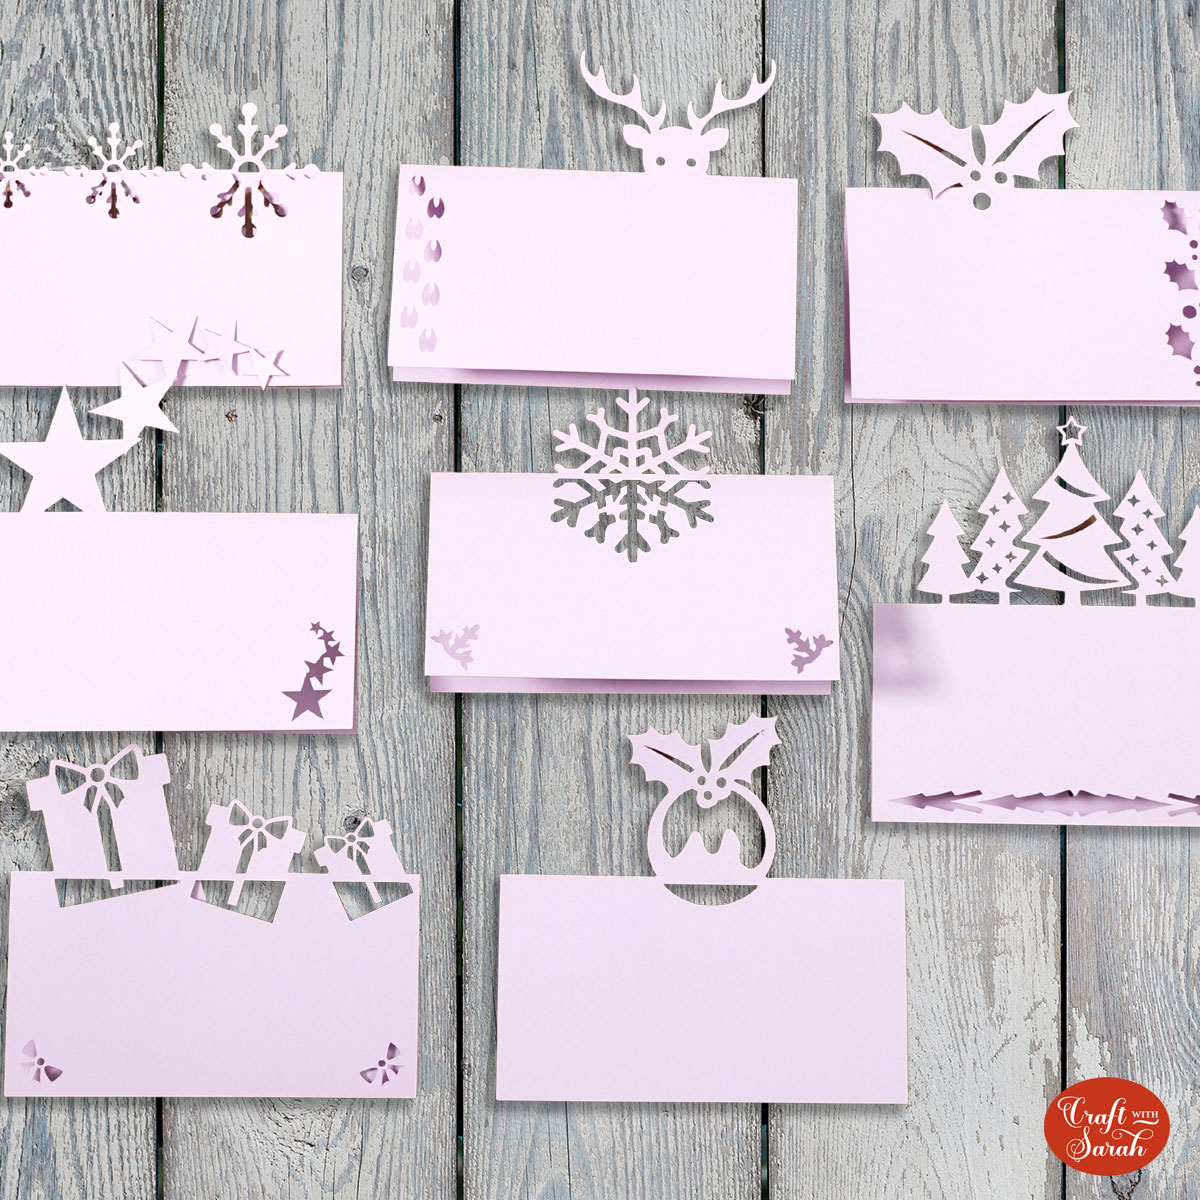
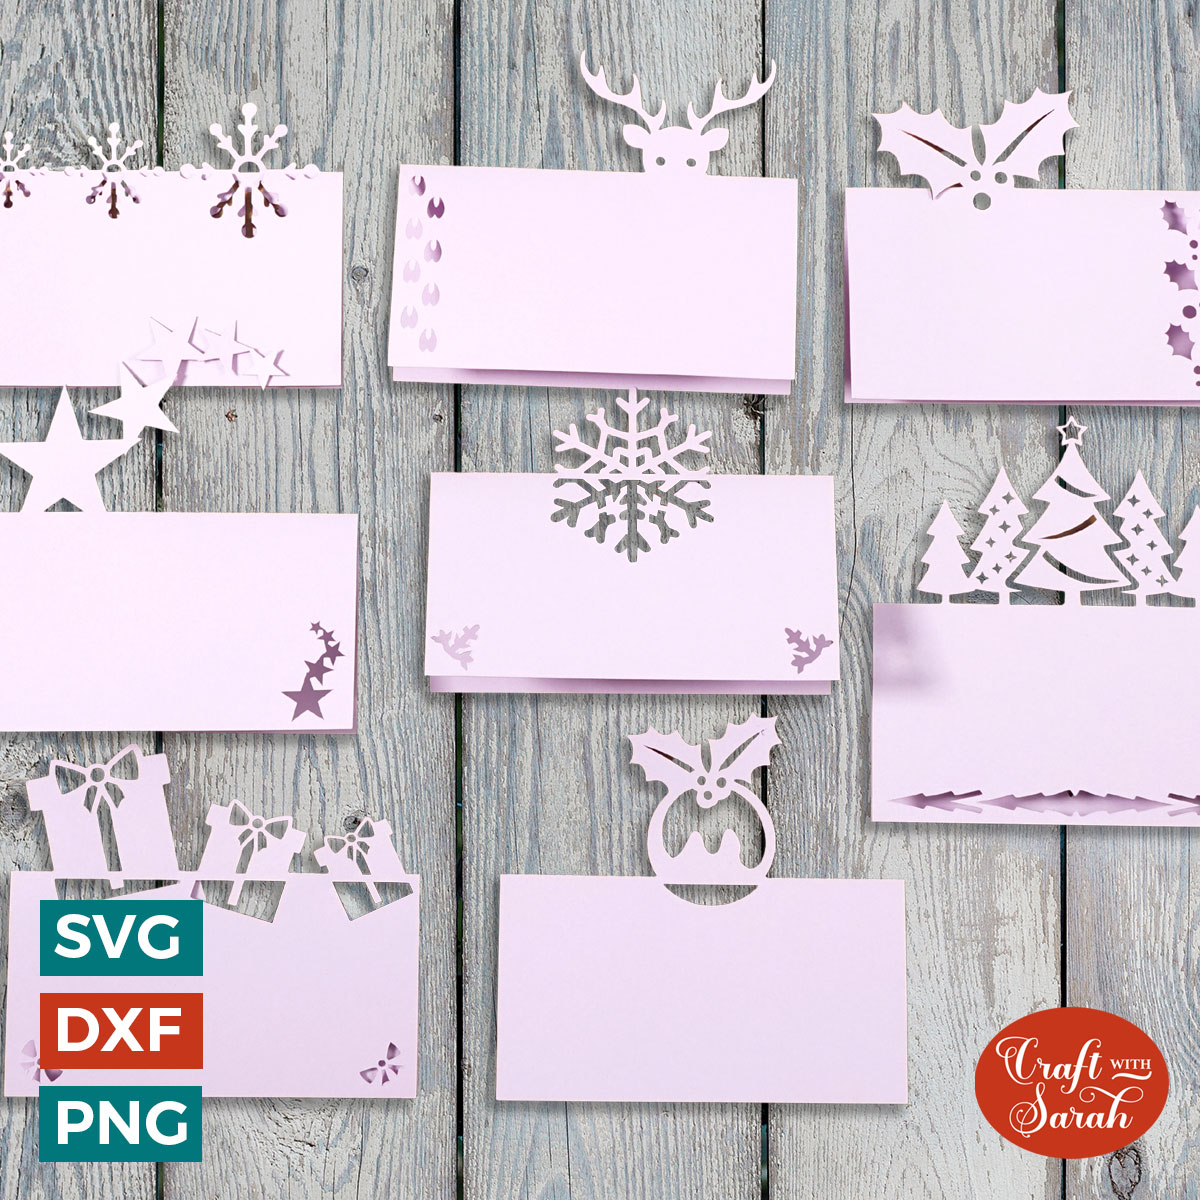
There are 8 different designs to choose from.
See how to add your guests’ names to the SVG files in this video, with three different methods for doing so.
This Project was part of the Christmas Craft Countdown 2022
Materials supply list
Here is a list of the materials that I used to make this project.
Please note that some of the links included in this article are affiliate links, which means that if you click through and make a purchase I may receive a commission (at no additional cost to you). You can read my full disclosure at the bottom of the page.
- Cricut machine
- Light blue Cricut cutting mat
- Coloured card
- Cricut scoring wheel or scoring stylus
- Glue (only if you cut the name from a separate piece of card)
- Cricut pens (optional)
Video tutorial
Watch the video below to see how to make this project. Keep scrolling for a written tutorial.
Written tutorial (with photos!)
Here’s how to make your very own table place settings using a Cricut machine!
Step 1) Download the cutting file(s) & unzip the downloaded folder
Purchase the File(s)
This cut file is available as part of the Instant Access Bundle.
Or, purchase this design individually here
Before you upload the SVG to Design Space, you need to unzip the download folder that it comes in.
- How to unzip a folder on Windows computer
- How to unzip a folder on a Mac
- How to unzip a folder on an iPad/iPhone
- How to unzip a folder on an Android device
Step 2) Upload the SVG file into Design Space
Open up Cricut Design Space and start a new Project.
Click “Upload” and then find your unzipped version of the downloaded files for this project.
Go into the “svg files” subfolder and choose one of the designs.
Make sure you upload the files which start svg- in the filename!!
This is how it should look after you have uploaded the file:
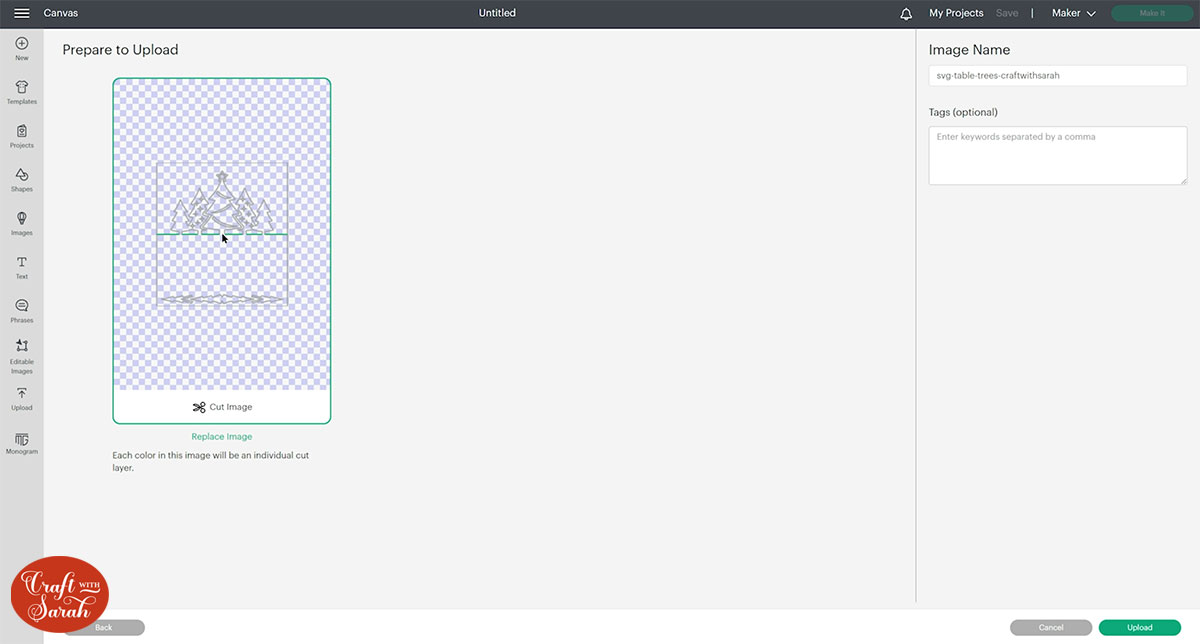
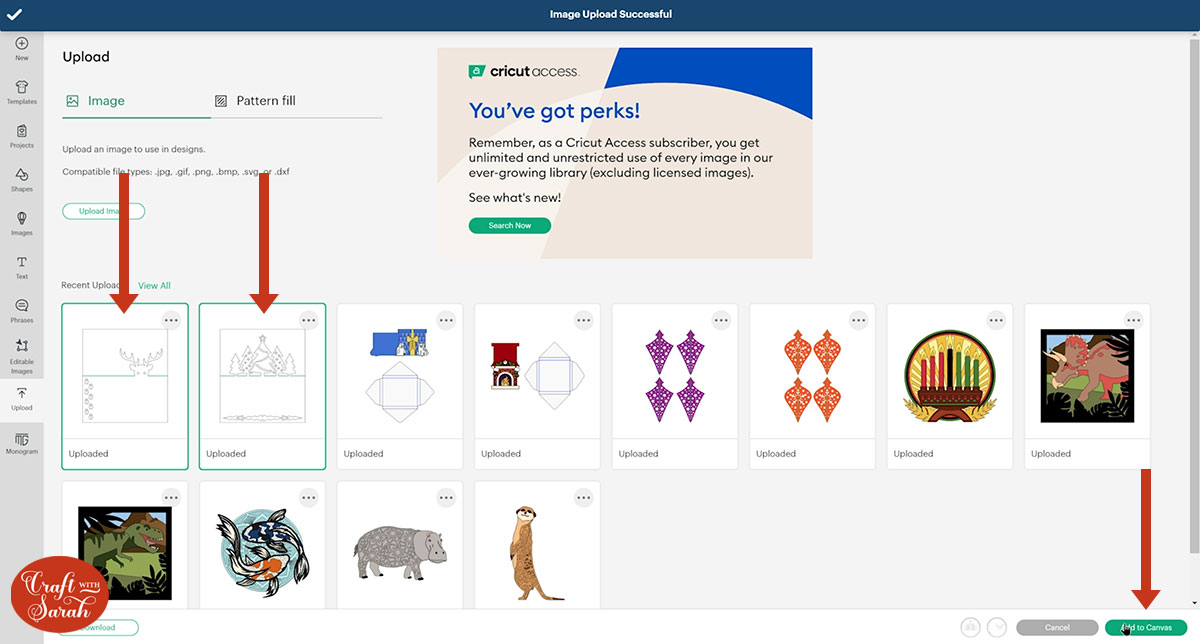
After uploading, the design will show in your “Recently Uploaded Images”.
Click on it (or them if you have uploaded more than one!) and then press “Add to Canvas” to put it onto your Project.
They will load in at a suitable size, but you can resize them if you wish.
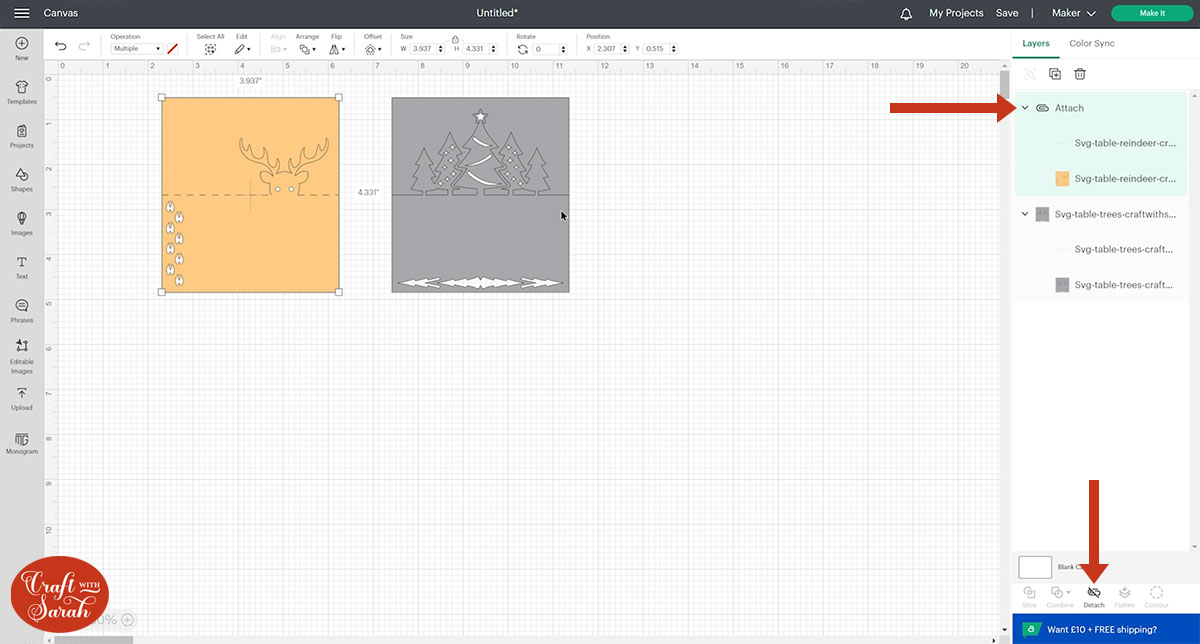
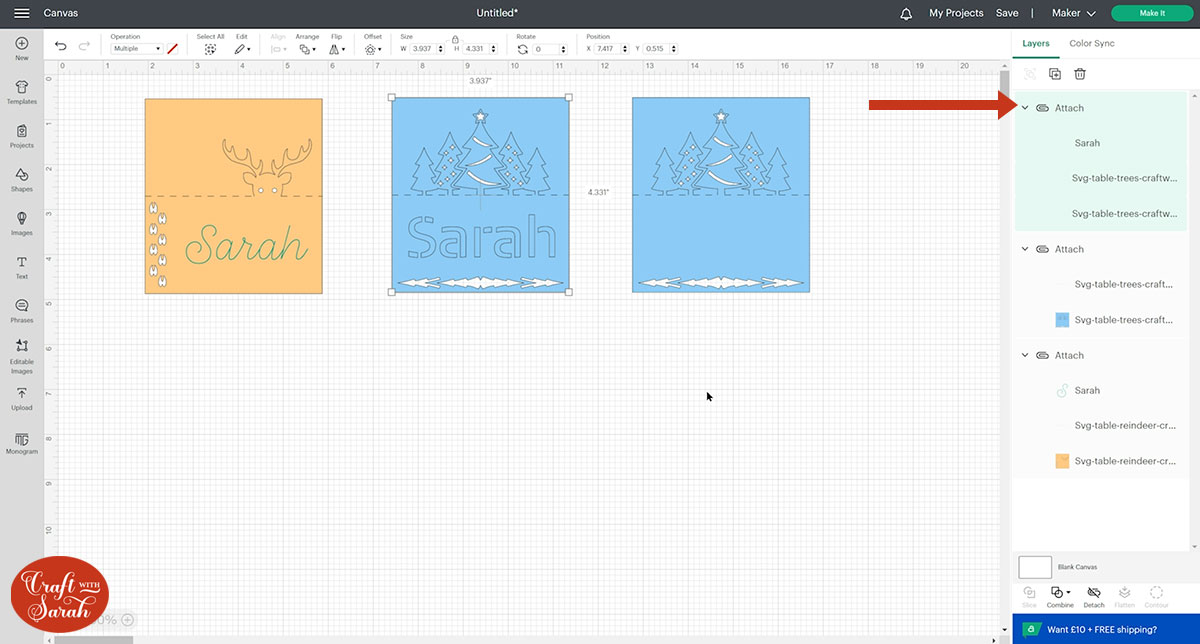
Step 3) Format the score line
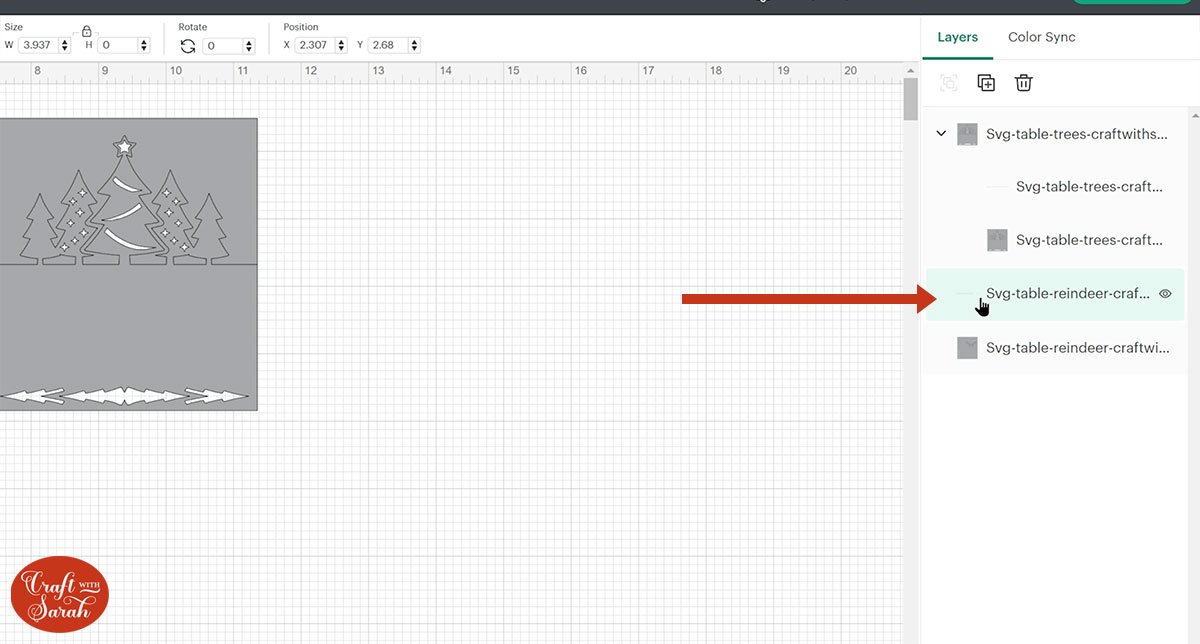
Click the place setting design and Ungroup it to separate out the layers.

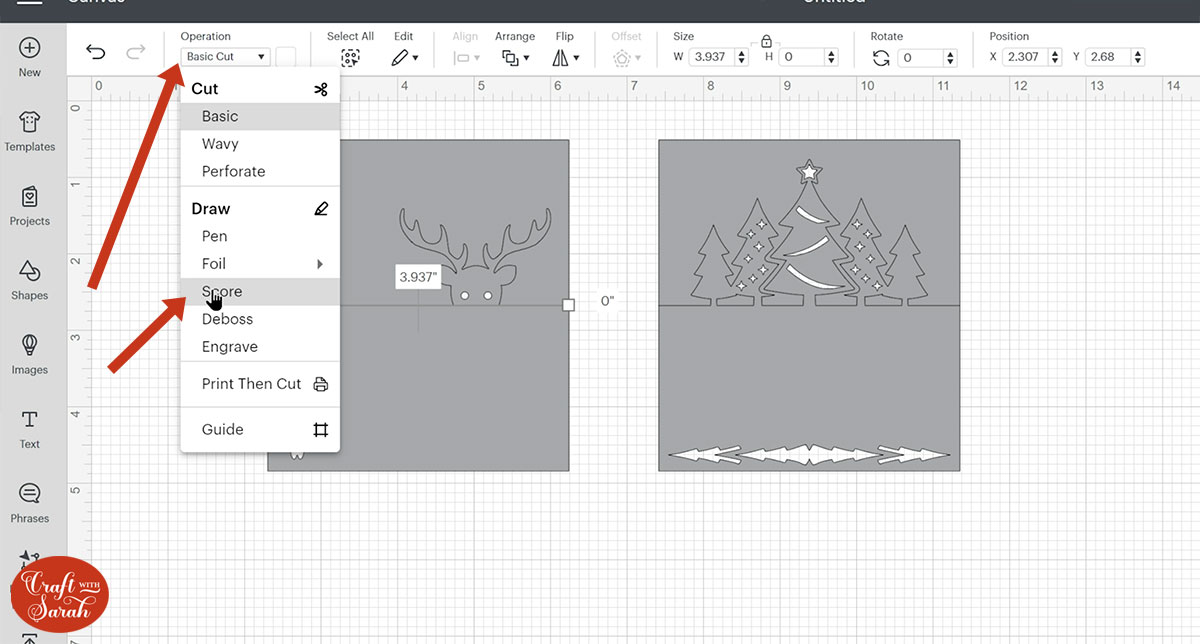
Click the horizontal line layer in the layers panel.
Change it to a “Score” line in the Operations dropdown menu.
Select the score line and the place setting and “Attach” them.

Attach is what tells the Cricut that we want it to do the score line in that position on the place setting.
I also changed the colour of my place setting to make the score line easier to see.
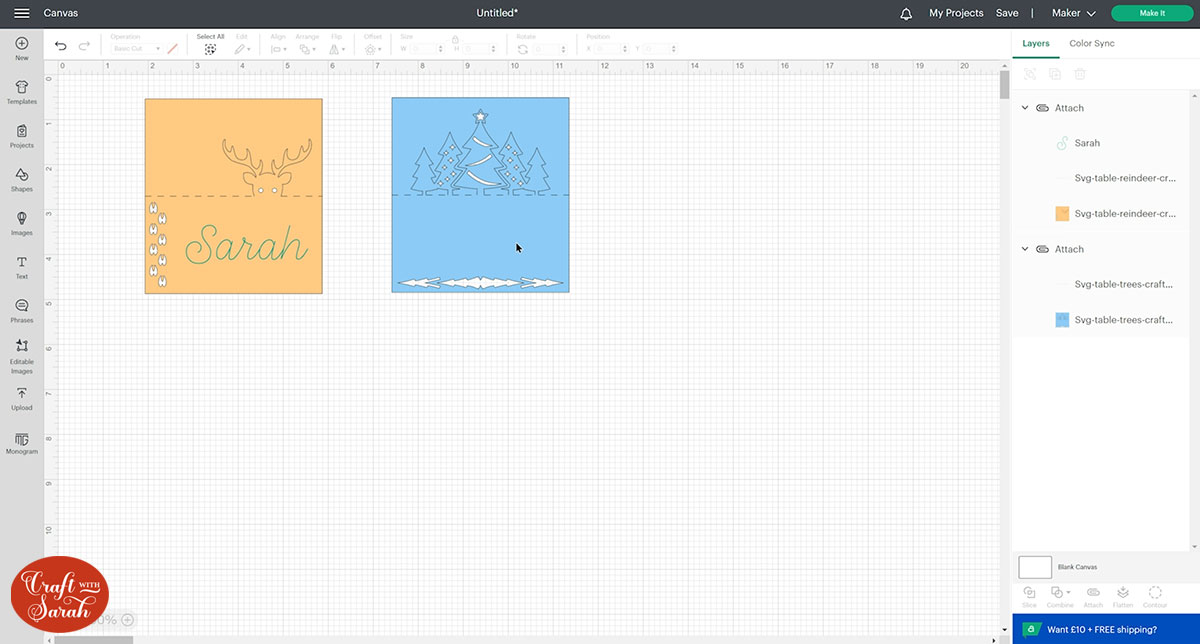
Step 4) Add a name
You can add a name by getting the Cricut to draw it with a pen, or cut it with the usual cutting blade.
To make the Cricut draw the name, go into “Text” and type out the name.
Go into the fonts dropdown and choose a Writing font.
Make sure the Operations dropdown is set to “Pen” and not “Basic Cut”.
Position it where you want it to go on the place setting.
Click the place setting and press “Detach” to separate out the score line.
Then, select the text layer, score line AND place setting design and “Attach” all three together.
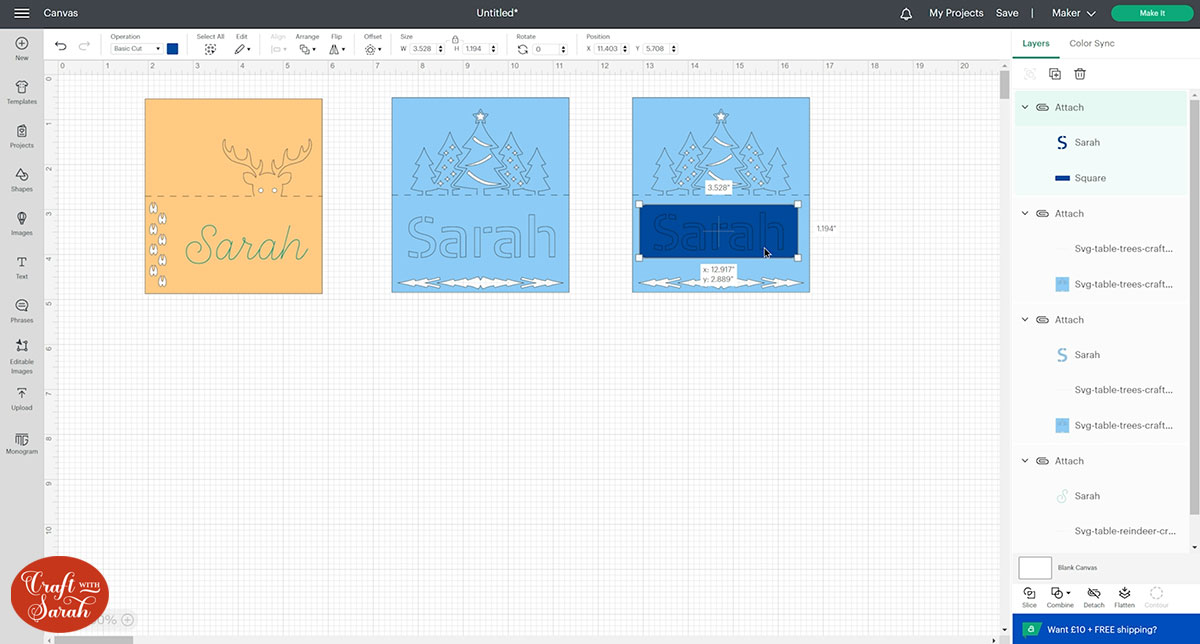
The other way to add a name is to get the Cricut to cut it out.
Type out your Text layer and then choose a font. Type “Stencil” into the search box.
Stencil fonts are designed to stop the middles of letters such as “o” and “a” from ‘falling out’ when they are cut from cardstock, so they work best for these place settings.
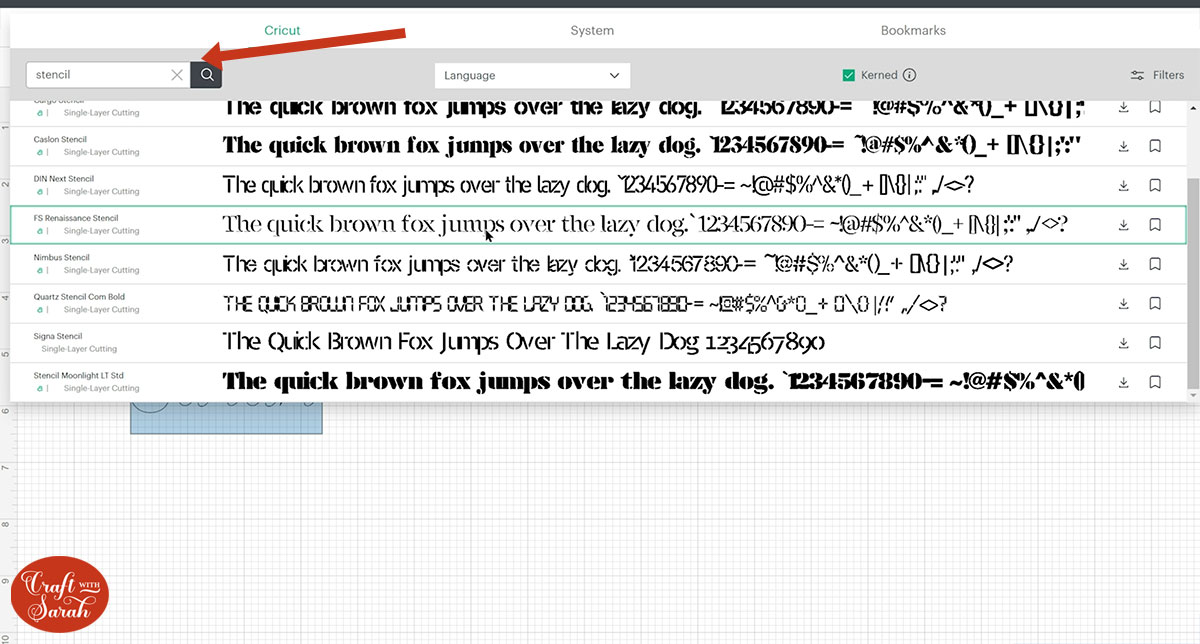
Position the text where you want it to go.
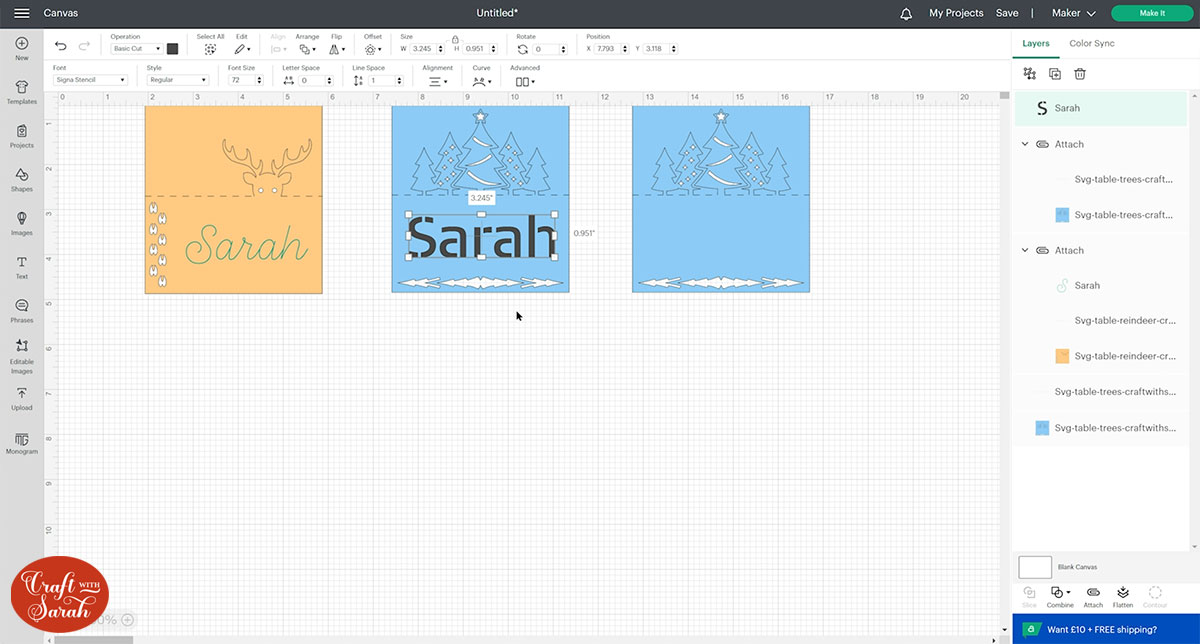
Click the place setting and press “Detach” to separate out the score line.
Then, select the text layer, score line AND place setting design and “Attach” all three together.
This will change how the text looks, so it will appear like an “outline” rather than the filled-in text – but don’t worry, that’s what we want to happen.
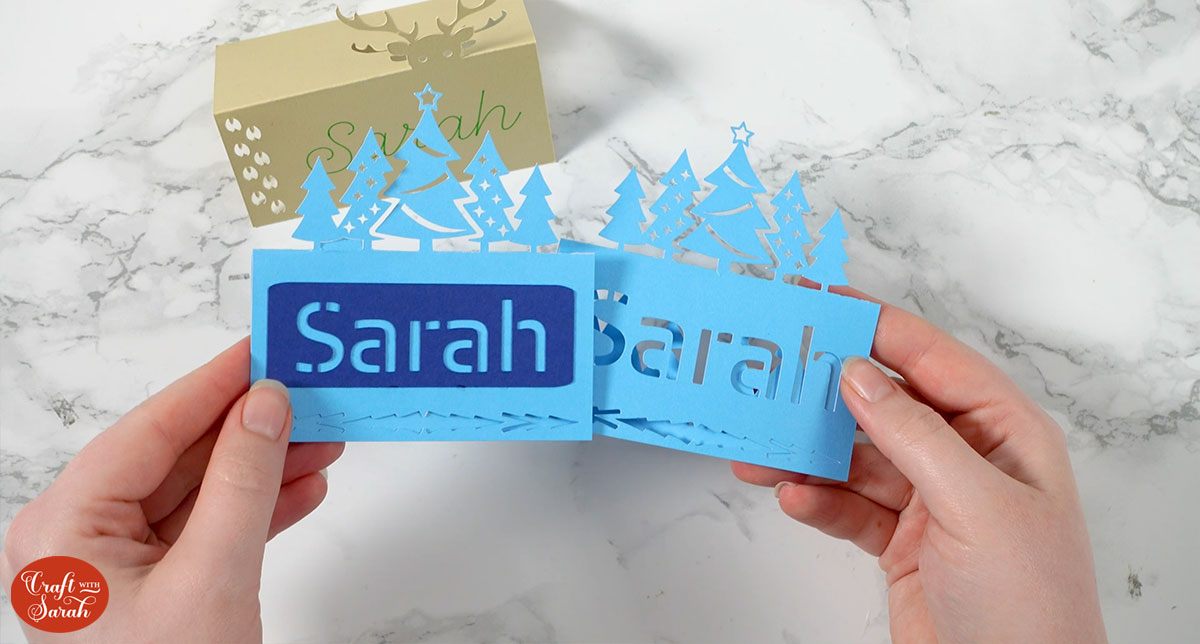
An additional way to add the text is to do it on a separate shape.
For example, here I’ve got a rounded corner rectangle with the name cut out.
Step 5) Cut the design
When you’re happy with how everything is looking, save the Project and then click “Make It”.
Follow the on-screen steps to get everything cut out with your Cricut machine.
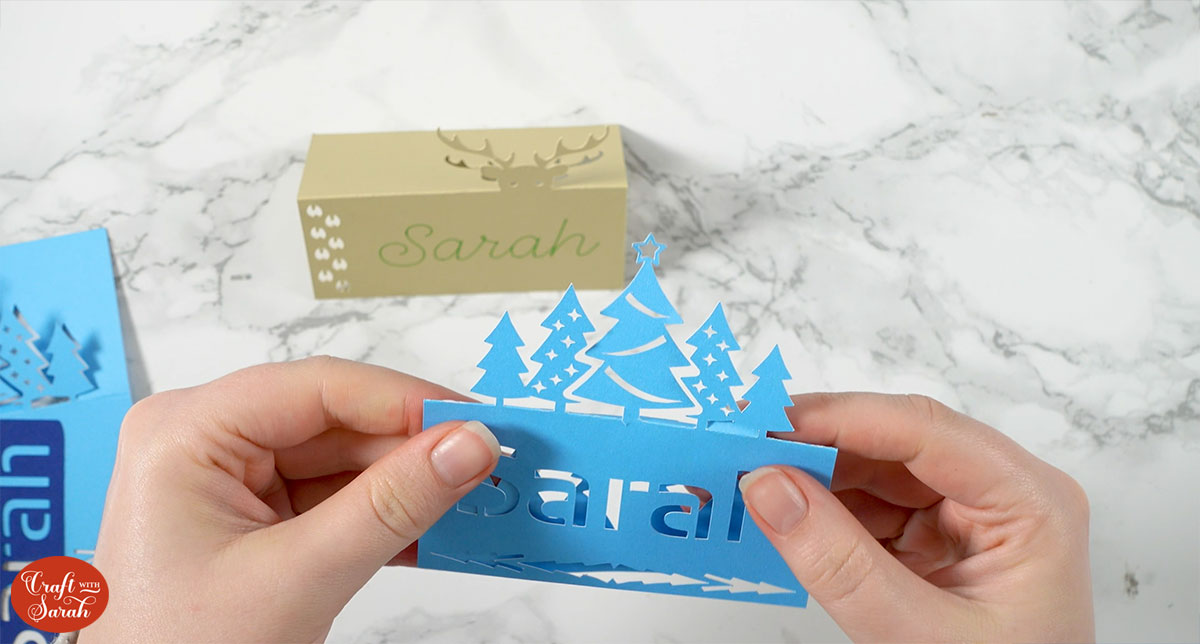
Step 6) Fold the place settings
This might just be the easiest craft project assembly I’ve ever done!
All you need to do is fold along the score line and that’s it – place holder finished!!
If you cut the name from a separate shape then glue it to the front of your place setting after folding.
Phew, that was quick!!
I hope you enjoyed this tutorial on how to make Christmas dinner table place settings on a Cricut.

Happy crafting,
Sarah x

