CCC 2023 Day 01 ☃️ DIY Advent Calendar
Advent calendars are a must-have to count down the days until Christmas Day! Here’s how to make your own DIY Advent Calendar with a Cricut.
It’s Day 1 of the Christmas Craft Countdown and I am so excited to share this advent calendar with you. It’s full of sweet treats ready to open on each new day in December.
Fill it with sweets or chocolates and then seal it all up ready for each of the little doors to be opened one per day in December as you get ever closer to Christmas.
This is such a fun way to make a fully custom advent calendar that’s even better than the ones you can buy in the shops!

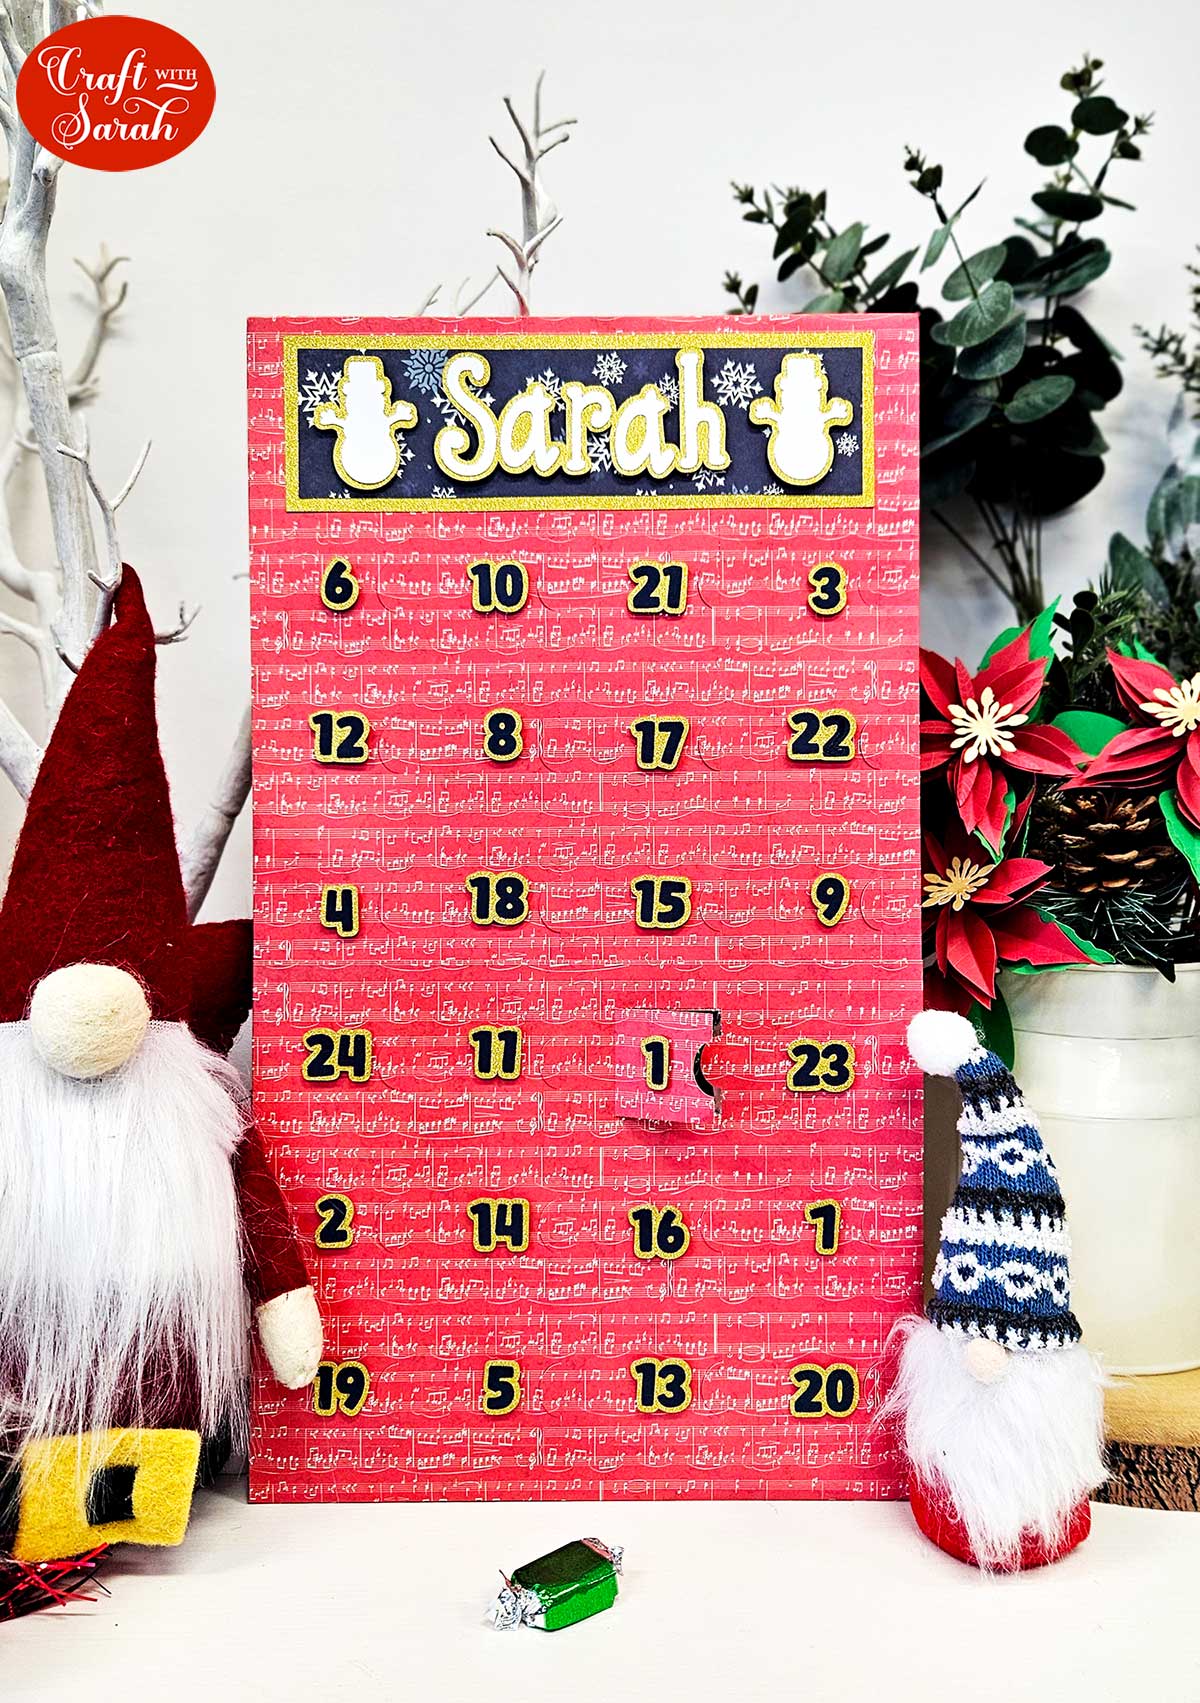
Making your own advent calendar makes it so easy to personalise the decorations and contents for yourself or others. I added my name and cute snowmen but you can add whatever text or images you wish!
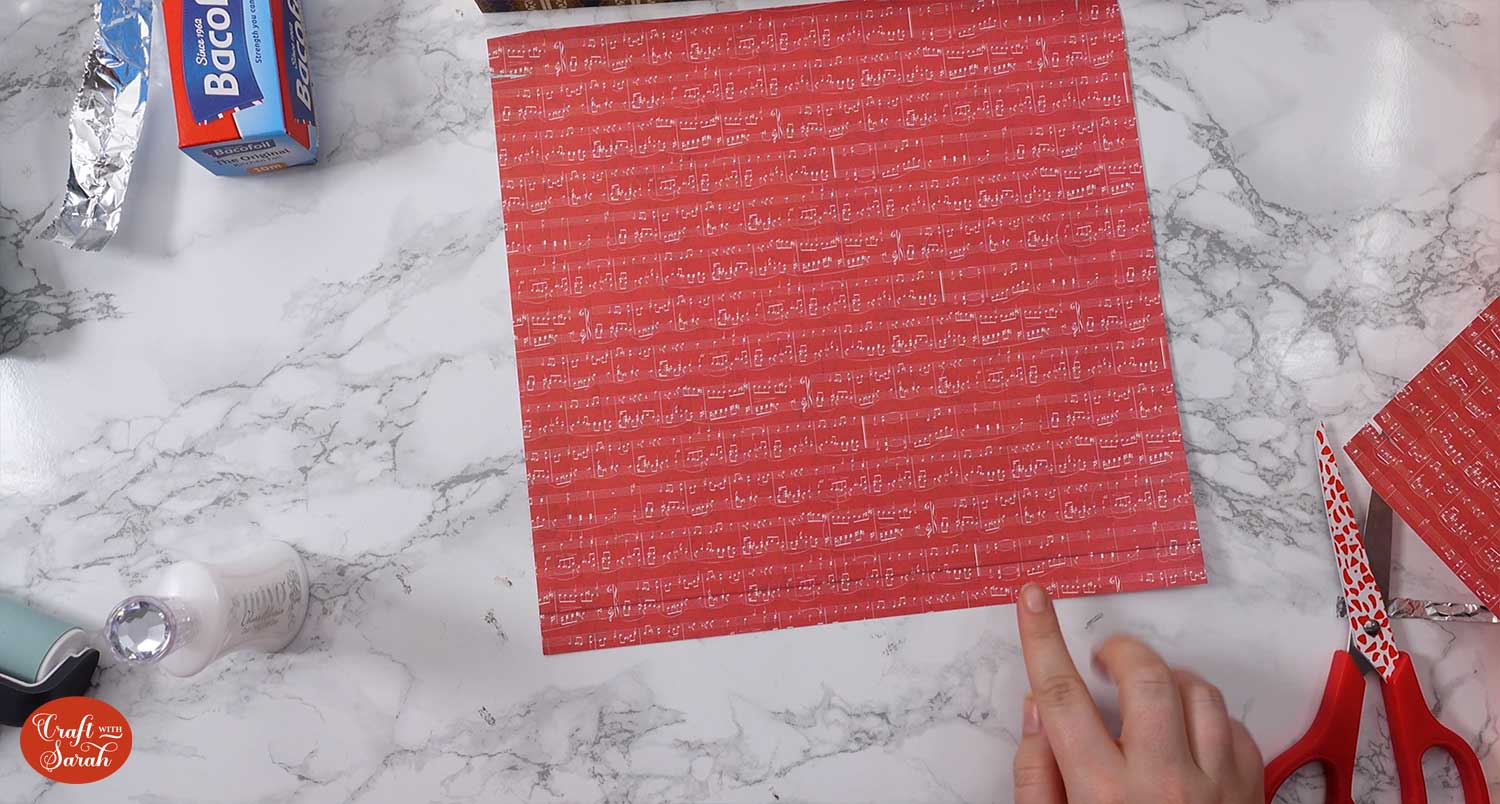
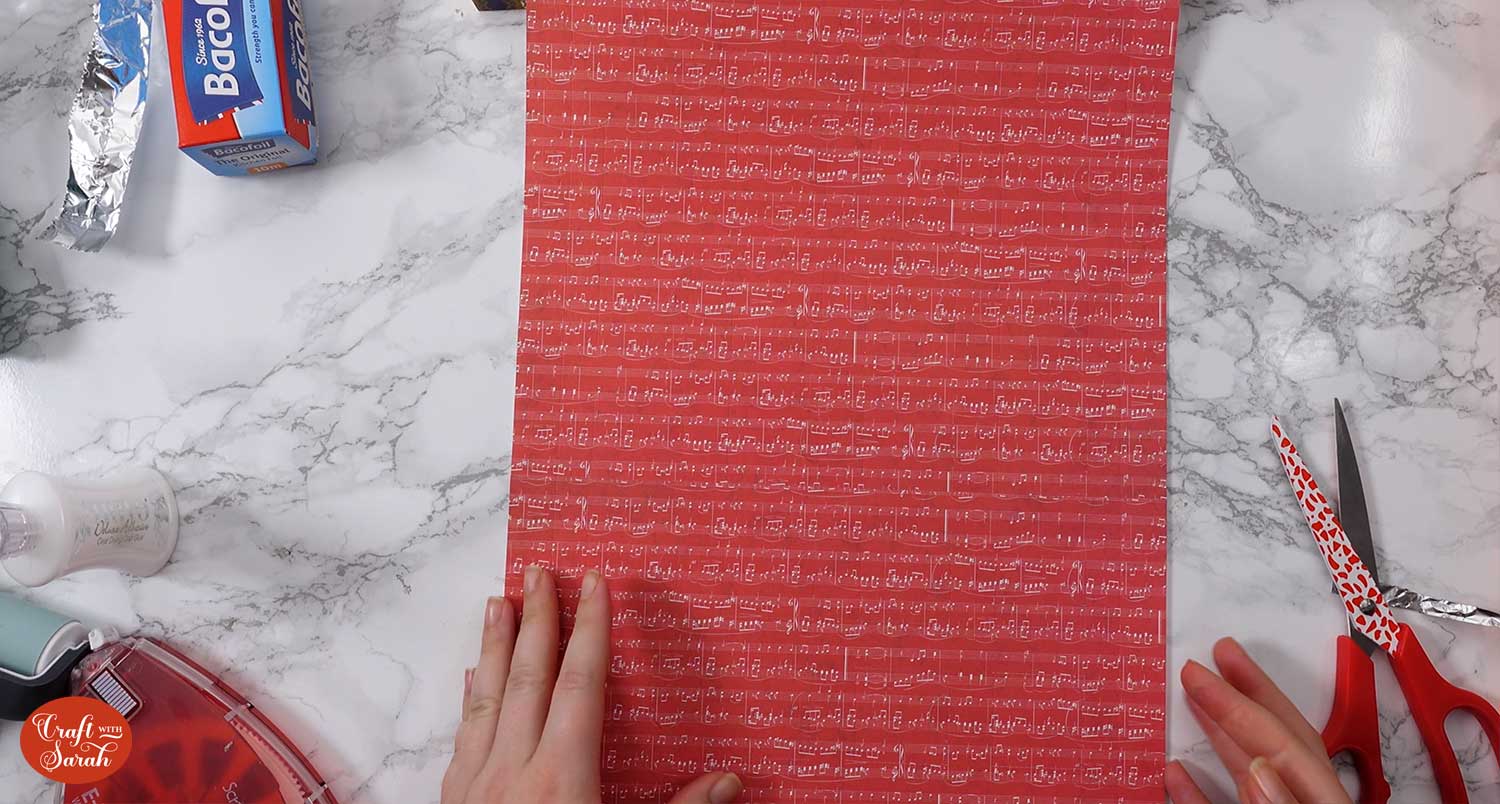
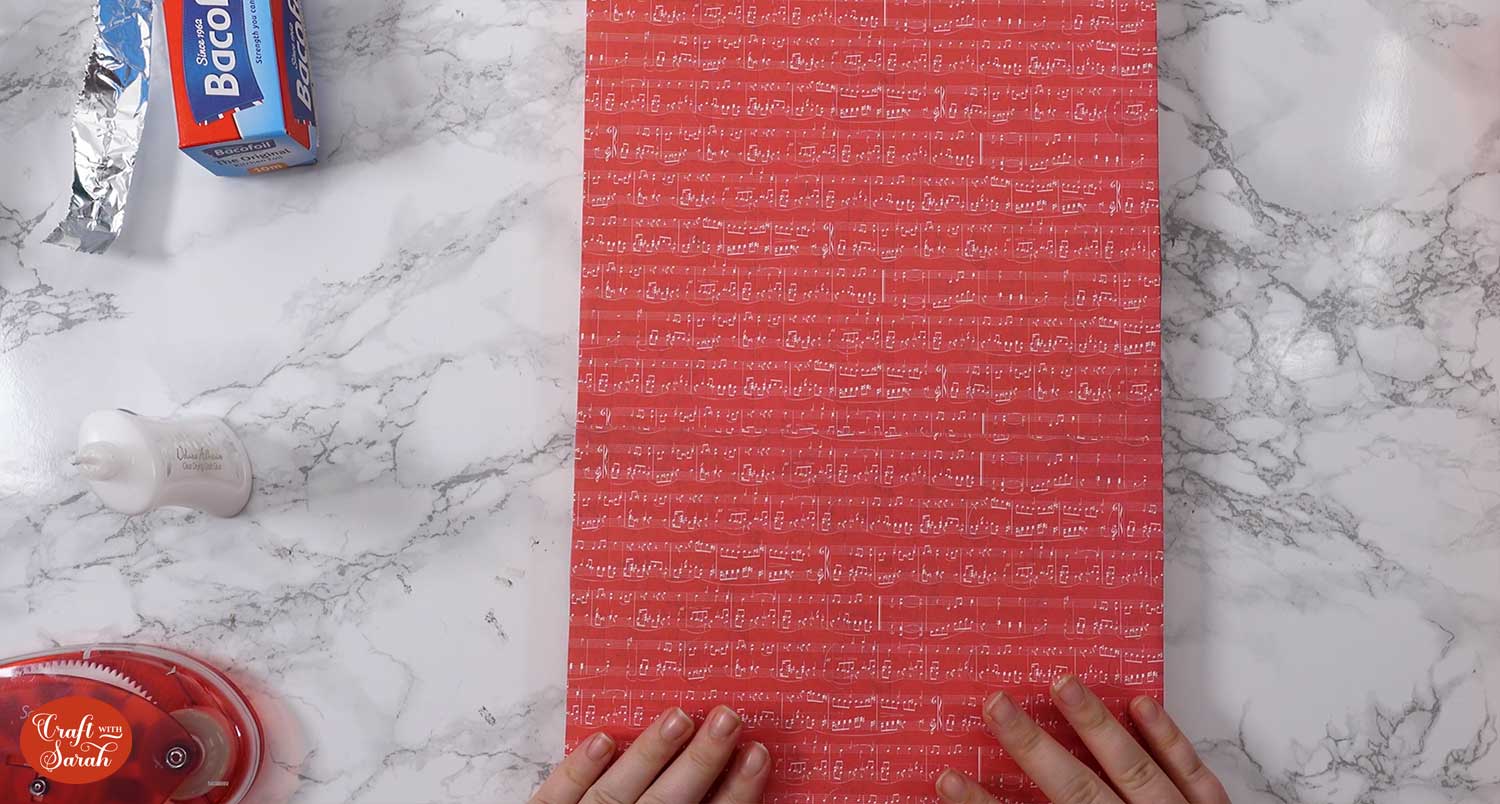
It looks especially Christmassy if you use patterned scrapbook paper, but it works equally well with solid-coloured cardstock too.
This Project was part of the Christmas Craft Countdown 2023
Materials supply list
Here is a list of the materials that are required to make this project.
Please note that some of the links included in this article are affiliate links, which means that if you click through and make a purchase I may receive a commission (at no additional cost to you). You can read my full disclosure at the bottom of the page.
- Cricut machine
- Light blue Cricut cutting mat
- Cricut pen (any colour)
- Cricut Scoring Wheel or Cricut Scoring Stylus
- 12×12 Cardstock in various colours (you may want to use patterned scrapbook paper too)
- Glue
- Double sided tape
- Brayer, scraper tool or bone folder
- Sweets/chocolate
- Tin foil
- Scissors
- 3D foam pads
This project is suitable for the following types of Cricut machine: Explore Air 2, Explore Air 3, Maker, Maker 3
Video tutorial for DIY Advent Calendar
There are lots of different parts which make up the advent calendar. I’ll take you through each step below.
Watch the video below to see how to make a custom Christmas advent calendar.
If you prefer to read rather than watch, keep scrolling!
Christmas Advent Calendar Tutorial
Here’s how to make a personalised advent calendar with a Cricut machine.
Step 1) Upload the file to Cricut Design Space
Download the files using the box below.
Purchase the File(s)
This cut file is available as part of the Instant Access Bundle.
Or, purchase this design individually here

Before you upload the SVG to Design Space, you need to unzip the download folder that it comes in.
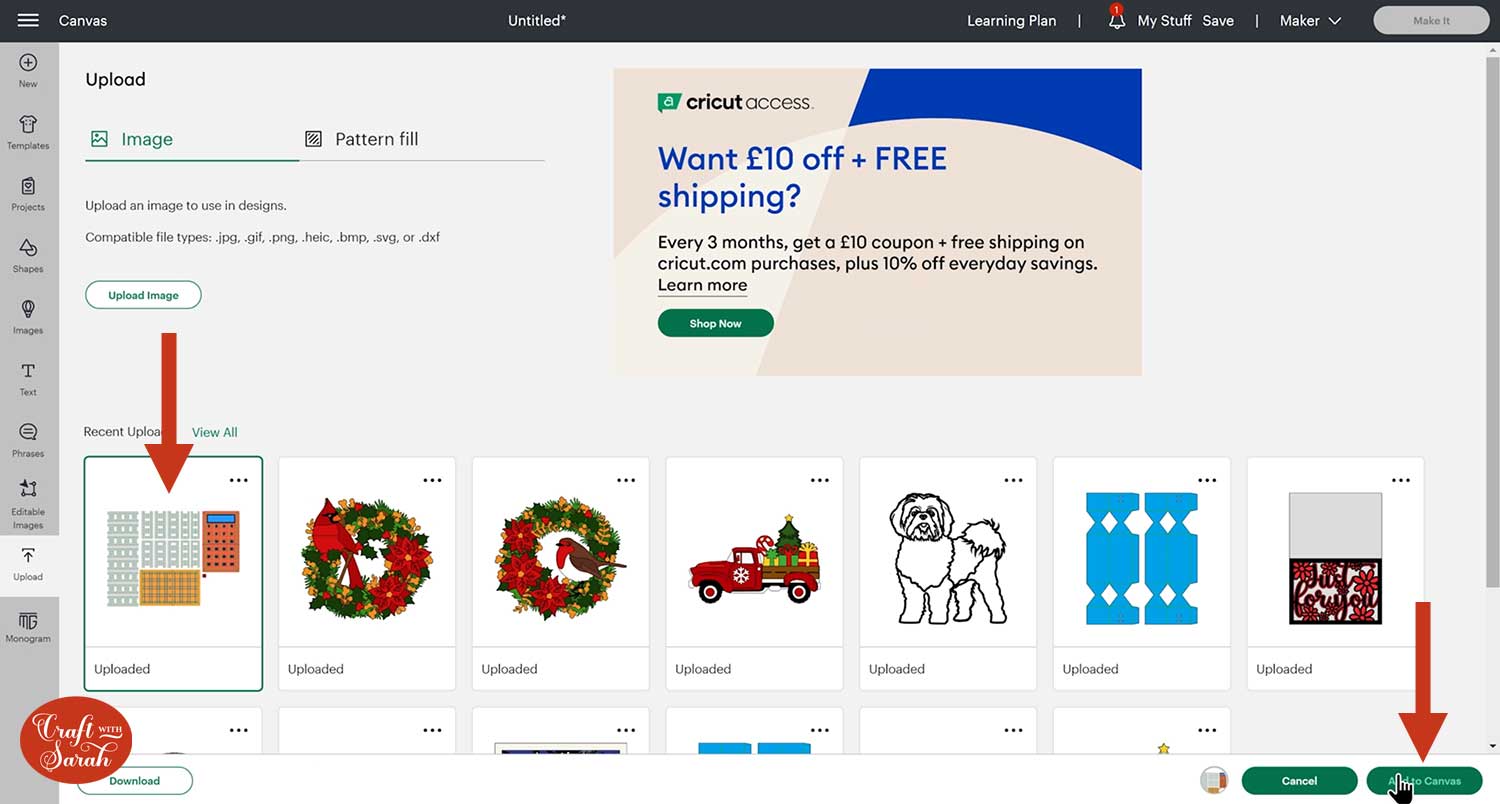
Open up Design Space and start a new project. Go into Upload > Upload Image. Click Browse to find the file on your computer or drag and drop it in.
Important: For Cricut Design Space, upload the file called svg-advent-calender-craftwithsarah.svg

After uploading, the design will appear in your recent uploads. Click it to get the green border, then press “Add to Canvas”.
The design needs some formatting before we get cutting.
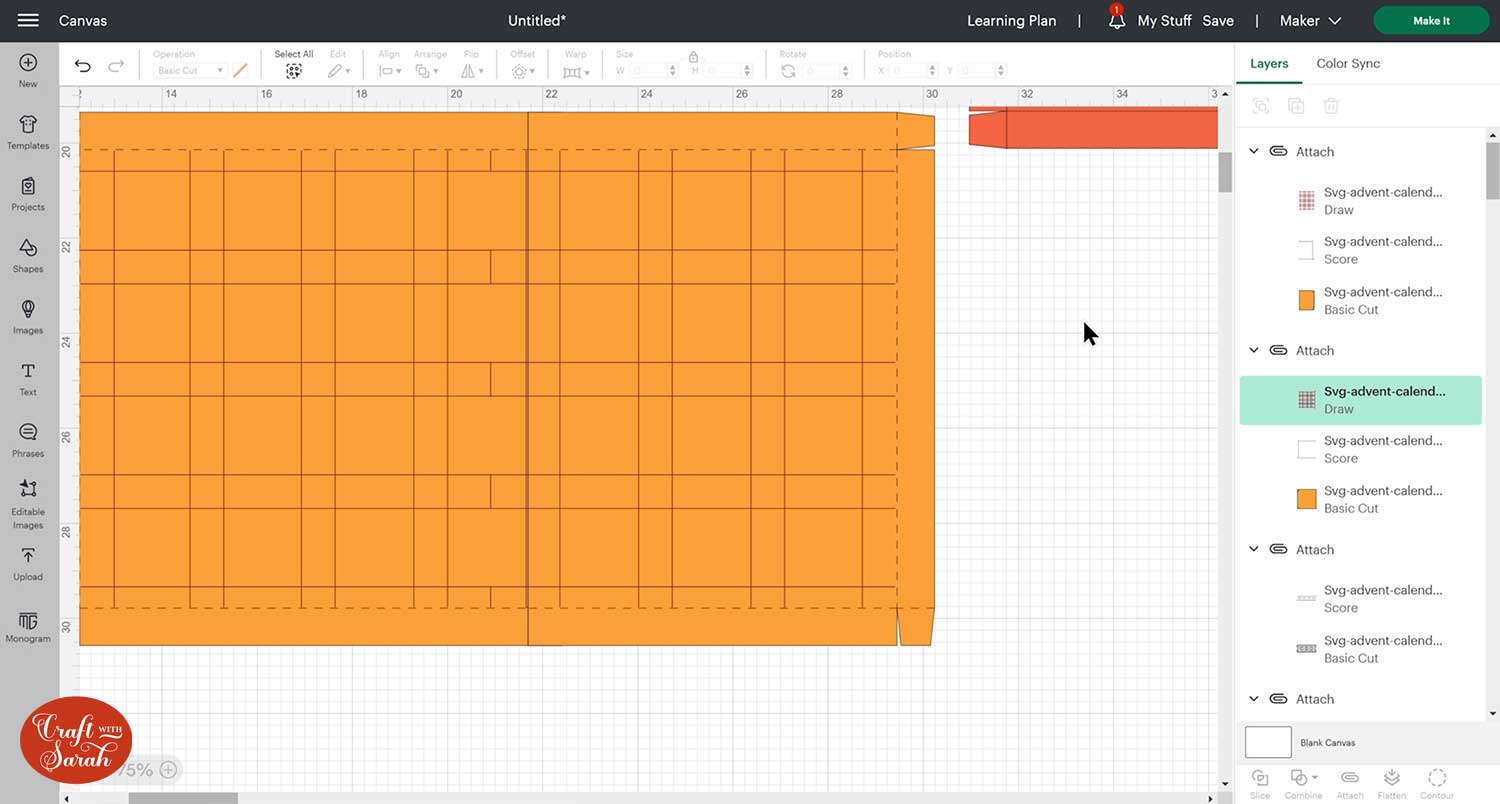
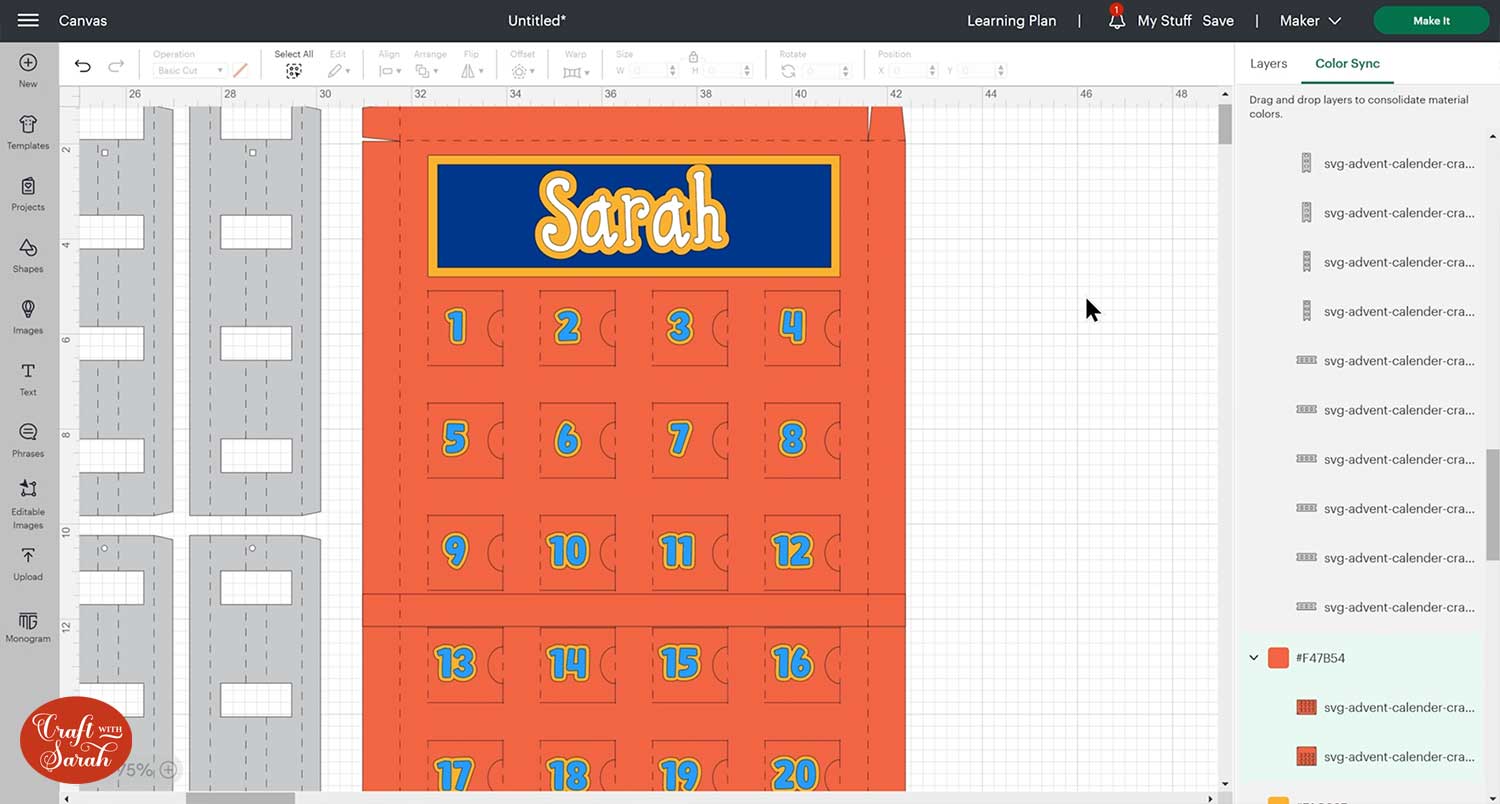
First, let’s check it is the correct size.
I have included a 1×1 inch square in the design so that you can check whether it has loaded in at the correct size.
Click the square in the layers panel on the right-side of your screen to see if it highlights at 1×1 inch.
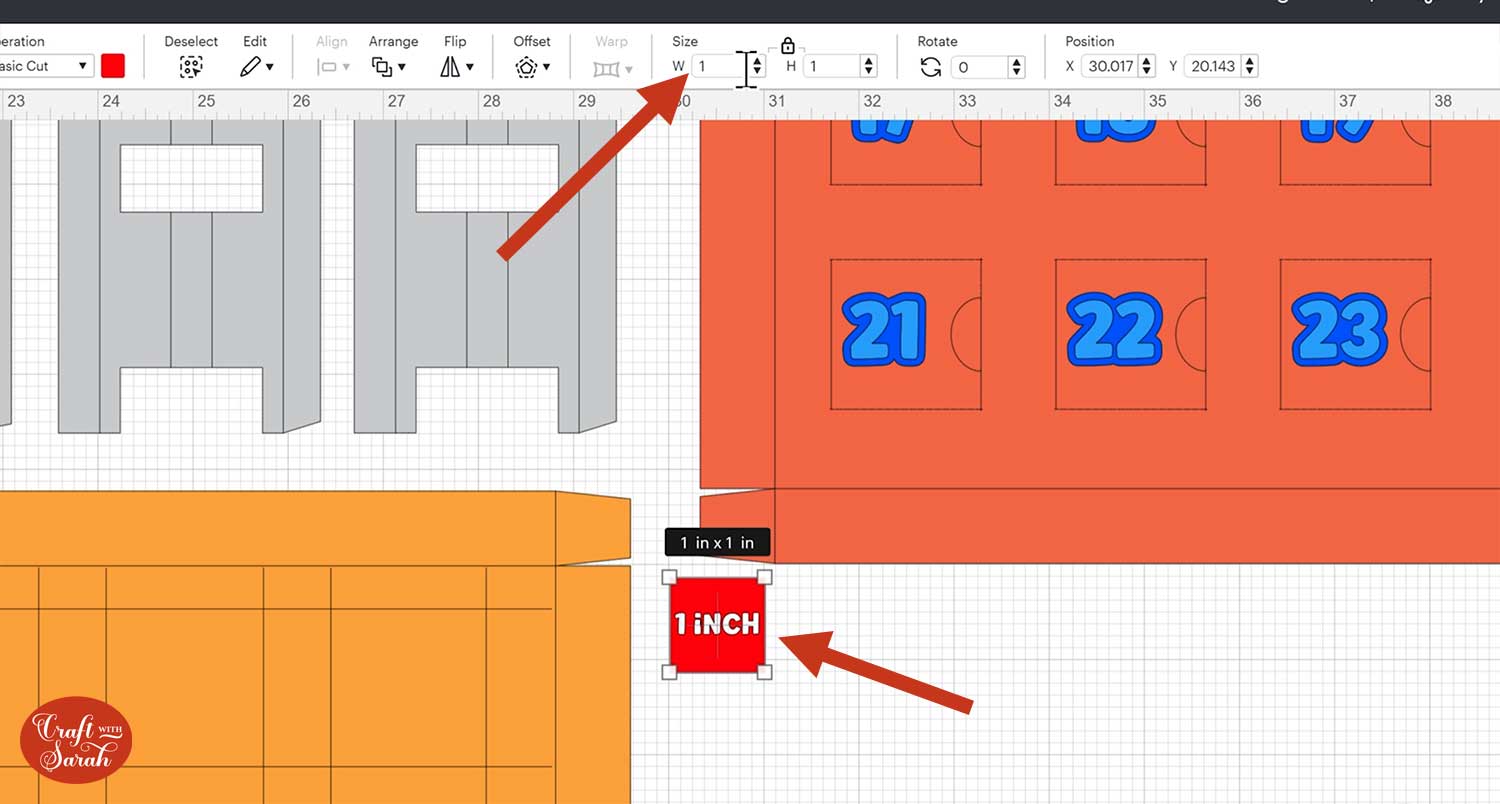
If the square has not loaded in at the correct size, it means neither has the advent calendar.
If you need to, complete these steps to correct the size:
- Click the top of the group name to select everything
- Make sure the padlock icon above the width-height box is closed
- Change the design to 40.972 wide and 29.704 tall
Step 2) Format the score lines
You need to “tell” the Cricut which lines on the design that you want it to score, instead of cut.
Click on the design and press the Ungroup button at the top of the layers panel. That will separate things out so now we can work on them a bit easier.
We’ll do the grey pieces first. If you zoom out so that you can see all of the design, these grey pieces are what makes up the grid to allow you to place your sweet treats inside. These won’t be on show; you may see a small bit when opening the doors but not much. This means you can use any colour of cardstock for these bits, so it’s great for using up any colours that you happen to have lots of!
If you click one of the grey sections and scroll down the layers panel, you will see that they are each made up of two layers. There is a solid “shape” layer and then a single-line cut layer on top.
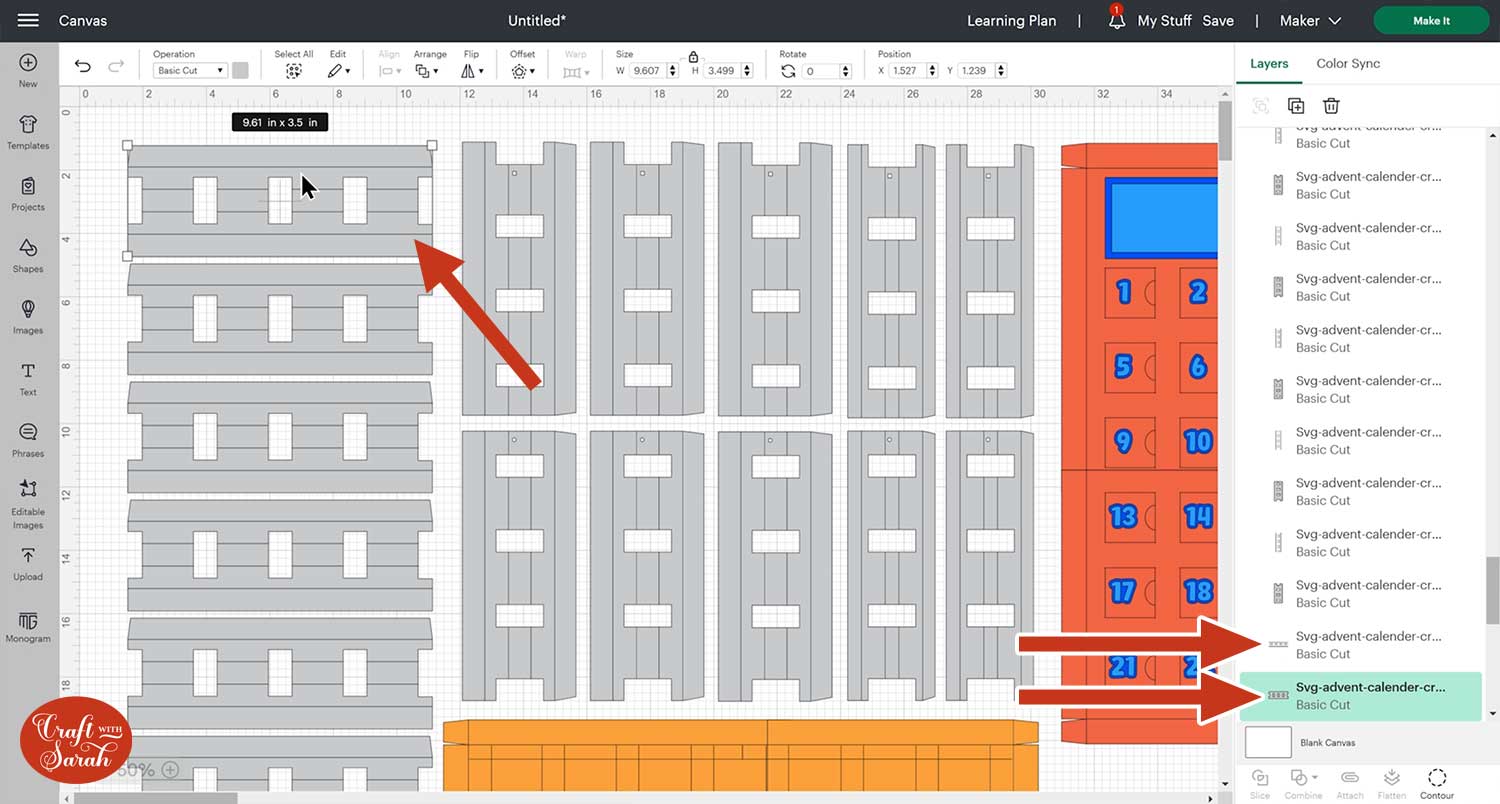
Click on of the single-line layers and you will see that the color box changes to green. This means that this particular layers needs to be a scored, not cut.
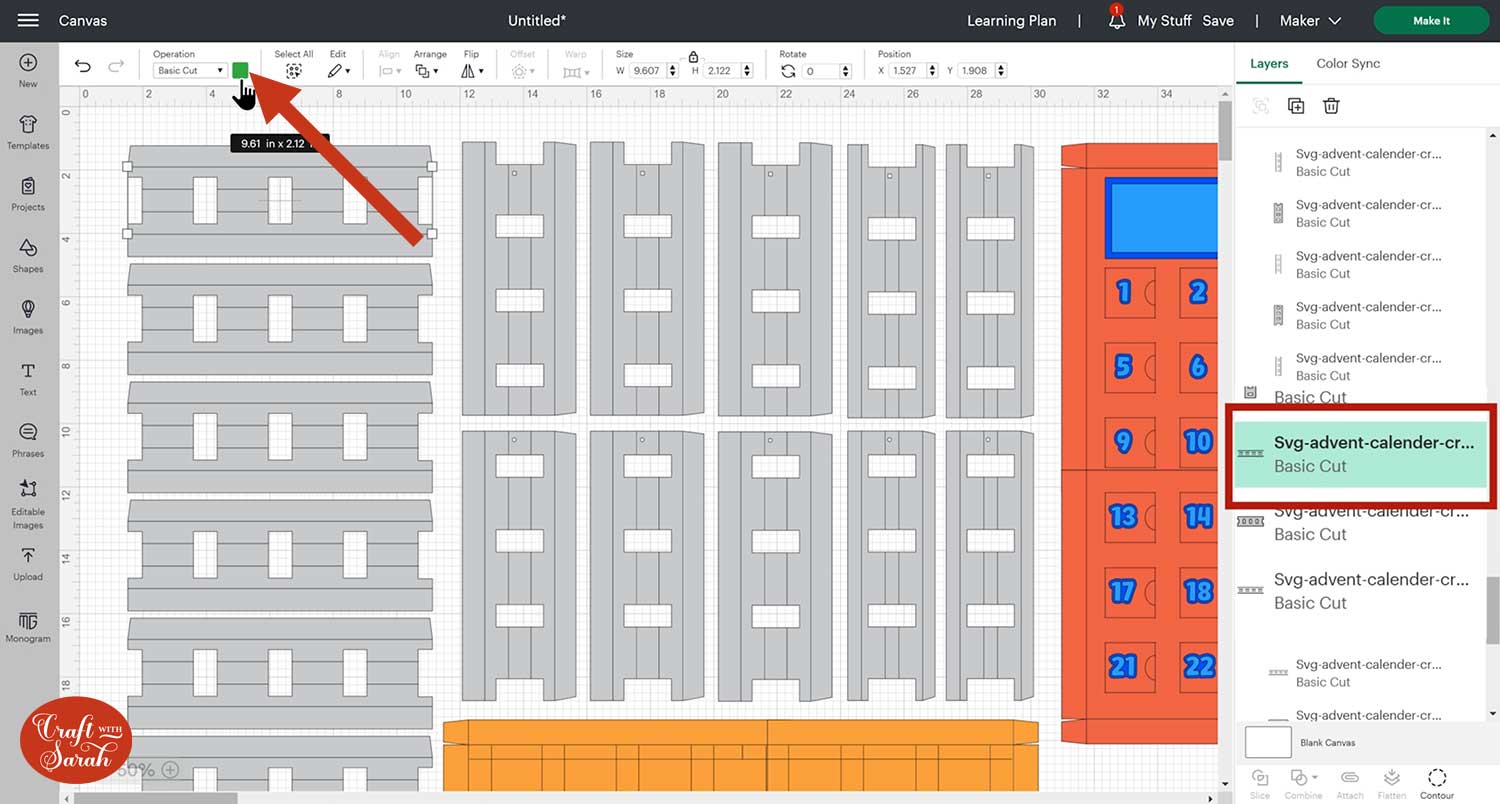
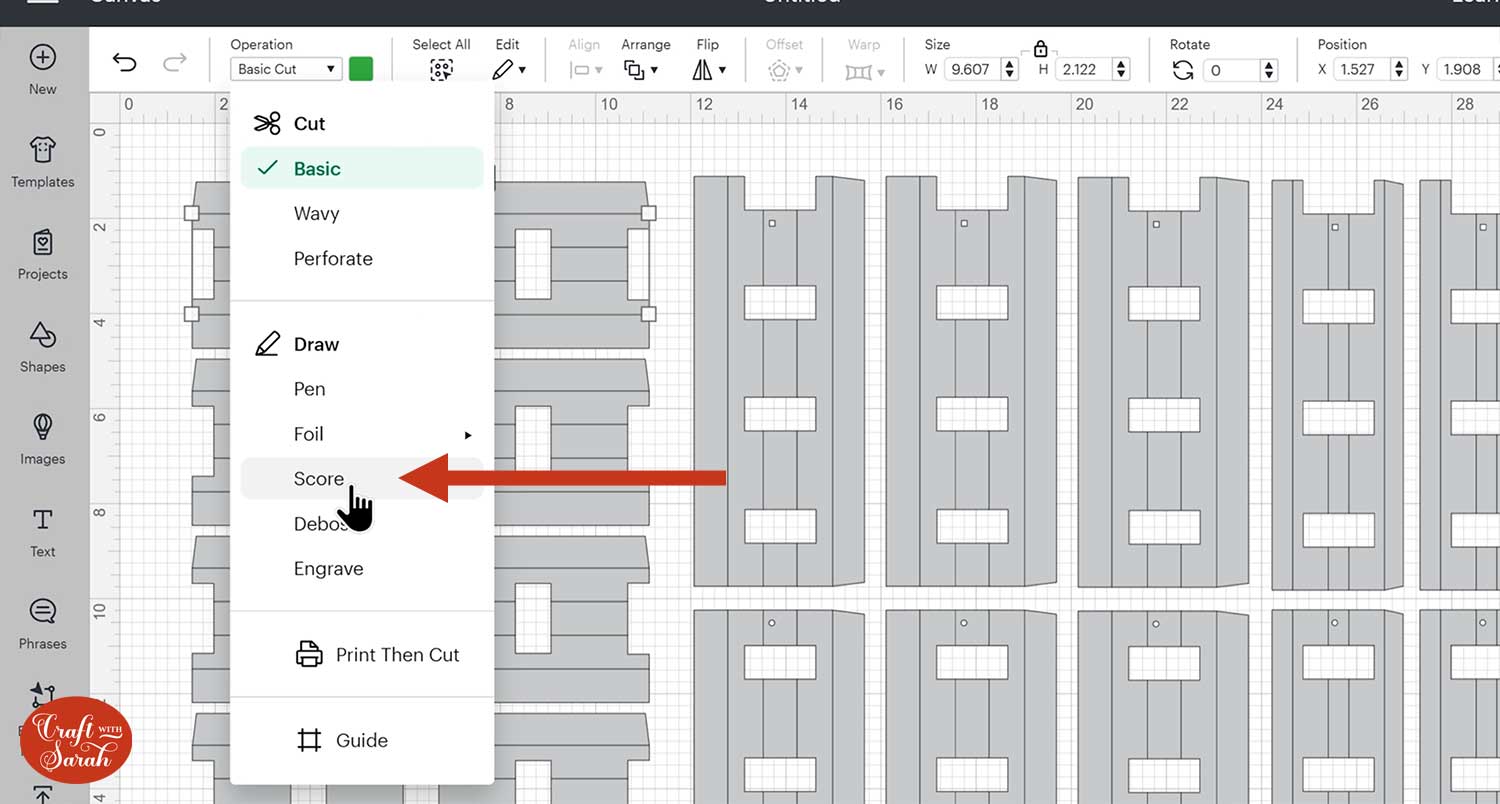
Change it to score in the Operations dropdown.
Click and drag a box which touches both the cut and score lines for that particular box. Make sure you don’t accidentally select any other pieces/layers!
With those two layers selected, press “Attach” in the layers panel.
Attach is what tells the Cricut where to do the score lines.
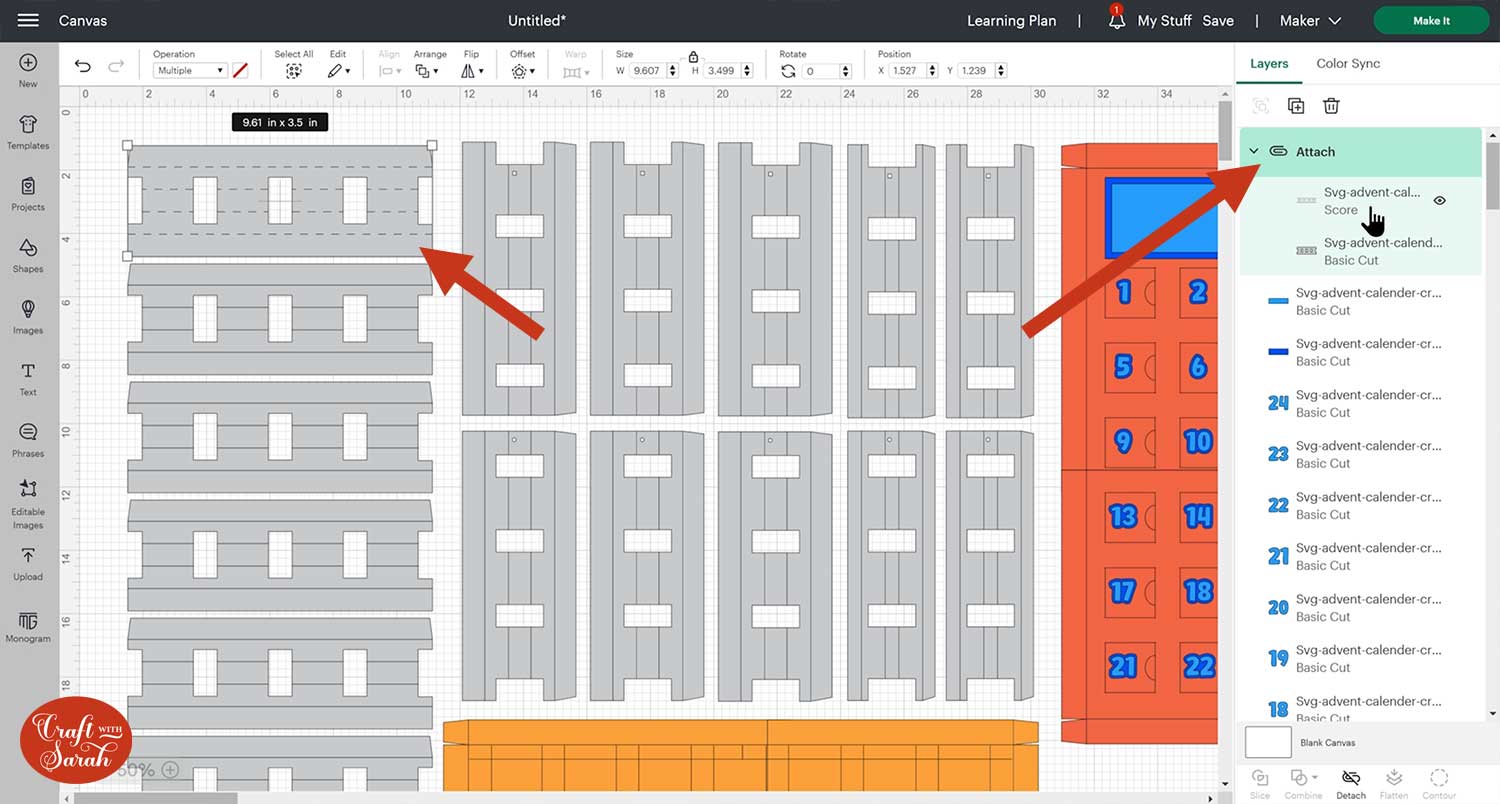
Repeat this until all the grey pieces are changed to have score lines.
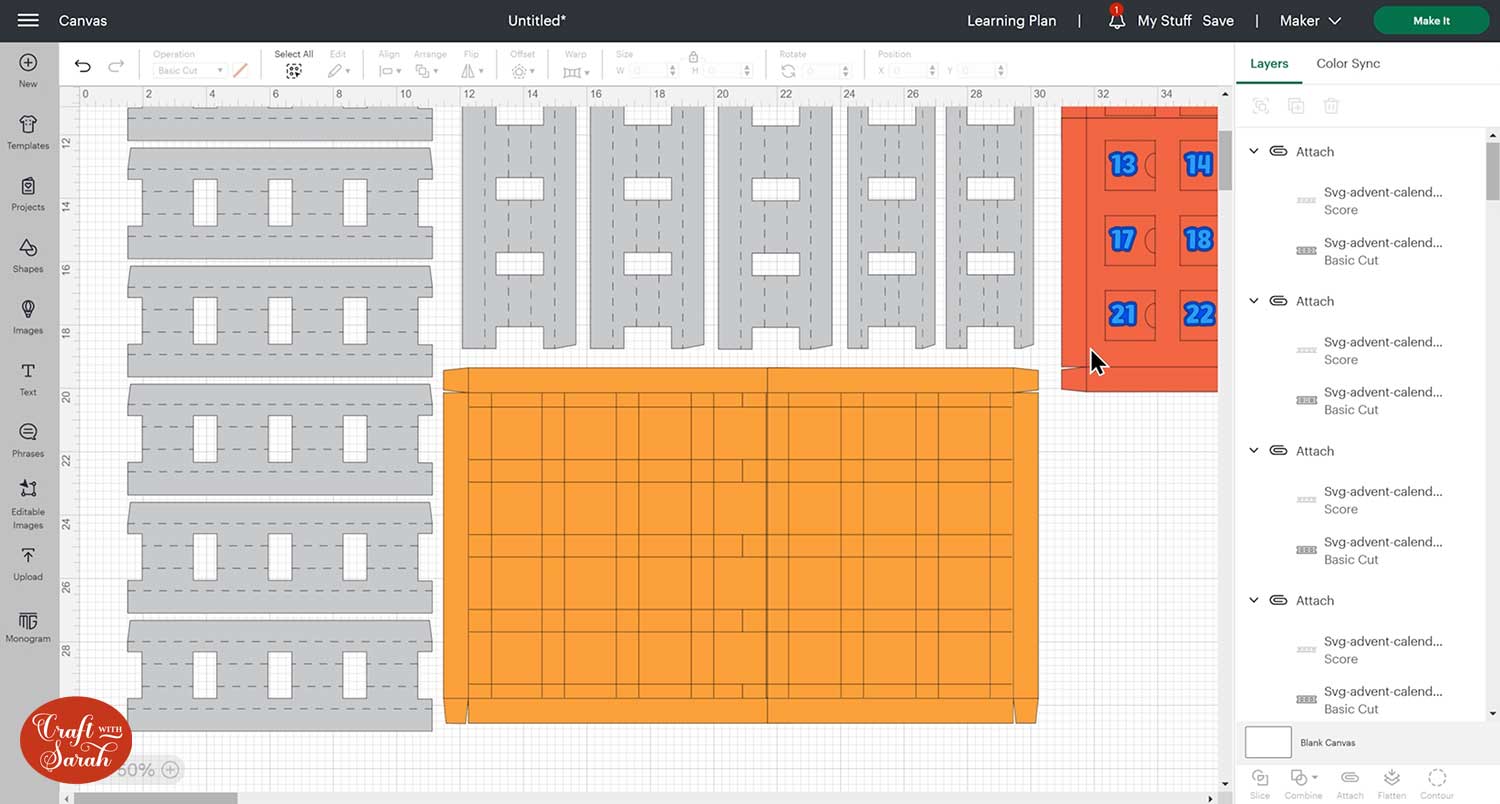
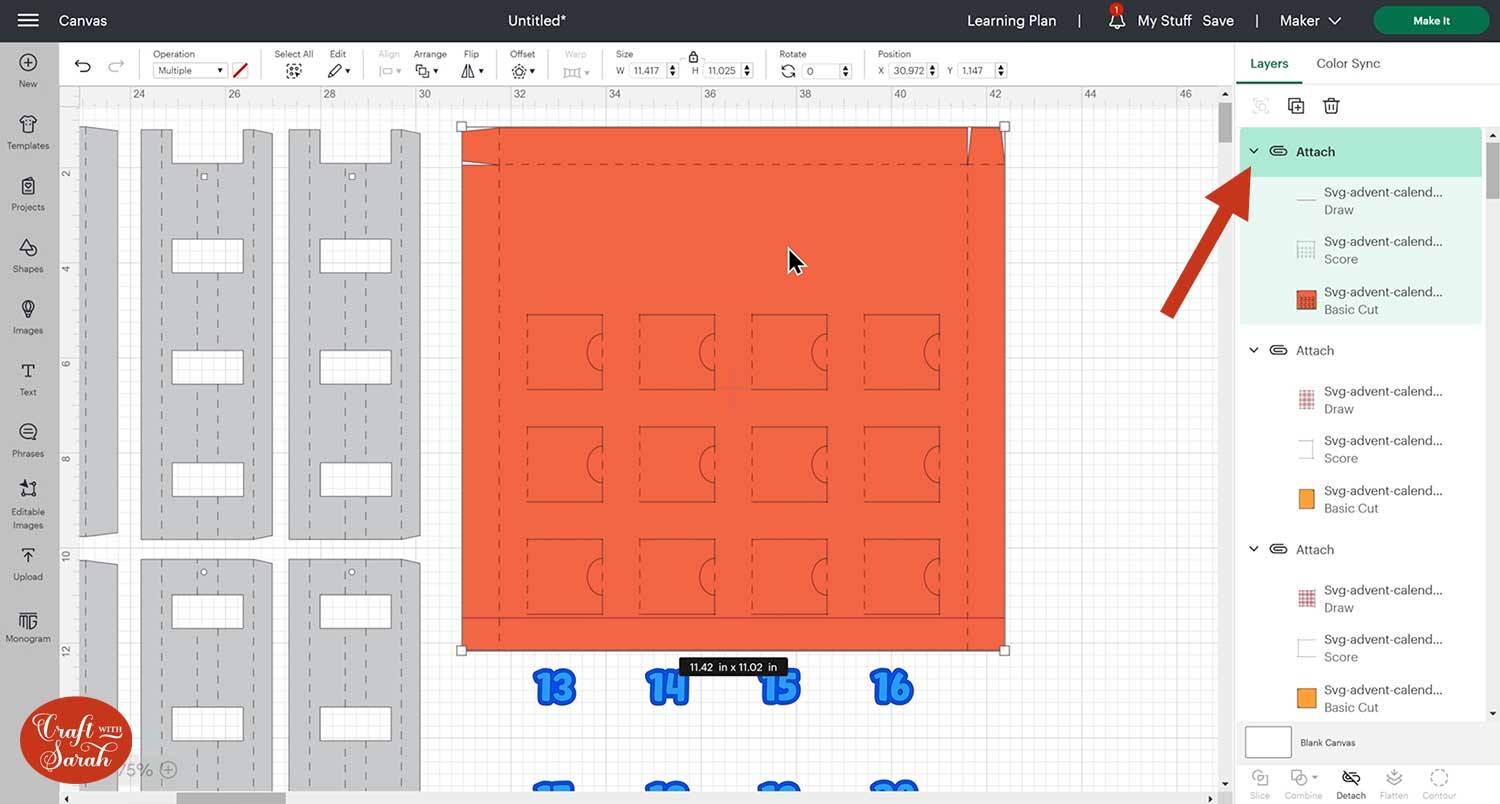
The front and back of the calendar have been made in different colours on the design, so that you can make the front and back different if you wish.
The back of the advent calendar (yellow rectangle) will have draw lines as well as score lines. The draw lines are to help you glue the grid exactly where it needs to go to help secure all your chocolates or candy inside the individual sections.
Look down the layers panel until you see the yellow squares. I have hidden half of the section so it’s easier to see what I’m doing.
Click the layer that appears directly above the yellow square. This shows as green in the layers panel, meaning that it needs to be changed to a Score line.
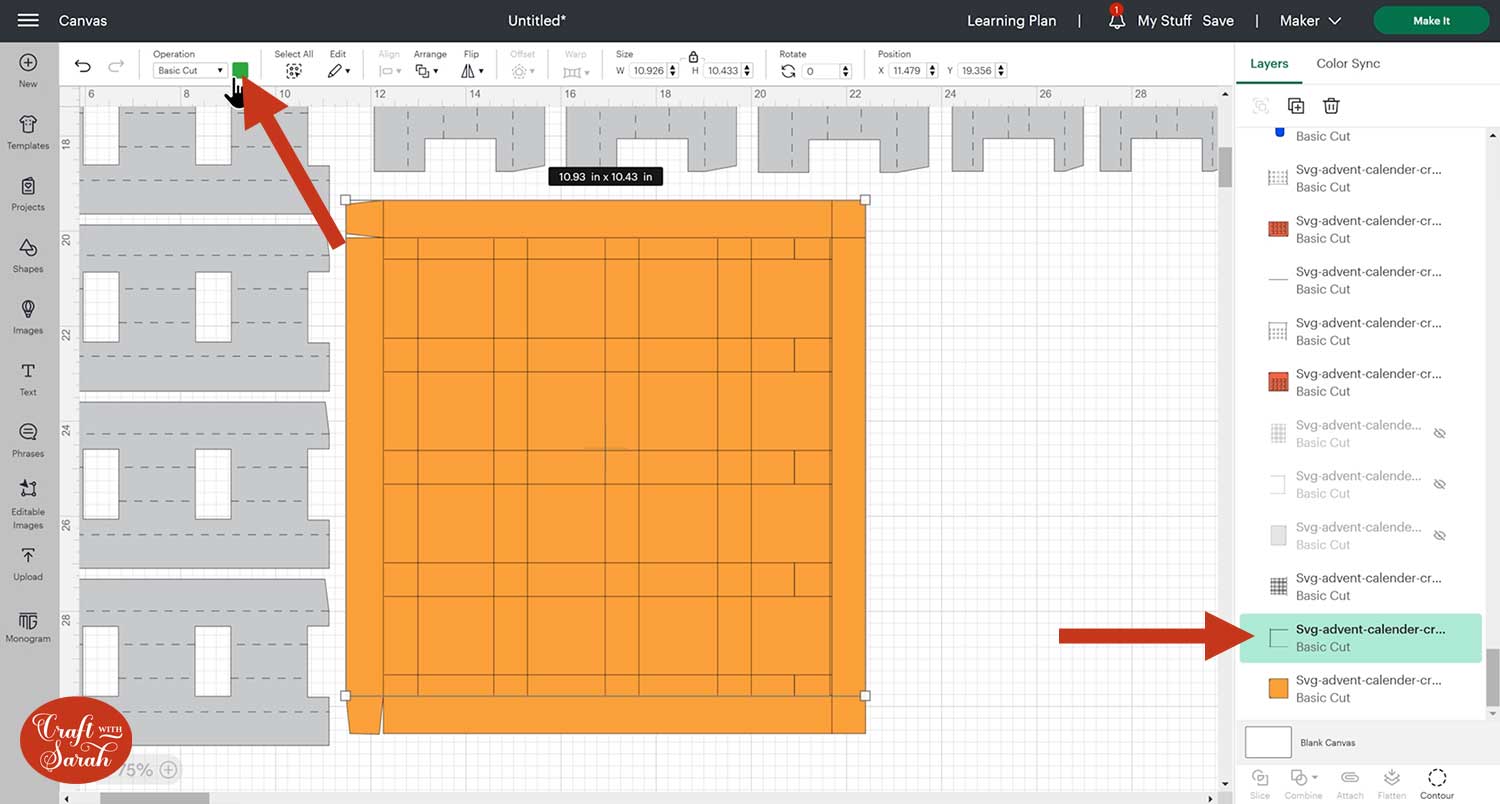
The layer on top of that appears blue in the colour box. Blue layers need to be changed to Draw layers.
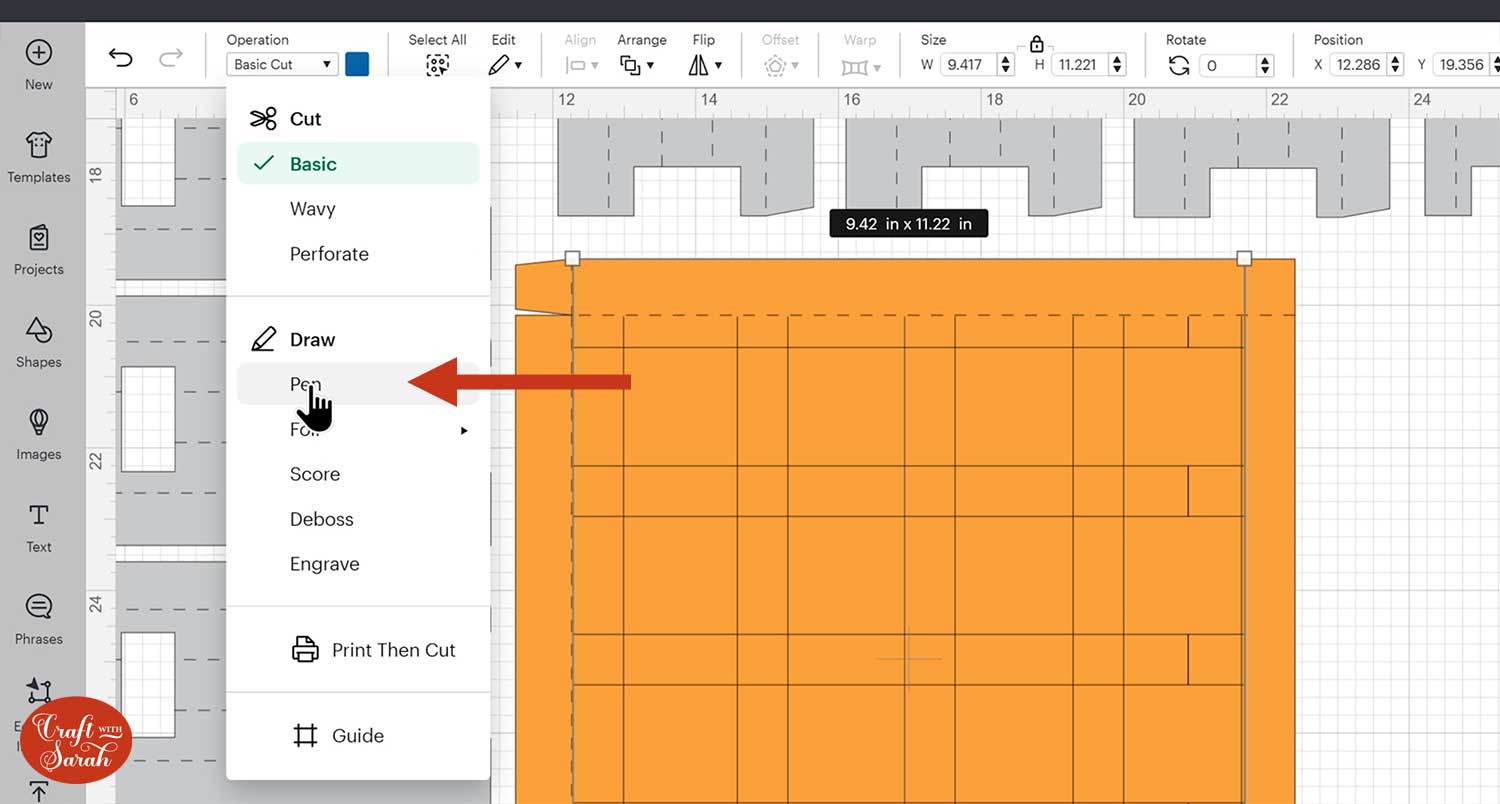
It doesn’t matter what pen colour you choose as you won’t see the lines once the calendar is finished. I’ve used a pink to make it easier to visually distinguish the draw lines from the score lines when looking at the screen.
Select the yellow square, the Score layer and Draw layer and Attach them together.
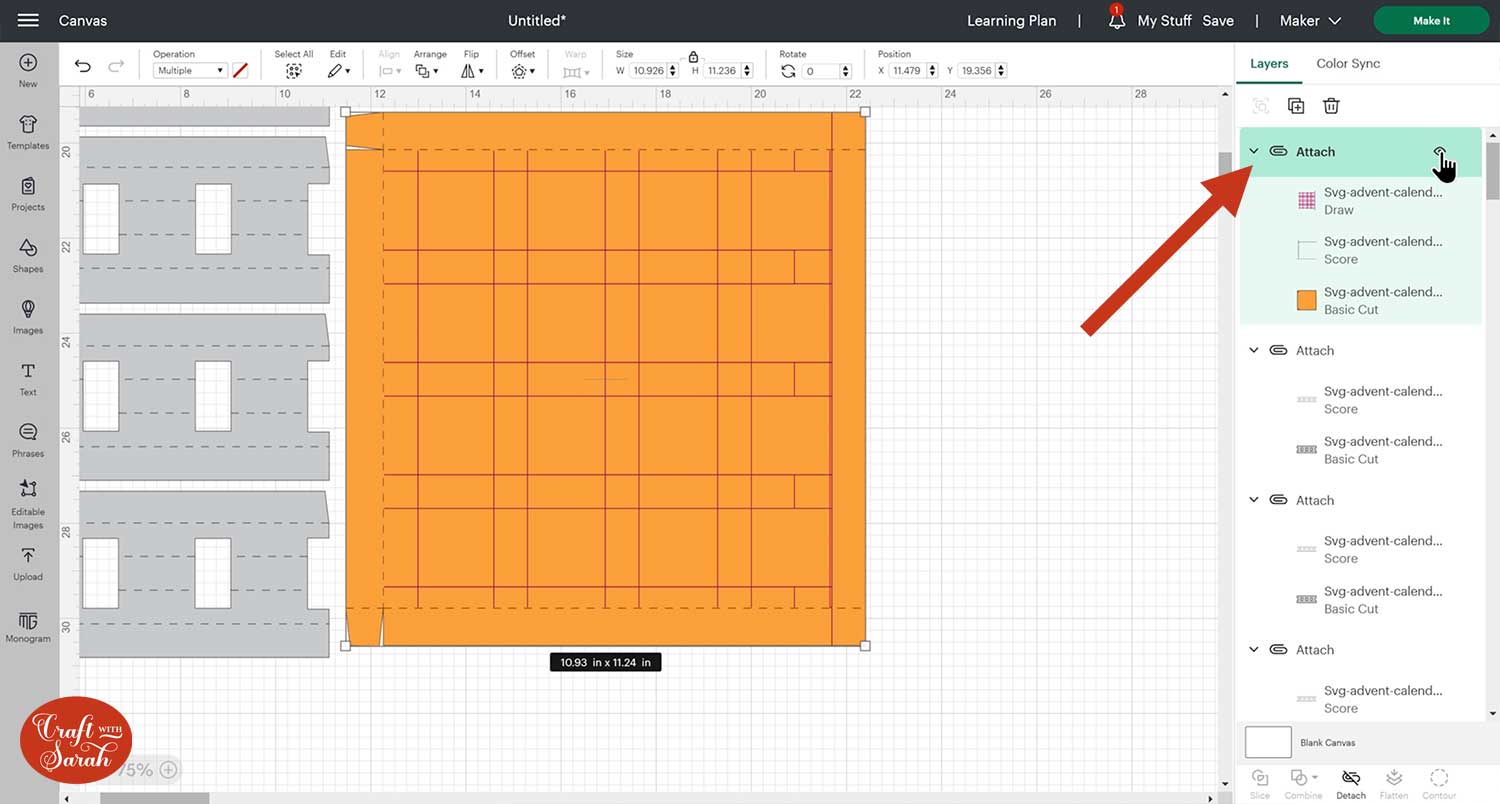
Repeat the same for the other side.
You should end up with your layers panel looking like this:
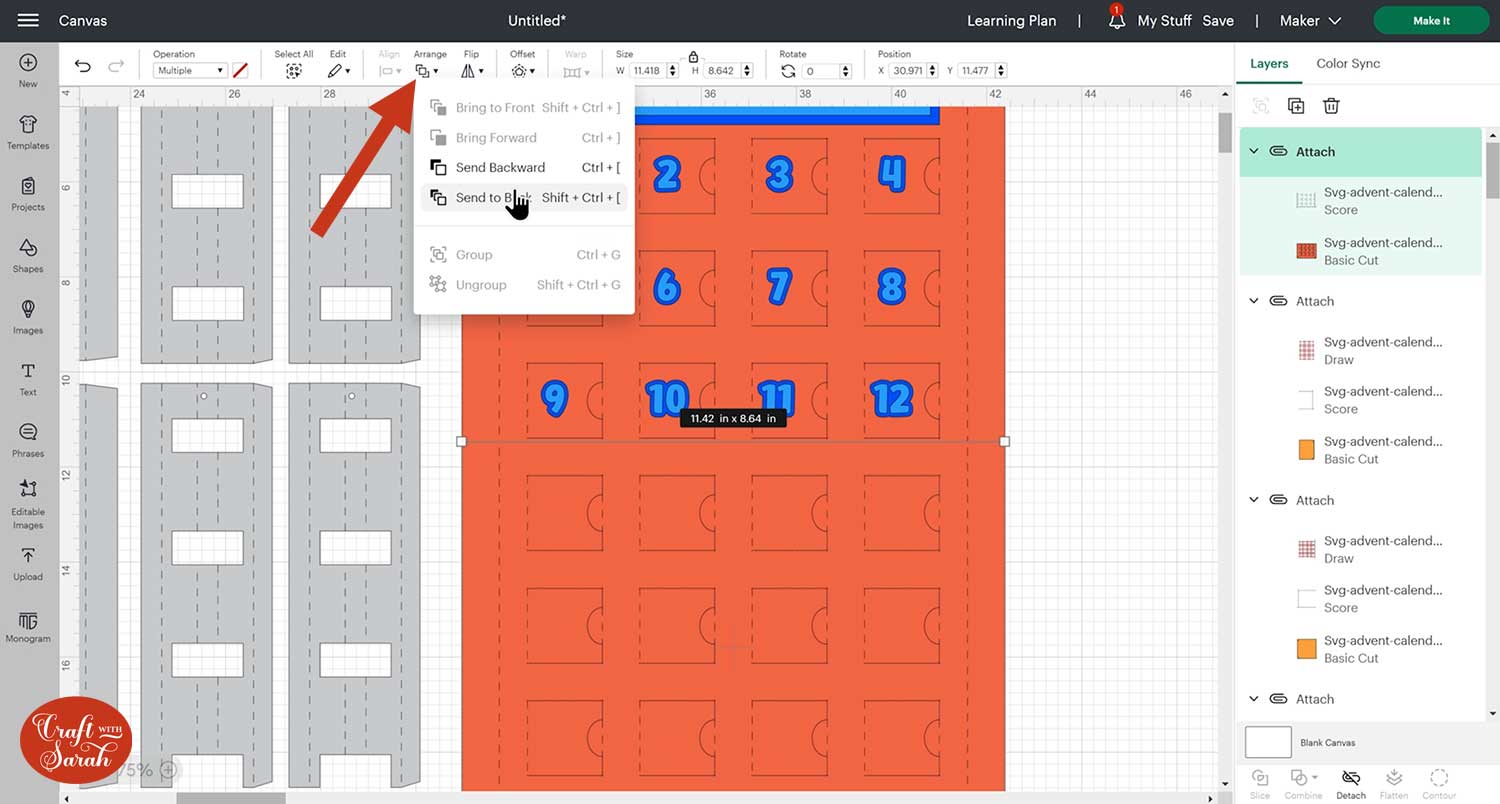
The front part of the advent calendar also has Draw and Score lines.
Format the top half as shown:
Then repeat for the bottom. This only has a Score line, not Draw.
Use Arrange > Send to Back after Attaching the layers to move them behind all the numbers
Step 3) Add custom decorations in Design Space
It’s personalisation time!
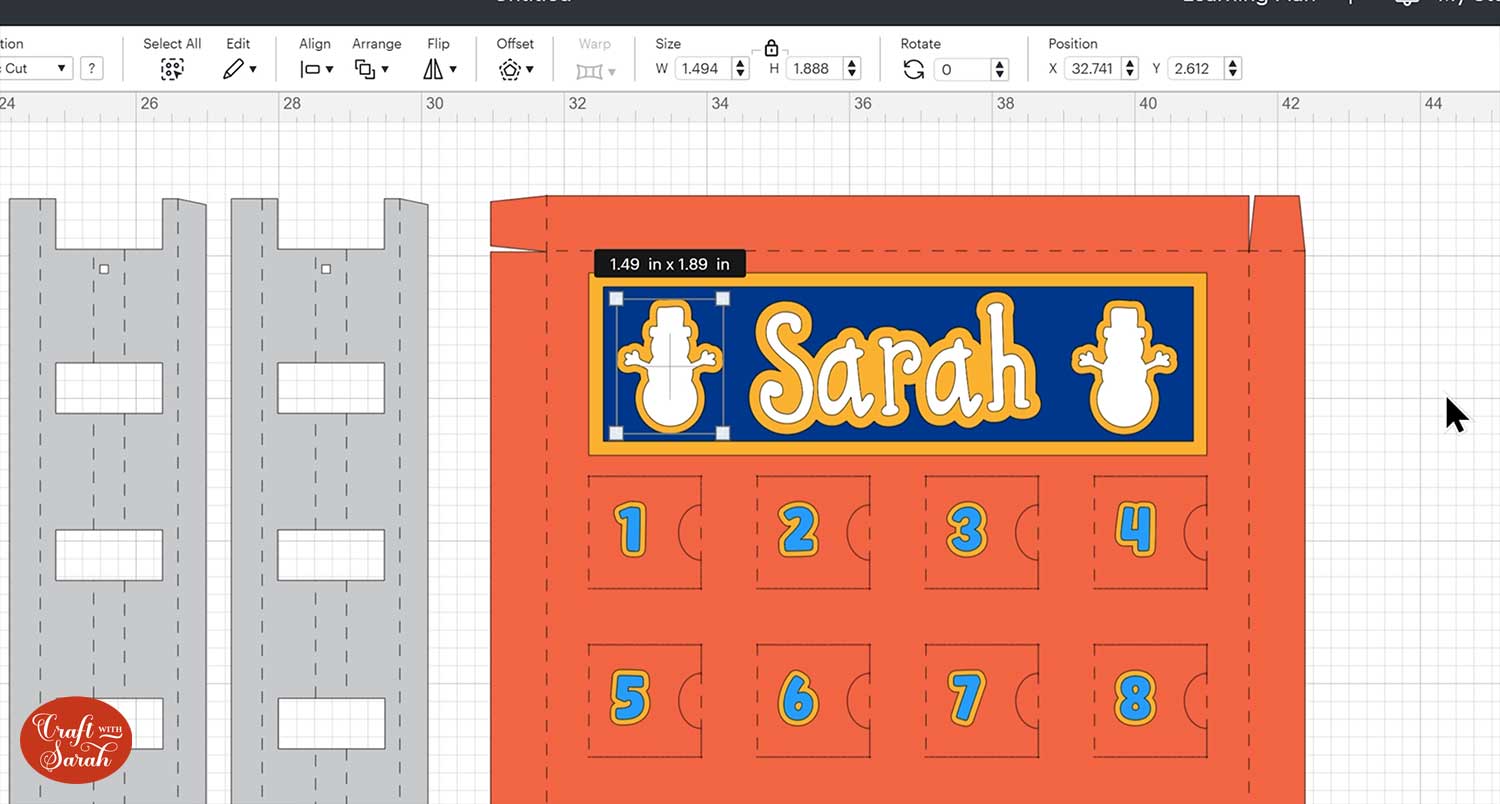
After recolouring the numbers and rectangle boxes, I added my name and used my favourite Cricut Access font, DJ Flirt.
To outline the text, click the Offset button. I gave it a small offset and clicked apply.
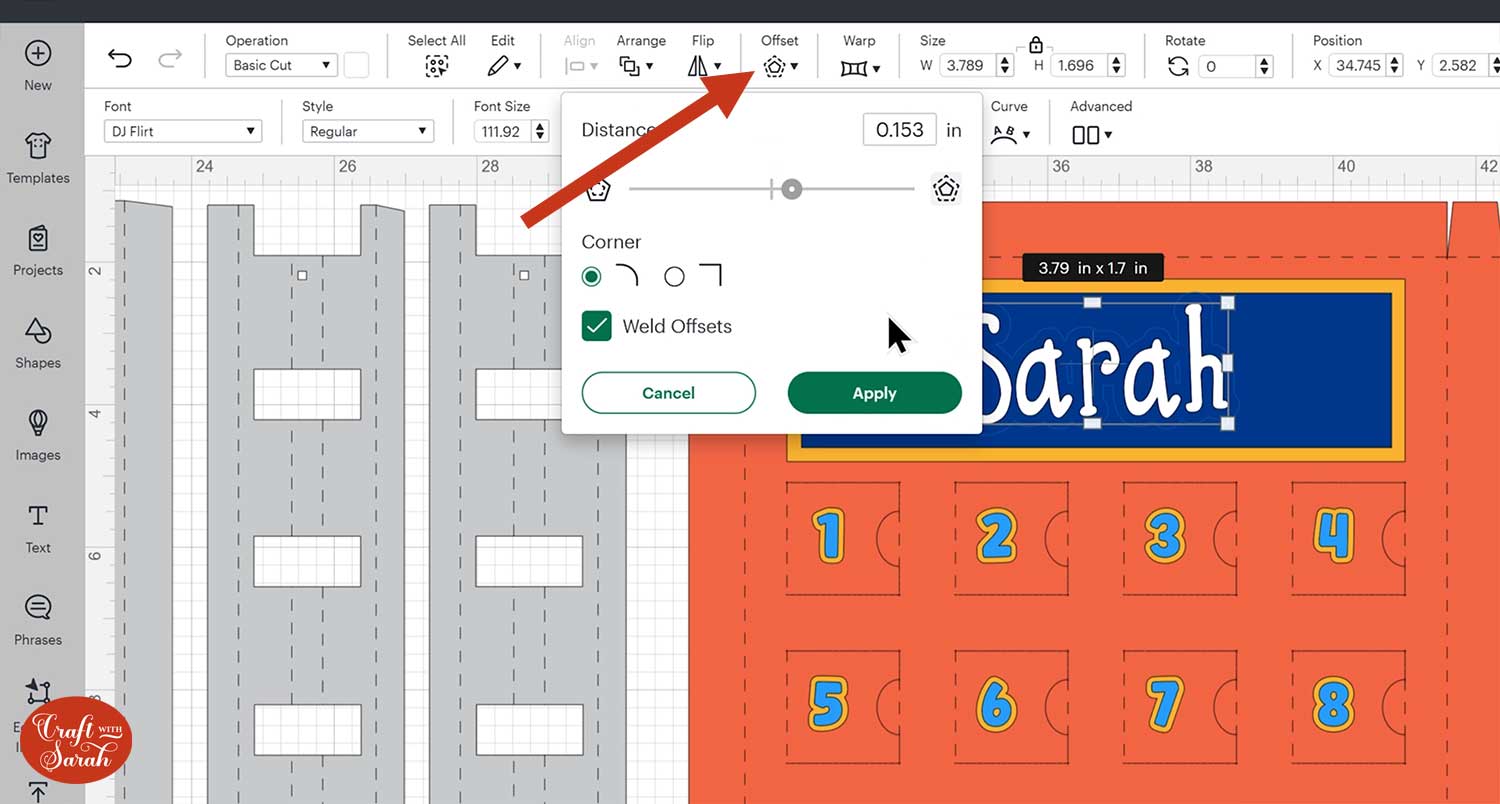
I matched the offset colour with the gold colour used to make a border for my decorations.
If you have gaps that you want to get rid of from your offset, select the layers and go into Contour and click Hide All Contours.

I found a simple snowman in Cricut Access which I added to my calendar. I also gave him a gold offset to match in with my text.
To even things out, I made a copy of the snowman, flipped it and placed it on the other side of my text.
Make sure you save your project!
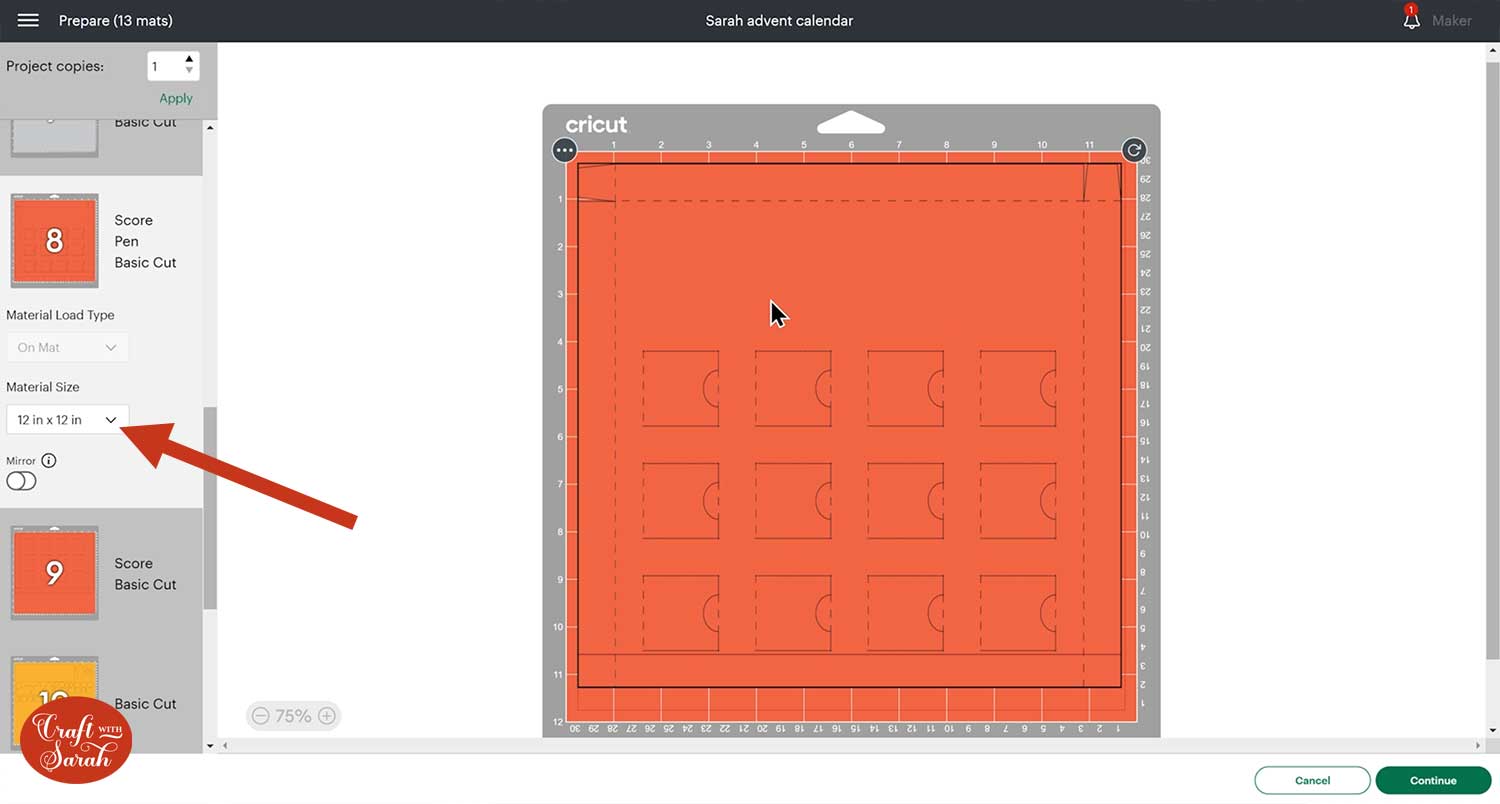
Click “Make It” and get everything cut from cardstock or thick scrapbook paper.
The front and back sections of the advent calendar require 12×12 inch card/paper.
Step 4) Build the grid boxes
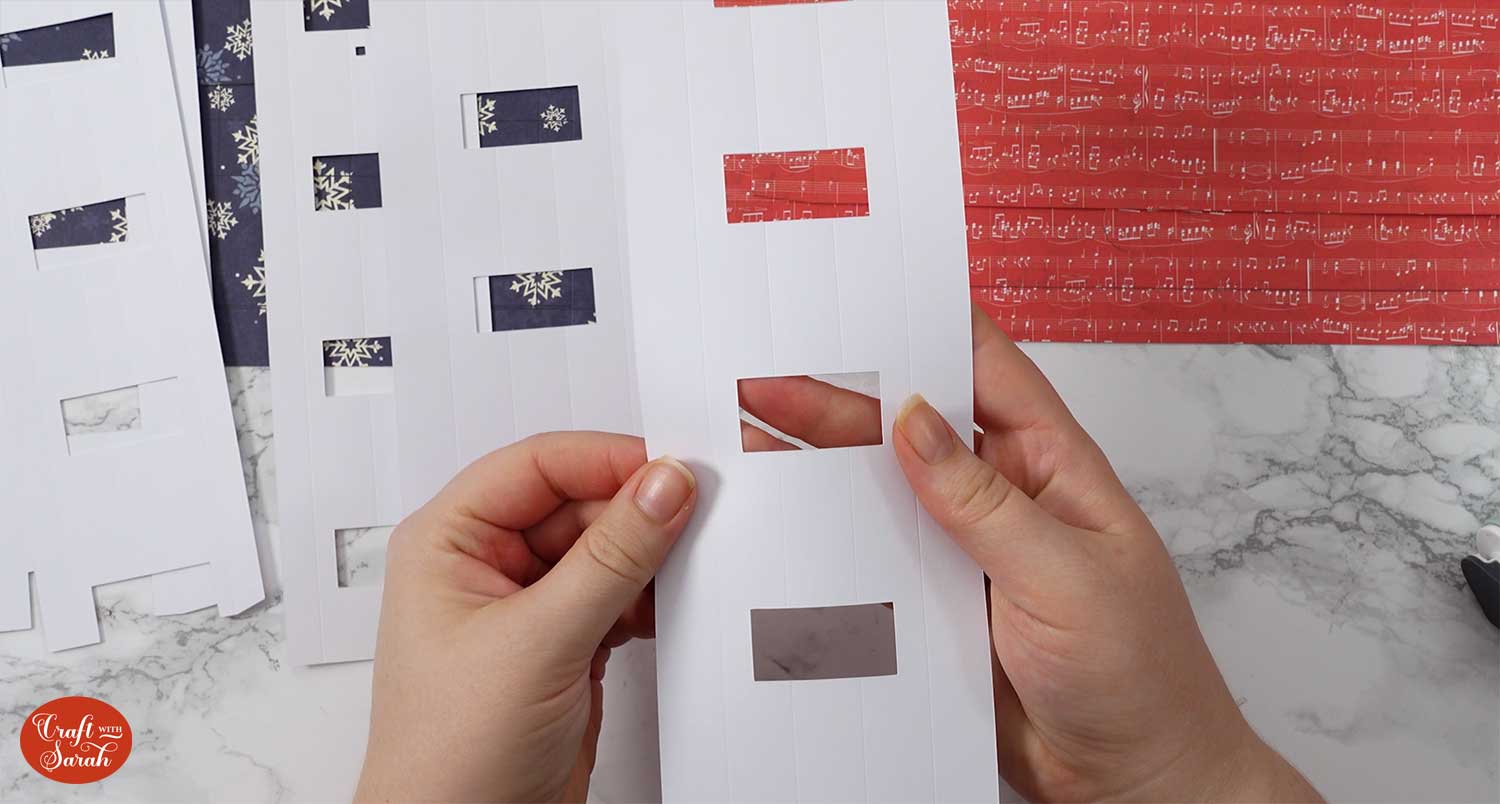
Once you have everything cut out, you will notice that you have lots of similar pieces. There are five different types but they all go together the same way.
- Thin ones with a small circle cut out the top
- Wide ones with a small circle cut out the top
- Thin ones with a small square cut out the top
- Wide ones with a square cut out the top
- Ones with no cut out on them
Double sided tape will help you to stick the pieces together instantly without having to hold them whilst they dry.
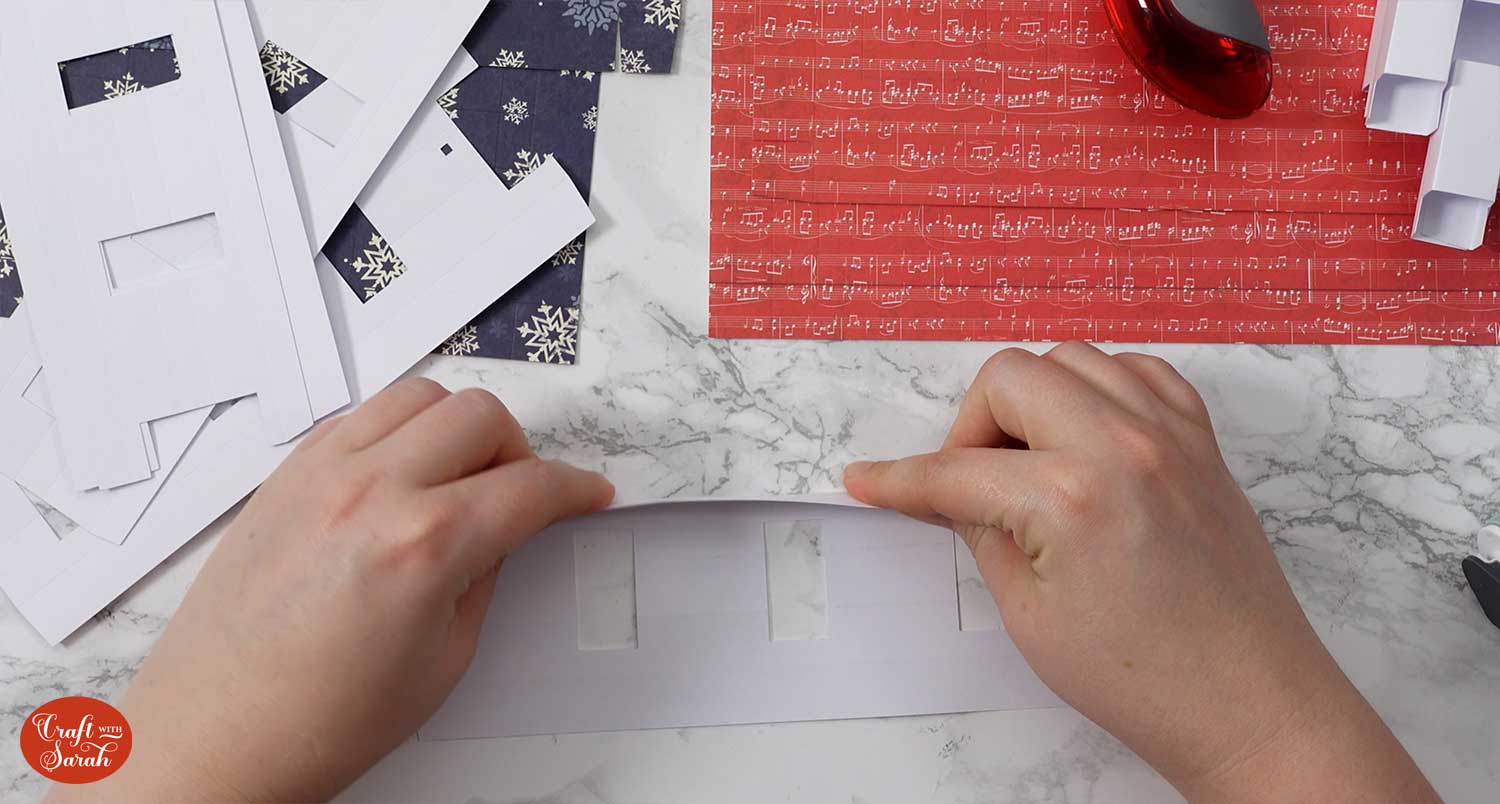
Choose any one of these pieces and turn it upside down. Fold upwards along the score lines (valley folds).
Use a brayer, scraper or bone tool to go down the fold line.
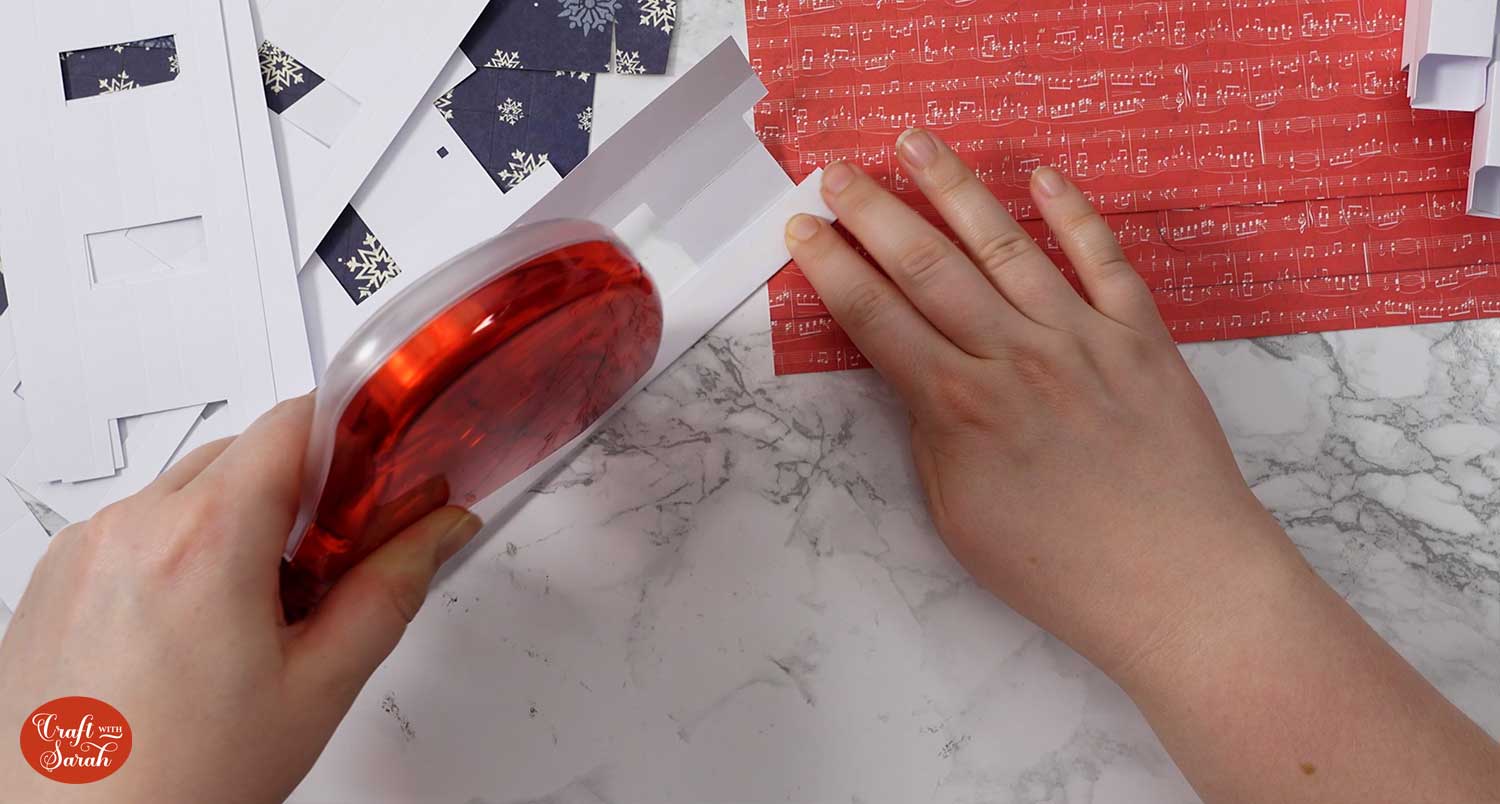
One of the edges will have a slight angle, this will be the one to add the tape too.
Fold in the tab with the slanted edges and apply the double sided tape. I needed to use two rows of double sided tape as the tab was thicker than my tape.
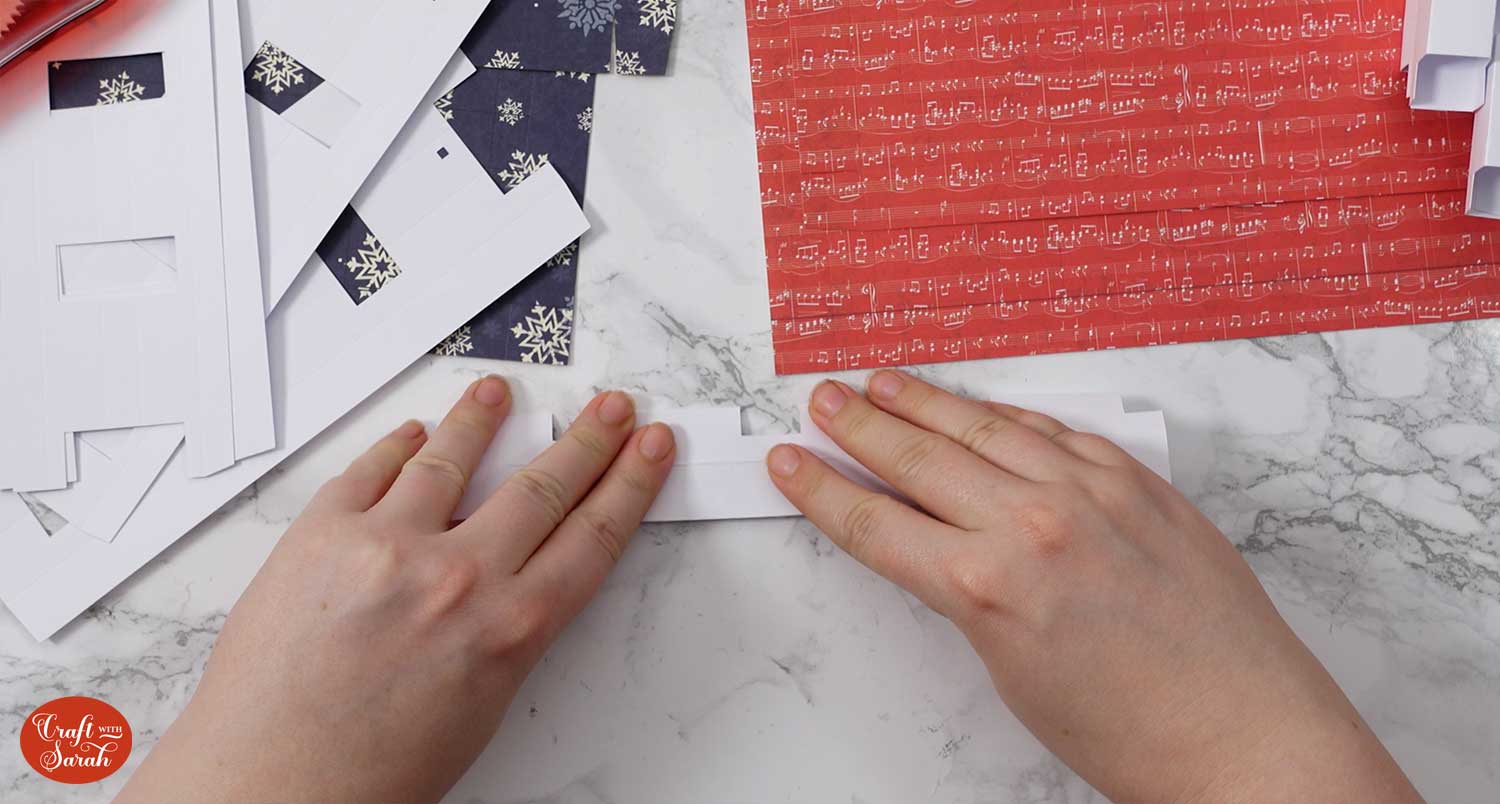
Fold it over so that the final tab on the other side will stick on top of the double sided tape.
Open up the box shape and wiggle it about so that it can stand up by itself.
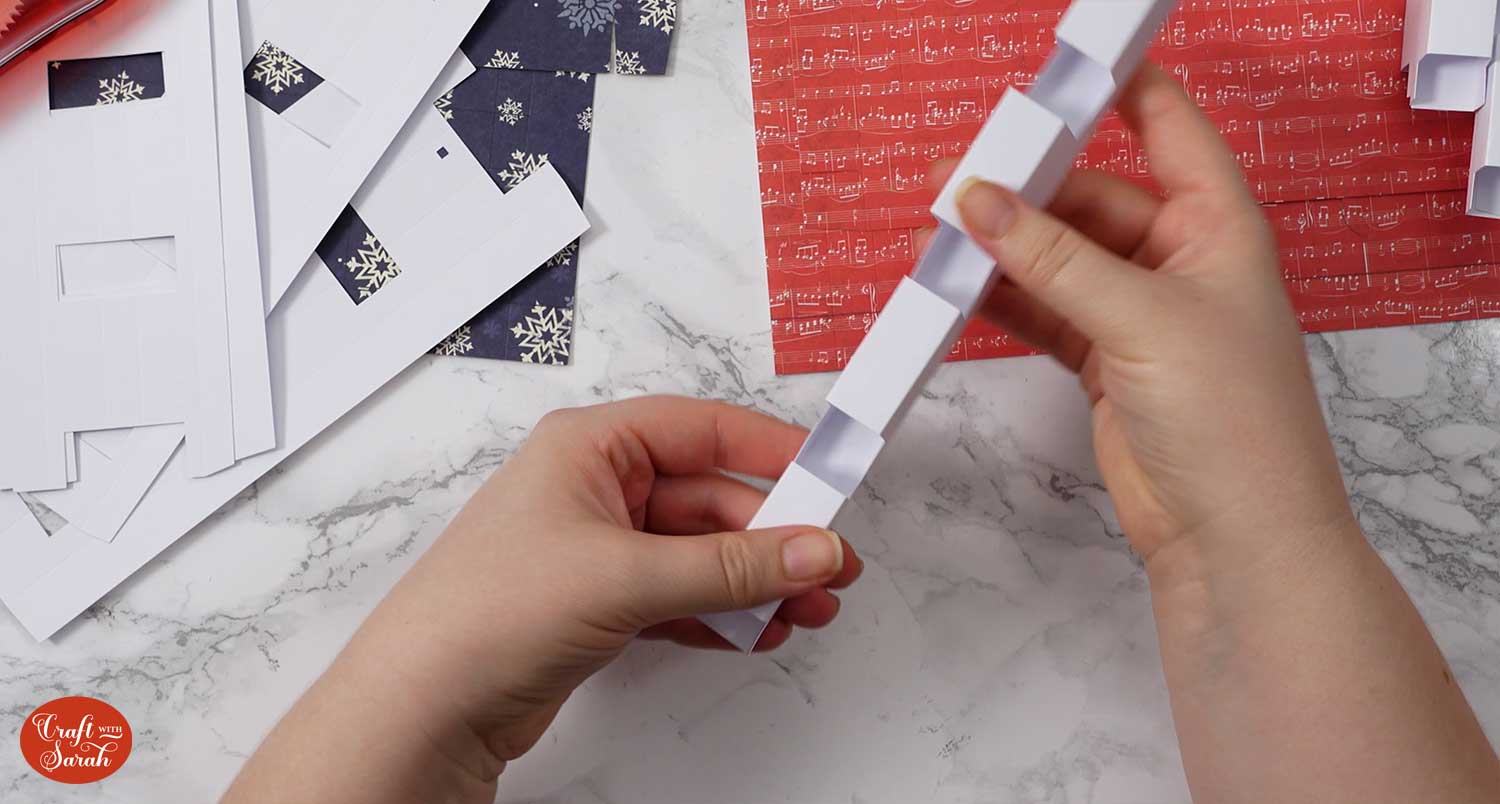
Repeat the process for all the pieces, use the same technique for all 5 different types.
Step 5) Assemble the grid
Make a start on the box that the grid will be sitting in by selecting your bottom pieces that we had the Cricut draw on. These are not the pieces with the little windows.
Look for the cut tabs which you will find on one side of each piece. These indicate the top and bottom. The bigger piece is the top and the smaller, the bottom.
The draw lines will help you to see where to glue them together. Find the line on the bottom of the top pieces which runs from one side to the other. This will be the overlap where we will tape the pieces together.
Add your double sided tape to the overlap ensuring you do not go over the draw line.
Line up the draw lines when sticking the two pieces together.
Fold up the score lines along all 4 edges and brayer them down.
The tabs will fold inwards and will stick to the corresponding tab with double sided tape to make the box shape.
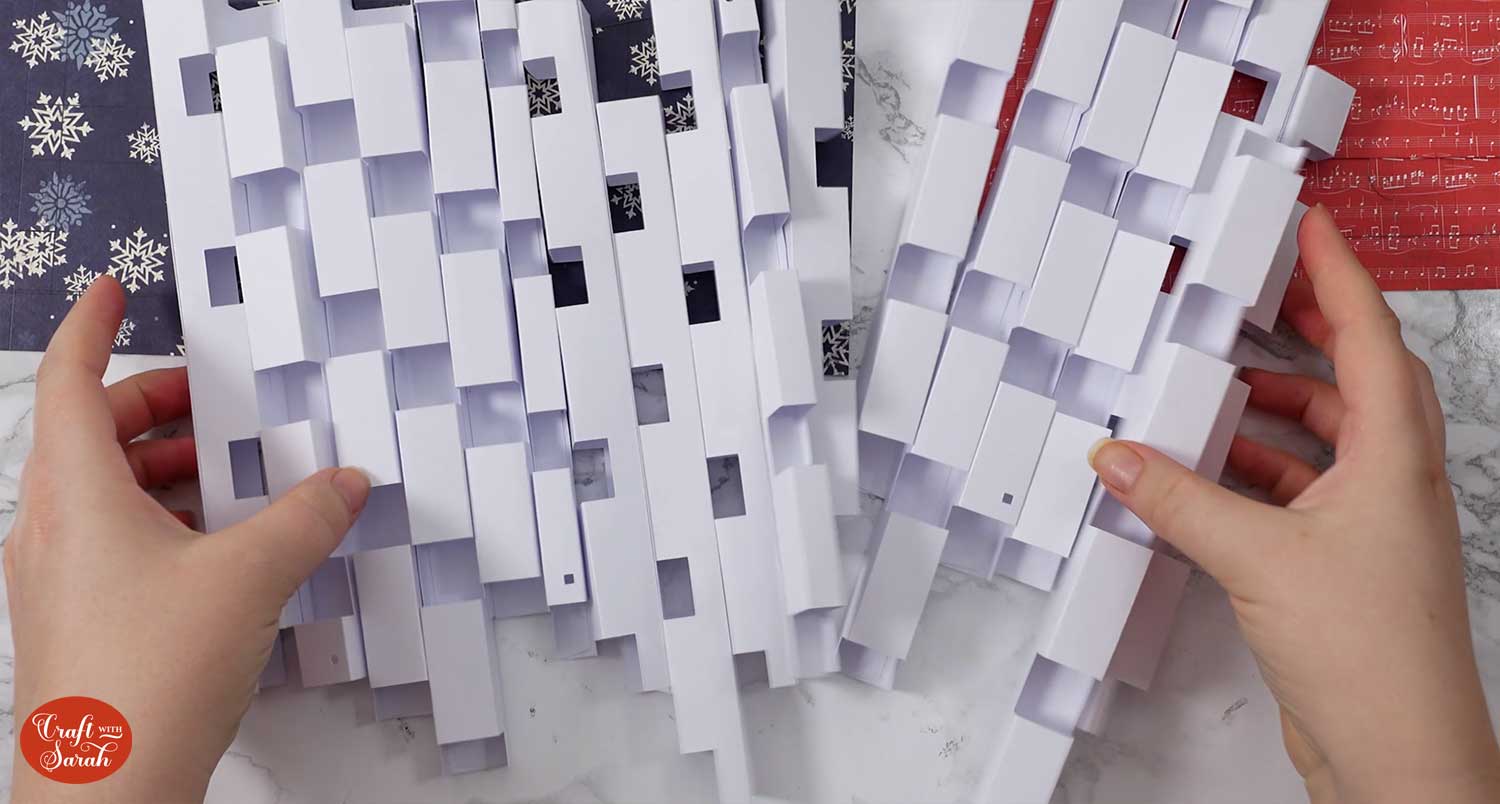
Separate out all the grid pieces into their groups or matching sizes. Those without shapes cut out will be the horizontal pieces and those with cutouts will be vertical. The thinner pieces go down the edges.
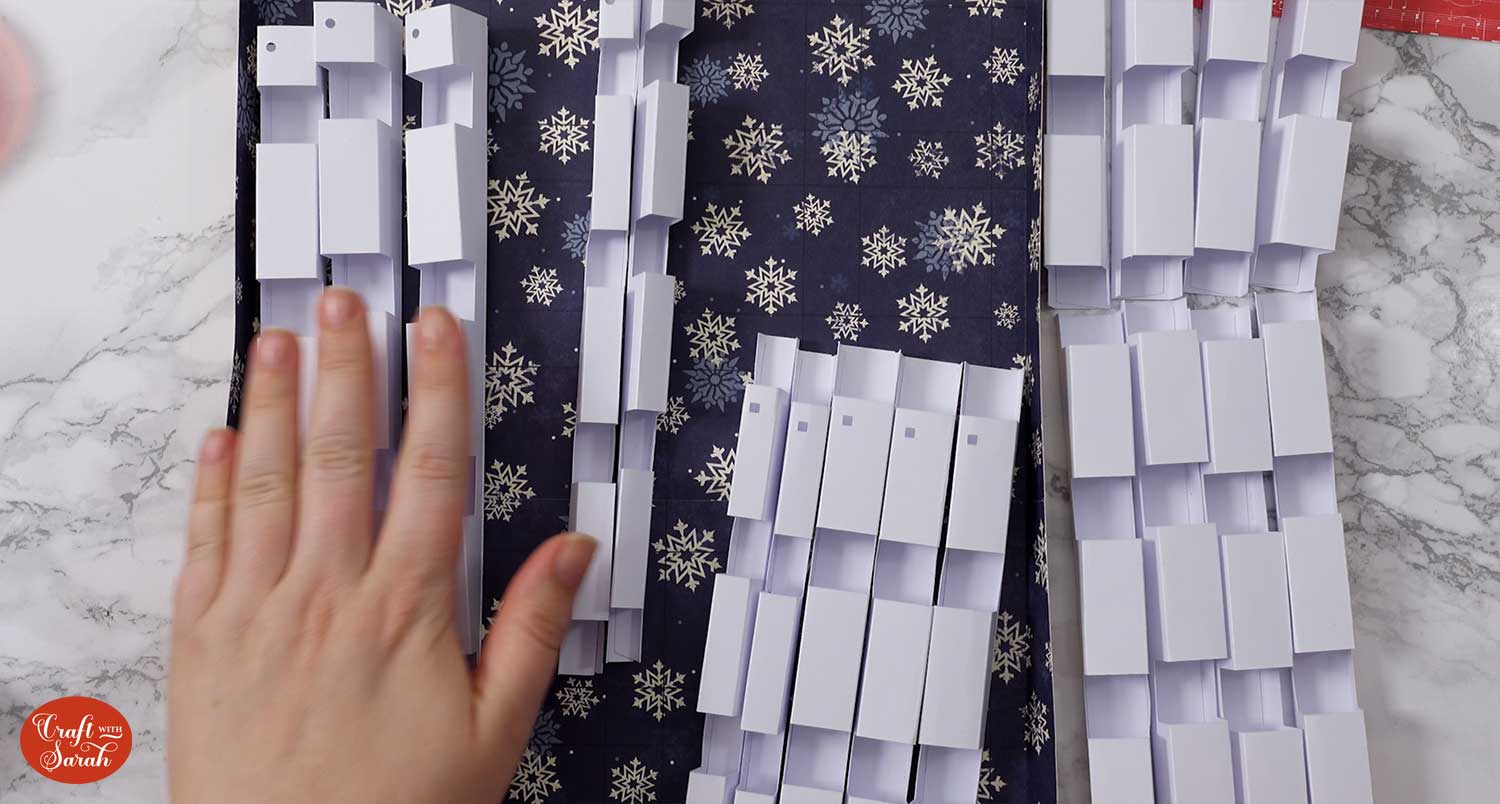
You can either stick them in as you go or slot them together and stick at the end.
Add double-sided tape down the middle bits in the draw lines. You will also need to add tape to the sides of your grid pieces that touch the edge of the box.
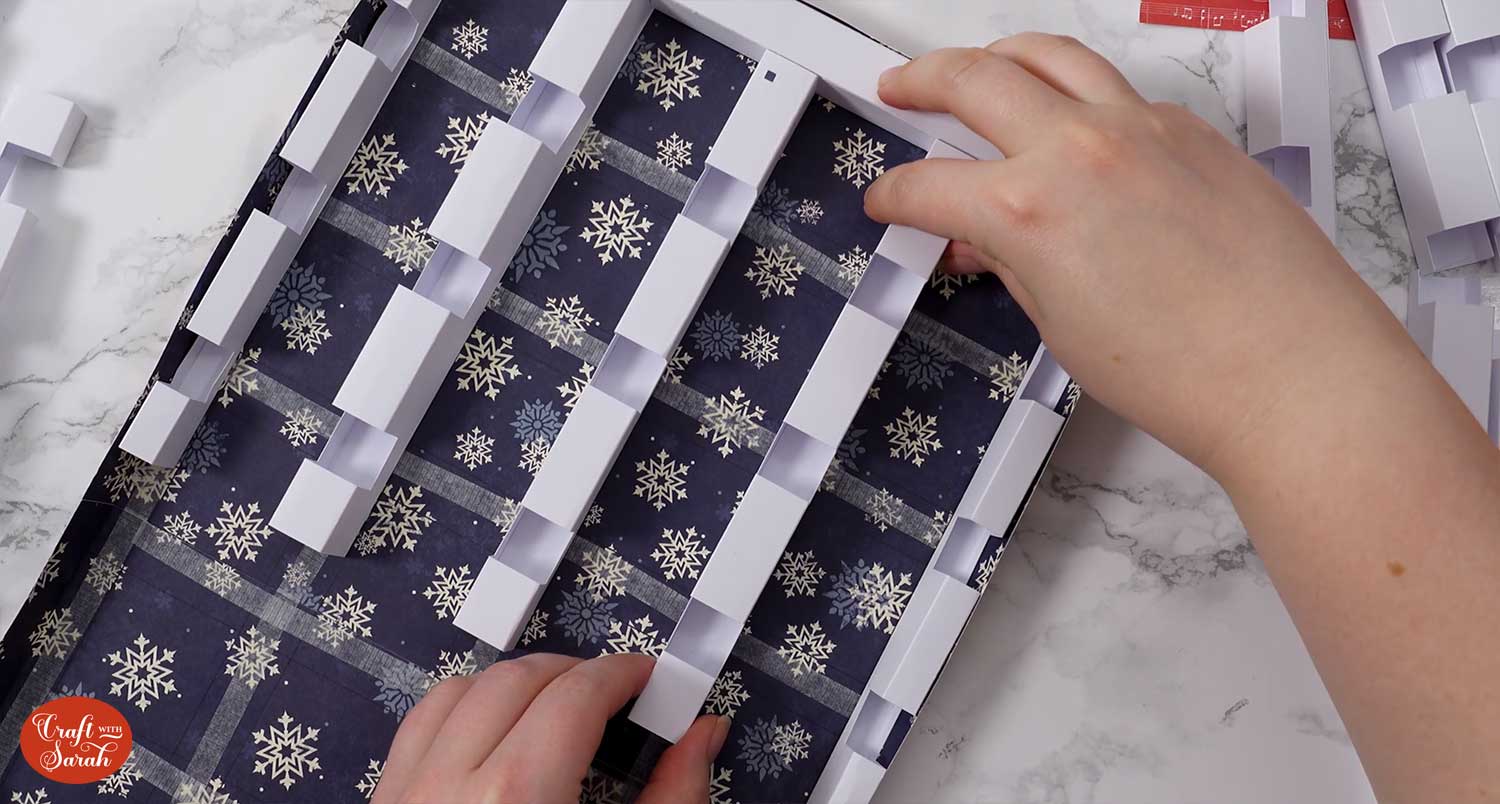
Take a grid piece which doesn’t have a shape cut out and place it horizontally along the top. The flat plain edge will face you.
Slot one of the thinner pieces with a square cut out under the horizontal piece you just placed down one of the edges. The other thin piece with a square cut out will go on the other edge.
The thicker square pieces will slot into the horizontal piece too. Use the draw lines to help line them up perfectly.
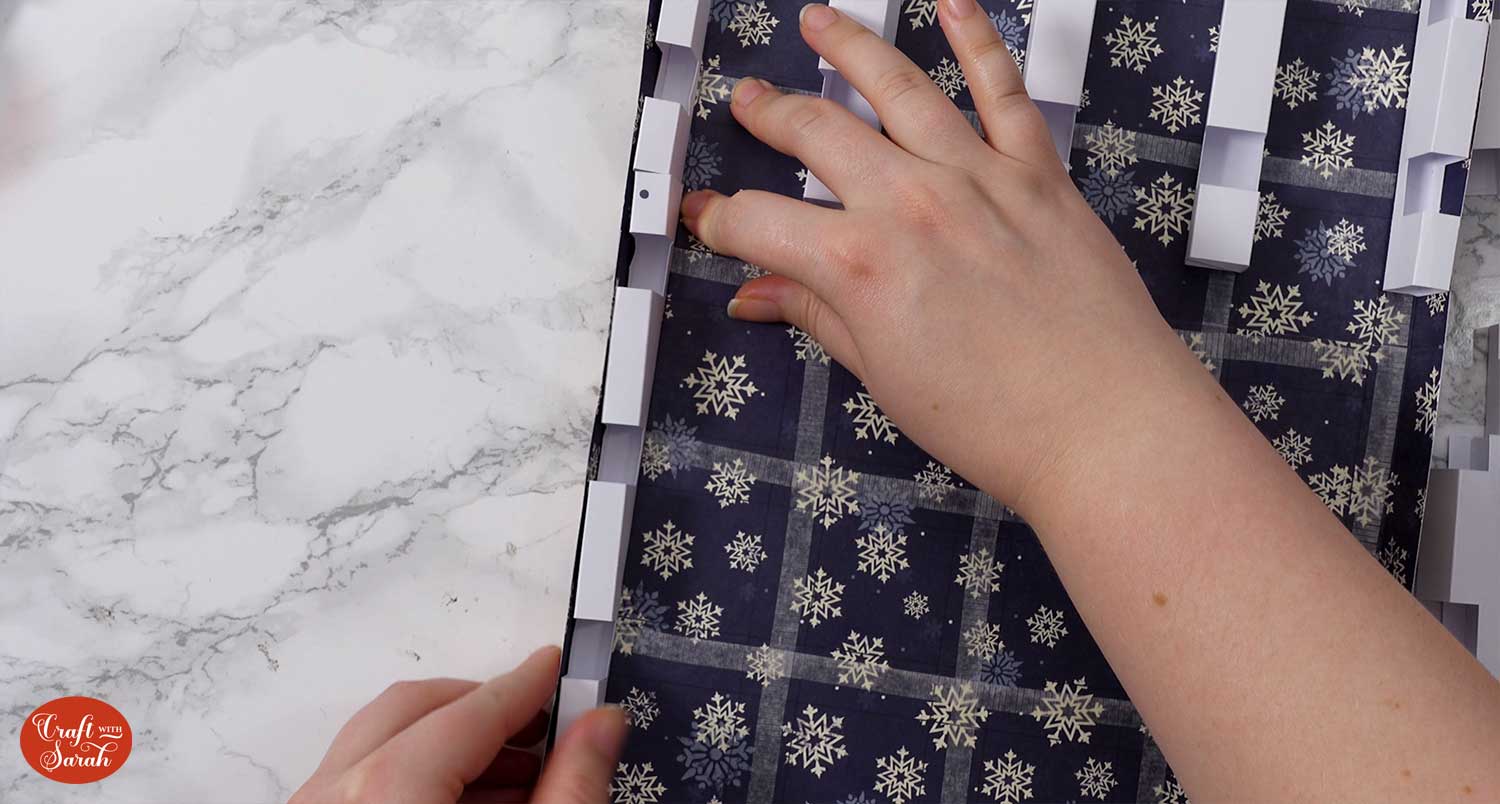
Add one of the pieces without a cutout shape horizontally to the very bottom with some tape of the side that will be touching the edge.
Find your thin pieces with a circle cut out and slot them into the bottom piece on each end. Tape the edges that will touch the edge of the box.
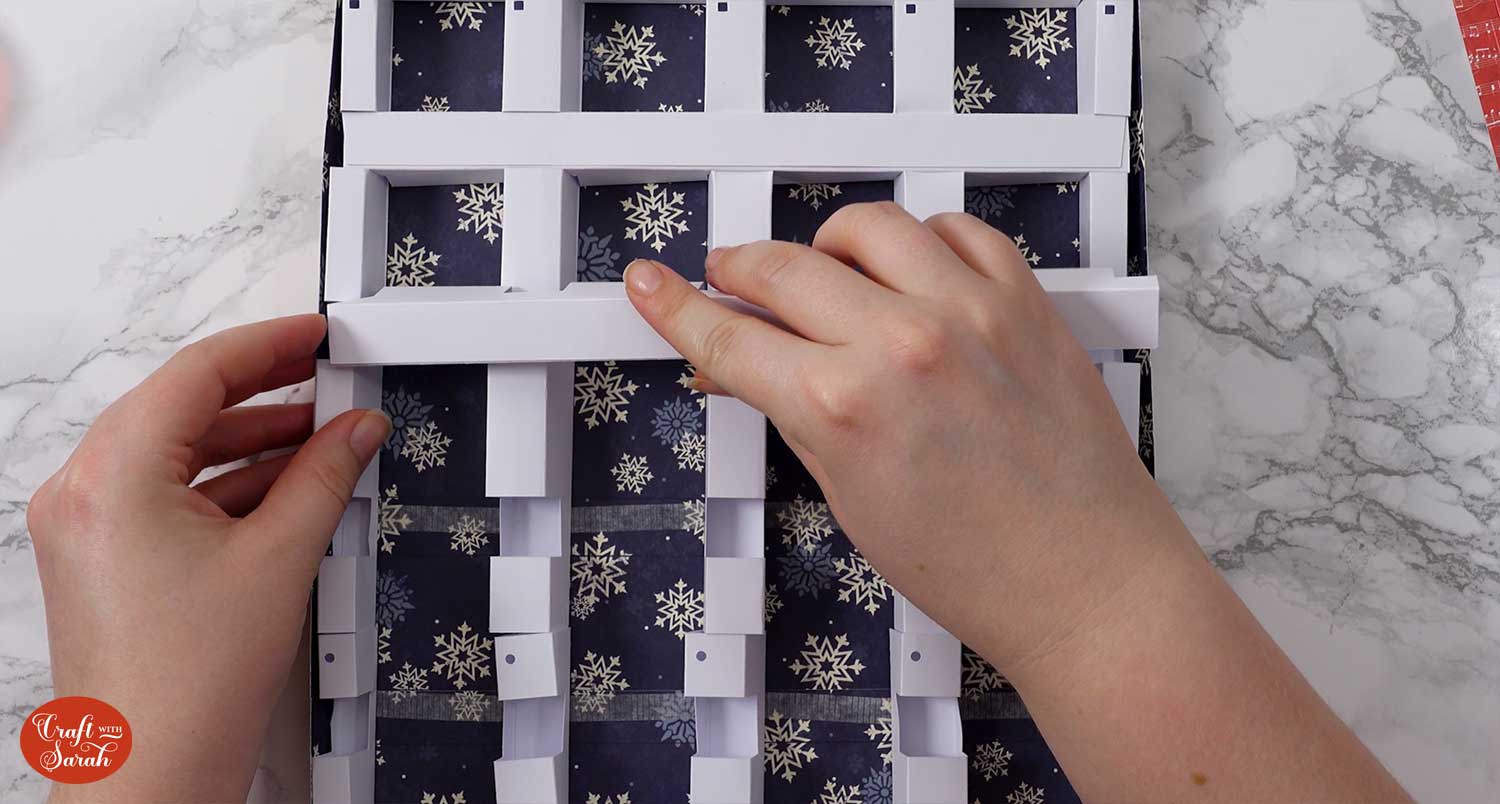
Find your thicker pieces with the circle cut out and slot them into the horizontal piece.
The remaining pieces without cutouts will slot into the gaps. You won’t need any extra glue or tape for these ones.
To prevent the edges of the box coming away, carefully pull the edge of the box away from the grid sections and squeeze in some glue to make it extra secure.
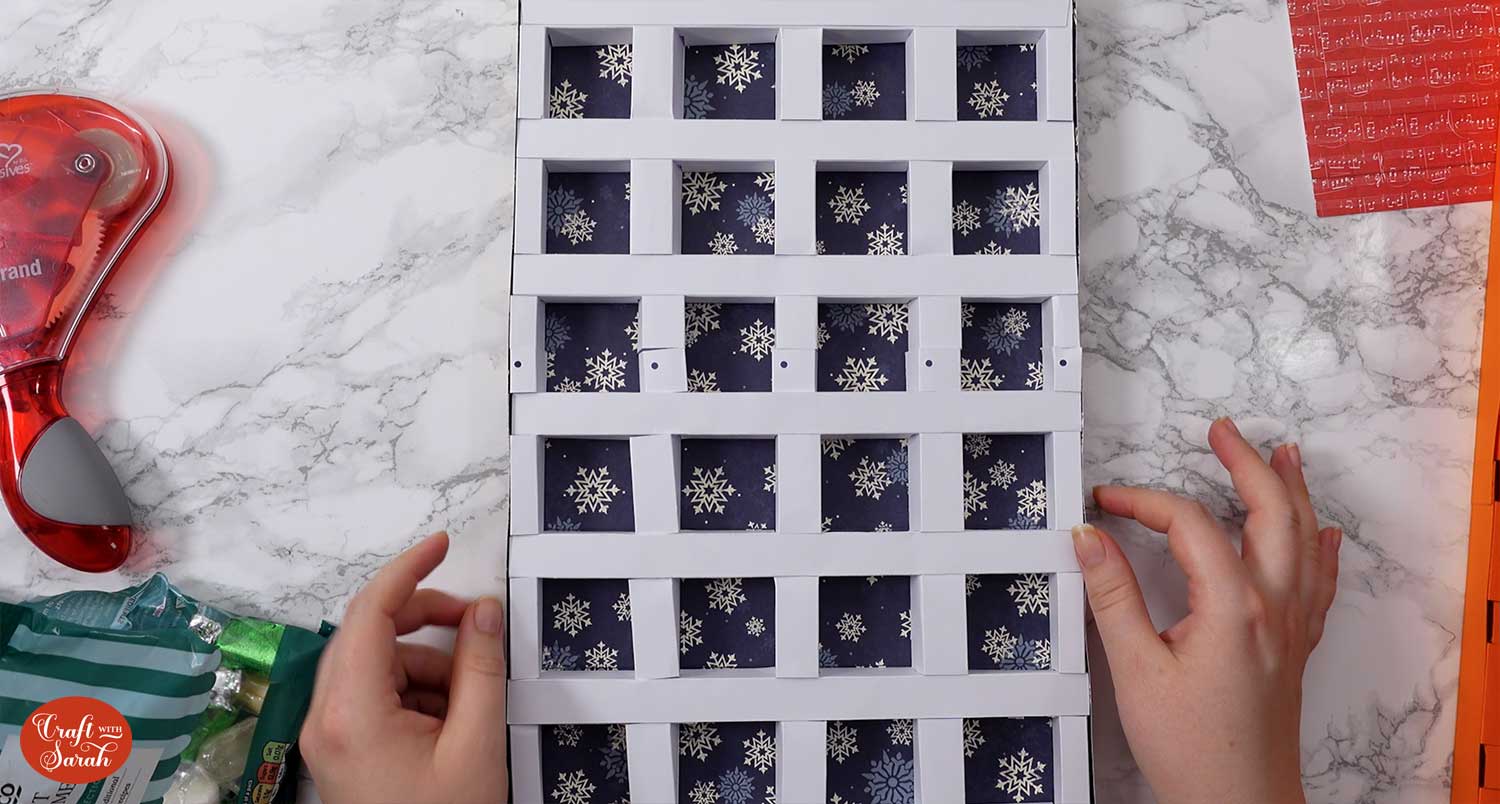
Step 5) Add the sweets or chocolates
Look out for the top 4 squares (the bits with the square cut outs). This will be the top of the calendar that’s covered with your name, so you do not want to add sweets or chocolate to the top row as they won’t have doors.
It was easier when creating the structure to leave the holes in the top row, to make sure the top remains stable.
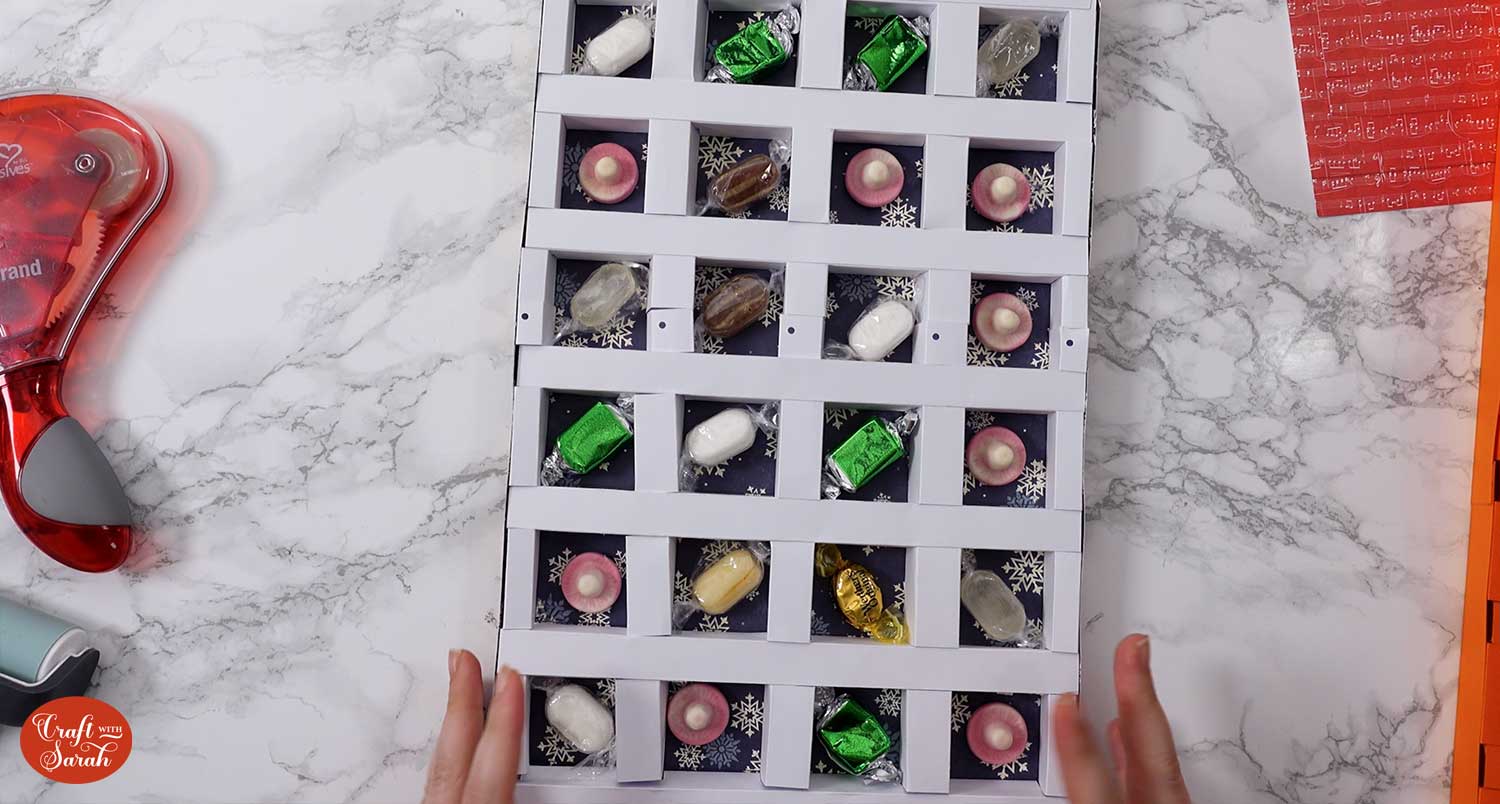
Ignoring the first row, add your treats to the 24 squares. It is best to use wrapped treats so that they keep for longer and it’s a bit more hygienic!
I ran out of wrapped treats, so I added some candy mushrooms!
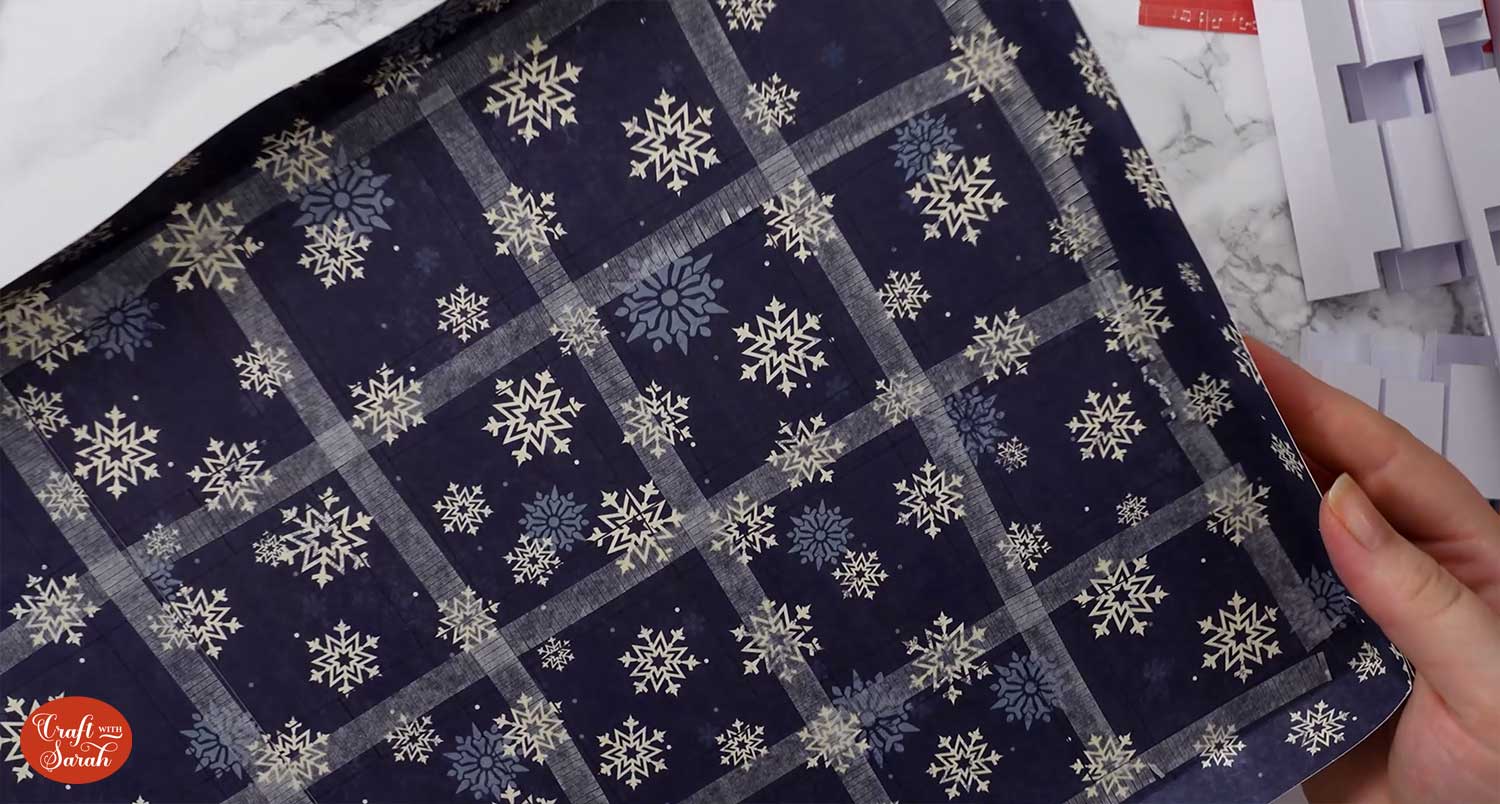
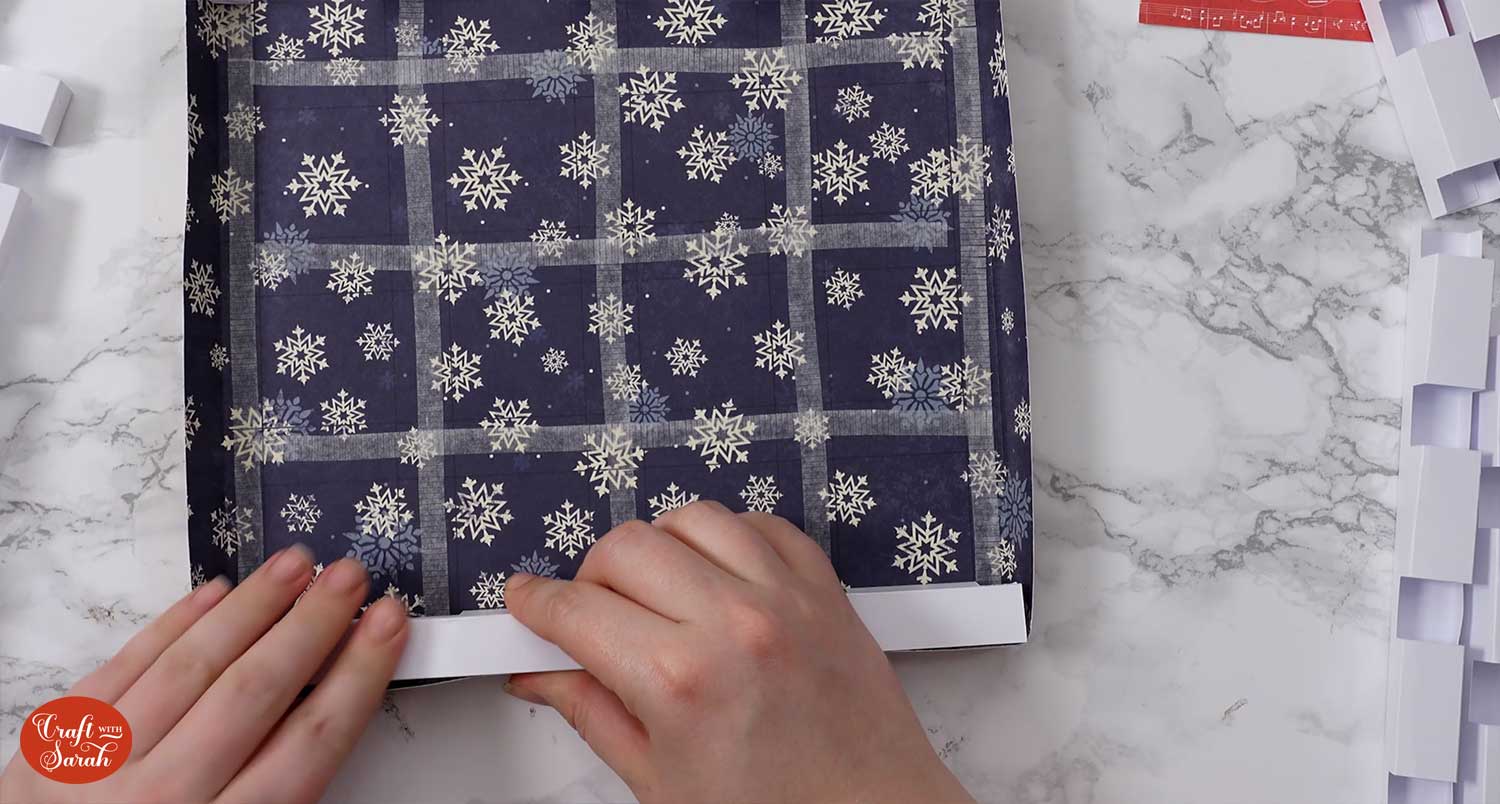
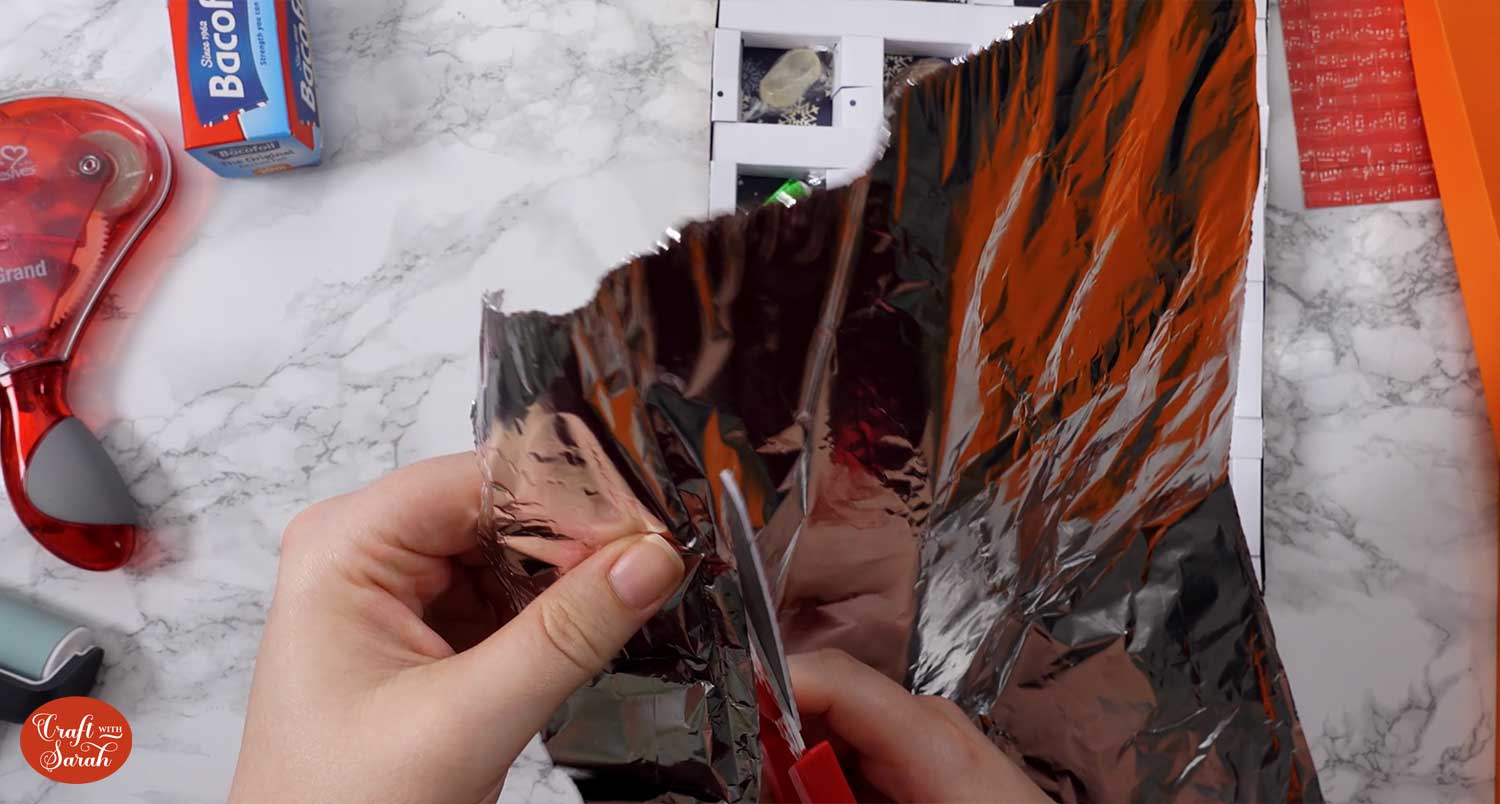
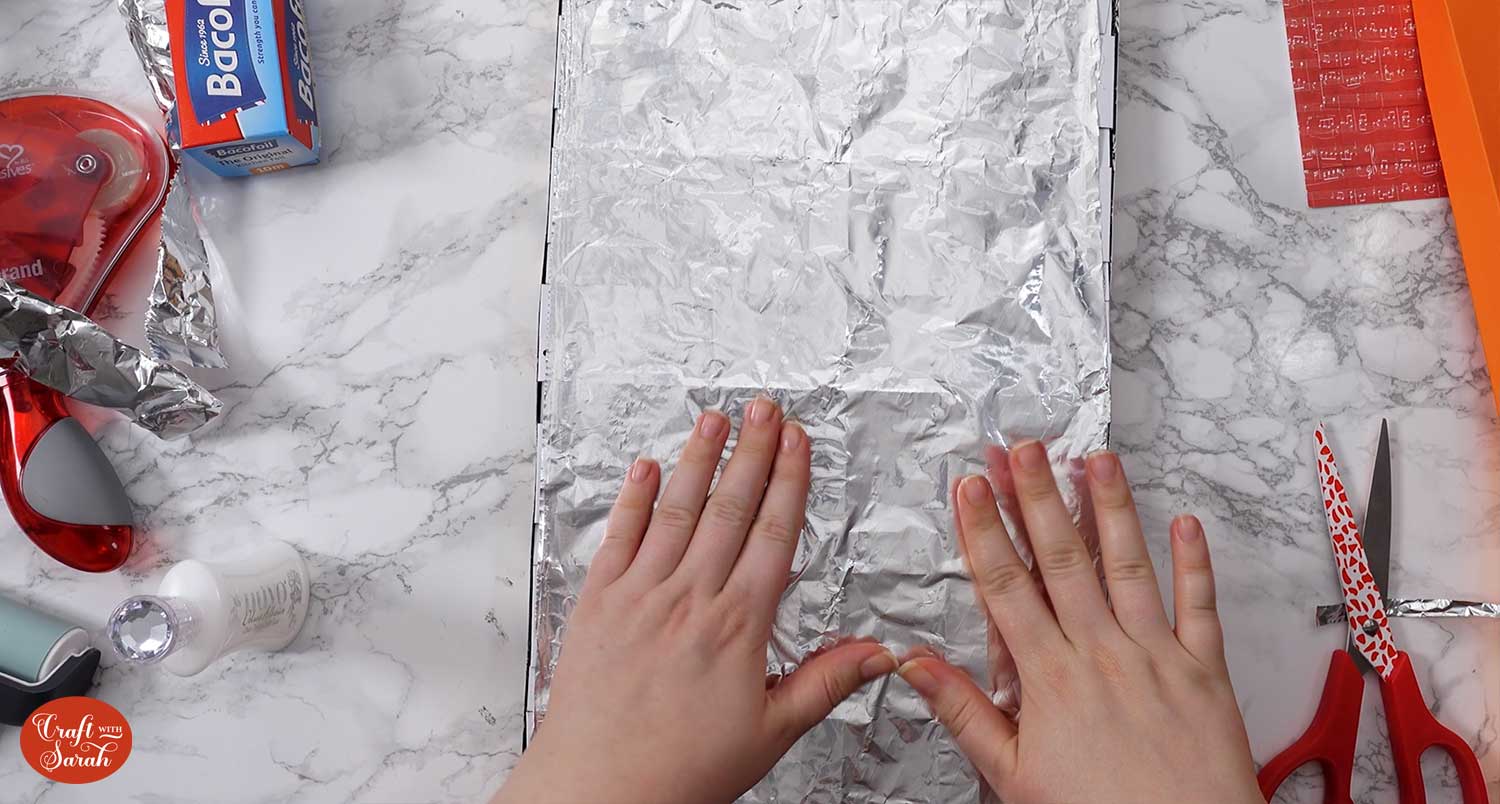
To seal the sweets, get some tin foil and cut it to the size of your advent calendar with a pair of scissors.
Fold it over so that you get a crease line and know where to cut it.
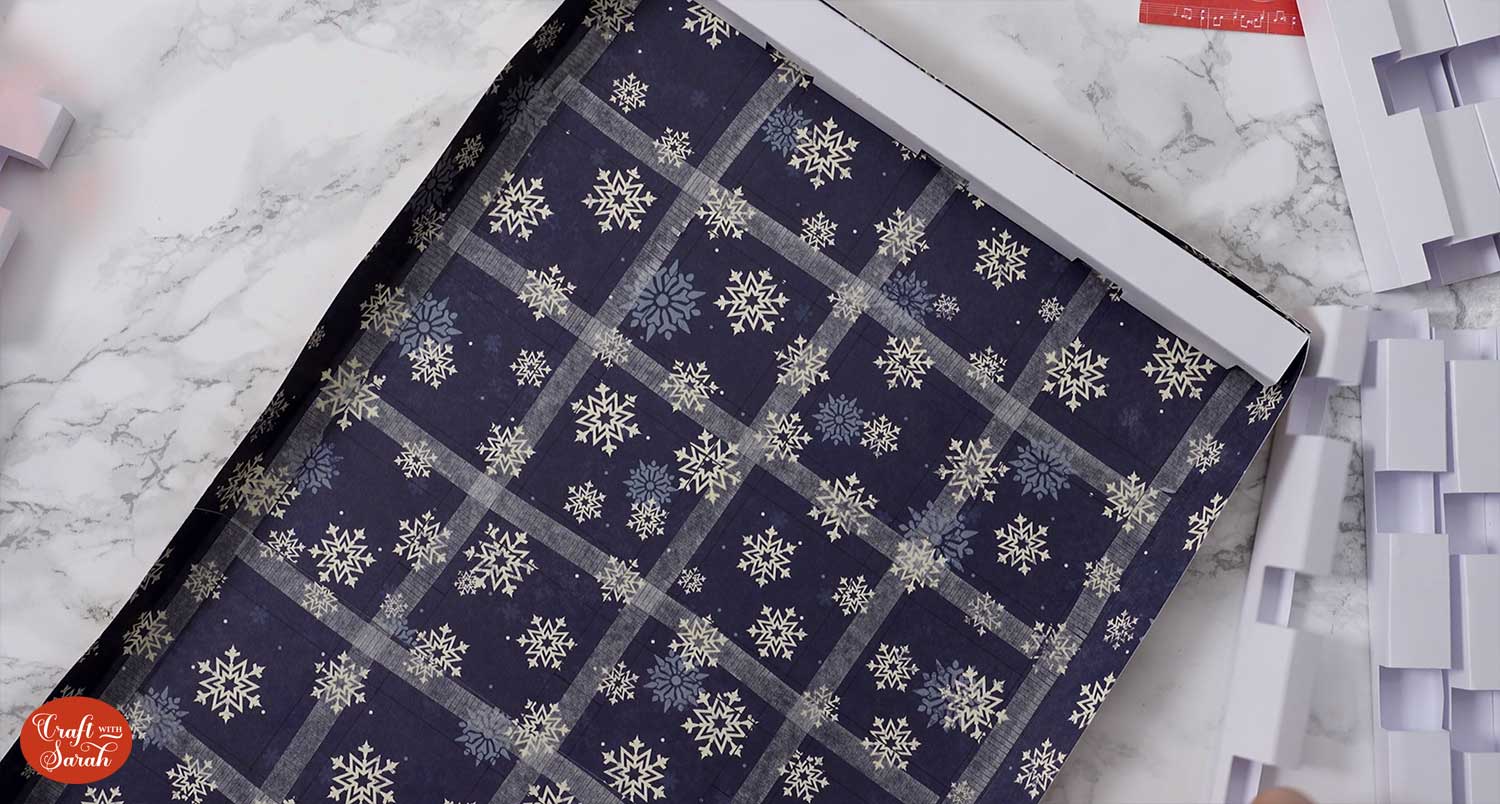
Taking care not to get it on your food, apply glue to the tops of the grid sections.
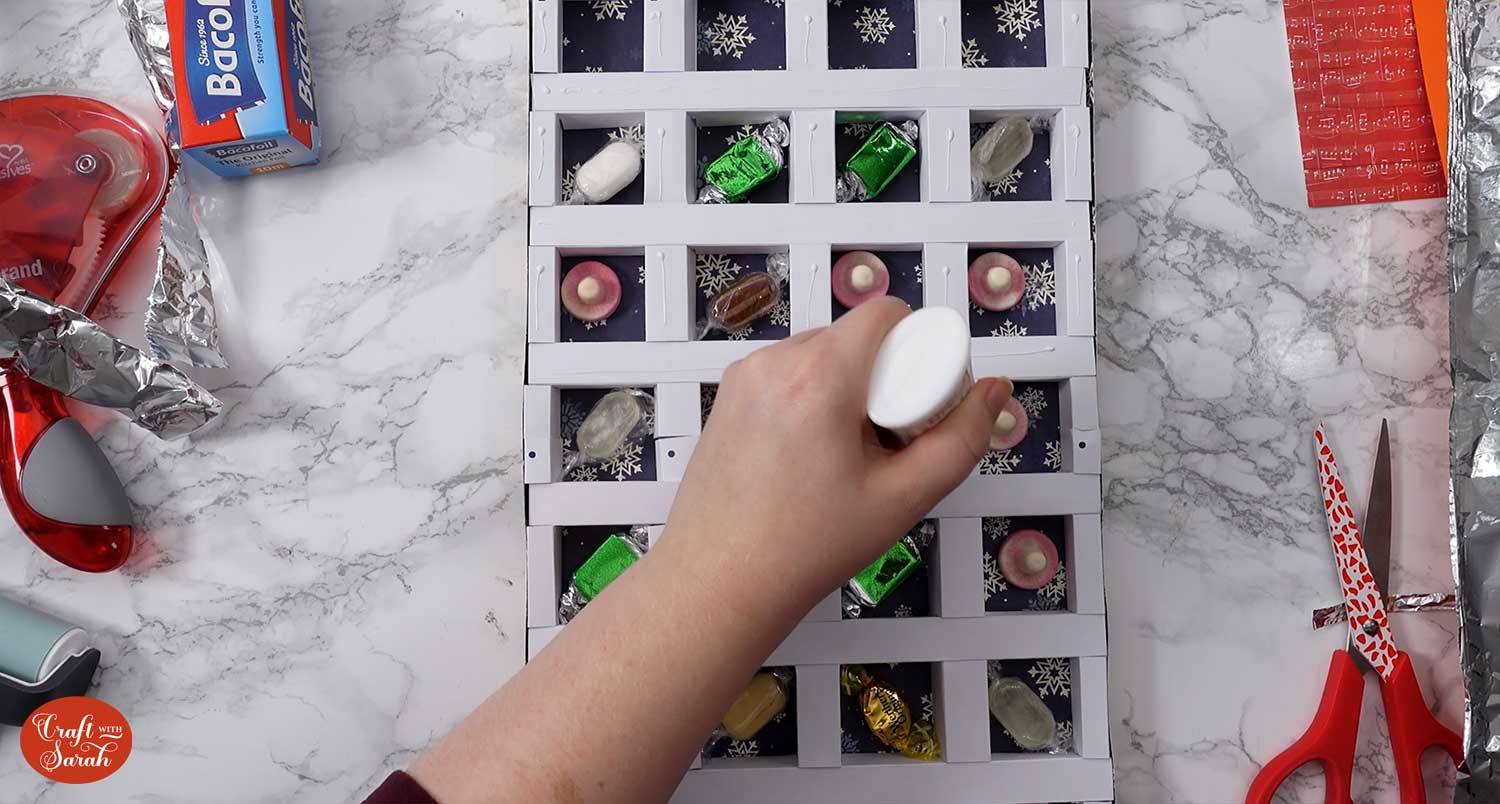
Stick the tin foil securely over the top.
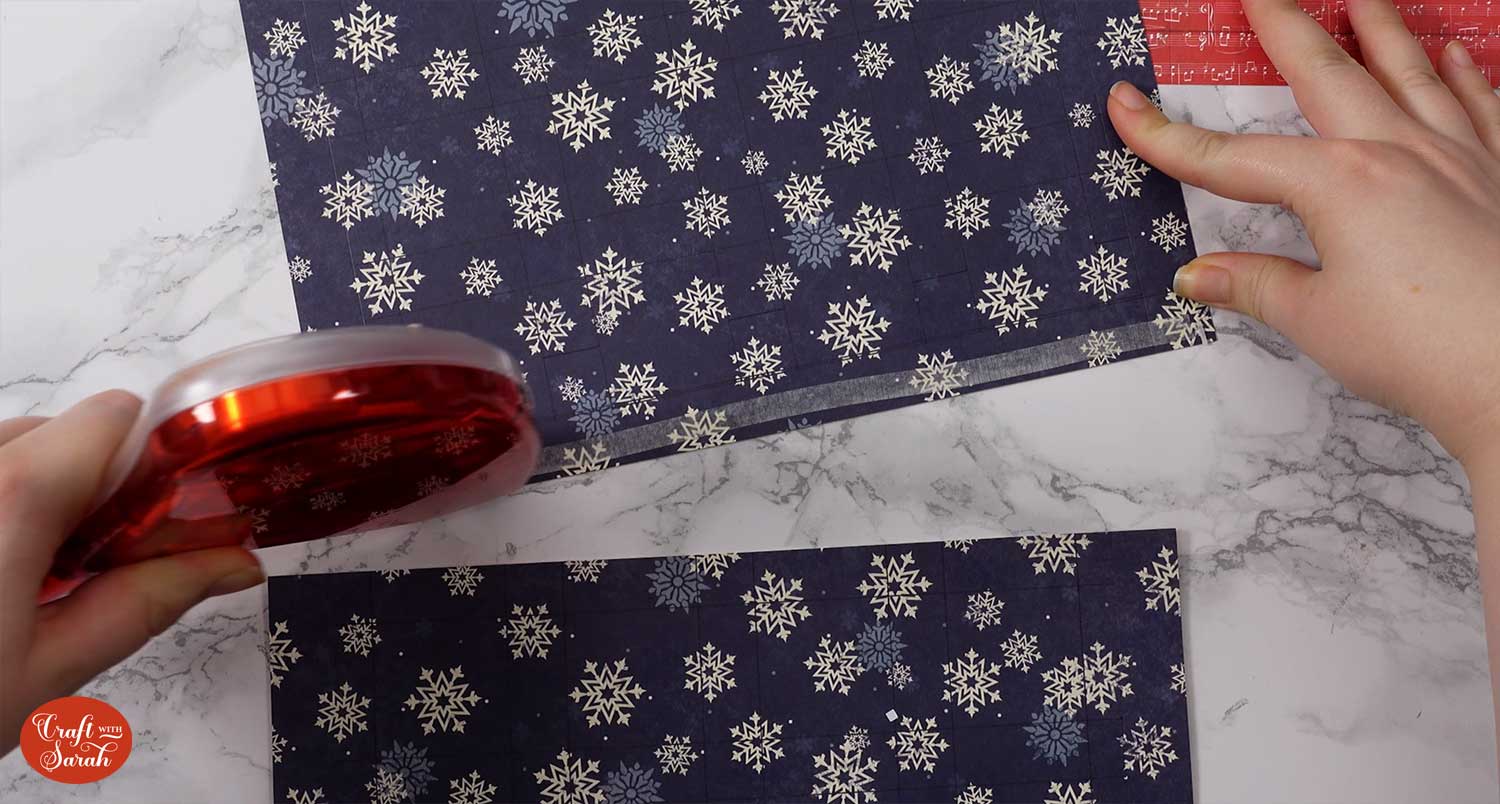
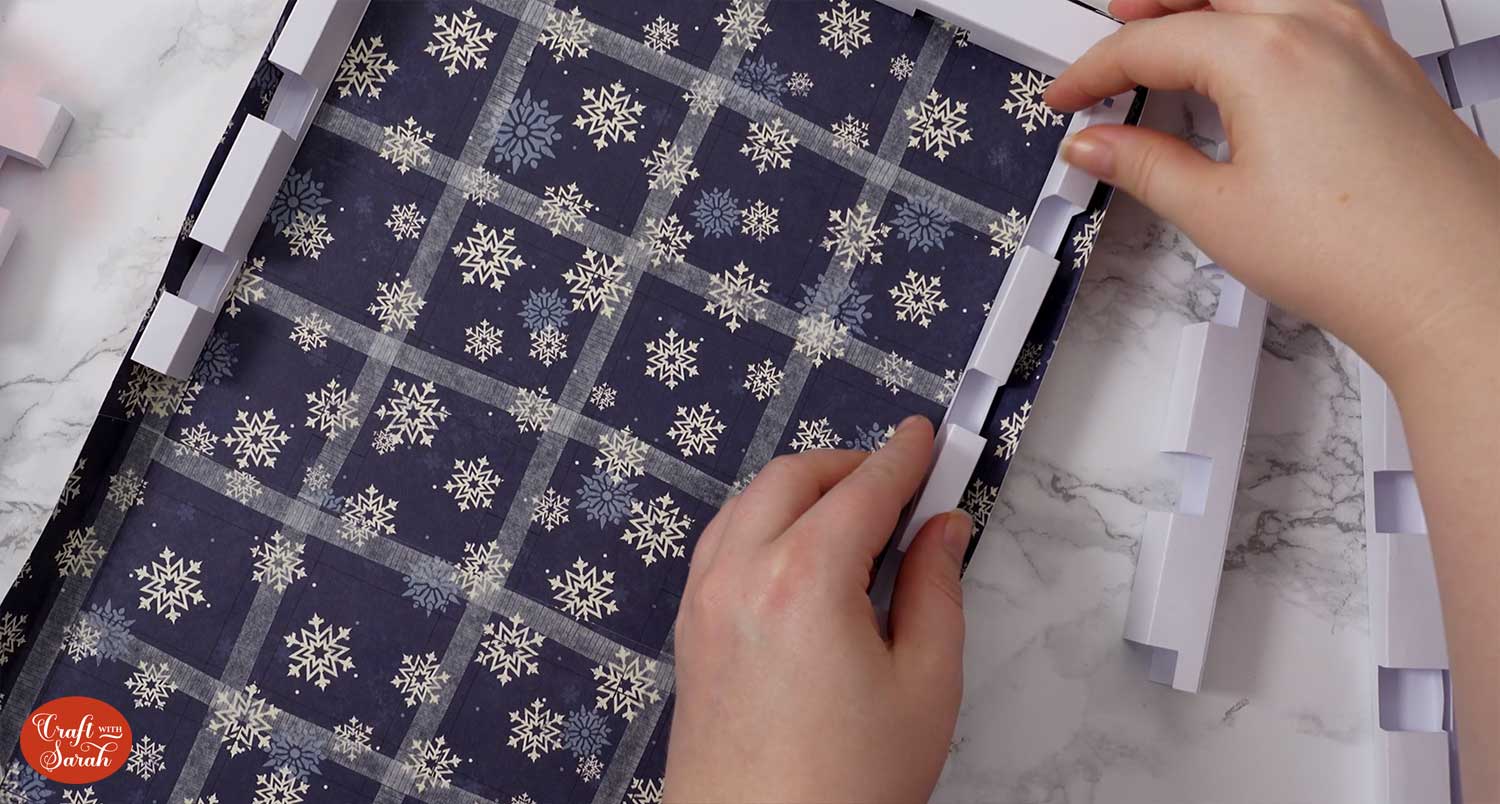
Step 6) Make the front of the advent calendar
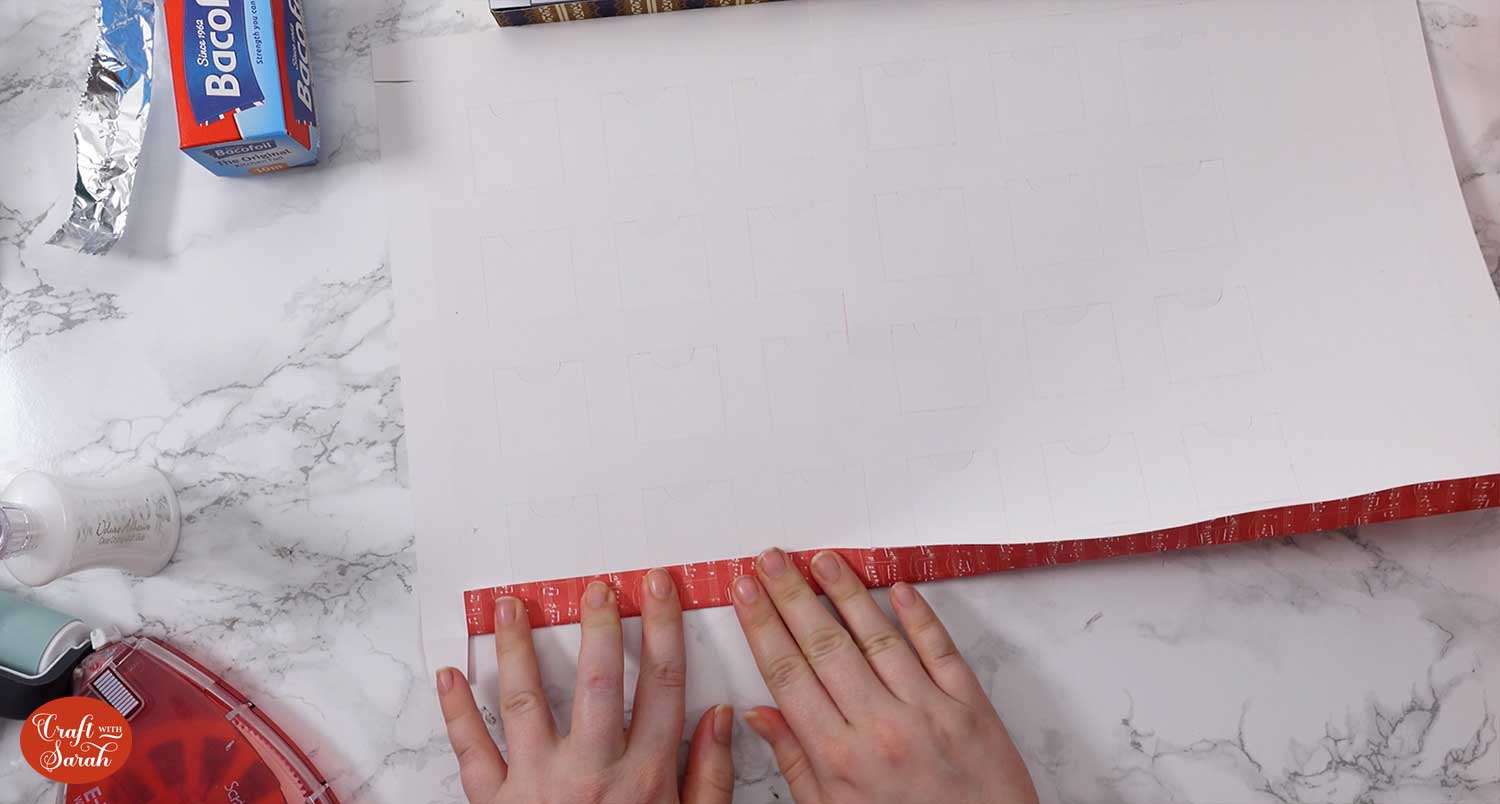
Find your front pieces. The bigger piece is the top half.
Locate the draw line which is where you will add your double sided tape.
Attach the plain straight edge of the bottom piece (not the bit with the tabs) to the top piece, along that draw line.
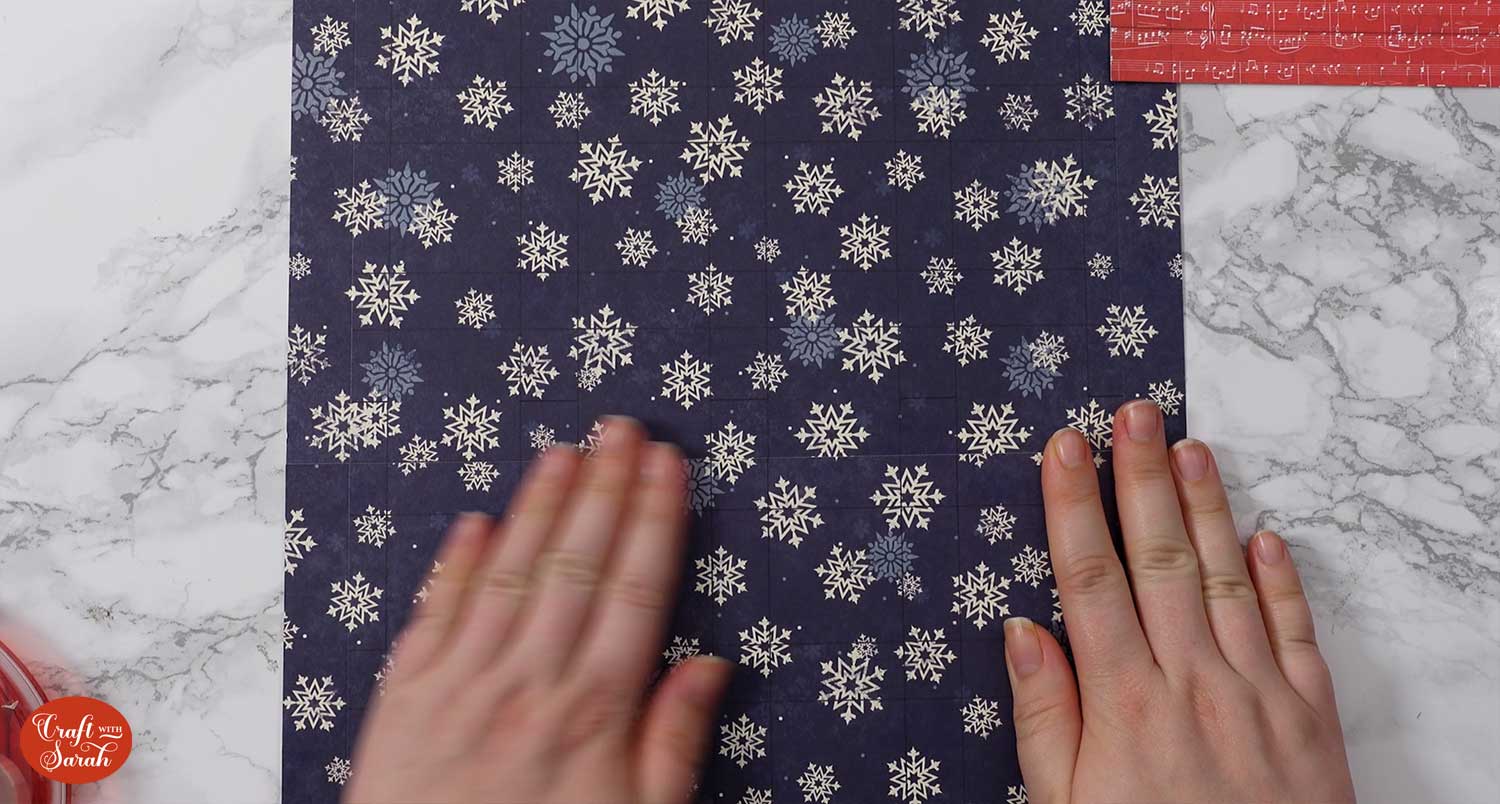
Turn it upside down and fold up all the score lines around the edge. Brayer them down.
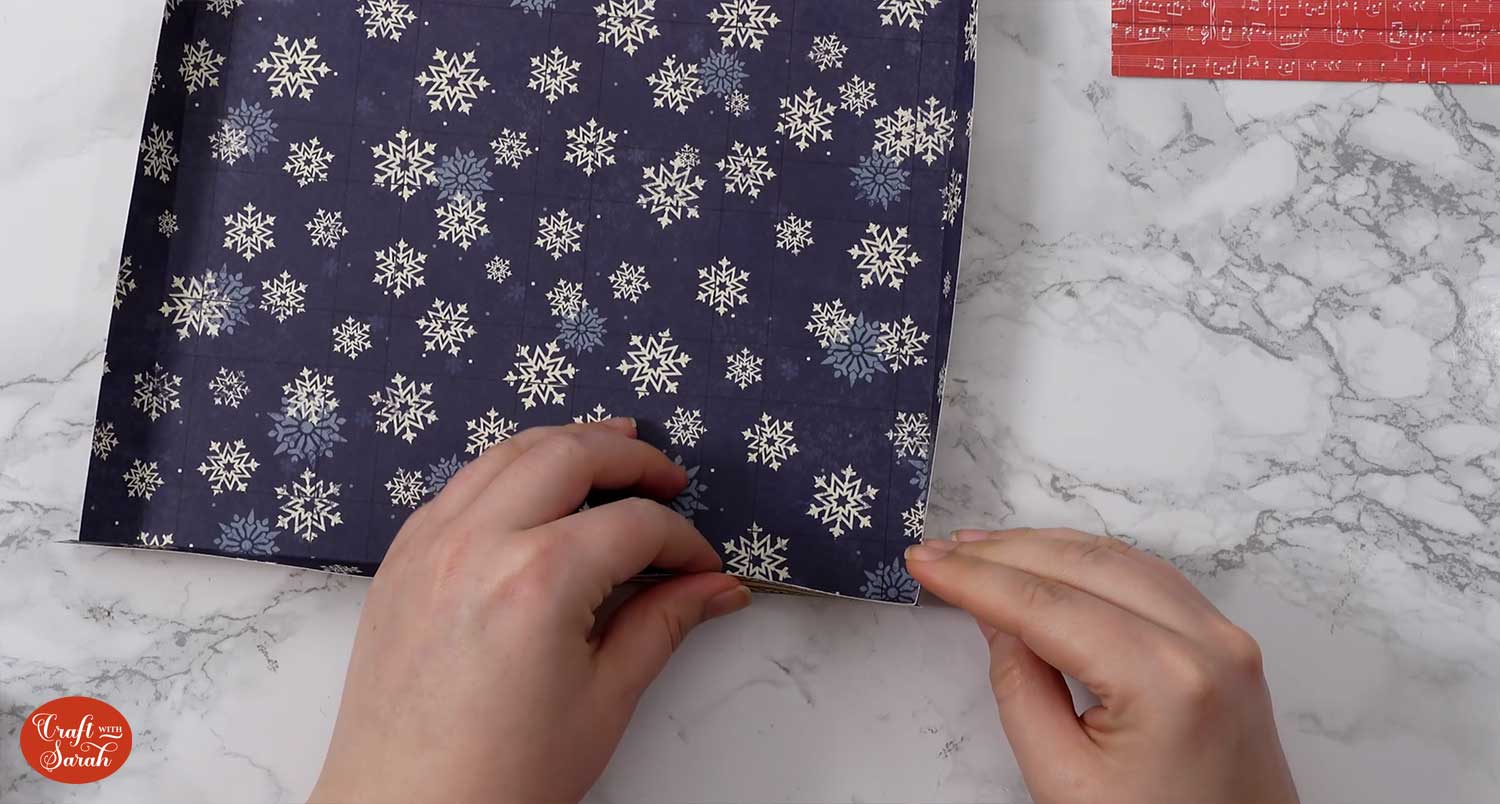
Fold the tabs inwards and stick them to the corresponding tab to make the box shape.
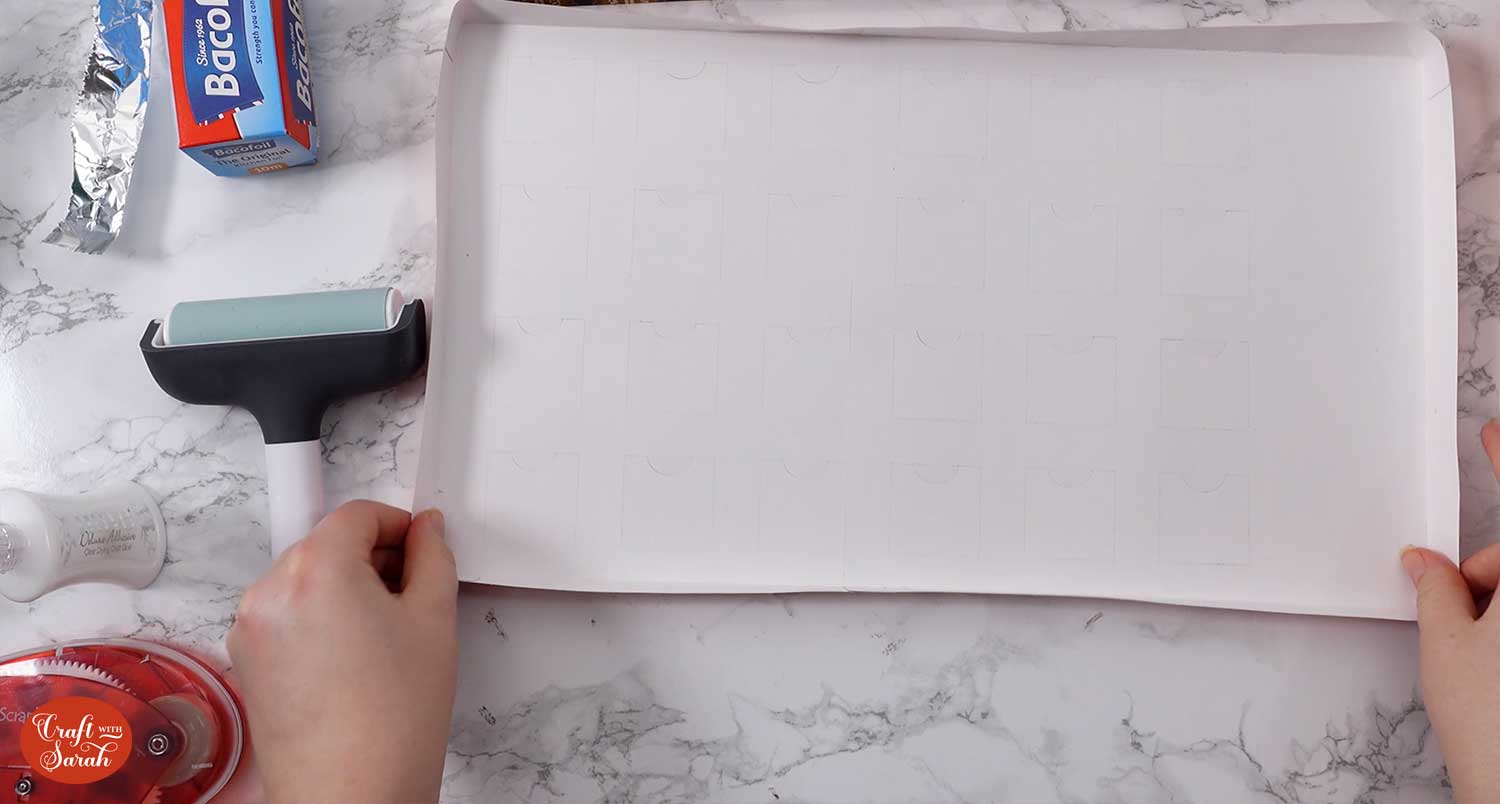
Glue all four sides of the outside of your box and place your lid piece over the top with the plain section with no windows at the top which will perfectly slide over to fit. Double check you are placing it the right way up, with the four “empty” sections at the top.
Allow the glue to dry fully.
Step 7) Decorate the advent calendar
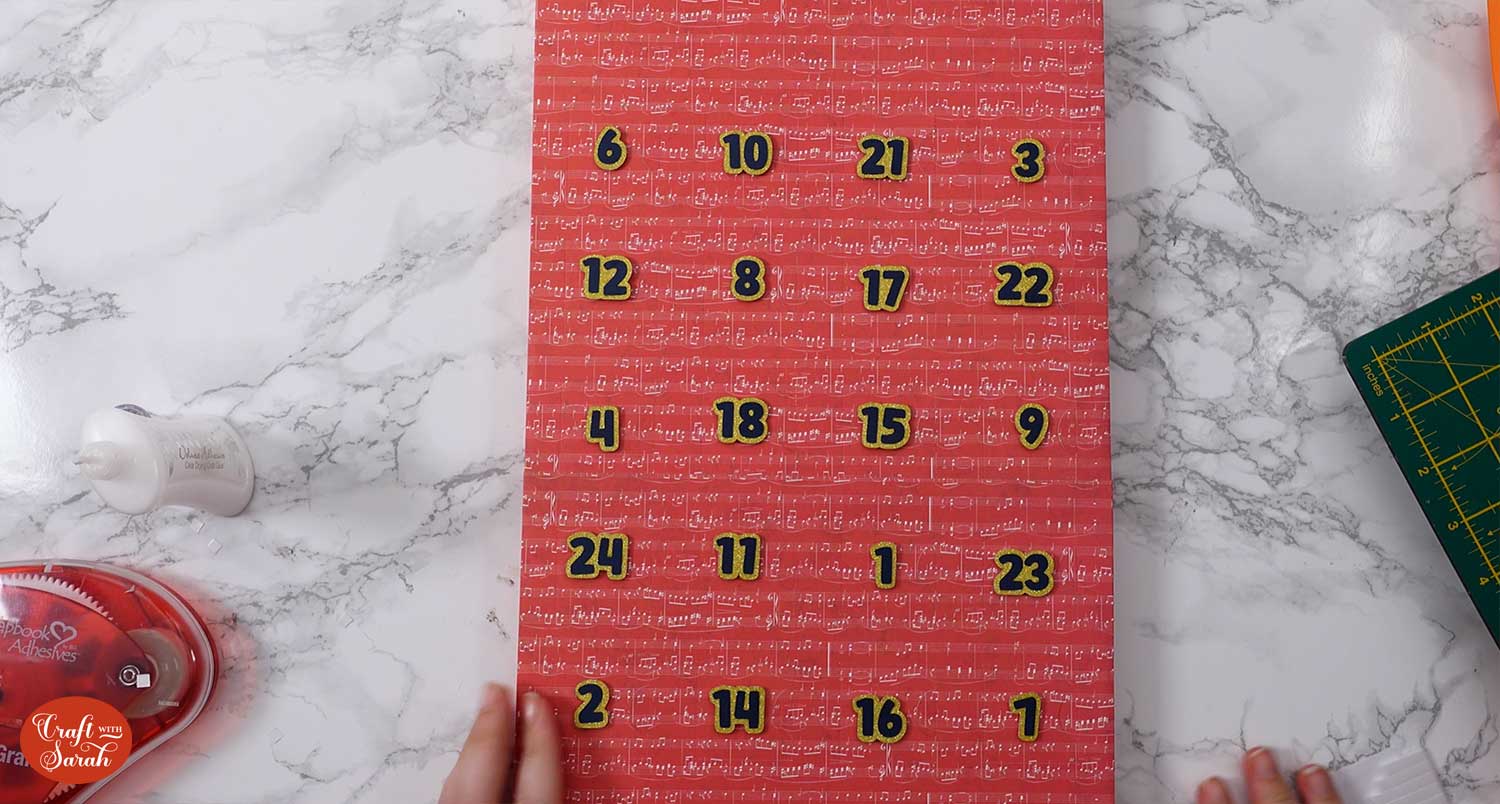
Glue your numbers to their matching offset.
When adding the numbers to the doors, you can either put them in numerical order or stick them randomly to add to the challenge as you open them.
Use a foam square to place the numbers on the doors, taking care to make sure they are within the lines of each individual door.
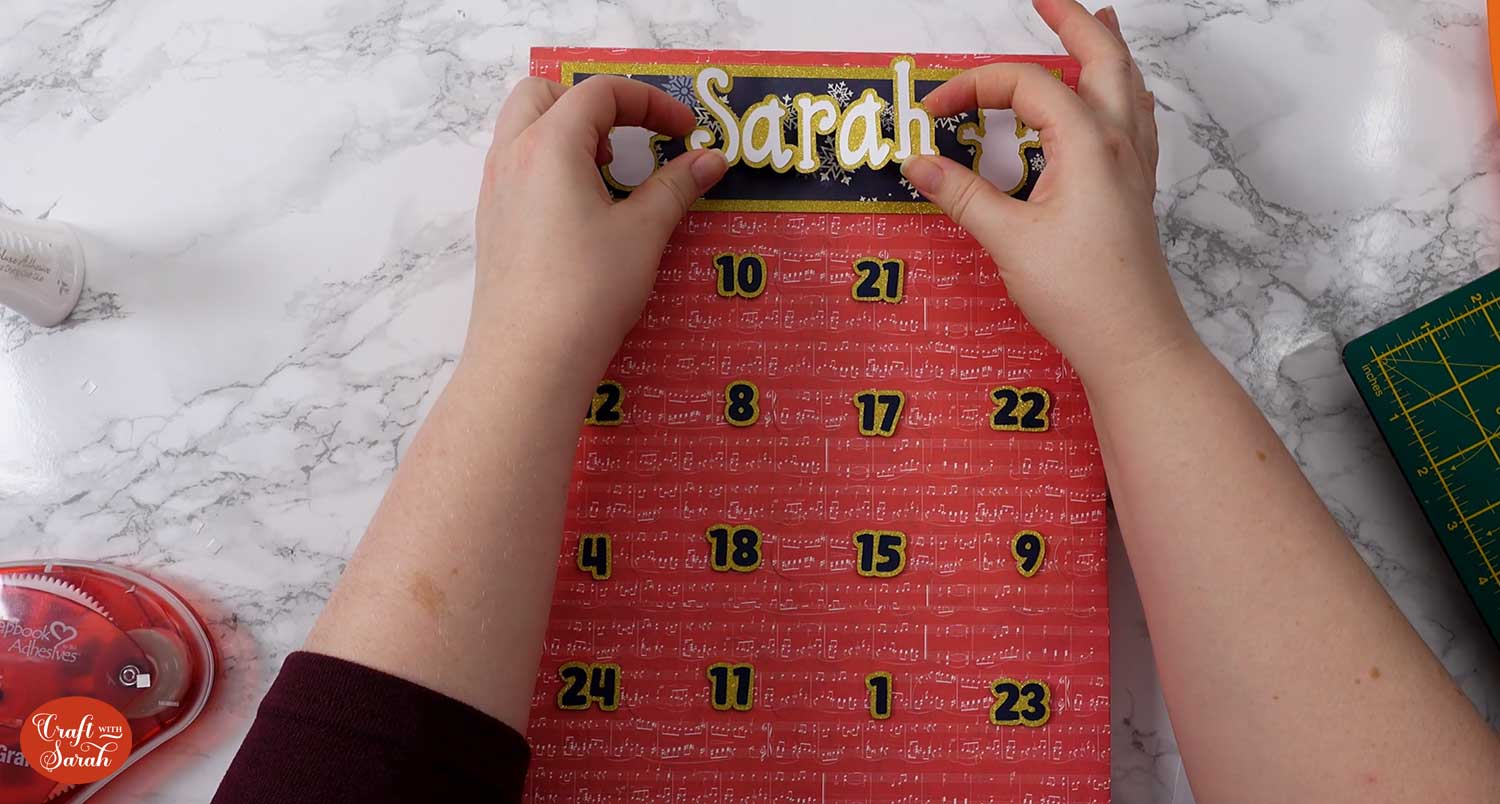
Use glue or foam squares to attach the decorative rectangles to the top of the advent calendar.
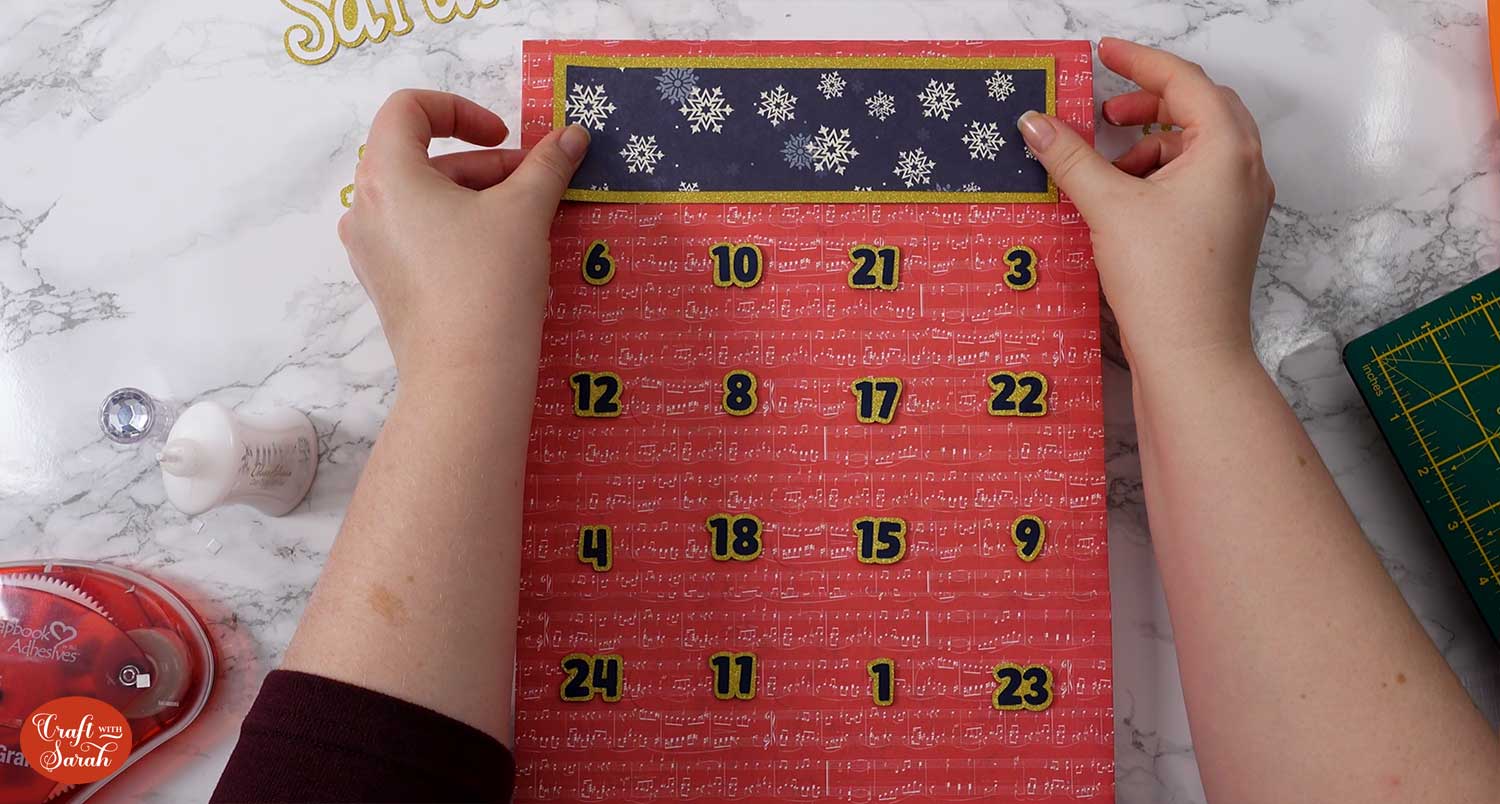
Add the name and decorations and then that’s it – your homemade advent calendar is done!
Fill your own advent calendar
I love how you can make your own advent calendar and fill it with whatever sweet treats you want!
I’m excited to see the different ways you choose to decorate your calendar.

You could even make it for your pet and fill it with their favourite treats instead of sweets and chocolate!
Happy crafting,
Sarah x

