How to make a Zigzag Stacker Card
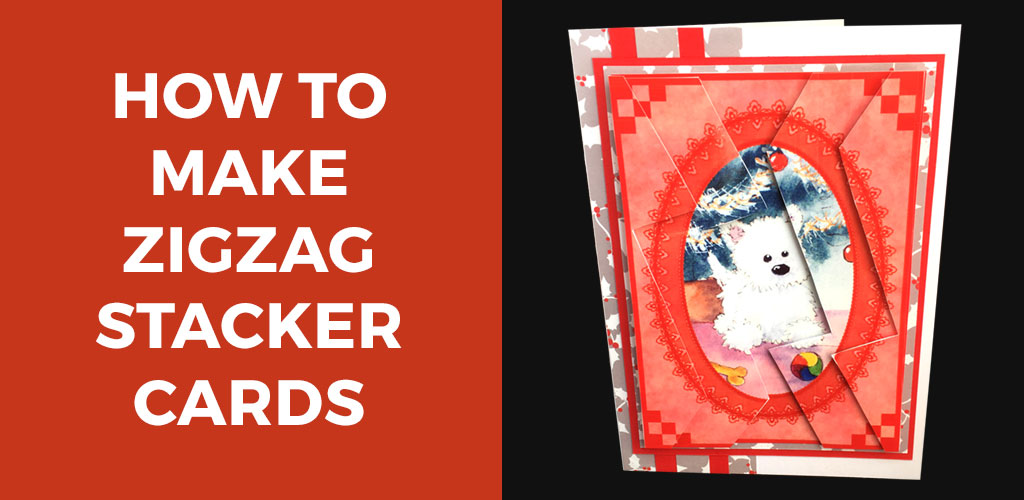
Try out a new 3D card making technique with this unusual zigag stacker card designs. Learn how to make a zigzag stacker card here!
I first started making zigzag stackers way back in 2011 to sell in my Craftsuprint shop.
To this day, I still love making up zigzag stacker handmade cards!
Contents:
Please note that some of the links included in this article are affiliate links, which means that if you click through and make a purchase I may receive a commission (at no additional cost to you). You can read my full disclosure at the bottom of the page.
What is a zigzag stacker card?
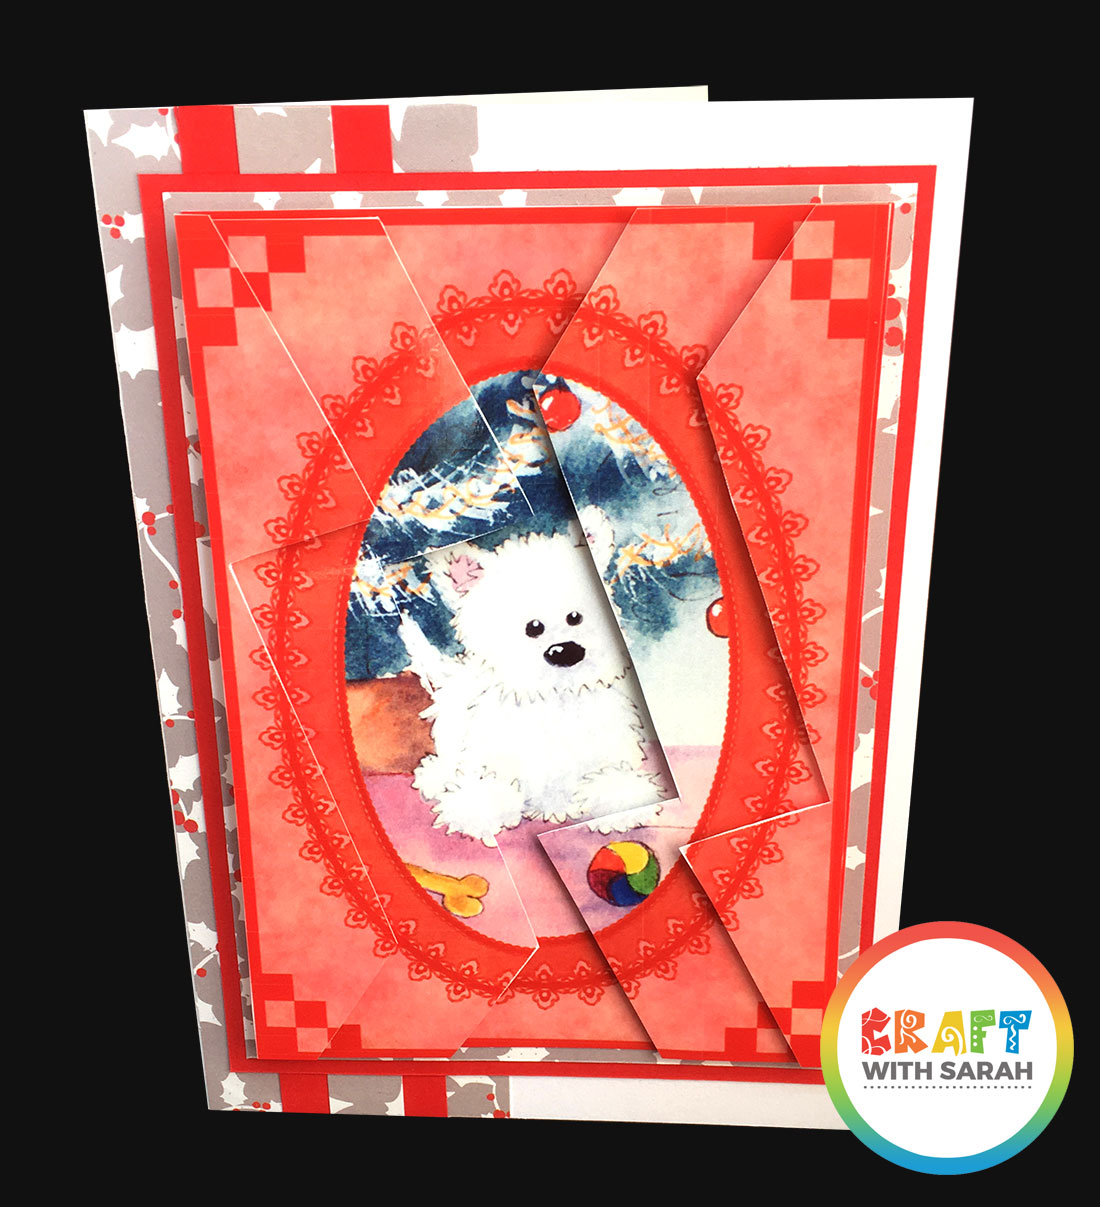
Zigzag stackers are made in a similar way to traditional pyramage cards.
You cut out different shapes and then layer them on top of each other using foam pads to make a 3D effect.
Each layer is in the shape of a forwards or backwards “z” letter – hence the name “zigzag stacker”.
VIDEO: How to make zigzag stacker cards
Follow these step-by-step-instructions for how to make zigzag stacker cards.
Materials list
- Zigzag stacker sheet – see box below to download
- Glossy photo paper
- 3D foam pads
- Tape runner / Double-sided tape / Tacky glue
- 5×7 inch card blank
- ‘Festive Wonder’ Christmas paper
How to make a zigzag stacker
- Print your zigzag stacker printable onto photo paper or card. I like to use glossy photo paper as it gives a nice shine to the card.
- Cut out all of the shapes on the card.
- Take the large rectangle part of the design and place it in front of you. It’s marked with a blue arrow on the printable.
- Use 3D foam pads to stick the two largest zigzag pieces on the left and right of the rectangle design. These are marked with black arrows on the printable. The foam pads will give your card a 3D effect.
- Use more 3D foam pads to stick the smaller zigzag pieces on top of the larger zigzag pieces. These are marked with red arrows on the printable.
- Your zigzag stacker is now complete, so it’s time to assemble your handmade card.

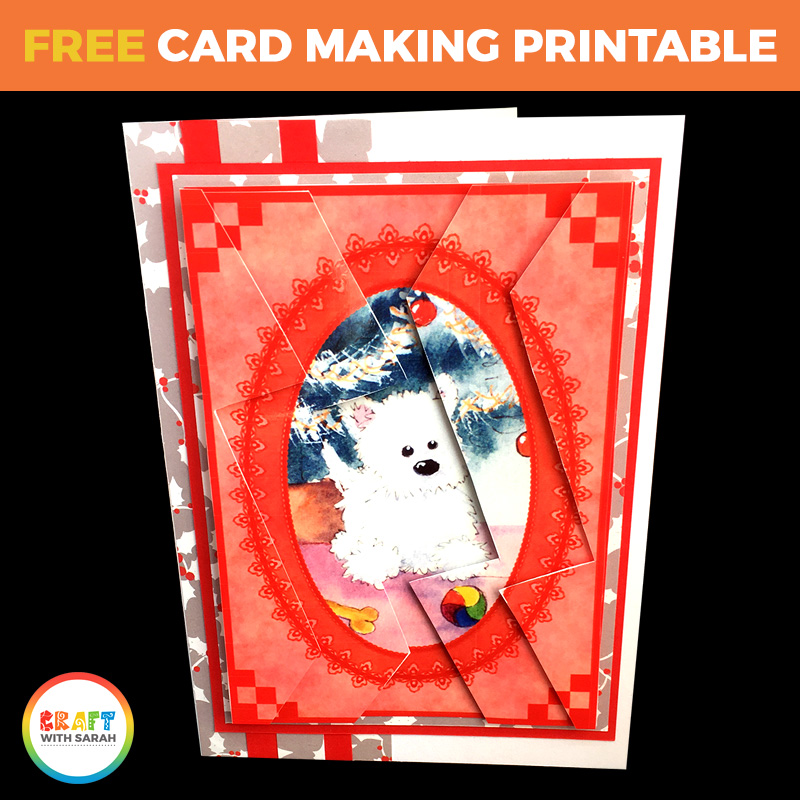
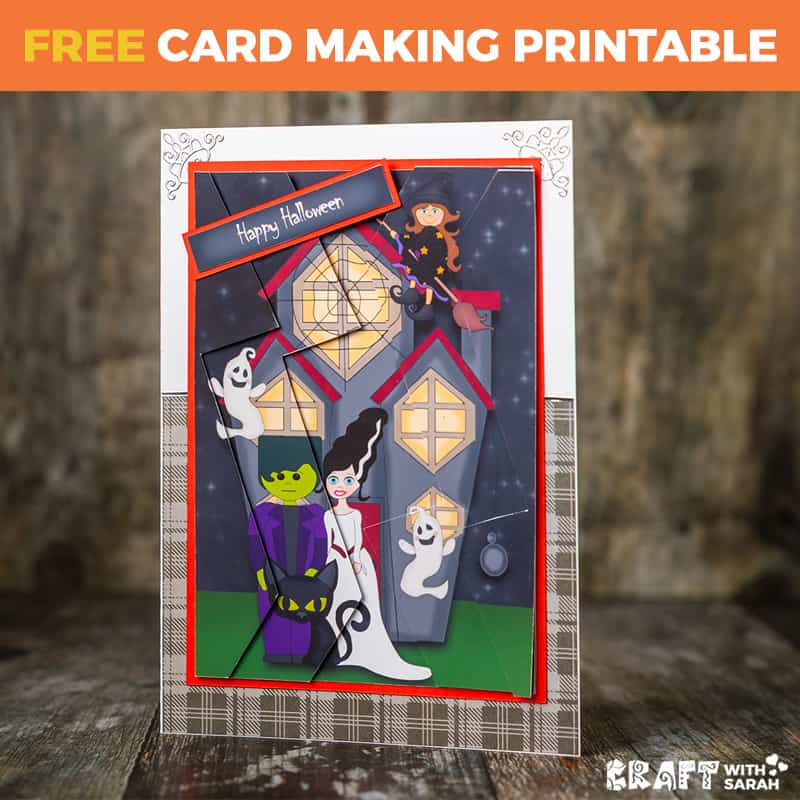
Free zigzag stacker printables
Here are some free zigzag stacker printables for you to try!
Click the images to download the files.

You might also like…
If you’ve enjoyed this zigzag stacker tutorial, you may also like to learn about these OTHER types of stacker card:
Happy crafting,
Sarah x

