How to Make Pyramid Cards | Pyramage Instructions
Pyramid cards are SUPER simple to make, so it’s the perfect card making technique for beginners.
Follow these step-by-step-instructions for how to pyramage your handmade cards + get FREE pyramid downloads!
Contents:
Please note that some of the links included in this article are affiliate links, which means that if you click through and make a purchase I may receive a commission (at no additional cost to you). You can read my full disclosure at the bottom of the page.
What is a pyramid card?
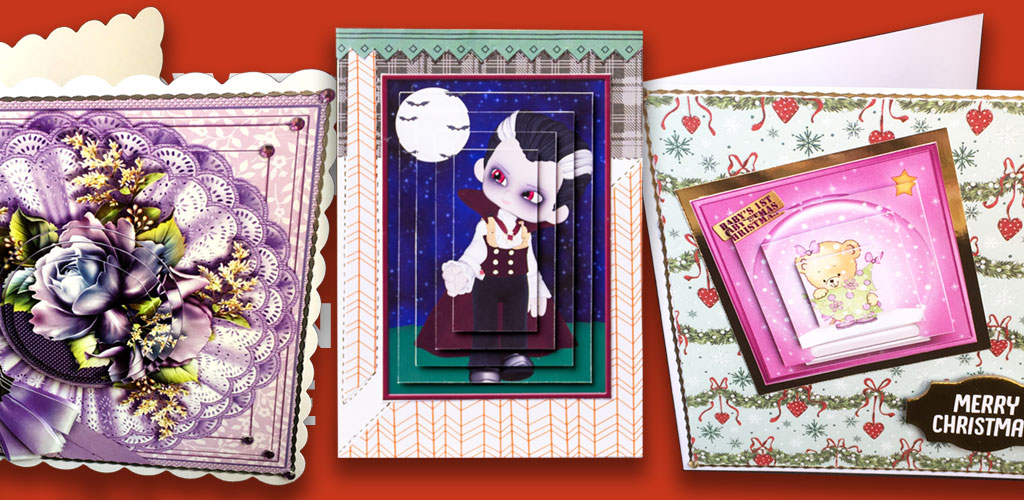
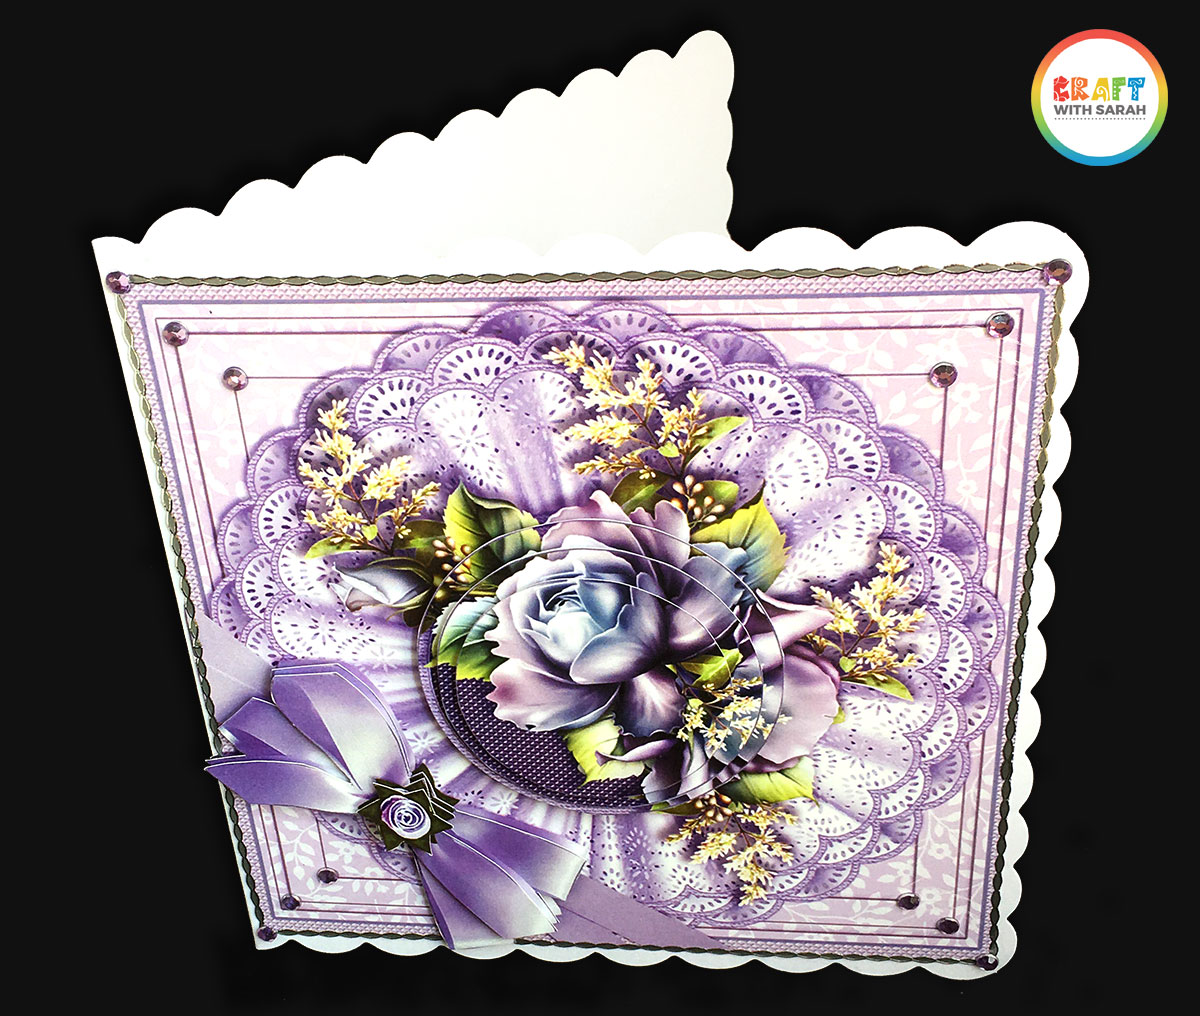
A pyramid card (also known as a “pyramage” card) is one where you have layered up sections of the same image on top of each other using foam pads (or similar) to create a 3D “stepped” appearance which resembles a pyramid.
It’s a popular card making technique as it’s simple to make and produces unusual, dimensional cards for any occasion.
Pyramid layers were traditionally square, rectangular or circle, but nowadays you can get designs in practically any shape you can think of.
VIDEO: How to make pyramid cards
Follow these step-by-step-instructions for how to pyramage your handmade cards.
To get the pyramid sheets used in the video, check out these links:
- ‘Baby’s First Christmas’ by Carol Clarke
- ‘Blue Roses’ by Sue Douglas
- ‘Cottage by the Sea’ by Sandie Burchell
- 25,000+ pyramid designs!
TUTORIAL: How to make pyramage cards
Learn how to add 3D dimension to your handmade cards with this step-by-step pyramage tutorial.
You will need…
- ‘Baby’s First Christmas’ by Carol Clarke
- Glossy photo paper
- 3D foam pads
- Tape runner / Double-sided tape / Tacky glue
- Peel-off stickers
- Sticky gemstones
- 6×6 inch card
- Christmas paper
Pyramid cards tutorial (pyramage)
Here are some step-by-step instructions on how to make pyramid cards.
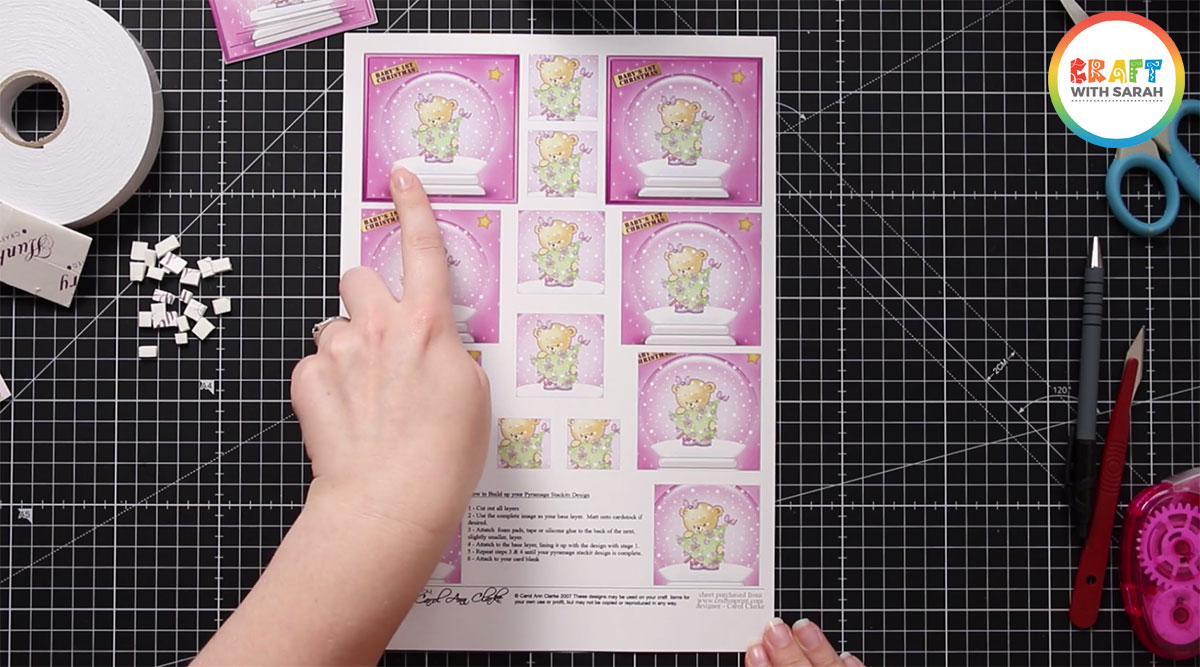
1) Download & print your chosen design
Choose your pyramid card making download design and print it onto your favourite type of paper.
For this tutorial I’m using a lovely design by Carol Clarke – get it here.
Get free pyramid designs here!
I use glossy photo paper as I LOVE the pretty shine that it makes when you hold the card up to the light.
Don’t have a printer? Craftsuprint will print card making downloads for you and send them to you in the post – amazing!
2) Cut out the pyramage layers
Cut out the pyramage layers.
If your layers are square or rectangular then it’s best to use a craft knife and metal ruler to get lovely straight edges.
Otherwise, a pair of scissors works great!
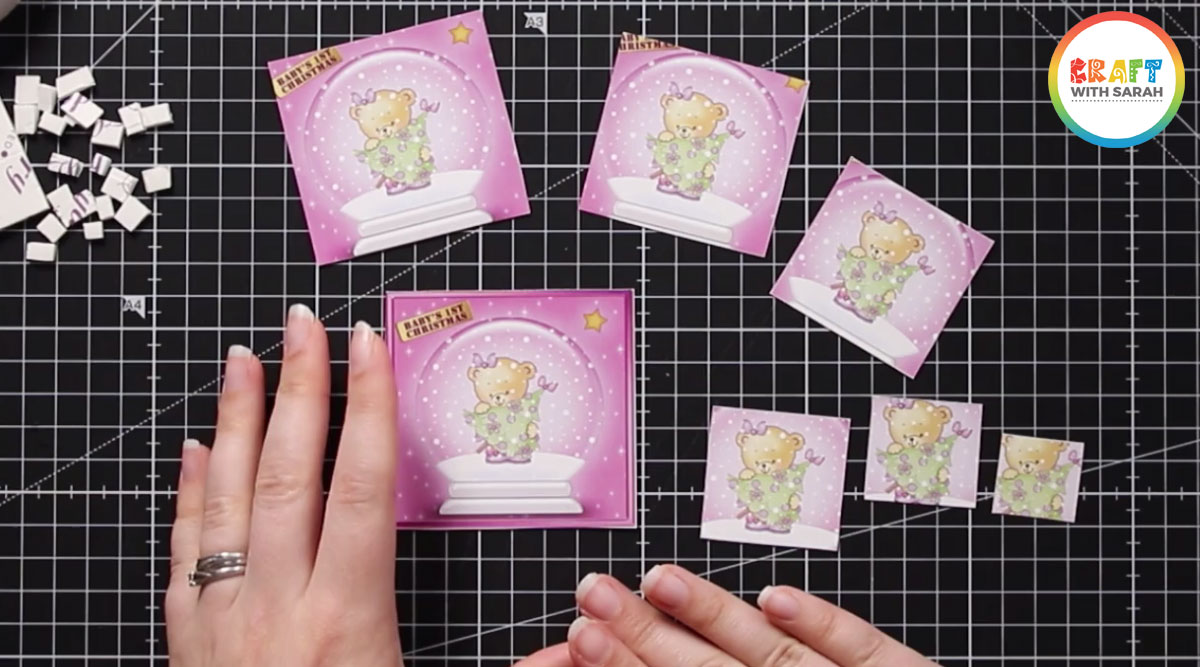
3) Choose which layers you are going to use
If the pyramage design you’re using has loads of layers, you might want to miss some out to avoid your card getting too thick, particularly if you’re using thicker foam pads.
If your card is really thick then it will be more expensive to post.
Top tip! For a “thinner” finished card, use every OTHER layer instead of sticking them all to your card.
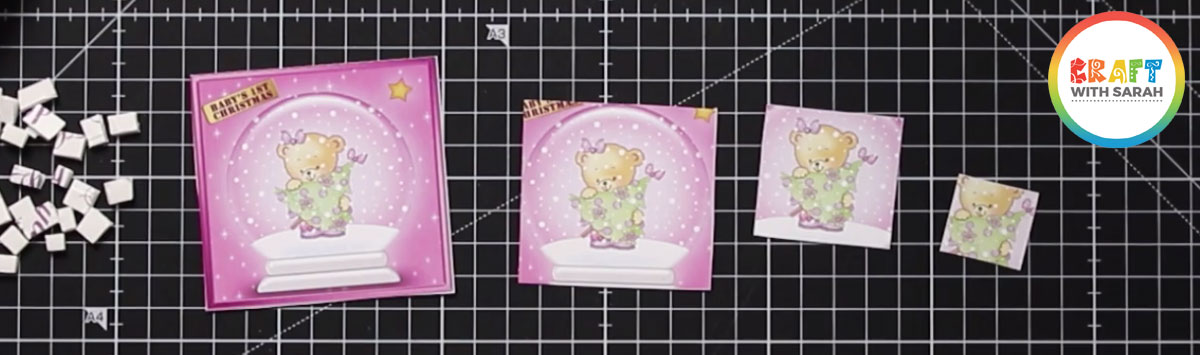
For this design, I used every OTHER layer. To work this out, lay out all layers in size order and then discard alternating layers.
Another way to do it is to use all of the first four or so layers, then discard any smaller layers that are left.
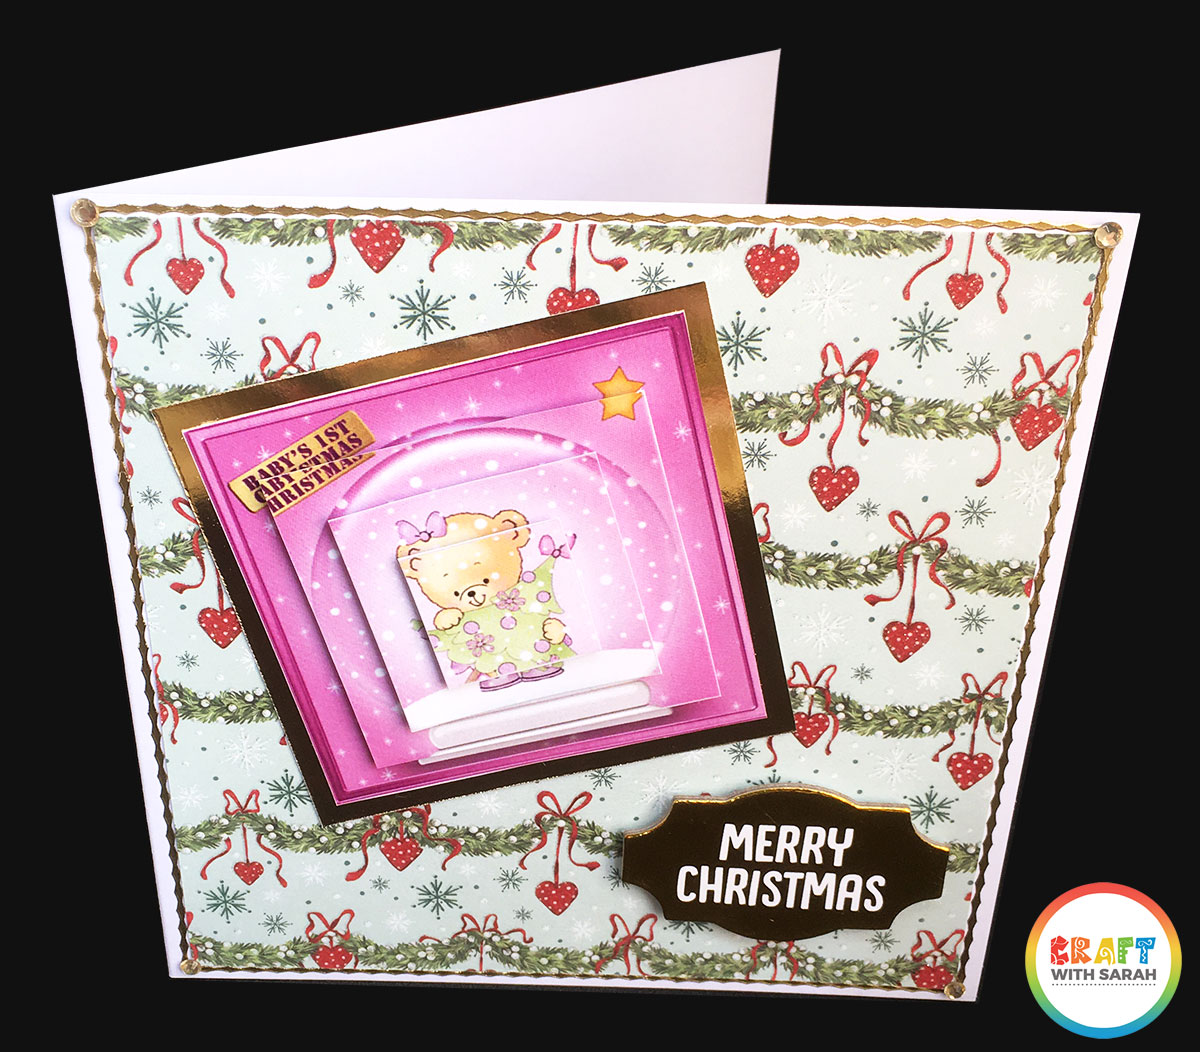
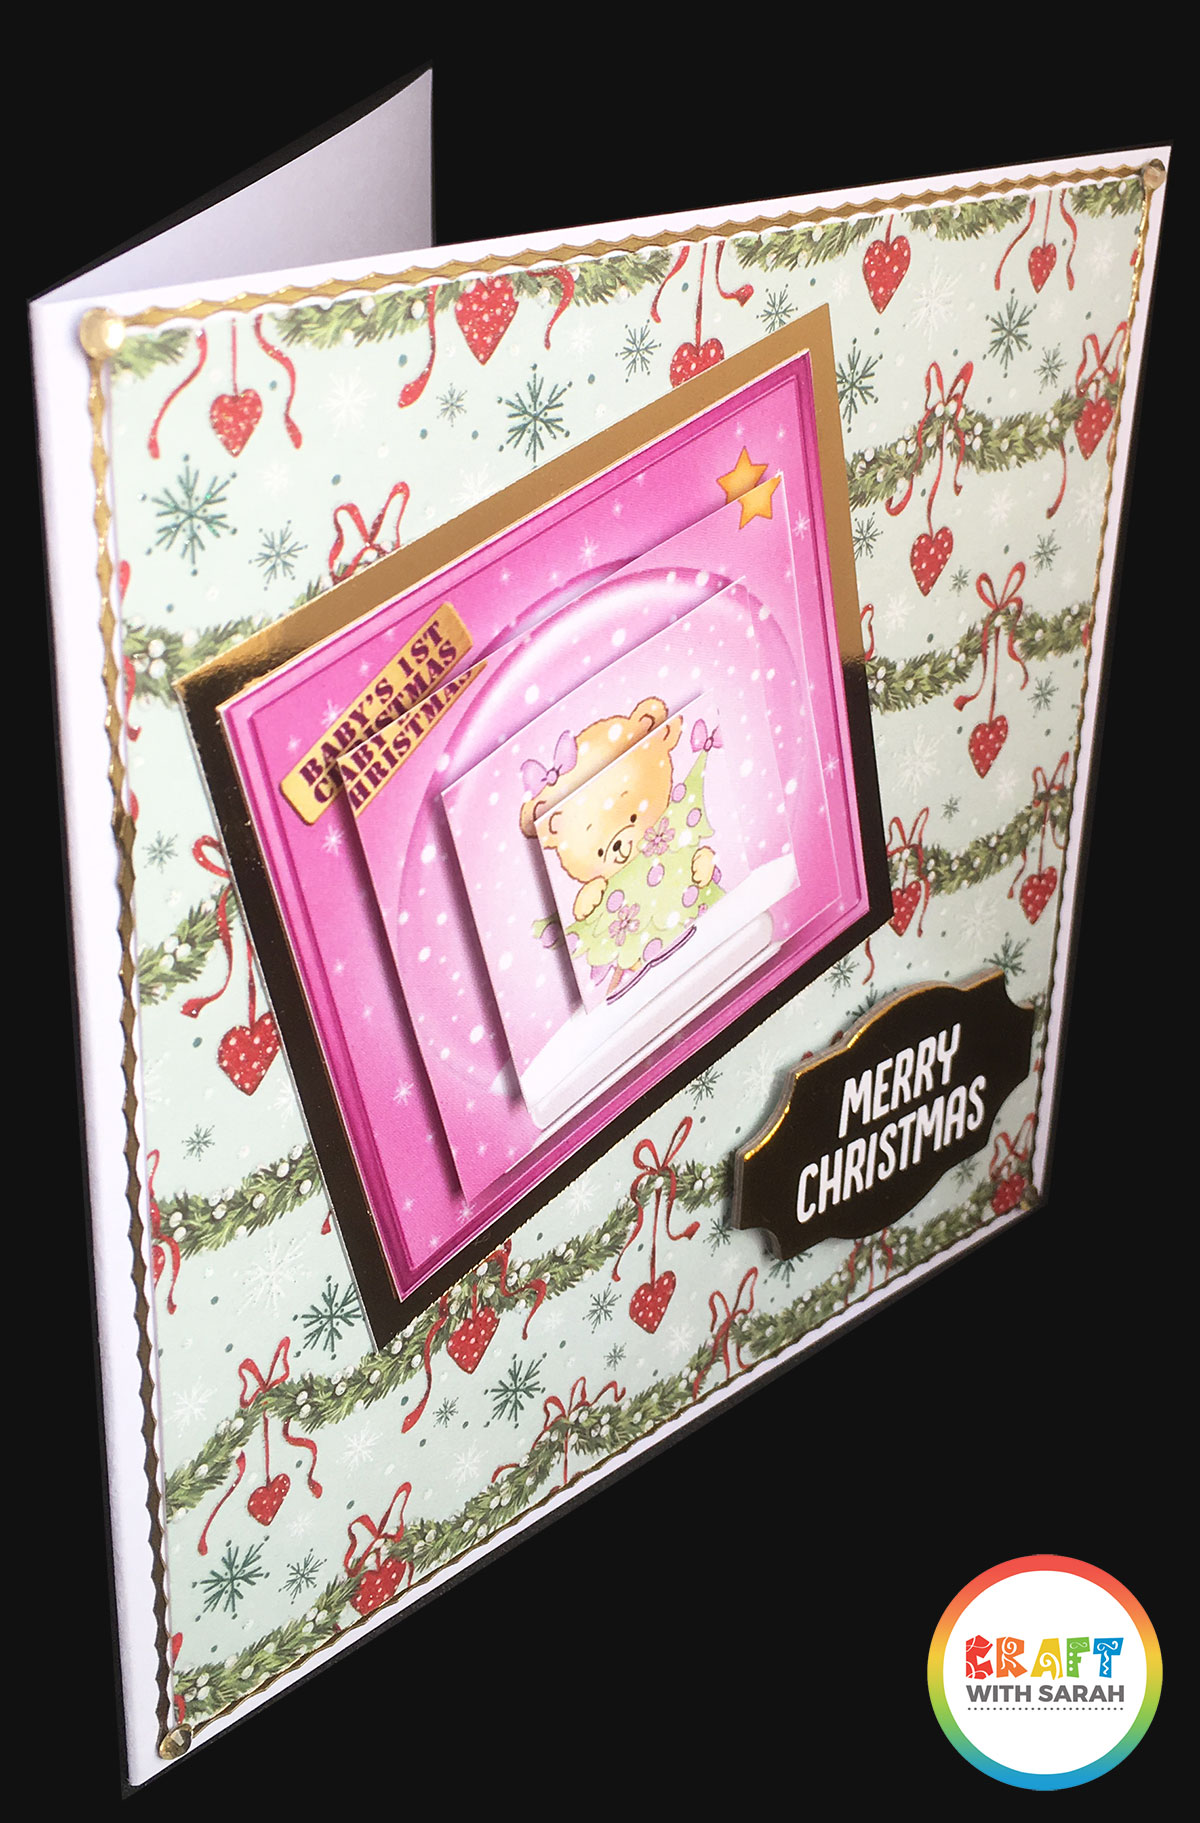
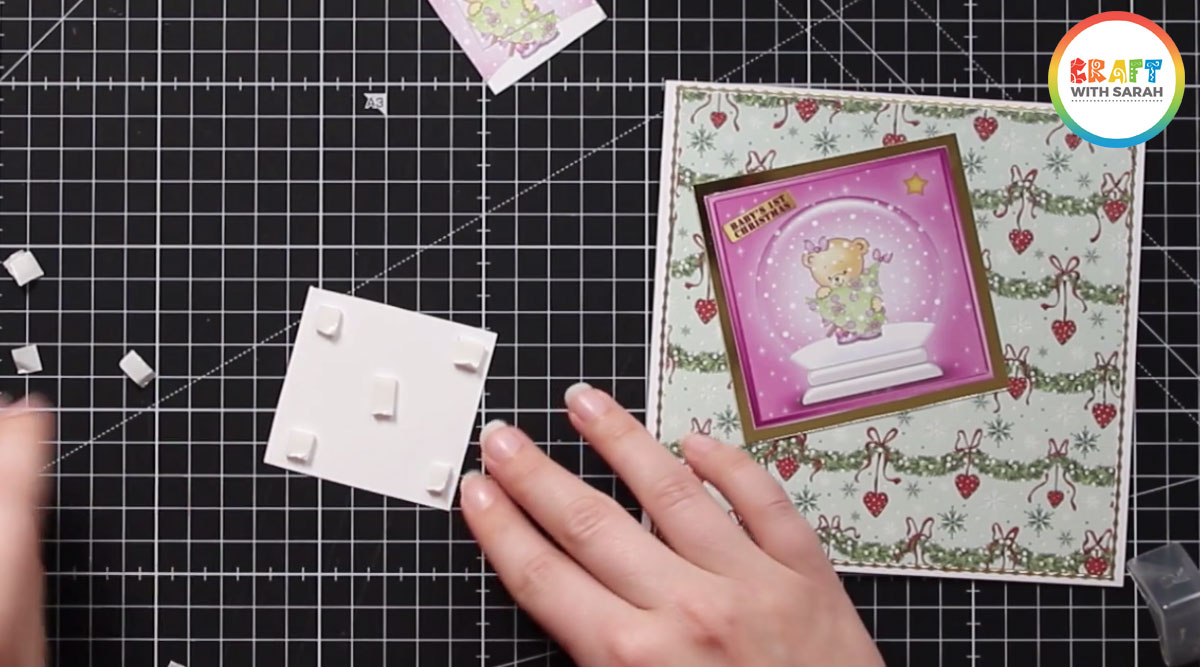
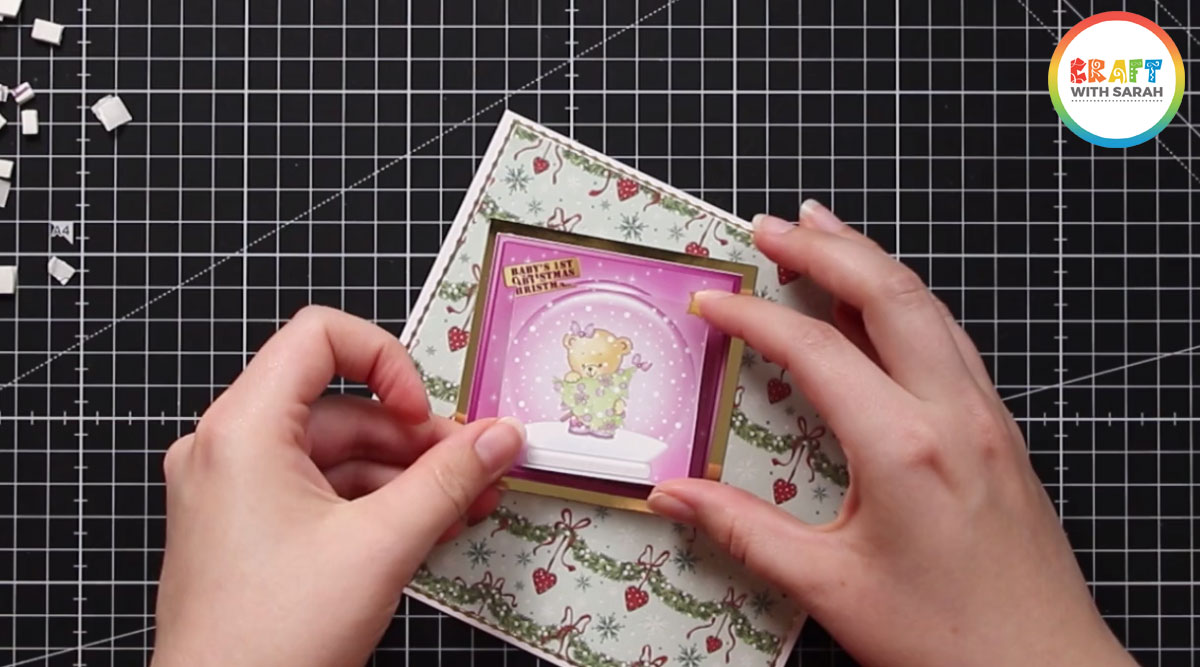
4) Construct your handmade card
I find it easiest to stick the pyramage topper to my card BEFORE I add the 3D layers.
You may prefer to do it afterwards, in which case skip straight ahead to the next step and come back to this one at the end!

For my card, I stuck a piece of glittery Christmas-themed paper to a 6x6inch card front and outlined it with gold peel-off stickers.
Related: How to use peel-off stickers the RIGHT way on cards
I mounted the main pyramage topper onto gold mirror card and attached at a fun angle to the front of my card using double-sided tape.
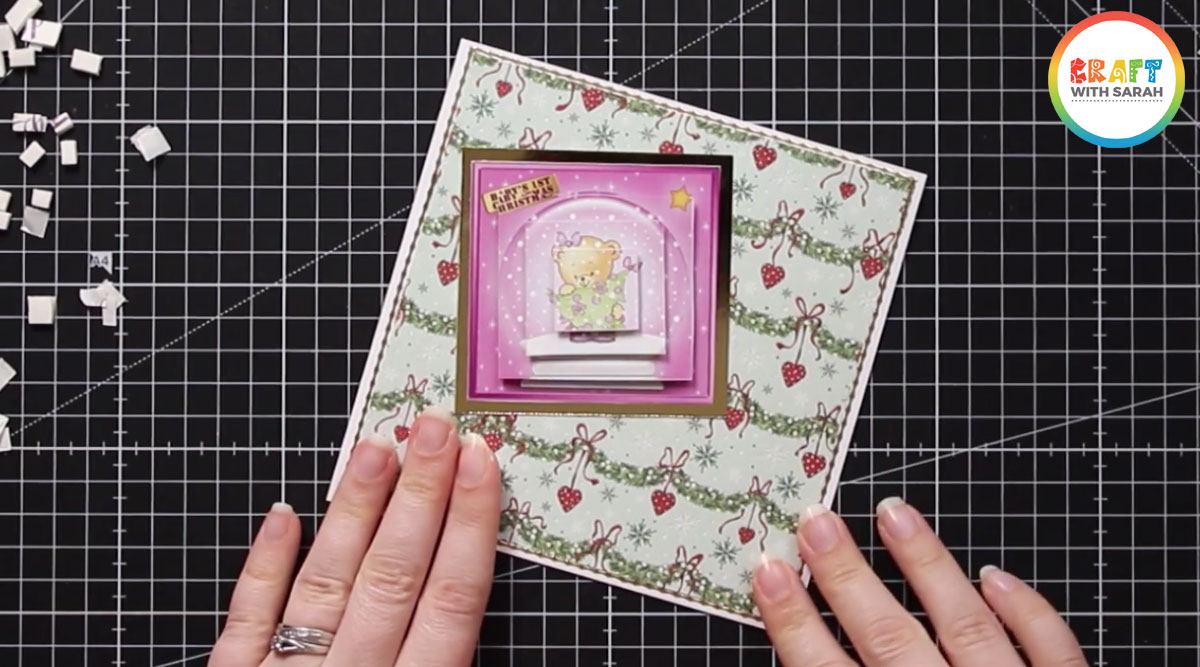
5) Add the first pyramid layer
Turn the first layer of the pyramage topper upside and stick 3D foam pads (or foam tape, or 3D glue dots) to the bottom.
I like to put one in each corner, then one in the middle.
You may need more if your pyramid layer is quite big, or less if it’s small.
Turn it over and stick it to your main topper image.
Top tip! Gently place the layer onto the topper base BEFORE firmly pressing it down. That way, if you haven’t quite got the alignment right you can pick up the layer again and move it without damaging the topper underneath.
6) Finish the pyramage topper
Repeat Step 5 for each of the remaining layers of your pyramid topper.
As you start adding them, you’ll see the “stepped” pyramid effect starting to take shape!
7) Add some finishing touches!
When the pyramid layers are all attached, it’s time to start decorating!
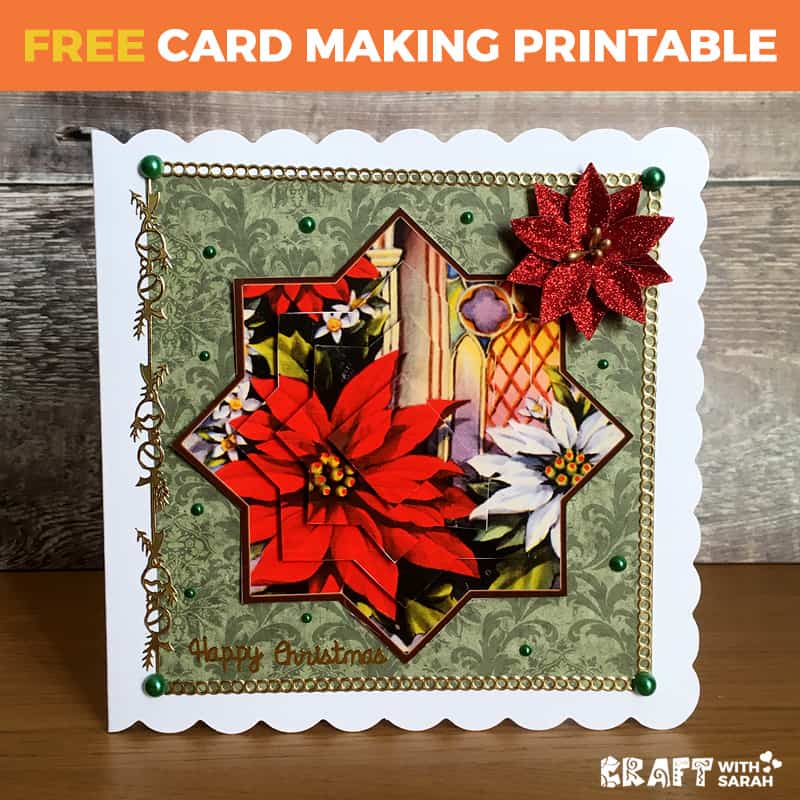
I added a “Merry Christmas” sentiment to the bottom of the card and finished off with some glitzy gold gemstones in the corners.
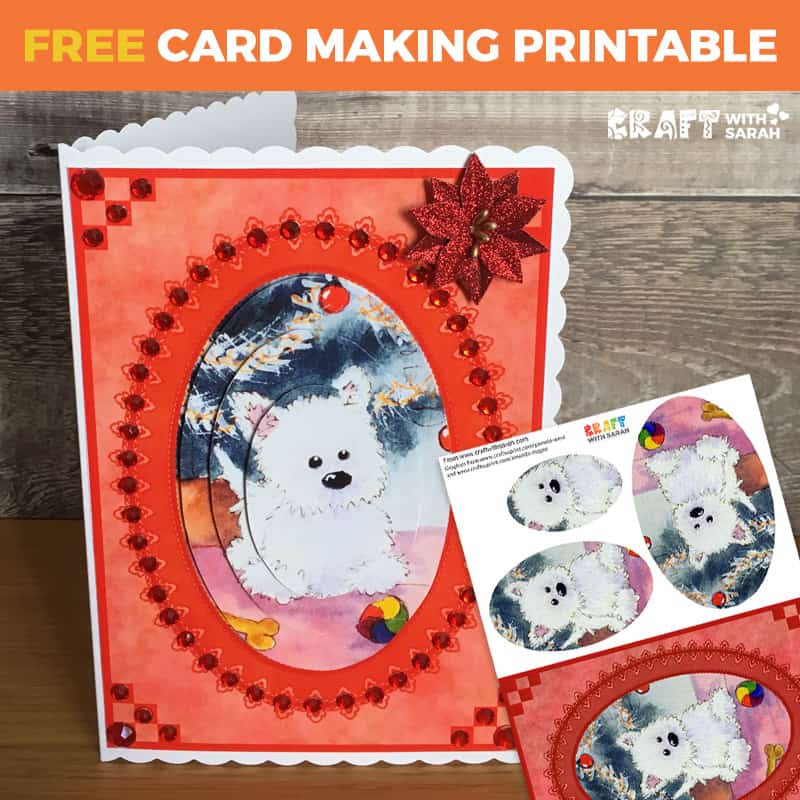
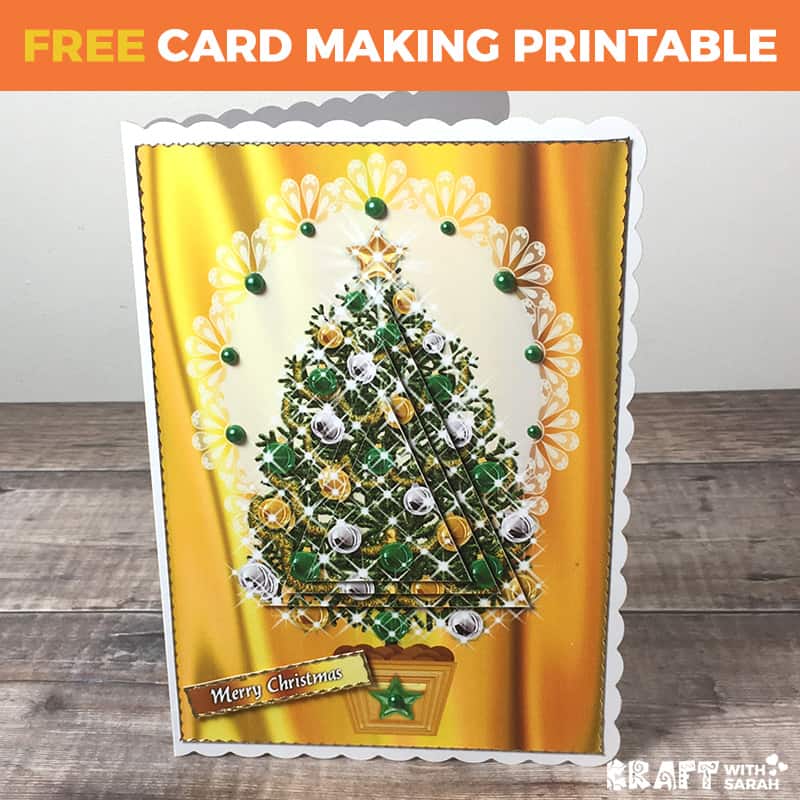
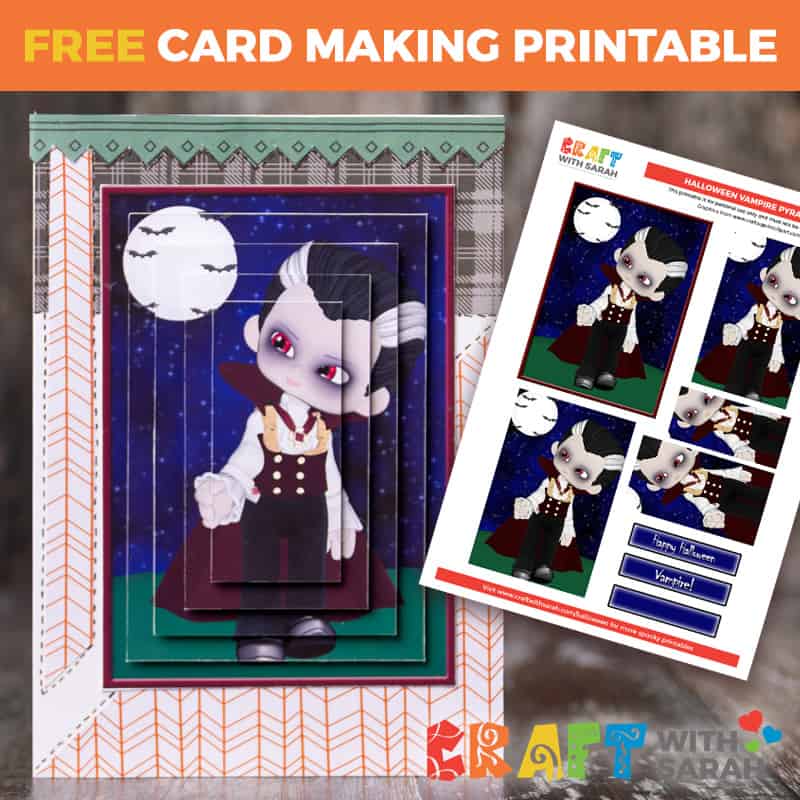
Free pyramid toppers for card making
I have LOADS of free card making printables available in the Downloads section.
Here are the free pyramage toppers that you can download to use on your cards.
I add new designs regularly, so keep checking back for more!
Click on the photos to go to the page where you can download each printable.

Happy crafting,
Sarah x

