How to Cut Cardstock with a Brother ScanNCut Machine
Have you been wanting to try using your Brother ScanNCut machine to cut cardstock, but you’re not quite sure where to start?
In this beginner-friendly tutorial, I’ll show you how to cut a simple, layered heart design with your ScanNCut.
It’s a great project to help you learn how to work with SVG files, CanvasWorkspace, and your ScanNCut machine.
I recommend using the desktop (installed software) version of CanvasWorkspace, not the online version.

In this tutorial, I’ll show you:
- How to import a SVG file into CanvasWorkspace
- How to change colors and resize your design
- How to send a project to your ScanNCut machine
- How to cut cardstock with a ScanNCut machine
- How to know which color to load into the machine at which time
- How to use the Scan feature to perfectly place your cuts
- Tips for taking cardstock off a ScanNCut mat
- And, finally, how to stick the pieces together to finish your project
Note: This tutorial is for ScanNCut machines. There are matching versions available that cover Cricut Joy machines, Cricut Joy Xtra machines, Cricut Explore & Maker machines and Silhouette machines.
Supplies & materials
Here are the supplies and materials you’ll need to follow along with this tutorial:
- ScanNCut machine
- Light Grip cutting mat
- Cardstock in colors to match your project (any thickness)
- Scraper tool
- Craft glue (I like Bearly Art Glue, Collall and Nuvo Craft Glue)
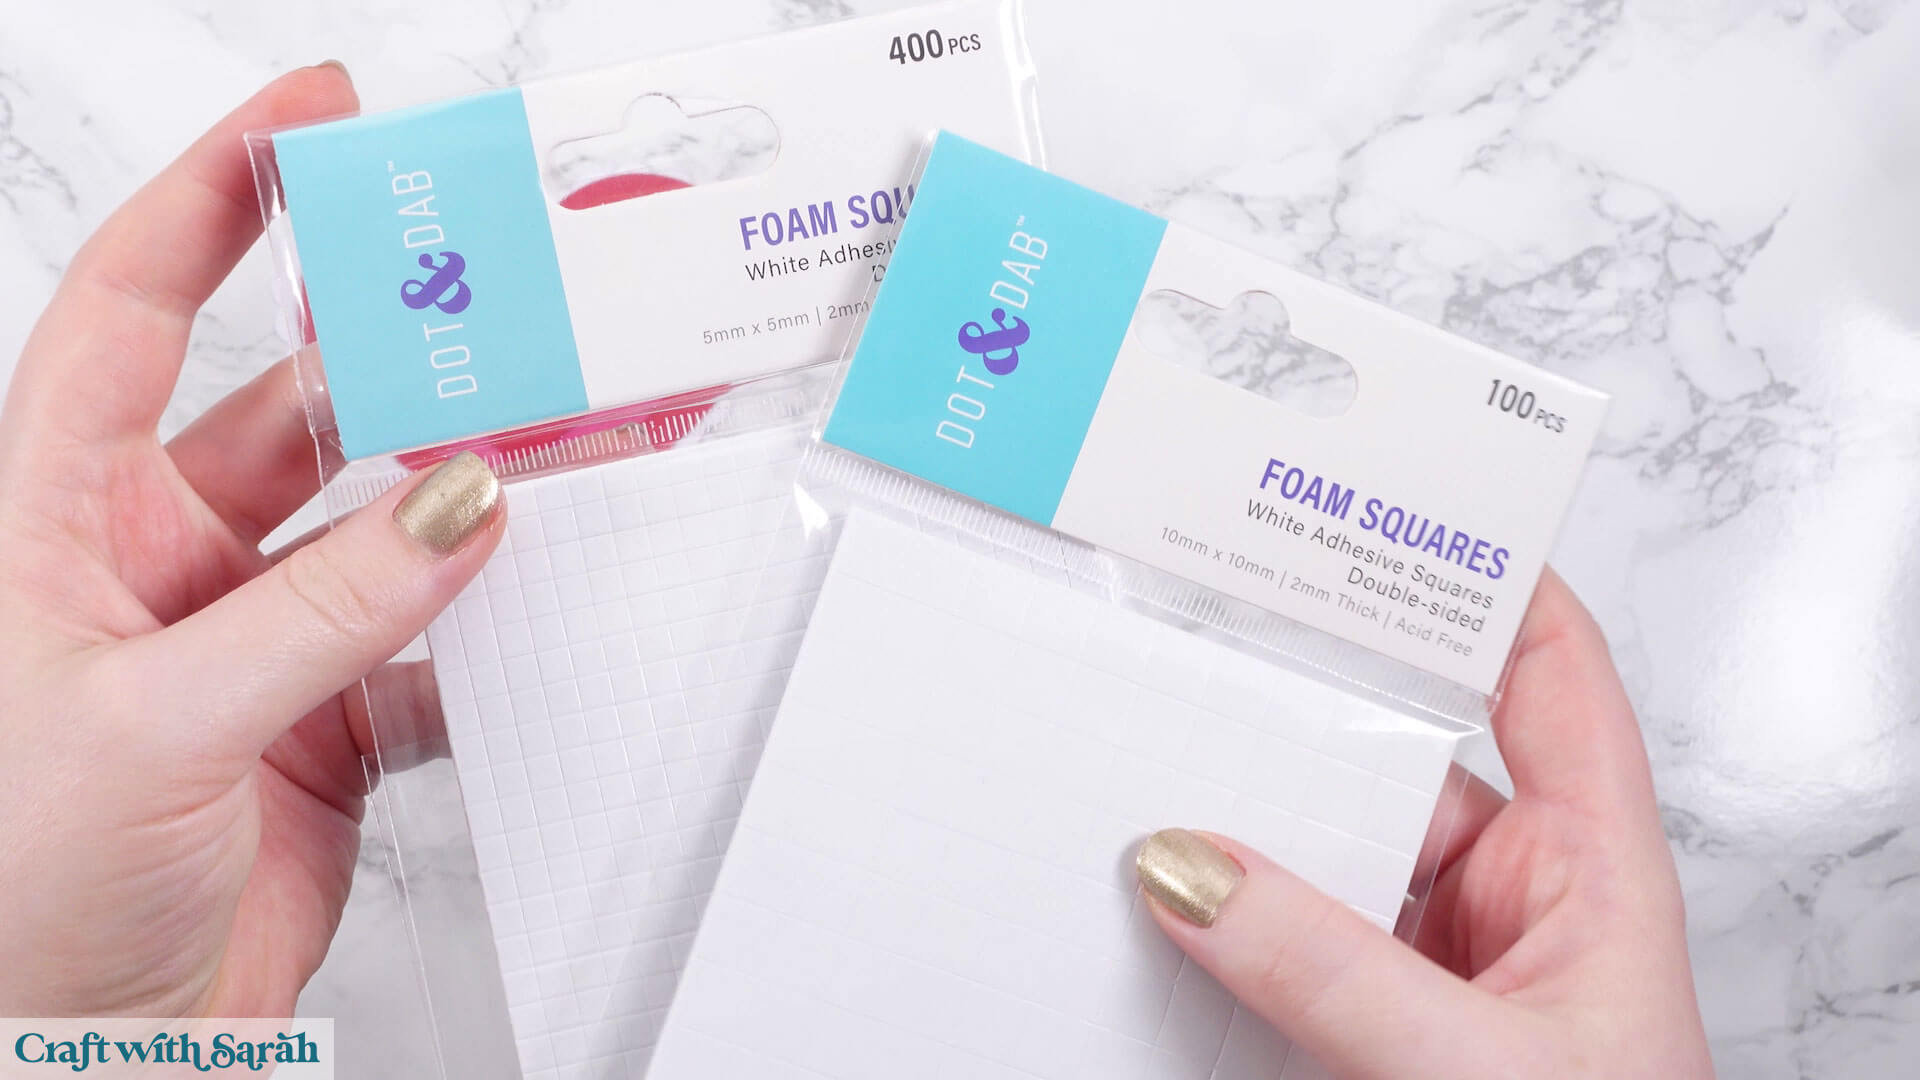
- Foam pads/squares, ideally 2mm thick
- Optional – Brayer tool, rolling pin, or scraper (to press the cardstock down securely on the cutting mat)
ScanNCut video tutorial
Watch the video below to see how to cut cardstock with a ScanNCut machine.
Scroll down for a written version of the video content.
Note:For this tutorial I am using a Brother ScanNCut SDX1200 cutting machine. Other machines may require slightly different steps while cutting.
Download the free heart design
Video timestamps:
- 00:00 – Introduction & Overview
- 01:36 – How to unzip folders
- 03:09 – Opening SVG files in CanvasWorkspace
- 05:29 – Adding color to the SVG
- 06:52 – Separating the colors
- 08:22 – Sending the design to the ScanNCut
- 10:36 – Putting cardstock on the mat
- 11:04 – Cutting cardstock with a ScanNCut
- 18:27 – The BEST way to take cardstock off a cutting mat
- 19:19 – Sticking the pieces together
Step 1) Download & unzip your SVG file
You can follow the same steps in this tutorial for any SVG file that you are making.
However, if you want to follow along exactly, download the free heart design.
When you download SVG files, you’ll probably find that they are contained within a zip folder.
This is a way for designers to send multiple files in one single download.
Before you can open the SVG files in CanvasWorkspace, you’ll need to unzip the folder. This is also known as “extracting” the folder.
- On Windows: Right-click the ZIP folder and select “Extract All”.
- On Mac: Double-click the folder to unzip it.
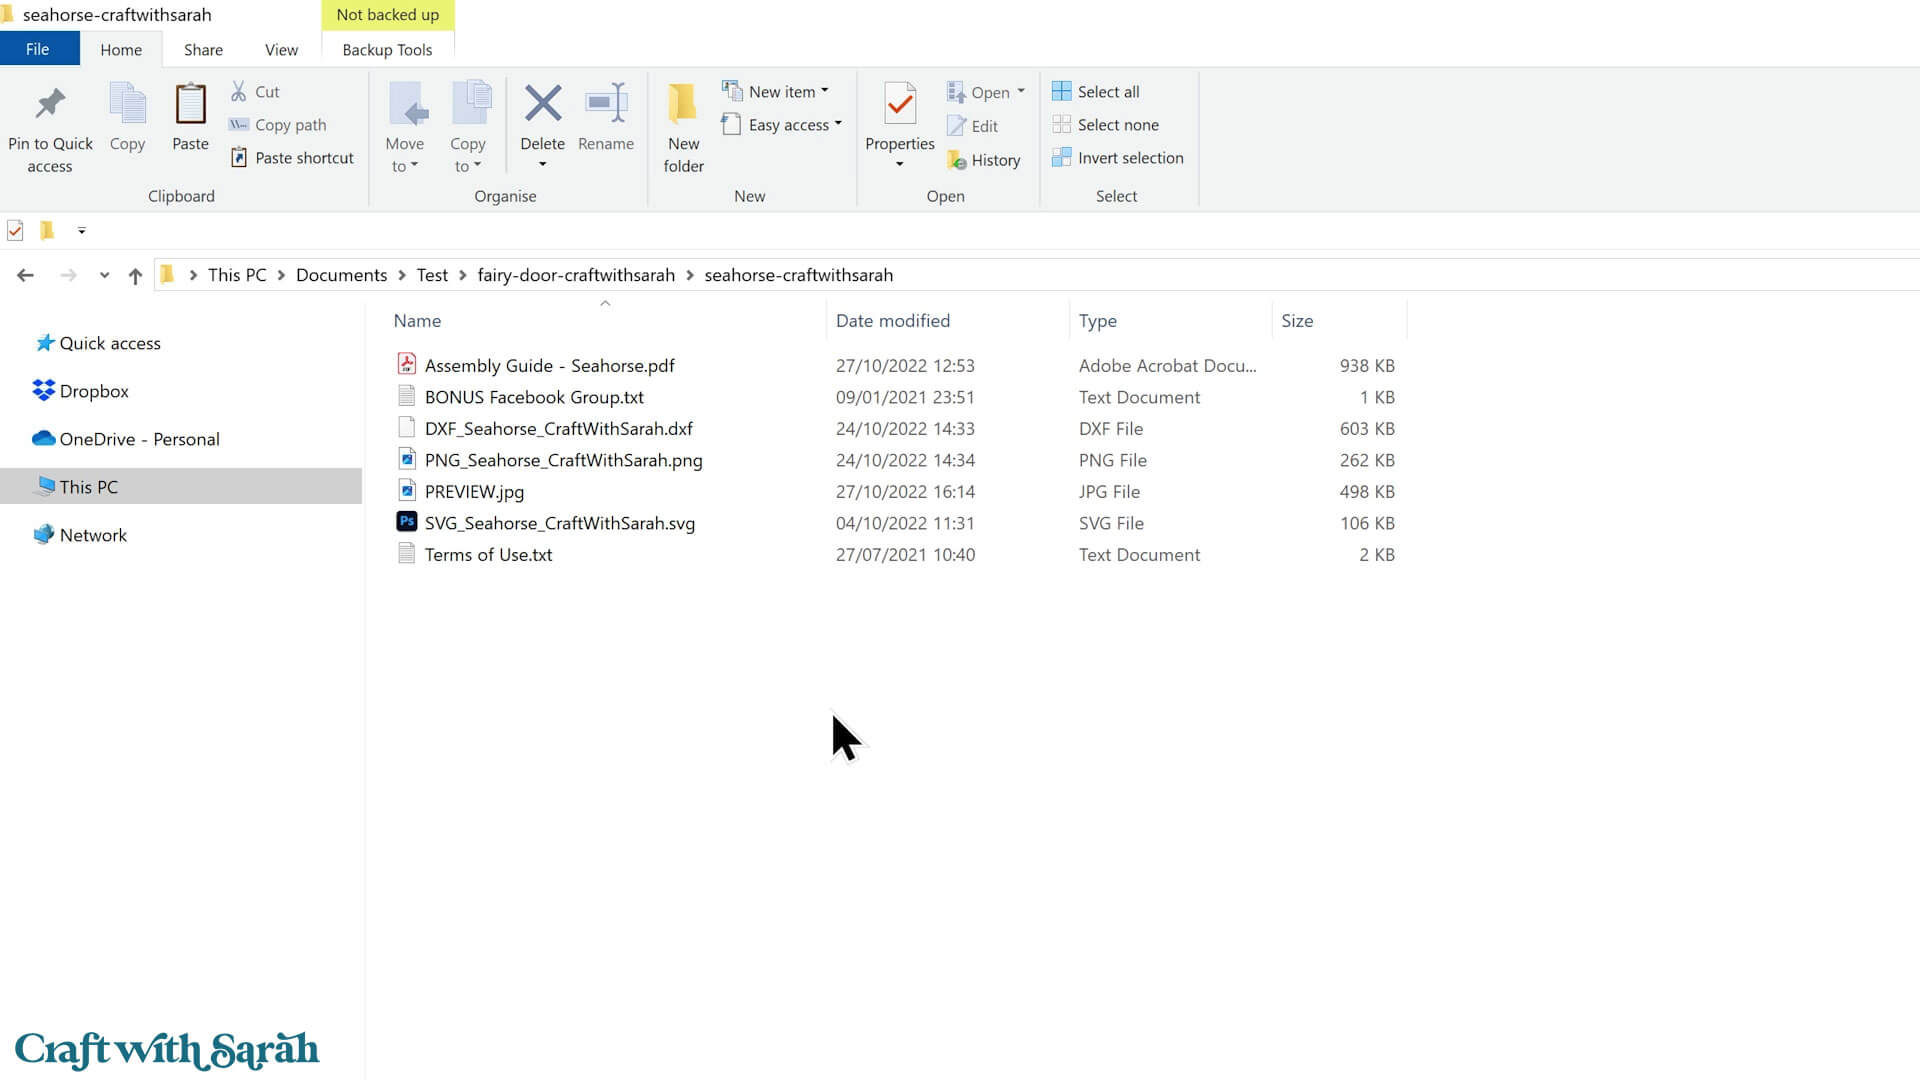
Once unzipped, you’ll see all the different files within.
For “Craft with Sarah” designs, you’ll either see a folder structure like this:
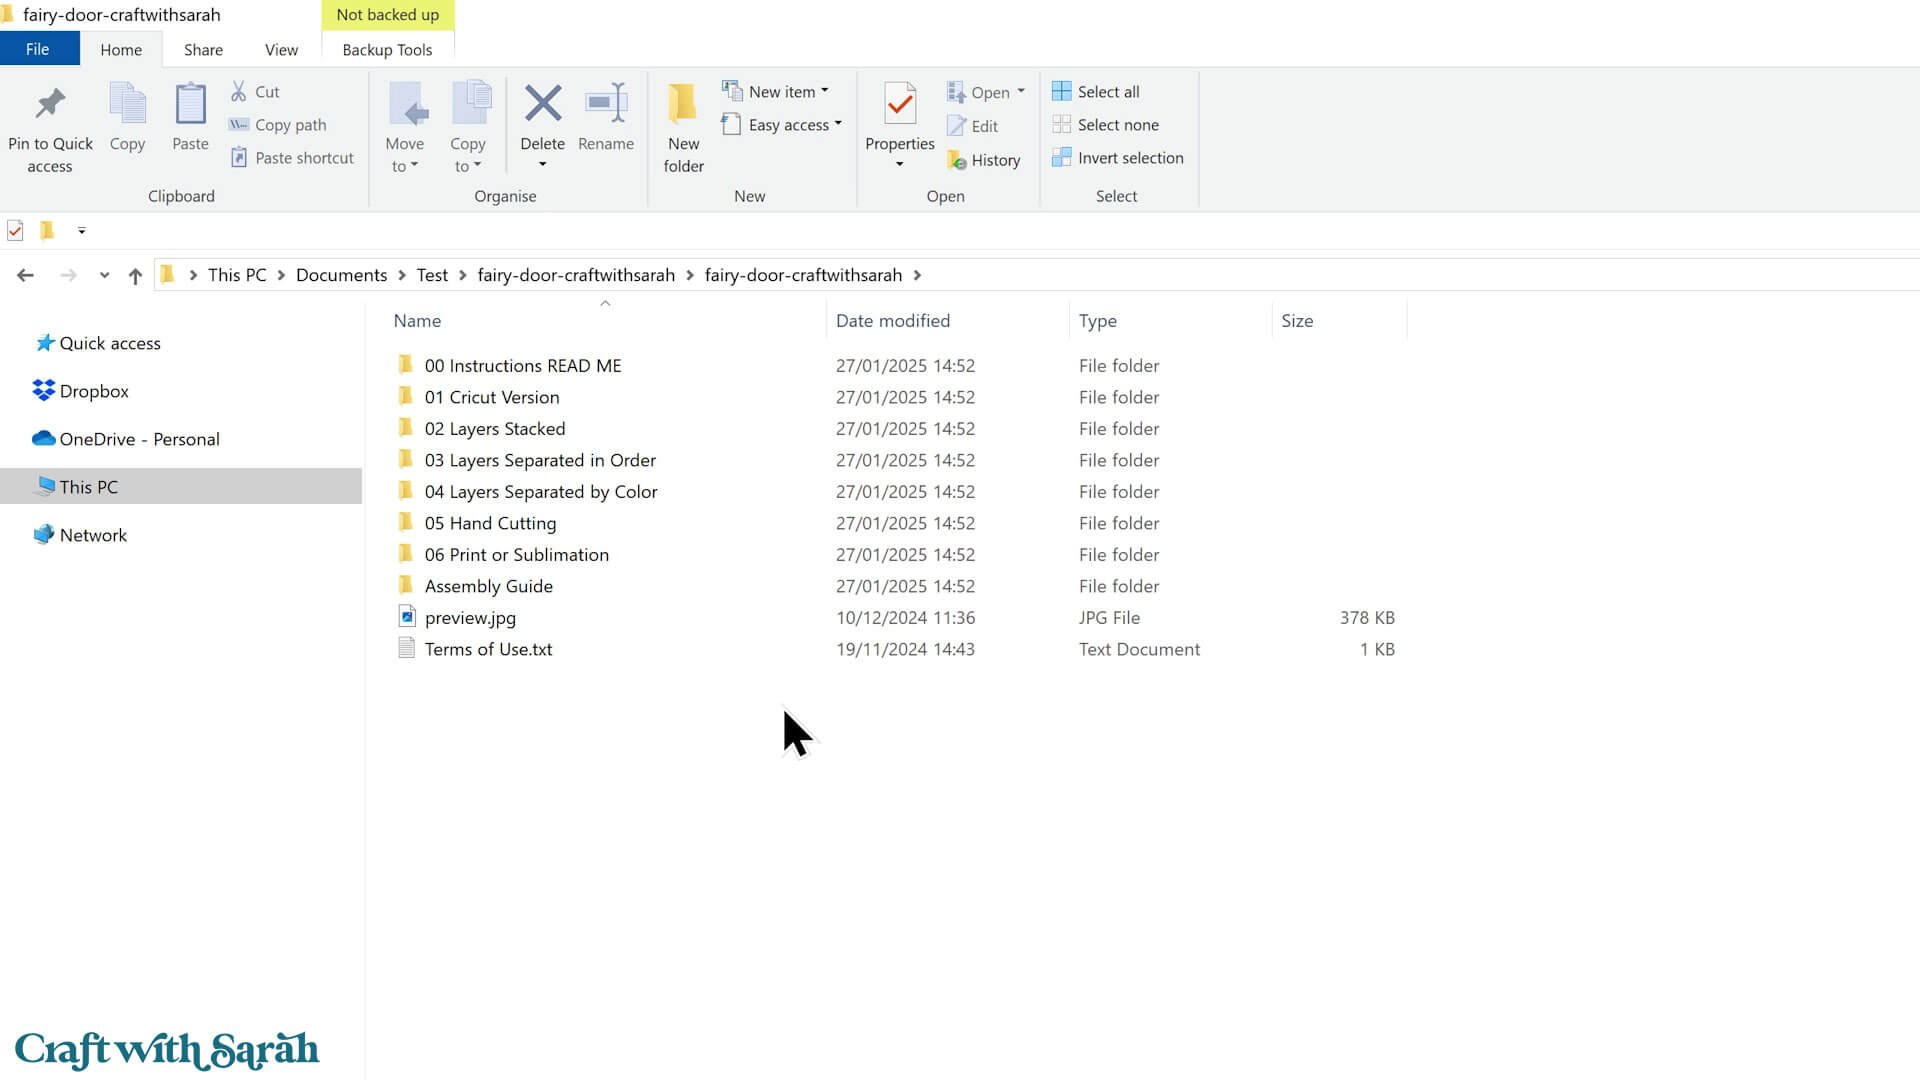
Or you’ll see all the files directly, like this:
Step 2) Upload the SVG to CanvasWorkspace
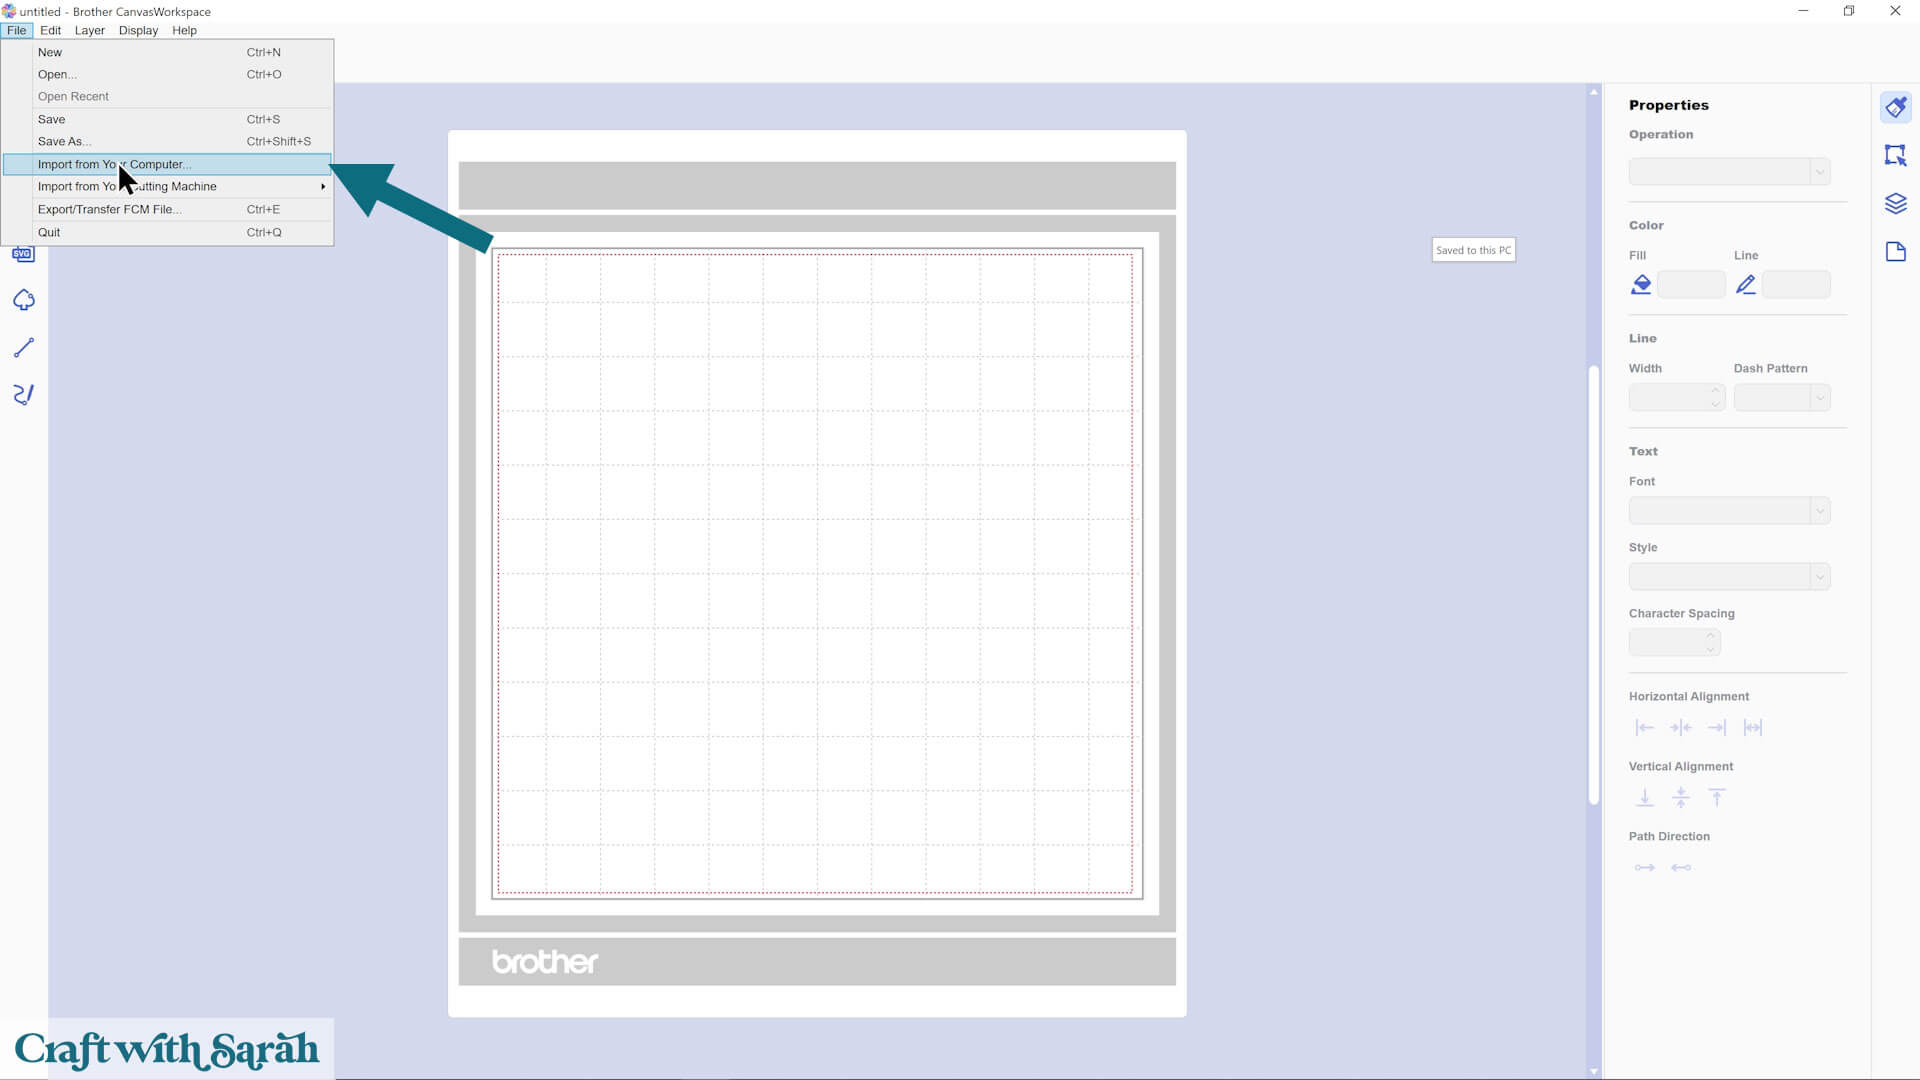
Open CanvasWorkspace.
Go to File > Import > From your computer.
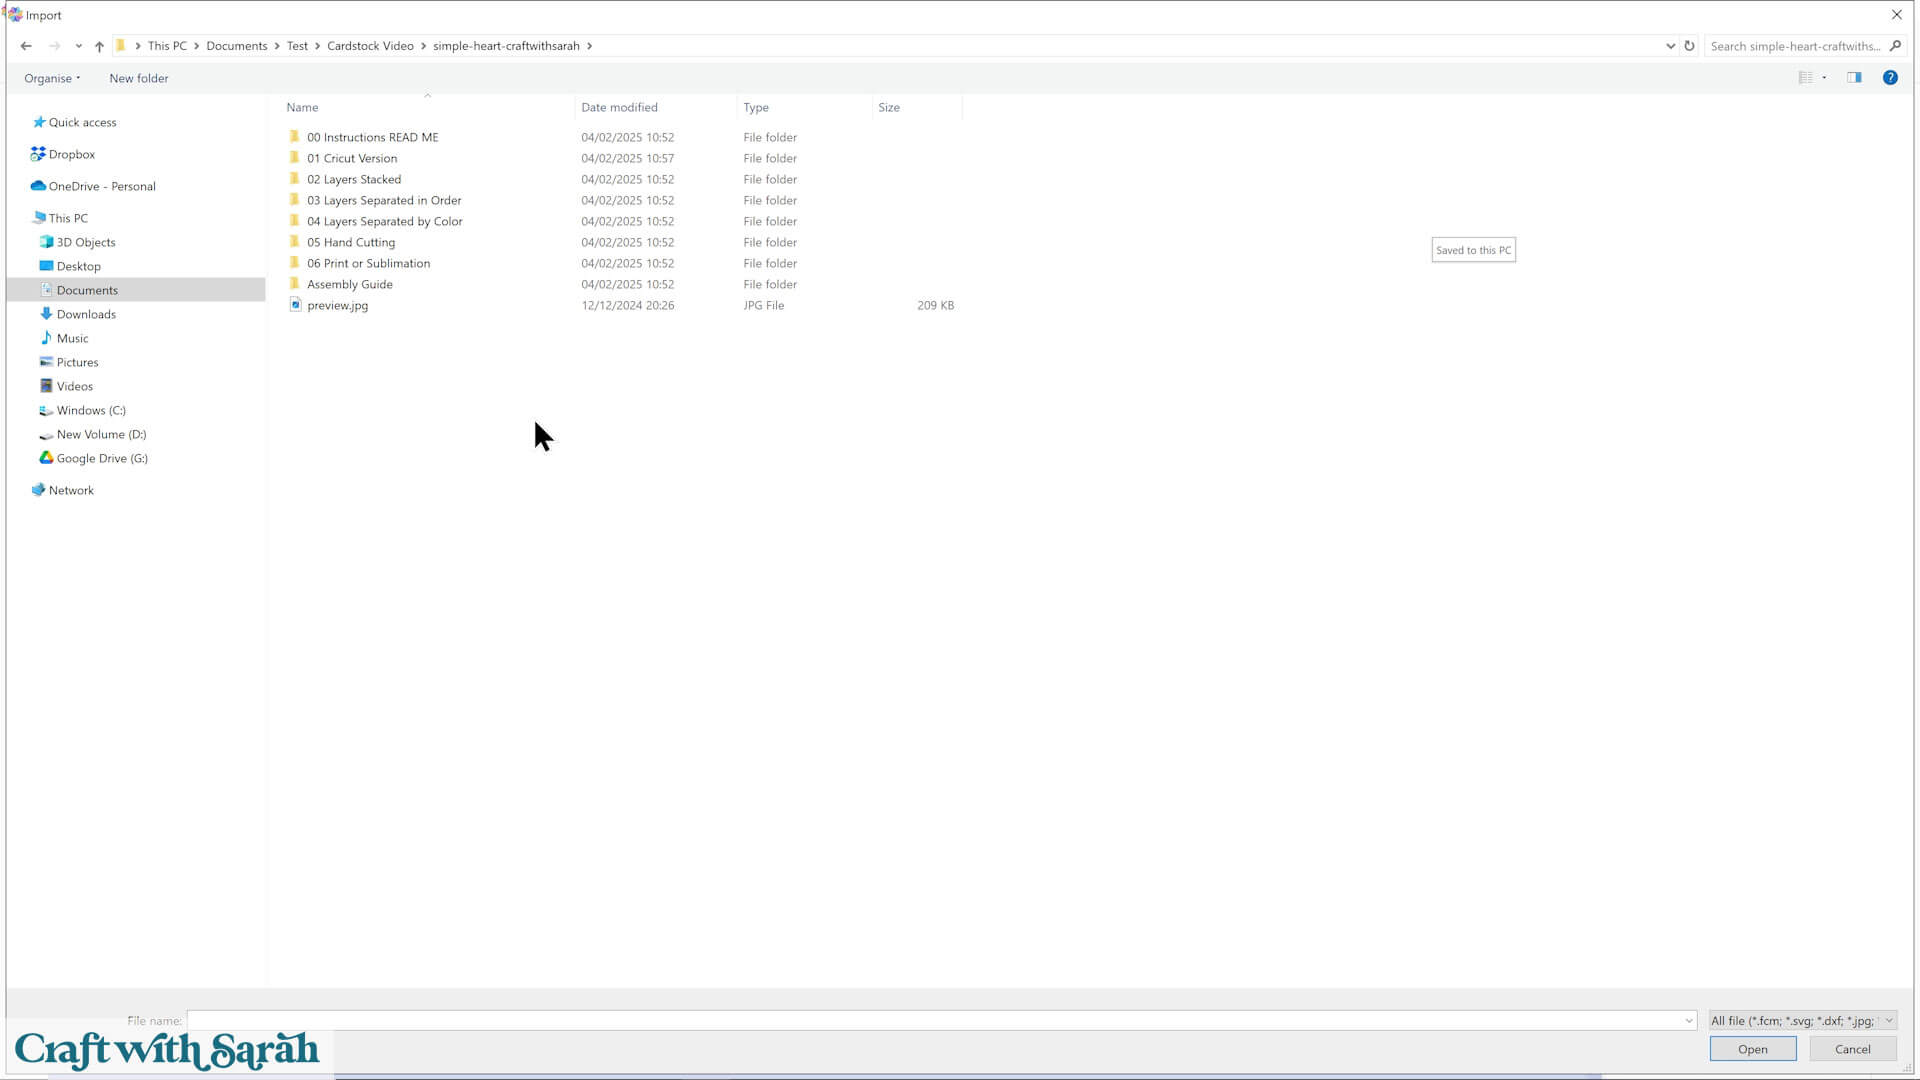
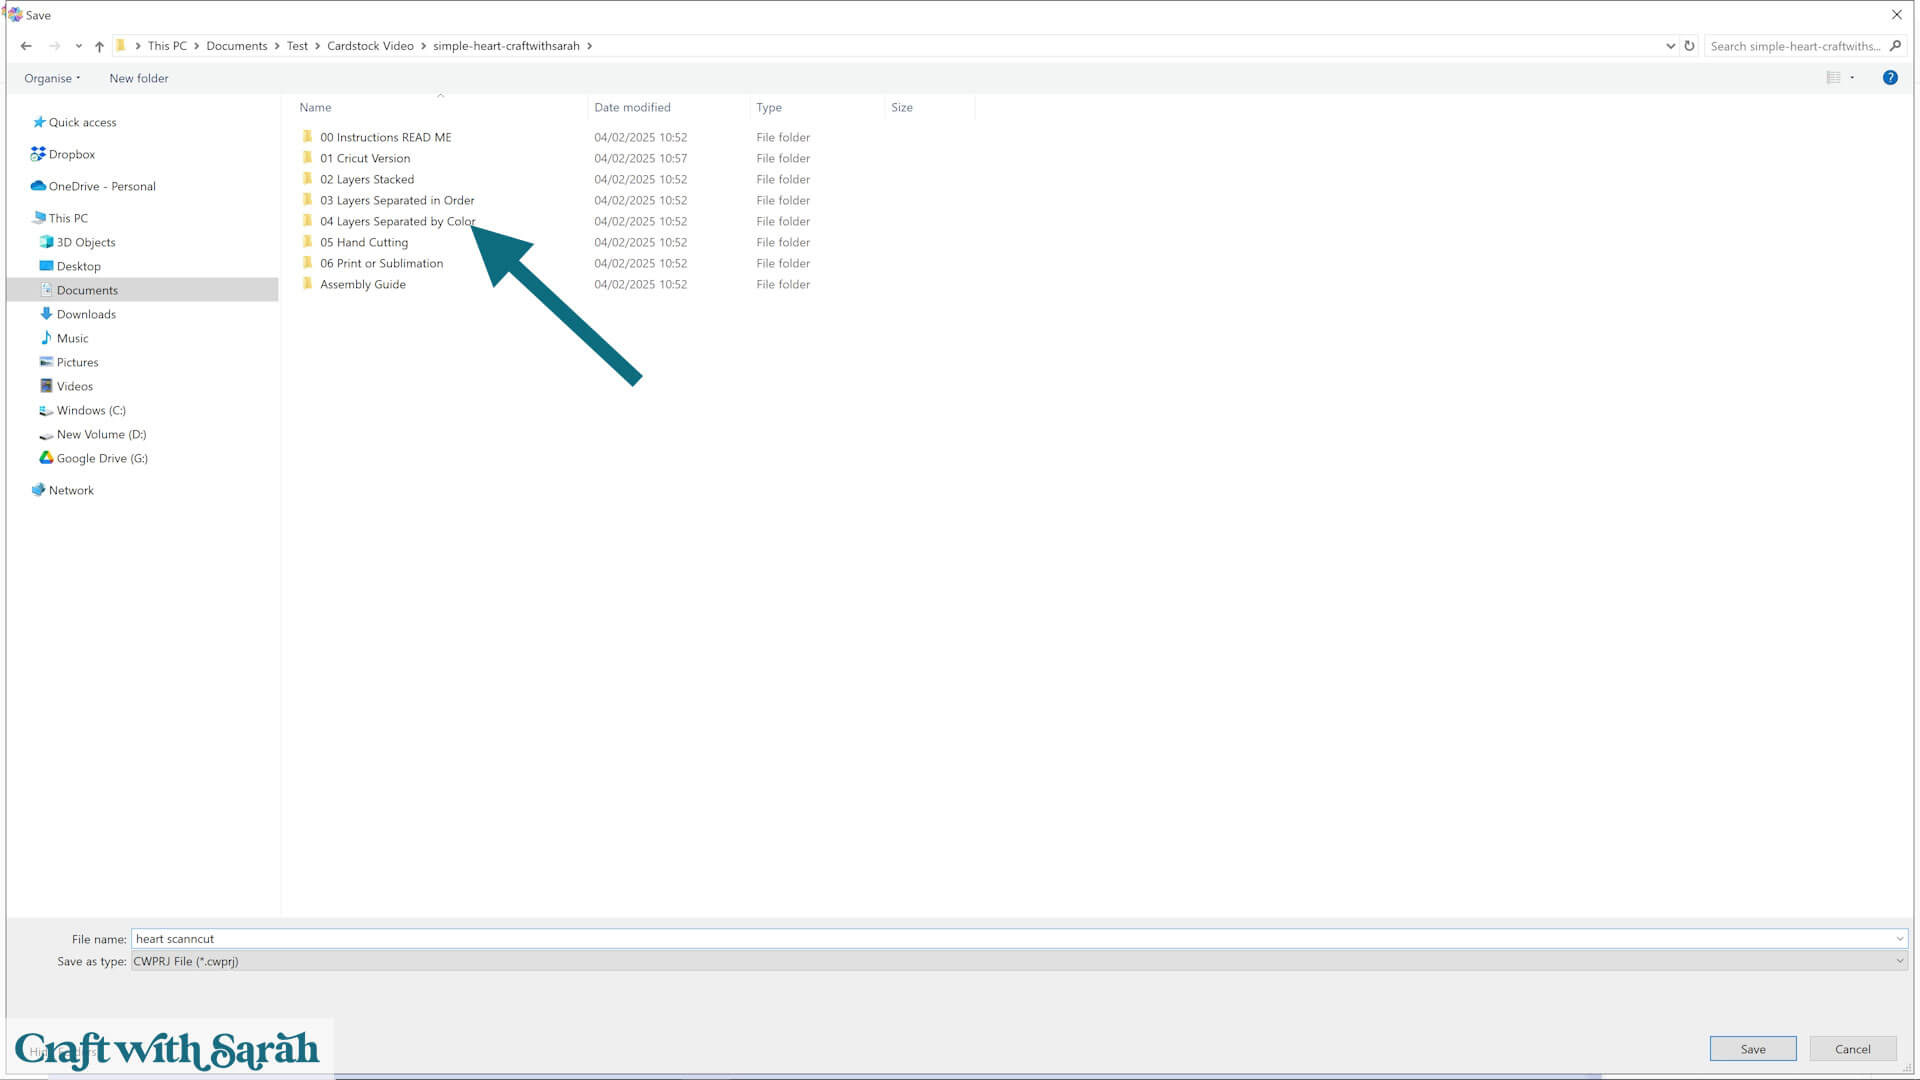
If you are using a newer design then you’ll see a series of folders when you look at the unzipped version of the download.
Select the SVG file from the folder called:
“03 Layers Separated in Order” or the folder called “04 Layers Separated by Color”.
I find the “04 Layers Separated by Color” version easier to work with.
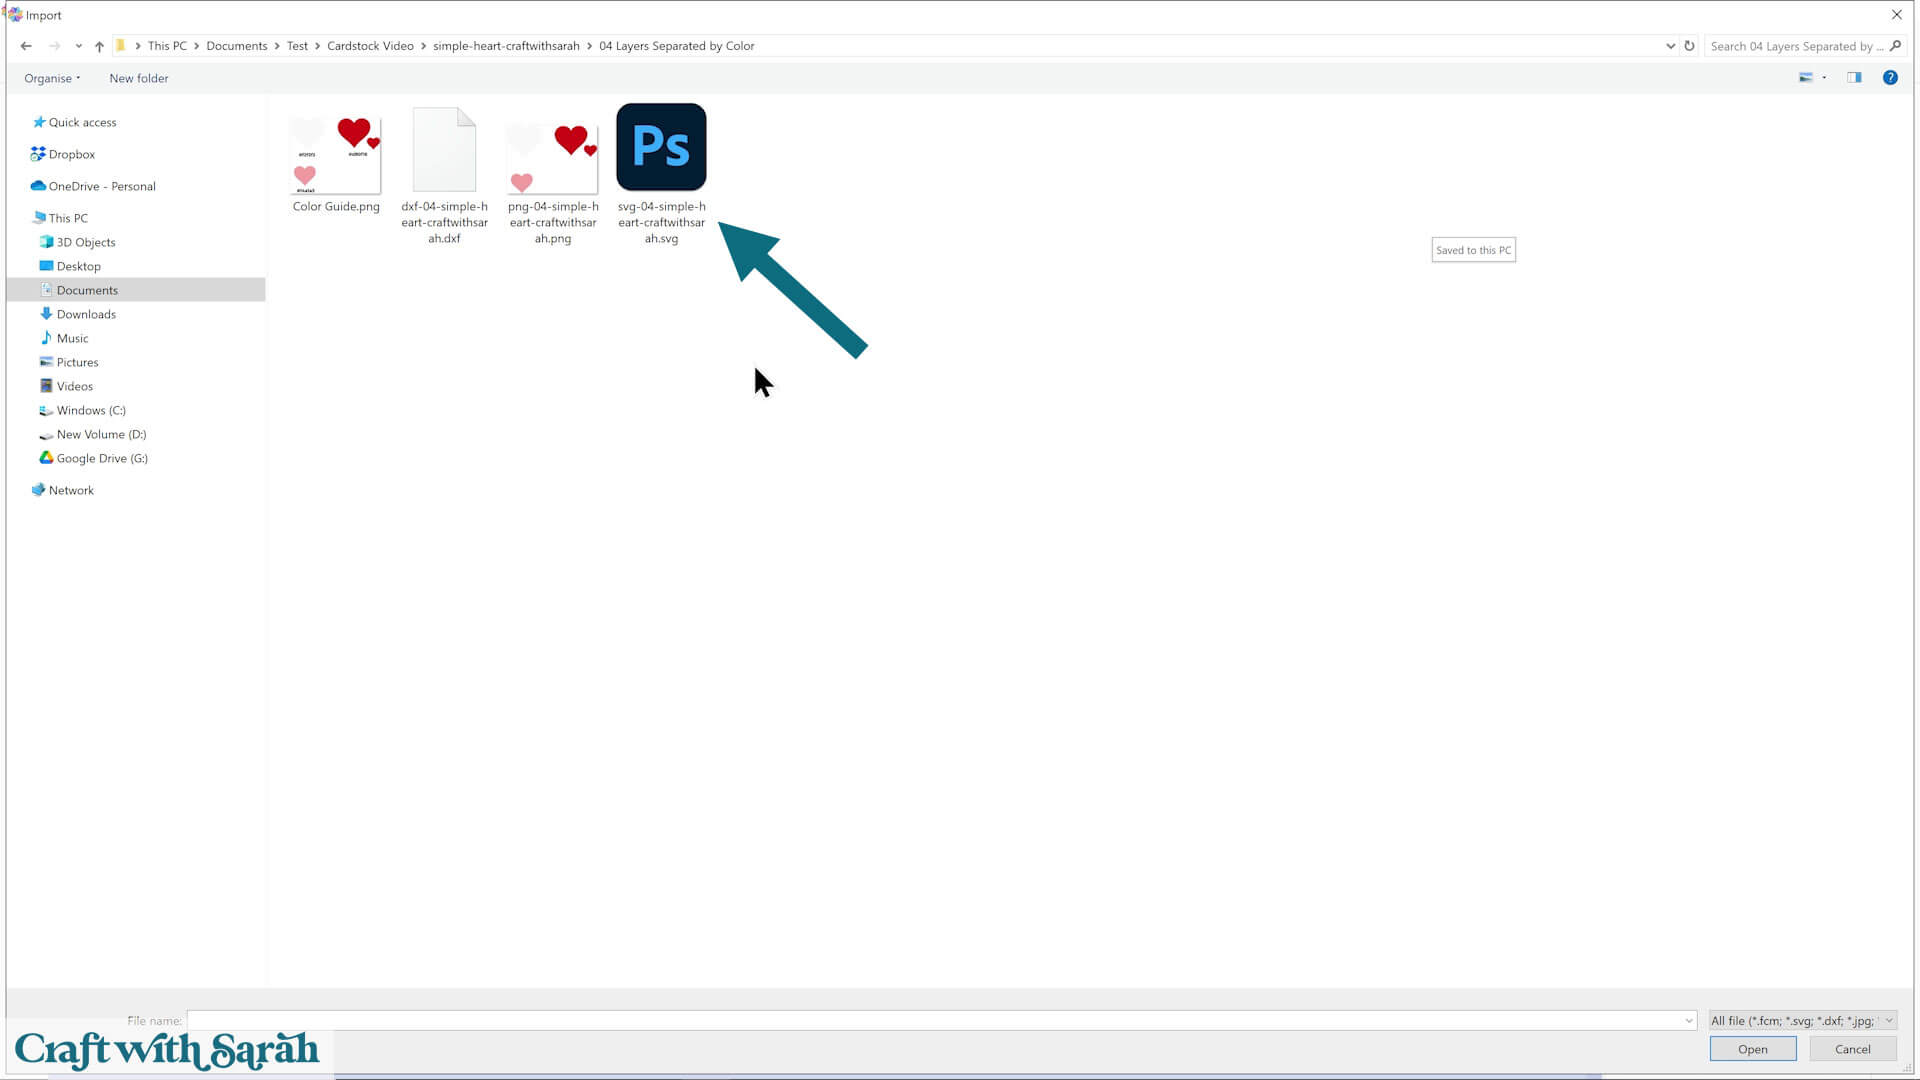
If you’re using an older design where all the files appear in one folder, select the file that starts SVG_… or svg-… in the filename.
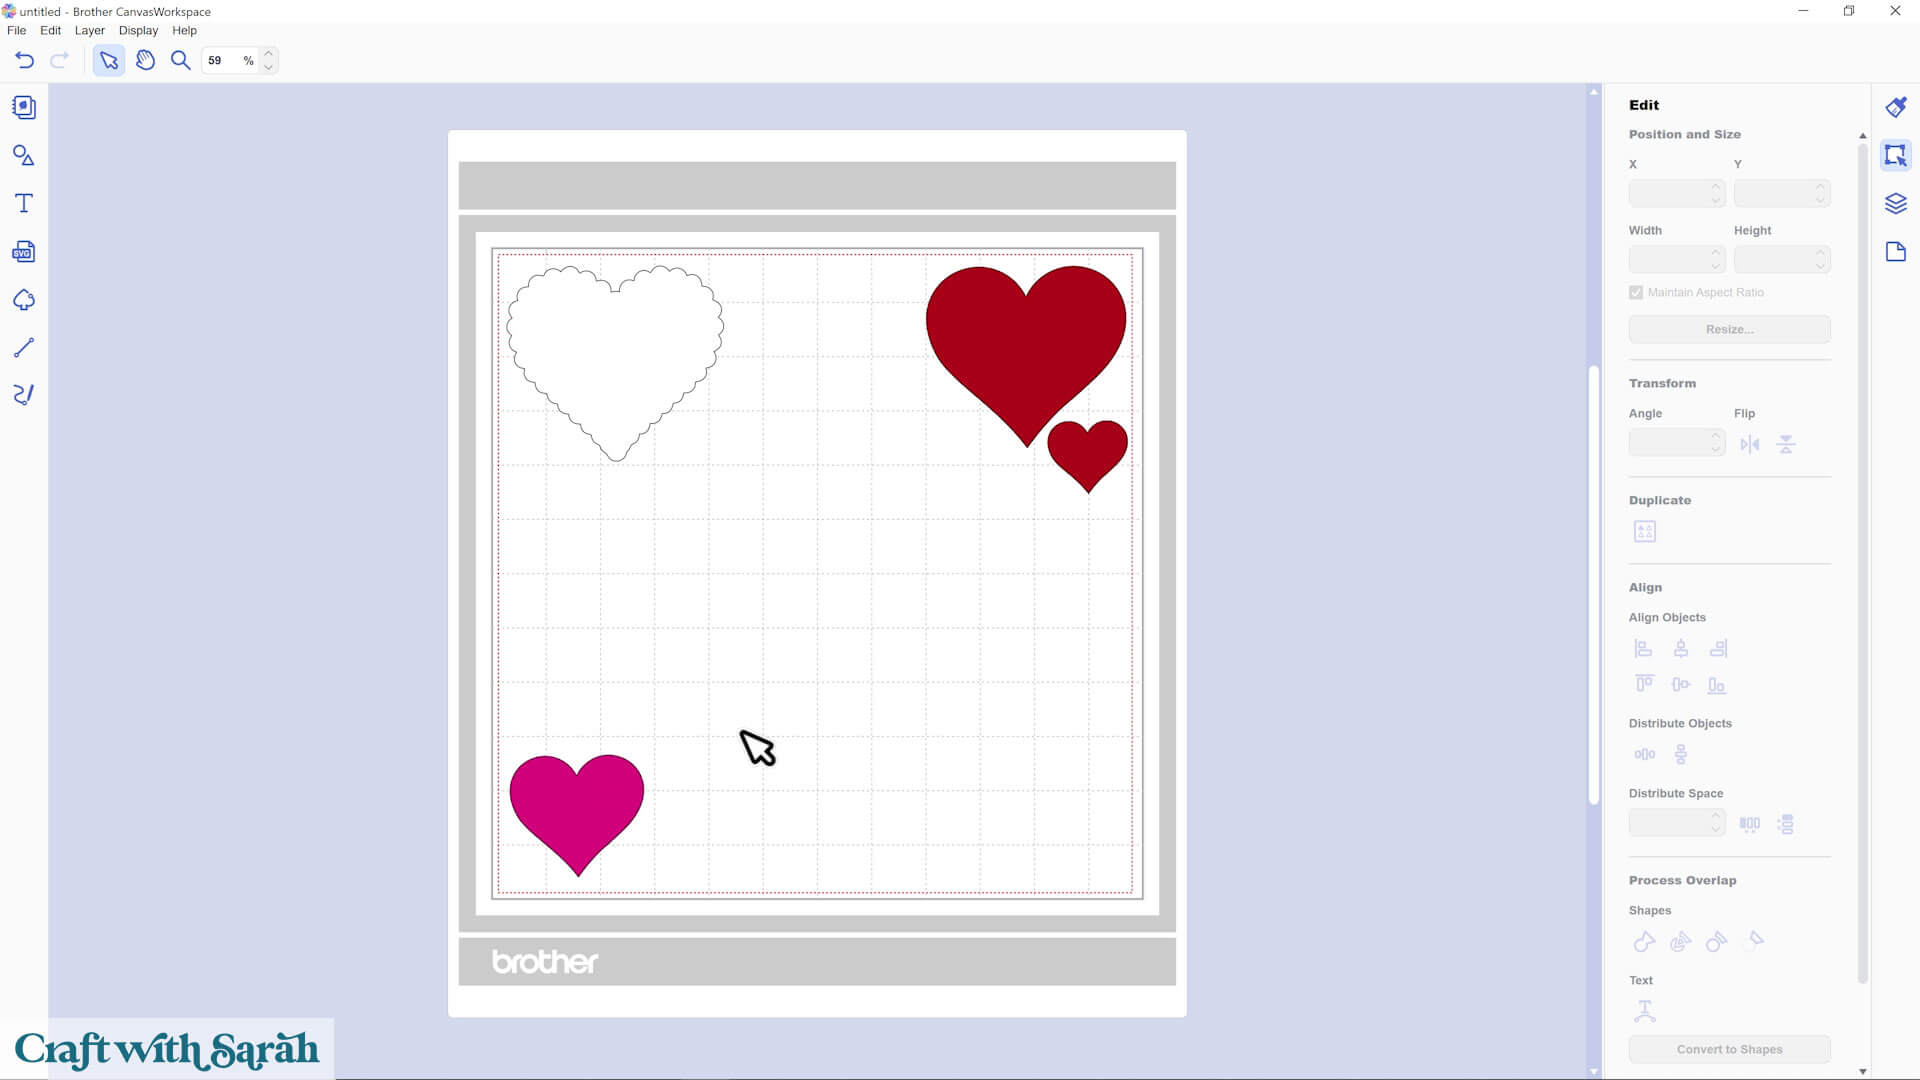
If the design loads in all in black, don’t worry. That’s (unfortunately!) normal for CanvasWorkspace. We’ll change the colors in the next step.
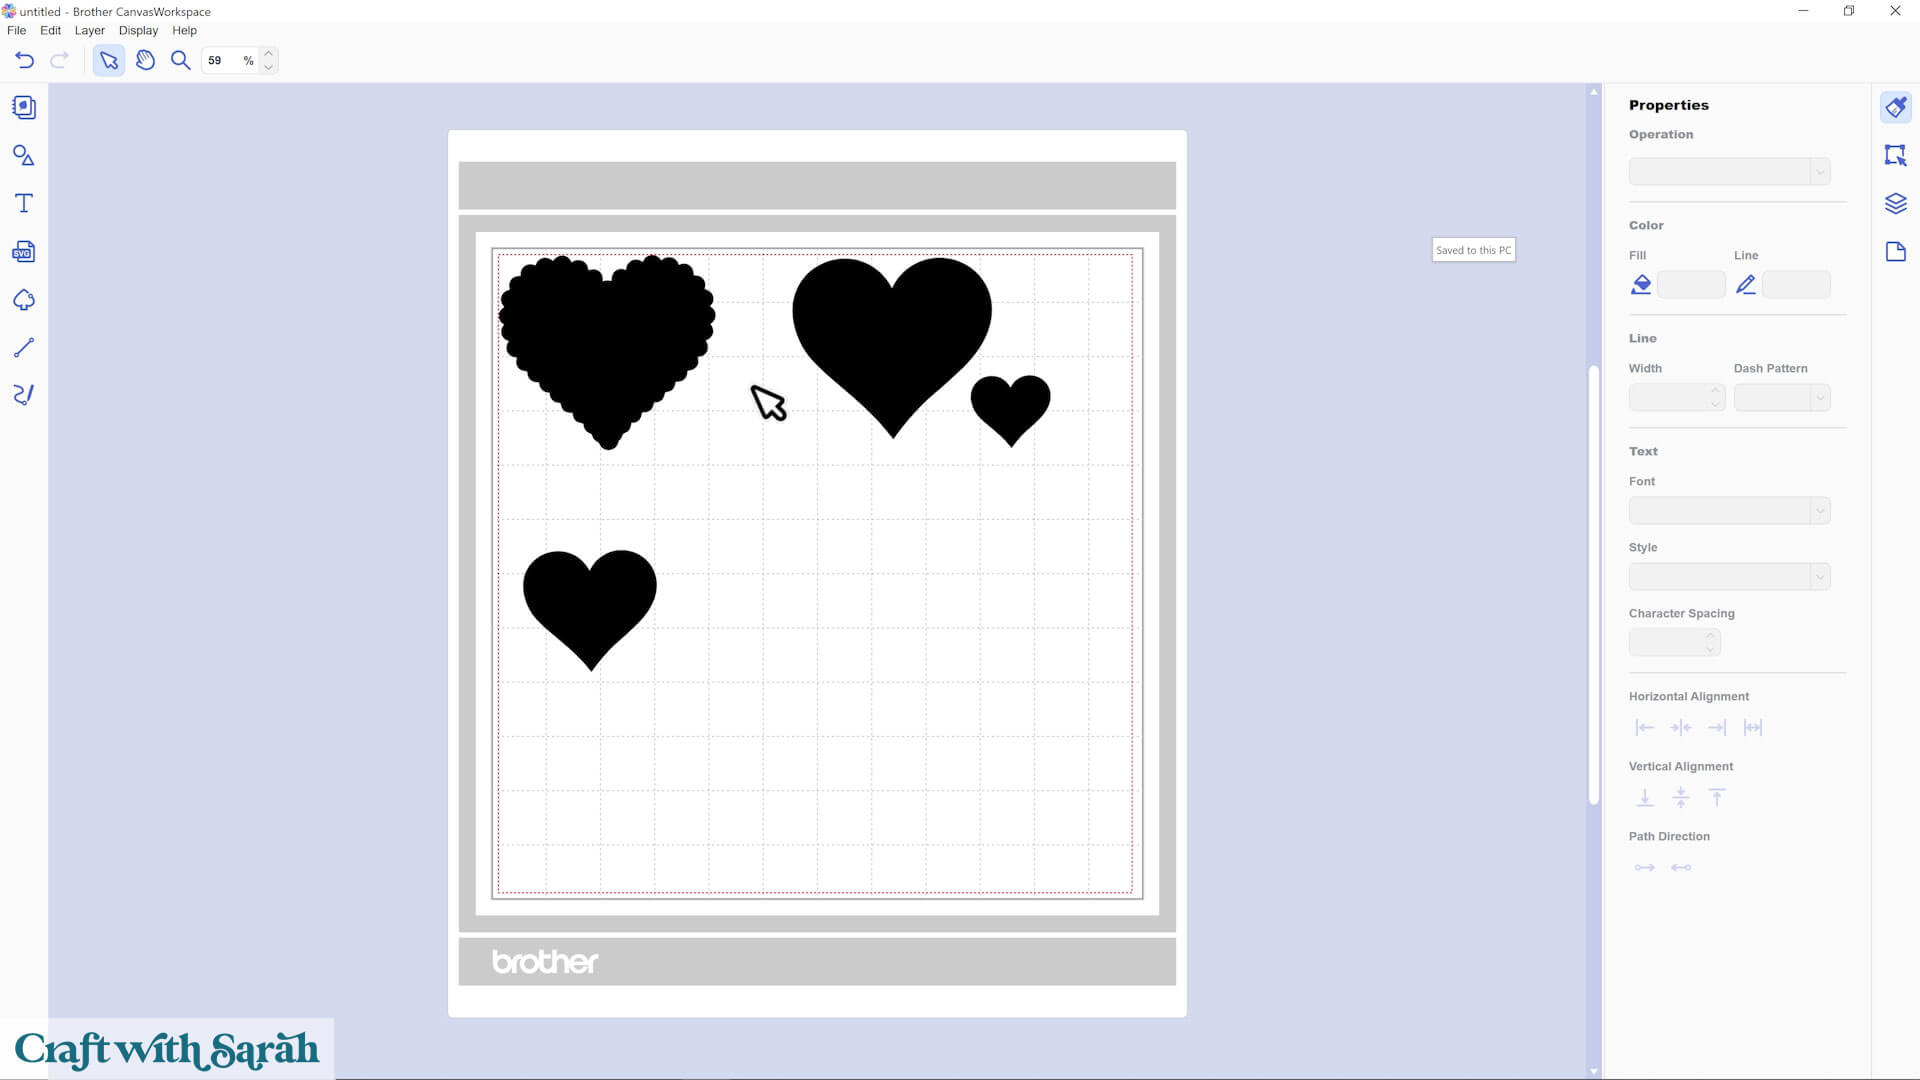
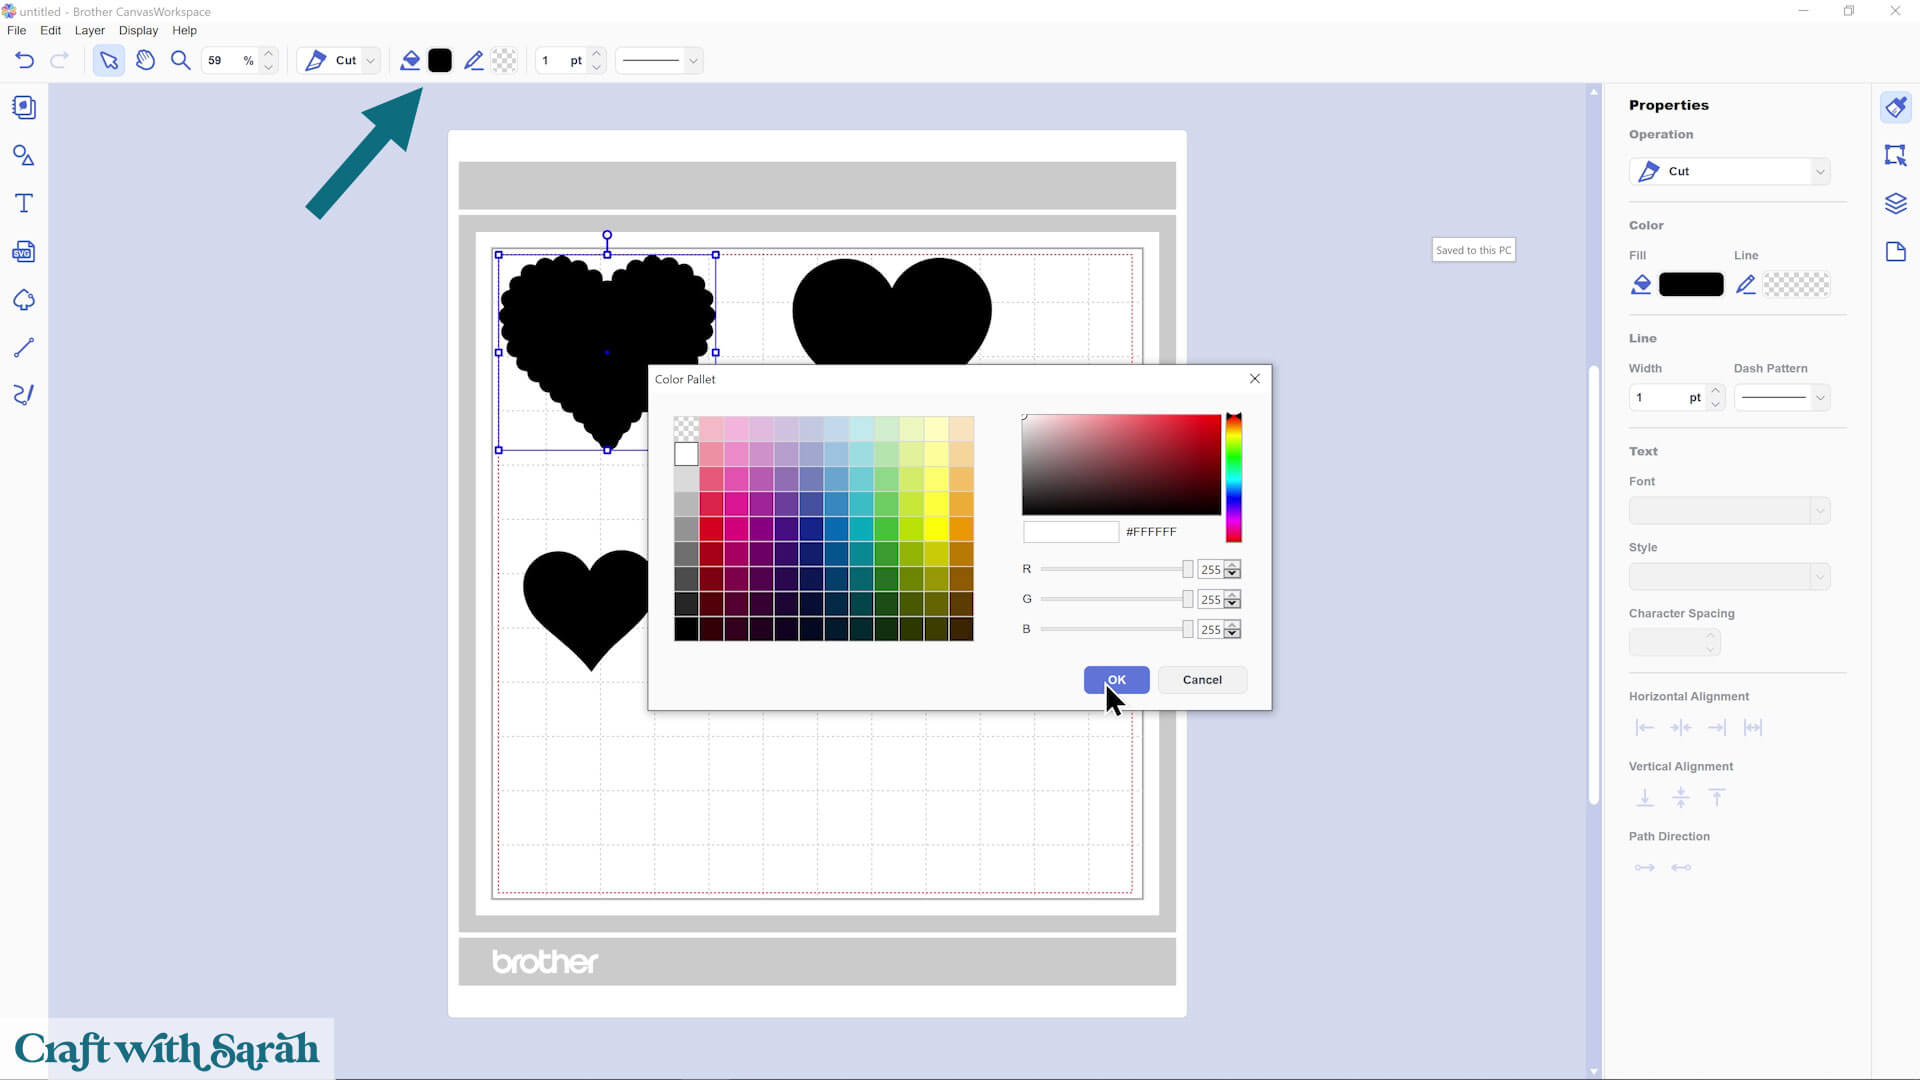
Step 3) Add colors to your project
Click on each piece and use the “Fill” color box to choose the right color.
For this heart project:
- The frilly heart is white
- Two hearts are red
- The middle heart is pink
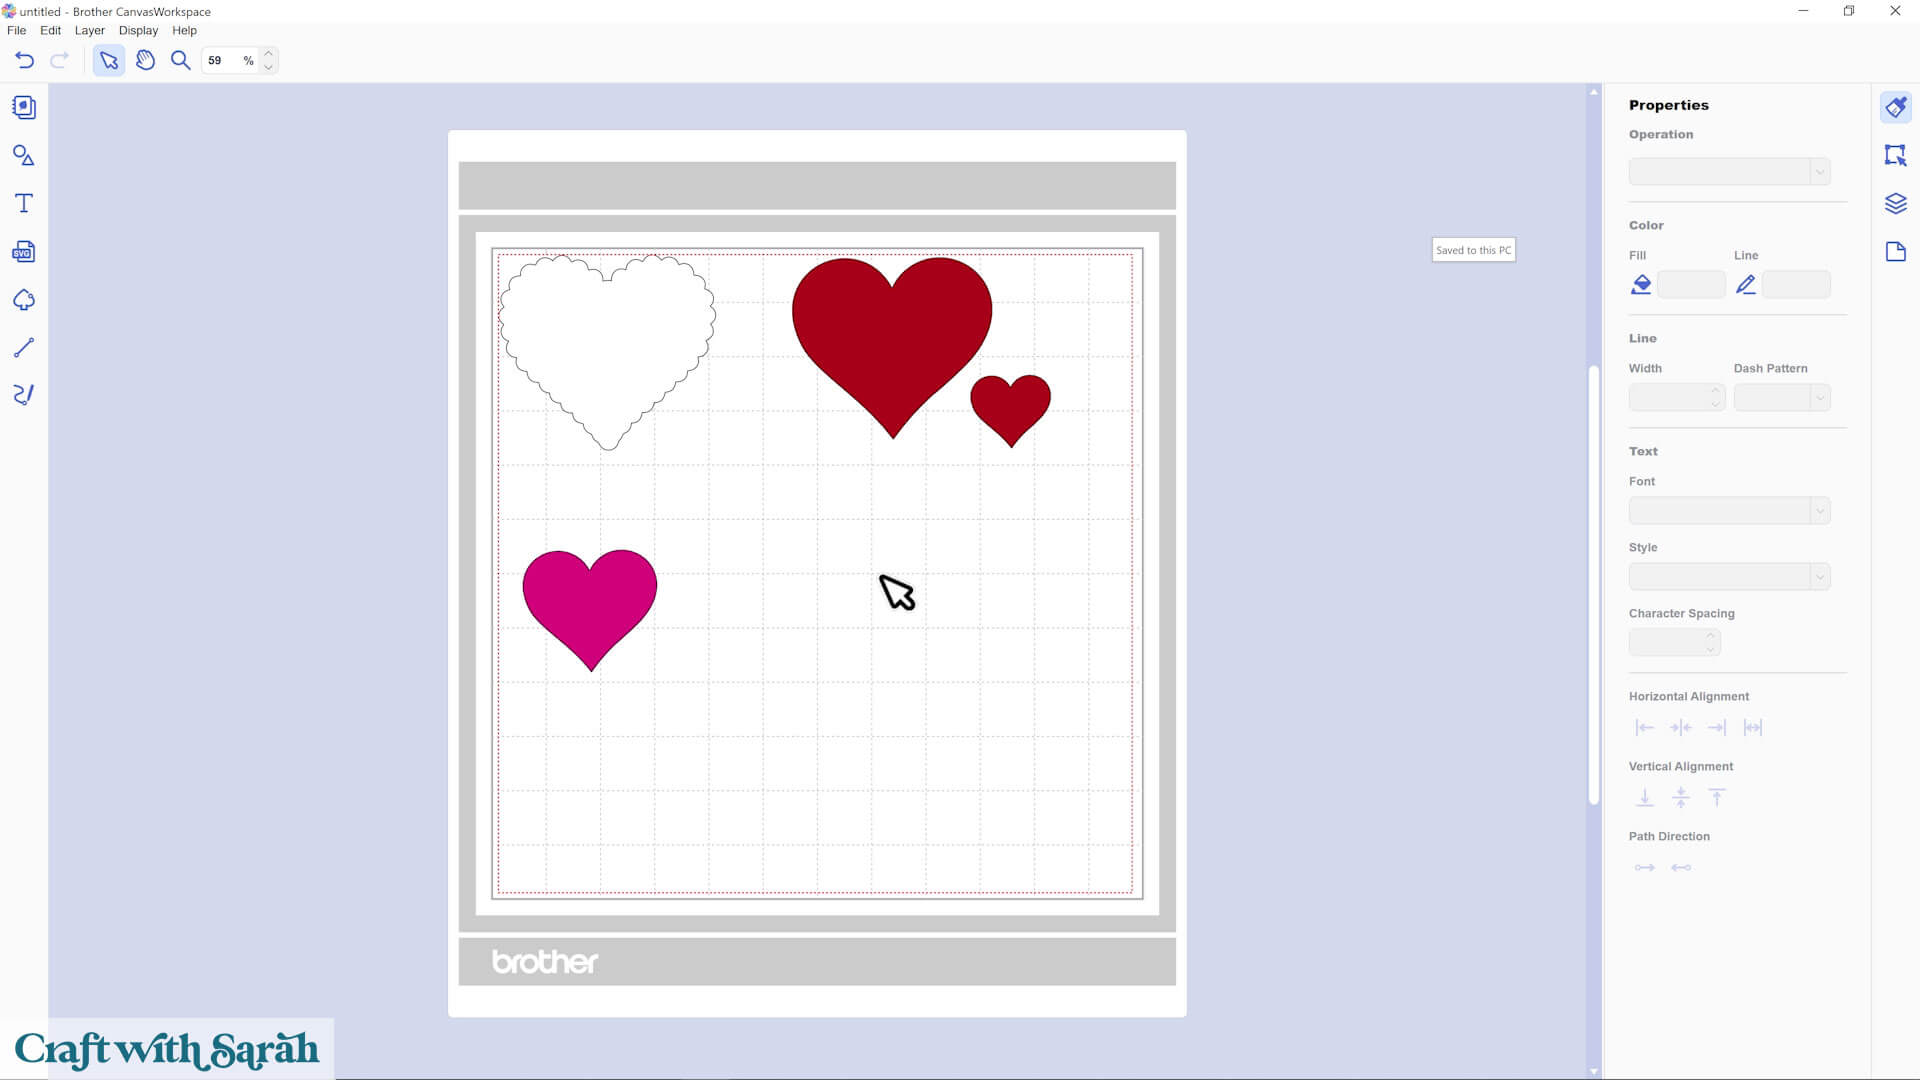
If your white layer is hard to see, give everything a black stroke outline so the shapes stand out but don’t worry, this outline won’t be cut.

Confused by this step? Read this tutorial for a more detailed, step-by-step tutorial that shows how to add the colors back into your project.
Step 4) Resize the design
Because all the pieces are separate on your project, it will cut very small at the moment – much too small to be useable.
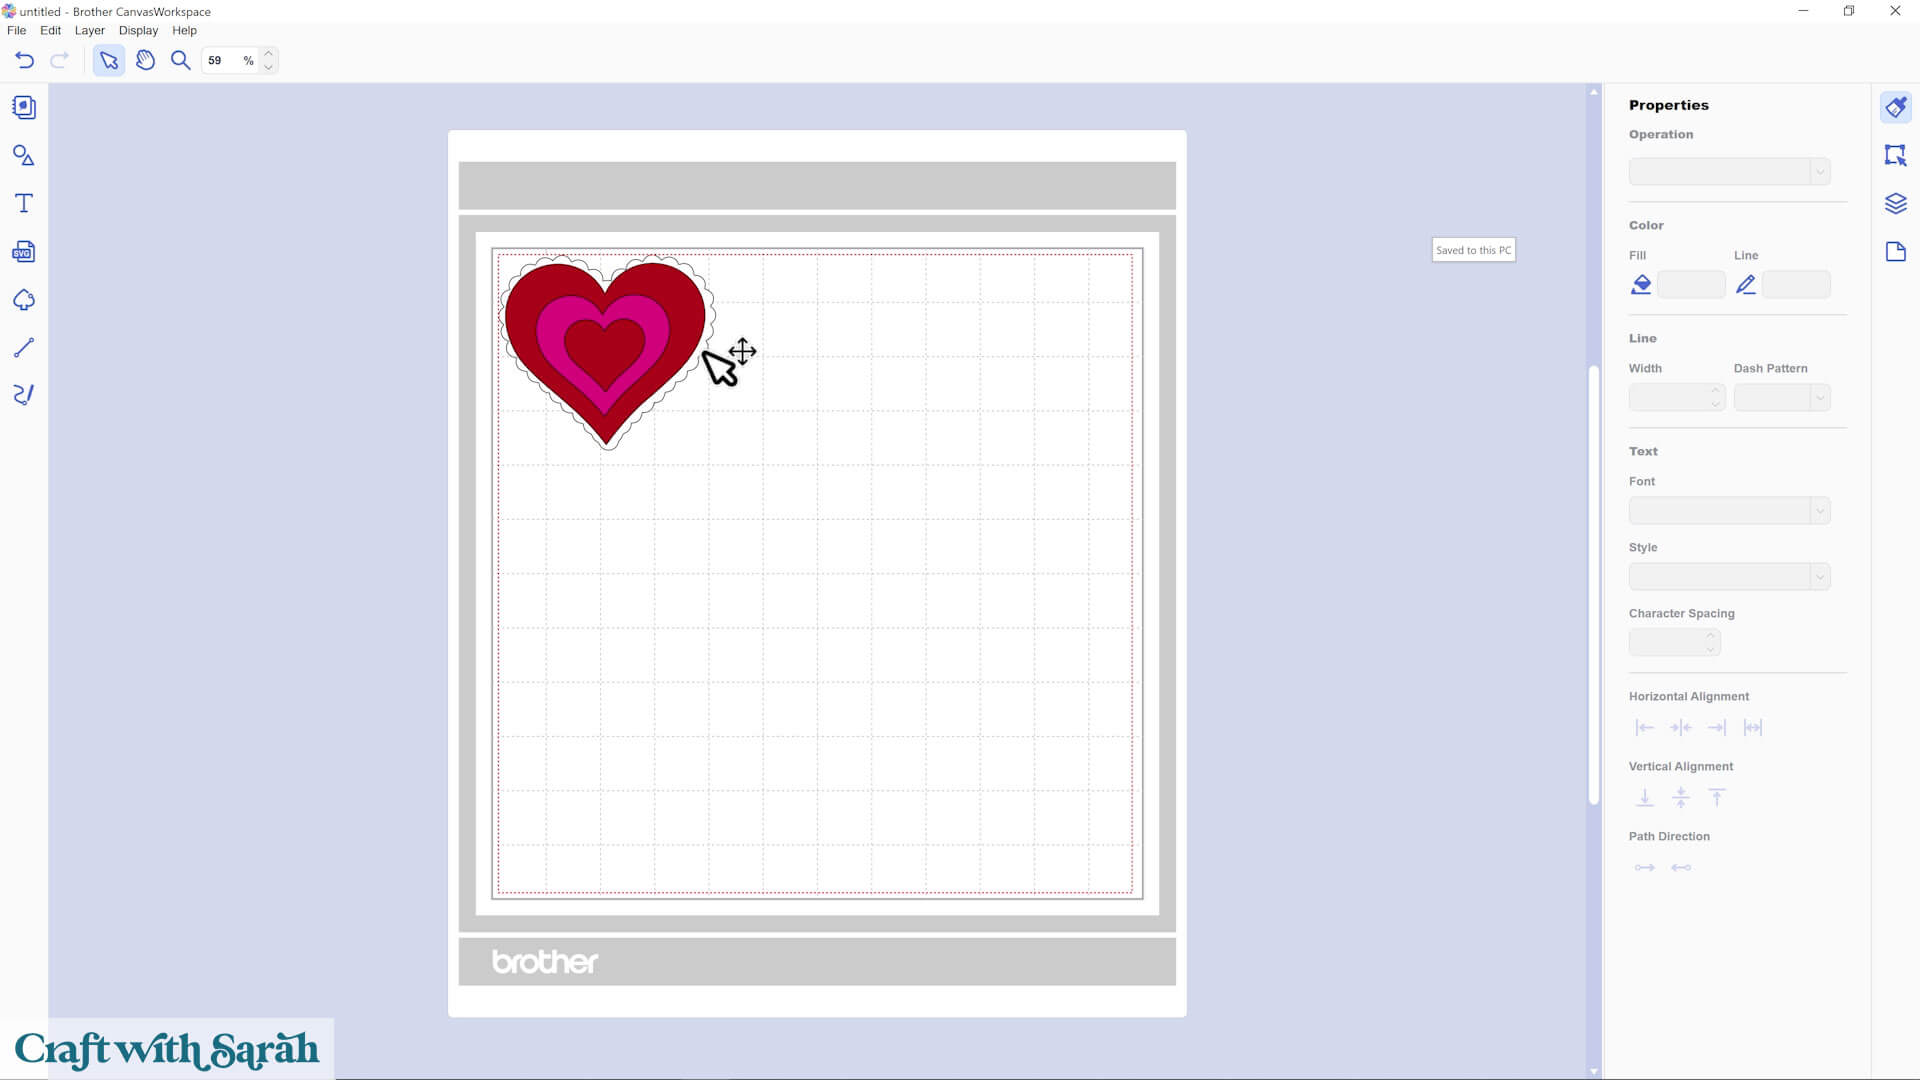
You’ll need to put the layers back together in order to resize.
Stack all the pieces on top of each other, in order.
You can use the Assembly Guide included in your download folder to check the order.
Drag a box around everything. On the right, under the “Edit” menu, make sure the “Maintain Aspect Ratio” box is checked.
Then choose either the width or height to change, and the other measurement will automatically change to keep everything in proportion.

Step 5) Send the project to your ScanNCut
Note:For this tutorial I am using a Brother ScanNCut SDX1200 cutting machine. Other machines may require slightly different steps while cutting.
As this heart design is quite simple and I’m cutting it at a small size, I’m going to drag all the pieces into separate places on the screen.
The next step is easier if the pieces are separated. However, for more complex designs, you may have to overlap the pieces a little.
Drag the pieces of the heart into different places on the cutting mat image that’s on the computer screen.
Click “File > Save As” and save your project as a .cwprj file (this is the default option that comes up when you save).
Make sure your ScanNCut machine is powered on and connected to your computer.
Press “File > Explore/Transfer FCM File”
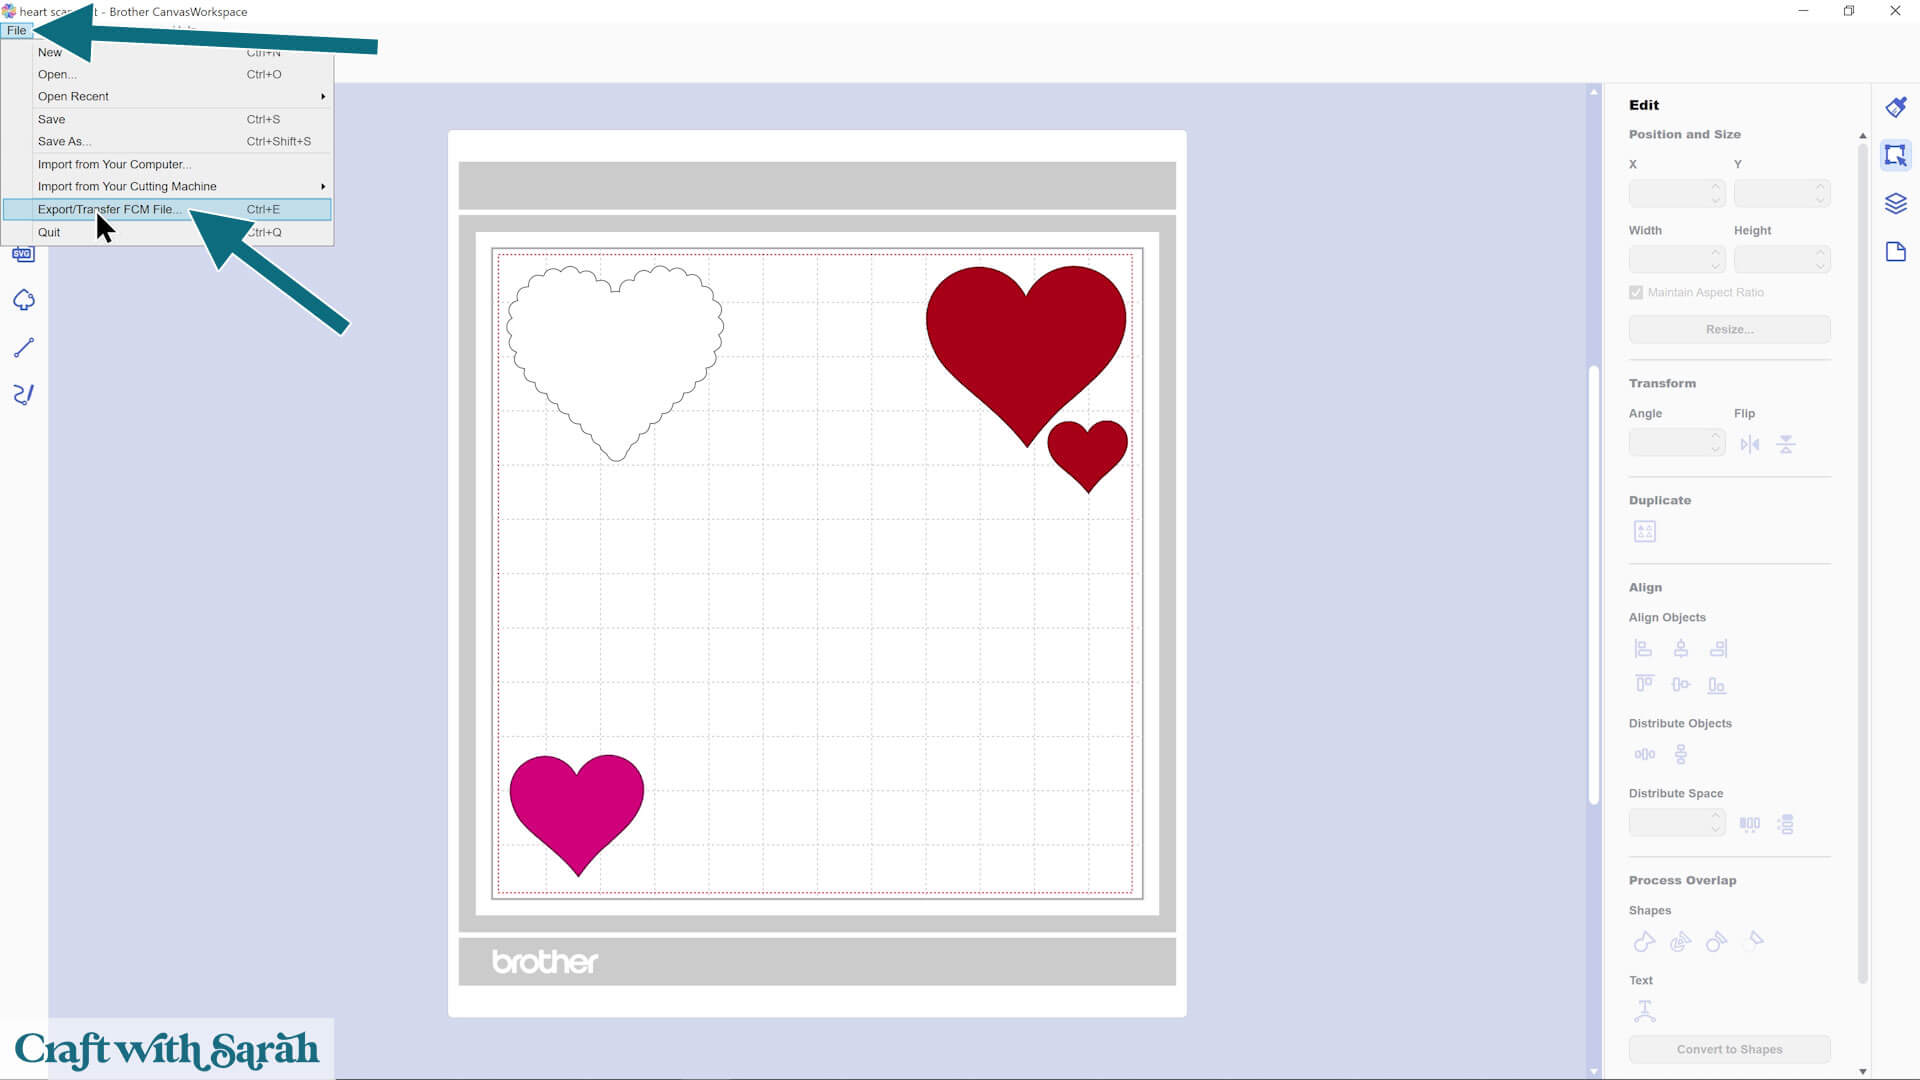
Choose one of the three options. My preference is the USB cable option.
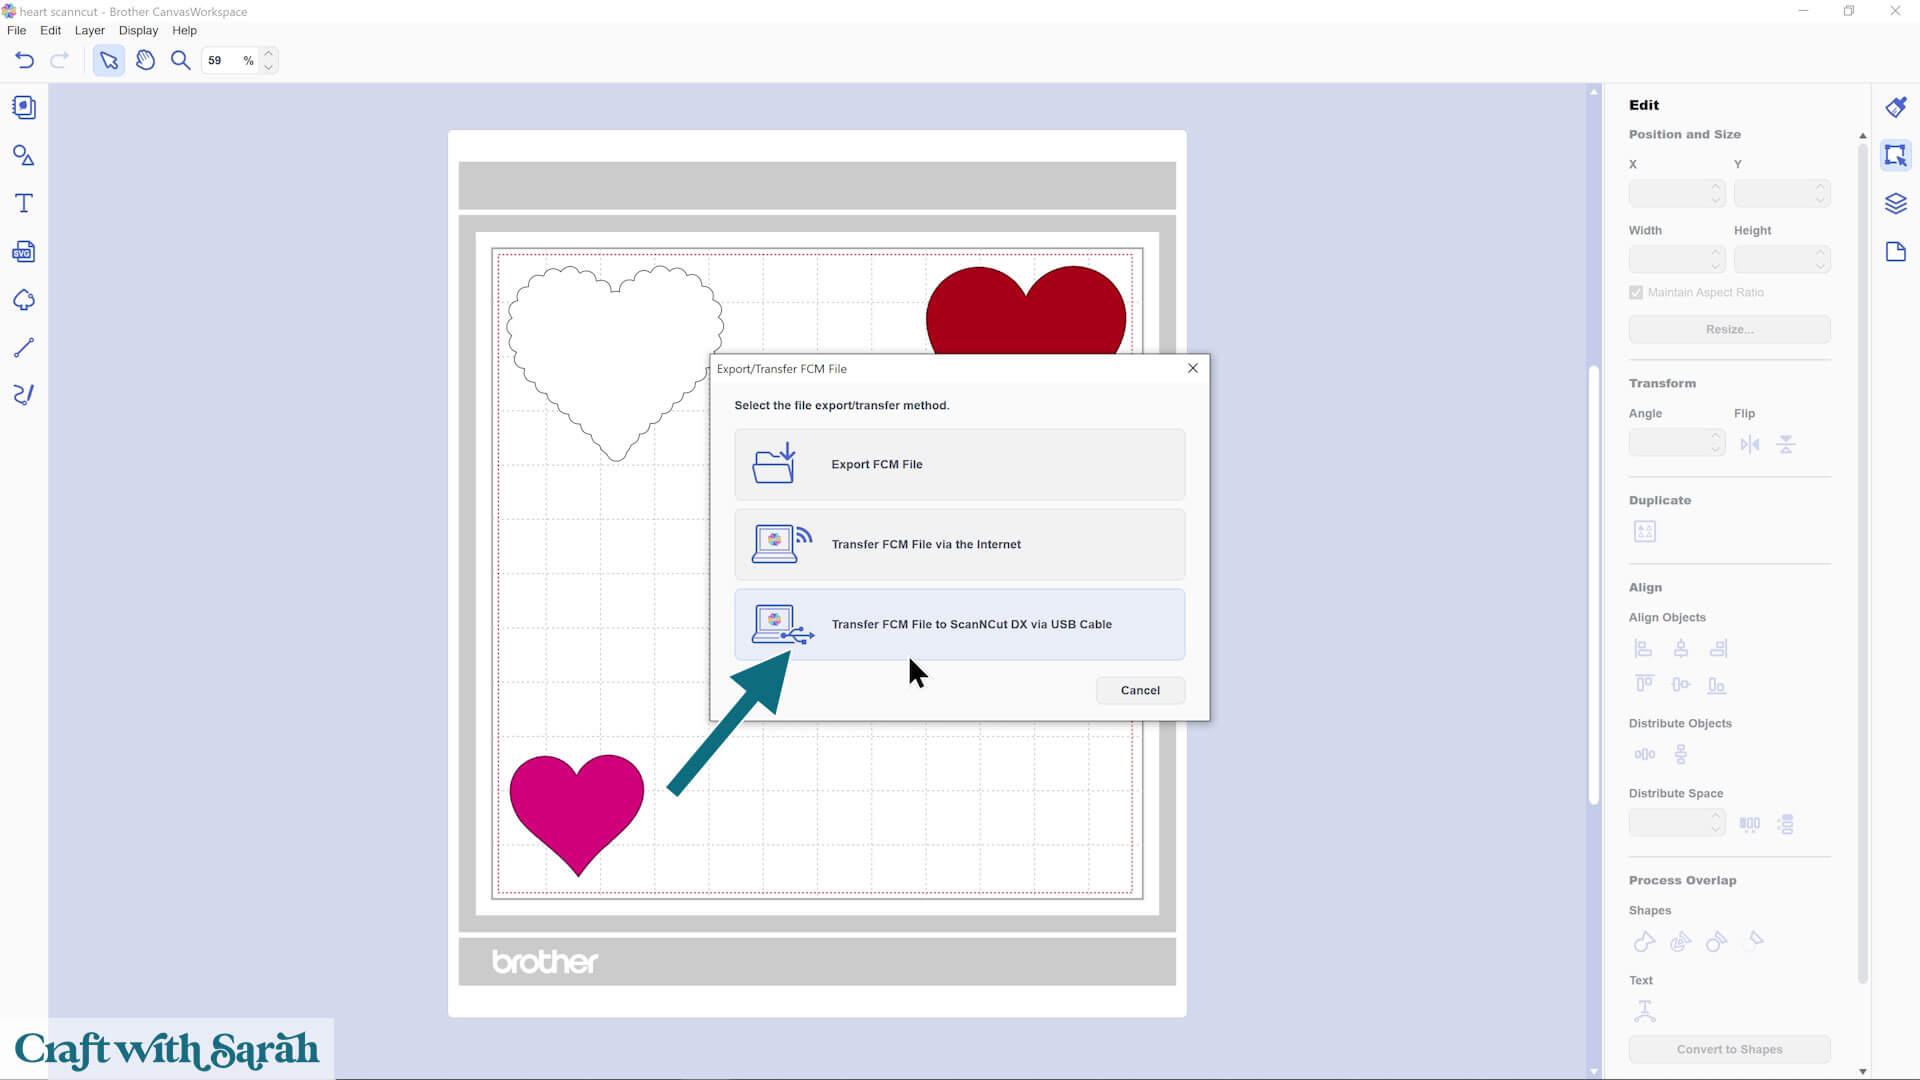
You’ll see a confirmation screen when the design has been sent to your ScanNCut.
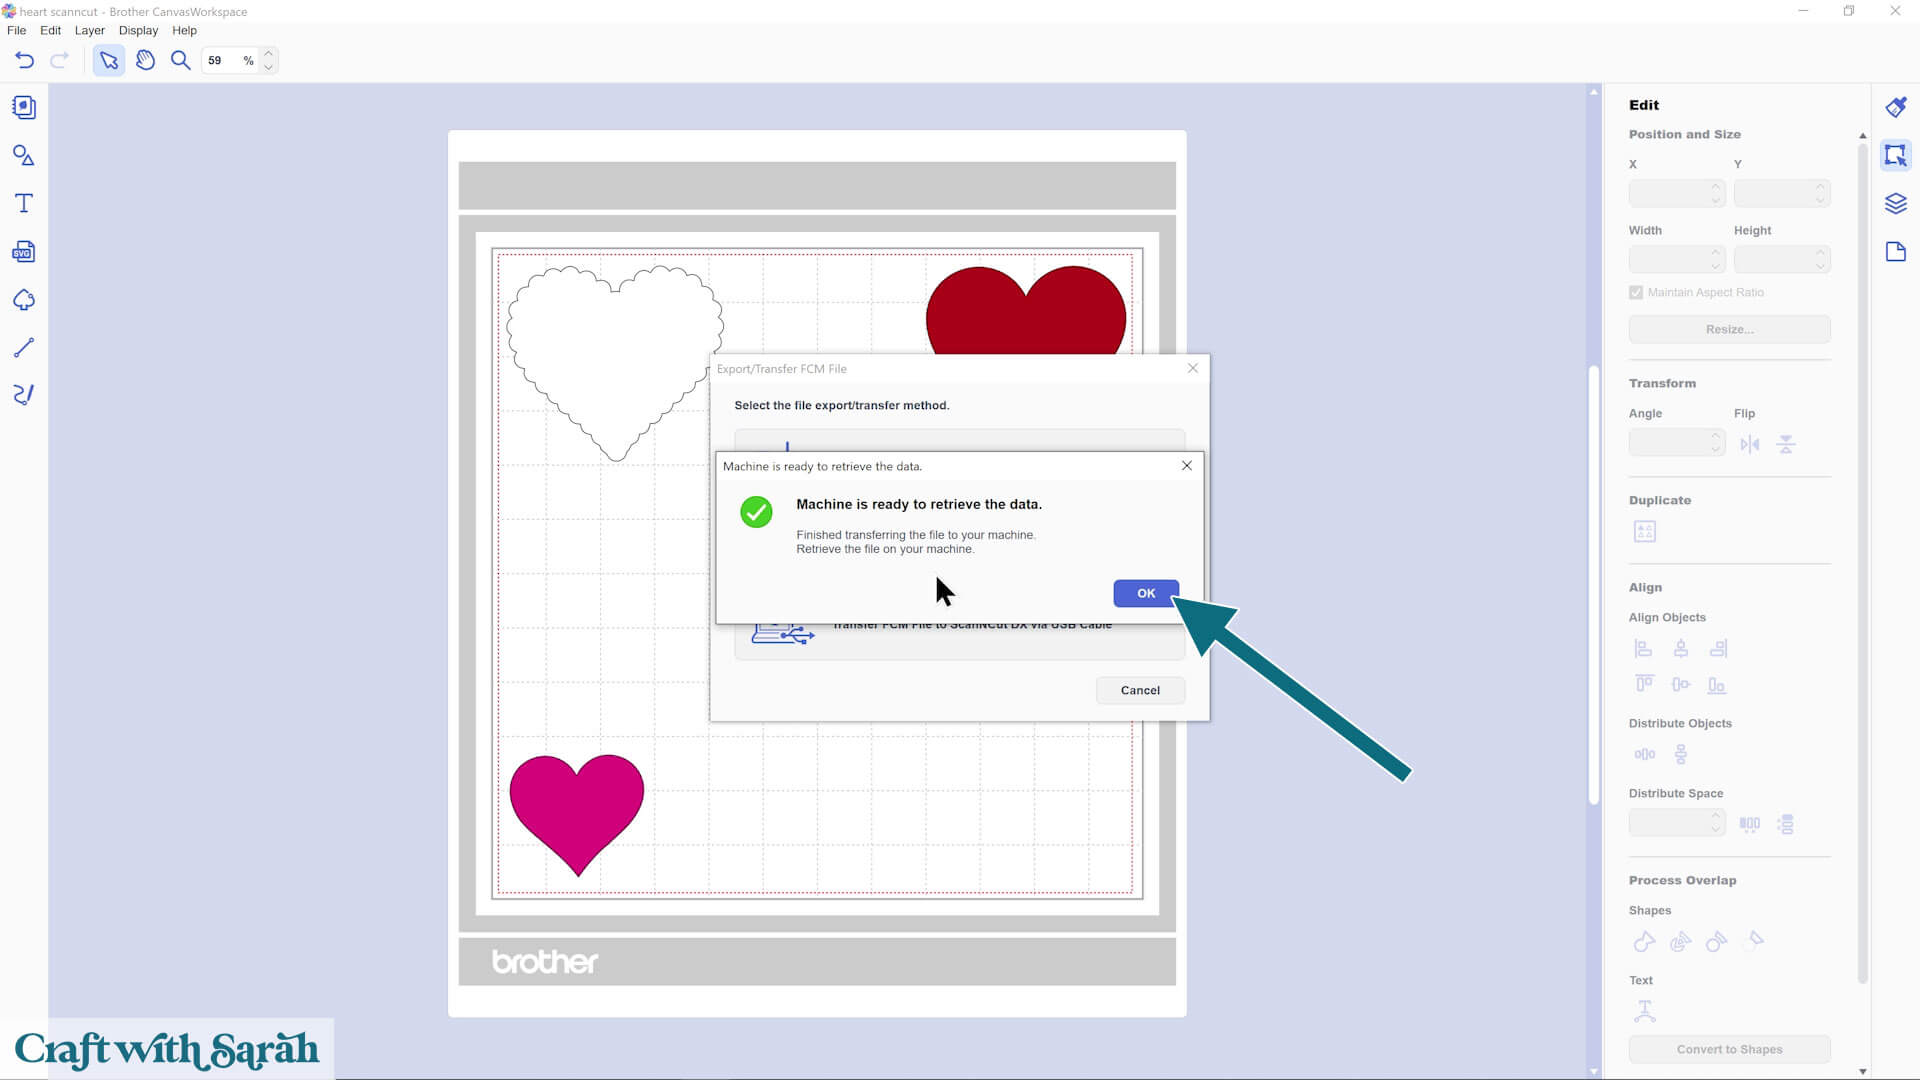
Look at your ScanNCut and select the appropriate option to retrieve your design (it should match whichever option you selected on your computer).
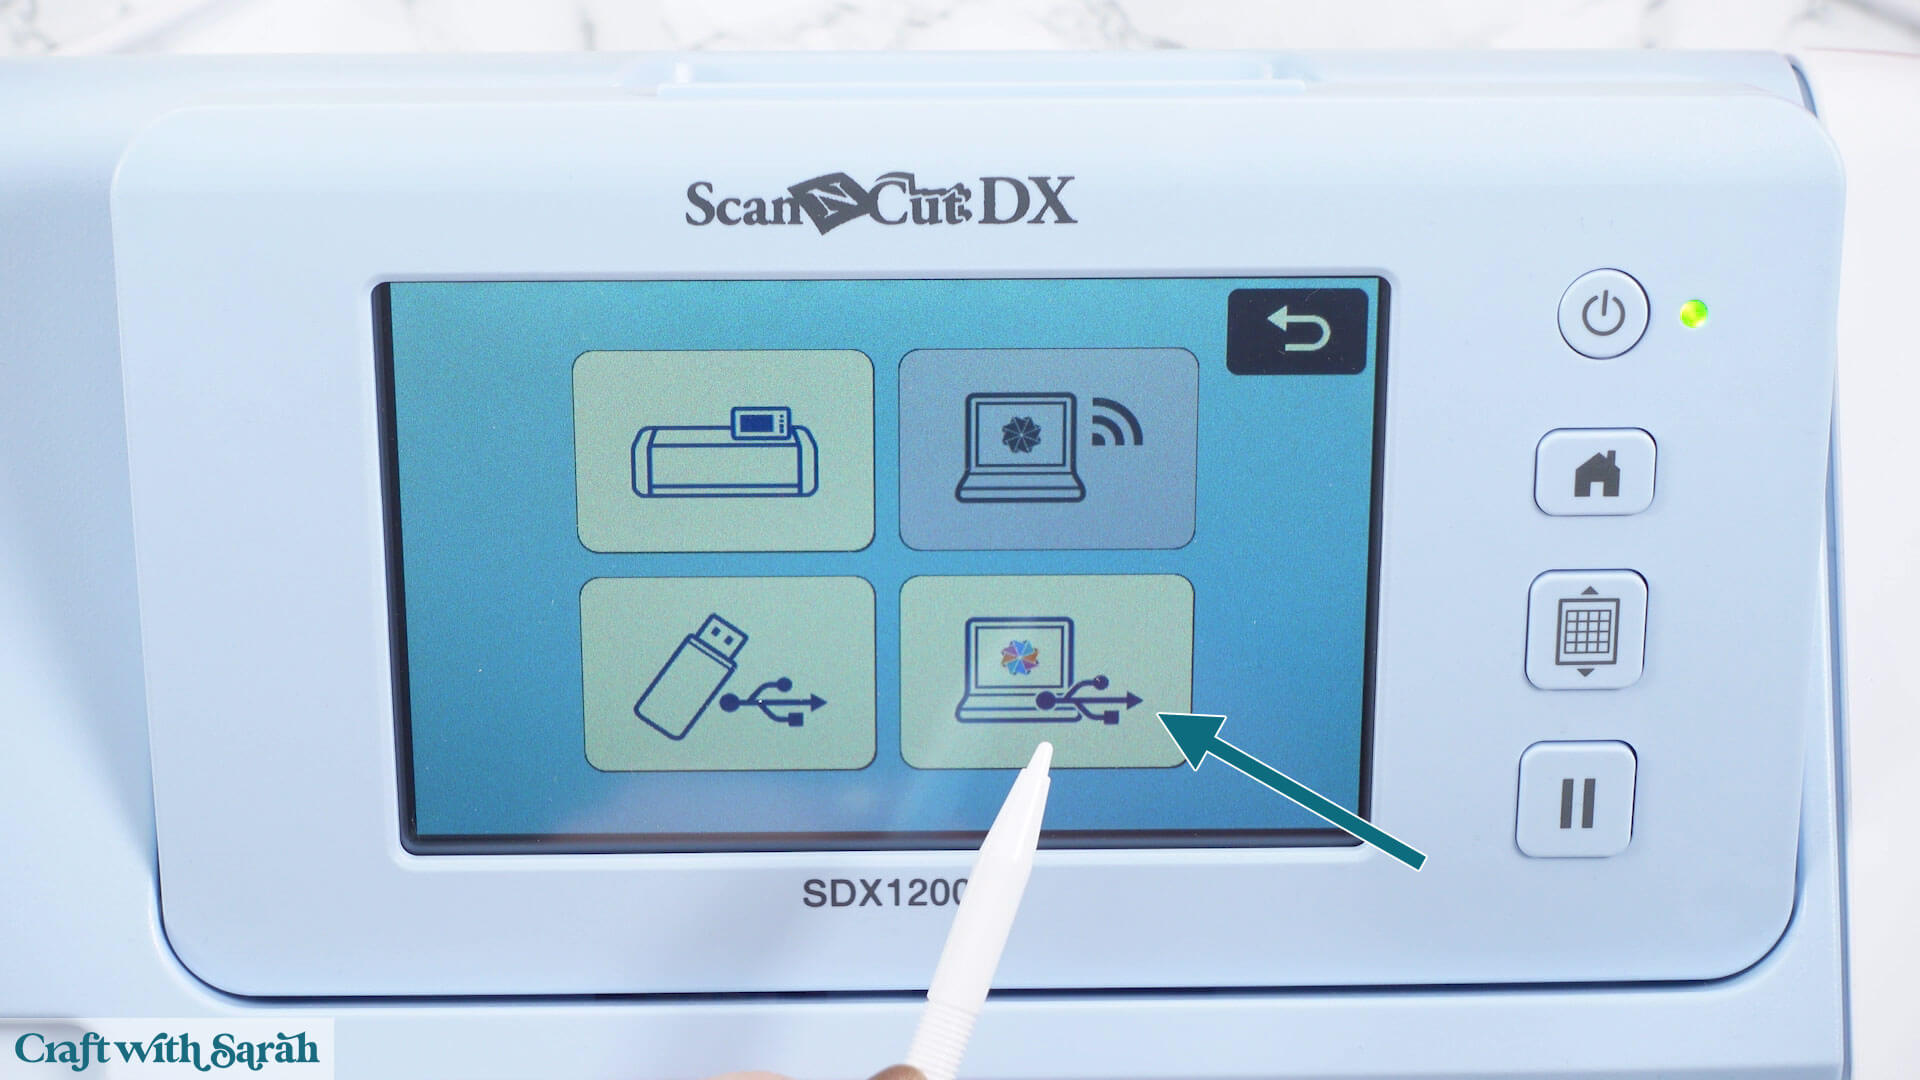
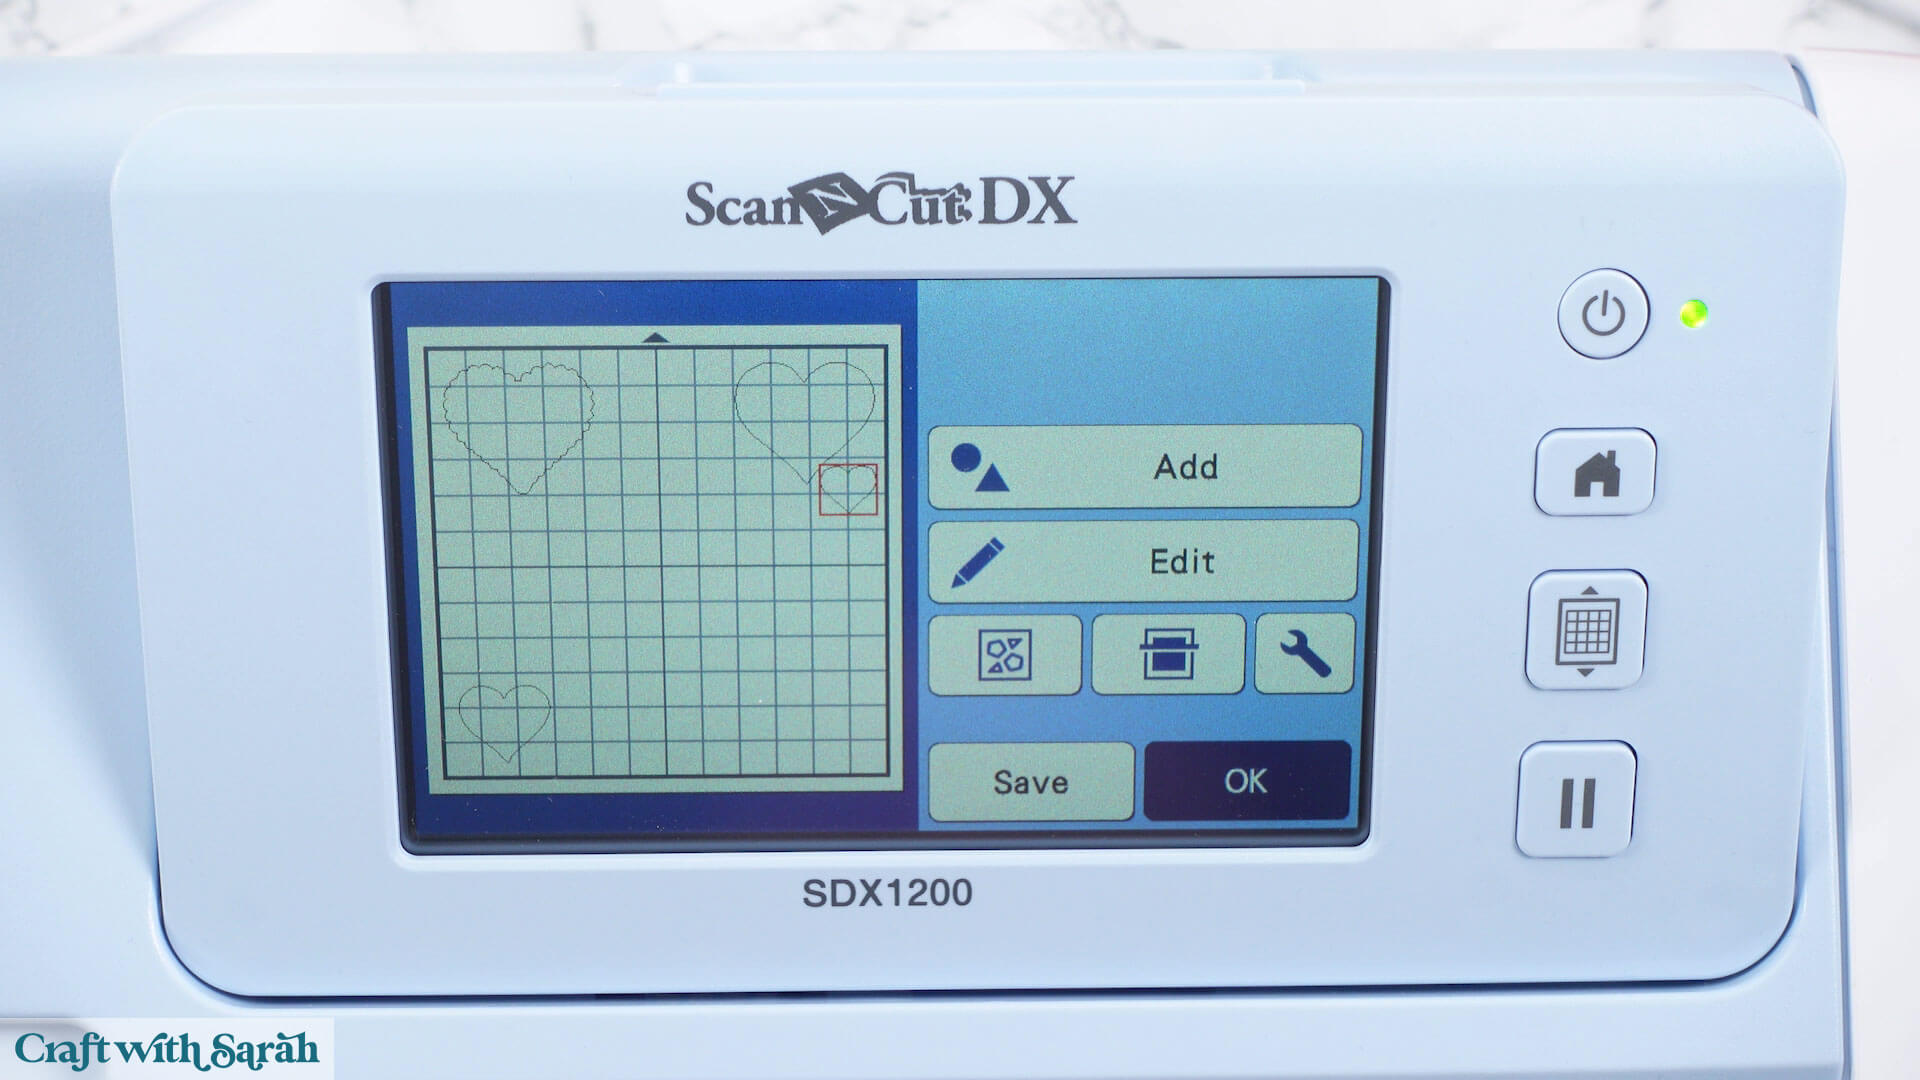
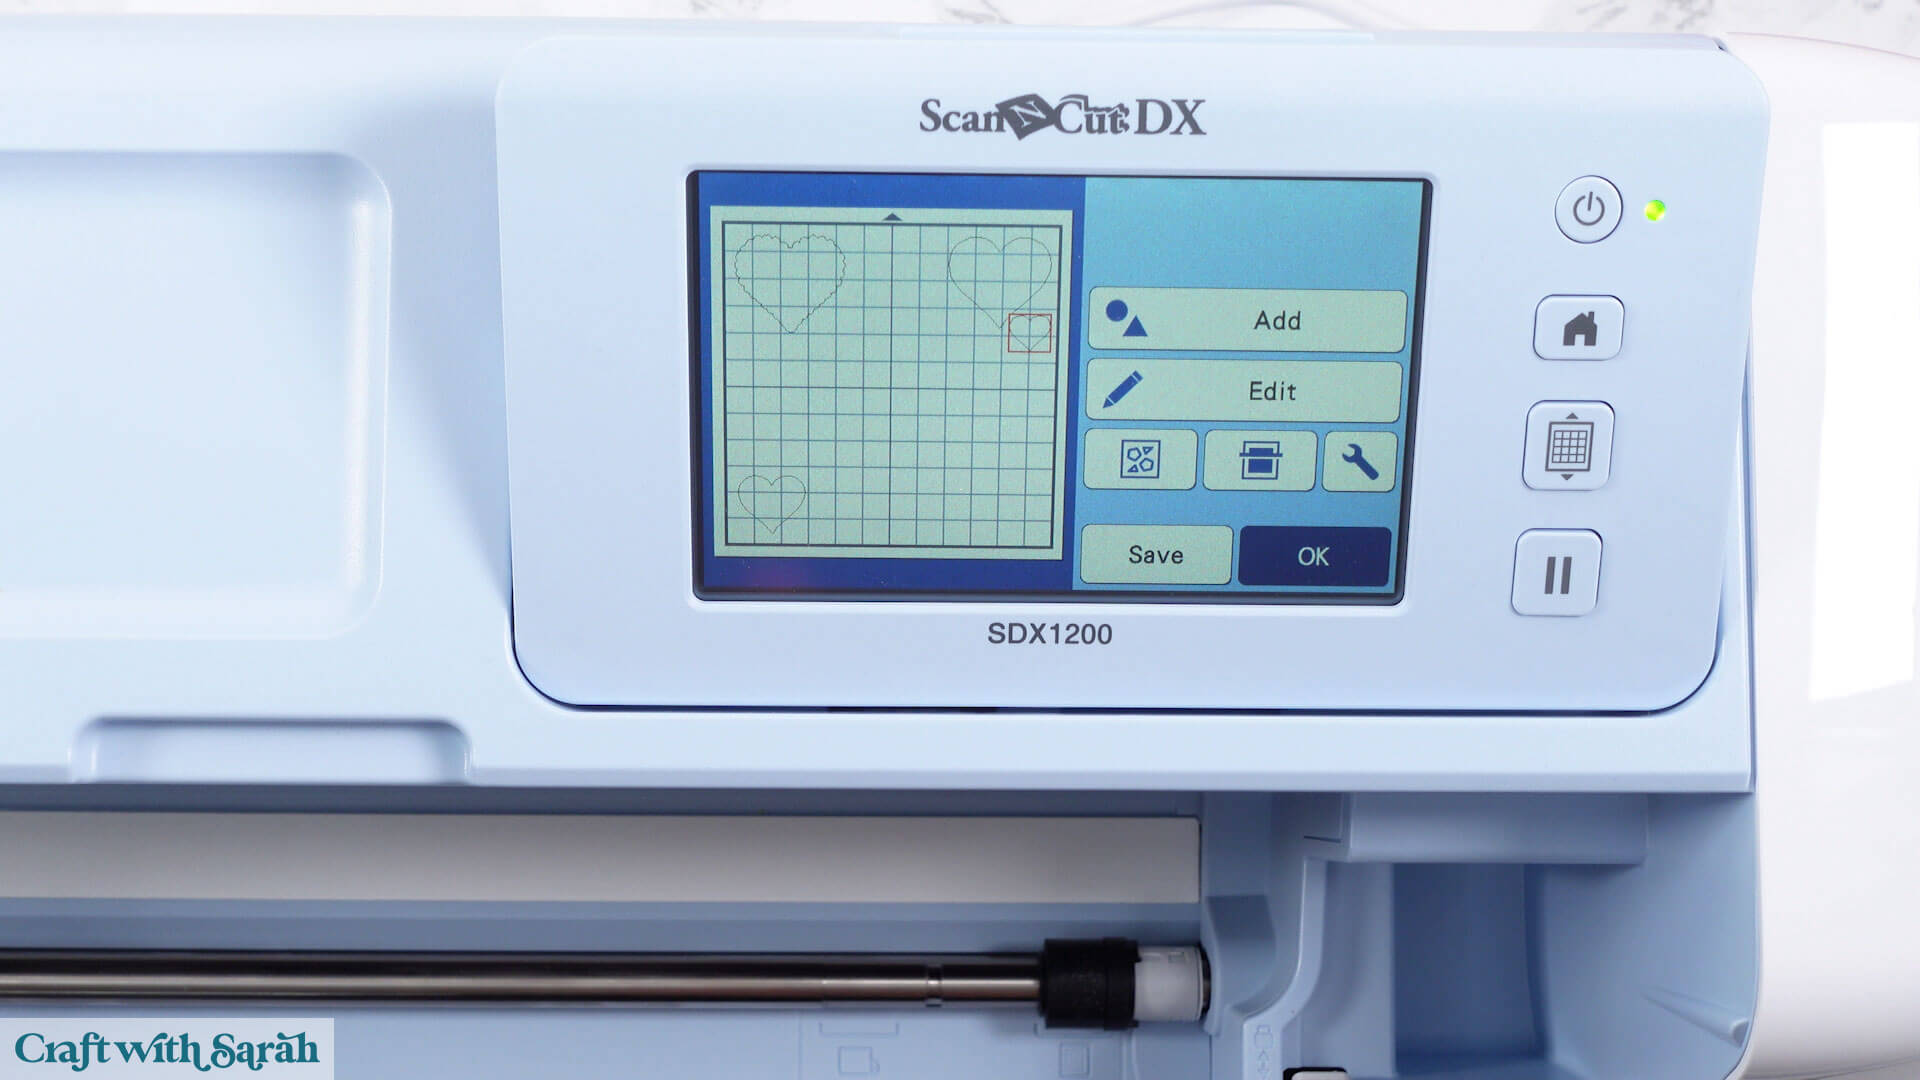
Your project will then appear on the screen on the machine.
It will have stripped all the colors out.
Step 6) Cutting cardstock with a ScanNCut
As this heart design is quite simple, all the pieces would fit on the mat at once.
Therefore, for this particular project, there are two options: cut the colors one at a time, or cut them all at once.
For more complex projects you’ll have to cut the colors one at a time.
Cutting colors individually
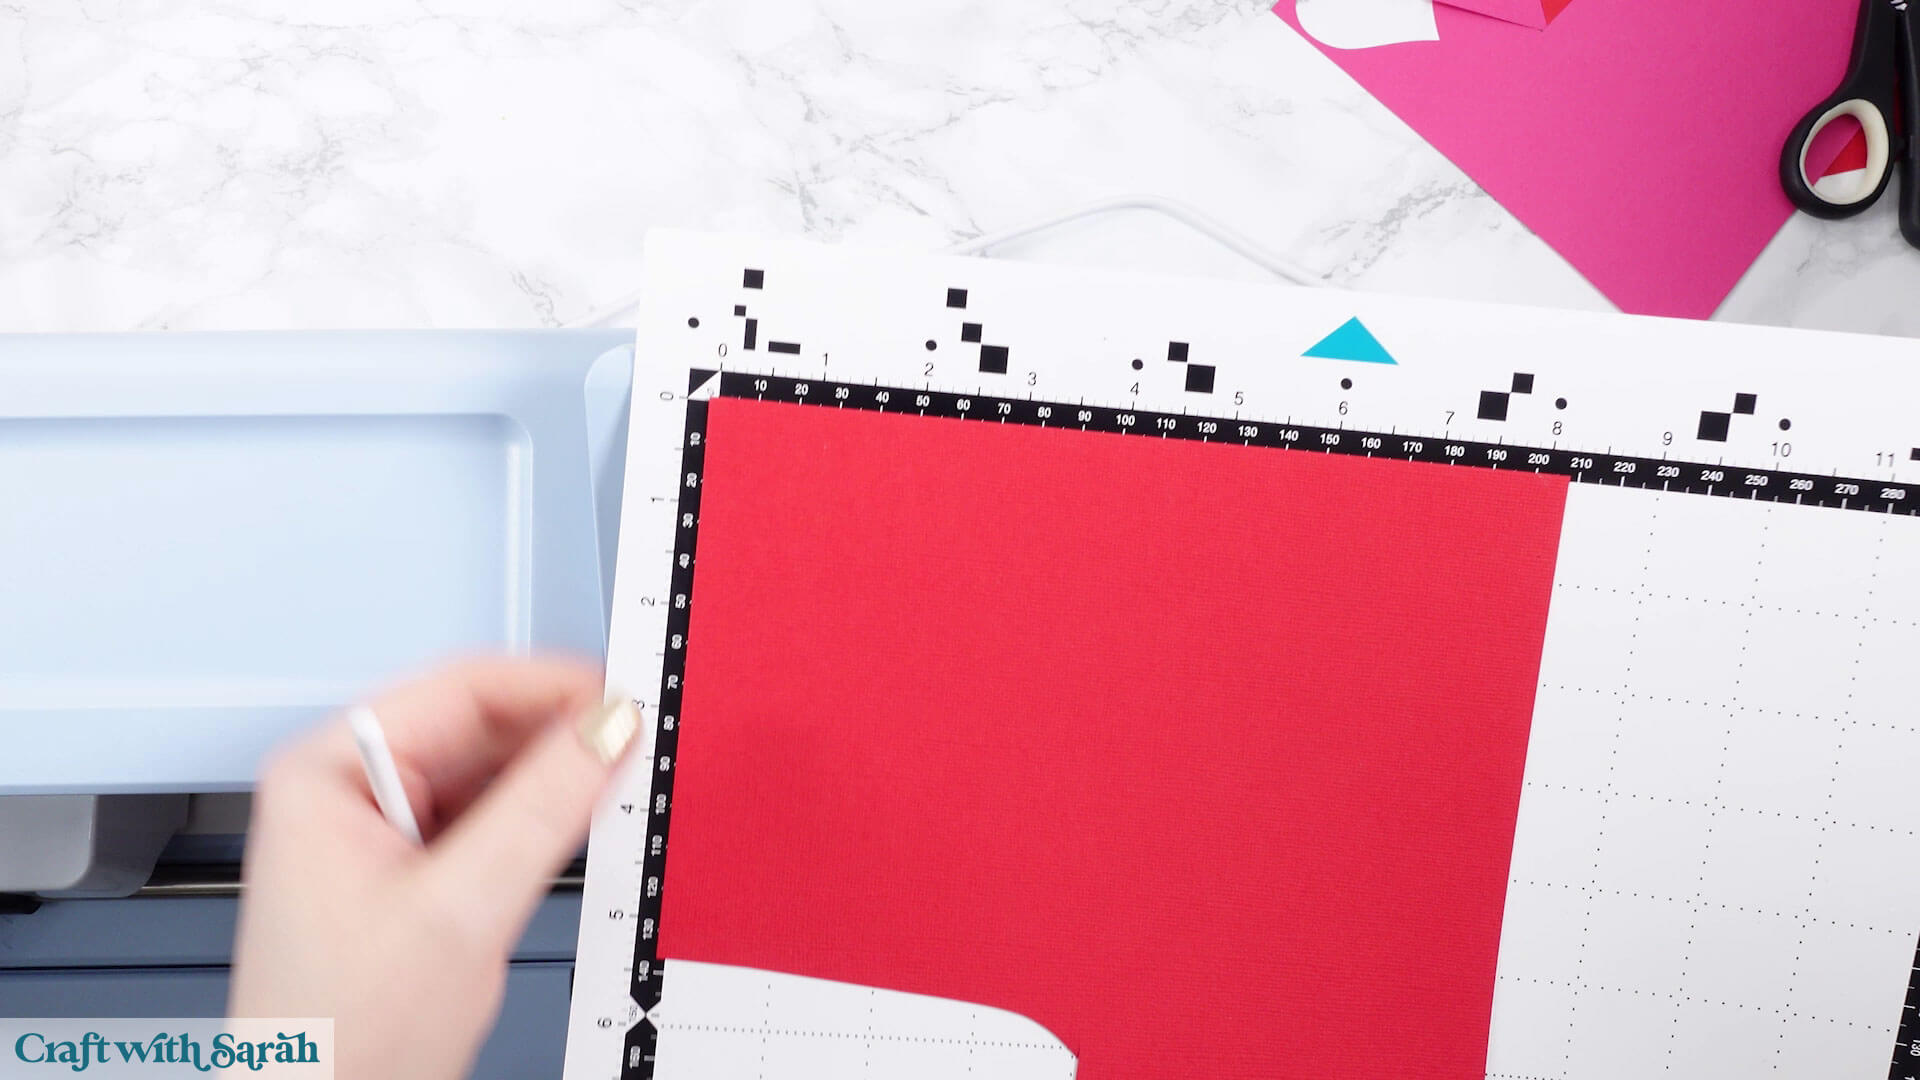
Load one color of cardstock onto your mat.
Use a brayer or scraper tool to press the card firmly to the mat.
Work out which pieces of the design should be cut from that color.
Delete all other color shapes from the screen by selecting them on the screen and then pressing “Edit” and then the “Trash Can” icon.
Keep going until only the shapes that should be cut from the cardstock color on your mat have loaded.
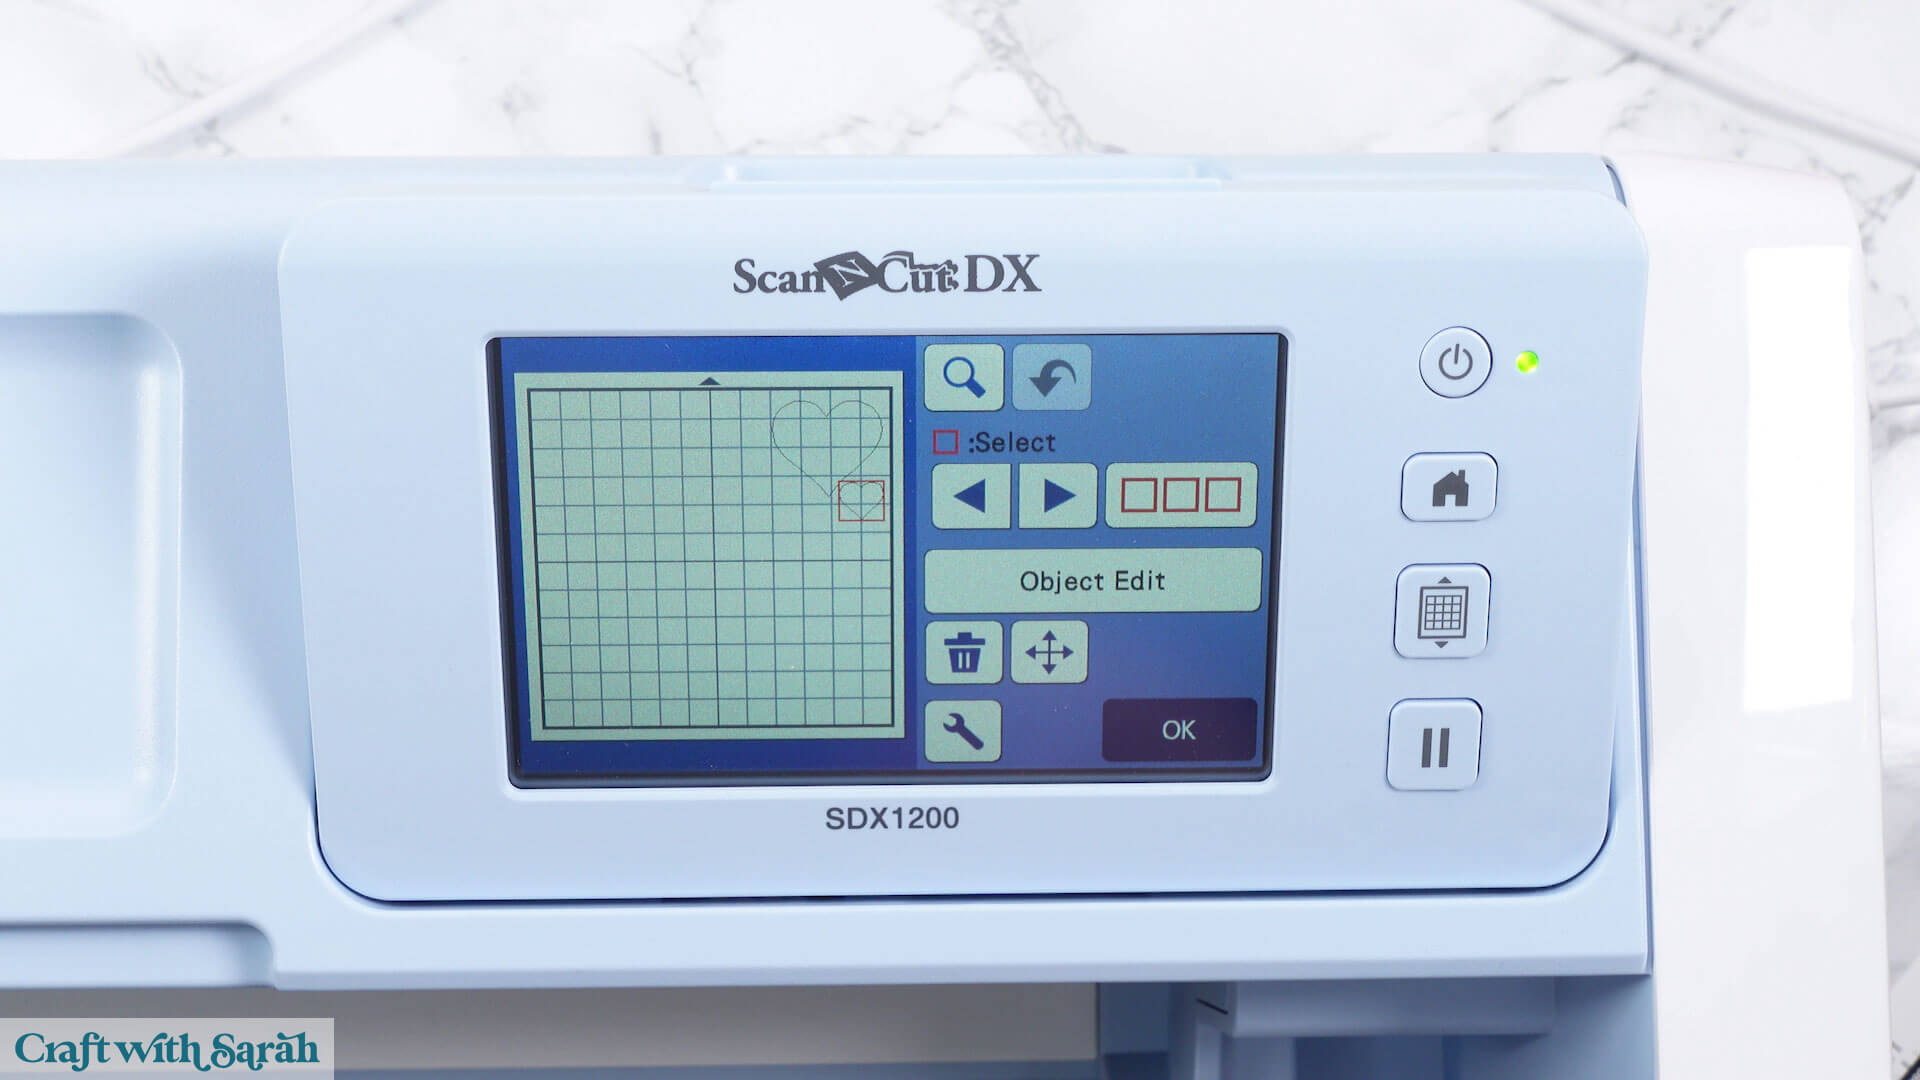
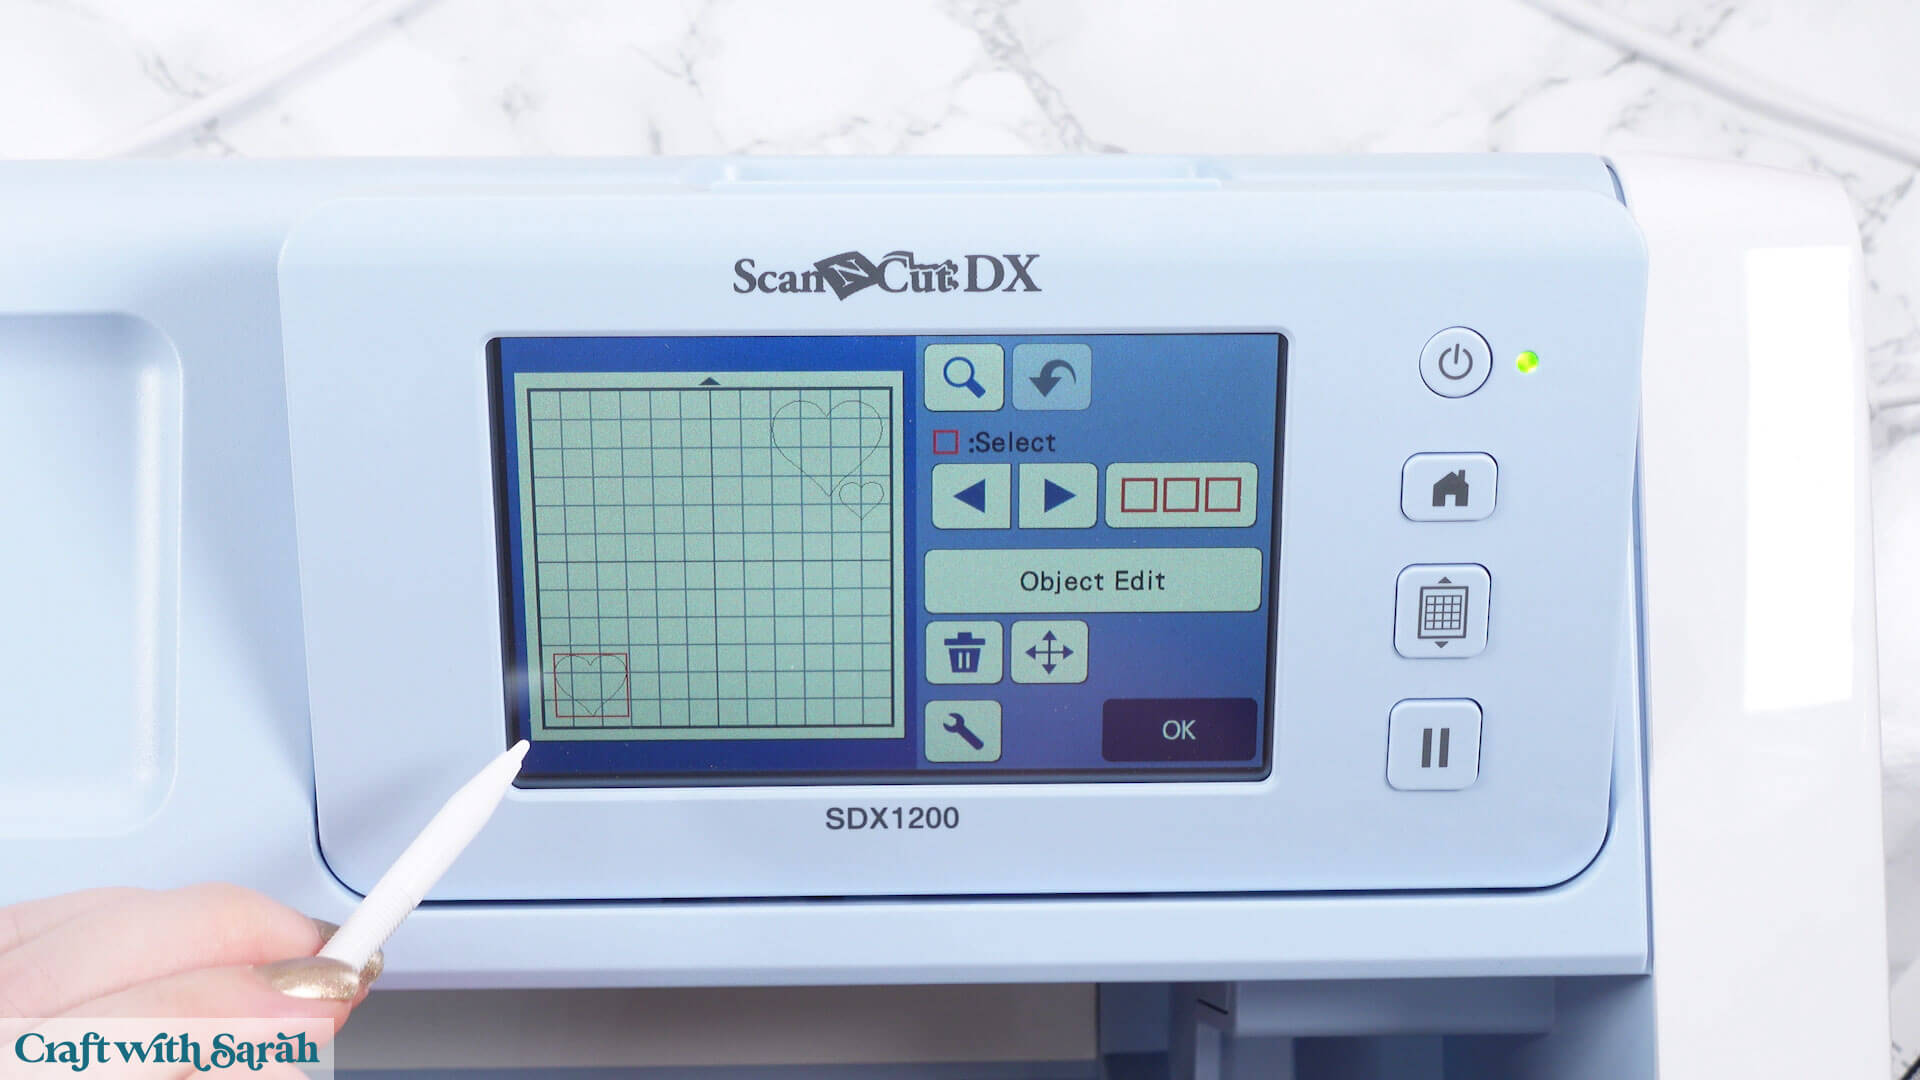
Move your shapes to match where you placed your paper.

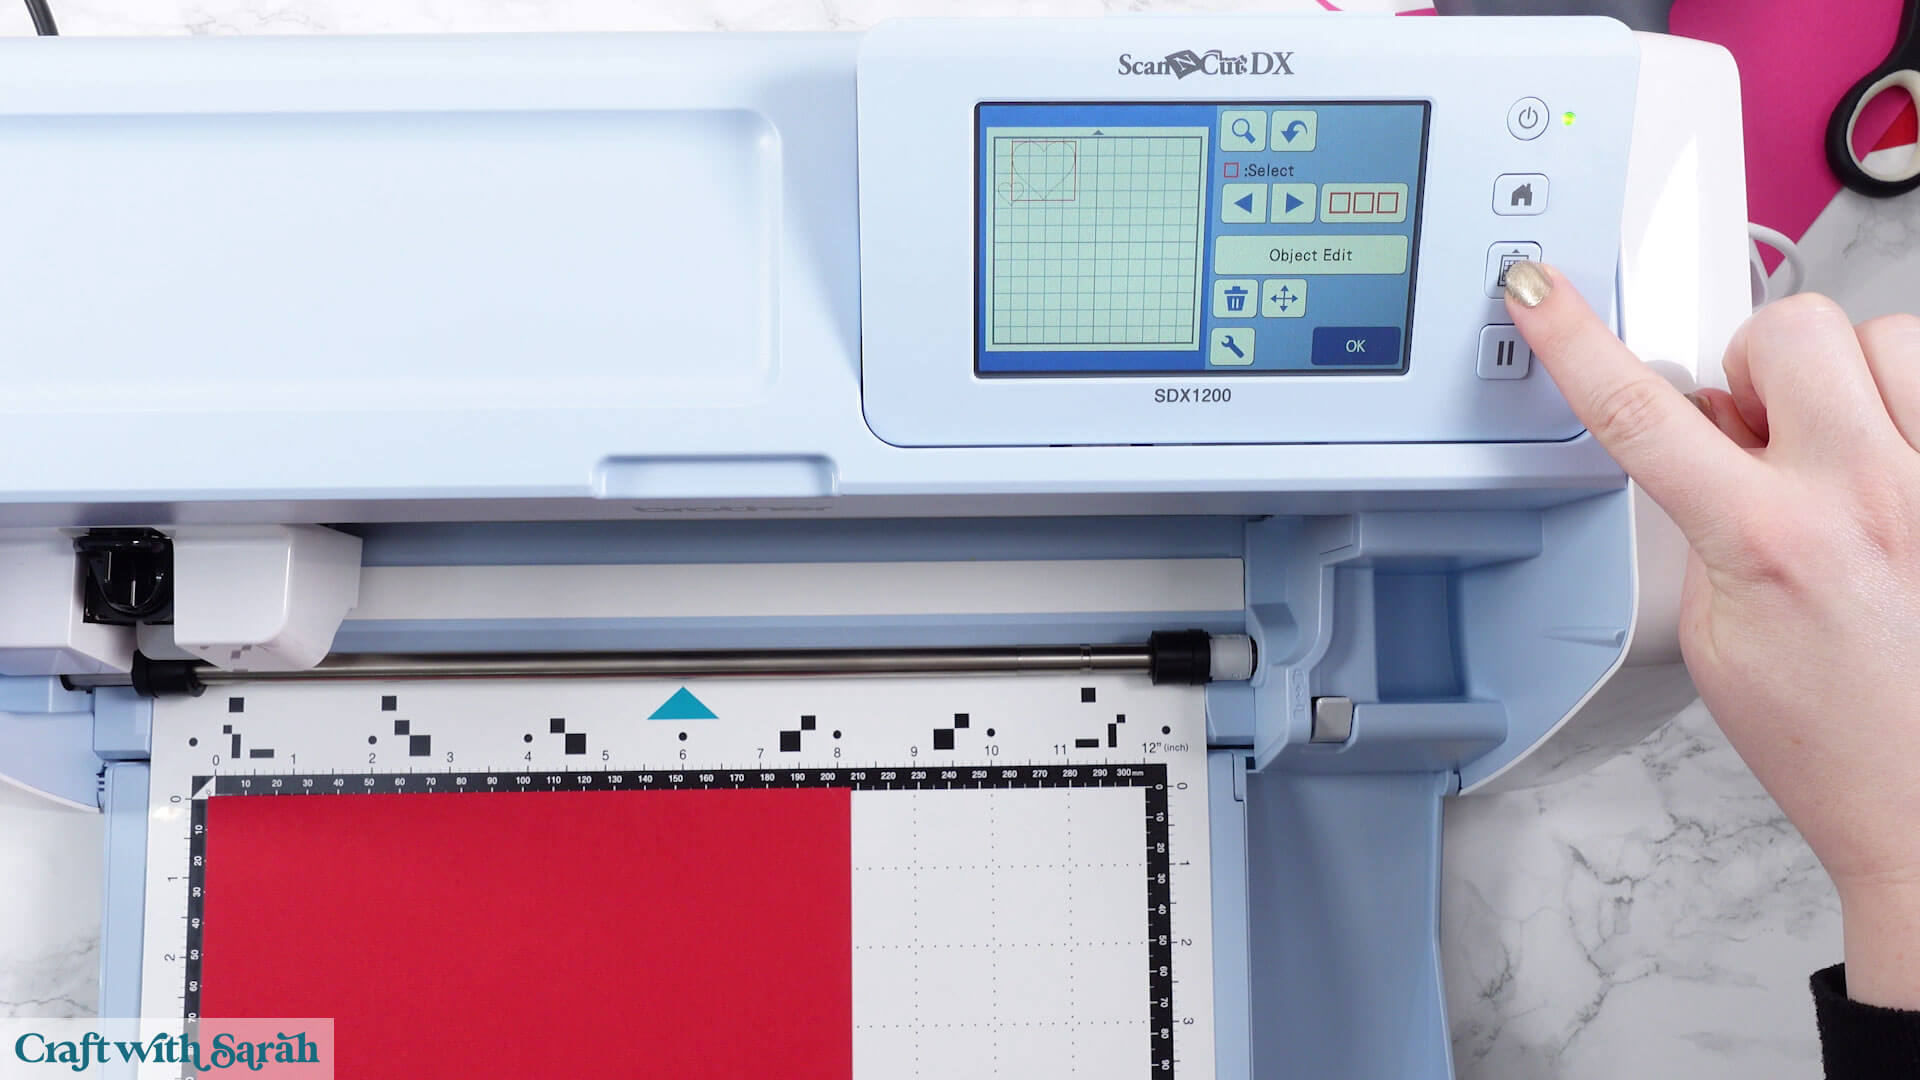
Push the mat into the machine and hold it against the rollers.
Then press the middle button that features a mat icon.
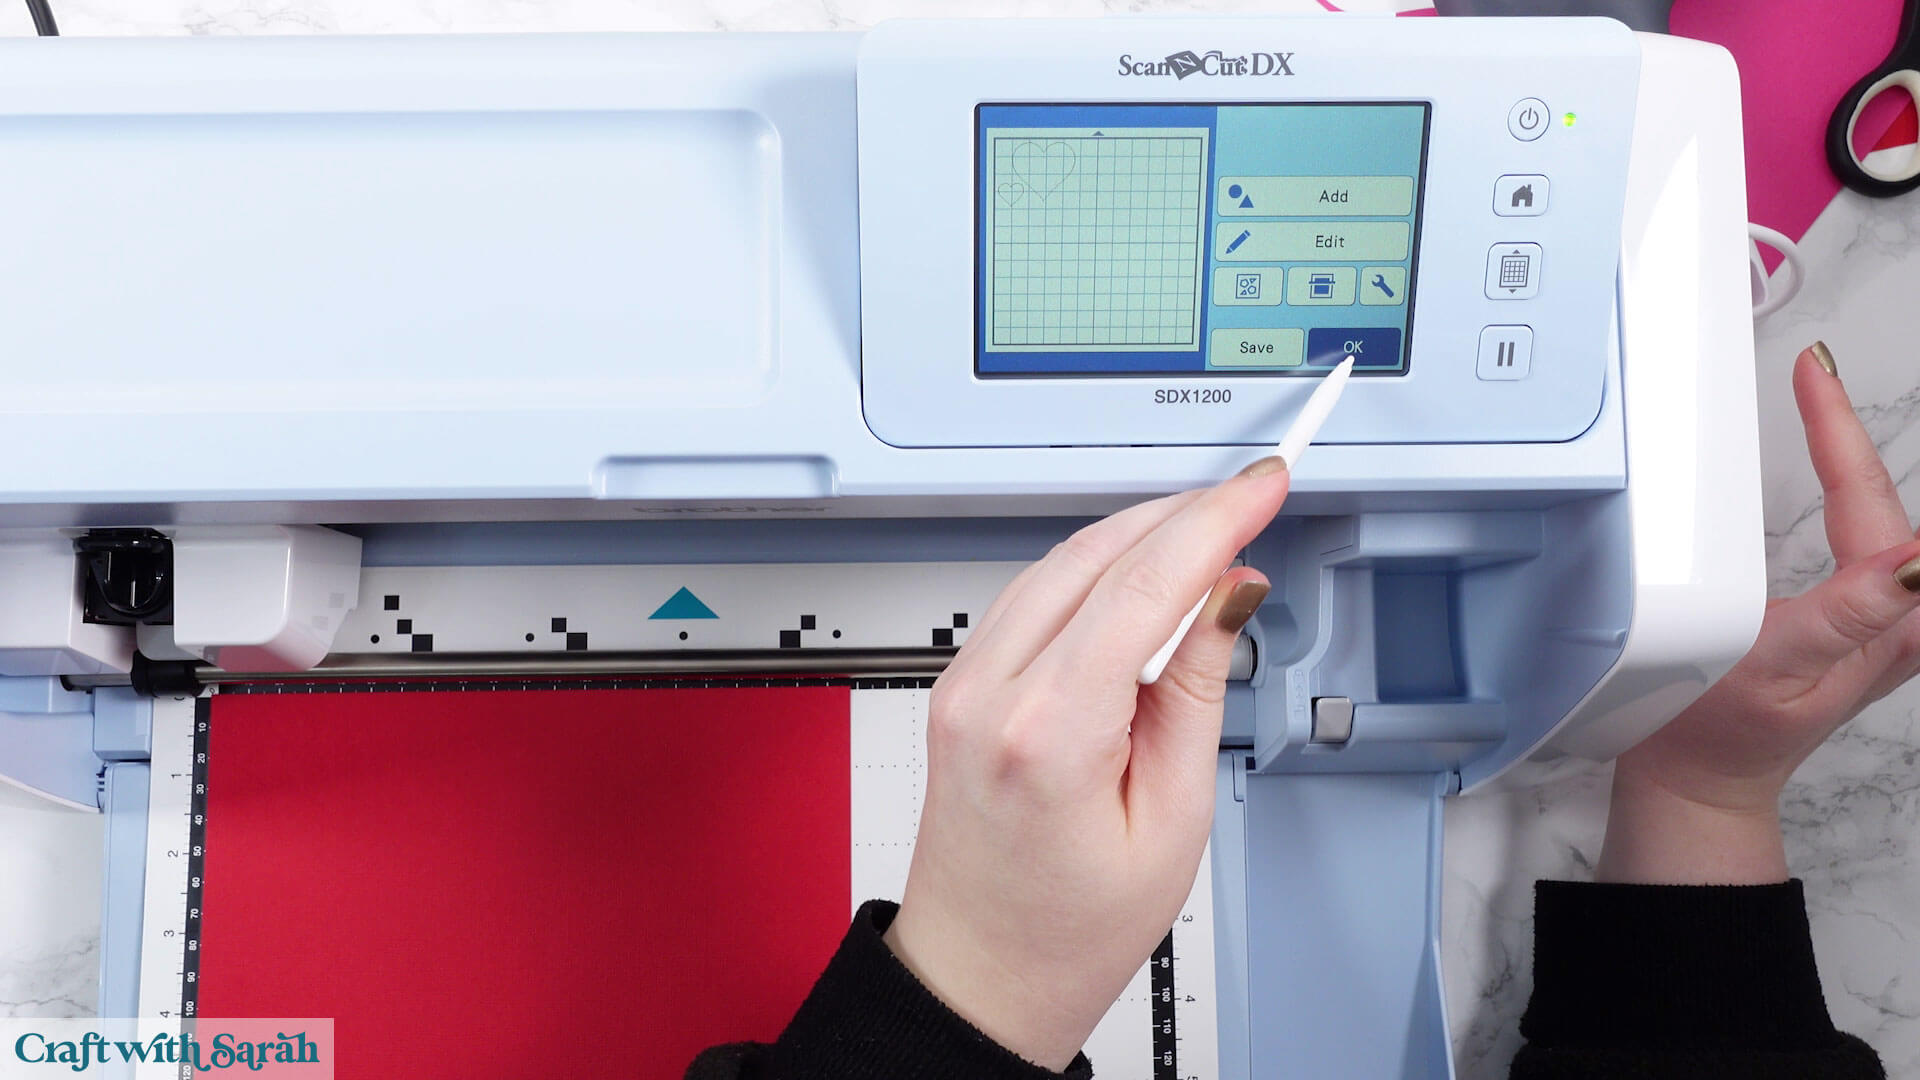
Once the mat has finished loading, press “OK”.
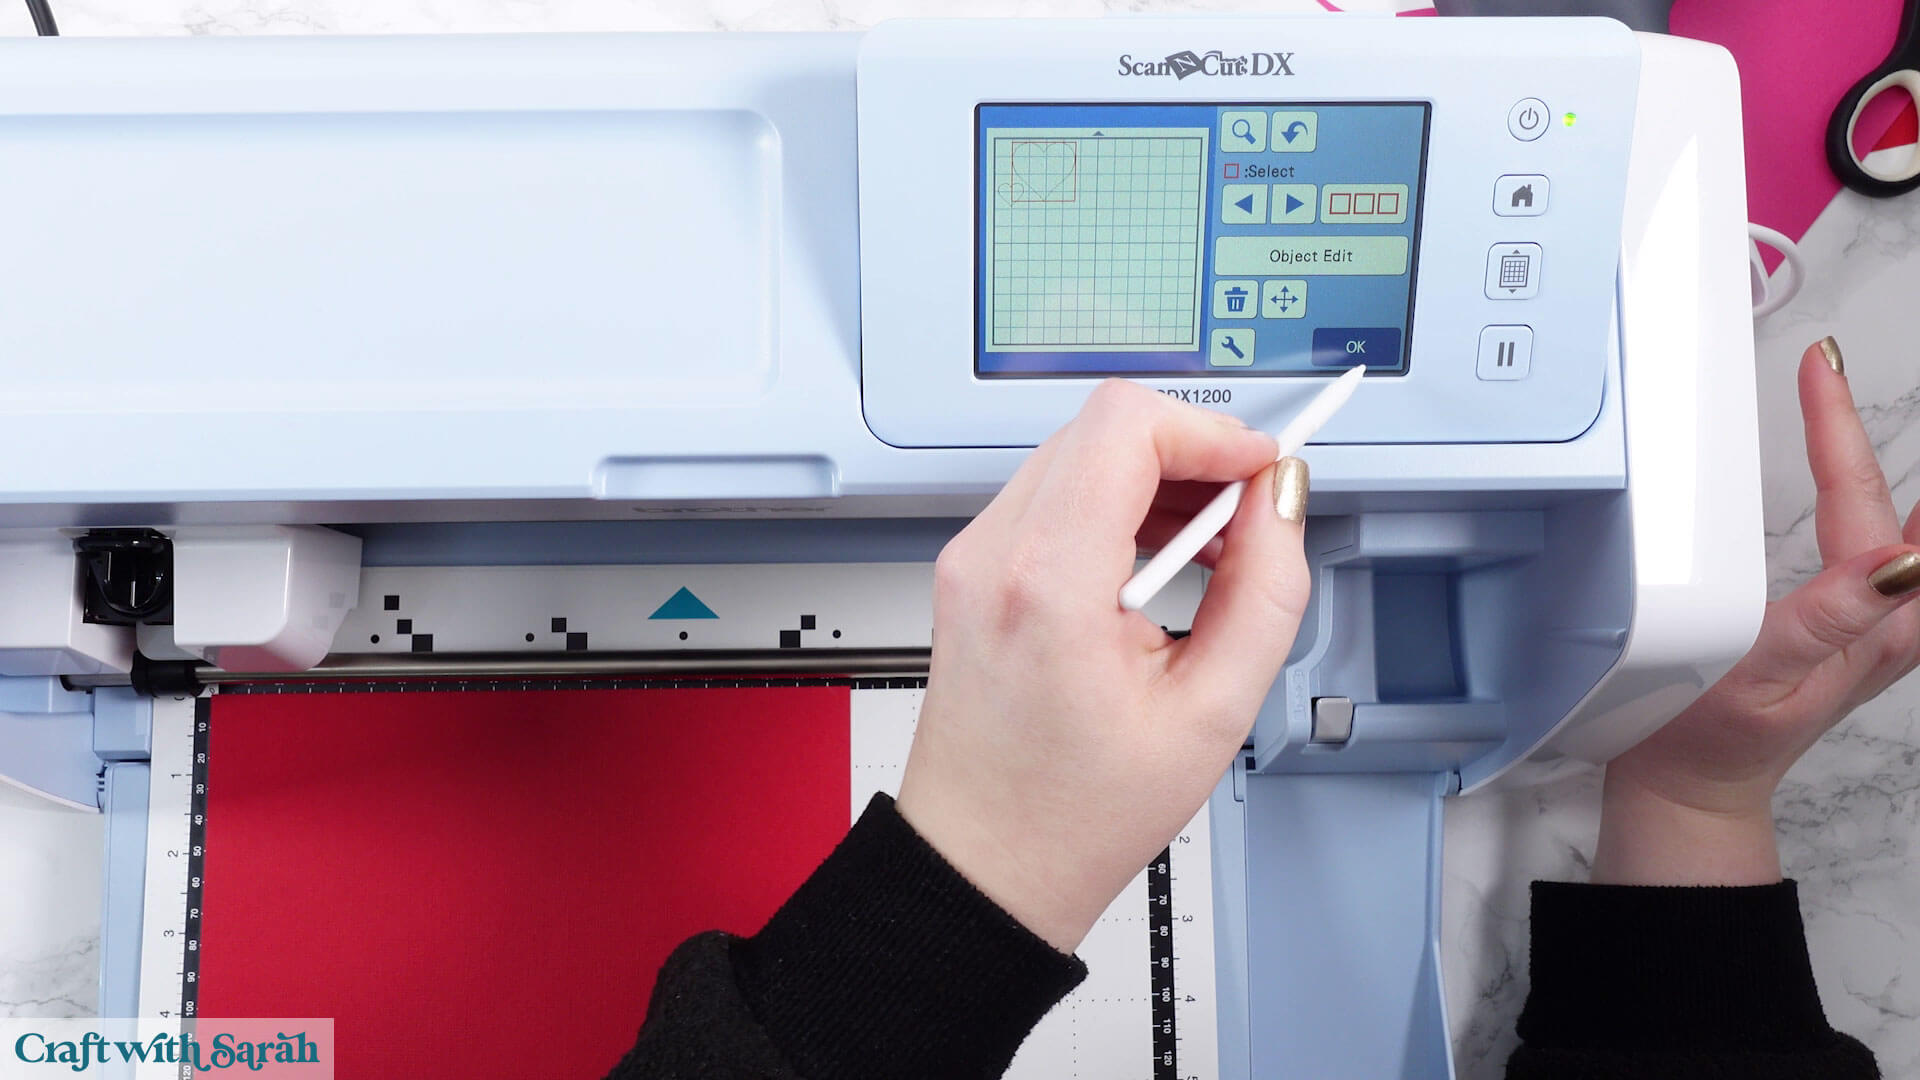
Press “OK” on the next screen too.
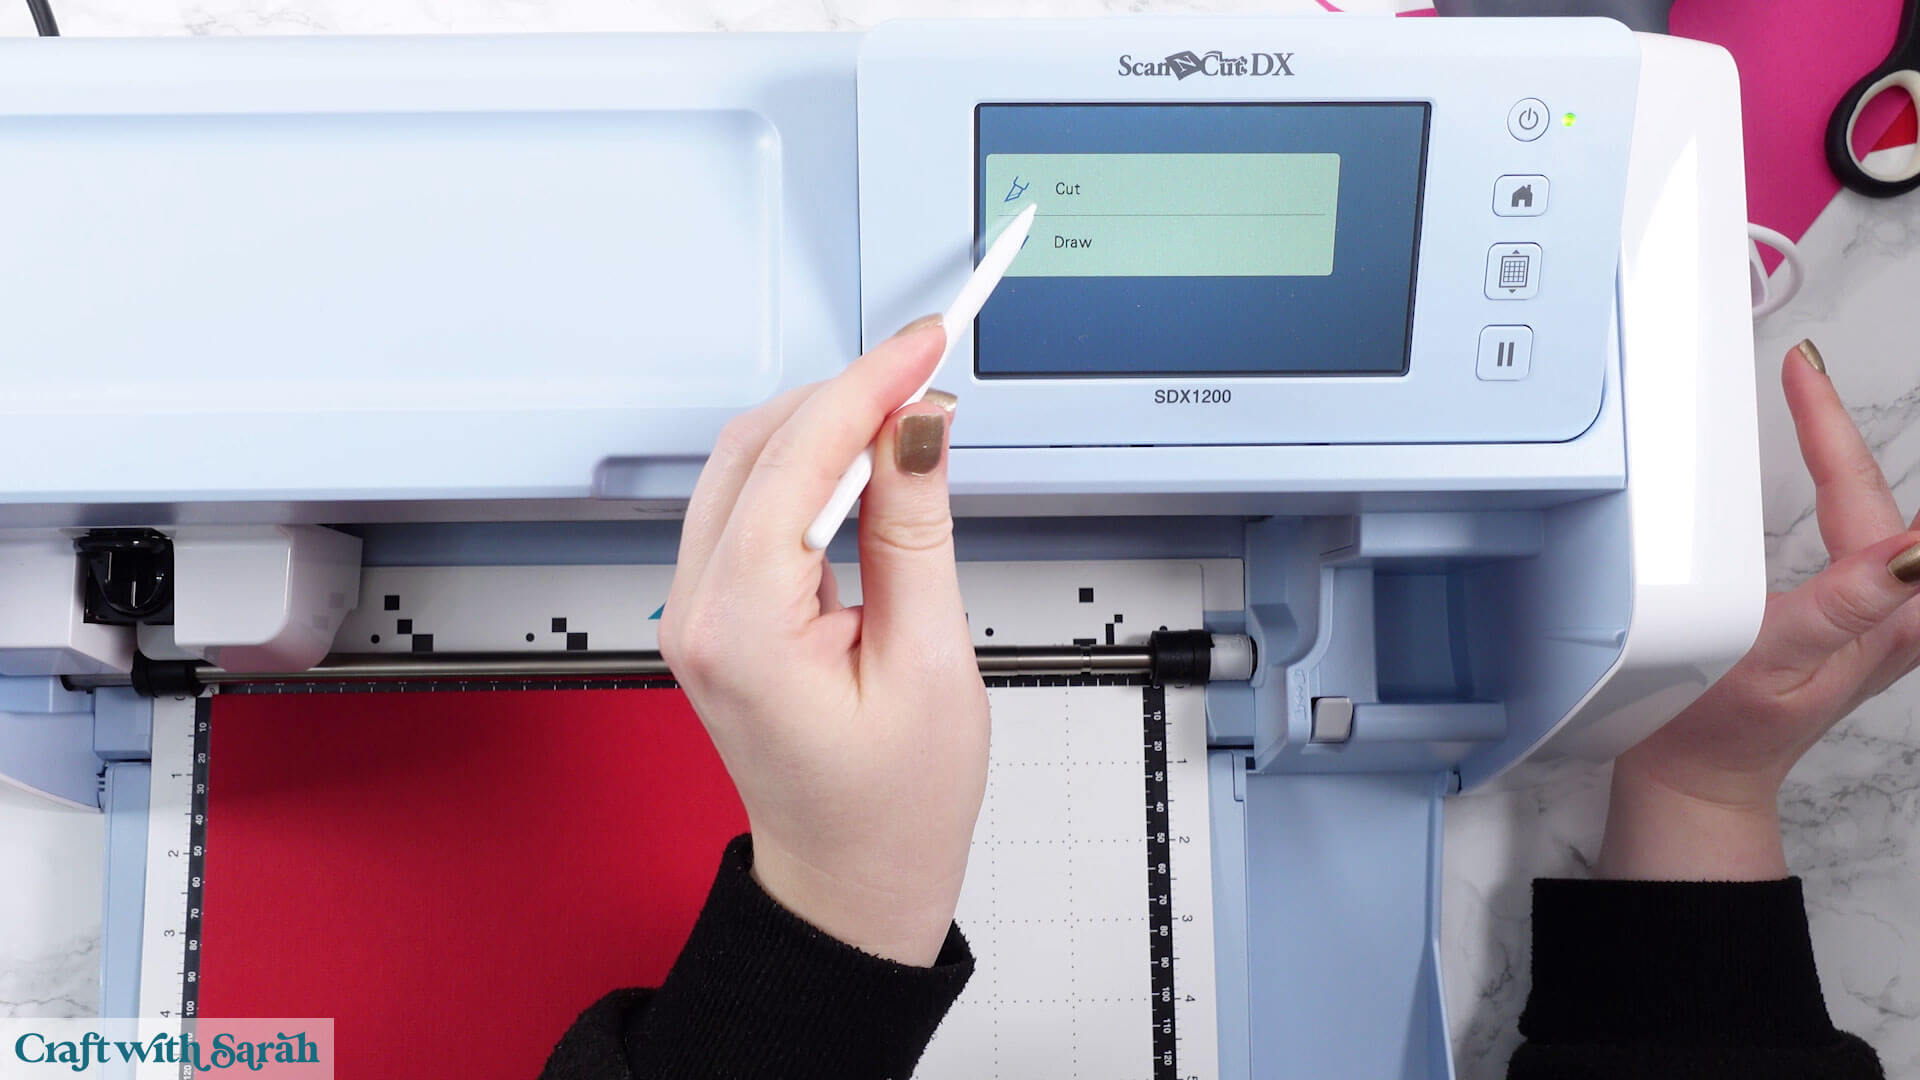
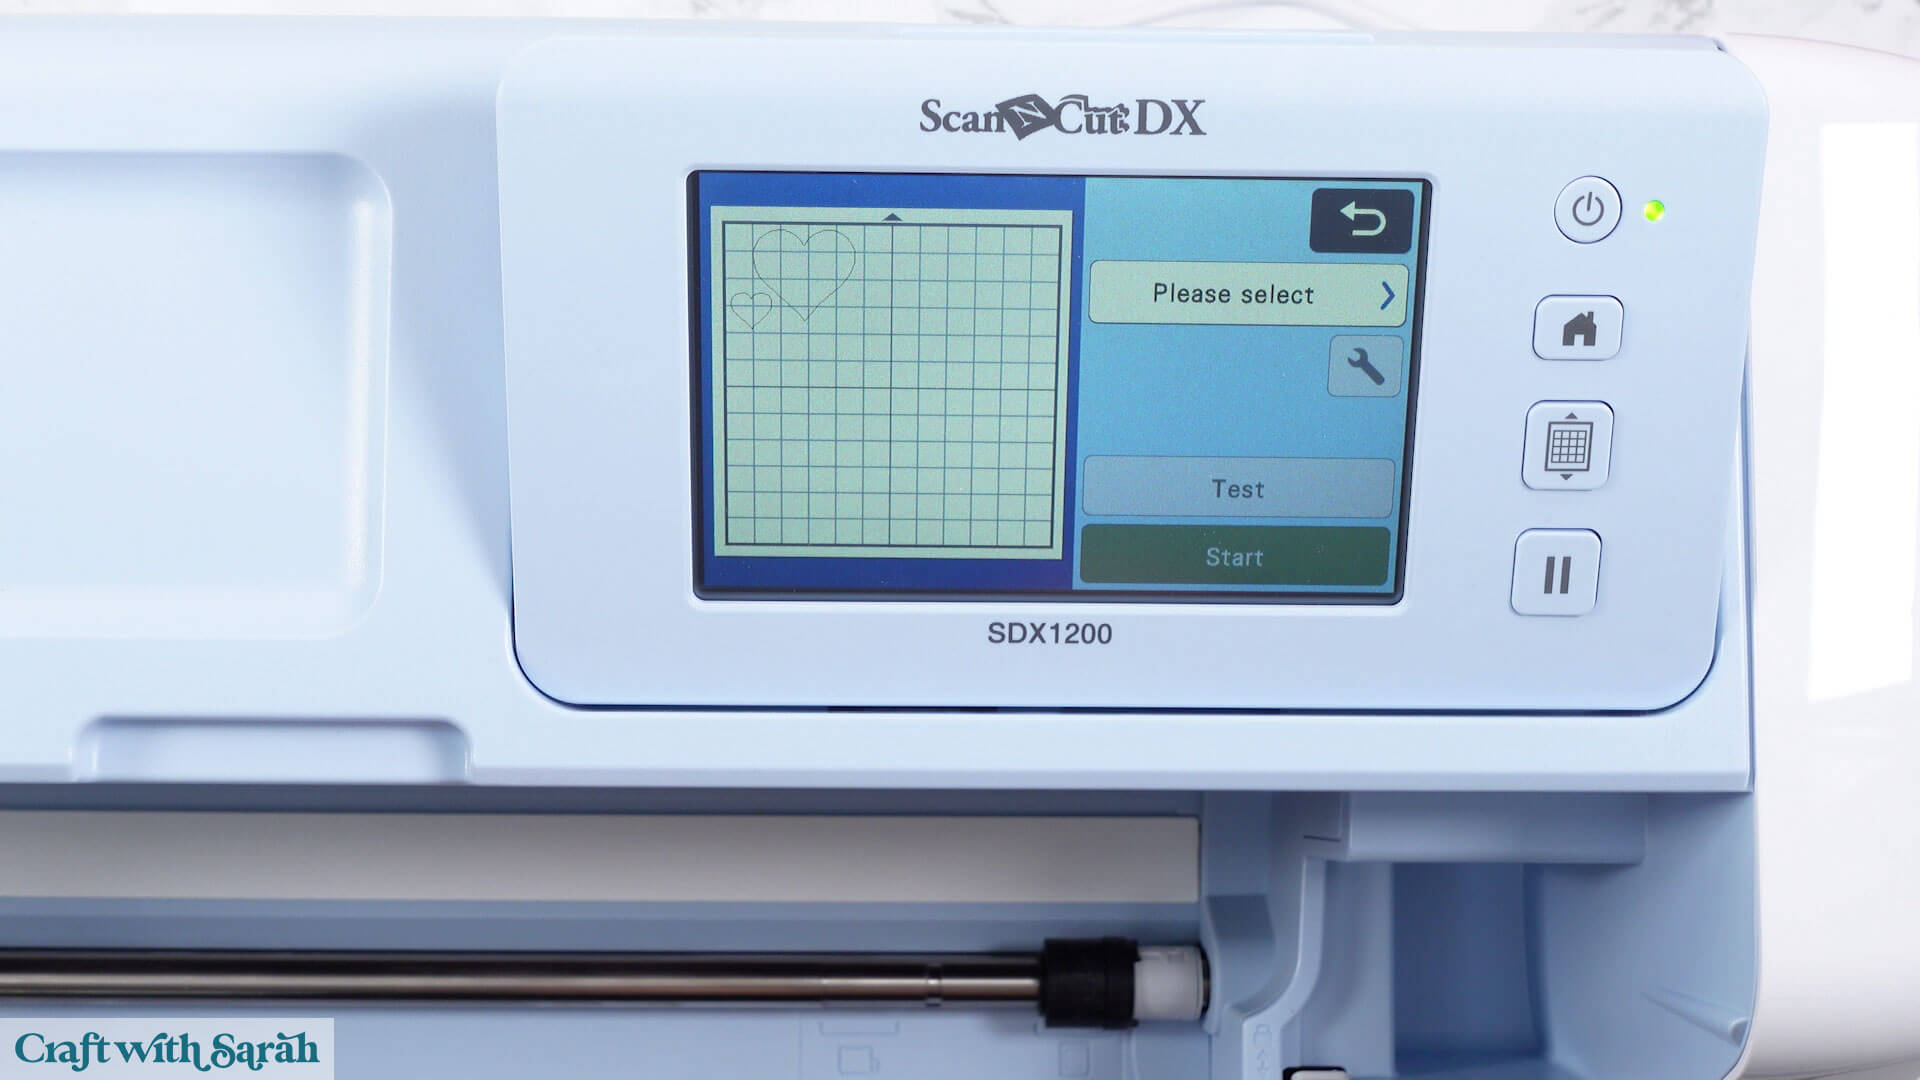
Under “Please Select” choose “Cut”.
You have the option to do a test cut at this point if you’re not sure on the settings.
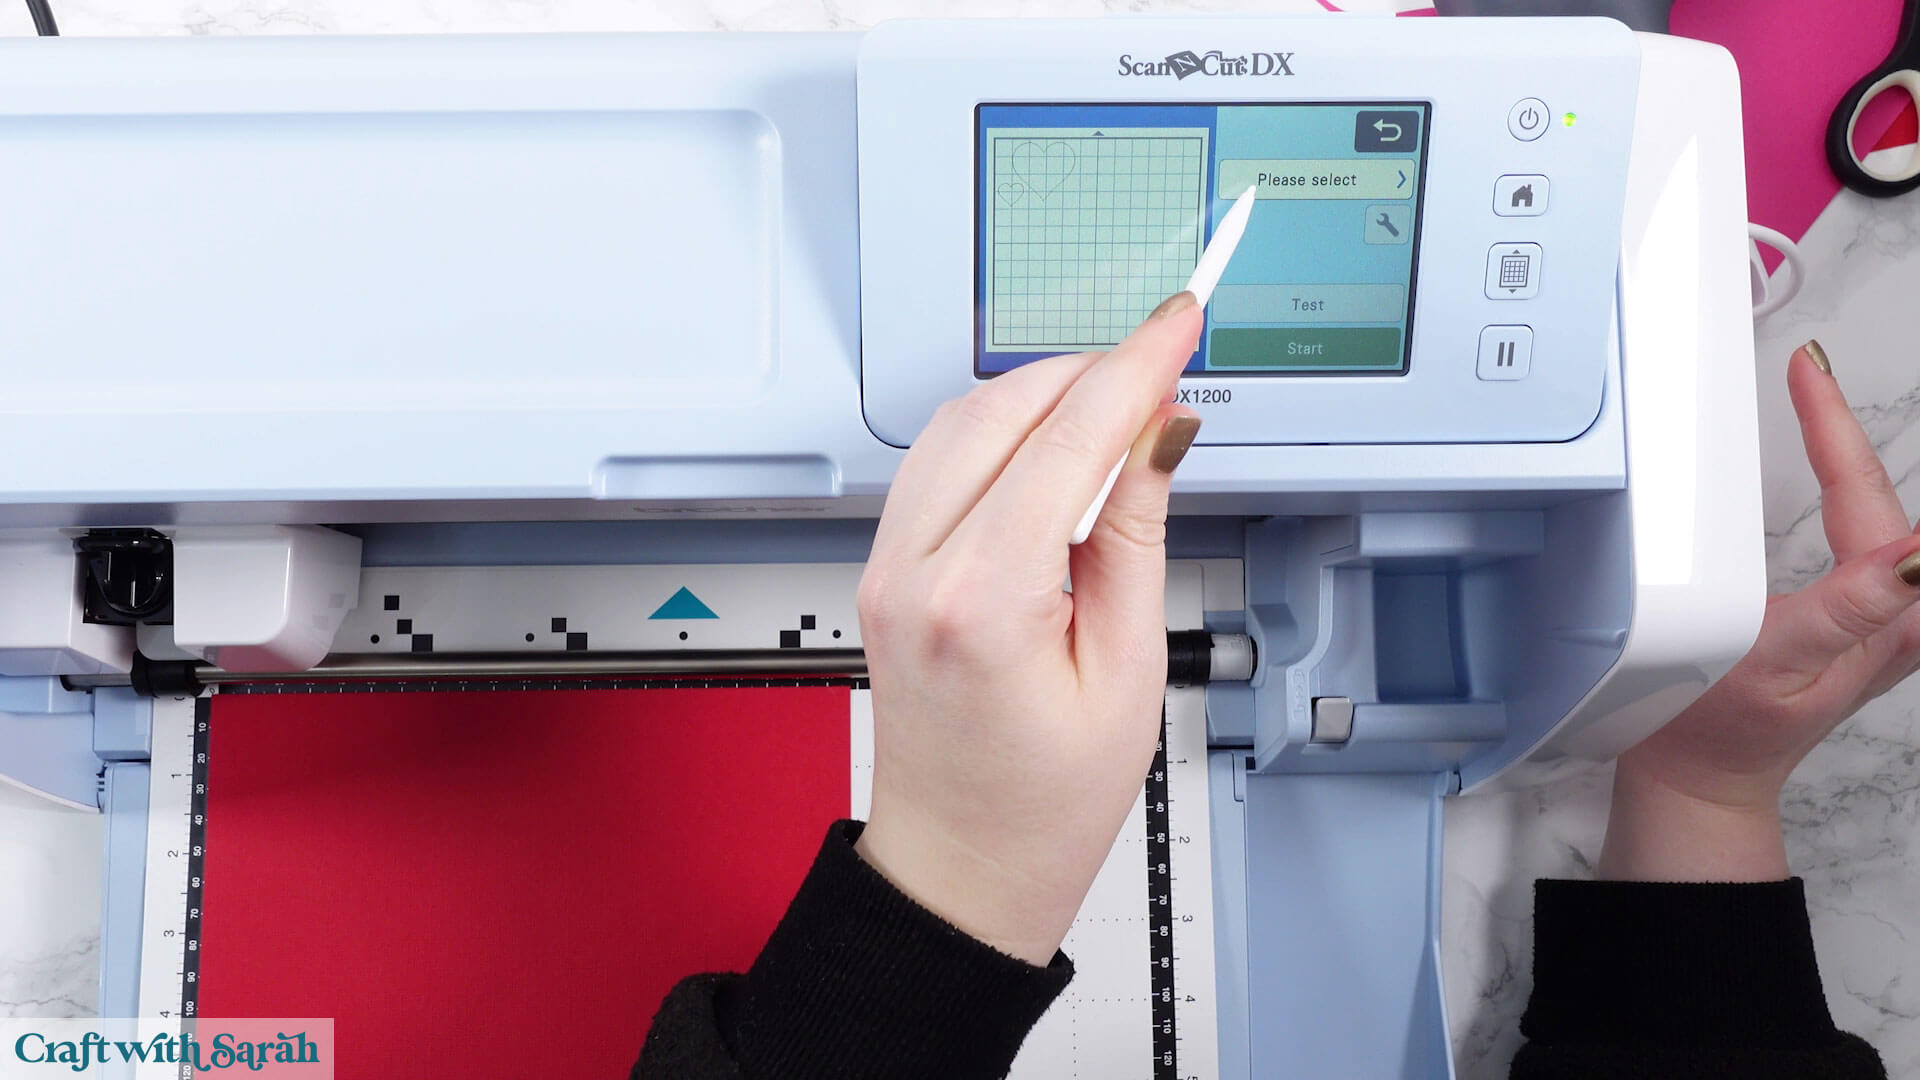
I’ve found that the automatic settings work well and I’ve never had to modify them.
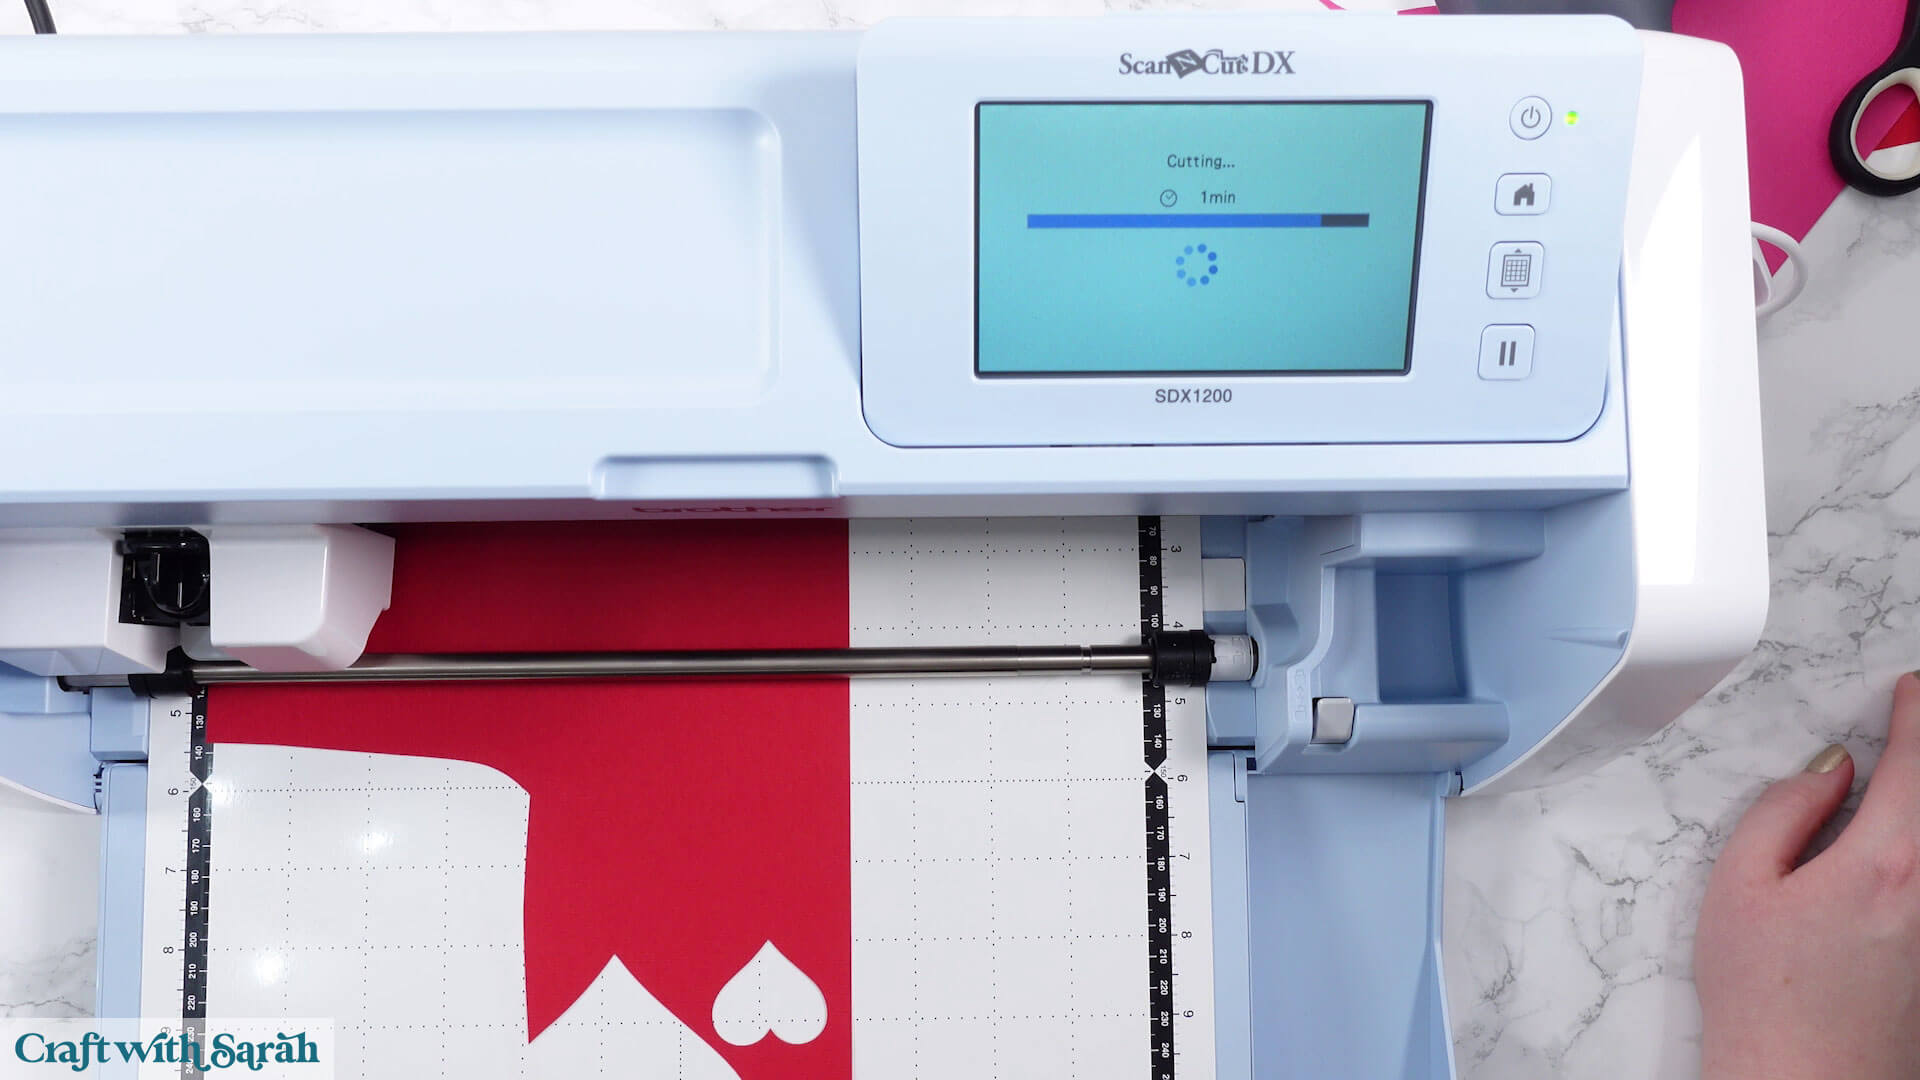
Then press “Start”.

You’ll see a timer count down as the project cuts.
Double check that it has cut through by peeling up a bit of card. If it hasn’t cut through you could follow on with the cut process again.
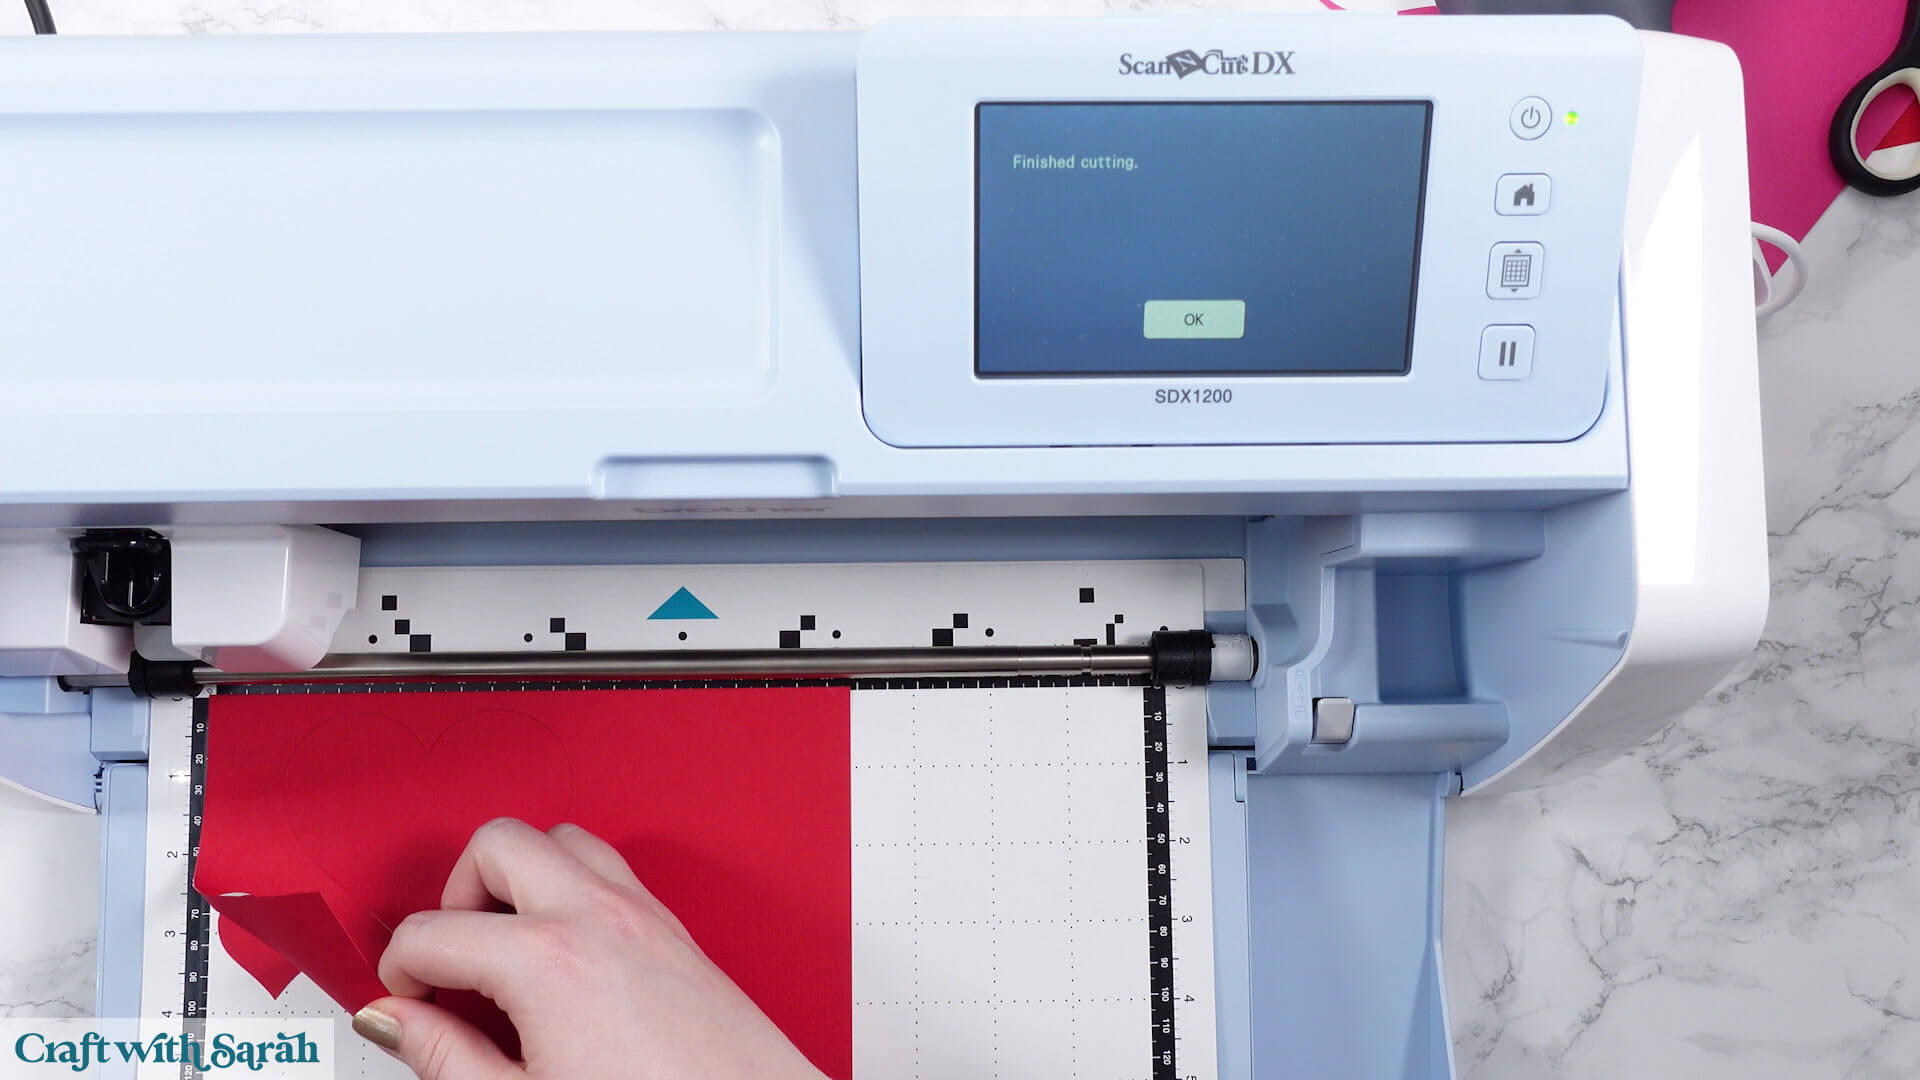
If it has then you can eject the mat using the mat icon button.
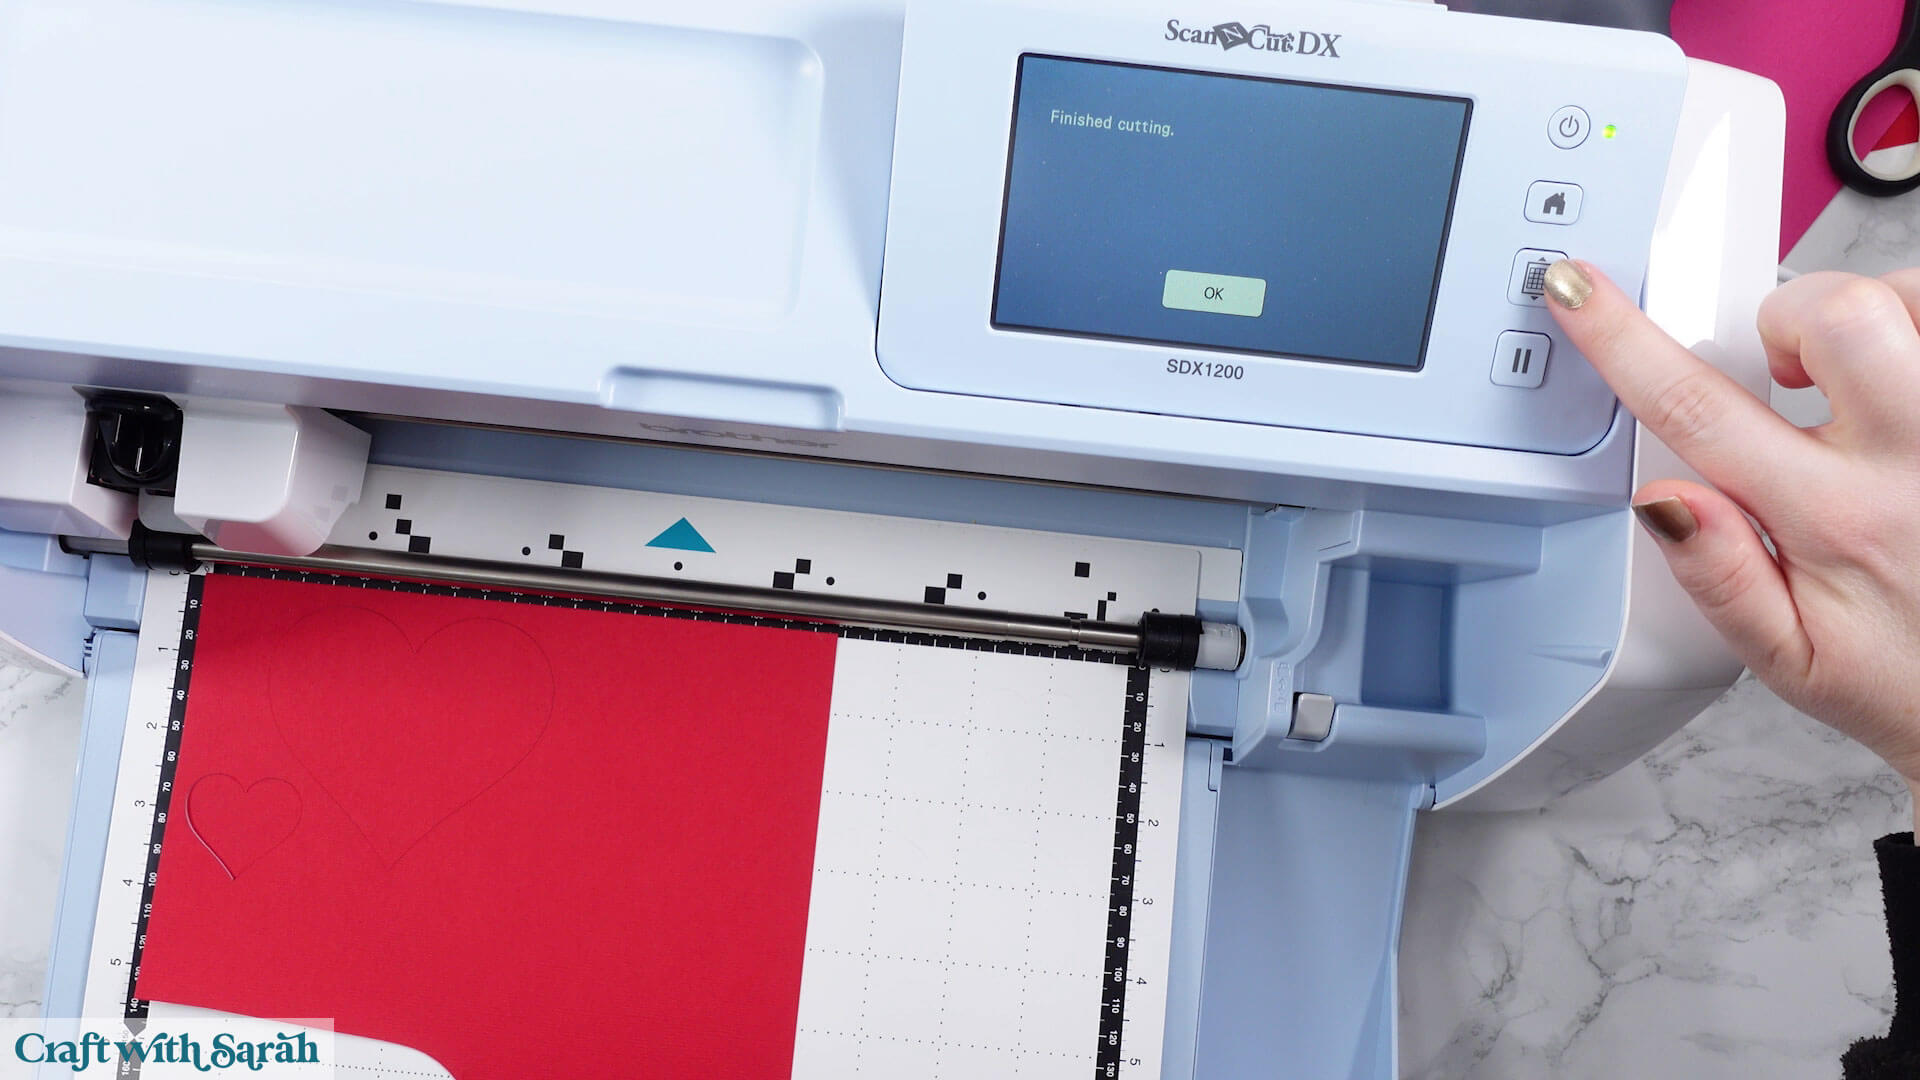
To get your other layers back so that you can cut the other colors, press the “Home” button.
Then “OK” under the “OK to delete all patterns?” heading.
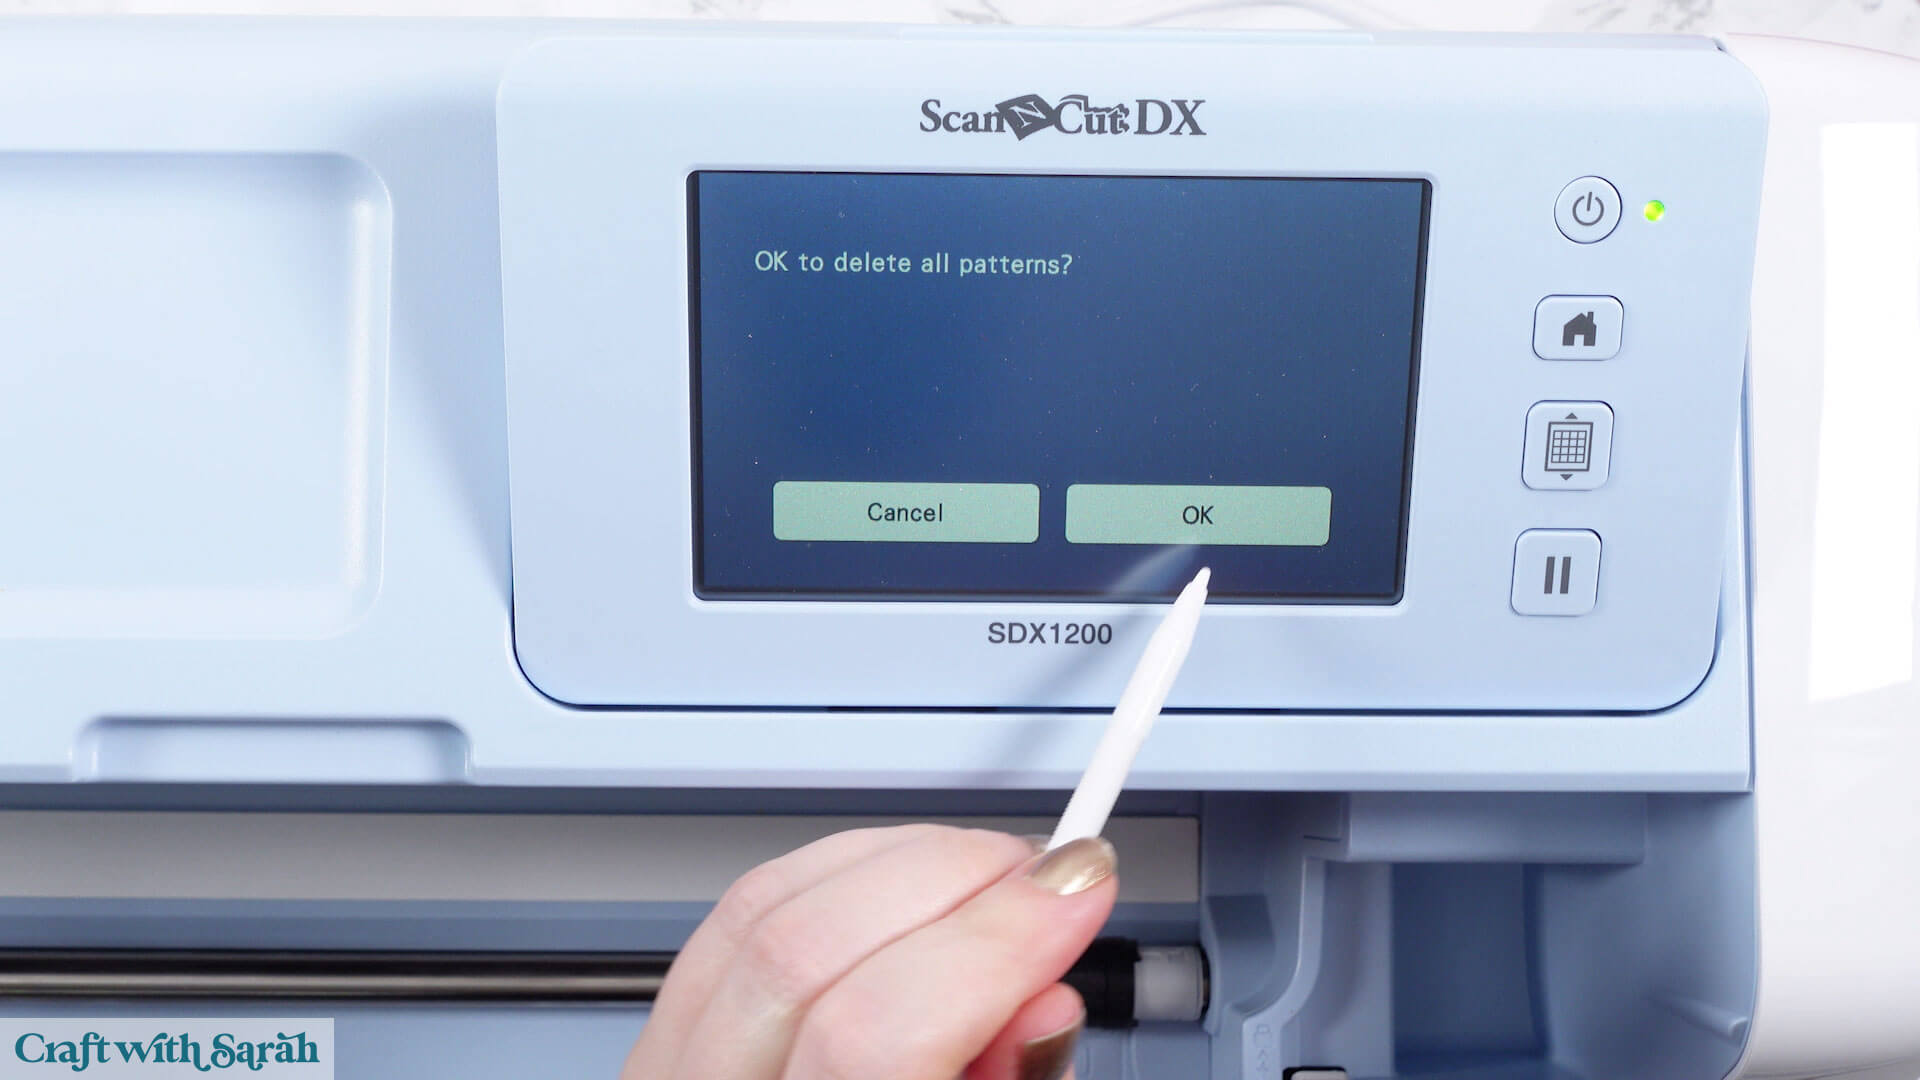
Repeat the import process to get the original project loaded, then repeat the steps above but for the next color.
Option 2: Cut all colors at once using the Scan feature
This is an alternate method where you can cut multiple colors at the same time.
Follow the same steps mentioned above to load the project on your ScanNCut.
Move each color of the design to the corners of the mat using the screen, if they aren’t already arranged that way.
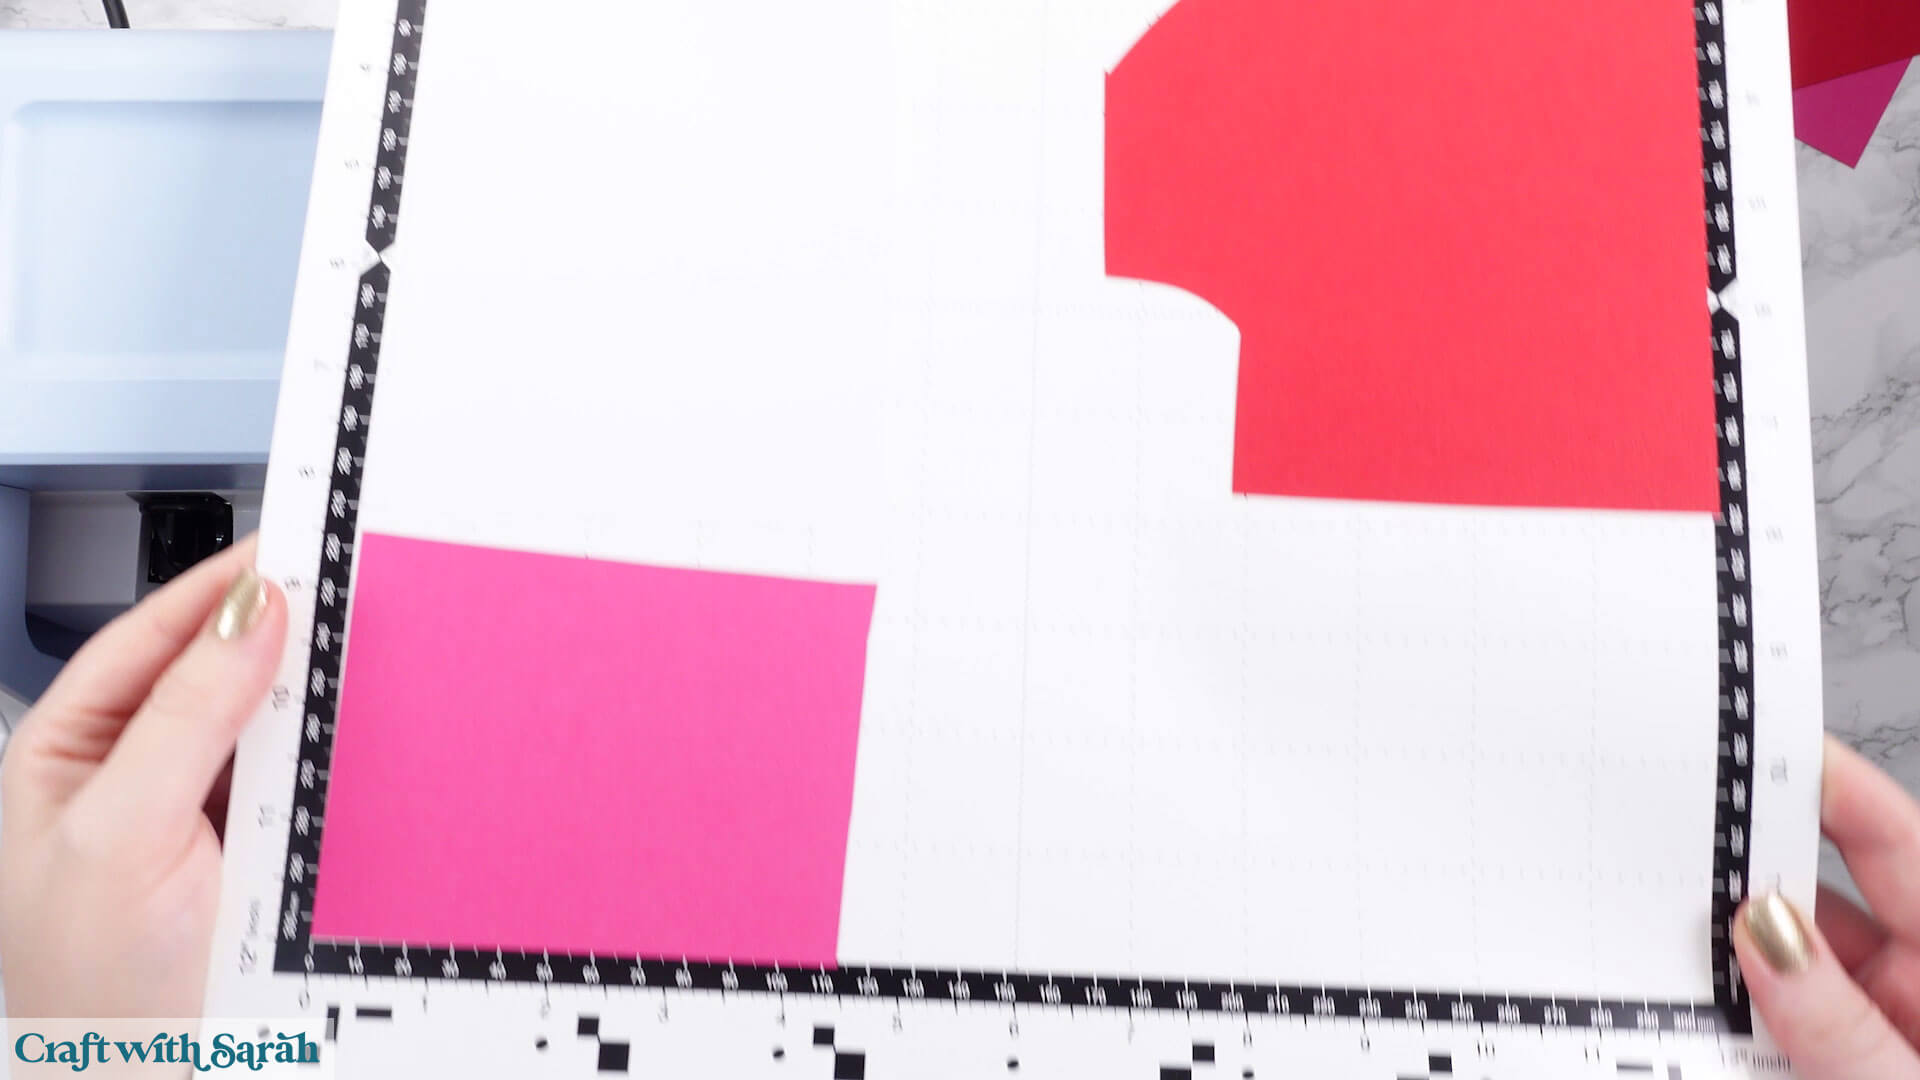
Place small bits of different colored cardstock that correspond to different corners of your mat that show on screen.
Load the mat by holding them up to the rollers and pressing the mat button just like we did previously.
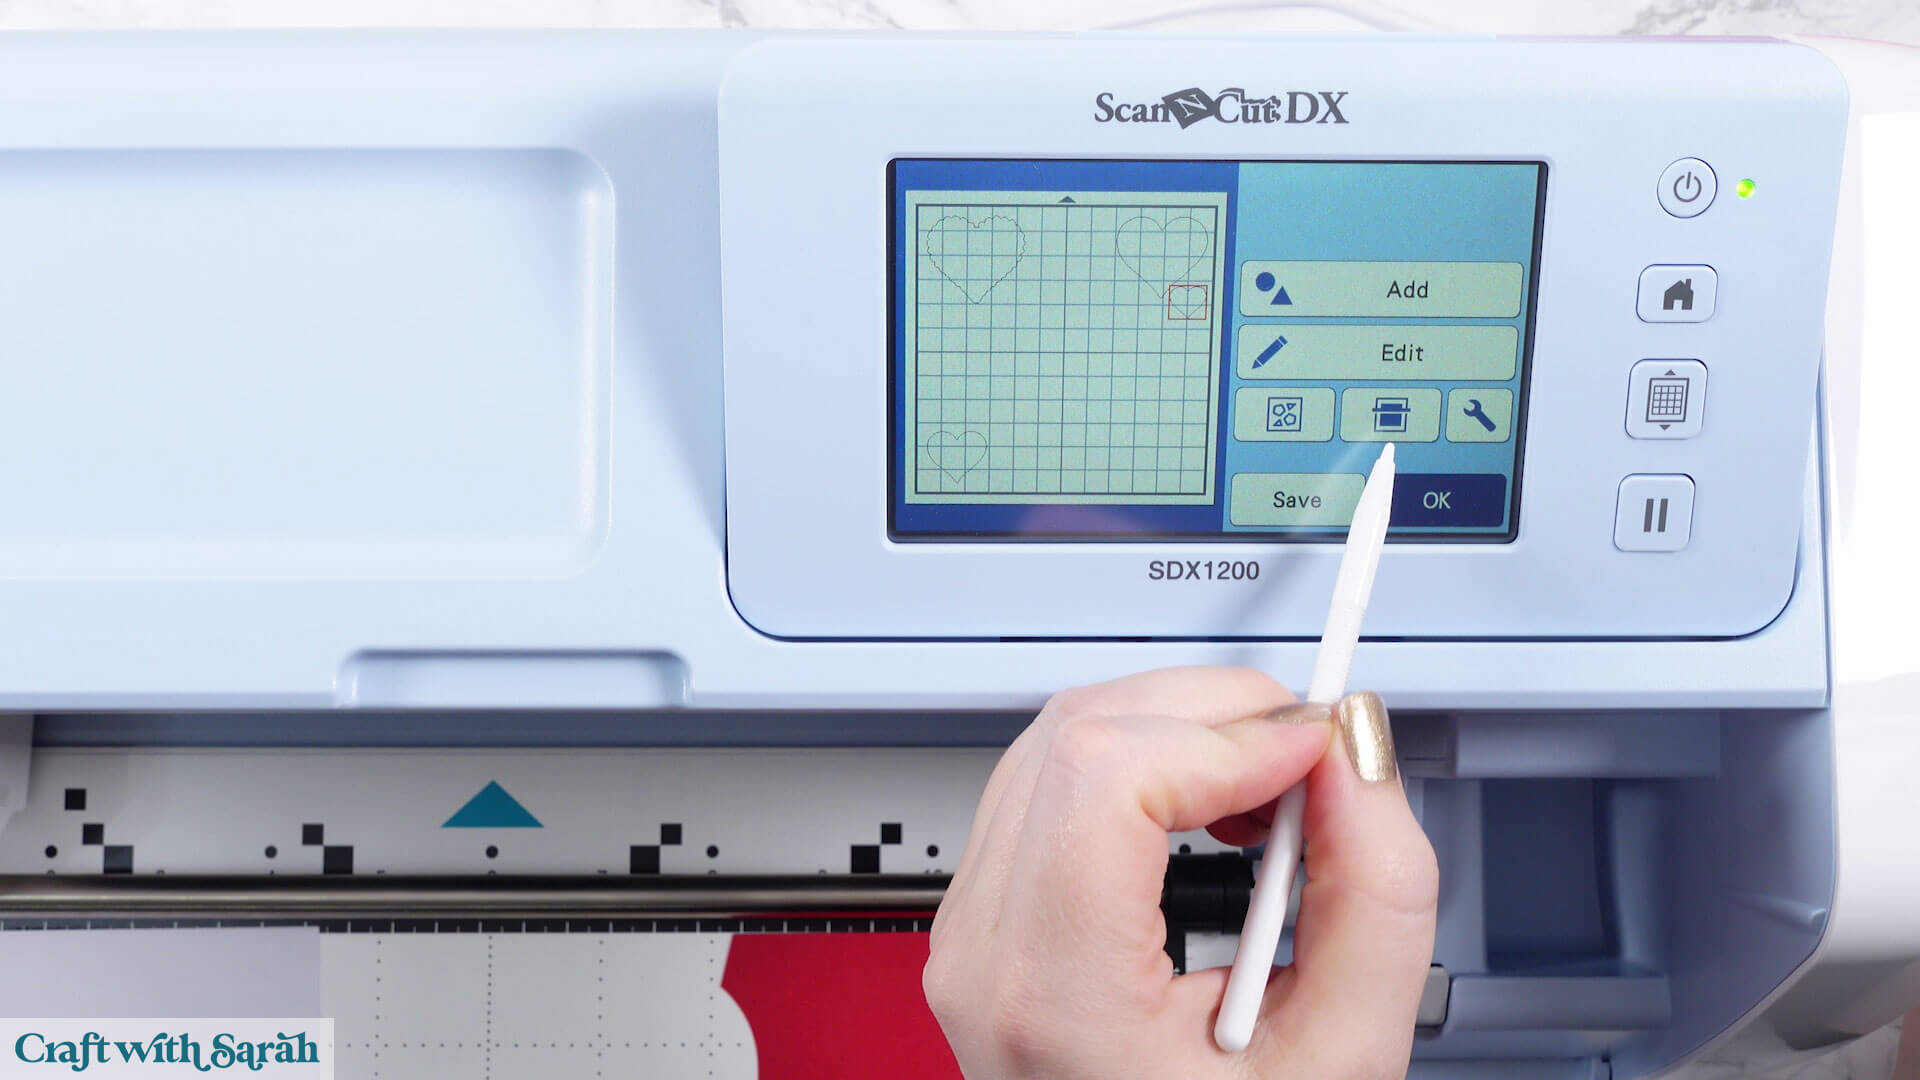
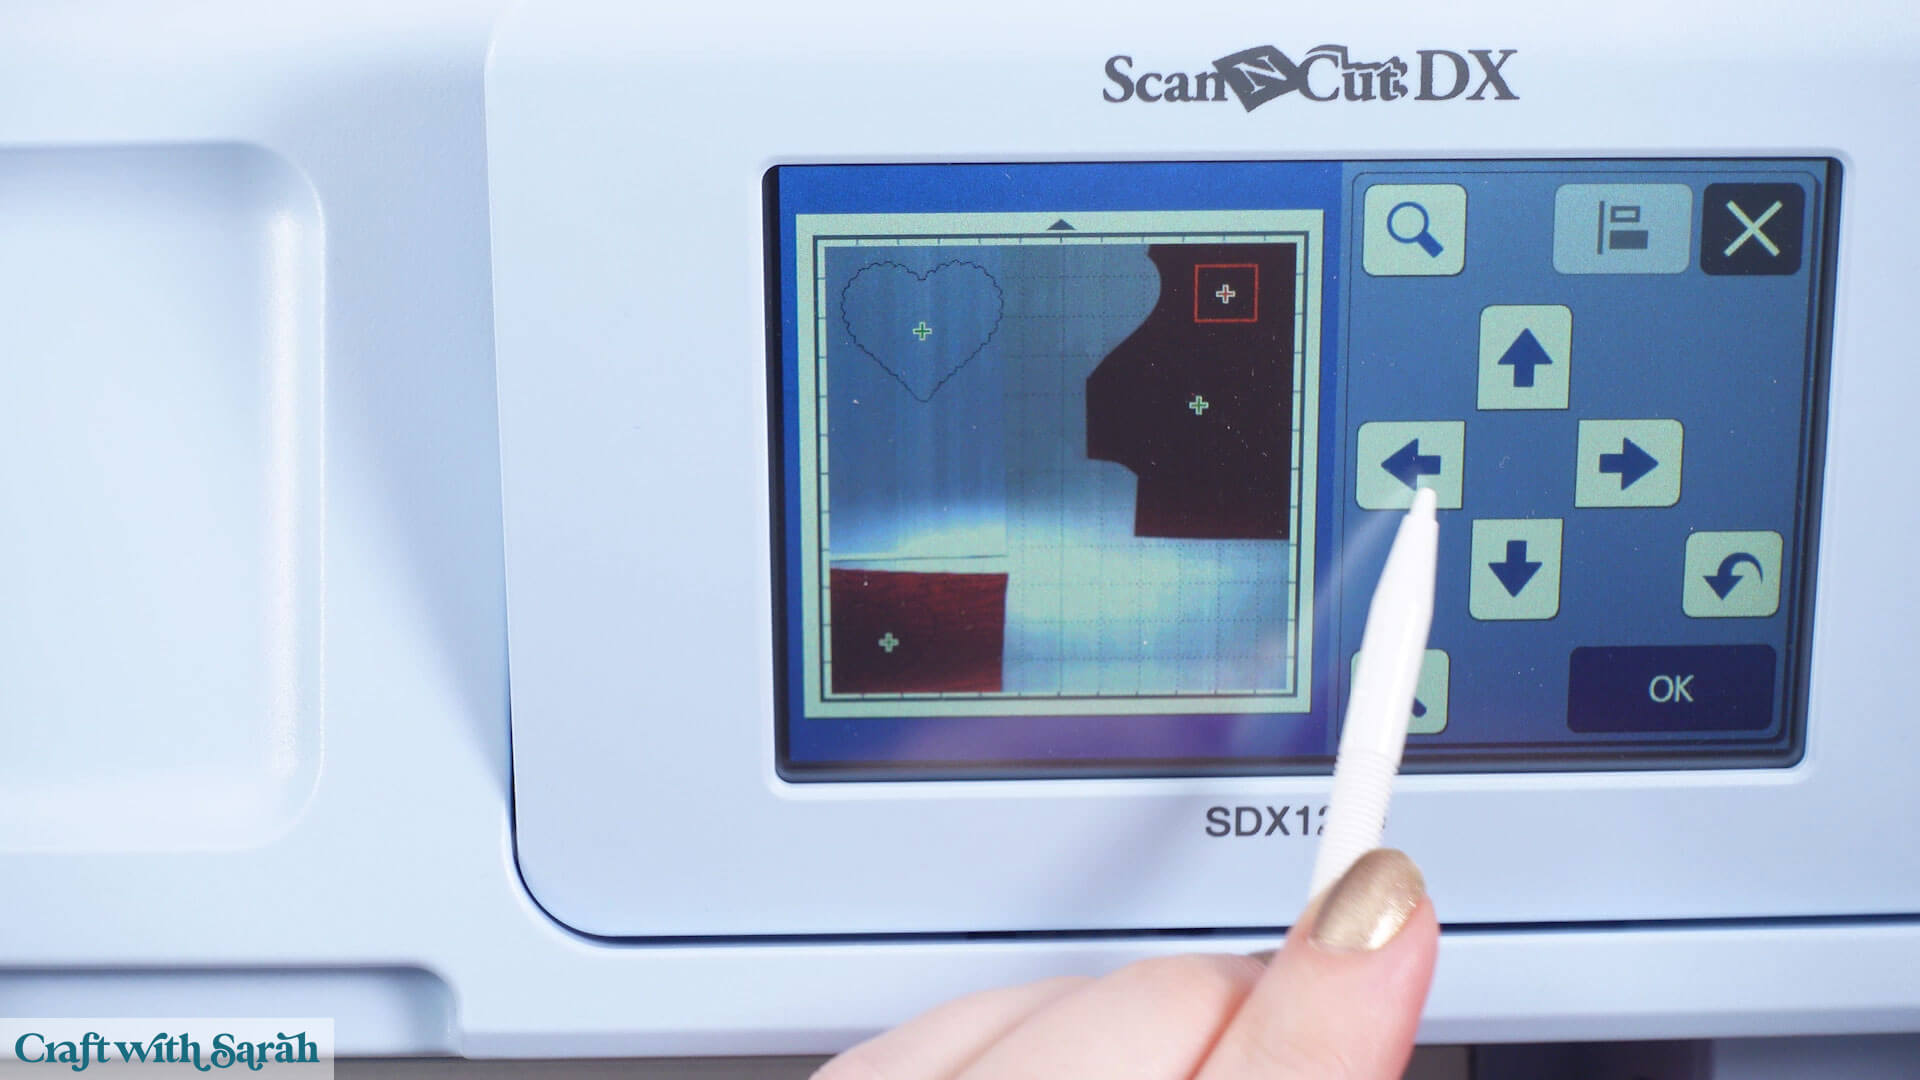
Select the “Scan” button.
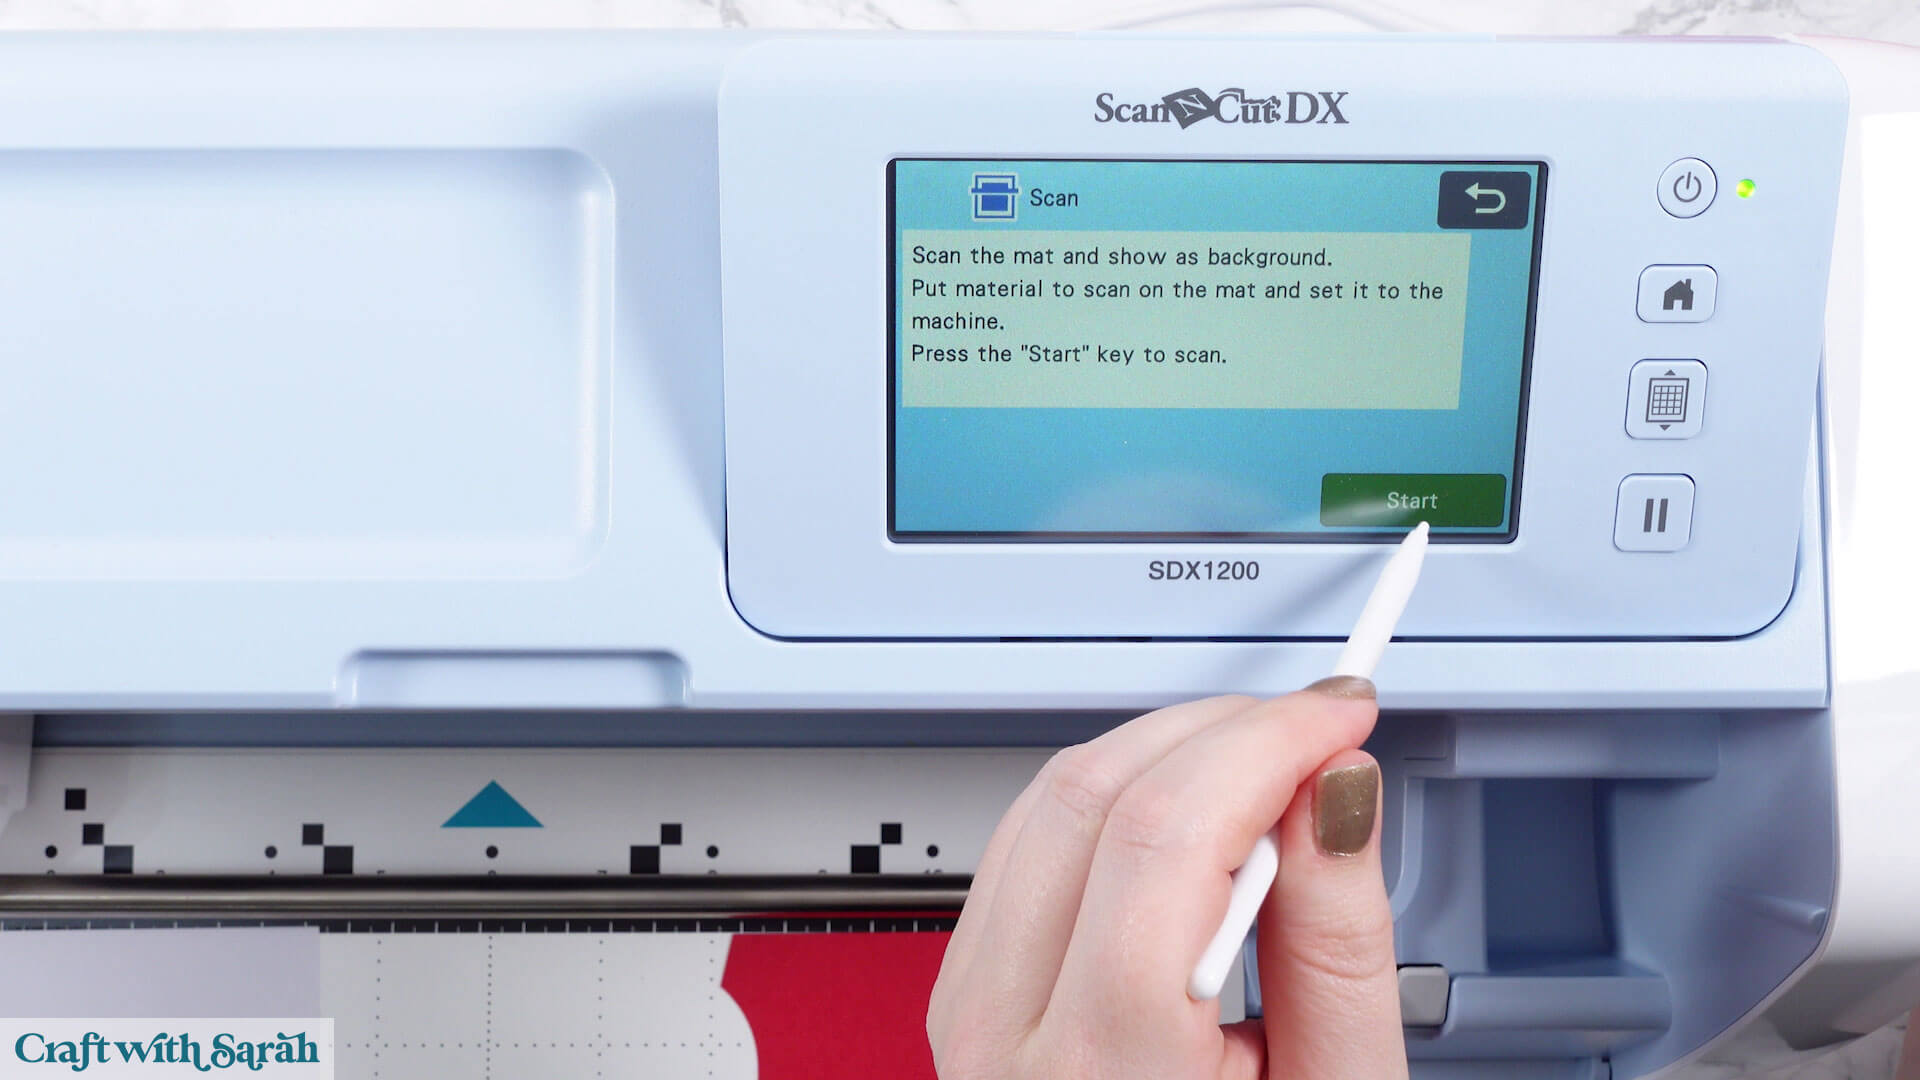
Press “Start” on your ScanNCut to preview where the card is.
Now you can use the image on screen to move your shapes to match the card placement.
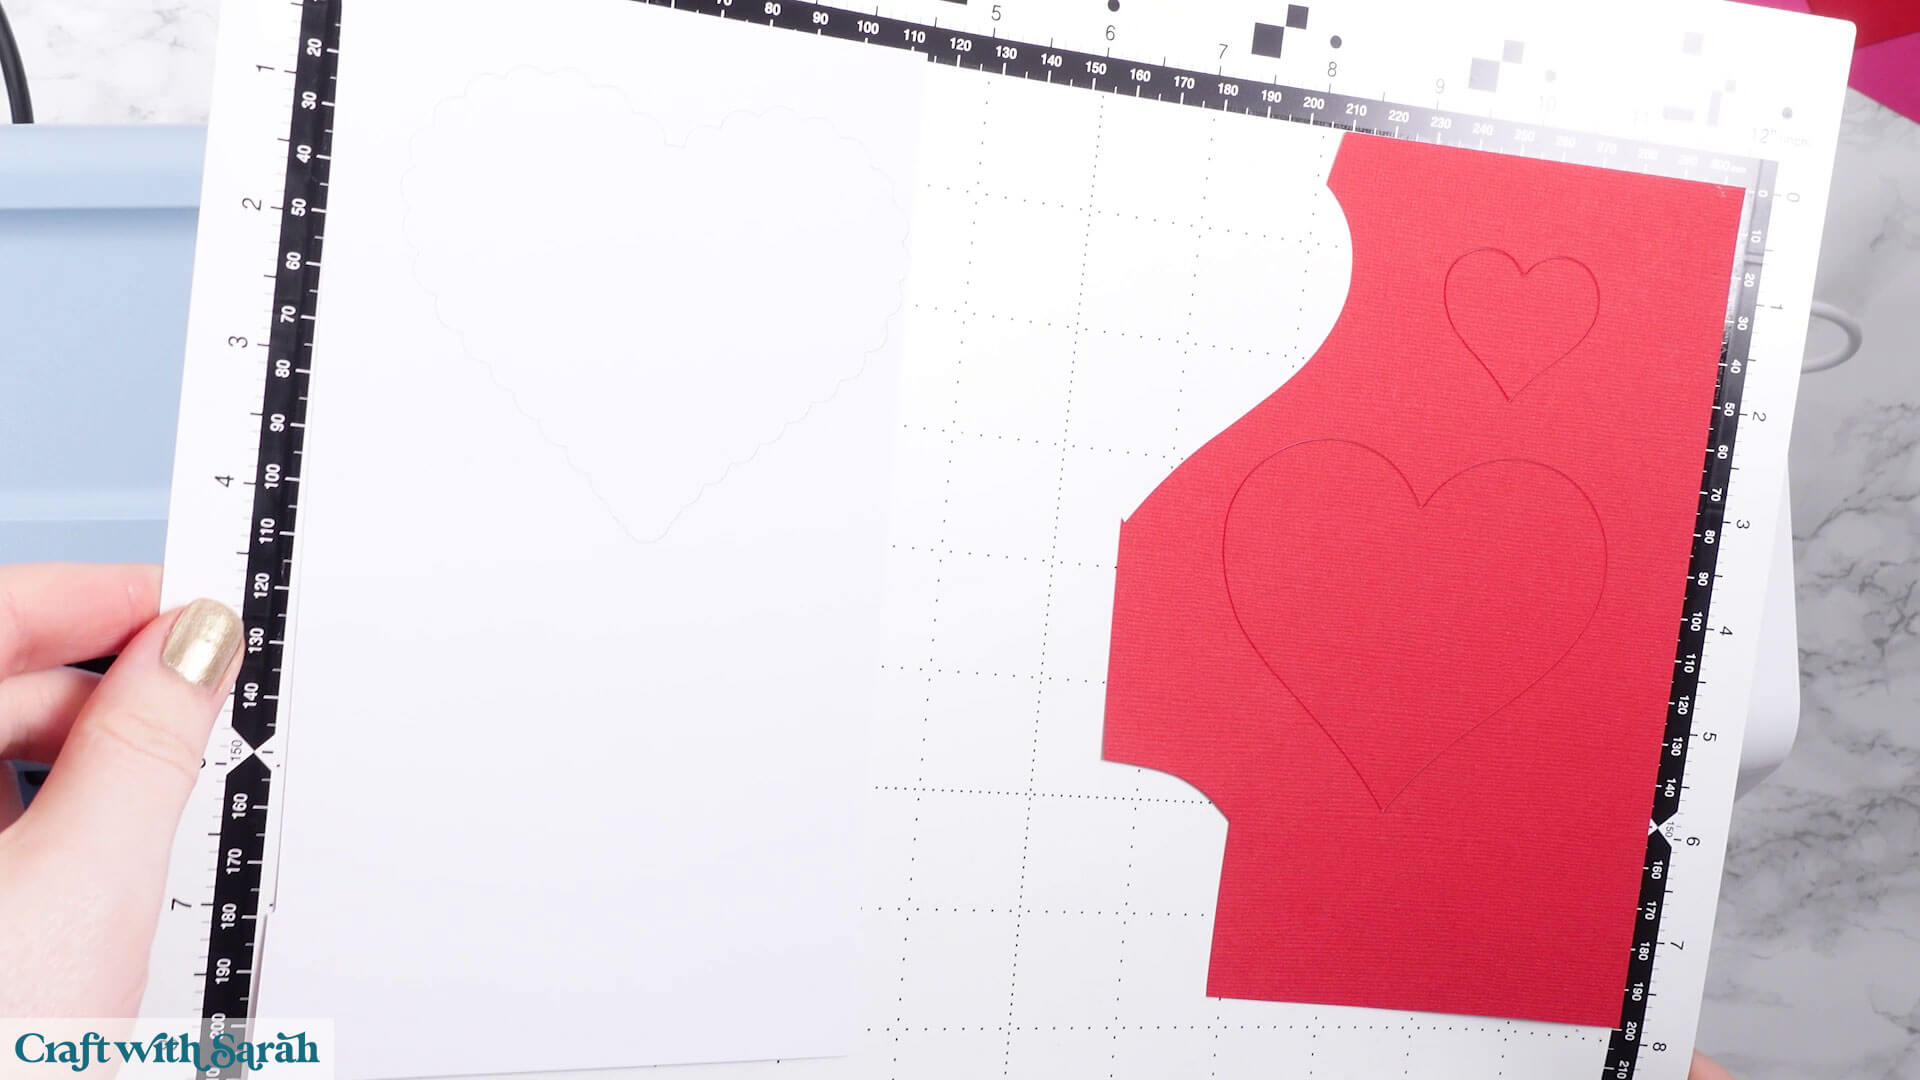
Cut the shapes using the same steps as outlined above.
Watch as your ScanNCut magically cuts from all the different colors of cardstock.
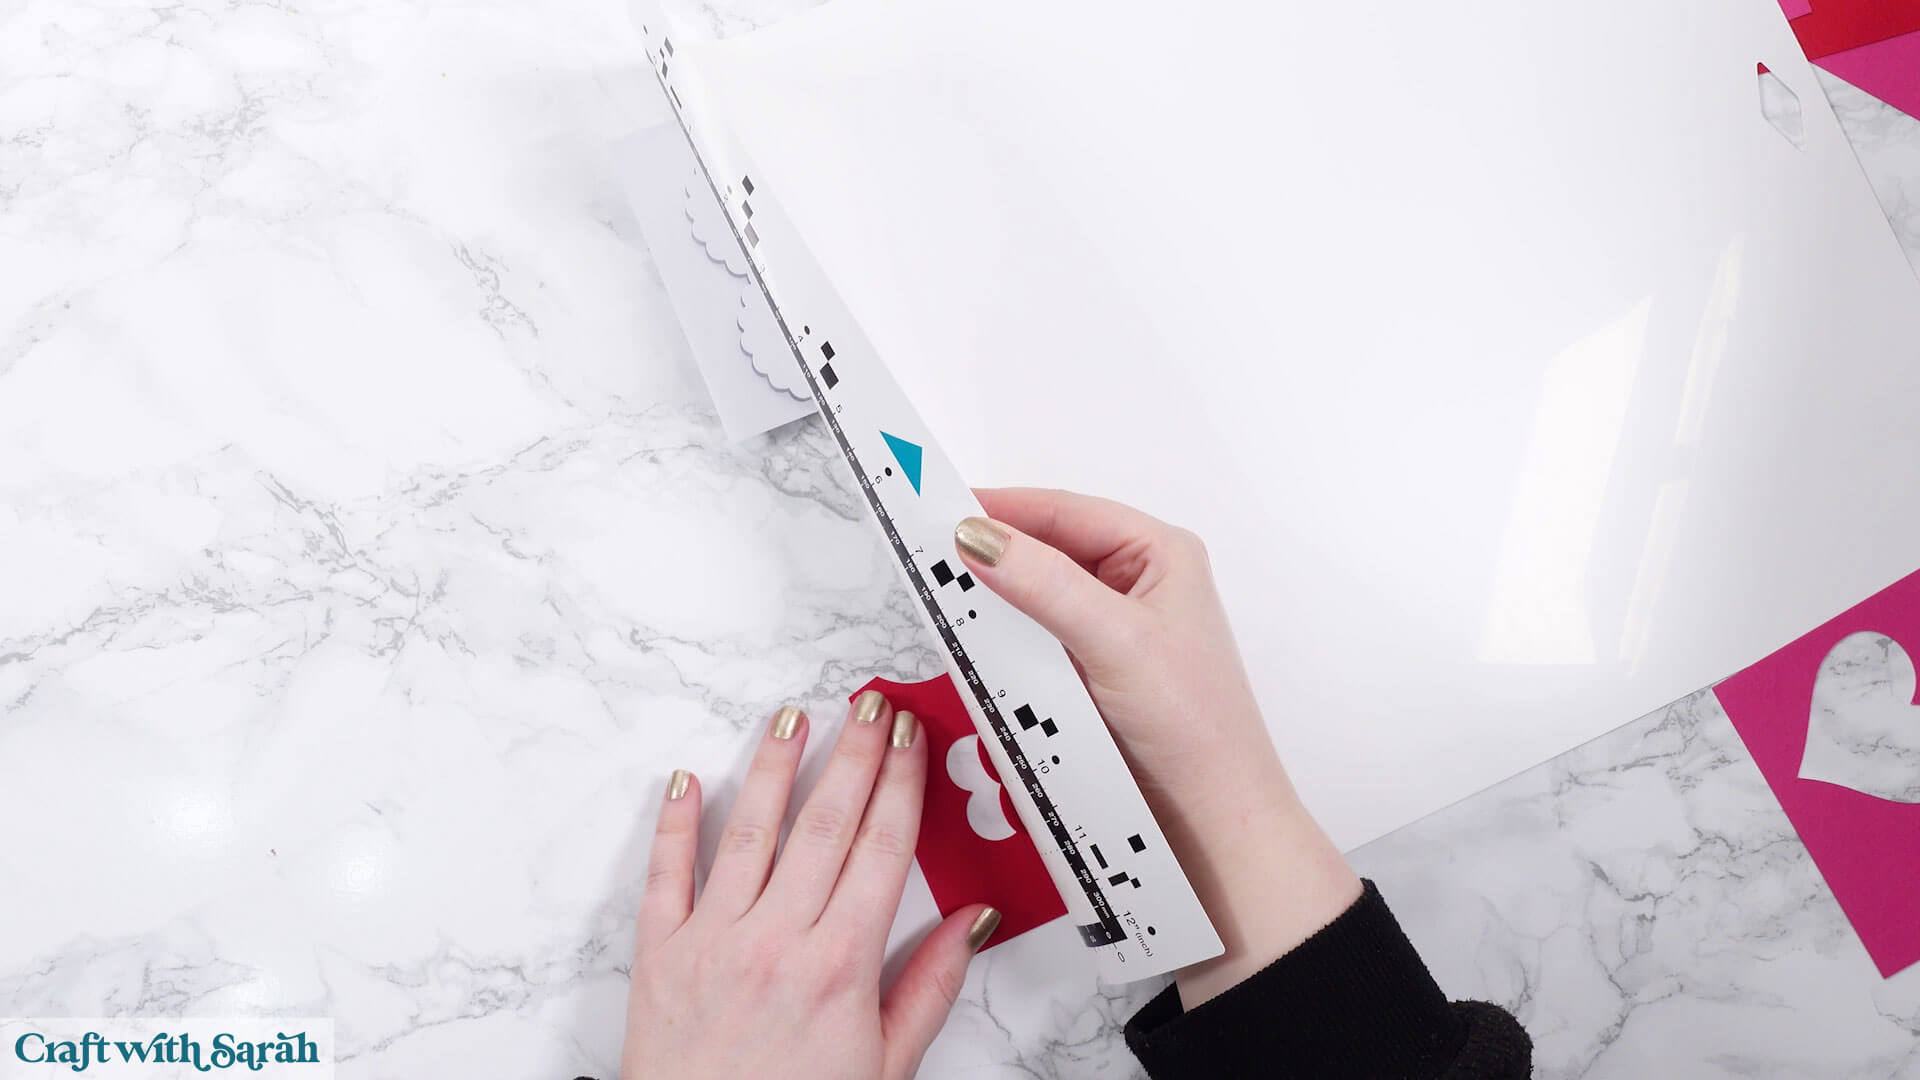
To take the card off the mat, turn the mat upside down and gently pull the mat away from the cardstock, using one hand to hold the card flat against your work surface.
This is better than trying to peel the card off directly, as that can cause it to roll/bend.
Be careful not to fold your mat, otherwise it might snap or crease.
Step 7) Stick the project together
Time to put it all together!
If you’re using a “Craft with Sarah” cut file, look in your download folder for an “Assembly Guide”. This shows the order to stick the pieces together in, and whether to use glue or foam pads for each piece.
If you don’t have foam squares you can glue all the pieces together instead.
These are my favorite glue brands. I like them because they don’t bend/wrinkle the cardstock like some glues can do.
My overall favorite glue is Bearly Art Glue.
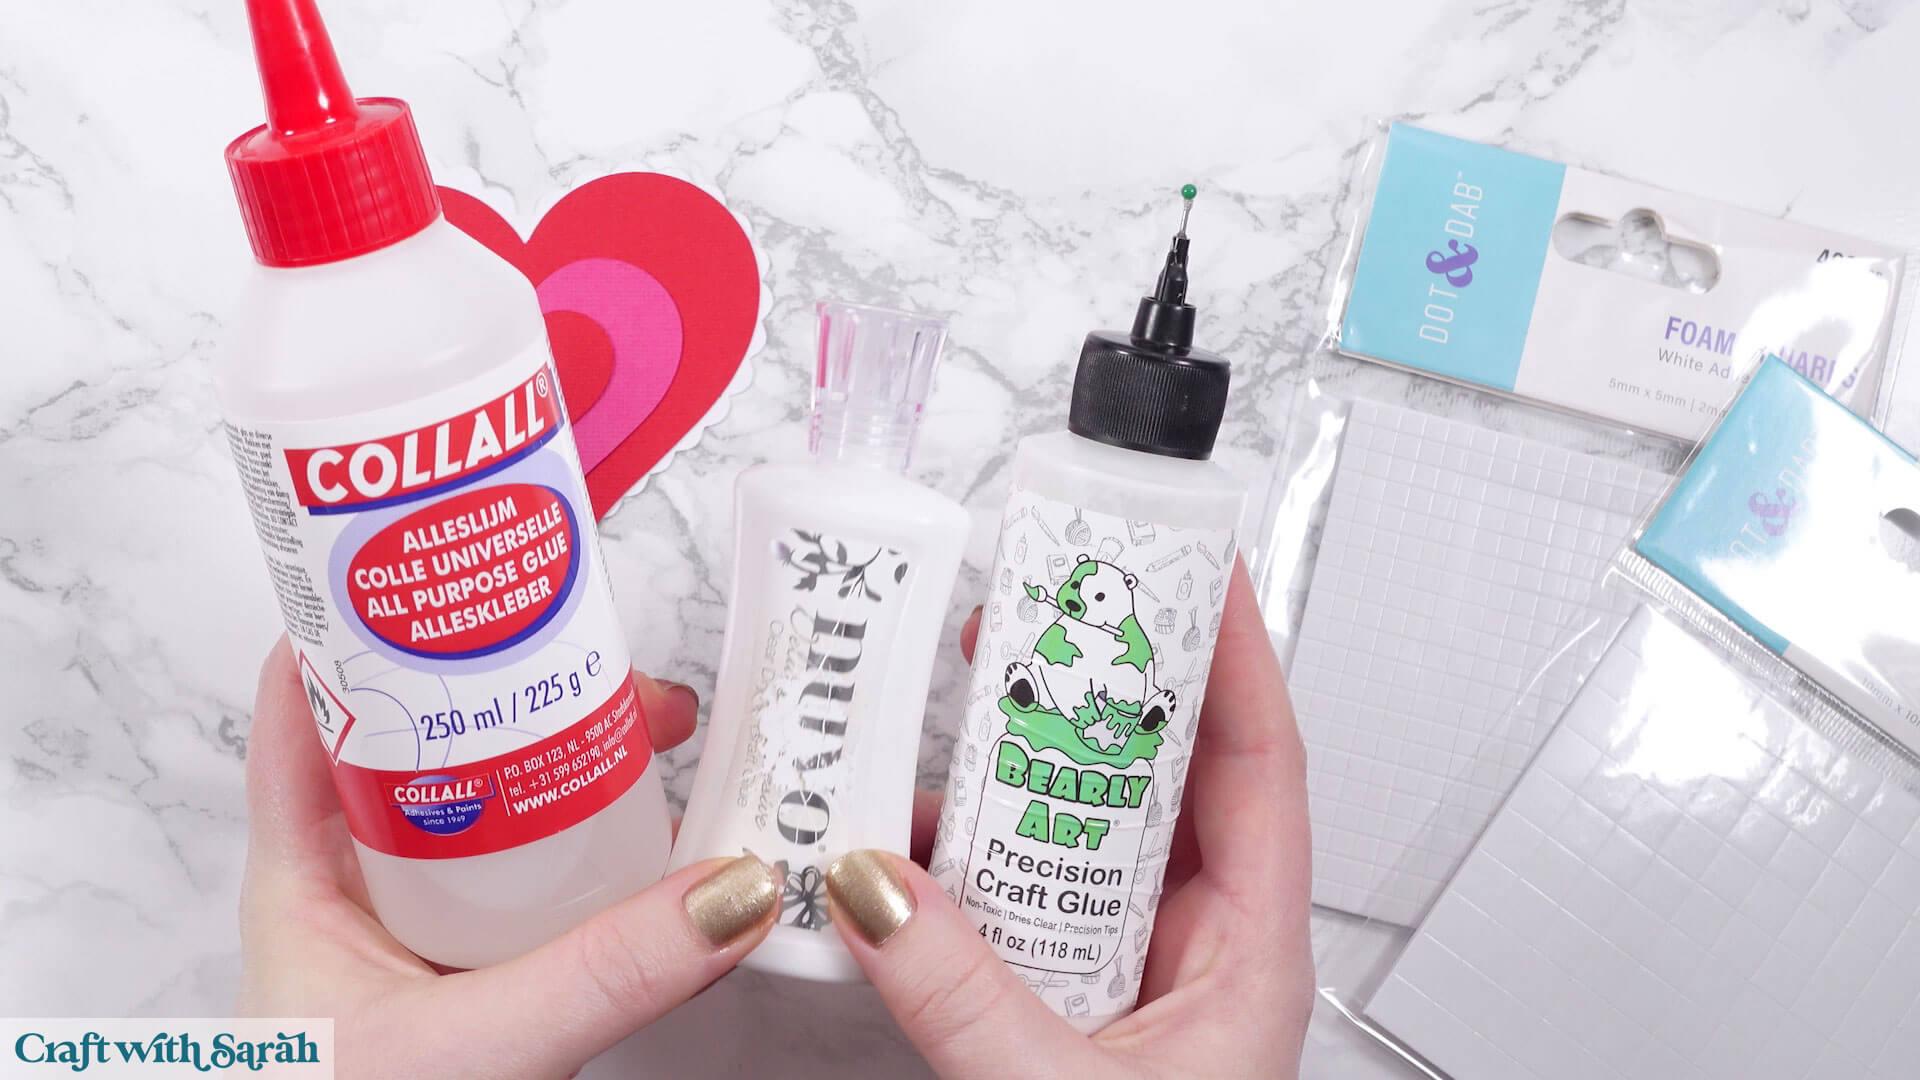
For foam squares, I like the Dot & Dab brand, but any will do. 2mm thick foam pads work best for these types of projects.
If your foam squares are too large to fit onto the cardstock then cut them smaller with scissors.
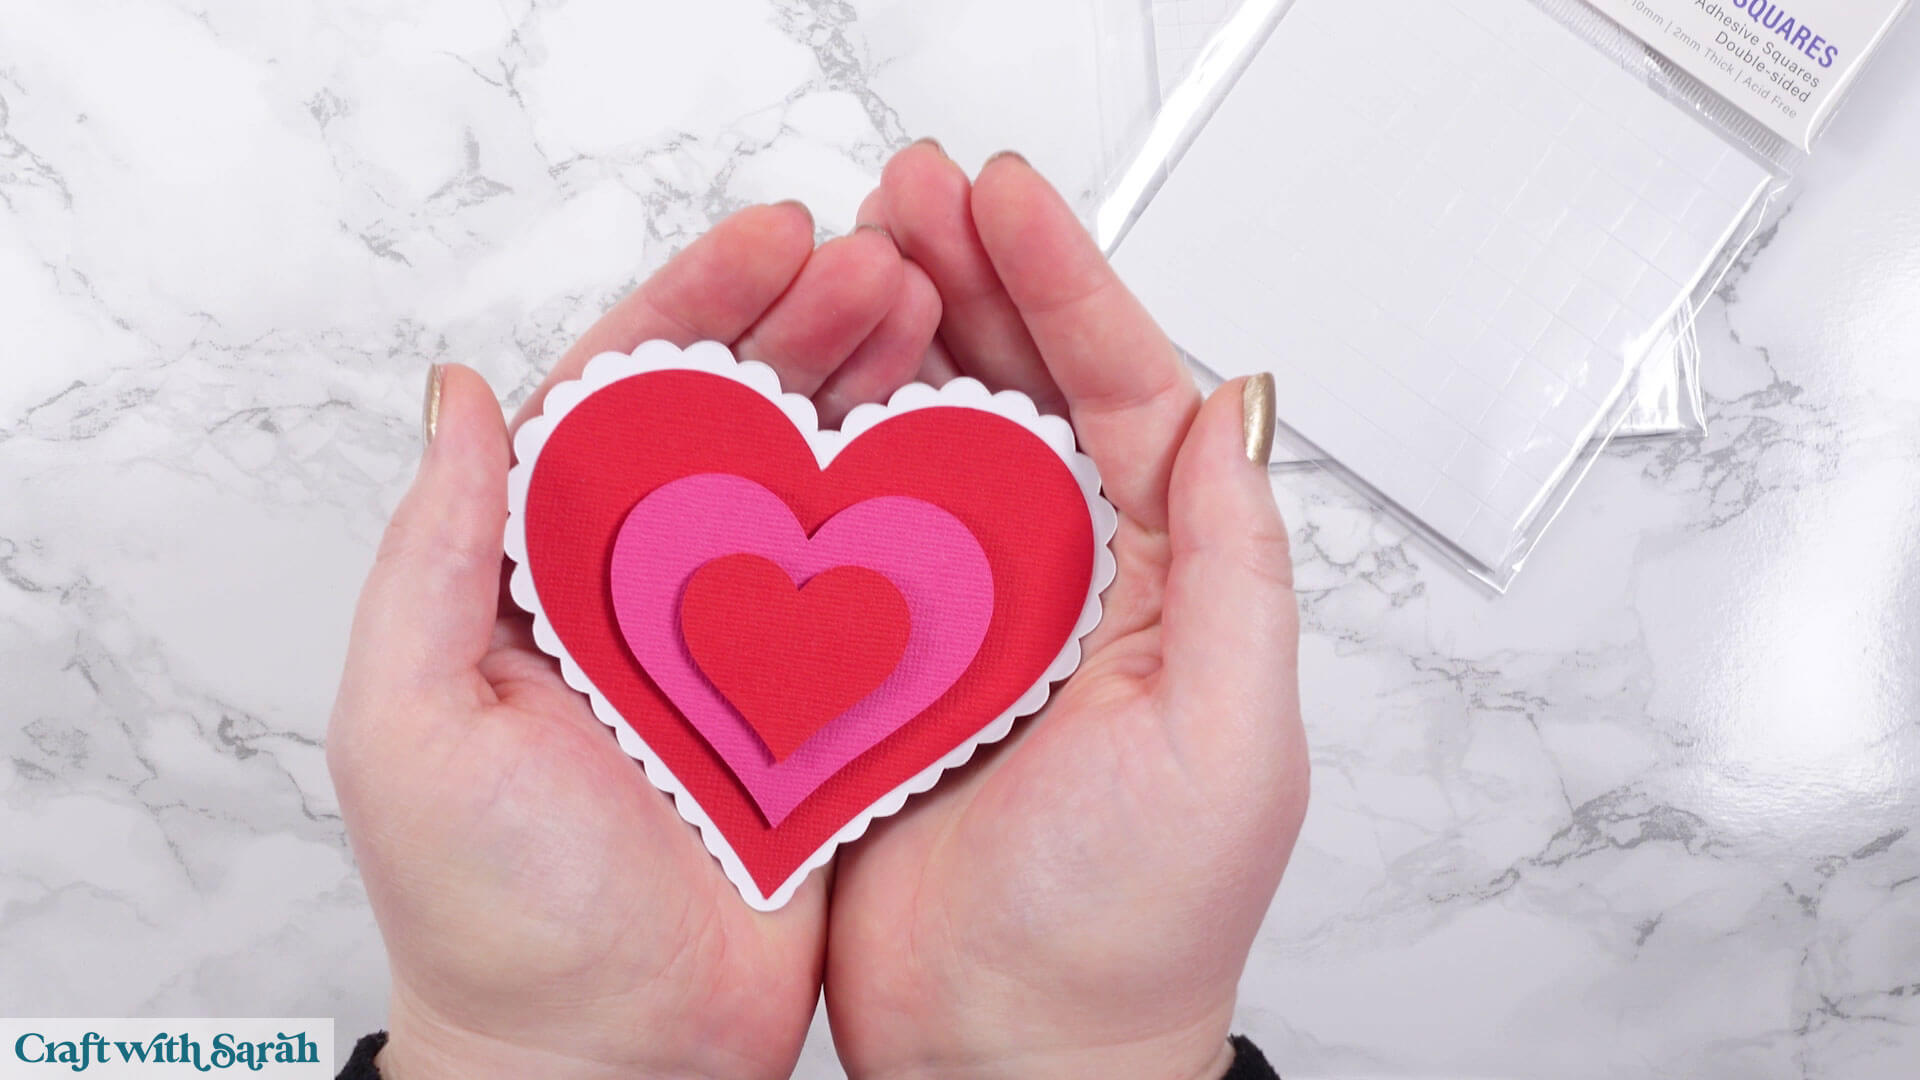
When putting your project together, start at the bottom with the largest layer and then work your way upwards, following the assembly guide.
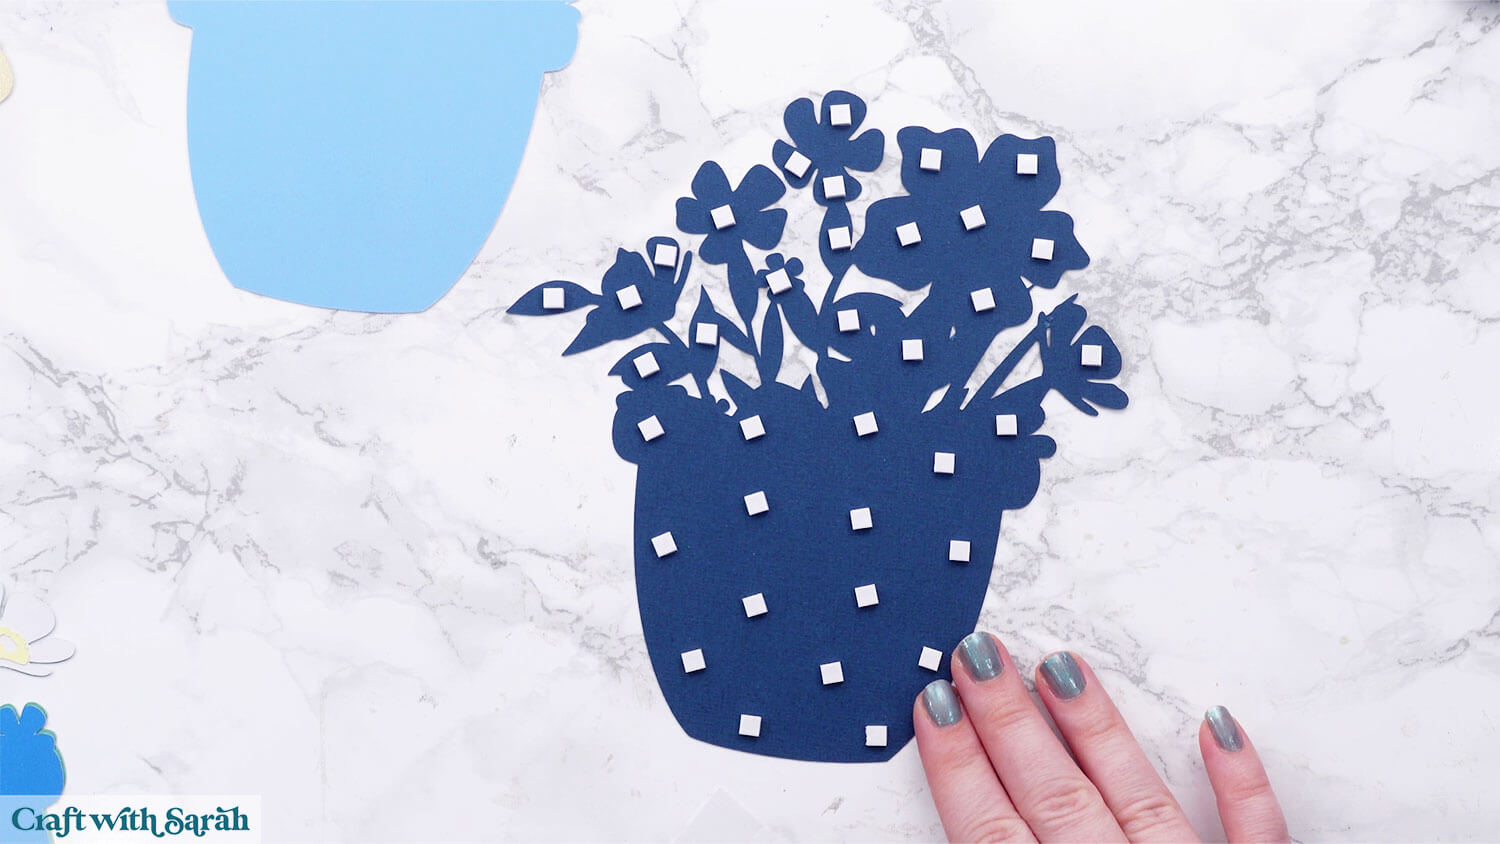
When adding foam pads to larger pieces of cardstock, make sure you add some in the middle of the pieces of card so it gives stability across the whole piece.
If you don’t add any foam pads in the middles then it can dip/sag down under the weight of the other layers which doesn’t look as good.
Here’s an example of good foam square placement on a large piece of card:
Once you have finished sticking all the pieces together, your project is ready to be framed, added to a greetings card or scrapbook page – or, however else you are planning on displaying it! 💕
🌟 ScanNCut papercraft projects
You just learnt how to import a SVG file to CanvasWorkspace, add the colors back in, customize your project, cut it out with your ScanNCut machine, and stick the pieces together to make your very first papercraft.
You're now ready for all kinds of beautiful projects to make with your ScanNCut: layered designs, greeting cards, lanterns, shadow boxes, 3D projects, bookmarks and more!
Choose from over 200 free SVGs or visit my SVG shop for over 2,000 additional designs.
Or, learn even more about your Brother ScanNCut machine and the CanvasWorkspace software with free ScanNCut machine help guides.
If you have any questions about the techniques shown in this tutorial, please get in touch.
Happy crafting,
Sarah