How to Make Starburst Cards 🌟 Scrap Busting Card Making Ideas
Looking for easy but effective cards to use up your patterned paper scraps?
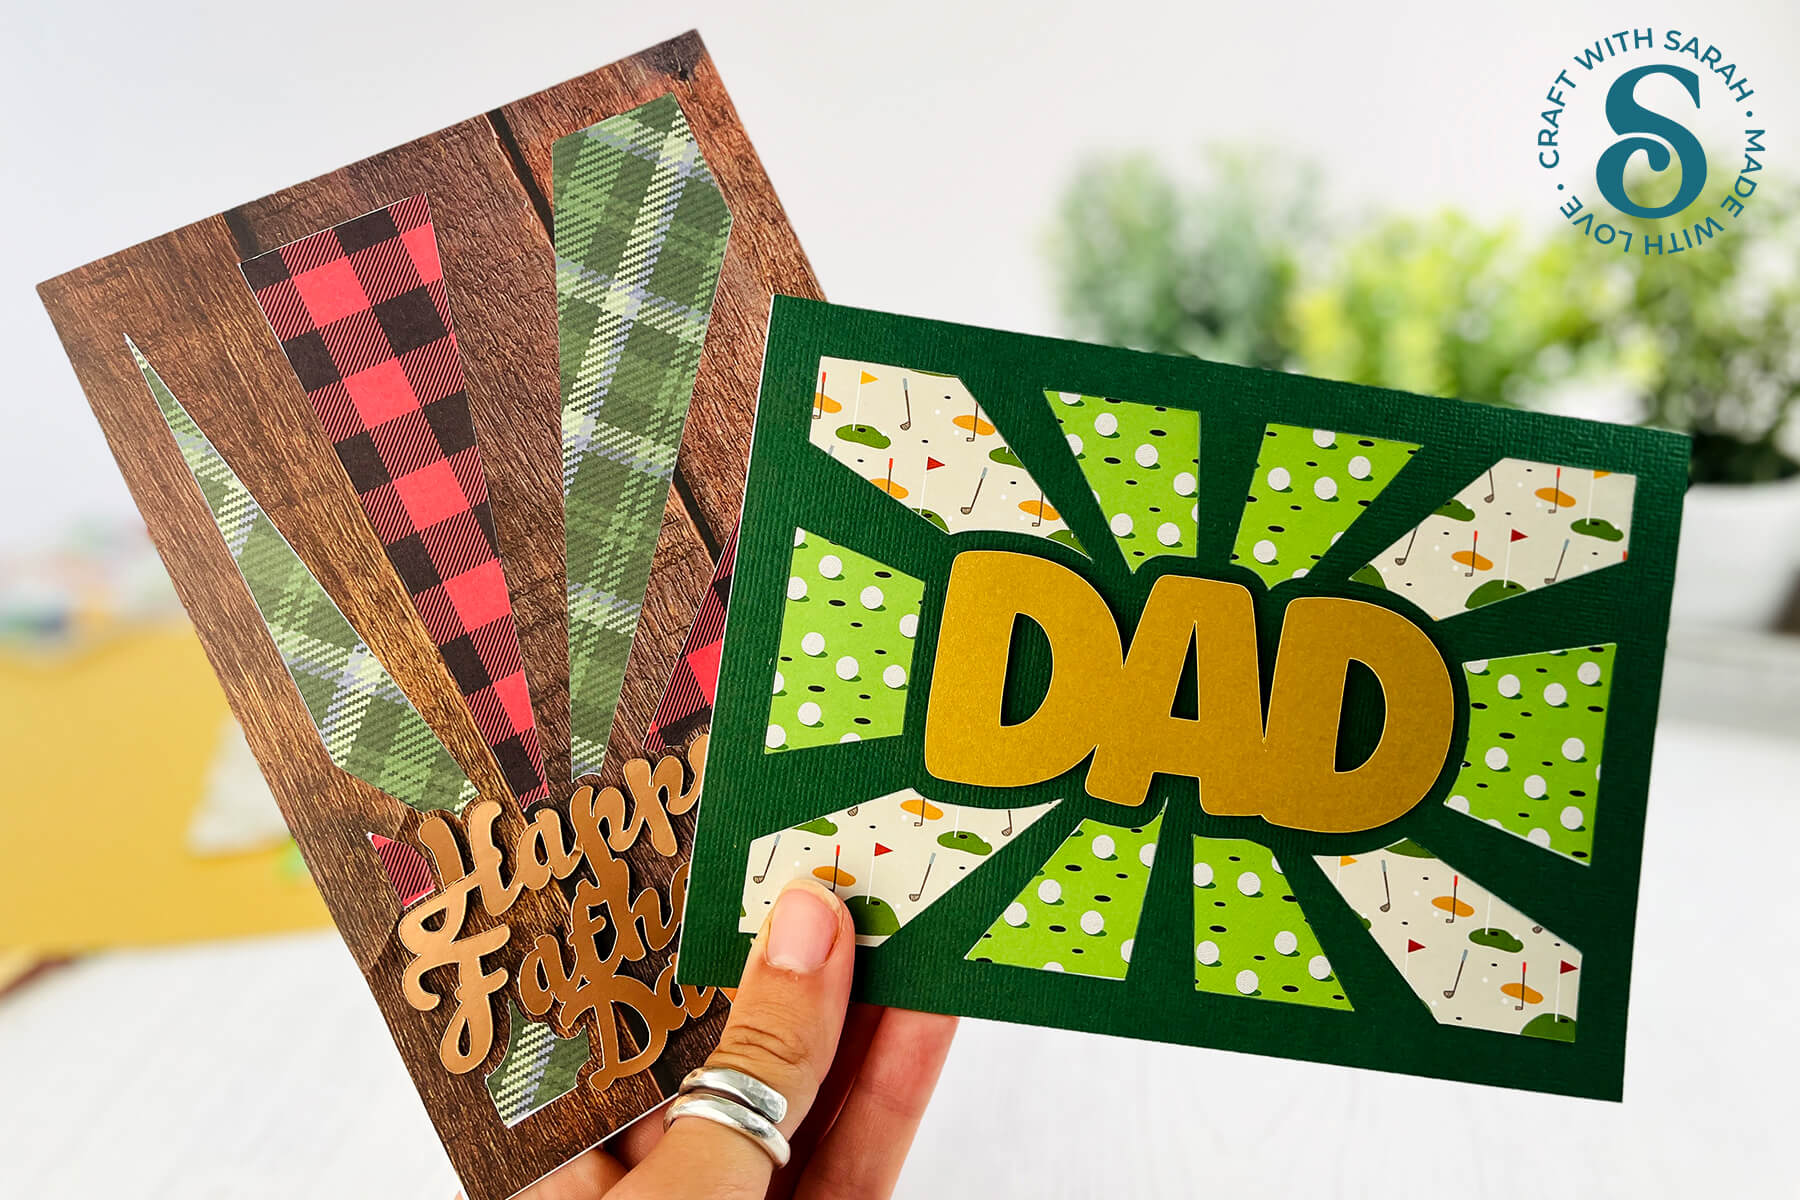
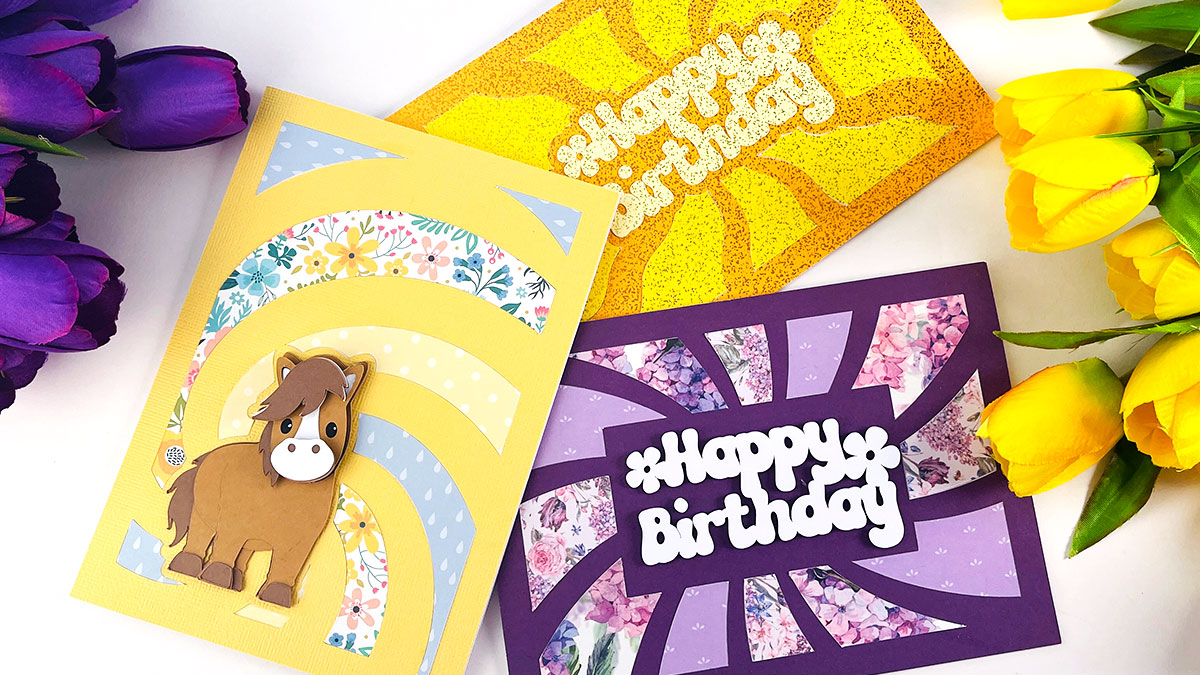
Starburst cards are perfect for using up your card scraps and patterned paper stashes. Cut the paper into different shapes and build up the shapes like a jigsaw puzzle.
They got their name because the lines on the card frame converge into one single point to surround text or images on the front of the card, looking like a starburst, sunrise or sunset.
If you don’t have any patterned paper that matches the design, you can print your own! This tutorial also includes how to use Design Space’s Pattern Fill feature to make custom designs to print on a colour printer.
Please note that this tutorial shows Father’s Day starburst card designs in the photos and video.
However, the same steps can be used for ANY of my starburst card designs. I’ll be releasing new cut files for a wide range of occasions throughout the year.
Materials supply list
Here is a list of the materials that I used to make this project.
Please note that some of the links included in this article are affiliate links, which means that if you click through and make a purchase I may receive a commission (at no additional cost to you). You can read my full disclosure at the bottom of the page.
- Cricut machine
- Light blue Cricut cutting mat
- Coloured card
- Glue (I like Bearly Art Glue and Collall)
- 3D foam pads
- Cricut scoring wheel or scoring stylus (optional)
- Patterned paper OR photo paper and a colour printer
This project is suitable for the following types of Cricut machine: Explore models, Maker models, Venture and Joy Xtra. You will need to make the cards smaller to cut on the original Cricut Joy.
Video tutorial
Watch the video below to see how to make starburst cards. Keep scrolling for a written tutorial.
Written tutorial (with photos!)
Here’s how to make a starburst cards using a Cricut machine.
Step 1) Download the cutting files & upload to Design Space
Download the files using the box below.
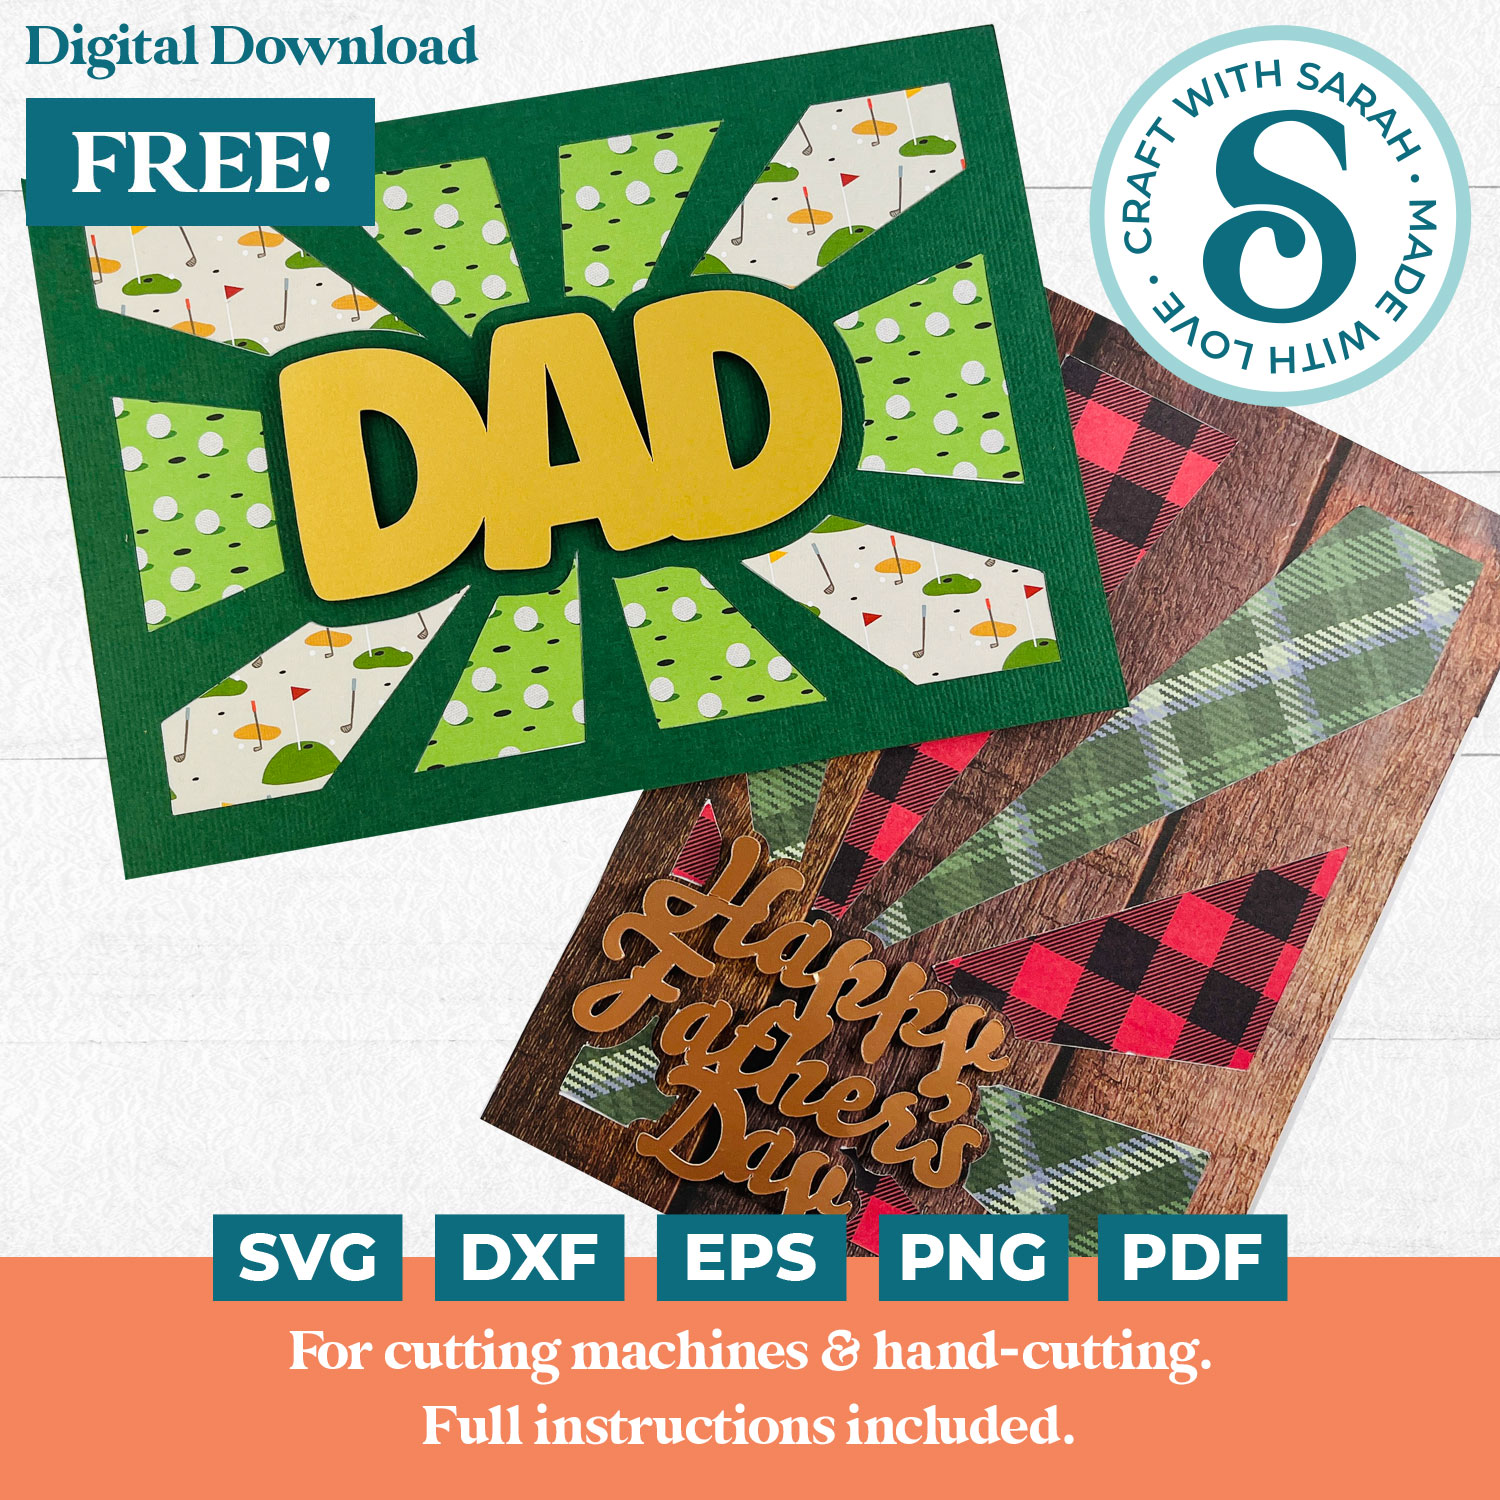
Download the Free Cutting File
Please login to your account to download this file.
TERMS OF USE:
You may sell finished, handmade physical craft items that you have made using this product but must not sell or share the digital files. Read full terms of use
Before you upload the SVGs to Design Space, you need to unzip the download folder that they come in.
- How to unzip a folder on Windows computer
- How to unzip a folder on a Mac
- How to unzip a folder on an iPad/iPhone
- How to unzip a folder on an Android device
After unzipping, upload the SVG file(s) into your cutting machine software.
Not sure how to use cut files with your type of machine? The following links lead to videos on how to open cut files in:
- Cricut Design Space
- Silhouette Studio
- CanvasWorkspace (for ScanNCut machines)
The download folder also contains printable PDF versions of the templates for hand cutting.
Each card comes as a separate SVG file. This tutorial shows how to make the “DAD” design, but the steps work exactly the same for the “Happy Fathers’ Day” card, and indeed all of my starburst card cut files.
Click “Upload” and then “Upload Image”.
Navigate to the unzipped version of the download folder.
For Cricut Design Space, choose the file in the “01 Cricut Version” folder. The SVG file starts svg-01 in the filename.
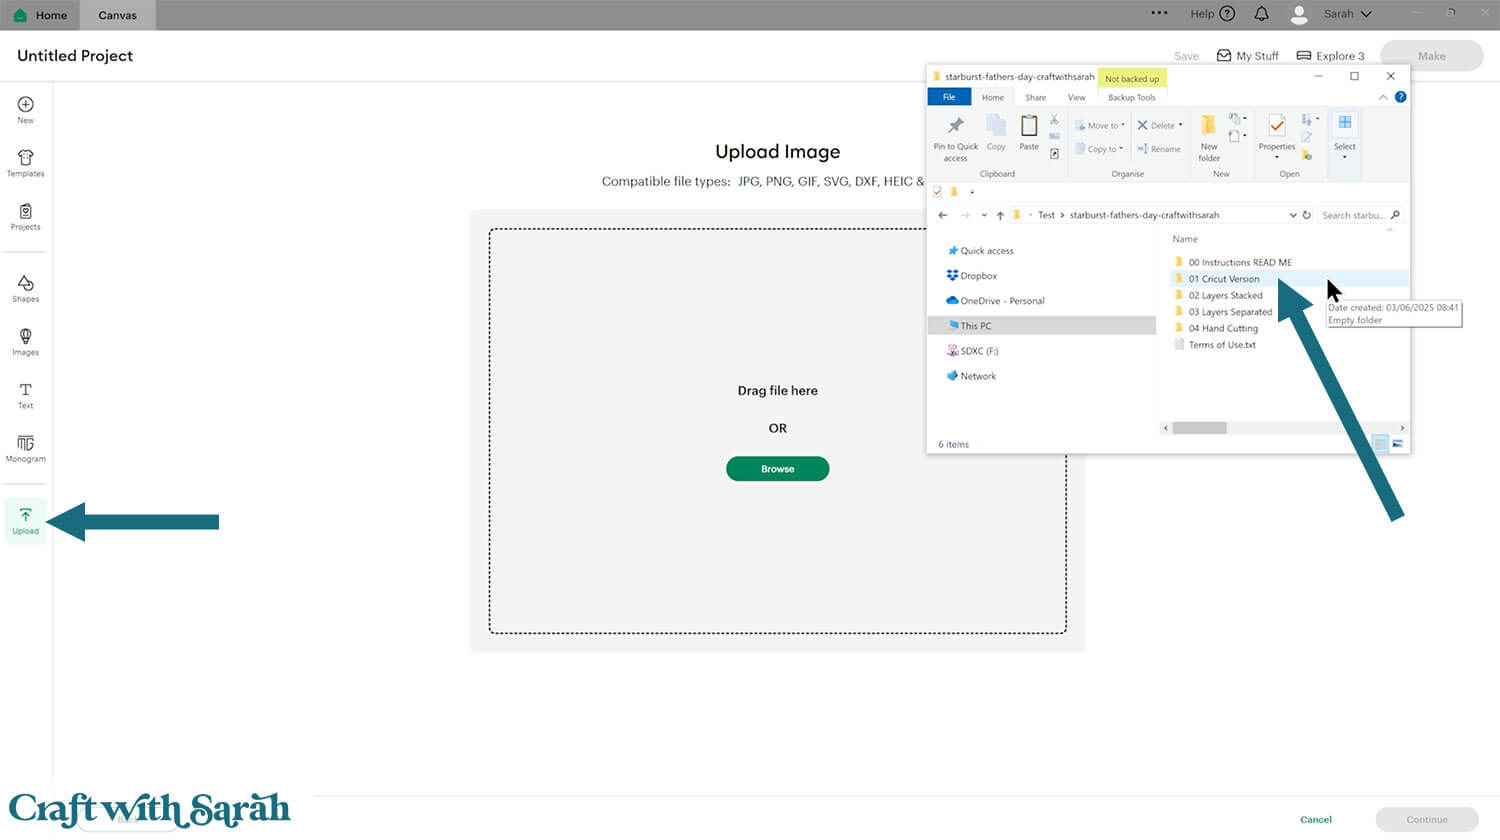
The base card is white, so you won’t see it against the white background of the Upload screen. Don’t worry, it is there!
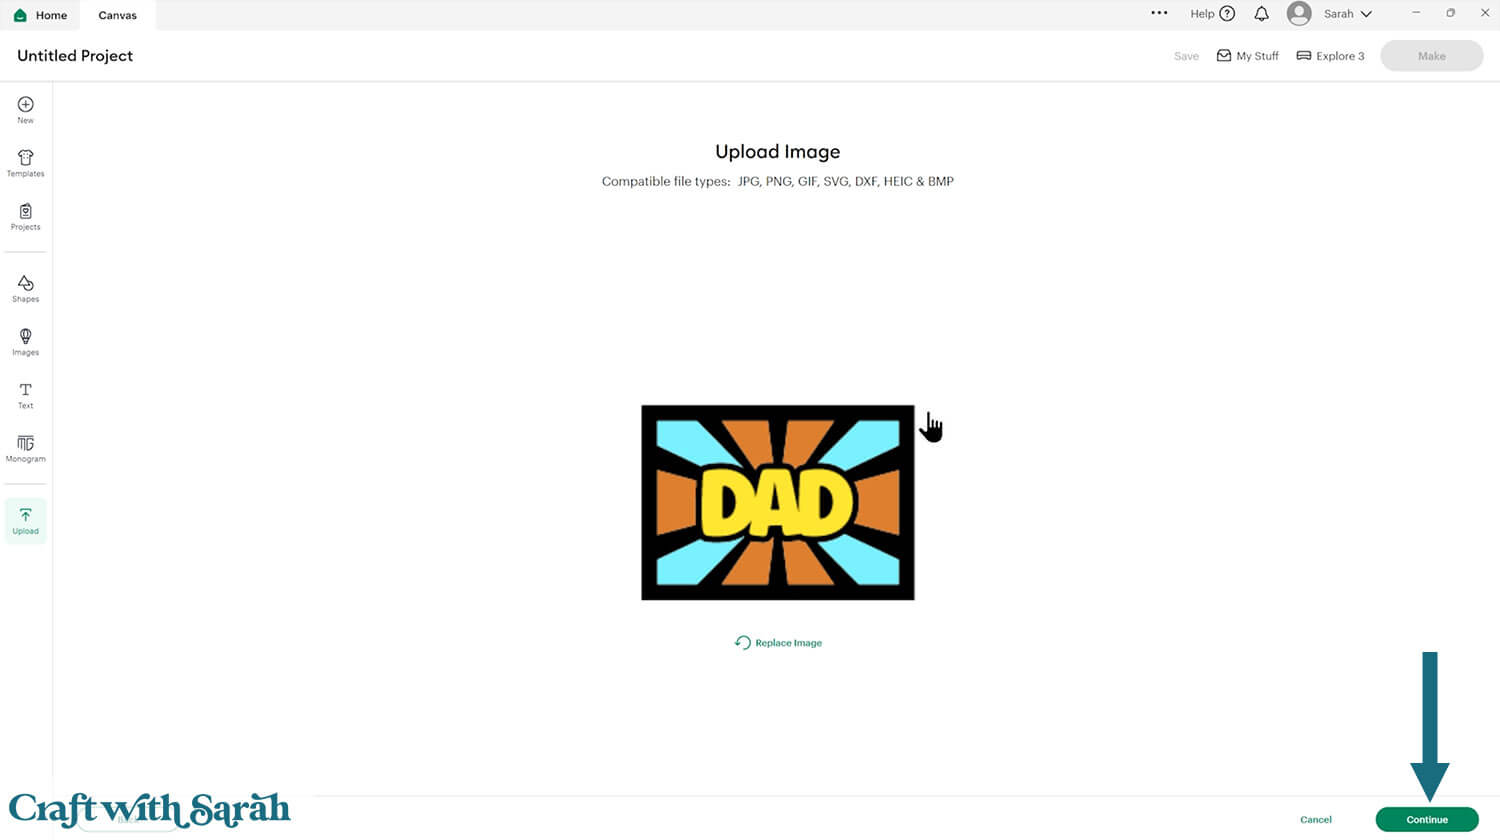
You don’t need to change anything on the next screen – just click “Upload”.
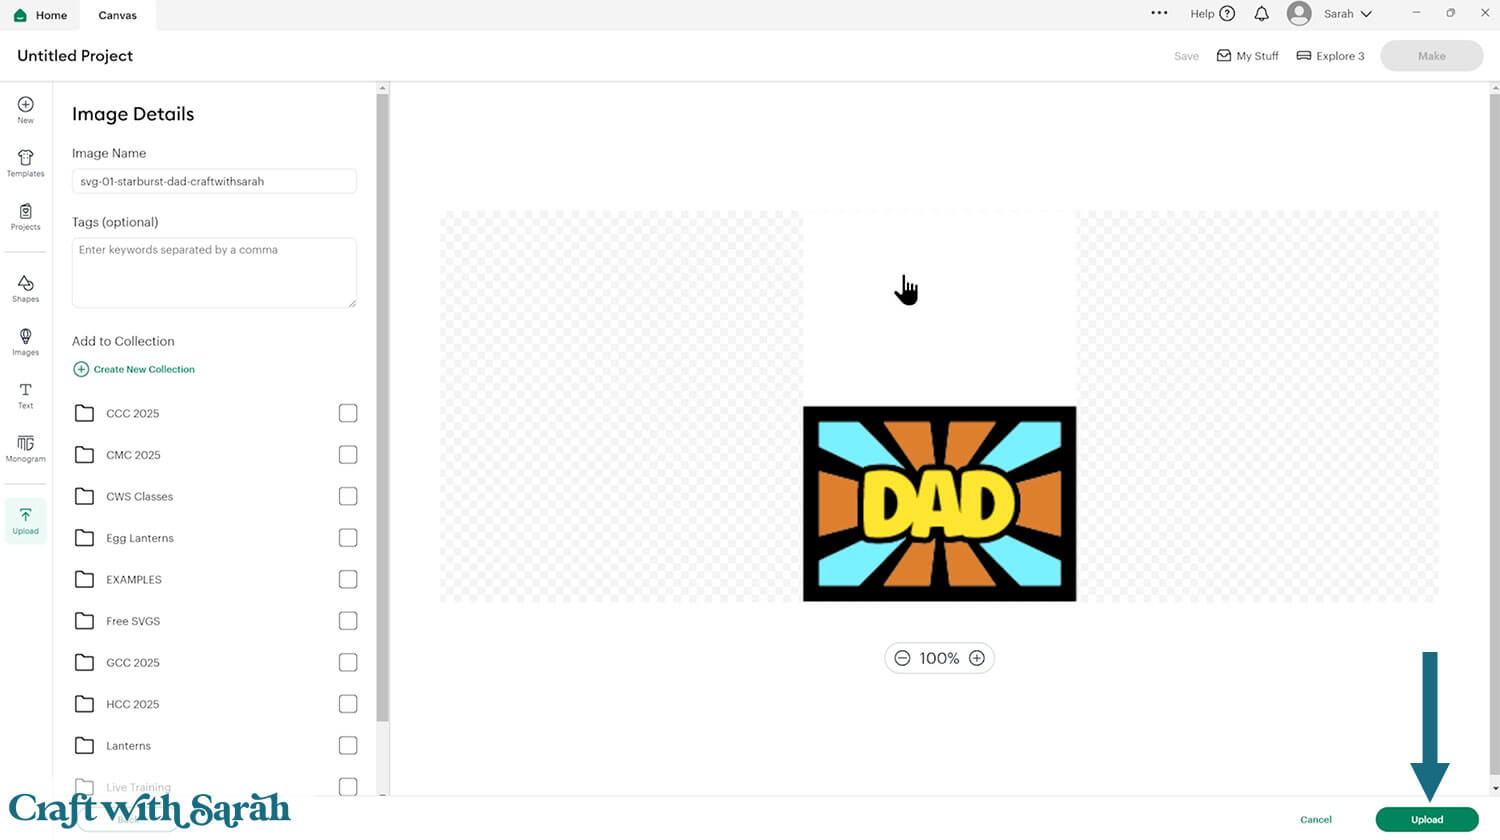
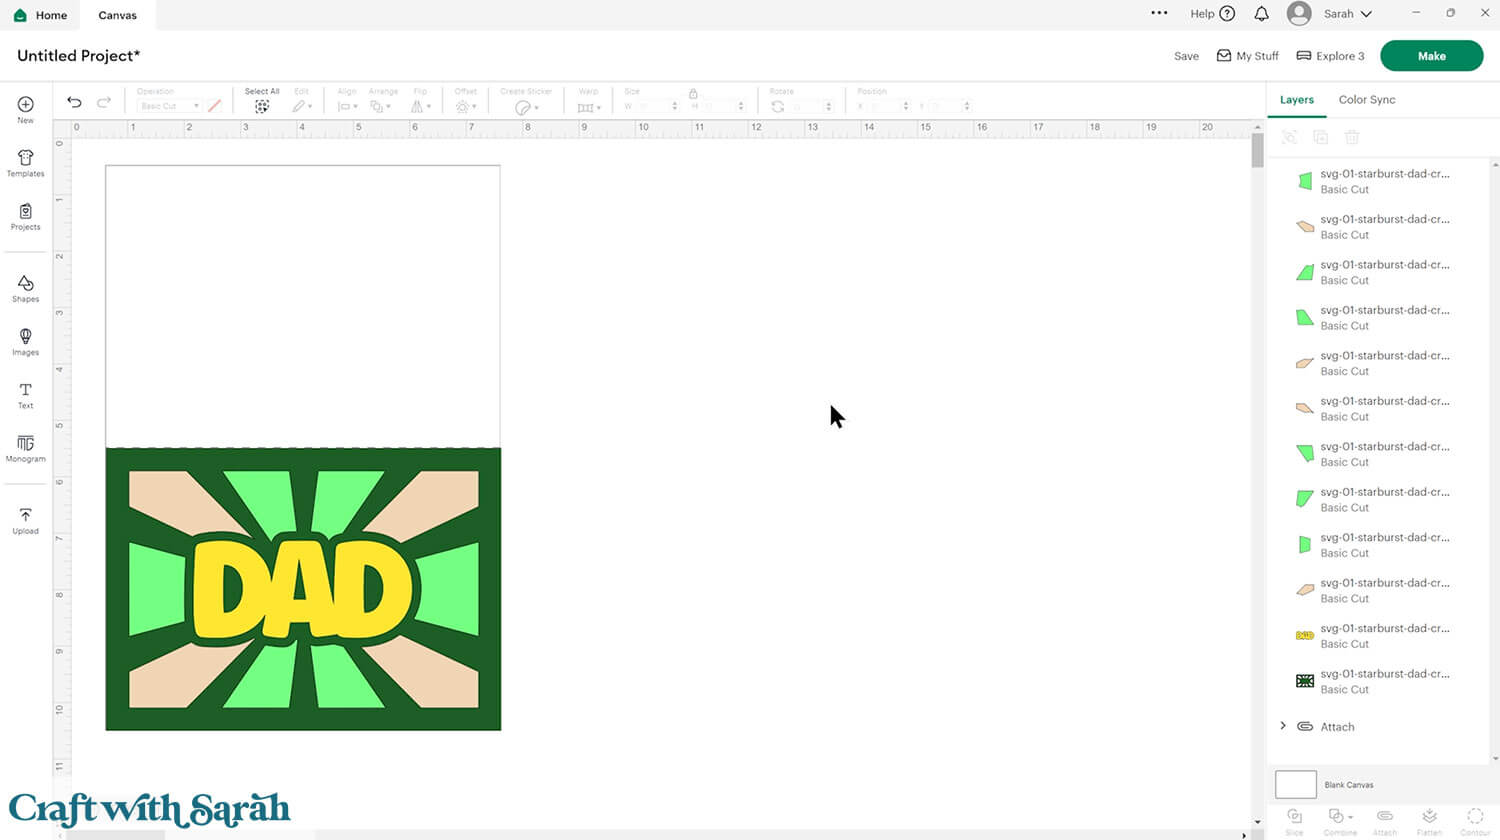
The card will then be inserted onto your project.
You can hide the sidebar of related images by clicking the arrow that appears about half-way down the screen.
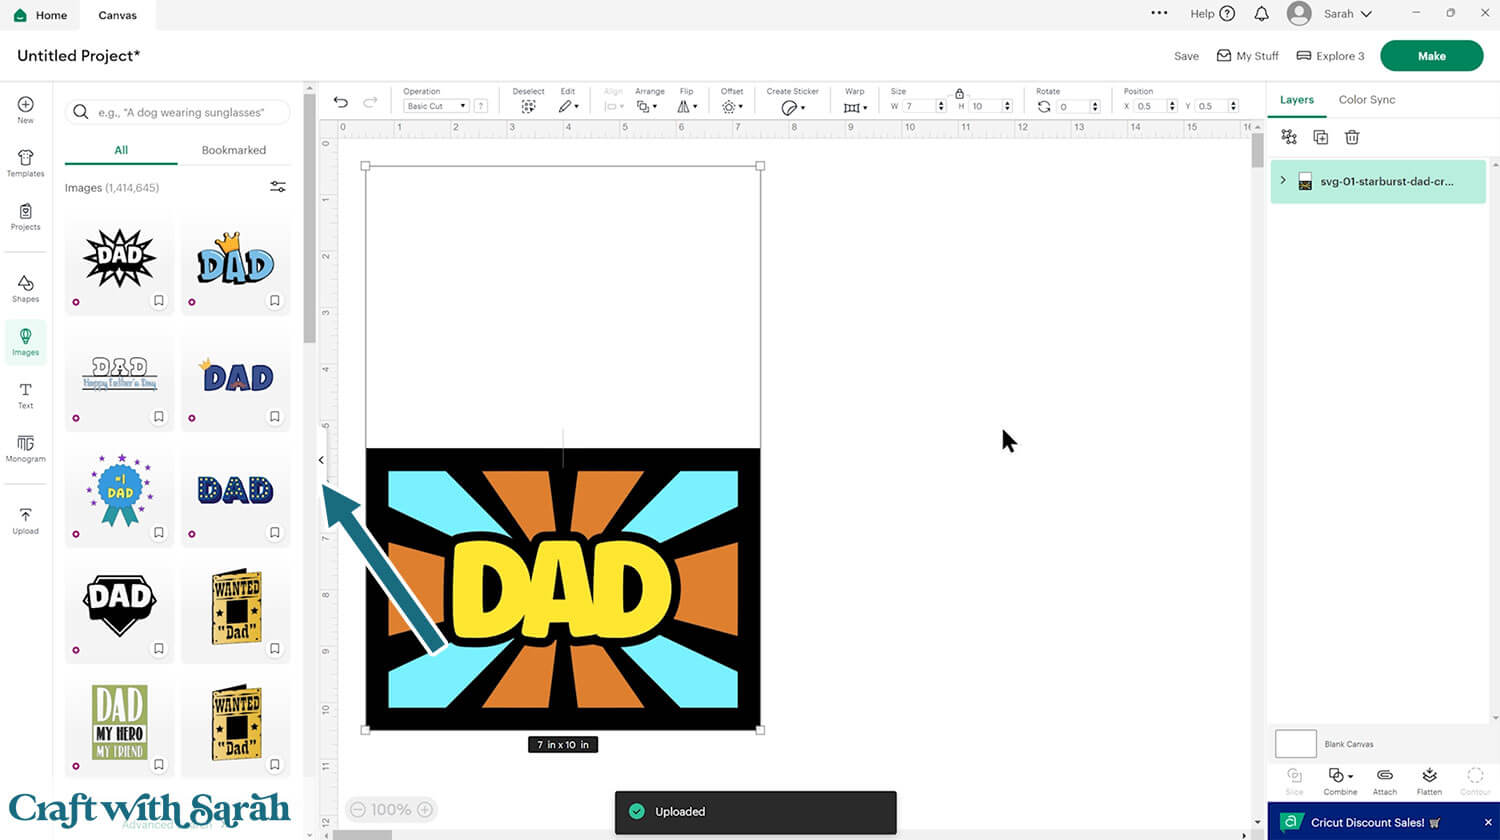
The cards should load in at 7 x 10 inches, to make a 5×7 inch card. You can resize it to make a different size of card by using the width and height boxes along the top of the screen.
Step 2) Add a score line
If you have a scoring tool or scoring wheel for your Cricut machine, it’s a good idea to add a score line to the middle of the base card to make it easier to fold in the correct place.
If you don’t have a way to score with your Cricut, move on to Step 3.
Click the card and Ungroup the layers to separate them.
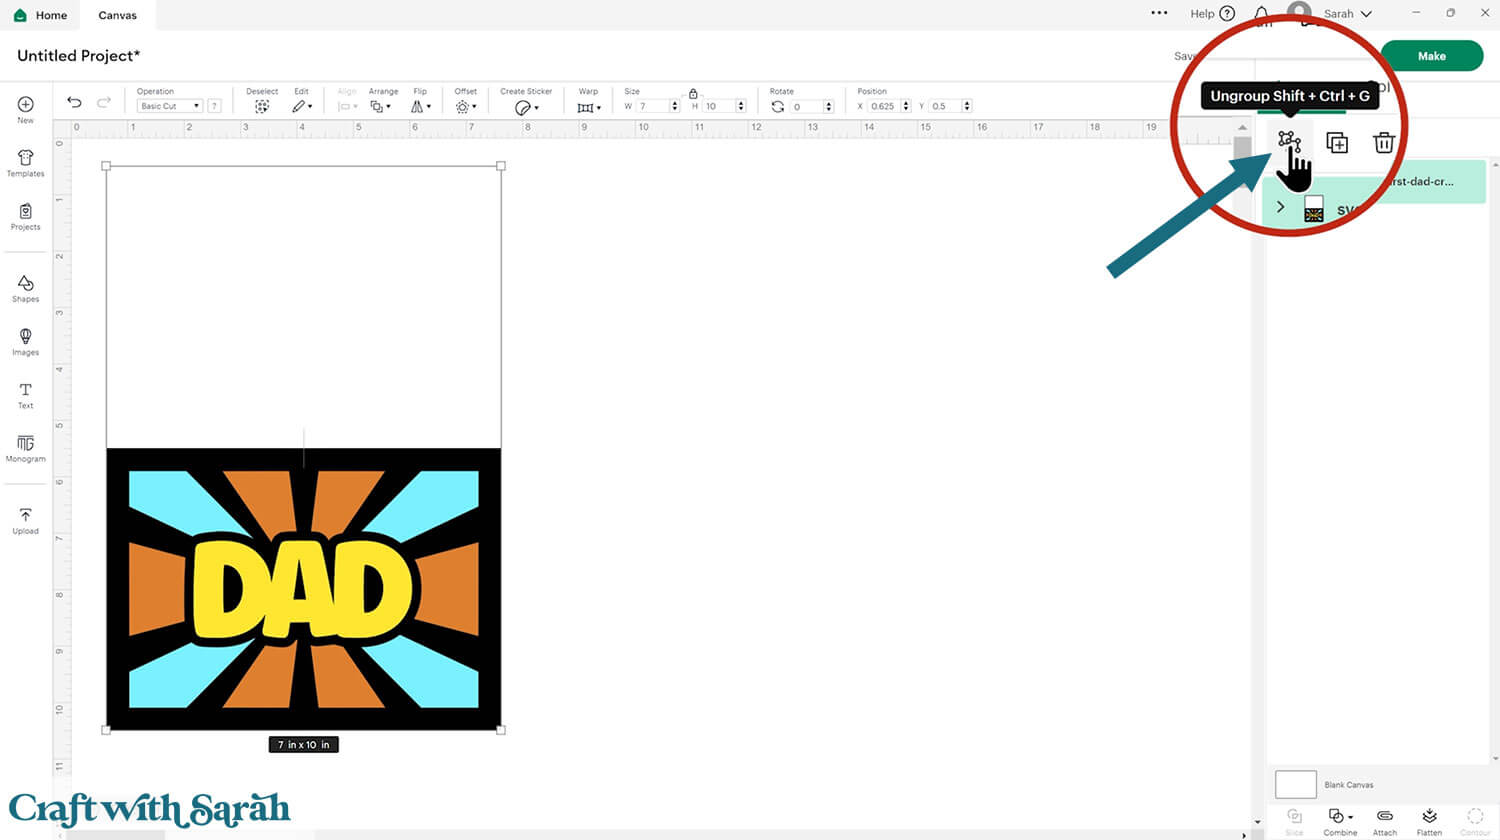
Select the base card and move it away from everything else.
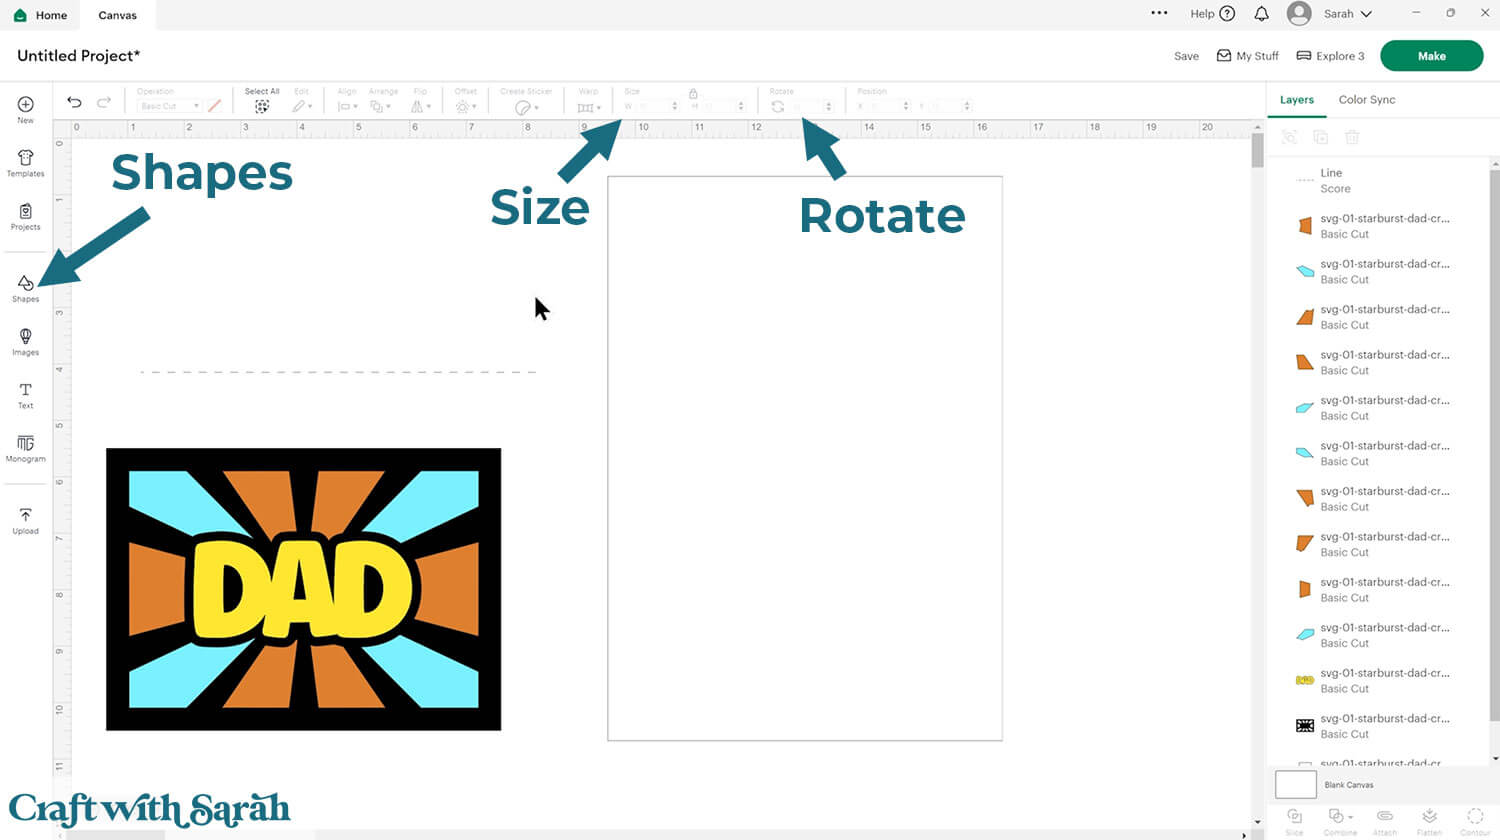
Click “Shapes” and insert a Score Line and size it to 7 inches.
If you’re making a landscape card then you’ll need to rotate it 90 degrees using the “rotate” box along the top of the screen.
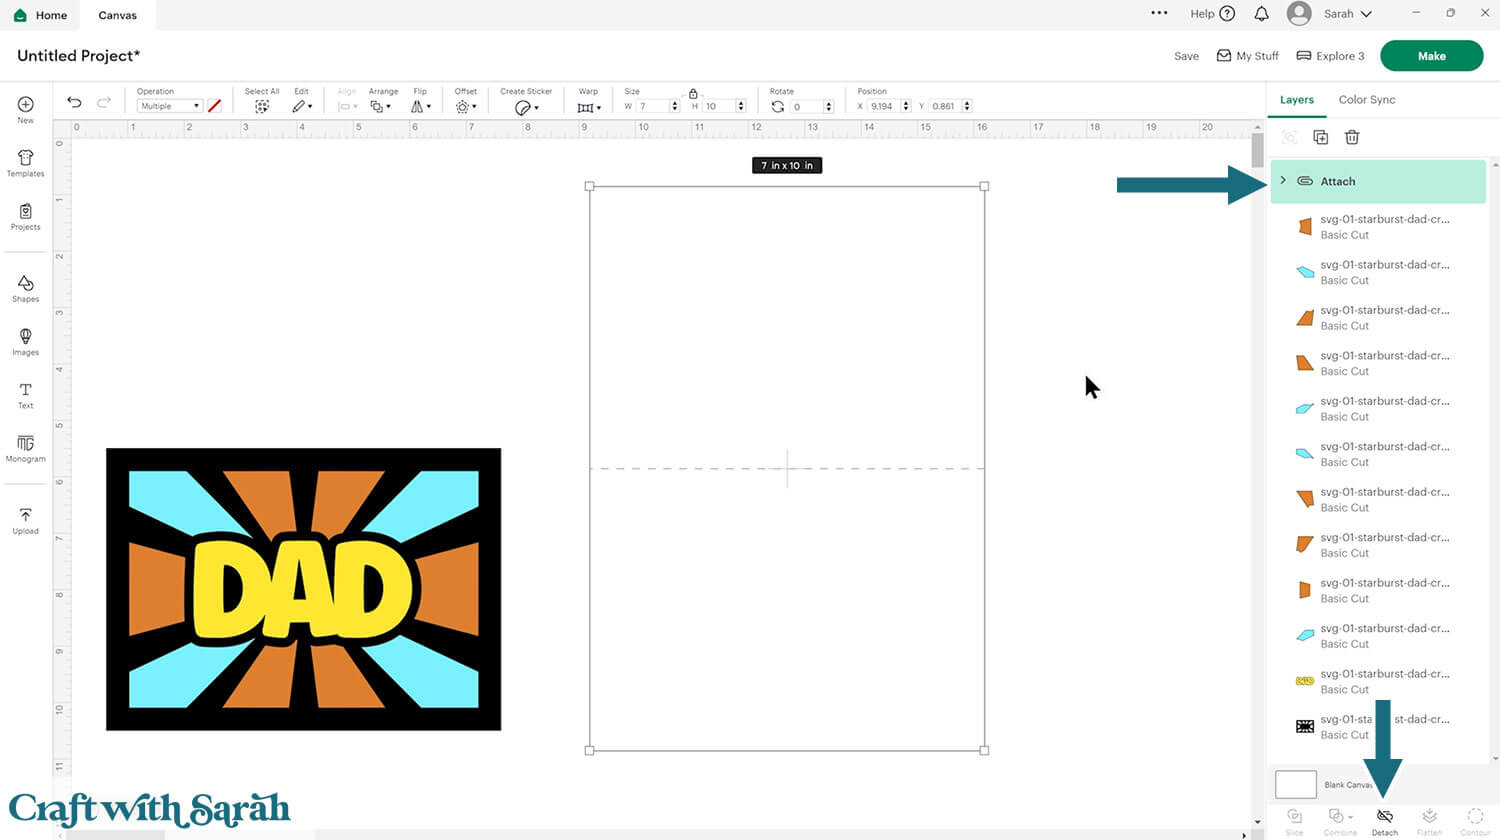
Select the score line and the base card, then click “Align” and “Center” to put the score line exactly in the middle of the card.
Select the score line and the base card, then press “Attach” at the bottom of the layers panel.
Attach is what tells the Cricut that we want it to do the score line down the middle of the base card.
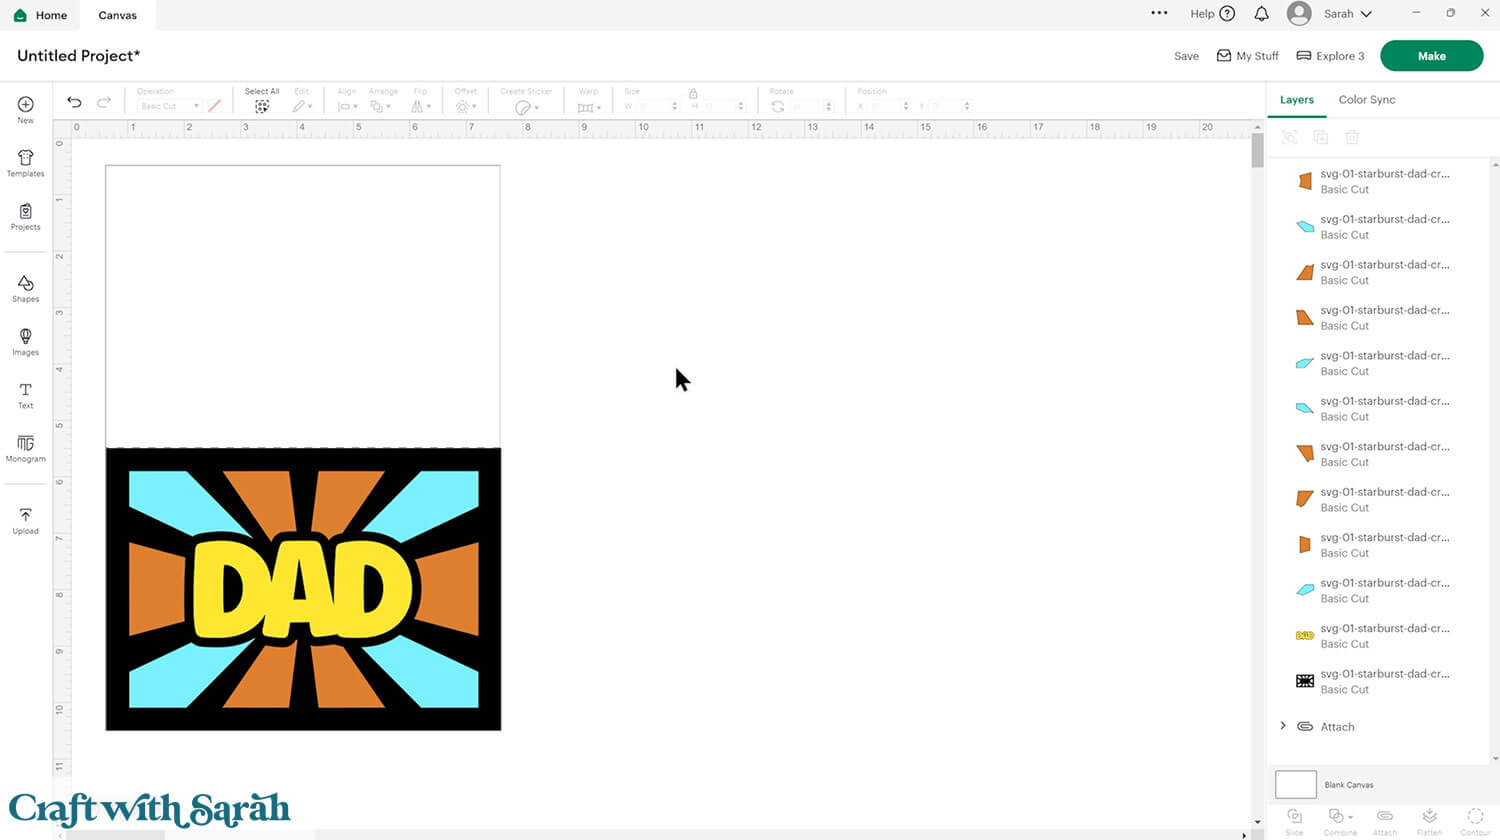
Move the base card down to the bottom of the layers panel and drag it back into position.
Step 3) Customize the starburst card design
This step is a little different depending on whether you are planning on cutting the starburst segments from patterned paper, or designing patterns in Design Space to print out.
USING PRE-PRINTED OR STORE-BOUGHT SCRAPOOK PAGES
Ungroup the card design, if you haven’t already.
Click each of the segments (layers) of the starburst card and change them to match the main colour of the patterned paper you intend to cut them from.
It’s MUCH easier to put the correct sheets of card into the Cricut machine at the correct time when the colours match!
I also changed the frame layer to a dark green.
CREATING CUSTOM PATTERNS IN DESIGN SPACE
Ungroup the card design, if you haven’t already.
Select all of the starburst shape layers of one colour (e.g. all the orange shapes) and join them together by pressing Combine > Weld.
Then, select the next colour and Weld those pieces together.
Repeat this for all colours that are featured in the design. It is much quicker to apply the patterns with the layers joined together rather than doing each segment individually.
The below images show these Halloween starburst card designs.
You can use any background pattern, repeating pattern or seamless pattern that you might already have on your computer or you can download some from a number of different websites.
The pattern set I’m using is from creativefabrica.com and it’s called “Pink Halloween Seamless Digital Papers“.
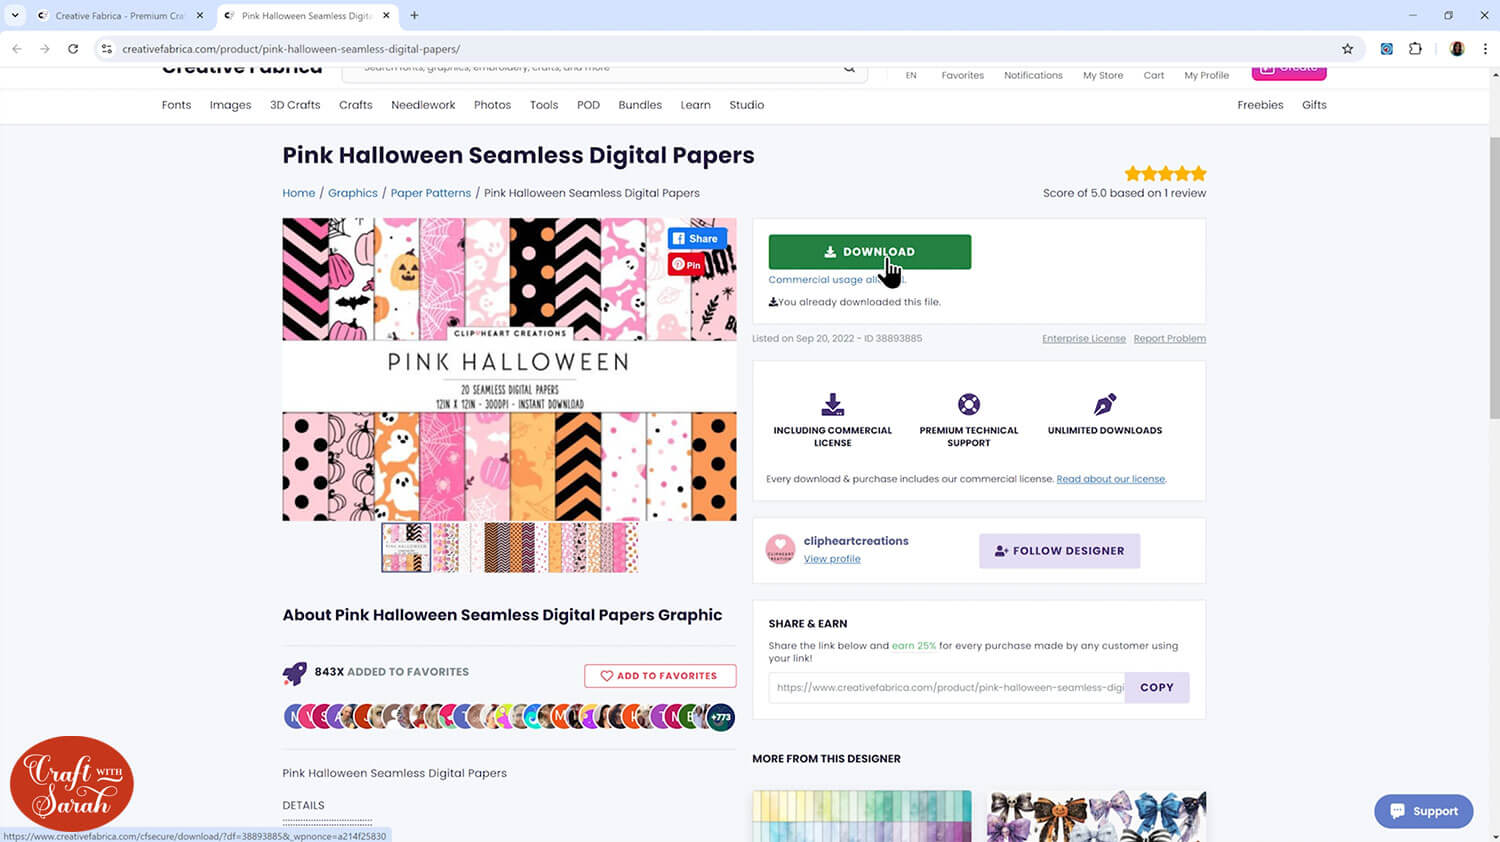
Don’t like these patterns? Search for “Halloween seamless patterns” in Creative Fabrica, or your favorite graphics websites, and download the patterns that you prefer.
Note: Seamless means that the pattern will be tileable or repeatable which is just what we want as we’re going to be making it very small to appear in those segments on our card and we want the pattern to repeat itself to fill in the entire space.
Unzip the folders that your downloaded patterns come in so that you can upload them to Cricut Design Space. Remember that you won’t see SVG files because they aren’t cuttables, they are printables so will be either PNG or JPEG files.
Go into Upload over on the left and instead of clicking Upload Image, click where it says Pattern Fill along the top.
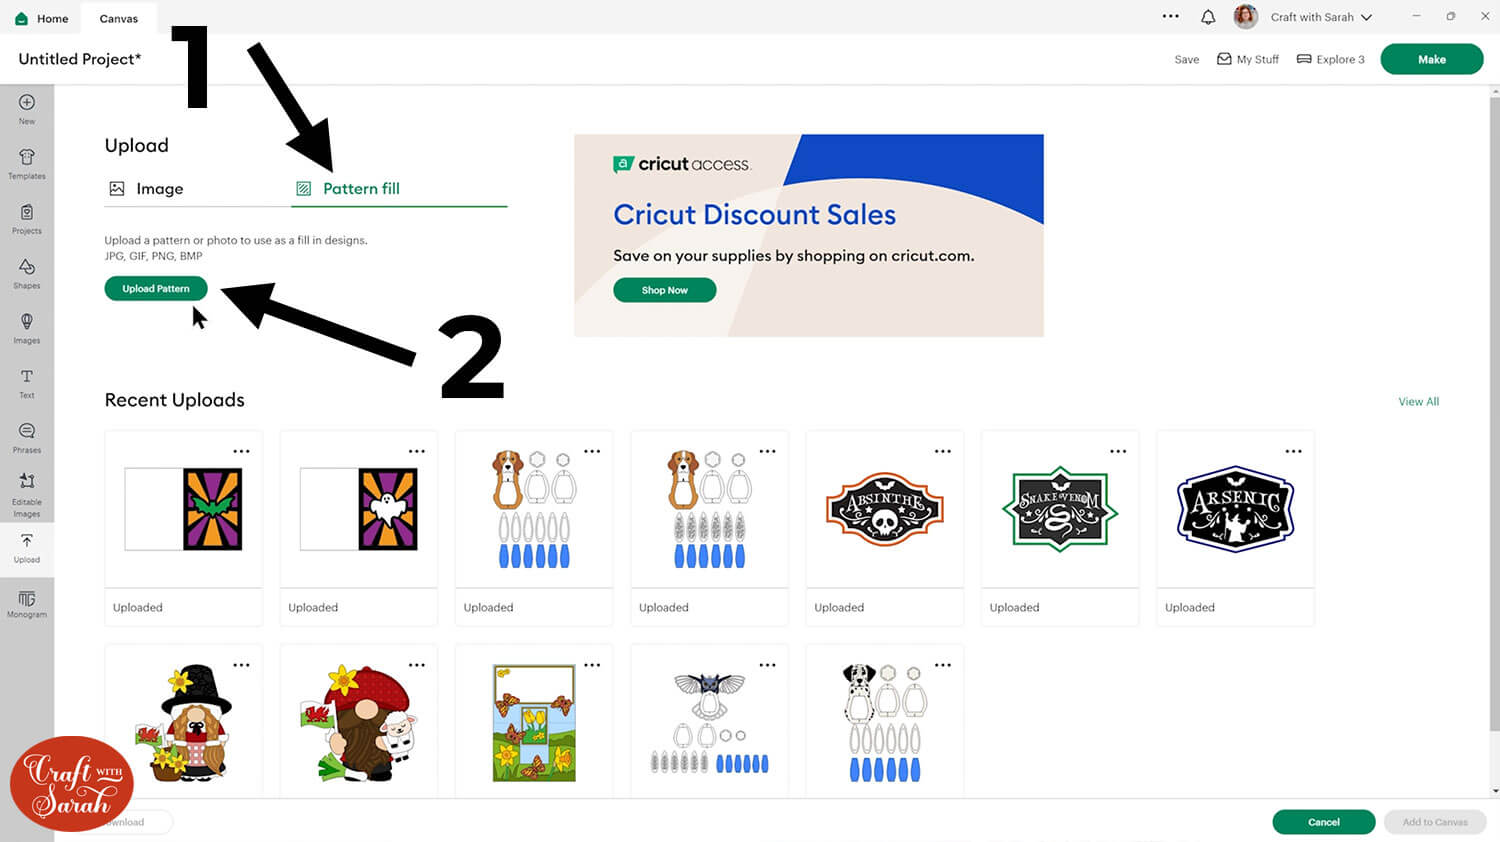
Now it will say Upload Pattern. You can either browse to find those patterns or drag and drop them in.
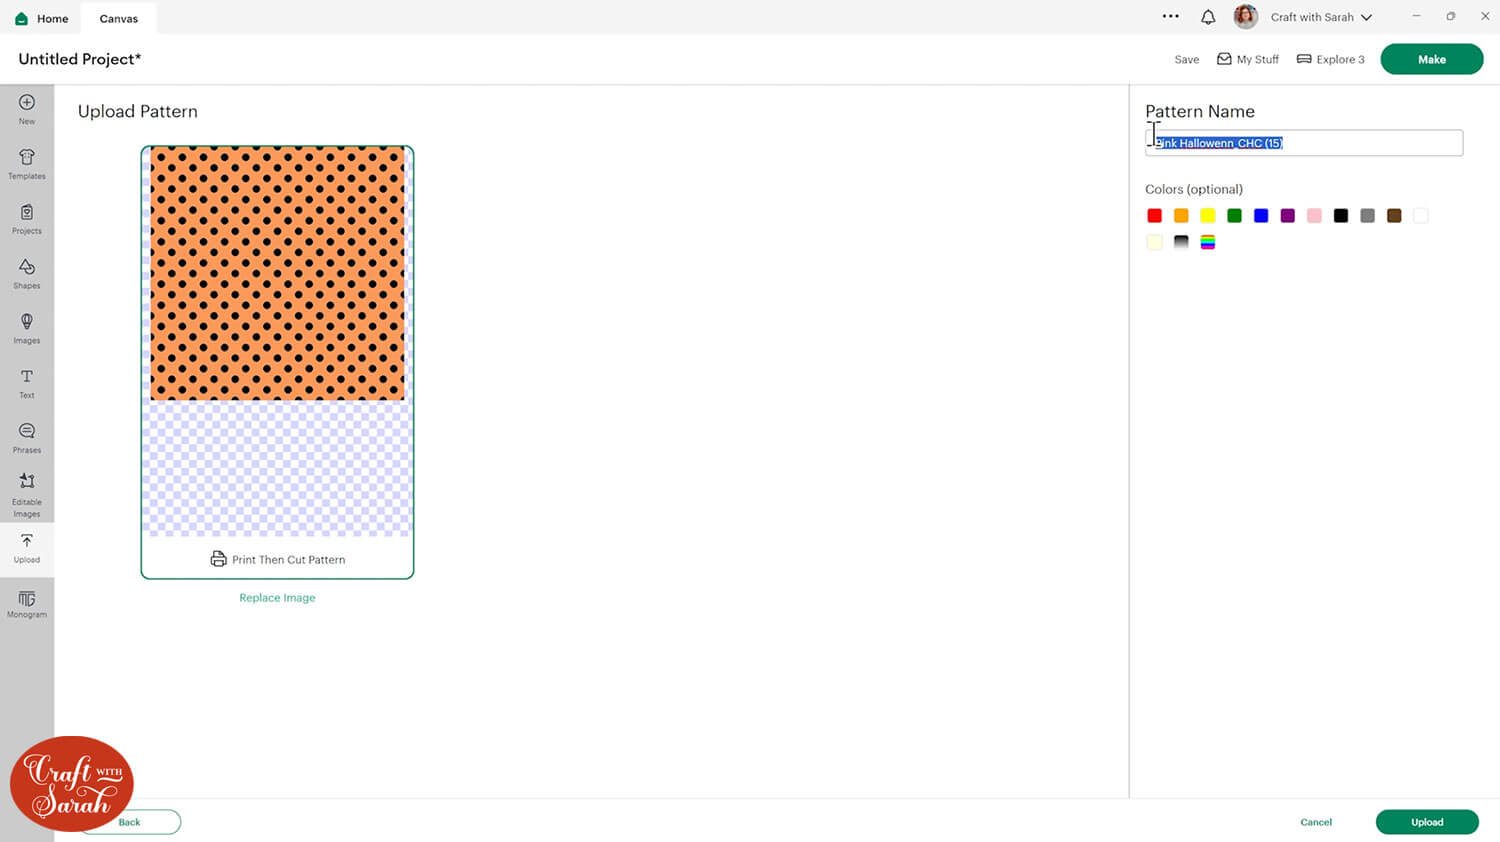
The patterns will NOT get inserted onto your project or appear in your “Uploaded” images. Here’s how to find them.
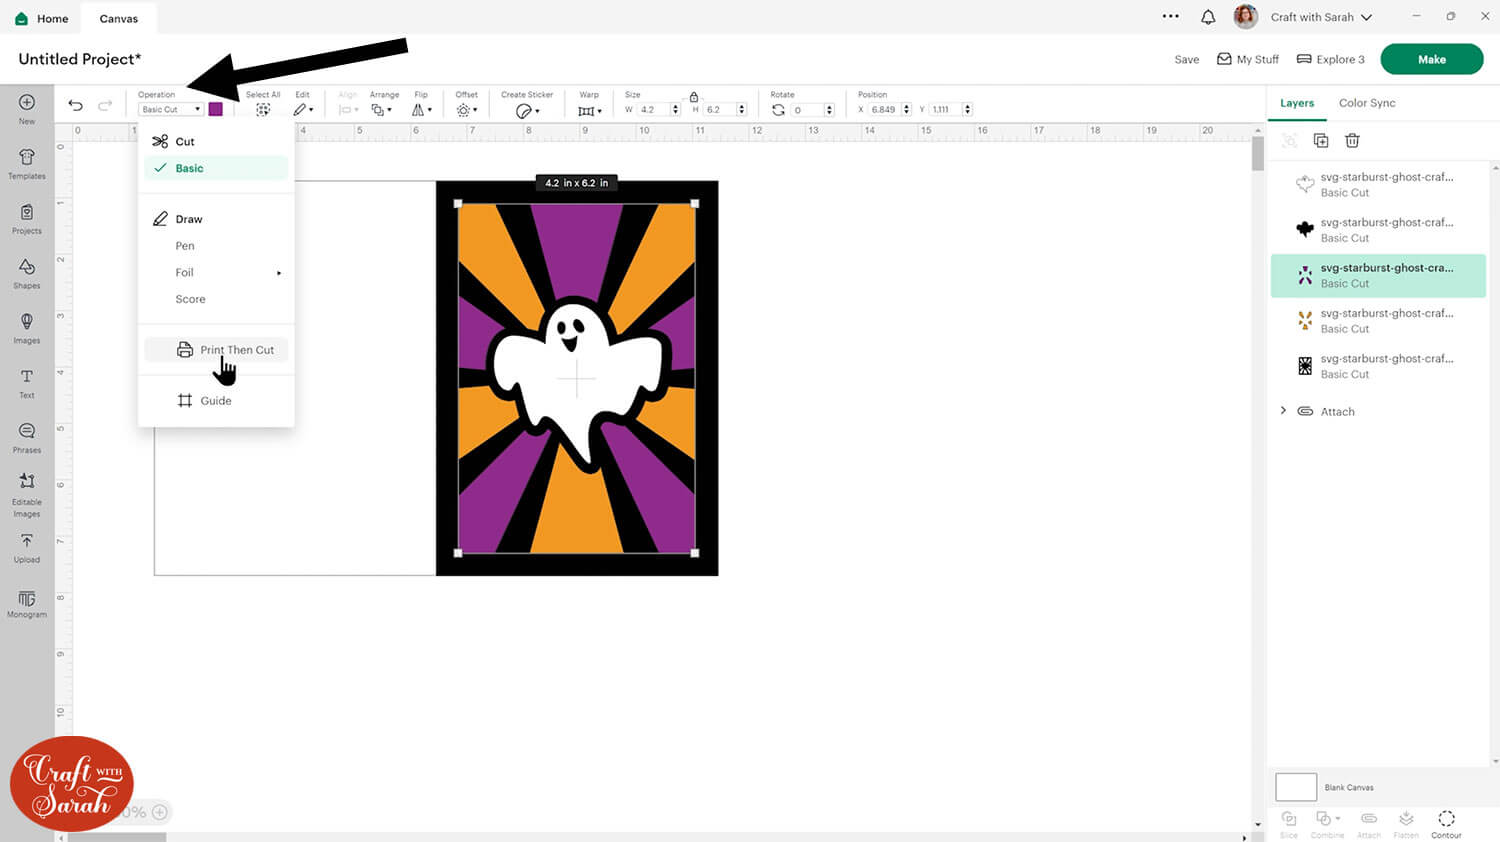
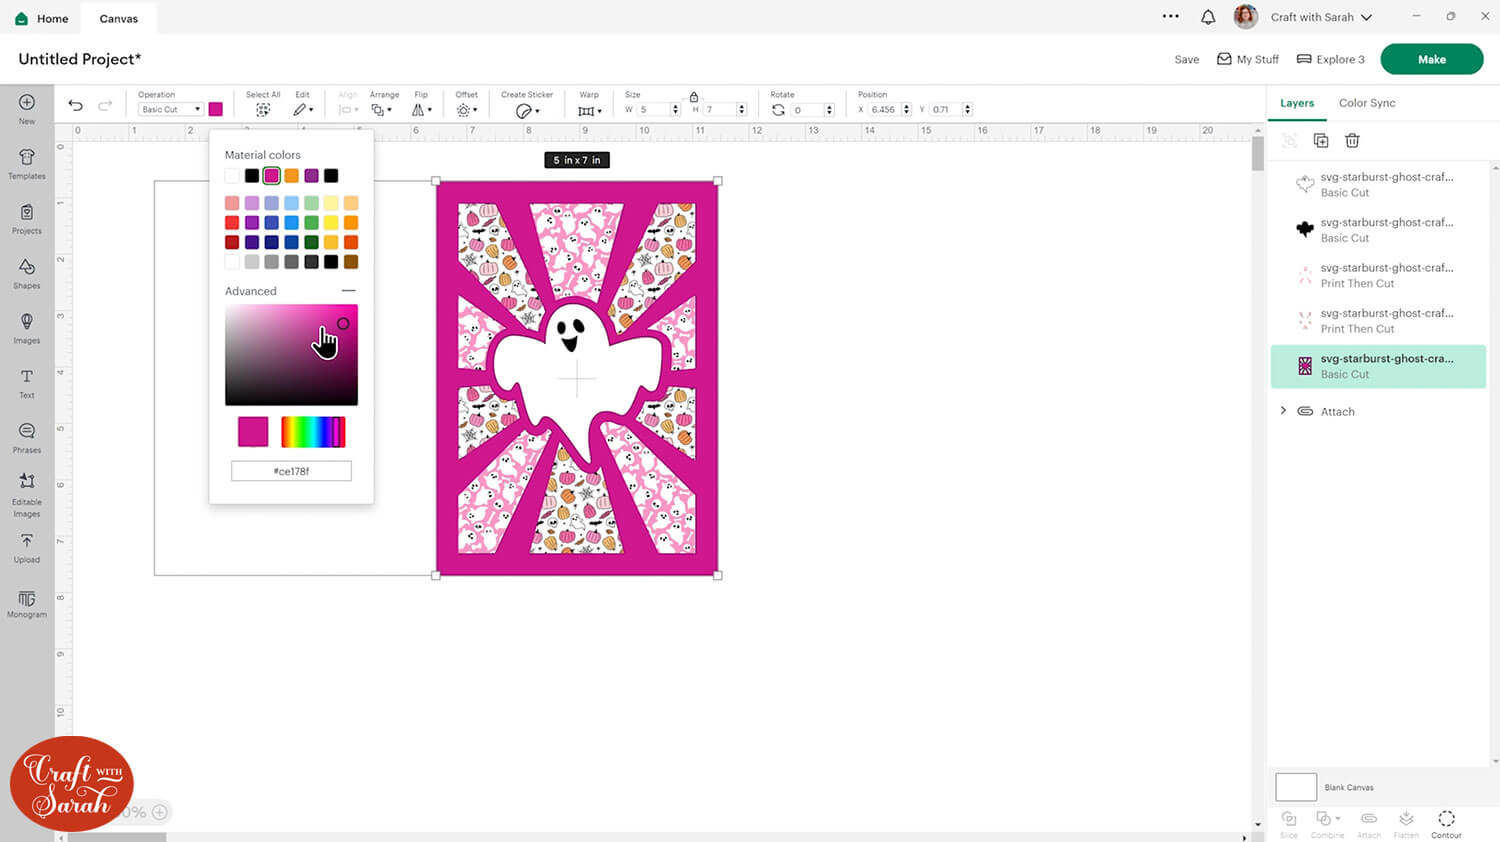
Click one of the starburst layers (either the orange or purple layers on the ghost card).
Change it to “Print then Cut” in the “Operations” dropdown.
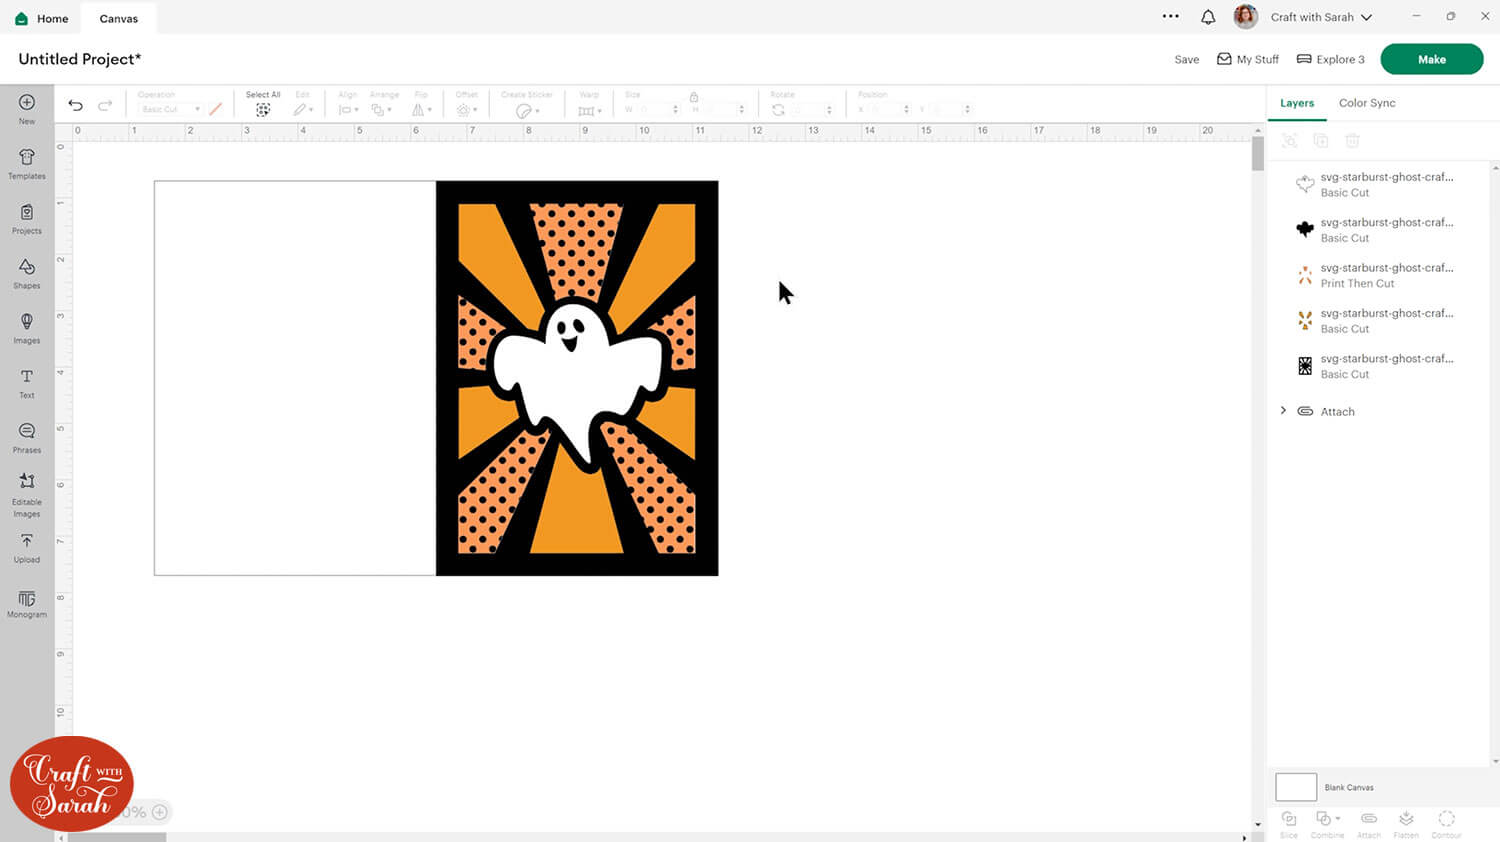
Click into the colour box and change the dropdown to “Pattern”.
Your newly uploaded pattern should show at the top of the list.

Click the pattern to apply it to the layer.
You can modify the appearance of the pattern by clicking into the colour box again and then clicking “Edit Pattern”.
Lower the scale to make the pictures appear smaller.
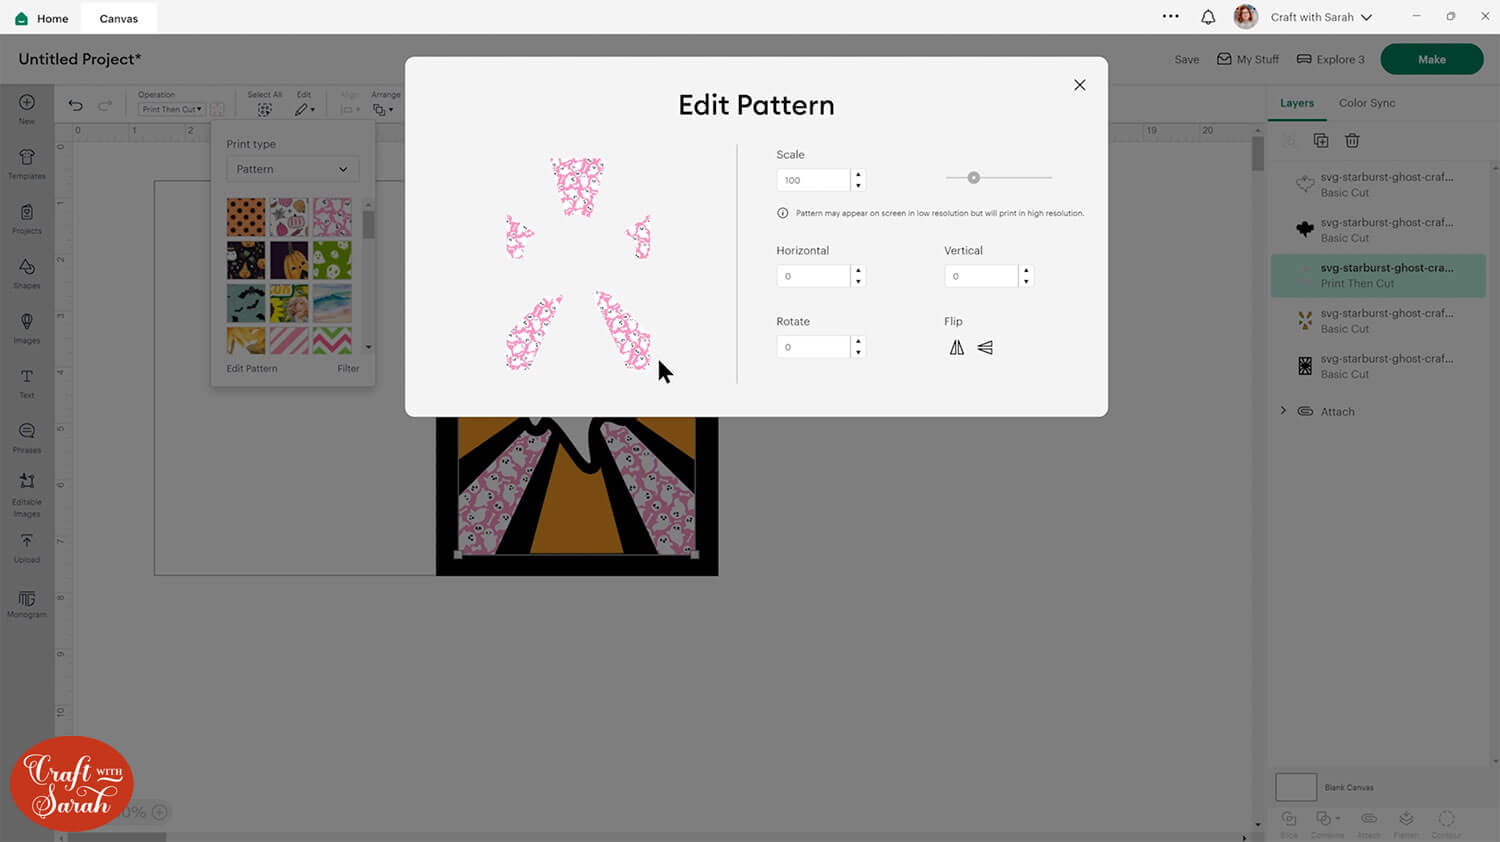
Repeat this for the other starburst layer.
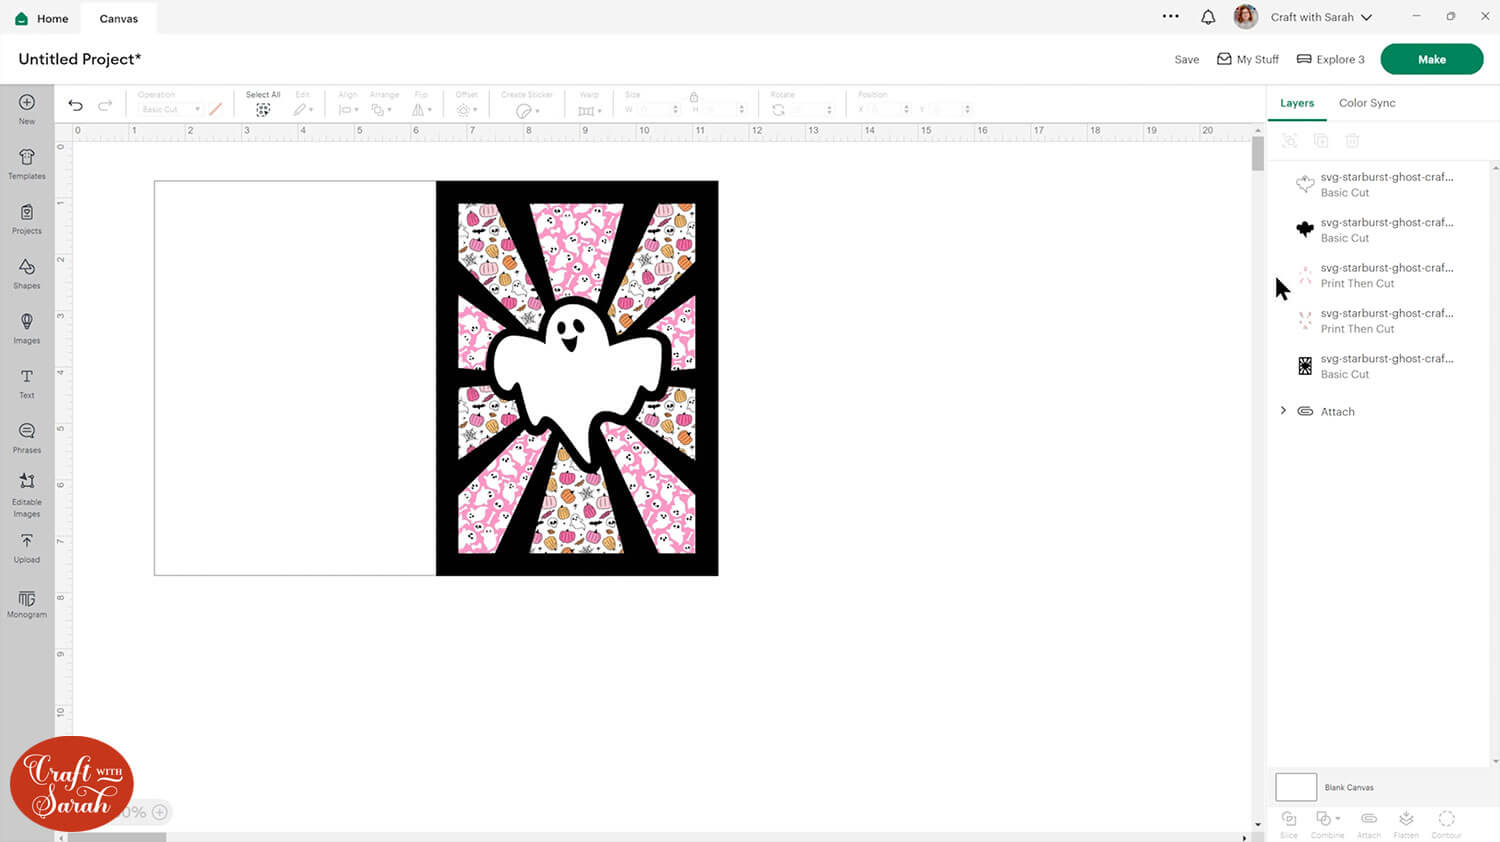
Change the rest of the colours if desired. I changed my top layer to a dark pink to match the colour of the patterns.
Struggling with pattern fill? Check out this more detailed Design Space pattern fill tutorial that covers the steps a bit more thoroughly.
Step 4) Cut the project from cardstock
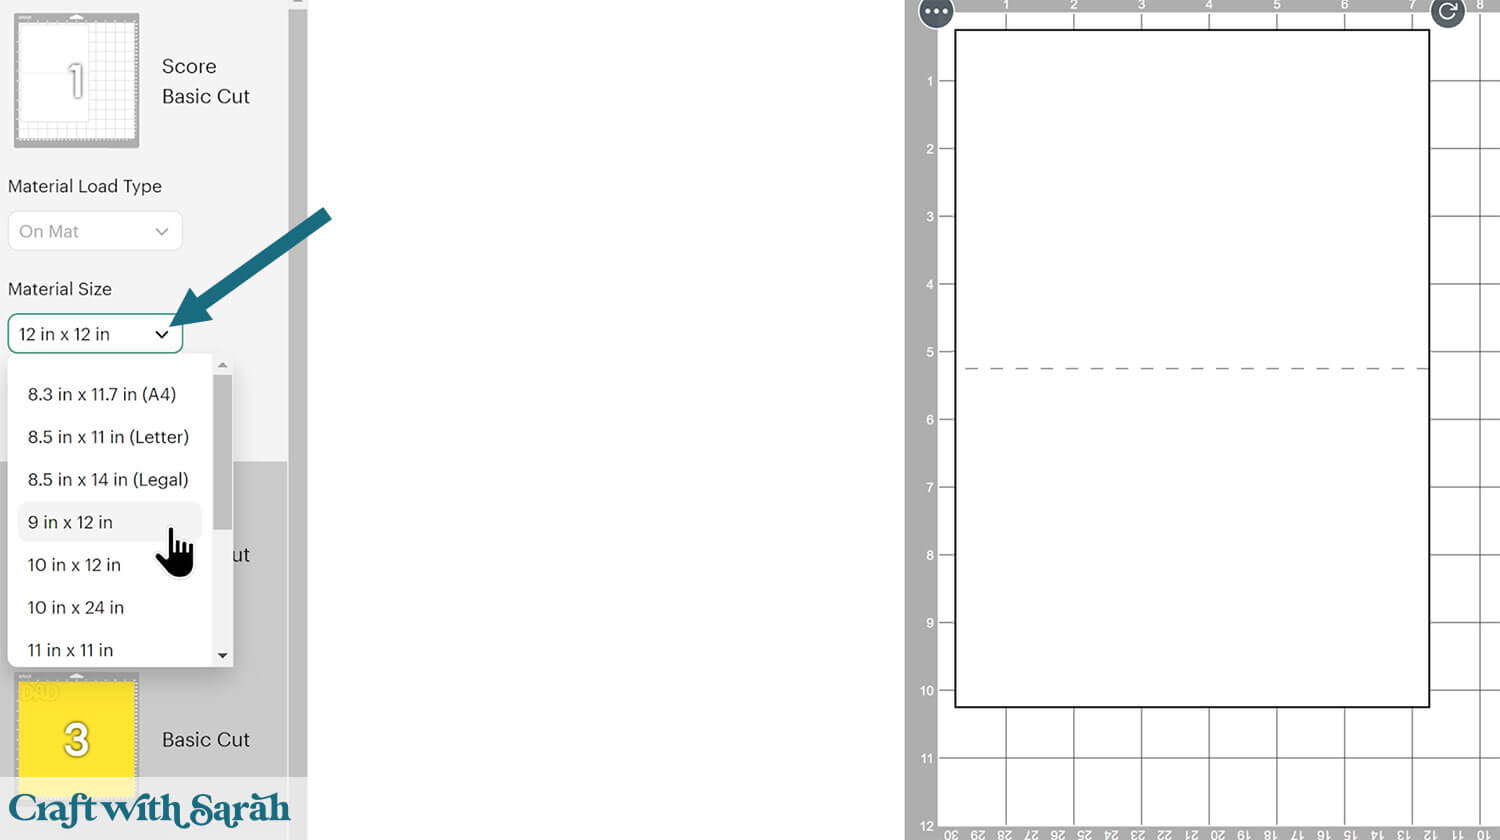
When you’re happy with how the project is looking in Design Space, save it and then click “Make” to begin the cut process.
You can change the paper size in the dropdowns on the left.
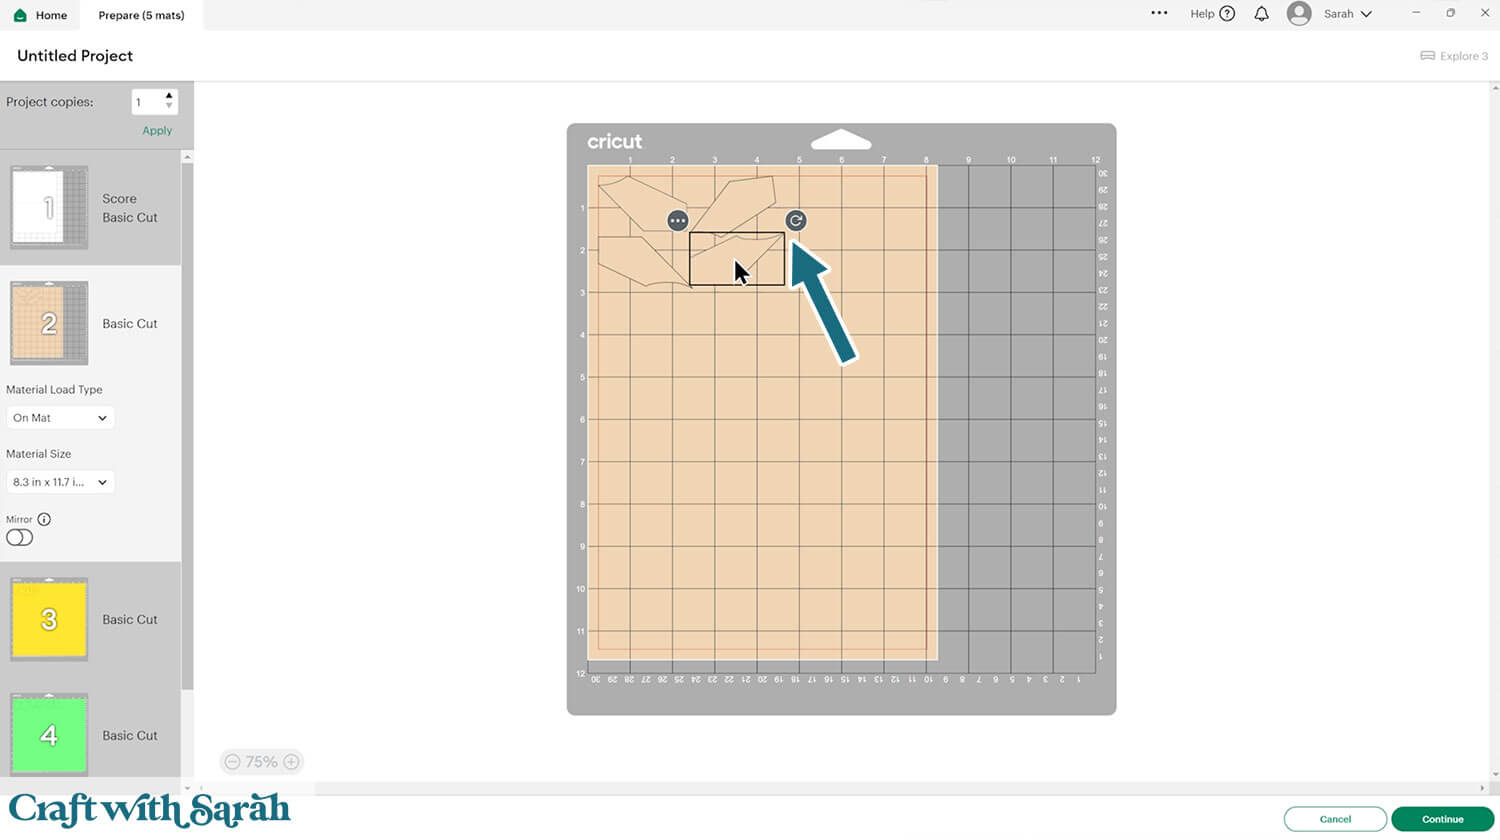
Click-and-drag to move shapes around to take up less space on your cardstock.
Be careful not to rotate any of the starburst pieces, otherwise the pattern on the paper won’t show in the correct orientation.
Printing your own patterns from Design Space? Here’s a full guide to Cricut print then cut, including how to get the best quality printouts.
If you are doing print then cut, turn ON the “Add Bleed” option and turn ON “Use system dialog”. That will open your printer settings. Choose your best/highest quality print from your printer settings.
TIP: New to cutting cardstock with a Cricut? Check out this in-depth tutorial which goes through every step of the process, including tips for getting the best quality cuts from your Cricut.
Step 5) Stick the starburst card together
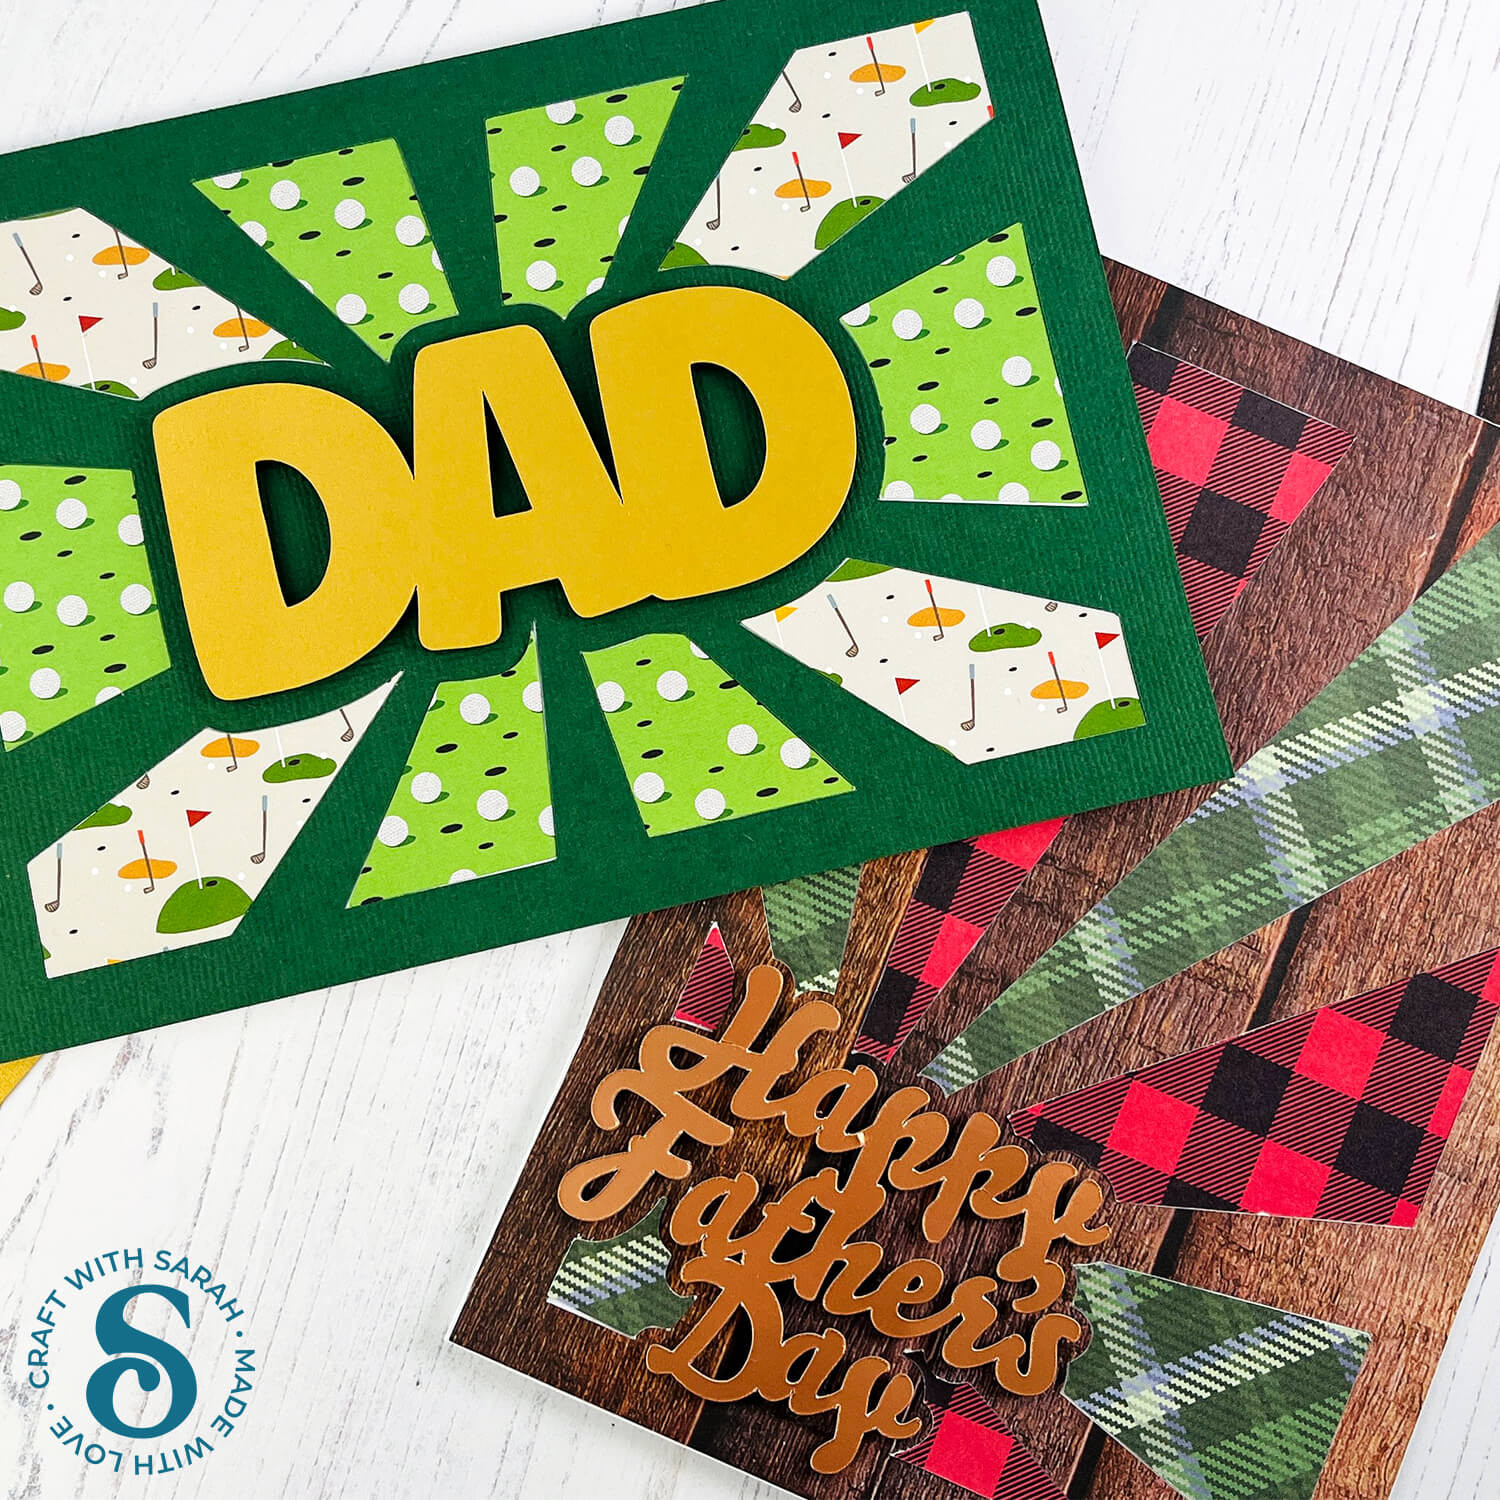
Now it’s time to stick all the pieces of the card together. The top cardstock frames act as a guide, then the printed pieces slot in like a jigsaw puzzle.
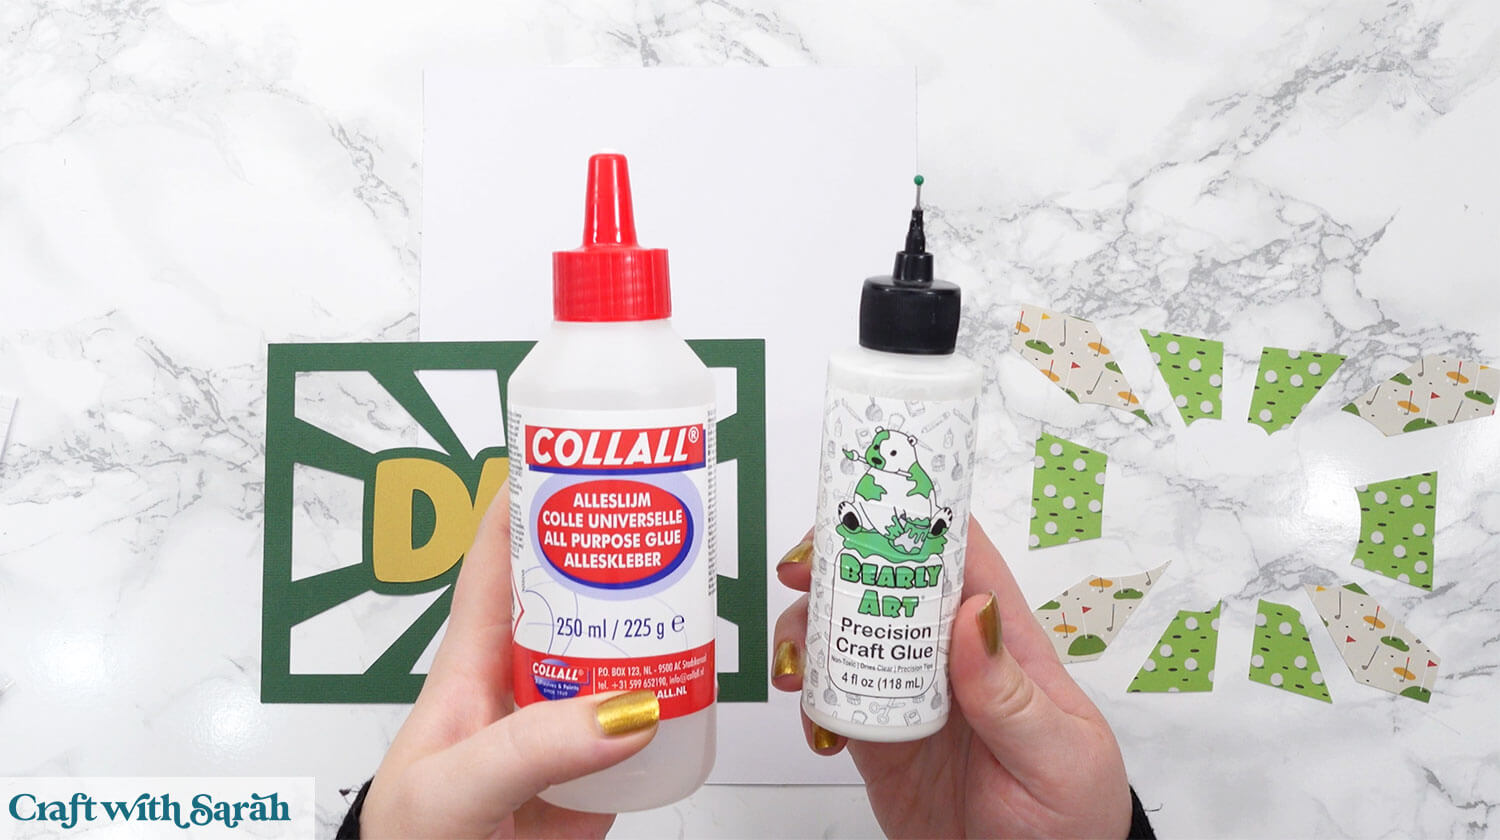
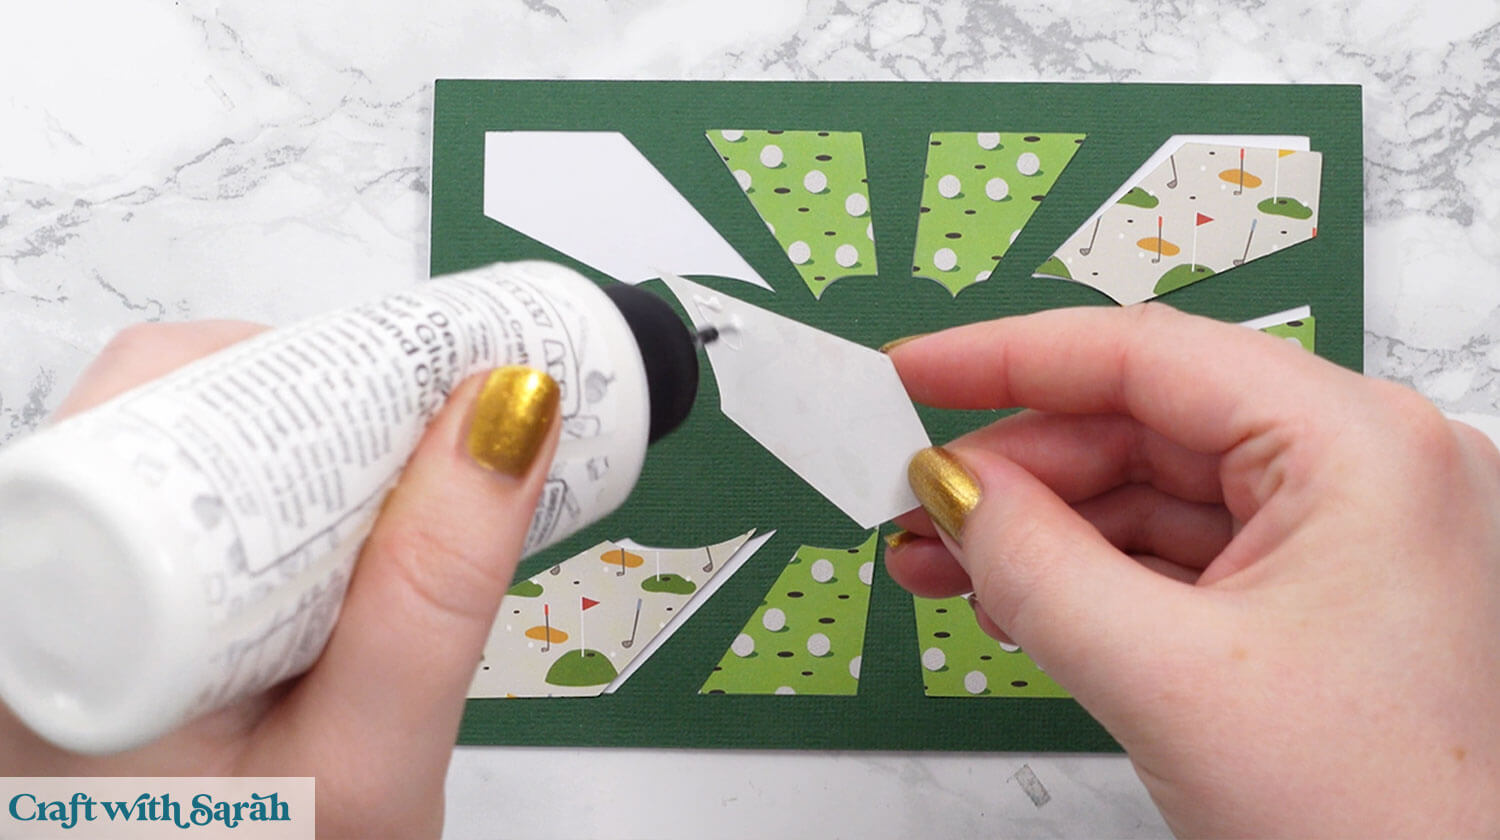
My favourite glues to use on papercraft projects are Bearly Art Glue and Collall All Purpose Glue.
These are great because they don’t “warp” or bend the cardstock like some glues do. You can use as much of it as you want and the card stays perfect – and it dries perfectly clear too!
Bearly Art Glue comes with a tiny nozzle to make it easy to apply glue to small areas of card. The Collall glue doesn’t come with this, so it’s easiest to decant it into needle tip applicator bottles so that you have more control.
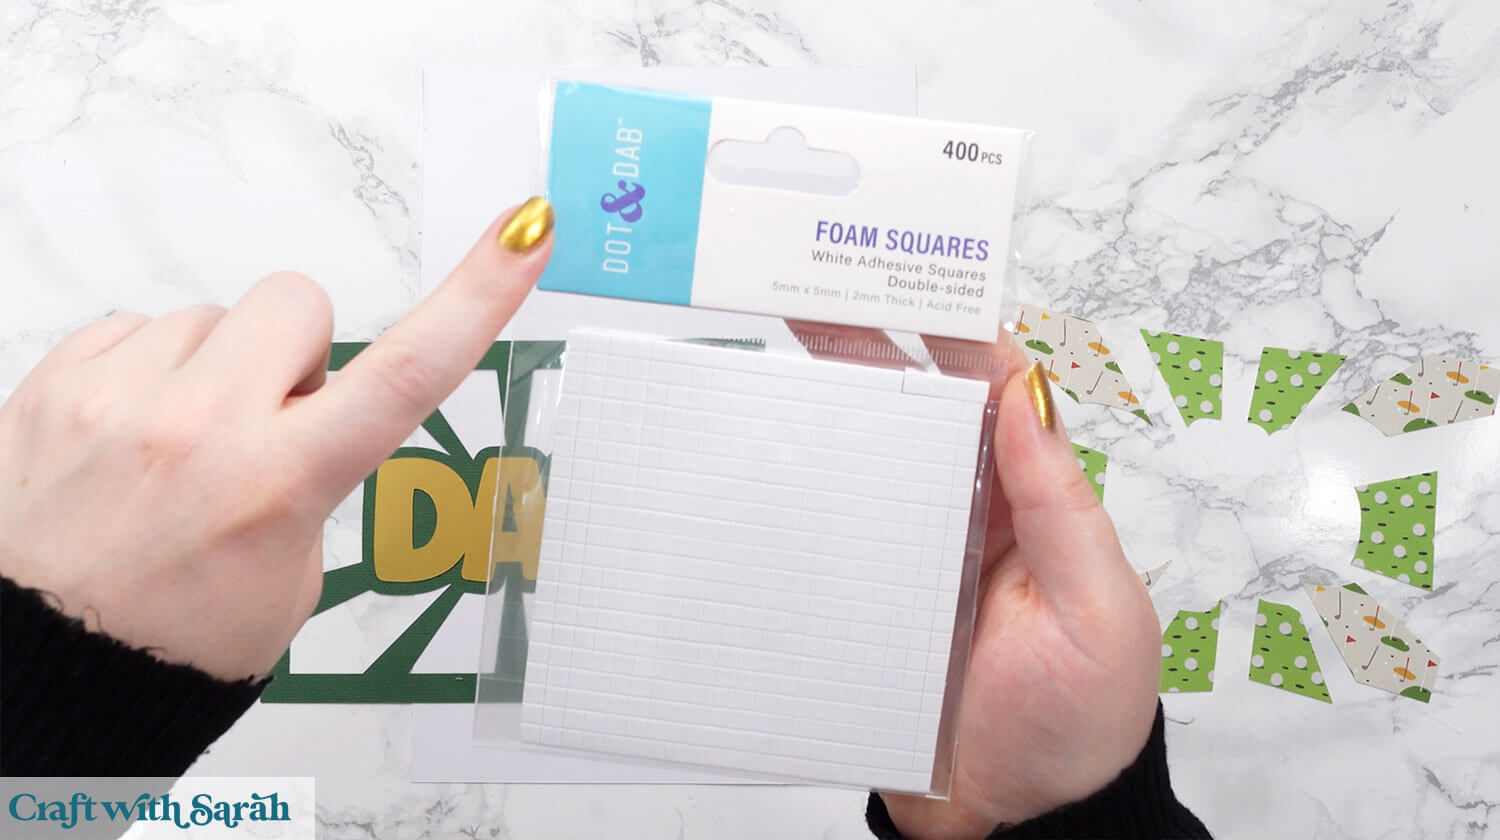
The foam pads that I use are from “Dot & Dab”, but any foam squares will work. If yours are big then you may need to cut them smaller with scissors to fit inside the edges of the layers.
Fold the base card in half along the score line.
Glue the cardstock frame on top.
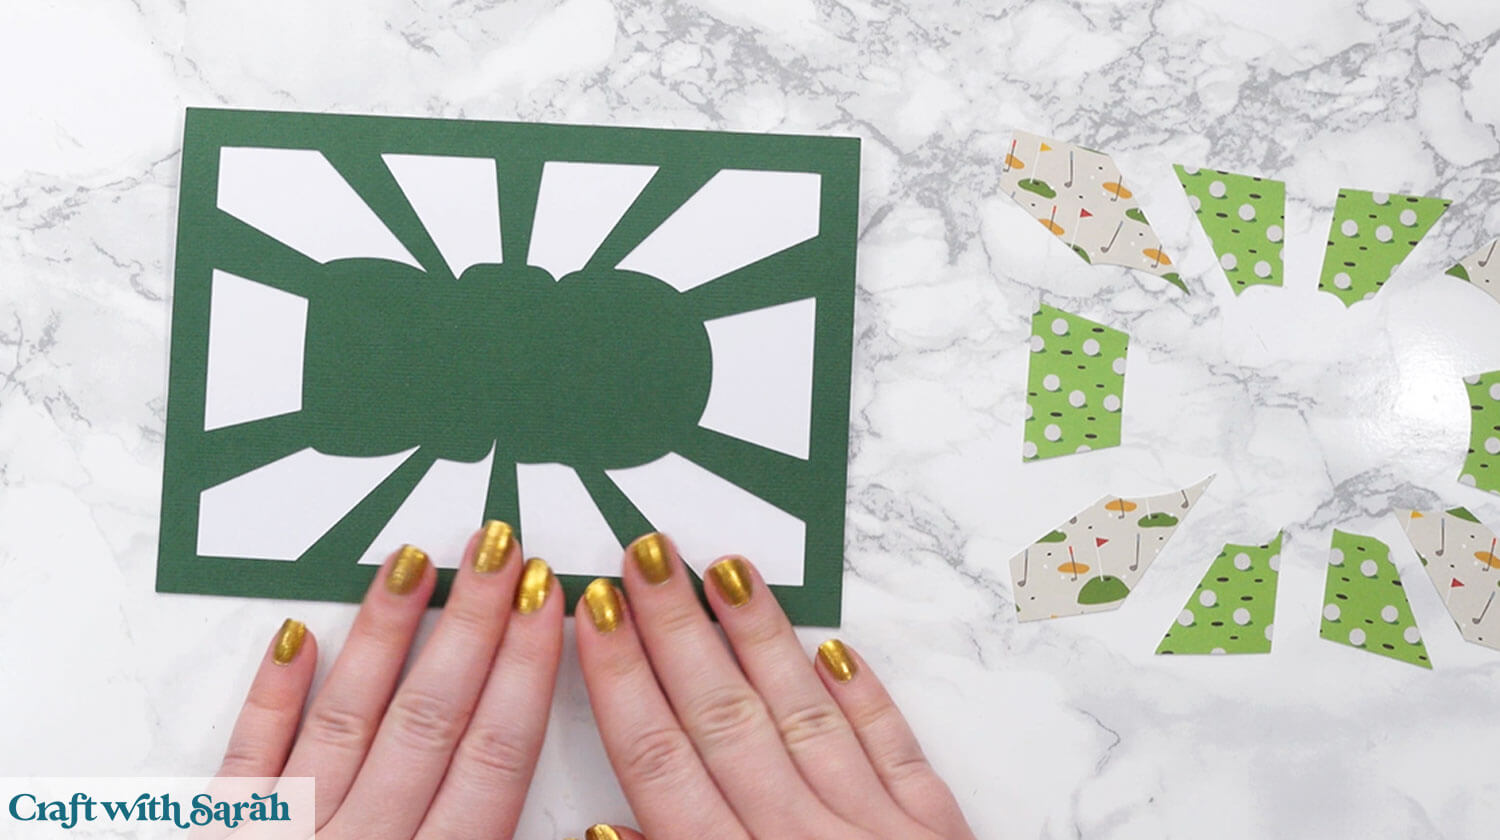
Glue all the patterned pieces into the gaps. You may wish to place them all in the correct holes before you start glueing, to make sure they are all lined up correctly.
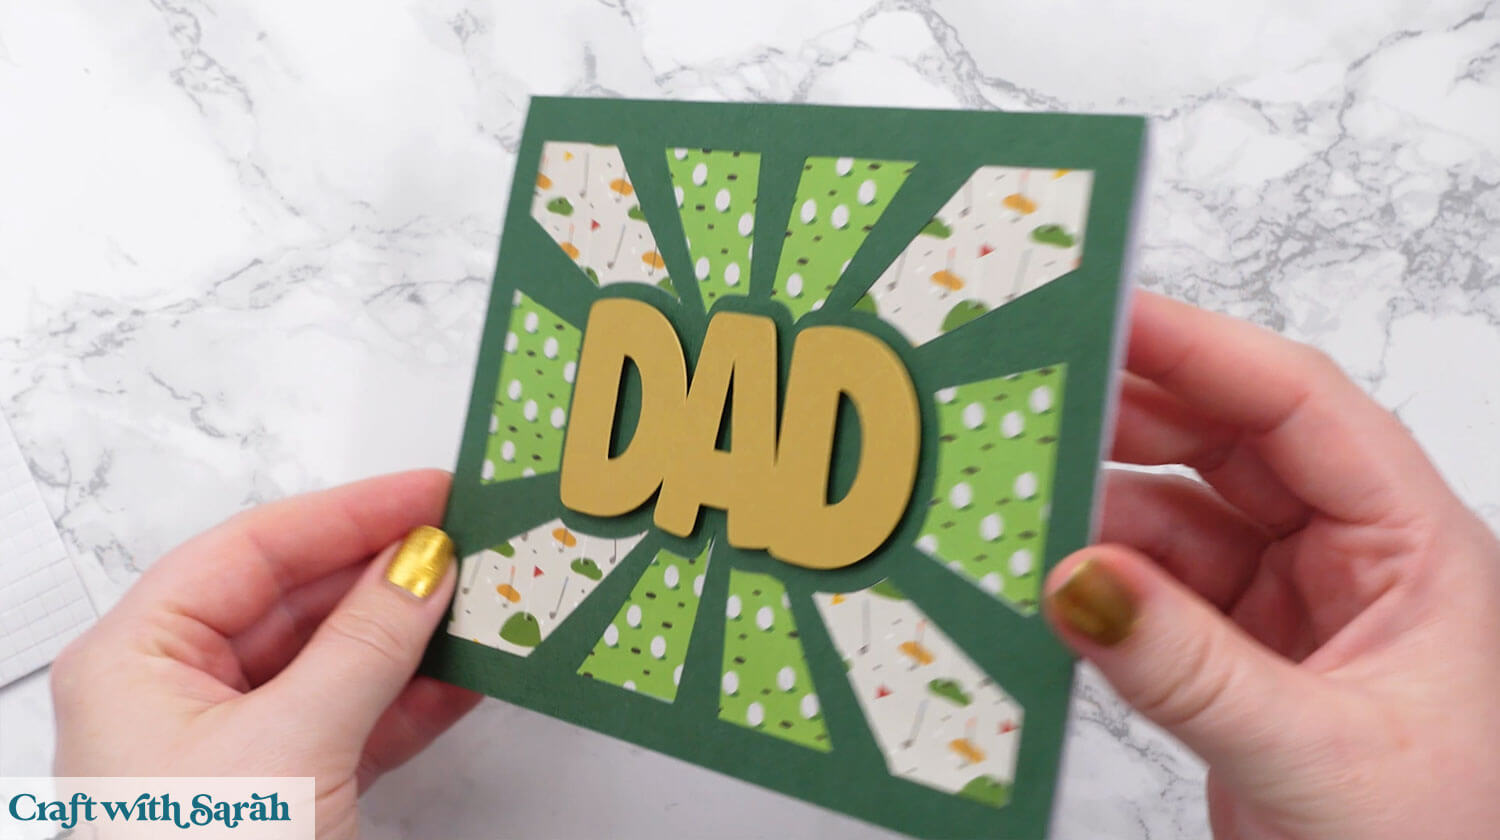
The “topper” on the card can be glued on, or use foam squares, or a combination of both! It’s entirely up to you how you decide to stick the pieces on.
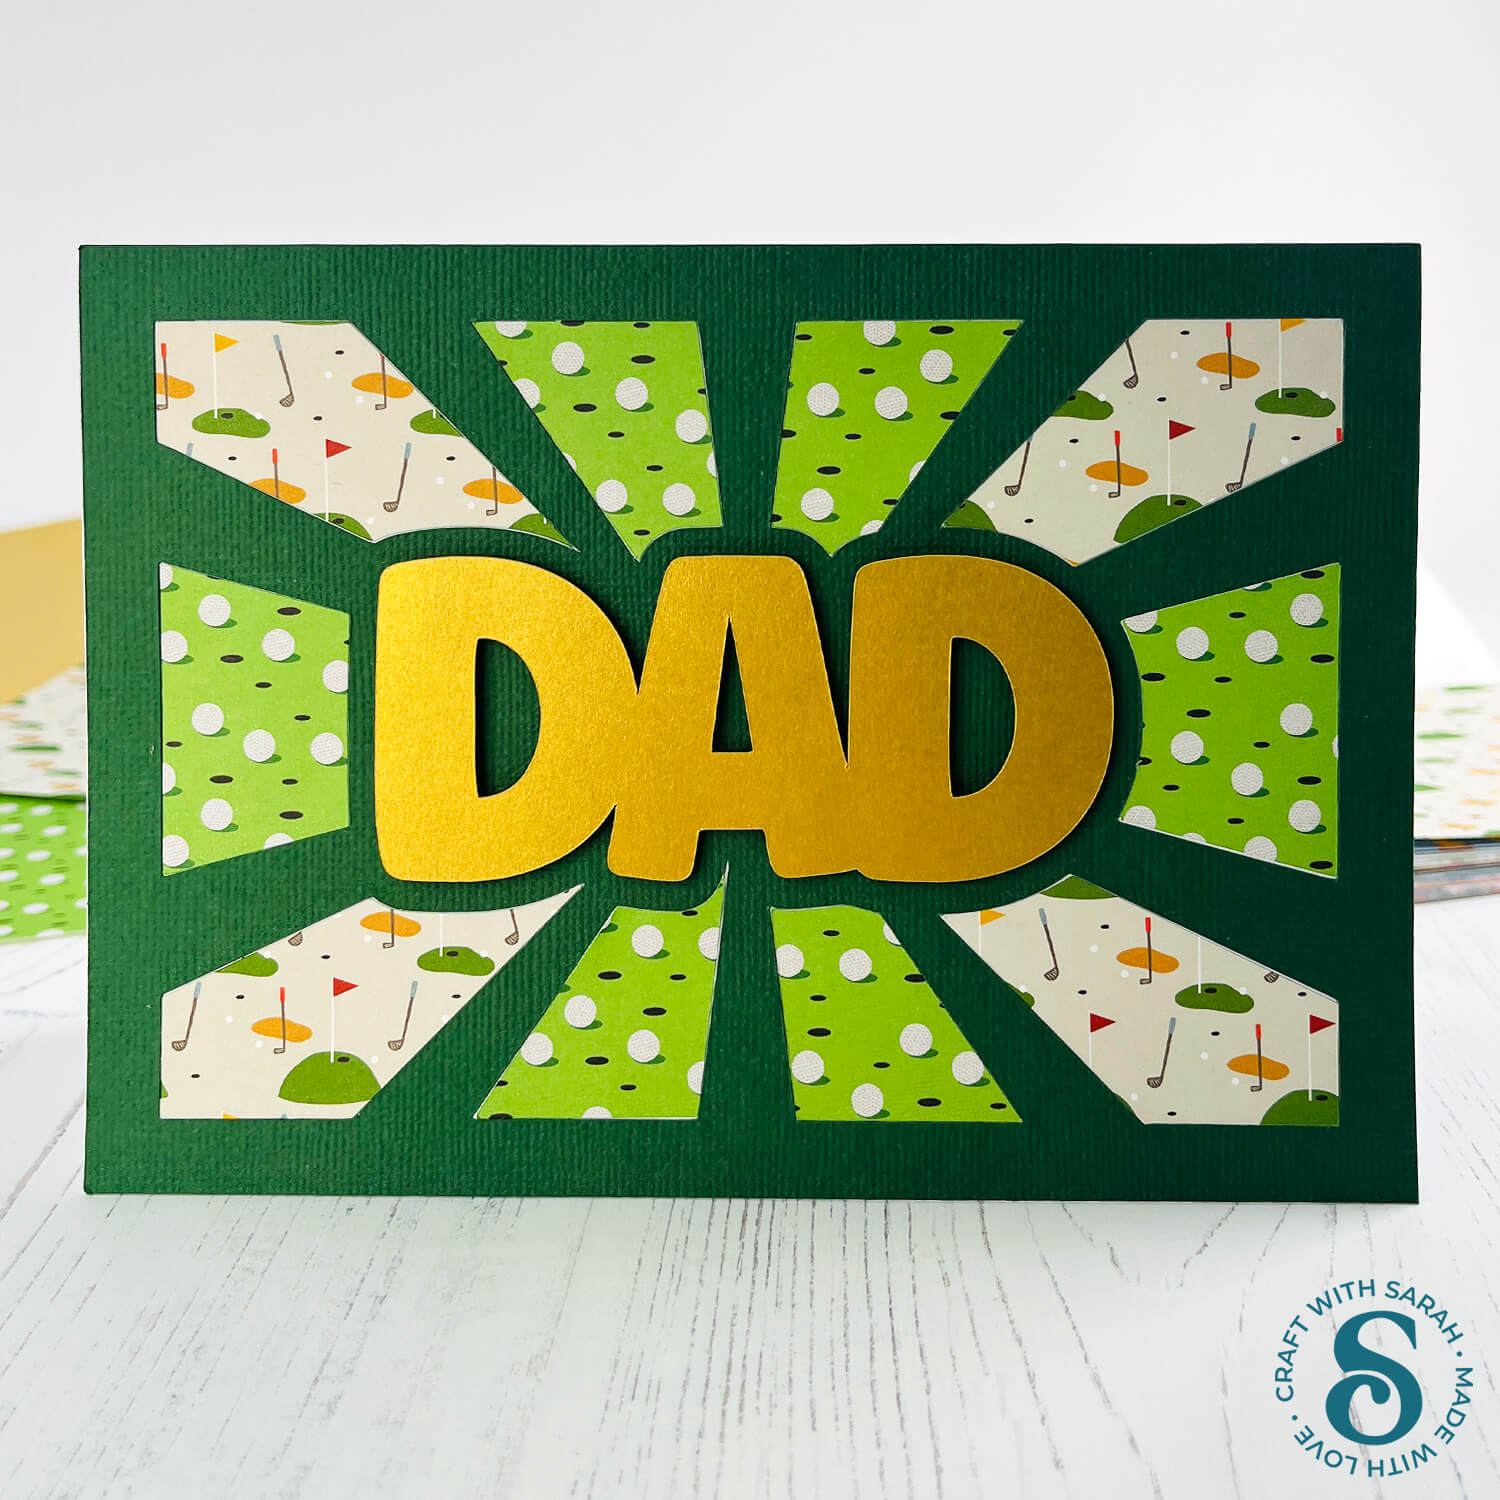
For the DAD card, I used foam squares to stick each letter on to add a bit of dimension.
Design your own starburst cards
Now that you’ve seen how to make starburst cards using my premade designs… how about creating your own full CUSTOM cards?
I’ve put together a video Class on how to create starburst cards from scratch, so you can make them for any theme or occasion.
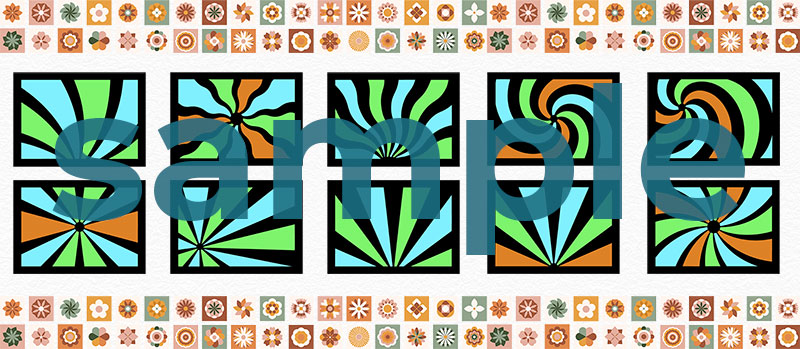
The Class contains 10 individual starburst card templates that you can use as the base for your designs. These templates are only included with this class and are not available anywhere else.
Armed with these ten templates, you’ll be able to create a whole host of different effects with your starburst cards.
The Class shows three different ways of adding text and images to the cards to make your custom designs:
- Using a rectangle or other shape as the base to place your chosen text
- Using “Offset” to blend the text into the card
- Adding images instead of text
These cards are so versatile — they will work for pretty much anything you can think of.
Don’t have a Cricut? No problem! The Class is recorded in three separate software versions:
- Cricut Design Space
- Silhouette Studio
- CanvasWorkspace (for ScanNCut machines)
If you’re already part of Craft with Sarah premium membership, then you can enroll in this Class at no extra cost.
If you’re not a member but you’d like to find out more, click here to see all of the amazing things you get as part of our membership.
Membership benefits include…
- 20 design credits per month to download your favorite cut files (which means you can download up to $60-worth of files… for just $20!)
- Exclusive video-based craft classes, with new classes added each month
- Member-only challenges with awesome prizes
- Submit two design requests per month
- Remove the “ads” for a clutter-free website experience
Starburst cards are so quick and easy to do, and I love the effect — and perfect for using up those scraps.
Happy crafting,
Sarah x

