3D Easter Chicks and Ducklings 🐥 Adorable Cricut Easter Crafts
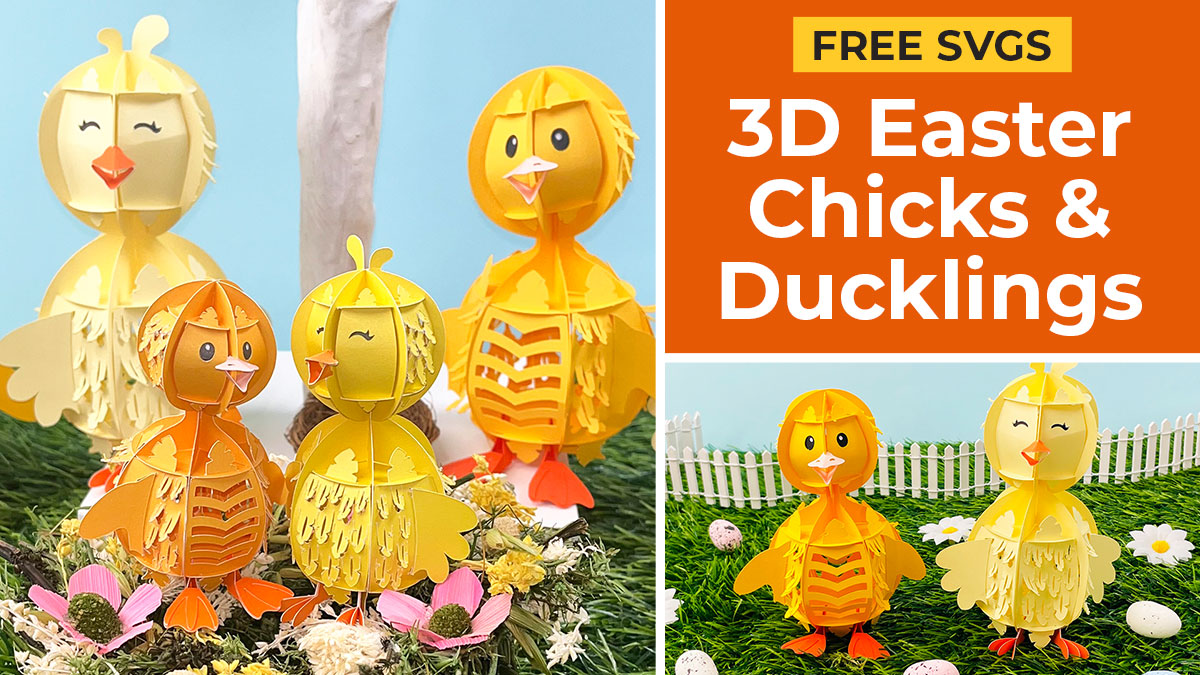
Make your own 3D chick and duckling for Easter with these freestanding papercraft designs.
I have been having so much fun with these cute chick and duckling designs. Just look at their tiny little beaks!
You can even fit a chocolate egg inside their tummies for a bit of extra Easter fun! Or add a battery powered tealight or fairy lights to make them glow.
Slotting the pieces together means they can be taken apart and stored flat, ready to get out and build again next year.
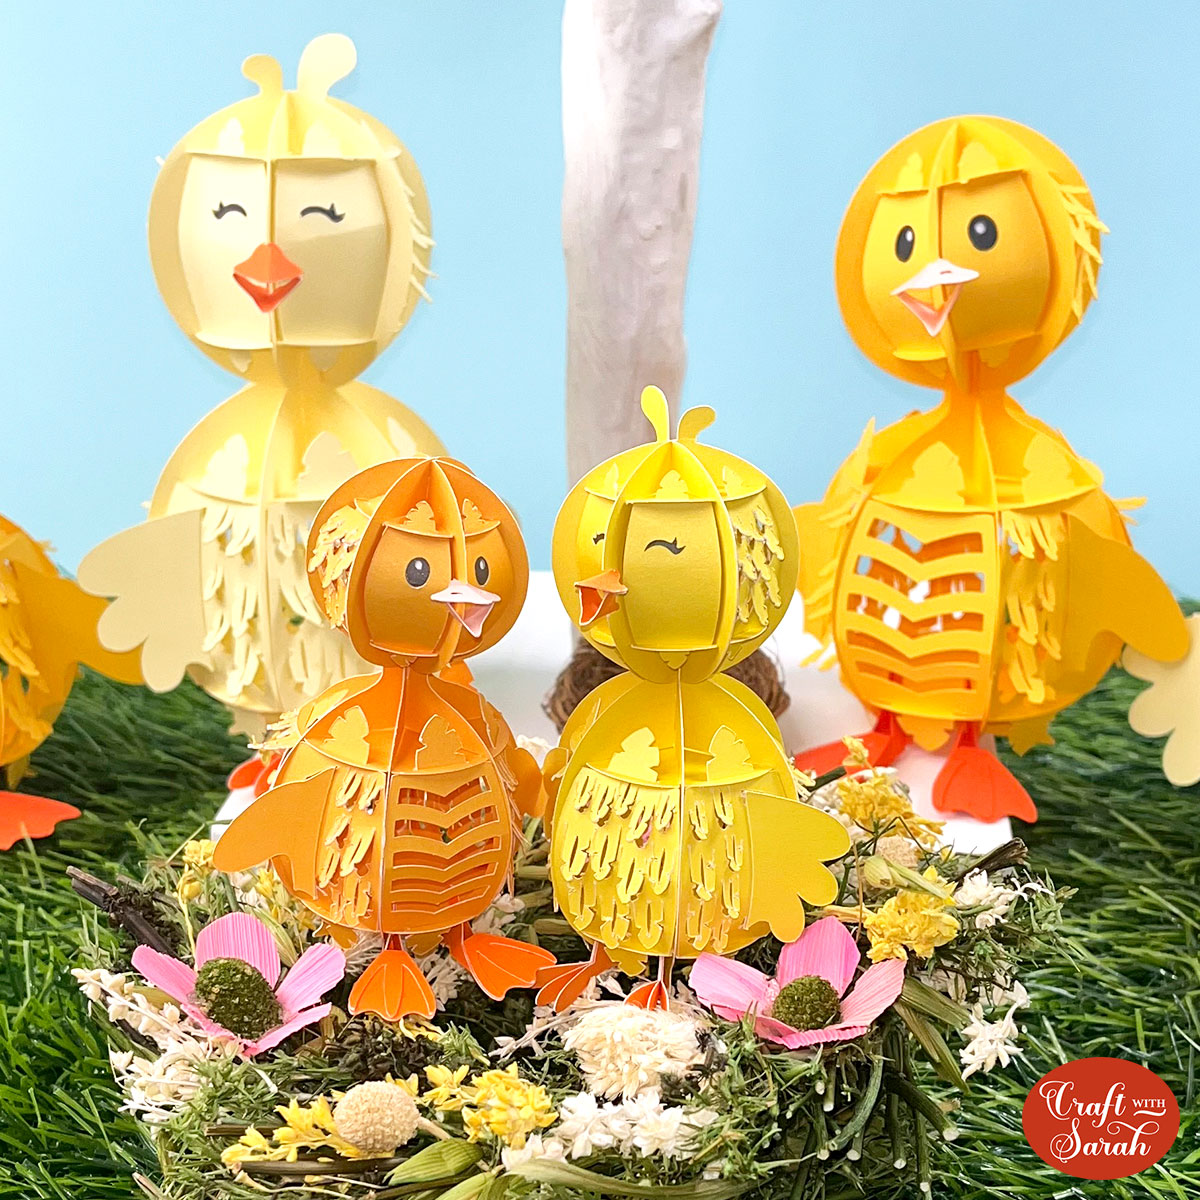
You could make them in different sizes so that you have a whole family of ducks or chicks.
Materials supply list
Here is a list of the materials that I used to make this project.
Please note that some of the links included in this article are affiliate links, which means that if you click through and make a purchase I may receive a commission (at no additional cost to you). You can read my full disclosure at the bottom of the page.
- Cricut machine
- Light blue Cricut cutting mat
- Cricut scoring wheel or Cricut scoring stylus
- Coloured card
- Collall All Purpose glue or similar
- Needle tip applicator bottle (optional)
This project is suitable for the following types of Cricut machine: Explore Air 2, Explore Air 3, Maker, Maker 3, Venture, Joy Xtra and Joy.
Video tutorial
Watch the video below to see how to make this project. Keep scrolling for a written tutorial.
Written tutorial (with photos!)
Here’s how to make your very own 3D Easter chicks and ducklings using a Cricut machine!
I’ll start by showing how to make the chick, then move on to the duckling afterwards.
The structures of each bird go together in a very similar way. It’s only really the extra details such as eyes, feet and beaks that are different.
Step 1) Download the cutting file(s) & unzip the downloaded folder
Download the Free Cutting File
Please login to your account to download this file.
TERMS OF USE:
You may sell finished, handmade physical craft items that you have made using this product but must not sell or share the digital files. Read full terms of use
Before you upload the SVG to Design Space, you need to unzip the download folder that it comes in.
- How to unzip a folder on Windows computer
- How to unzip a folder on a Mac
- How to unzip a folder on an iPad/iPhone
- How to unzip a folder on an Android device
Step 2) Upload the SVG file into Design Space
Open up Cricut Design Space and start a new Project.
Click “Upload” and then find your unzipped version of the downloaded files for this project.
Go into the “Cut Files” subfolder and then select the file called svg-3D-chick-craftwithsarah.svg
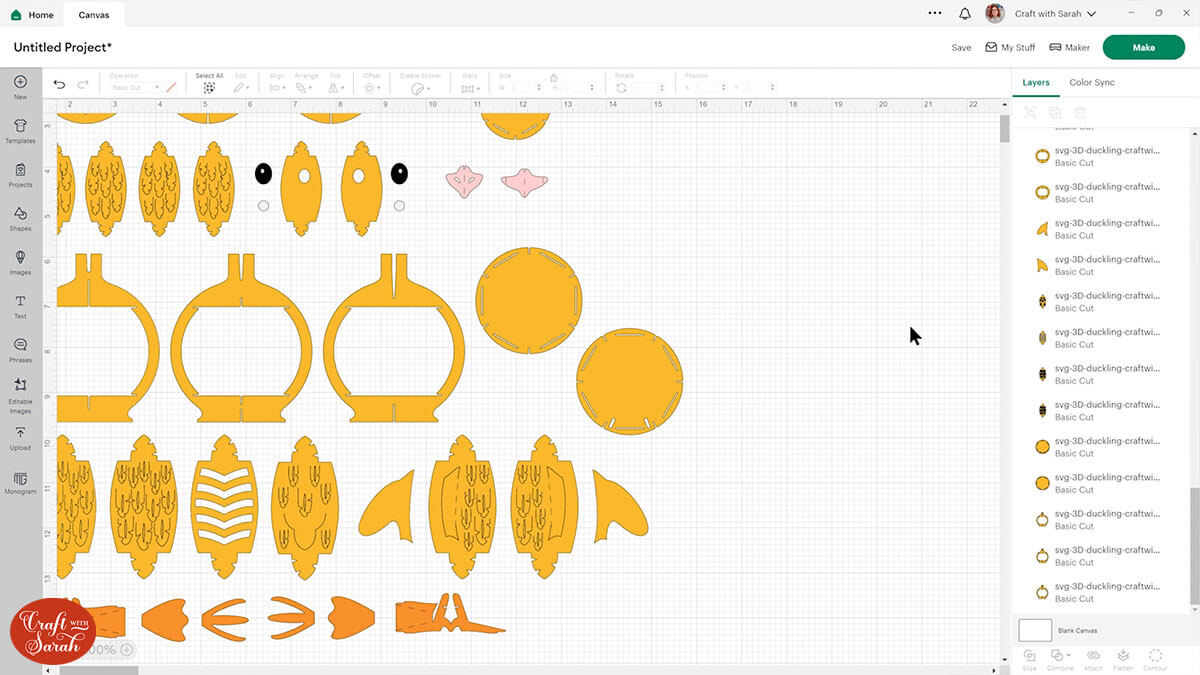
This is how it should look after you have uploaded the file:
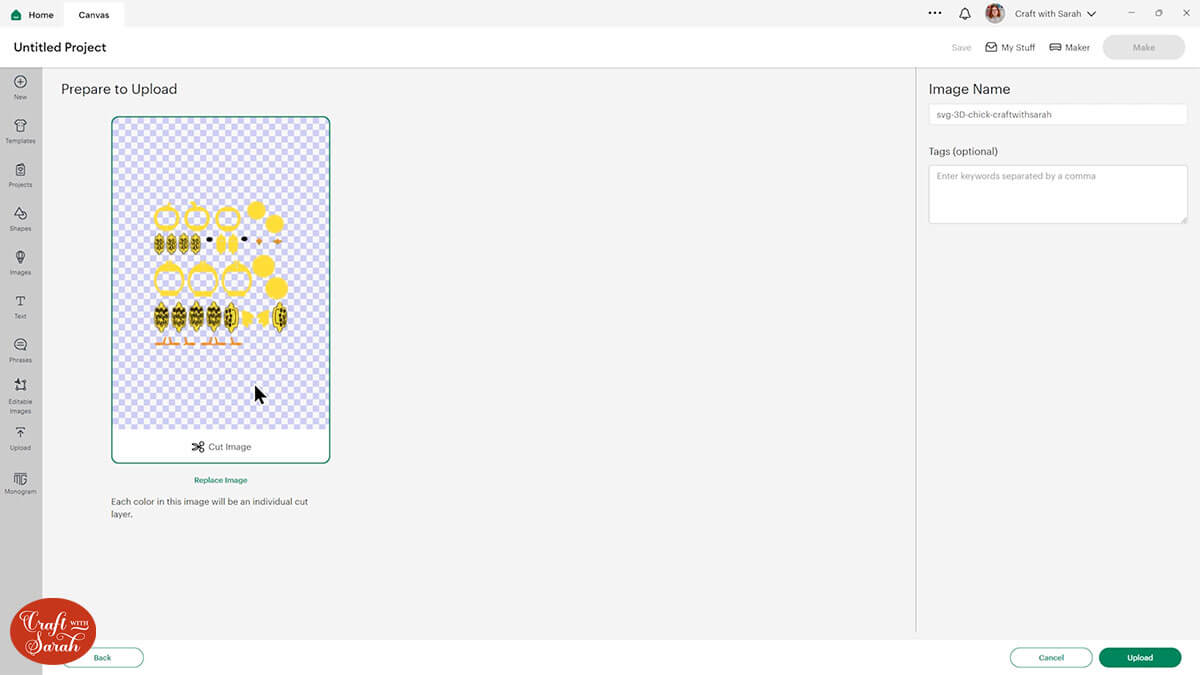
Make sure you upload the file which starts svg- in the filename!!
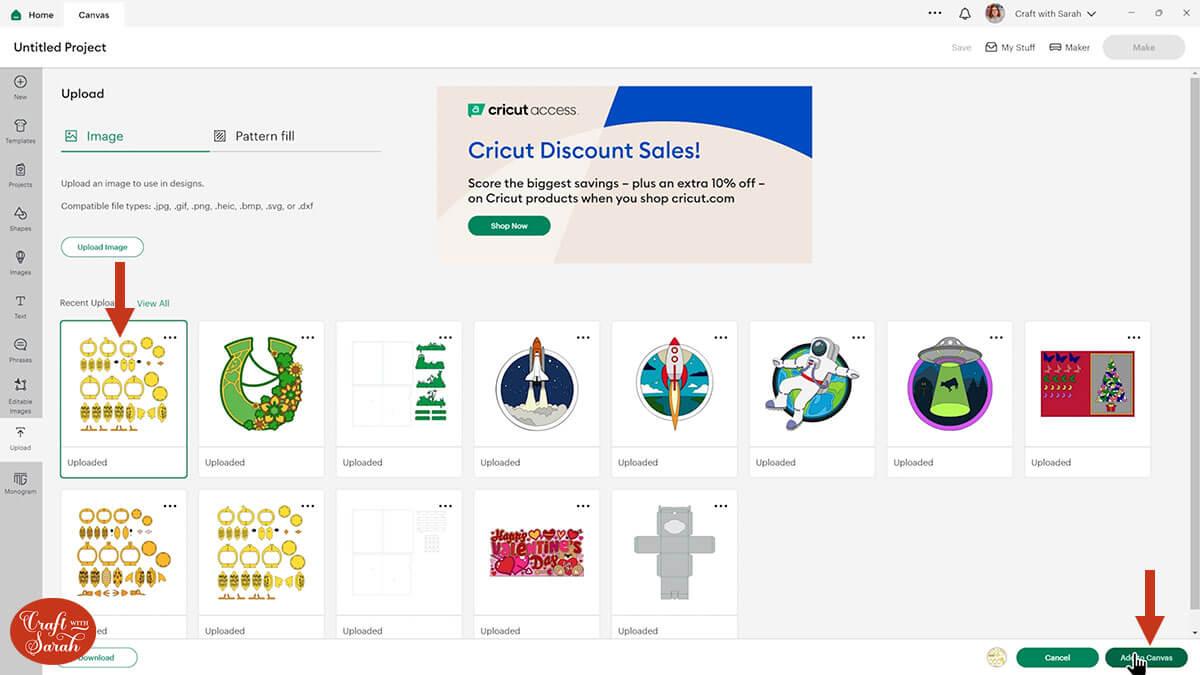
After uploading, the design will show in your “Recently Uploaded Images”.
Click on it and then press “Add to Canvas” to put it onto your Project.
The entire size of the chick design should load in at 15 inches tall but of course you can make it bigger or smaller if you want to.
This size will make a chick which is big enough to fit a UK size Cadbury Cream Egg in the middle of the tummy if you wanted to put one of those in there.
TIP: If you resize the designs, make sure the padlock icon above the width/height boxes is CLOSED before you resize. If it appears “open”, click it with your mouse to close it.
Step 3) Format the score lines
Some of the pieces of the chick have score lines to make it easier to put together.
If you don’t have a scoring stylus or scoring wheel for your Cricut machine (or if you are using the Cricut Joy Xtra), you can delete the score lines.
However, if you do have one, here’s how to format them so that your Cricut knows to score them.
There are a few things we need to do to this file before it’s ready to cut. Let’s format the score lines.
First, click the design and press the “Ungroup” button.
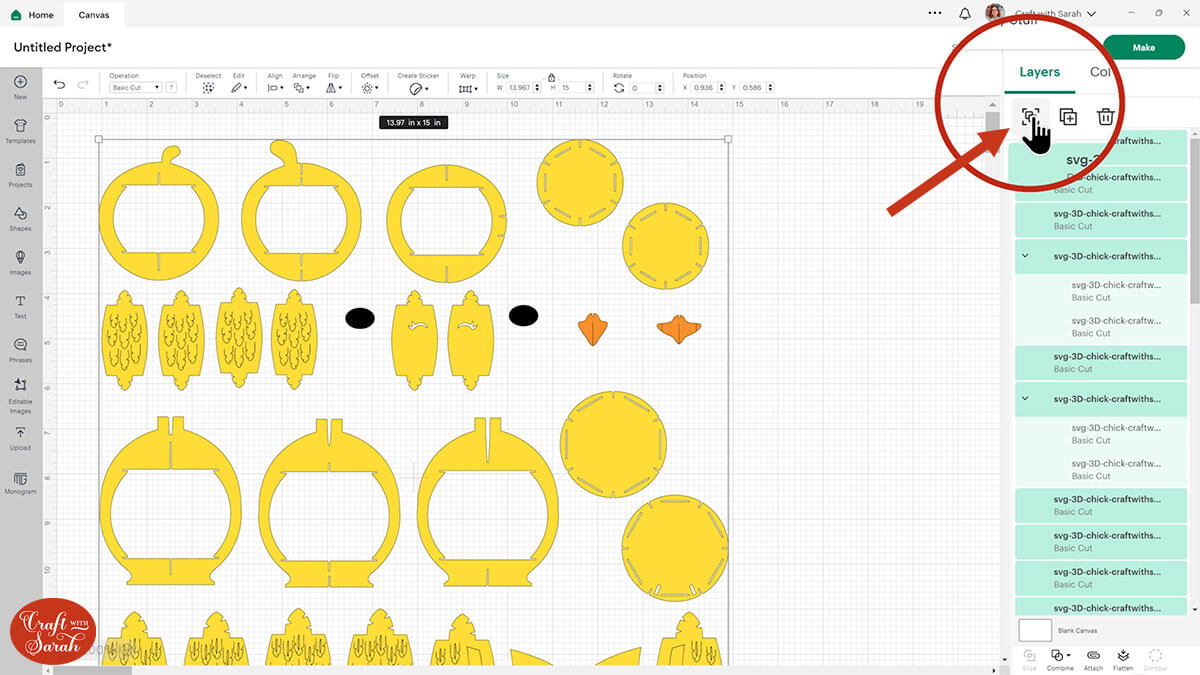
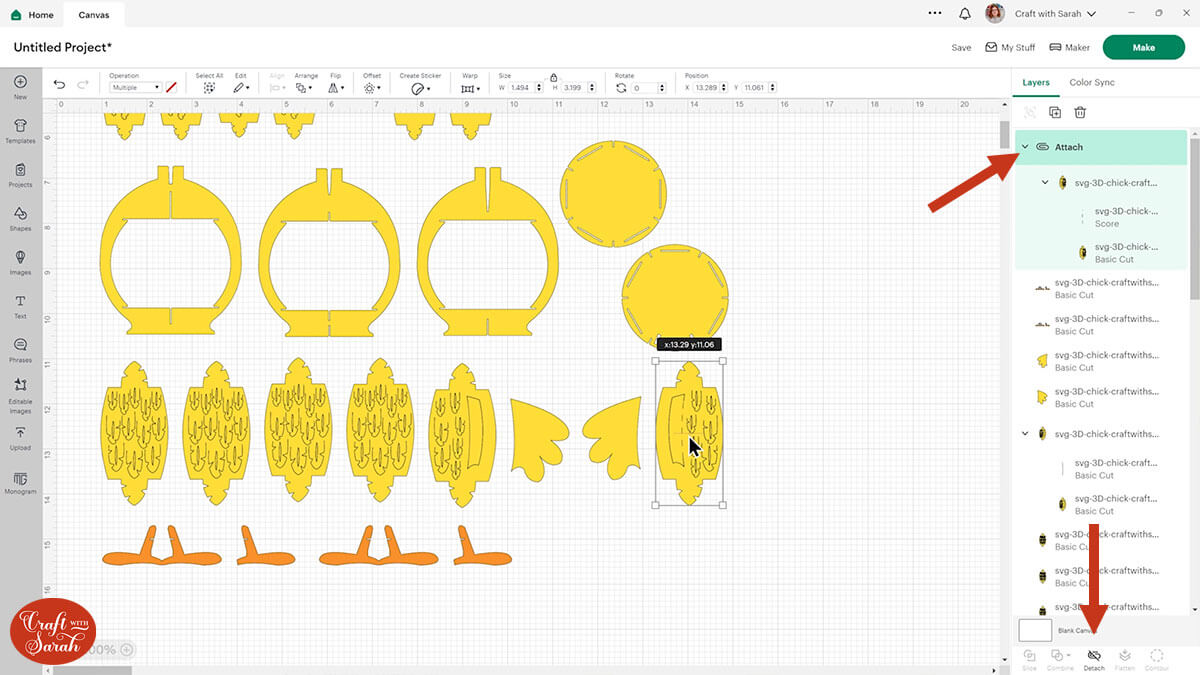
There are lots of different layers in this project, but a simple way to tell which ones have score lines is to look down the list of layers on the right hand side until you get to one which has got a little arrow on the left.
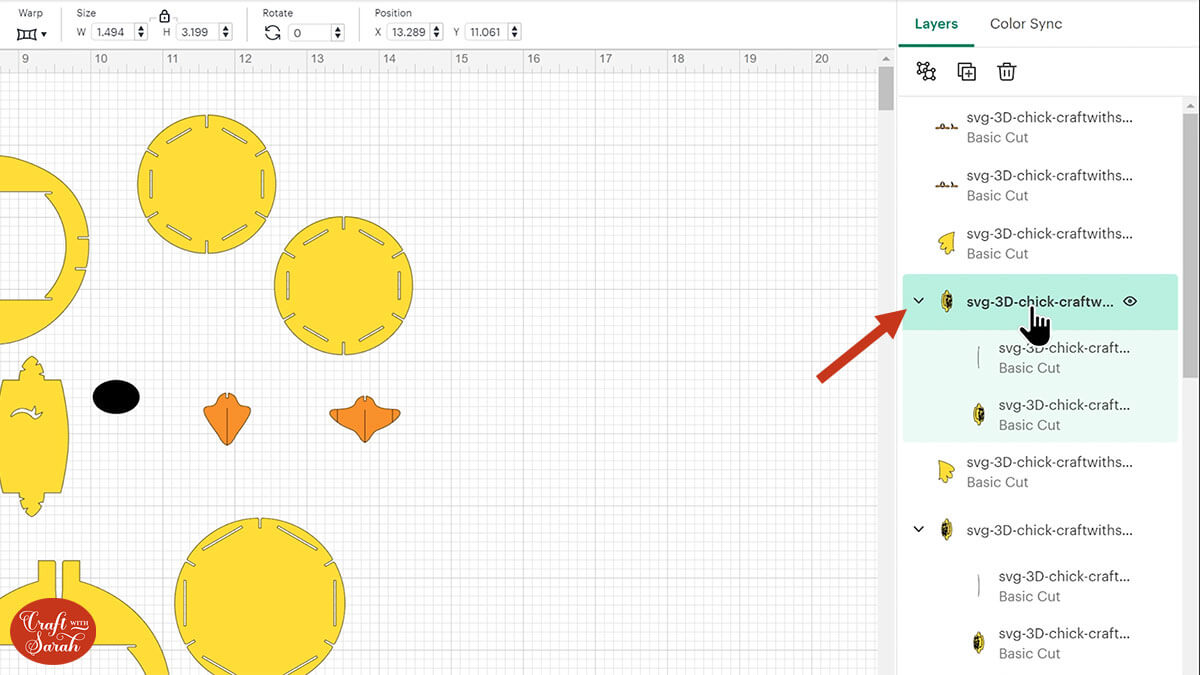
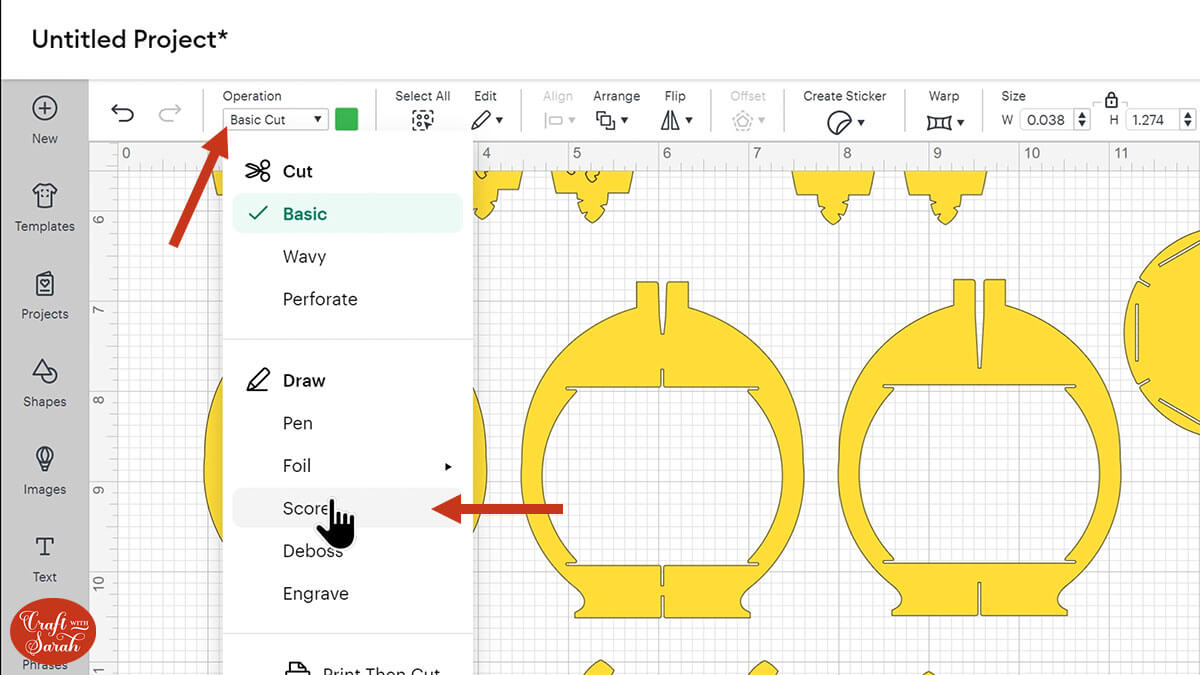
Within the group you will see two layers; one of which looks like a simple single line. That’s what we will change to a score line.

Click that layer to select it. Make sure you only have that one layer selected.
In the Operations drop down change the layer to a score line.
Click the group that contains the new score line and the layer it will score onto. Press “Attach” to join them together.
Keep scrolling down the layers panel and convert all of the single-lines within groups to score lines and Attach them to their bases.
TIP: If you don’t have a scoring wheel or stylus for your Cricut then click the single-line layer and hit the trash can to delete it instead. Both the chick and duckling projects can be made without score lines. They will be a little bit trickier to put together without score lines because you will have to fold it manually in the correct places.
Save your project so that you don’t have to do the formatting again.
Step 4) Cut out the project from cardstock
When you’re happy with how the project is looking in Design Space, click “Make It” and follow the instructions on-screen to cut out all the layers.
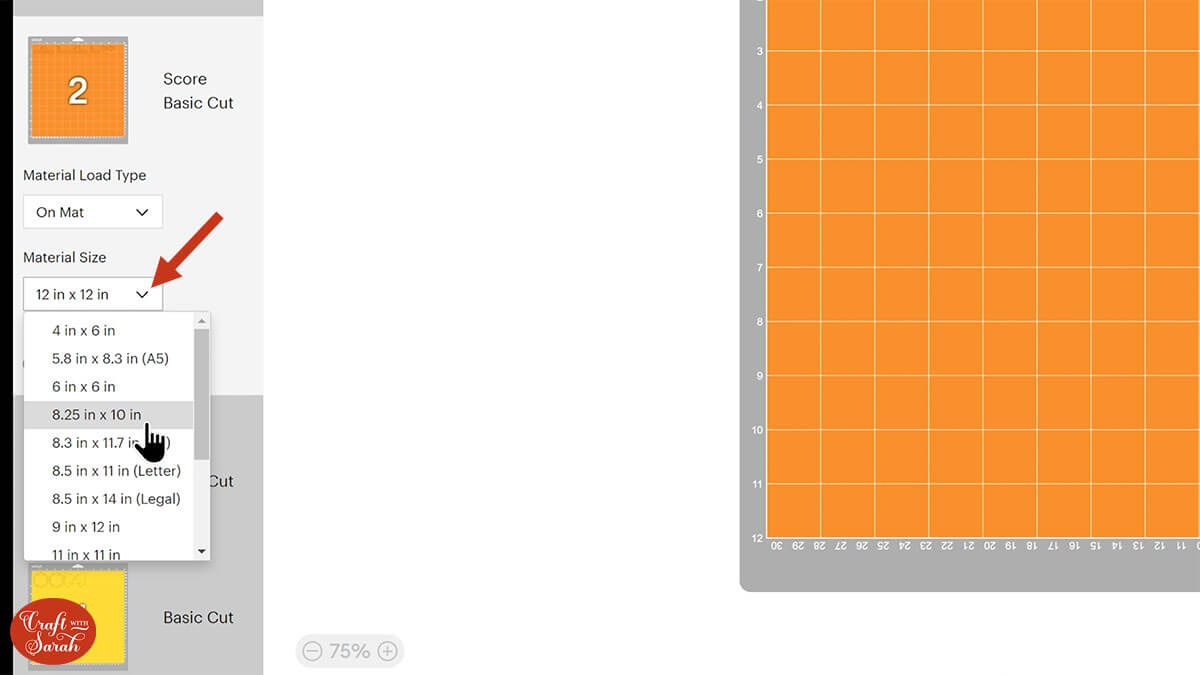
To change the paper size, go into the dropdowns over on the left side of the screen and choose the paper size that you want to use. You need to change it for every single colour.
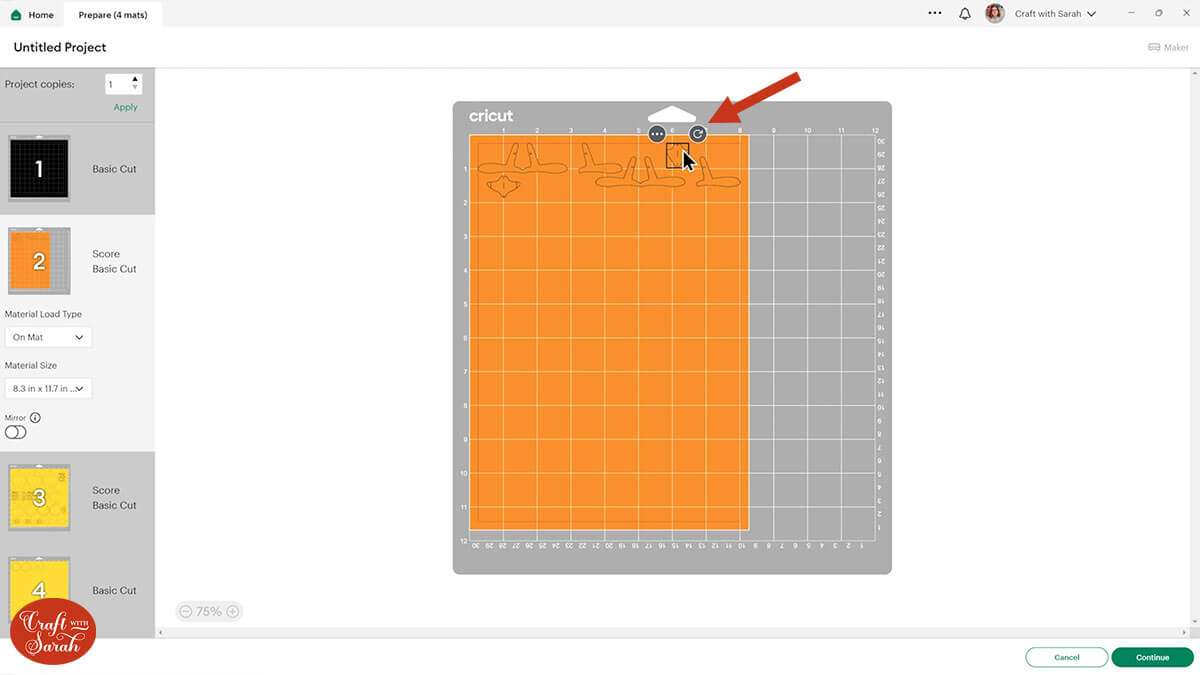
To save space on your cardstock, you can move things around by clicking and dragging. Make sure when you’re moving things about that nothing overlaps because otherwise, it won’t cut out properly.
TIP: New to cutting cardstock with a Cricut? Check out this in-depth tutorial which goes through every step of the process, including tips for getting the best quality cuts from your Cricut.
Step 5) Do the gluing for the project
Both the chick and duckling are primarily slotted together without the need for adhesive, however there are some bits that need to be glued to add extra details and colour to the face, feet and wings.
This is slightly different for the duckling design, so if you are doing that one then scroll down to the end of this tutorial to check the differences before continuing.
These are the pieces that will be glued:
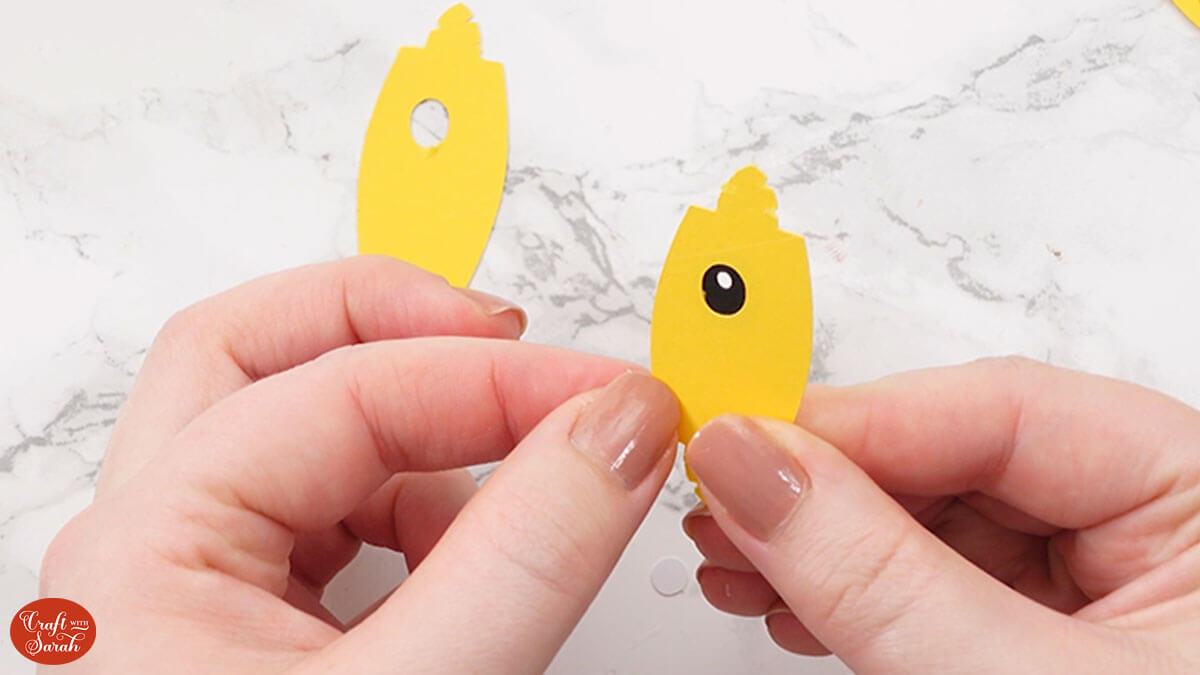
Take the eye cut outs and make sure the eyes are facing each other so the eyelashes are on the outside edge of both pieces.
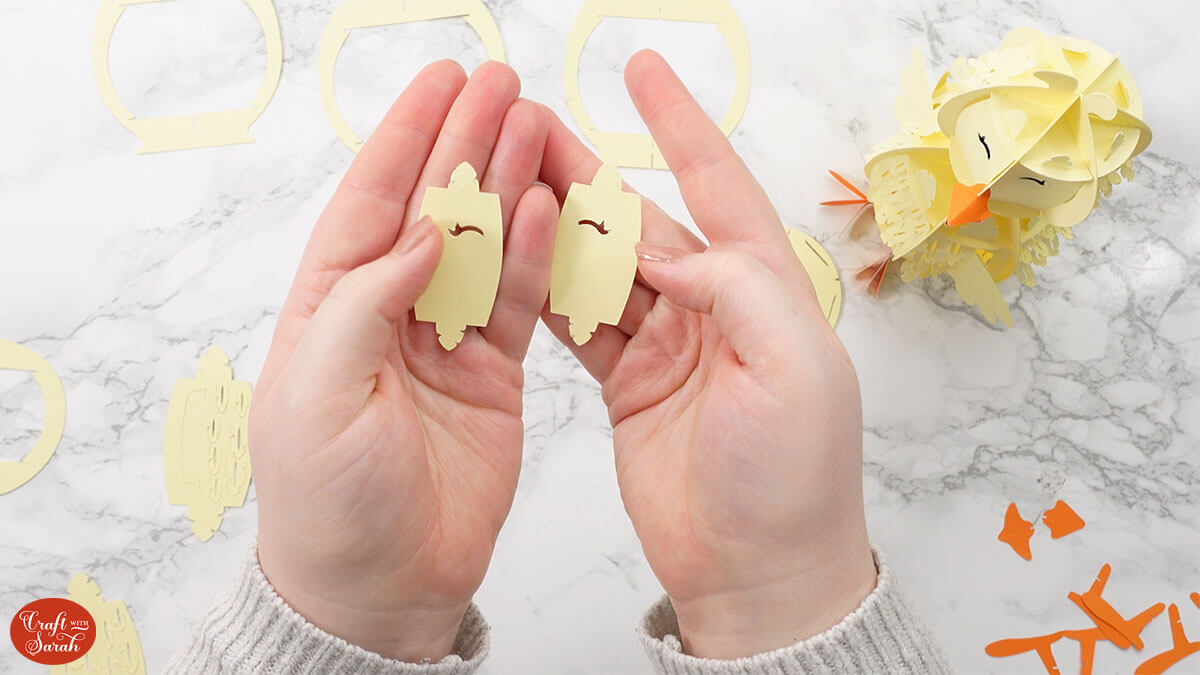
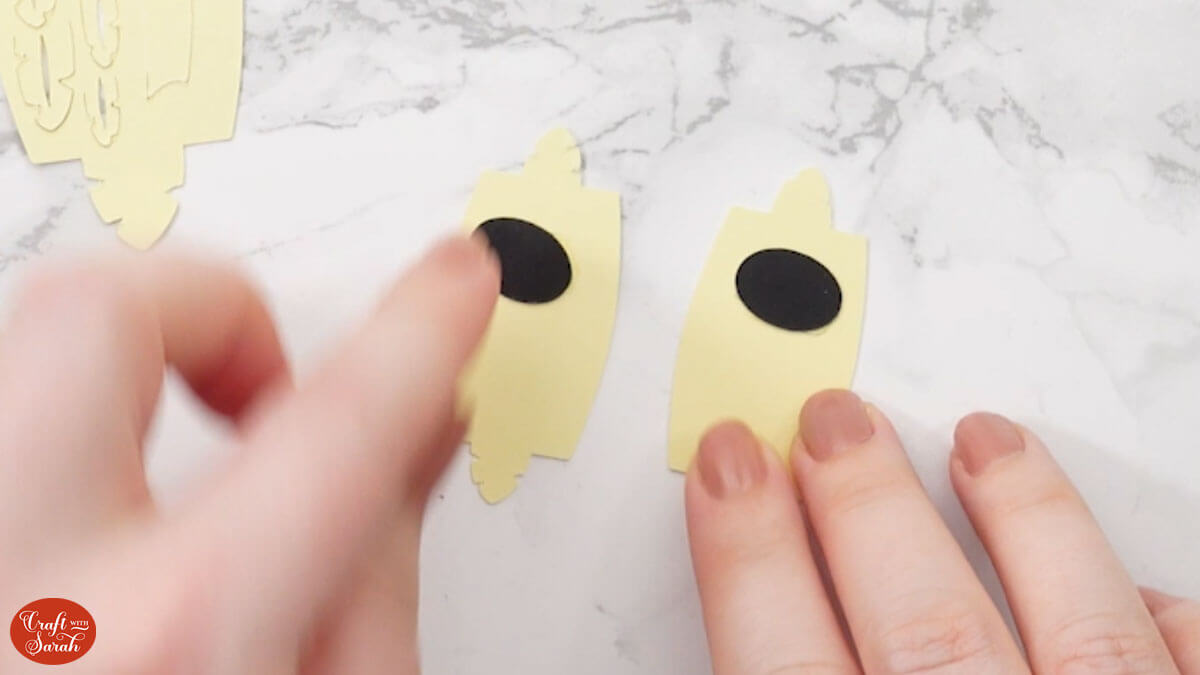
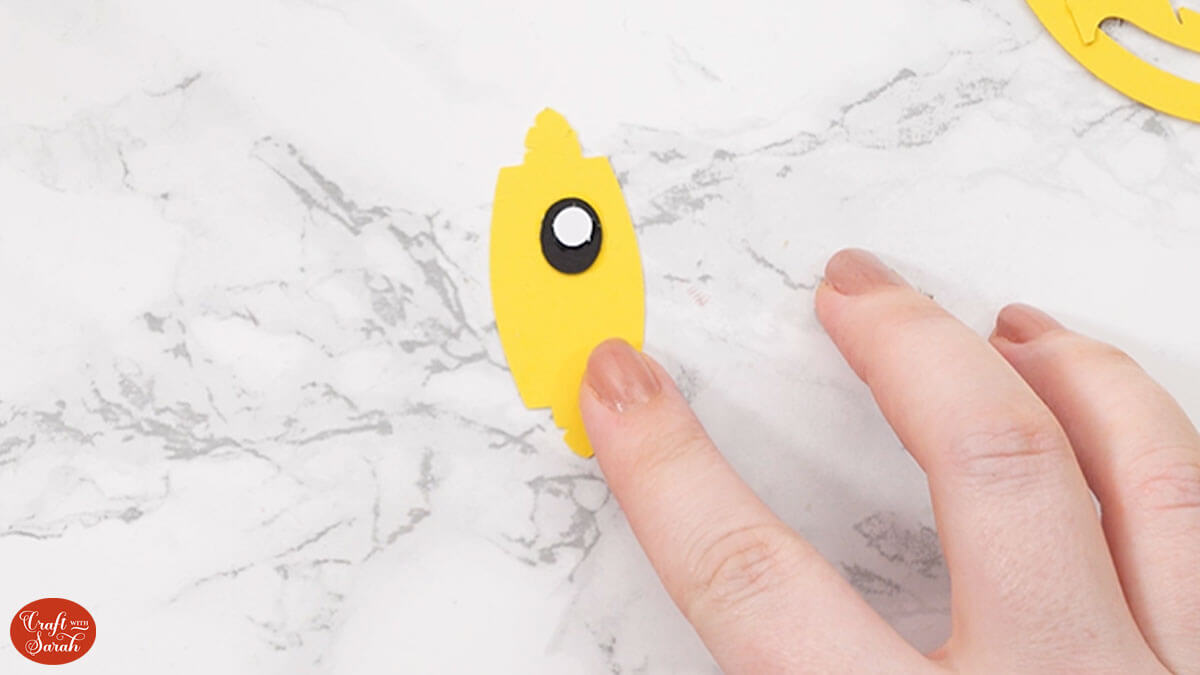
Turn them upside down and stick the black ovals over the eyes which will give them some detail. You want to use a tiny bit of glue around the eye holes.
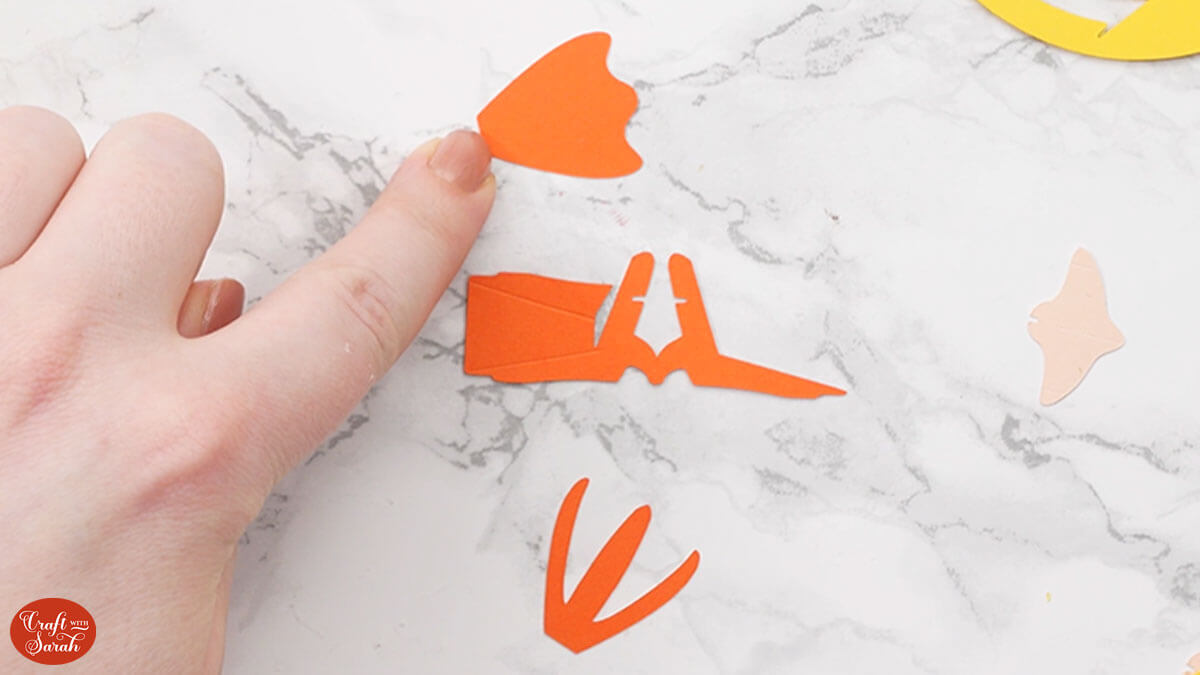
Put the eyes to one side to dry and find the chick’s wing pieces. These are the two pieces that have a long score line down the edge and the two separate wing-shaped pieces.
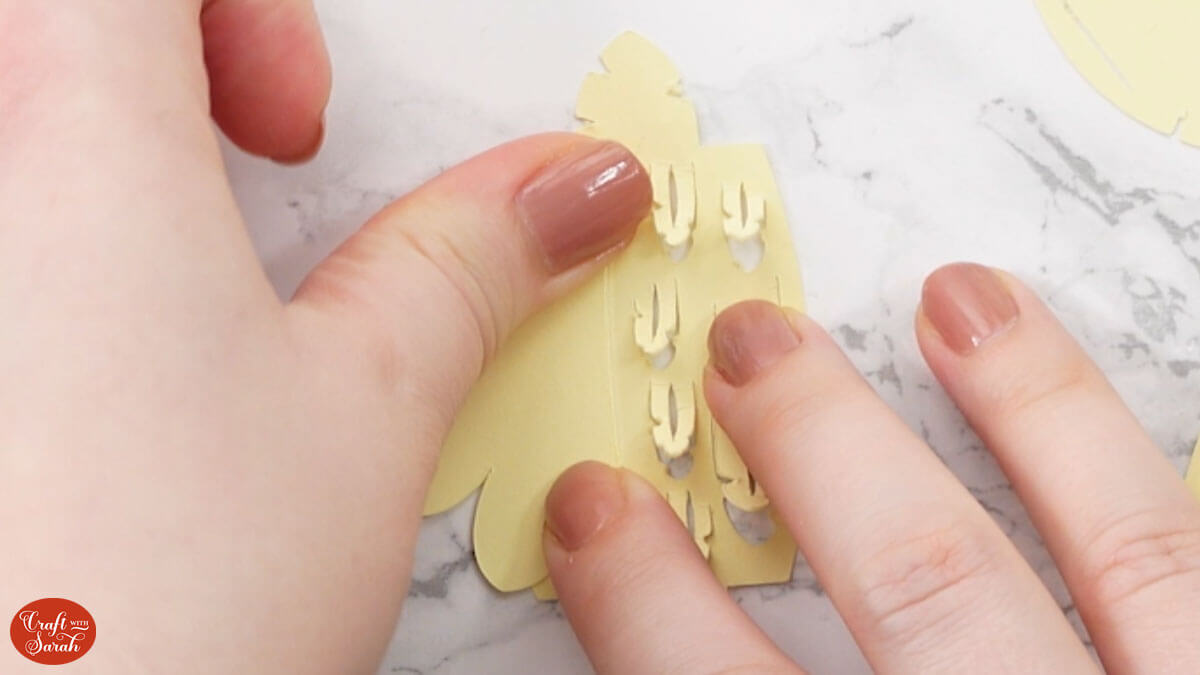
Run your finger against the feathers to bend them outwards for a fluffy effect.
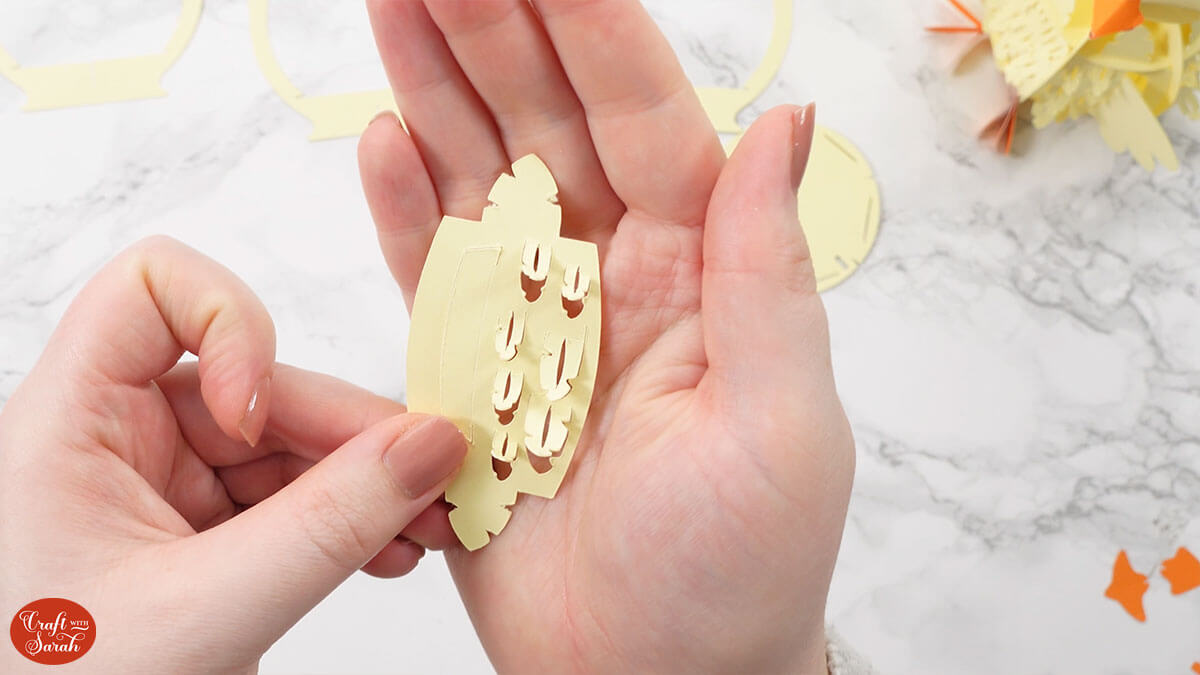
Fold along the score line towards yourself.
Apply glue to the tab and stick the wing on top of it.
Do exactly the same for the other wing piece.
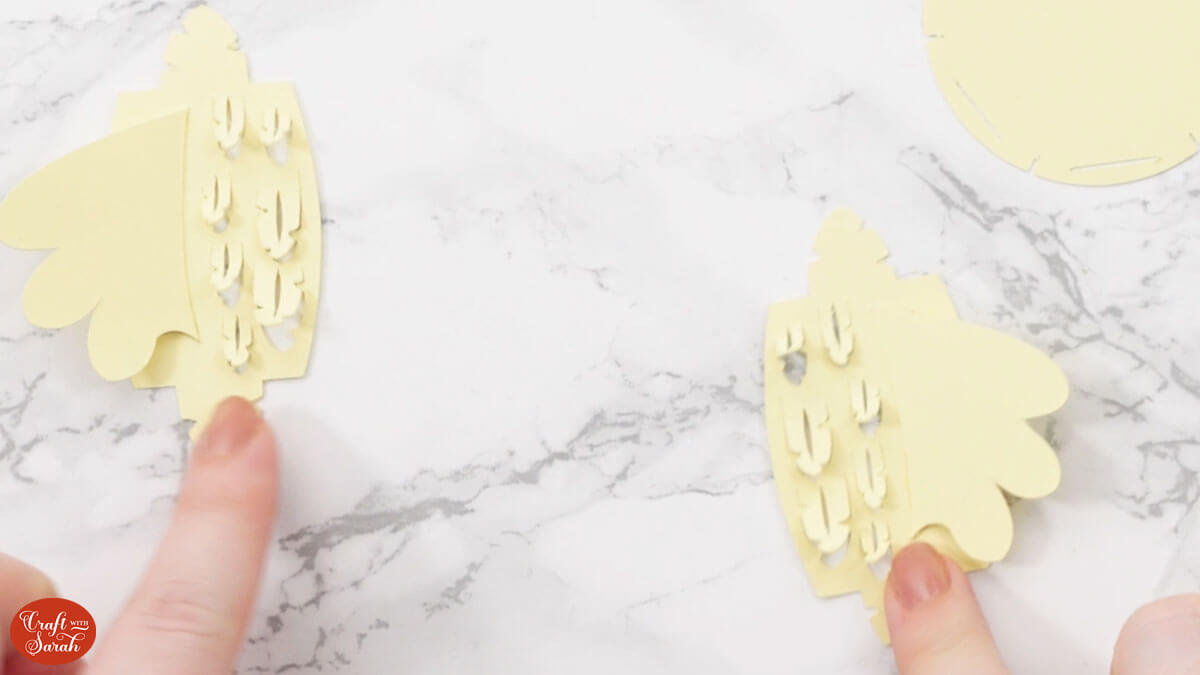
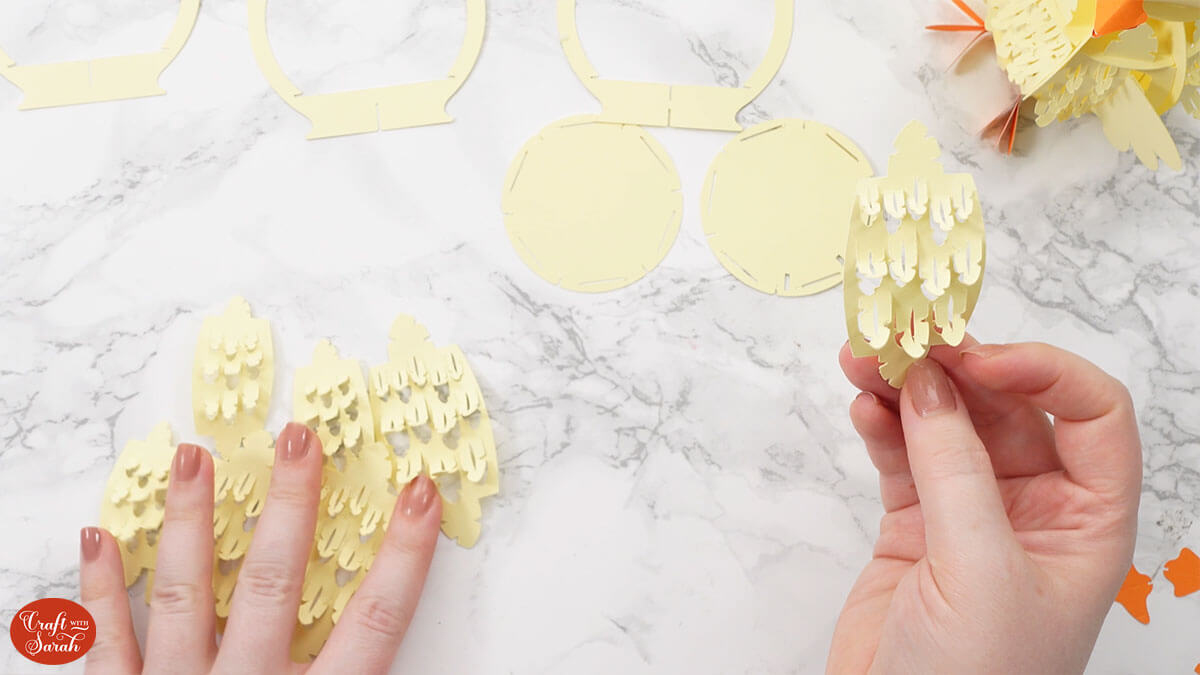
Bend out all the feathers on the other pieces. Roll them upwards with your thumb in a smooth motion rather than folding.
Leave everything to one side to let the glue dry fully.
We will need a little bit more glue at the end of the project for the beak and the feet, but first let’s assemble the body of the chick.
Step 6) Assemble the chick body
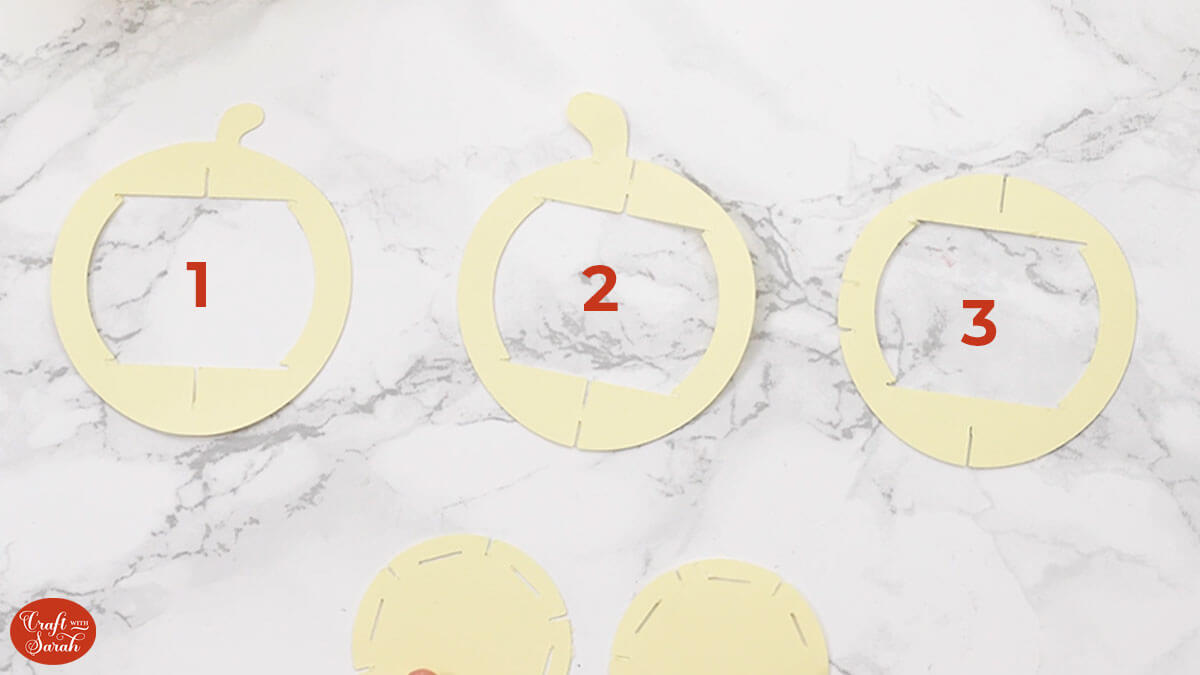
Select the following pieces and make sure they are in the order listed below.
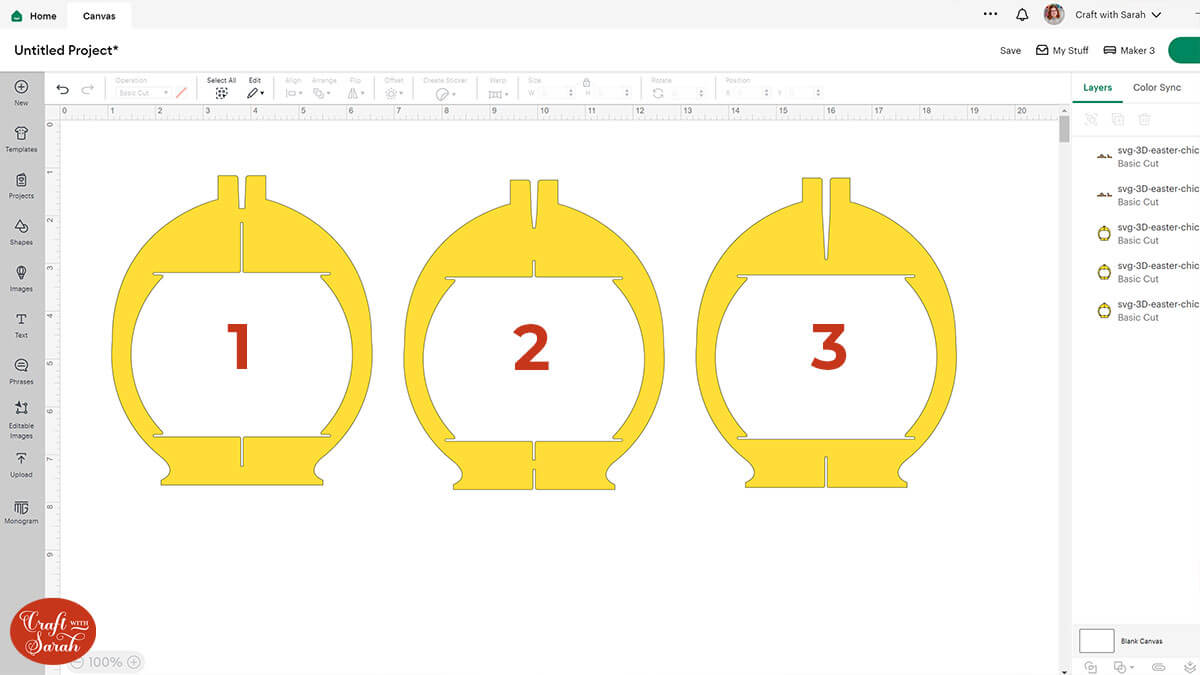
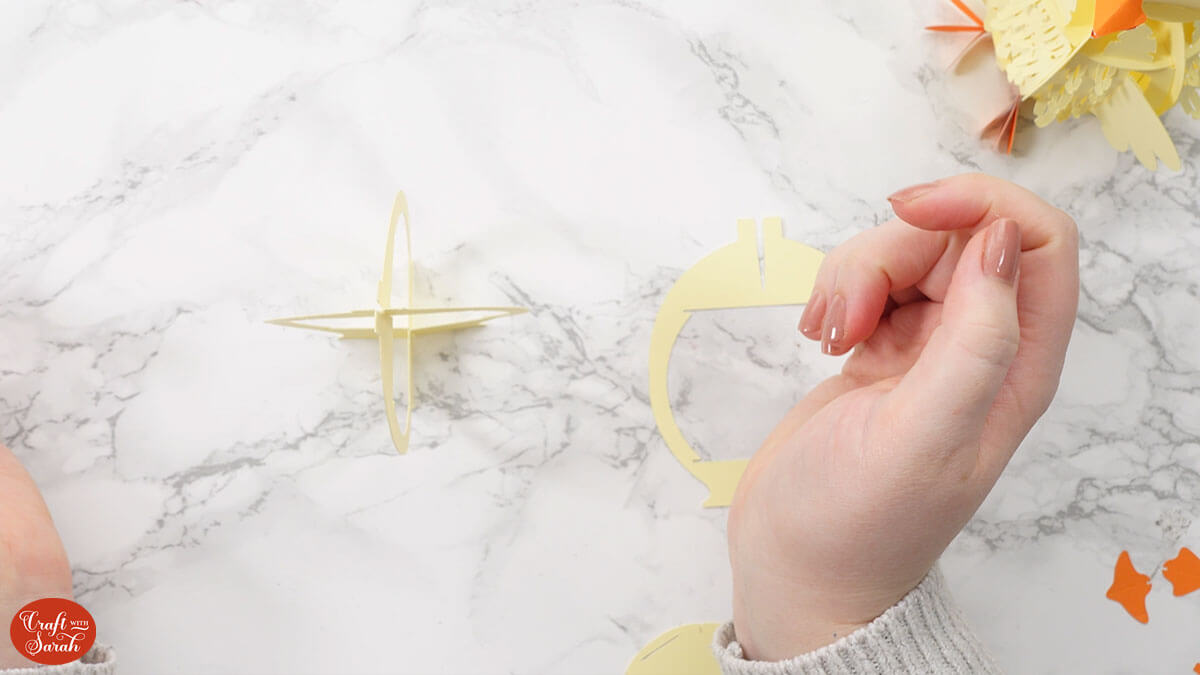
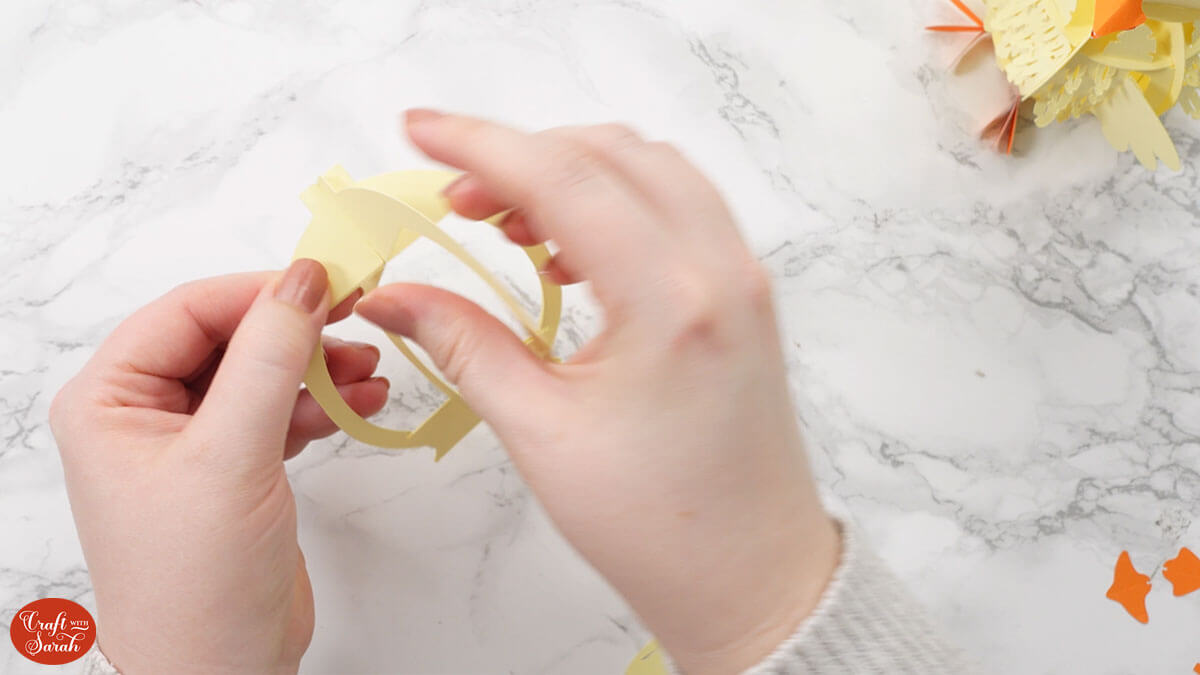
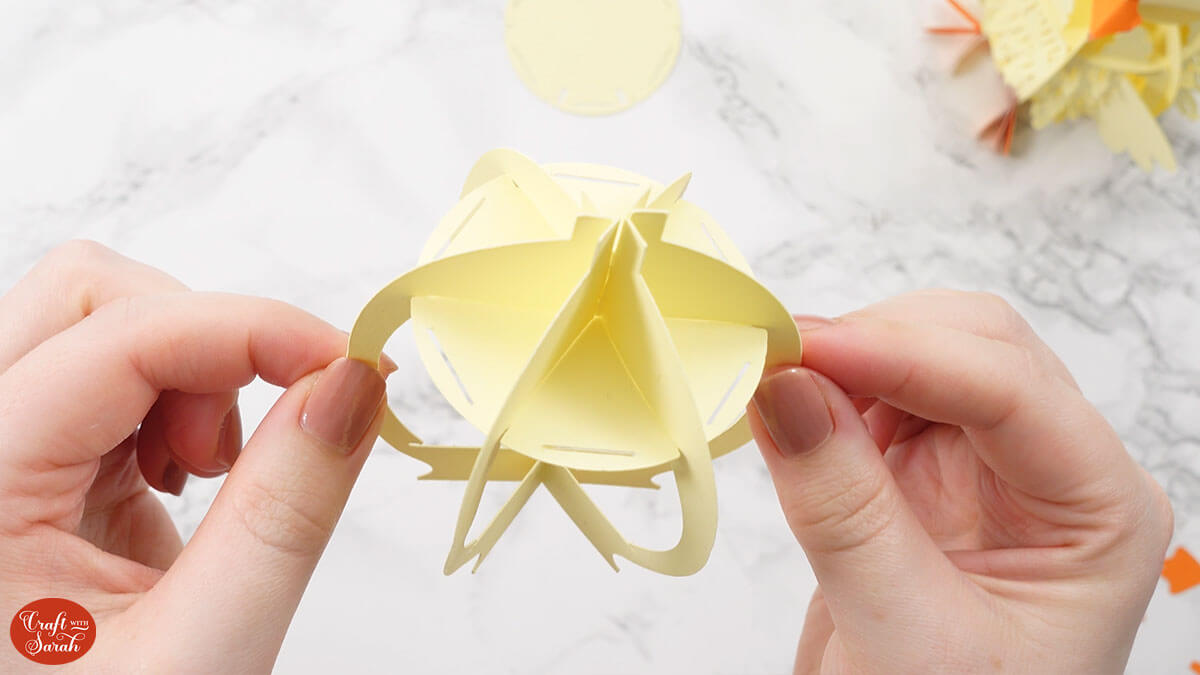
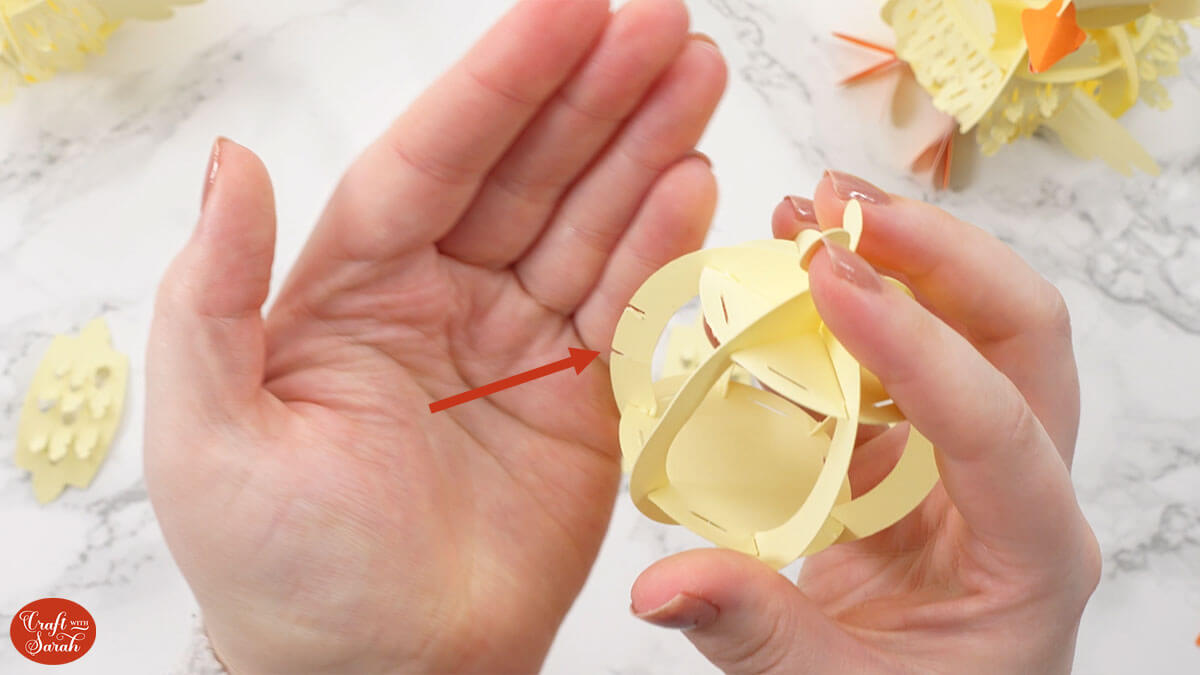
Take body pieces 1 & 2. Place piece two into the top of piece one and carefully bring the second bit in so that the two slits at the bottom overlap.
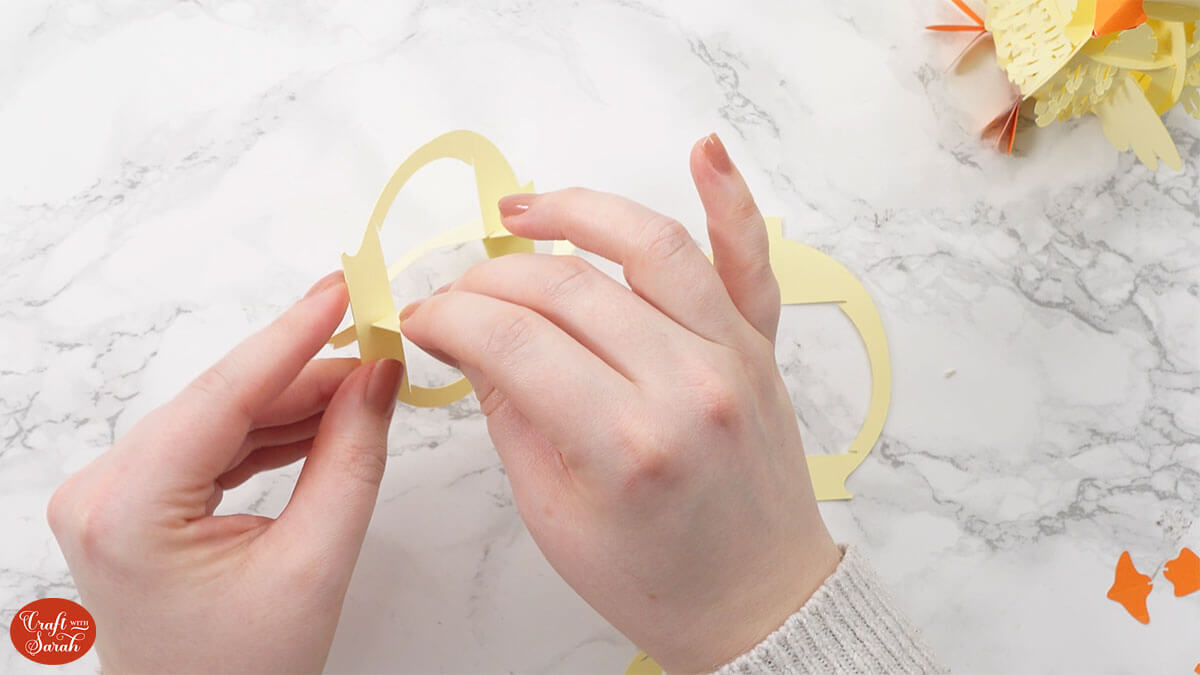
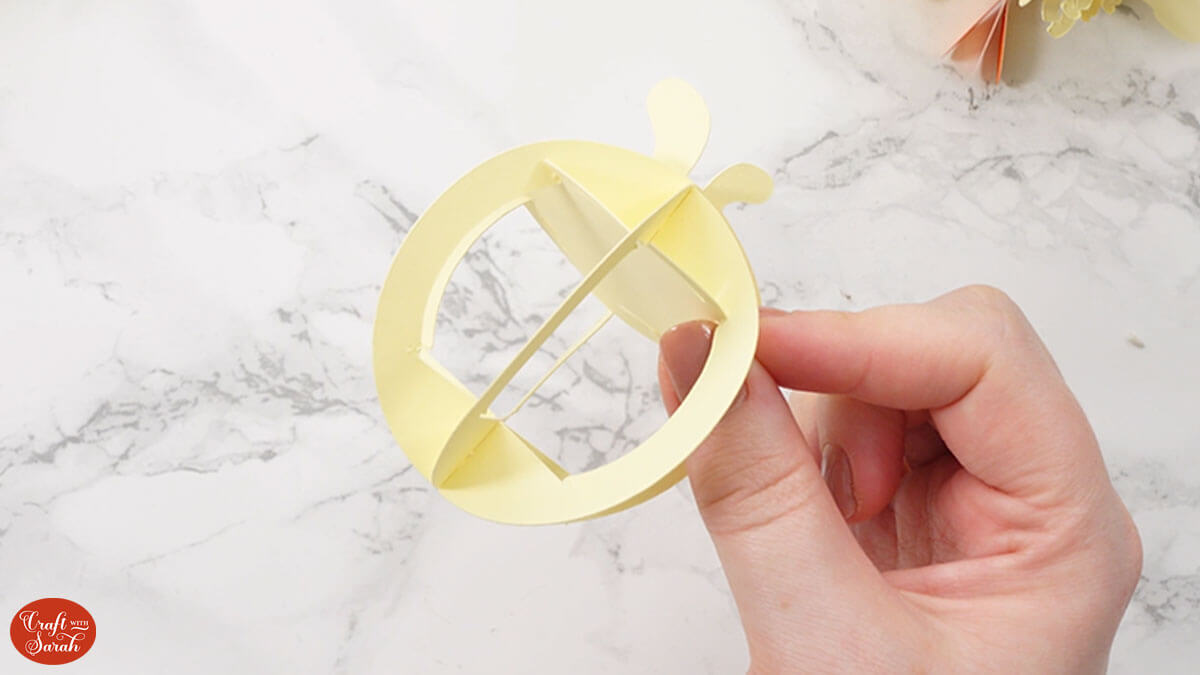
Then you’ll end up with something like this that has four sides on it that can stand up unassisted and it also folds flat.
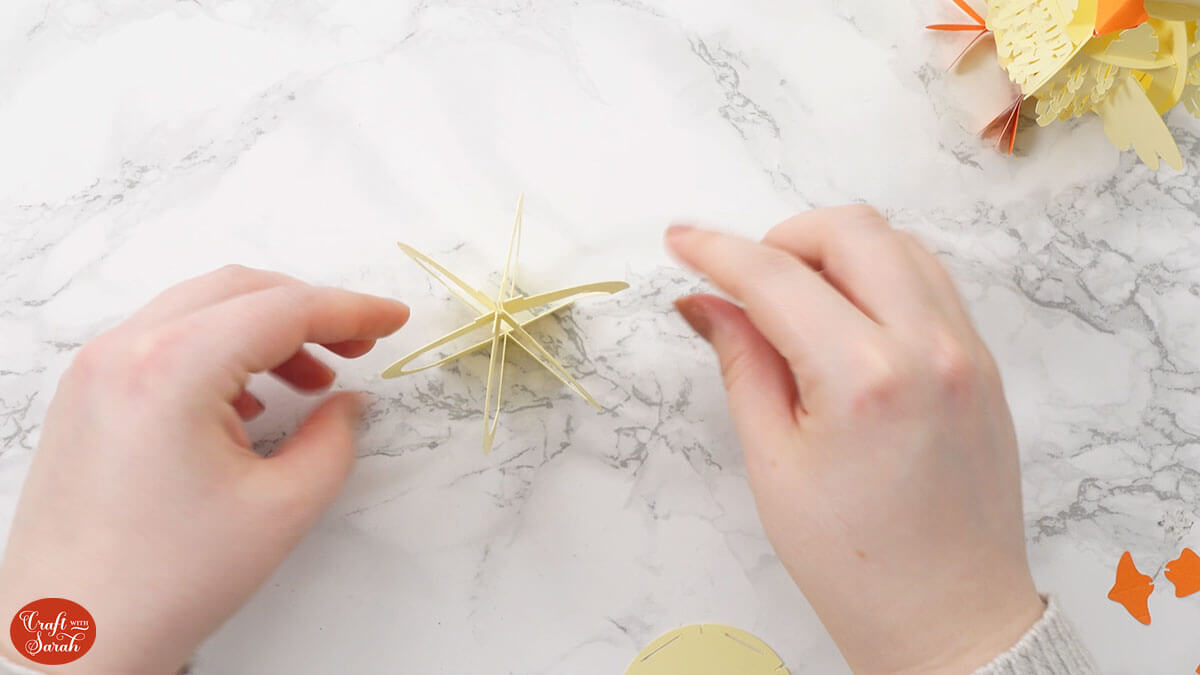
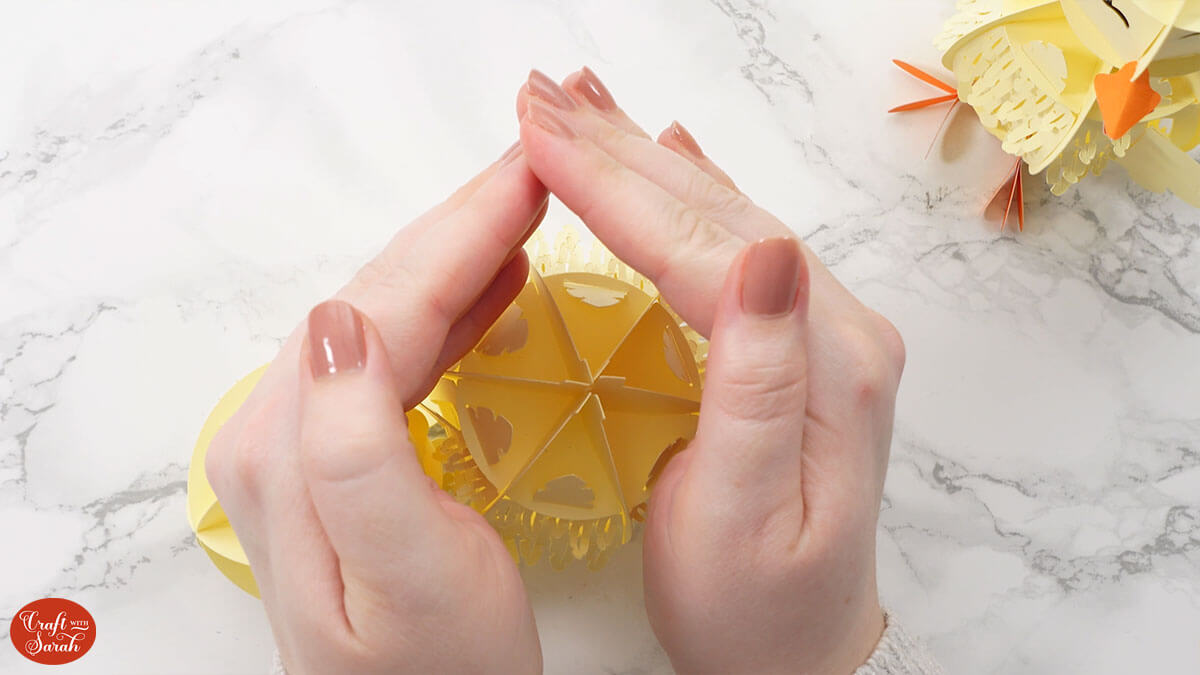
Hold them flat and slot piece 3 into the top and then into the bottom. Take care not to bend it or add any creases.
Now you should have a six piece shape that is freestanding.
Look carefully at the two circle pieces of card. One of them has two rectangular cutouts on one of the edges.
This is for the BOTTOM of the chick/duckling body (the rectangles are for the feet to slot into).
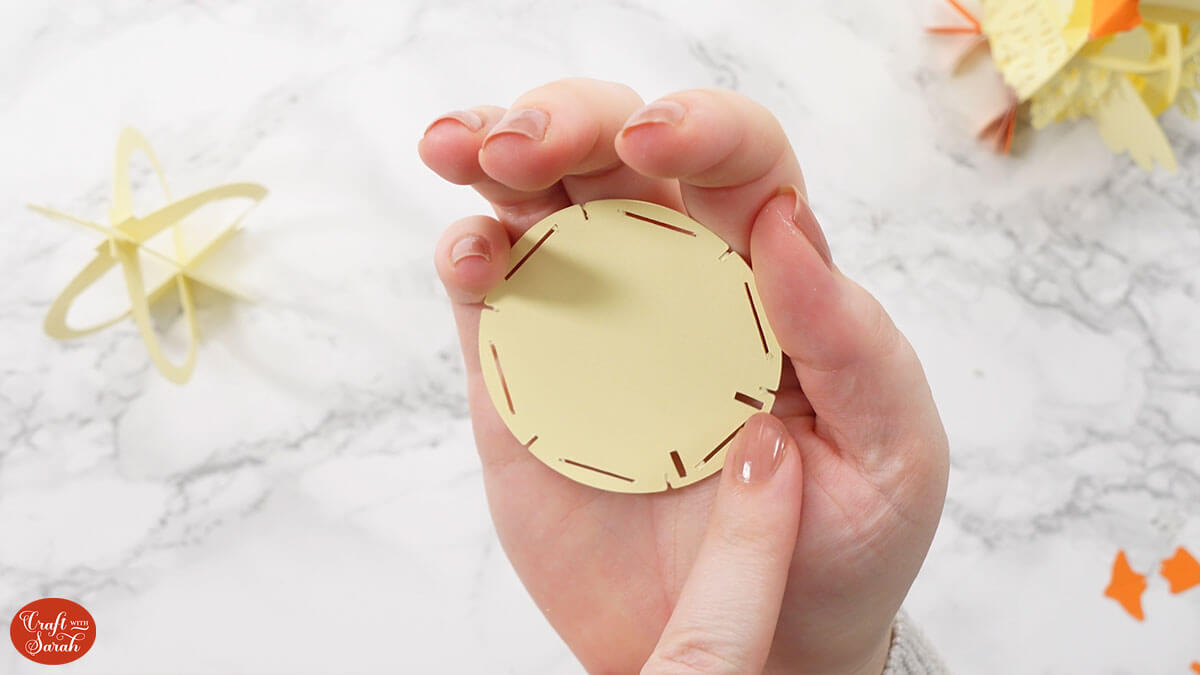
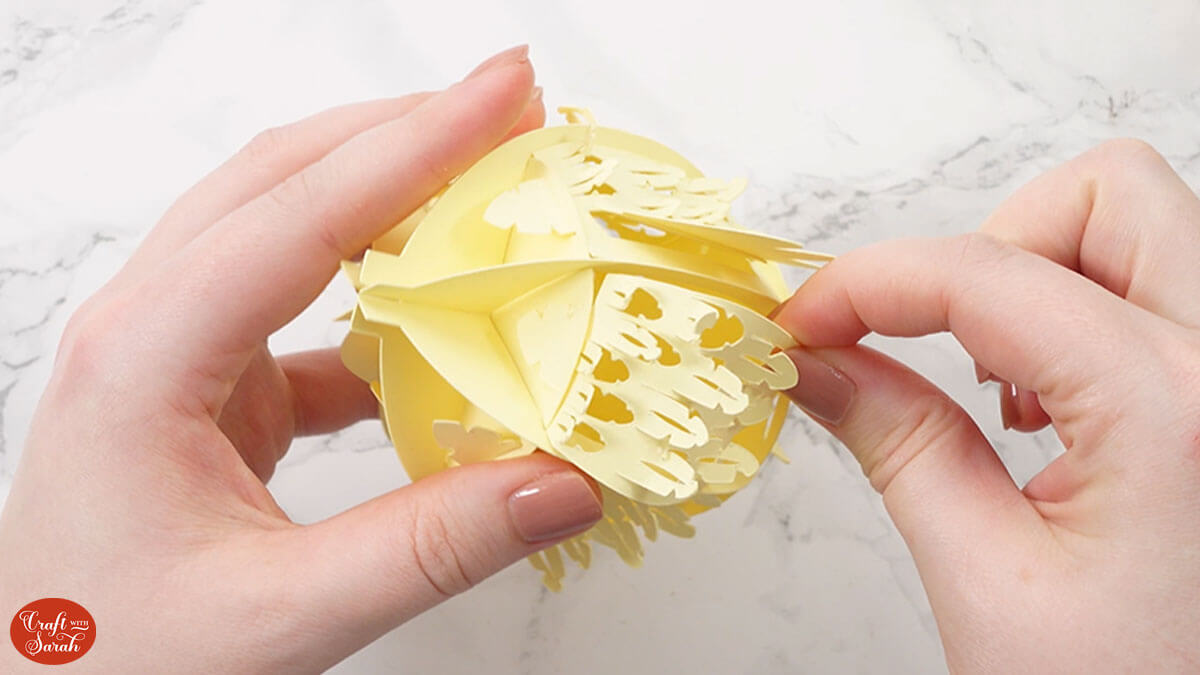
Pick up the circle that does NOT have those rectangular cutouts.
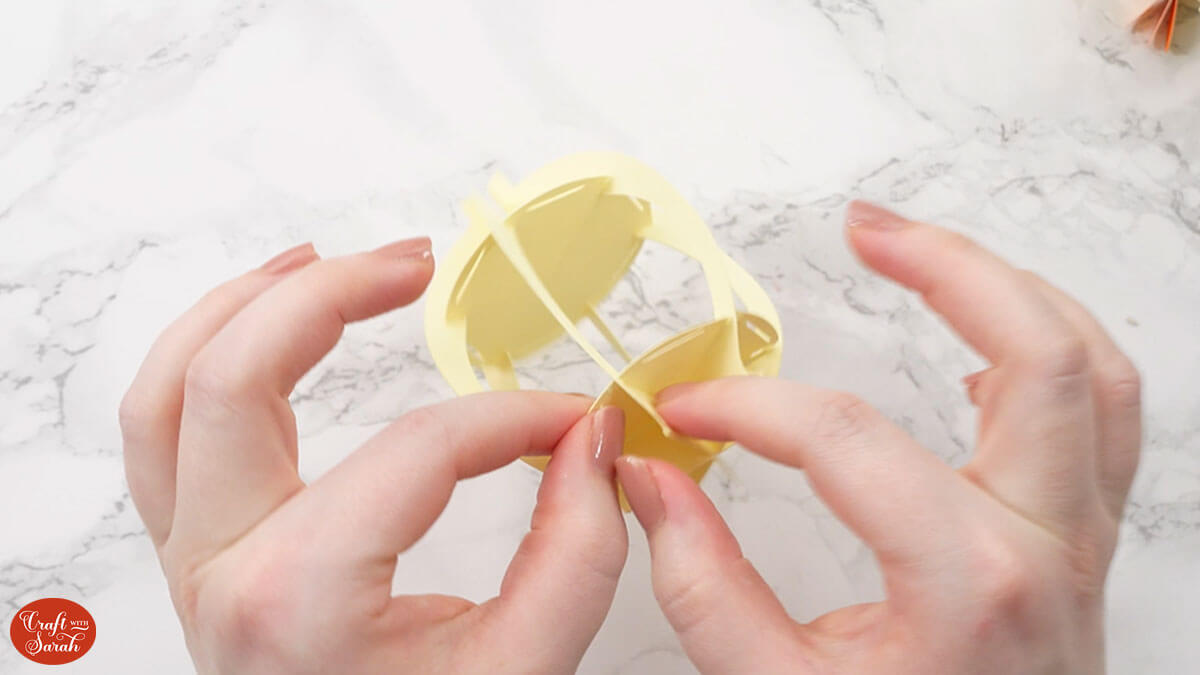
Slide it into the middle of the body and maneuver it so that the slits in the edge of the circle are pushed into the slides in the outer body pieces.
This is quite fiddly and the cardstock is delicate, so be very careful to not tear anything.
Take the circle piece with the rectangular cutouts and slot that into the bottom of the body.
Next, we will move on to putting the sides in.
This is slightly different for the duckling design, so if you are doing that one then scroll down to see differences in the design below before continuing.
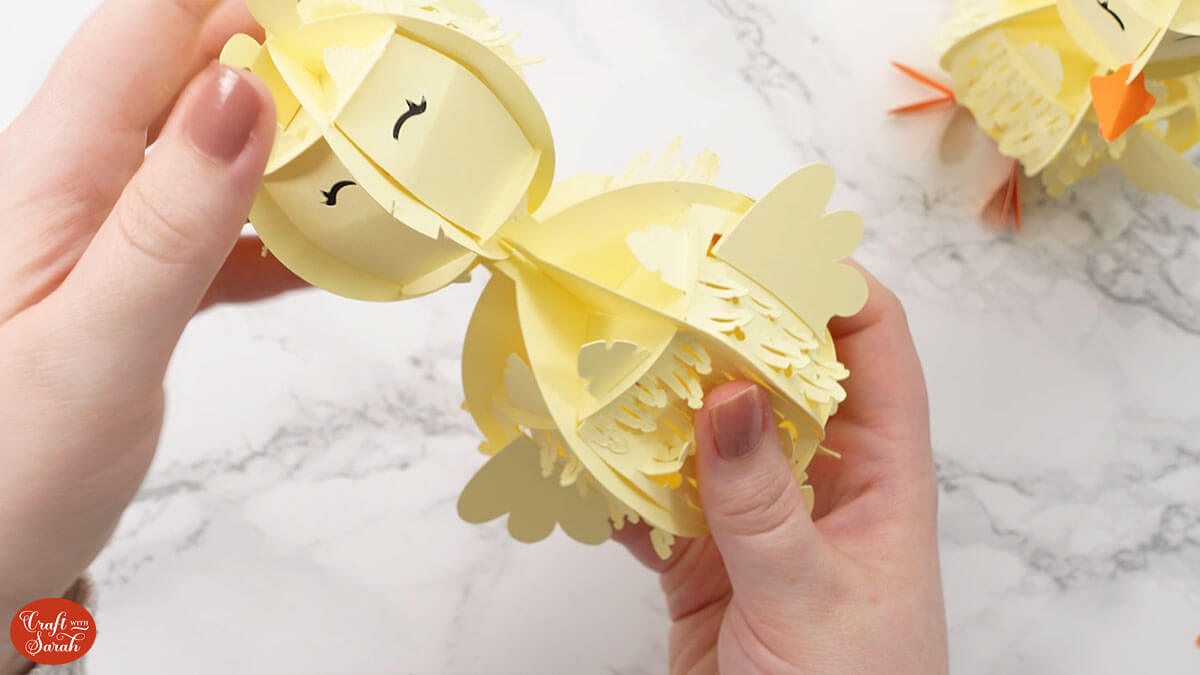
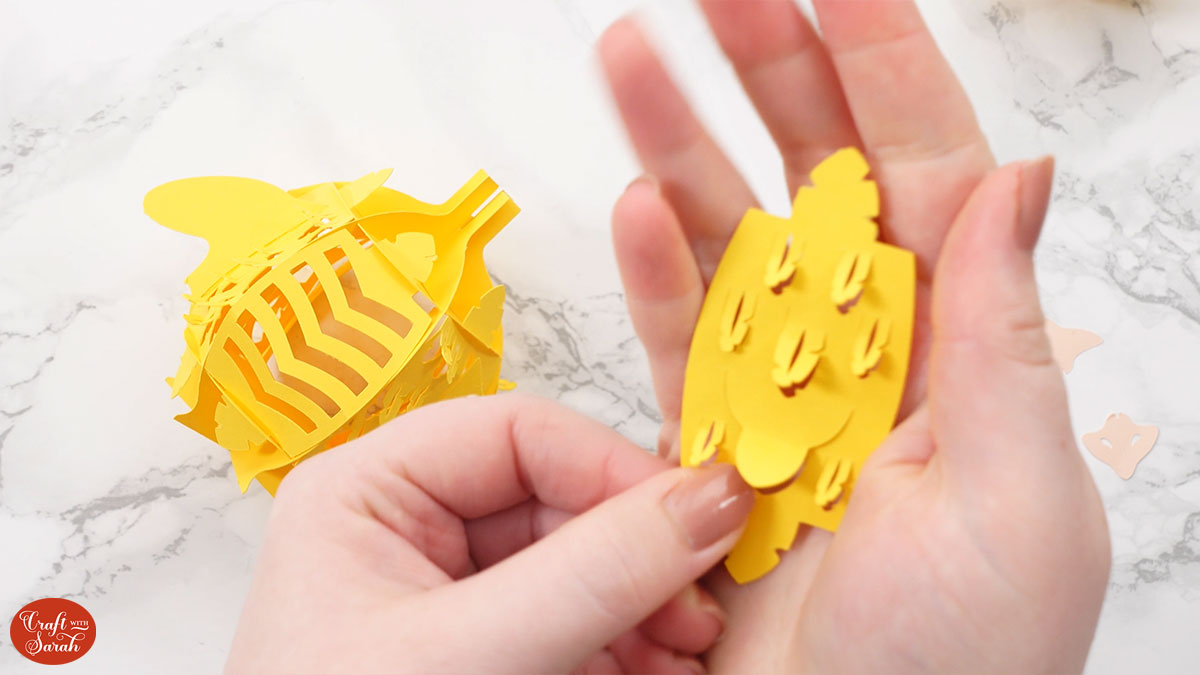
We’ve got four sides with feathers and then our two wings.
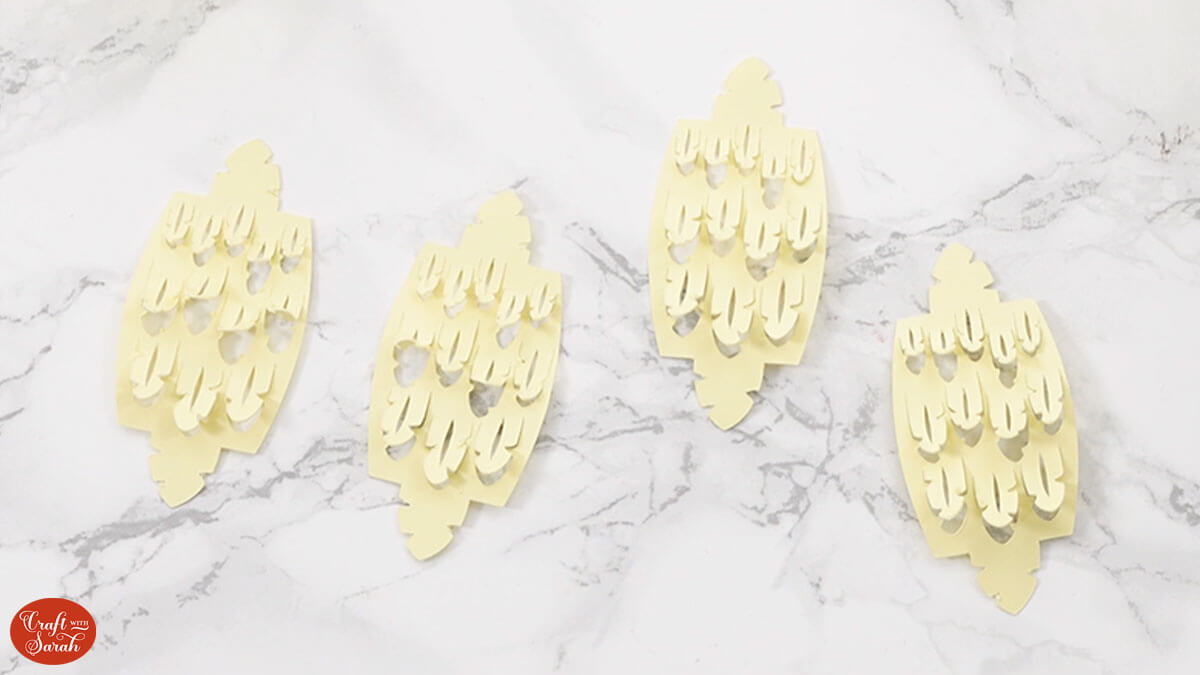
We’ll start with the front section, the tummy of the chick. That’s the one where you’ve got the two little cutouts on the bottom circle that sits inside the structure of the body.
Slot one of the feather pieces into the top and bottom slits.
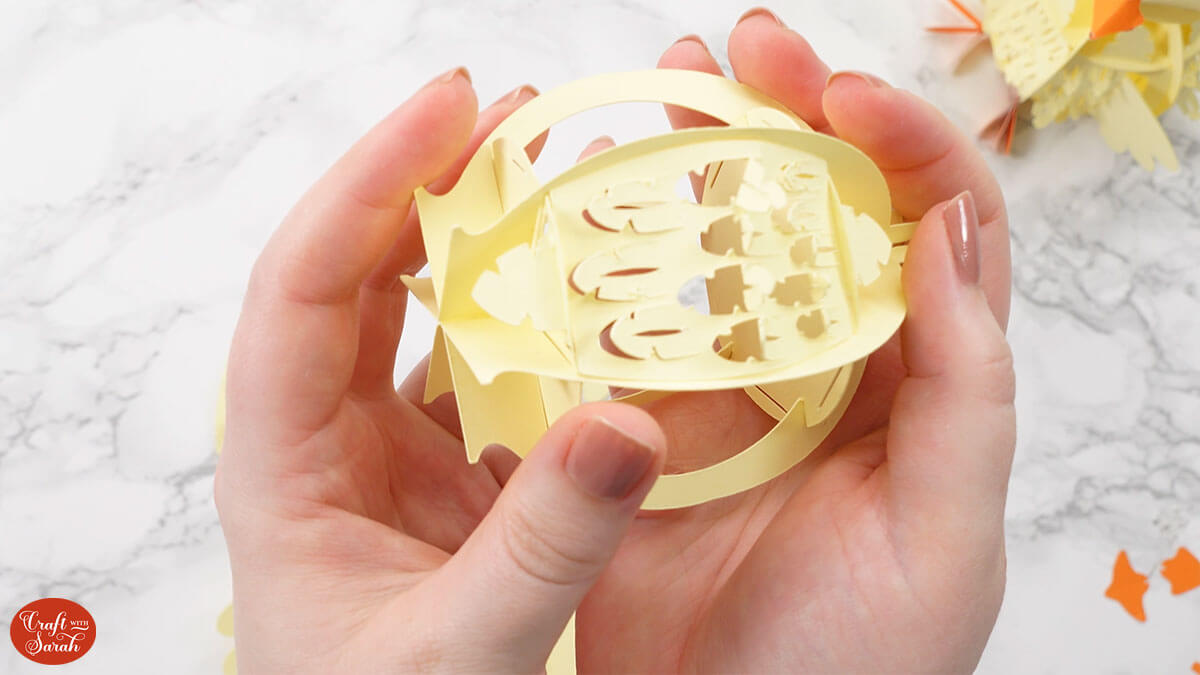
Slot the wing pieces either side.
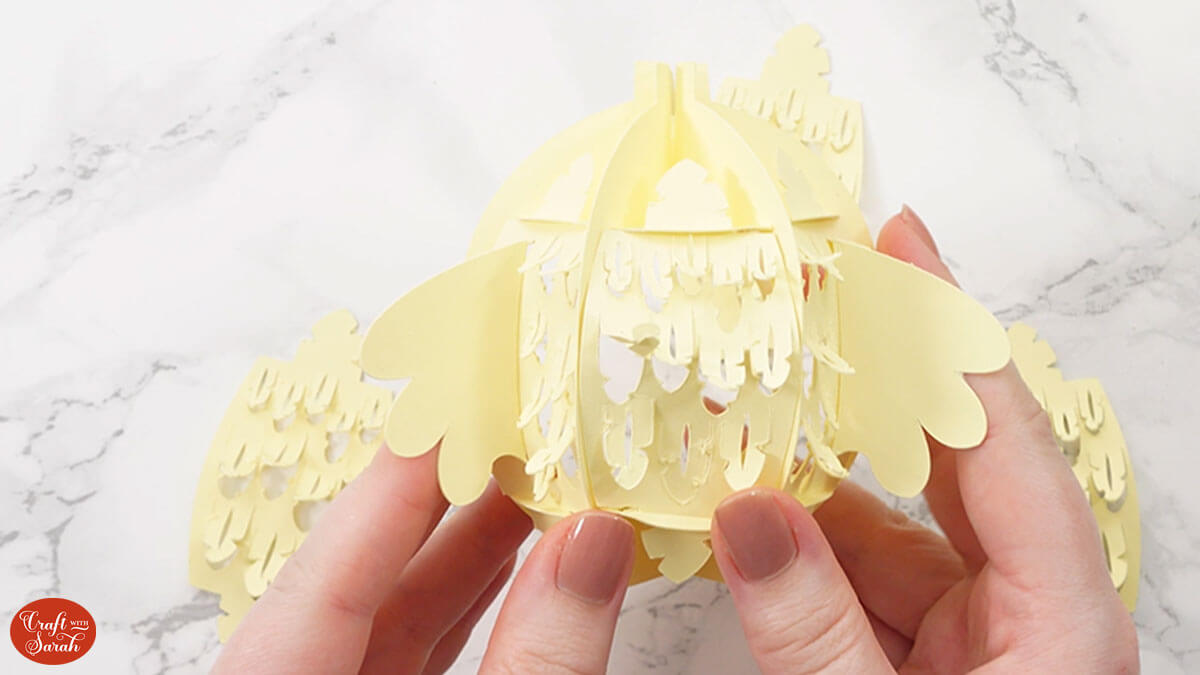
Add the rest of the feather pieces into the three remaining spaces.
Now the body of the chick is finished.
Step 7) Assemble the chick’s head
Take your head pieces. These will slot together in a similar way to the body.
Slot the head pieces together first, in this order:
They will slot together in the same way as the body but make sure the two top fluffy pieces on head piece 1 and 2 and facing each other as you slot them together.

You may notice that one of the pieces has two little slits on the end, this will be the front of the chick so make sure you are happy with how it is looking and where the fluffy head pieces are facing.
Add in the circles at the top and bottom (they are the same style this time, so it doesn’t matter which ones goes at the top and which one is at the bottom).
Locate the side of the head with the slits. That is where the beak will go, so we know that either side of that is where the eye pieces will go.
Slot them in, making sure you have the eyelash pieces facing outwards.

Slot the feather pieces into the remaining holes.
Now the face is done except for the beak. We will add that bit on once the head is on the body.
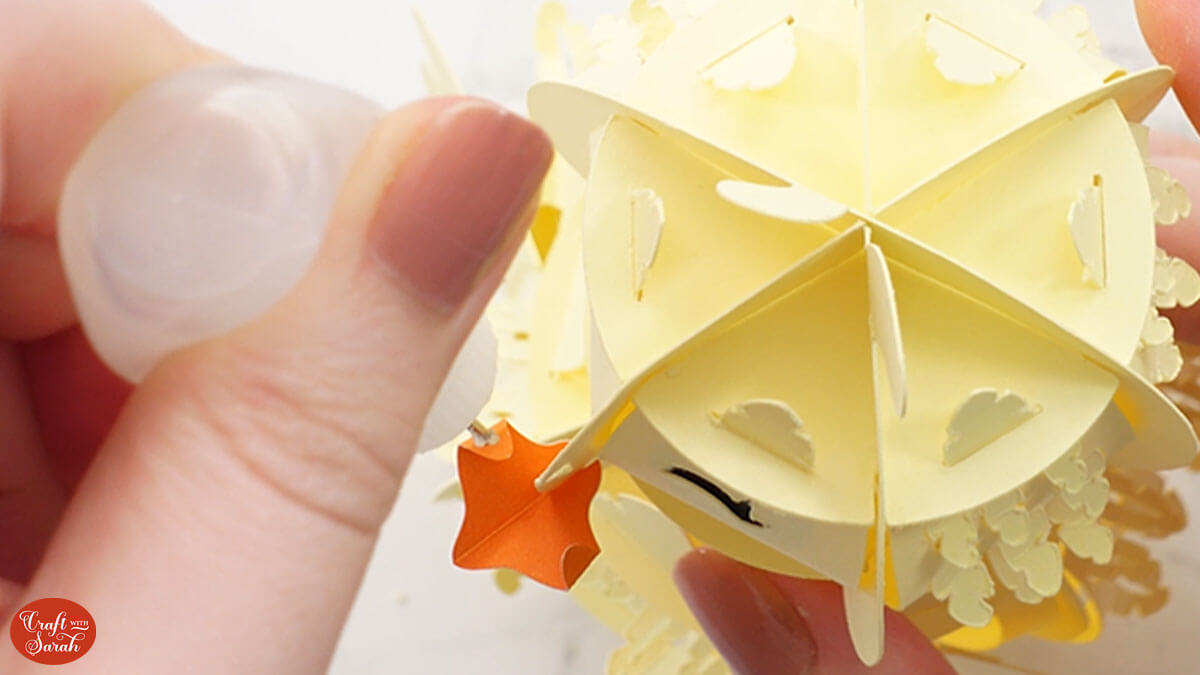
Take the body and you will see there is a star shape. This will correspond with the star shape on the bottom of the head.
Make sure the head and body are facing the right way around and place the head on top of the body by sliding the two “star” shapes together.
It will take some wiggling before the head is secure on top of the body.
The head will wobble a little bit from side-to-side when you shake it but it shouldn’t fall off once it’s on correctly.
Step 7) Make the feet and beak
This is slightly different for the duckling design, so if you are doing that one then scroll down to see differences in the design below before continuing.
Take all the feet pieces and add a little bit of glue to the inside of the feet around where the little slit is.
Stick one of the single foot pieces inside.
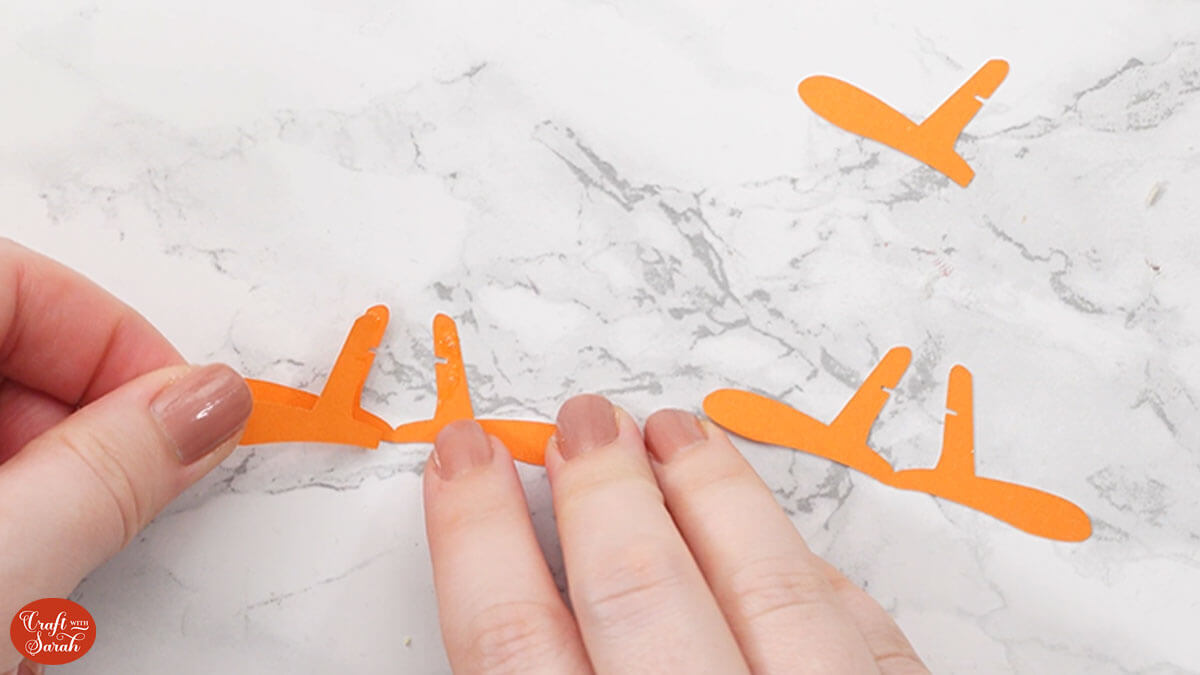
Fold it over and make sure they are all stuck so that the slit/cutout on all three pieces line up.

Do the same for the other foot.
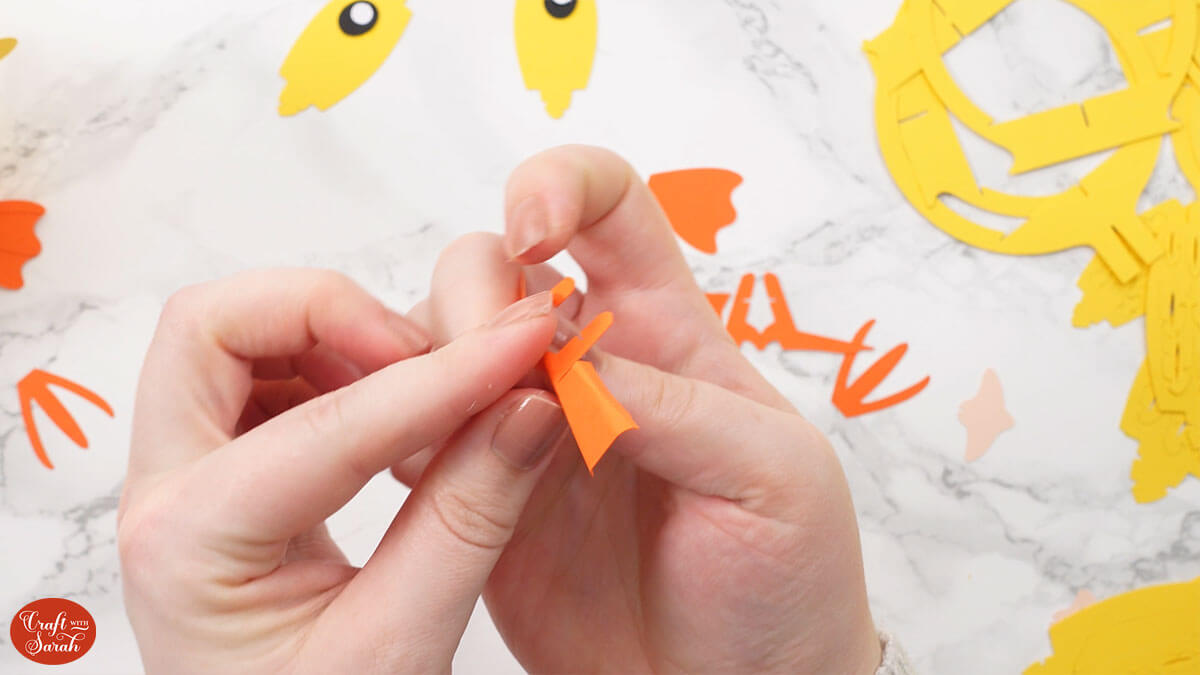
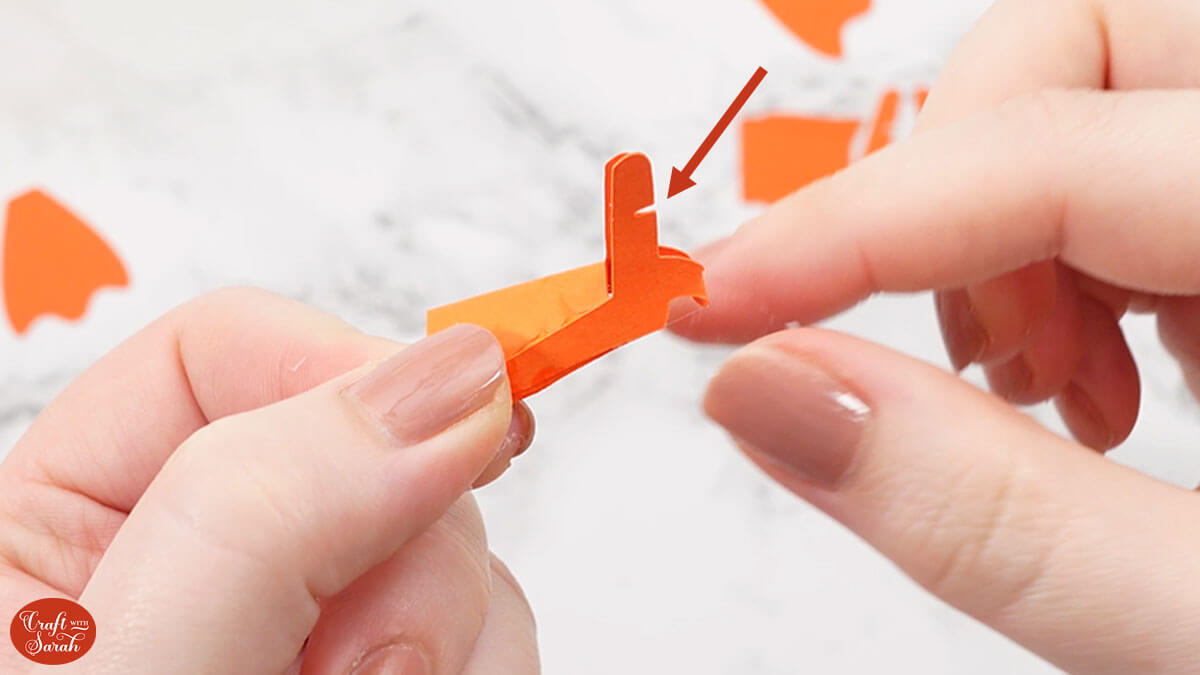
Whilst it dries we will assemble the beak.
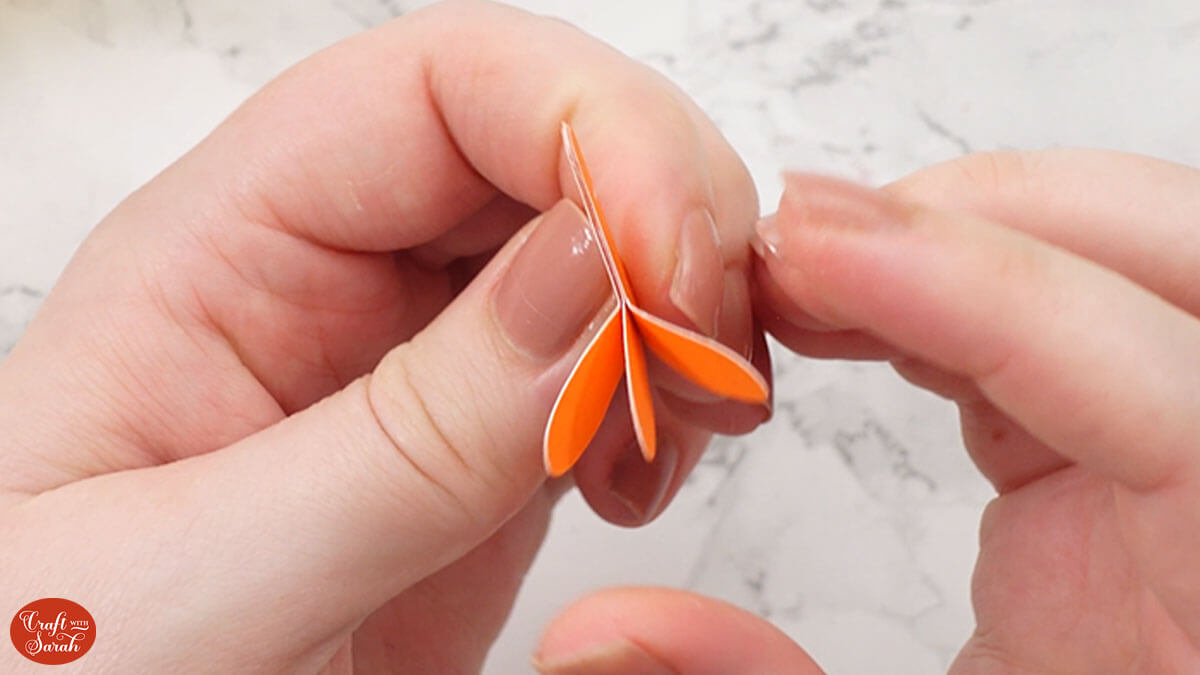
This piece is the bottom of the beak which has three score lines that need to be folded.
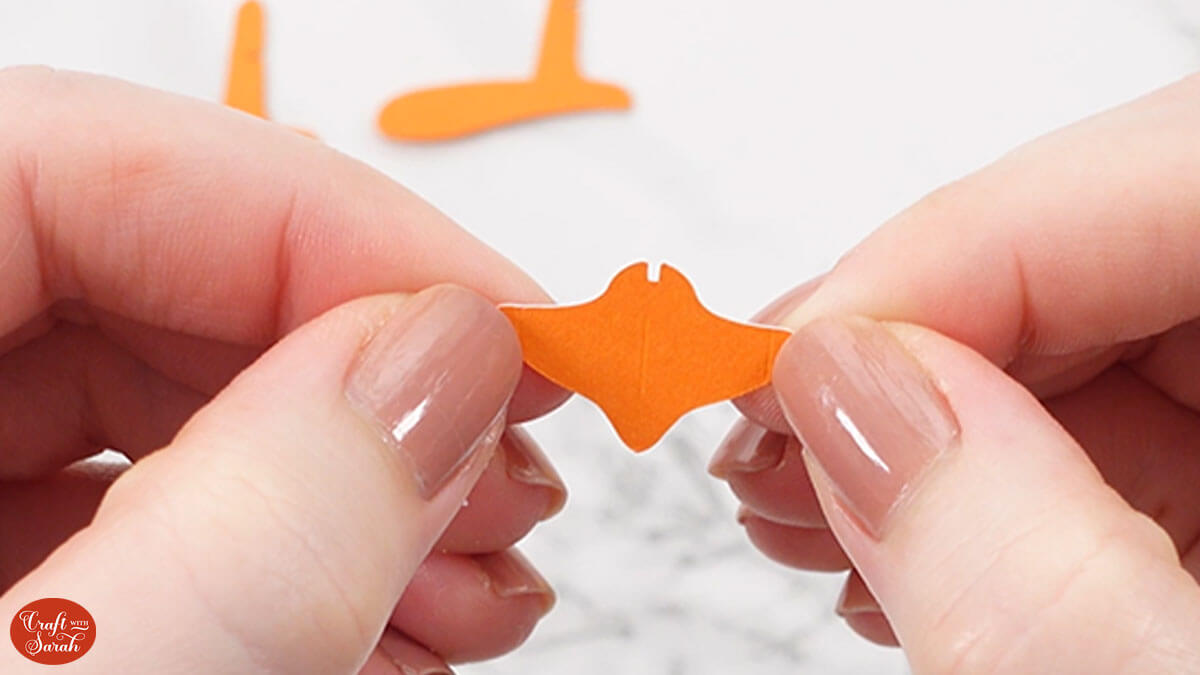
Fold upwards along the middle score line first.
Fold the two little tabs in on themselves.
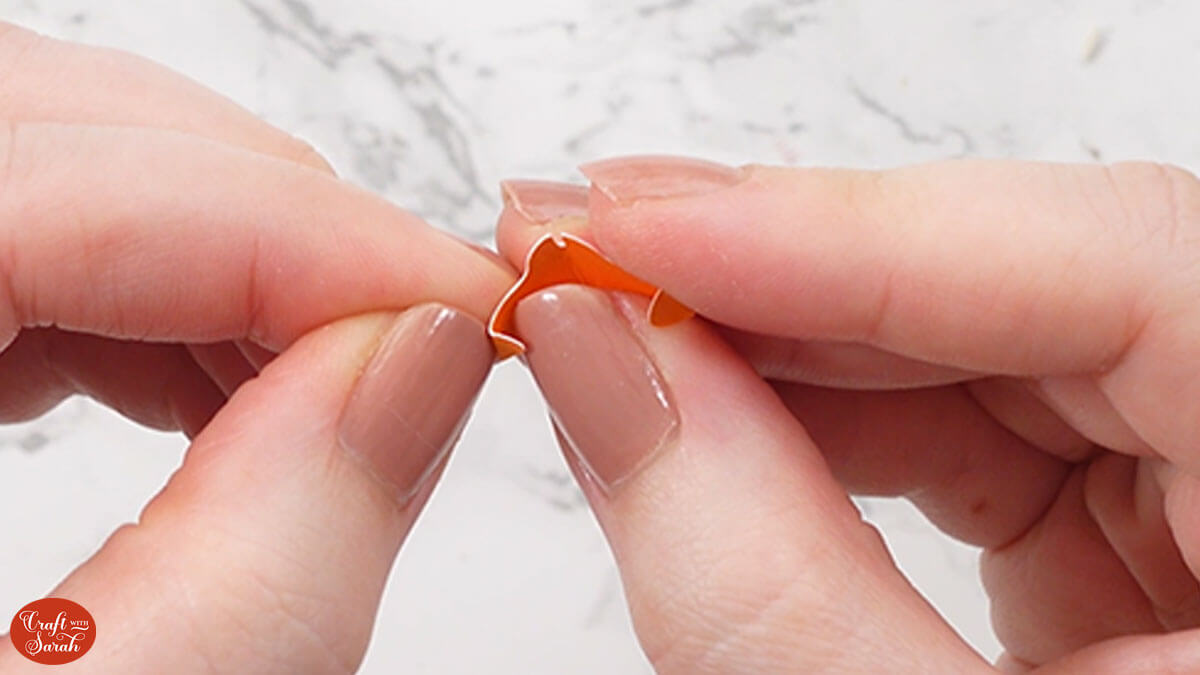
Take the other beak piece and fold downwards along the score line.
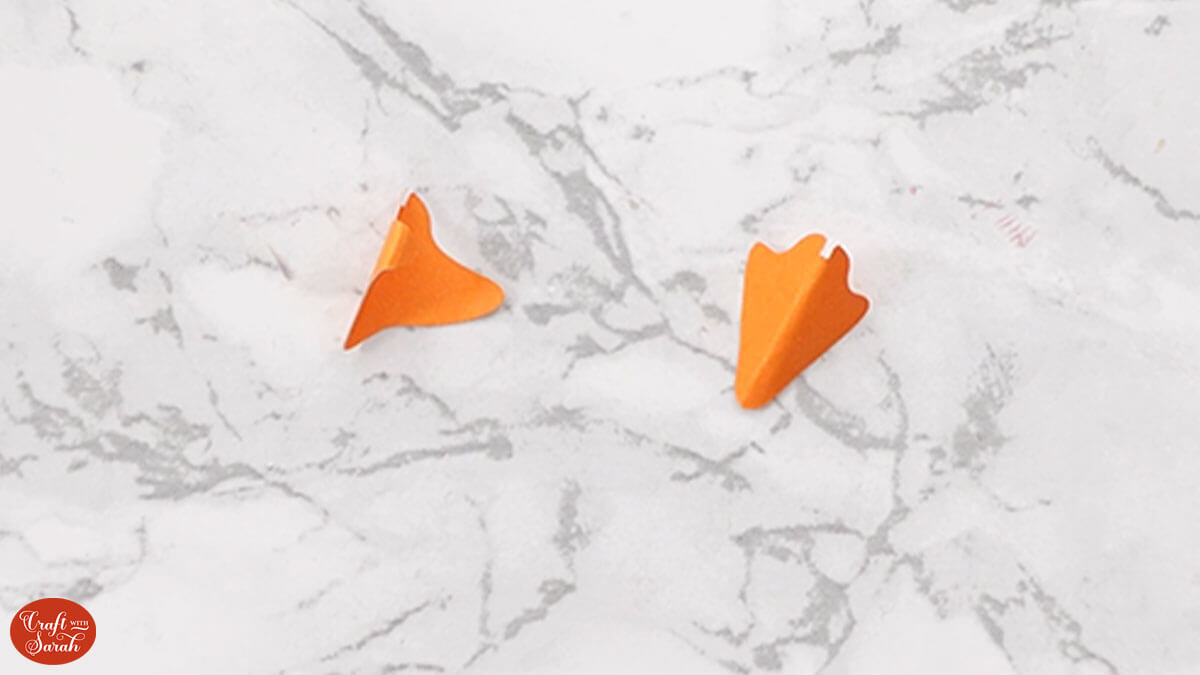
Take the bottom piece of the beak and slot it into the bottom slit on the front of the head.
Add glue to the top of the two tabs.
Slot the other beak piece into the top slit on the head and gently press the pieces together so that the top bit gets glued to the bottom.
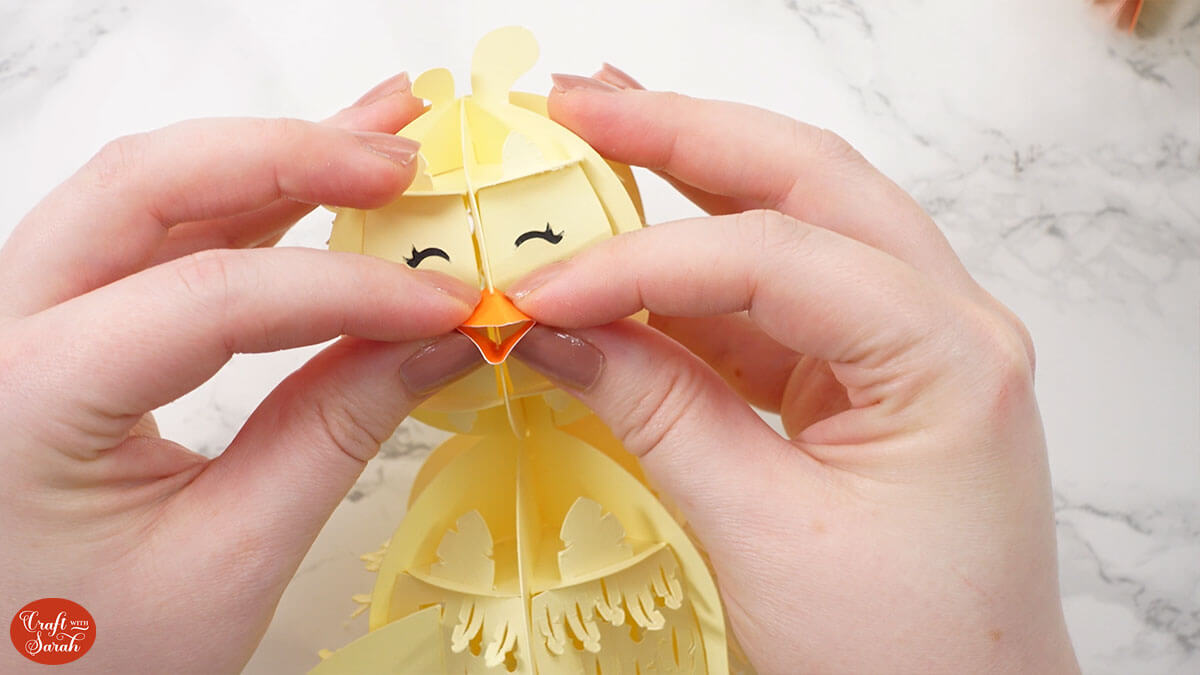
This bit can be quite fiddly. You can leave off the glue and cut off the tabs if you’d rather, to make the beak be two separate pieces.
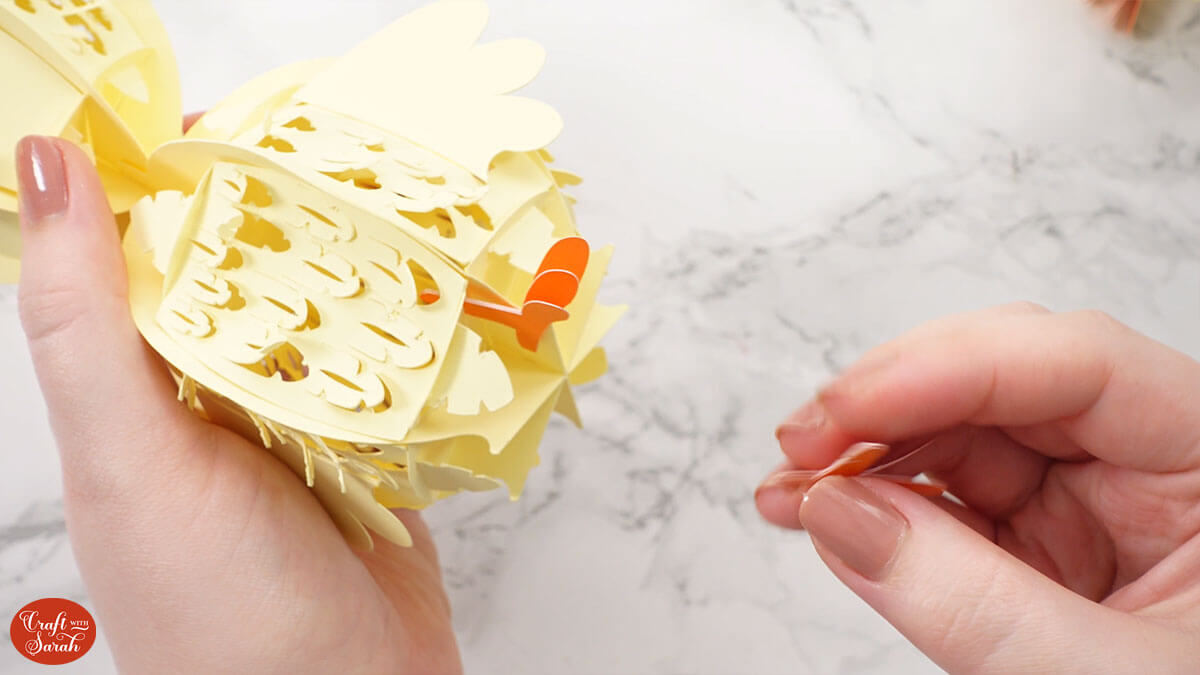
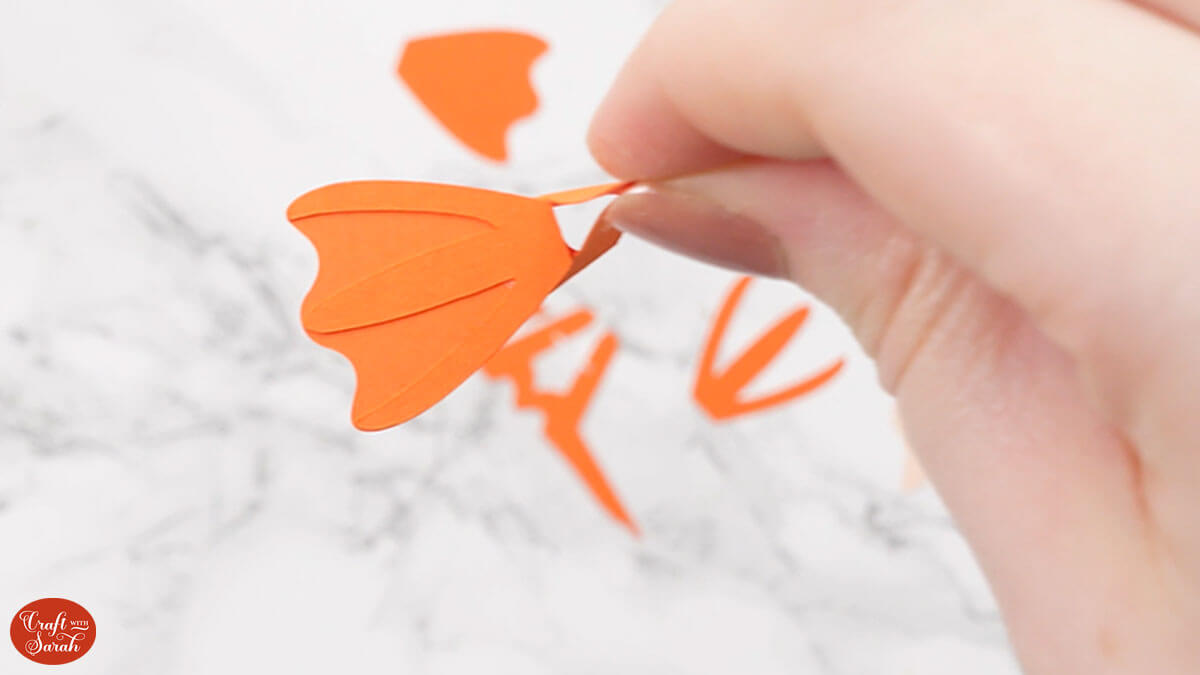
Take the feet and open them out.
Locate the two rectangular slots on the bottom of the chick’s body.
Poke the feet through the holes and use the slot to secure them. You can add a dab of glue for extra security if you’d like to.
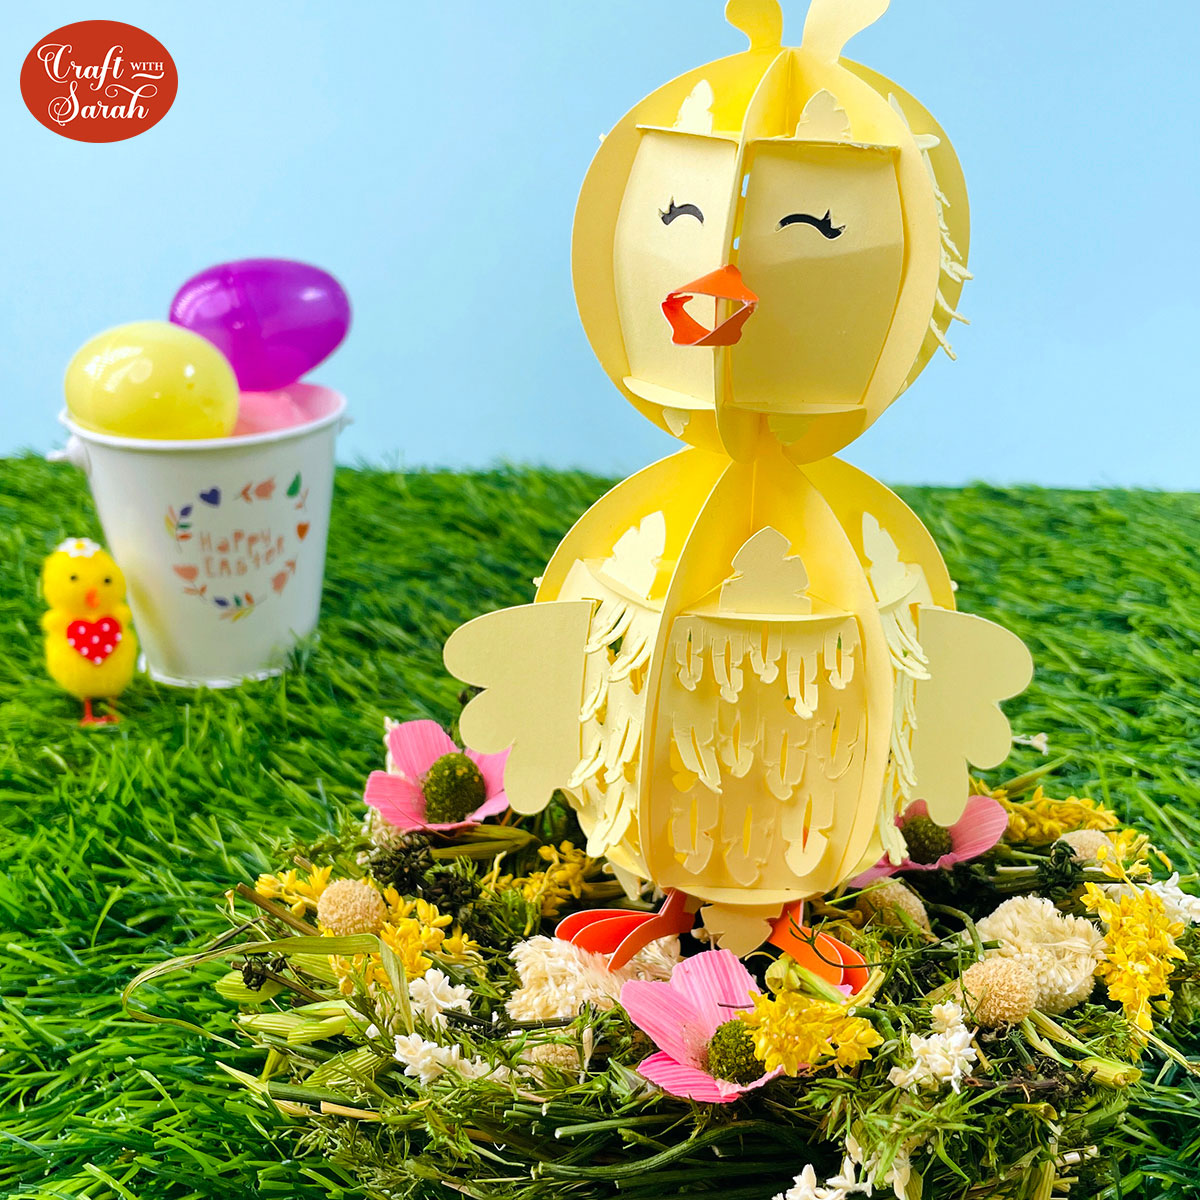
Now your 3D slot-together chick is finished! Isn’t it just so cute?!
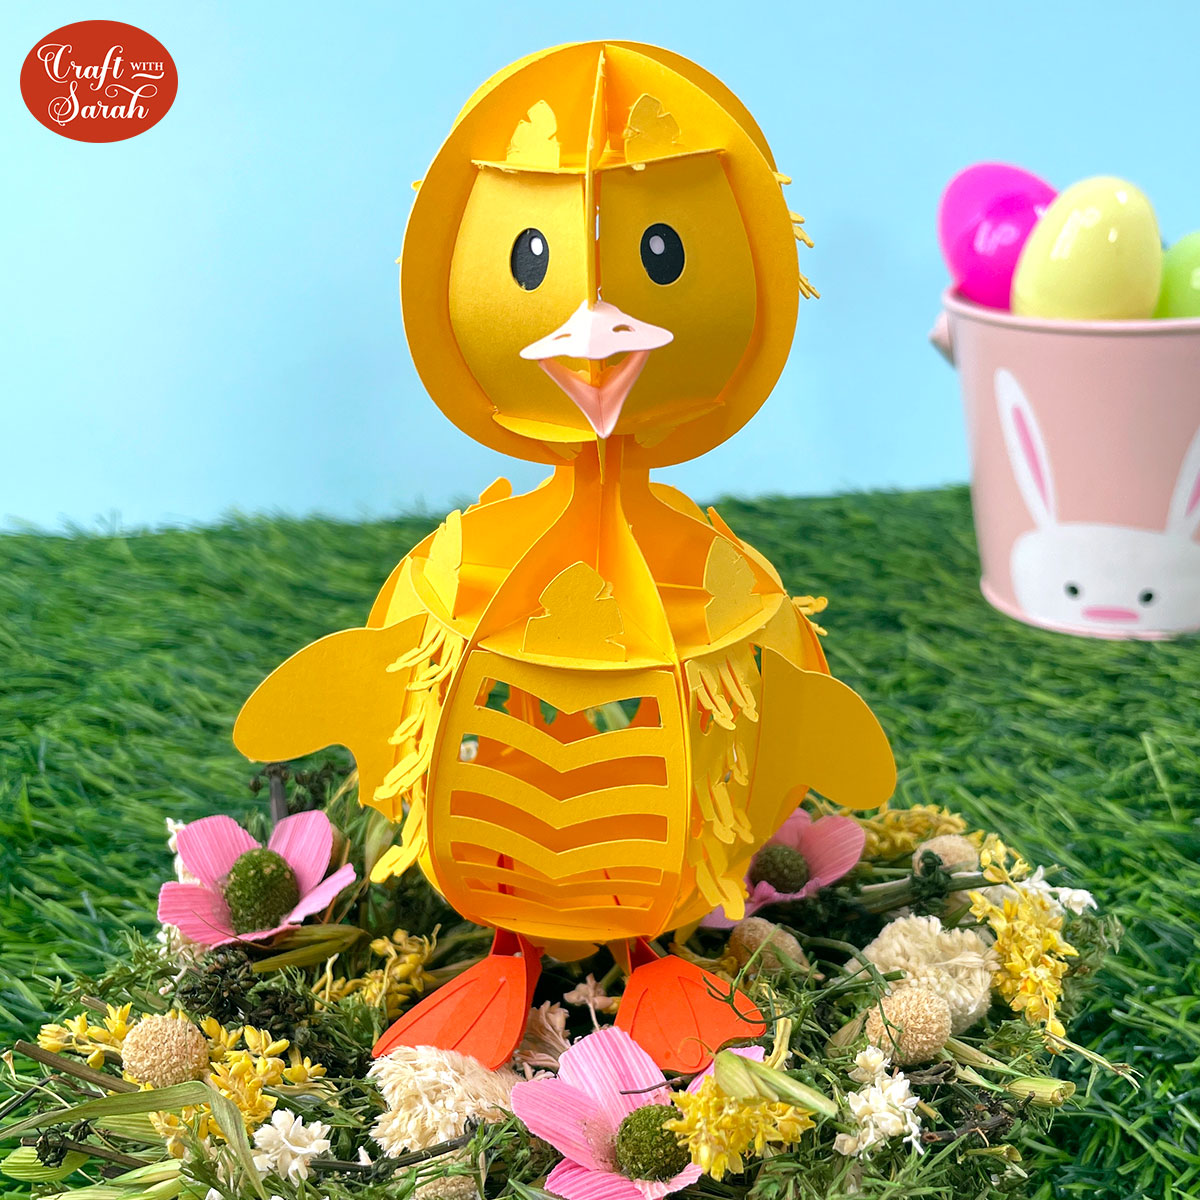
Alternative instructions: Duckling assembly
We will move onto the duckling next. It is very similar to the chick so you can follow along with most of the chick tutorial but I will highlight the differences.
Upload the duckling to Design Space just as you would the chick. It will load in at the correct size which will hold a UK sized Cadbury Creme Egg.
Ungroup the design and look down the layers panel for the score lines that need formatting. For more detail on how to format the score lines, scroll up and follow along with how I did it for the chick design.
You will need to format the score lines for the wings, feet and beak.
Once you have done the formatting, click Make and get everything cut out from your cardstock.
Duckling eyes
Turn them upside down and add some glue around the edge of the circle and place the black oval on top so that the hole is closer to the inside and at the top.
Turn it around and move it about until you’re happy with the position.
Do the same for the other eye.
Add a small amount of glue around the hole in the black oval and dot the white pieces on top to cover the hole.
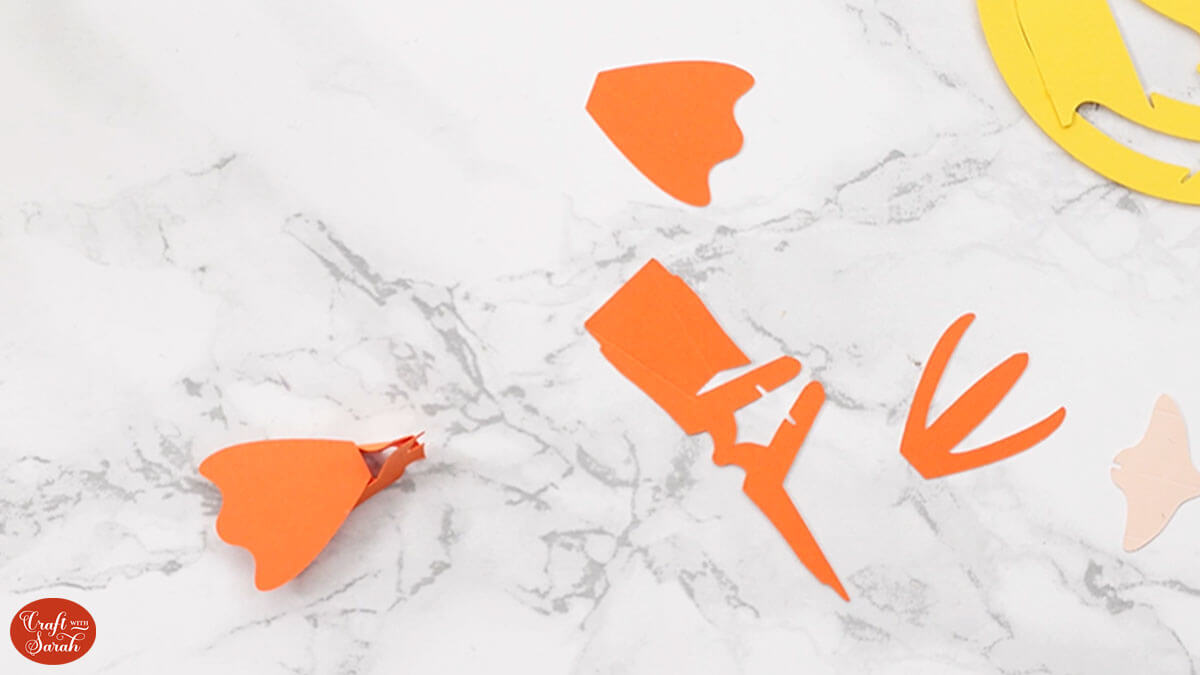
Duckling feet
Find all the feet pieces. You will see that each foot has three pieces.
Take the pieces with score lines, turn them upside down and fold down along the score lines.
Fold the feet over using the crease at the back and glue the tab to the inside of the foot.
The section that you just glued should be flat and the lines where the slit is should line up.
Glue the flat section of the foot and stick the next largest foot piece on top.
Finally, stick the detail layer on top.
Repeat the steps for the other foot.
Duckling body
With the structural body pieces completed, locate the rectangle cutouts on the bottom circle so you know where the front of the duckling is. Slot the wings in either side.
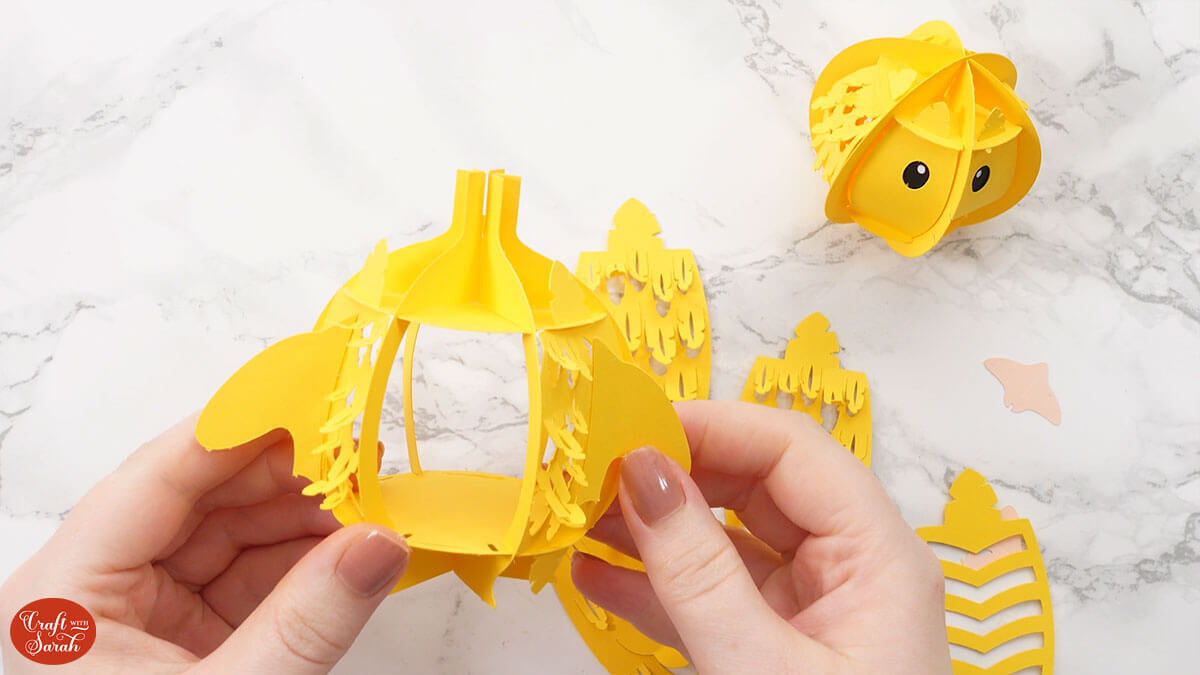
You will be left with four sides.
The chevron piece goes at the front of the duck for his tummy.
Either side of the wings are the spaces for the feathered pieces to go in.
The back piece has a tail shape to be gently folded outwards.
Duckling head
The head comes together in the same way as the chick, but make sure the eyes are the right way around.
The beak will go together in the same manner as the chick’s.
3D duck and chick crafts for Easter
I hope you enjoy making these adorable little Easter projects.
Both the chick and the duckling are so cute! You can even add fairy lights or tea lights inside by taking off one of the body pieces, placing the lights inside and putting the body piece back in place.

They would make wonderful gifts this Easter, especially with chocolate treats inside!
So now there is a chick, a duckling and a whole range of 3D Easter eggs… I wonder what Spring-themed creations could be next? 😉🐰
Happy crafting,
Sarah x

