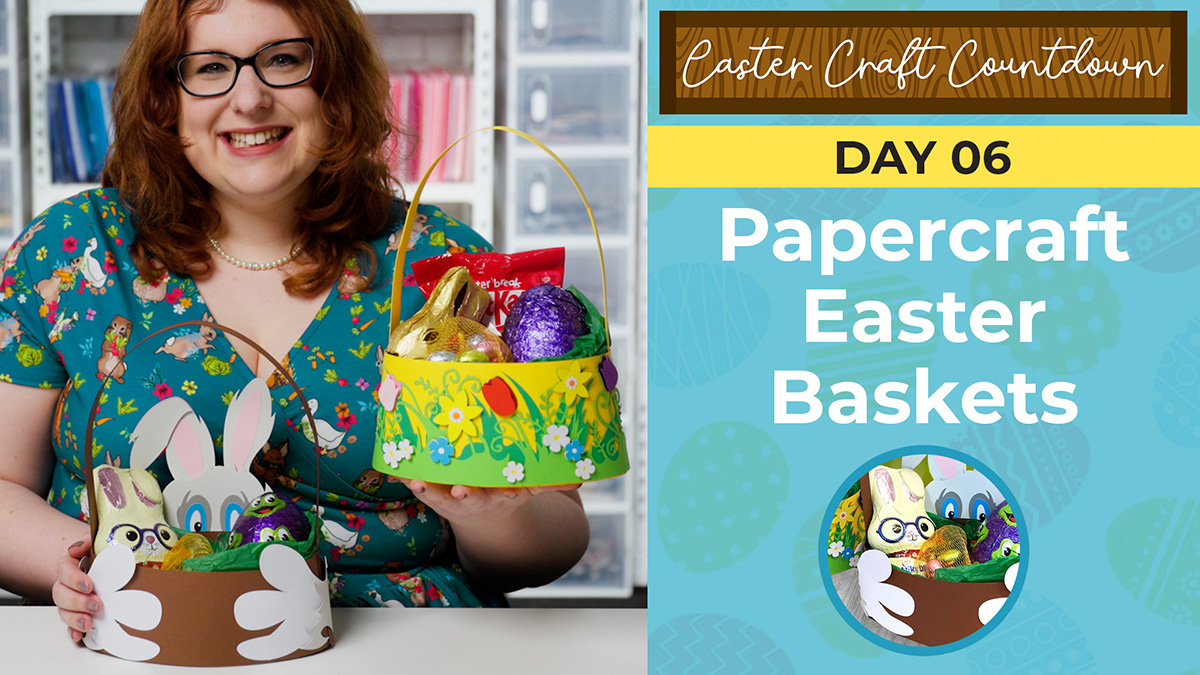
ECC Day 06 🌼 Easter Baskets
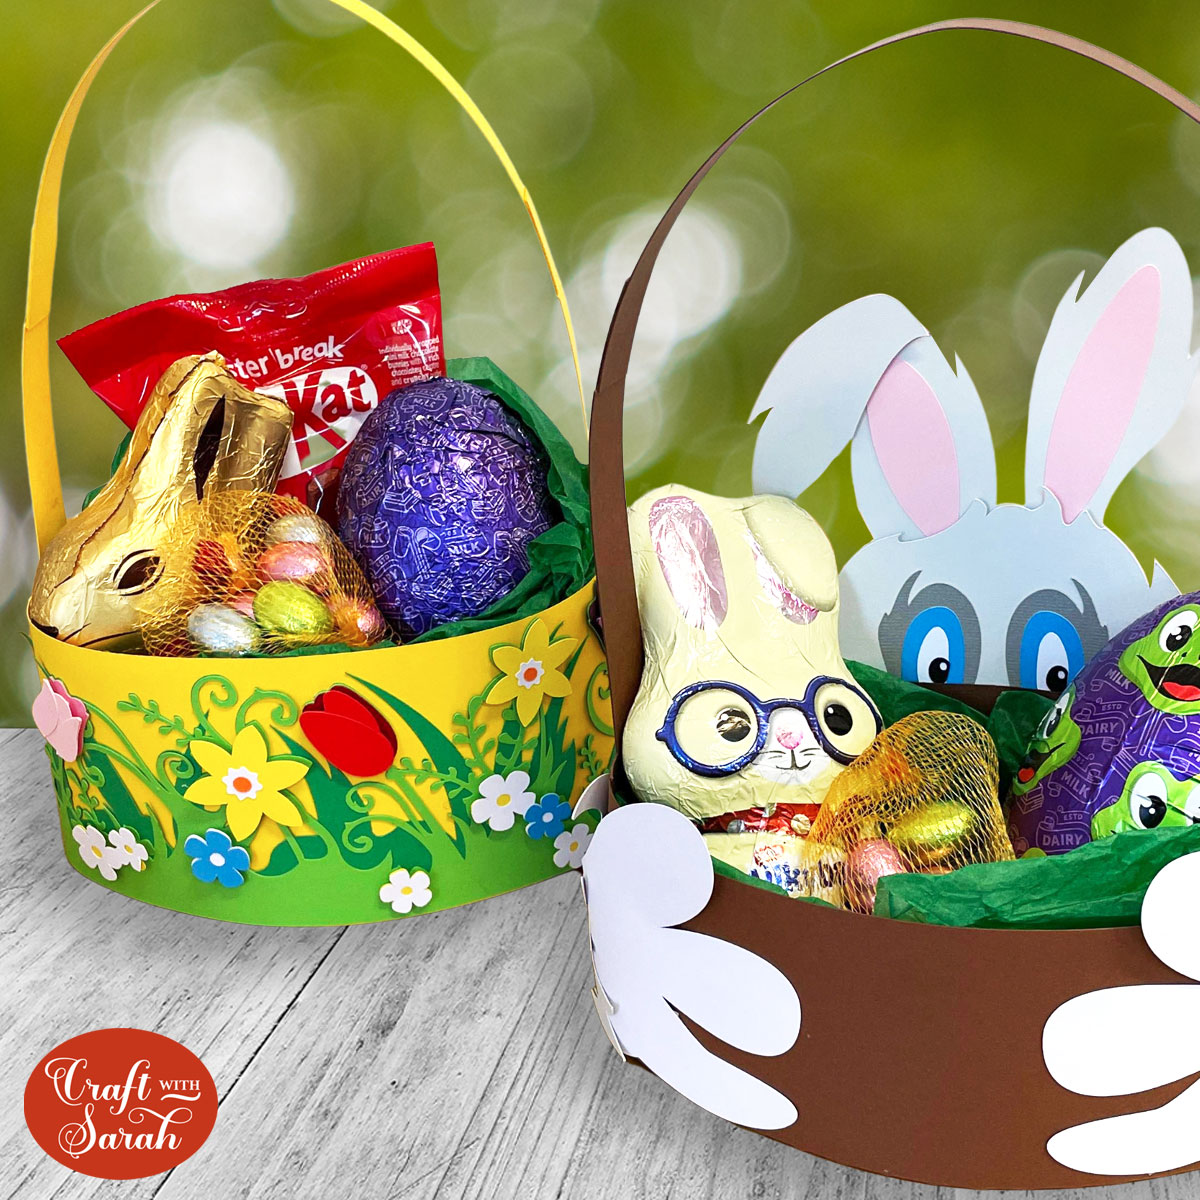
Make DIY Easter Baskets to fill with chocolate eggs, candy, flowers or other gifts with these 3D papercraft SVGs.
Welcome to Day 6 of the Easter Craft Countdown!
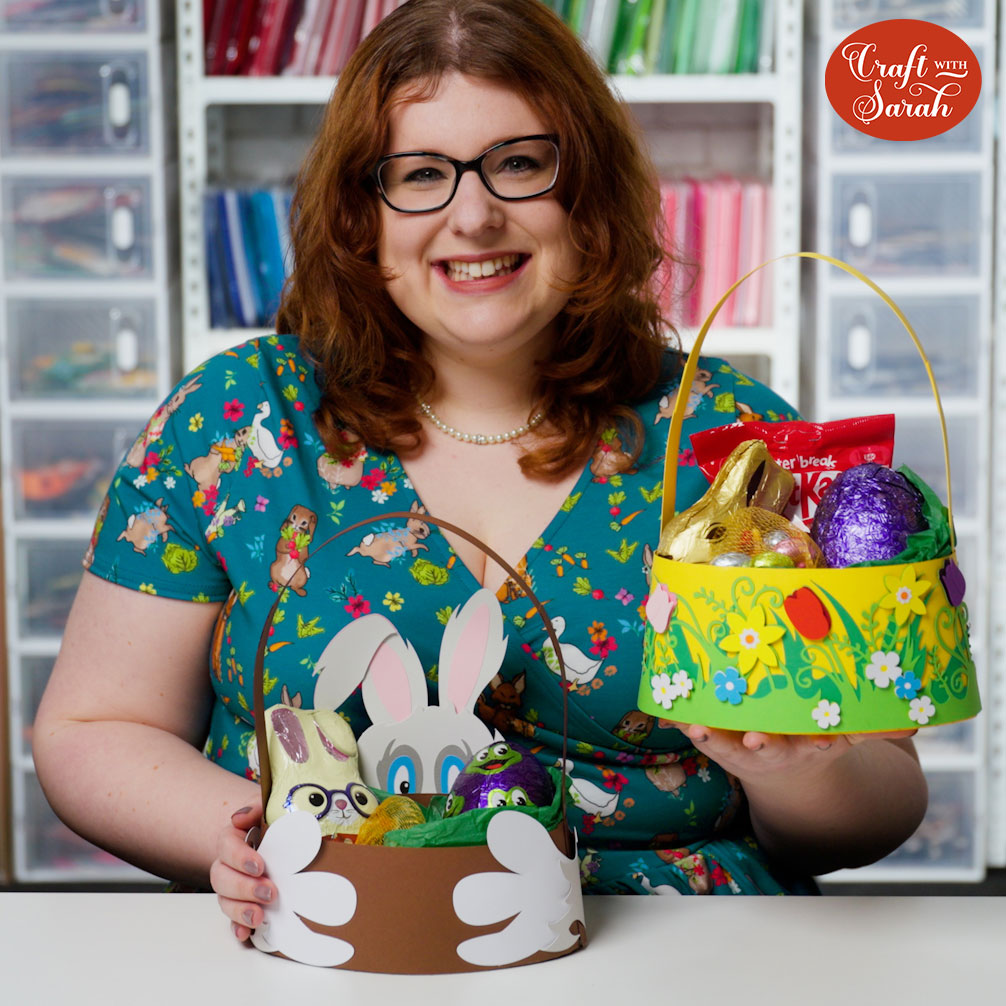
Today’s project is a fun 3D craft to make these papercraft Easter baskets.
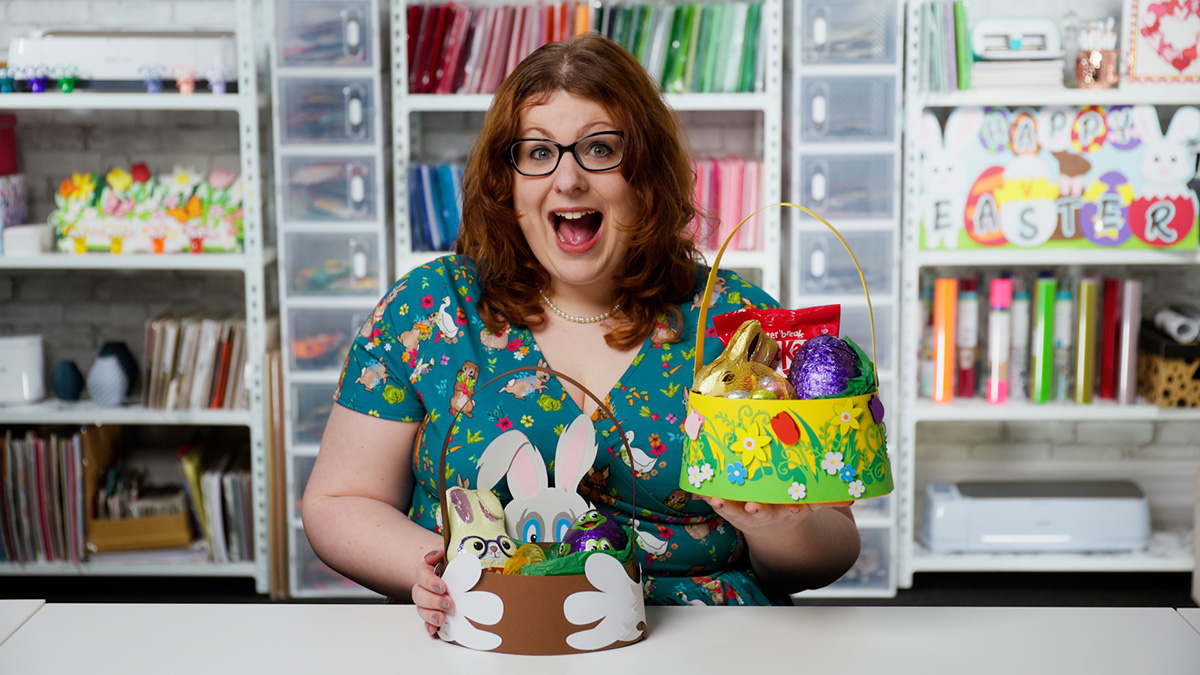
There are two designs to choose from: a floral Easter basket and one with a big cartoon bunny rabbit hugging the basket to protect all of the eggs!
This Project was part of the ECC Day 06 🌼 Easter Baskets
Materials supply list
Here is a list of the materials that I used to make this project.
Please note that some of the links included in this article are affiliate links, which means that if you click through and make a purchase I may receive a commission (at no additional cost to you). You can read my full disclosure at the bottom of the page.
- Cricut machine
- Light blue Cricut cutting mat
- Coloured Card
- Kraft board or thick card to add stability to the bottoms of the baskets
- Collall All Purpose Glue
- Needle Tip Applicator Bottle
- 3D foam pads
- Paperclips for holding pieces together while the glue dries
Video tutorial
Watch the video below to see how to make this project. Keep scrolling for a written tutorial.
Written tutorial (with photos!)
Here’s how to make your very own Easter baskets using a Cricut machine!
Step 1) Download the cutting file(s) & unzip the downloaded folder

Before you upload the SVG to Design Space, you need to unzip the download folder that it comes in.
- How to unzip a folder on Windows computer
- How to unzip a folder on a Mac
- How to unzip a folder on an iPad/iPhone
- How to unzip a folder on an Android device
Step 2) Upload the SVG file into Design Space
Open up Cricut Design Space and start a new Project.
Click “Upload” and then find your unzipped version of the downloaded files for this project.

Choose either the Flower Basket or Rabbit basket sub-folder, then upload the SVG file.
Make sure you upload the file which starts svg- in the filename!!
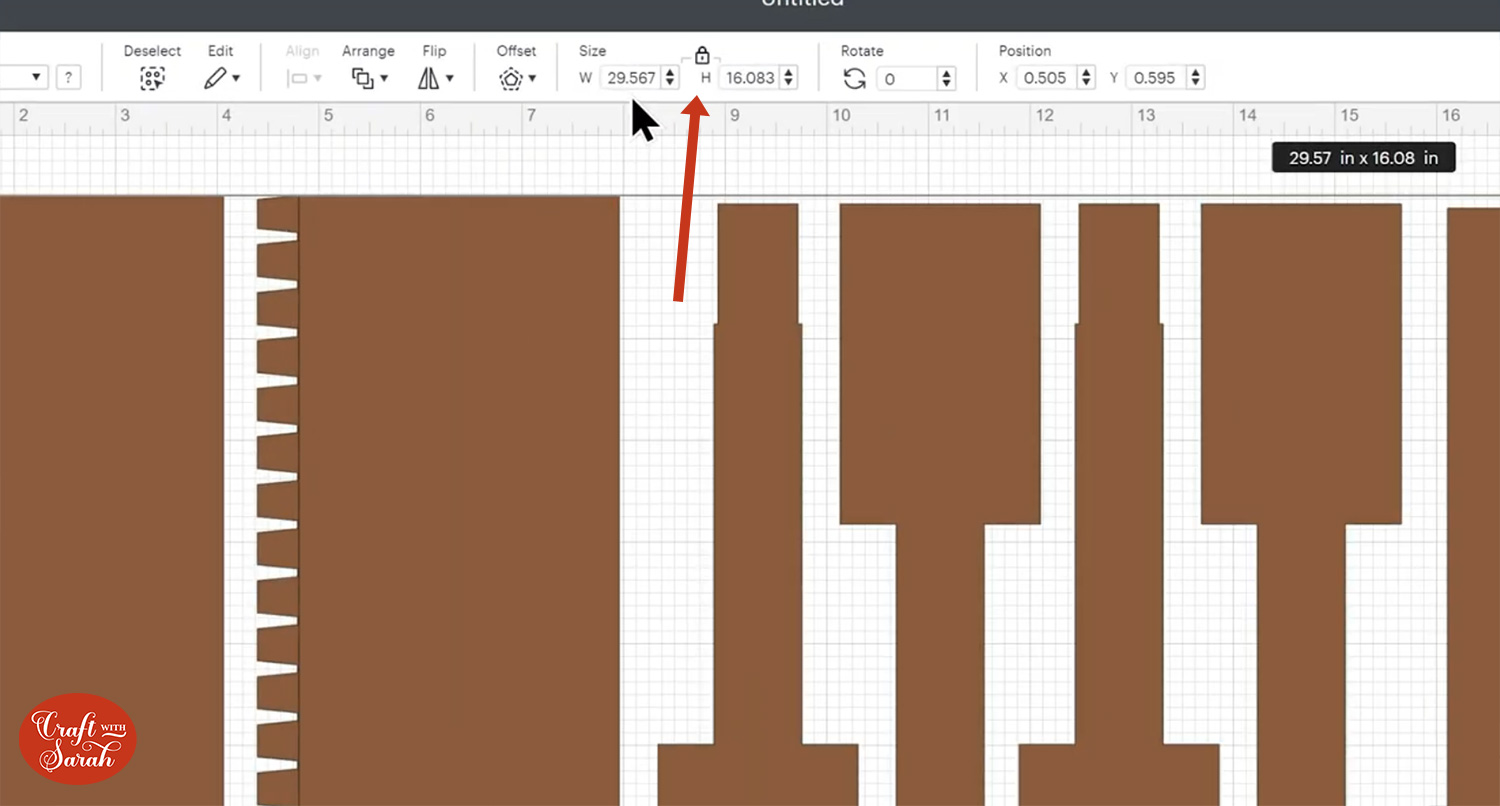
I’m going to show how to format the file using the rabbit design, but it works the same for the flower one too.
This is how it should look after you have uploaded the file:
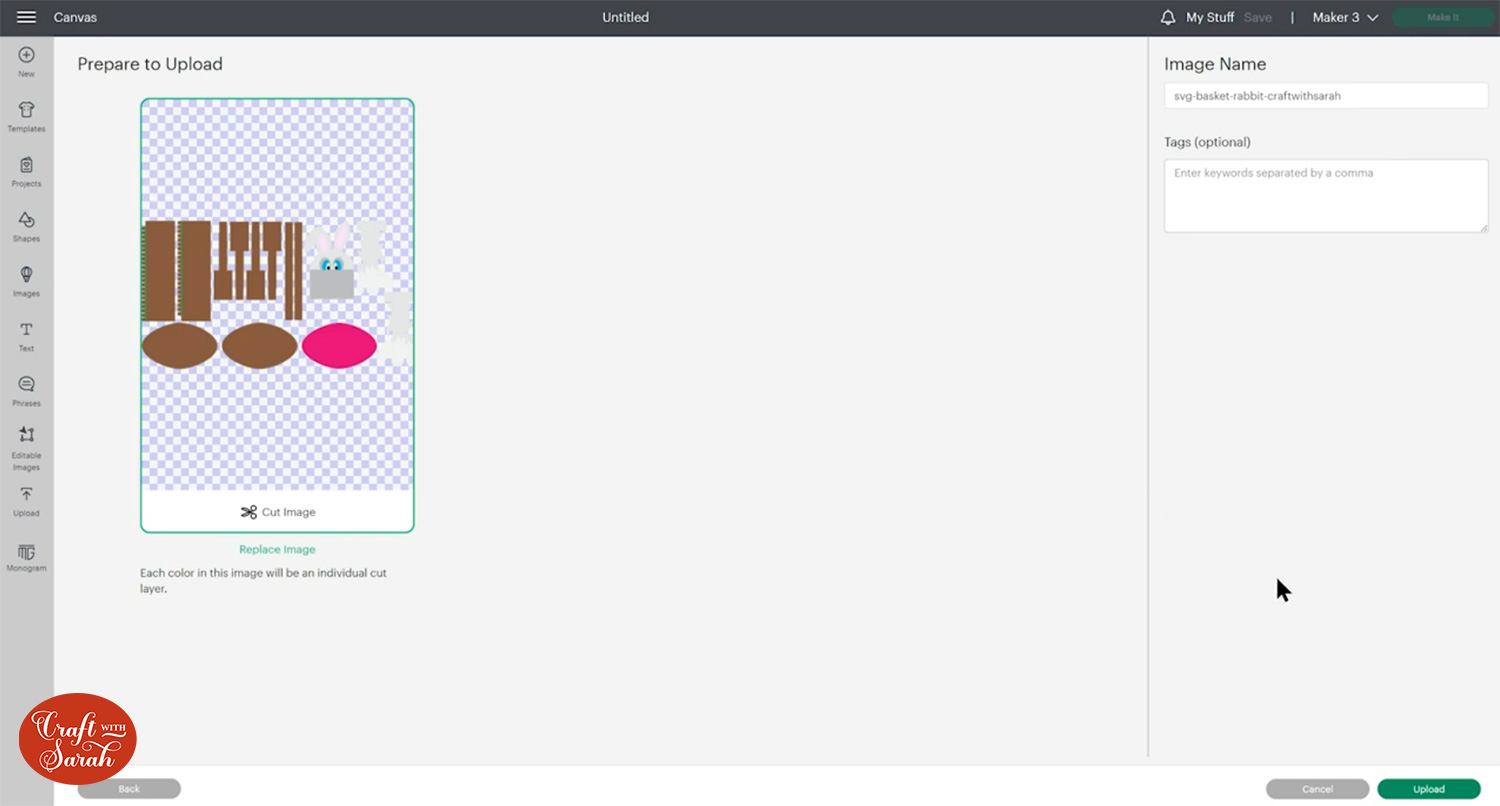
After uploading, the design will show in your “Recently Uploaded Images”.
Click on it and then press “Add to Canvas” to put it onto your Project.

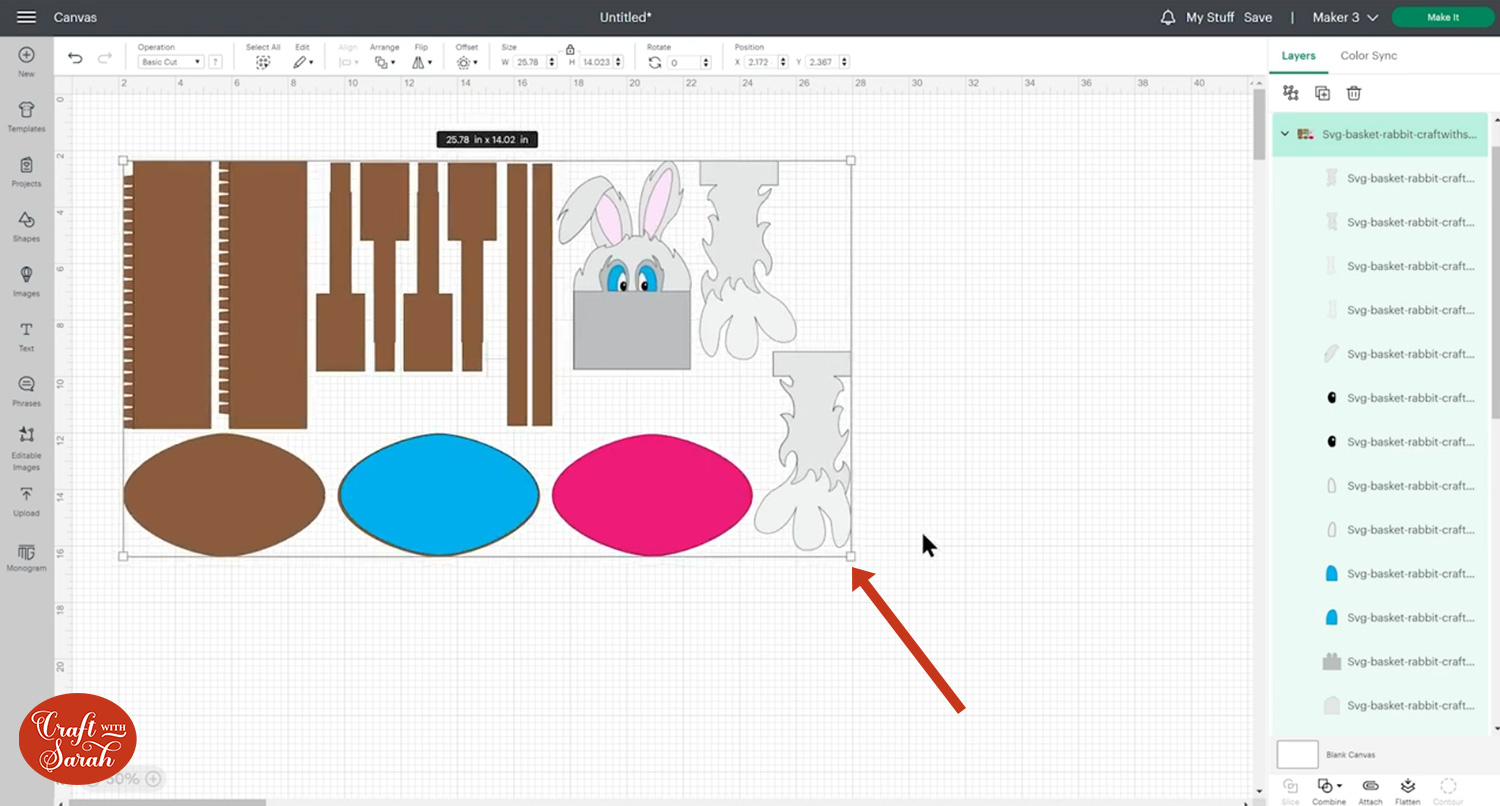
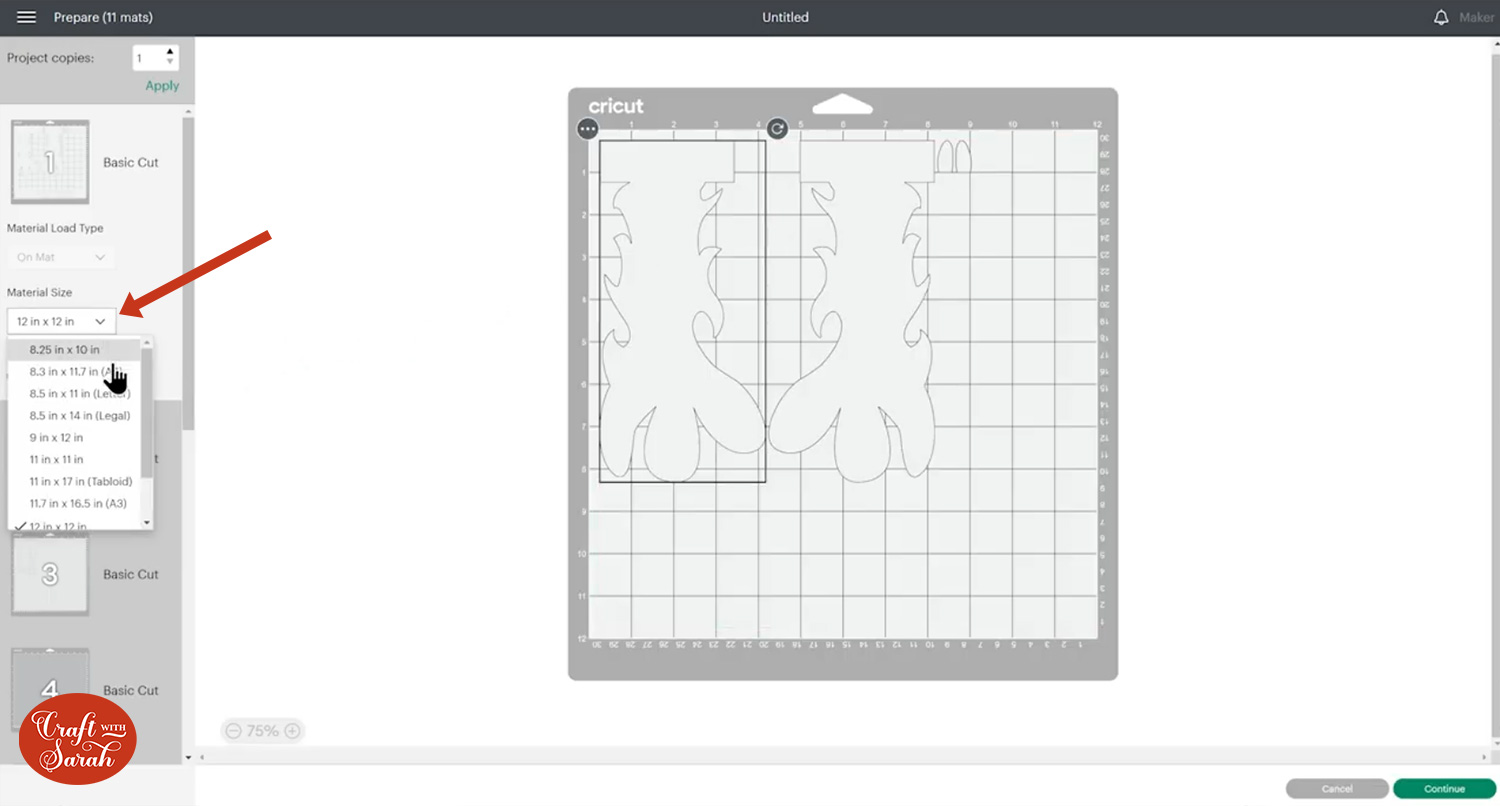
Step 3) Resize the basket if needed
The Easter rabbit basket should load in at 29.567 inches wide and 16.083 inches tall.
The flower basket should load in at 32.385 inches wide and 15.452 inches wide.
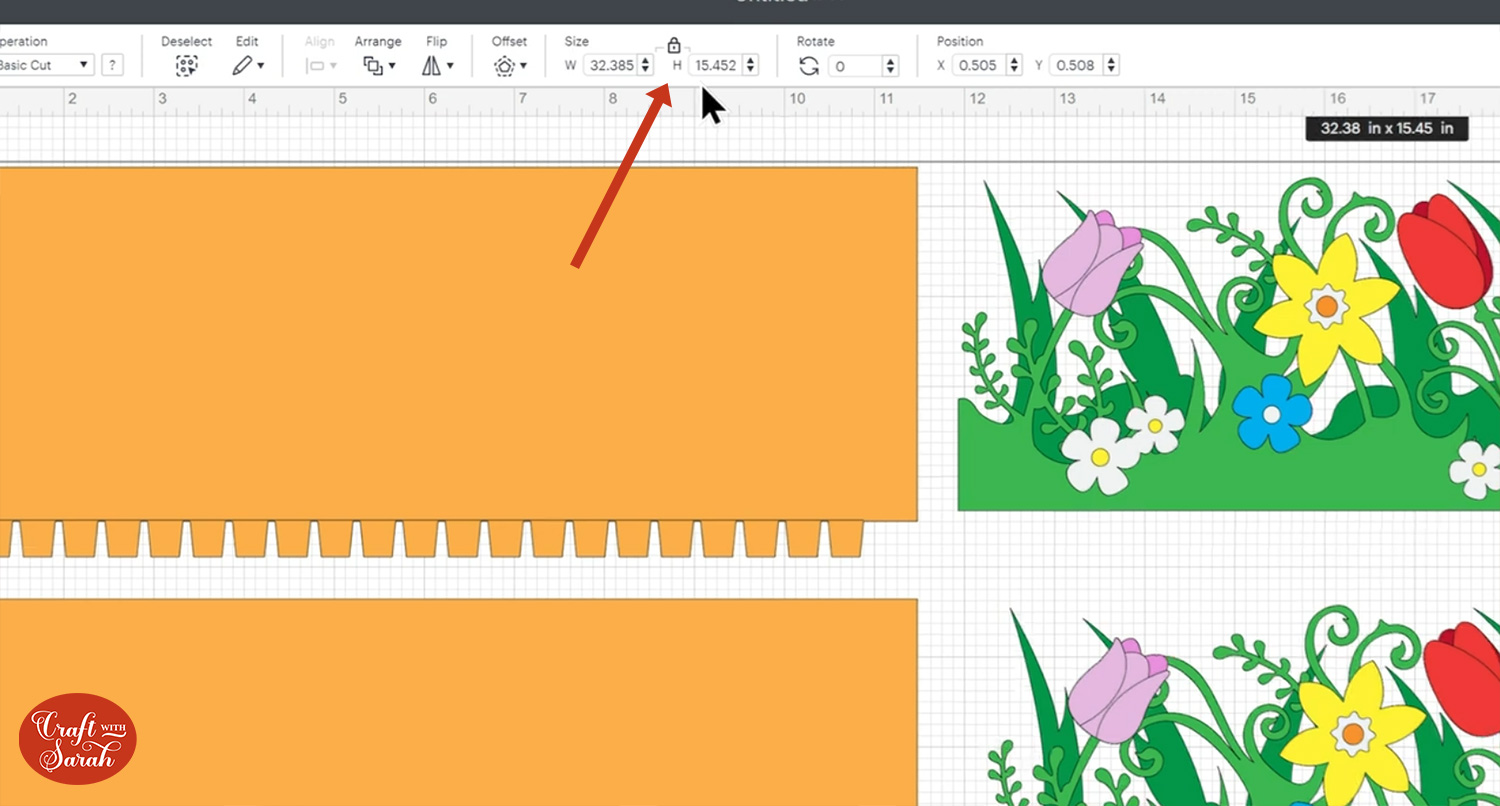
If your designs don’t match that, change it using the width/height boxes at the top.
You can resize it though if you want to make a bigger or smaller basket.
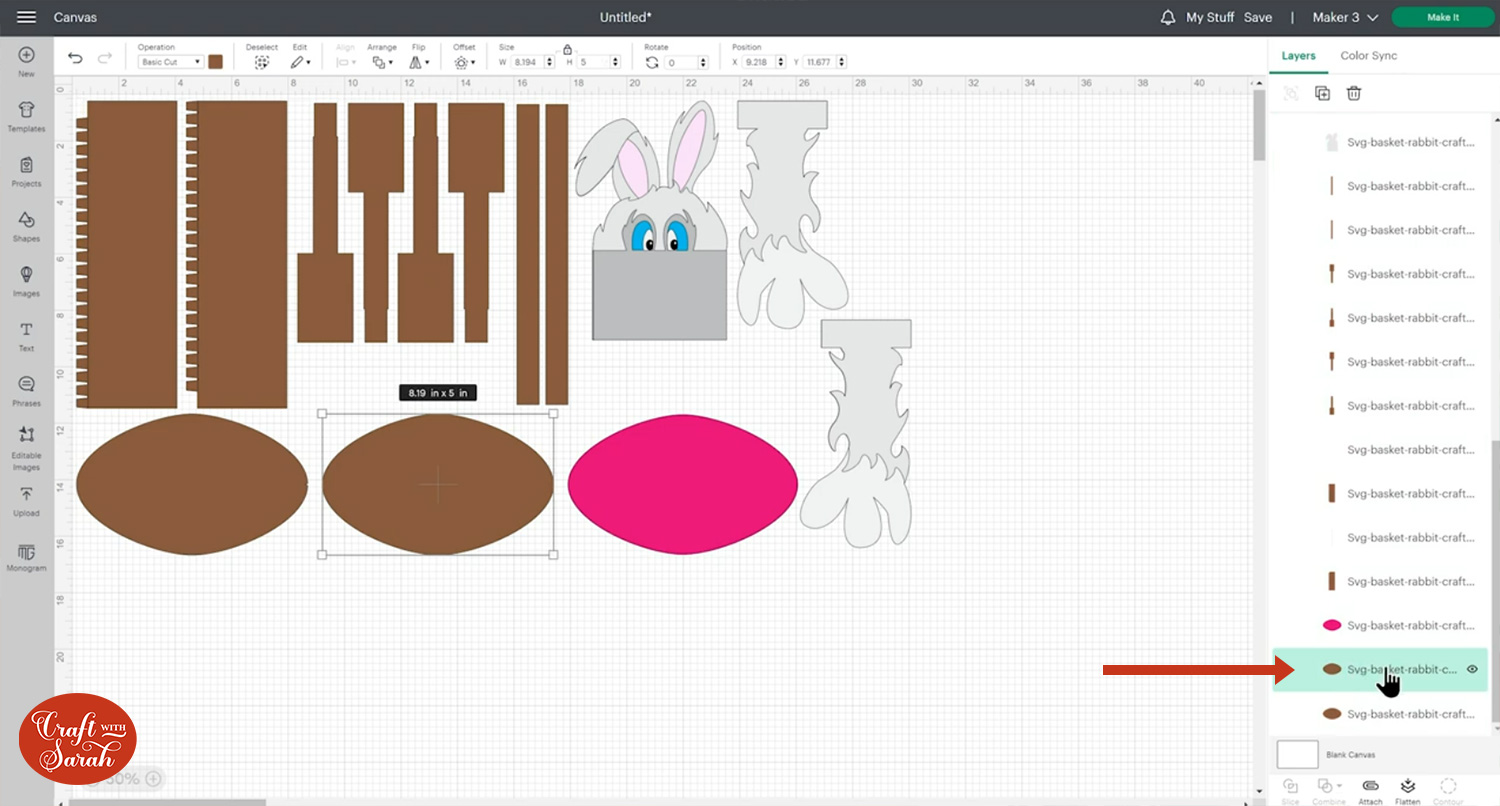
To do that, look down the layers panel to find the base pieces of the basket.
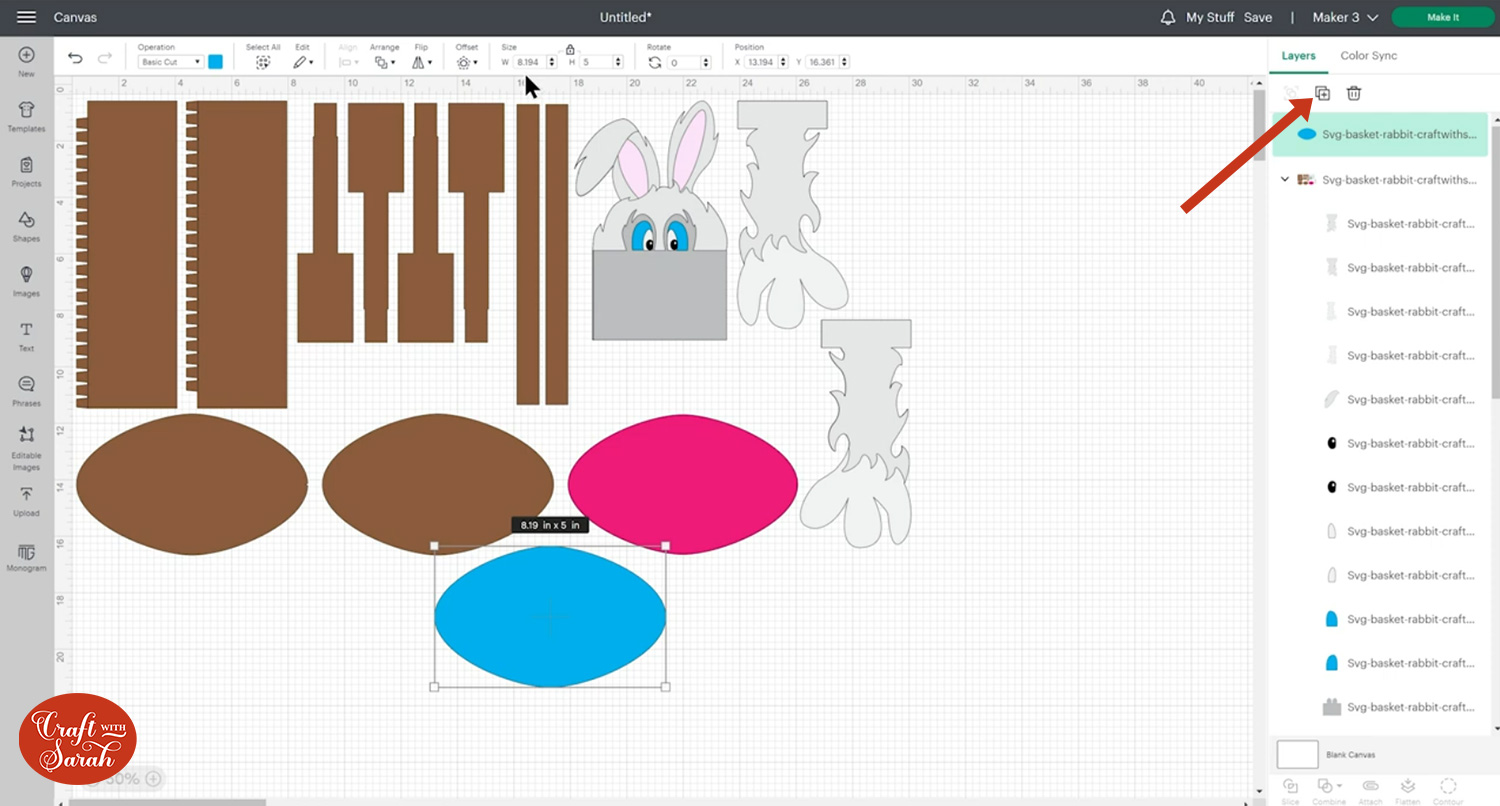
Click on one of them to select it.
Click the “Duplicate” button at the top of the layers panel to make a copy, then re-colour the copy so you know which one it is.
Resize this base piece to the width that you want to make your basket.
For example, I could resize it to 7 inches wide to make a smaller basket.
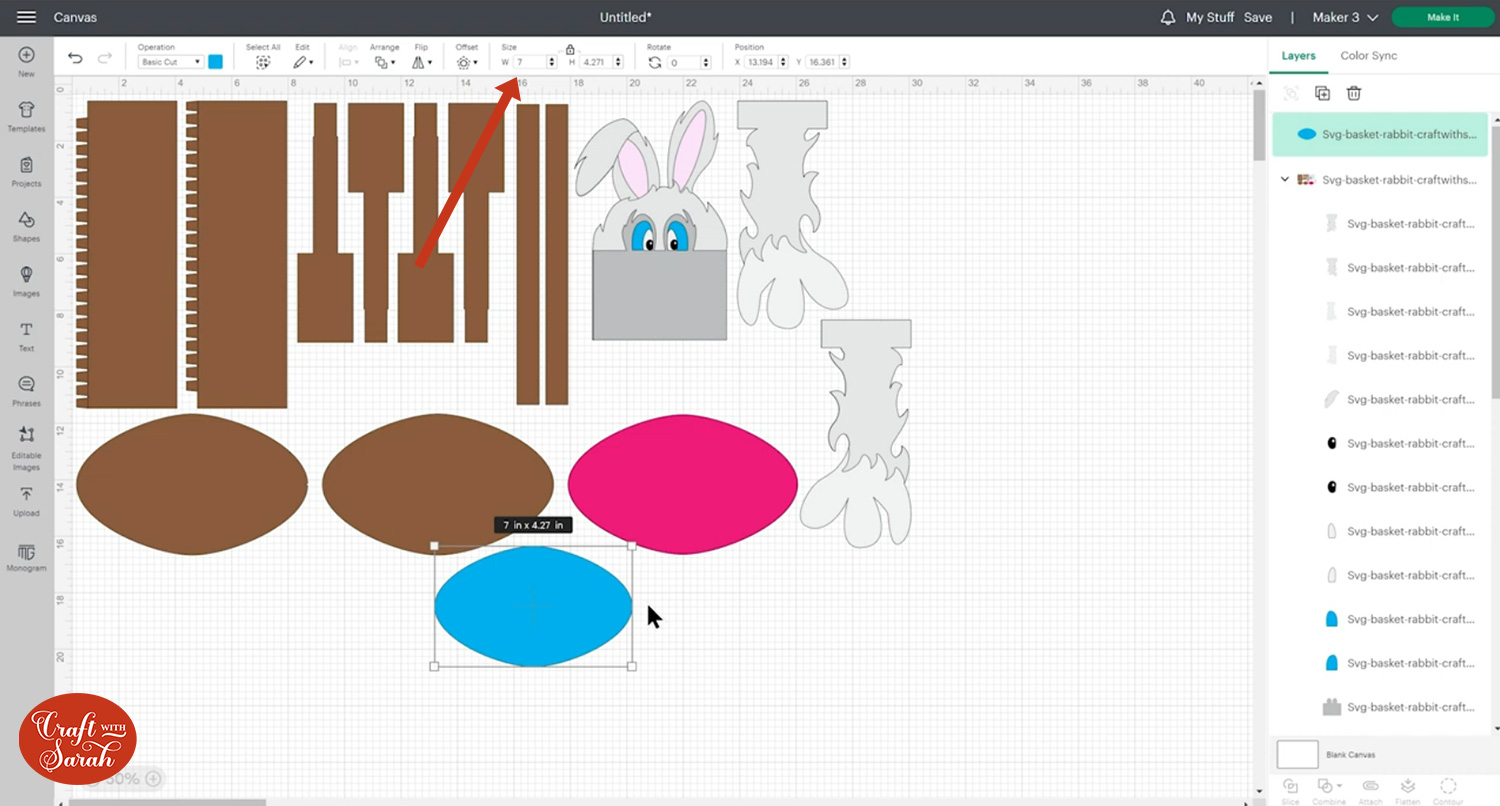
Click on the basket design and resize the Group until the base pieces of the original basket are the same size as your duplicated version.
Delete the duplicated bottom shape when you are done resizing.
Step 4) Format the score lines
There are a few tasks that you must do in Design Space before cutting the Easter basket.
We need to format all of the score lines and then “Attach” them to their relevant layers.
First, click on the design and press “Ungroup” to separate out the layers.
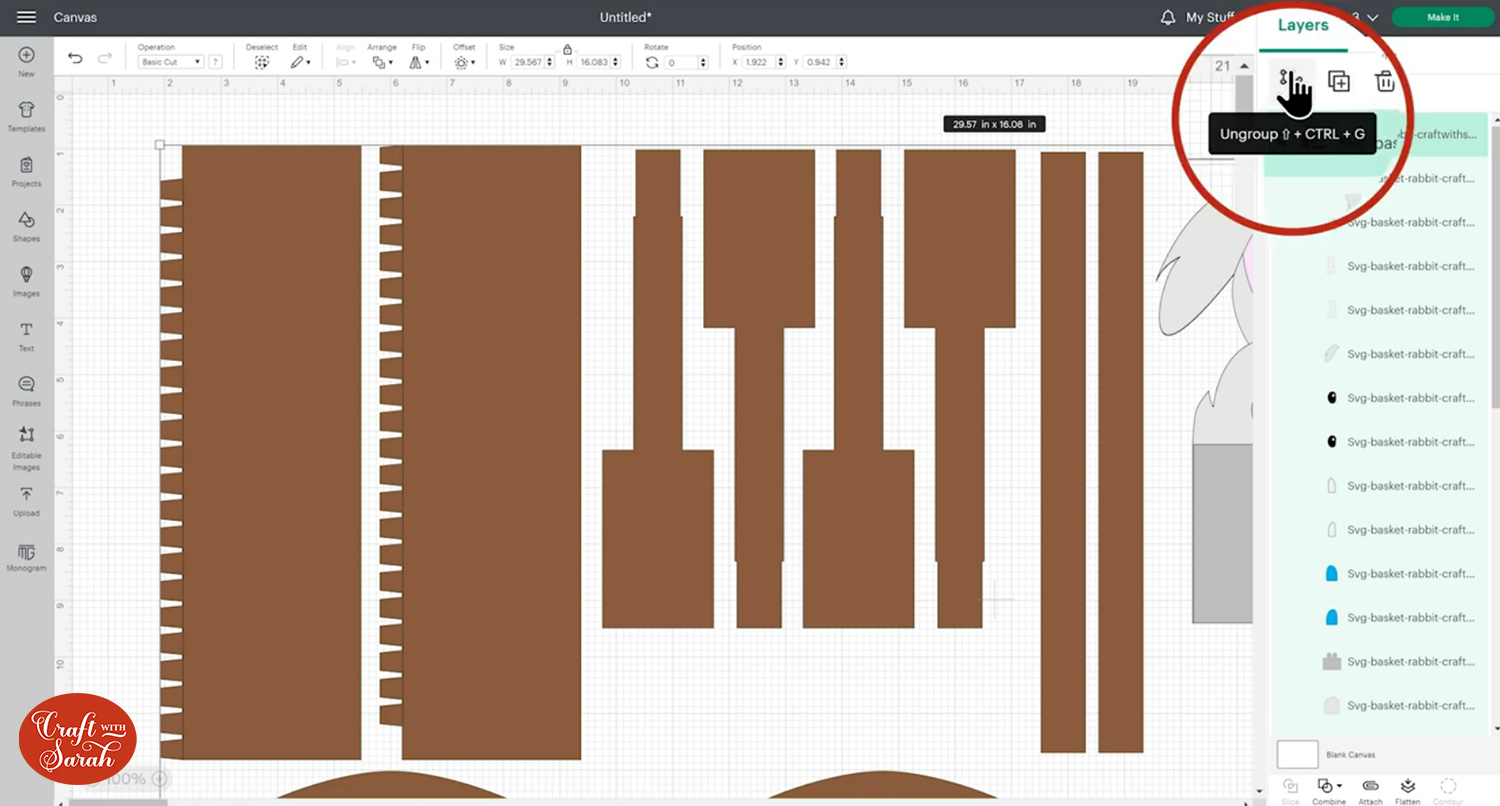
Look down the layers panel for the layers that appear as single lines (or you might not be able to see the picture next to the layer at all).
Click the first one that you find.
Under the “Operations” dropdown, select “Score”. This will turn the layer you have selected into a Score line.
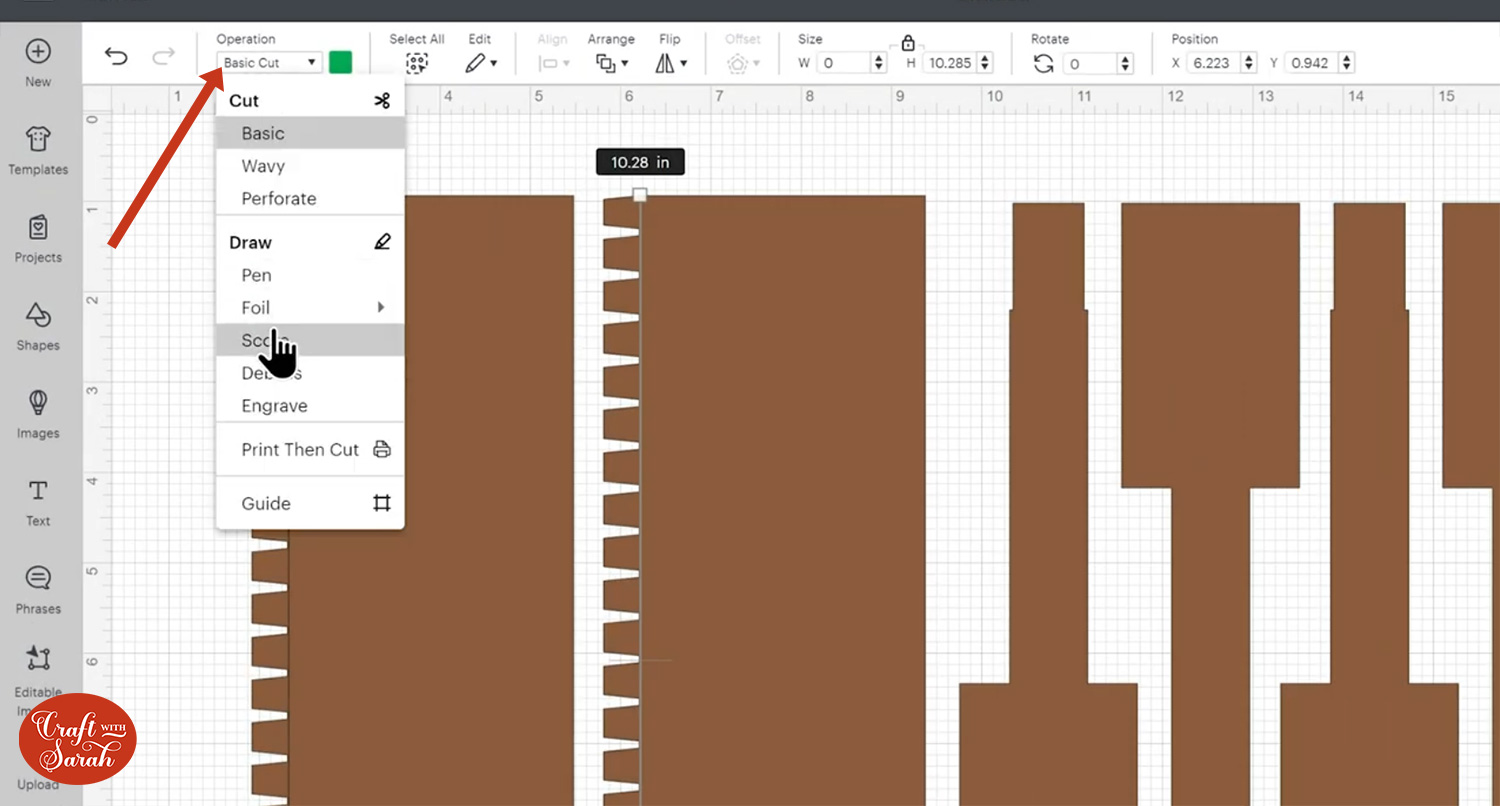
You know if it has worked because the lines turn from solid to dashed on the screen.
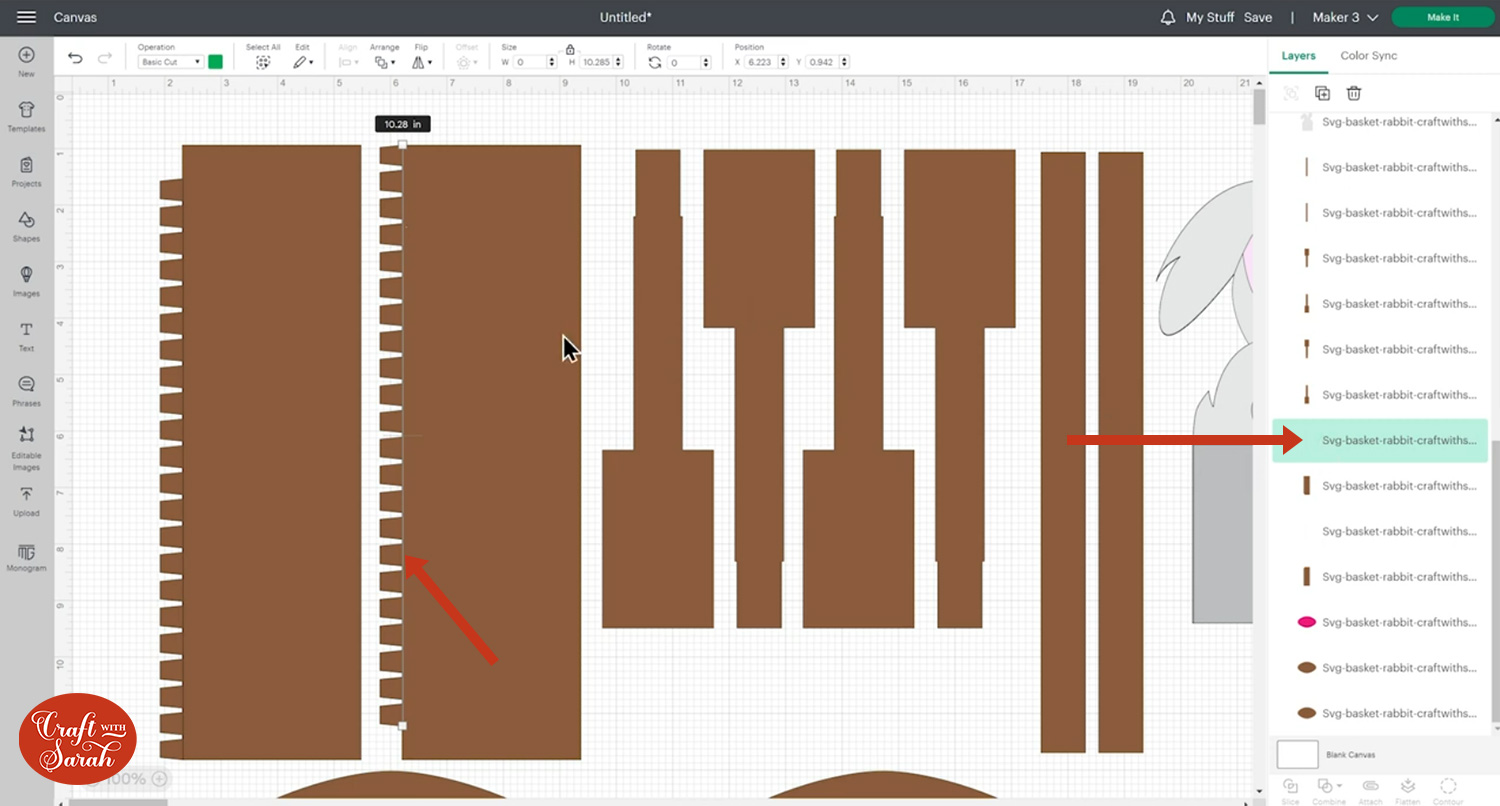
Now we need to “Attach” the score line to the layer underneath.
Attach is what tells the Cricut that we want to do the score lines on the corresponding pieces.
Drag a box that just touches one coloured layer and the score line that goes on top, OR, with the score line still selected in the layers panel, press “Shift” on your keyboard and select the layer UNDERNEATH it.
This select two layers in total – the score line and the layer underneath.
Press “Attach” to join them together.
You know if it has worked because the layers you just “Attached” will appear in a little group together in the layers panel and they will move to the top of the list of layers.
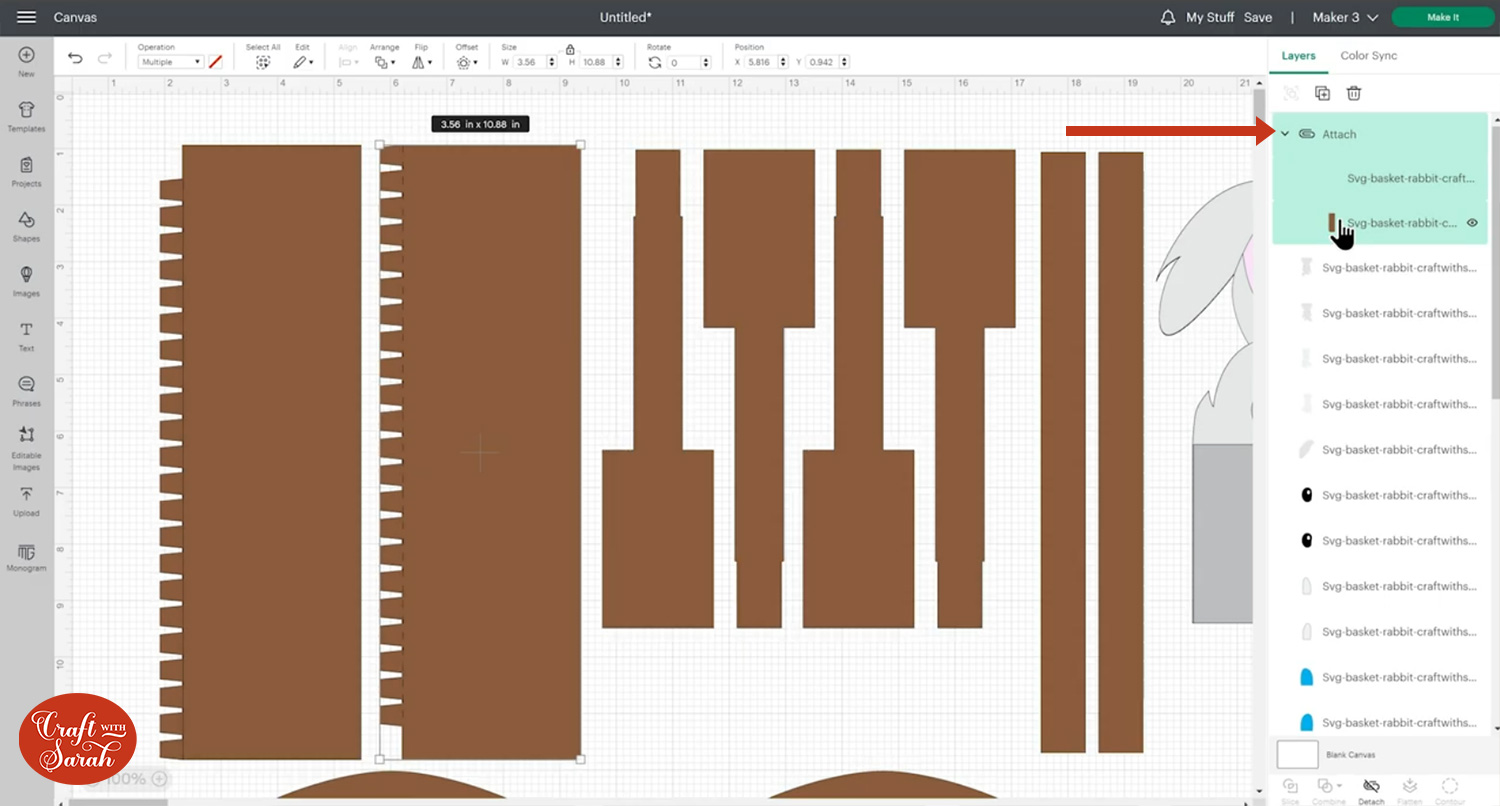
Do this for all of the score lines in the design.
When finished, save your Project so that if you ever cut this again, you don’t have to repeat all the formatting!
Step 5) Cut out all the layers
The Easter basket designs come with a brightly coloured “base” part. This is designed to be cut from Kraft board or very thick card so that it adds stability to the bottom of the basket so that it can hold the weight of the contents that you put in it.
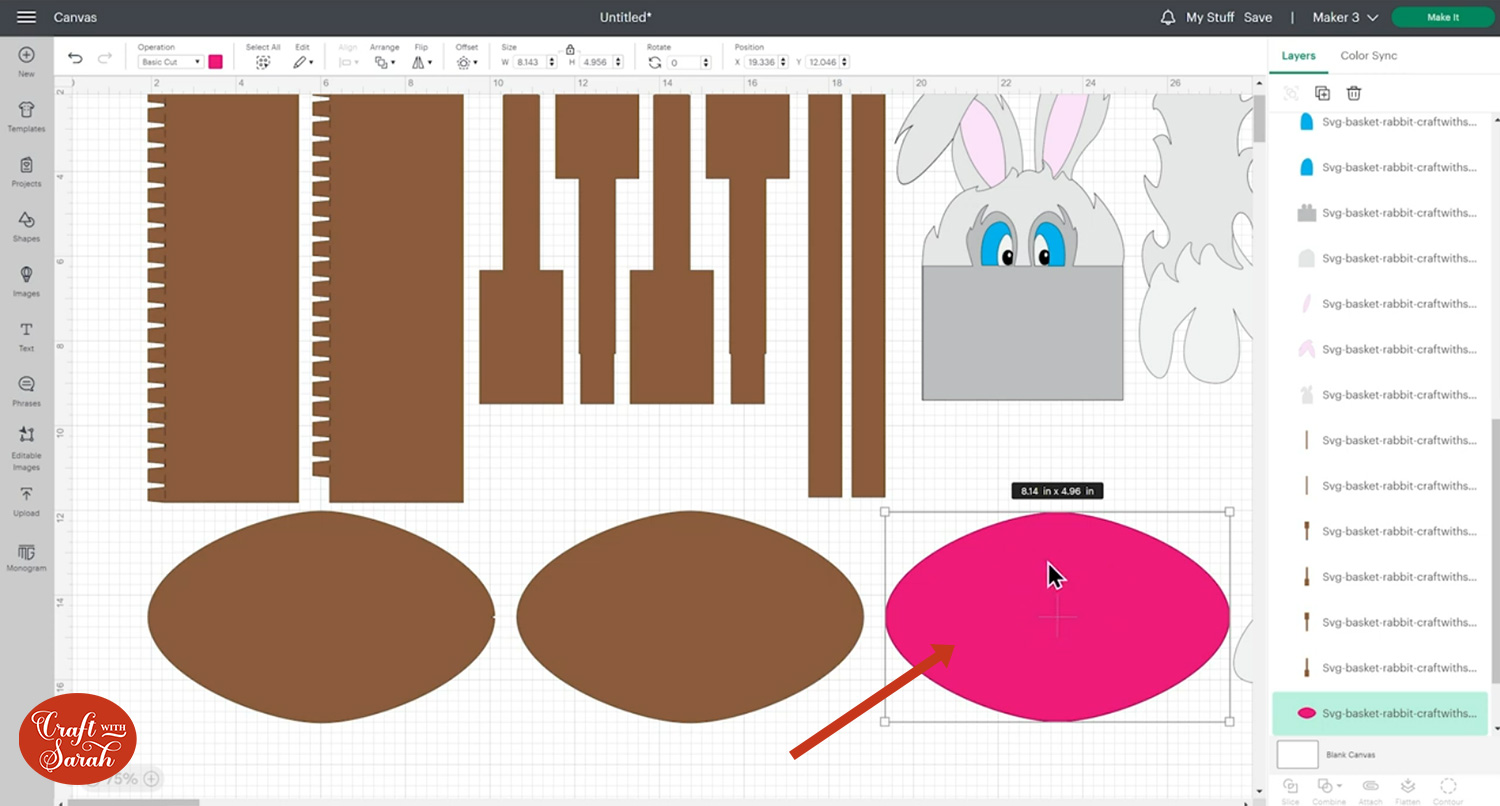
If you don’t have Kraft board, duplicate the base layer a few times and glue those pieces together after cutting to make one “thicker” base piece.
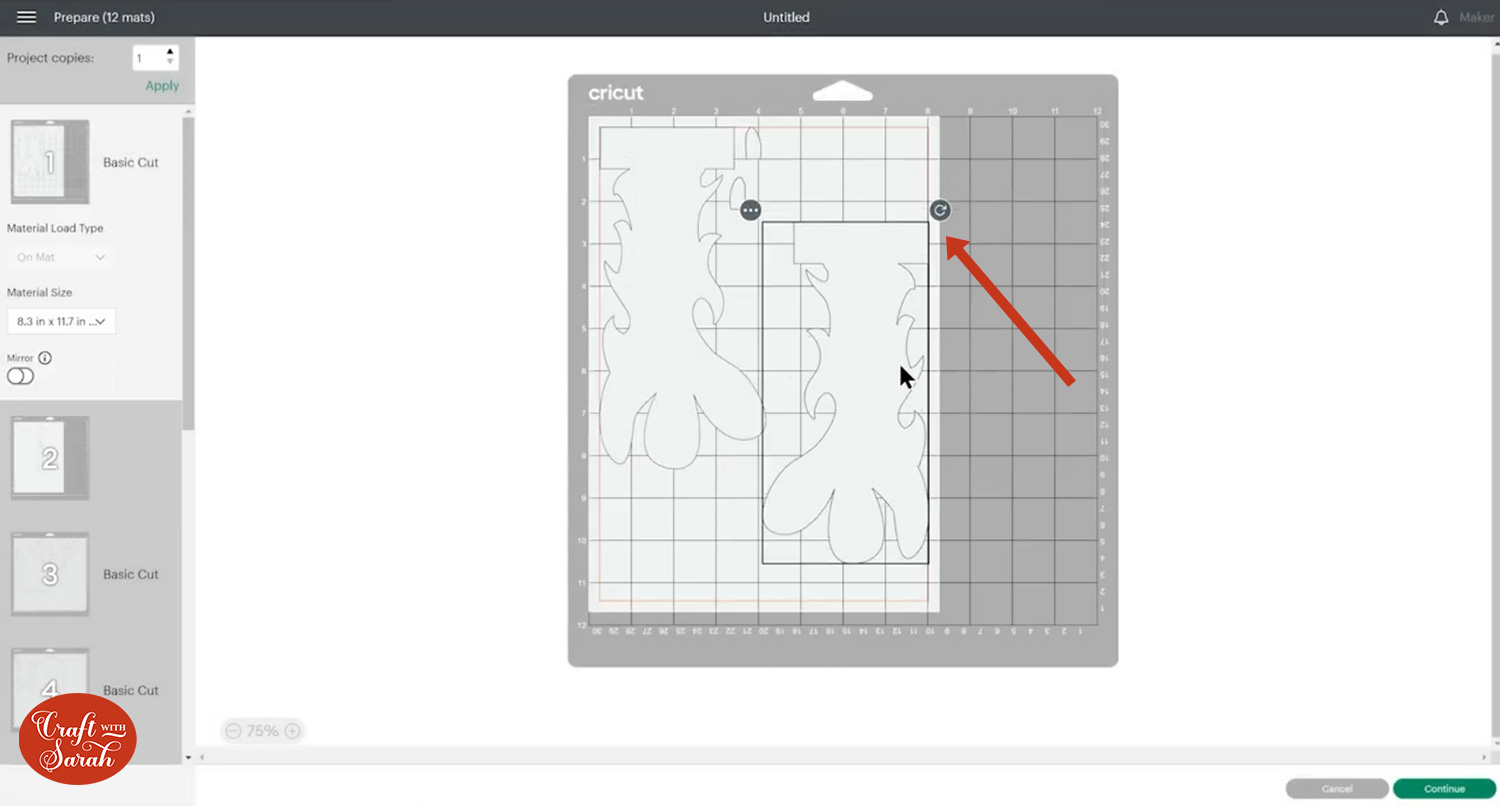
When you’re happy with how the project is looking in Design Space, click “Make It” and follow the instructions on-screen to cut out all the layers.
To change the paper size, go into the dropdowns over on the left side of the screen and choose the paper size that you want to use. You need to change it for every single colour.
To save space on your cardstock, you can move things around by clicking and dragging. Make sure when you’re moving things about that nothing overlaps because otherwise, it won’t cut out properly.
TIP: New to cutting cardstock with a Cricut? Check out this in-depth tutorial which goes through every step of the process, including tips for getting the best quality cuts from your Cricut.
Step 6) Assemble the baskets
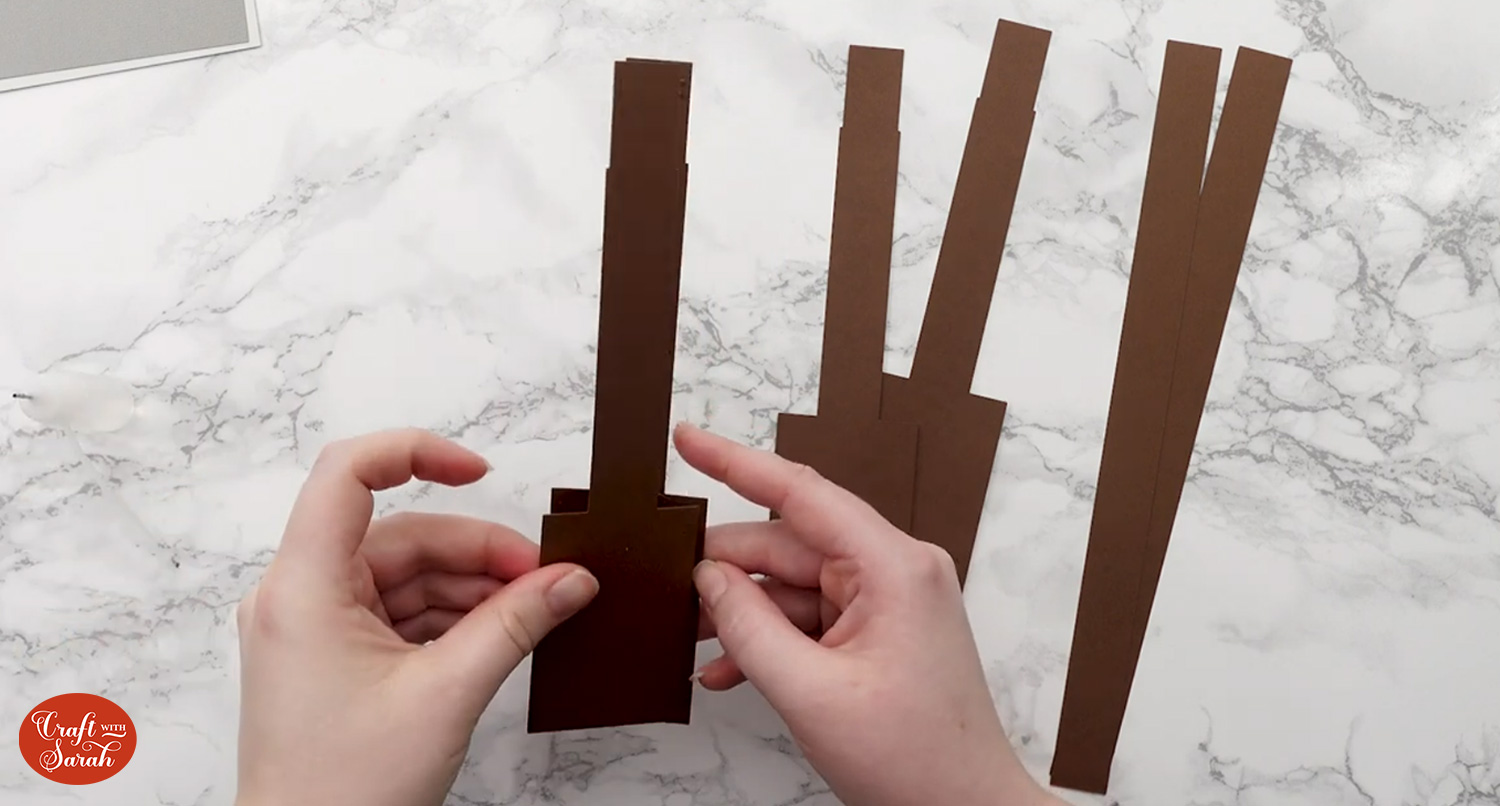
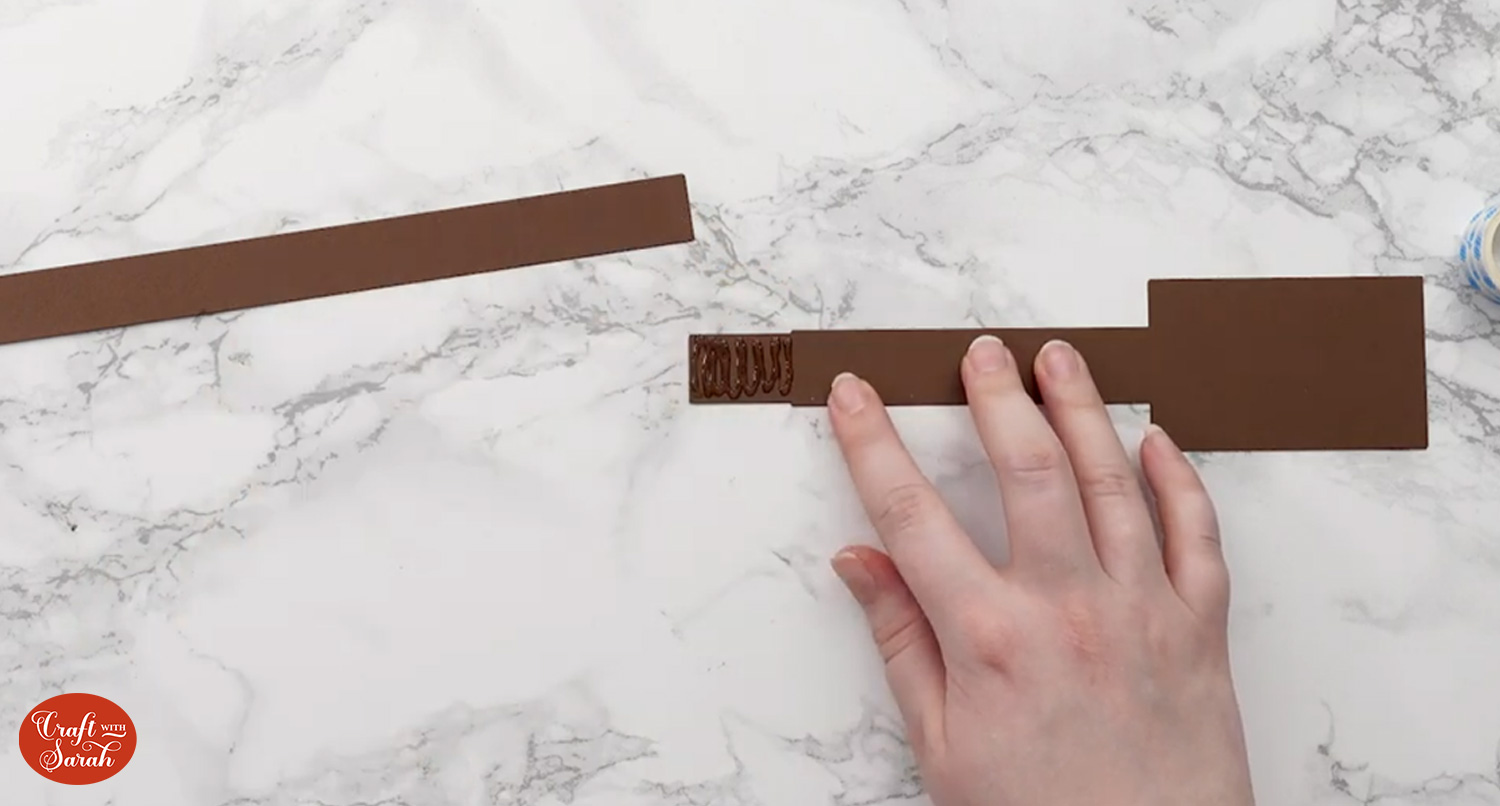
Get all of the basket handle pieces together.
There are two pieces for each of them so that they can be glued together to make a stronger handle.
Glue the matching pieces together. You will end up with two “end” pieces and one long strip to join them together.
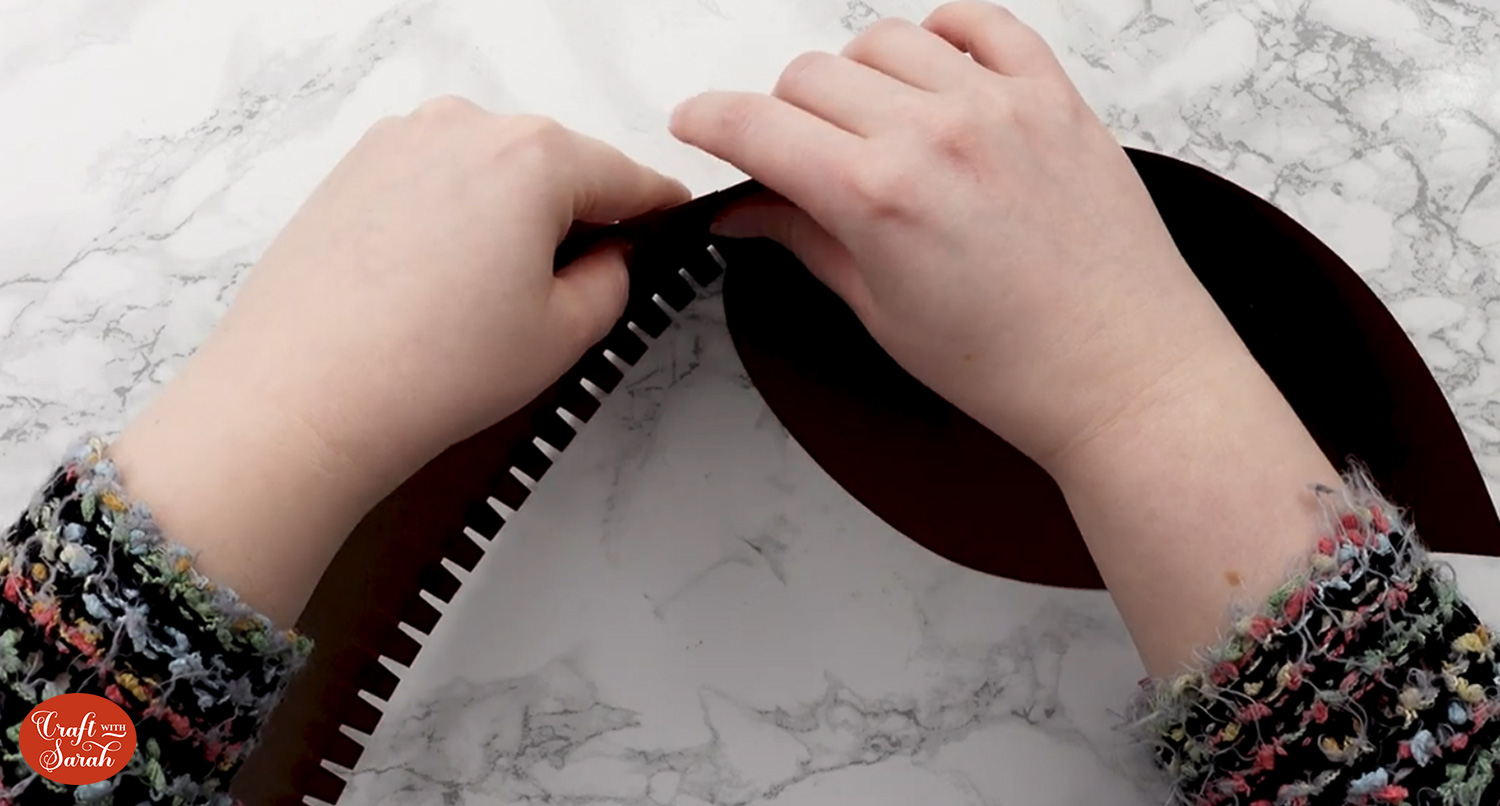
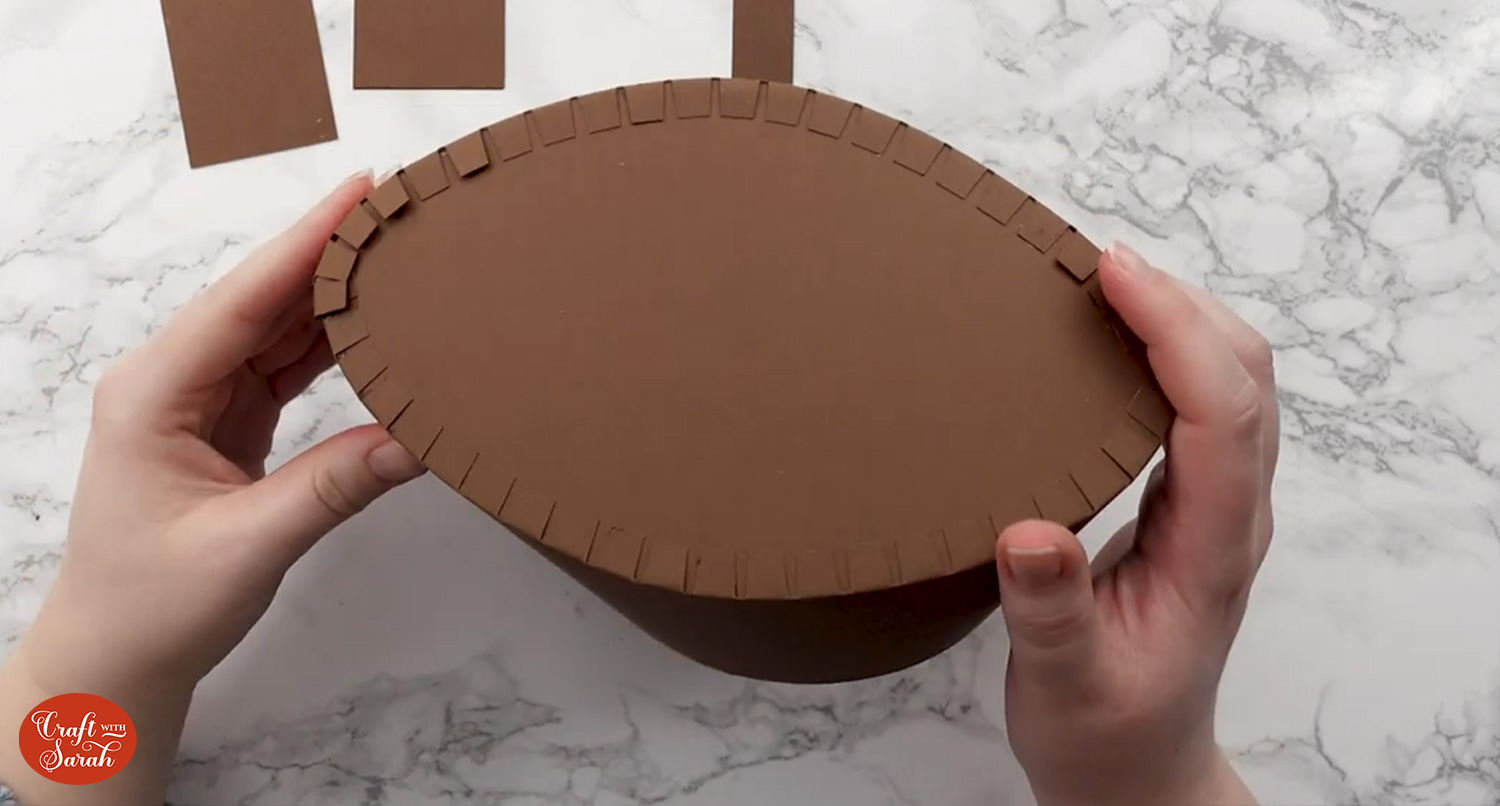
Get the two side pieces with the “crocodile teeth” tabs along one edge and fold them upwards along the score line.
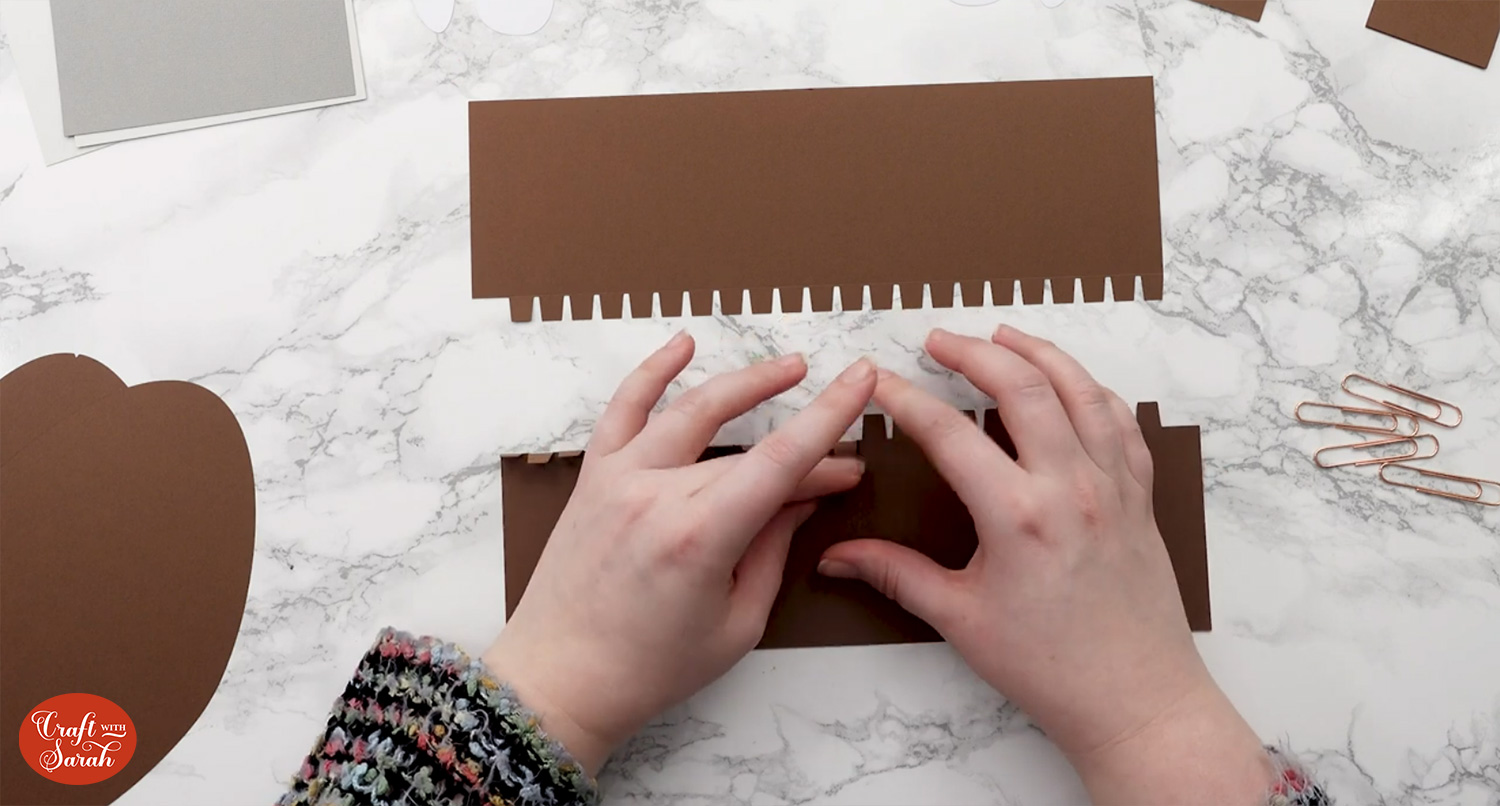
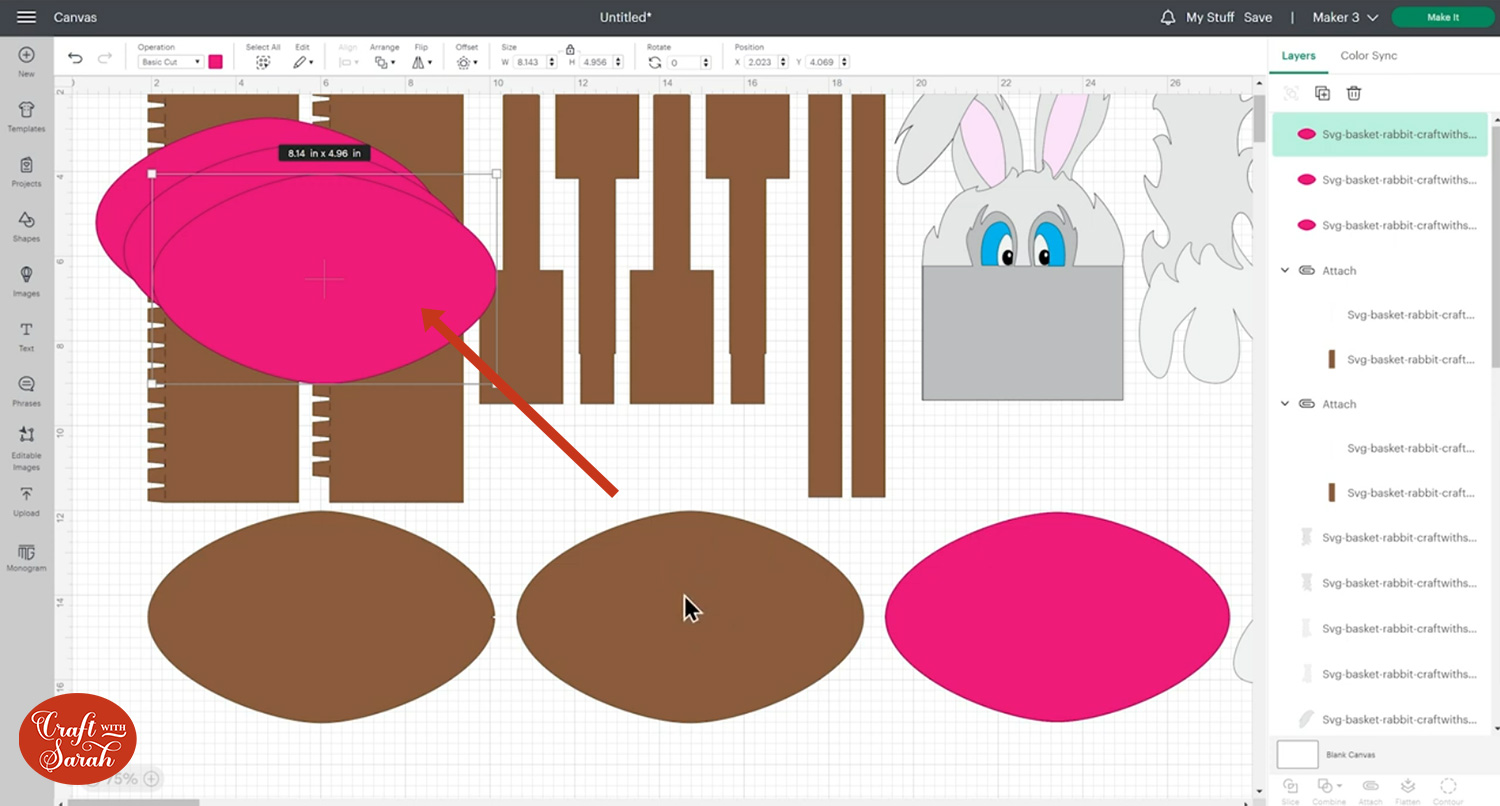
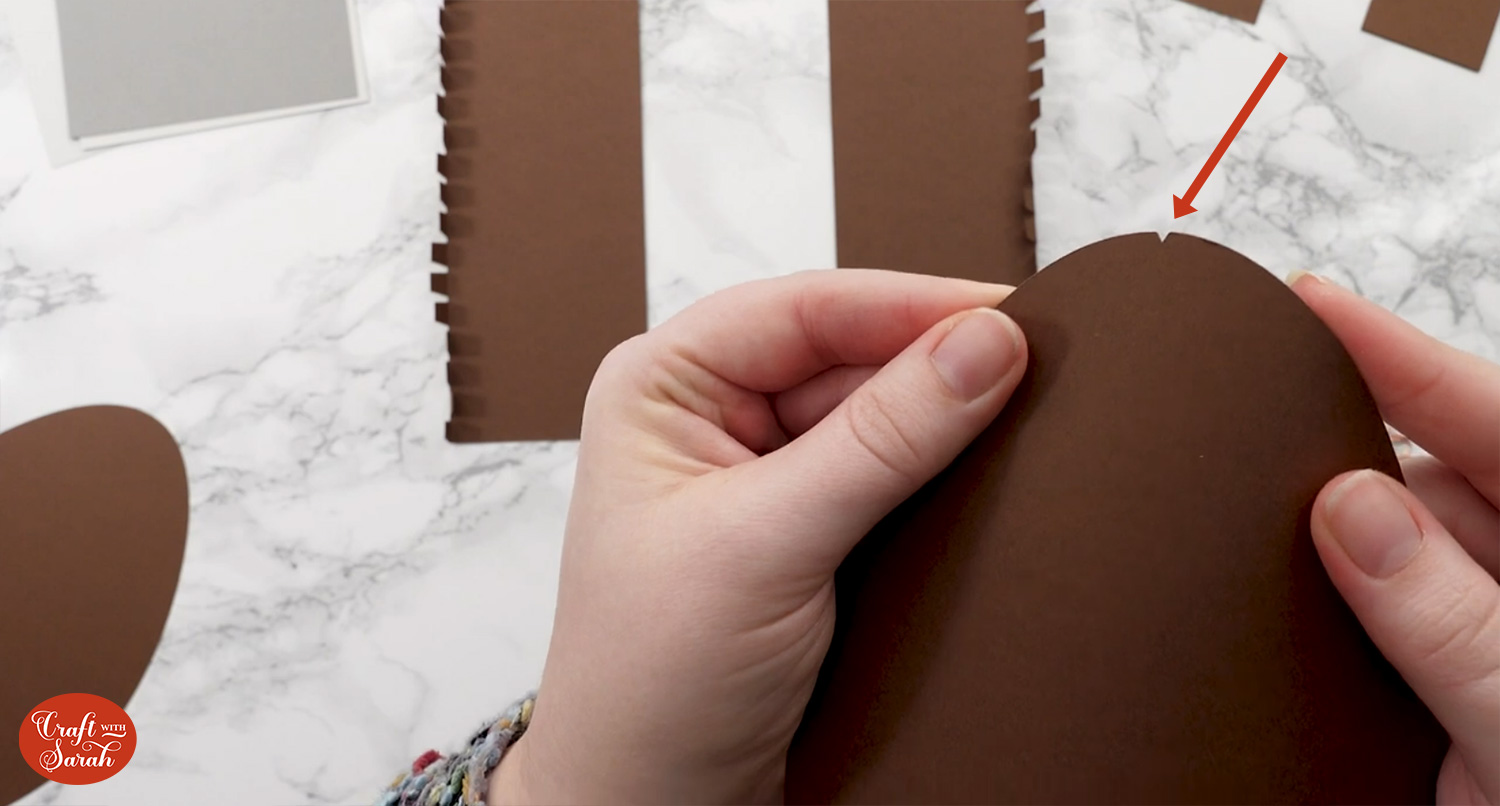
Select the base oval that has the tiny triangle taken out of it. This is to show where to start sticking the sides.
Glue the first side piece to the base oval. The “crocodile teeth” will be glued to the BOTTOM of the oval.
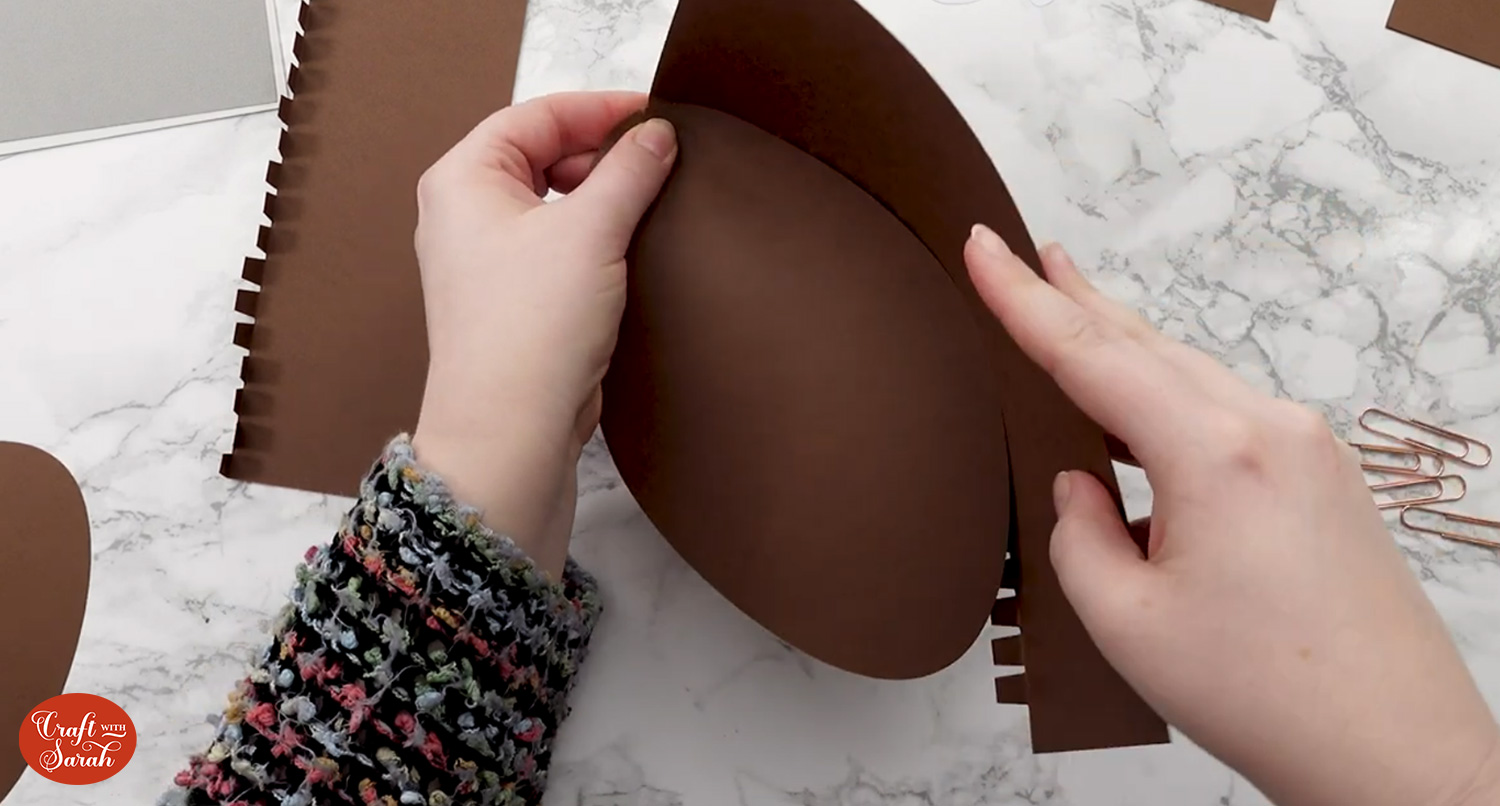
Get the side pushed up as closely to the oval shape as possible, otherwise your basket may have gaps.
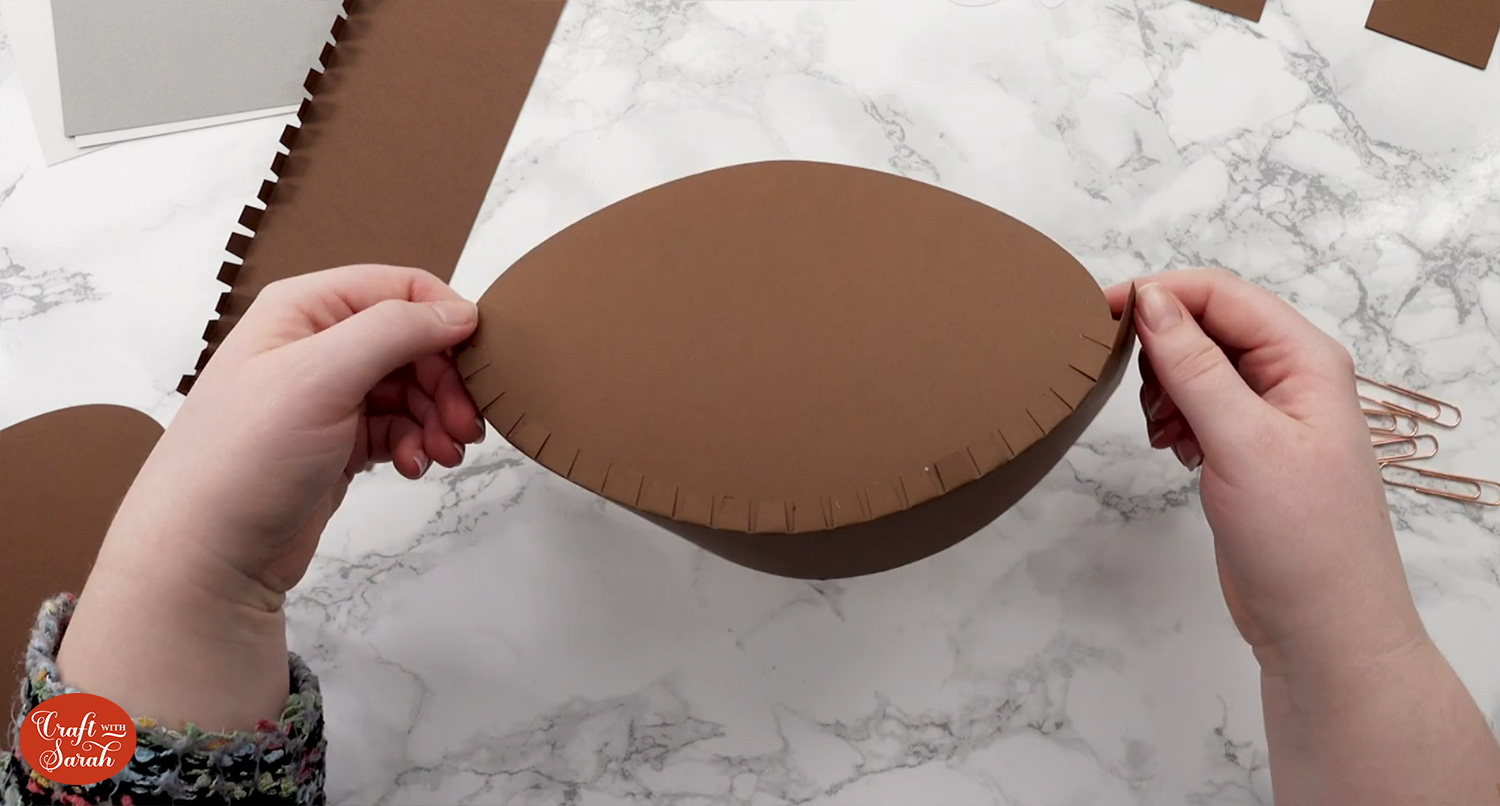
When the glue is dry, stick the next side piece to the end of the first piece.
Wrap it around the oval base and glue in place.
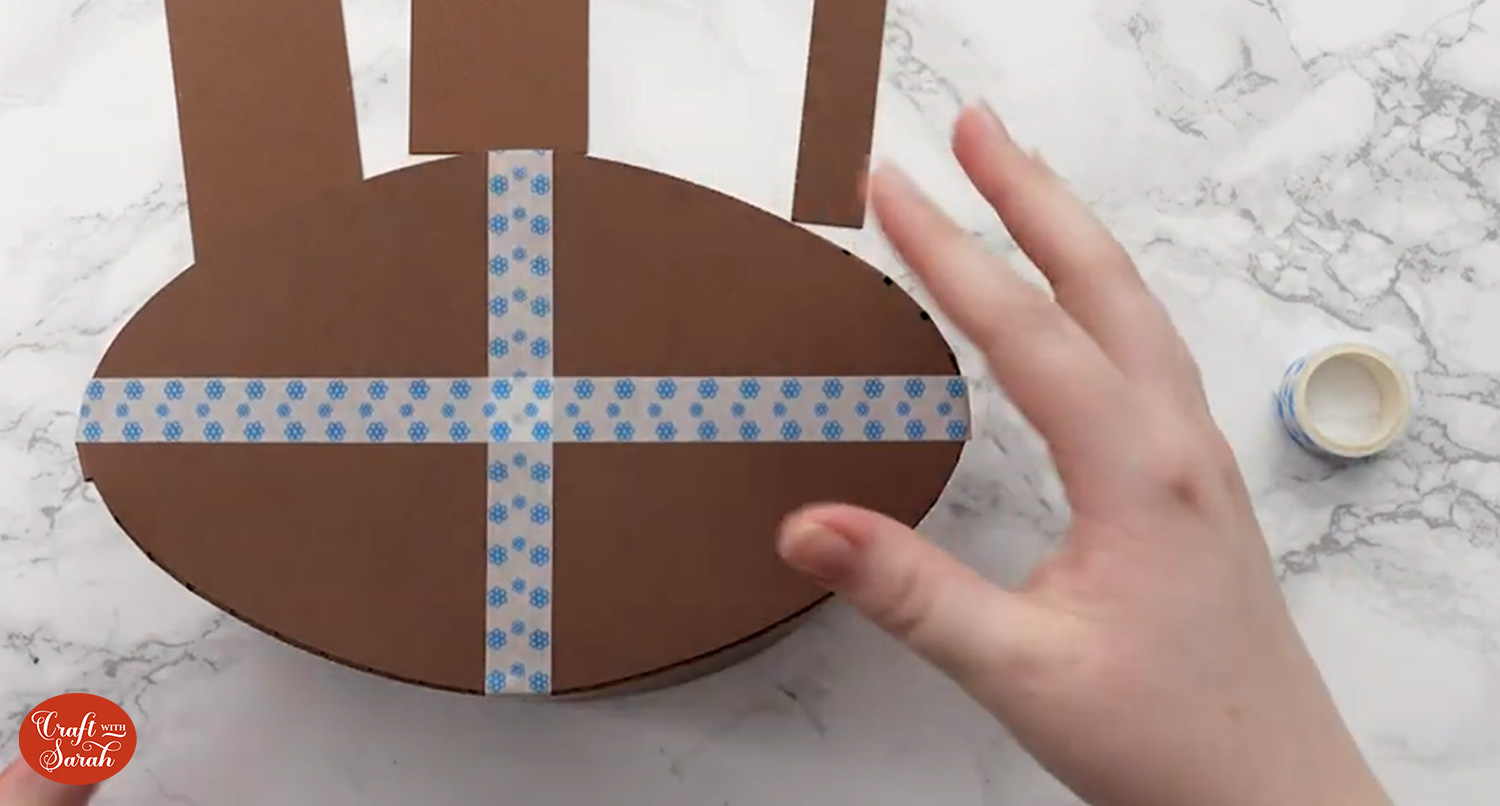
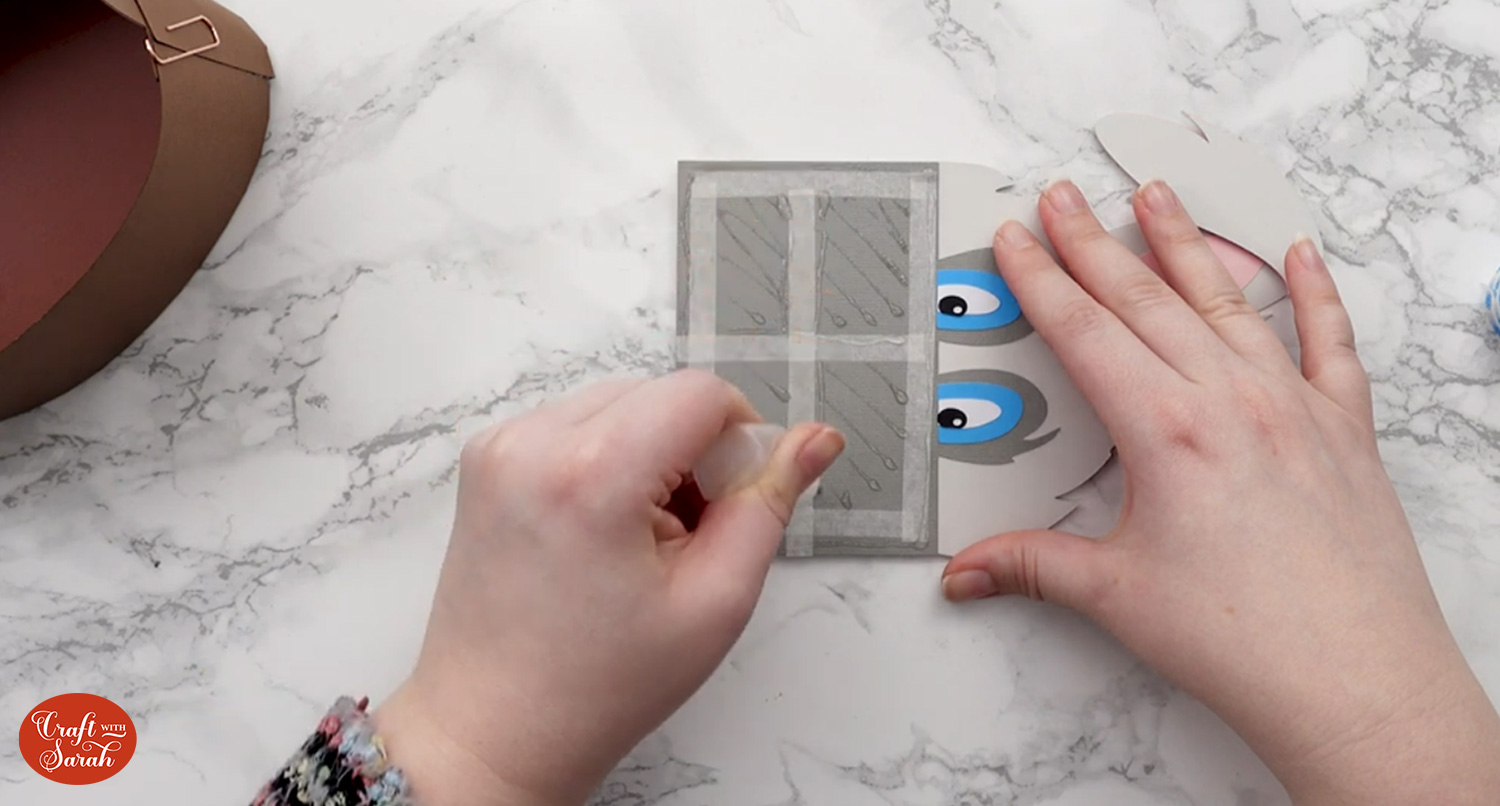
Glue the second base piece (not the Kraft board one) to the bottom to hide the tabs.
I added some washi tape to hold it in place whilst the glue dried.
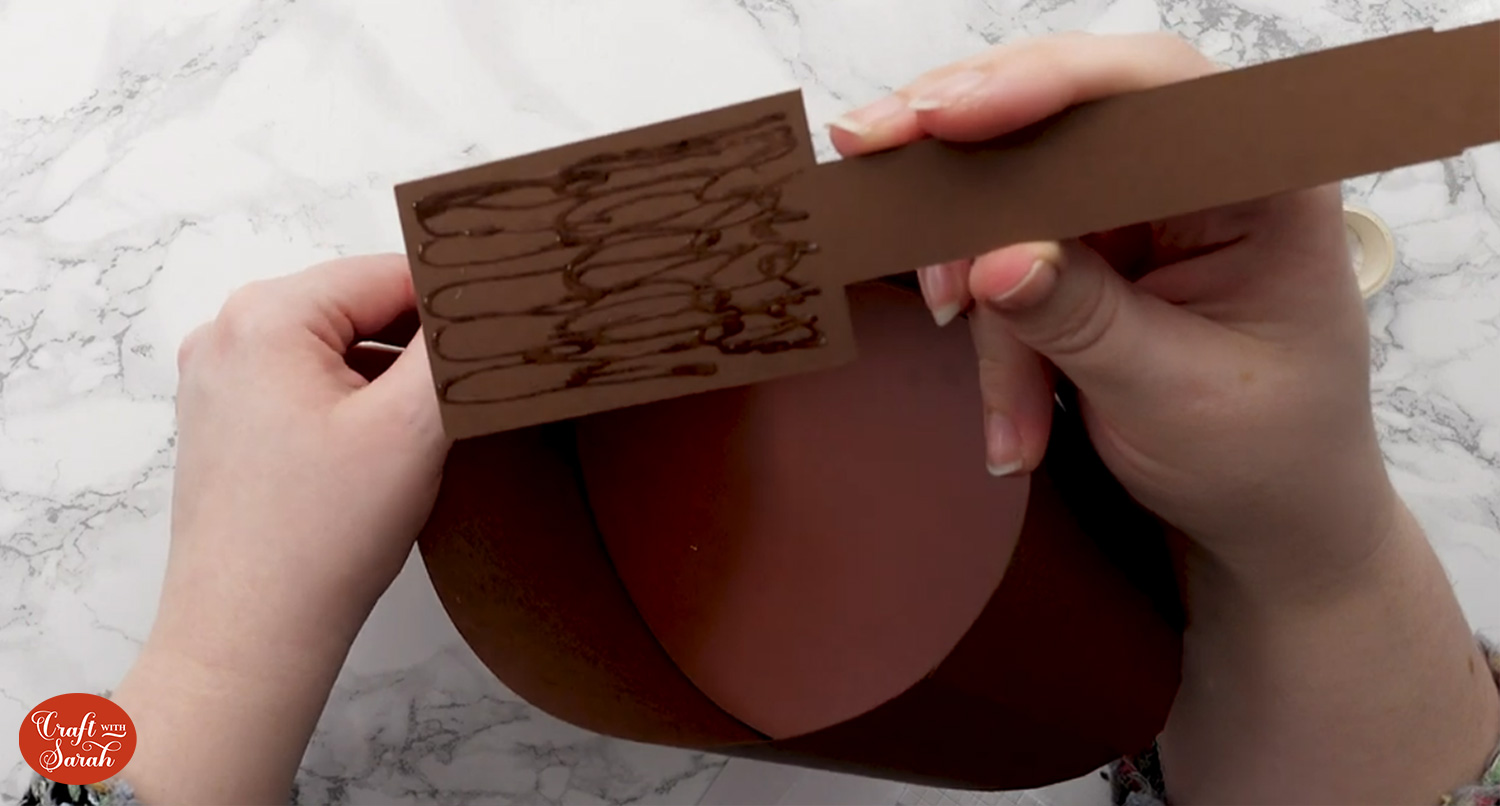
Now that the glue on the handle pieces is dry, we can stick all three bits together.
Glue the long thin rectangle to the end pieces so that it makes one long strip.
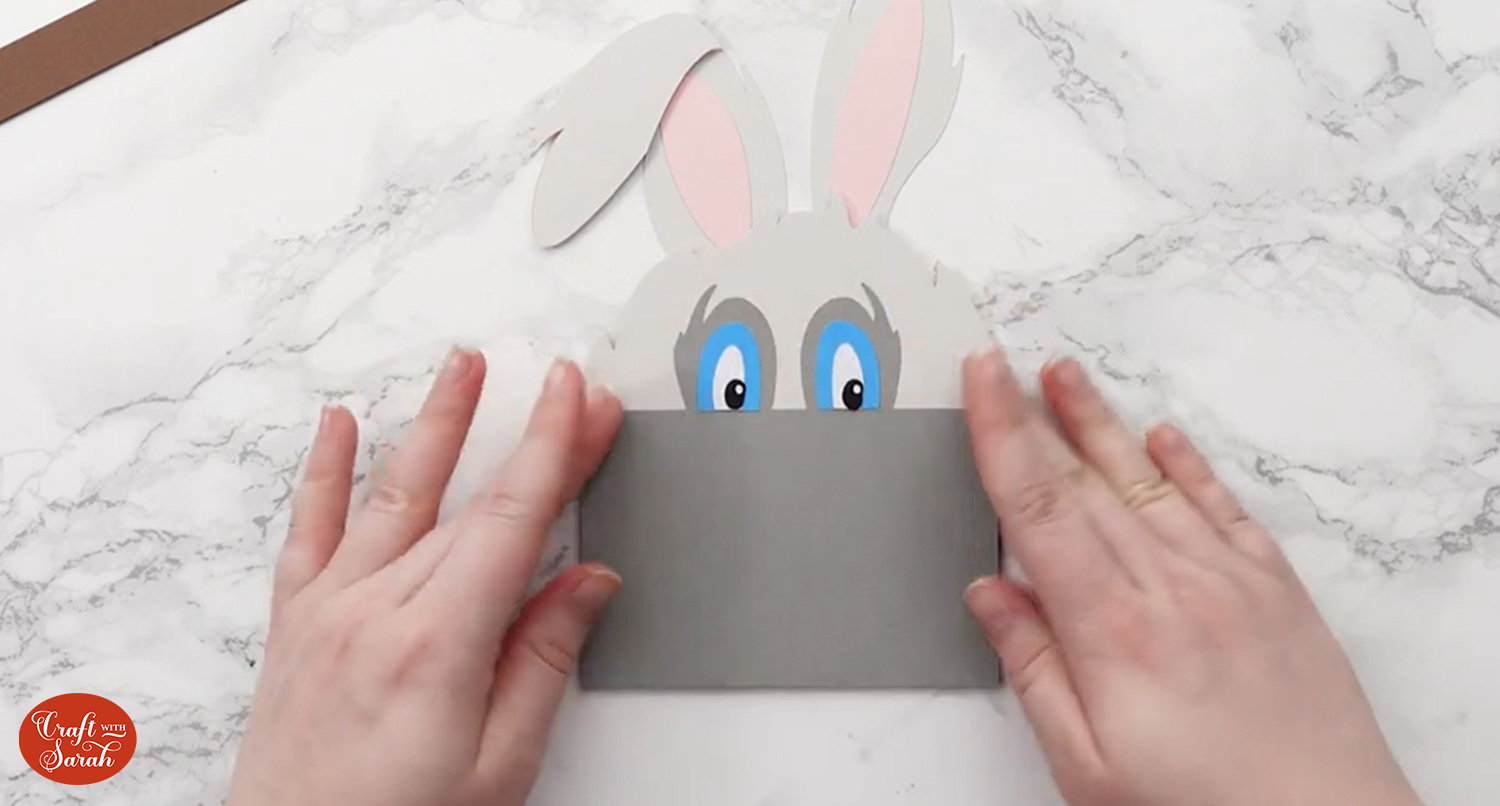
Glue the bunny or flowers together.
I haven’t included assembly guides for these as it is up to you how many layers you glue and how many (if any at all!) you use foam squares for.
For the bunny, I glued on the pink parts in his ears and used foam squares for the “fold” of one of his ears and his face piece.
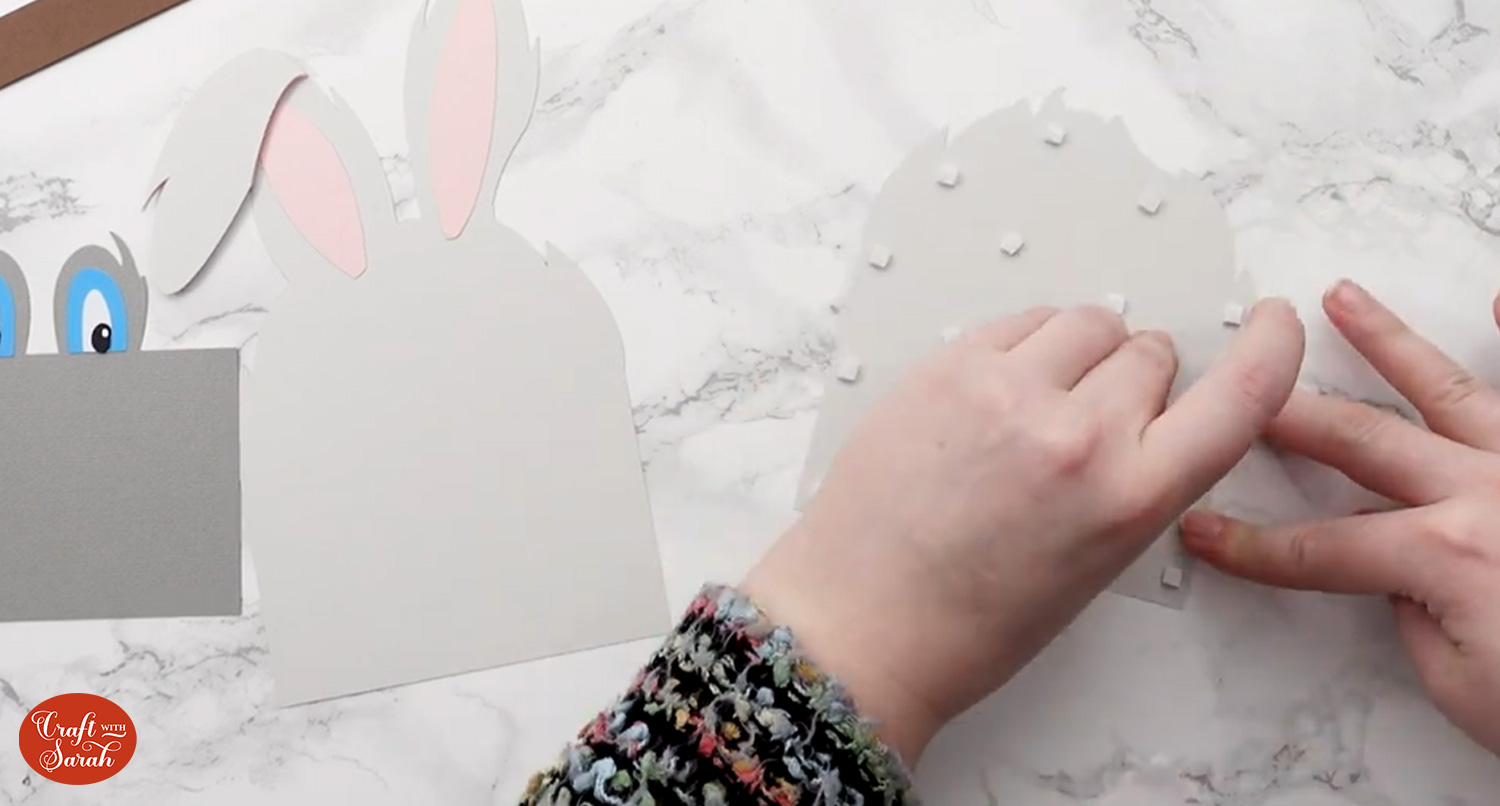
Then, I glued the rest of the pieces on top.
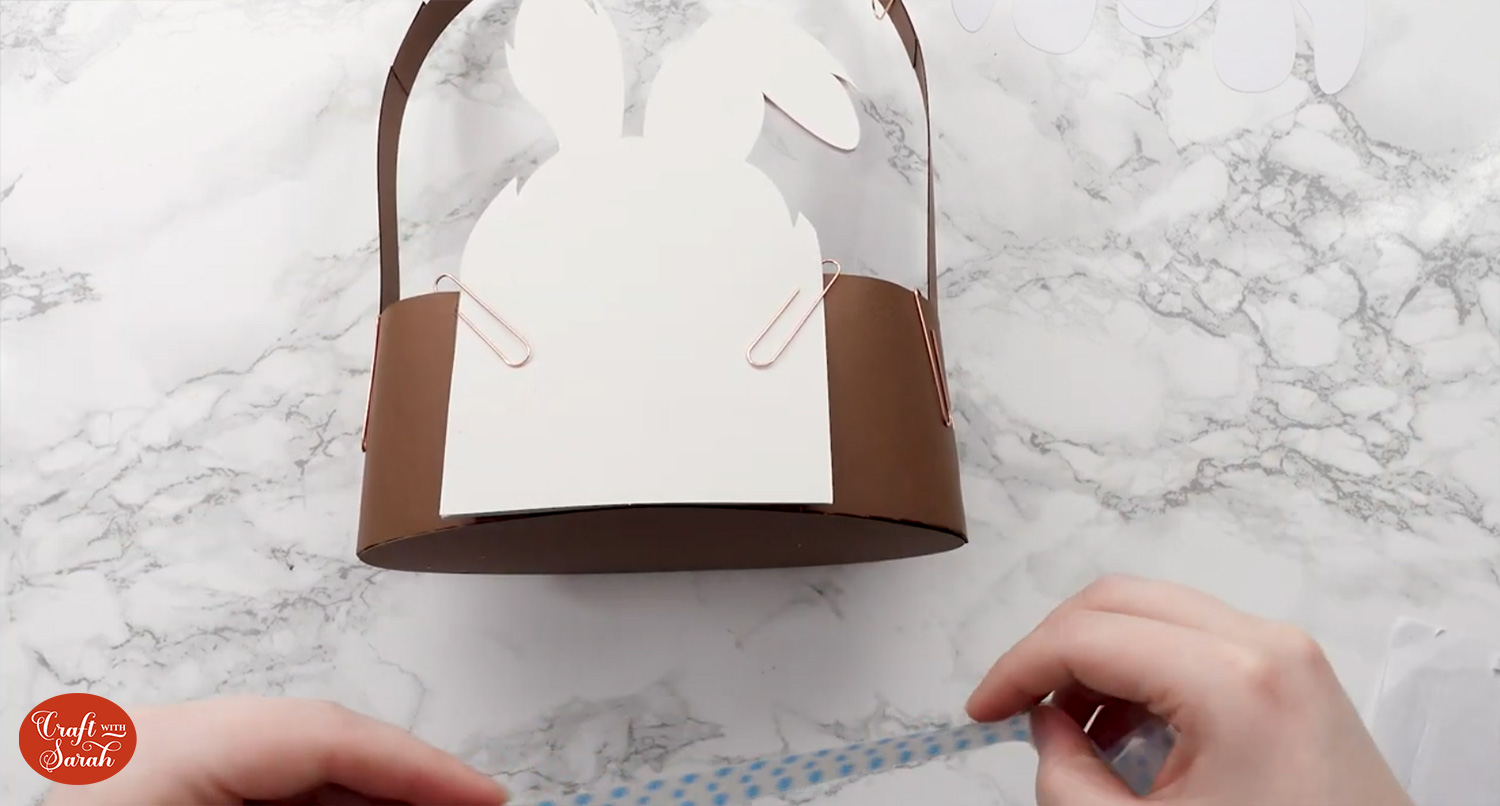
Add glue to the outside “large rectangle” pieces of the handle.
Glue it to the inside of the basket.
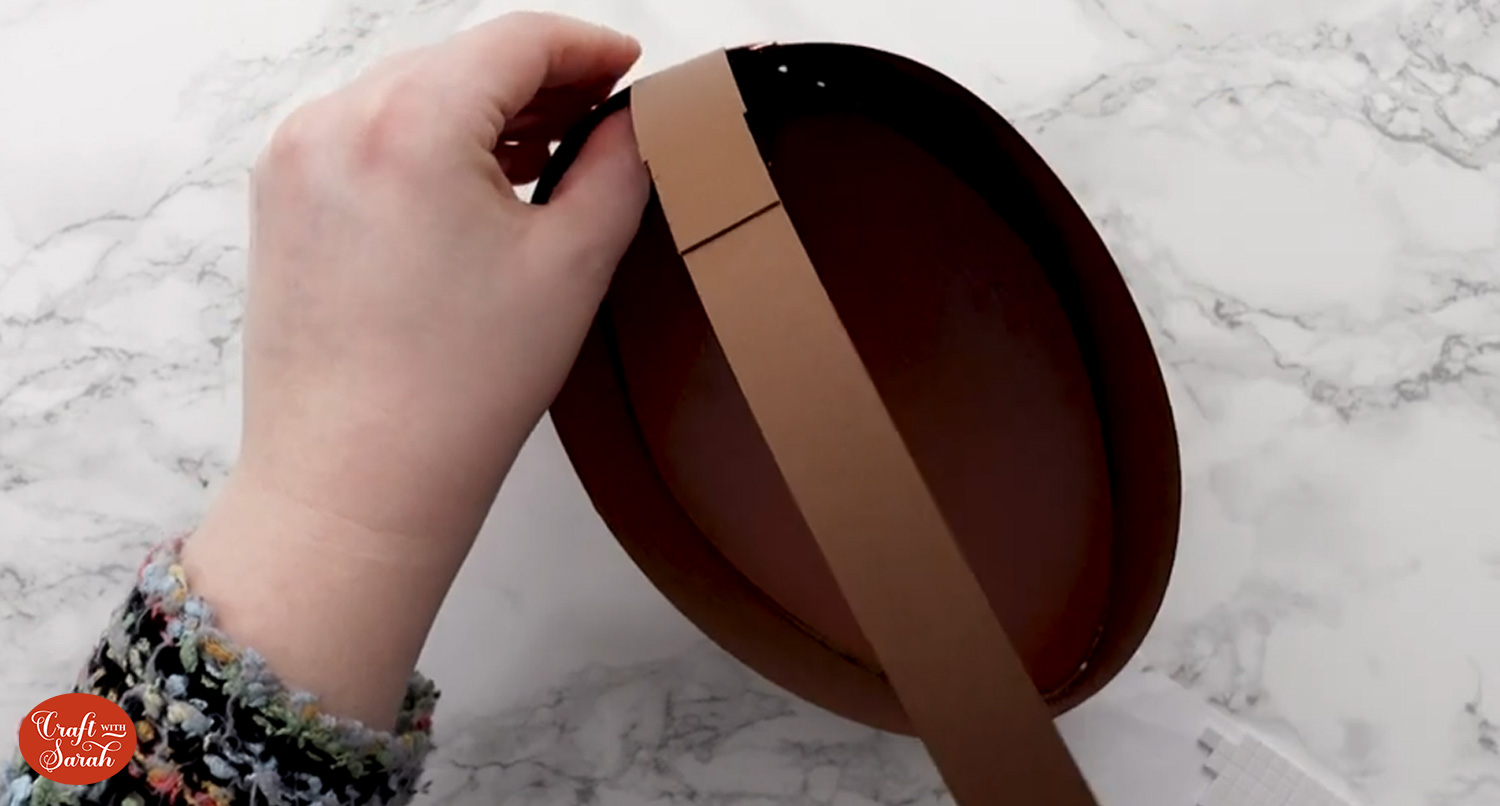
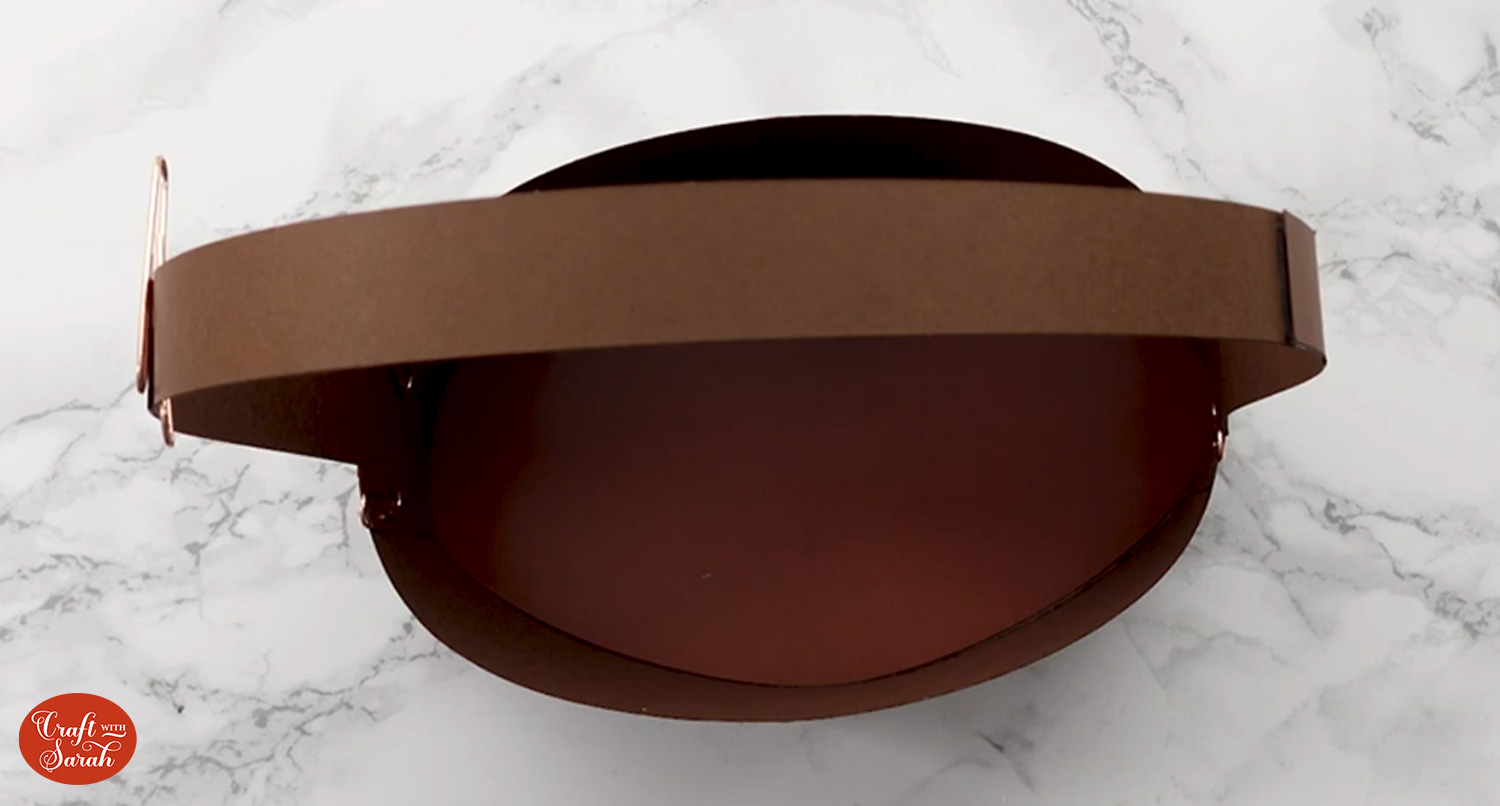
Repeat the same on the other side and then use paperclips to keep the handle held securely in place until the glue dries.
If making the bunny basket, glue the bunny head to the back of the basket. I used a mixture of glue and double-sided tape.
Use paperclips to hold it in place.
Use foam pads or glue to stick the “fluffy” arm pieces to the hand pieces.
Glue the arms around the basket so that they look like they are “hugging” the basket.

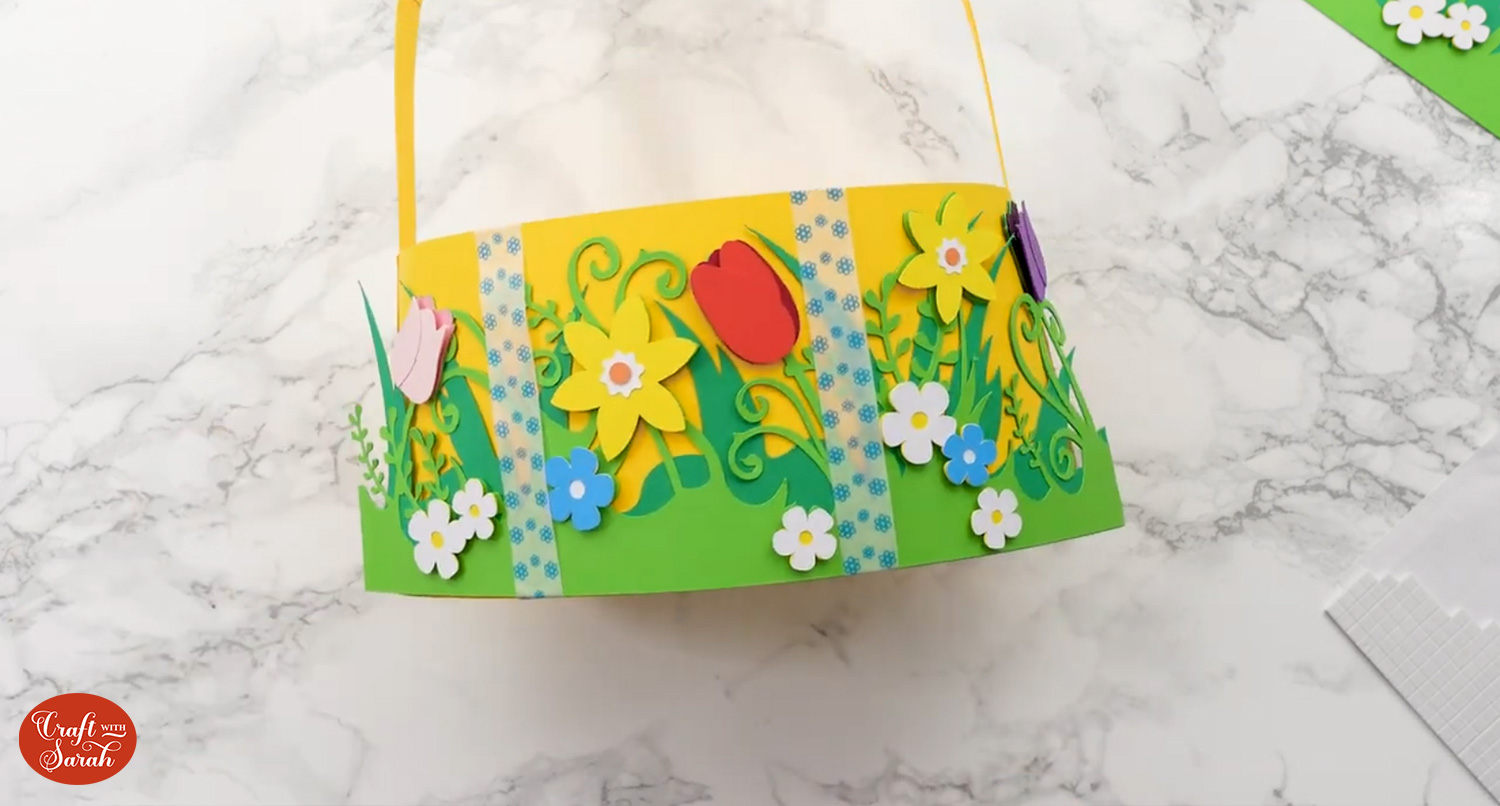
If you’re making the flower basket, stick all the flower pieces together.
I mostly glued mine together, but used one piece of foam square on each of the flower heads to make them “pop out” a little bit.
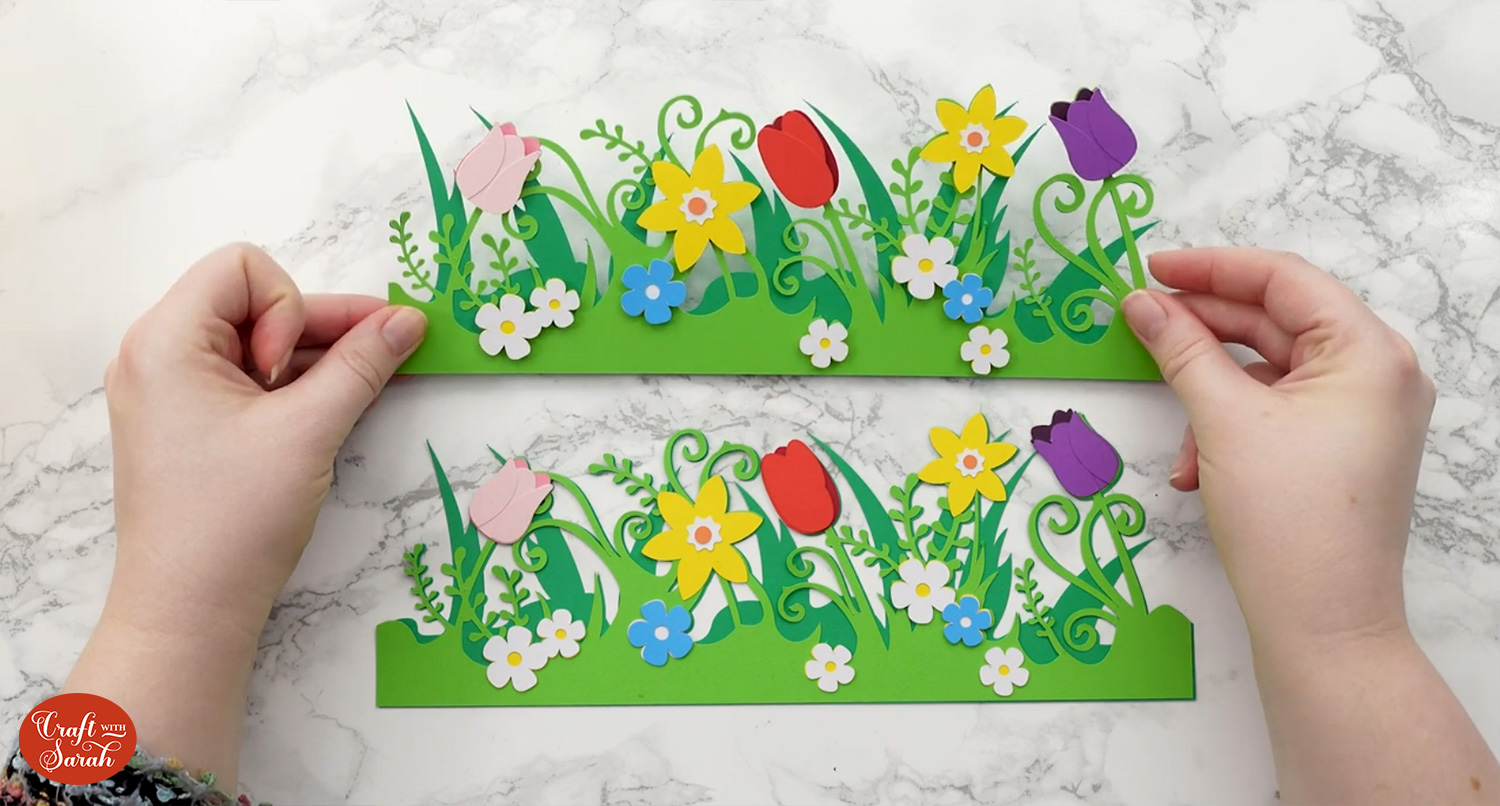
Glue the flower pieces to the front and back of the basket.
The grass will overlap a little bit on both sides, so that there aren’t any gaps in the design that would show the basket colour through.
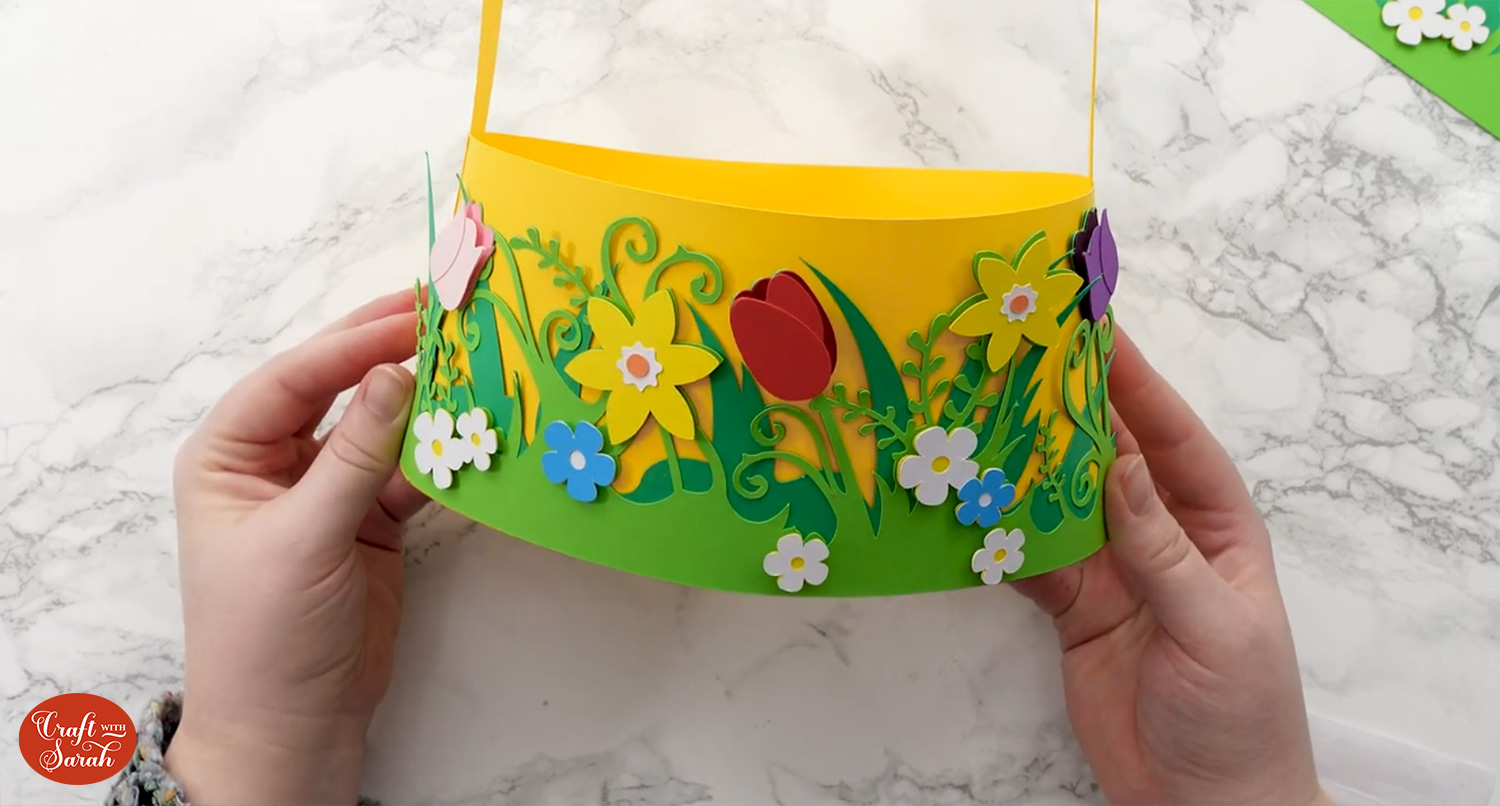
I was having a little trouble with the glue sticking because of the curve of the basket, so I added some washi tape to hold it in place until the glue was fully dry.
Add the Kraft board base piece into the basket to give it some stability.
Wait for everything to REALLY dry before you add the chocolates inside!
Happy crafting,
Sarah x

