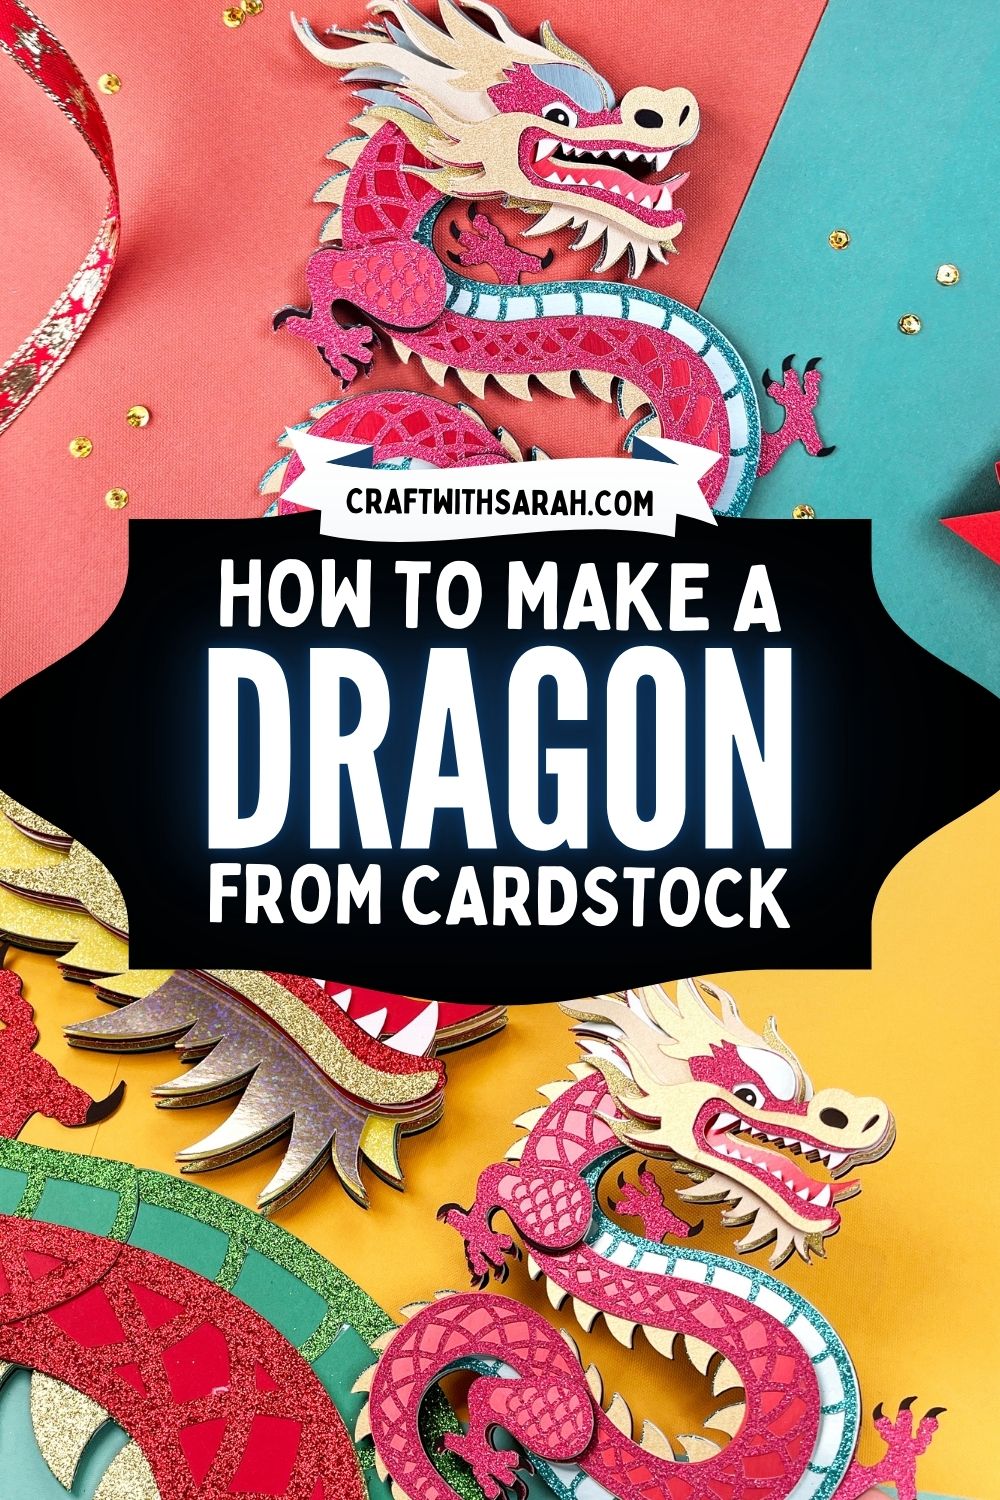
Chinese Dragon SVG 🐉 Make a DIY Paper Dragon

Make a striking dragon craft for Chinese New Year.
As the vibrant hues of red and gold grace the streets and the rhythmic beats of drums fill the air, the Chinese New Year ushers in a spirit of joy and festivity.
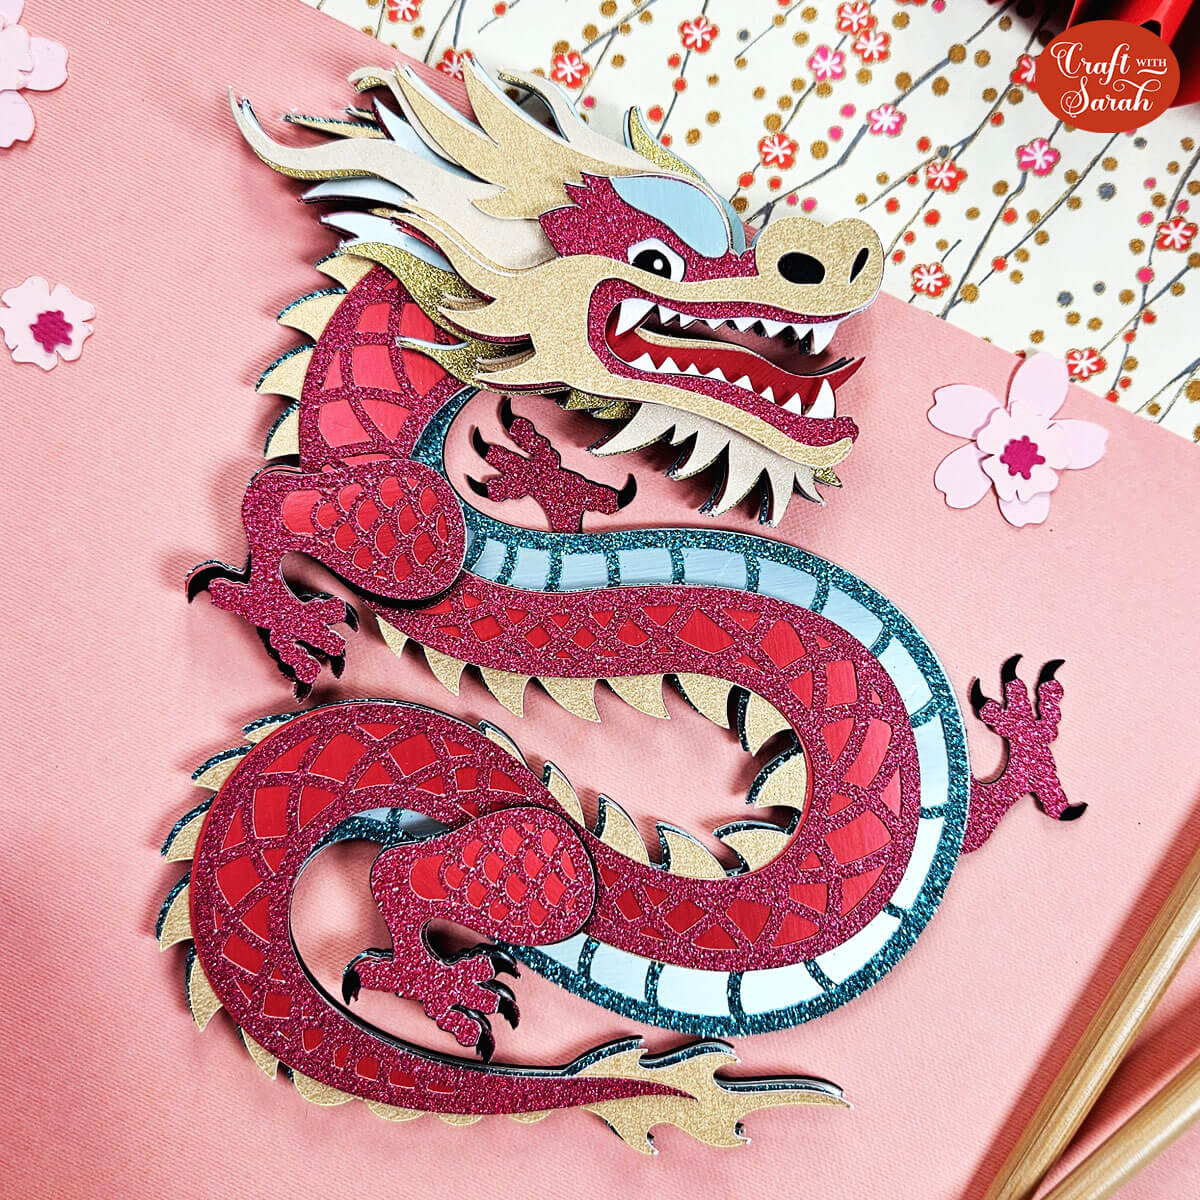
What better way to celebrate Lunar New Year than with this glitter-filled Chinese dragon craft project, designed for cutting from cardstock with your Cricut machine.
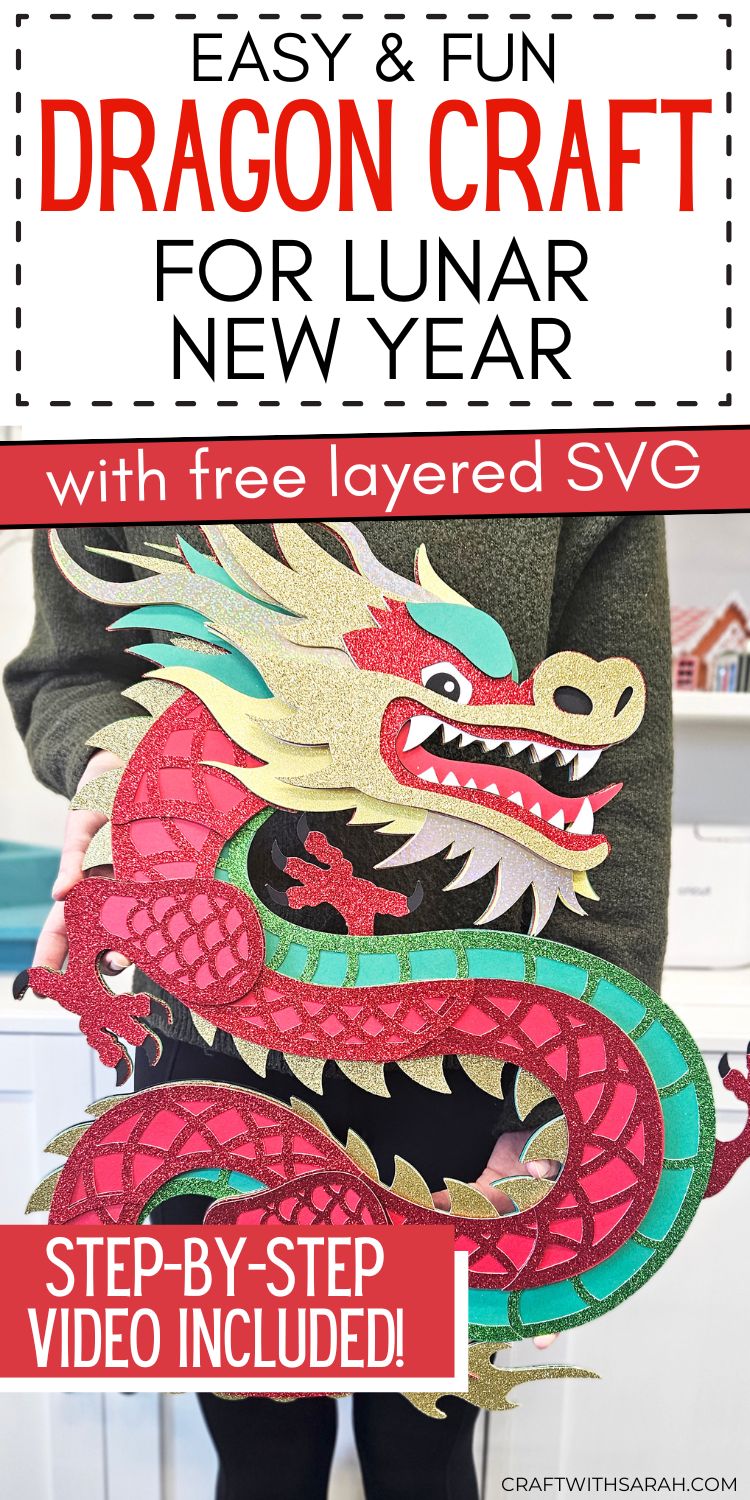
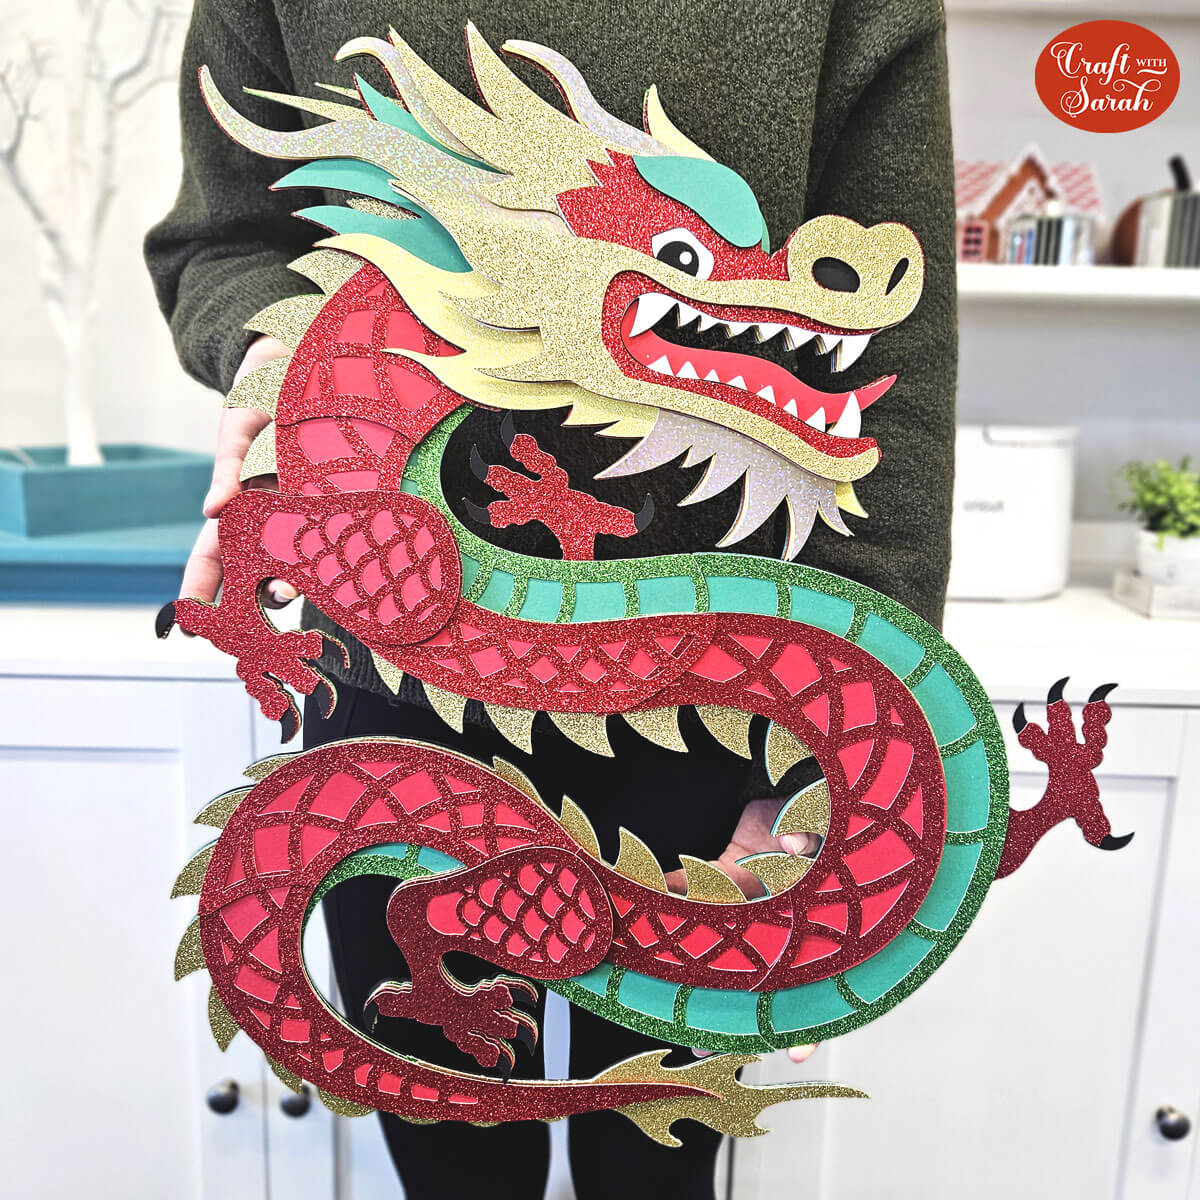
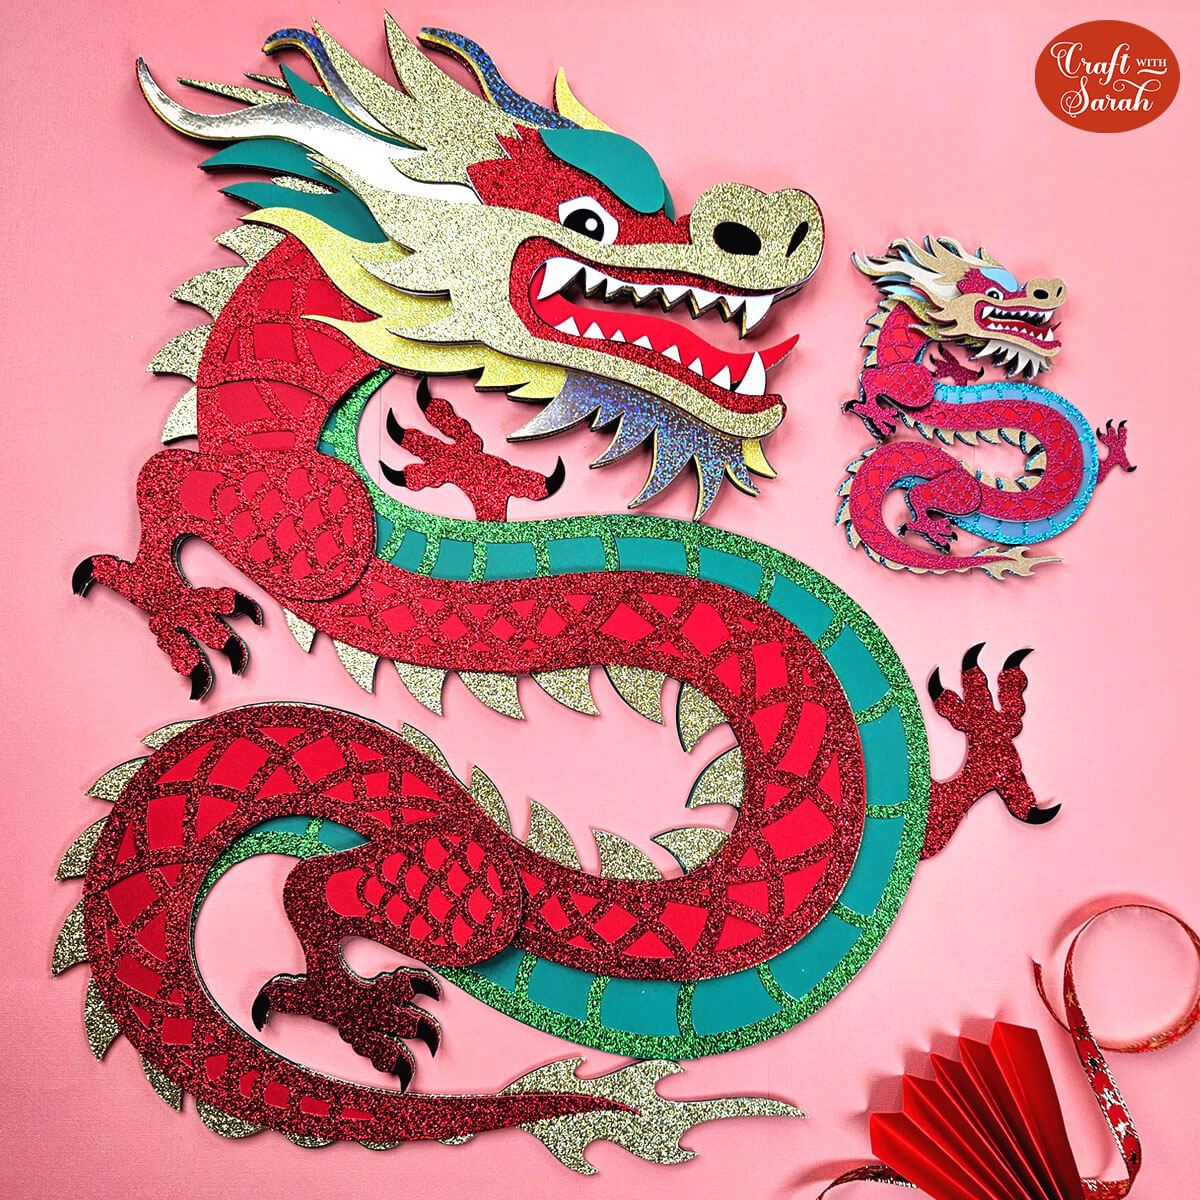
This intricate design captures the strength and power of the dragon, with bright, bold colours and lots of depth and layers to bring him to life.
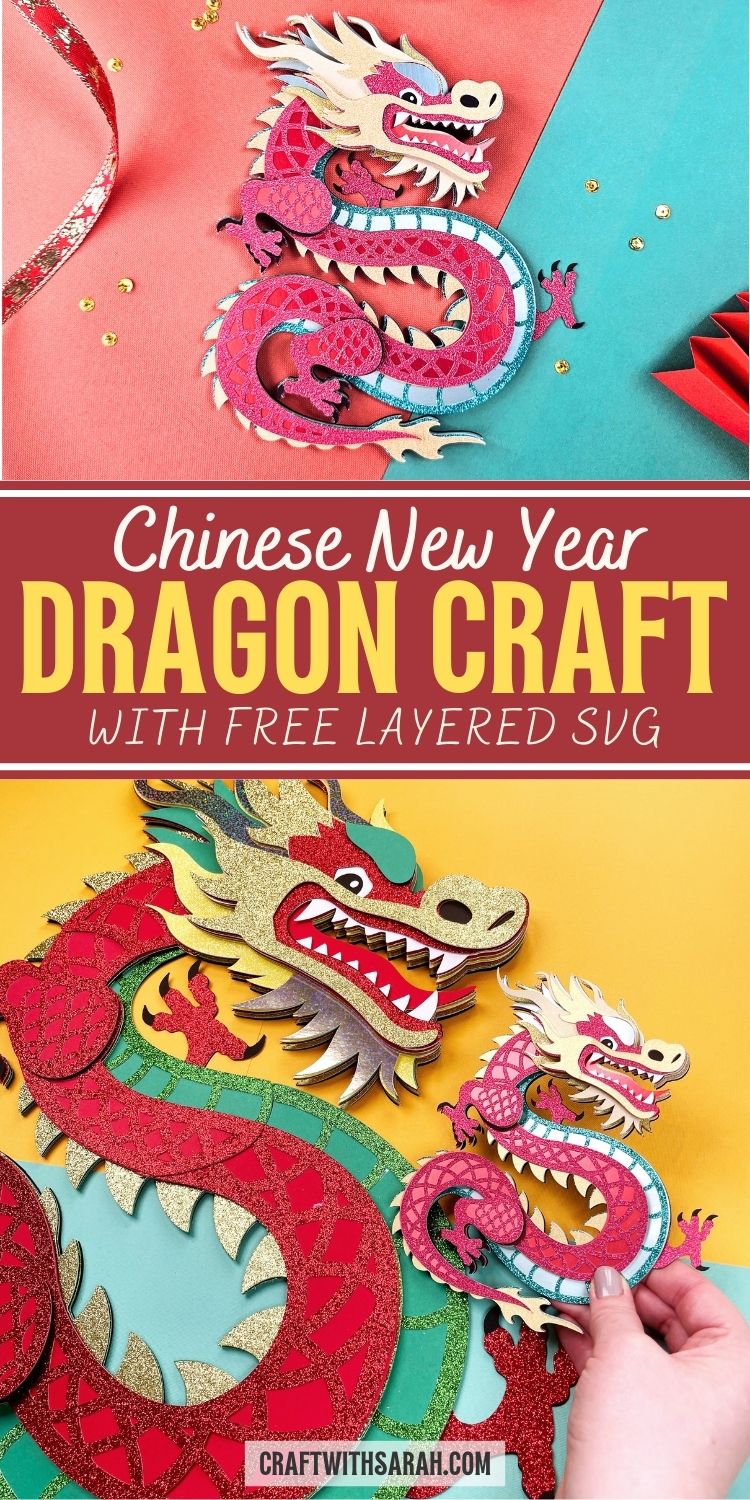
Two separate versions are included: one smaller dragon to be cut from single sheets of cardstock and a giant off-the-mat version which comes in sections to make a huge dragon that’s 20 inches wide and 23 inches tall.
Chinese New Year dragon papercraft materials
Here is a list of the materials that I used to make this project.
Please note that some of the links included in this article are affiliate links, which means that if you click through and make a purchase I may receive a commission (at no additional cost to you). You can read my full disclosure at the bottom of the page.
- Cricut machine
- Light blue Cricut cutting mat
- Coloured Card (I used lots of glitter card!)
- Collall All Purpose Glue
- Needle Tip Applicator Bottle
- 3D foam pads
- Sticky tape and twine/ribbon if you are making the giant version
Video tutorial for layered year of the dragon SVG
Watch the video below to see how to make this layered dragon papercraft. Keep scrolling for a written tutorial.
I start the video by showing the smaller version of the dragon, then the large version starts at approximately 19 minutes 38 seconds into the video.
Layered oriental dragon craft assembly instructions
Here’s how to make your very own DIY dragon for Lunar New Year using a Cricut machine.
Step 1) Download the free file & unzip the downloaded folder
Download the Free Cutting File
Please login to your account to download this file.
TERMS OF USE:
You may sell finished, handmade physical craft items that you have made using this product but must not sell or share the digital files. Read full terms of use
Before you upload the SVG to Design Space, you need to unzip the download folder that it comes in.
- How to unzip a folder on Windows computer
- How to unzip a folder on a Mac
- How to unzip a folder on an iPad/iPhone
- How to unzip a folder on an Android device
The rest of this tutorial is split into two segments: one for the smaller dragon file and one for the large one.
Layered dragon assembly: small version
Step 2) Upload the SVG file into Design Space
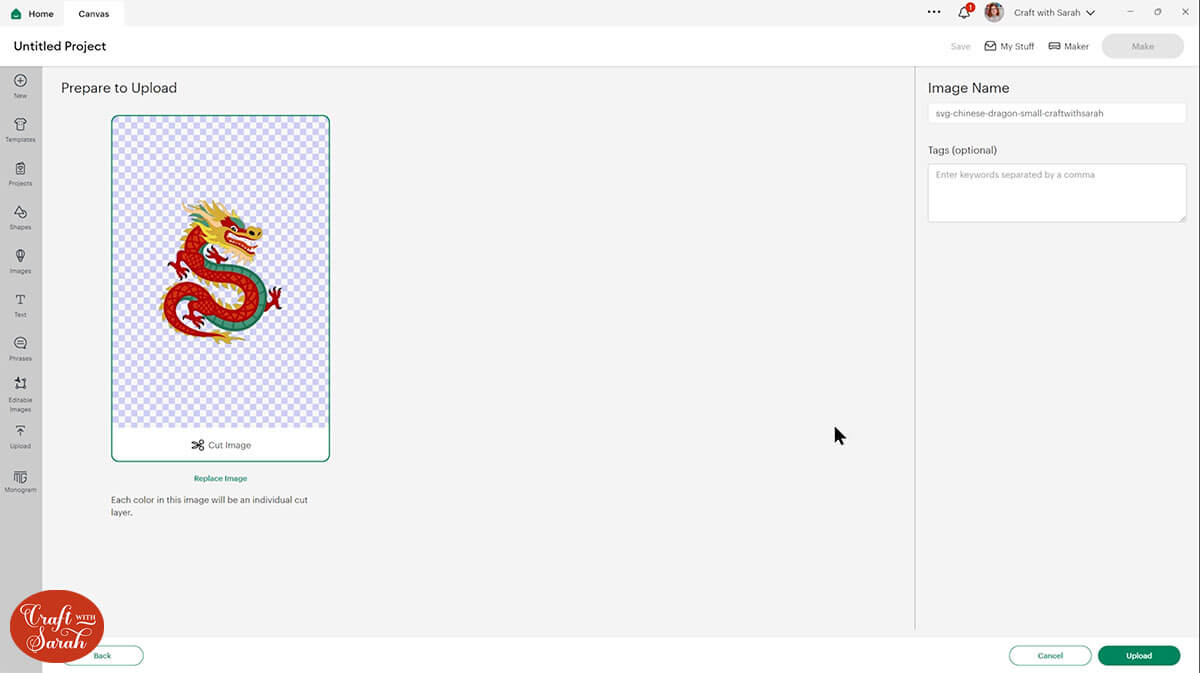
Open up Cricut Design Space and upload the file in the “Small Version” folder called svg-chinese-dragon-small-craftwithsarah.svg
Make sure you upload the file which starts SVG_ in the filename!!
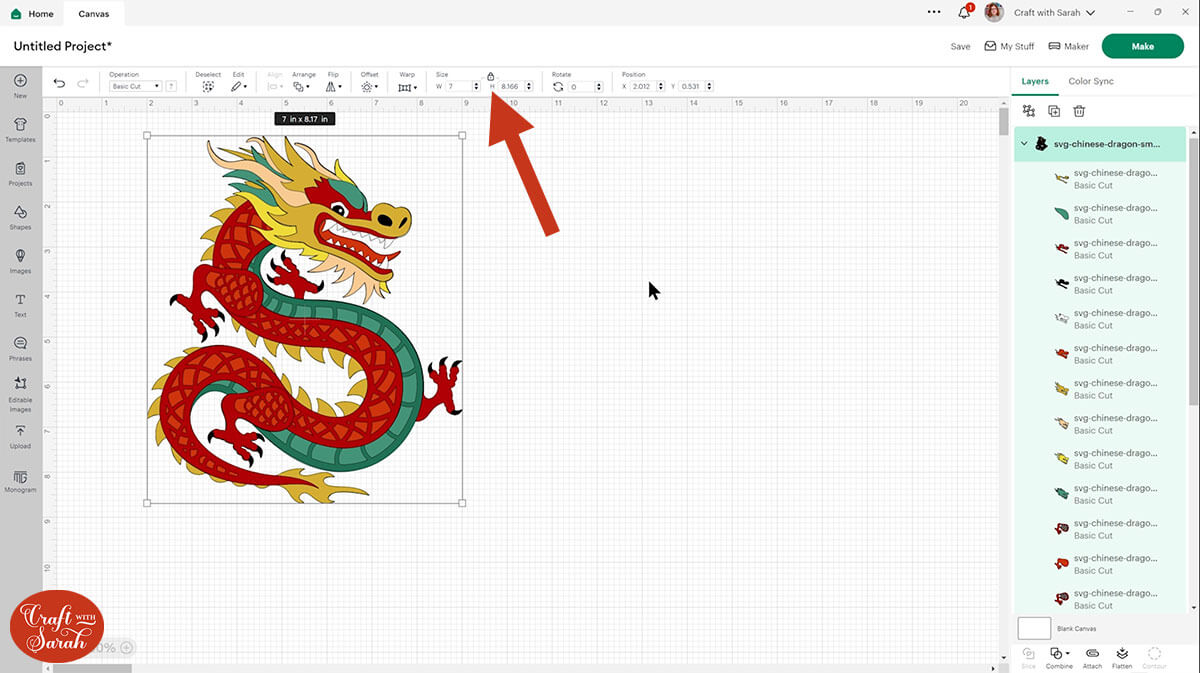
This is how it should look after you have uploaded the file:
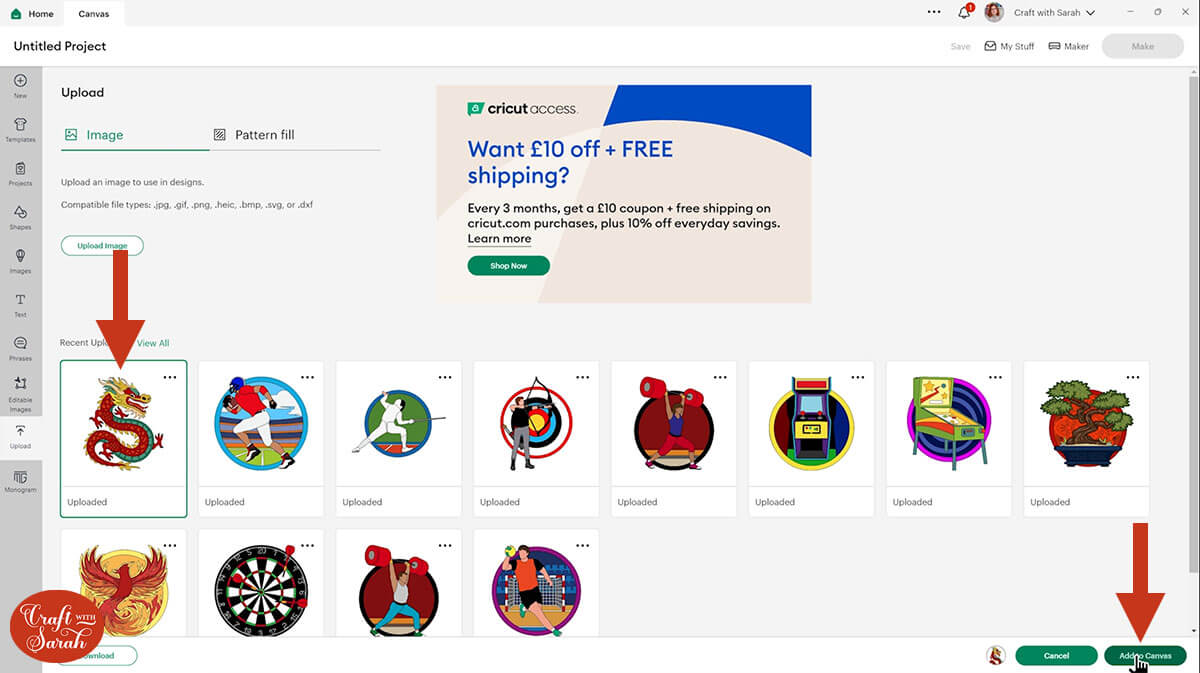
After uploading, the design will show in your “Recently Uploaded Images”. Click on it and then press “Add to Canvas” to put it onto your Project.
Click the design on your canvas and use the width/height boxes near the top of the screen to make it the size that you want to cut it.
I made mine 7 inches wide (8.166 inches tall). I don’t recommend going smaller than about 5.5 inches wide as some of the details in the dragon’s head will get a bit too thin and hard to cut.
Step 3) Cut the small dragon SVG design
When you’re happy with how the design is looking in Design Space, click “Make” and follow the instructions on-screen to cut out all the layers.
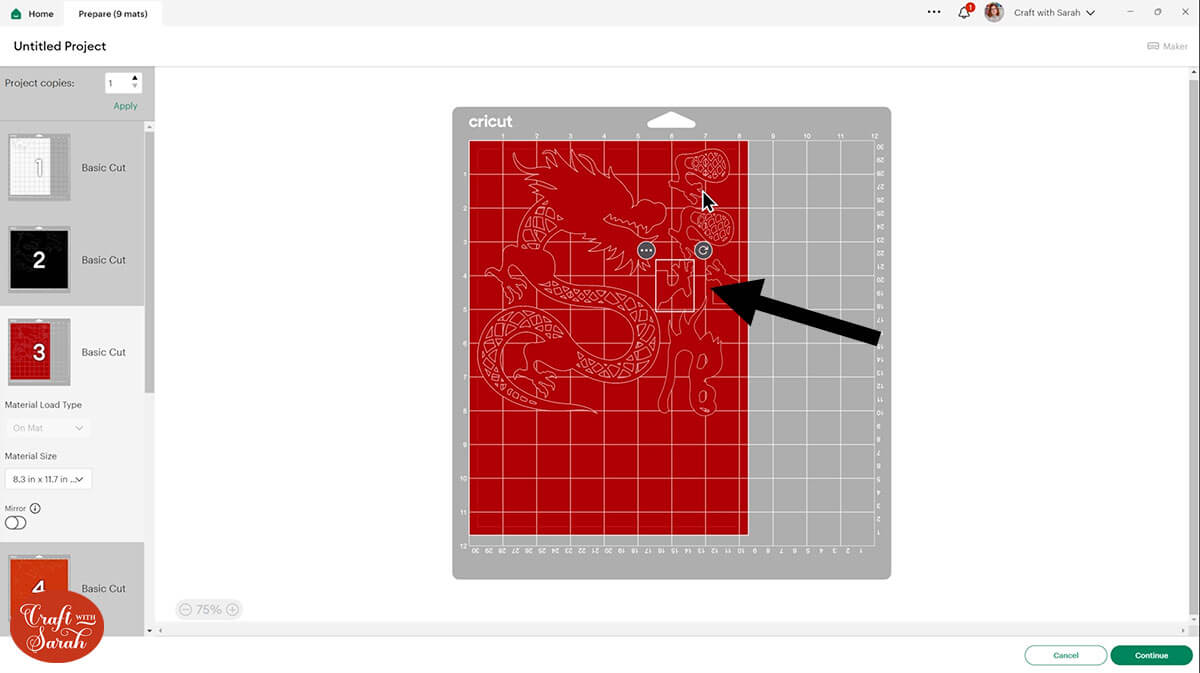
Use the dropdowns on the left of the page to change the paper size. You need to change it for every colour in the design.
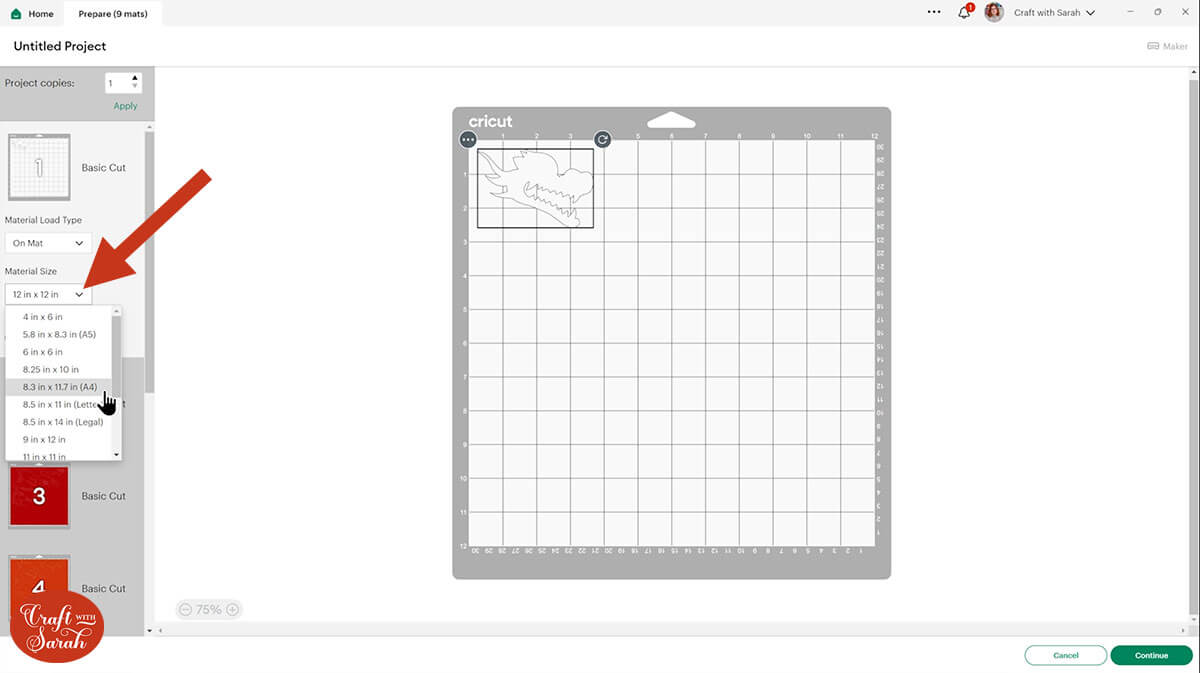
You can drag-and-drop the pieces around on the cardstock to make better use of the space.
I cut my dragon from metallic pearlescent card for the “solid” layers and glitter cardstock for the scales.
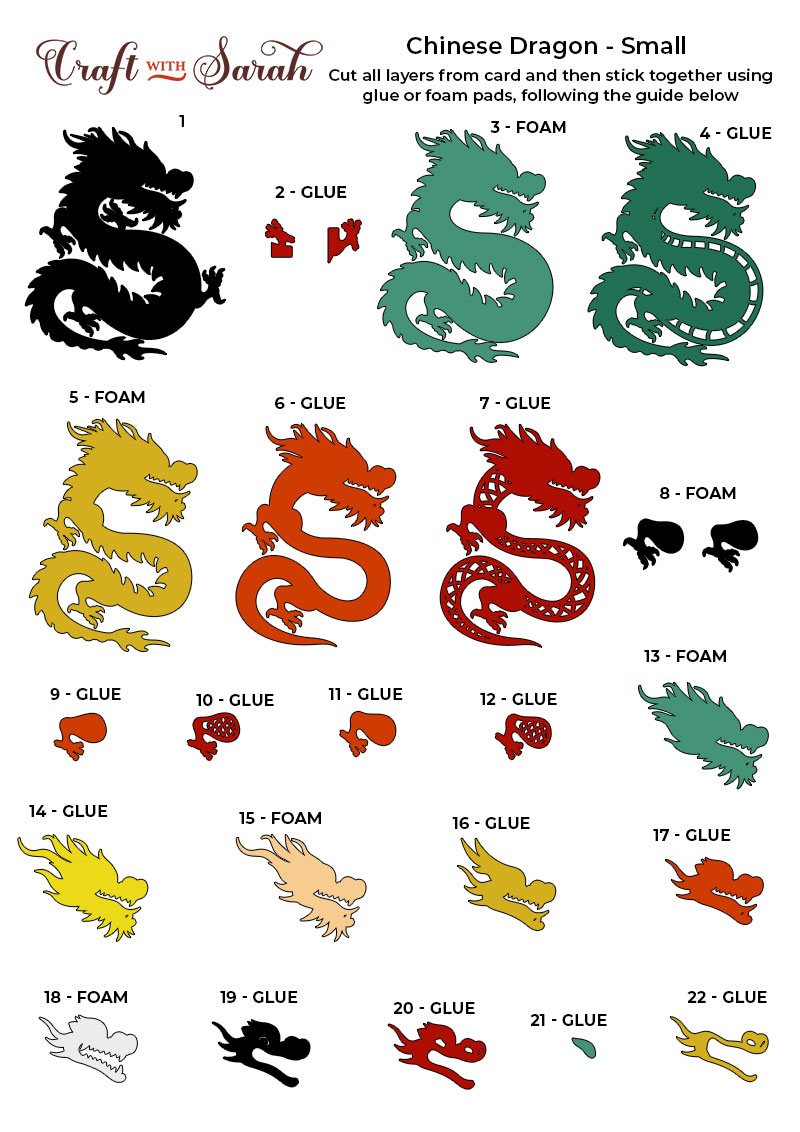
Step 4) Stick the dragon together
Use 3D foam pads and glue to stick the pieces together.
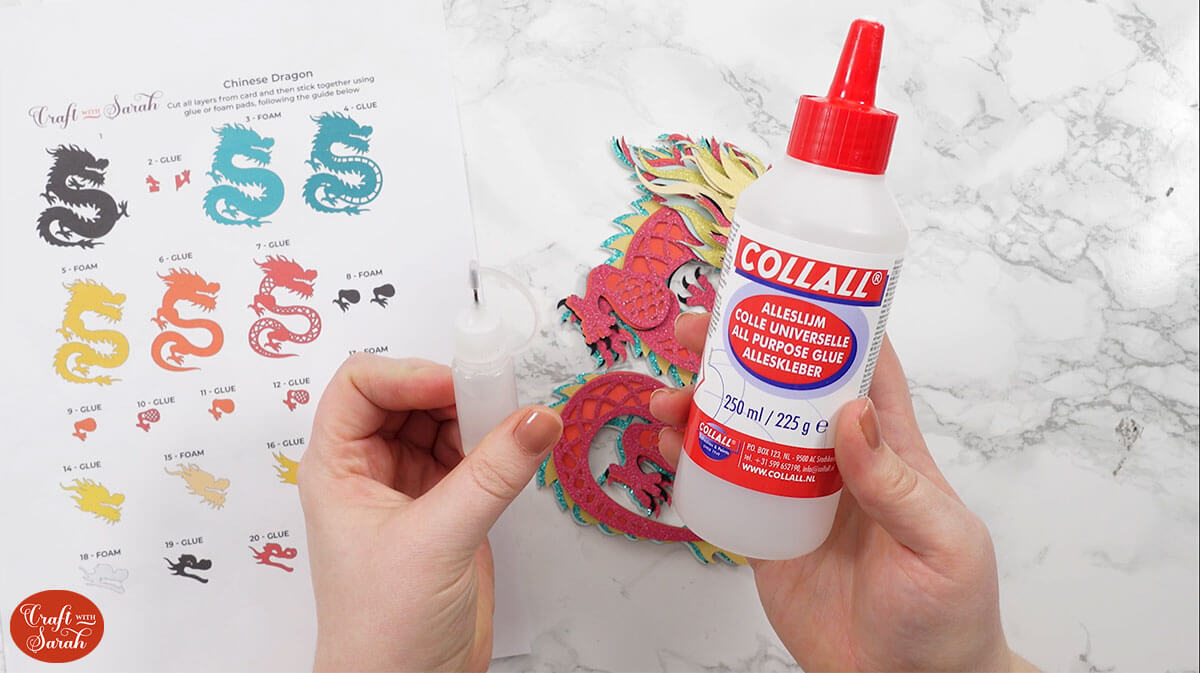
Use this guide to see the order to stick the layers together in. A high quality printable version of this assembly guide is included in the folder when you download the cut file.
My favourite glue to use on papercraft projects is Collall All Purpose Glue.
It’s SO good because it doesn’t “warp” or bend the cardstock like some glues do. You can use as much of it as you want and the card stays perfect – and it dries perfectly clear too!
To make it even easier to apply glue to layered card projects, I highly recommend getting some of these needle tip applicator bottles to put the glue into.
The nozzles are REALLY tiny which makes them perfect for putting glue in the pieces of cardstock that make up this design.
The foam pads that I use are from “Dot & Dab”, but any foam squares will work. If yours are big then you may need to cut them smaller with scissors to fit inside the edges of the layers.
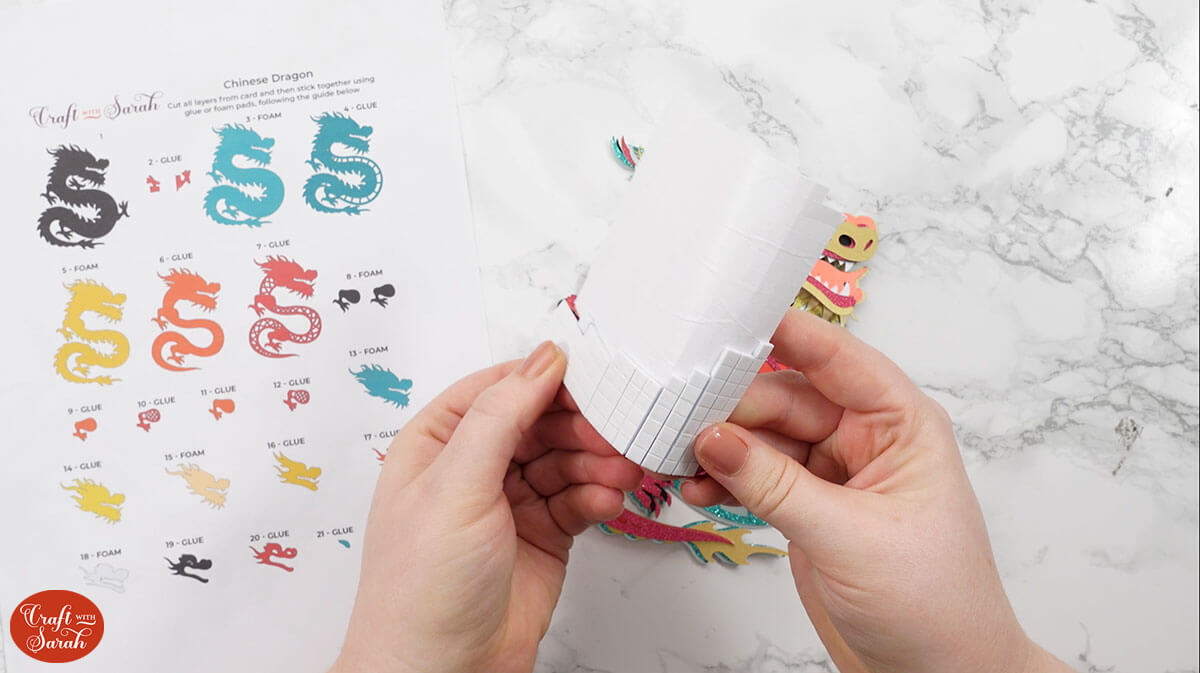
When adding the foam pads to the relevant layers, make sure you add some in the middle of the pieces of card so it give stability to the middles. If you don’t add any foam pads in the middles then it can “sag” under the weight of the other layers which doesn’t look as good.
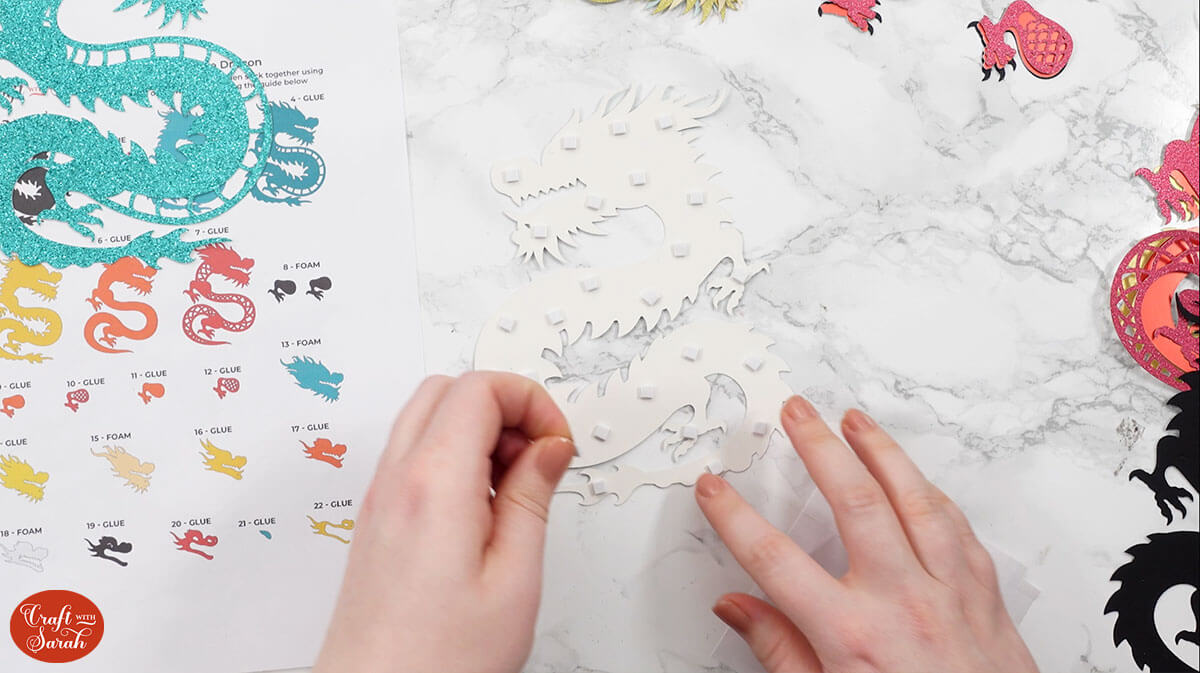
Stick the pieces of card together, following the assembly guide, until you have a finished dragon papercraft.
Layered dragon assembly: large version
Step 2) Upload the SVG file into Design Space
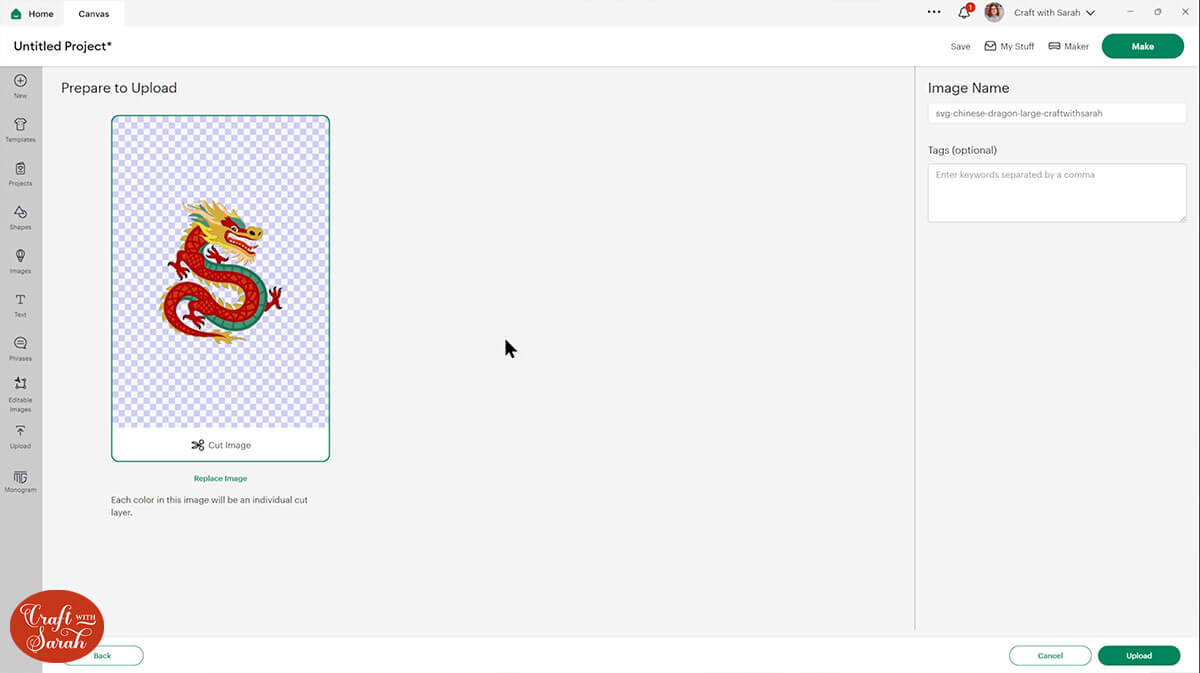
Open up Cricut Design Space and upload the file in the “Large Version” folder called svg-chinese-dragon-large-craftwithsarah.svg
Make sure you upload the file which starts SVG_ in the filename!!
The file looks exactly the same as the small one during the upload process:
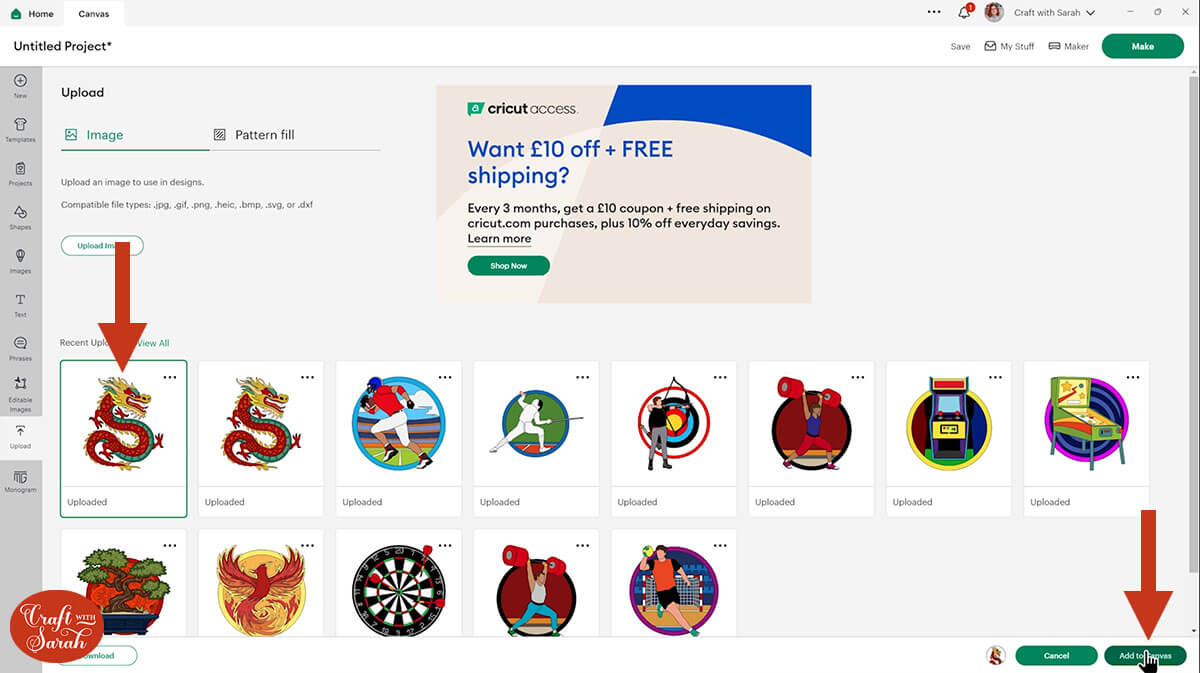
After uploading, the design will show in your “Recently Uploaded Images”. Click on it and then press “Add to Canvas” to put it onto your Project.
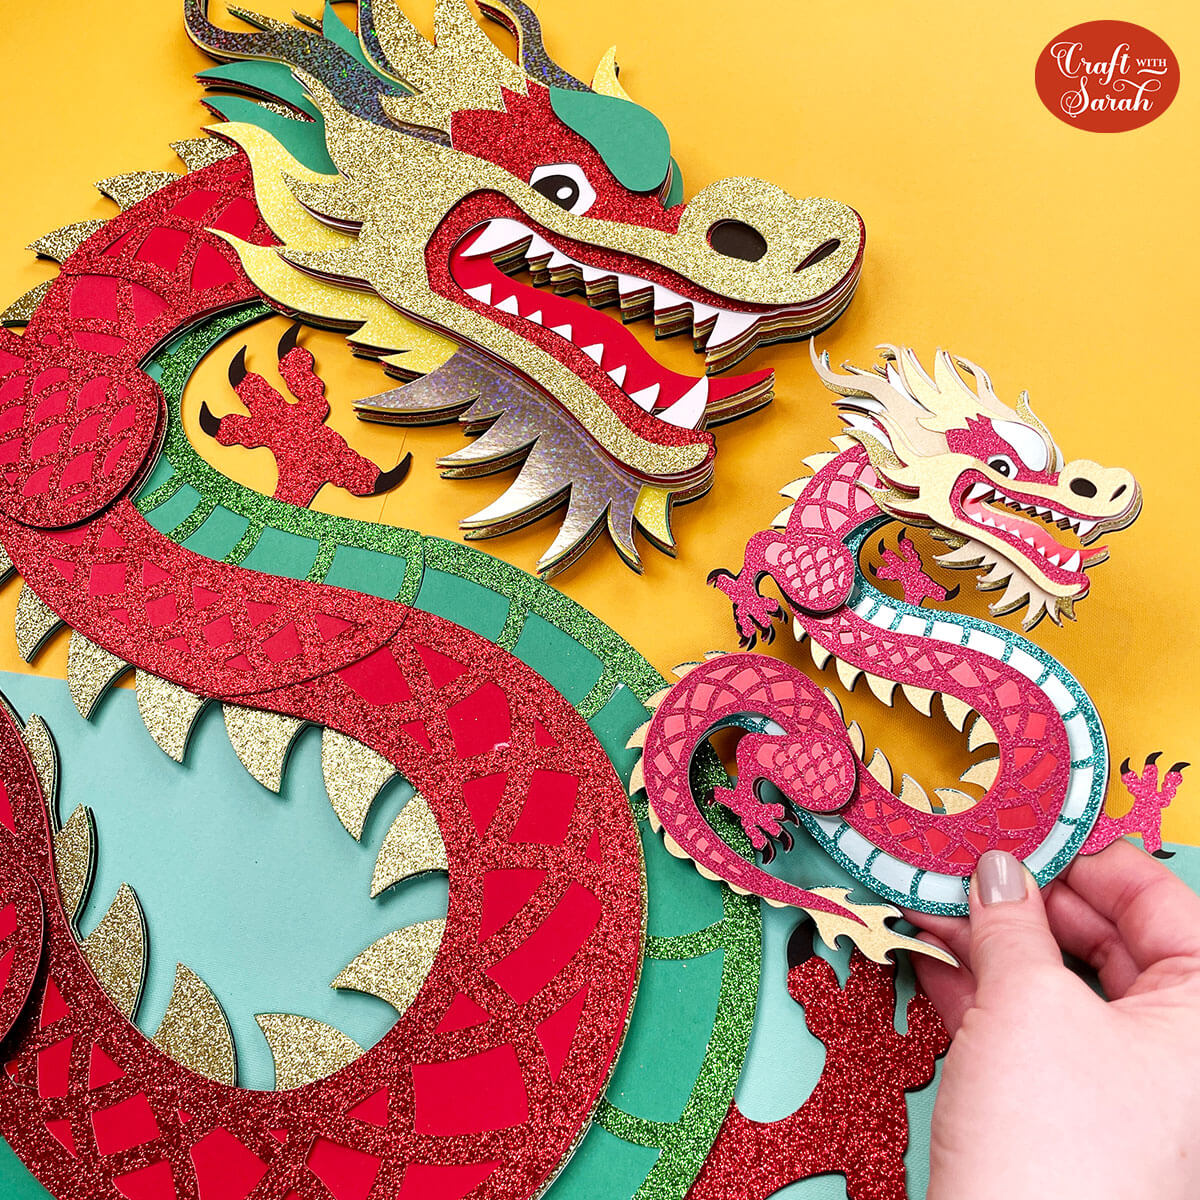
I left the small version of the dragon on my project to show the difference in size.
As you can see, the new dragon is quite a bit bigger! It should load in at 20 inches wide and 23.25 inches tall.
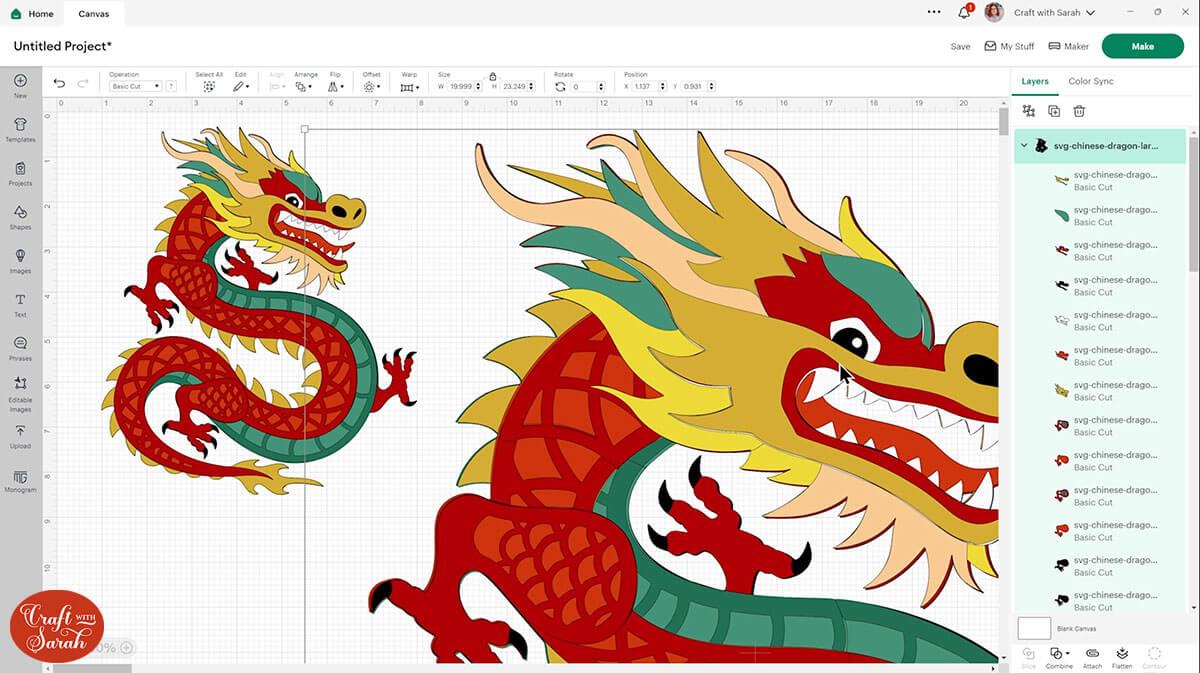
The design can still be cut from 12×12 inch cardstock on a regular sized Cricut cutting mat as the layers come in sections that we’ll cut separately and then glue together to make the giant dragon.
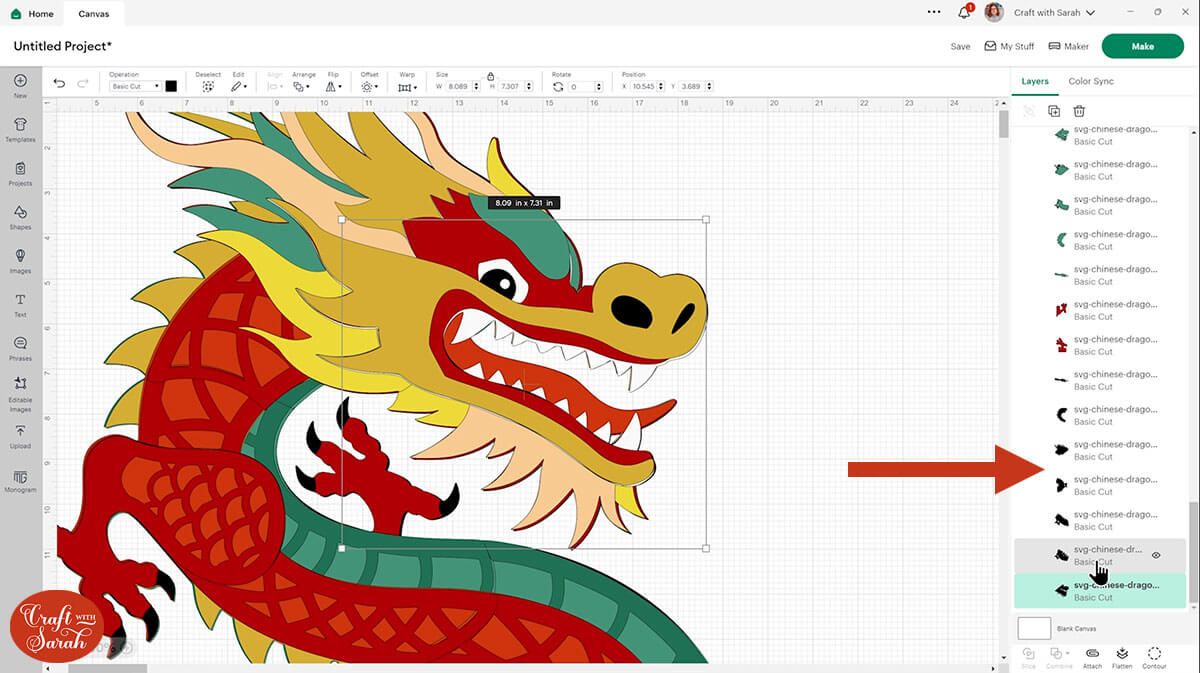
For example, here you can see that the very bottom black layer of card is broken up into seven different pieces.
Step 3) Cut the large dragon SVG design
When you’re happy with how the design is looking in Design Space, click “Make” and follow the instructions on-screen to cut out all the layers.
This design is intended to be cut from 12×12 inch cardstock. If you want to cut it from smaller card (e.g. US Letter or A4) then you will need to make the dragon smaller. I haven’t tested the size, but I think taking him down to around 16 or 17 inches wide should suffice.
By default, Design Space will arrange the pieces onto 48 different sheets of card.
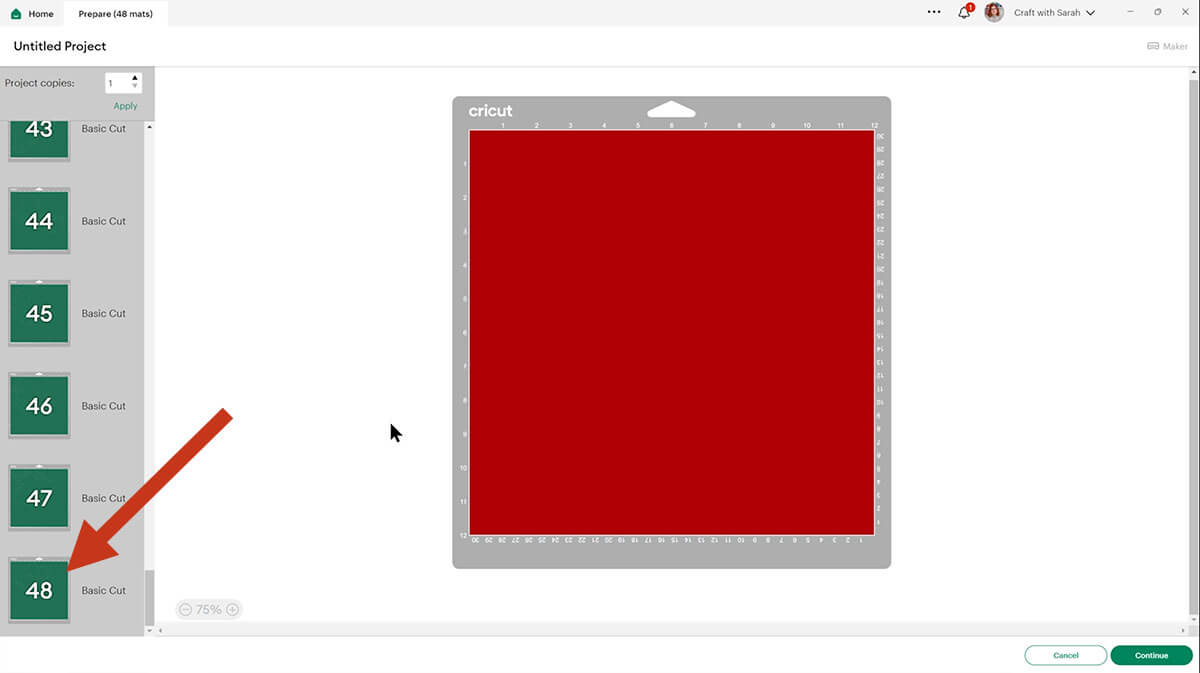
I strongly recommend taking some time to rearrange the pieces on the screen and move them about to different pieces of the same colour to help reduce the amount you’ll need.
I managed to get it down to 32 sheets of card by re-arranging the pieces before I cut it out.
Step 4) Stick the dragon together
Use 3D foam pads and glue to stick the pieces together.
The large dragon is a little more complicated than the small one because of the layers that come in different pieces.
Use this guide to see how to stick the layers together in. A high quality printable version of this assembly guide is included in the folder when you download the cut file.
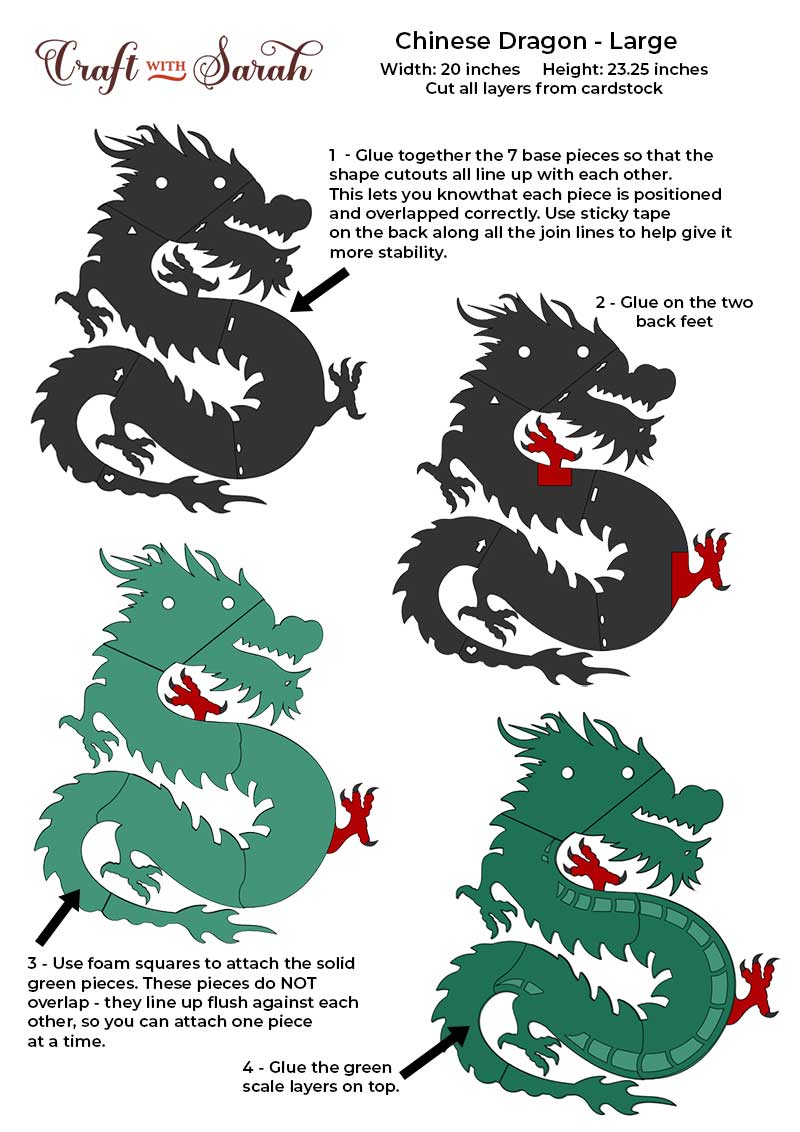
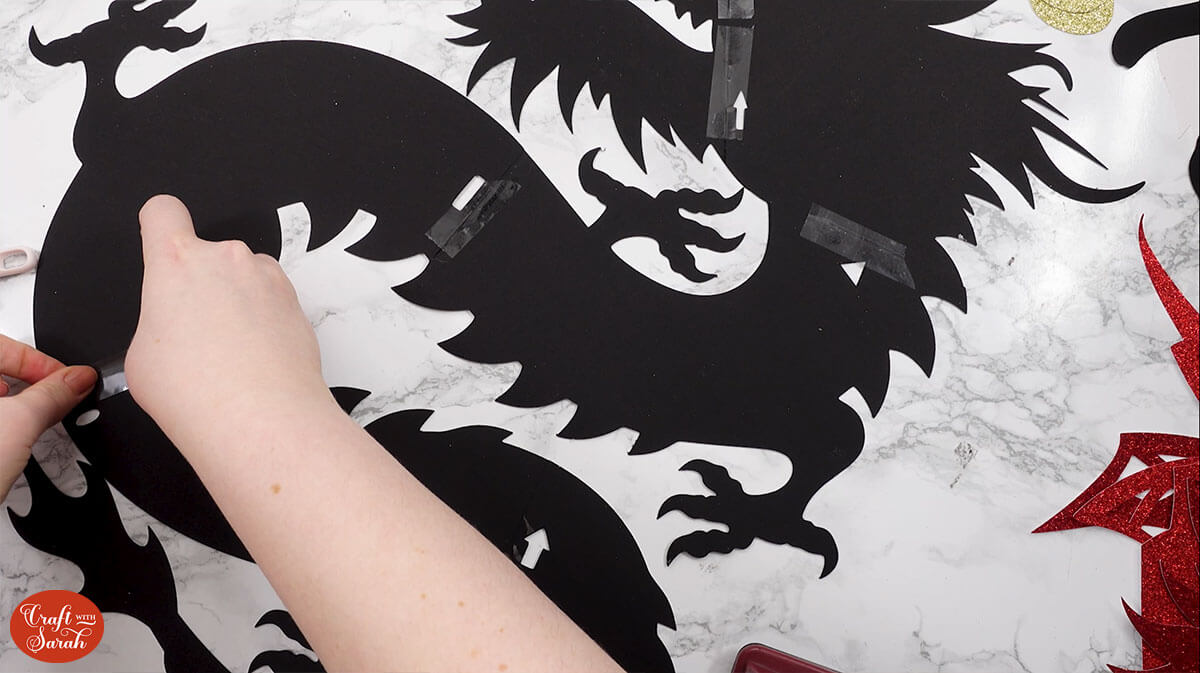
Start with the black pieces that make up the bottom layer.
Note that your dragon will have holes in the top of the head so that you can add ribbon or twine to hang him up. I had forgotten to add them to the design when I cut it for this tutorial, but I have since added them in.
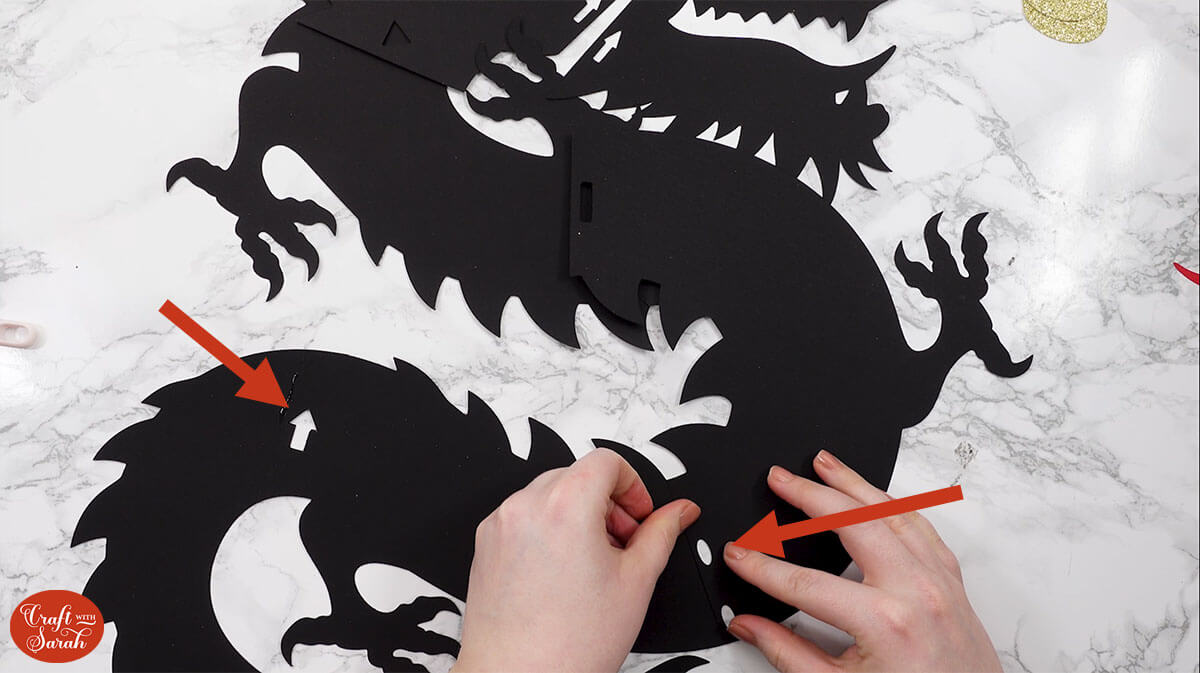
Roughly position them in the correct places on your work surface then start gluing them together, using the tail as the starting point.
Each piece of card has a “shape” cutout of it that matches the piece of card it will be stick to.
Make sure the shapes perfectly overlap each other when gluing to ensure everything fits together properly.
When the glue is dry, turn the dragon upside down and put sticky tape down all the join lines to help give them a bit more stability.
Glue on the two back legs/feet.
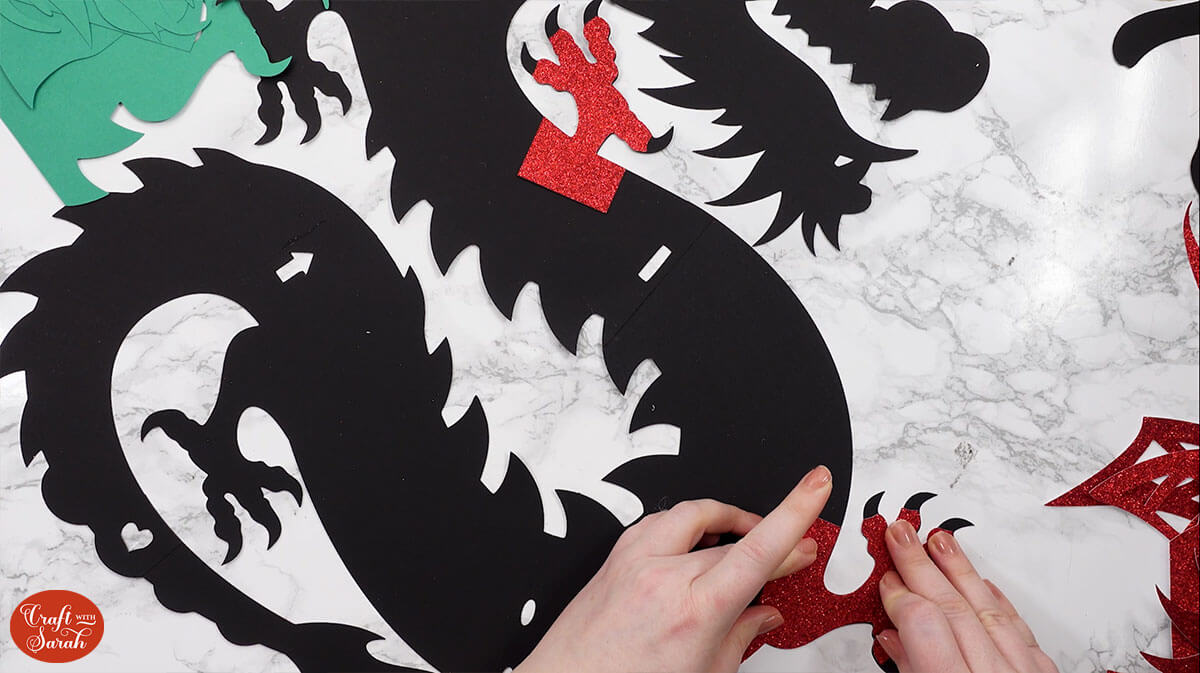
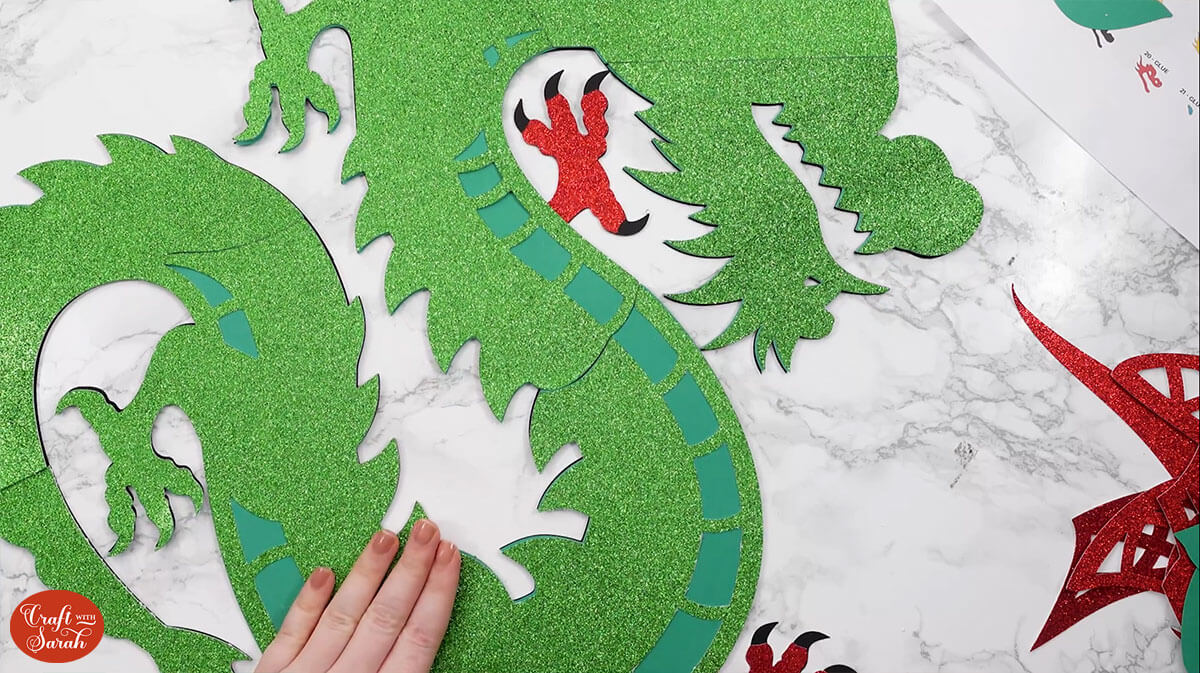
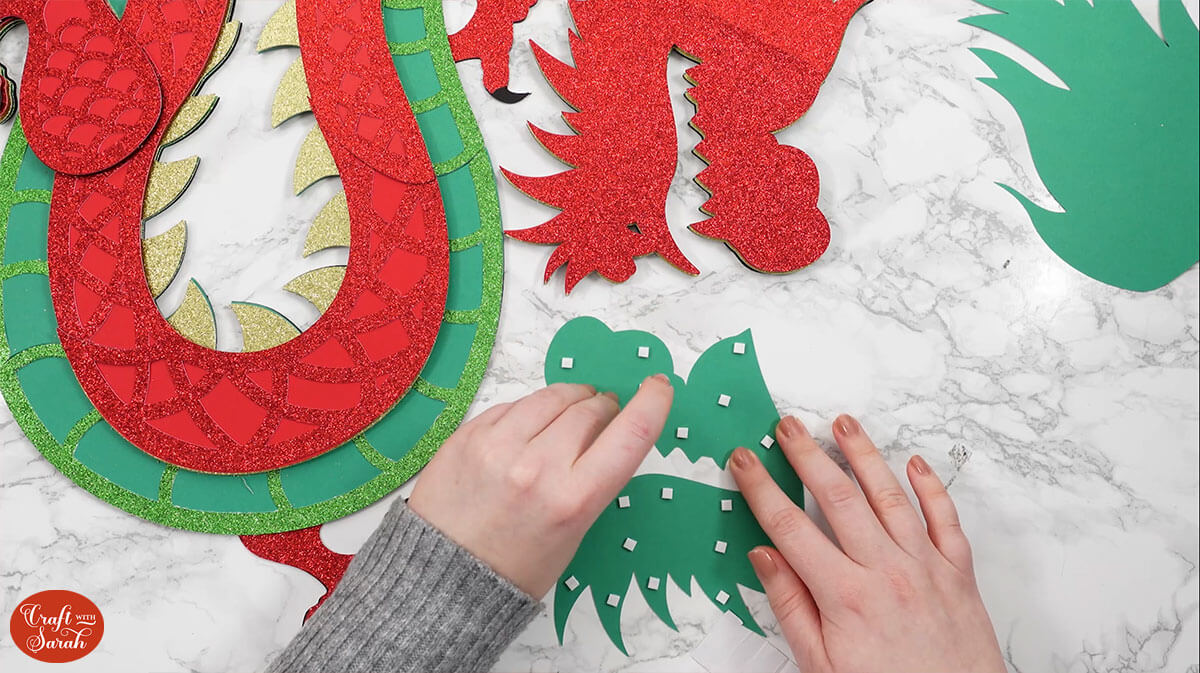
Place the pieces that make up the first green layer onto the dragon to make sure they are all in the correct positions.
These will be stuck on using foam. The pieces do NOT overlap – they touch up against each other. This means that you don’t need to stick the pieces together with glue before foaming them, you can just stick them on one-by-one.
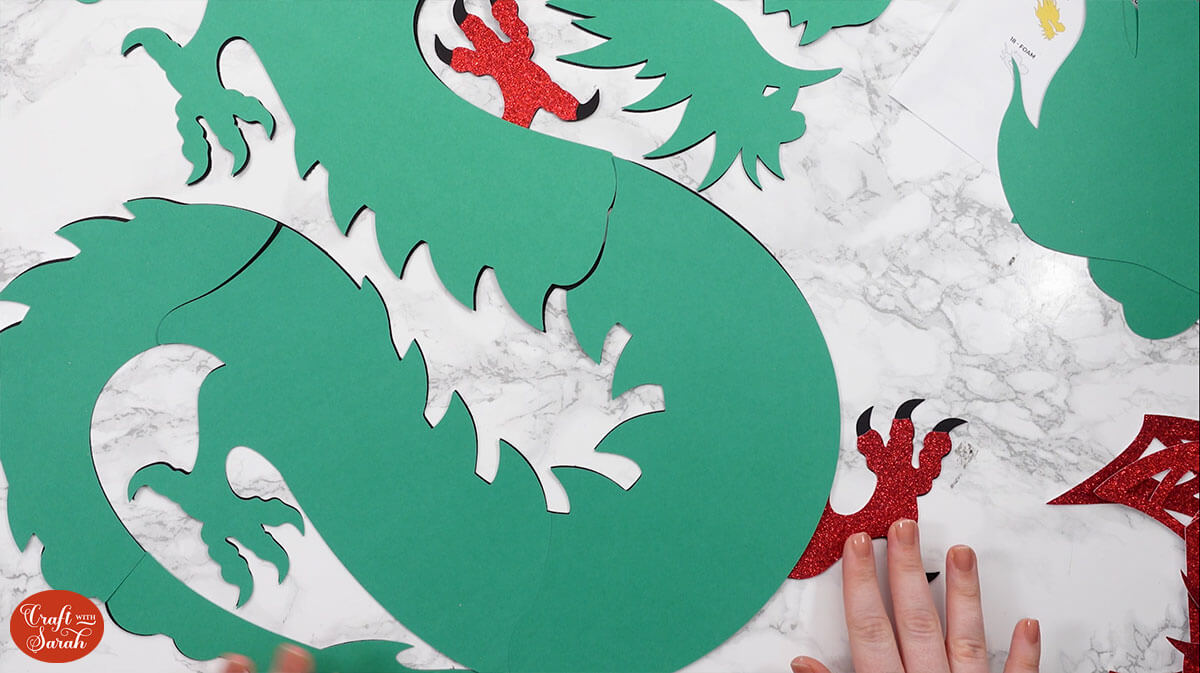
I found it easier to start with the head pieces first.
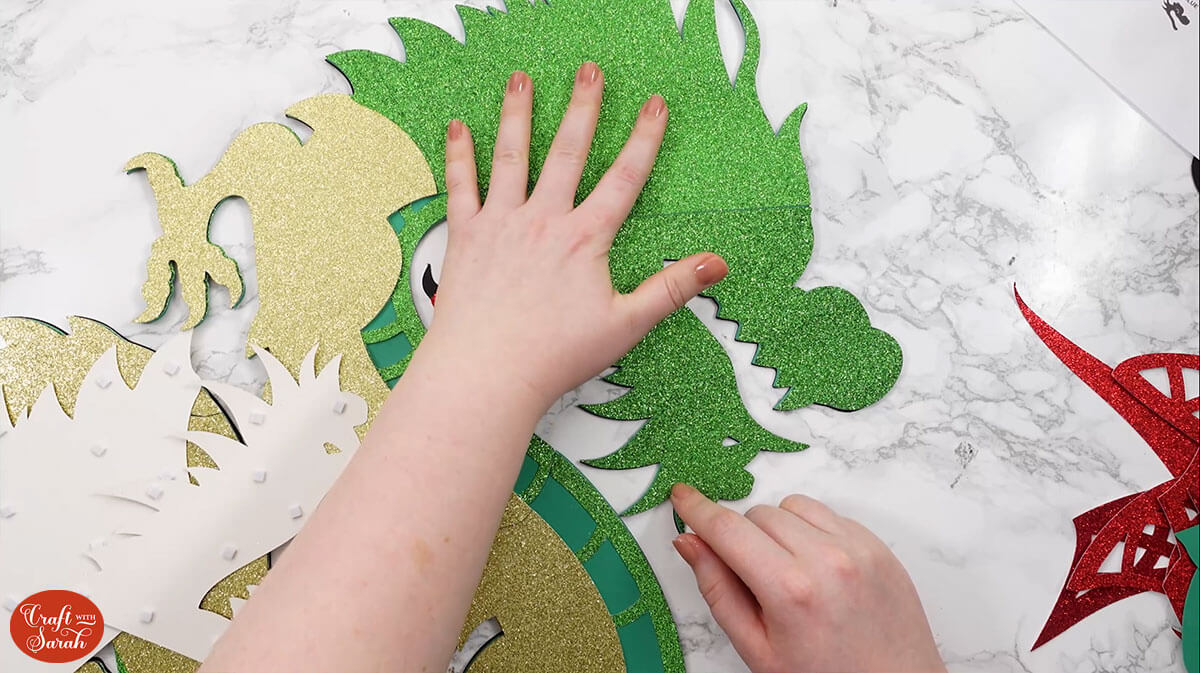
Glue on the green scales pieces. I used a glitter card for mine. Again, these bits just touch up against each other without any overlap.
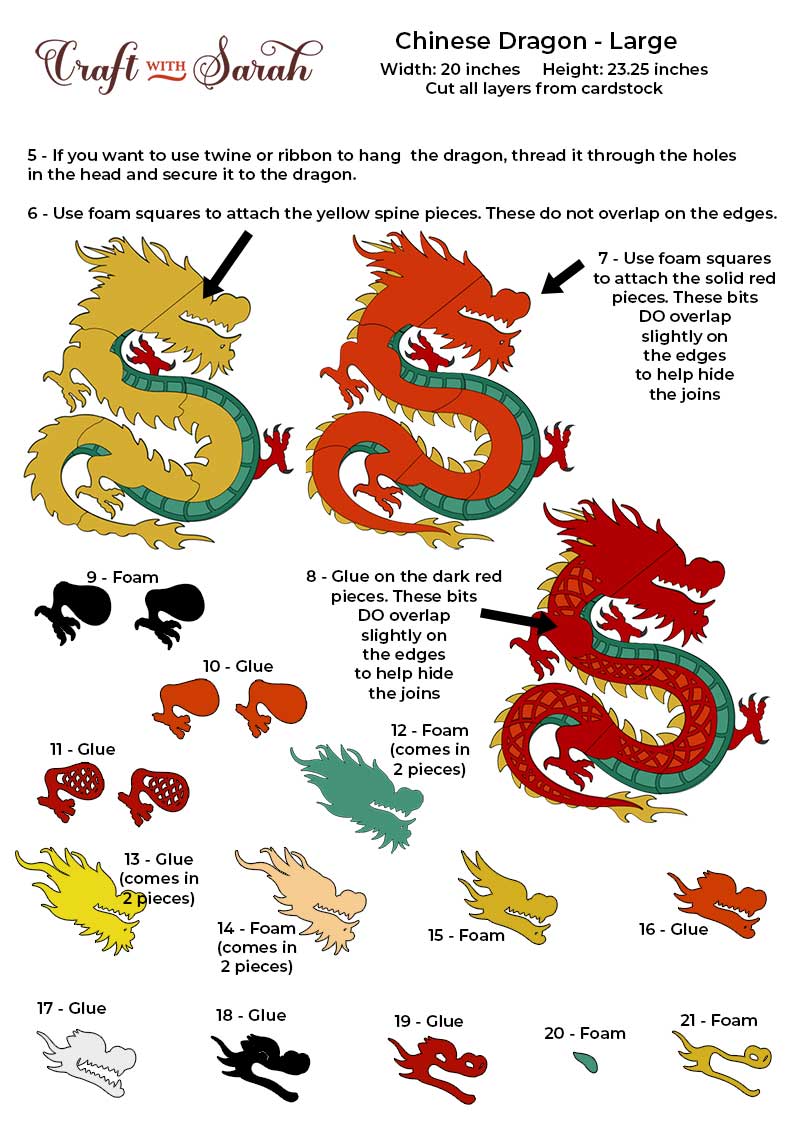
If you would like to hang the dragon on a wall, thread your twine or ribbon through the two circles on the head and secure it in place.
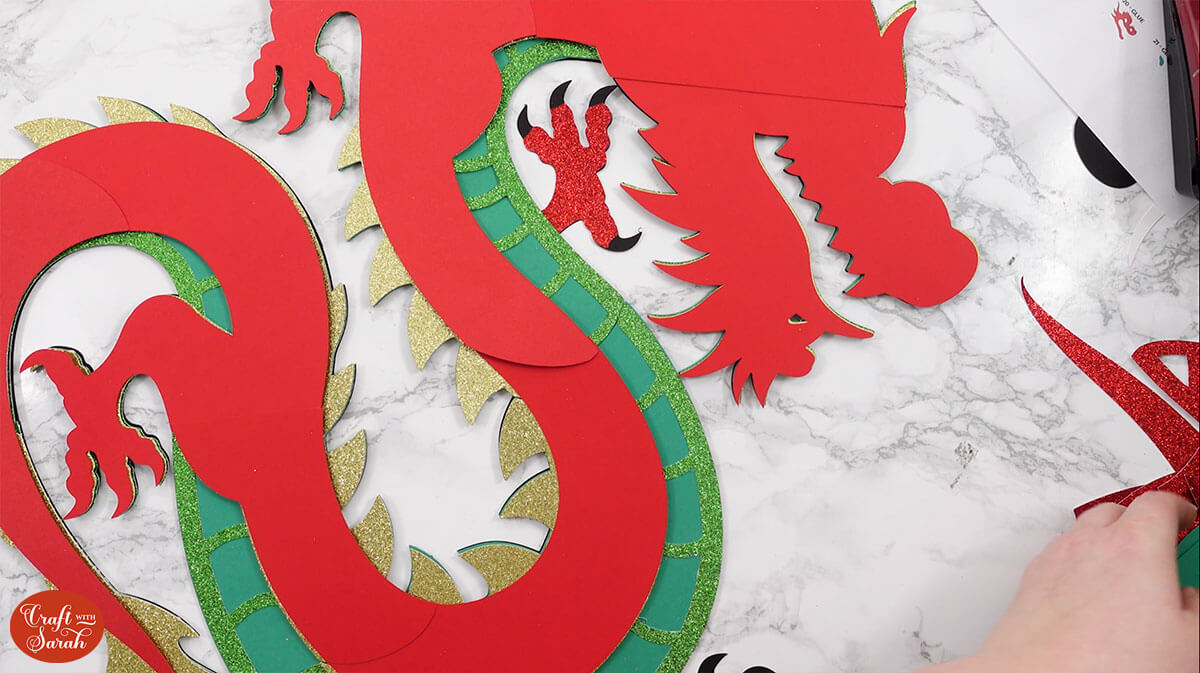
Next, use foam squares to attach the gold layer.
Use foam squares to attach the solid red pieces.
These pieces DO overlap with each other slightly, so be careful not to add your foam too close to the edges on the bits that will overlap so that everything sits flush.
Glue the red scales pieces on top.
Glue the leg pieces toghether then use foam to attach to the dragon’s body.
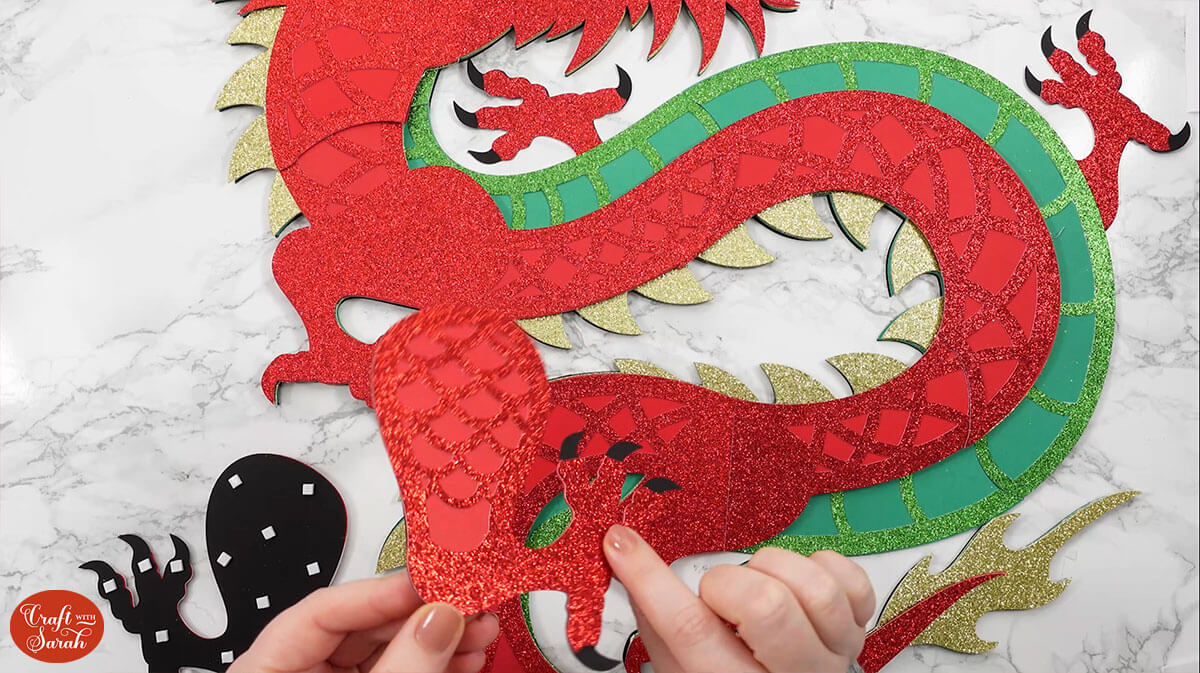
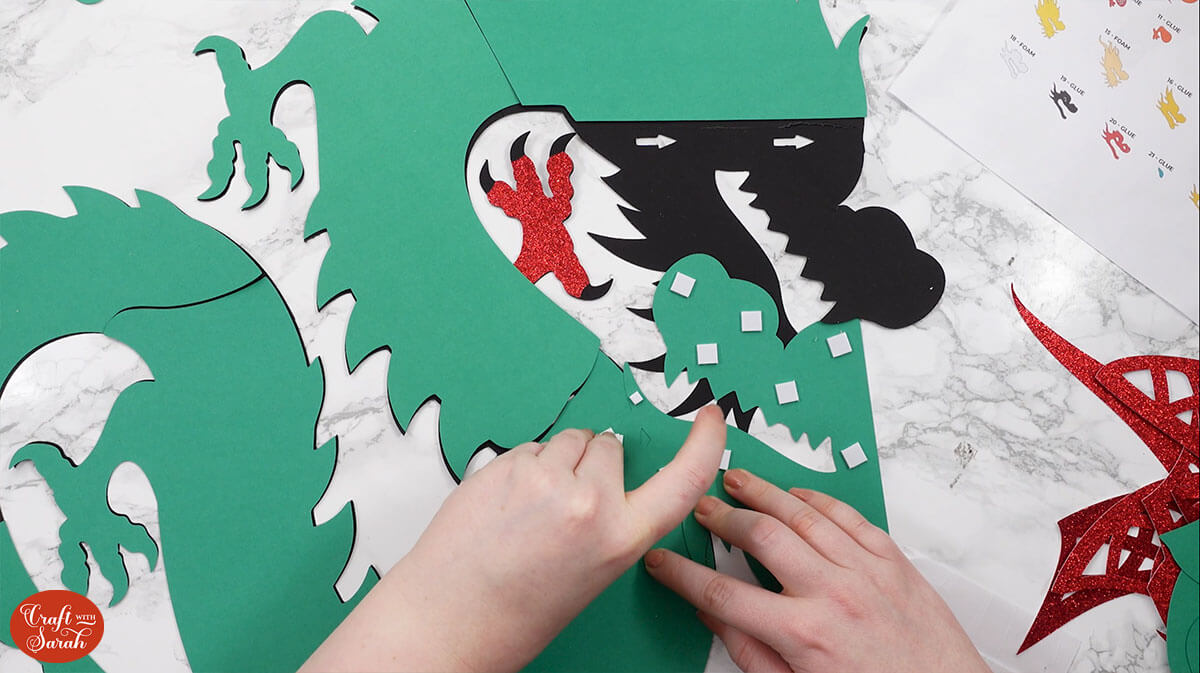
That’s the body done, now onto the head!
The first few layers of the head come in two pieces due to their size.
Use foam to attach the green pieces. There is a slight overlap where the two bits meet.
Glue on the light yellow pieces.
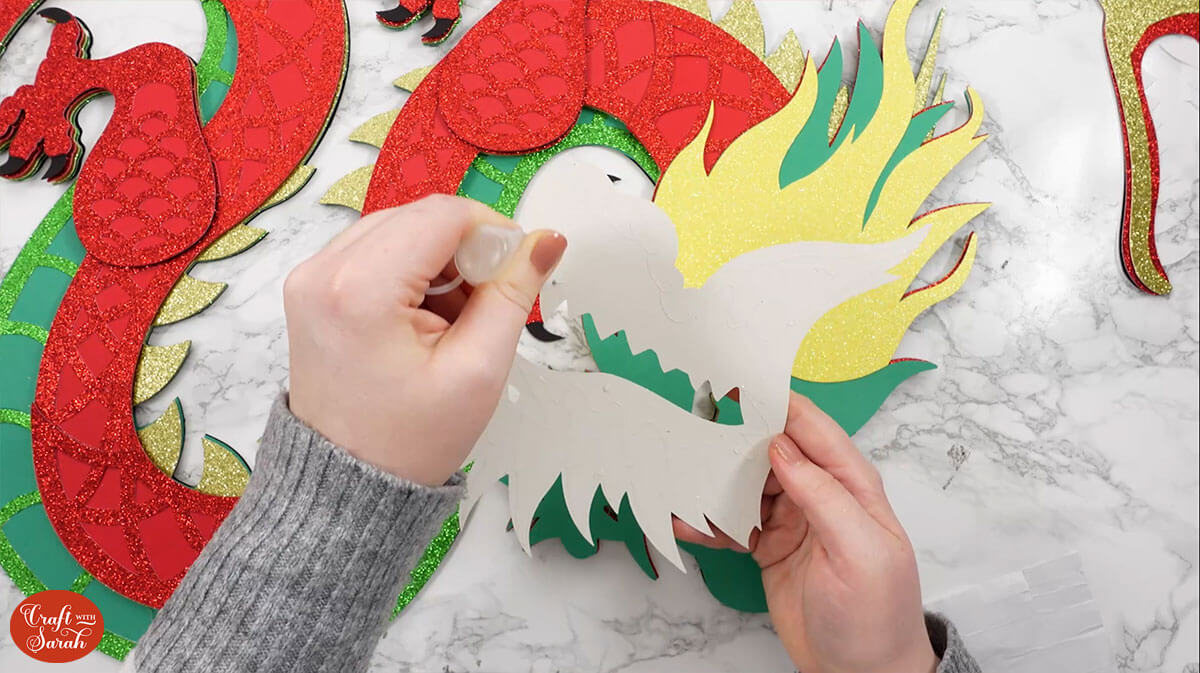
Use foam squares for the next piece, which is the beige coloured layer. I used a holographic sparkly cardstock for this.
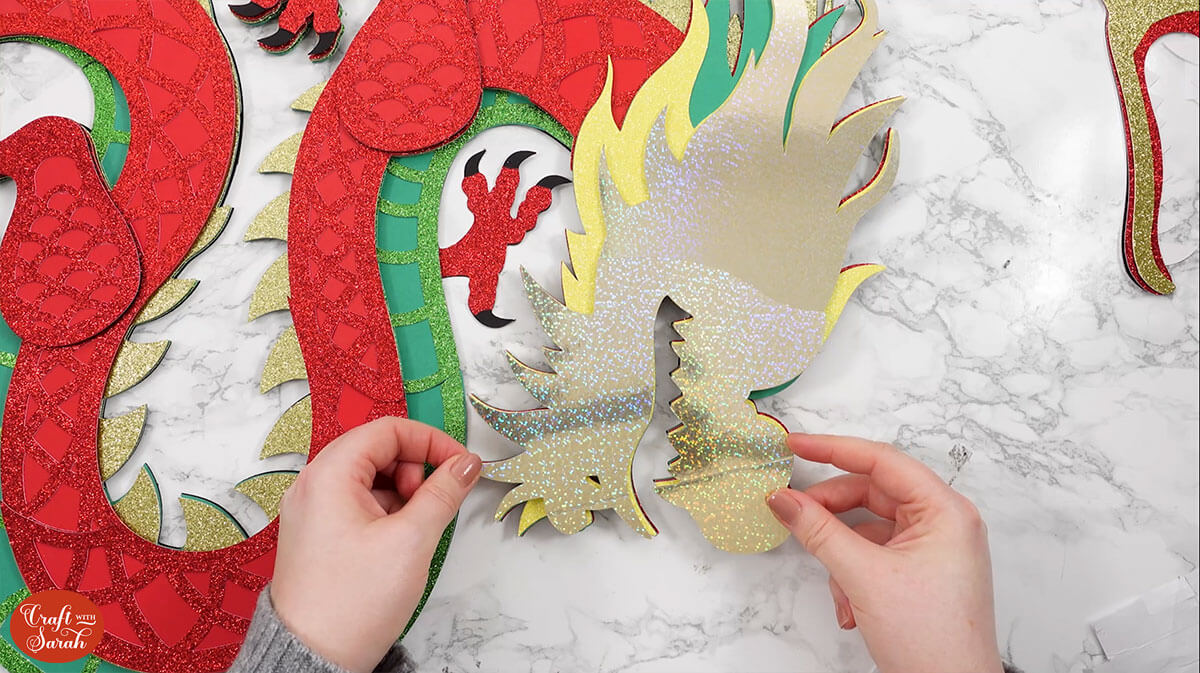
Now it’s much easier as the remaining layers are all just one piece each.
Continue gluing and foaming the pieces, following the assembly guide, until the dragon is complete.

Free dragon SVGs for Chinese New Year
I hope that you have fun with this design, whether you make the little or the large version – or maybe even both!
If you make the smaller one, the below video has some tips on how to frame your craft project, including my Number One hack for making sure that your design will fit perfectly every time without wasting any of your craft materials.
Love layered SVGs? Check out my other free layered SVG files
Happy crafting,
Sarah x