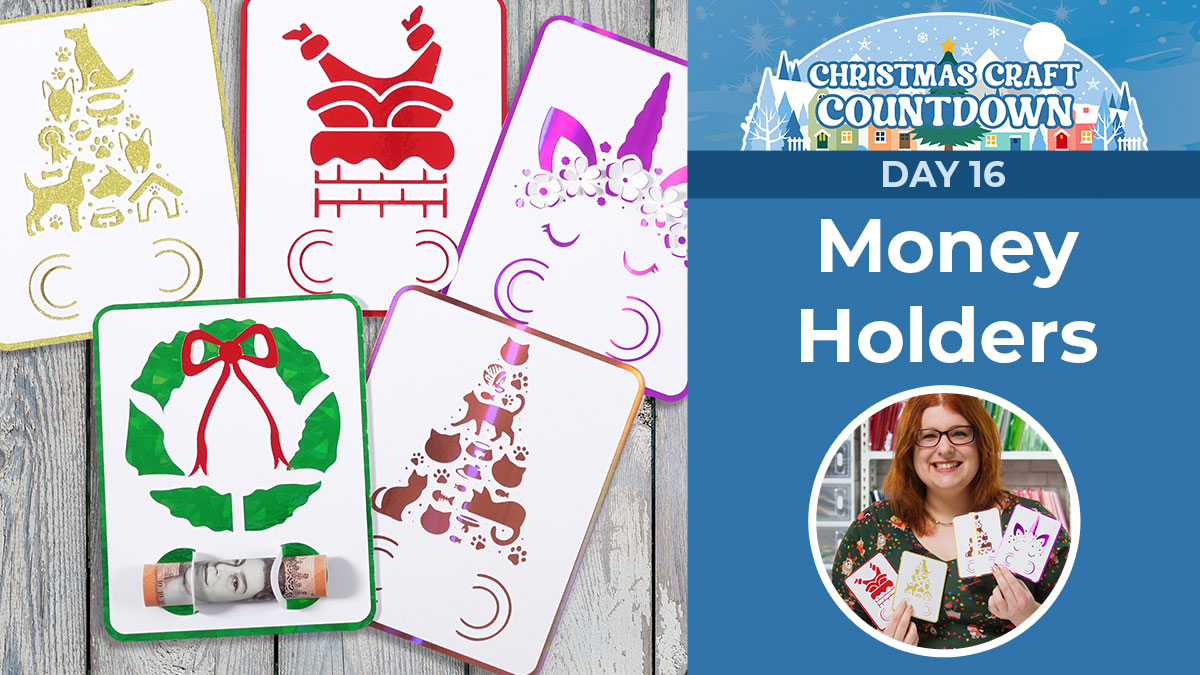
CCC Day 16 ❄️ Christmas Money Holders
If you’re planning to give cash as a Christmas gift, these quick-to-make money holders are a great way to present it.
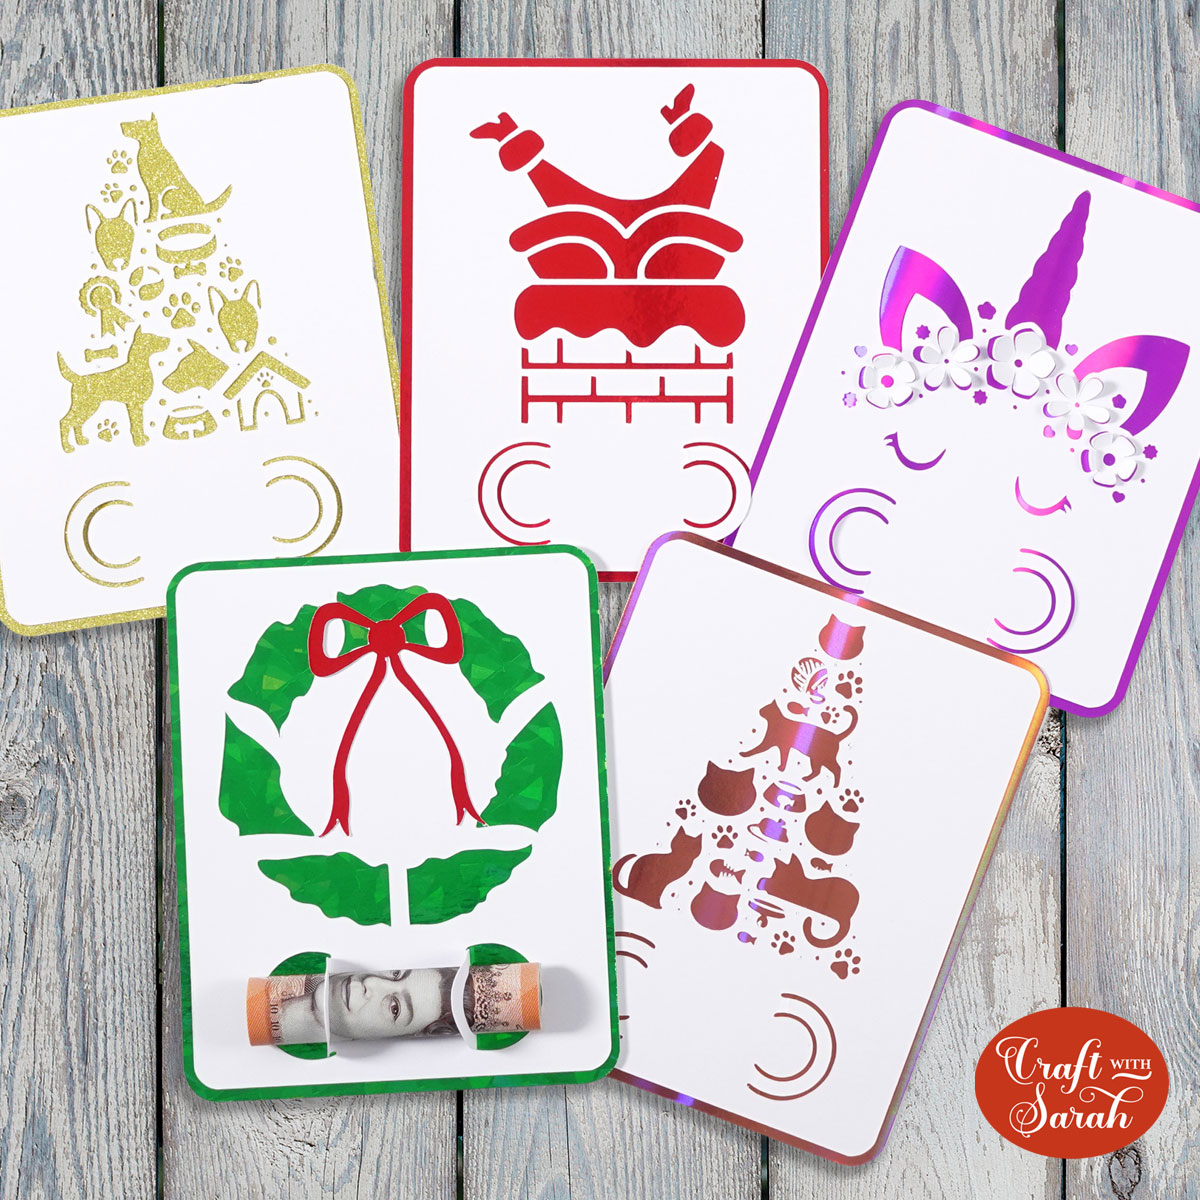
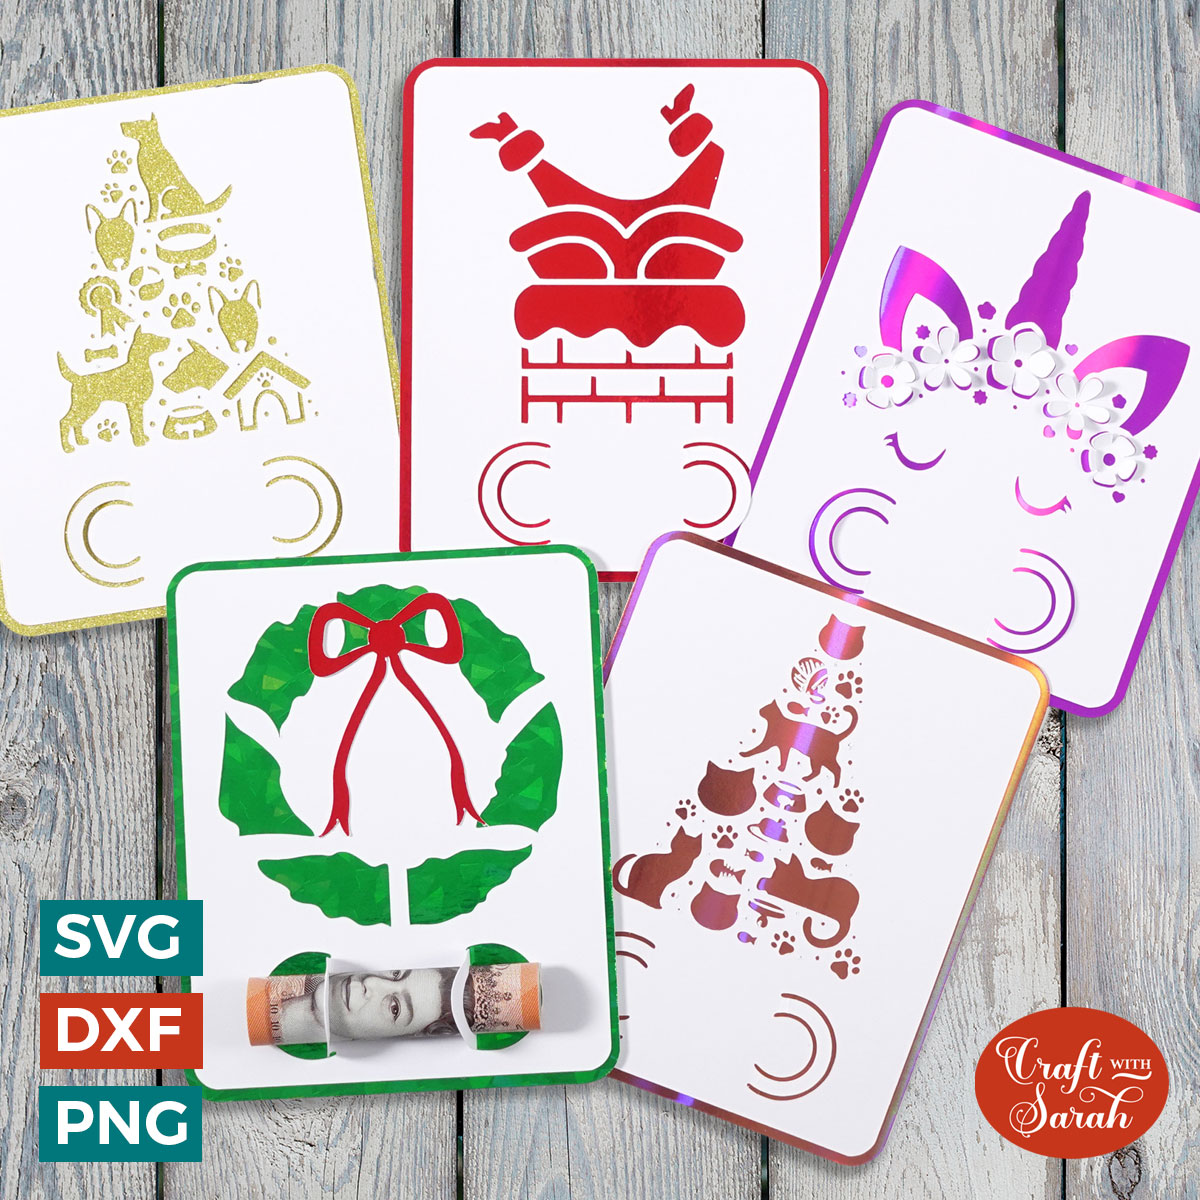
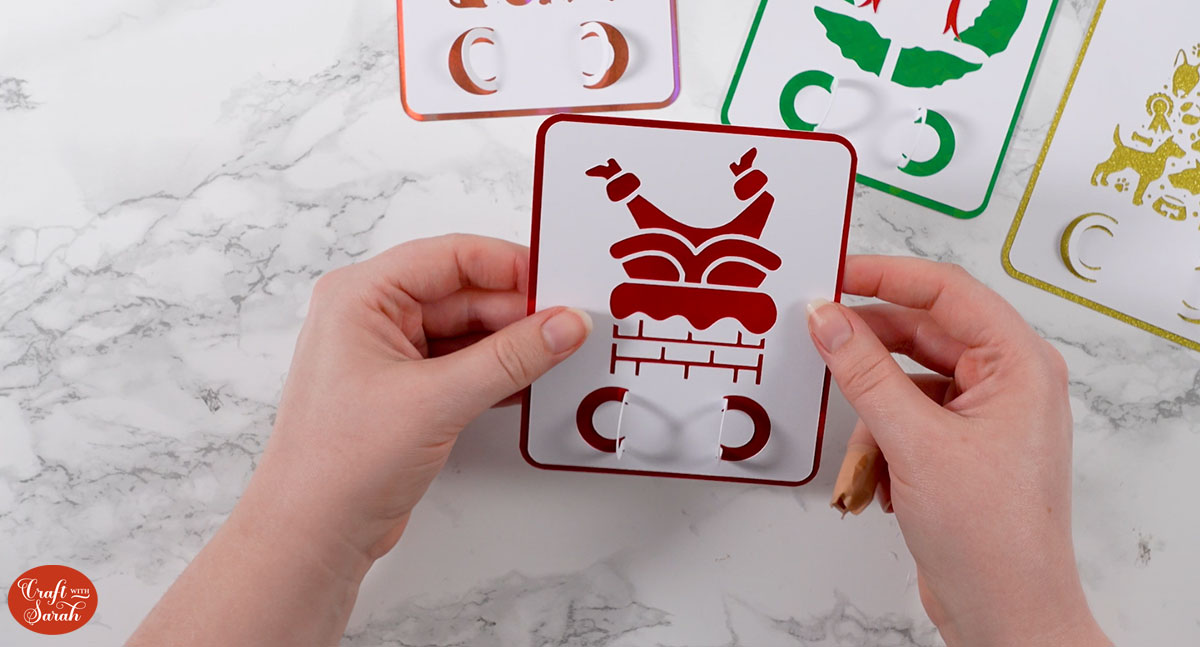
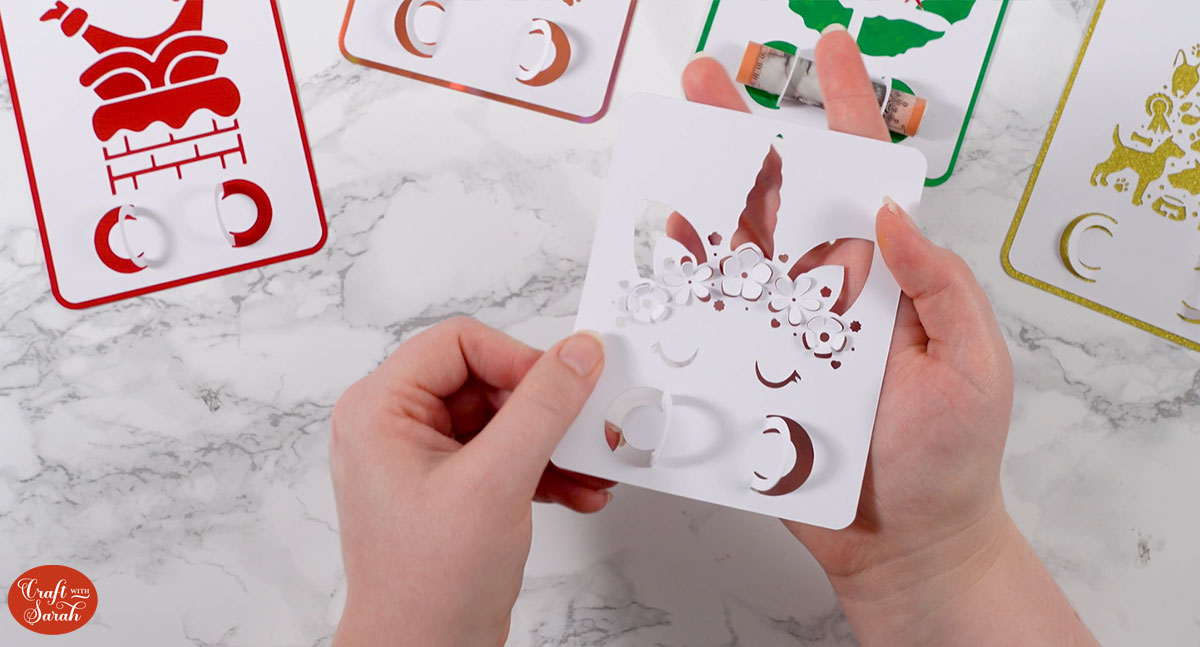
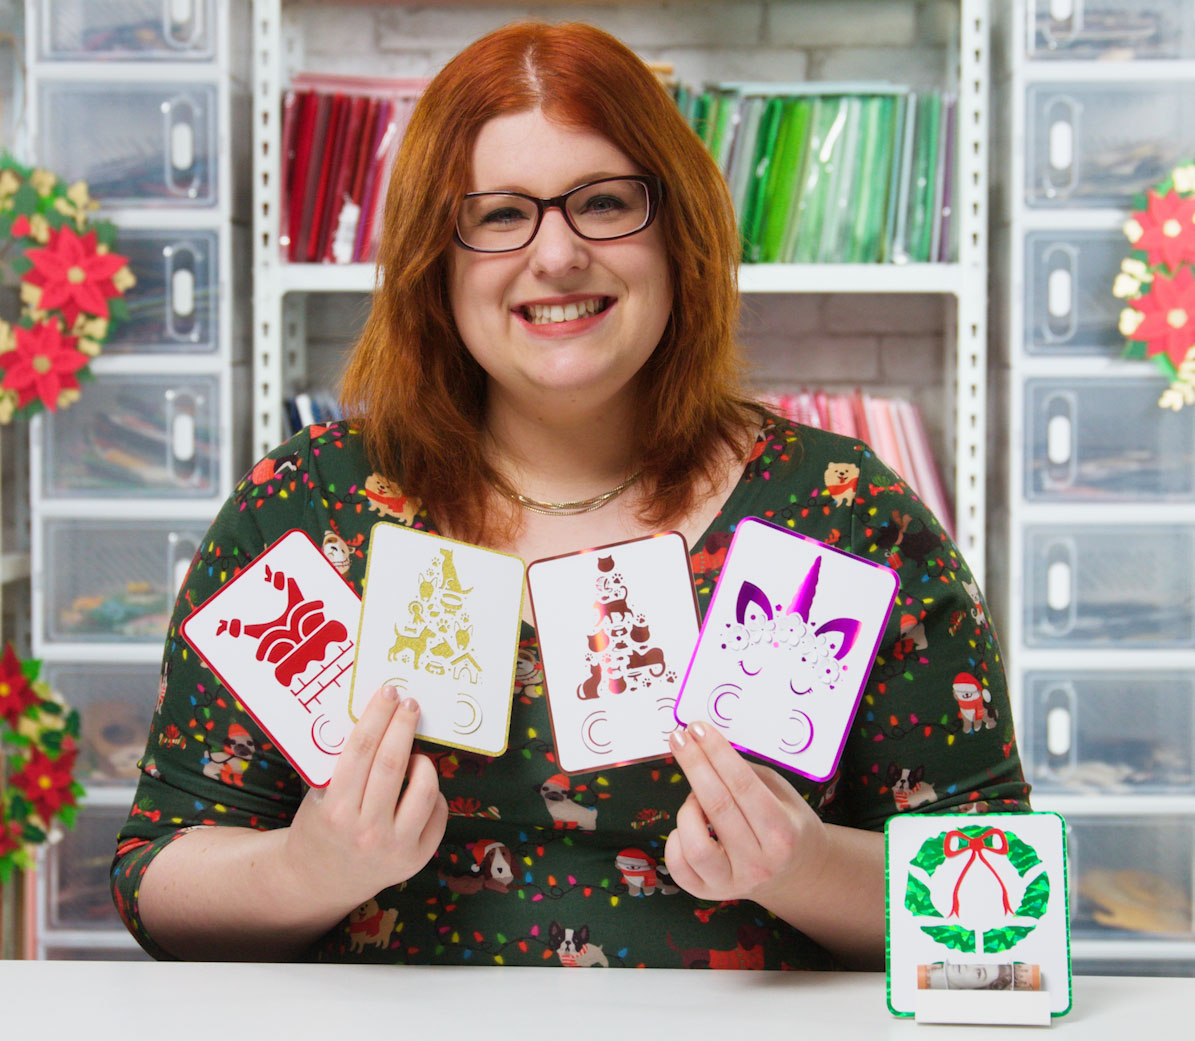
Choose from five different designs, including a dog themed Christmas tree, cat themed tree, unicorn, Santa stuck in the chimney and a Christmas wreath.
They are very easy to cut and stick together but look super impressive!
This Project was part of the Christmas Craft Countdown 2022
Materials supply list
Here is a list of the materials that I used to make this project.
Please note that some of the links included in this article are affiliate links, which means that if you click through and make a purchase I may receive a commission (at no additional cost to you). You can read my full disclosure at the bottom of the page.
- Cricut machine
- Light blue Cricut cutting mat
- White cardstock
- Coloured holographic/glitter cardstock
- Collall All Purpose Glue
- Needle Tip Applicator Bottle
- A money note to add into the front
Video tutorial
Watch the video below to see how to make this project. Keep scrolling for a written tutorial.
Written tutorial (with photos!)
Here’s how to make Christmas money holders using a Cricut machine!
Step 1) Download the cutting file(s) & unzip the downloaded folder
Purchase the File(s)
This cut file is available as part of the Instant Access Bundle.
Or, purchase this design individually here
Before you upload the SVG to Design Space, you need to unzip the download folder that it comes in.
- How to unzip a folder on Windows computer
- How to unzip a folder on a Mac
- How to unzip a folder on an iPad/iPhone
- How to unzip a folder on an Android device
Step 2) Upload the SVG file into Design Space
Open up Cricut Design Space and start a new Project.
Click “Upload” and then find your unzipped version of the downloaded files for this project.

Go into the subfolder called “svg files” and choose the design you wish to make.
Make sure you upload the file which starts svg- in the filename!!
This is how it should look after you have uploaded the file:
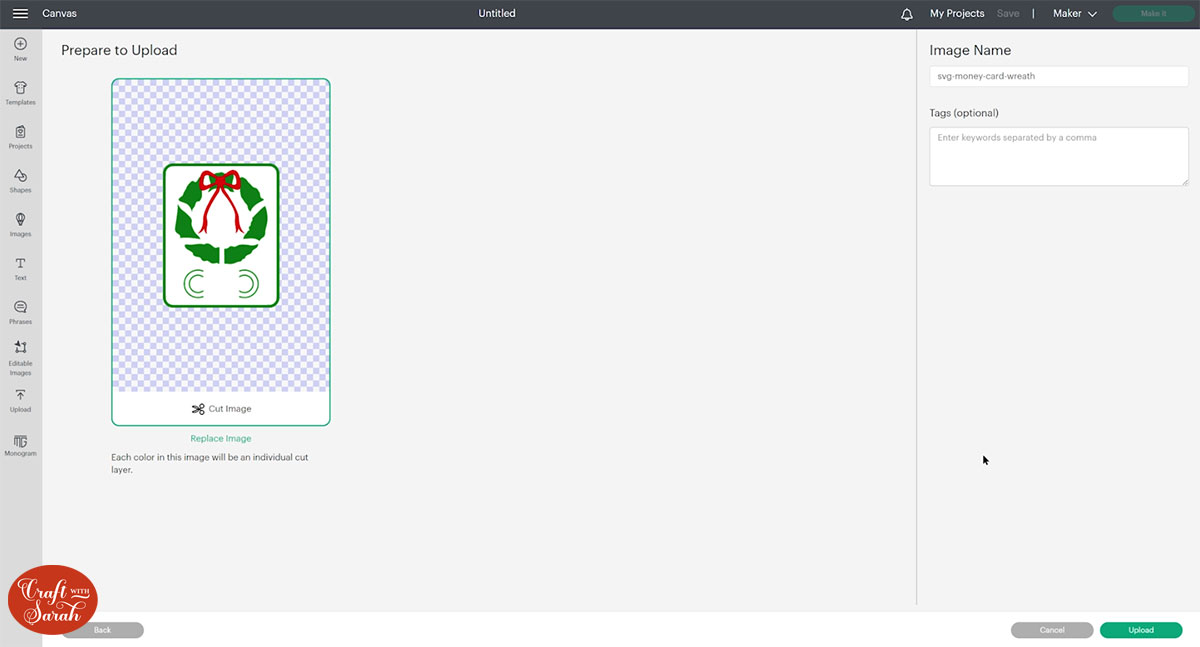
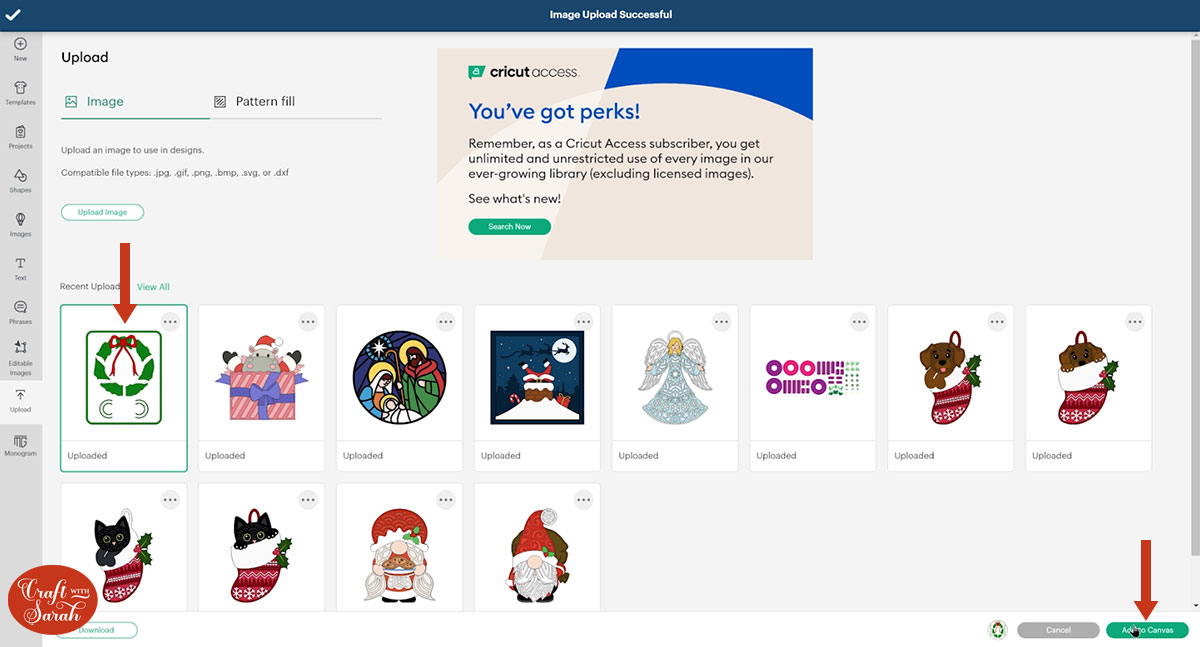
After uploading, the design will show in your “Recently Uploaded Images”.
Click on it and then press “Add to Canvas” to put it onto your Project.
The designs load in at a good size for adding the money to, but you can resize them if you wish by using the width/height boxes at the top of the screen.
The default size they load in at is 4.15 inches wide and 5.139 inches tall.

TIP: Make sure the padlock icon above the width/height boxes is CLOSED before you resize. If it appears “open”, click it with your mouse to close it.
Step 3) Cut out the design
The designs load in ready-to-cut, so you can just click “Make It” to get straight on with the cutting!
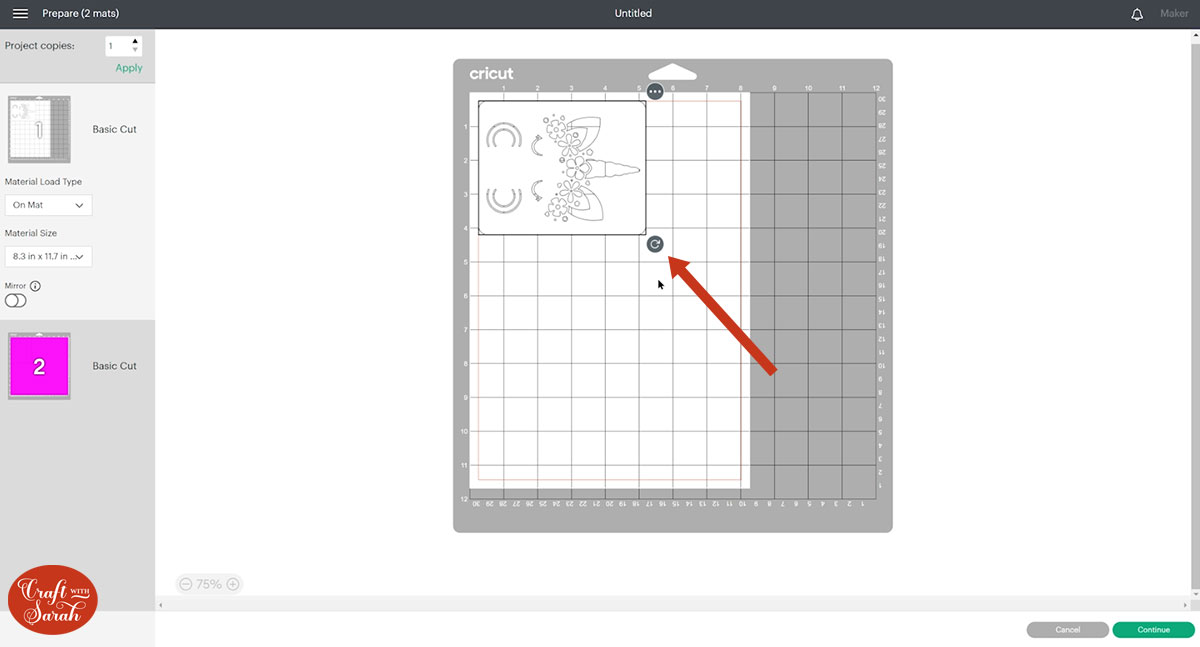
To change the paper size, go into the dropdowns over on the left side of the screen and choose the paper size that you want to use. You need to change it for every single colour.
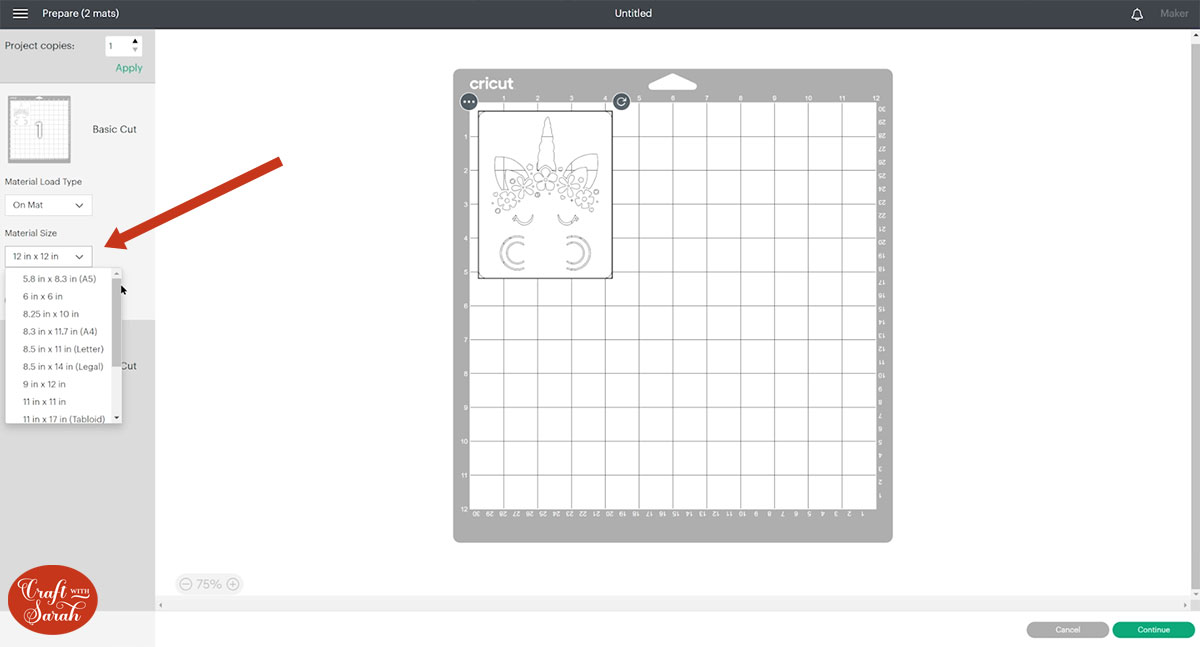
To save space on your cardstock, you can move things around by clicking and dragging. Make sure when you’re moving things about that nothing overlaps because otherwise, it won’t cut out properly.
TIP: New to cutting cardstock with a Cricut? Check out this in-depth tutorial which goes through every step of the process, including tips for getting the best quality cuts from your Cricut.
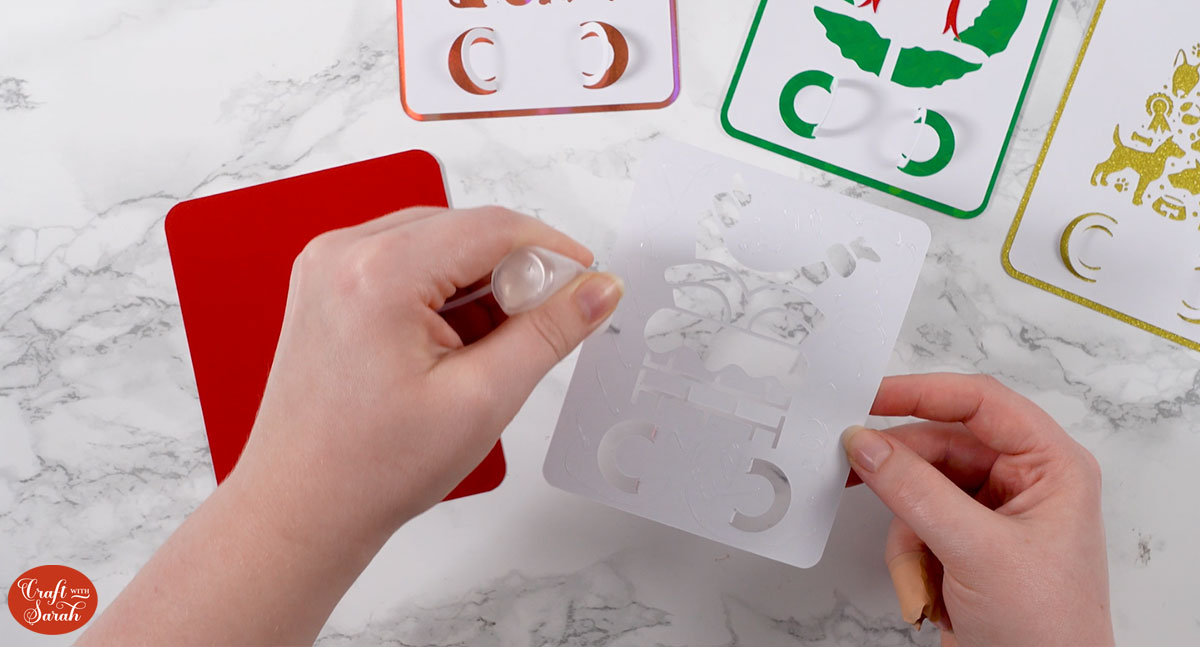
Step 4) Stick the money holder together
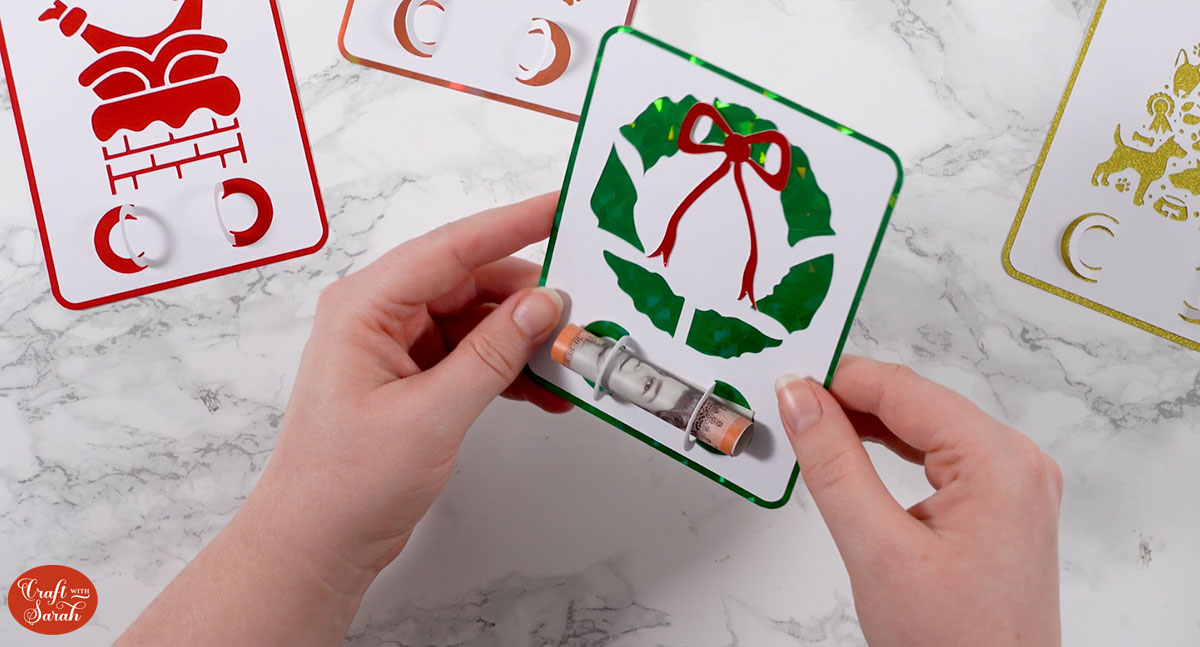
Fold the little white ovals in the bottom of the design upwards.
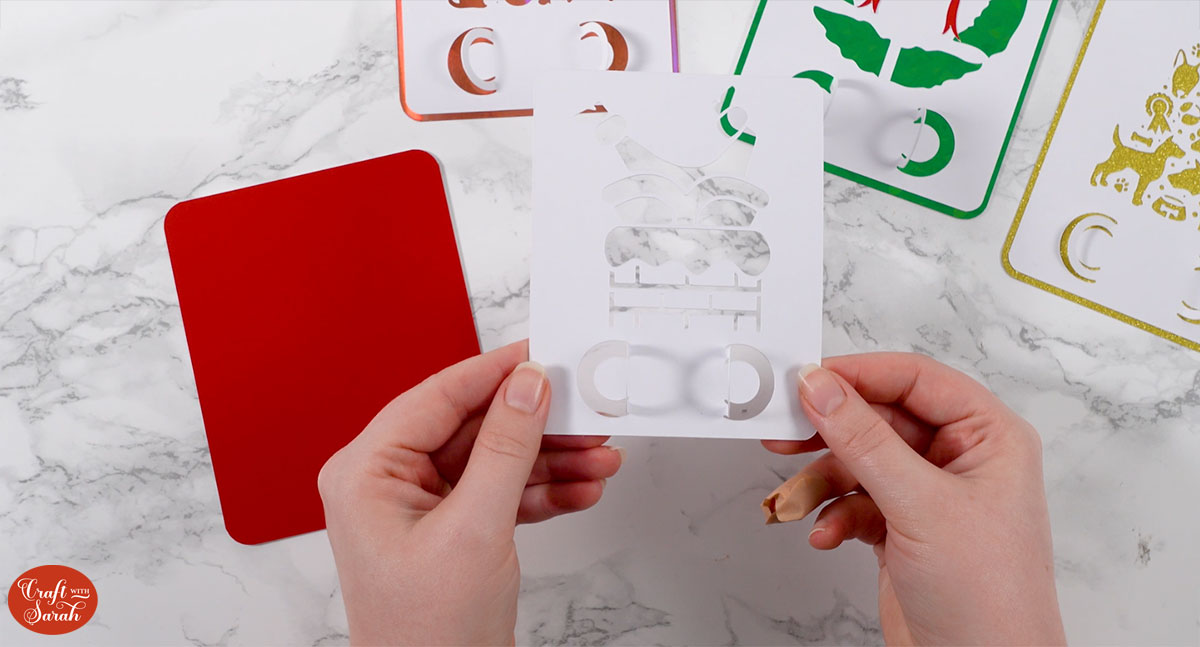
Glue the white layer to the coloured layer underneath, making sure you don’t add any glue to the little oval shapes.
The top pieces is slightly smaller than the coloured piece underneath so that you will see a border of colour around the edge of the money card.
If you’re making the unicorn design then gently hold up all of the flower petals BEFORE sticking the white piece to the layer underneath.
Roll your money note into a small, tight roll.

Thread it through the holes in the top piece of card. When you let go, it will unroll a little bit to expand to fit perfectly in the holes.
I hope you enjoyed this tutorial on how to make money holders with a Cricut.
I love how quick they are to make, and they’re great for using up your card scraps too!
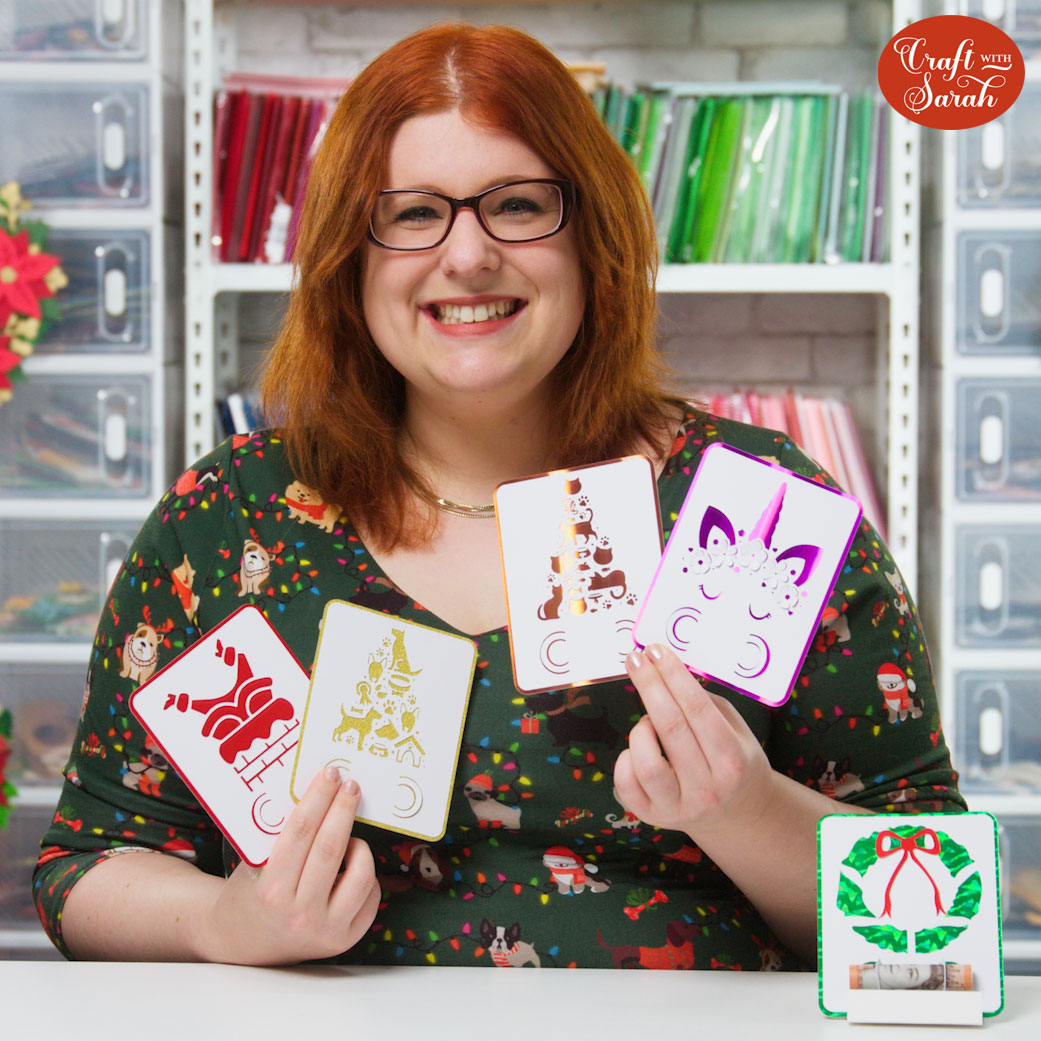
Happy crafting,
Sarah x

