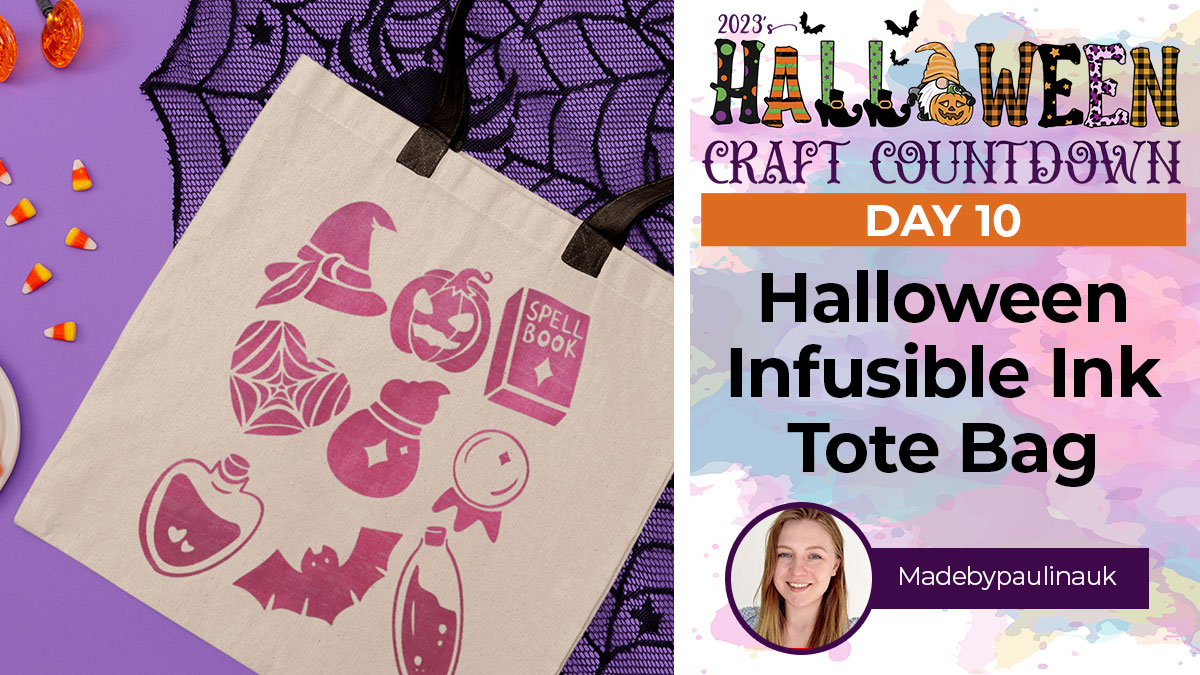
HCC 2023 Day 10 🦇 Infusible Ink Tote Bag
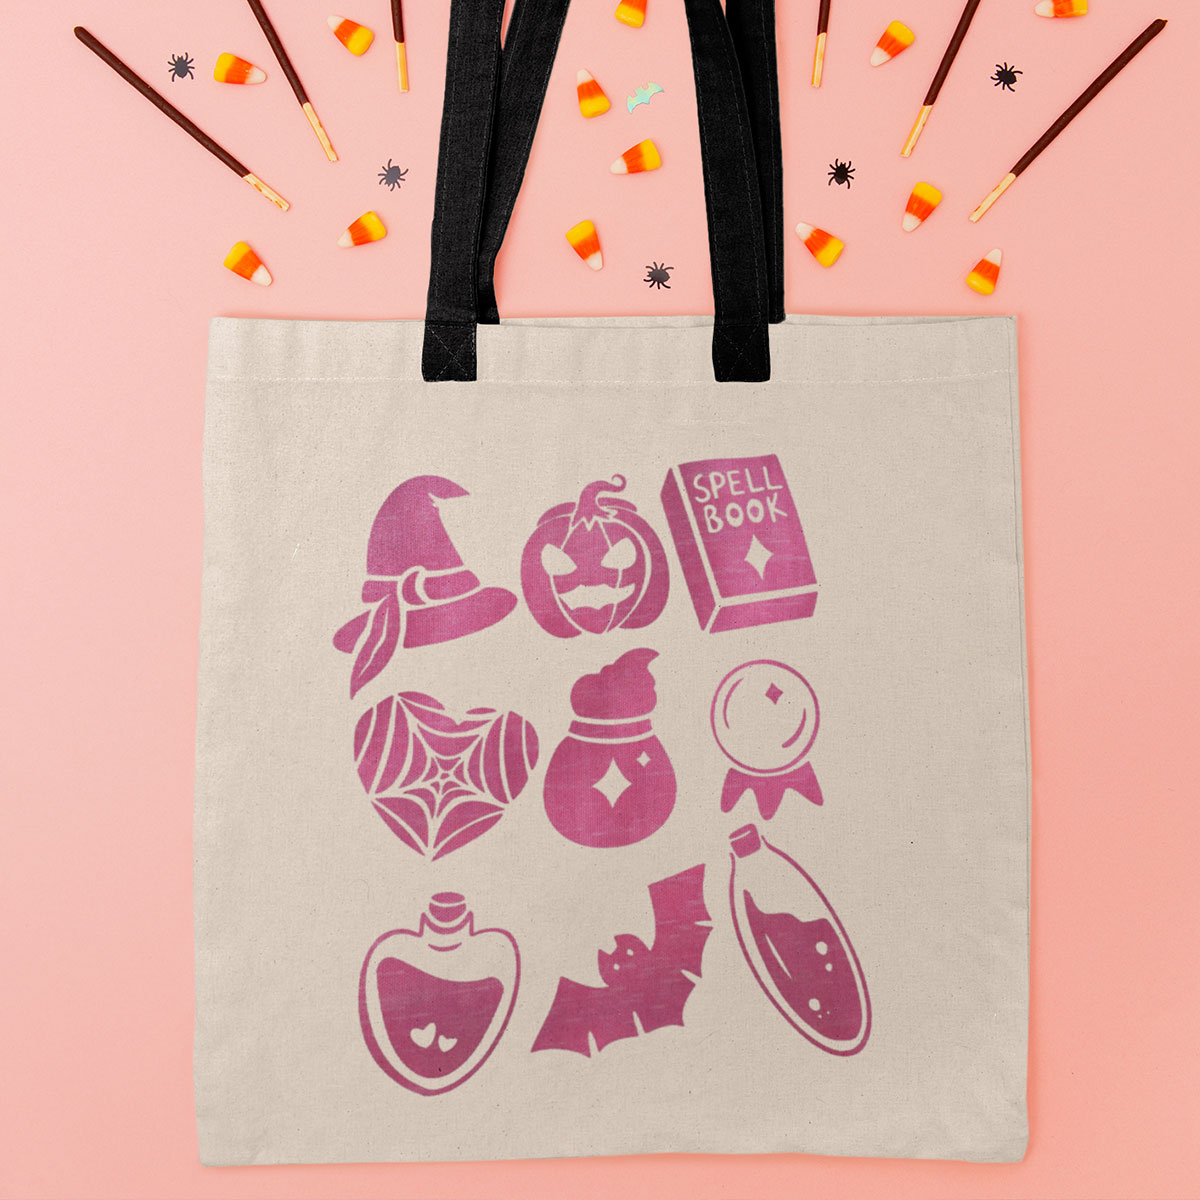
Who doesn’t love a tote bag?! Here’s a Halloween design you won’t want to miss!
It’s Day 10 of the Halloween Craft Countdown. How are we half way through already?
Today, Paulina from MadebyPaulinaUK is showing us how to make this Halloween Tote Bag using Cricut’s Infusible Ink.
Don’t worry if you’ve never used Infusible Ink before, Paulina will take you through each step.
This Project was part of the Halloween Craft Countdown 2023
Materials supply list
Here is a list of the materials that are required to make this project.
Please note that some of the links included in this article are affiliate links, which means that if you click through and make a purchase I may receive a commission (at no additional cost to you). You can read my full disclosure at the bottom of the page.
- Cricut machine
- Standard grip (green) cutting mat
- Infusible Ink compatible tote bag
- Infusible Ink sheet
- Heat press or iron
- Teflon sheet
- Tweezers/li>
This project is suitable for the following types of Cricut machine: Explore Air 2, Explore Air 3, Maker, Maker 3, Venture and Joy Xtra. It is too large to cut on the original Cricut Joy machines.
Video tutorial for infusible ink tote bag
Watch the video below to see how to use Cricut infusible ink to make a cute Halloween tote bag.
If you prefer to read rather than watch, keep scrolling!
This project was created by Madebypaulinauk
Paulina is a passionate crafter and skilled SVG designer, who finds joy in creating simple yet captivating crafts for home decor, accessories, and enjoys exploring various possibilities with Cricut machines.
Written tutorial (with photos!)
Let’s start making a tote bag with Paulina’s wonderfully spooky Halloween design.
Step 1) Upload the design to Cricut Design Space
Download the files using the box below.
Open up Design Space and start a new project.
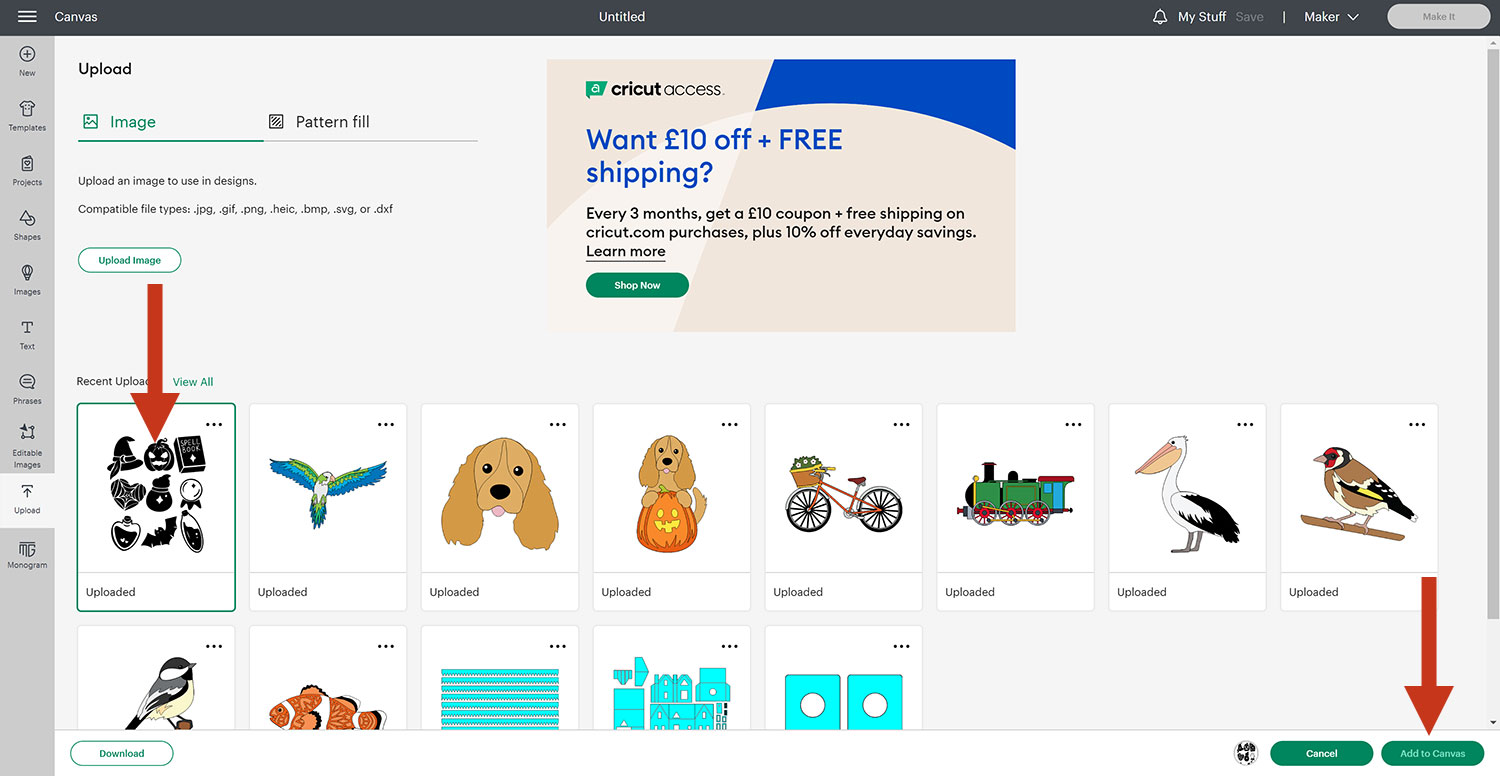
Click Upload, Upload Image and Browse.
Select the SVG file from your unzipped folder and upload it.
Note: Make sure you select the file which starts svg- in the filename.
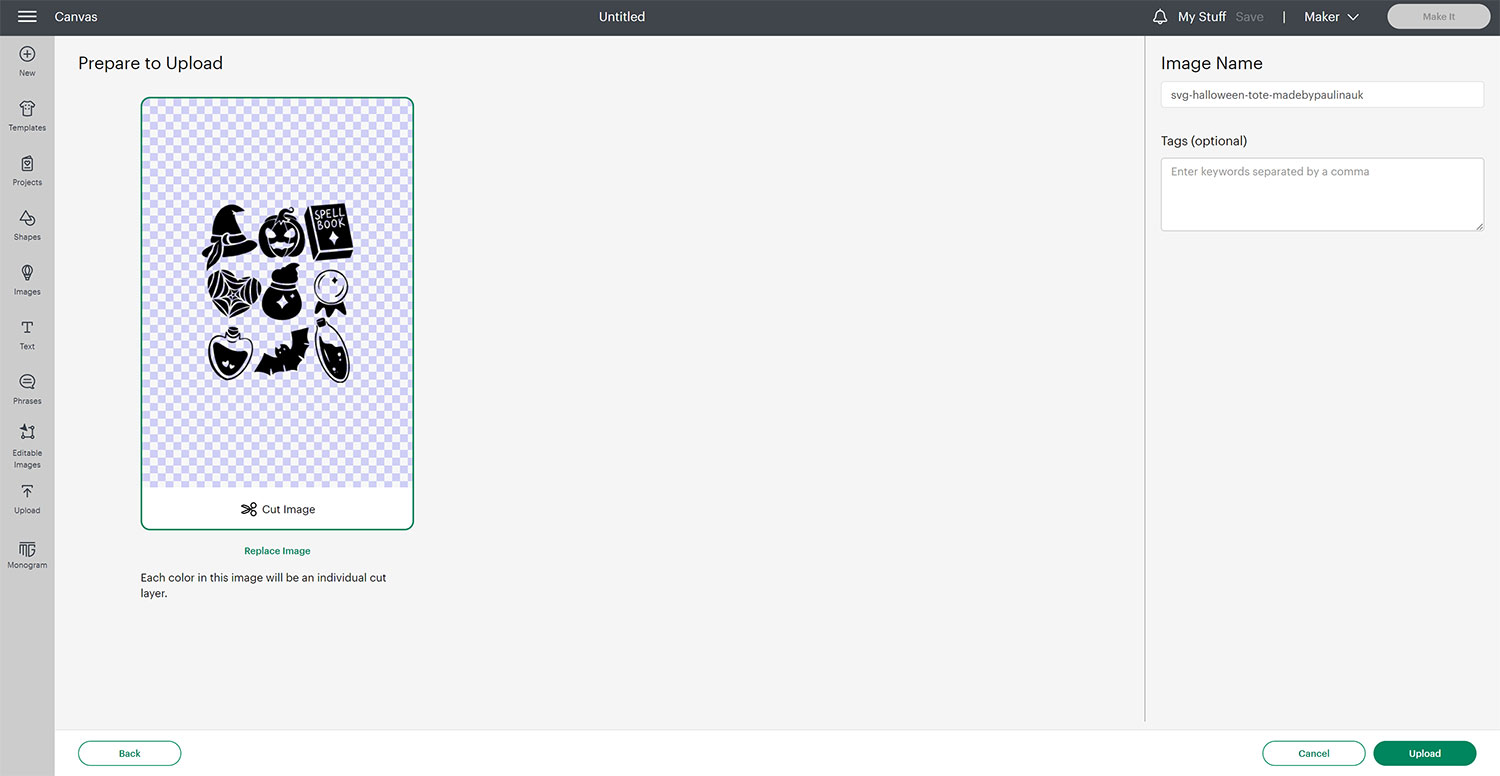
Highlight the image and Add to Canvas.
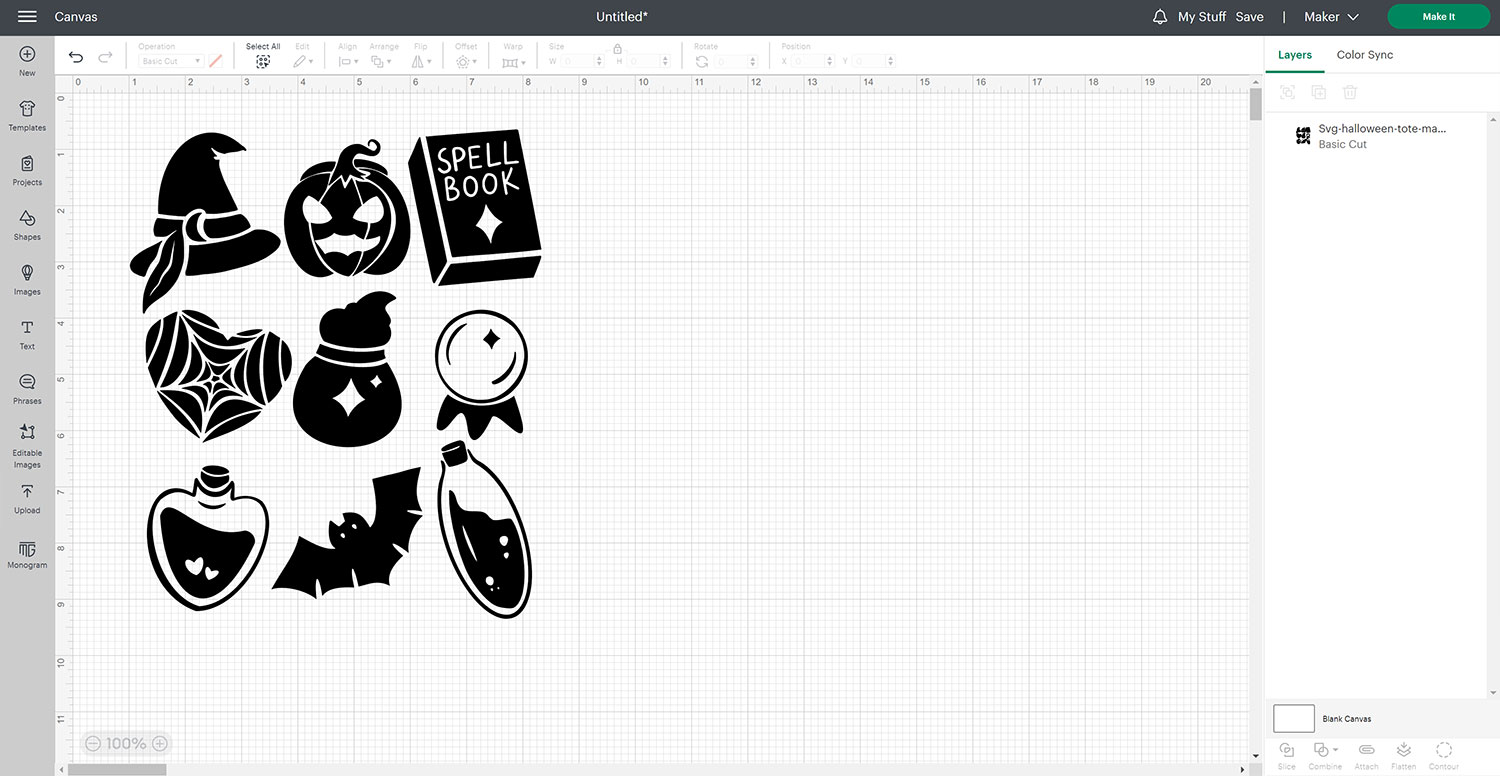
Here’s how the file should look on your Canvas:
Step 2) Size the design to fit your bag
For her specific tote bag, Paulina changed the sizing to 23cm x 27.37cm.
Please note that she is working in cm (not inches).
Resize depending on the size of your bag and on how big you would like the design to appear on it.
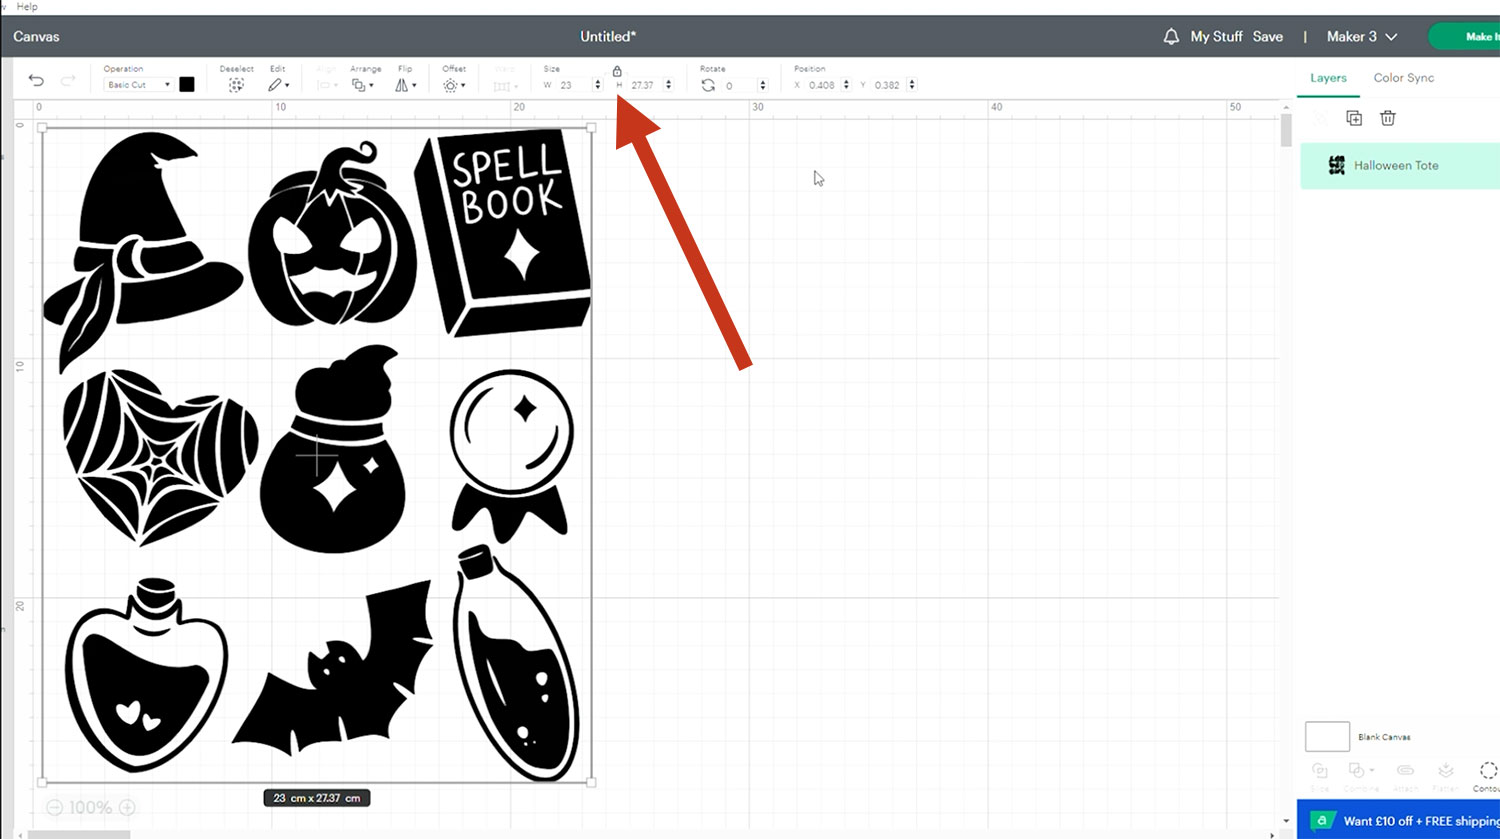
Double check that the design will definitely fit on your bag before cutting.
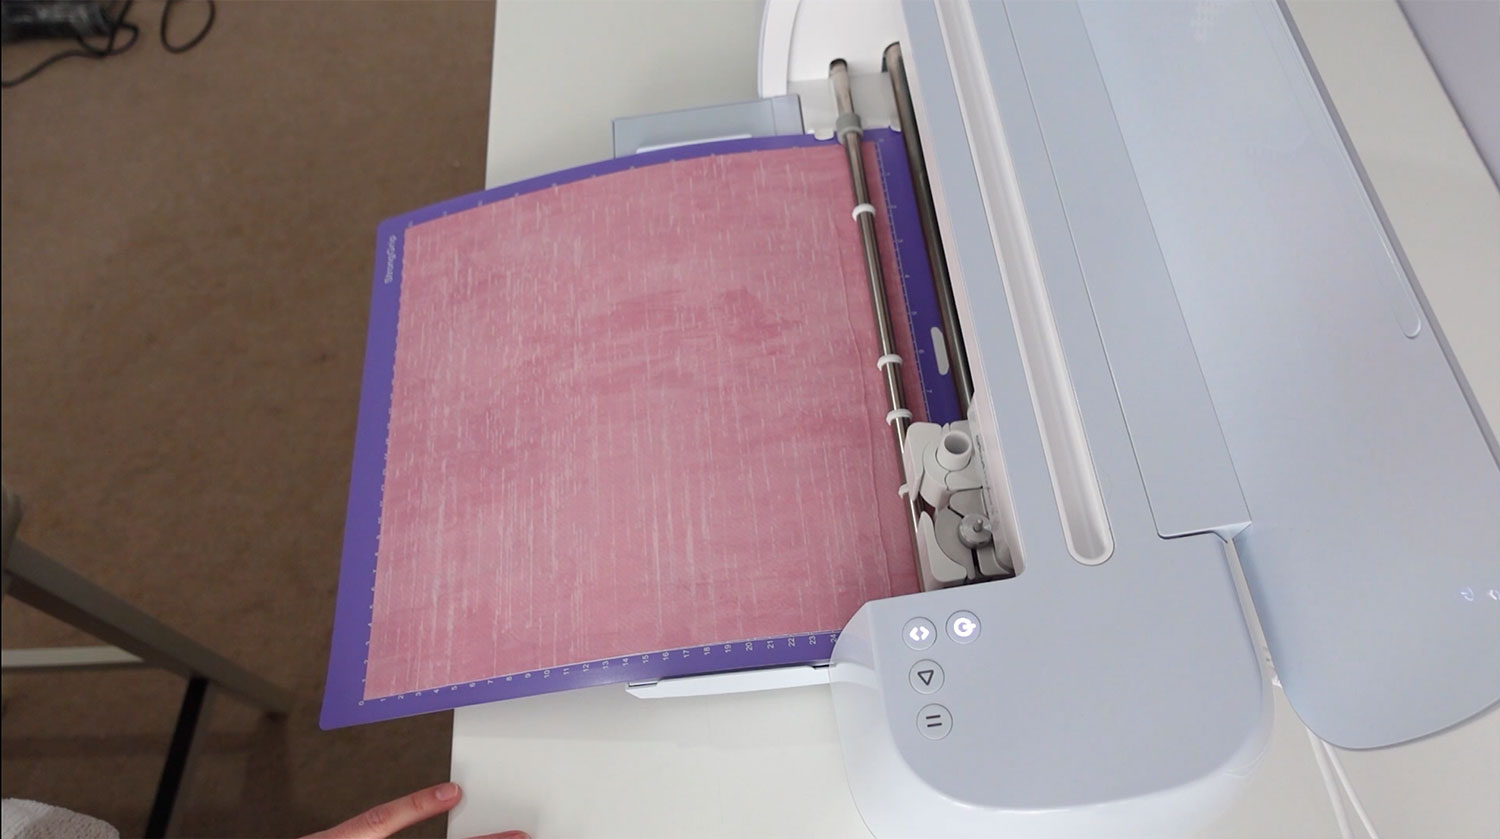
Step 3) Cut your Infusible Ink sheets
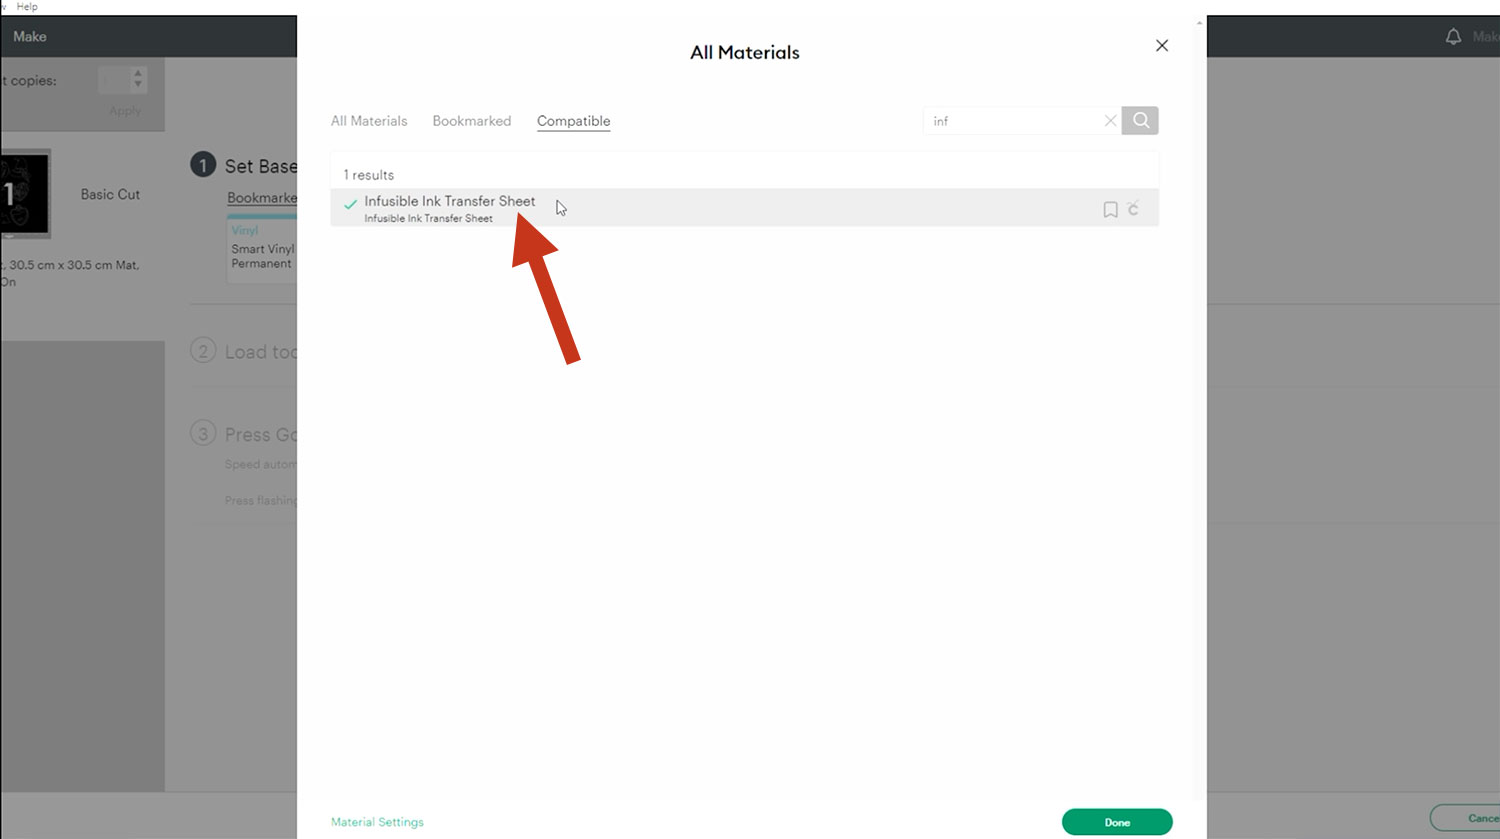
When you’re happy with the size, click “Make It” to begin the cut process.
Make sure Mirror is on as it’s going to be heat pressed.

Click Continue and select Infusible Ink as the material.
You may need to click “Browse all Materials” to find it.
Use the default cutting pressure and make sure you have the fine point blade in your machine.
Note: Sometimes the machine can cut through the sheet even on less pressure so do be aware of that when you’re cutting.
Place your Infusible Ink sheet onto the mat and send it through the machine.
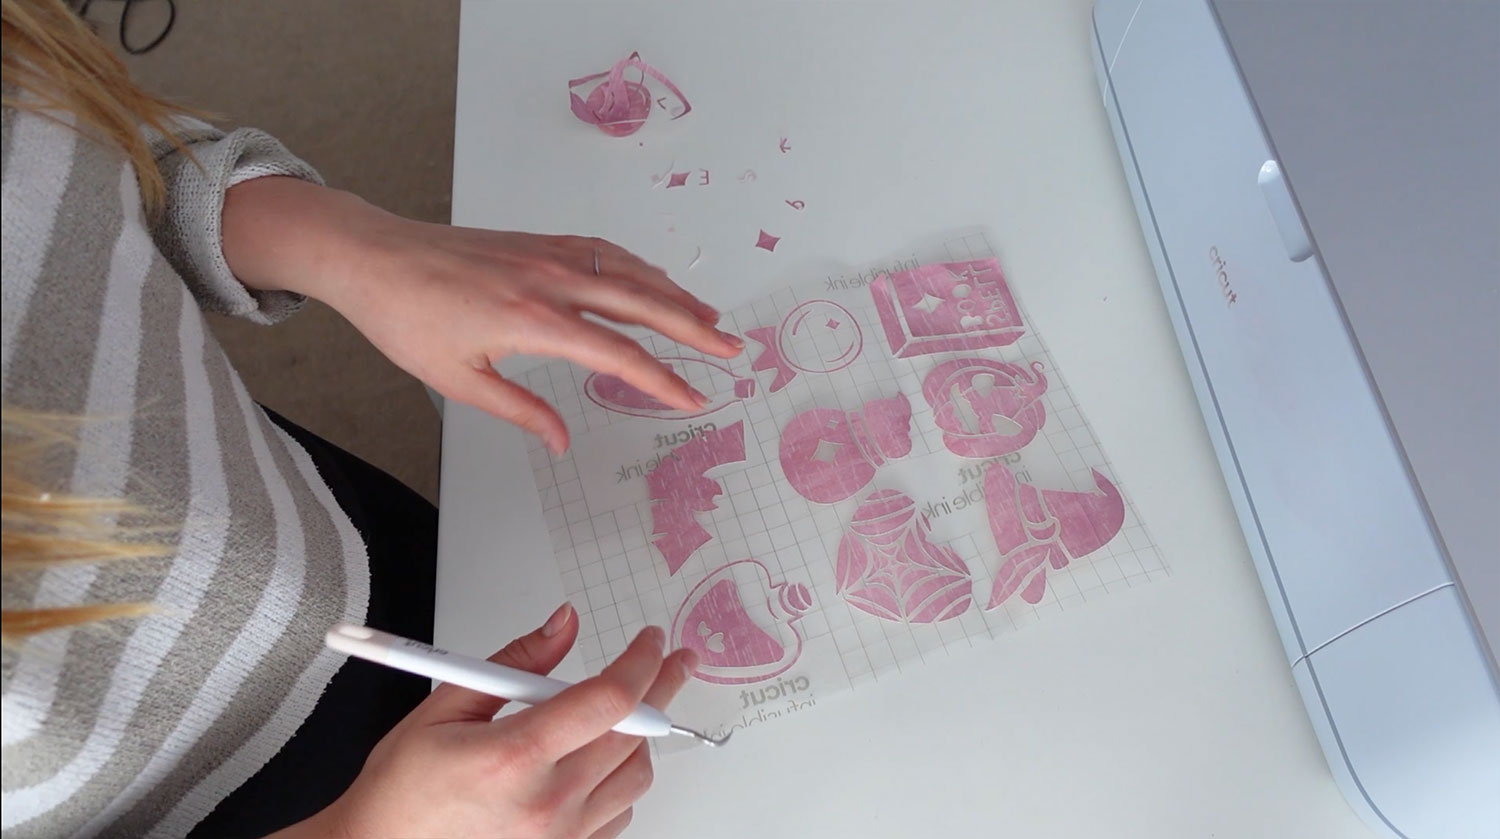
Peel the sheet from the backing and weed the unwanted bits. Cracking the sheet may make it easier for you to peel it off.
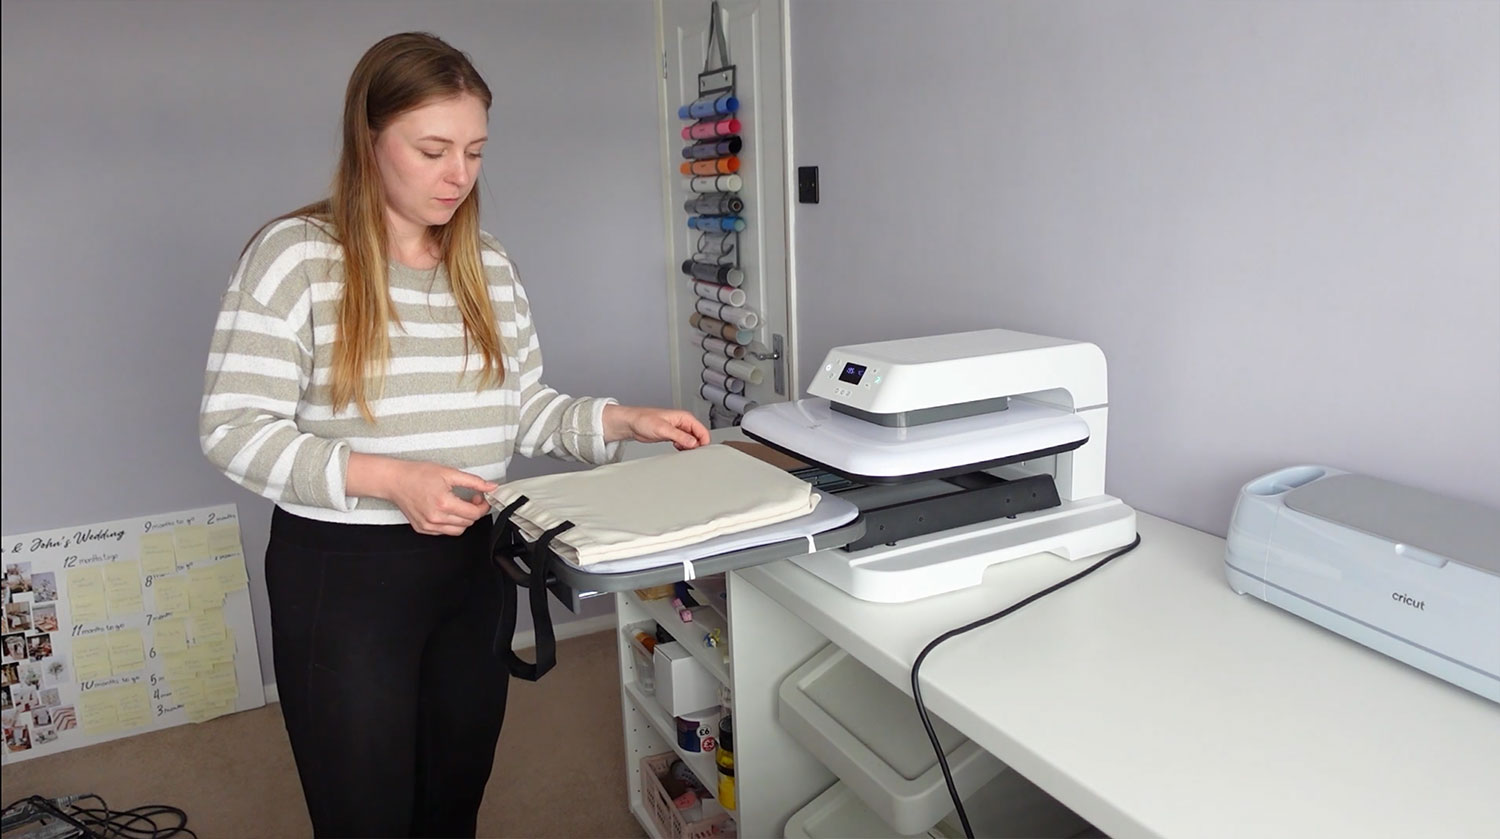
Step 4) Heat Press the design onto the tote
Set your heat press or iron to 195 degrees.
You may want to set your heat press timer for 40 seconds, but before doing that, preheat the tote bag for 15 seconds and let it cool down completely to avoid any creases.
Place your design centrally on your tote bag.
The coloured/patterned side of the material should be touching your tote bag, with the clear plastic layer on the top.
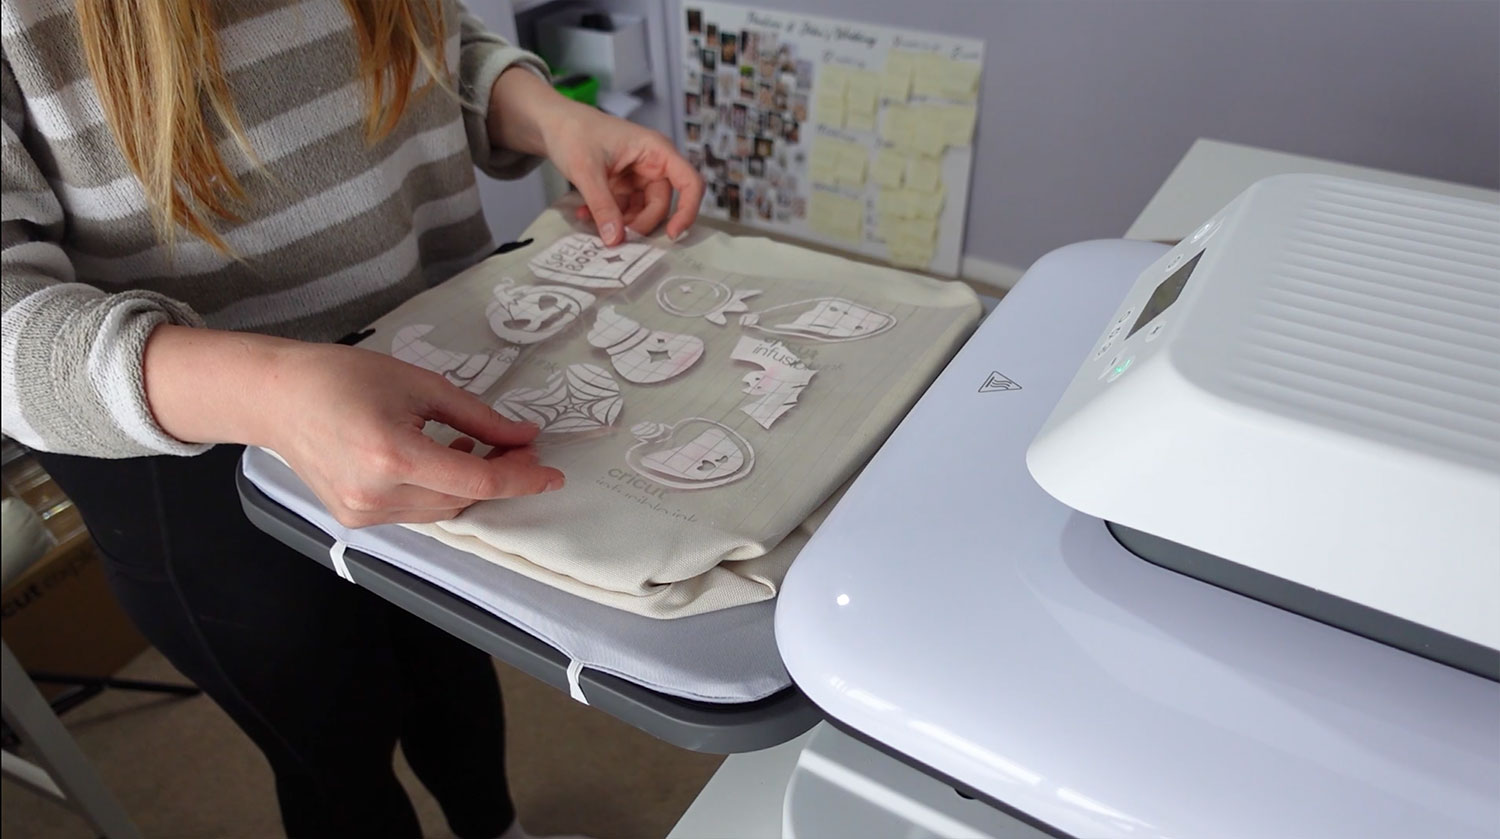
Place a Teflon sheet on top of the infusible ink sheet to protect your project and your heat press.
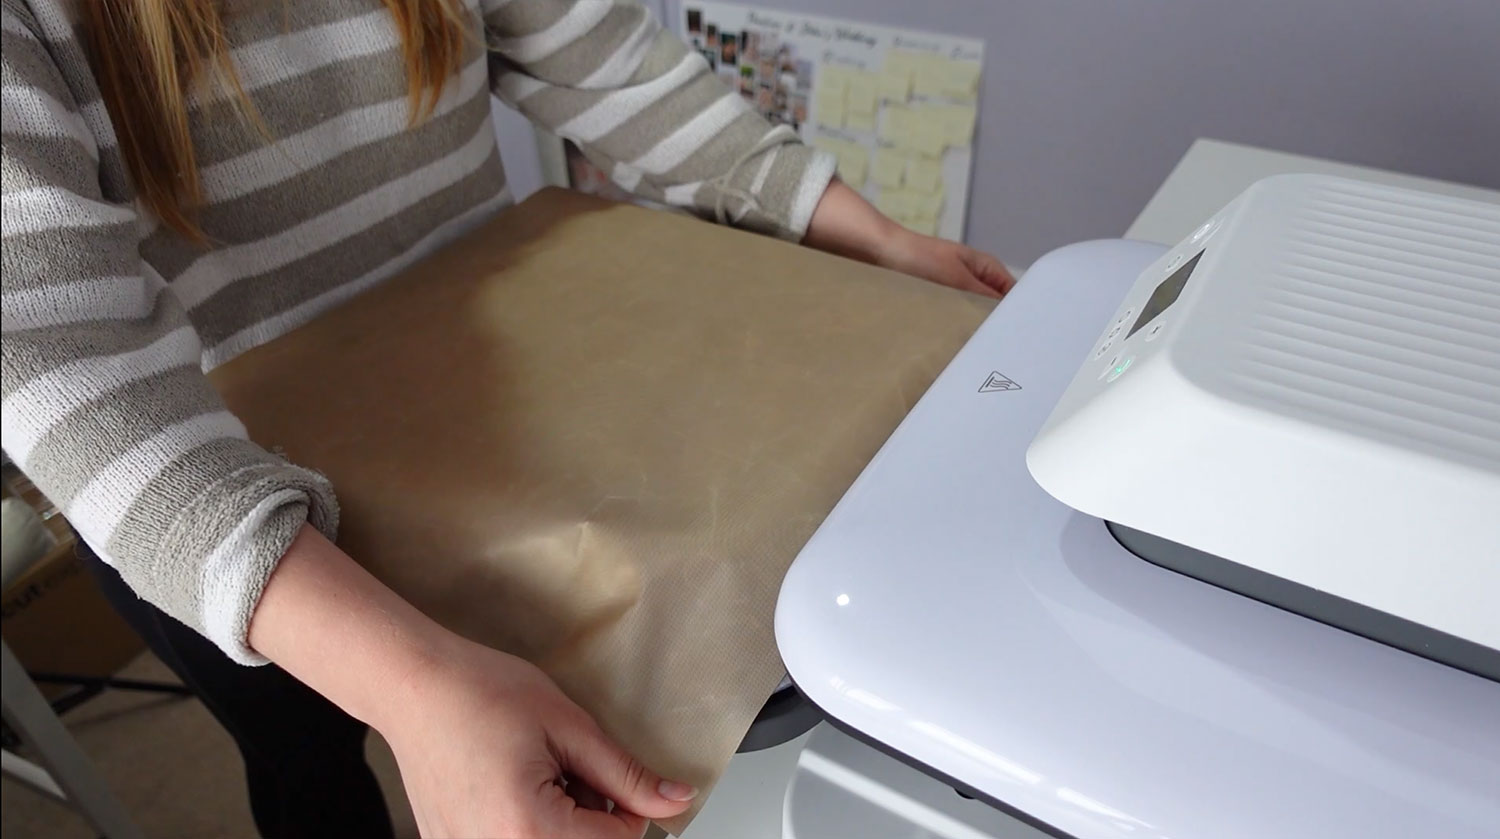
Carefully place your tote bag with the design into the heat press.
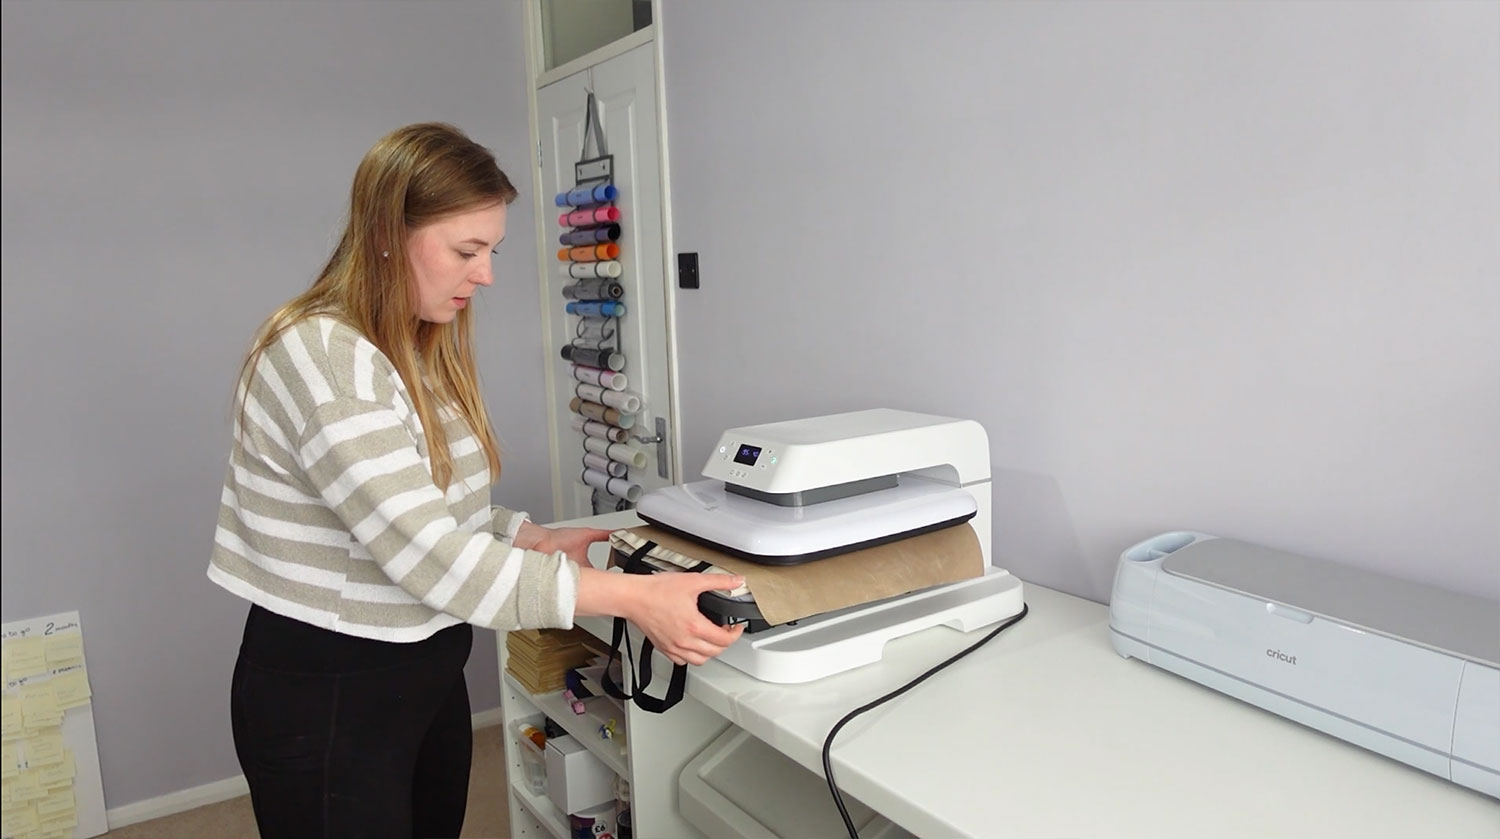
Alternatively, use your iron on top of your tote, design and Teflon sheet and apply pressure.
Once you have pressed or ironed your design. Lift the paper up and off your tote.
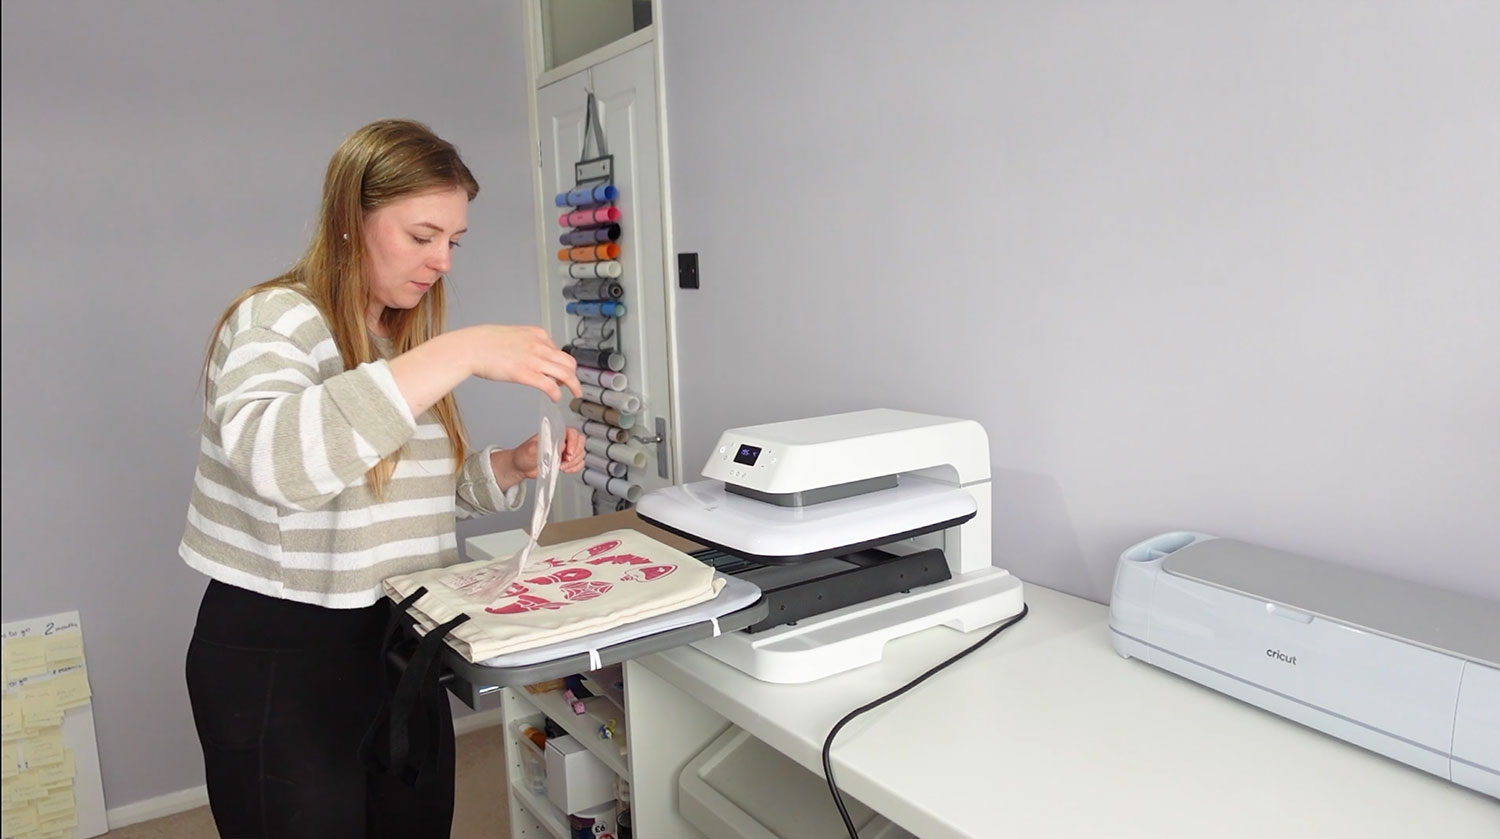
If you see any pieces of the backing paper left over on your bag, use tweezers to pick them off.
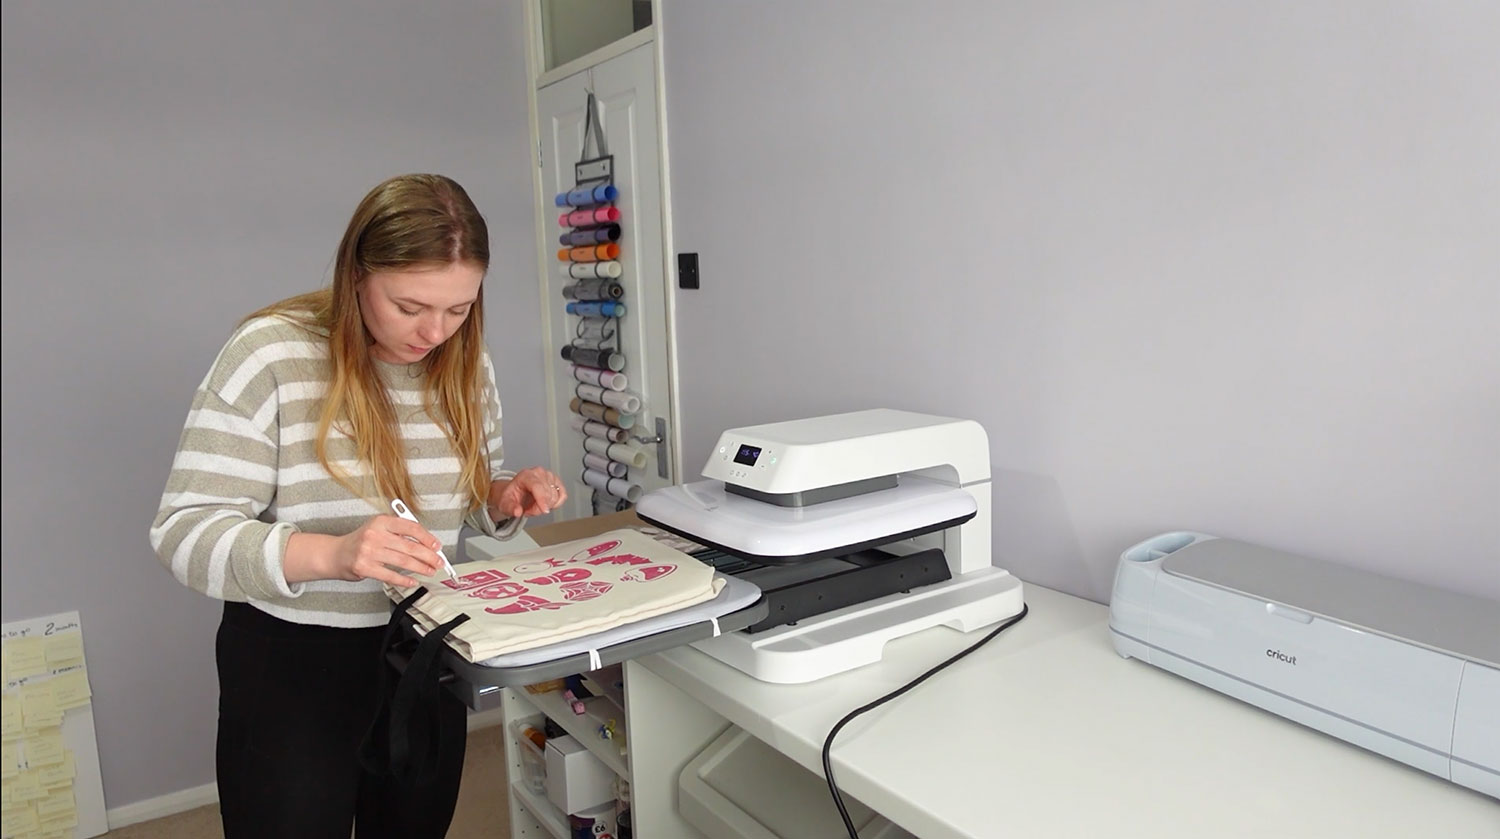
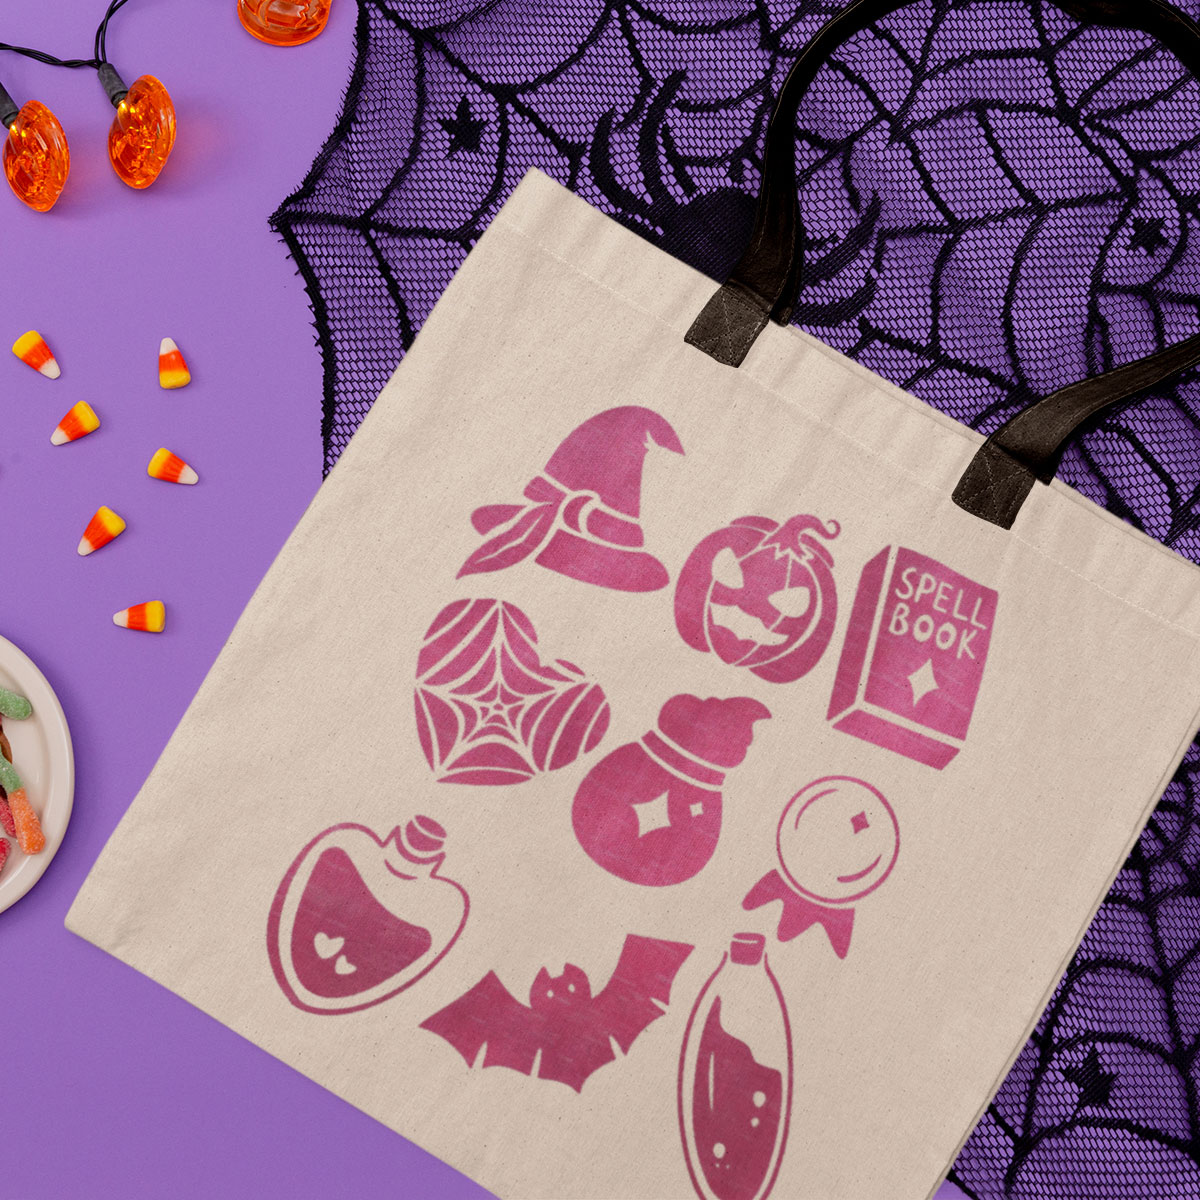
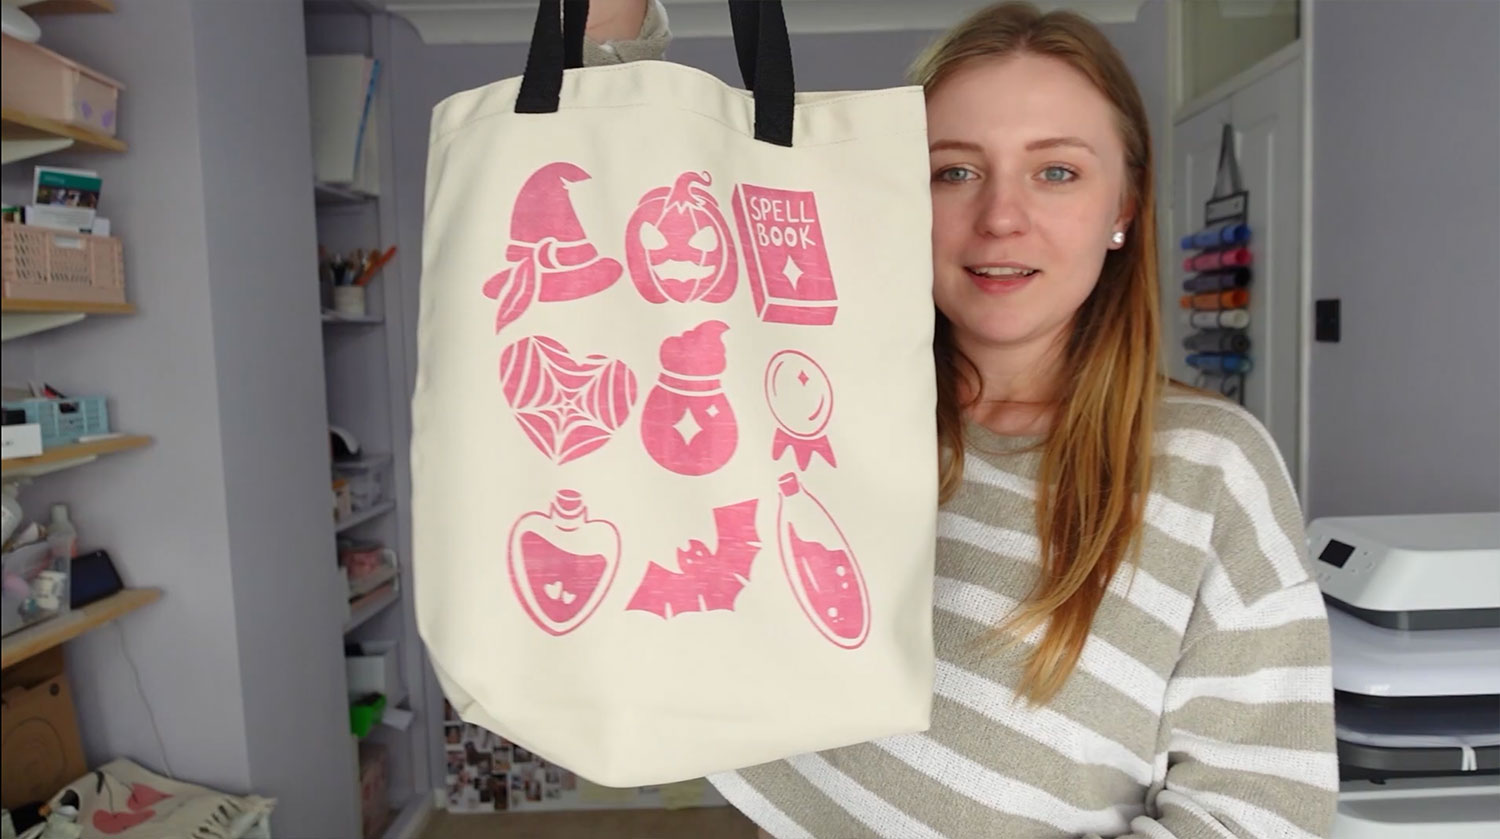
There we have it, your tote bag is finished!
How to use Infusible Ink
So there you have it – a step-by-step guide on how to use Infusible Ink with your Cricut machine and heat press!

What a great way to make your tote bags extra spooky. I especially love the spider web heart.
This will be a great addition to your shopping bags this Halloween.
Happy crafting,
Sarah x

