HCC 2022 Day 04 🎃 Cricut Joy Cards
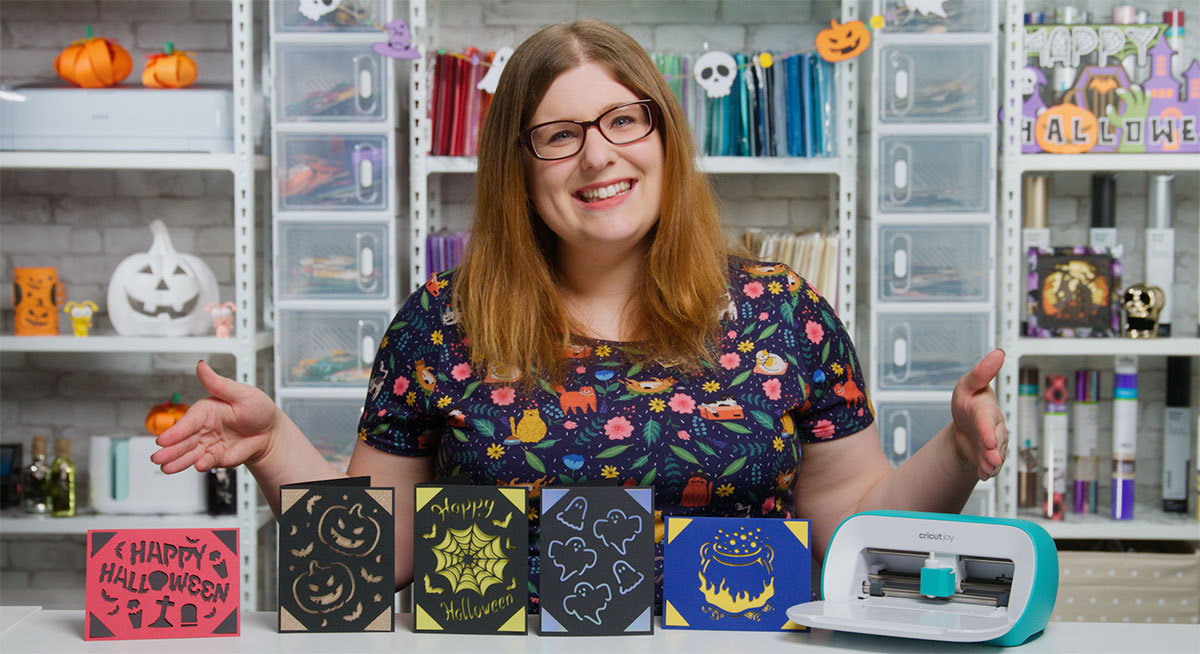
Today we are making these Halloween Cricut Joy greeting cards.
I’ll show you how to cut these cards on a Cricut Joy using the packs of Cricut insert cards that you can buy, but also how to cut your own.
If you don’t have the Joy but you’ve got one of the larger Cricut machines, then don’t worry, I’ve included a larger version of the designs too that can be cut on the bigger machines such as the Makers and the Explorers.
This Project was part of the Halloween Craft Countdown 2022
Materials supply list
Here is a list of the materials that I used to make this project.
Please note that some of the links included in this article are affiliate links, which means that if you click through and make a purchase I may receive a commission (at no additional cost to you). You can read my full disclosure at the bottom of the page.
- Cricut Joy machine
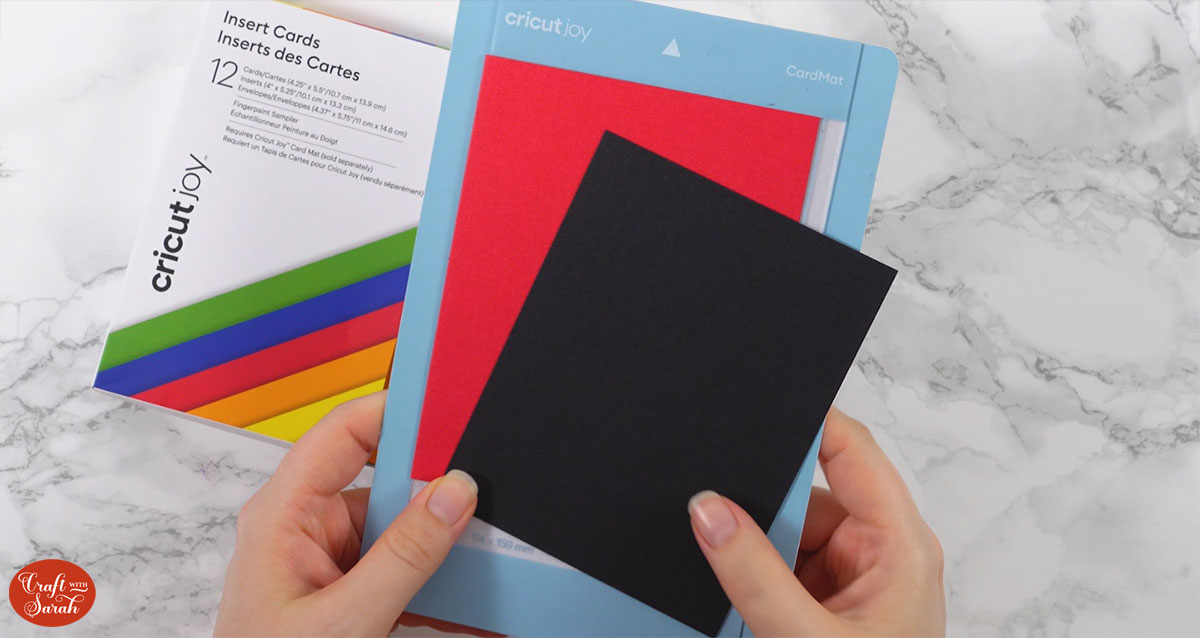
- Cricut Joy card mat
- Cricut Joy insert cards
- Coloured Card (if not using the premade insert cards)
Video tutorial
Watch the video below to see how to make this project. Keep scrolling for a written tutorial.
Written tutorial (with photos!)
Here’s how to make your very own Halloween cards using a Cricut Joy machine!
Step 1) Download the cutting file(s) & unzip the downloaded folder
Error: No countdown timestamp set.
Before you upload the SVGs to Design Space, you need to unzip the download folder that they come in.
- How to unzip a folder on Windows computer
- How to unzip a folder on a Mac
- How to unzip a folder on an iPad/iPhone
- How to unzip a folder on an Android device
Step 2) Upload the SVG files into Design Space
Open up Cricut Design Space and start a new Project.
Click “Upload” and then find your unzipped version of the downloaded files for this project.

Go into the “Cut Files” subfolder and then choose if you are using the Cricut Joy version or the larger versions for Explore/Maker models.
For this tutorial, I’ll show you with the Cricut Joy version.
Make sure you upload the file which starts SVG_ in the filename!!
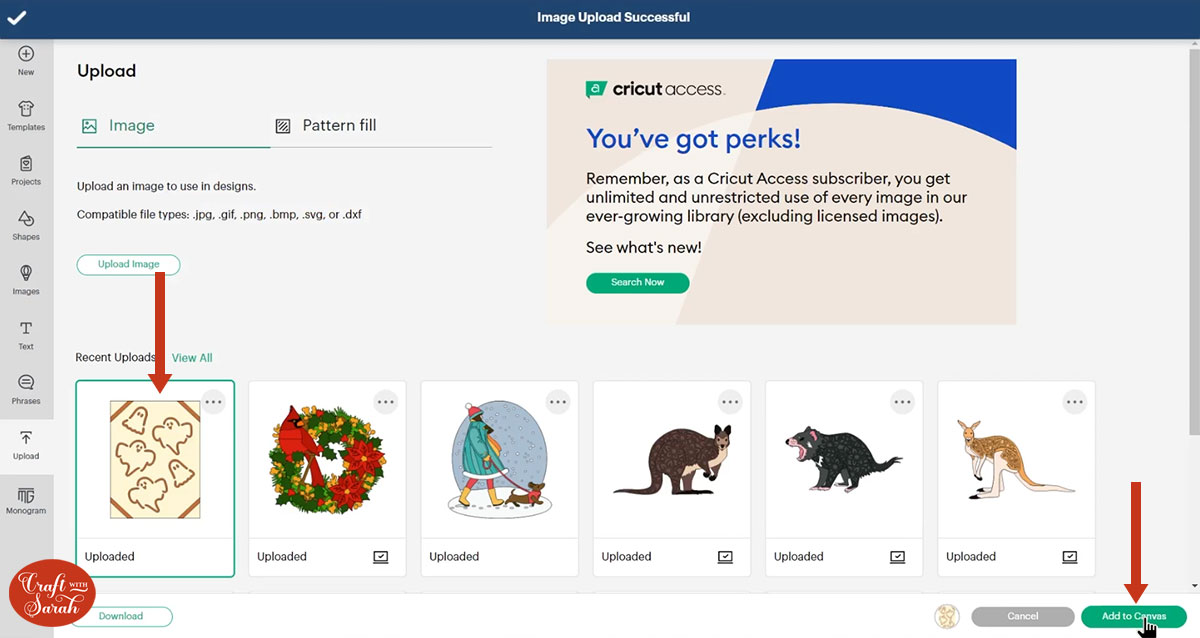
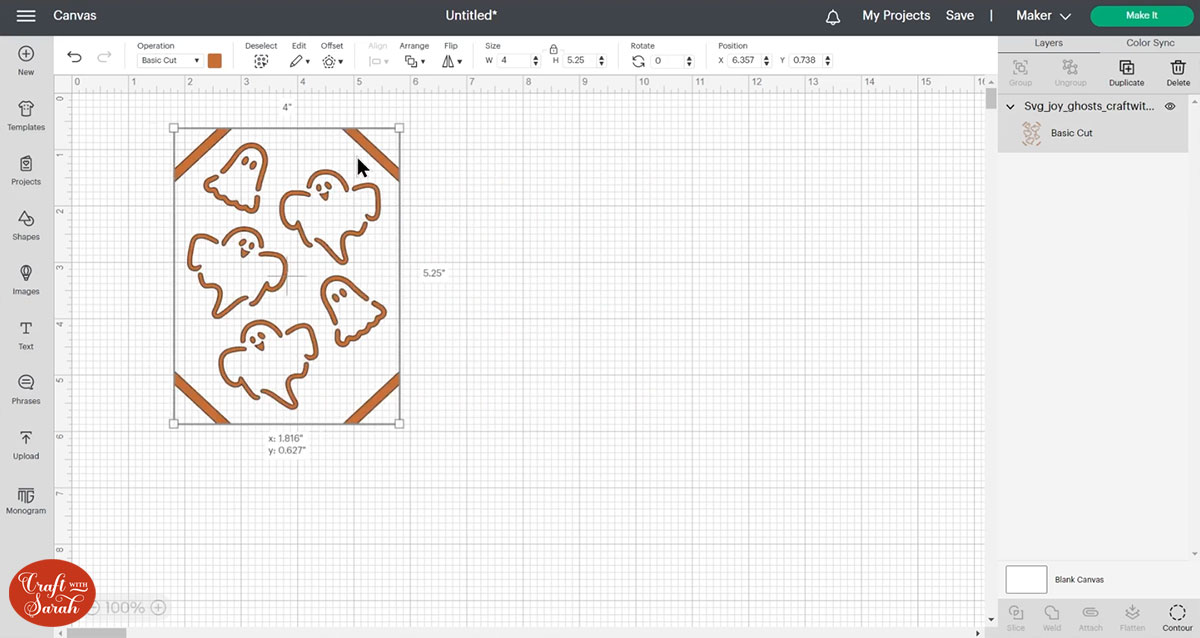
This is how it should look after you have uploaded the file:

After uploading, the design will show in your “Recently Uploaded Images”.
Click on it and then press “Add to Canvas” to put it onto your Project.
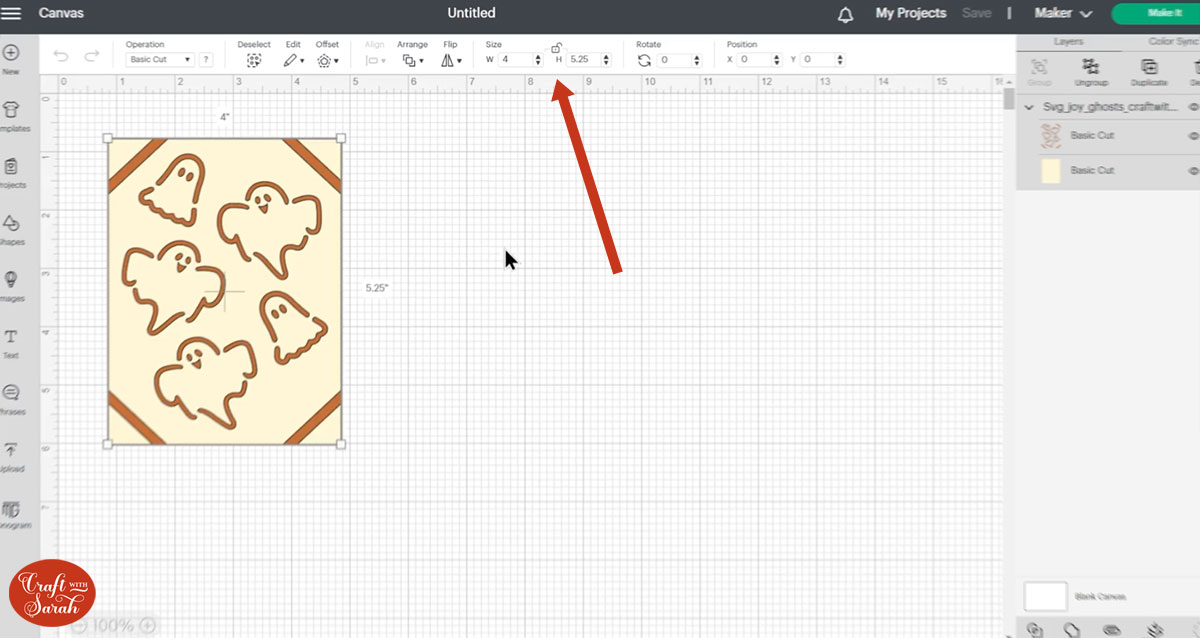
Make sure the design comes in at 4 x 5.25 inches.
If it doesn’t, then change it to match.
Step 3) Prepare the card blank
If you are using the premade Cricut Insert cards that come with the main base card and the different coloured insert piece then you need to delete the solid rectangle layer in the SVG.
Click the design and press “Ungroup”.

Click the solid rectangle layer and delete it.
For the premade cards, it’s the 4×5.25 inch ones that you want (the middle size).
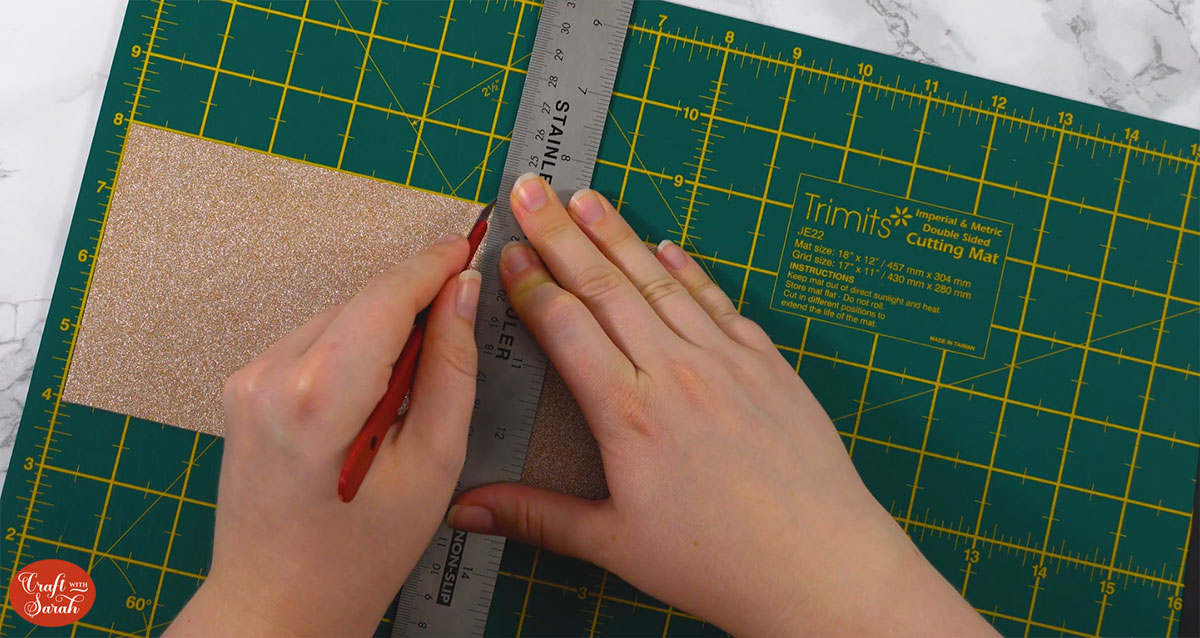
Don’t have the Cricut insert cards? Here’s how to make your own!
Simply use a paper trimmer (or craft knife and metal ruler) to cut a piece of card to 5.5 inches tall and 8.5 inches wide and fold it in half.
Then, cut a separate piece of card to 5.25 inches tall and 4 inches wide.
Step 4) Cut out the card and add the insert
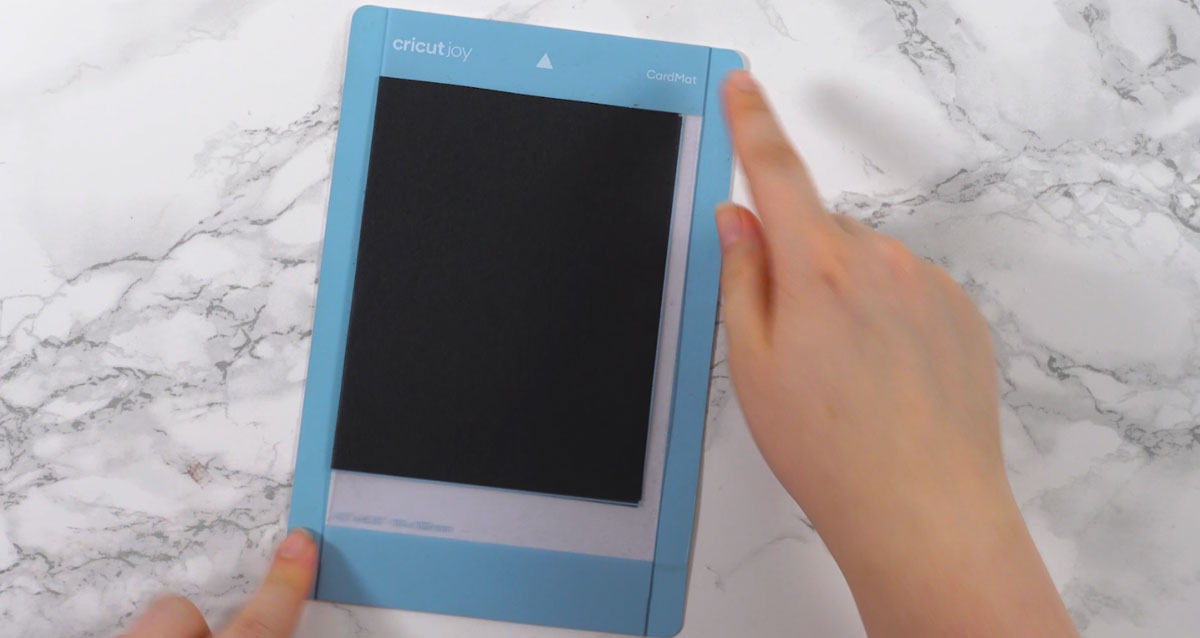
Slide the card into the Cricut Joy card mat (don’t forget to take off the protective layer from the mat first!)
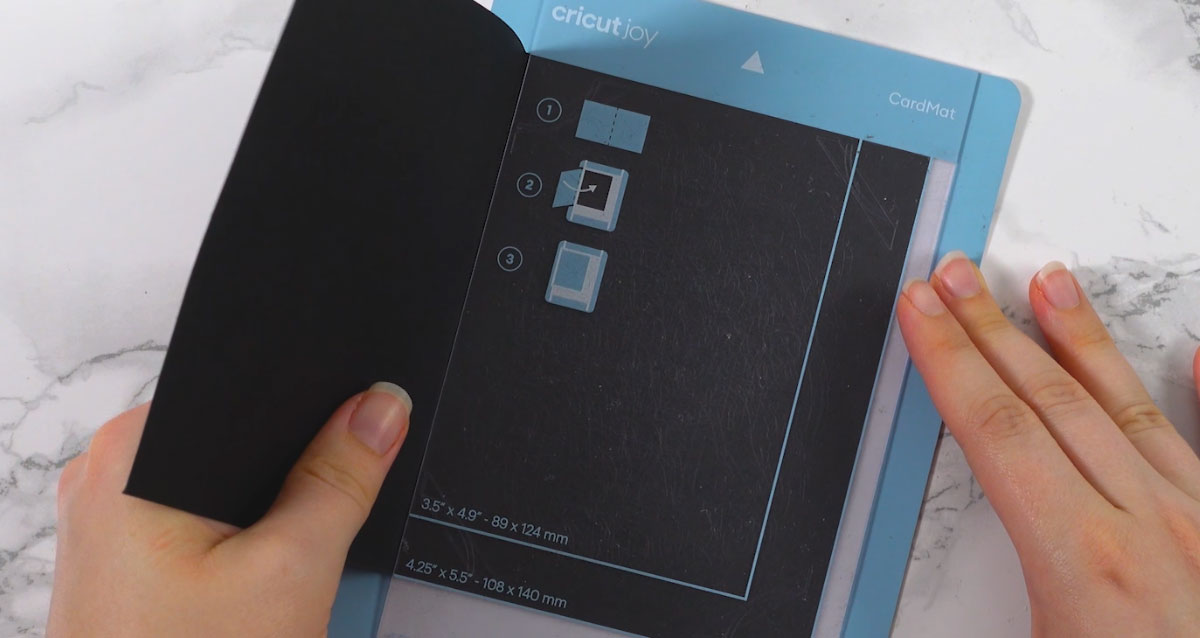
Firmly stick the front “flap” of the card to the sticky bit on the mat.
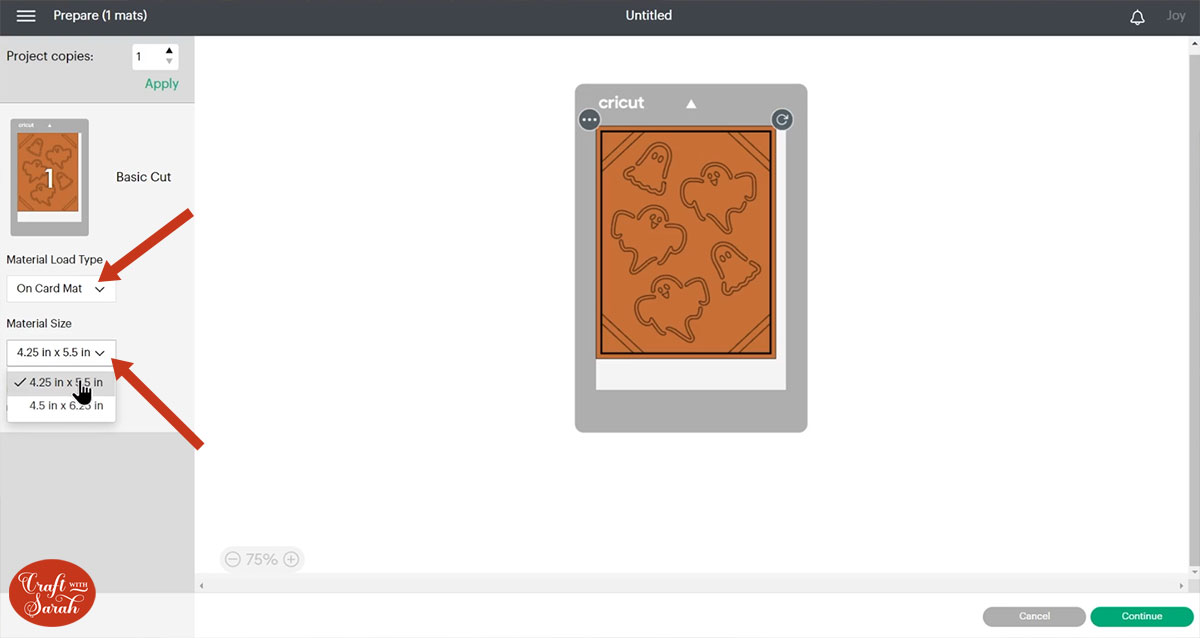
Click “Make It” on your Cricut Joy and select the Card Mat and the mat type.
Choose “Insert Card” for the material type and then the 4.25 x 5.5 inch size.
If that size doesn’t appear, click “Cancel” to go back to the Project screen and make the design slightly smaller (e.g. 4.24 inches wide) and then it should appear when you next click “Make It”.
Follow the steps on-screen to get the card cut on your Cricut Joy.
TIP: New to cutting cards on a Cricut Joy? Check out this in-depth tutorial which goes through every step of the process.
Watch the video at the top of this page for information on how to use the SVG files for the larger Cricut machines (Explore/Maker models)
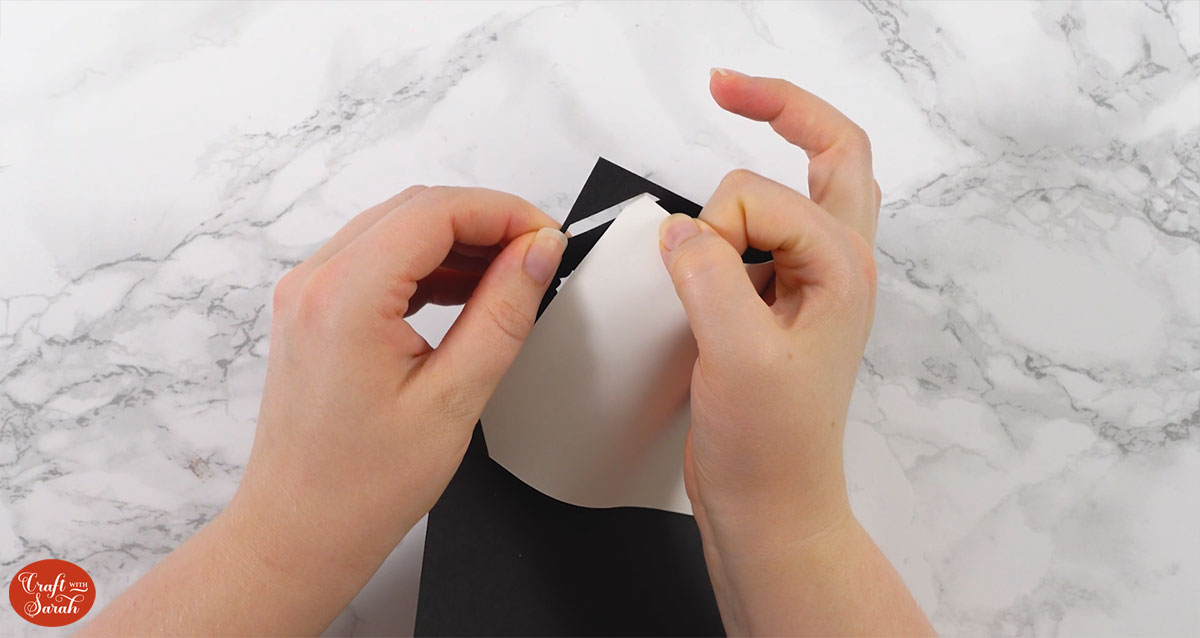
After cutting, simply tuck the insert piece into the inside of the card, through all four corners, to complete the card.
Halloween cards on the Cricut Joy
That’s really all there is to it!
I love making cards on the Cricut Joy as they come together so quickly.
If you want to, you can add extra embellishments or decorations, but I tend to leave them as they are. 🙂

Happy crafting,
Sarah x

