HCC 2023 Day 07 🦇 Giant Off-the-Mat Raven
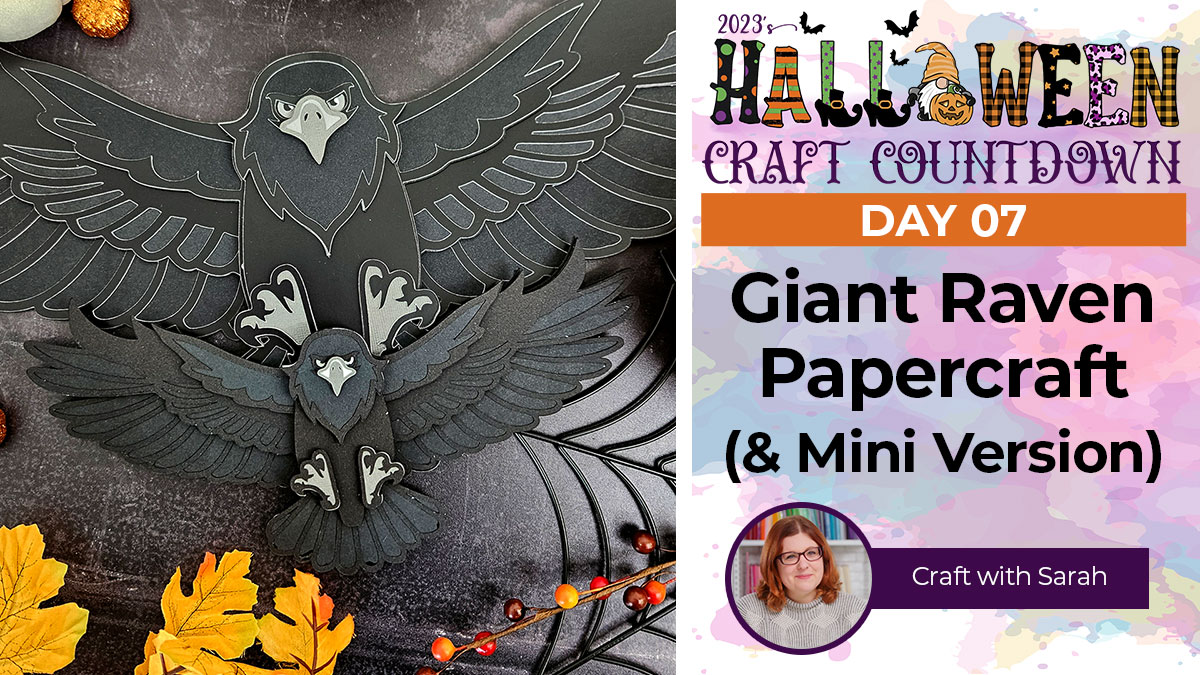
This majestic raven will be watching over your Halloween celebrations!
This is a “larger than mat” project, which means the finished papercraft design is bigger than the Cricut can cut.
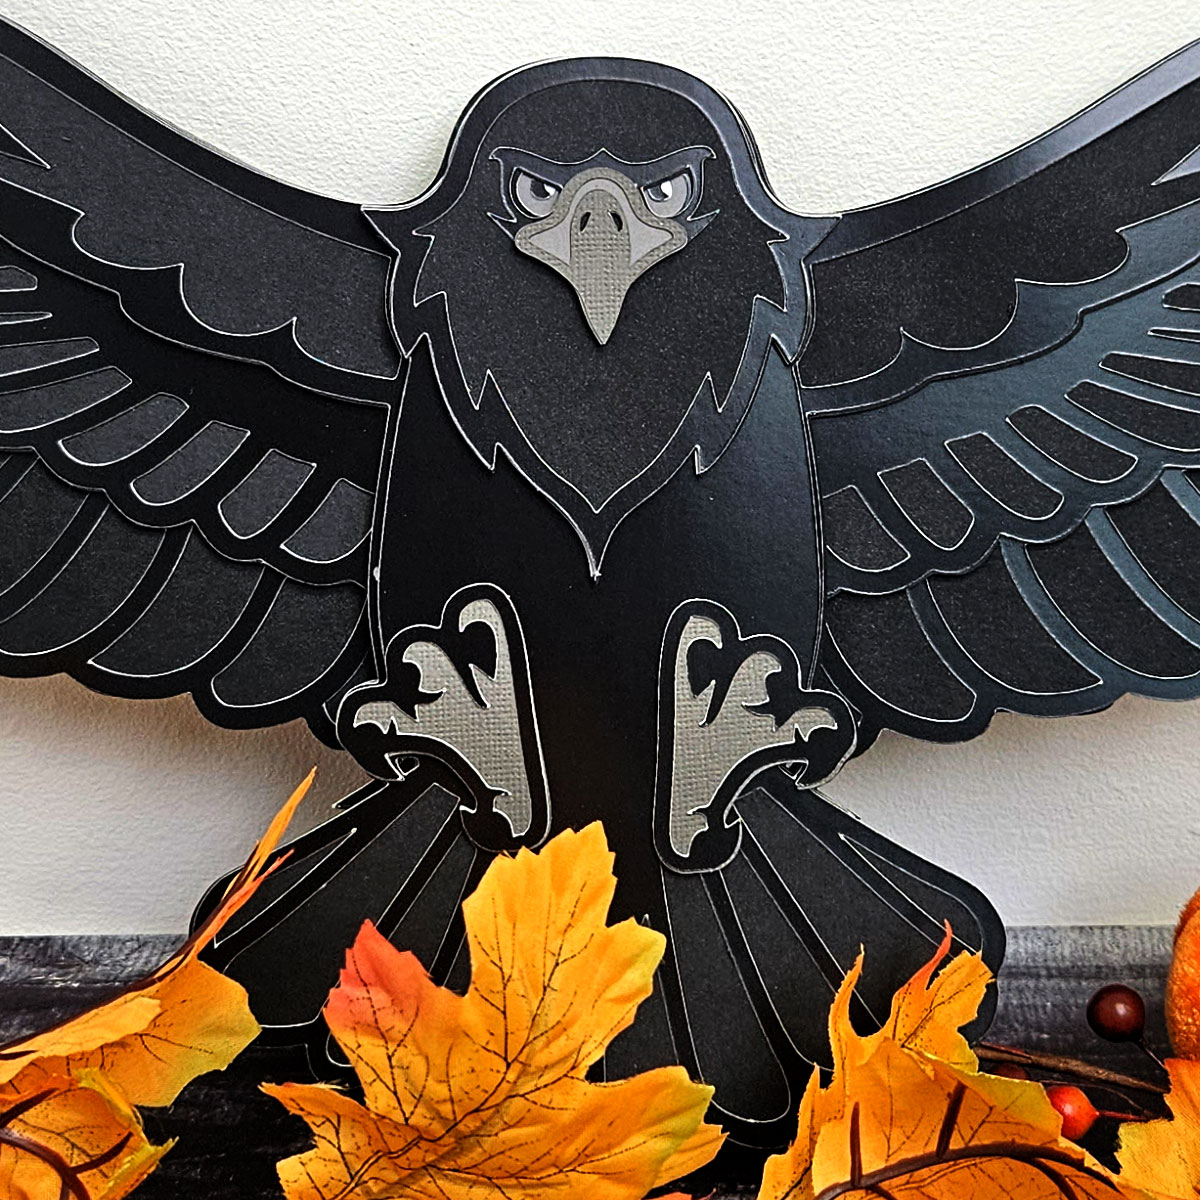
The detailed raven papercraft is a massive 20 inches wide. However, the back pieces come in sections, which means you can cut it from regular US Letter, A4 or 12×12 paper on a standard sized Cricut mat.
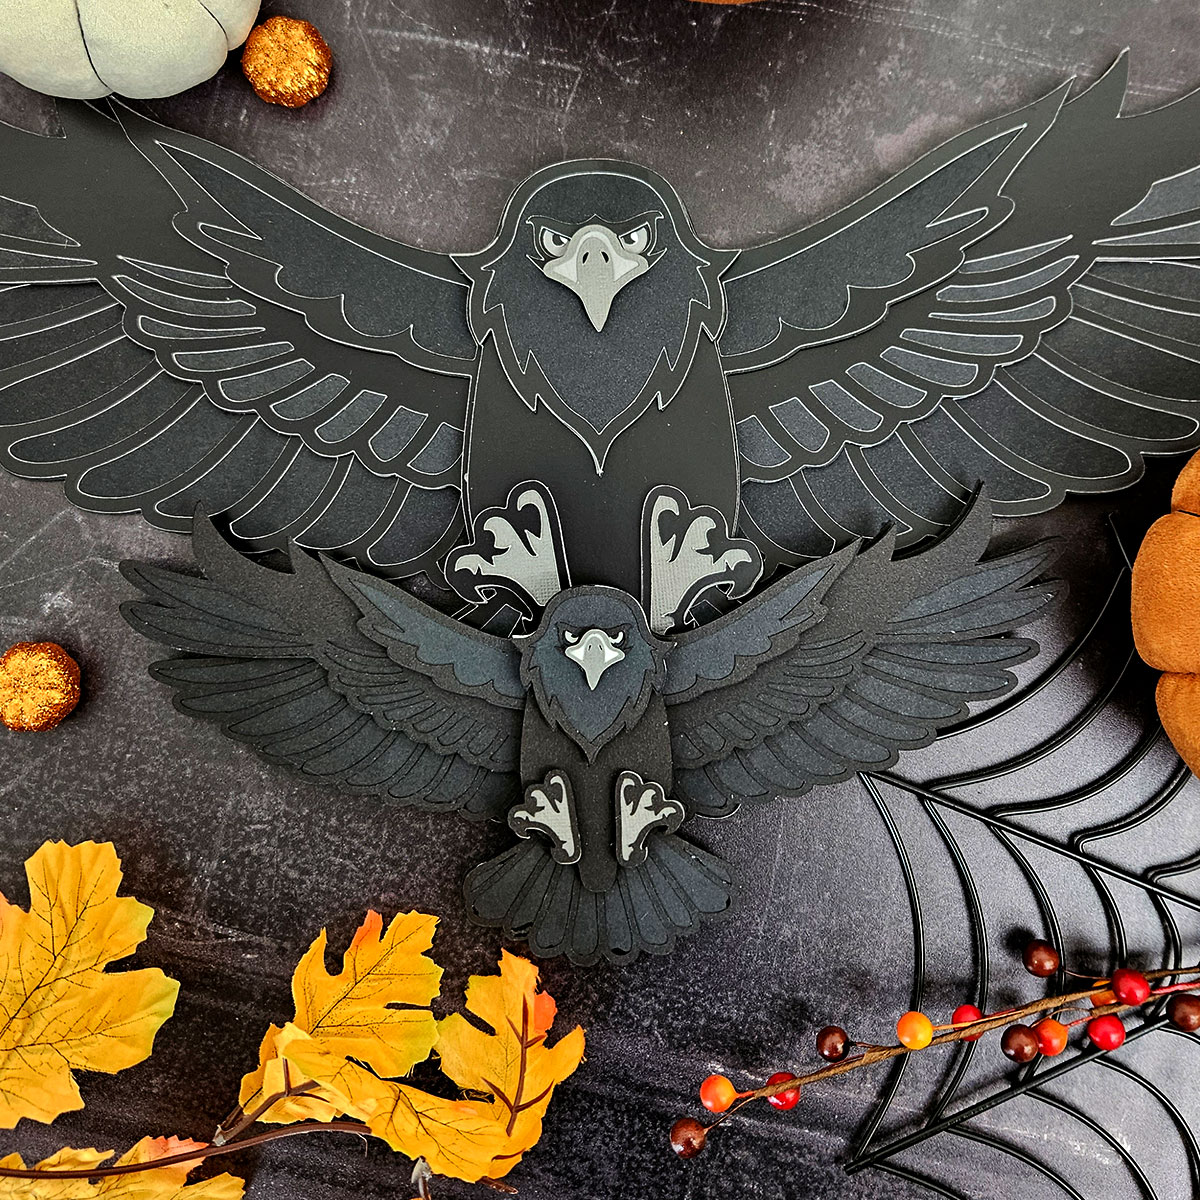
In case you’d prefer a smaller raven, I’ve included a second version of the cut file which doesn’t have the bottom layers split into pieces, so it’s easier to cut at a smaller size.
This Project was part of the Halloween Craft Countdown 2023
Materials supply list
Here is a list of the materials that I used to make this project.
Please note that some of the links included in this article are affiliate links, which means that if you click through and make a purchase I may receive a commission (at no additional cost to you). You can read my full disclosure at the bottom of the page.
- Cricut machine
- Light blue Cricut cutting mat
- Coloured Card
- Ribbon or twine
- Collall All Purpose Glue
- Needle Tip Applicator Bottle
- 3D foam pads
- Cellotape / sticky tape
This project is suitable for the following types of Cricut machine: Explore Air 2, Explore Air 3, Maker, Maker 3, Venture and Joy Xtra. It is too large to cut on the original Cricut Joy machines.
Video tutorial
Watch the video below to see how to make this project. Keep scrolling for a written tutorial.
Written tutorial (with photos!)
Here’s how to make your very own larger-than-mat raven papercraft using a Cricut machine!
Step 1) Download the cutting file(s) & unzip the downloaded folder
Purchase the File(s)
This cut file is available as part of the Instant Access Bundle.
Or, purchase this design individually here
Before you upload the SVG to Design Space, you need to unzip the download folder that it comes in.
- How to unzip a folder on Windows computer
- How to unzip a folder on a Mac
- How to unzip a folder on an iPad/iPhone
- How to unzip a folder on an Android device
Step 2) Upload the SVG file into Design Space
Open up Cricut Design Space and start a new Project.
Click “Upload” and then find your unzipped version of the downloaded files for this project.

The file to upload for Cricut Design Space is the one called svg-giant-raven-craftwithsarah.svg for the larger-than-mat version, or svg-raven-small-craftwithsarah.svg for the smaller version.
This is how it should look after you have uploaded the file:
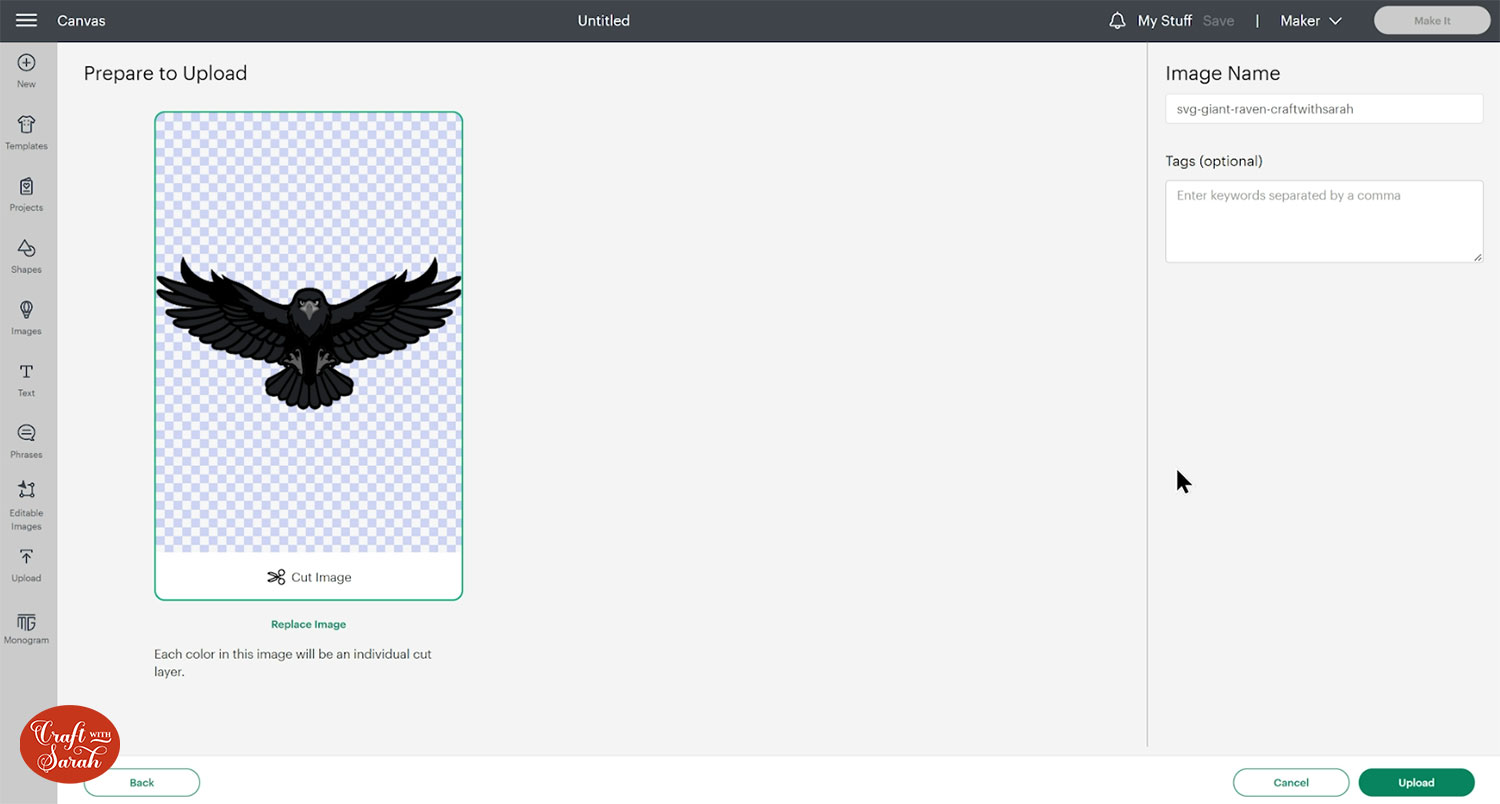
All the layers should appear “on top of each other” as per the image above. If you see all the layers next to each other instead, that means you’ve accidentally uploaded the wrong file type. If that’s the case, click “Cancel” on the bottom-right of the screen and try again.
Make sure you upload the file which starts svg- in the filename!!
After uploading, the design will show in your “Recently Uploaded Images”.
Click on it and then press “Add to Canvas” to put it onto your Project.
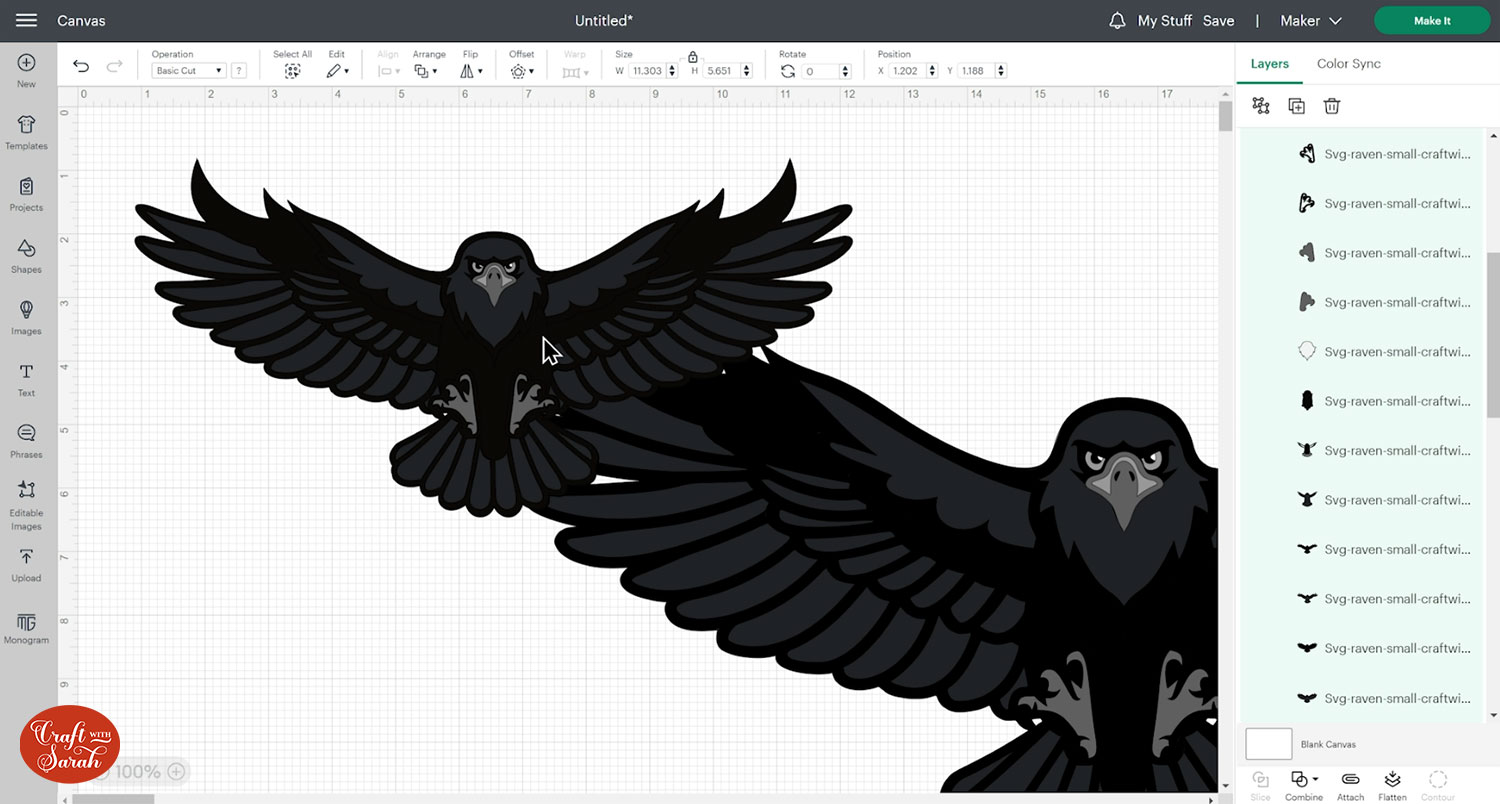
This image shows the difference in size between the small and large versions!
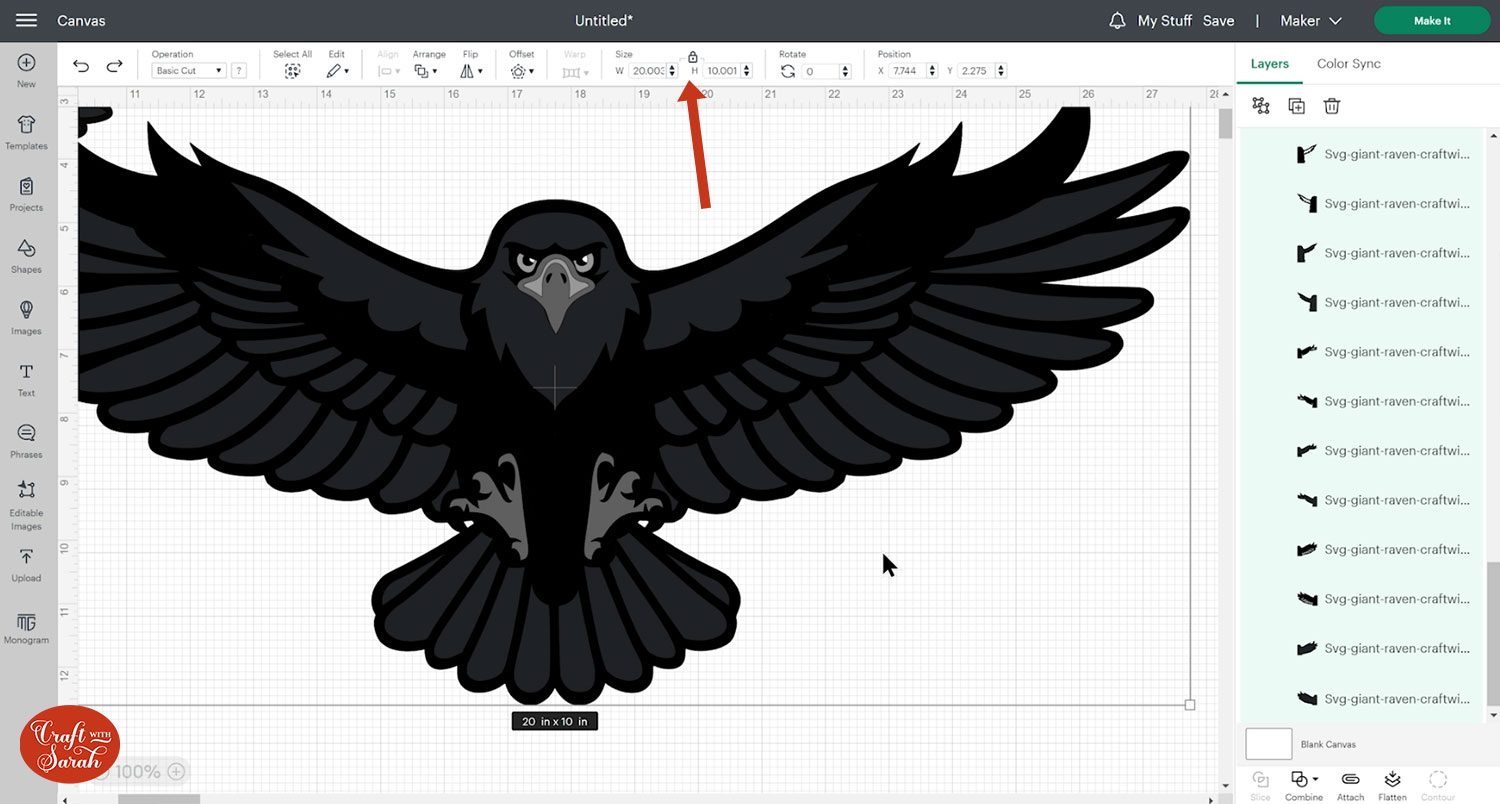
Step 3) Size the raven design
Click the design on your canvas and use the width/height boxes near the top of the screen to make it the size that you want to cut.
TIP: Make sure the padlock icon above the width/height boxes is CLOSED before you resize. If it appears “open”, click it with your mouse to close it.
I kept the large raven at 20 inches wide (10 inches tall) as that is the specific size that will allow it to be cut from A4 cardstock.
This design has four similar colours: black, very dark grey, mid-grey and a light grey, plus a little bit of white.
Click the “Color Sync” button at the top of the layers panel to separate the layers by colour.
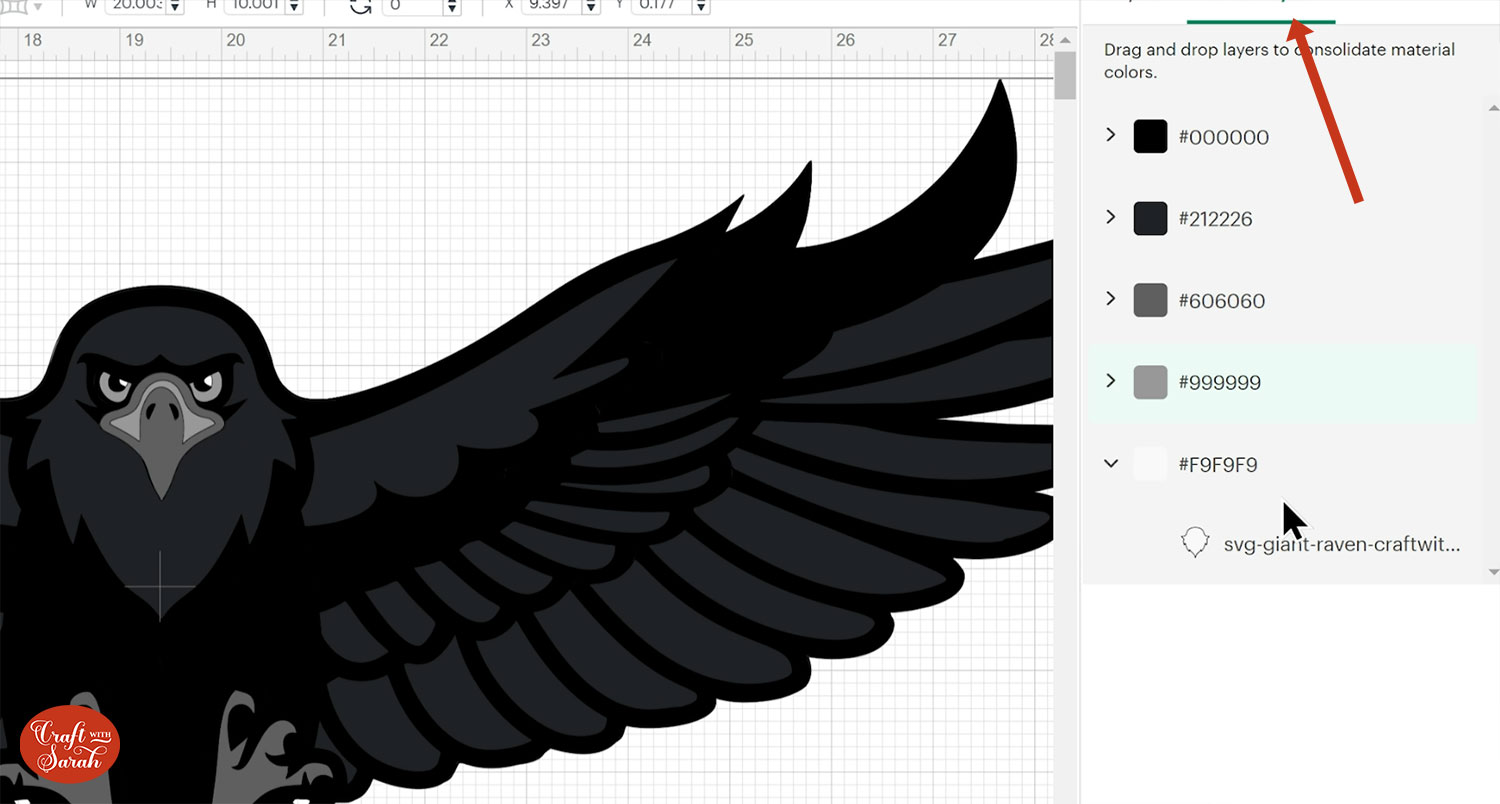
If you don’t have that many similar colours of cardstock, you can click-and-drag one colour onto another to reduce the total amount of colours.
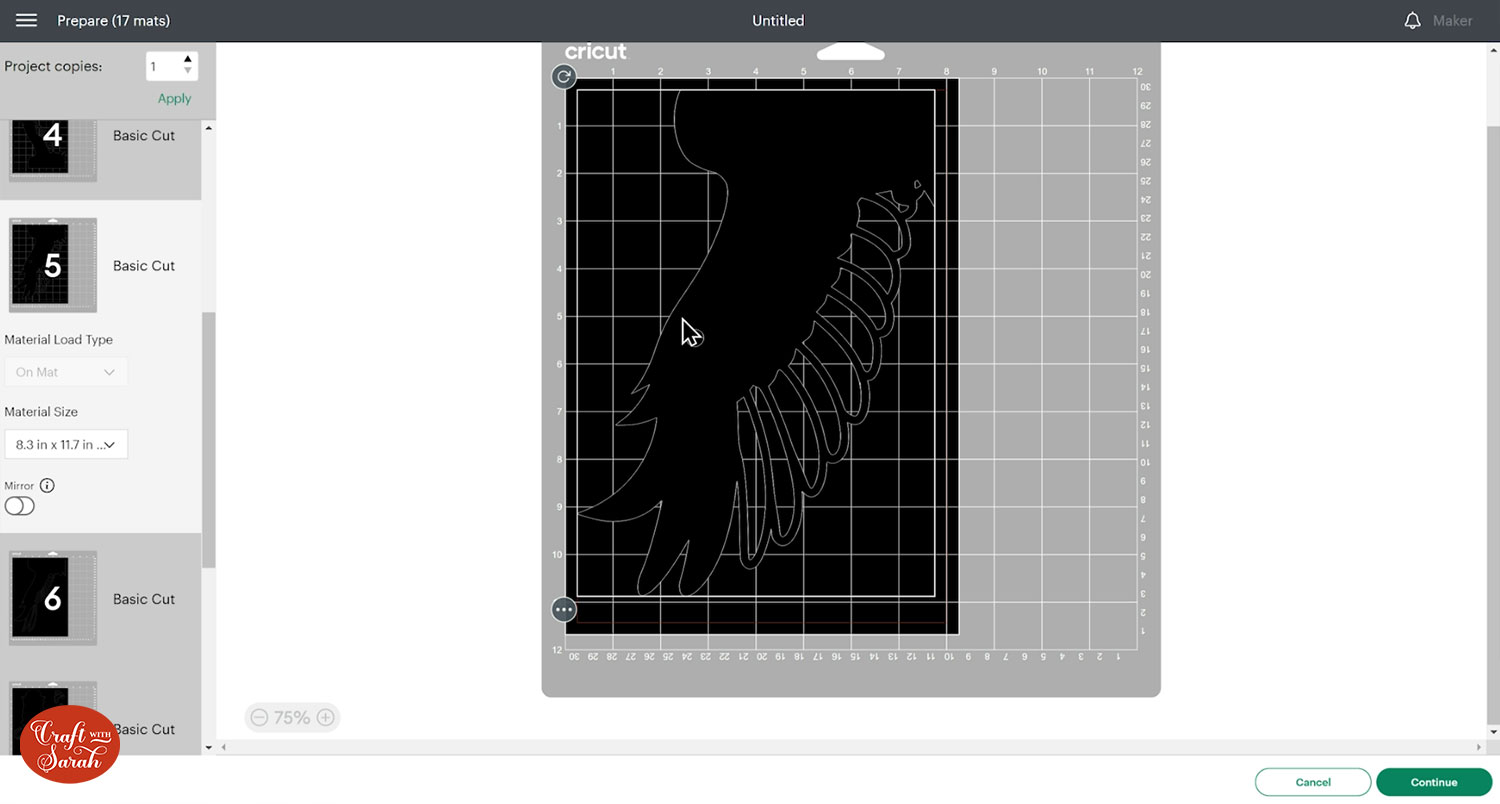
Step 4) Cut out all the layers
When you’re happy with how the project is looking in Design Space, click “Make It” and follow the instructions on-screen to cut out all the layers.
To change the paper size, go into the dropdowns over on the left side of the screen and choose the paper size that you want to use. You need to change it for every single colour.
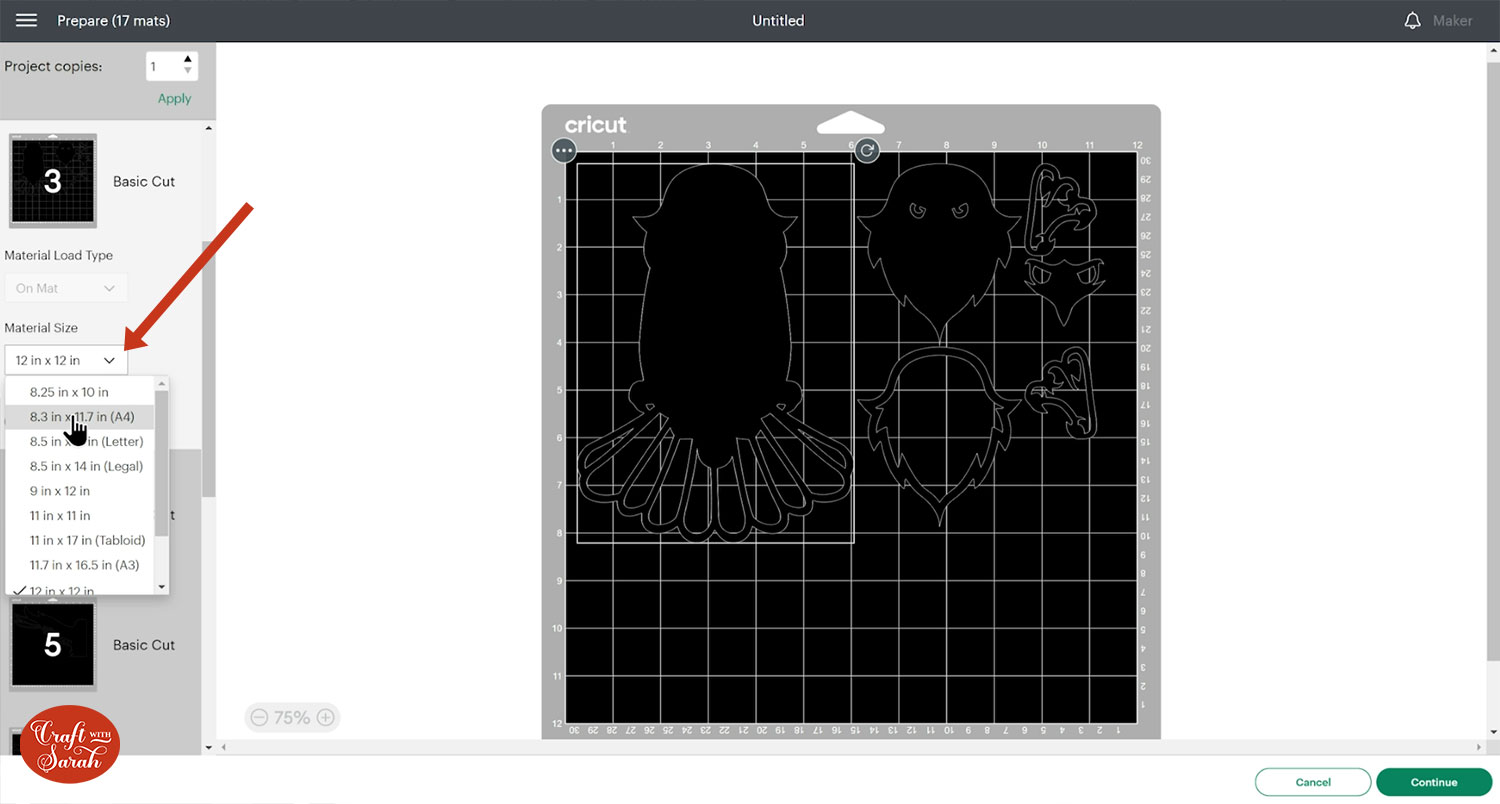
Because of the size of this project, you will need multiple pieces of cardstock of some of the colours.
To save space on your cardstock, you can move things around by clicking and dragging. Make sure when you’re moving things about that nothing overlaps because otherwise, it won’t cut out properly.
TIP: New to cutting cardstock with a Cricut? Check out this in-depth tutorial which goes through every step of the process, including tips for getting the best quality cuts from your Cricut.
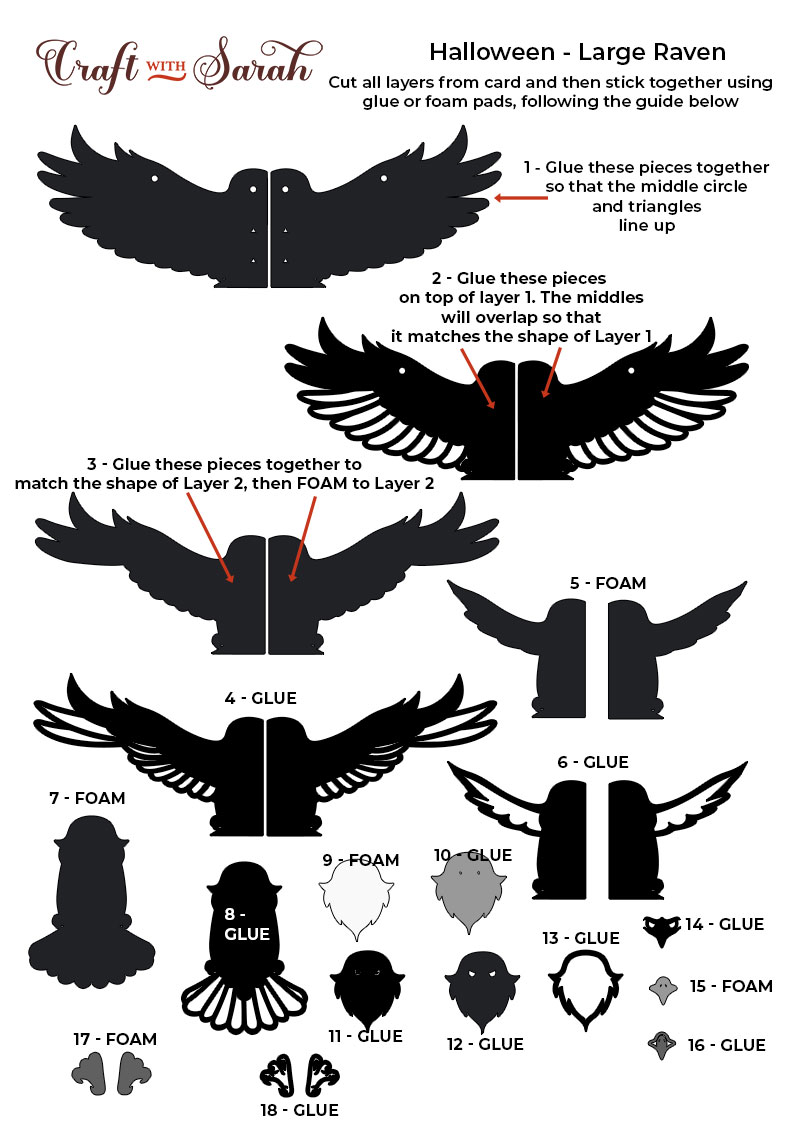
Step 5) Stick the project together
Use 3D foam pads and glue to stick the layers together.
Use this guide to see the order to stick the layers together in.
A printable version of this assembly guide is included in the folder when you download the cut files, as well as a separate version for the smaller raven design.
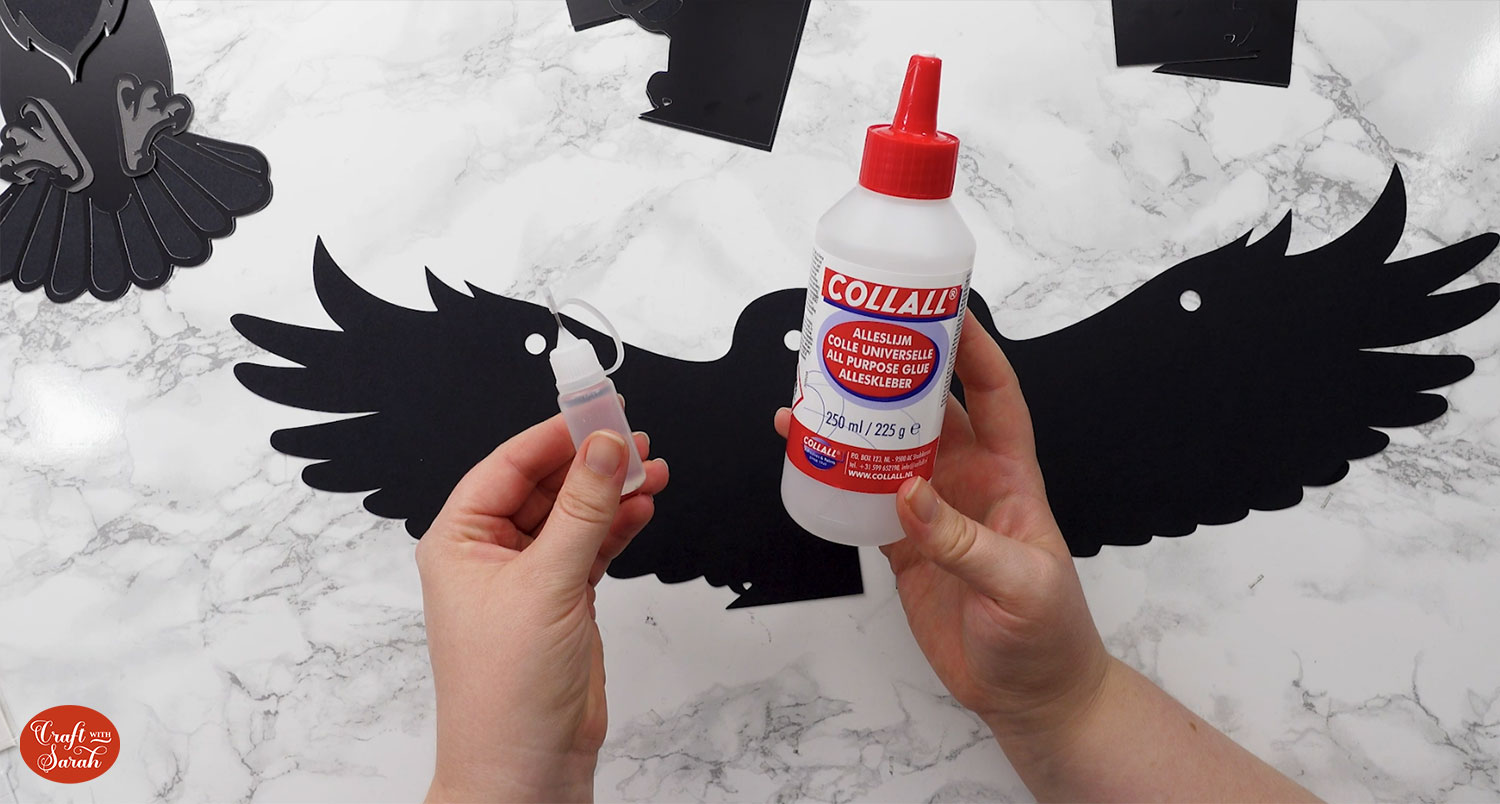
My favourite glue to use on papercraft projects is Collall All Purpose Glue.
It’s SO good because it doesn’t “warp” or bend the cardstock like some glues do. You can use as much of it as you want and the card stays perfect – and it dries perfectly clear too!
To make it even easier to apply glue to layered card projects, I highly recommend getting some of these needle tip applicator bottles to put the glue into.
The nozzles are REALLY tiny which makes them perfect for putting glue in the pieces of cardstock that make up this design.
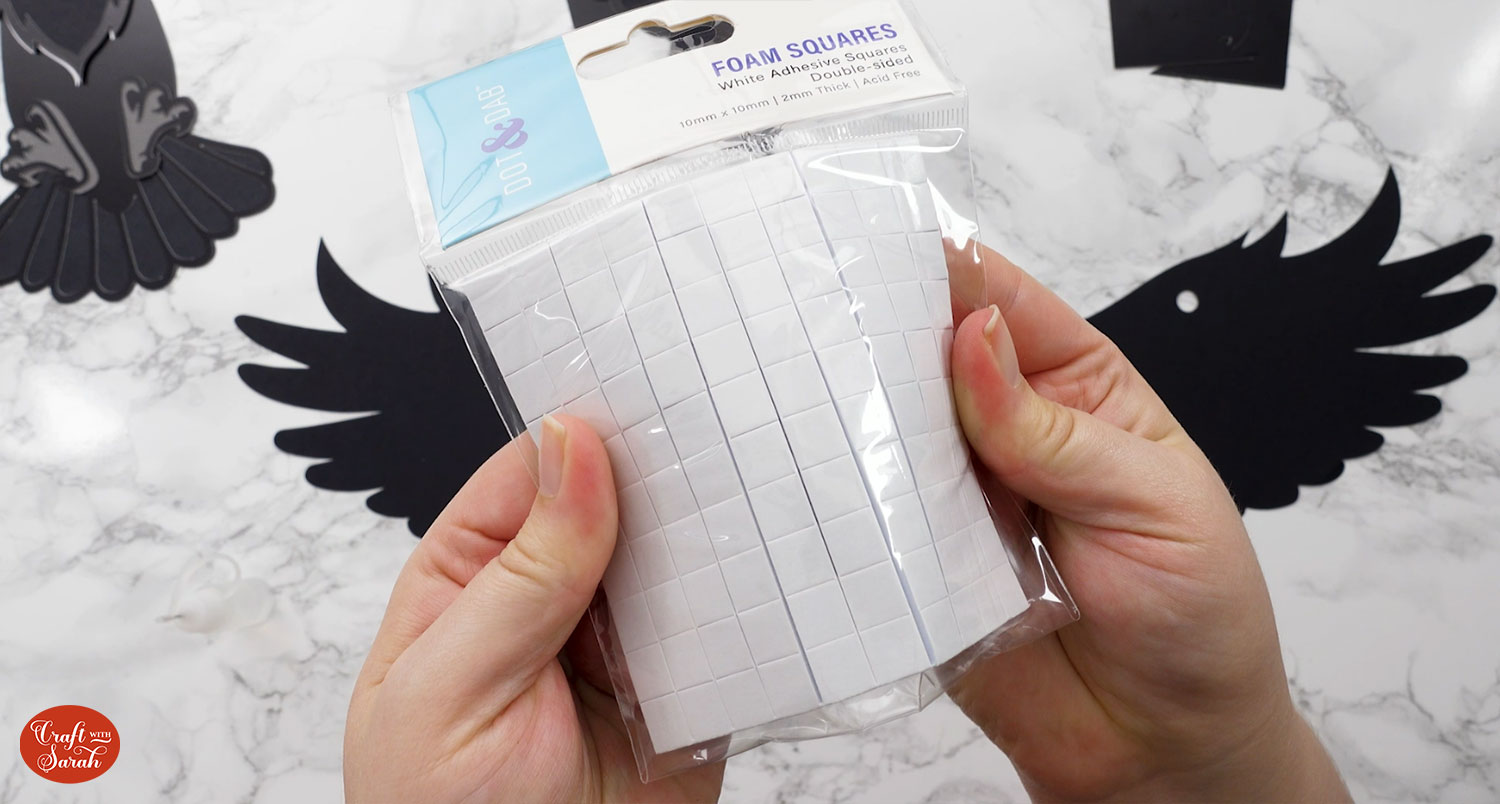
The foam pads that I use are from “Dot & Dab”, but any foam squares will work. If yours are big then you may need to cut them smaller with scissors to fit inside the edges of the layers.
To start, glue the two largest pieces of the raven’s wings together.
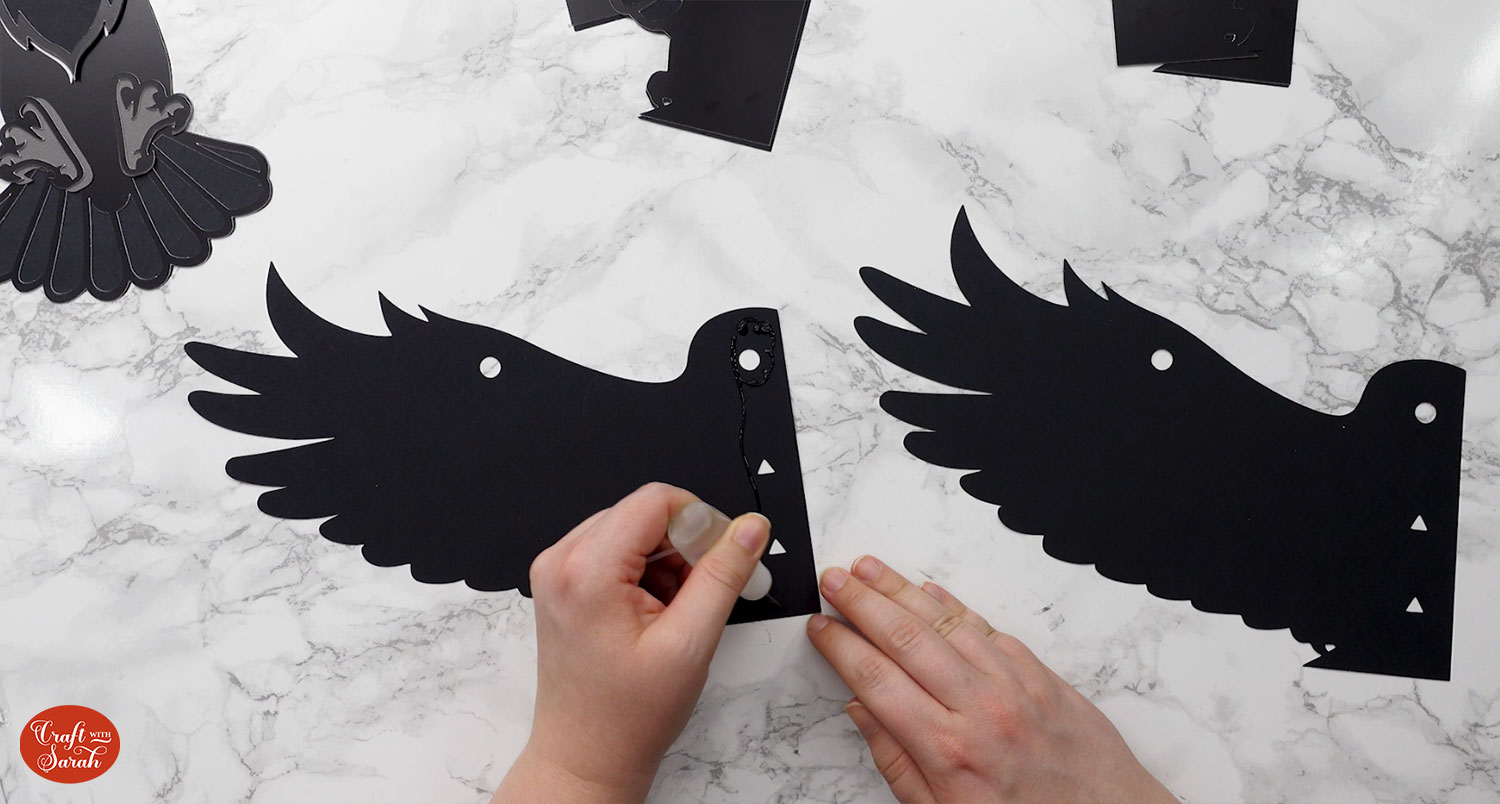
The triangles and circle in the middle of the wings should perfectly line up with each other so that you know the two pieces are correctly aligned.
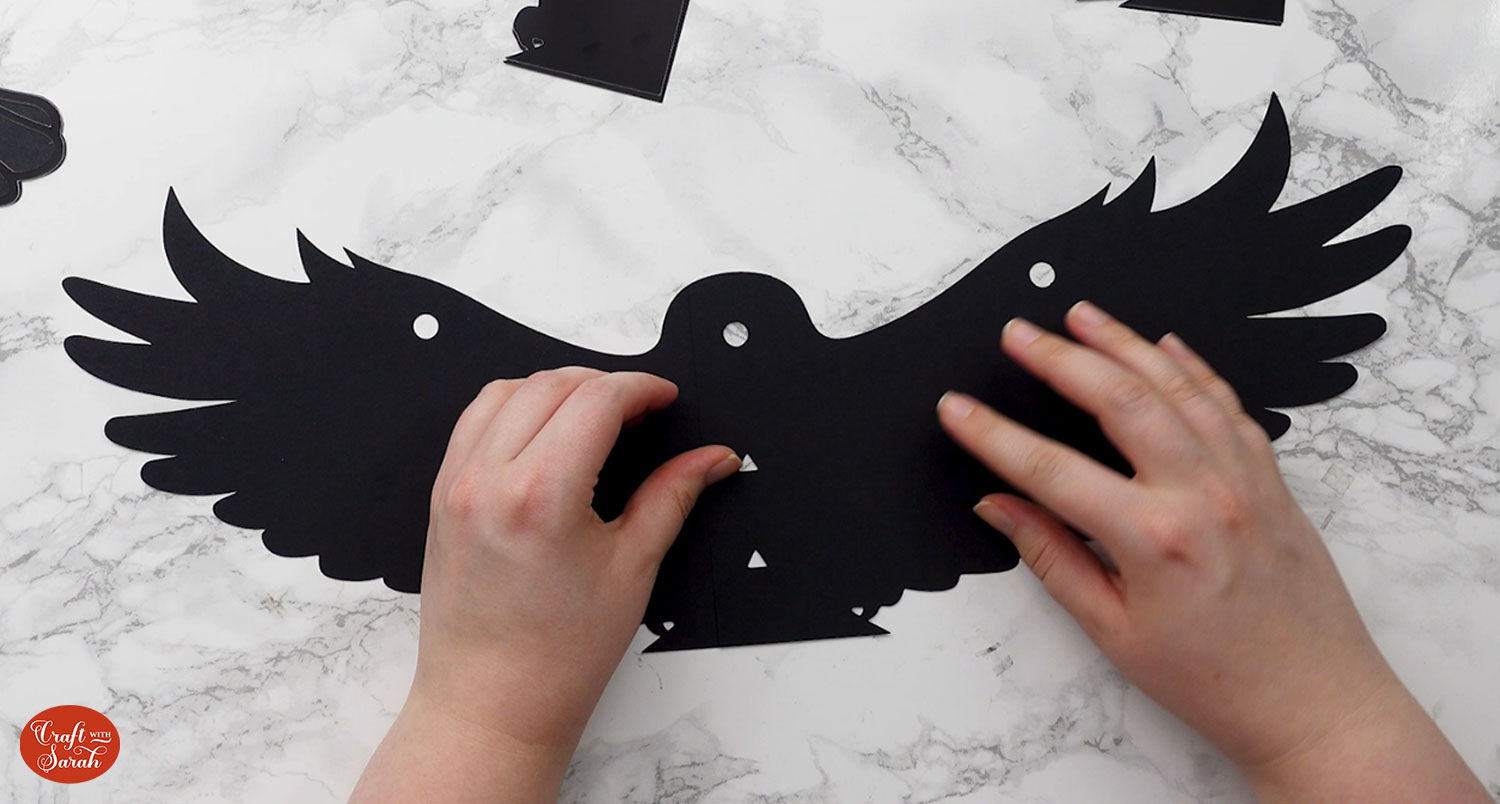
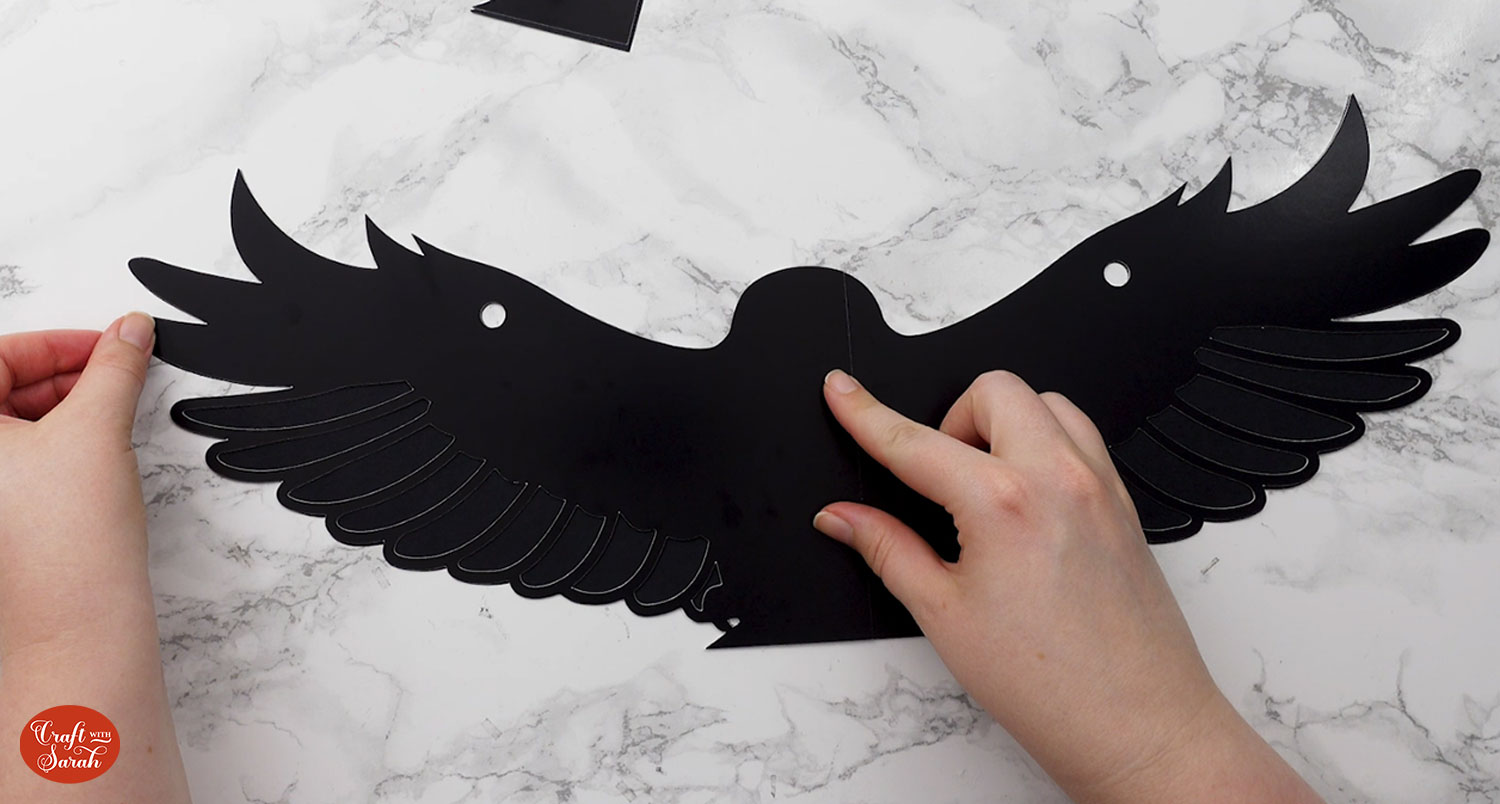
Glue the left and right side of the next wings layer on top. Again, these will overlap in the middle.
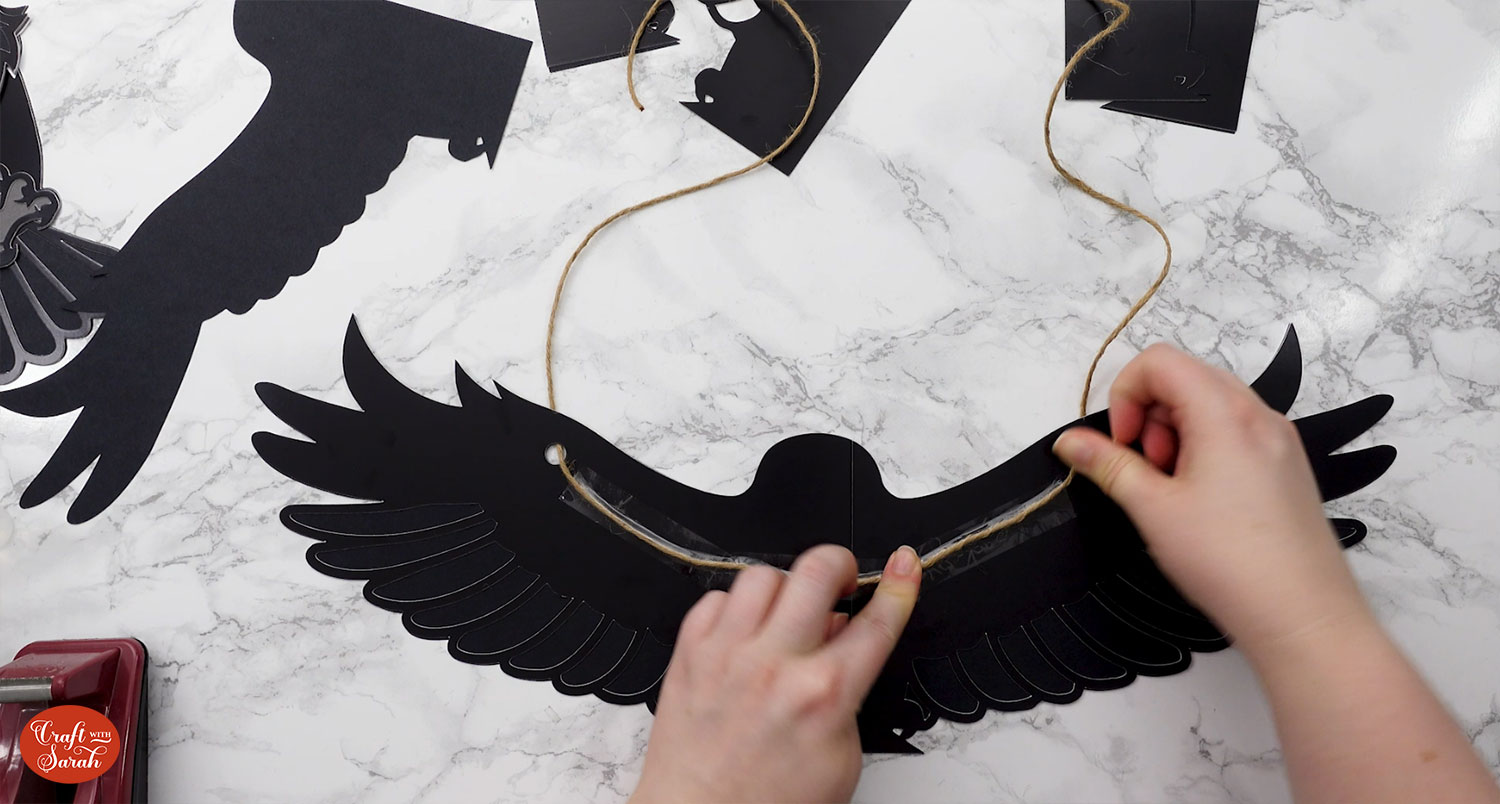
If you want to add ribbon or twine to hang the raven, thread it through the holes now.
To stop the twine being visible, use sticky tape / cellotape to stick it a little way down the raven so that when the next wings layer is stuck on top, the twine will be covered up.
Add foam squares to the raven design, making sure you don’t put any on areas that won’t be covered up by the next pieces of the wings.
When adding the foam pads to larger pieces of card, make sure you add some in the middle of the pieces of card so it give stability to the middles. If you don’t add any foam pads in the middles then it can “sag” under the weight of the other layers which doesn’t look as good.

Stick the next two pieces of the wing on. Use a little bit of glue down the part where they overlap to make sure it is secure.
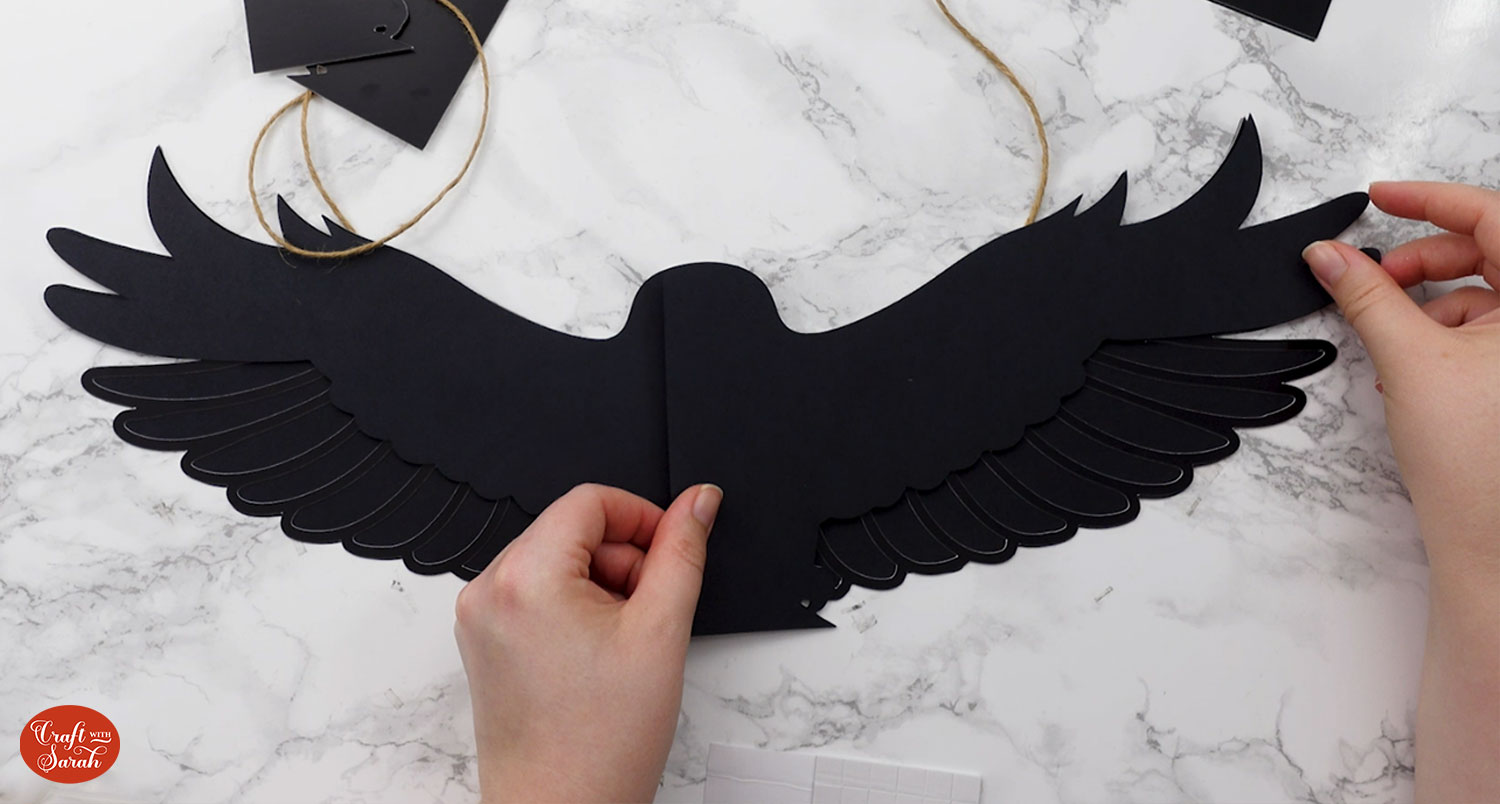
Continue sticking the pieces together, following the assembly guides, until your Halloween raven is all finished.

Halloween raven layered papercrafts
After sticking all the pieces of card together, you’ll have a stunning layered Halloween raven all finished!
I will be hanging mine on my front door for Halloween (as long as it isn’t raining!) but I think I’ll also make a few more to stick around my craft room.

Happy crafting,
Sarah x

